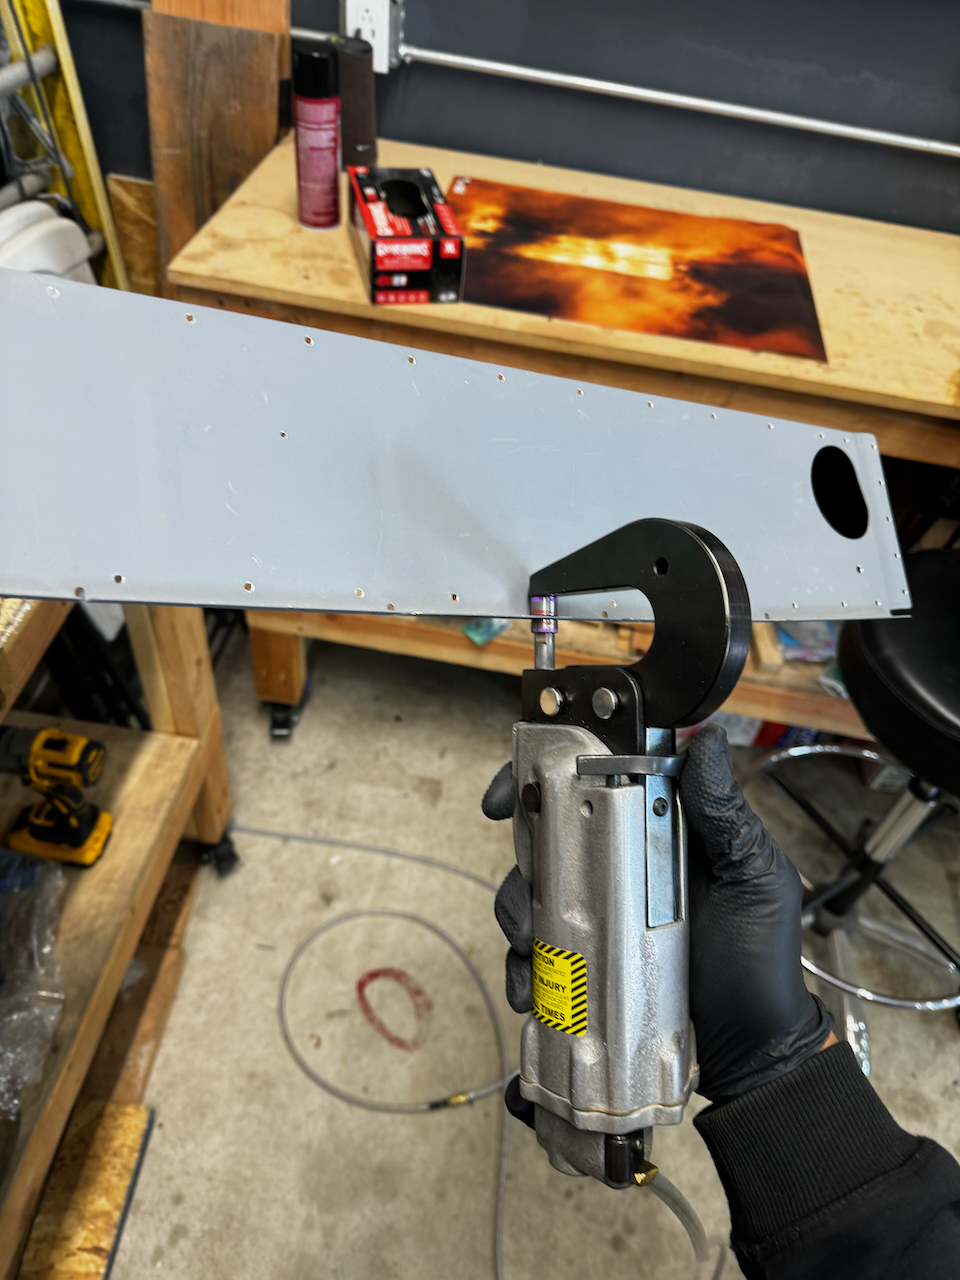
Time to Dimple and Rivet! This is the fun part of building, when you know you are putting something together for the final time. With the big priming session behind us, it was time to focus on dimpling and riveting the fuselage together. It’s exciting as the last time the fuselage was together was over 9 months ago right before we left for Oshkosh.
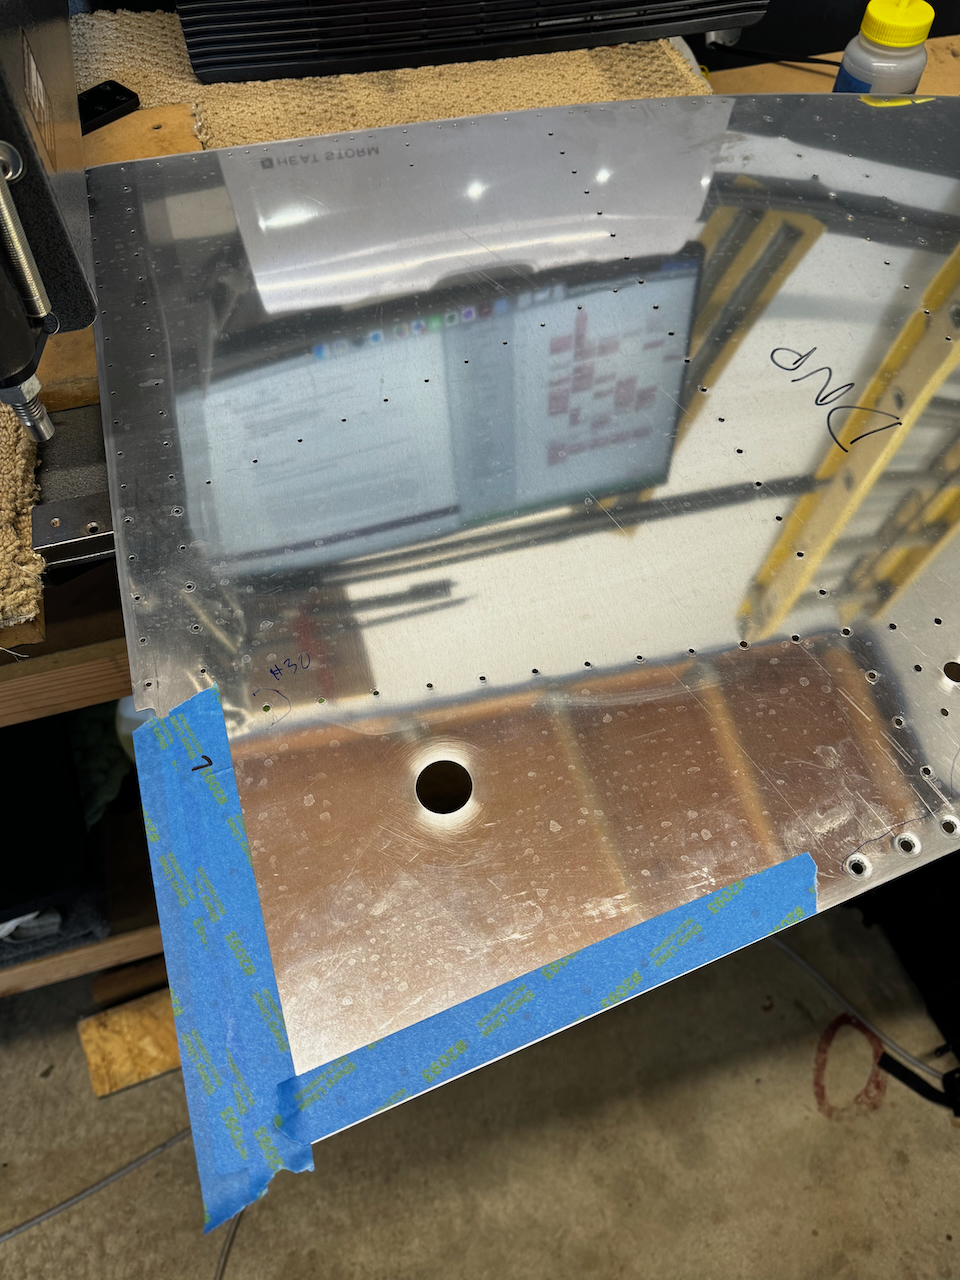
Knowing that Sam was going to be available for a long Saturday session, I wanted to make sure that all the single person tasks were out of the way already. I spent a few hours here and there getting small sub-assemblies dimpled and riveted. I also realized that I had only countersunk one of the rows that attach the center section flanges, so I went back and did that as well. When dimpling the skins, I paid close attention to DWG 74, to make sure I was only dimpling what was required. At points it was a bit confusing as the rivet call out would be on another skin which sits outboard of the one you were dimpling. I taped off holes I knew I wasn’t going to dimple.
Let the dimpling begin!
Make sure you pay attention to DWG74 for riveting schedule
tail cone skin getting dimpled
Forgot to countersink the fwd row!
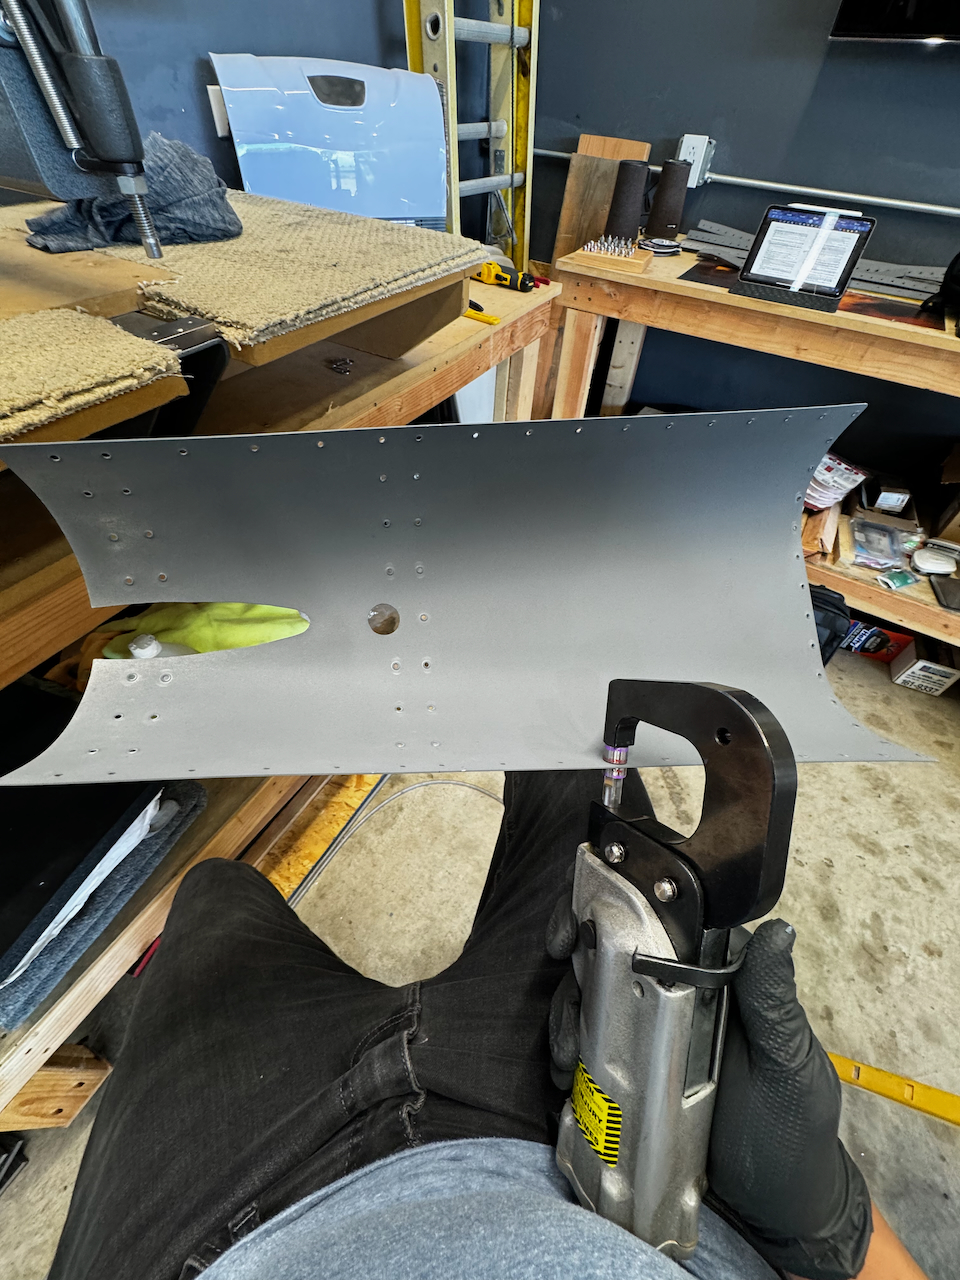
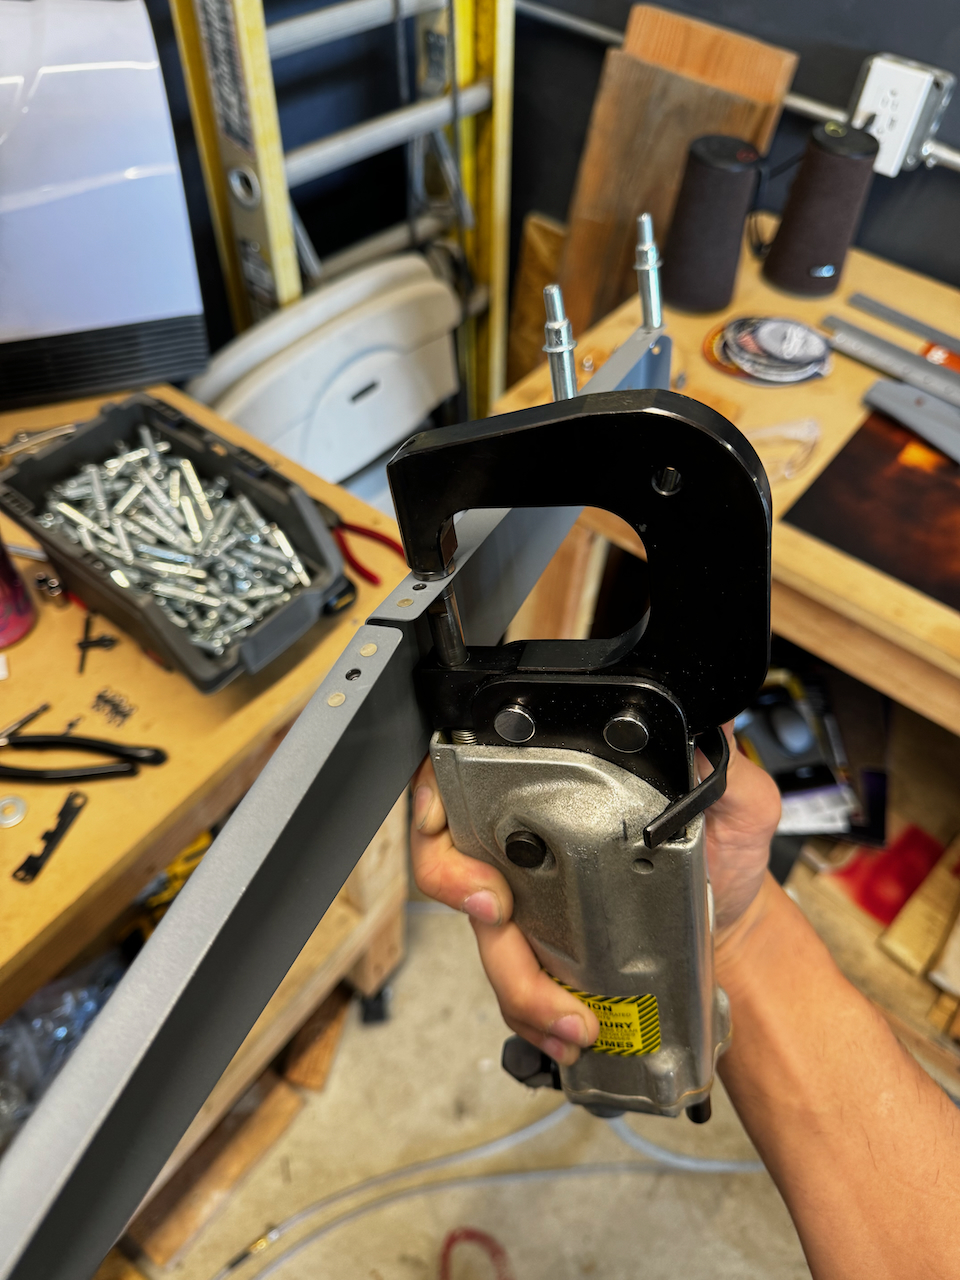
Special Dimpler for some of the flush rivets. Thanks Paul!
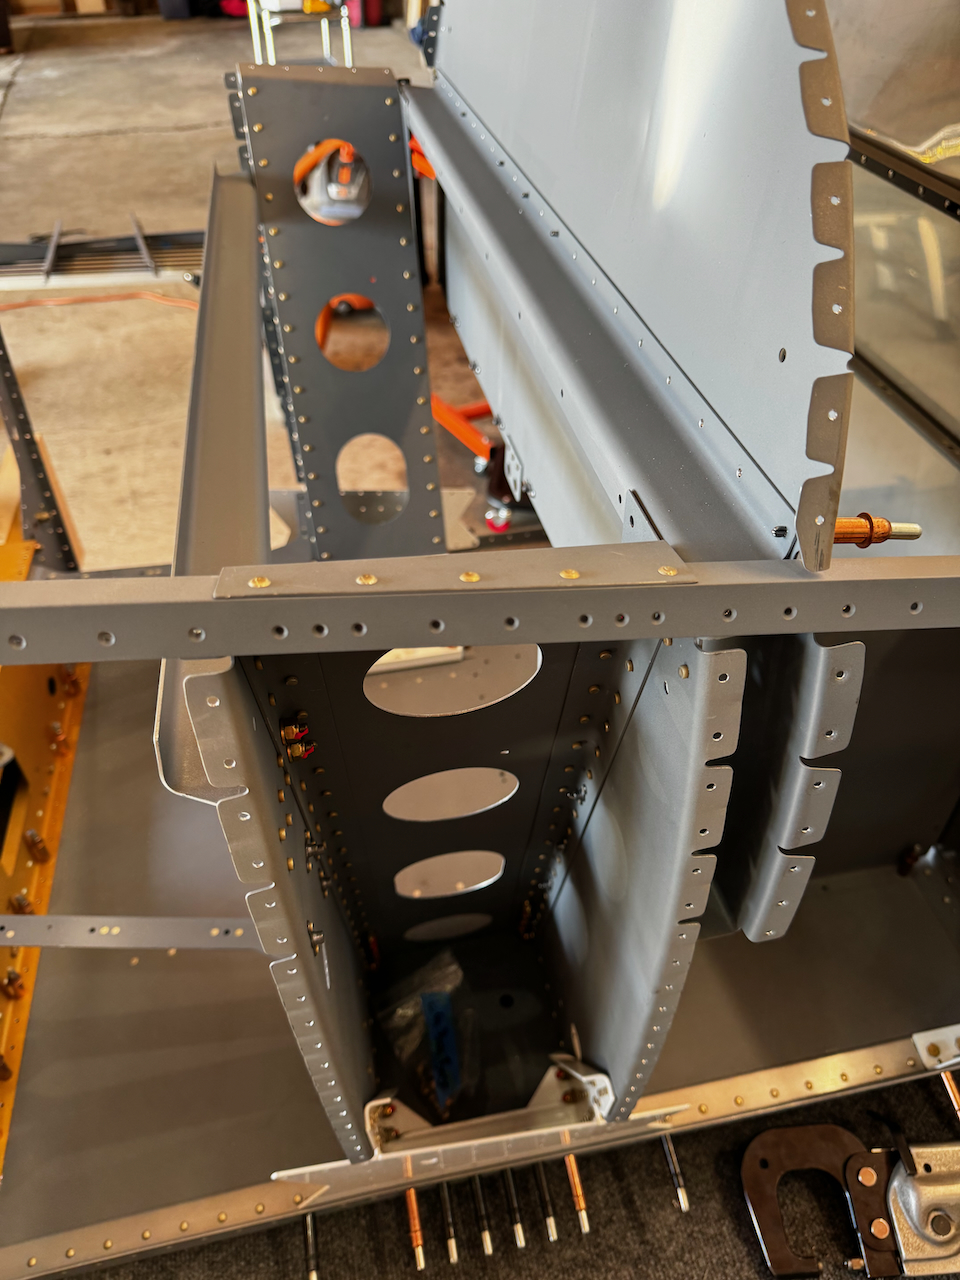
Another fun milestone was re-installing one of the longerons. In this case it was the lower fwd longeron. I needed to borrow Pauls special dimpler to reach those touch holes but was able to get it done fairly easily. I was able to do most of the installation myself, but there were a few flush rivets that I chose to defer to when Sam got here.
Longeron going in! I hope it still fits!
Yaaay! It does!!
bolts getting installed…
…and torqued.
More torque seal of longeron screws
FIrst rivet in! Not coming out again…:).
Longeron Installed!
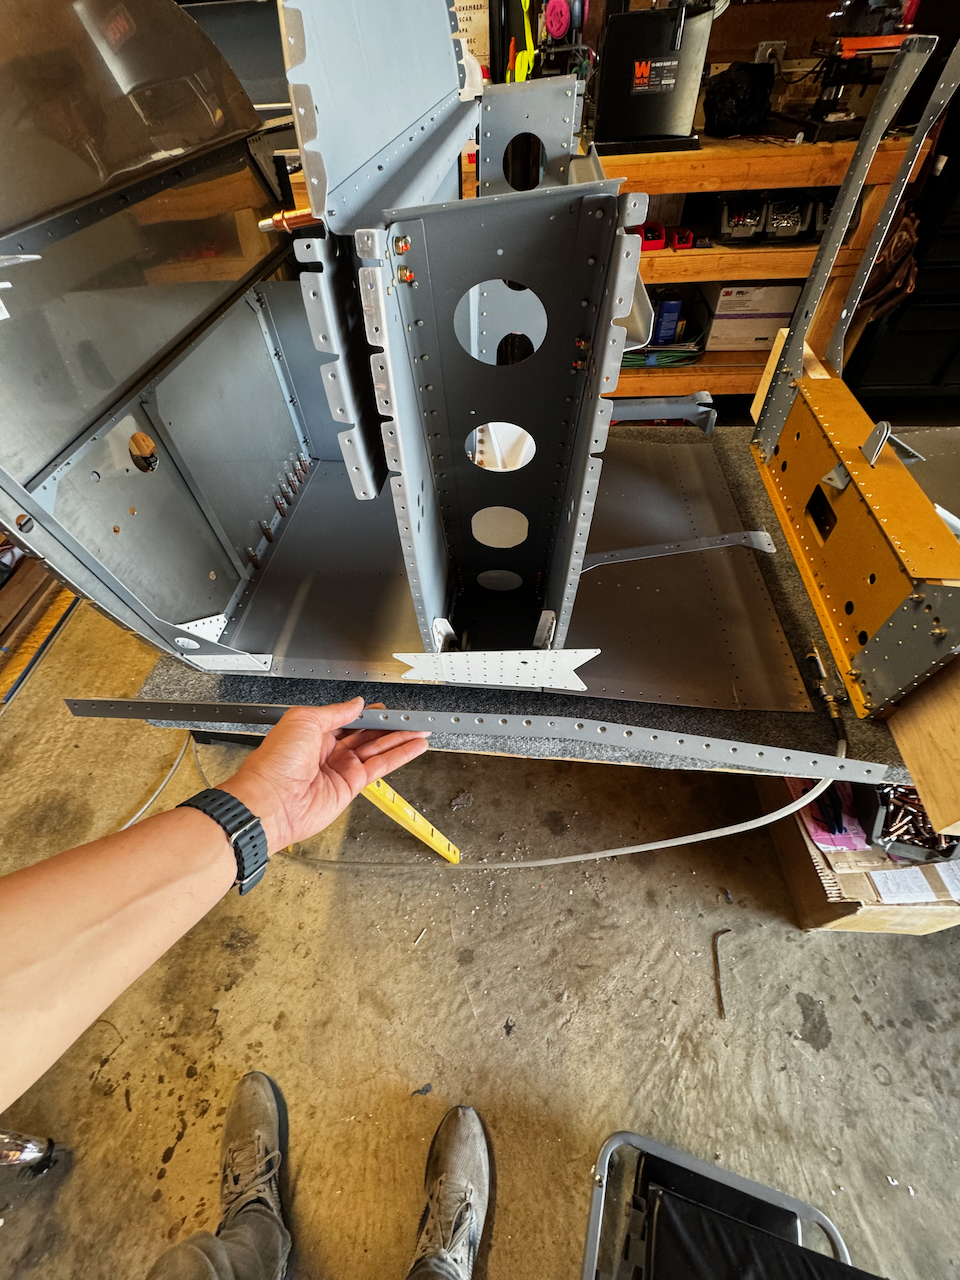
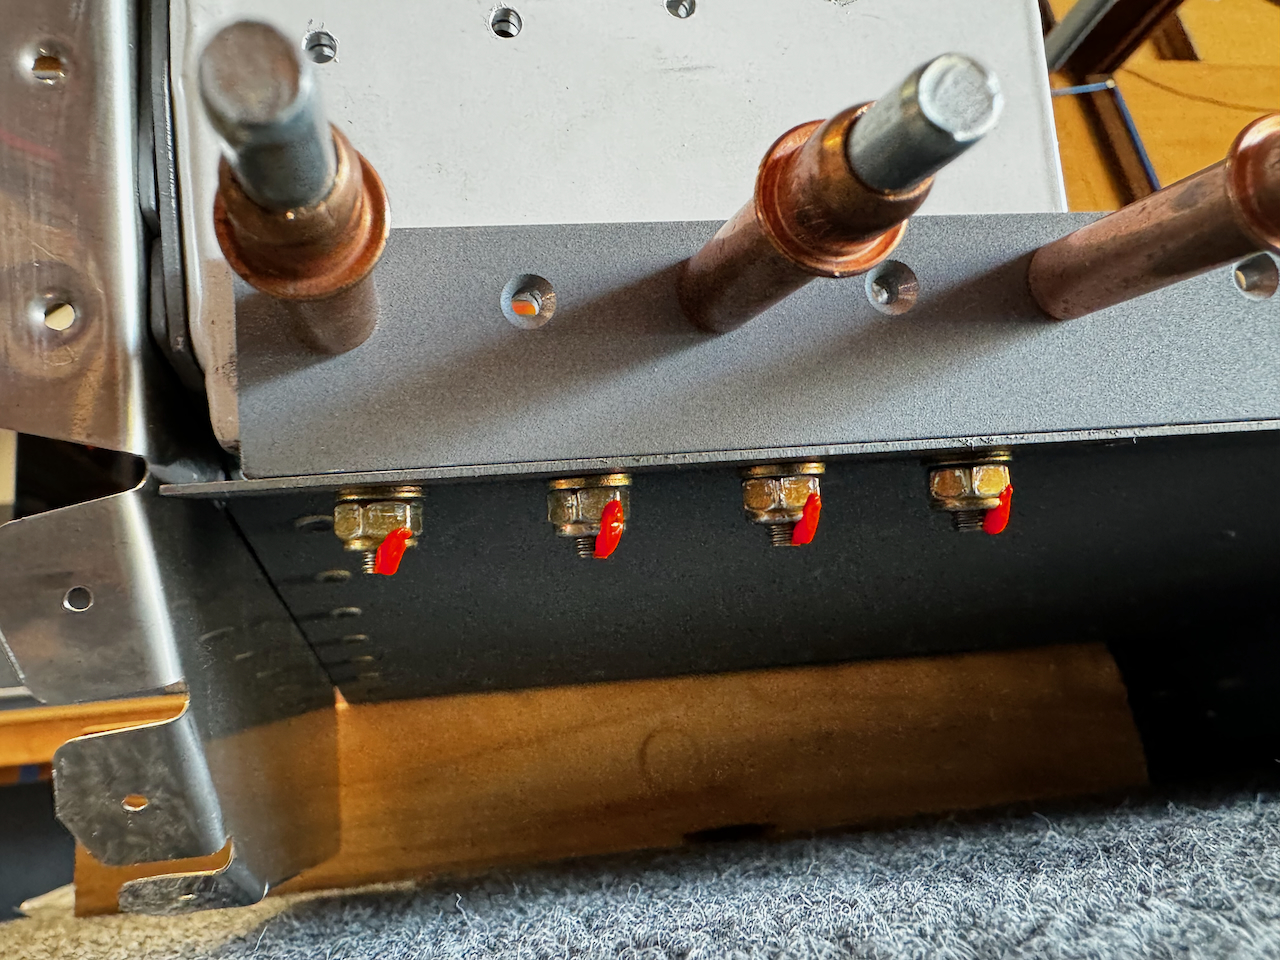
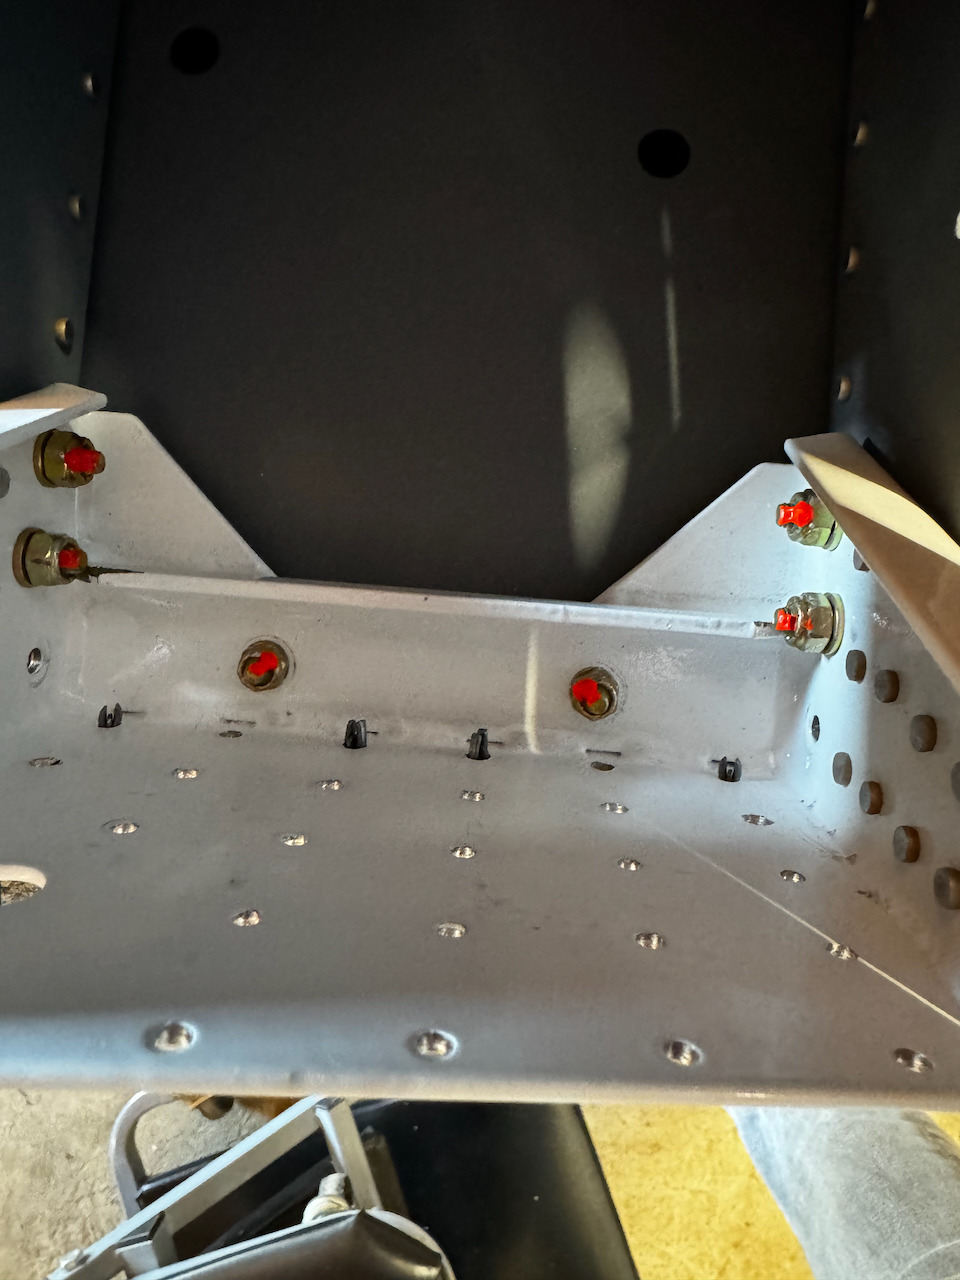
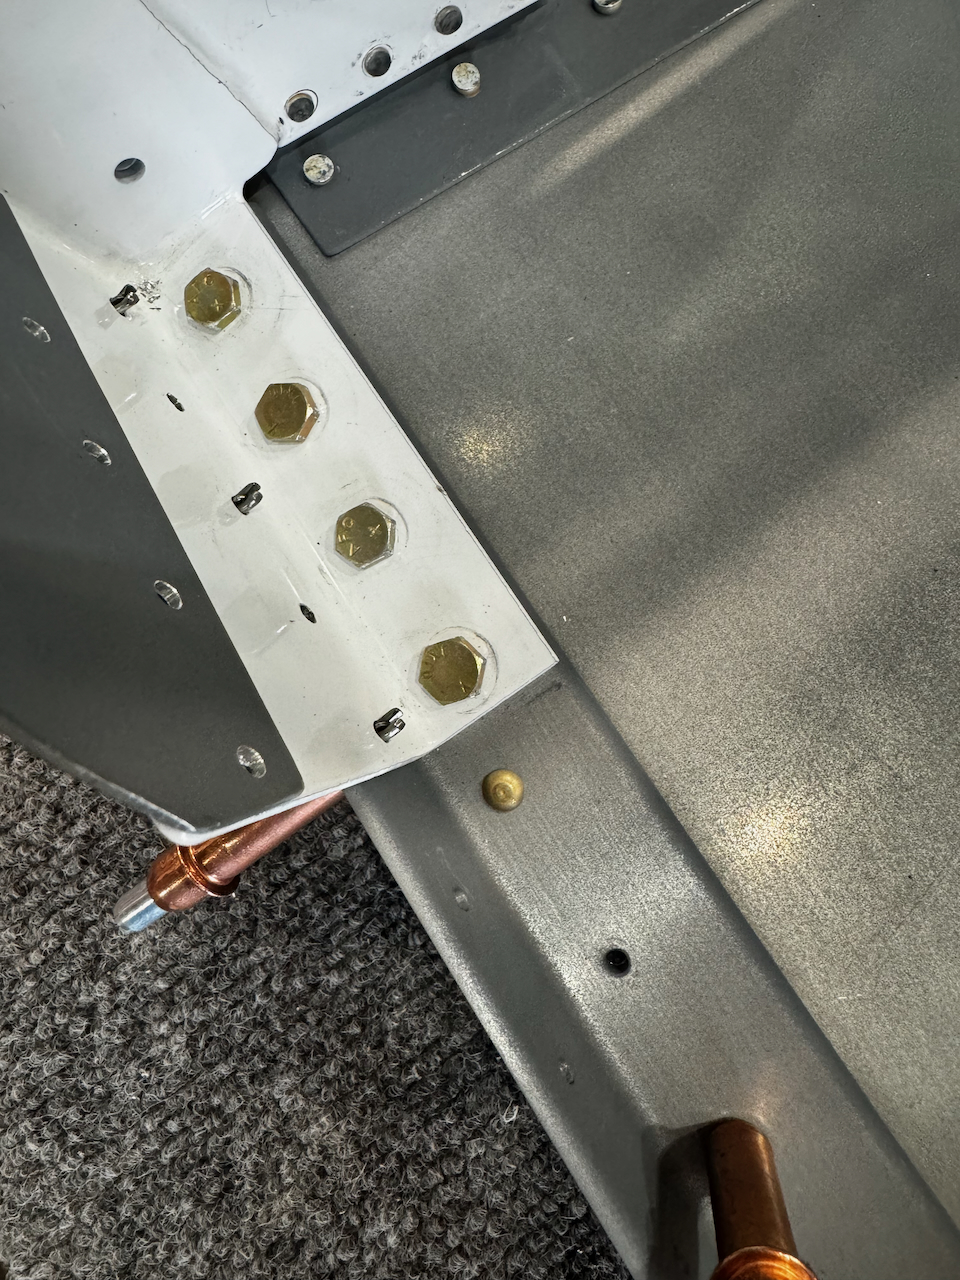
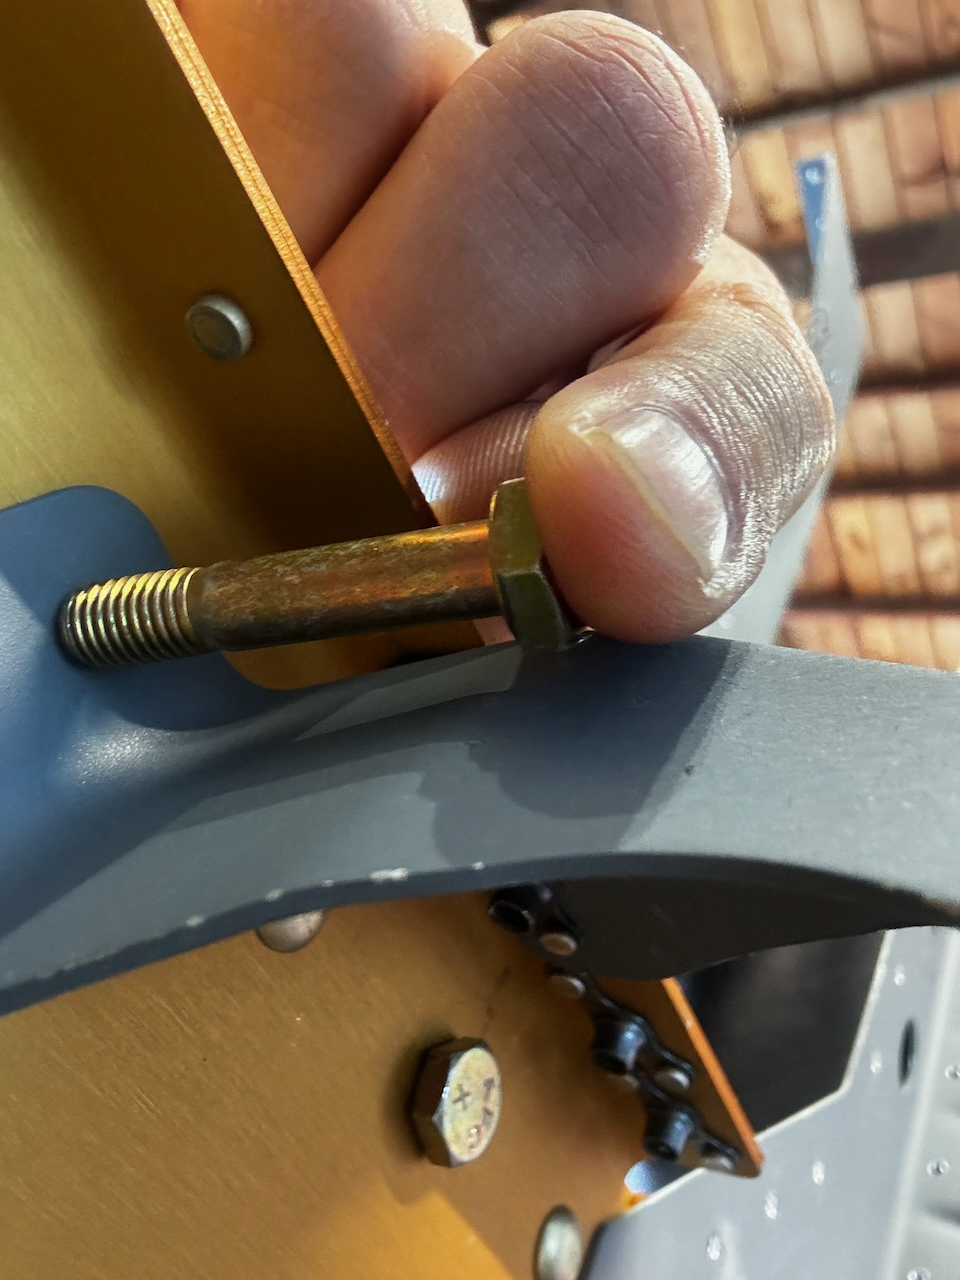
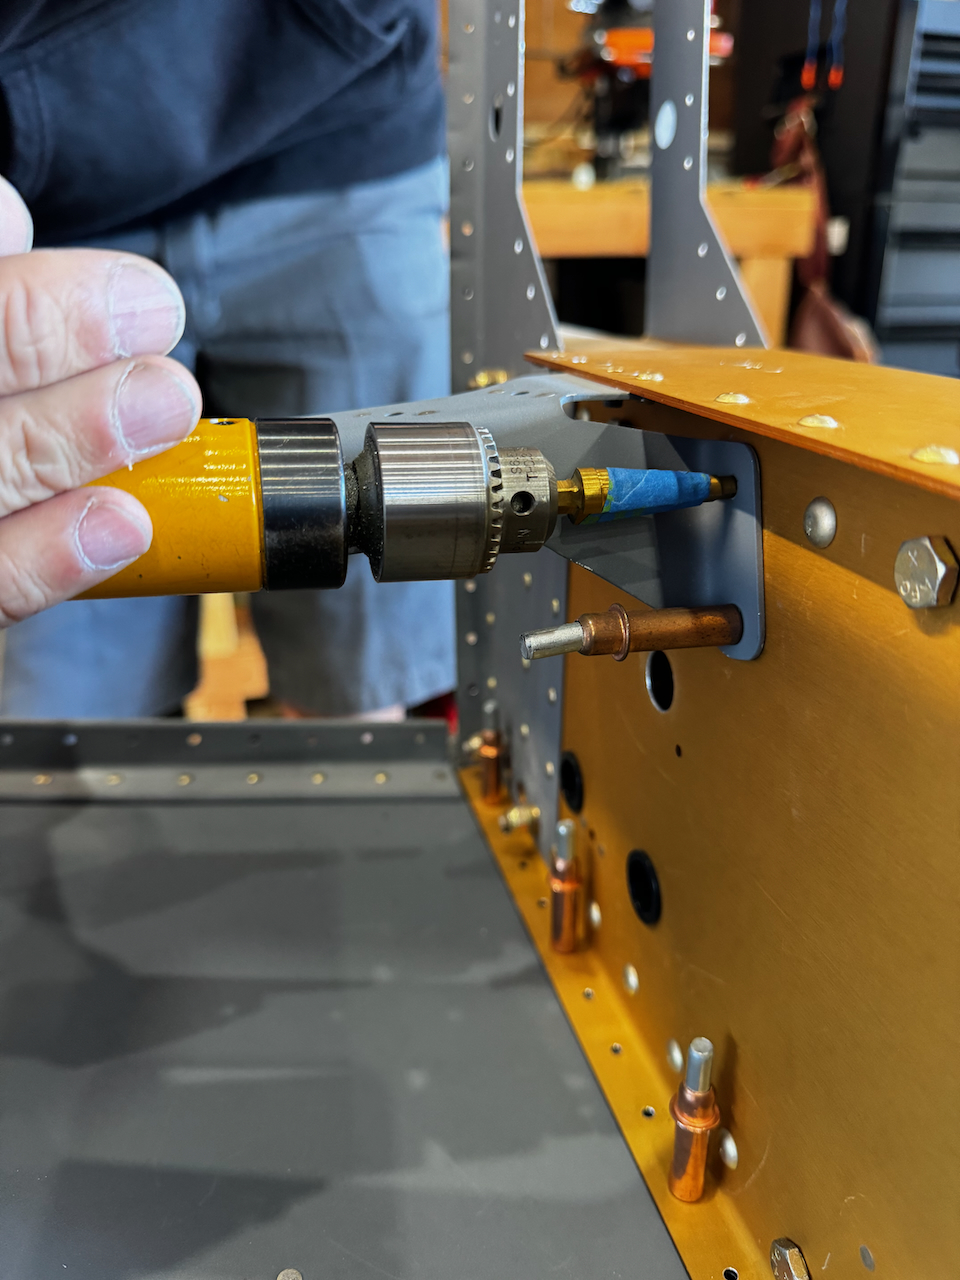
When Saturday rolled around, I had a good plan for what I wanted to accomplish. The goal would be to get the upper longerons (yes, the super long ones) permanently installed on the fuselage. This was a big endeavor as it required connecting the fwd assembly, the center section, and the seat rib assembly, then installing the mid side skins. We ran into our first hiccup when installing the mid-braces to the center section. For whatever reason, I did not drill out the bolt holes to the AN4 size. Sam and I went back through all the instructions and could not find this instruction. After a bunch of evaluation, it was clear I’d need to drill in place. Using a combination of the unibit and reamer we were able to cleanly drill out to 1/4”, and install the bolts.
Nutplates on the Arm Rests
Prepping Armrests for backriveting to mid skin
Arms got tired from all the back underside riveting!
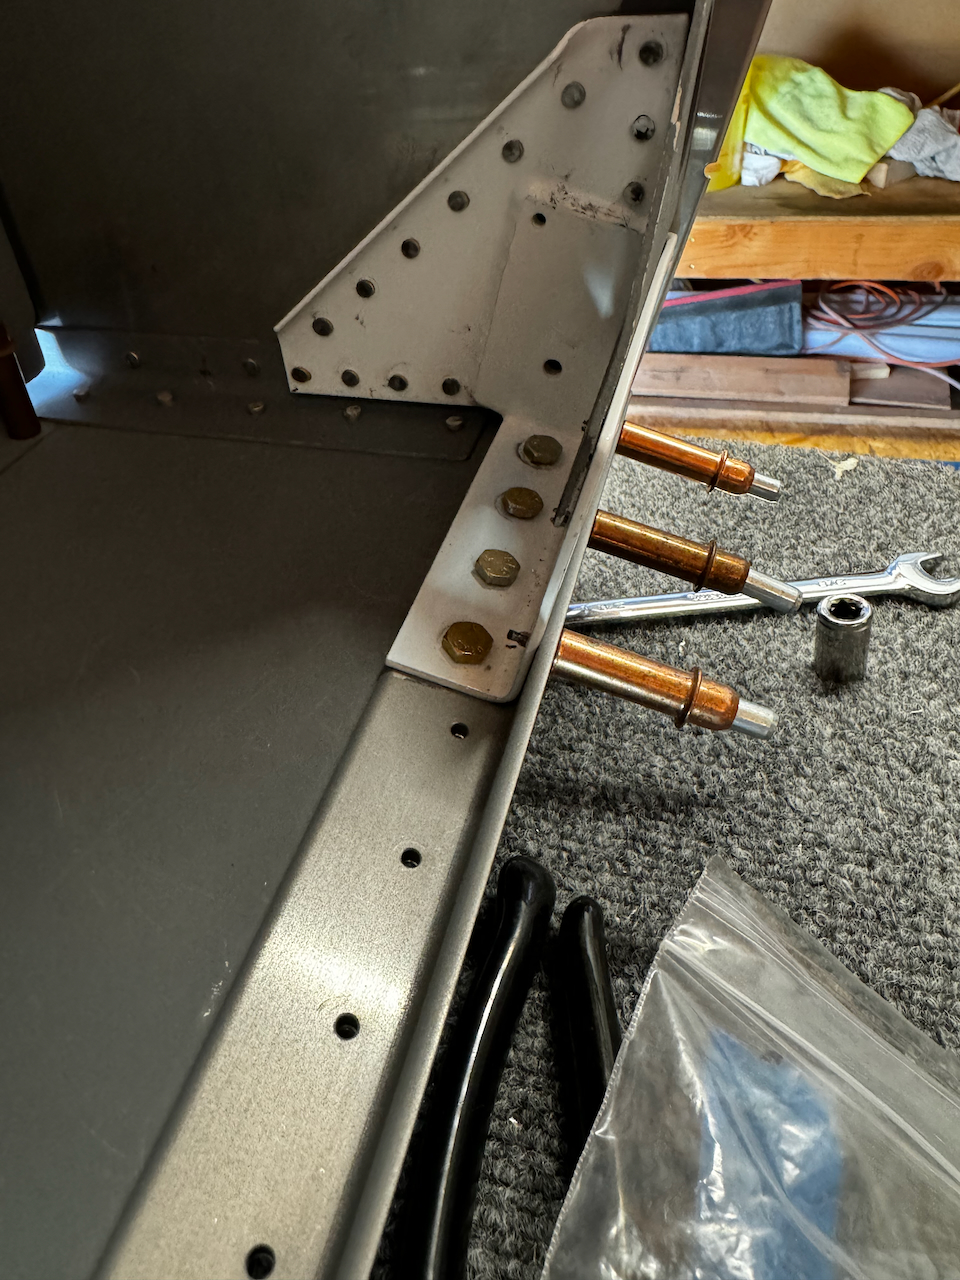
Here’s where we got stuck on the mid brace bolt
check and recheck for instructions I might have missed…
…but bolt definitely didn’t fit.
Unibit and…
…reamer solves the problem!
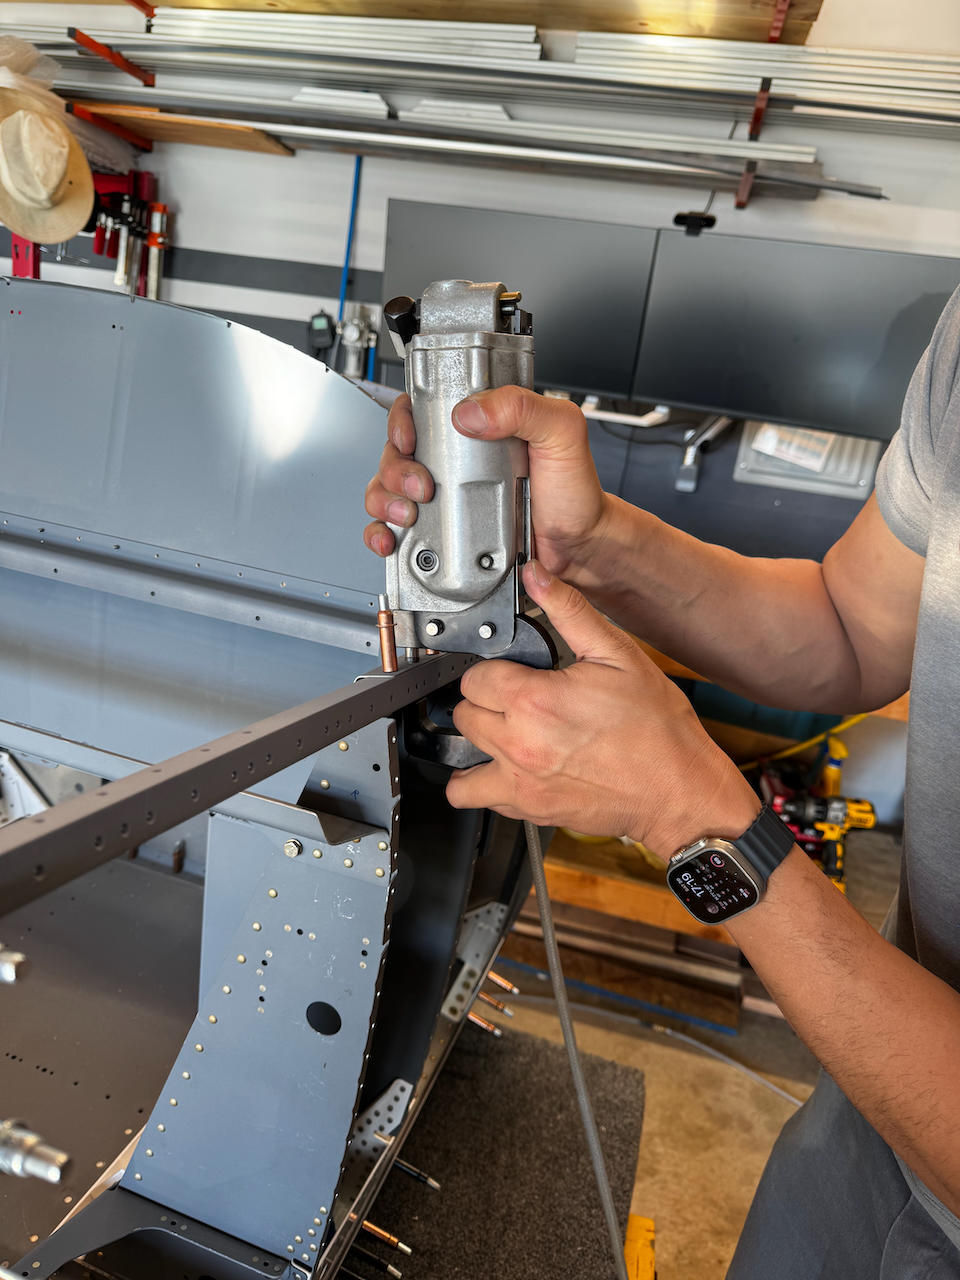
The next road bump was in the later half of the day. I was testing the squeezer for the correct yoke to use during a challenging spot, and did not install both cotter pins. When I squeezed, I bent the piece that directs the squeezing die. ugh. Well, we were able to bend the piece back enough to continue for the day, but I’ll need to get a replacement to make sure it operates smoothly going forward.
The instructions call for backriveting the arm rest assemblies to the mid fuselage skins (F-823).Sam and I started this, but I wasn’t super happy with the results. Between ugly rivet heads, and the manufactured side not sitting as flush as I’d like, I decided to deviate a bit from instructions and defer riveting until it was in place and I could rivet in situ. I haven’t decided if I’m going to drill out the rivets already installed. Since I can do that later, we decided to continue on.
Attempted back riveting. Not sure if I like the technique.
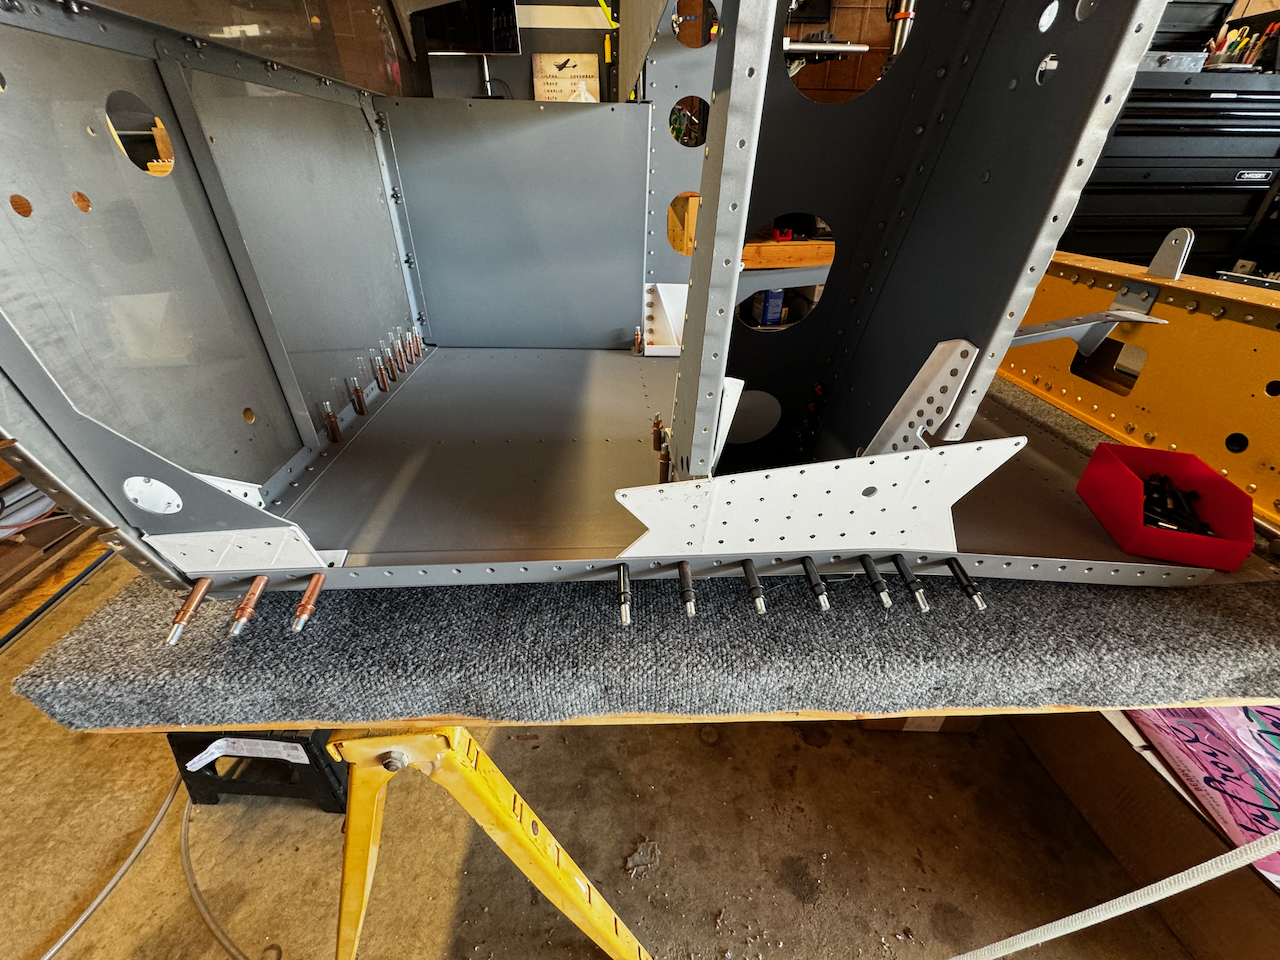
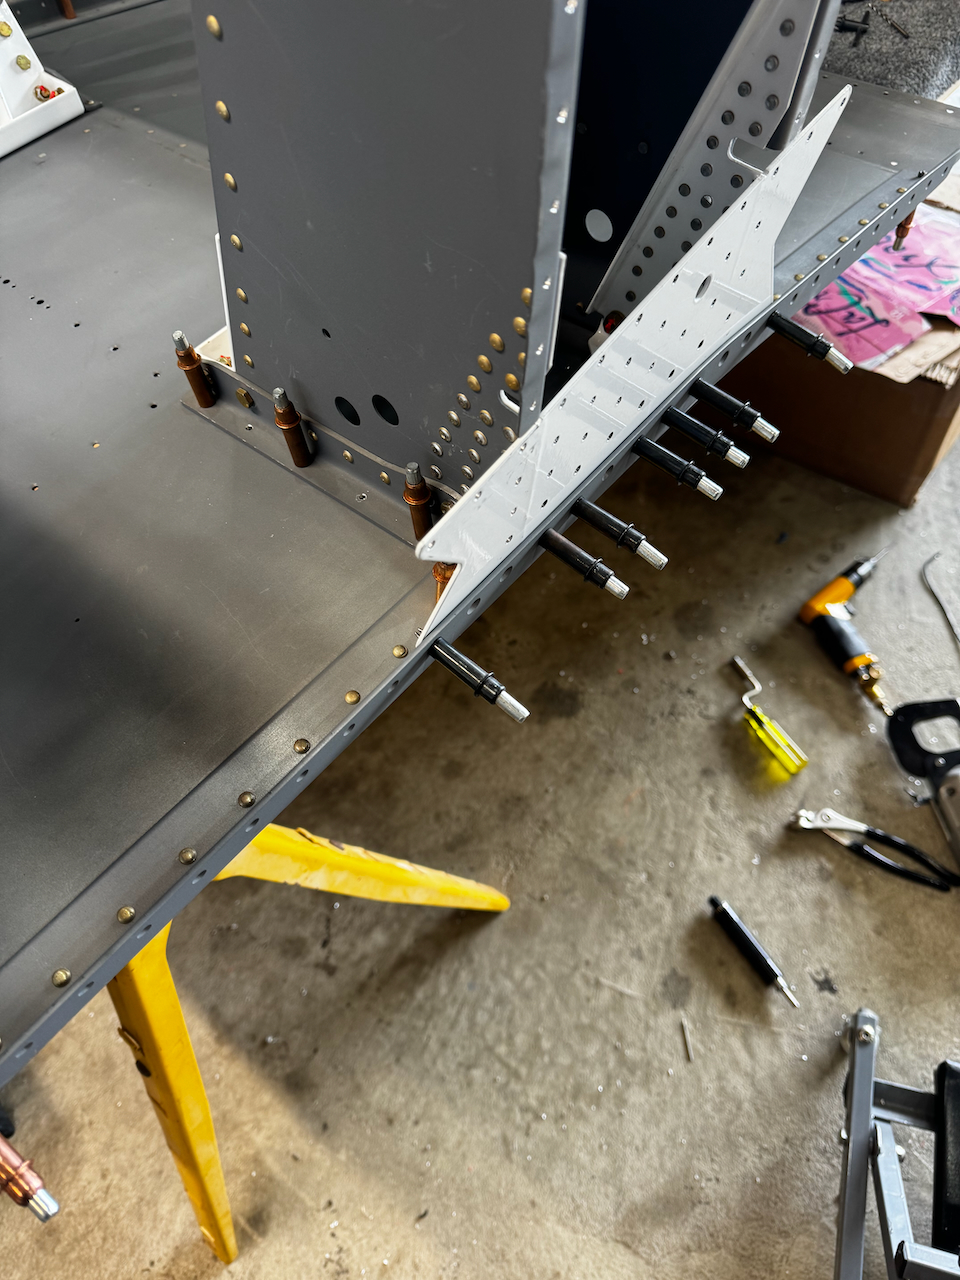
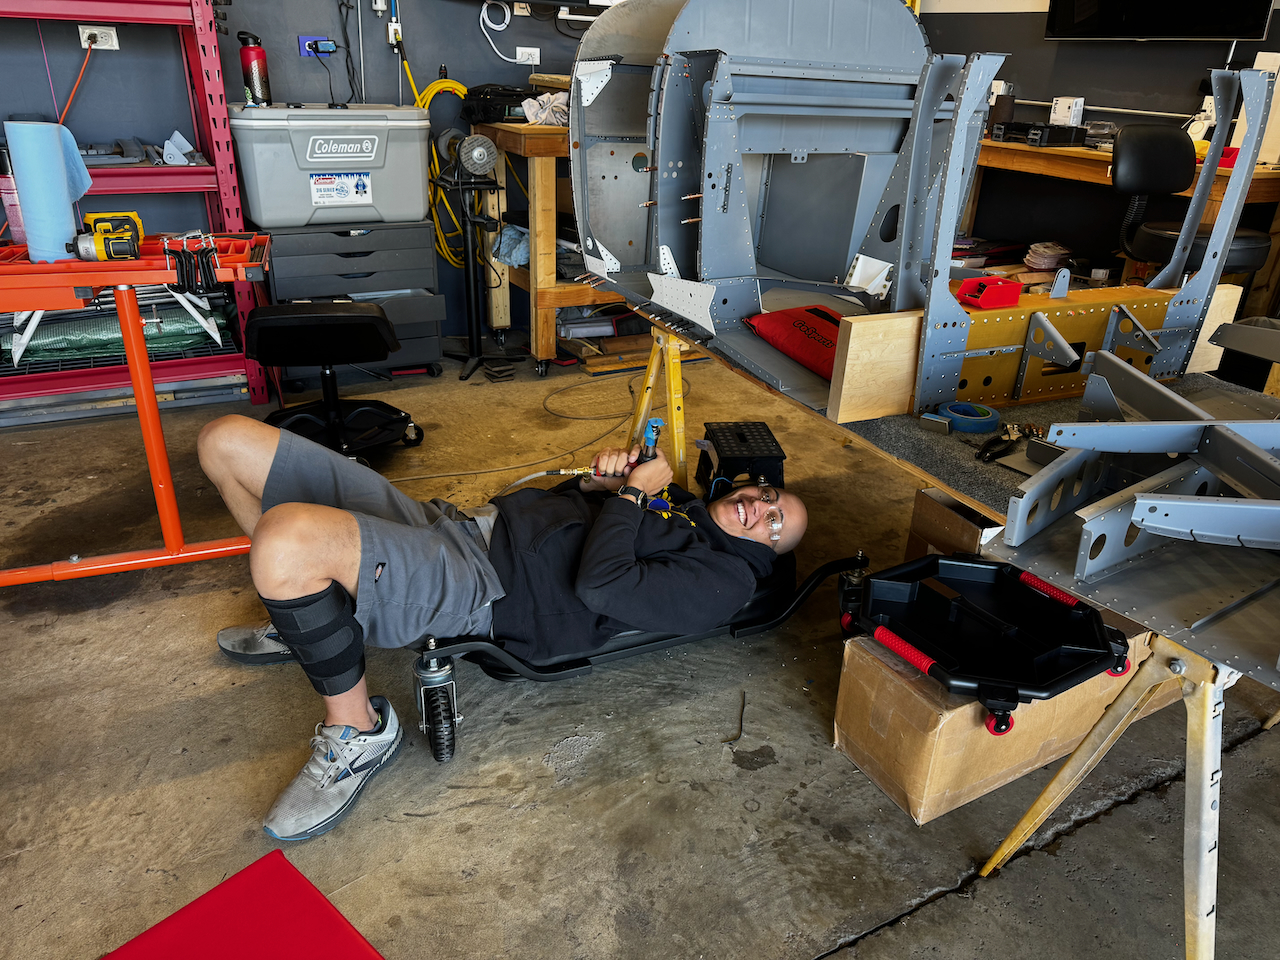
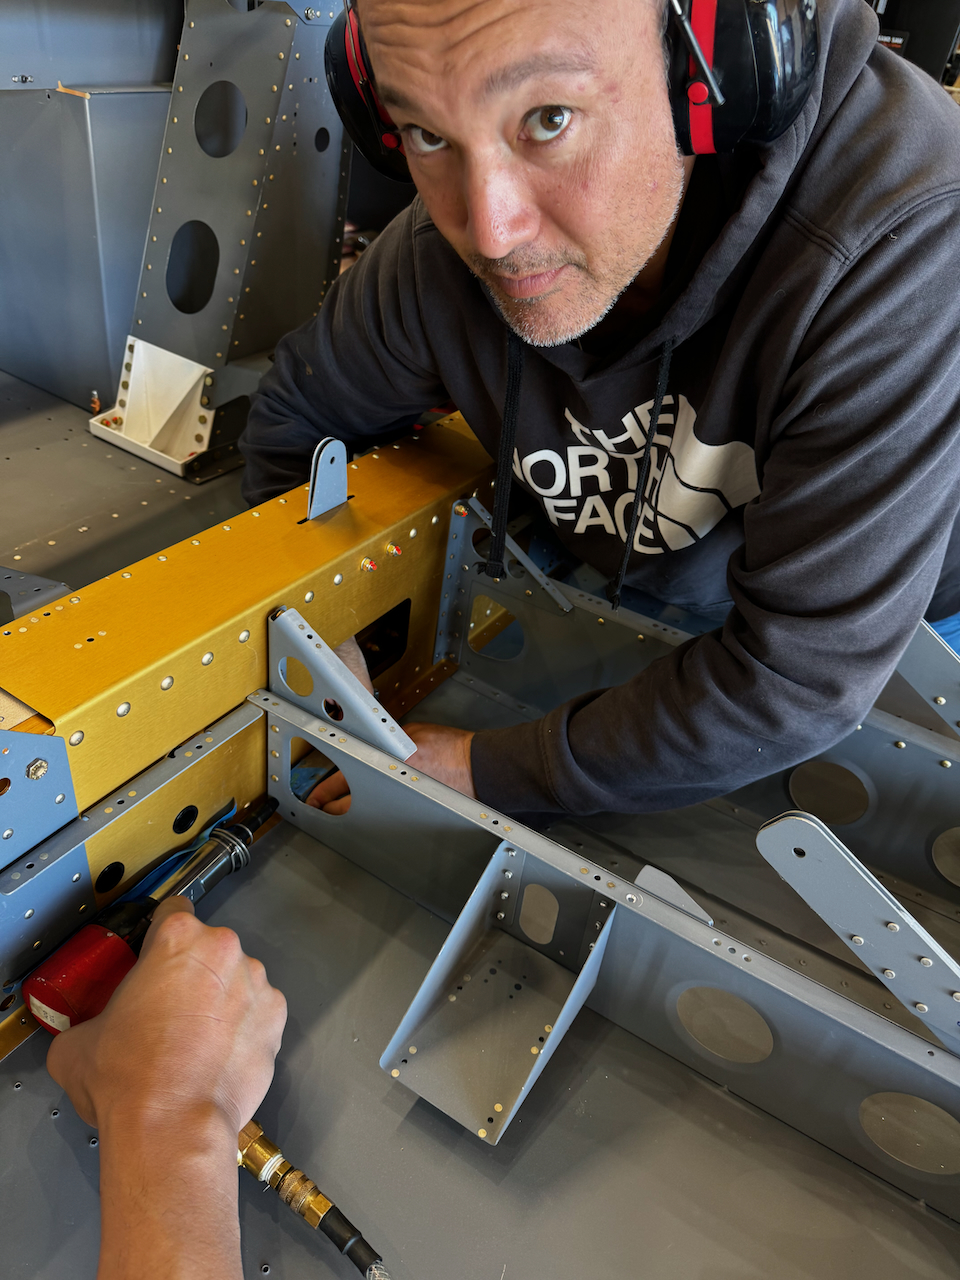
Tight riveting space to attach the seat rib assembly.
but a combination of squeezing and bucking got it done.
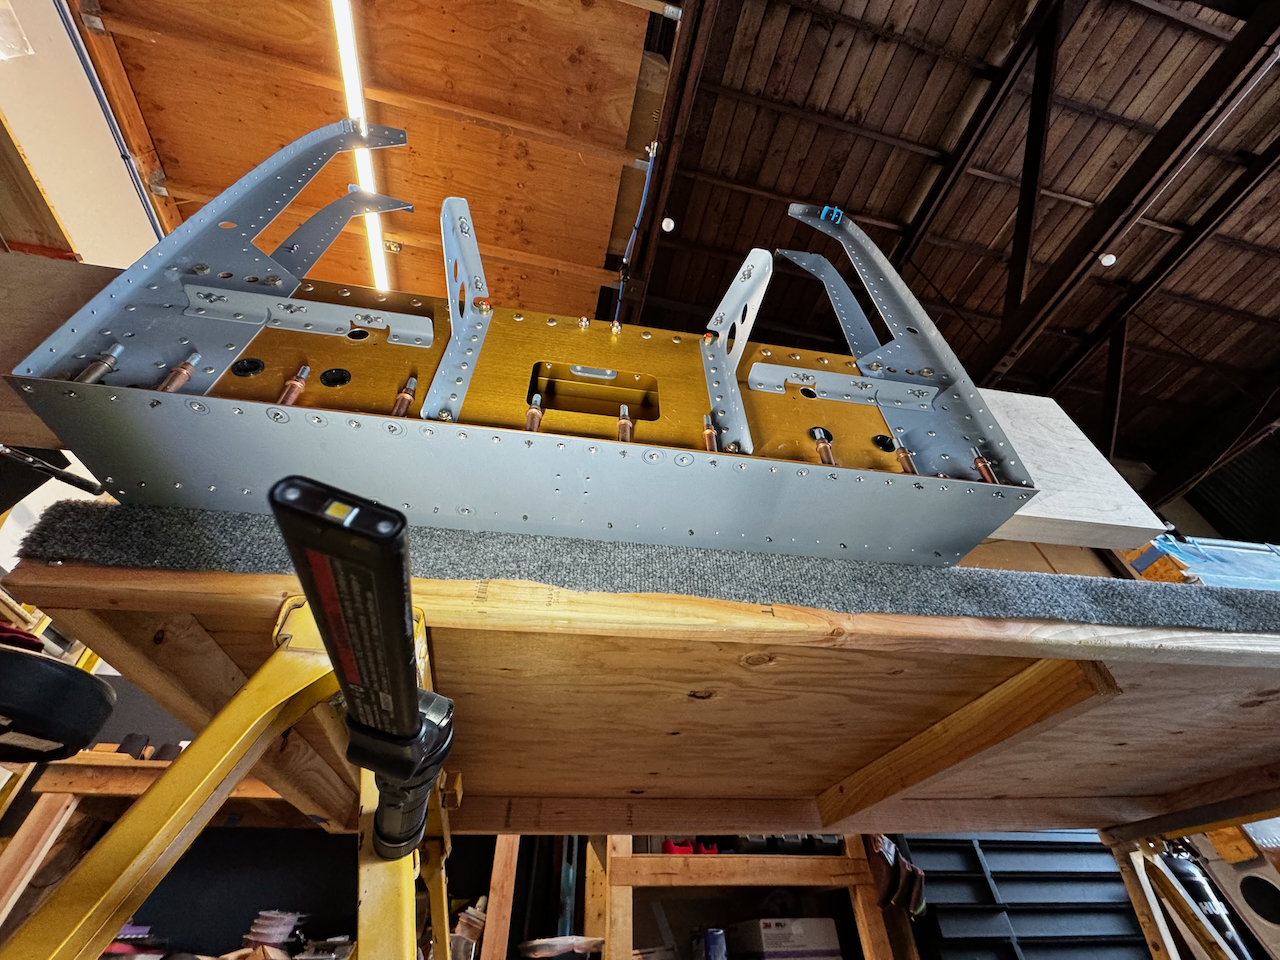
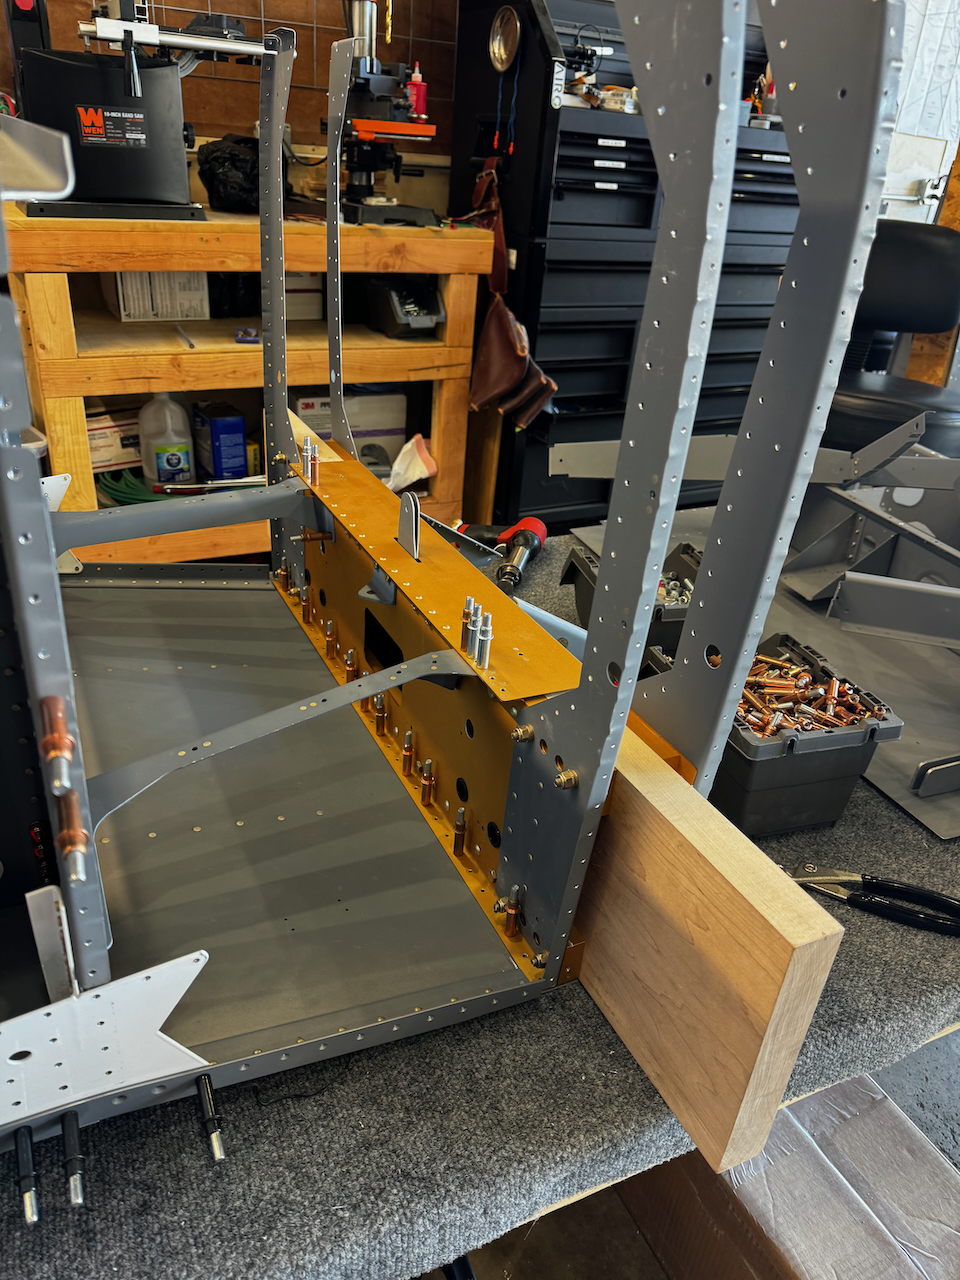
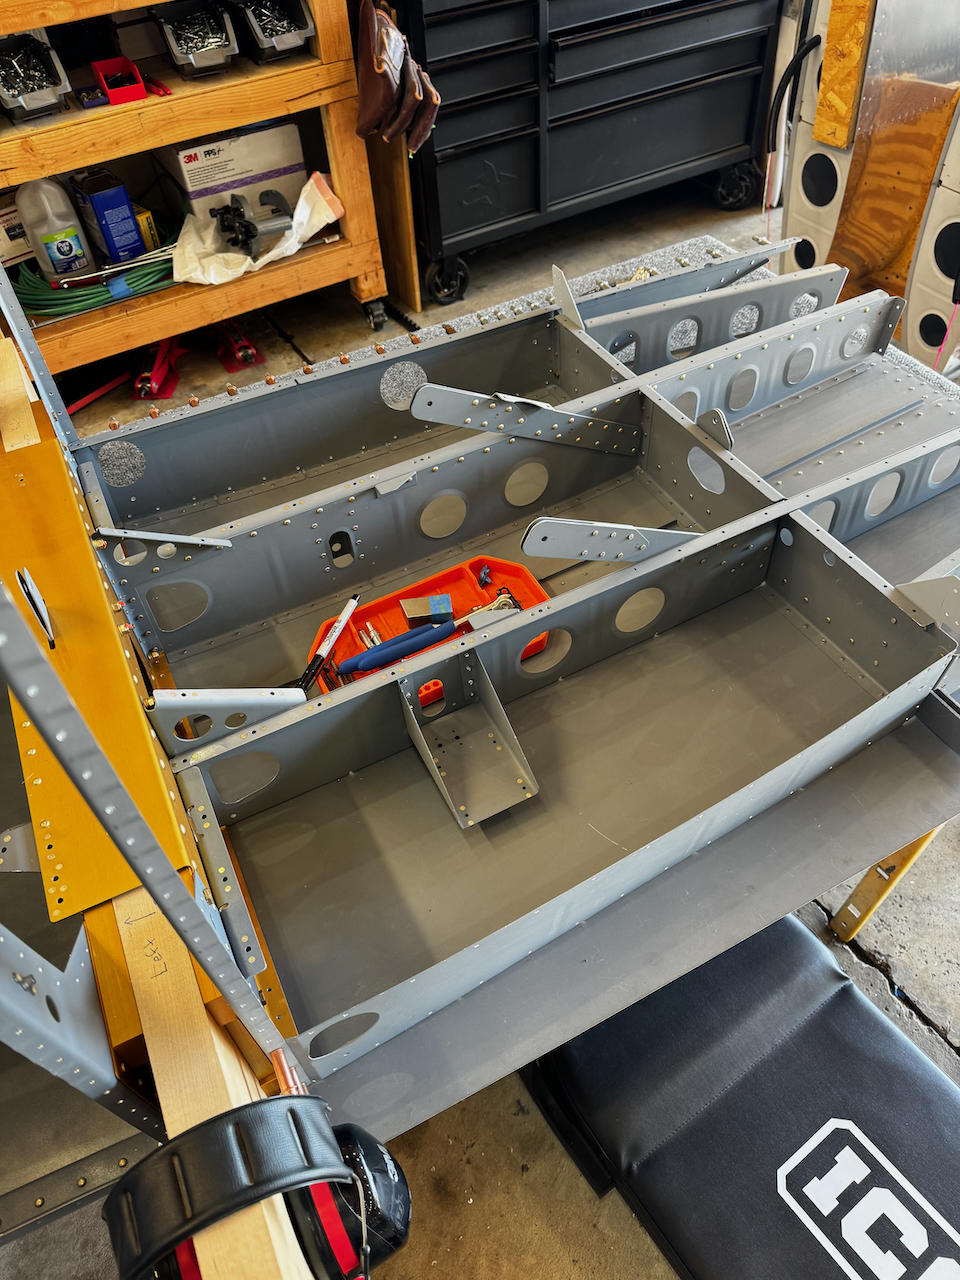
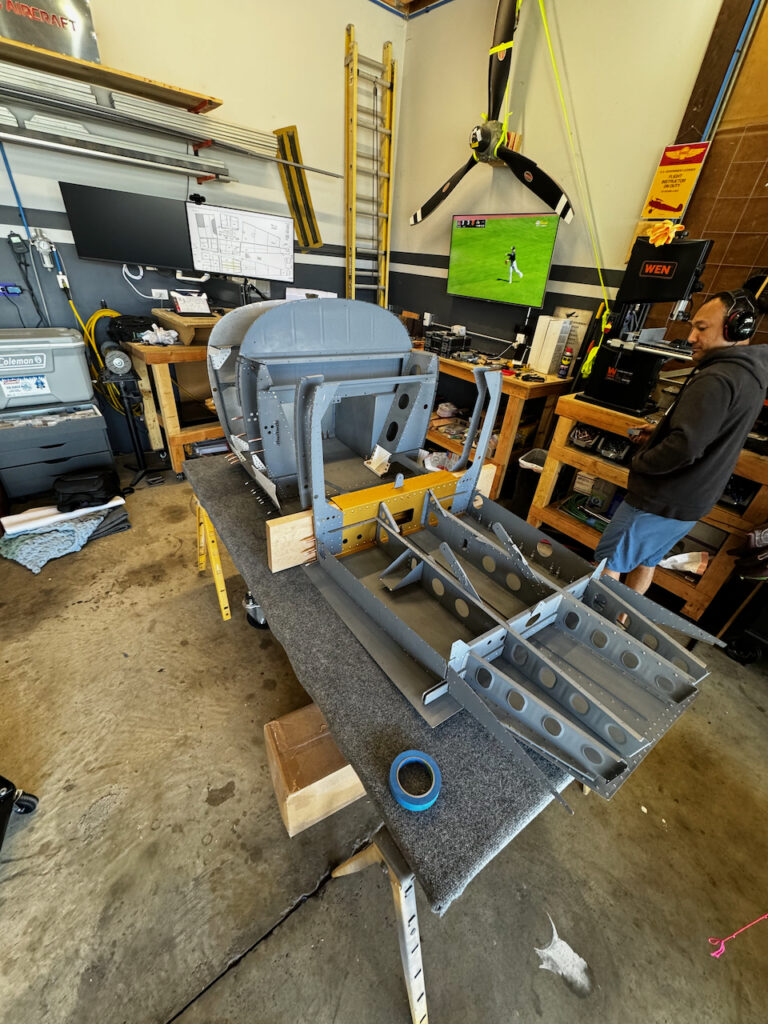
fuselage cockpit connected!
and outboard ribs fully installed!
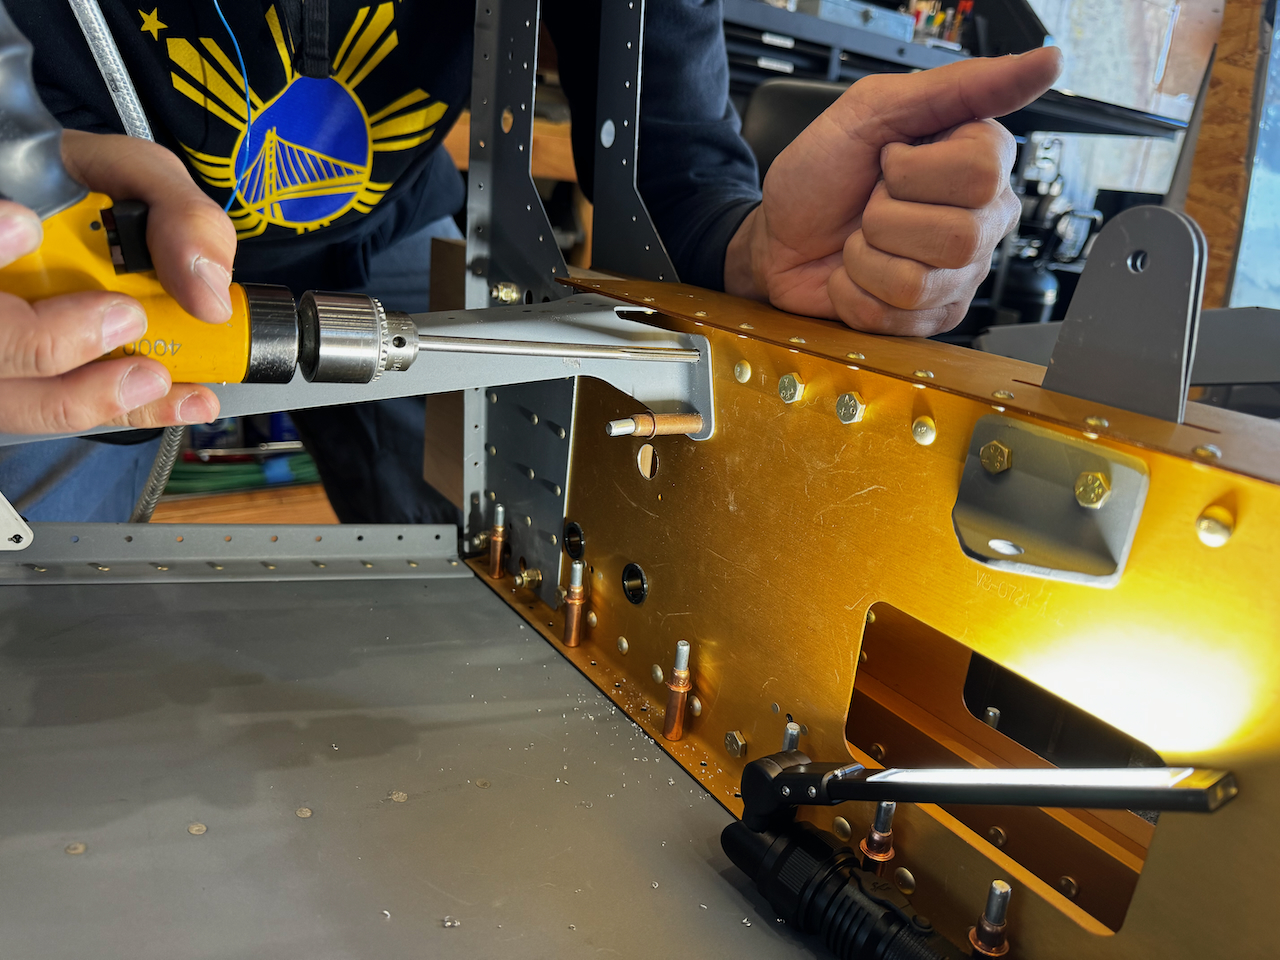
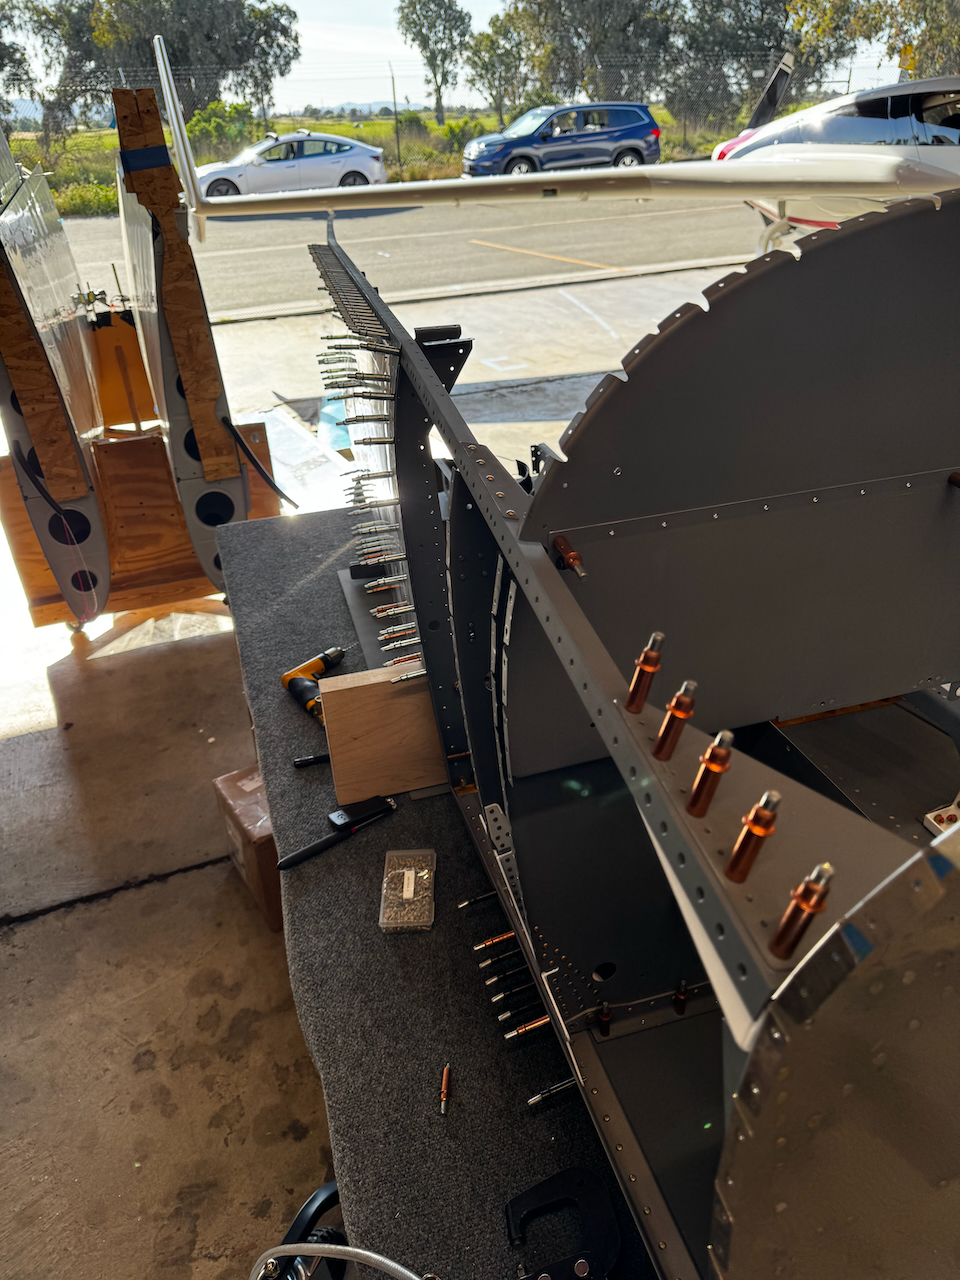
The last milestone of the day was quite exciting, riveting in the upper longeron. We did it! Well Technically we did, although we only got the first five rivets in. It’s nice to see the fuselage coming together. It’s off to LA for work, but when I get back, I’ll be working on the left side skins and hopefully installing the other longeron! Until then…. Happy Building!
This Upper Longeron isn’t going anywhere!
now that it’s fully installed!!
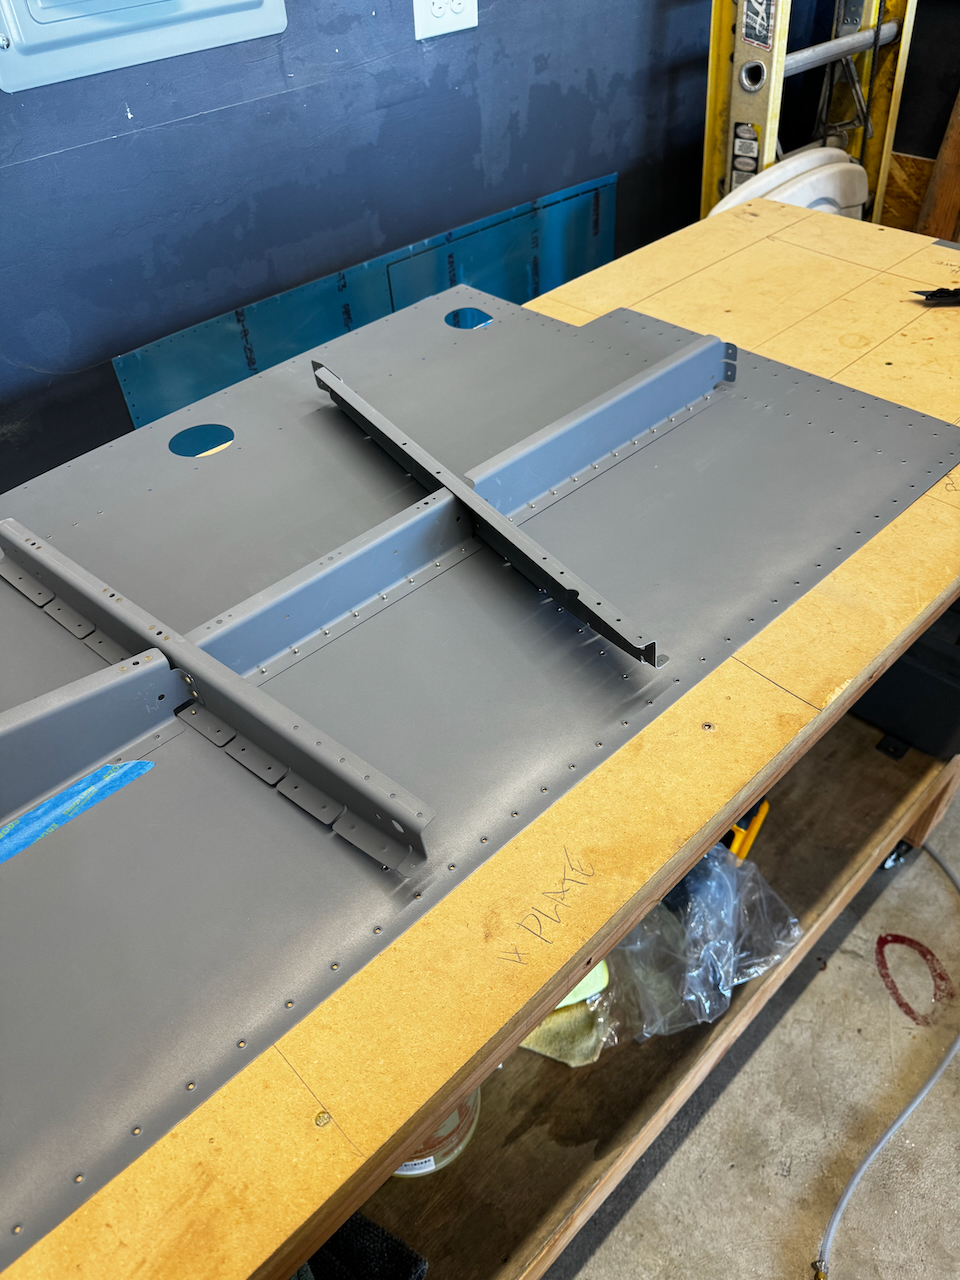
Enough for today… next session, the other side.
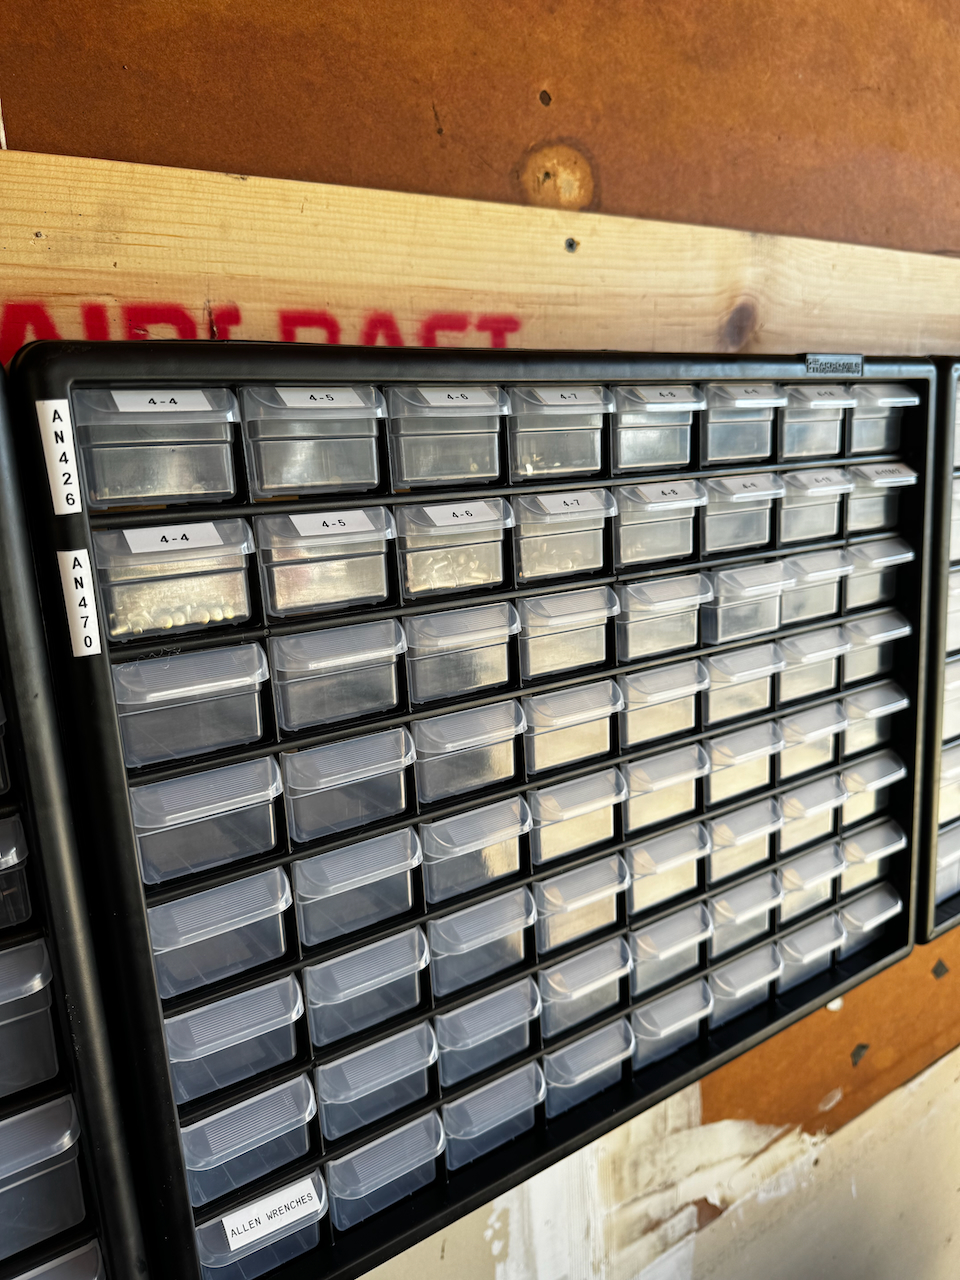
Bonus Update! - Wall O' Parts
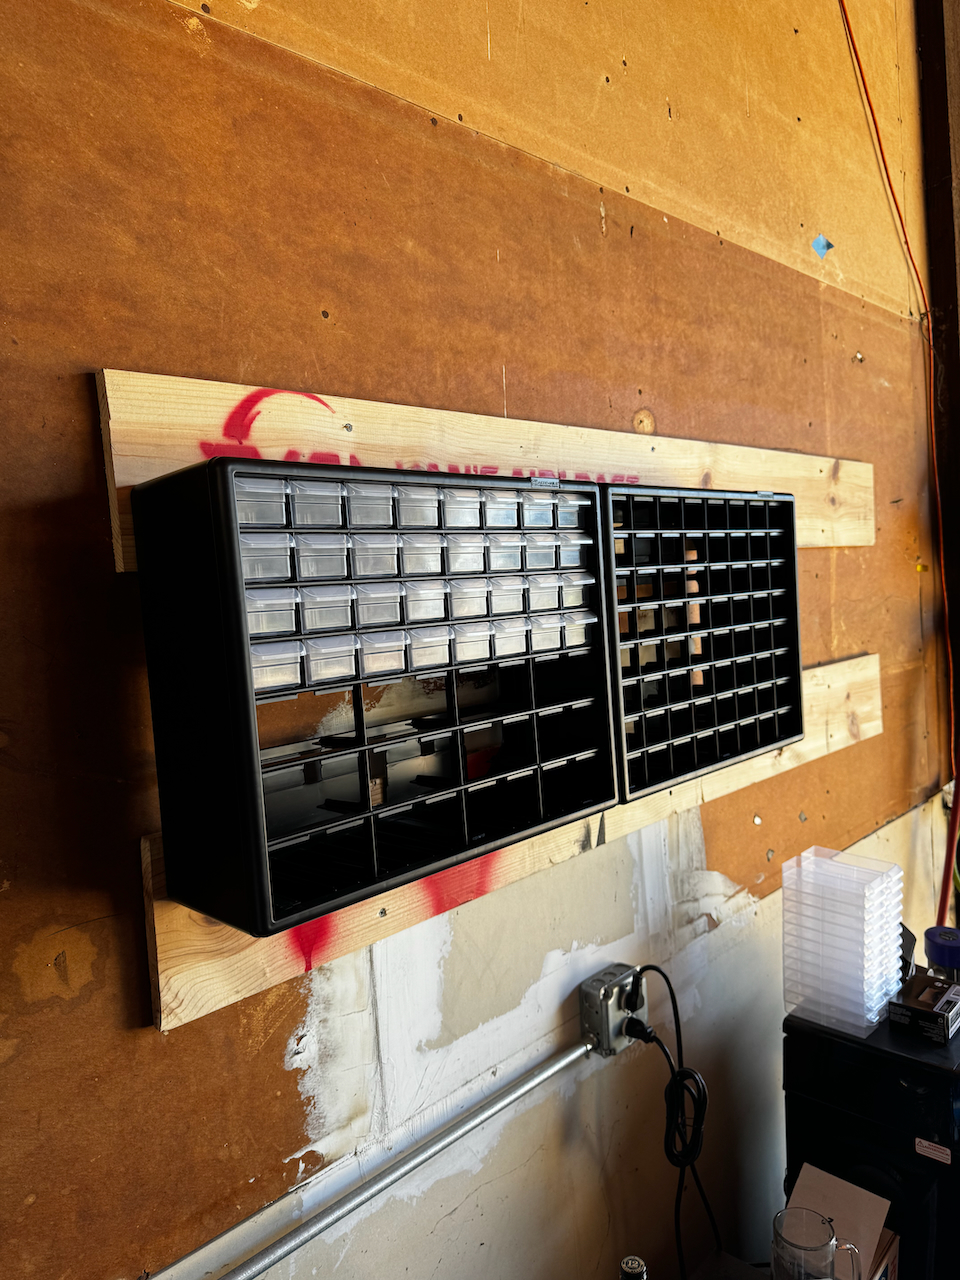
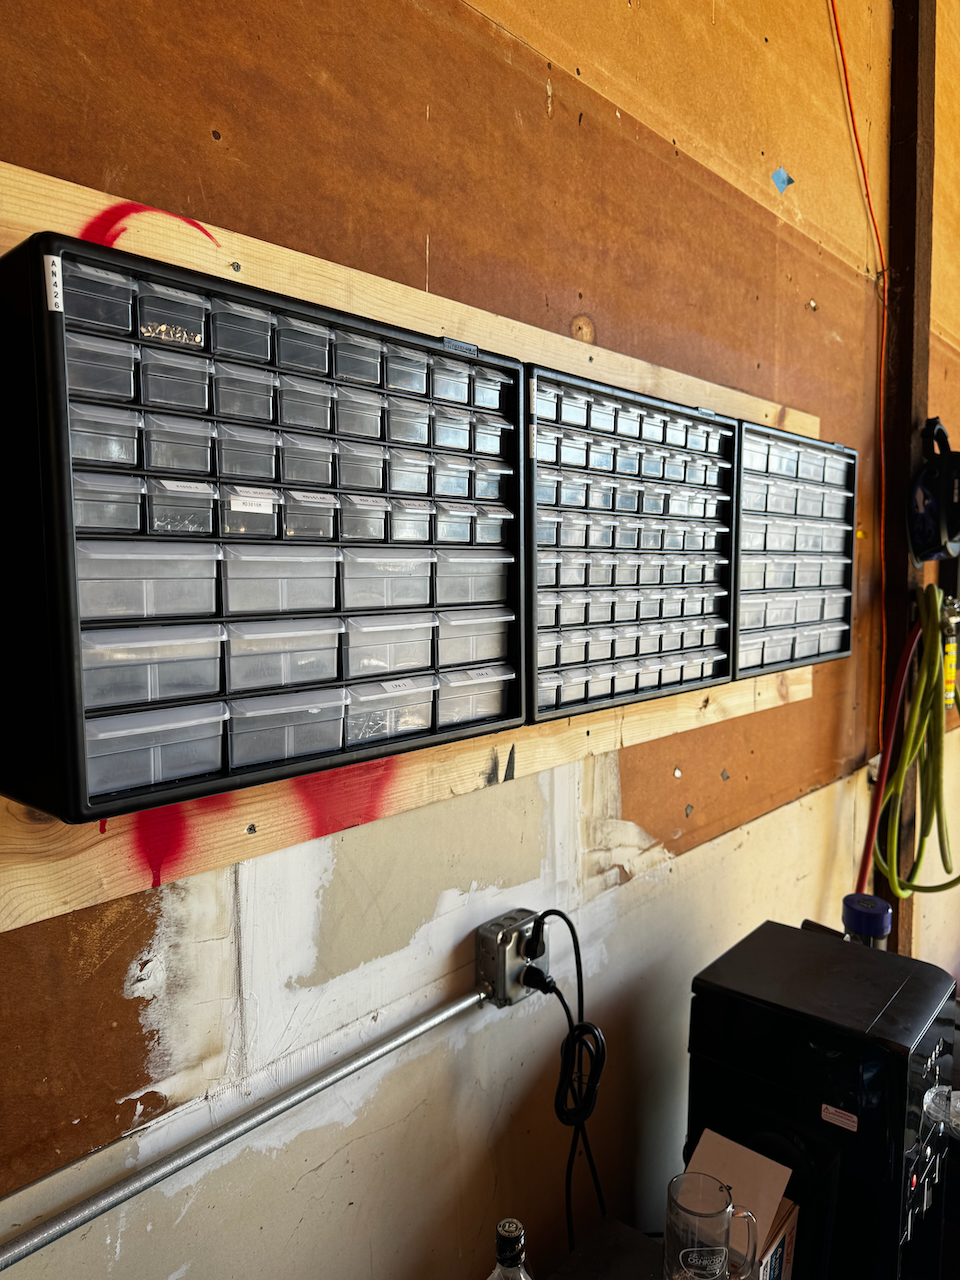
I haven’t been happy with my organization of small parts. This includes all the various rivets, but also all the misc screws, bolts, and washers I’ve been trying to keep track off. I was putting them in a combination of shared parts bins and individual containers. I decided it was time to get some of those cool wall mounted parts organizers which will make it clear where everything is as well as allow me to pull down individual trays when needed. I got the AkroMills containers from Amazon. These seem to be pretty nice, and an added benefit is that the trays stack into each other and can be re-organized as needed when new parts are introduced into the mix. Although I didn’t get all my parts organized, I was able to get the rivets binned and labeled. Looking forward to this new setup!