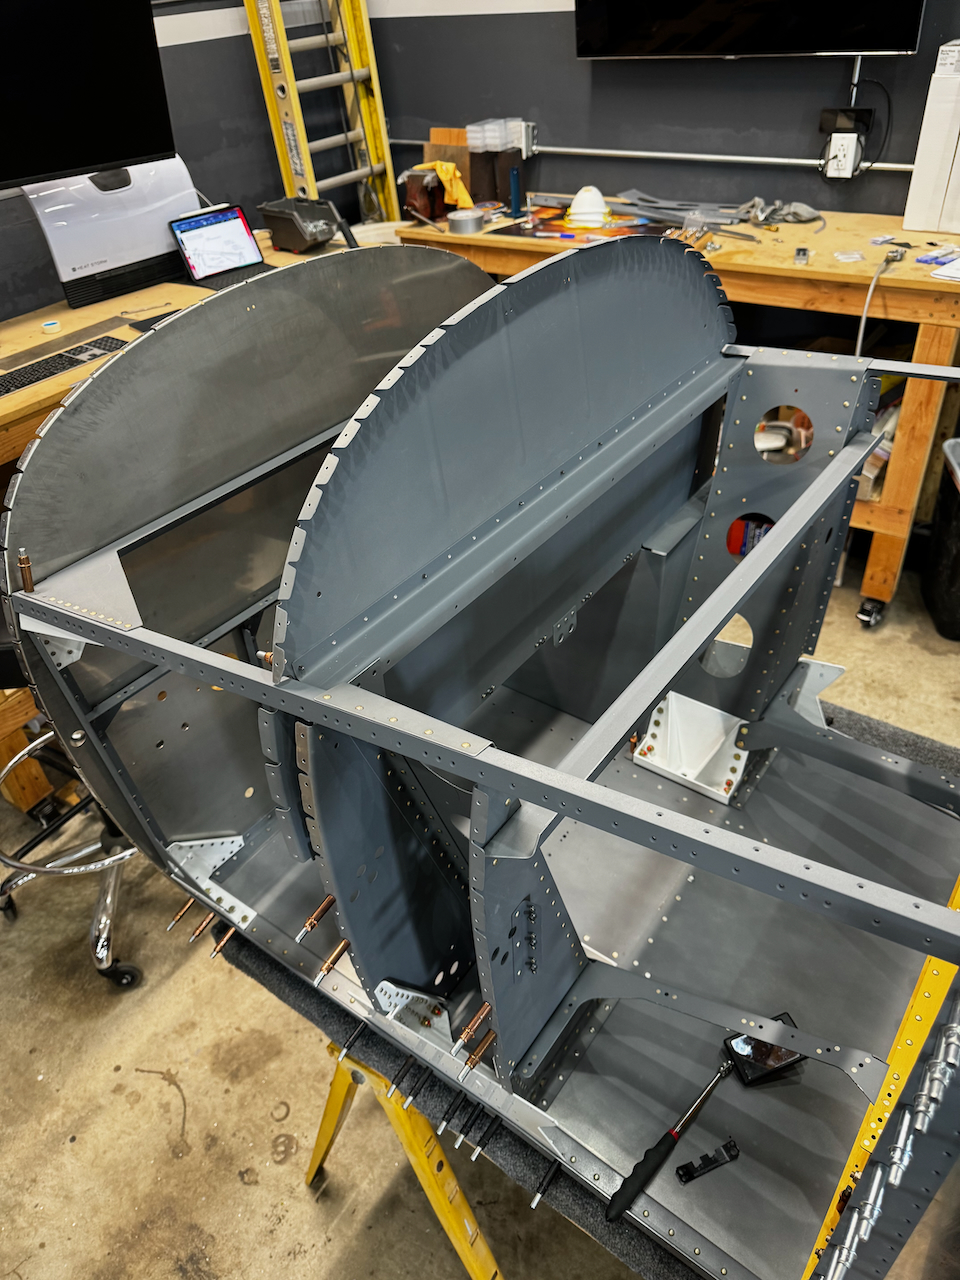
Another great week of Fuselage building. So much so that I was able to reach a major milestone today…. Flipping the Fuselage! What that really represents is the final cleco assembly of the “canoe” stage is done, and now it’s just a whole lot of riveting! Over the course of the week, Sam, Adam, and new build crew member, Brant all pitched in to dimple, nut plate, rivet, back rivet, cleco, and assemble the fuselage in preparation for skin riveting.
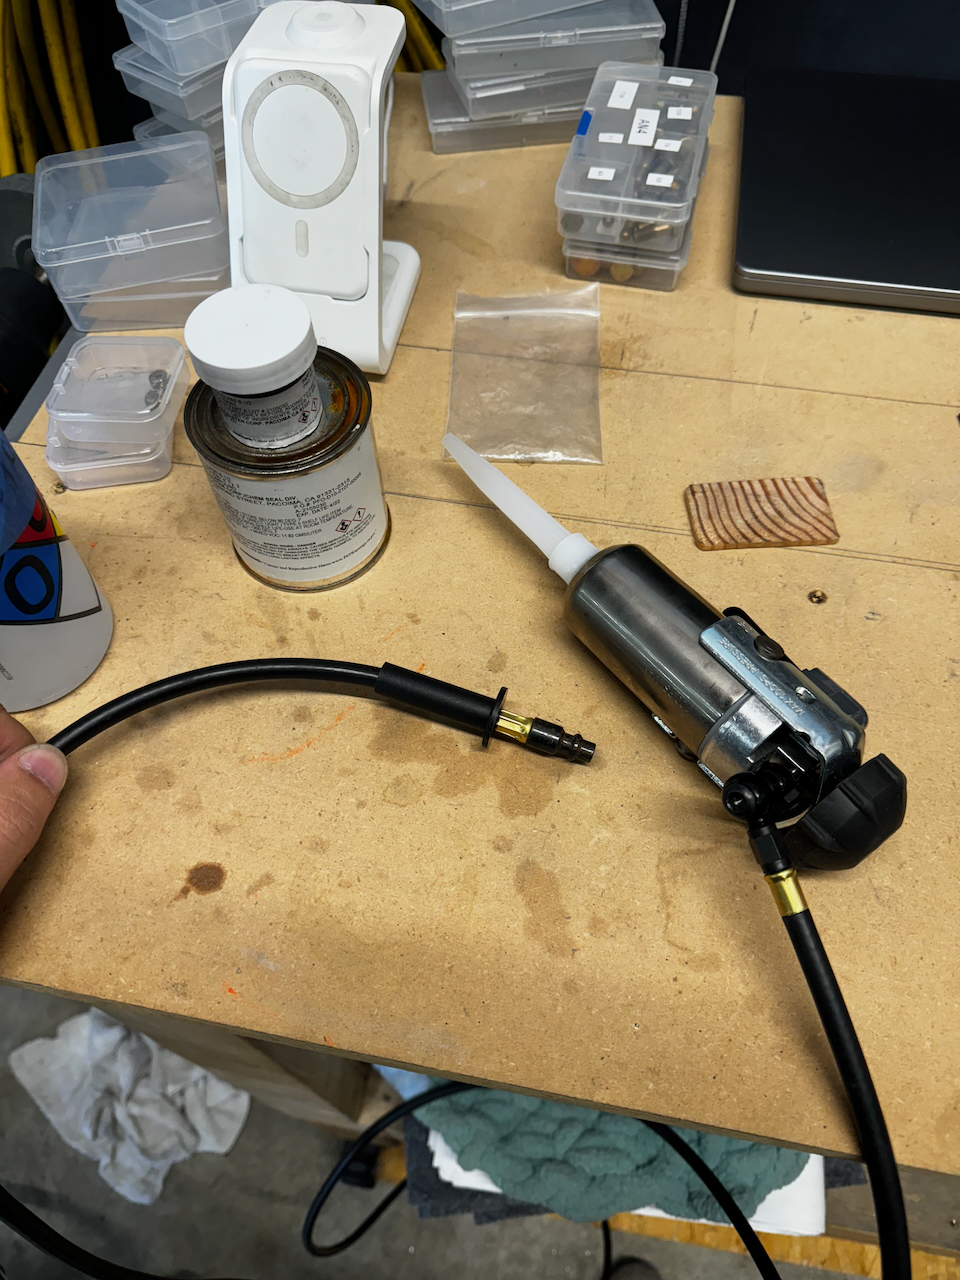
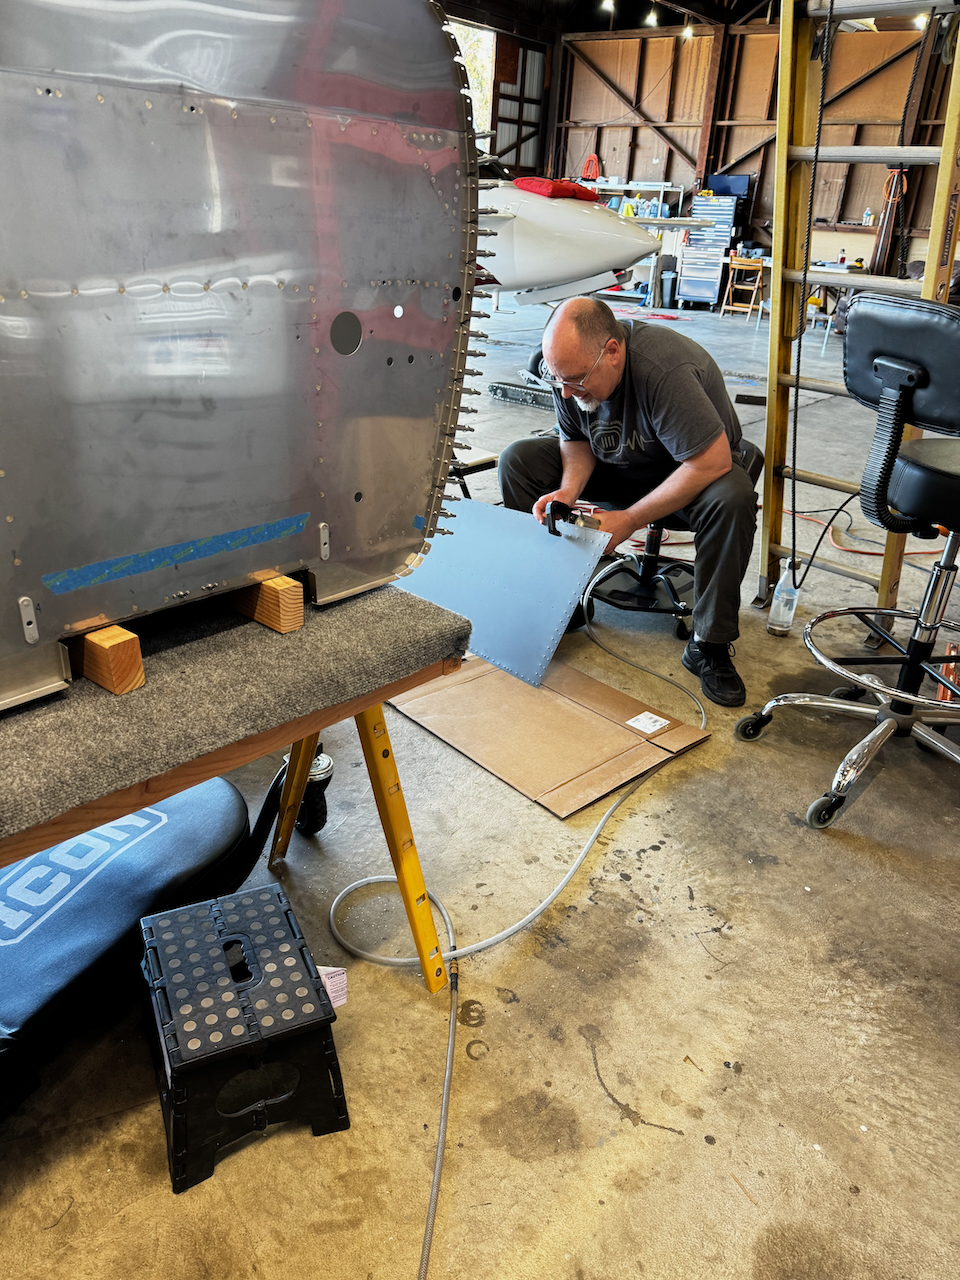
It started with a solo session where the plane was to get the forward side skin installed. In the plans there is a small note about optionally installing the fuel vent lines before proceeding (apparently access gets really hard after you close up the side skins). With some hesitancy I decided to do so, and even though it took a few hours, I’m happy with the decision now that I seem how complicated it was. I can’t imagine doing that when the LG boxes were fully closed up! With the vents done, I added the forward side skins which required breaking out the proseal since they would connect to the firewall. Whew! I forgot what a pain that stuff is to work with. Good news is with my pneumatic proseal dispenser it was relatively straight forward.
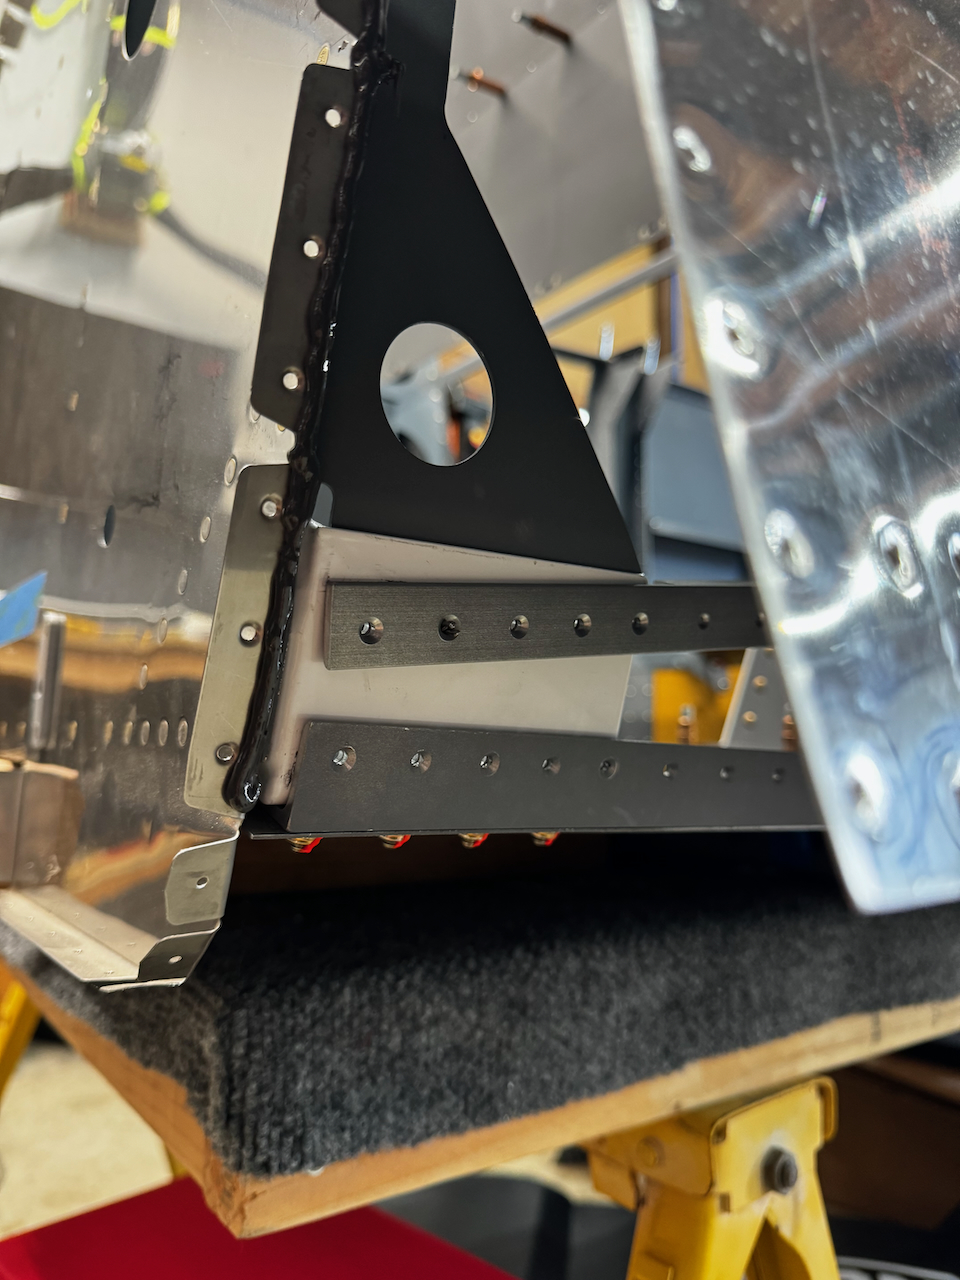
Right upper longeron on permanently.
The last three were not squeezable so waiting until Sam is around.
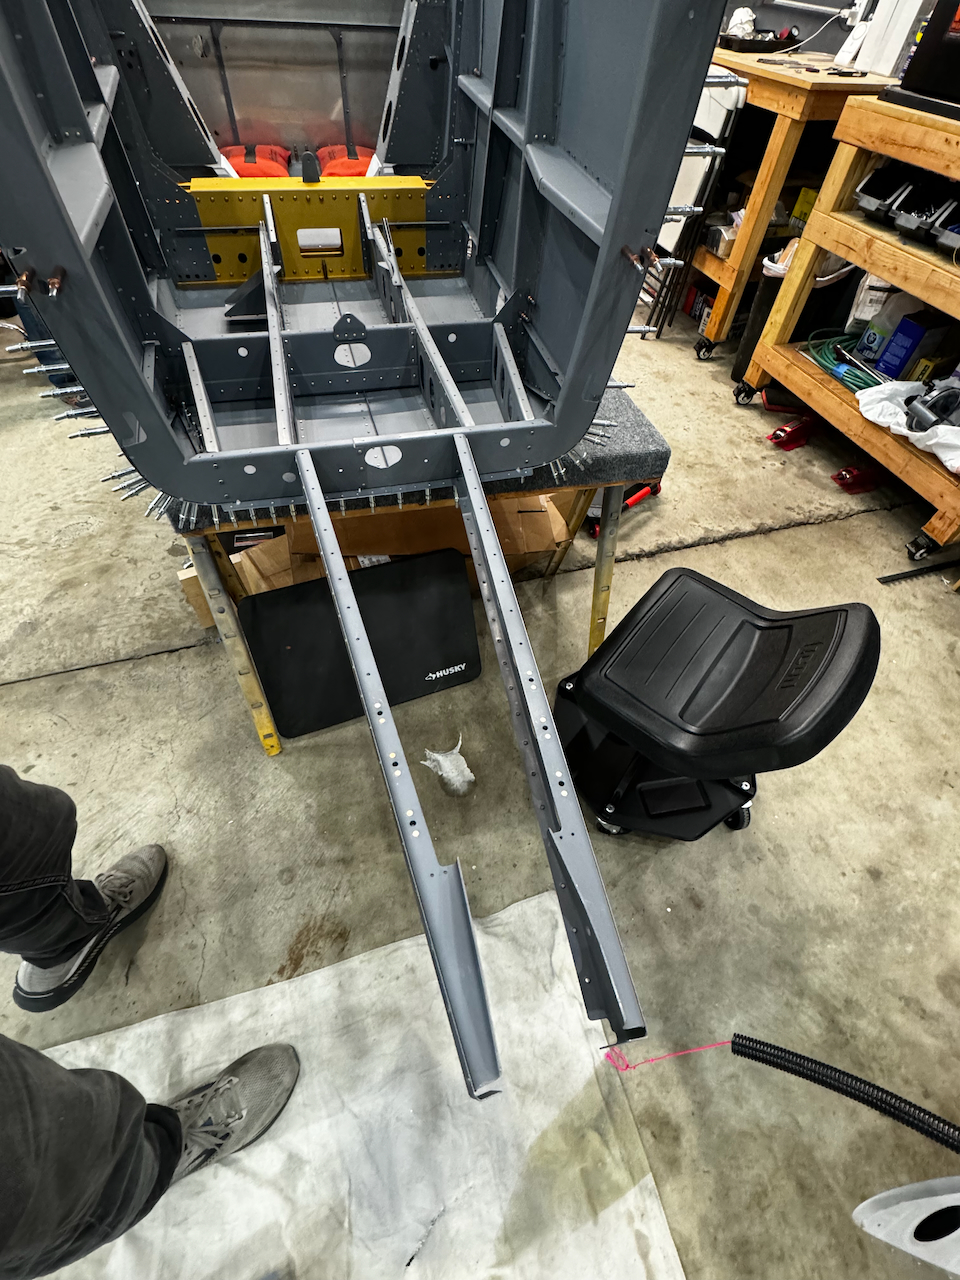
Longeron’s looking great!
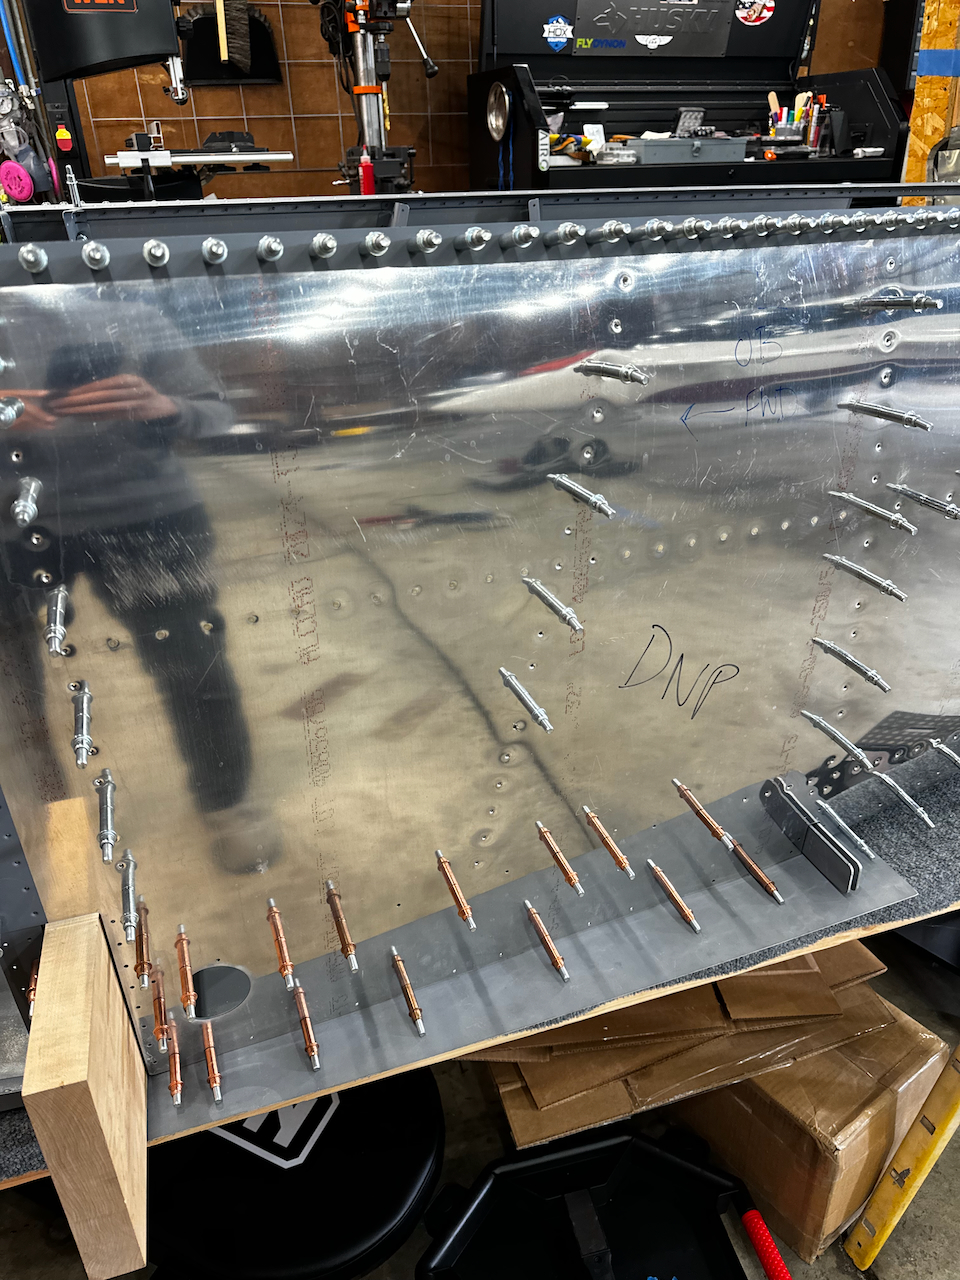
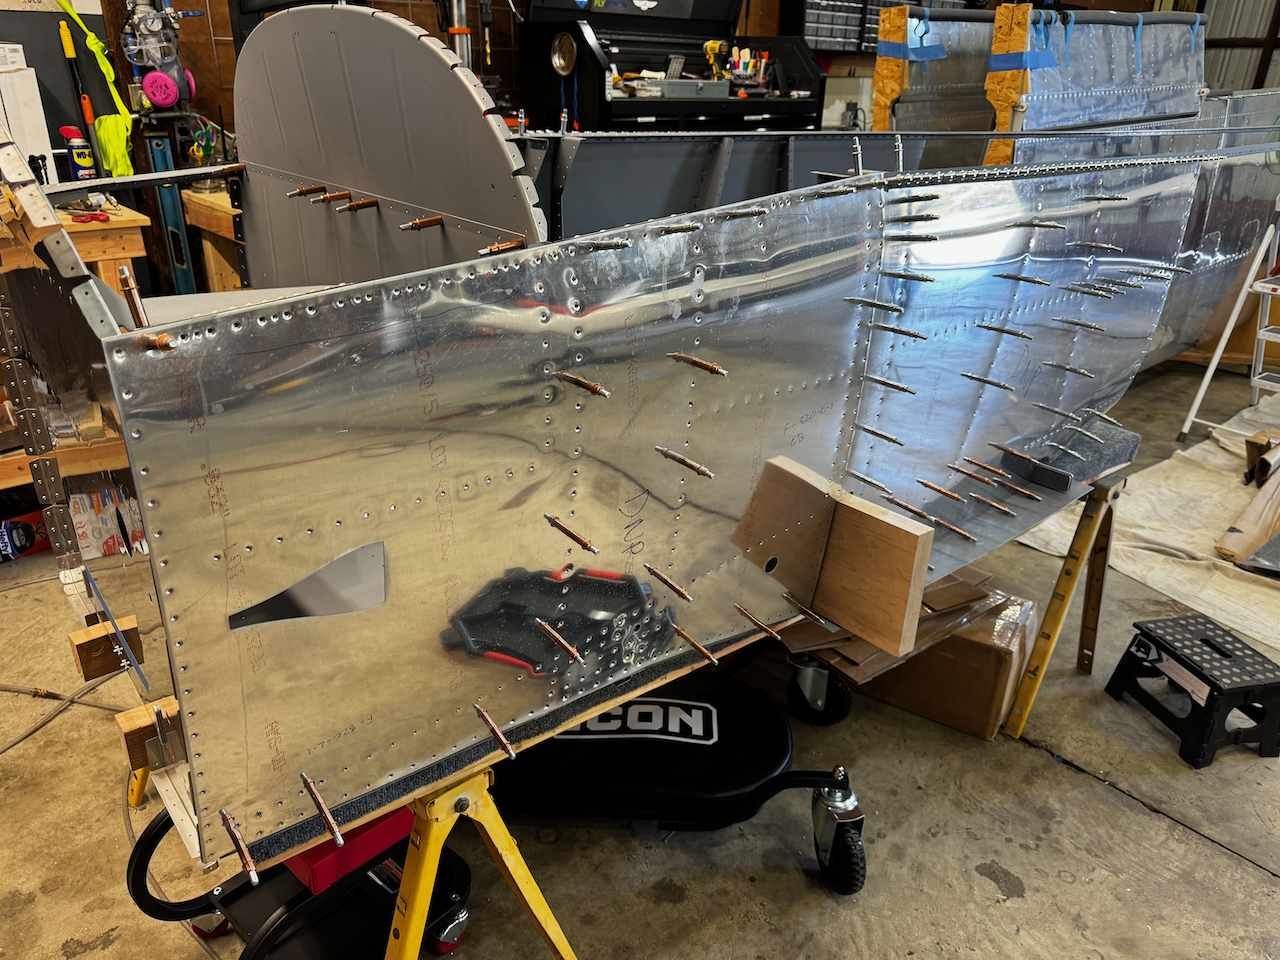
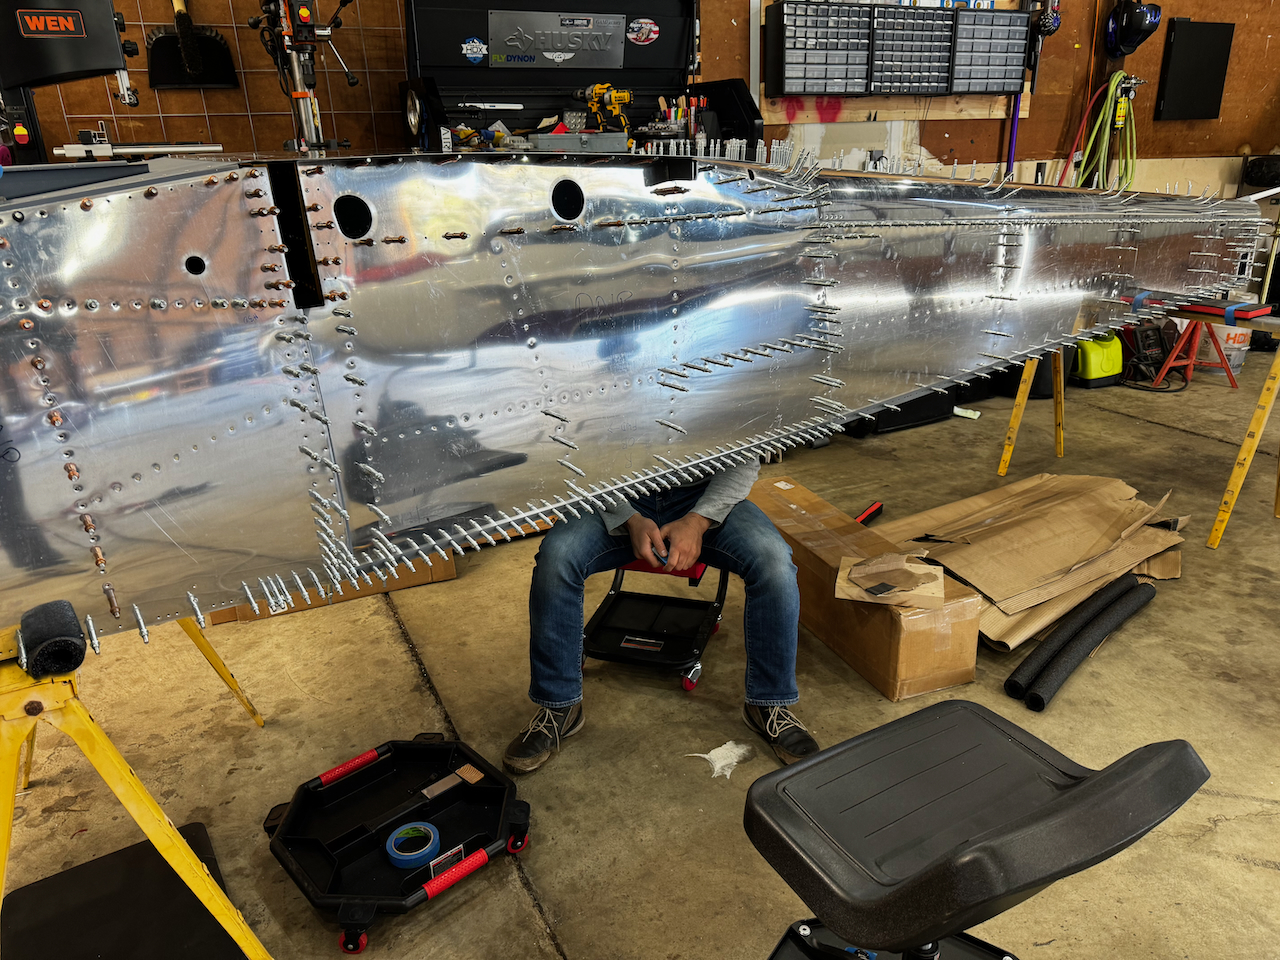
time to start putting side skins on
mid side skin on!
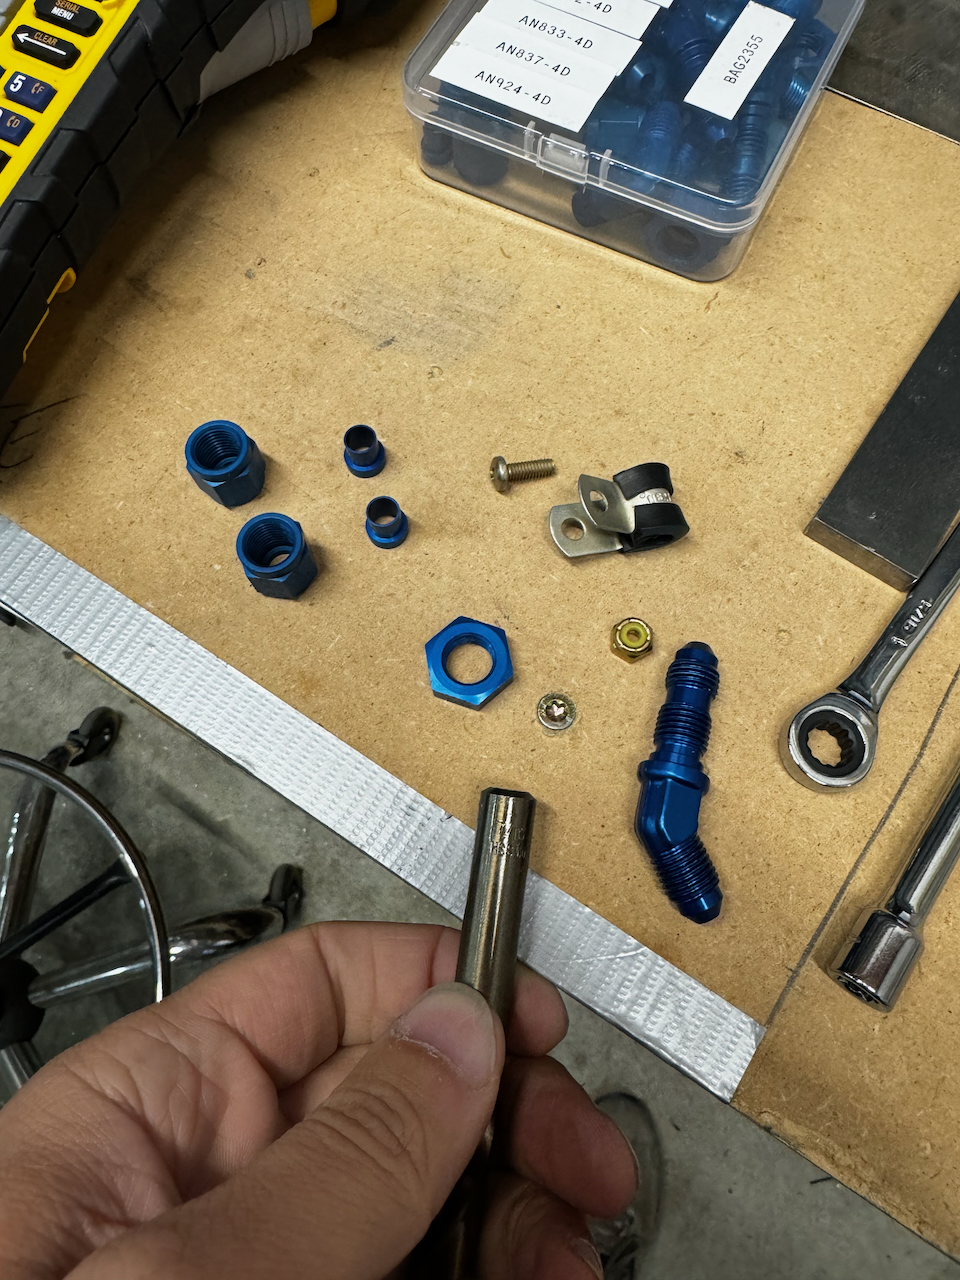
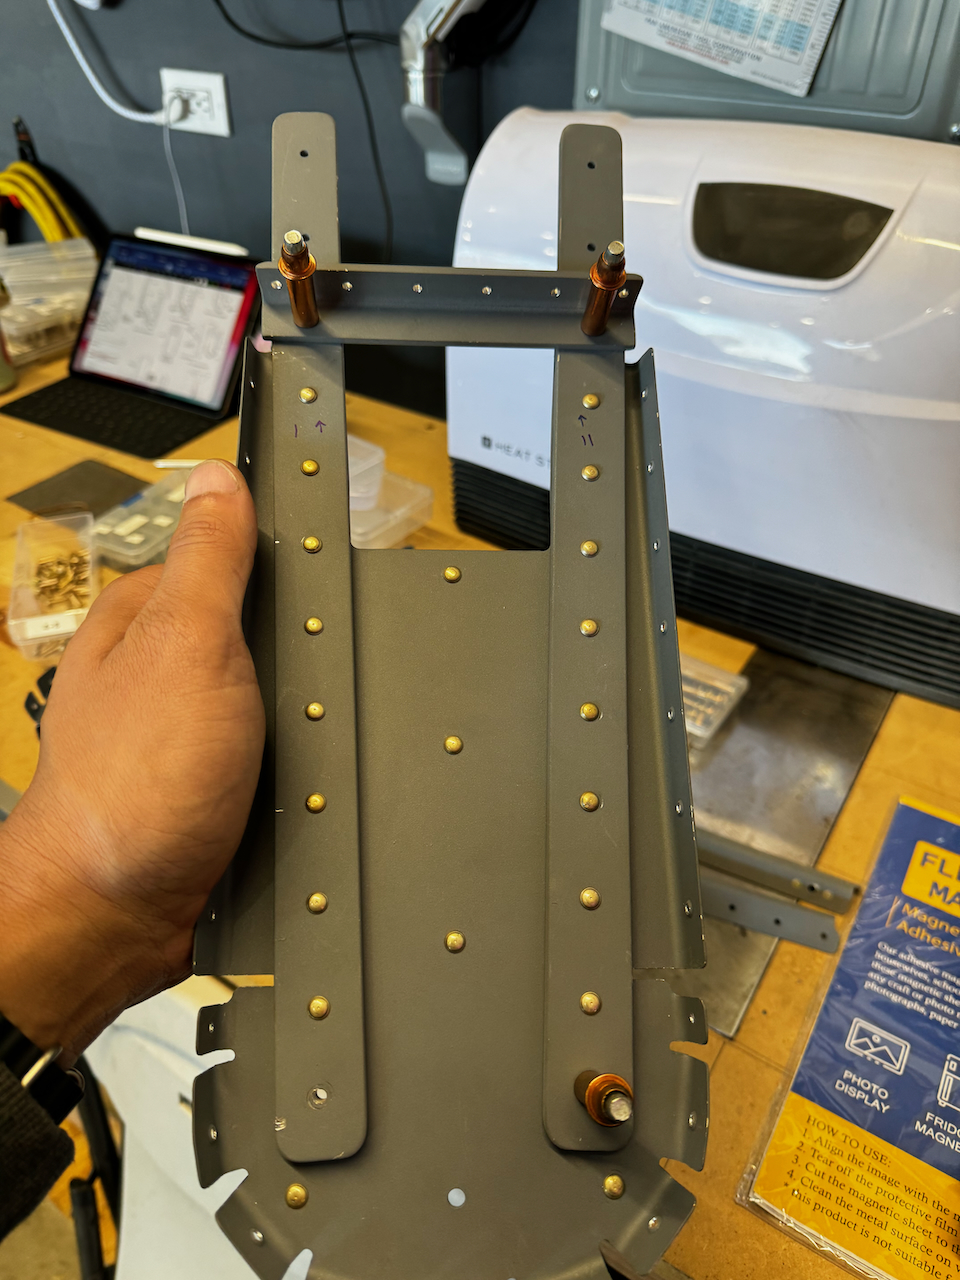
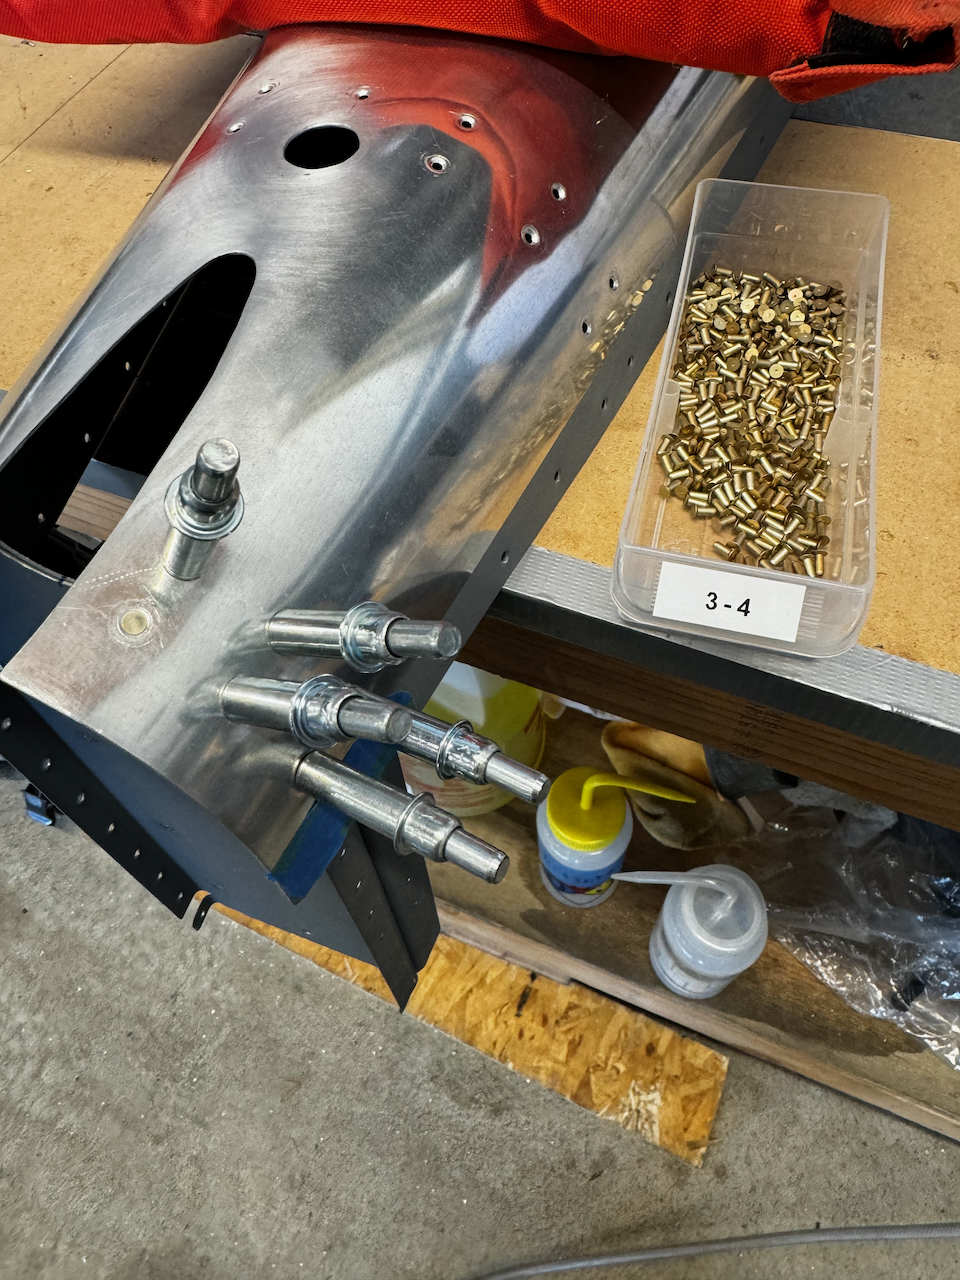
All the parts for the fuel vent assembly
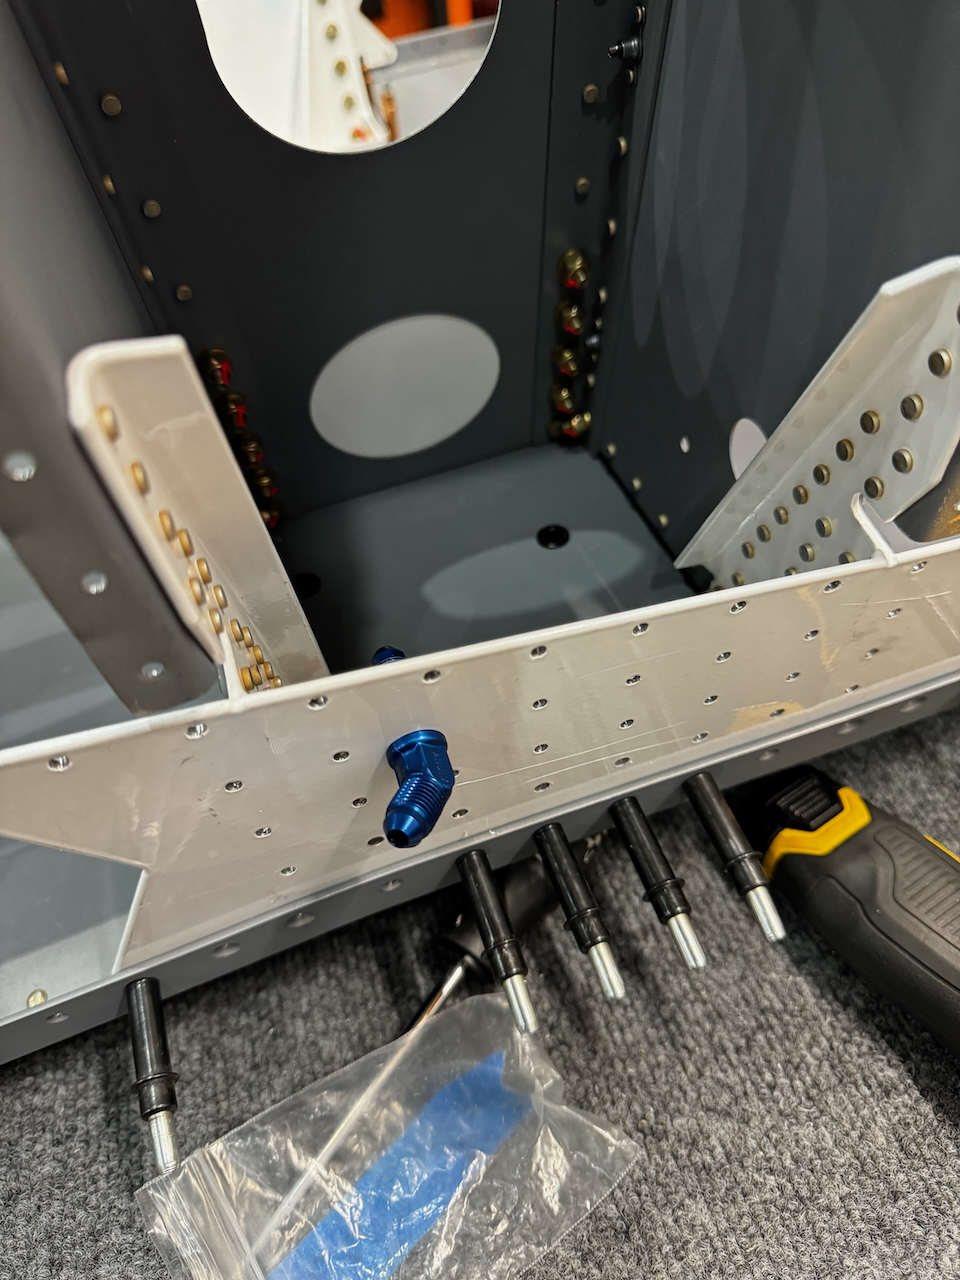
test fitting the vent passthrough
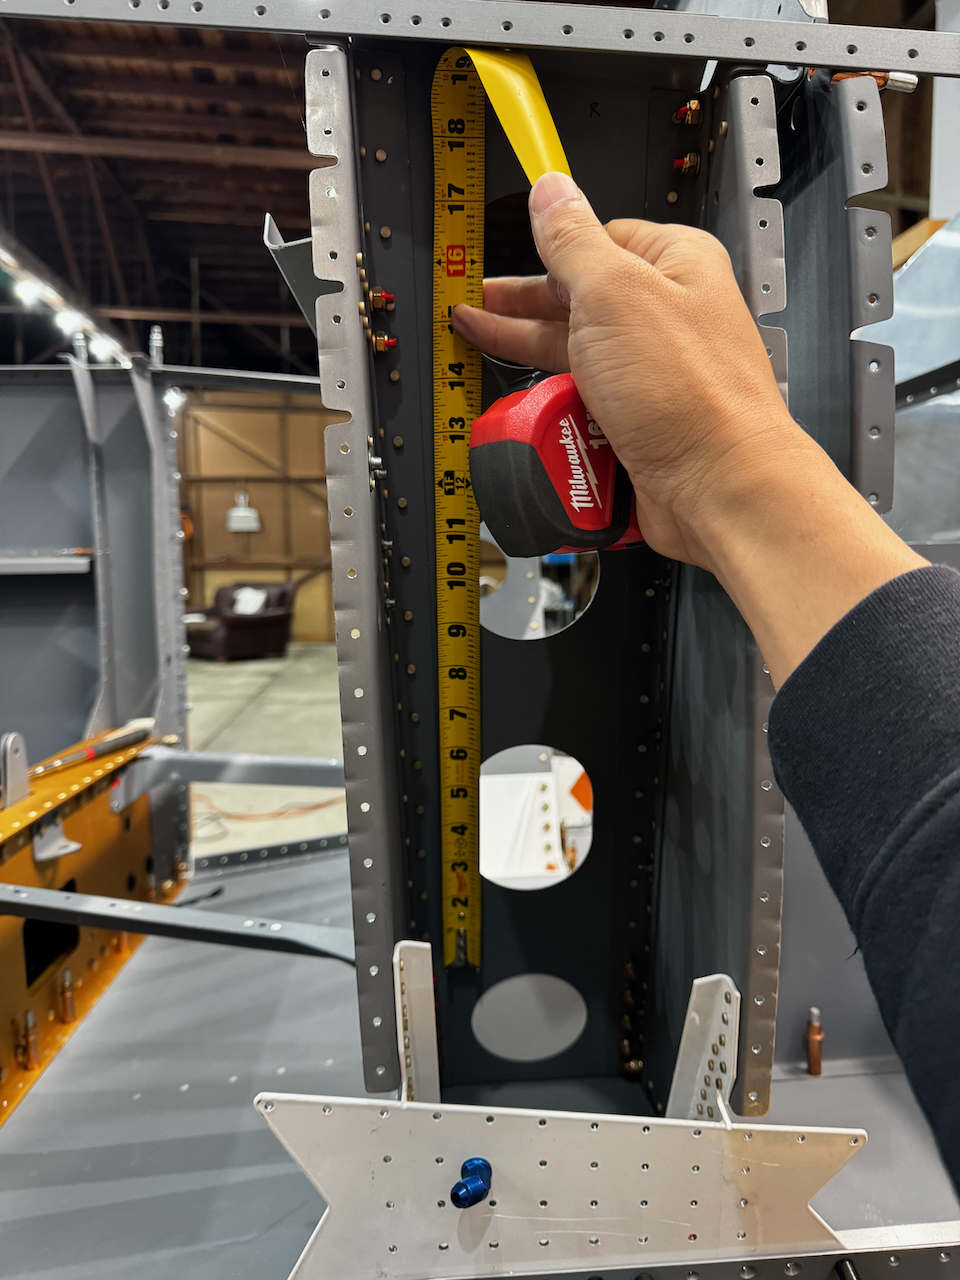
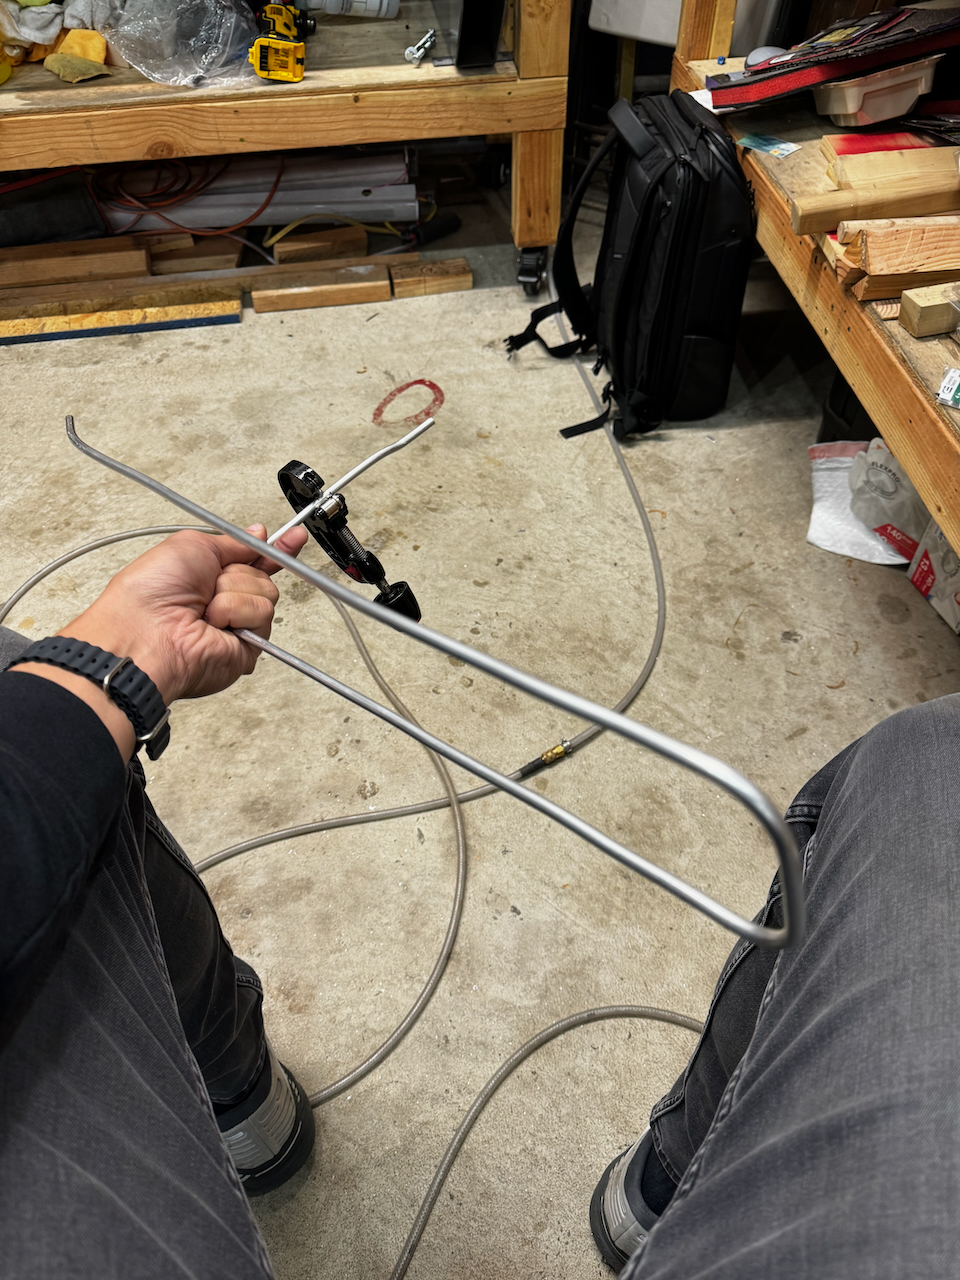
measuring for length of tubing (about 49″)
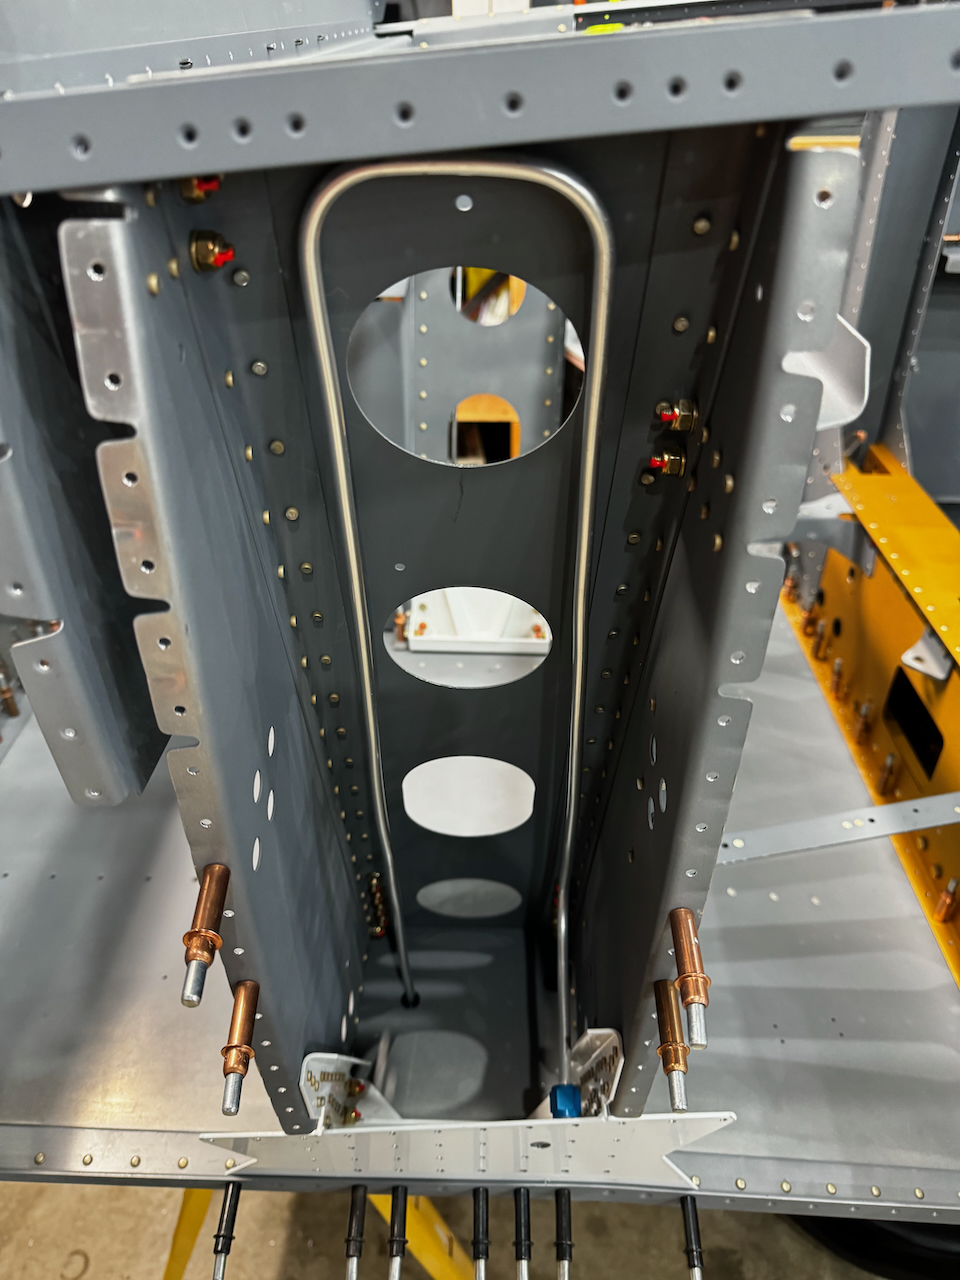
ready for fitting!
fits great!
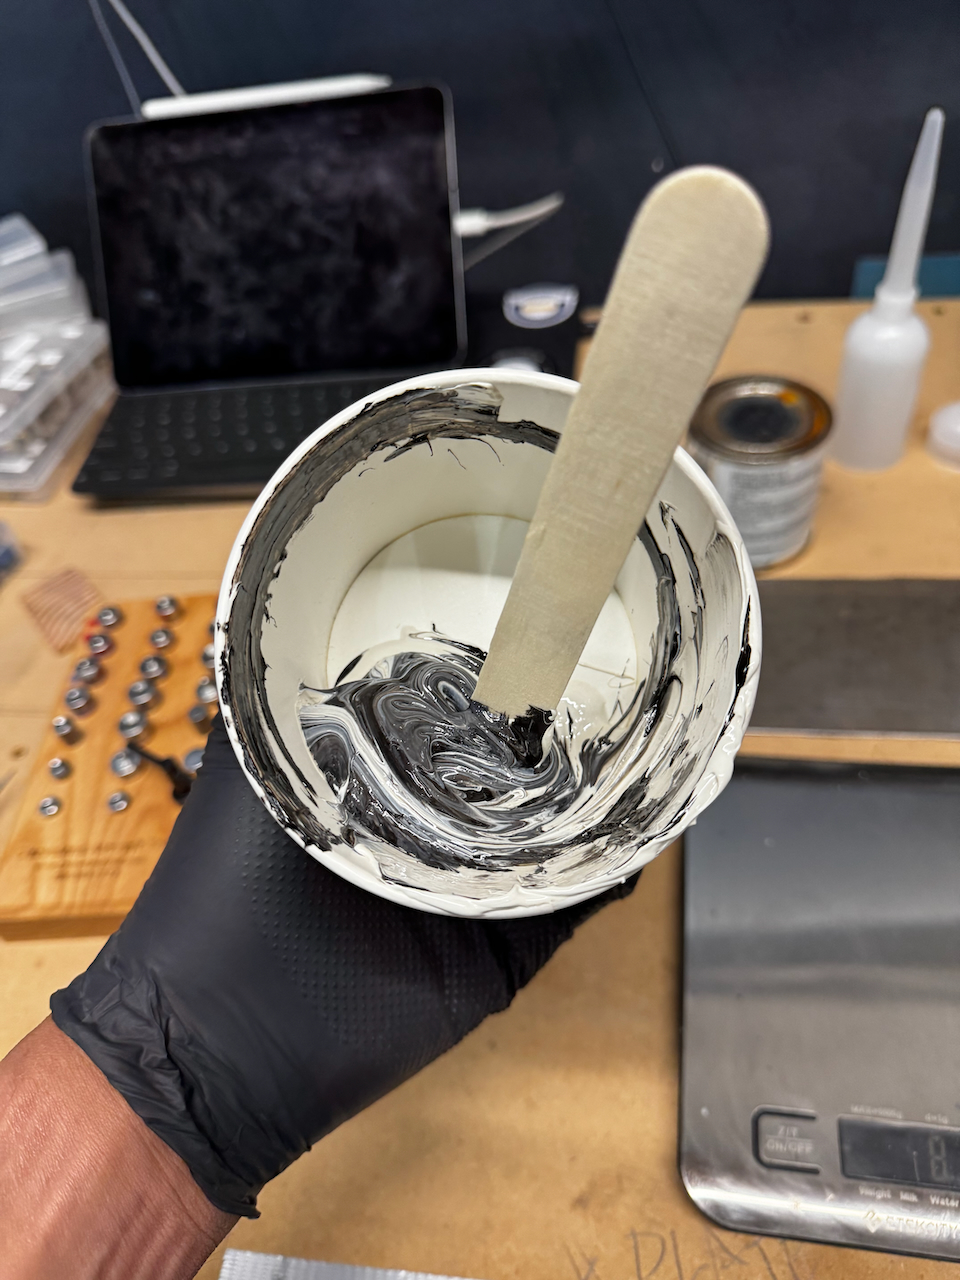
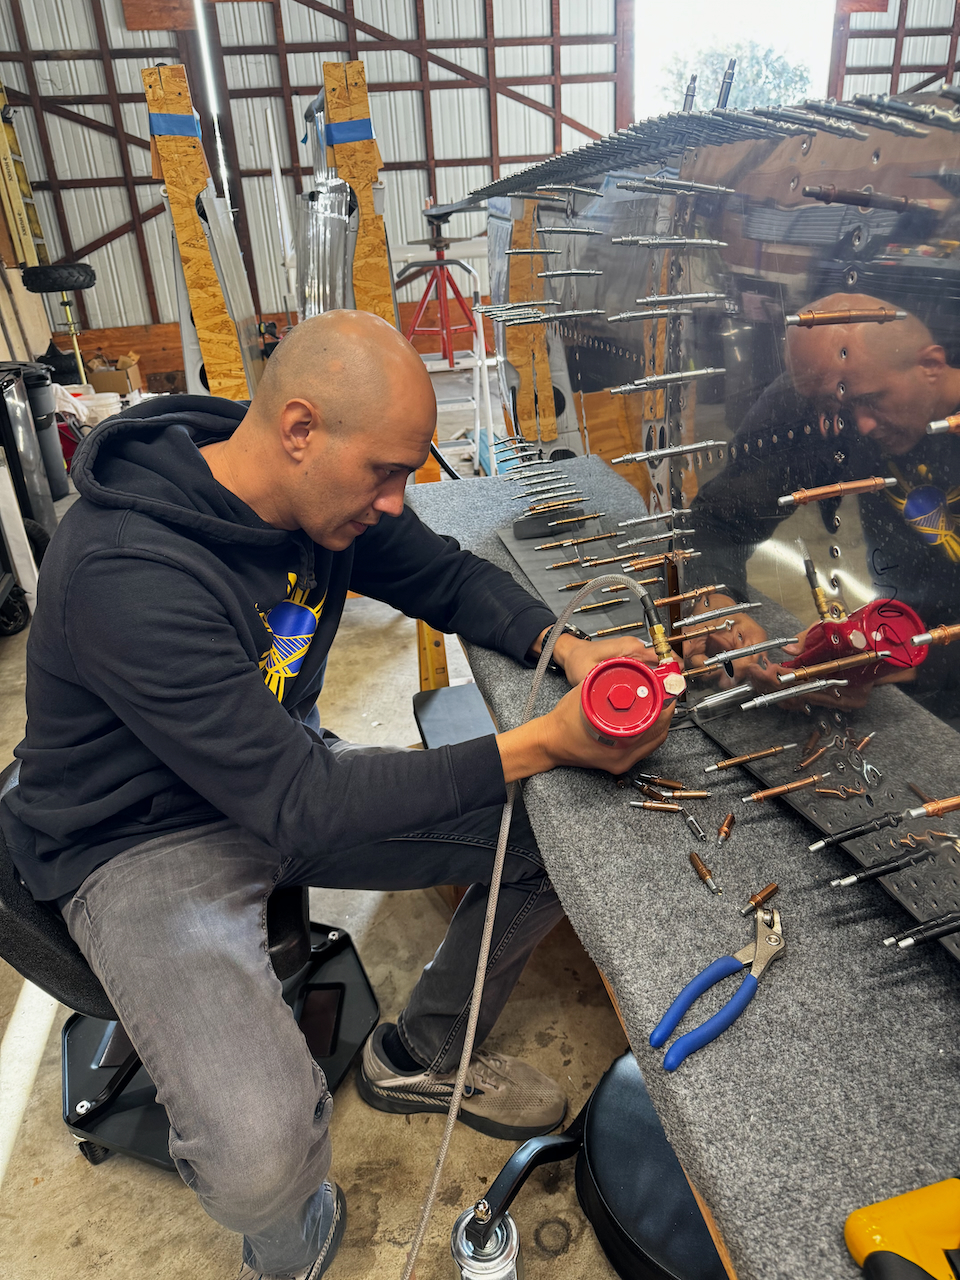
Proseal time!
using the dispenser makes it easy….
…to lay a perfect bead
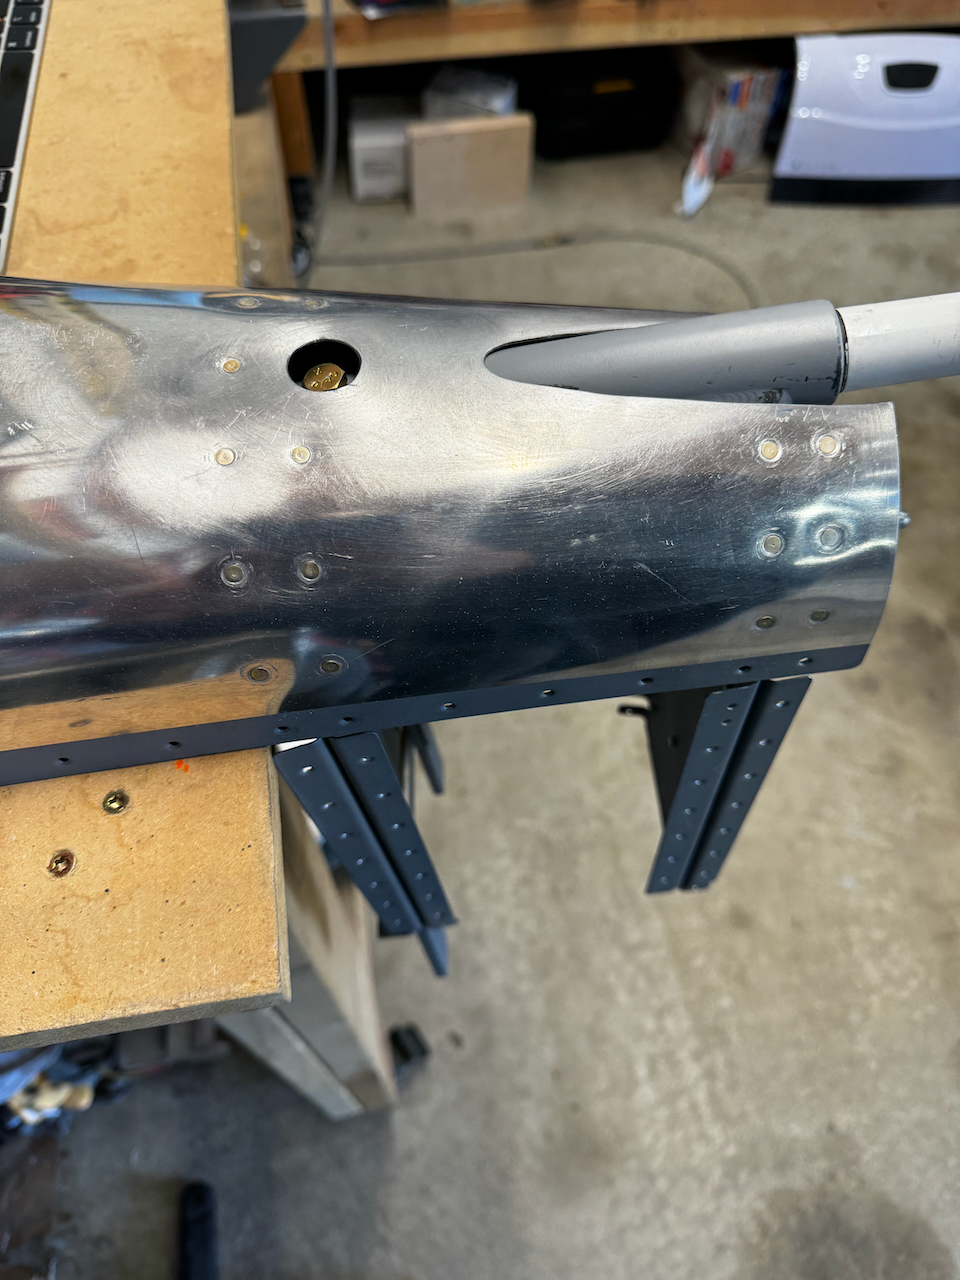
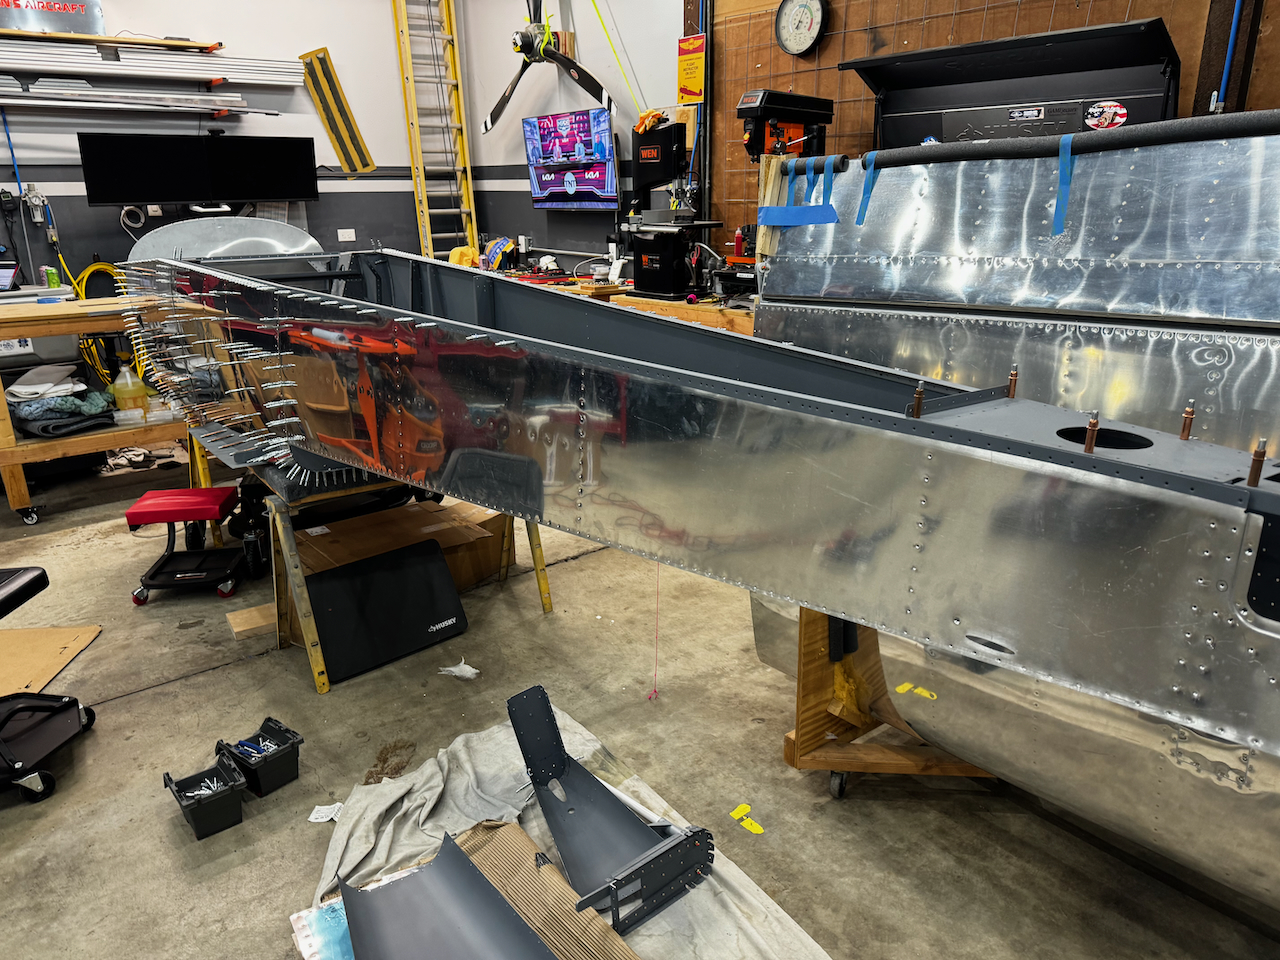
and front side skins are on!
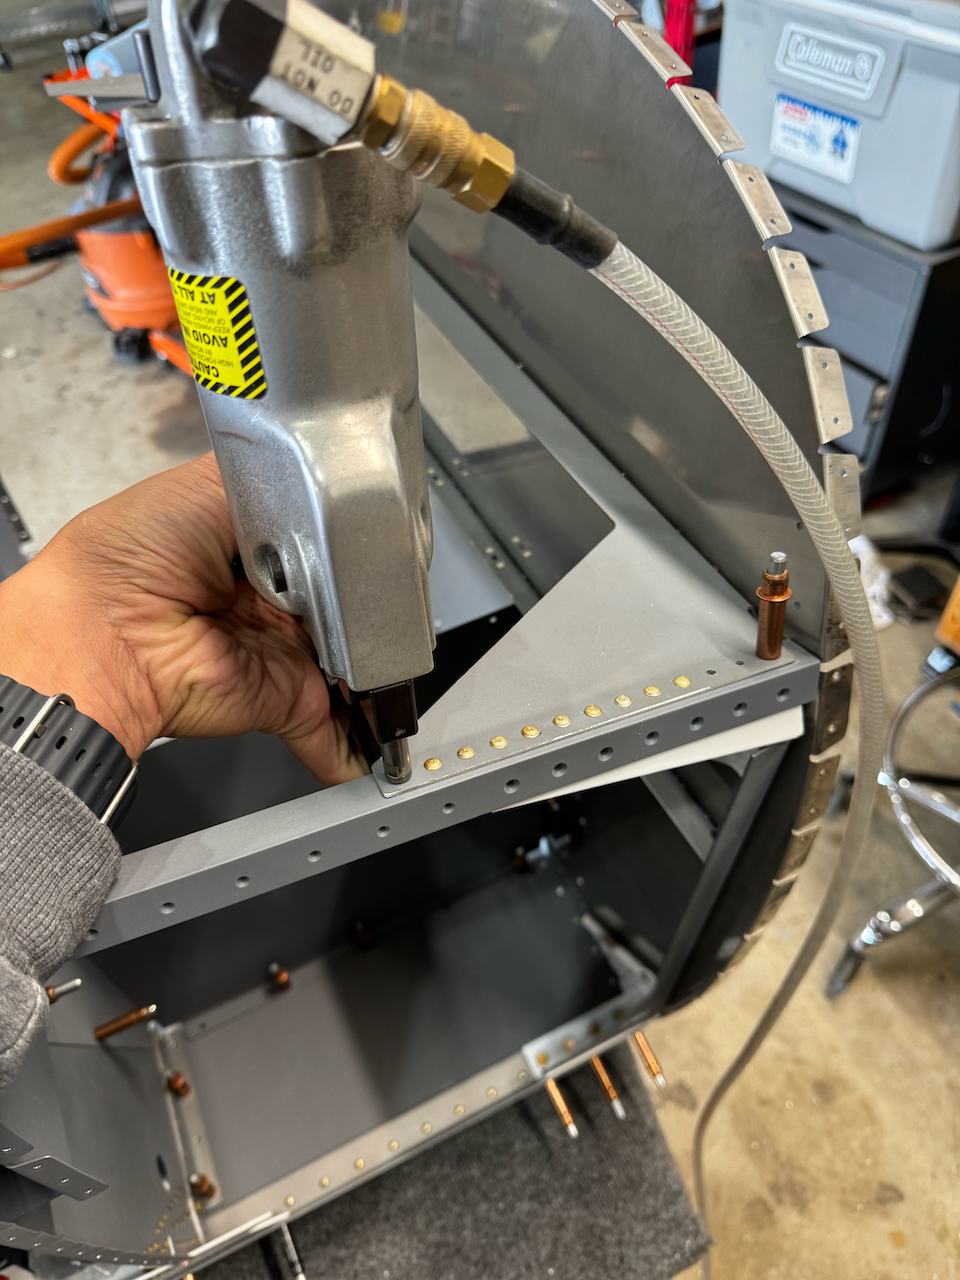
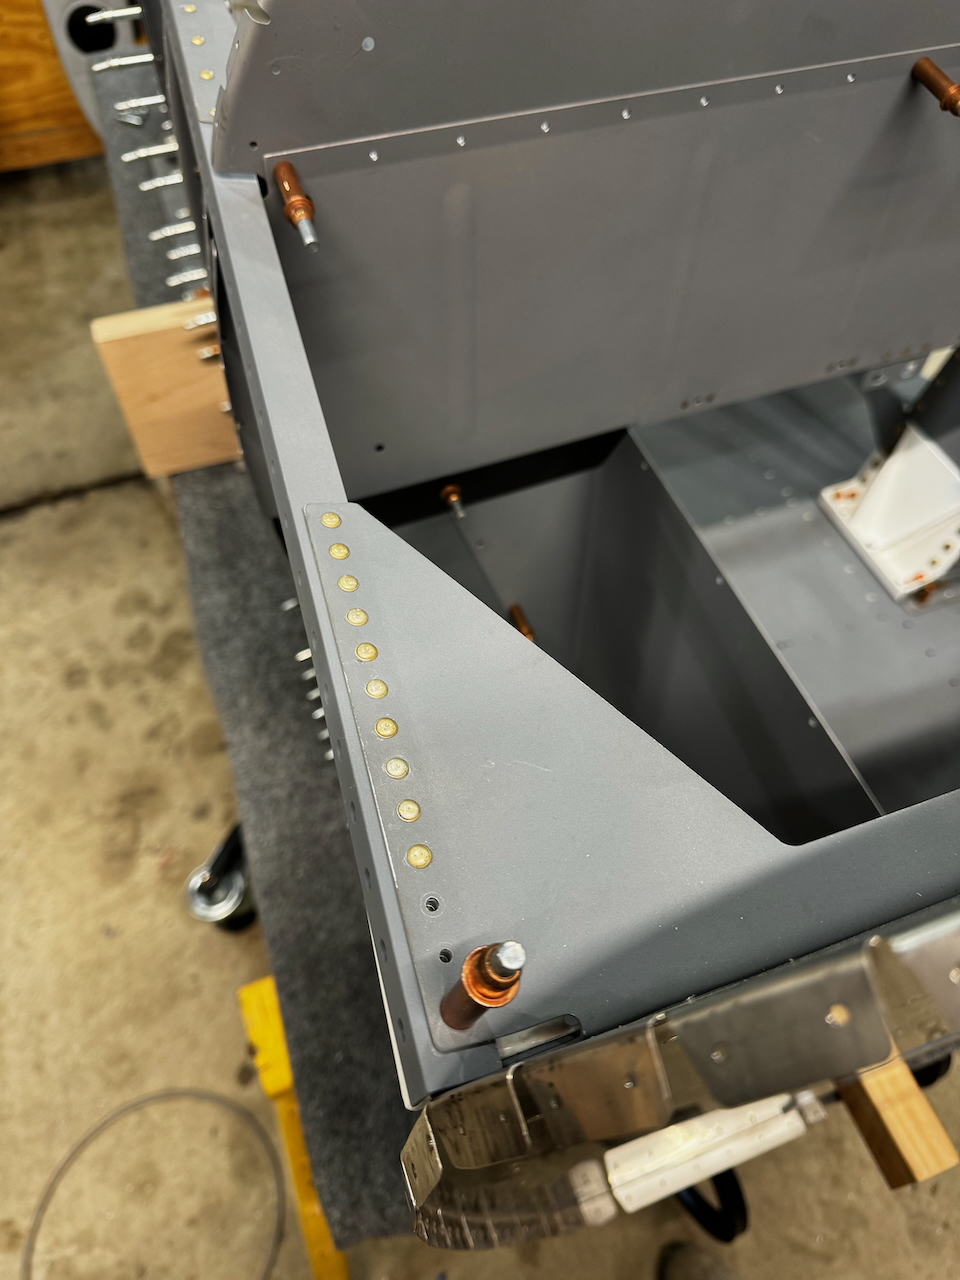
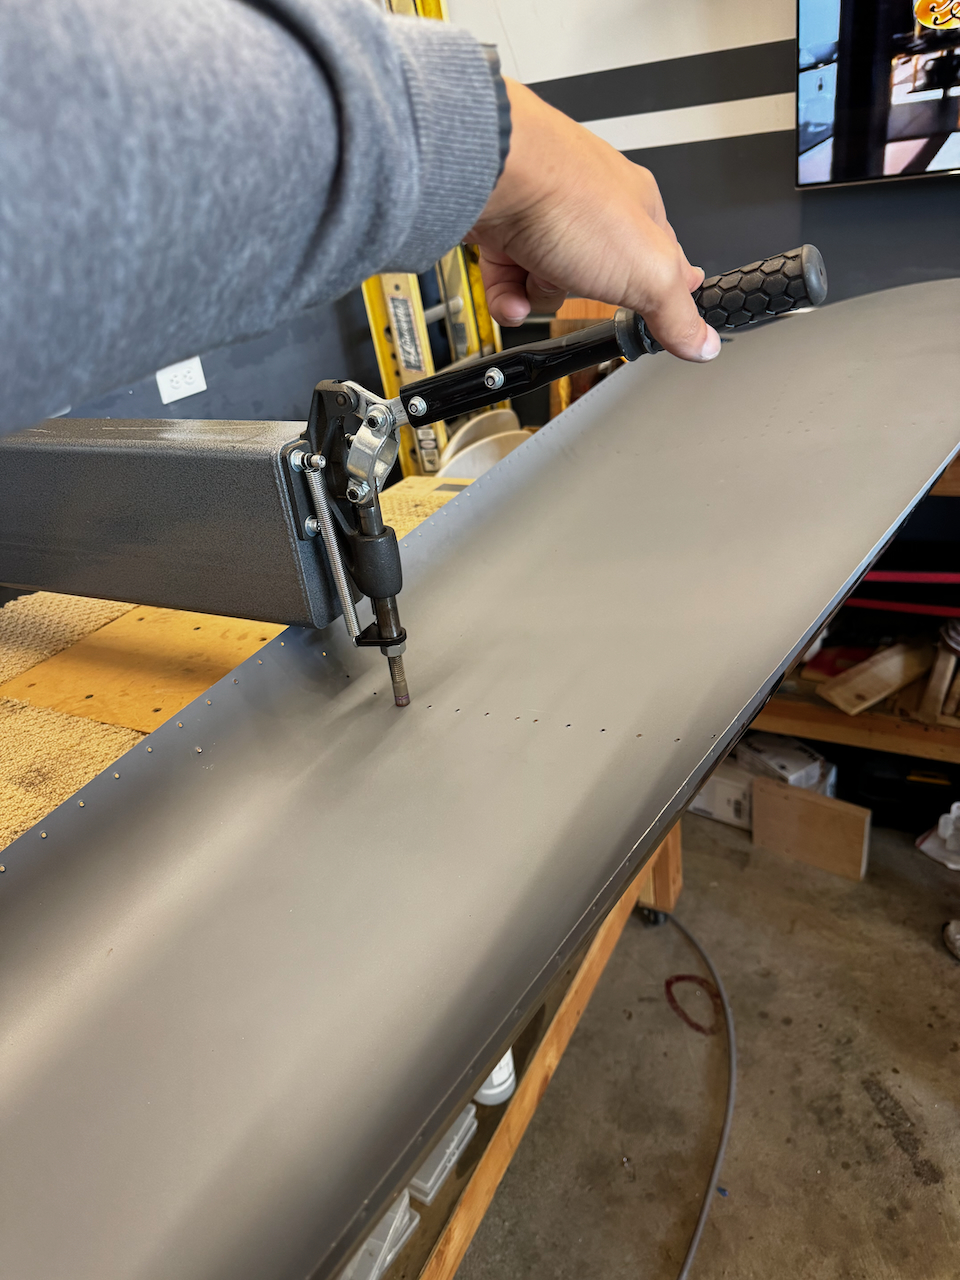
On Friday night, Sam came over for a long session getting the Seat Baggage ribs and a few other miscellaneous items checked off. We ran into a bit of trouble riveting the MS-42 rivets on. A couple times the pull shaft broke off above the rivet head causing a bit of nuisance to drill them out. Besides that things went smooth.
Getting the MSP-42 rivets installed.
Sam cranking away on the baggage rib assembly
F807 Bulkhead in place
baggage ribs riveted on.
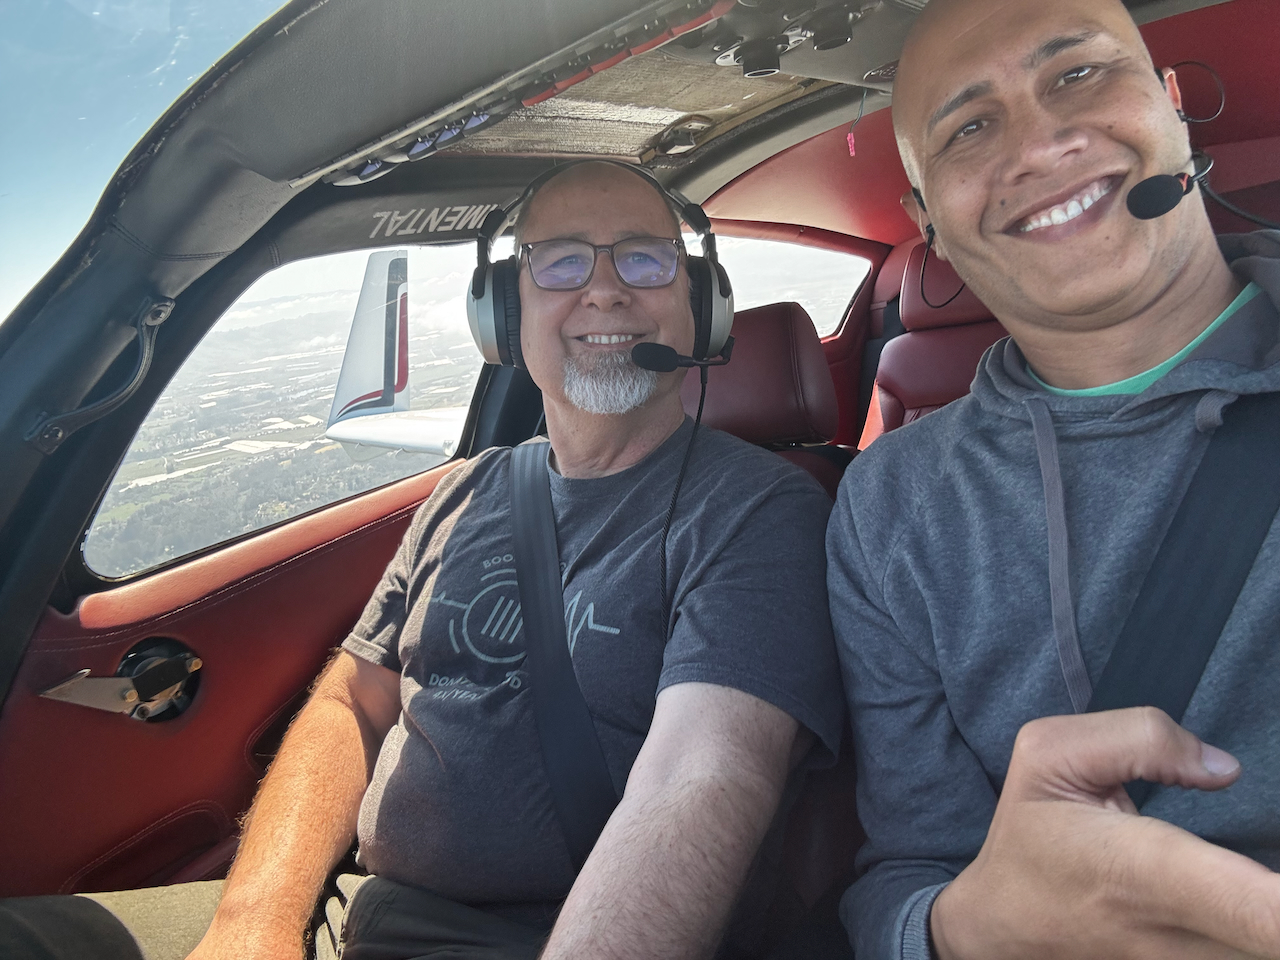
After a nice trip to Paharo Dunes in Watsonville, Brant (a newly retired, and freshly minted build crew member) and I flew back to continue work on the fuselage. With the two of us we were able to get quite a bit done. I focused on the tailcone assembly while Brant spent the afternoon dimpling skins. Later in the day Adam came and we knocked out more dimpling before working on back riveting the mid longeron. By the way… make sure you get the longerons on the correct skin. It turns out they are symetrical and can be installed upside down. (Ask me how I know!)
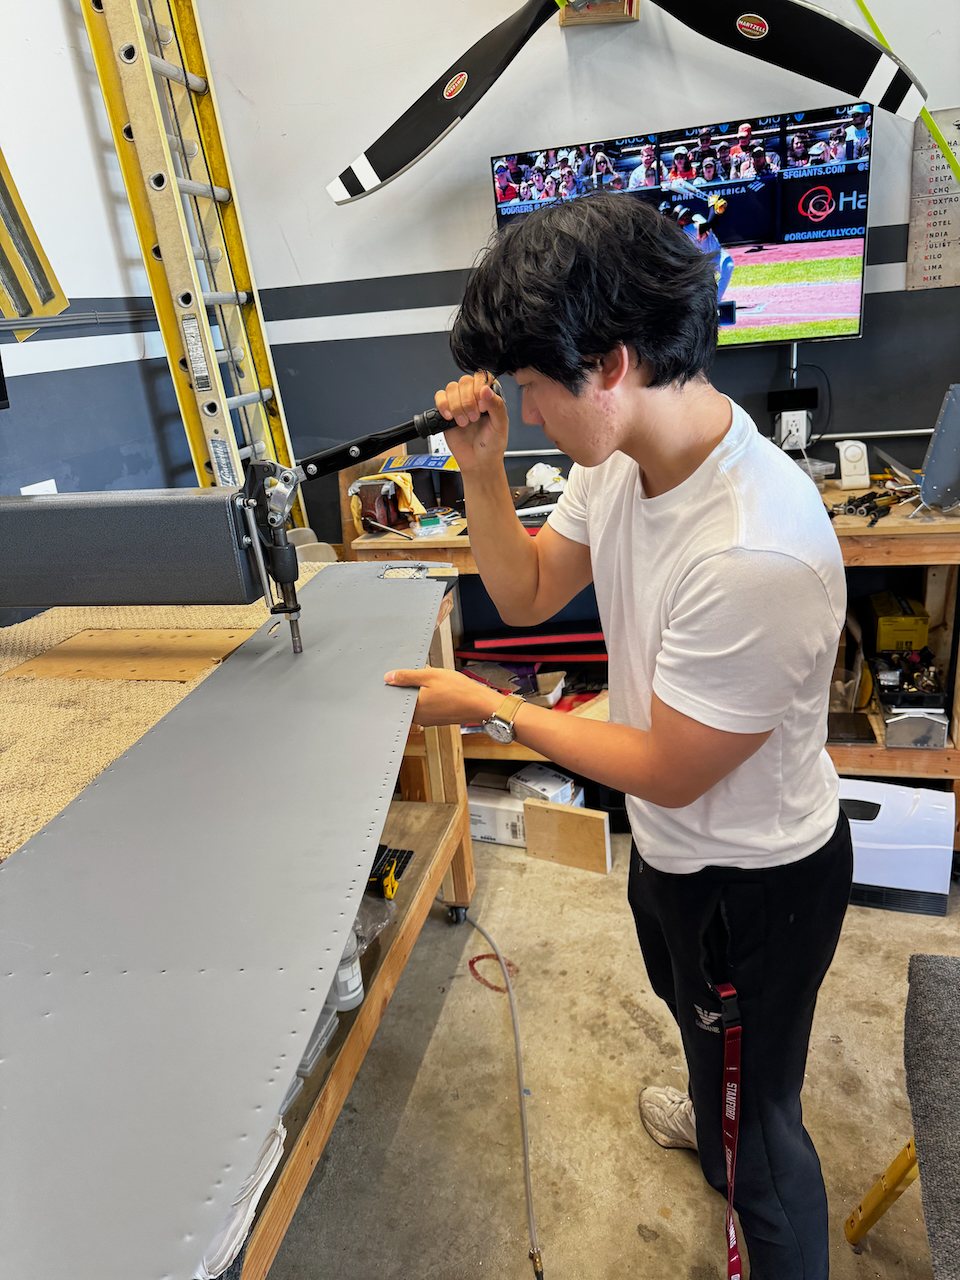
Brant and I getting back to the hangar for some dimpling!
And there he goes. 1 down… 100s to go!
F811 Bulkhead assembly
Riveting the tailcone
complete!
Thanks for the help Brant!
Adam came in for second shift.
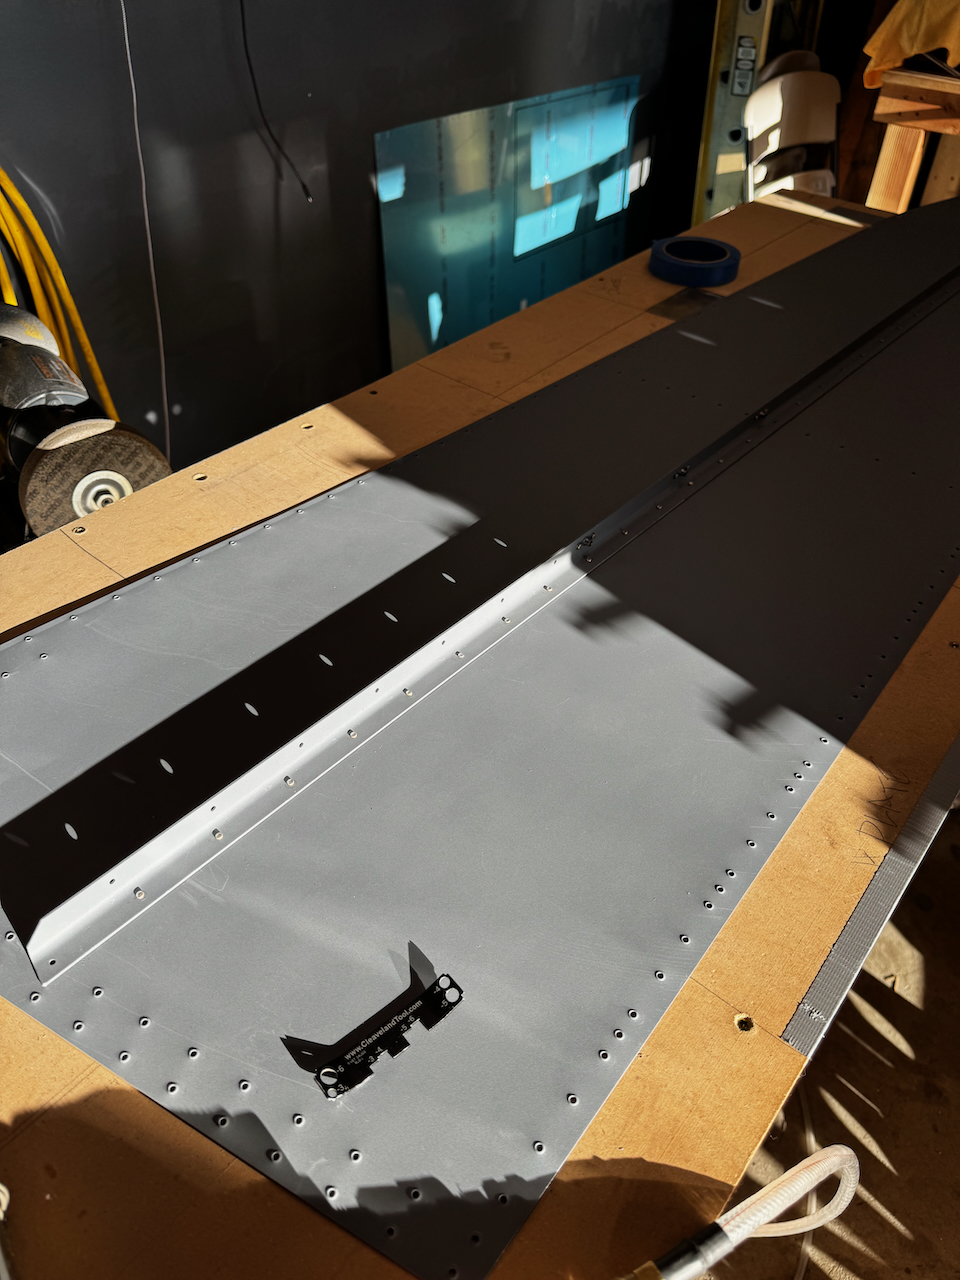
dimpling the aft bottom skin.
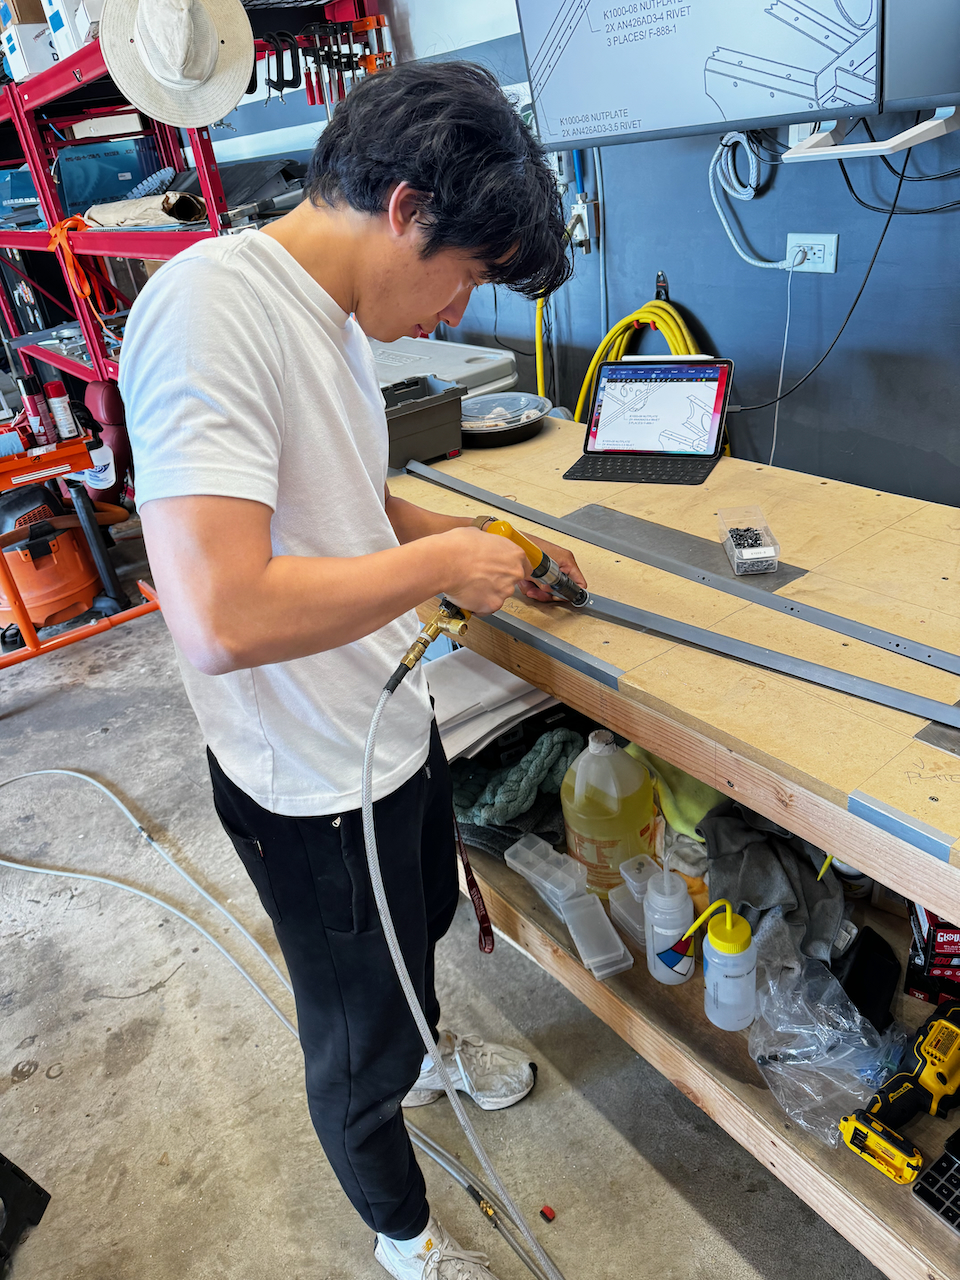
Adam installing the nutplates
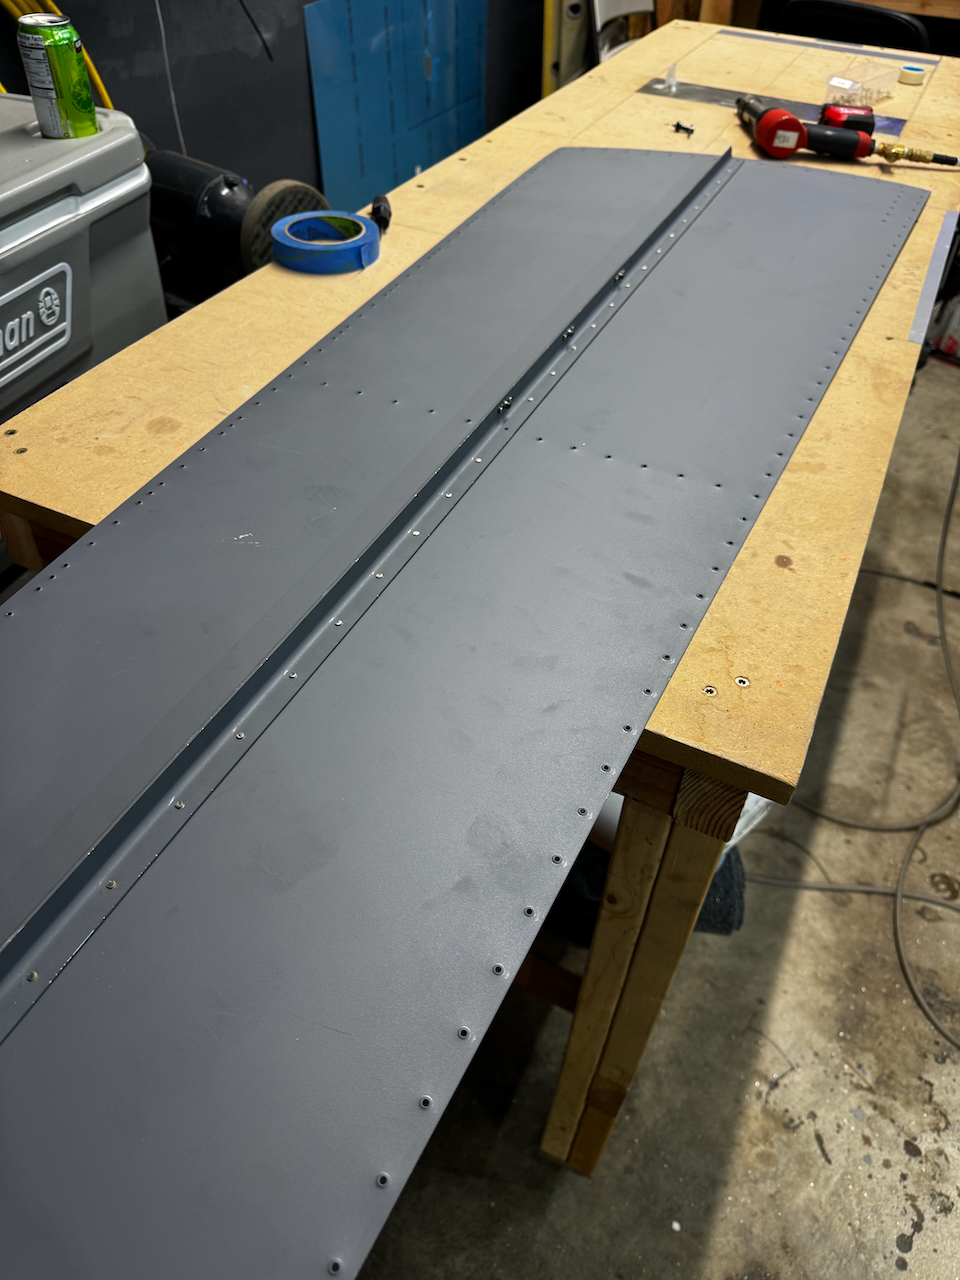
Mid longeron back riveted on.
make sure they aren’t upside down!!
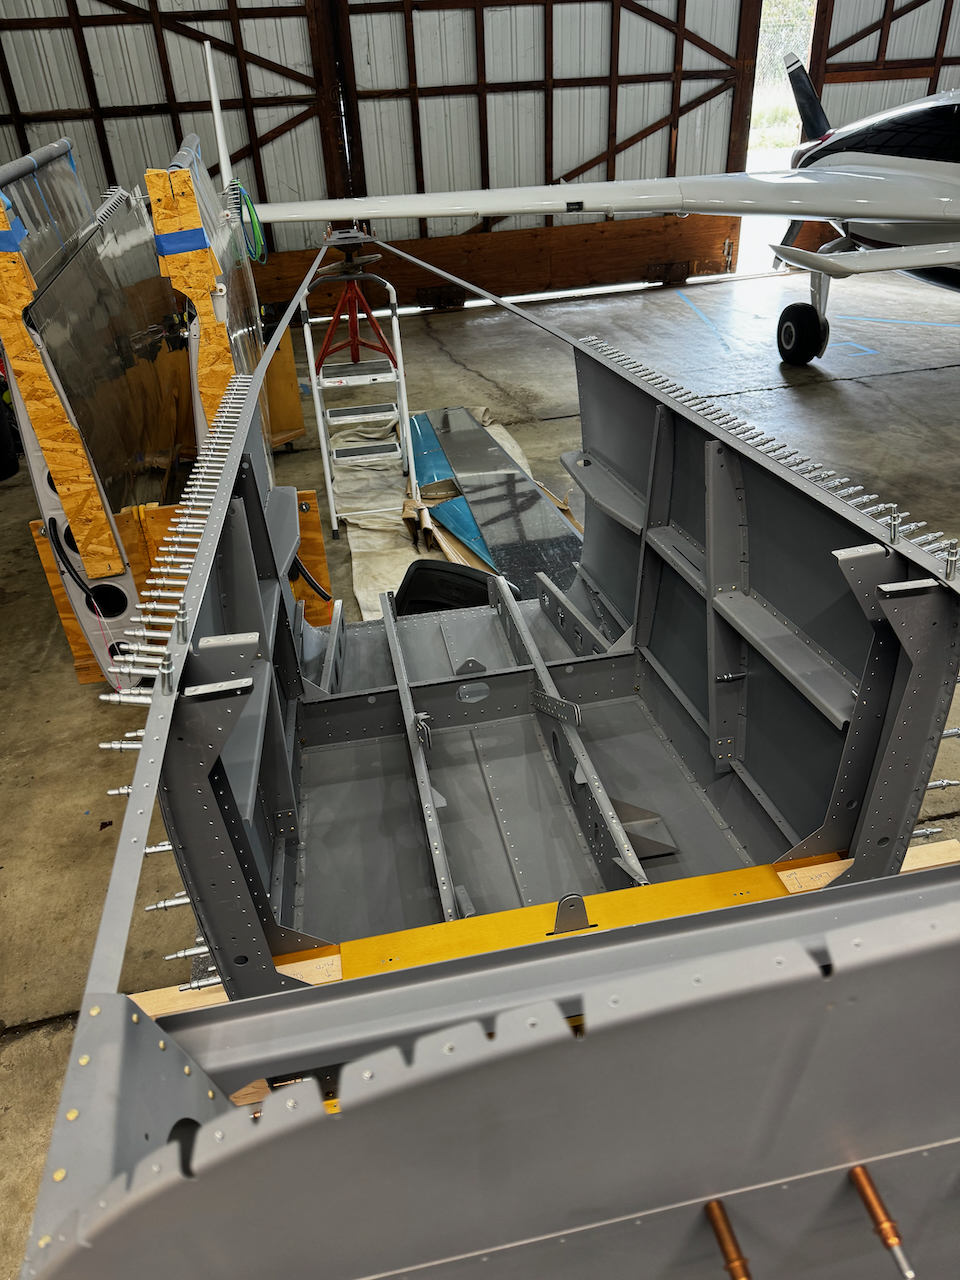
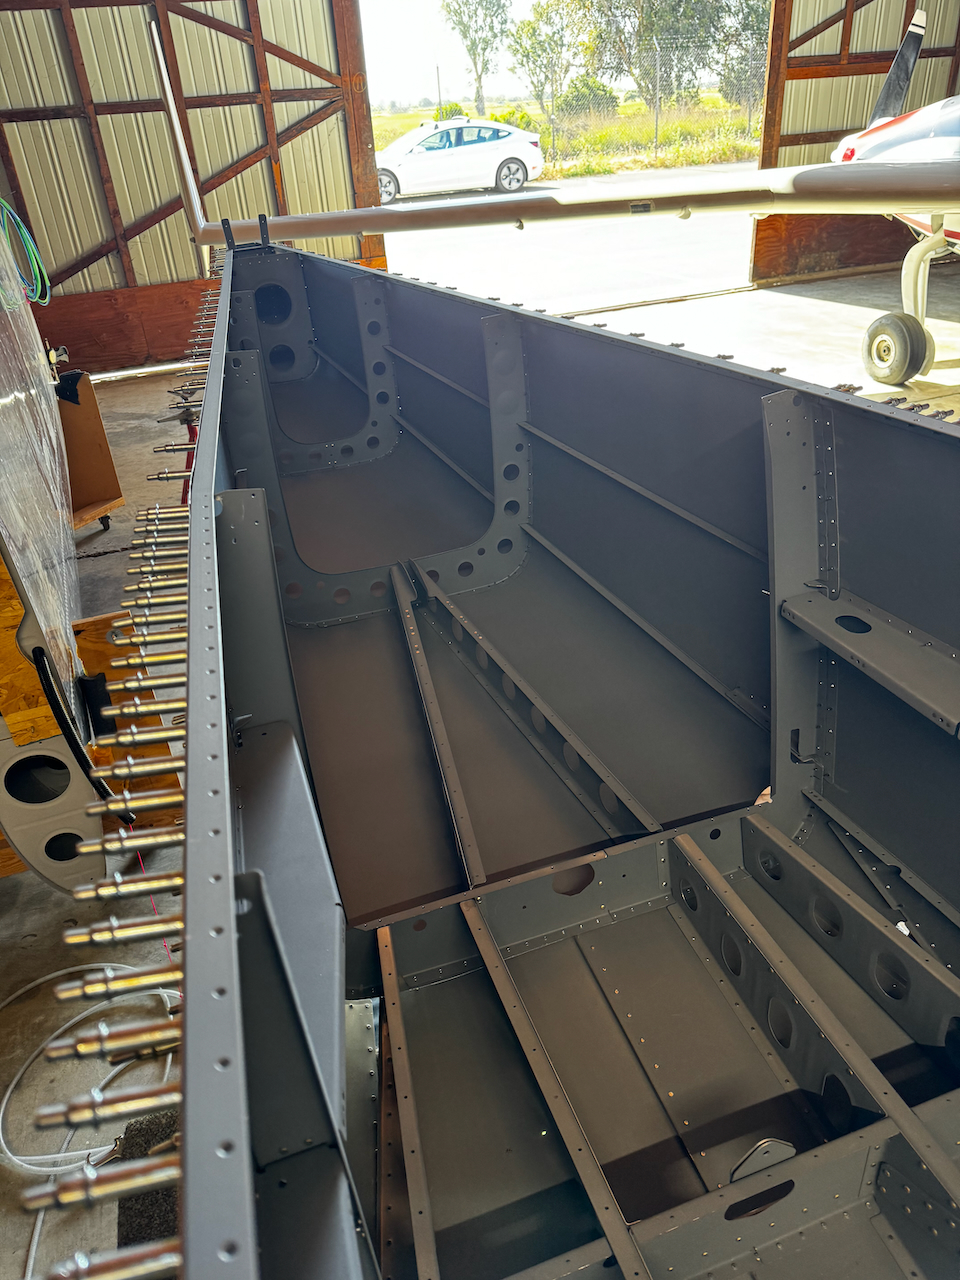
The big finish was getting to put on the aft side and bottom skins. I was able to get the bottom skin on a bit easier than the last time I did it (during initial fitting and match drilling). I found that unclecoing much more than you’d think around the F807 bulkhead made it easier to slip the skin in. Then, by working your way from the F808 bulkhead forward to the F807 bulkhead, things were lined up by the time you got up there.
And so we finally got to the fuselage flip. This is recommended in the plans if you are expecting to have two people during riveting. I’m assuming with all my build crew helpers this is the more efficient way to do it. Sam came by to help me flip the fuselage and for kicks we cranked out a few rivets. It was definitely easy work with the two of us, and we were able to get through 50+ rivets in less than 30 minutes. I’m looking forward to lots of riveting over the next few weeks.
aft side skins on!
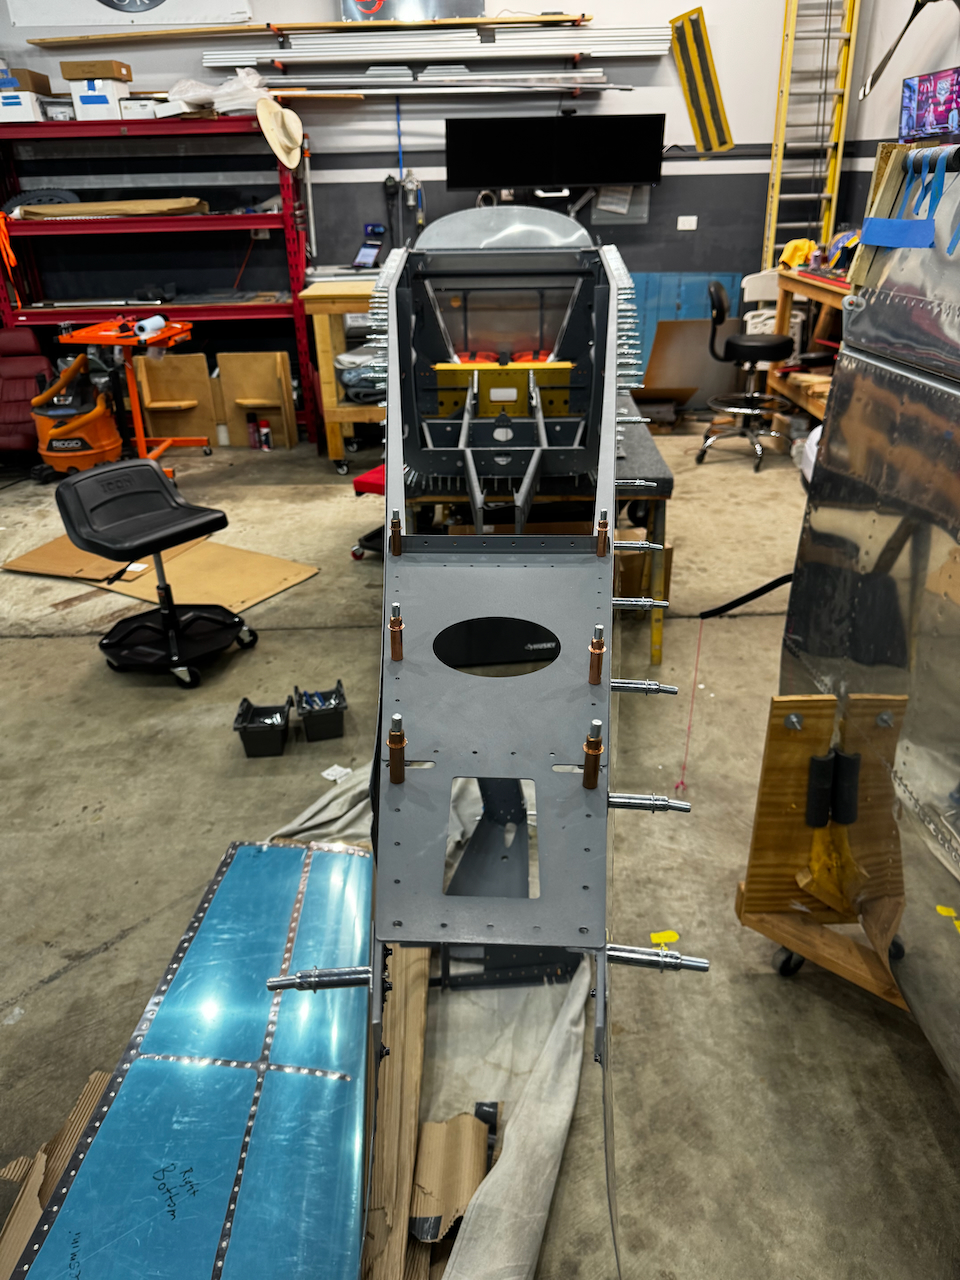
view from the rear
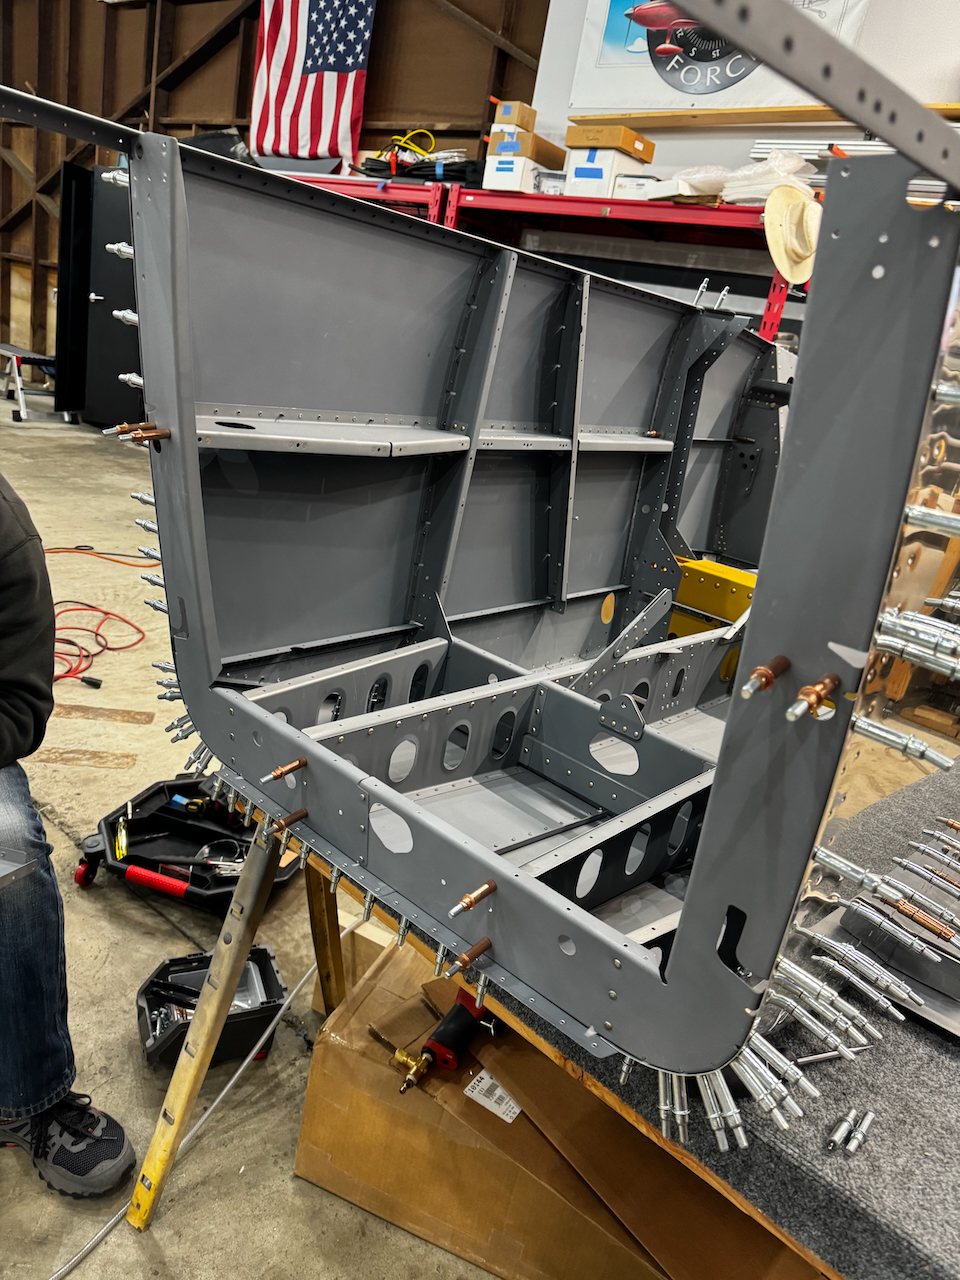
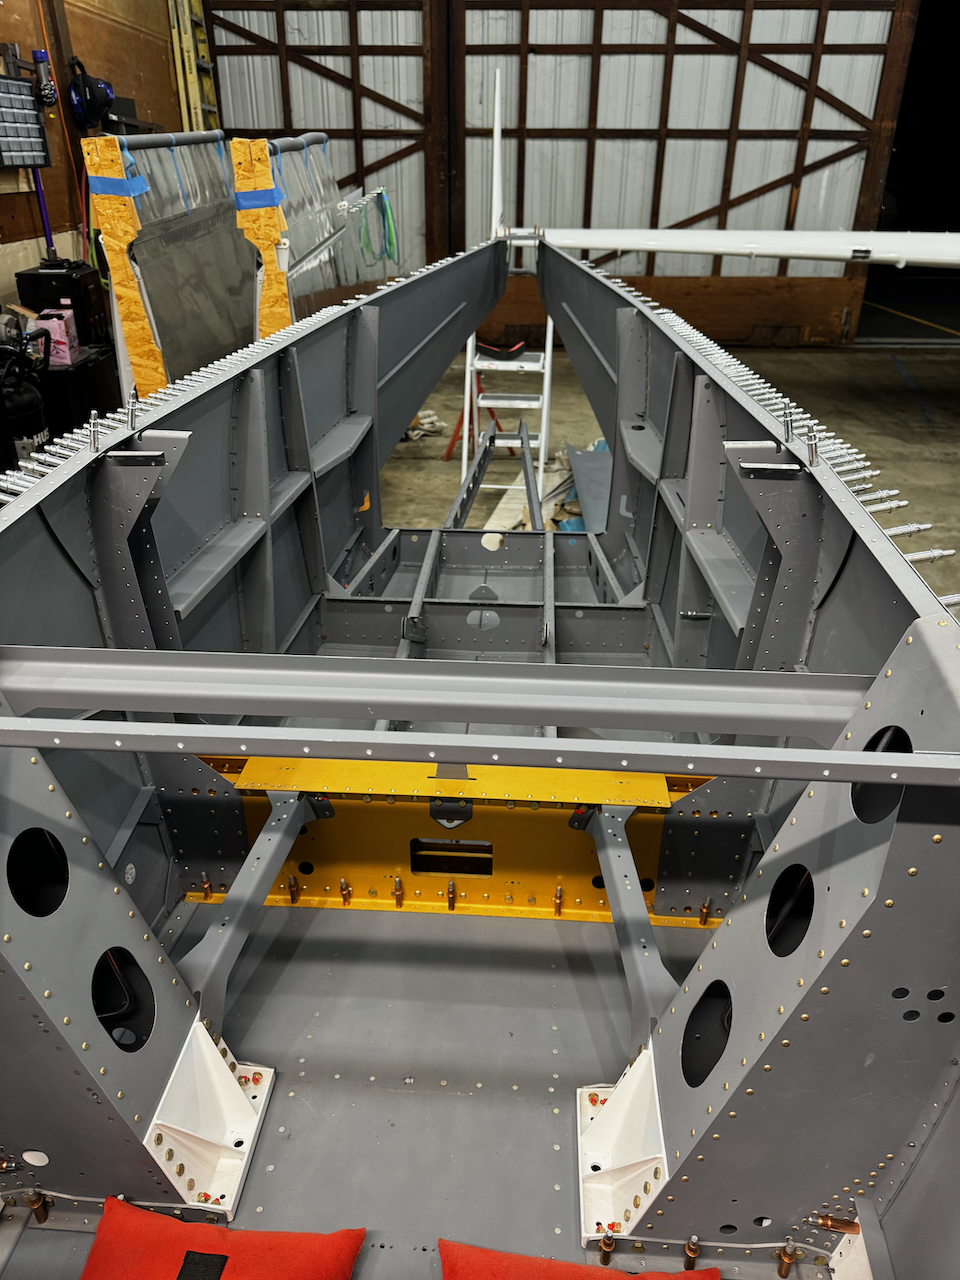
ready to start putting in the bulkheads
bulkheads coming in
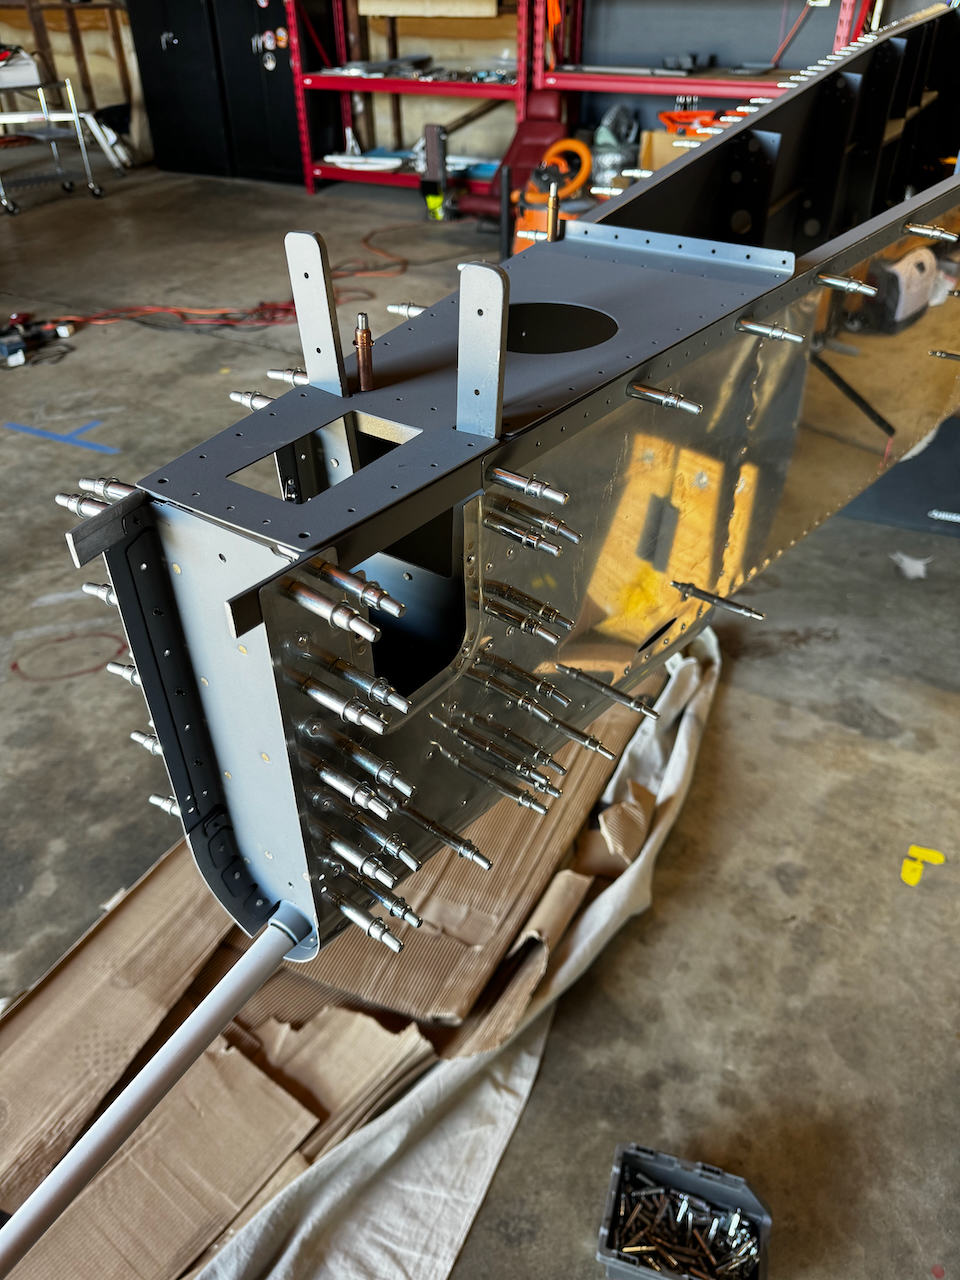
tailcone assembly installed
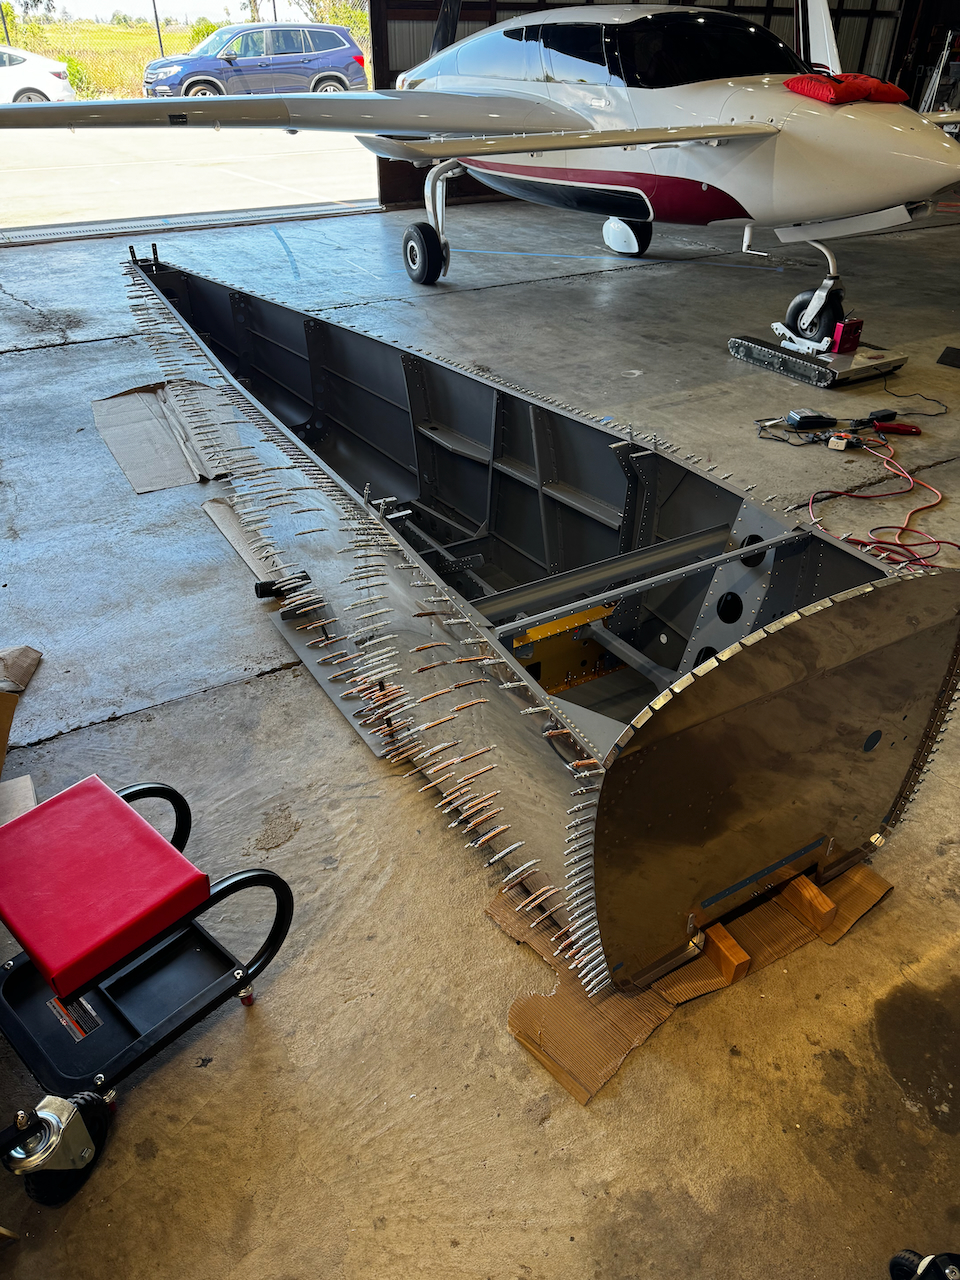
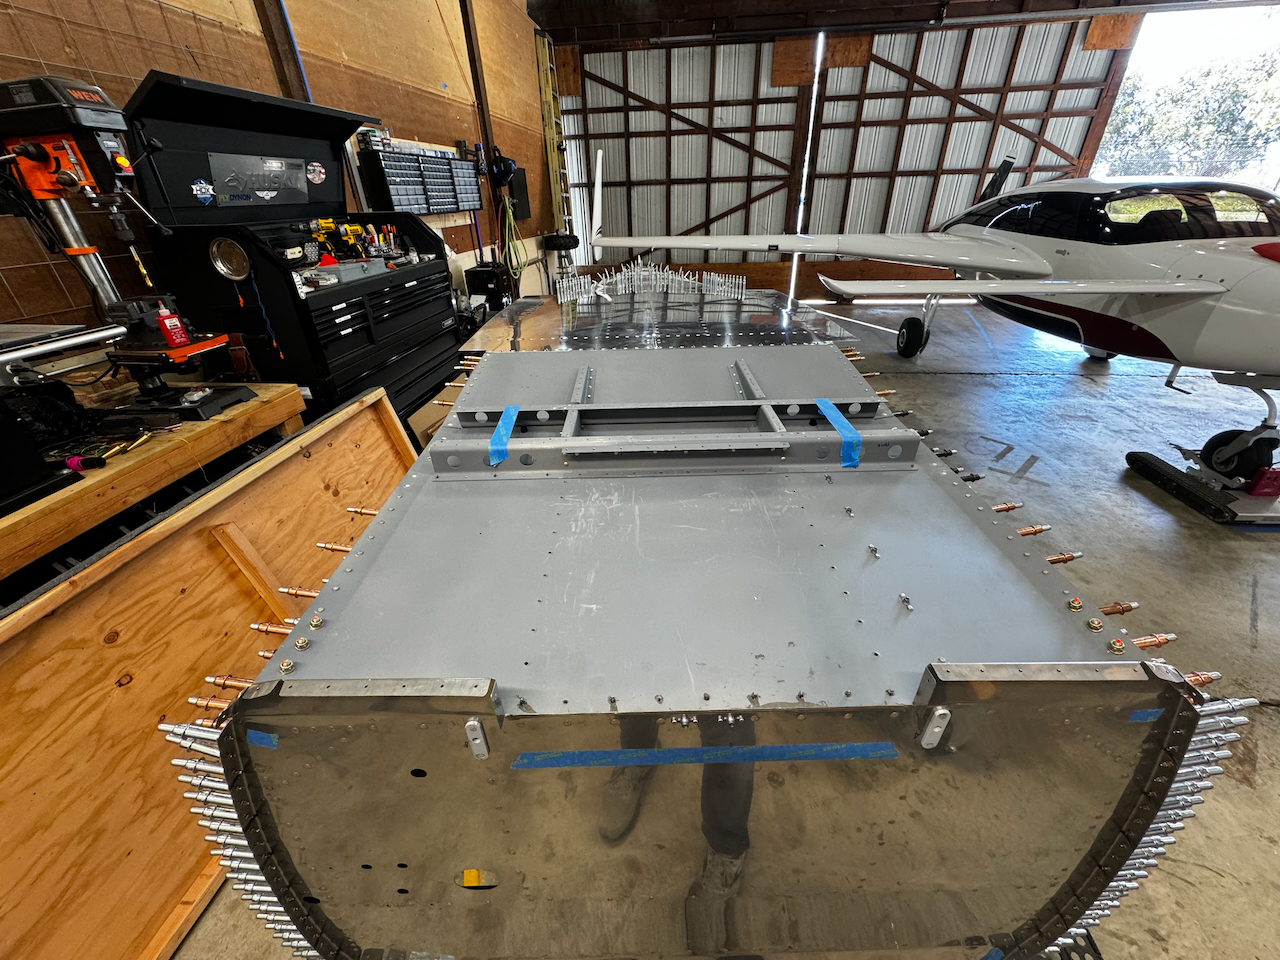
and bottom skin is on!!!!
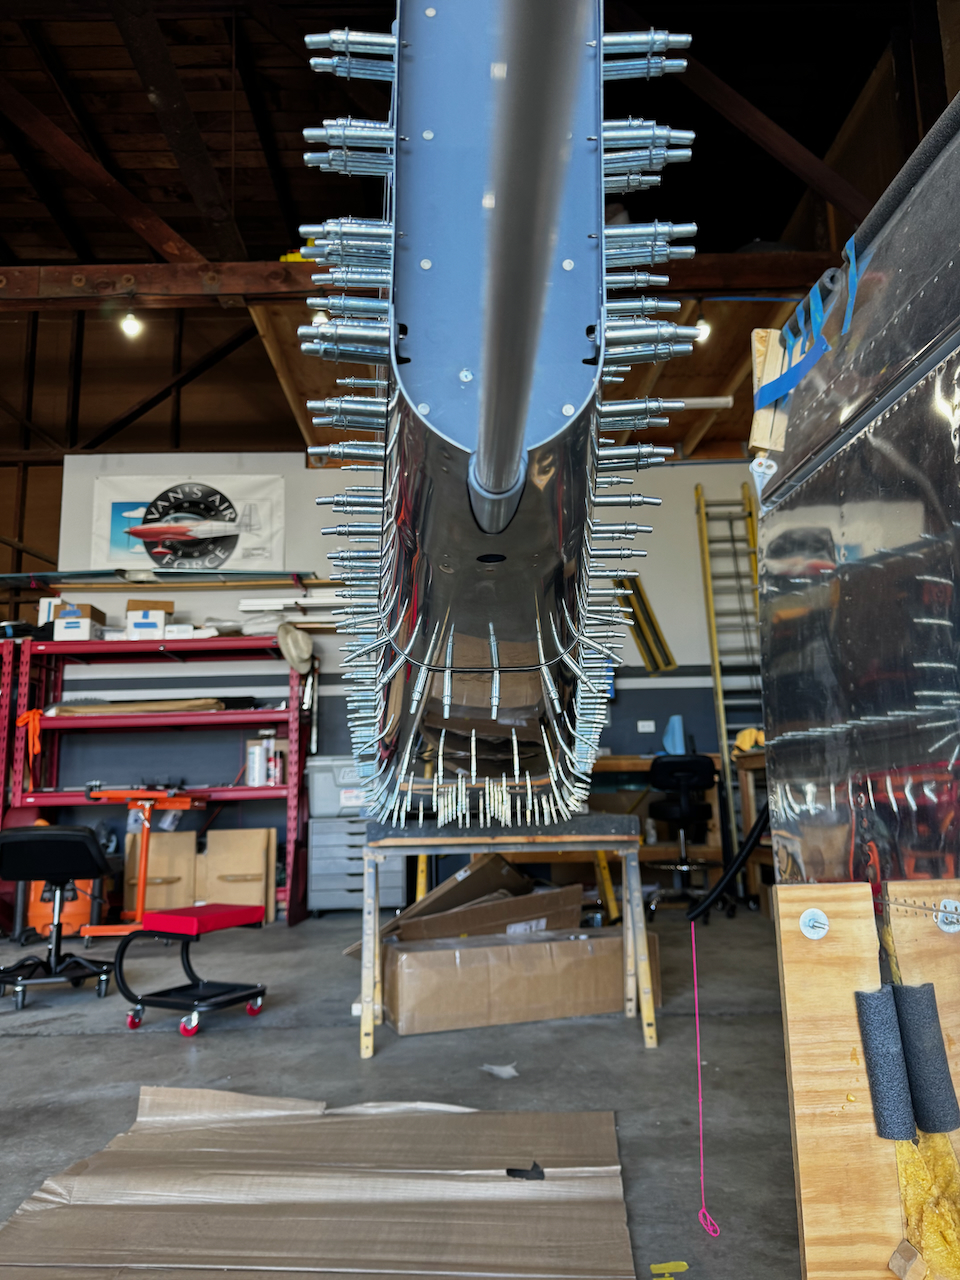
cleco heaven…slowly these will all become rivets!
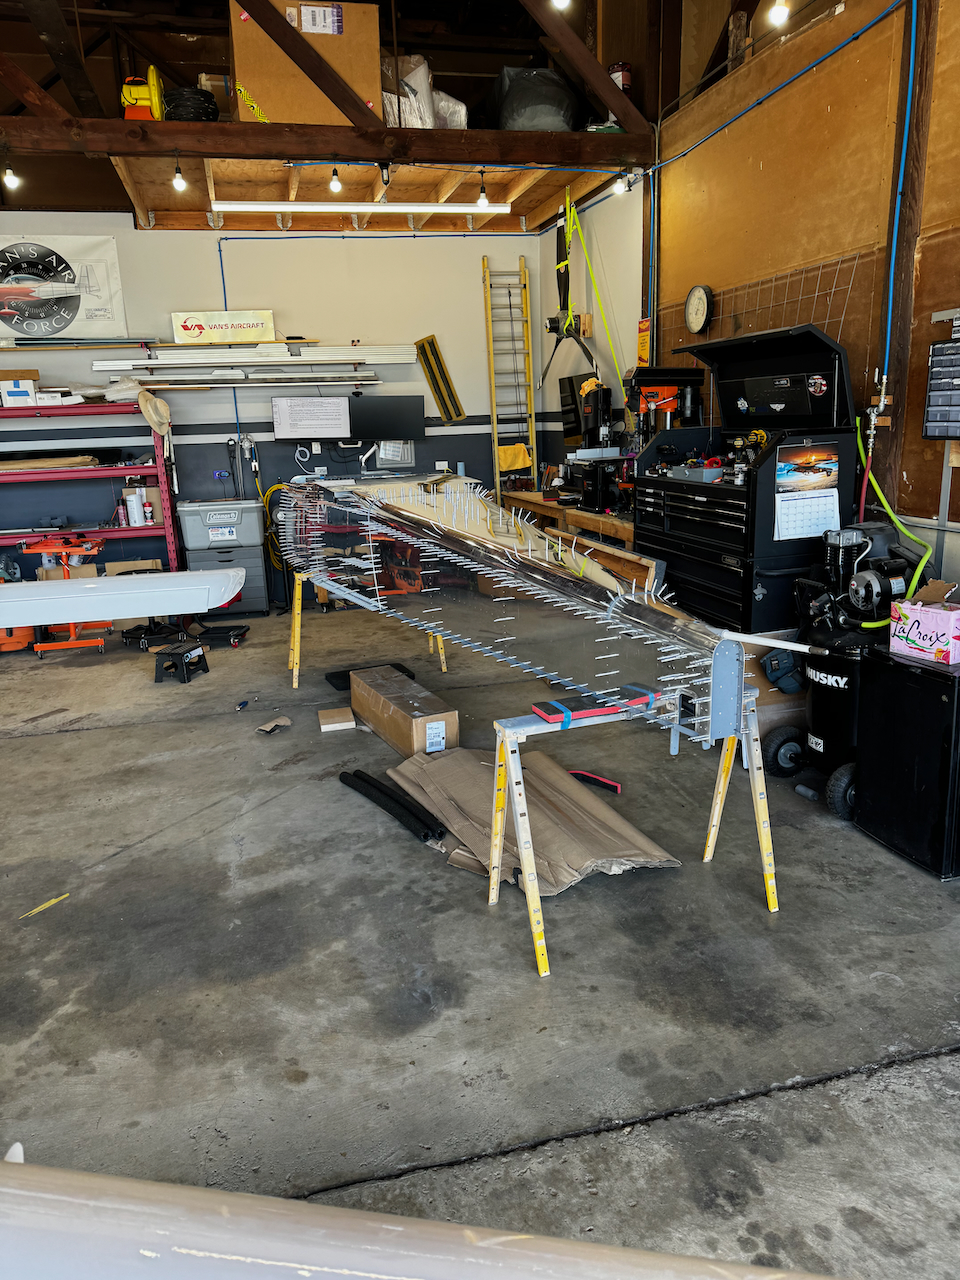
temporary placement of fuselage while Sam and I set up for the flip
After rolling the fuselage, we successfully flipped it!
well that’s a new view. bottom side of the front fuselage
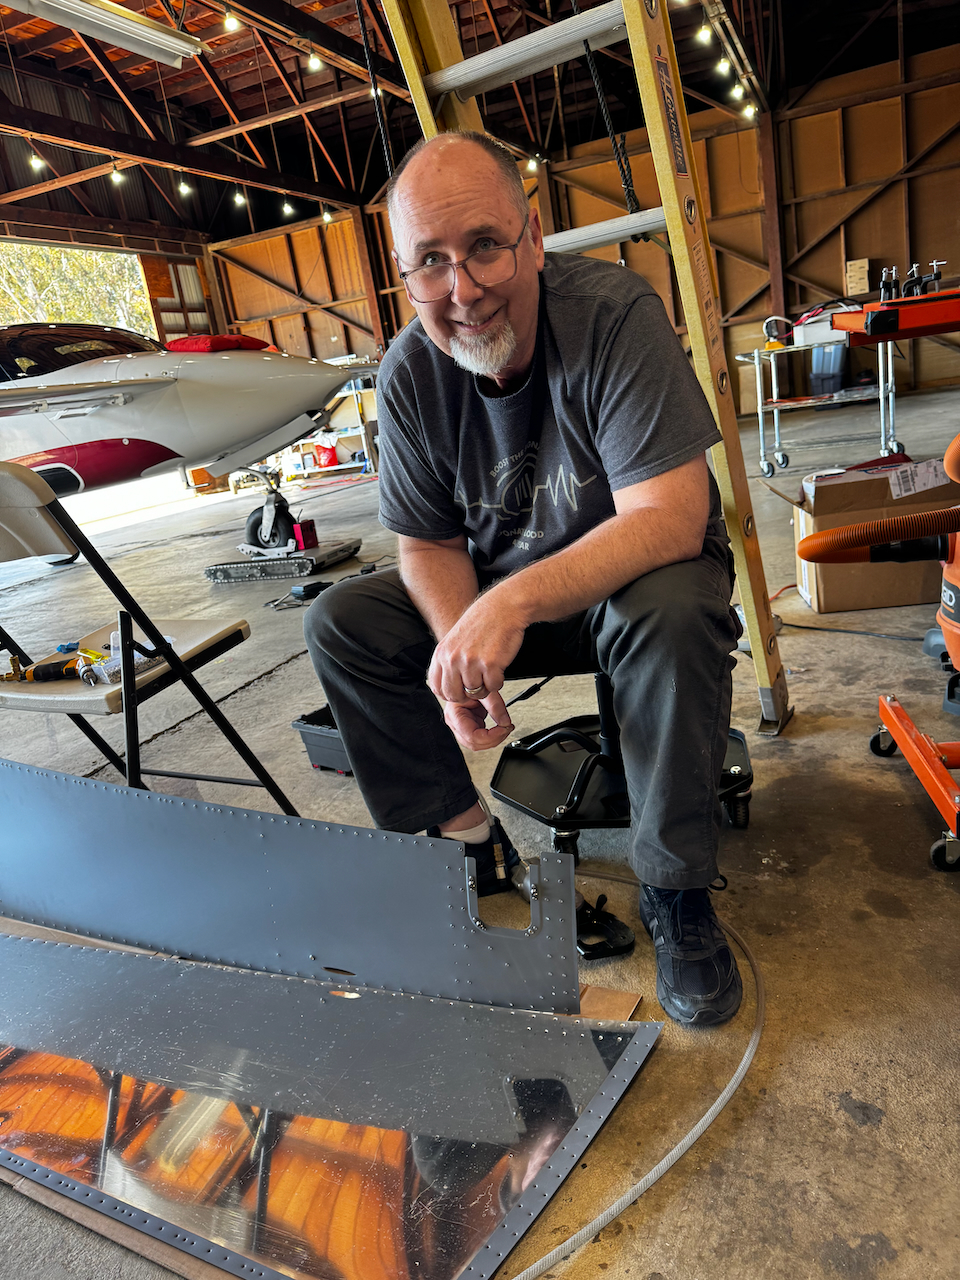
Sam’s new office.
mid arm rests complete in less than 1 hour! This should be fun!
And that’s it. It definitely takes a village to get through this build, and I appreciate all the help my fellow build crew provide. We are officially in the “Skin Riveting” part of the fuselage build. This will probably take a while, but should be fun. Looking forward to lots of time with the rivet gun and bucking bar!! Until then…. Happy Building!


1 comment
What a great team. Nice progress. You are getting There 🤗