Sunday was an epic marathon of a day trying to get through priming all remaining fuselage parts needed for final assembly. It was going to be a big day, and I knew I needed a ton of help to get it done. Thankfully a ton of folks (some volunteers, and some voluntold) came out for the day.
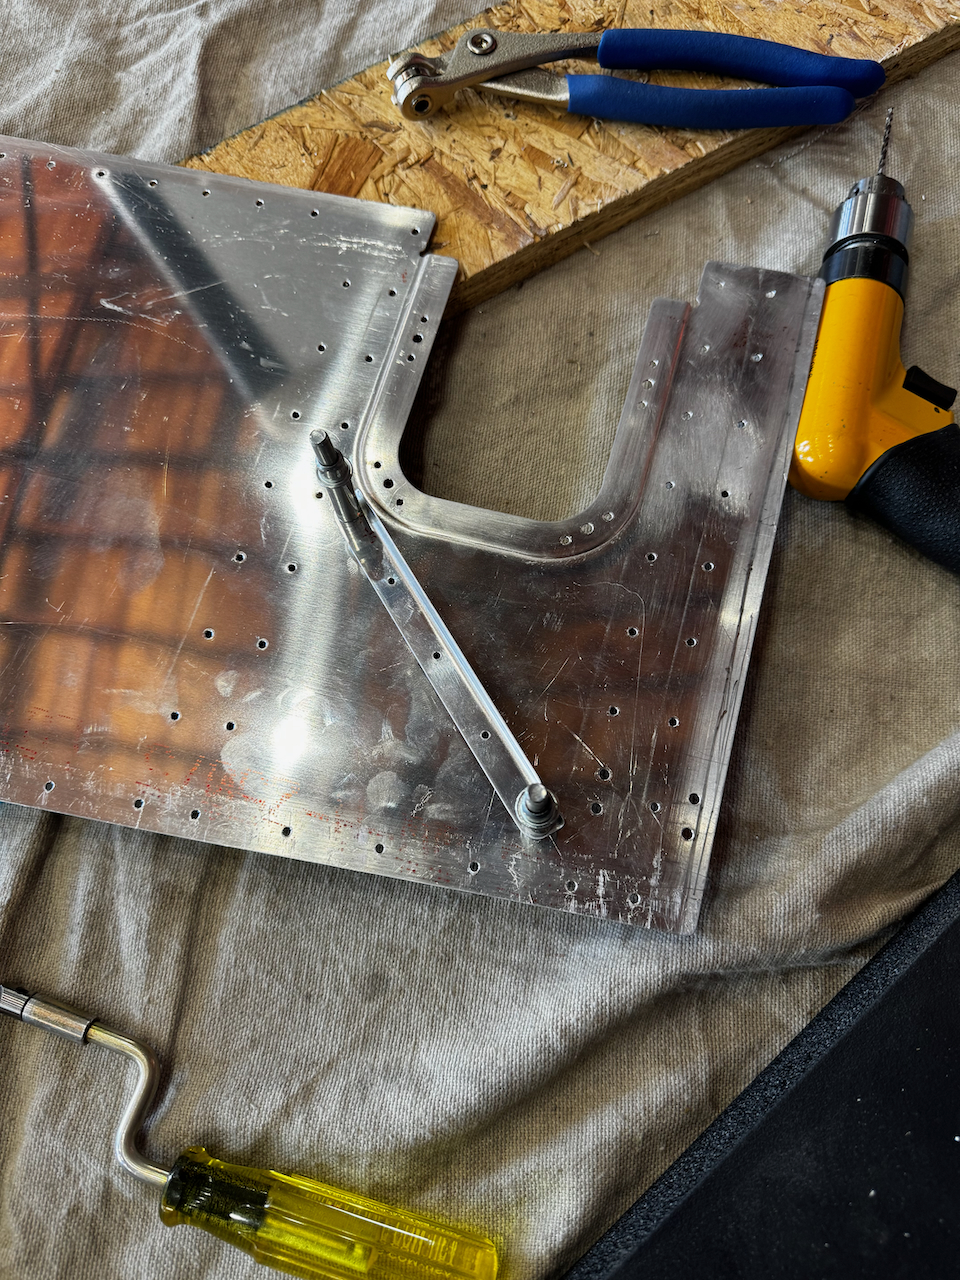
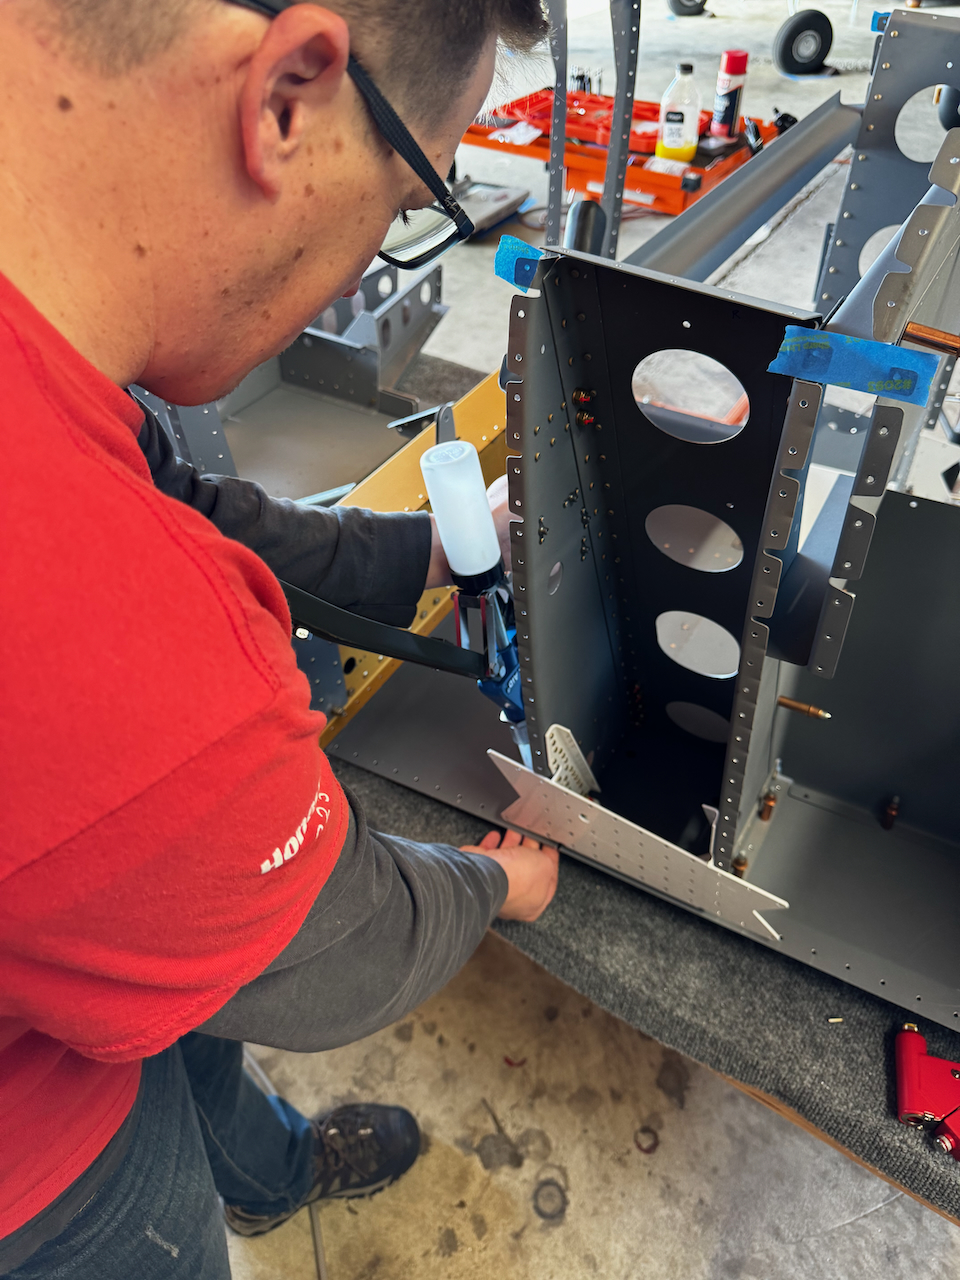
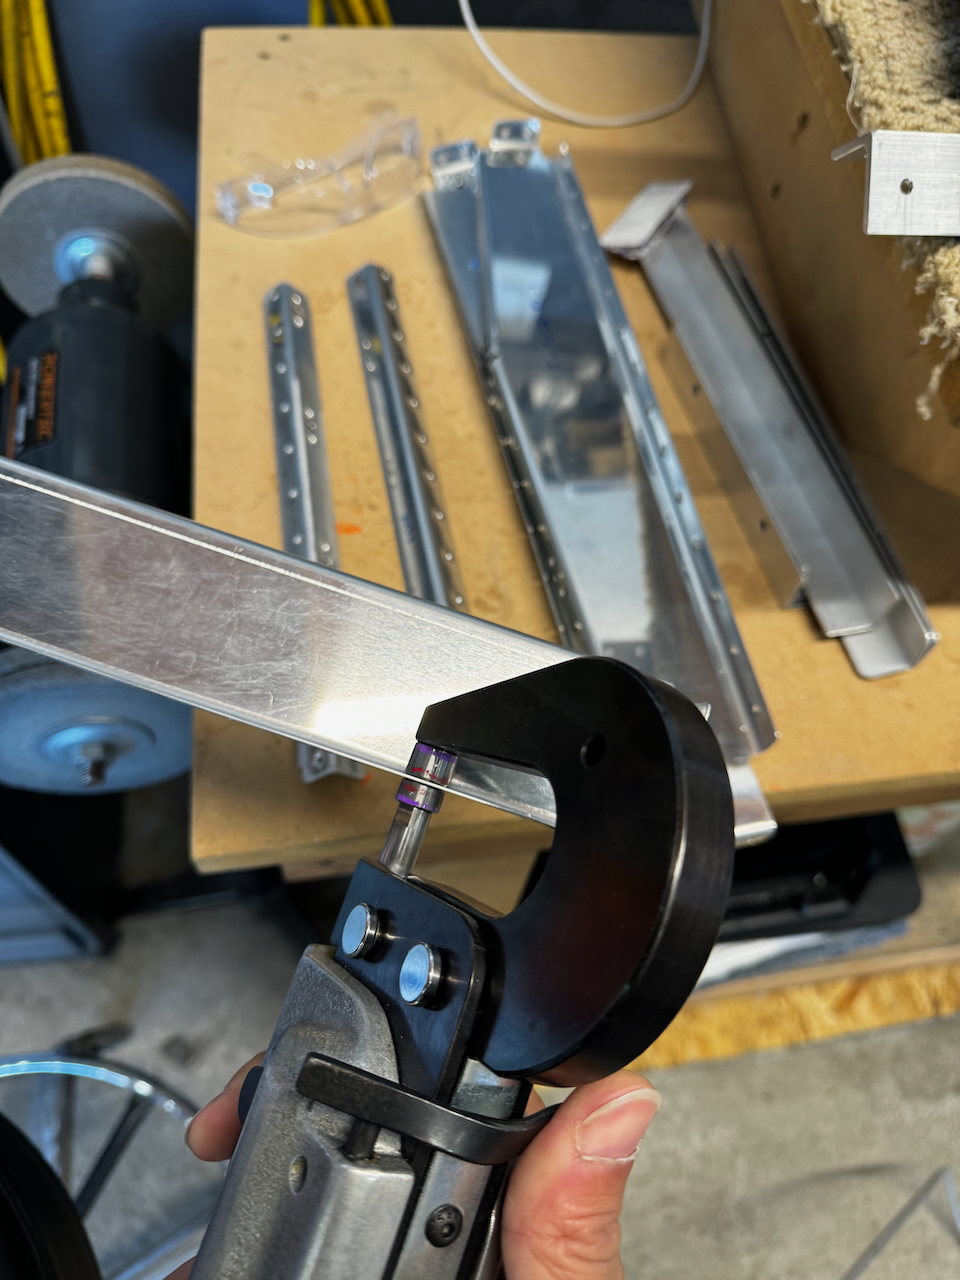
But before the big day of priming, there were miscellaneous items I wanted to wrap up. This included the SL-000014 modification for tailcone stiffening. I also dimpled parts that had previously been primed. Note the picture of Paul helping with a tough dimpling spot forward and aft of the landing gear bulkheads. He had a special modified riveting tool he used with a dimple die to reach tough spots. I started dimpling non-primed parts but ended up opting to defer that until after priming. (This should make the etching and priming a lot easier to do. The downside is possible paint cracking during the dimpling process. )
SL-00014 for Tailcone Stiffener laid out.
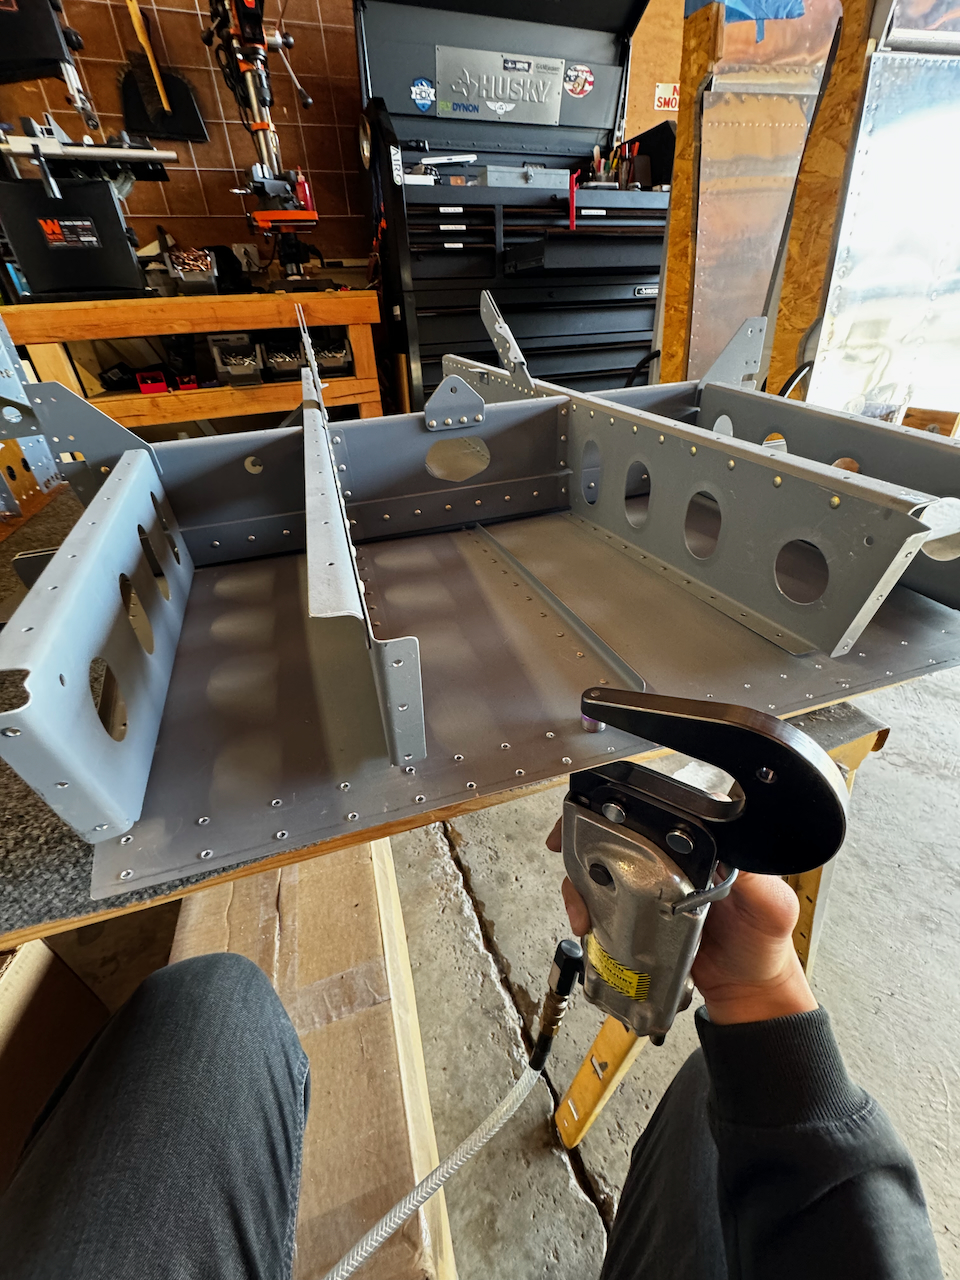
Dimpling the fwd seat assemply
Paul helping me reach some tough dimple locations
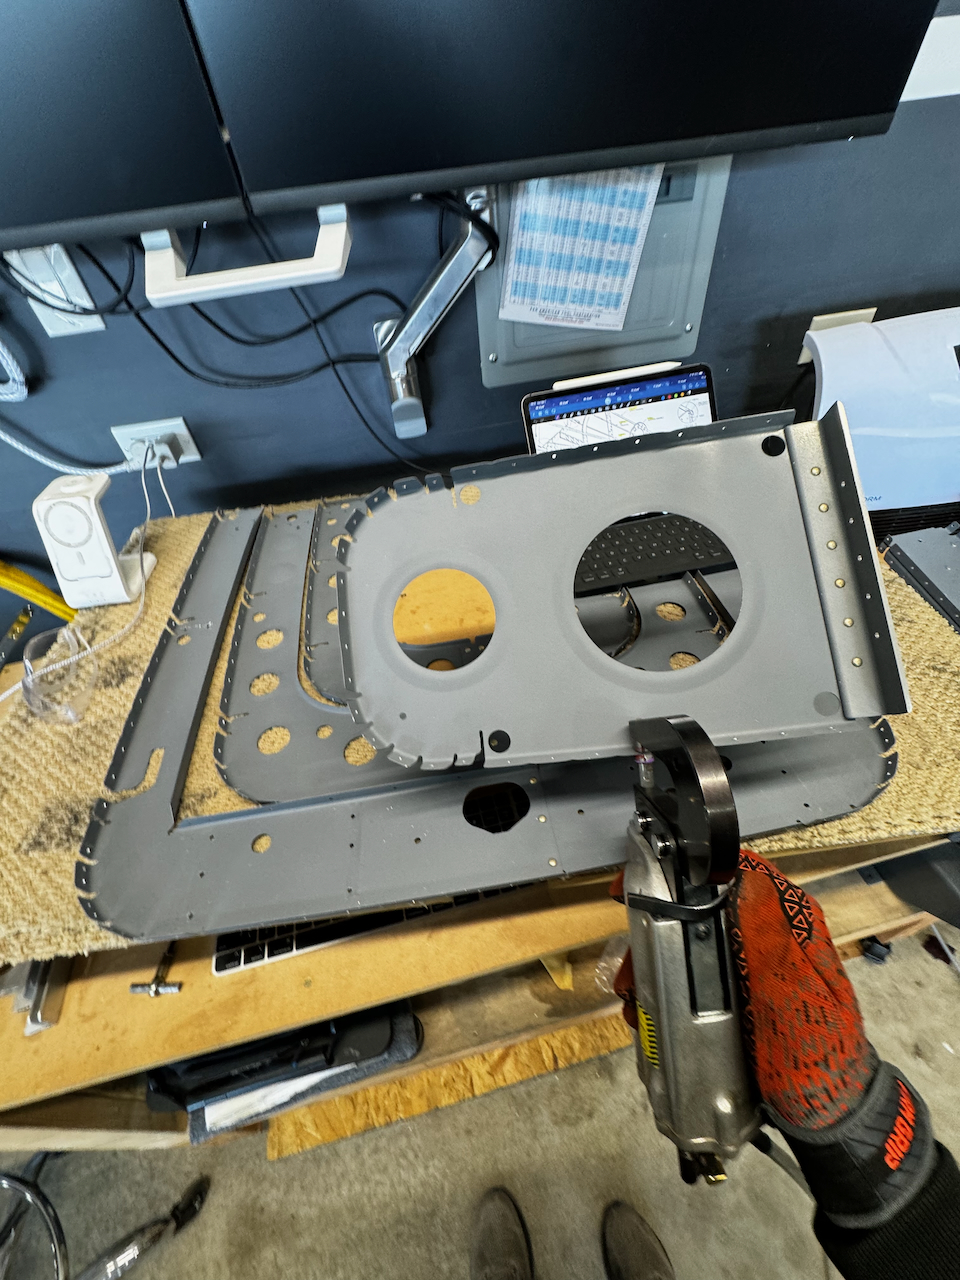
tailcone bulkhead dimpling
With more thought, I decided to hold off dimpling all the parts until after priming.
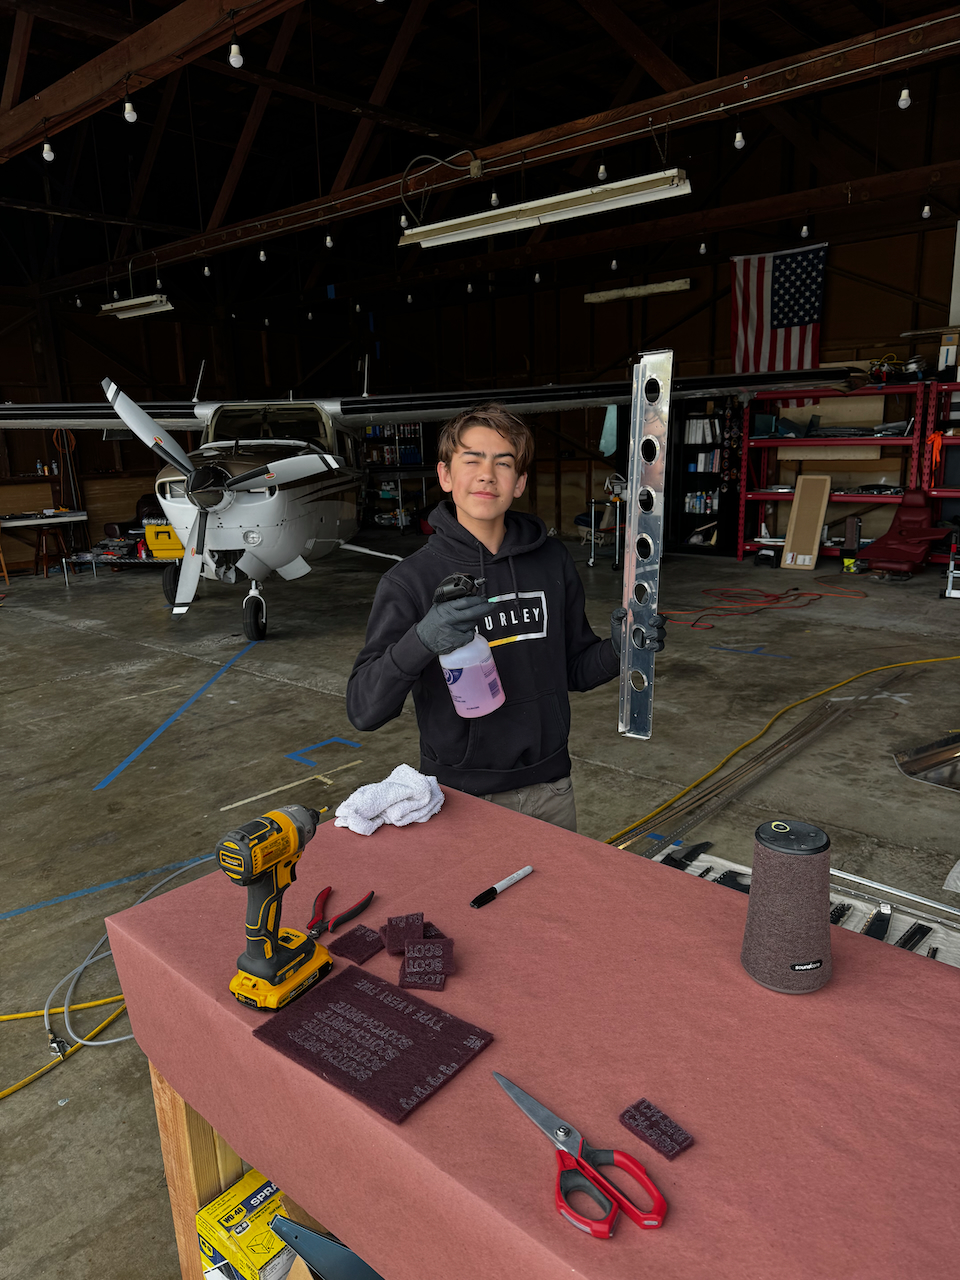
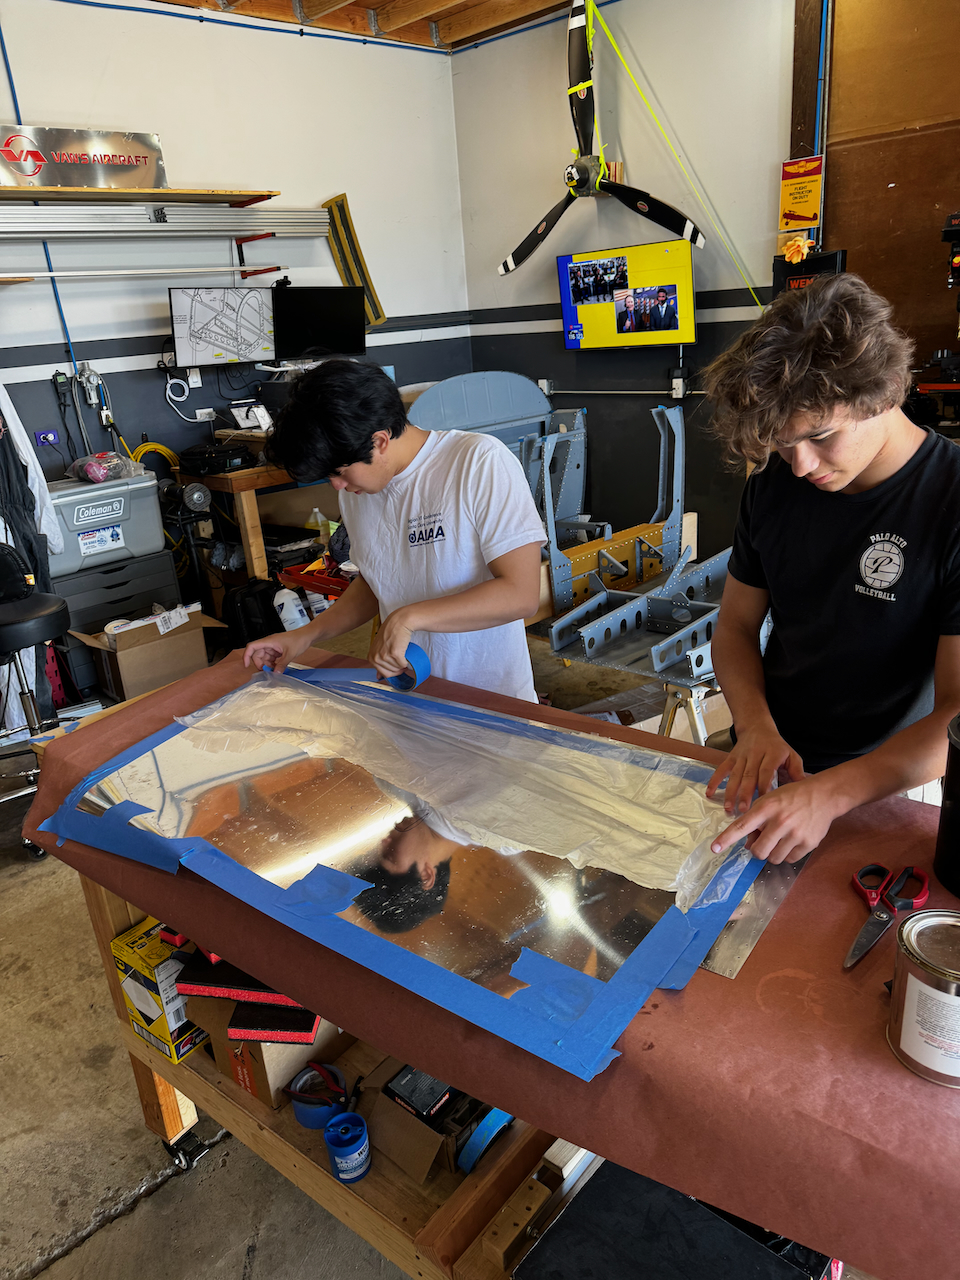
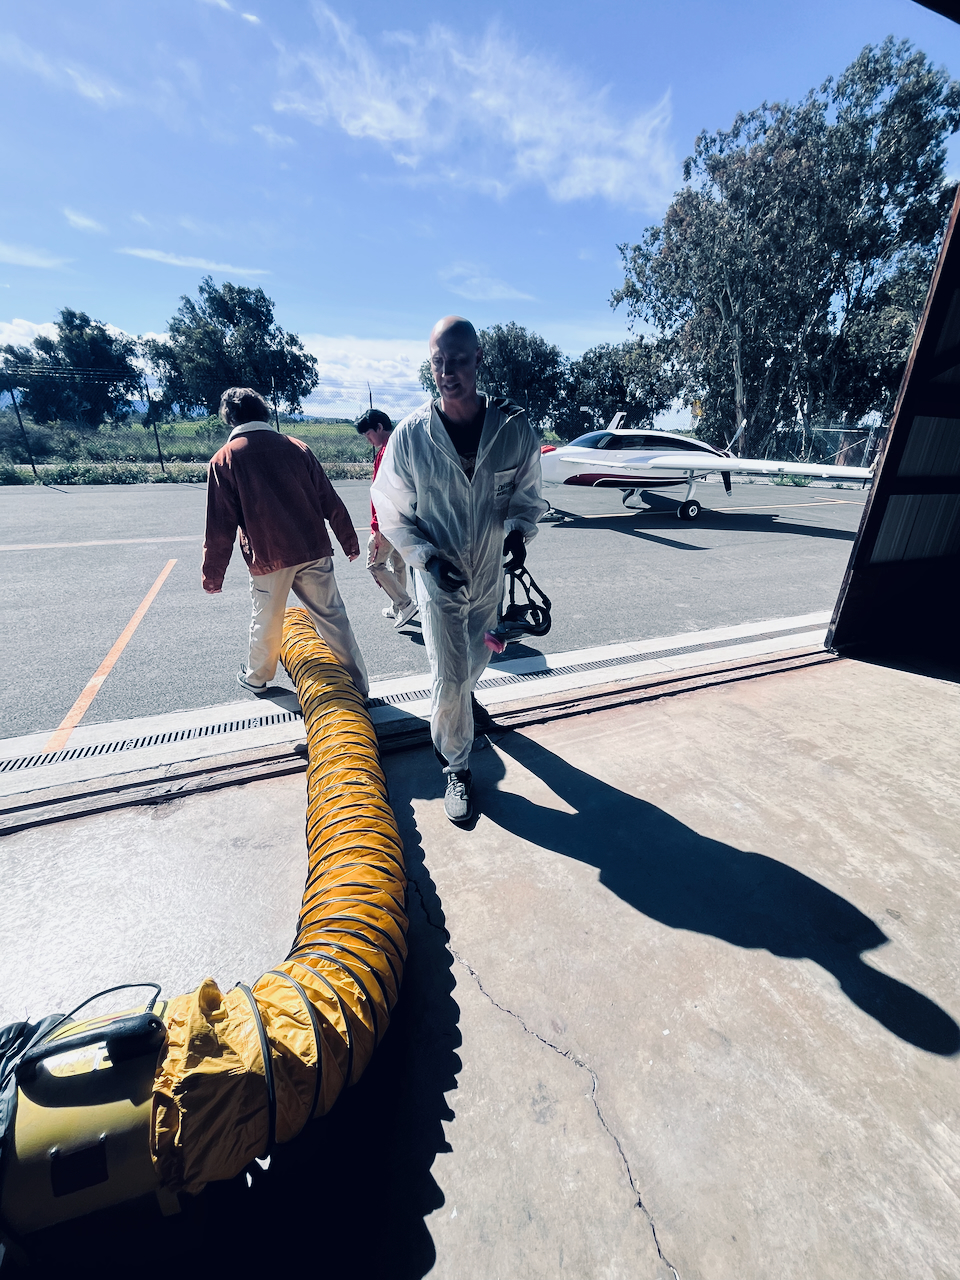
With as much done as was possible without priming, it was time for the big day. I got up early and got things prepped. Nico arrived at 9am to help me start cleaning and etching all the parts. Later on, Adam, a friend of the family studying locally at Stanford (Aero/Astro Engineer) came by to help out. Between the 3 of us, we were able to get through most of the etching by early afternoon. Giacomo and Tod came to help wrap up etching around 1.
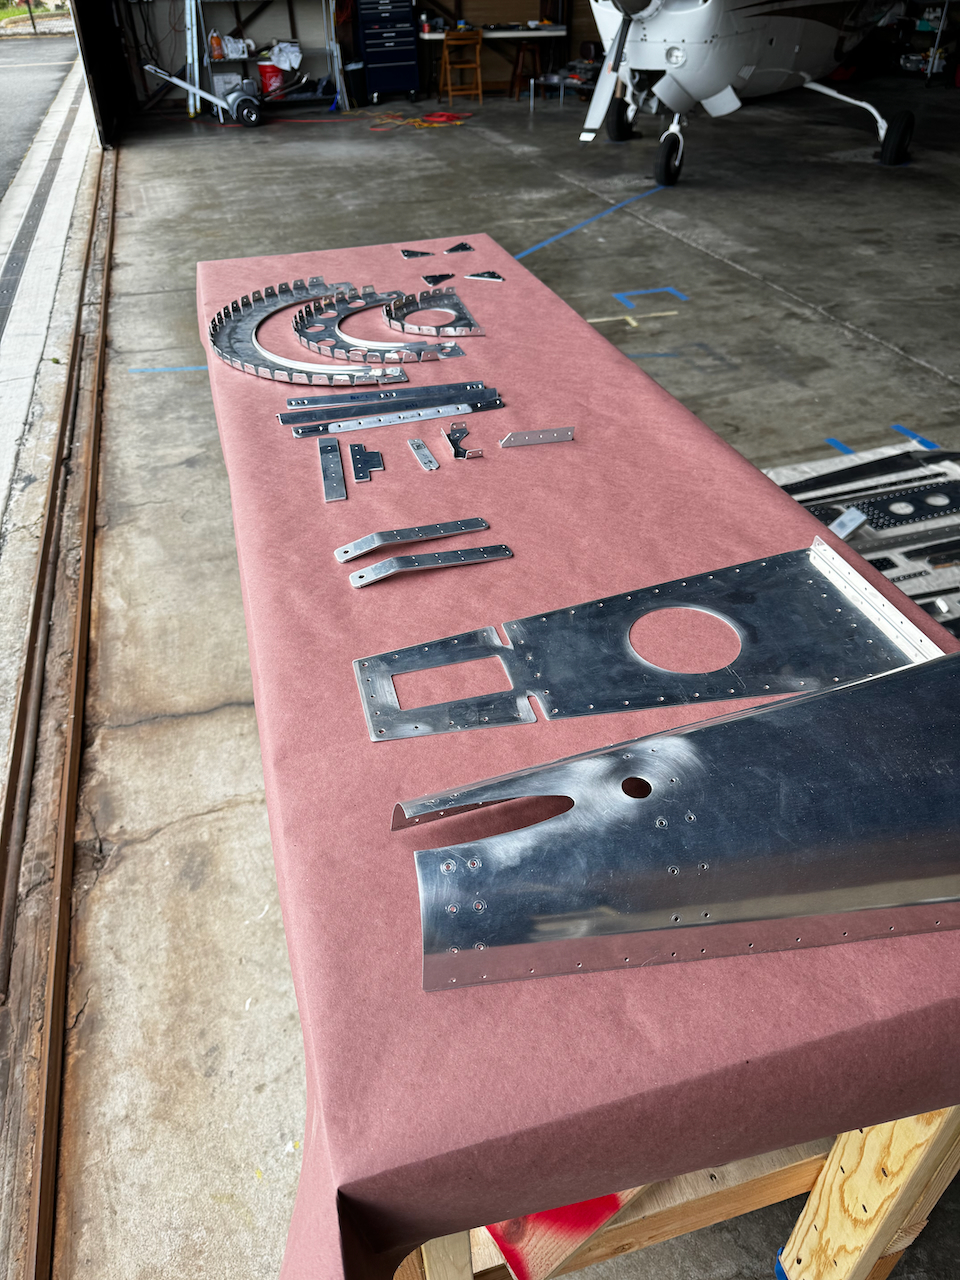
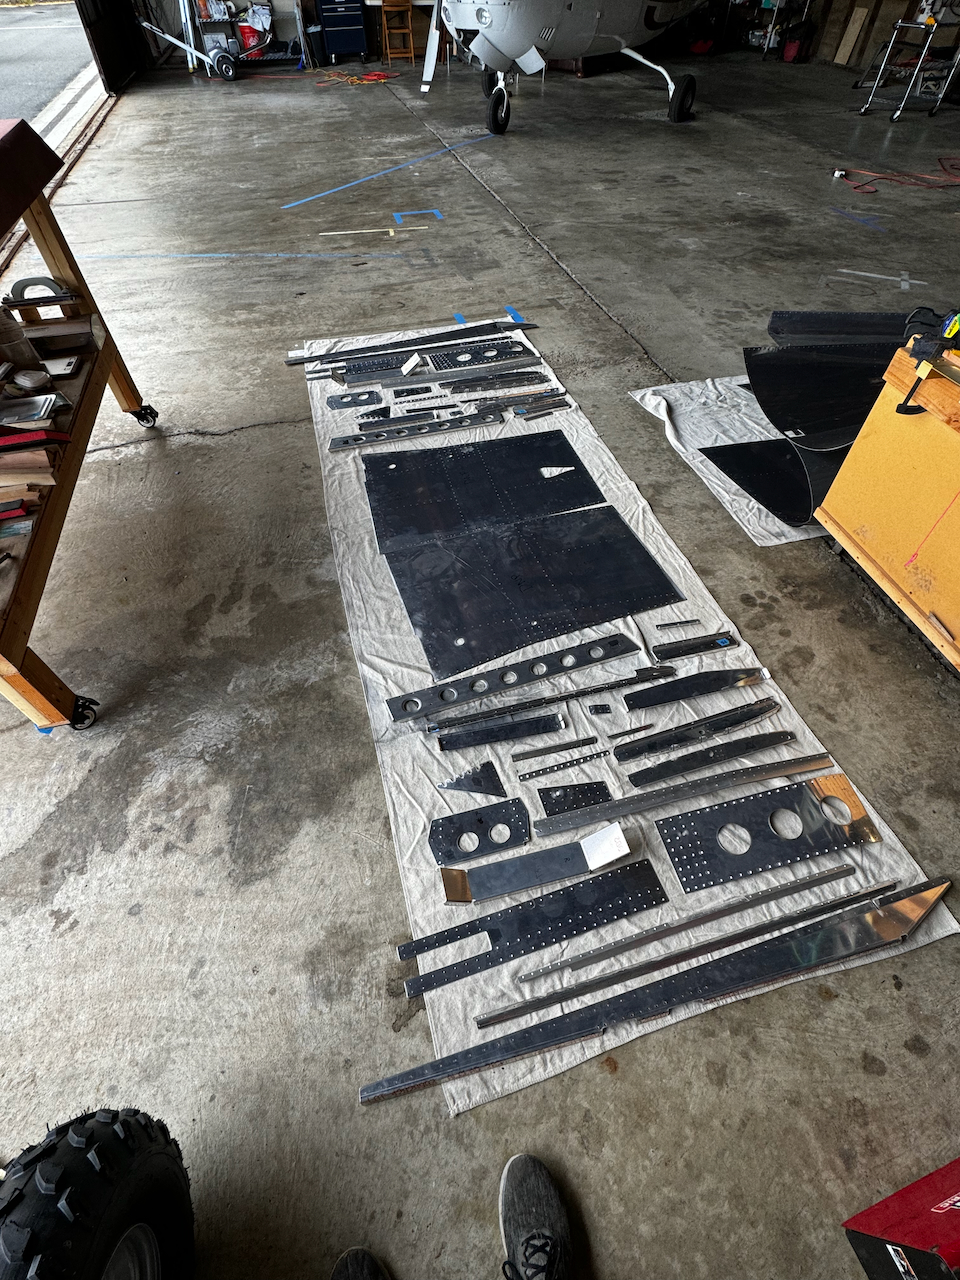
Parts, parts…
…Lots of Parts to etch… oh my!
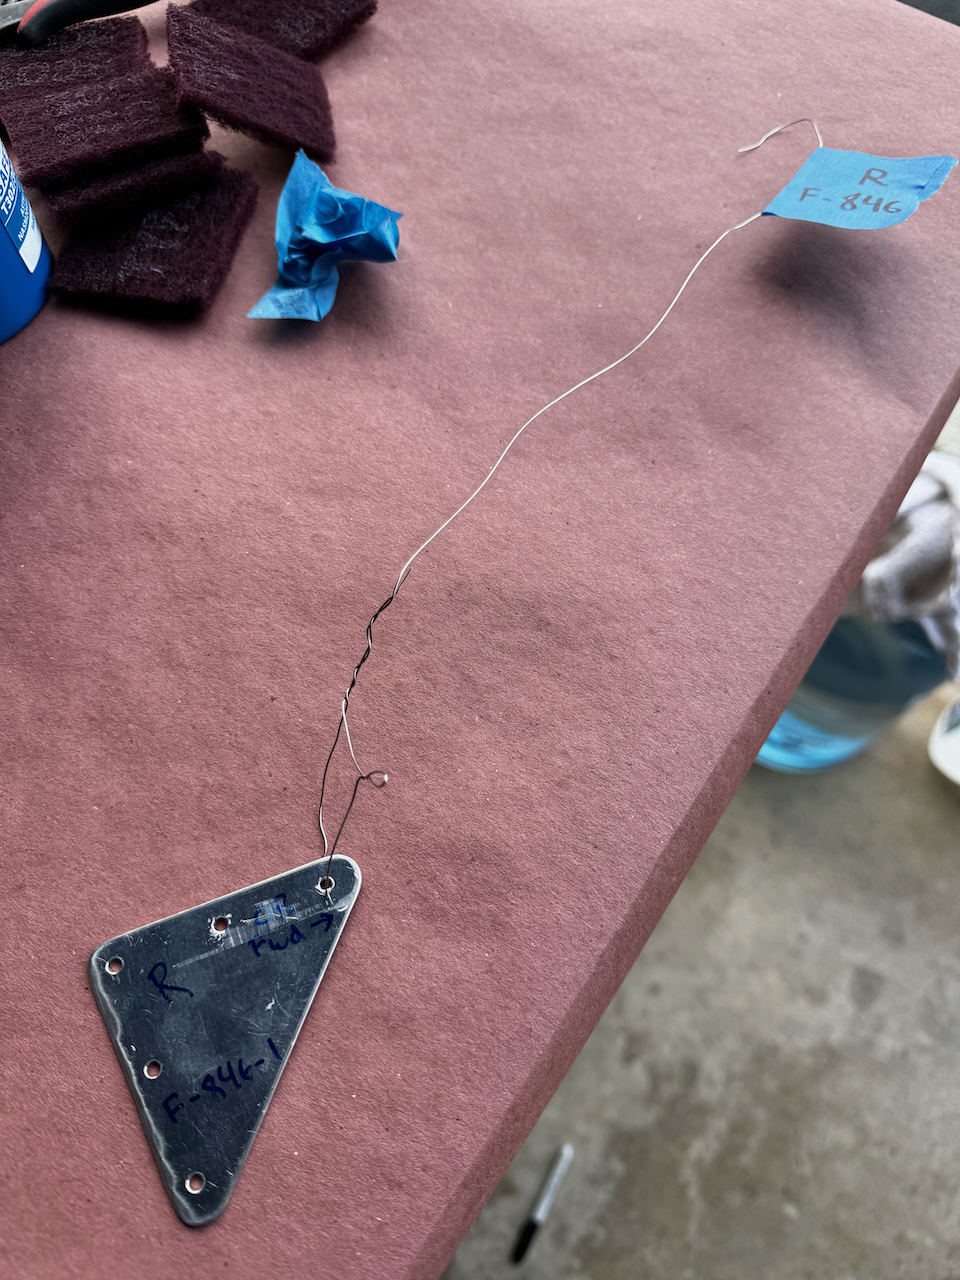
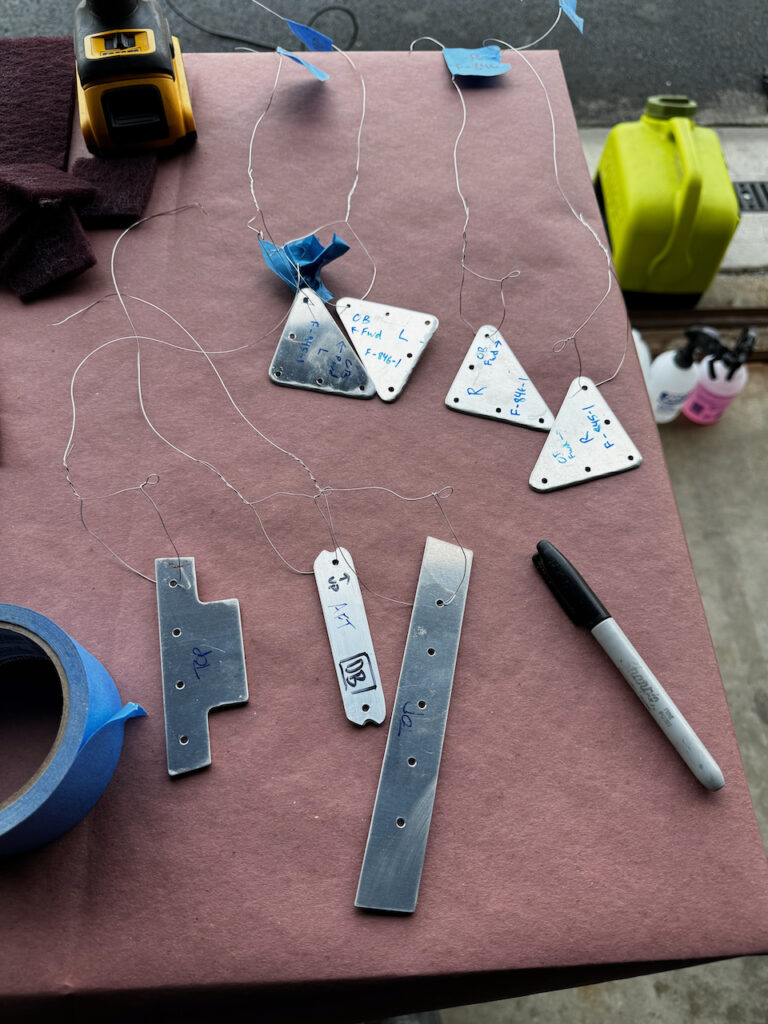
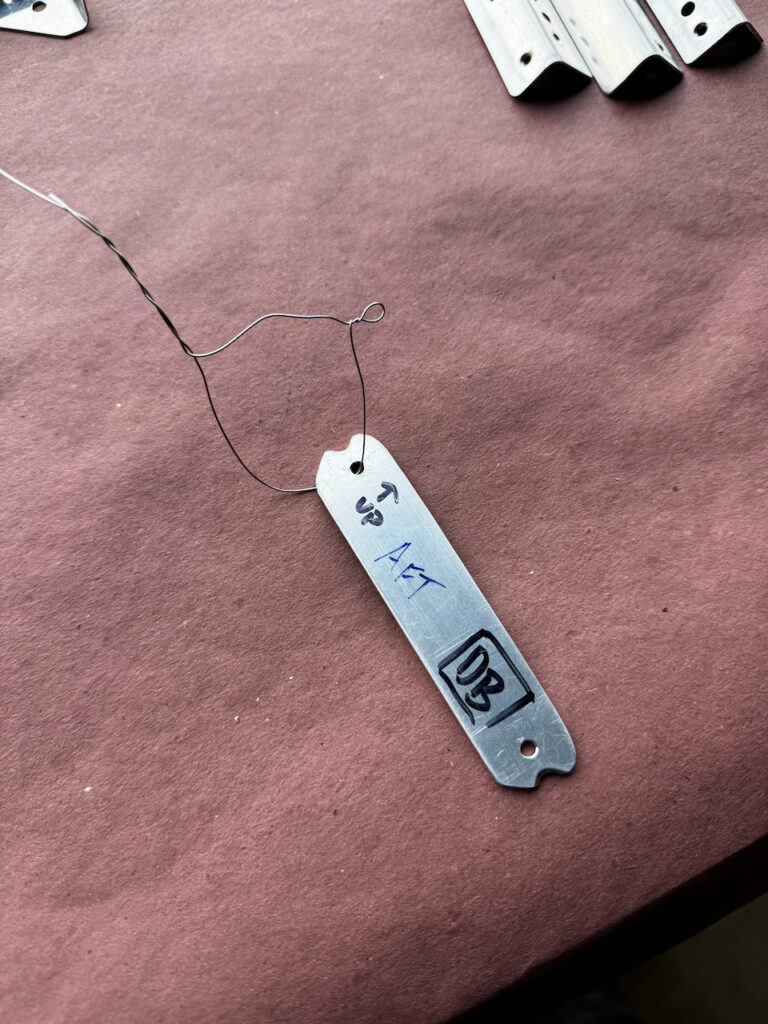
Using the new technique to mark parts that may get confusing without labels
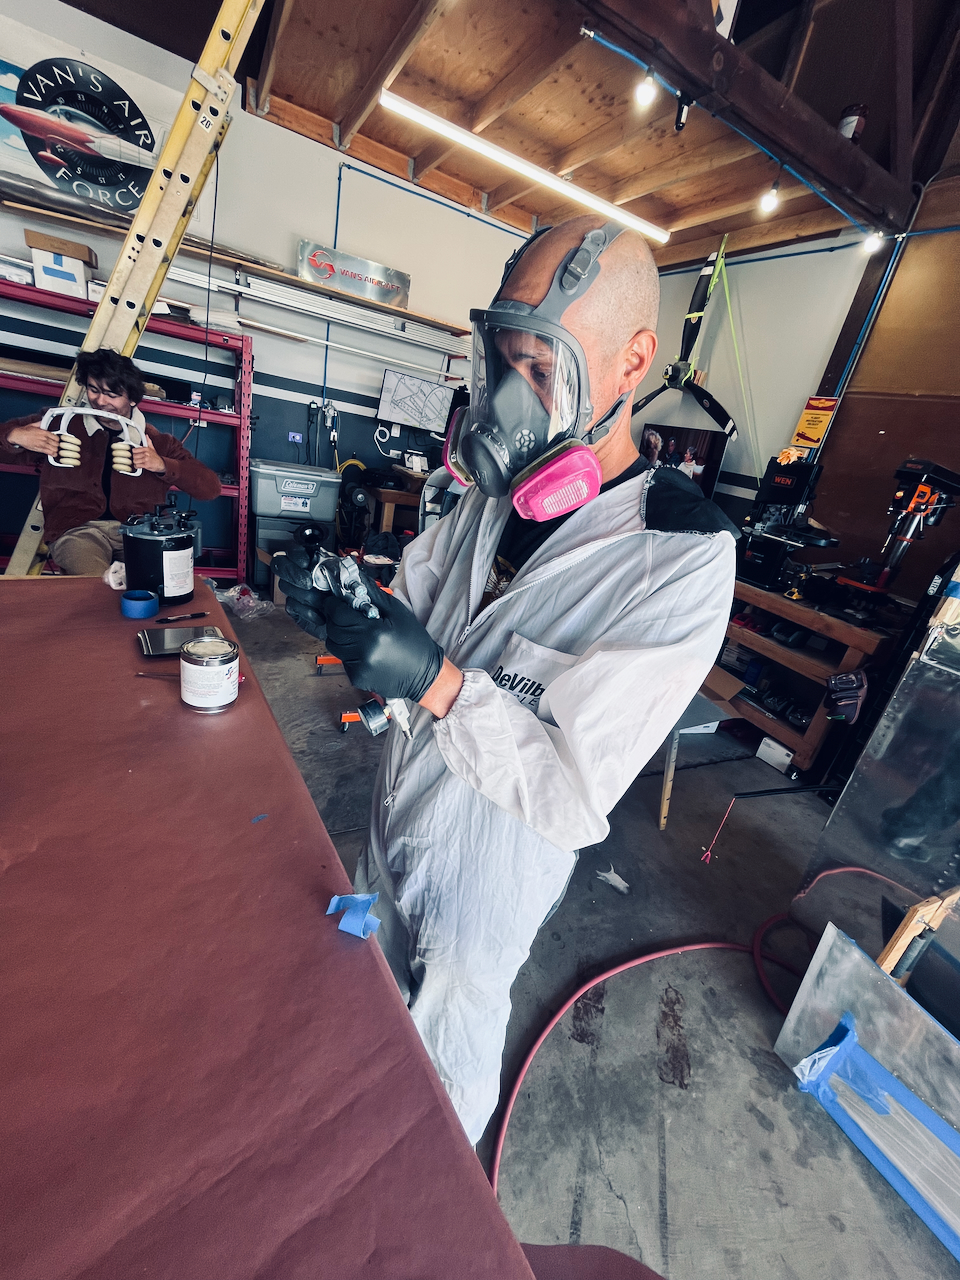
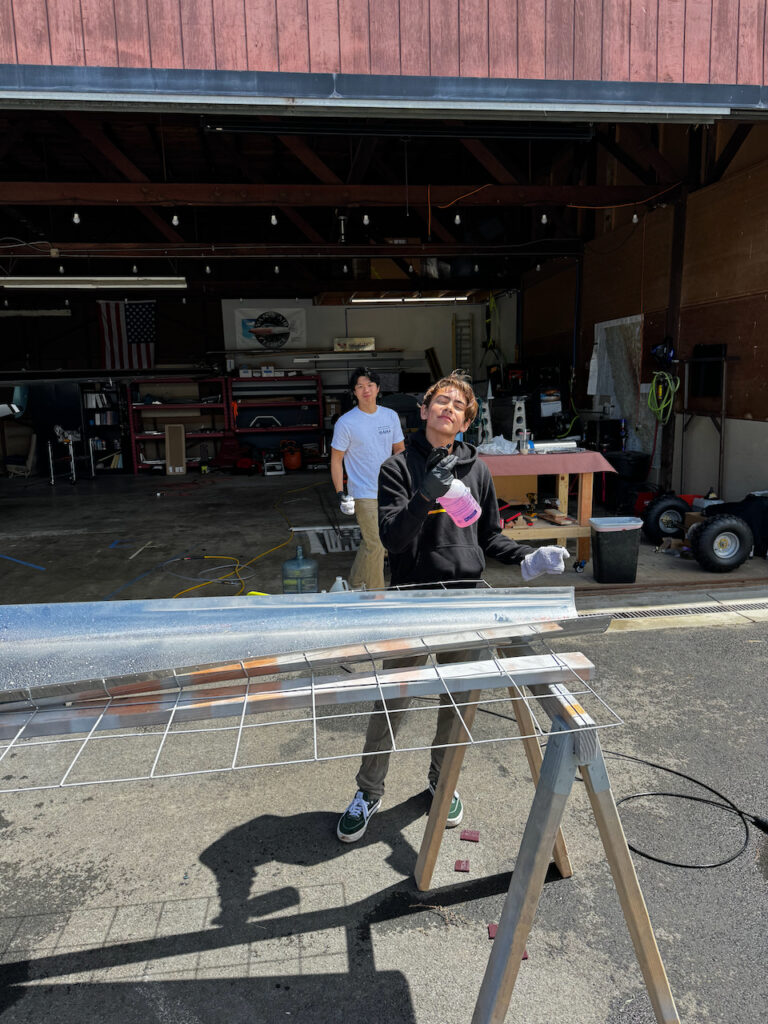
Nico getting his EkoClean on!
And Adam in the background also helping with etching
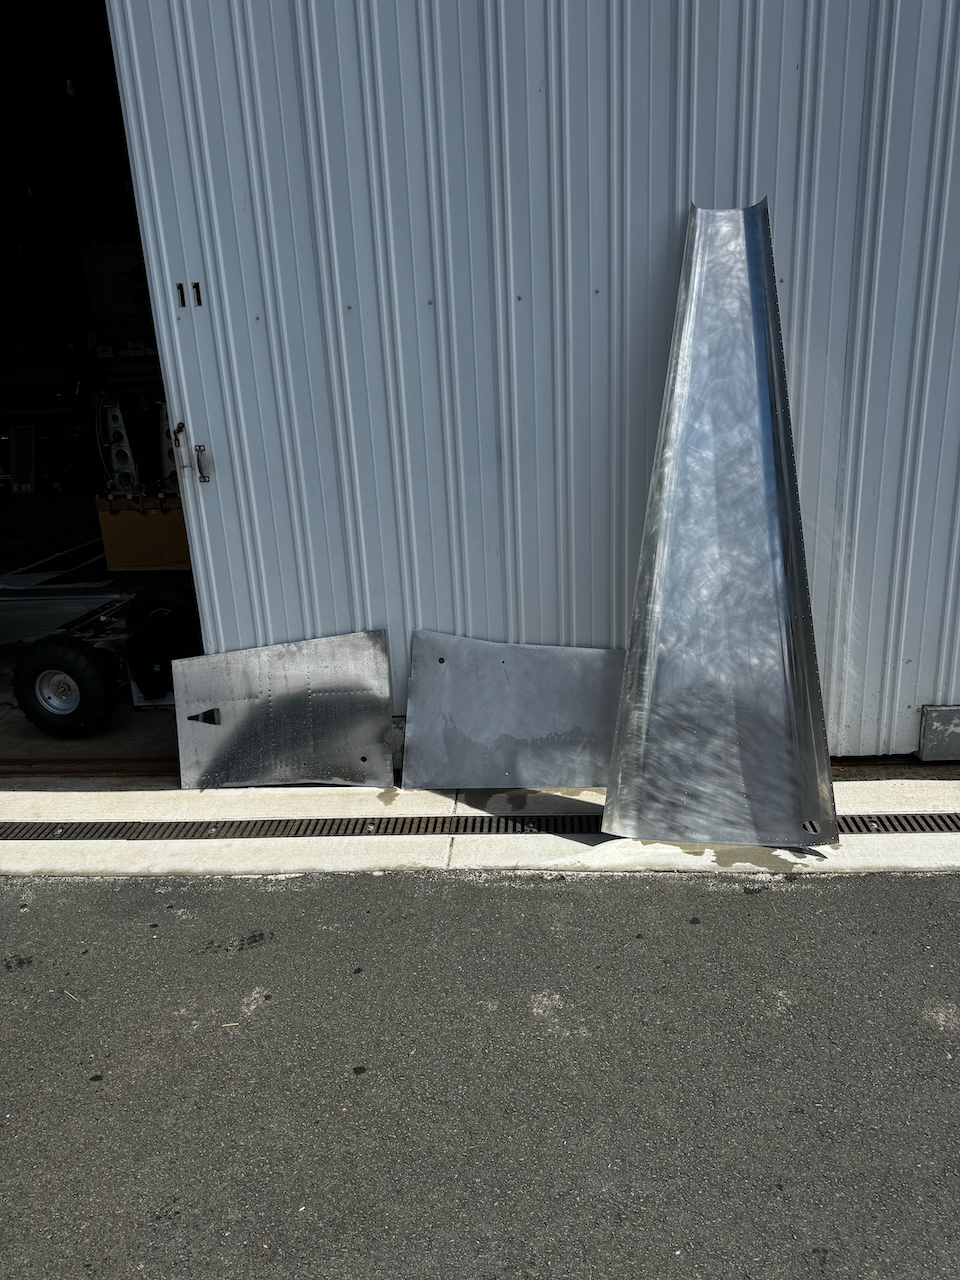
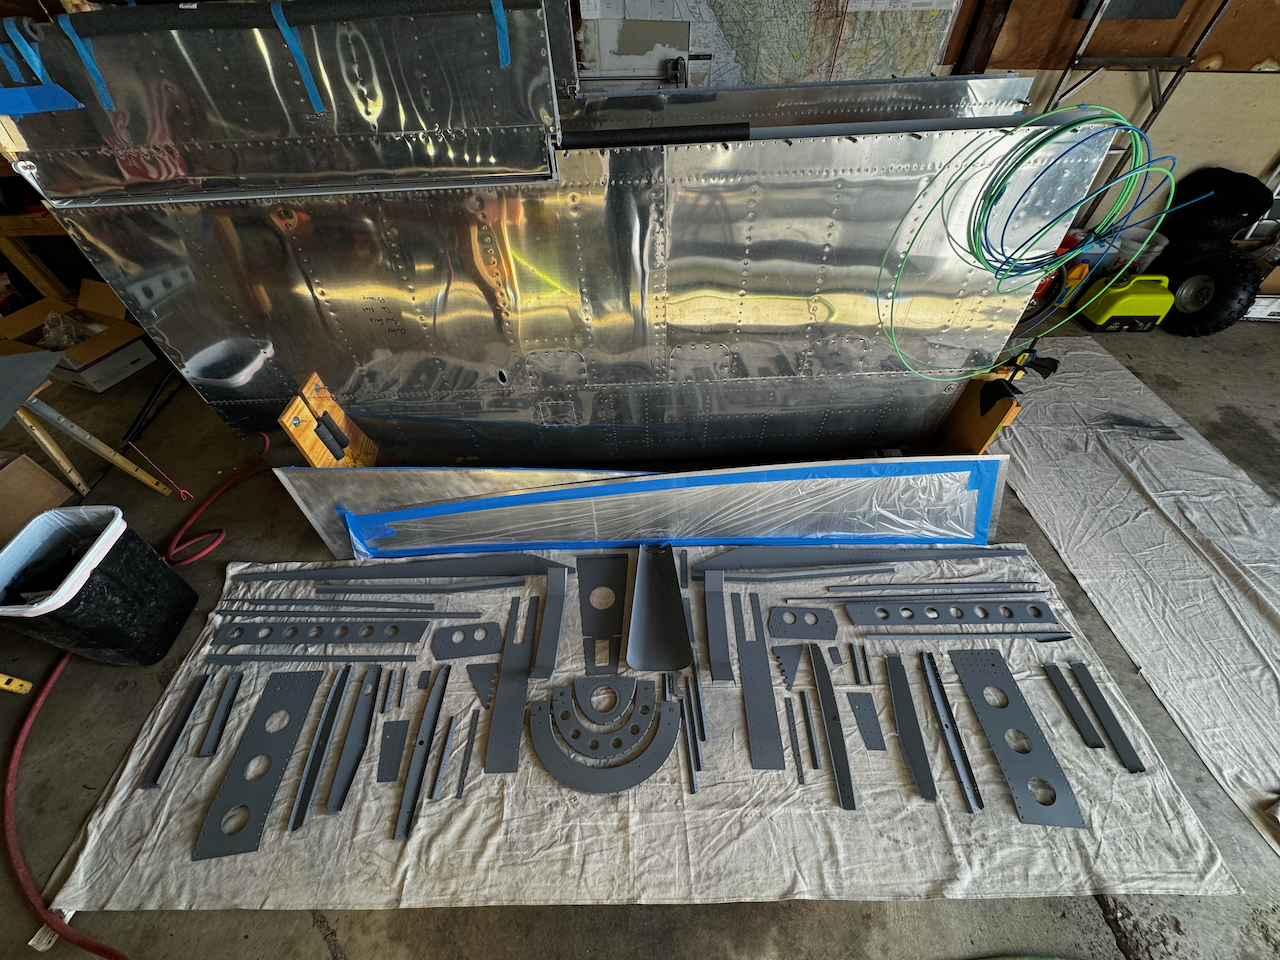
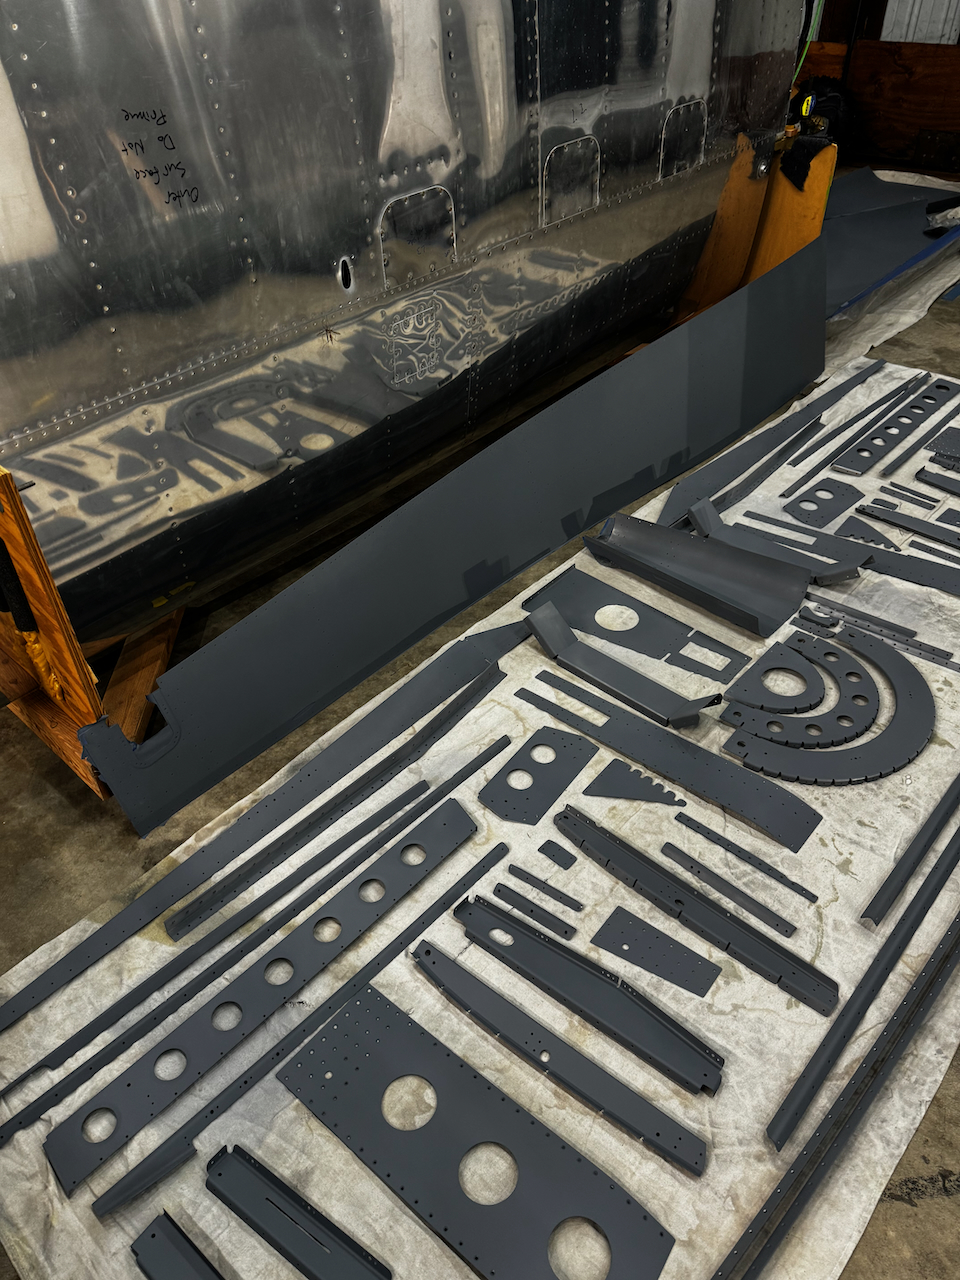
All the parts are etched and drying for priming.
One note on the prep work. I decided to try using safety wire with a combination of labels and specific wire wrapping to ensure orientation is not lost during the priming process. In the past I’ve had issues knowing which side was top, (or aft, etc) for pieces that are fairly symmetrical and flat since any labeling is lost during priming. By using creative wire tying I could enforce certain rules. For example, in my gusset pieces, I put the wire through the fwd most hole, and added a little kink on the side that is outboard. Having got all the way through the drying process, I can confidently say this was the best version of part labelling I’ve done so far.
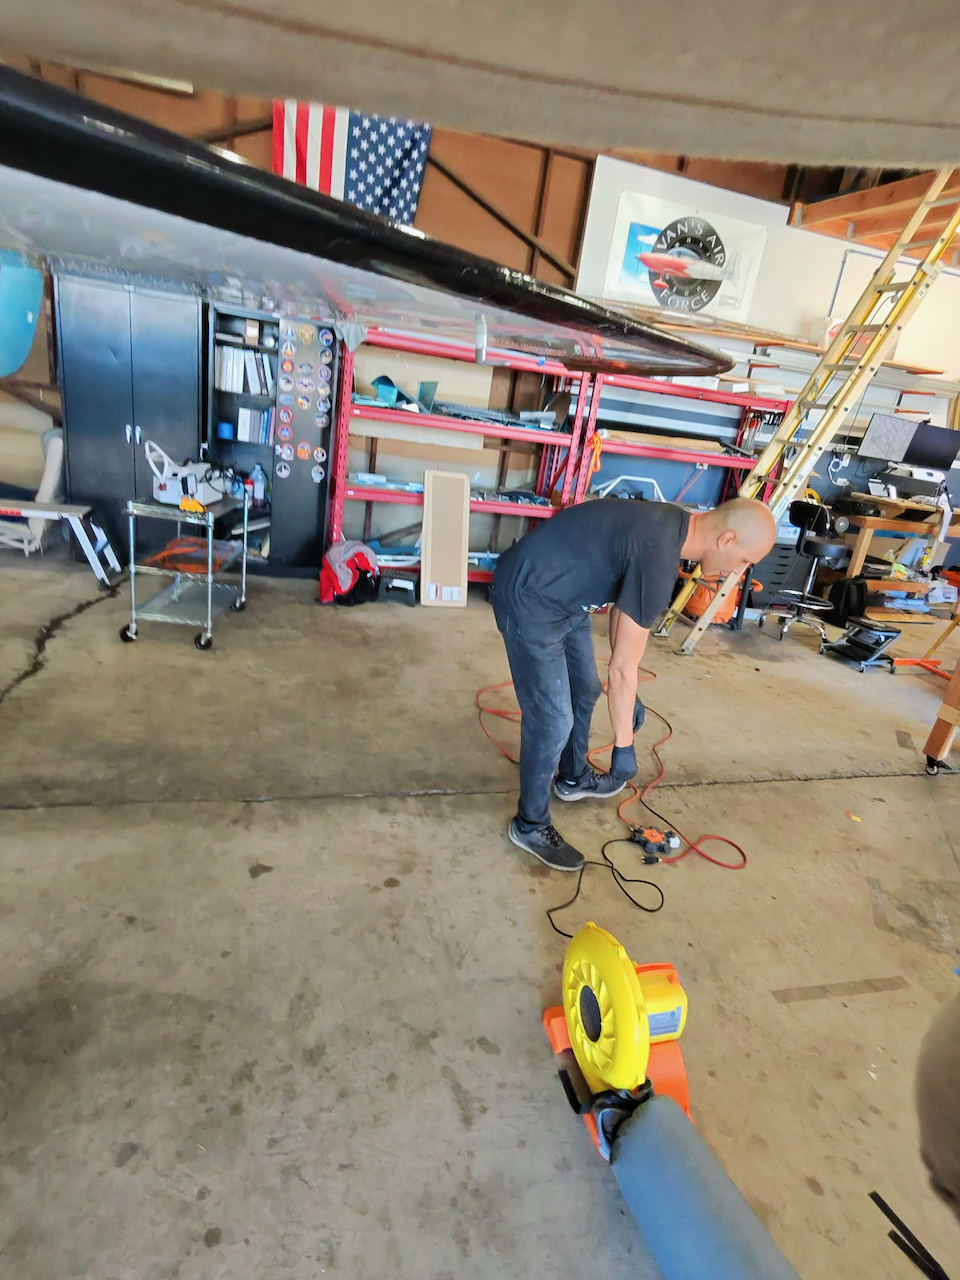
Prep work done! Next, we got the paint booth setup and started the long process of priming everything. Nothing major to report here except the first round of priming I didn’t dilute the paint enough and ended up clogging the filter. A touch more distilled water and everything worked out great!
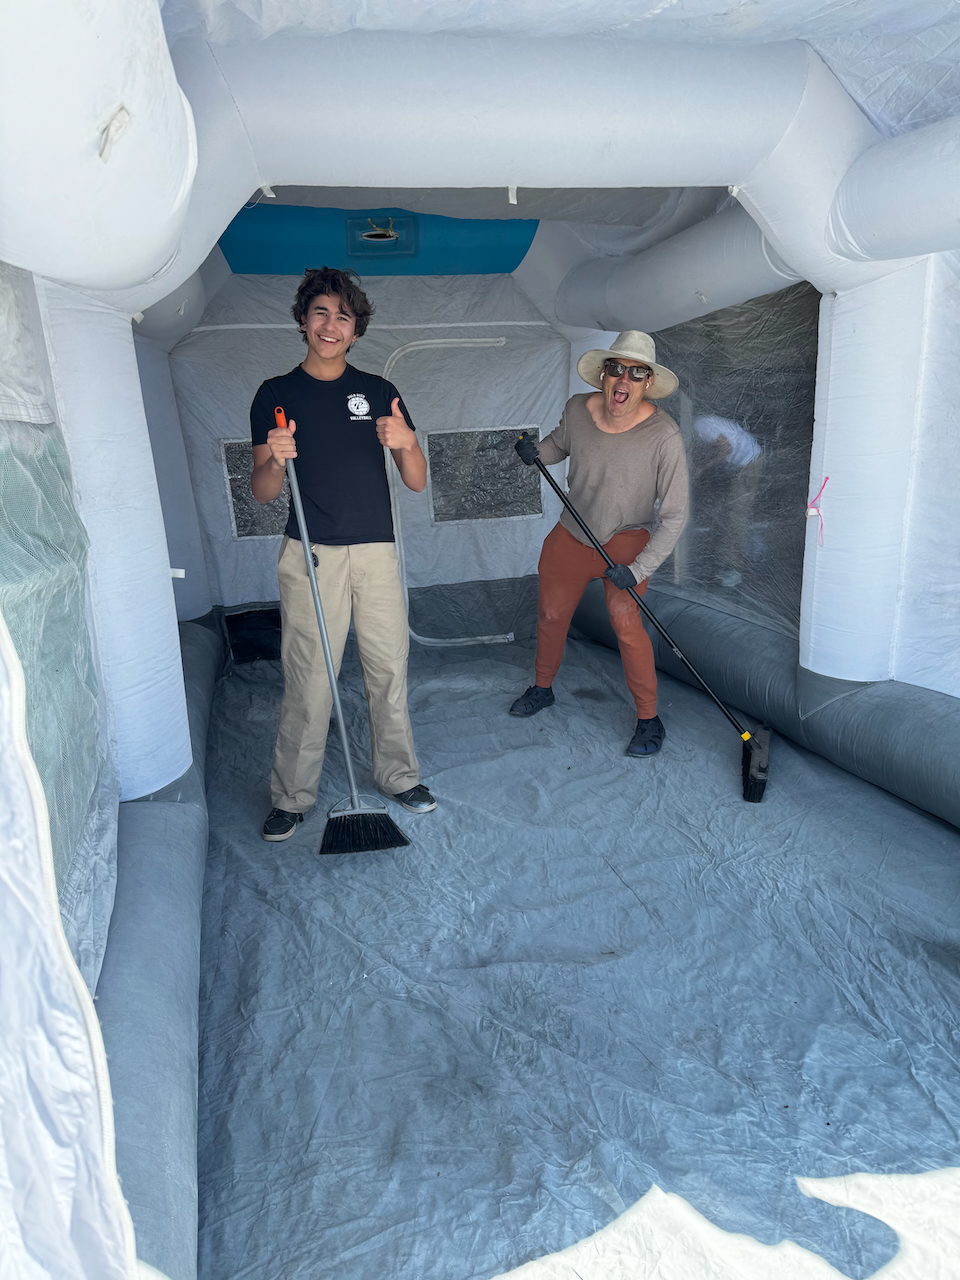
reconfiguration to paint booth setup
Tod and Jack on booth prep!
Jack and Adam masking off the backside which will not get primed
skins fit nicely in the booth
exhaust setup to evacuate most of the booth air.
Time to spray!
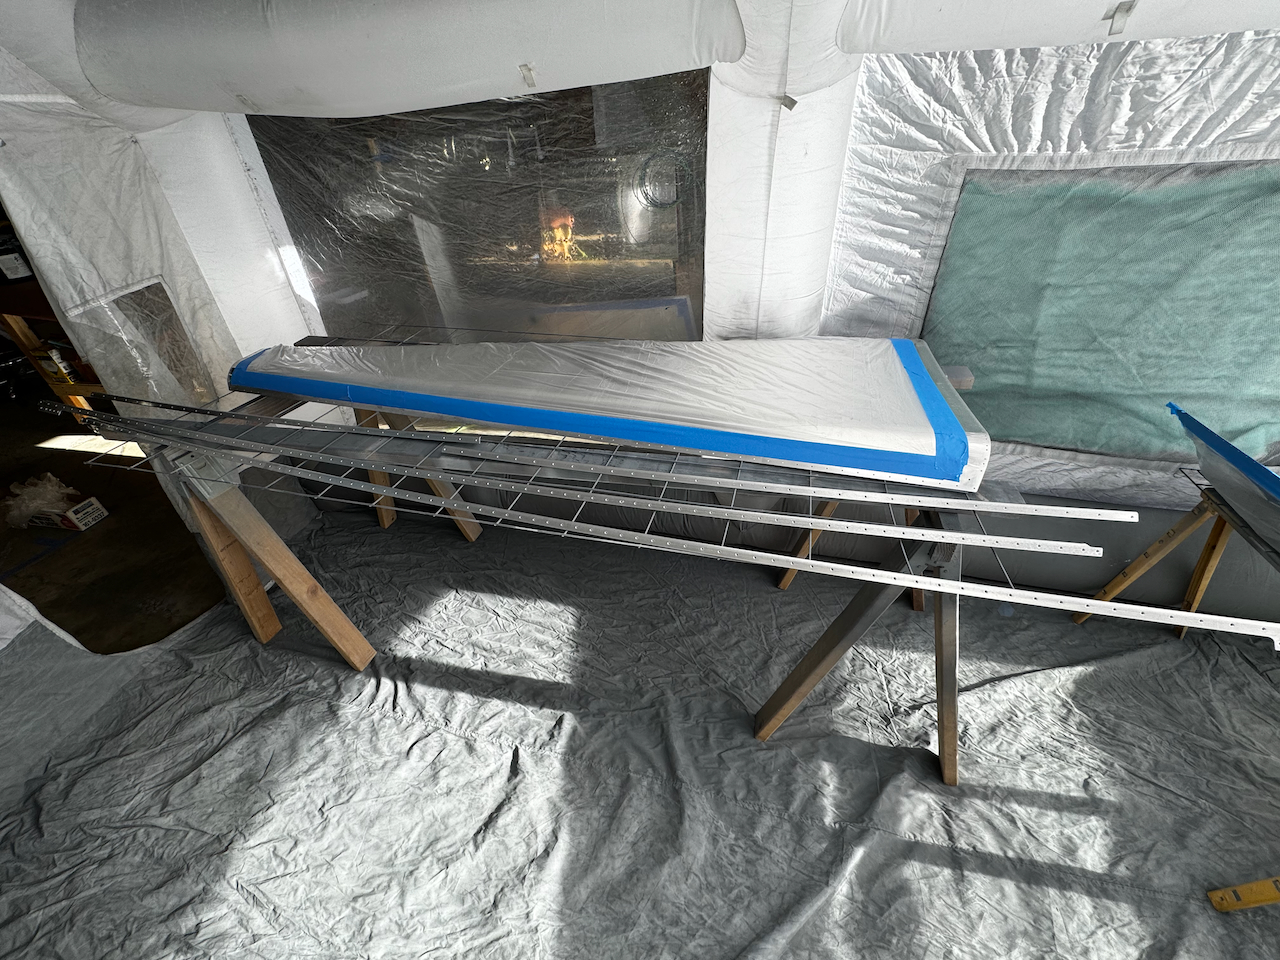
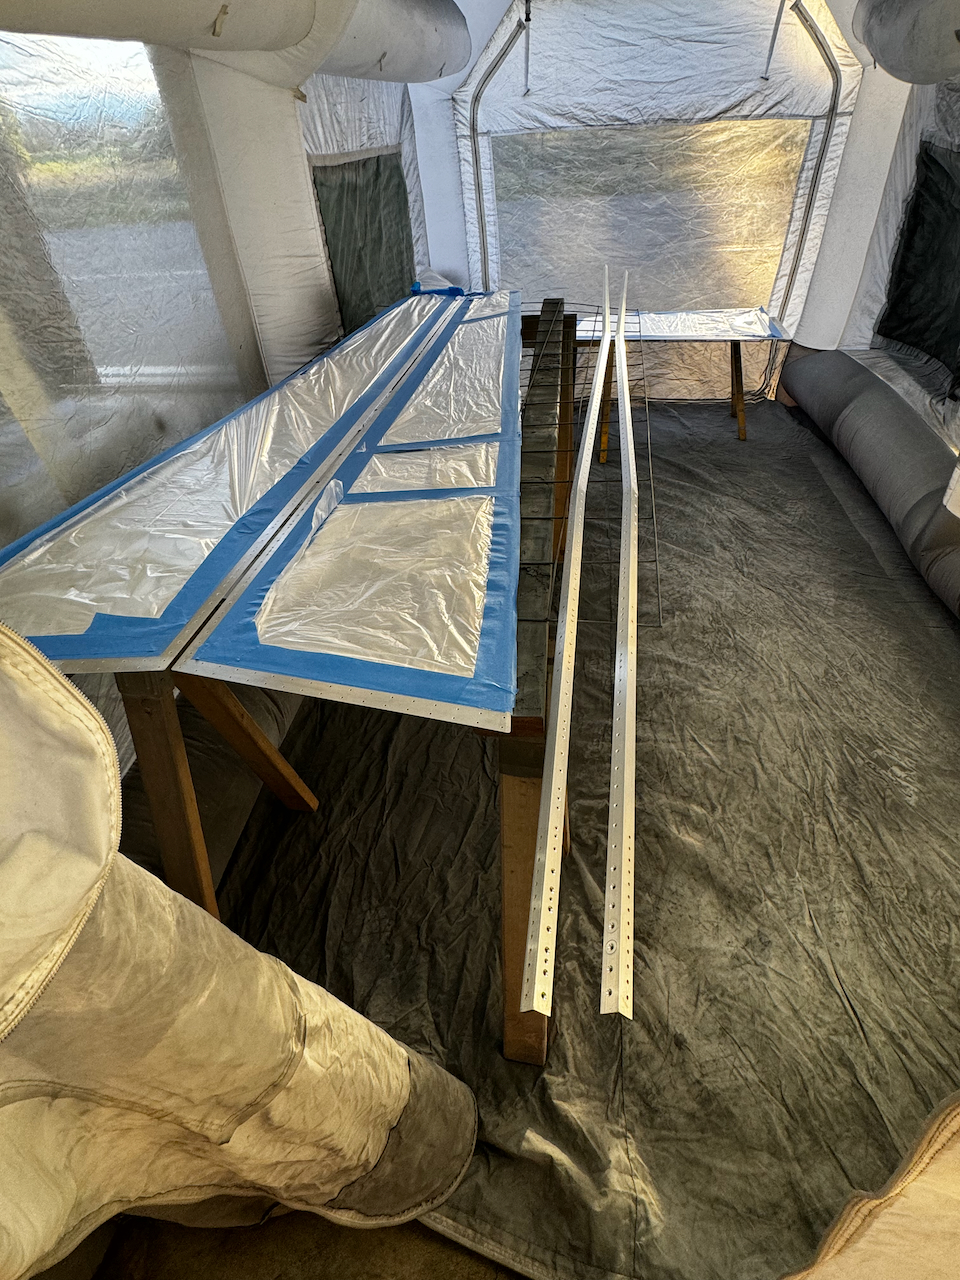
Small parts primed… time for the big skins!
Final Skins and Longerons ready to paint.
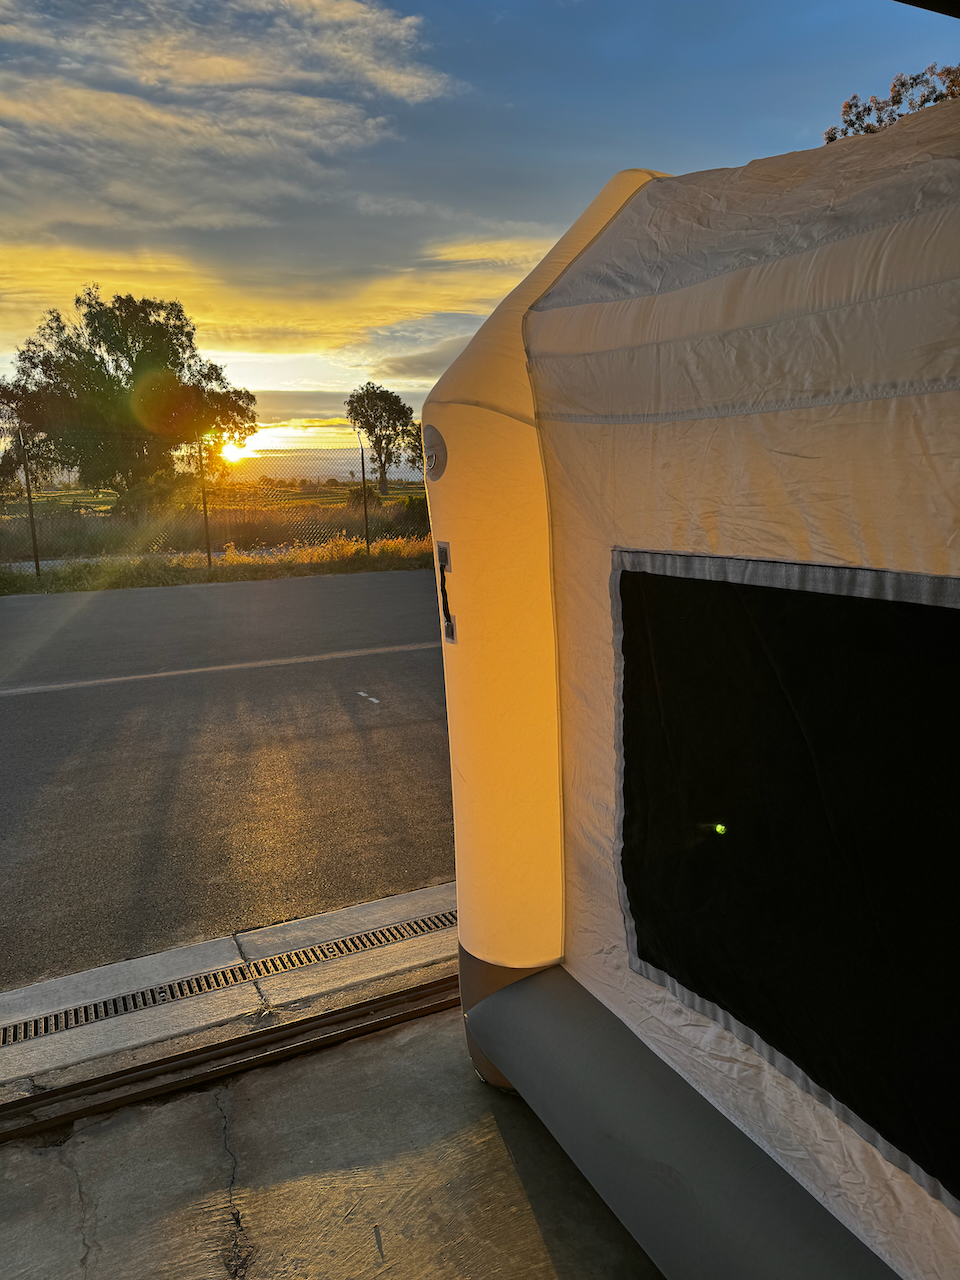
Beautiful sunset priming sesssion.
All Done! Time to let it cure.
Well that’s it! Another epic day of priming and now the fun begins. Dimpling remaining parts should be fairly straight forward (although some of the skins will be big and hard to manipulate), and then final assembly should start. Soon enough I should get to the “canoe” stage, sitting in my fuselage making all sorts of airplane sounds. Until then, enjoy this fun little video Tod made using his facebook glasses, and…. Happy Building!

3 comments
Epic. Great work. Congratulations
so much parts big and small…. great work!
Awesome!