It’s finally back to the fuselage! After spending quite a bit of time reviewing where I was with the fuselage, it was clear it was deburring time. Back when the fuselage got put on hold back in June 2023, I had just disassembled the fuselage. That meant there was a whole lot of deburring to do. Luckily, over the break I had done a bit of the deburring and marked the parts that were already complete. The primary work left was the longerons, the skins, and the sub-assembly structures (seat, center, and fwd fuselage). Sam and I cranked out a nice long session on Saturday to wrap up all the deburring!
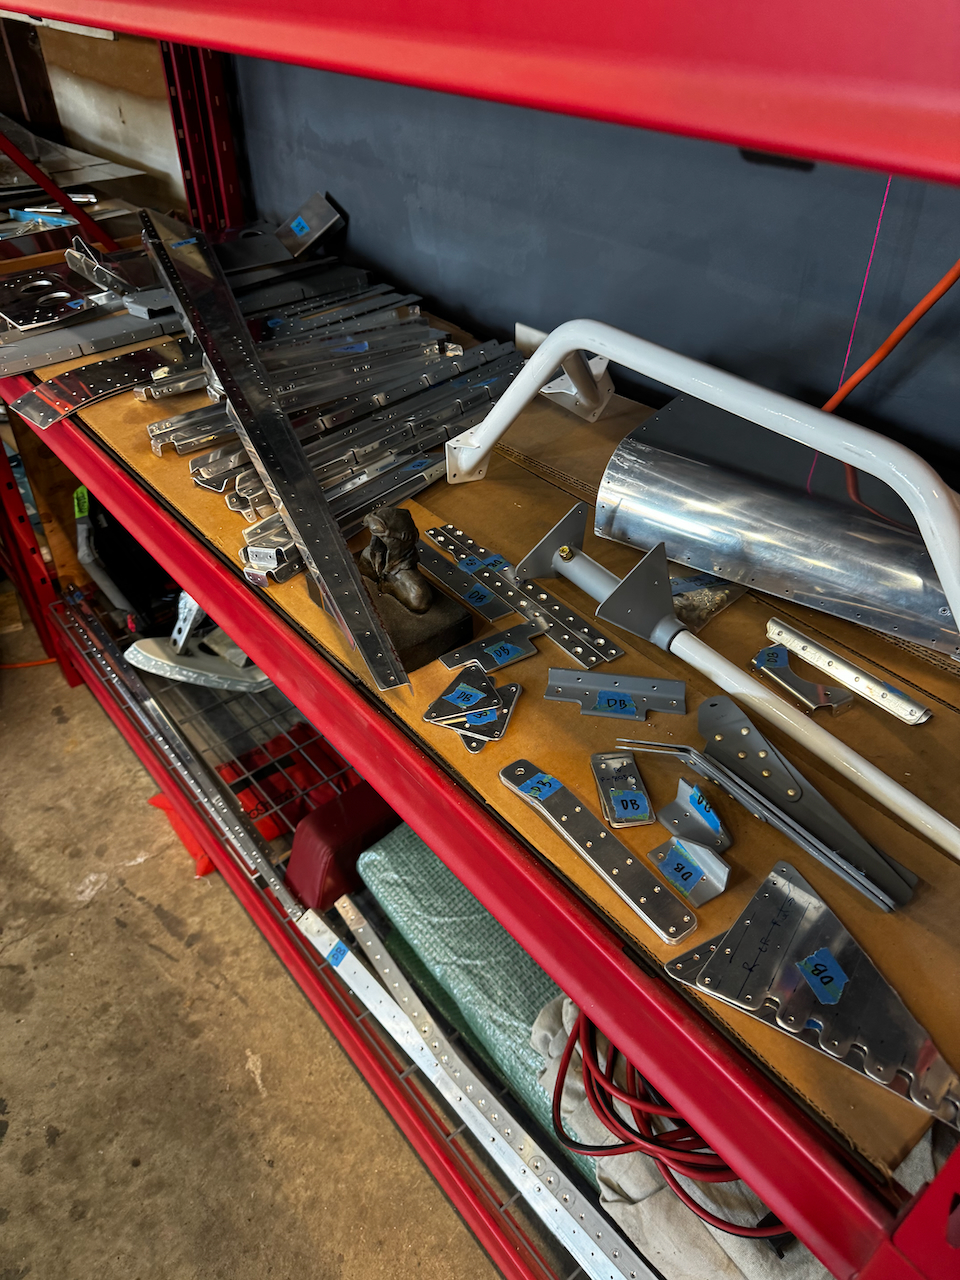
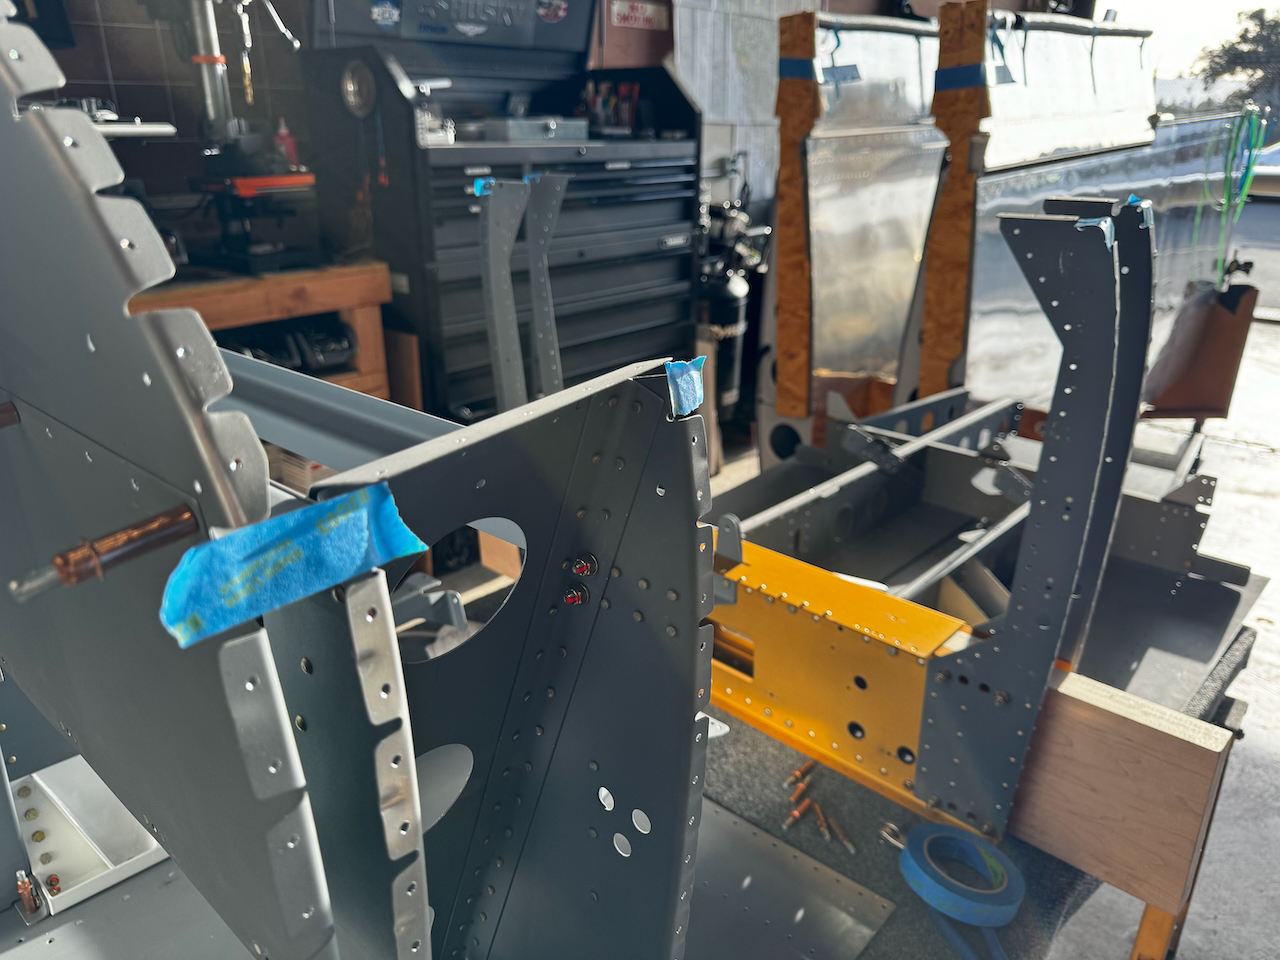
parts re-inventoried. Notice the blue tape denoting deburring complete.
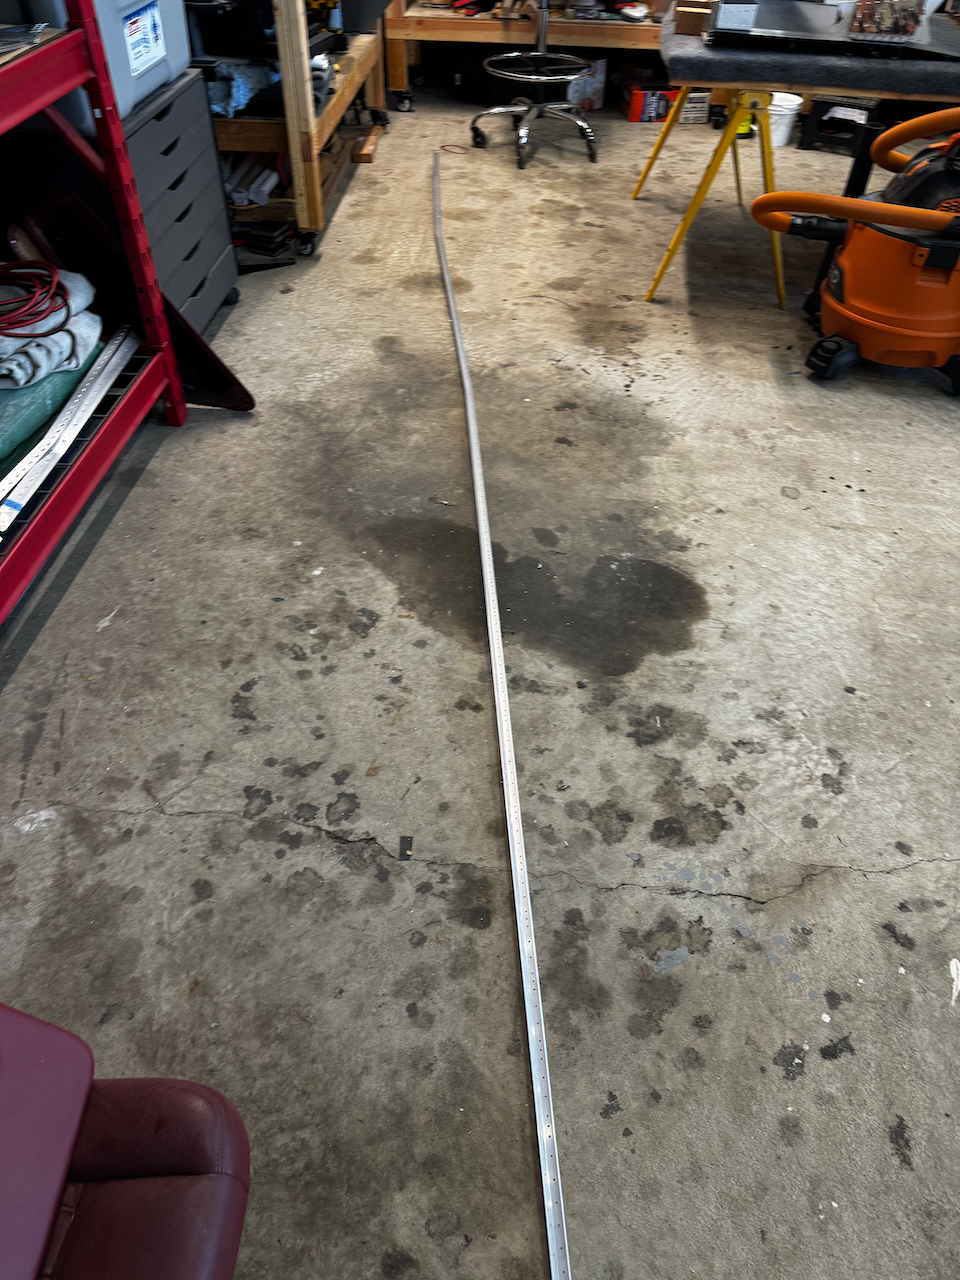
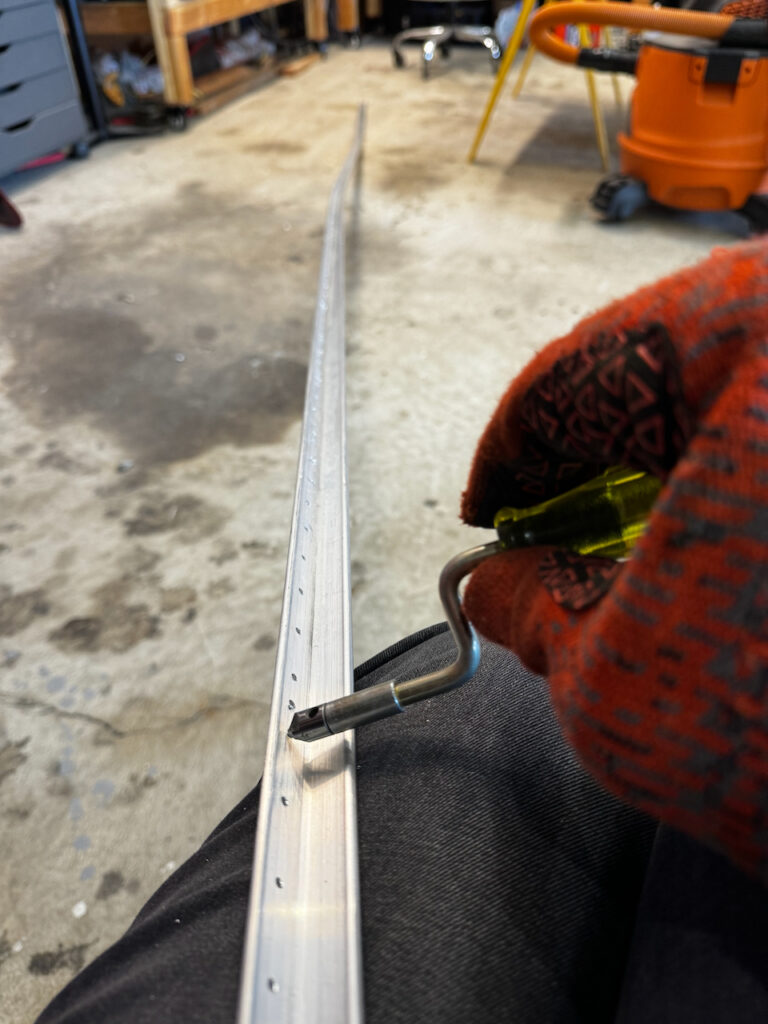
those longerons are… looong! Lots to deburr
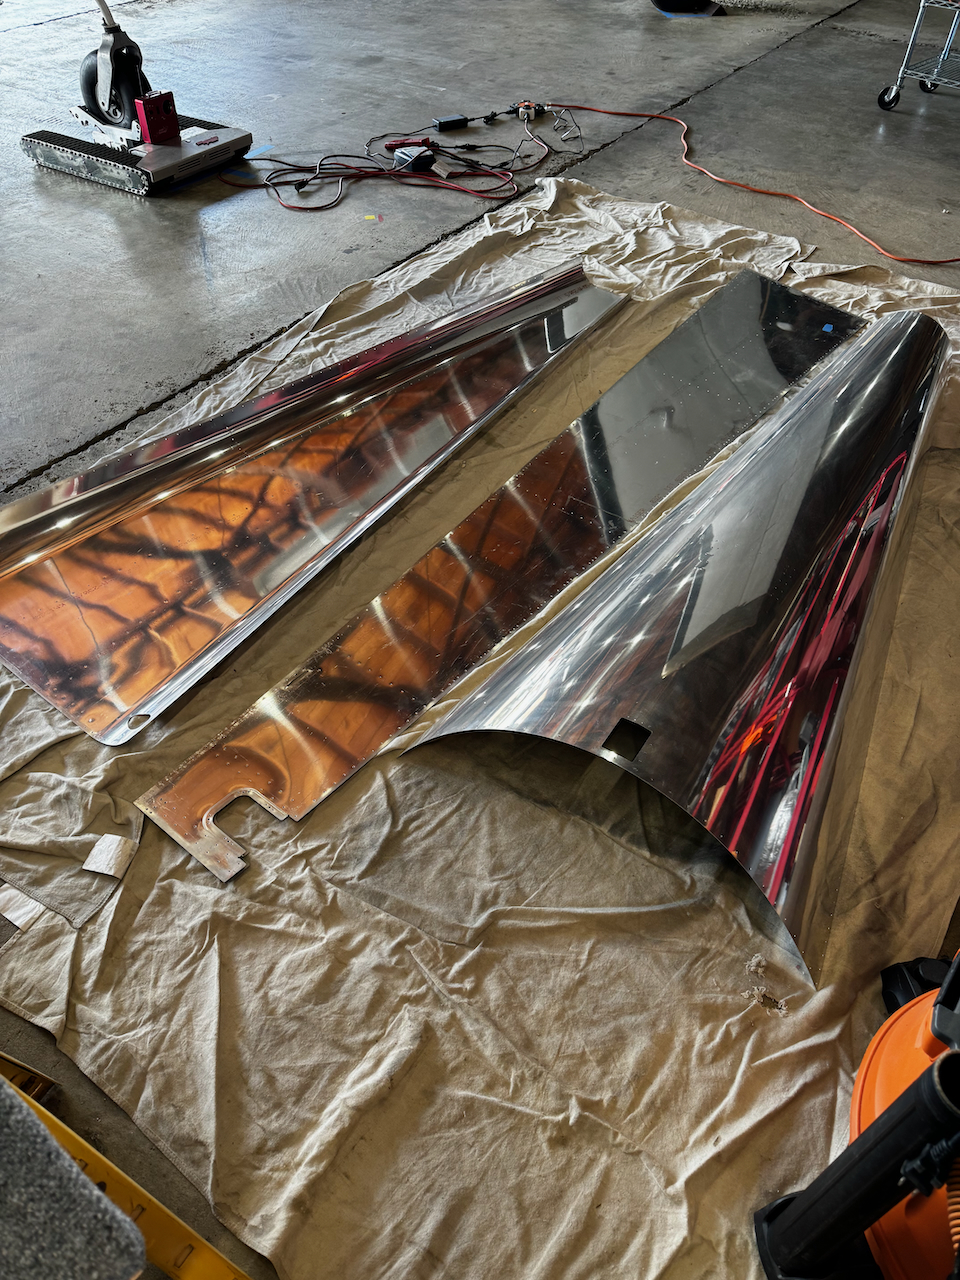
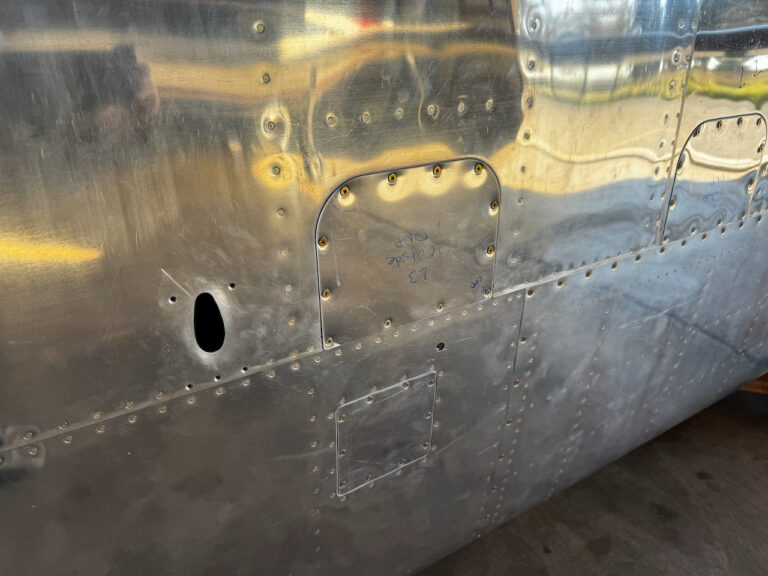
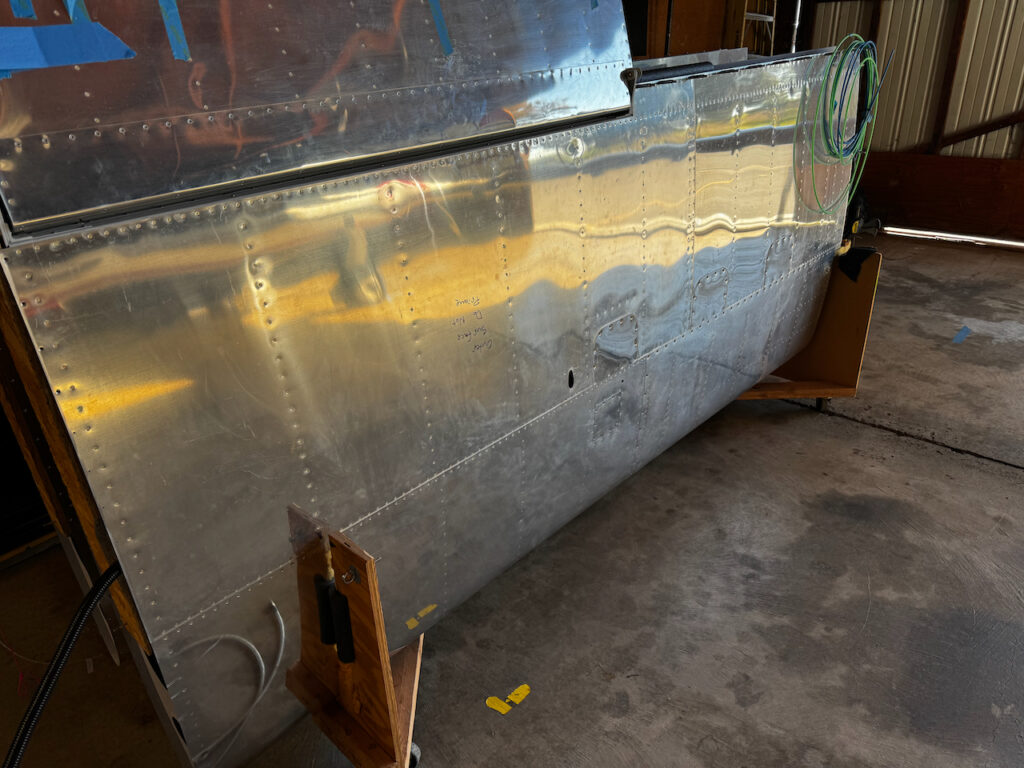
Skins needed to be deburred. Thankfully, Alexander had already deburred the large side skins over the winter.
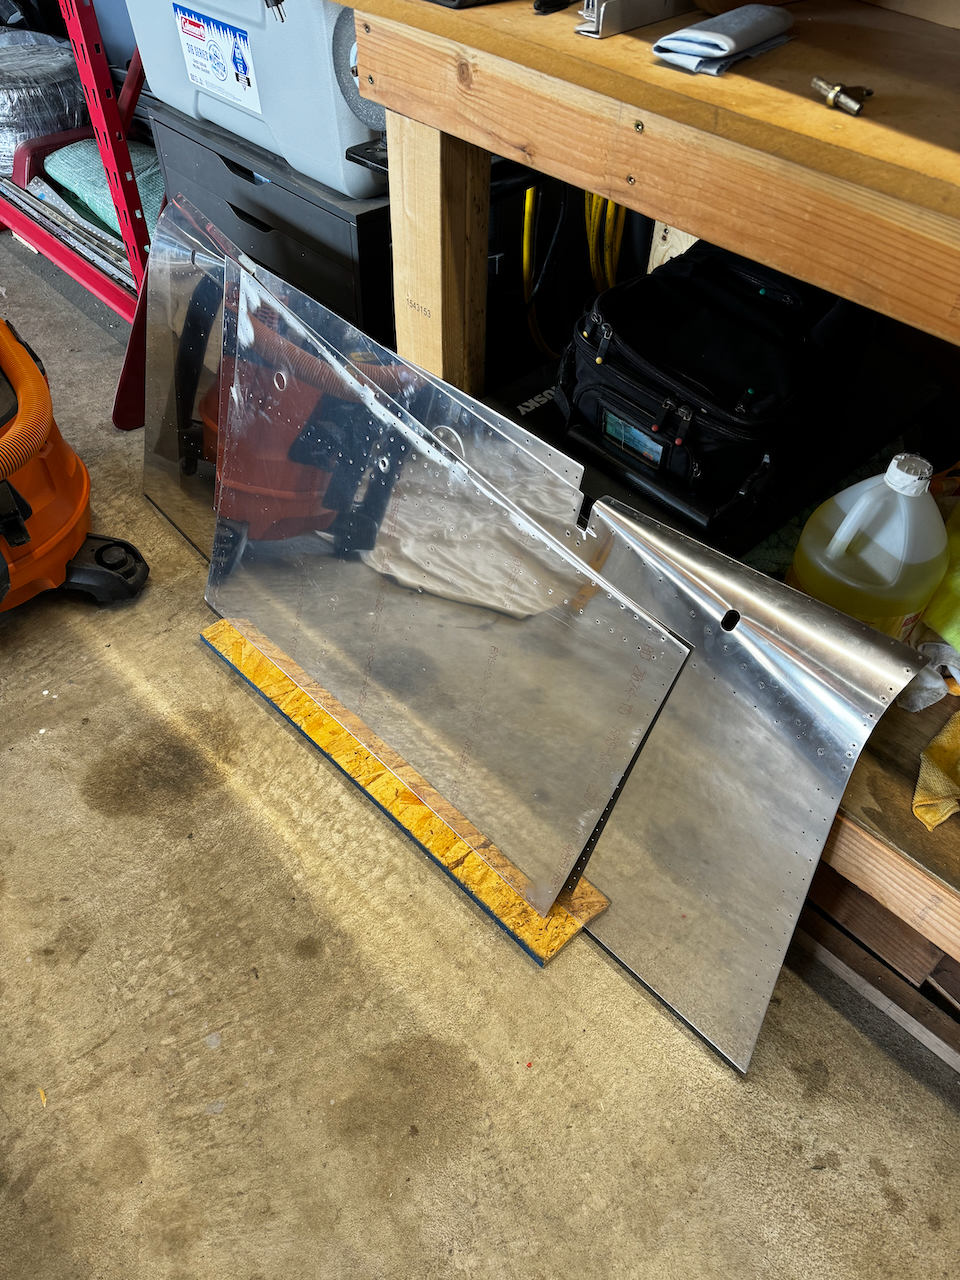
More skins to deburr.
Sam deburring the sub-assemblies.
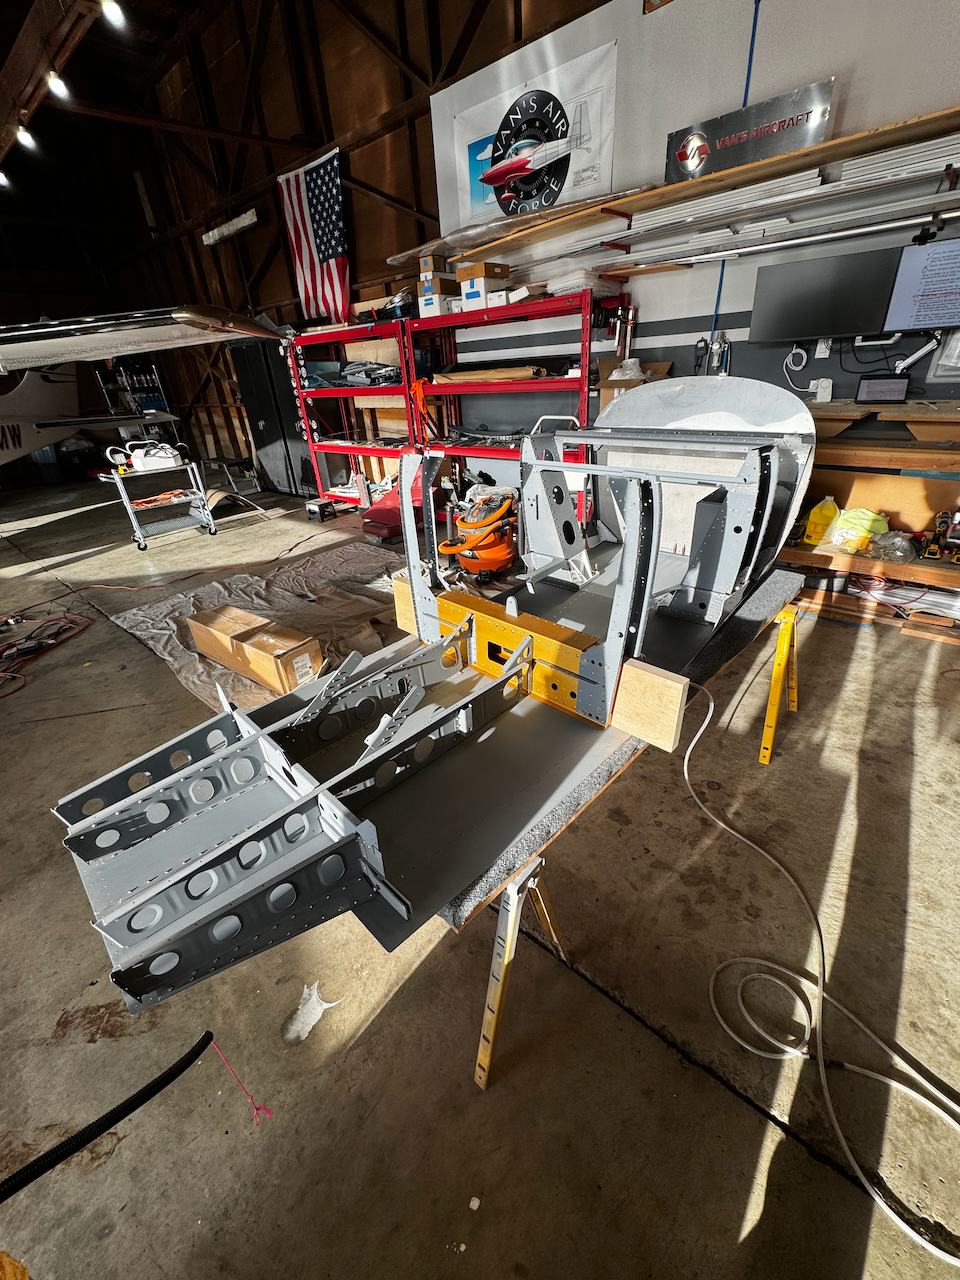
All Sub-assemblies deburred!
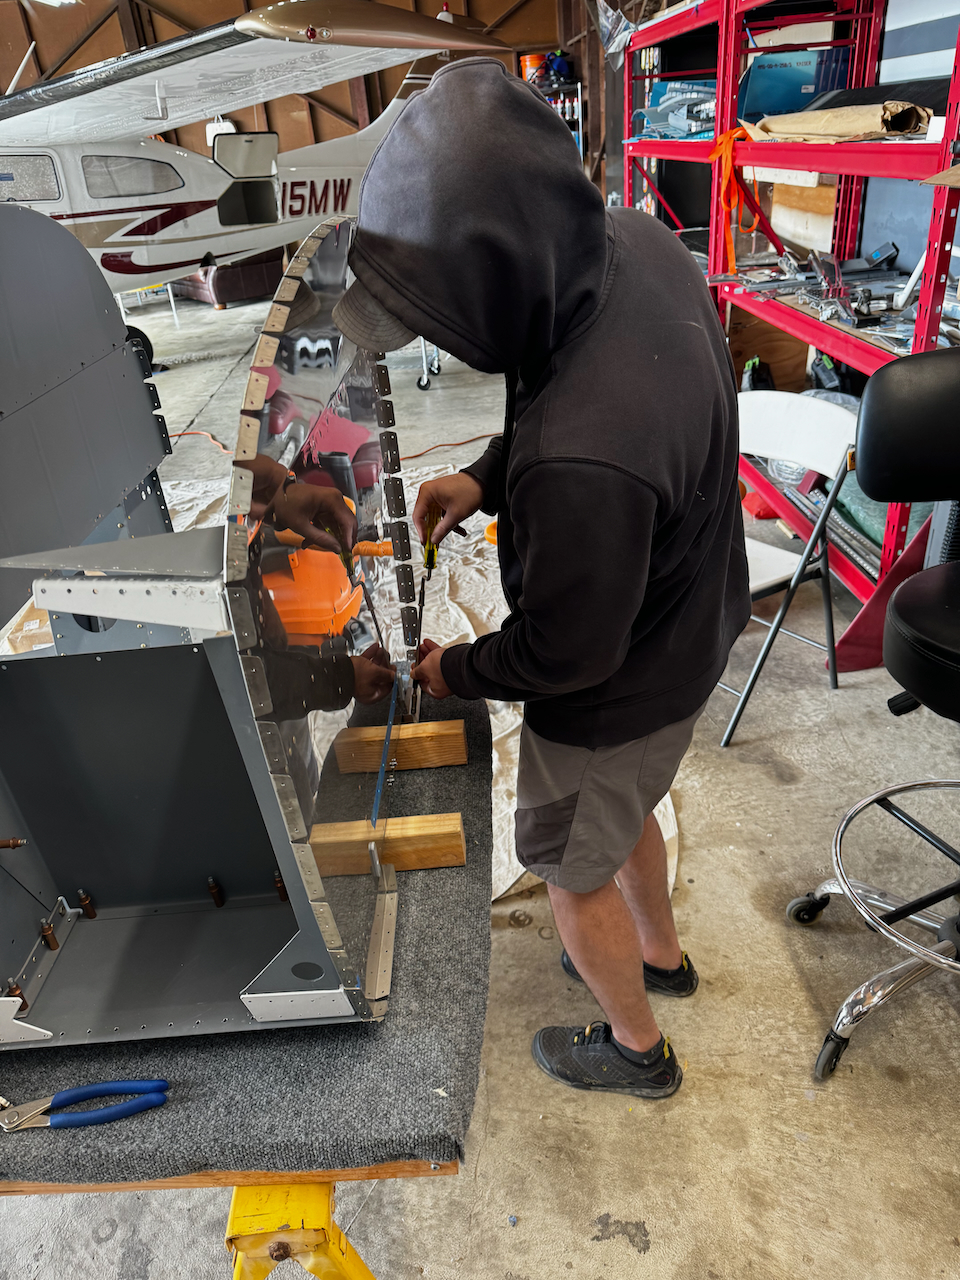
Meanwhile I found some time to get the final two wing access covers installed. Doesn’t that wing look beatiful back in the cradle??
At the end of the Saturday session I was having so much fun, I decided to get a bit of dimpling going. There are a lot of steps to pay attention to here to ensure you don’t miss any specific details. I noted the DWG sheet each step referenced to ensure I could visualize what was being dimpled. Although they did this themselves on a few steps, it wasn’t on all. Make sure you dimple in the right direction!
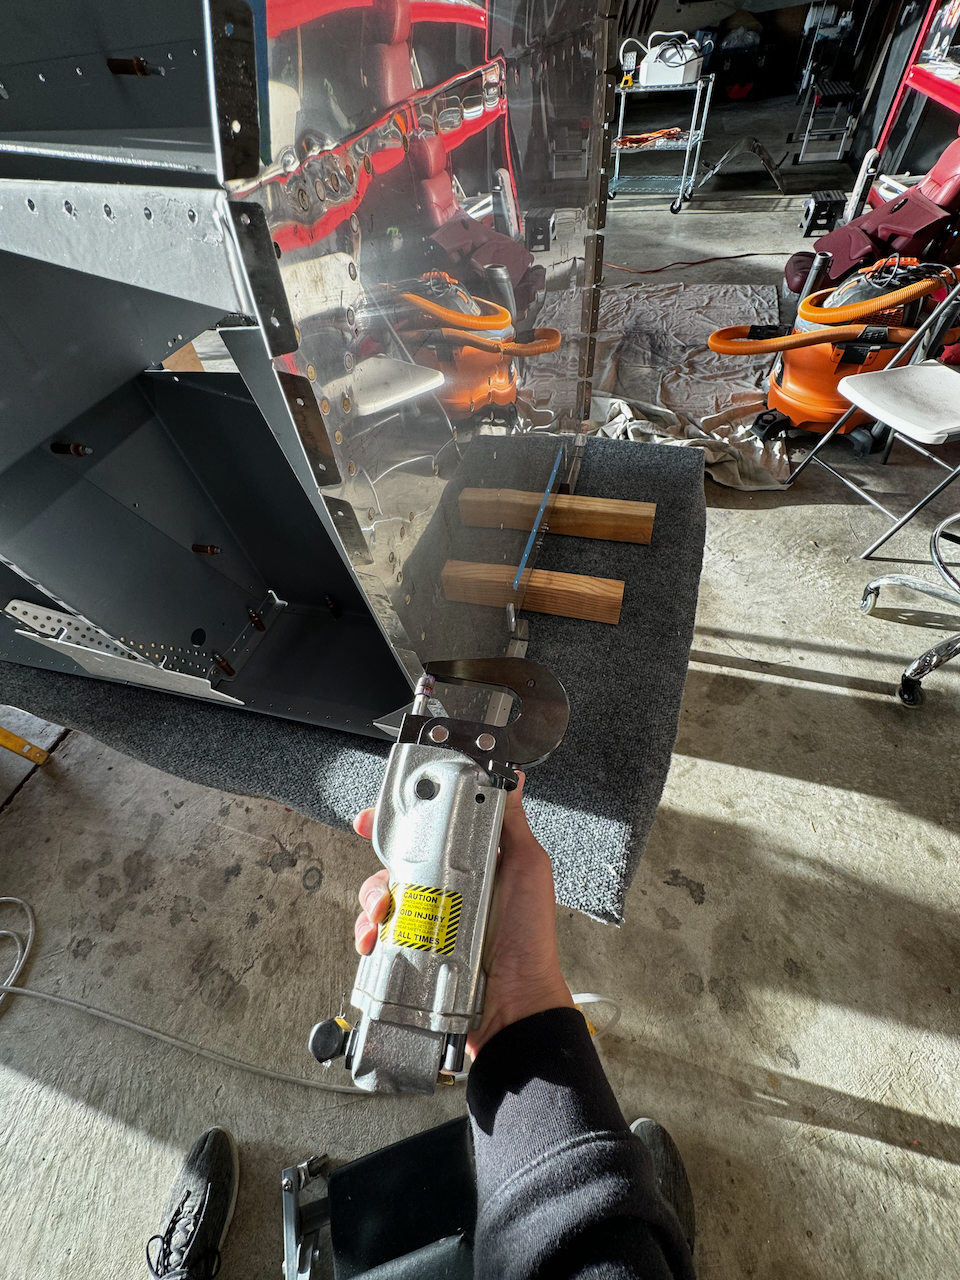
I taped off the longeron holes that don’t need dimpling
Time to start dimpling!
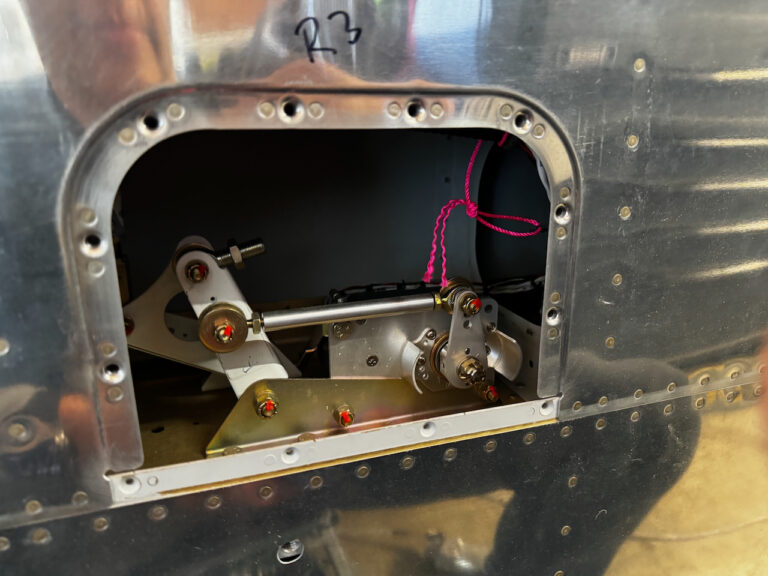
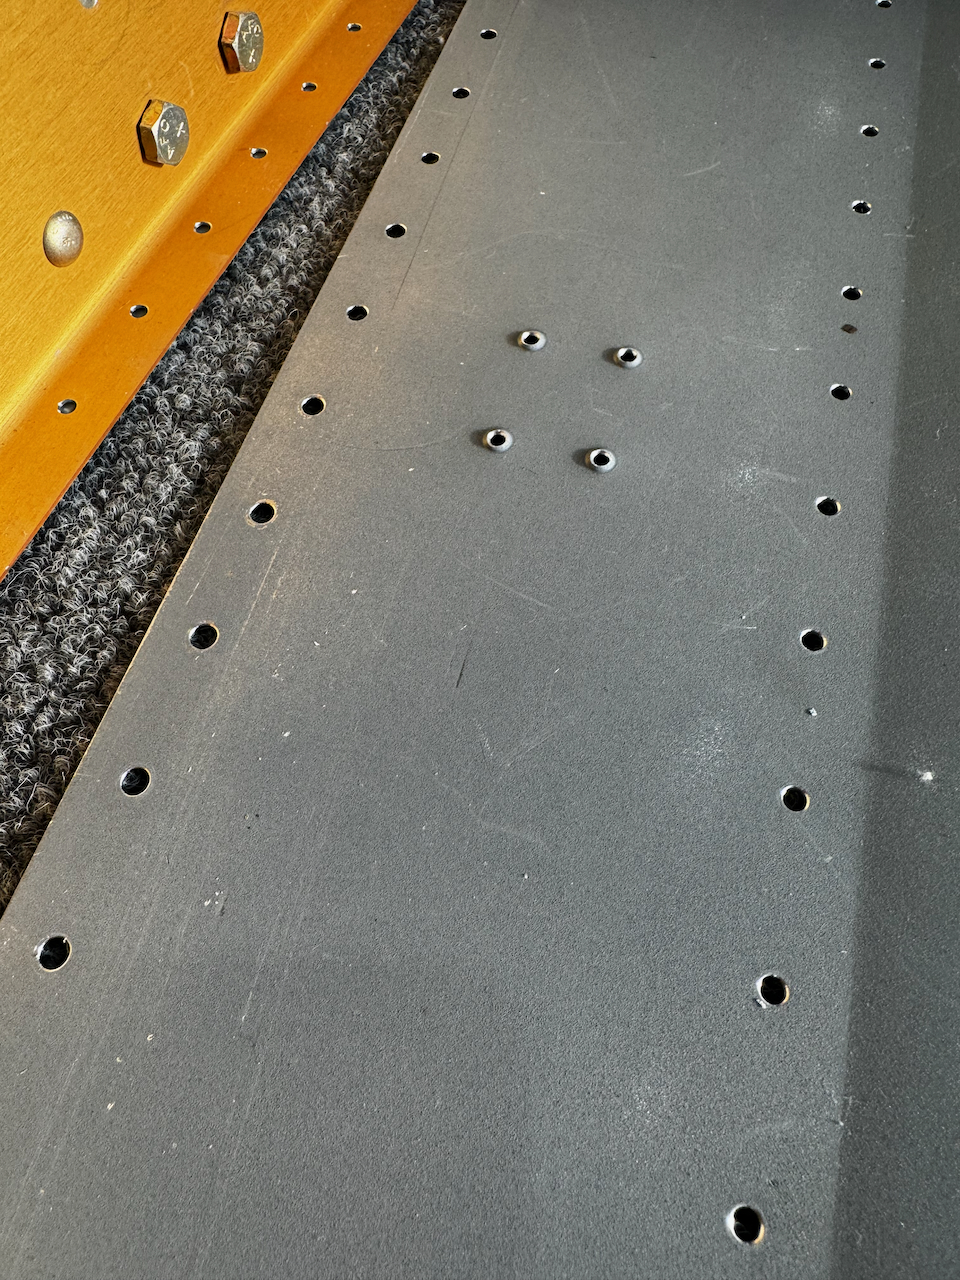
If you don’t follow the details, you may miss dimples like these hidden ones.
The next sessions will be focused on dimpling. The biggest challenge will be the skins. Probably a two person job next weekend to get those done. In the mean time I should be able to get all the smaller parts completed. Until then… Happy Building.
1 comment
What a great team work. You guys are moving at the speed of light. Proud of you