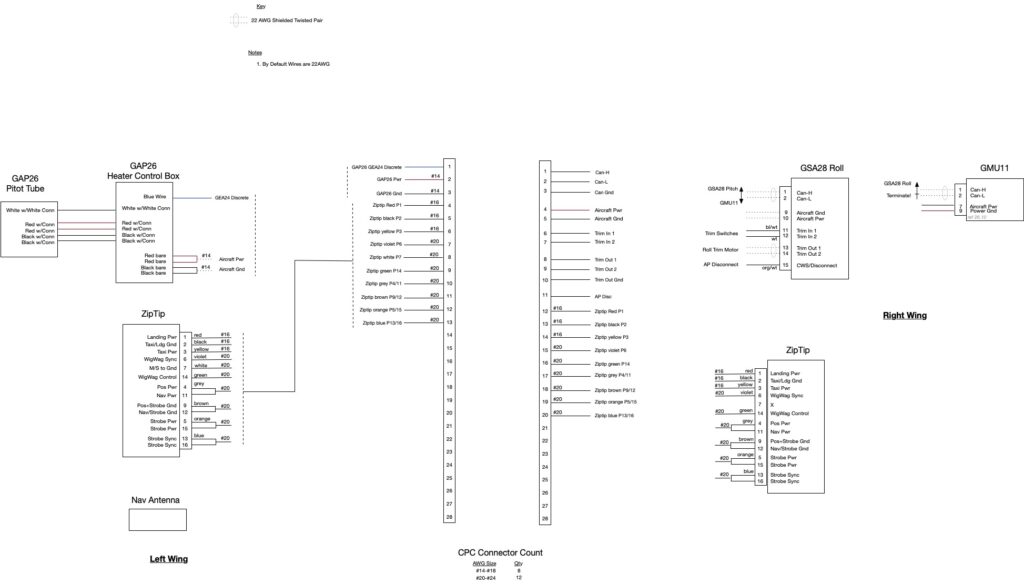
It finally feels like I have some momentum going again. As Sam and I get closer to closing out the inboard bottom skins, I needed to start getting serious about learning the wiring side of things. I spent quite a bit of time reading through the G3X installation manuals and studying the pin outs for the right and left wing components. This includes the roll servo (GSA28), the remote magnetometer (GMU11), and the ziptip tip lights. Below is a draft of the schematic I started putting together. This will inform the wiring I need to do before closing up the outboard skins.
With a general idea of what I needed to wire up, I jumped right in and started practicing the CAN pass through splicing I needed to do and then proceeded with wiring up the wing. Although I haven’t completed it yet, I started to get some good momentum towards completing the right Autopilot Servo wiring.
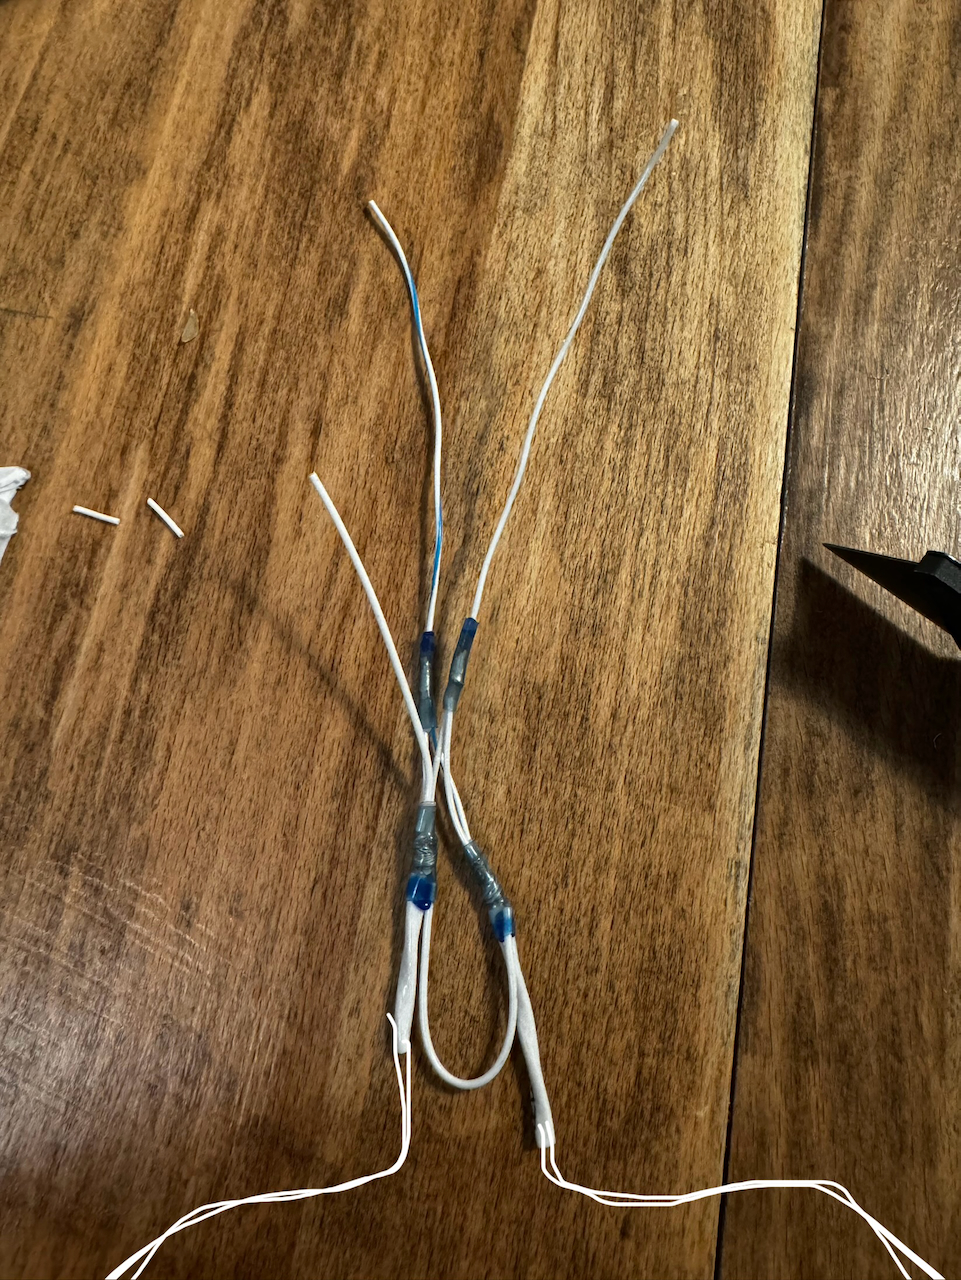
some practice splicing a CAN bus pass through
Now onto the real thing!
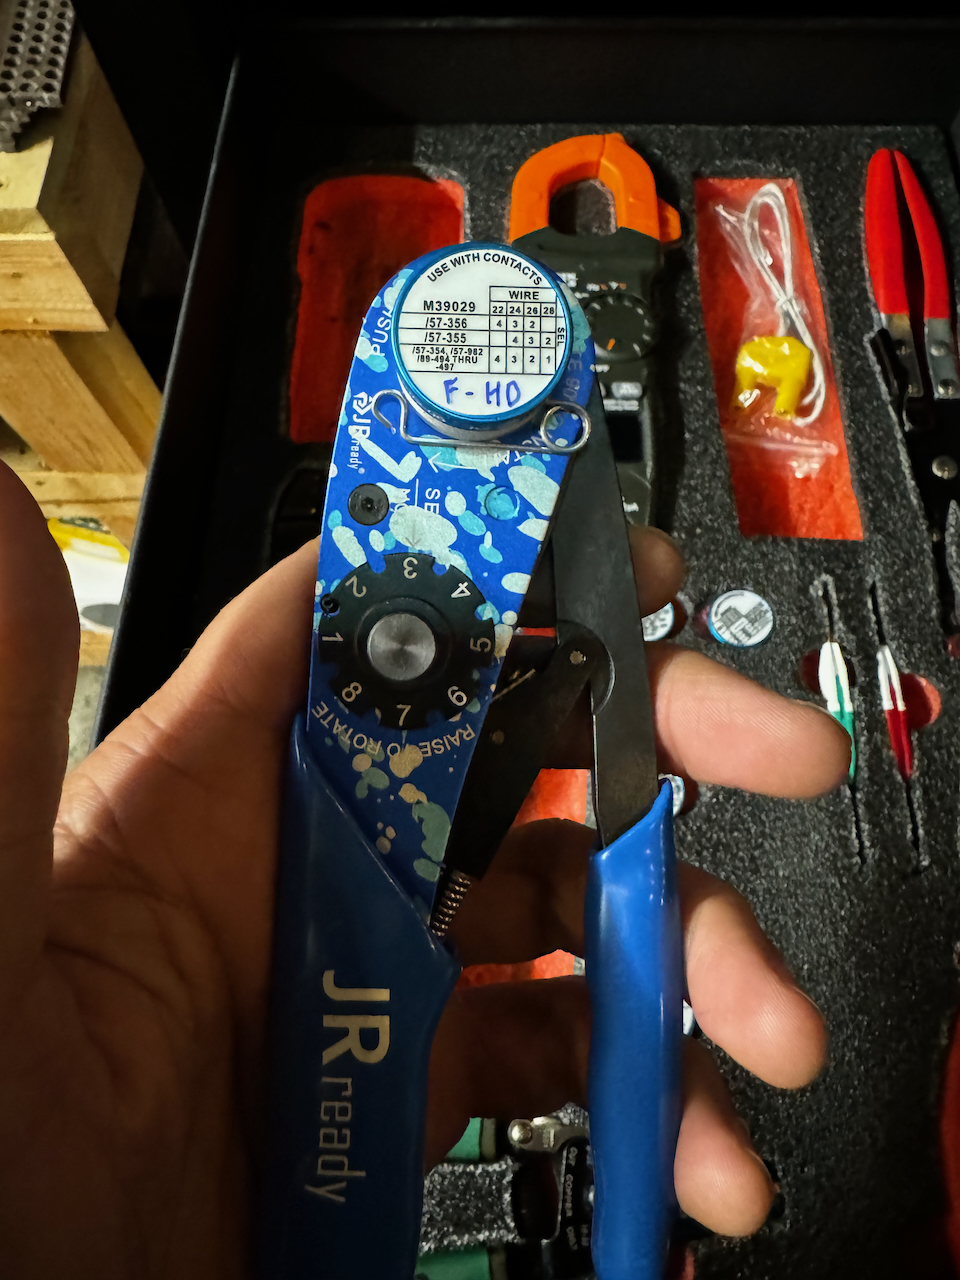
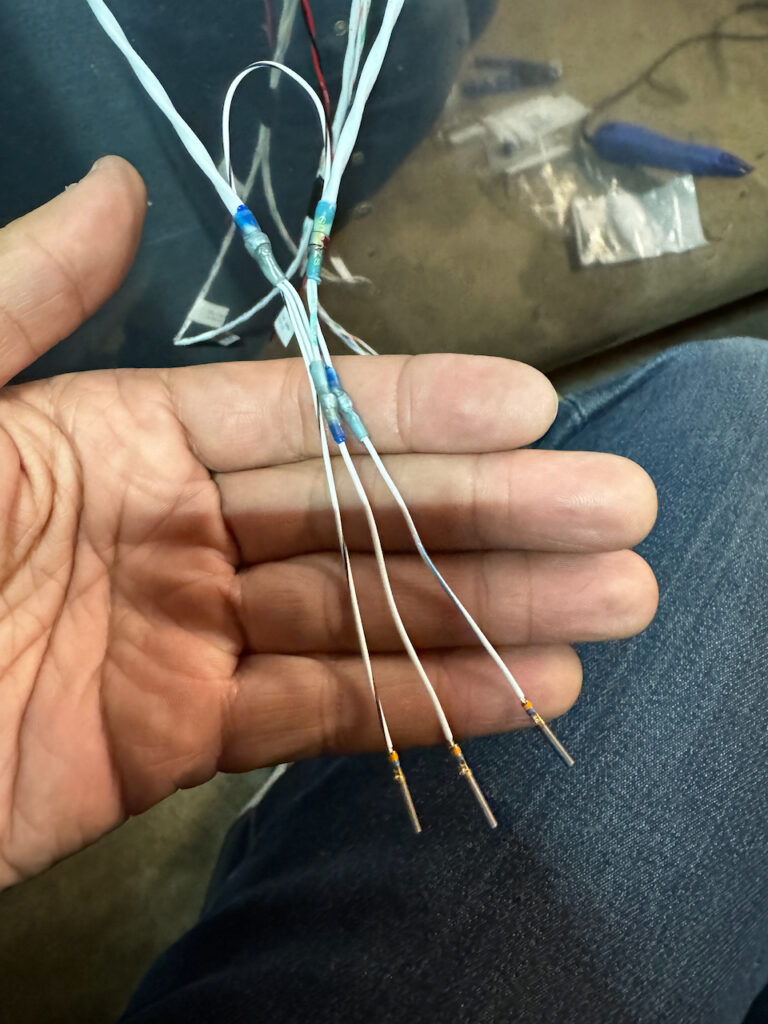
These are high quality crimpers for the pin crimping
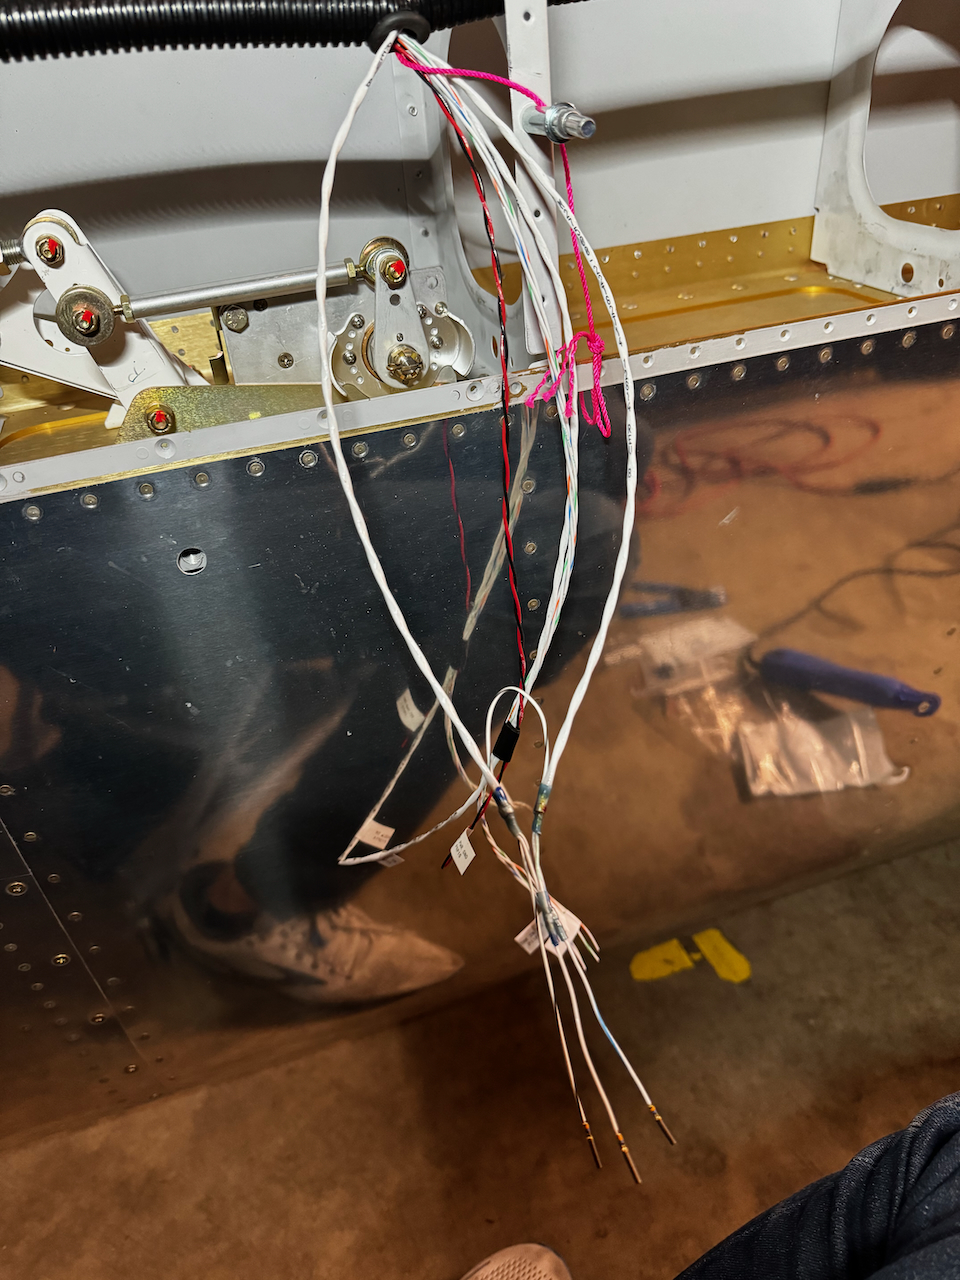
finished can bus pass through
still need to pin the rest of the wires
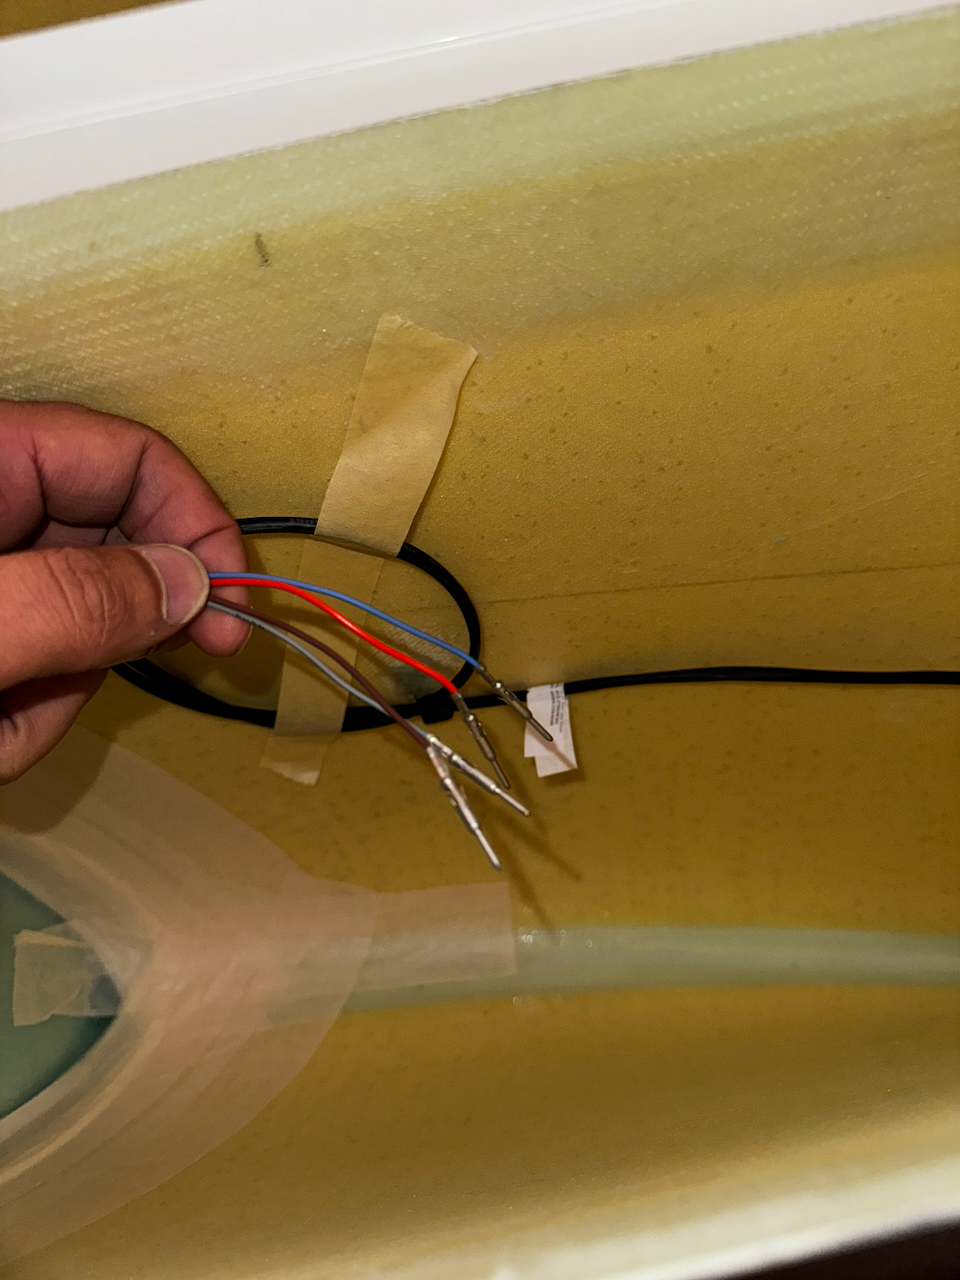
Zip tip wiring research
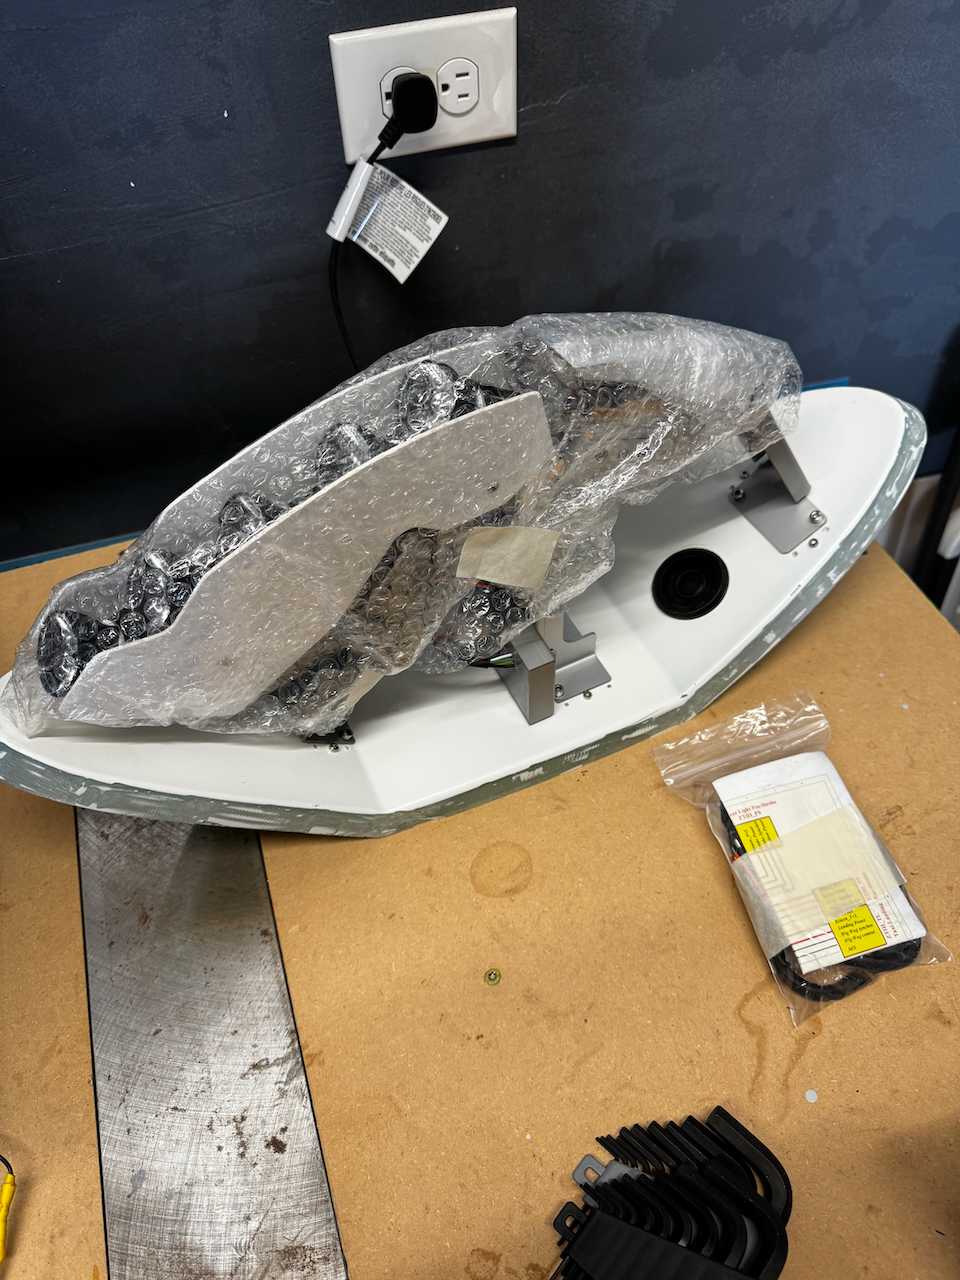
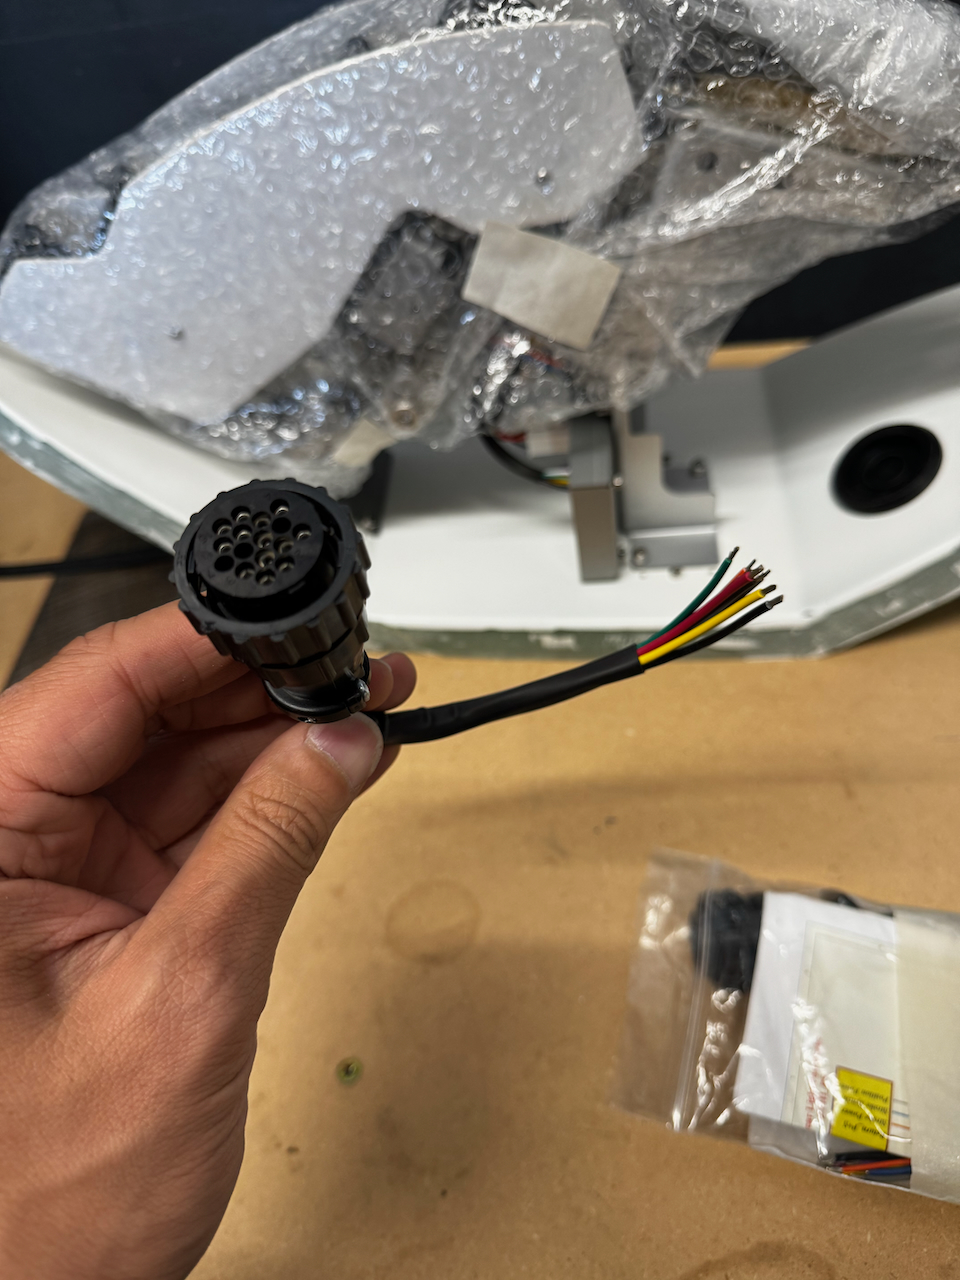
lighting assembly for right tip
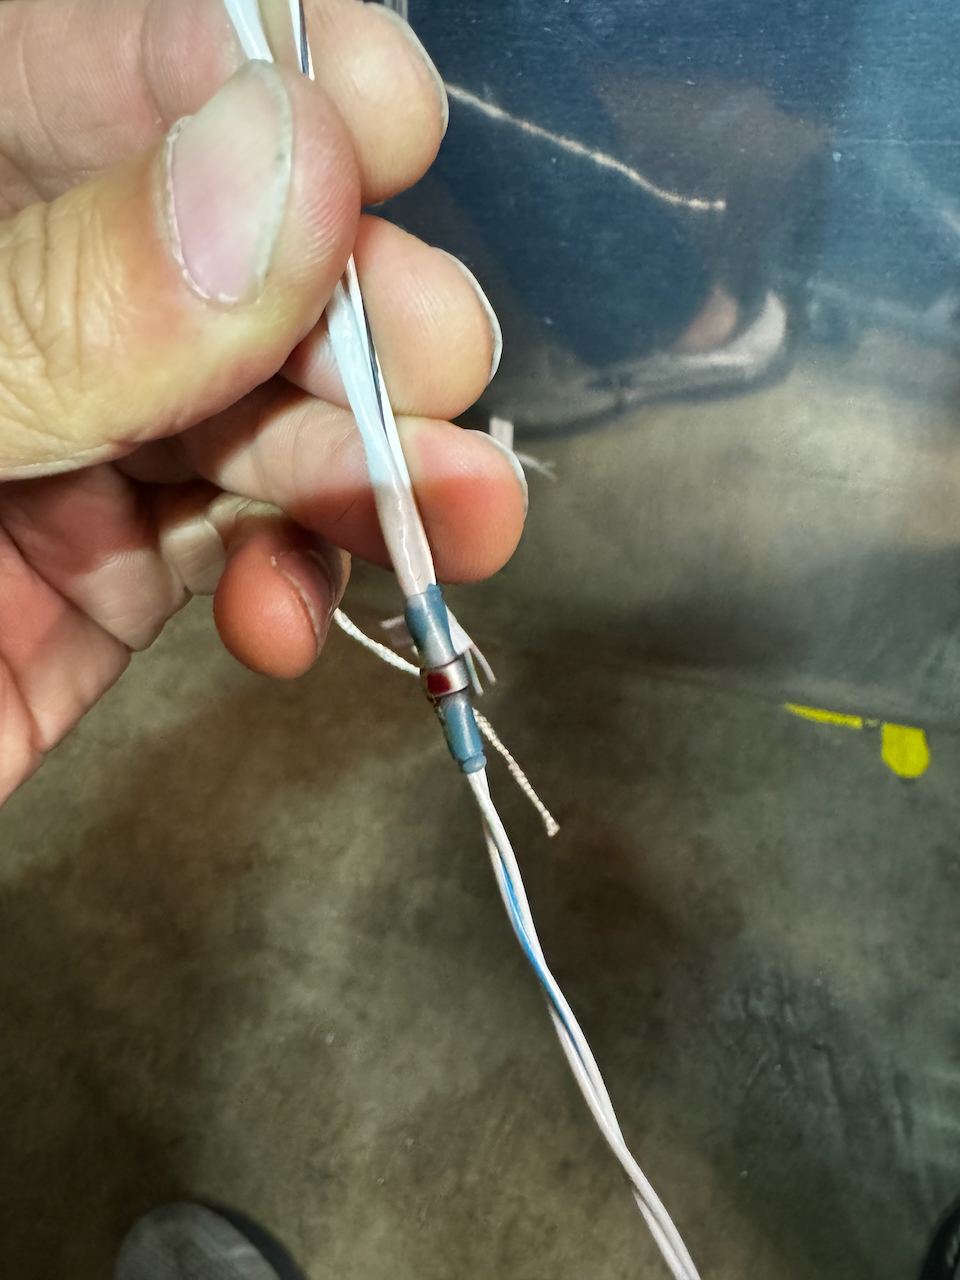
This pigtail is what I Need to splice into the plumbed wiring eventually
Left inboard wing was similar to the right. BUT, the sequence we did the work made a dramatic differences. We started with the aft rivets, and made sure we had quite a bit of room to reach back there. Half way through we forgot about our technique, and ended up having to work around the skin during the latter half of the skin. For the outboard skins, we’ll make sure to always have access to the aft holes.
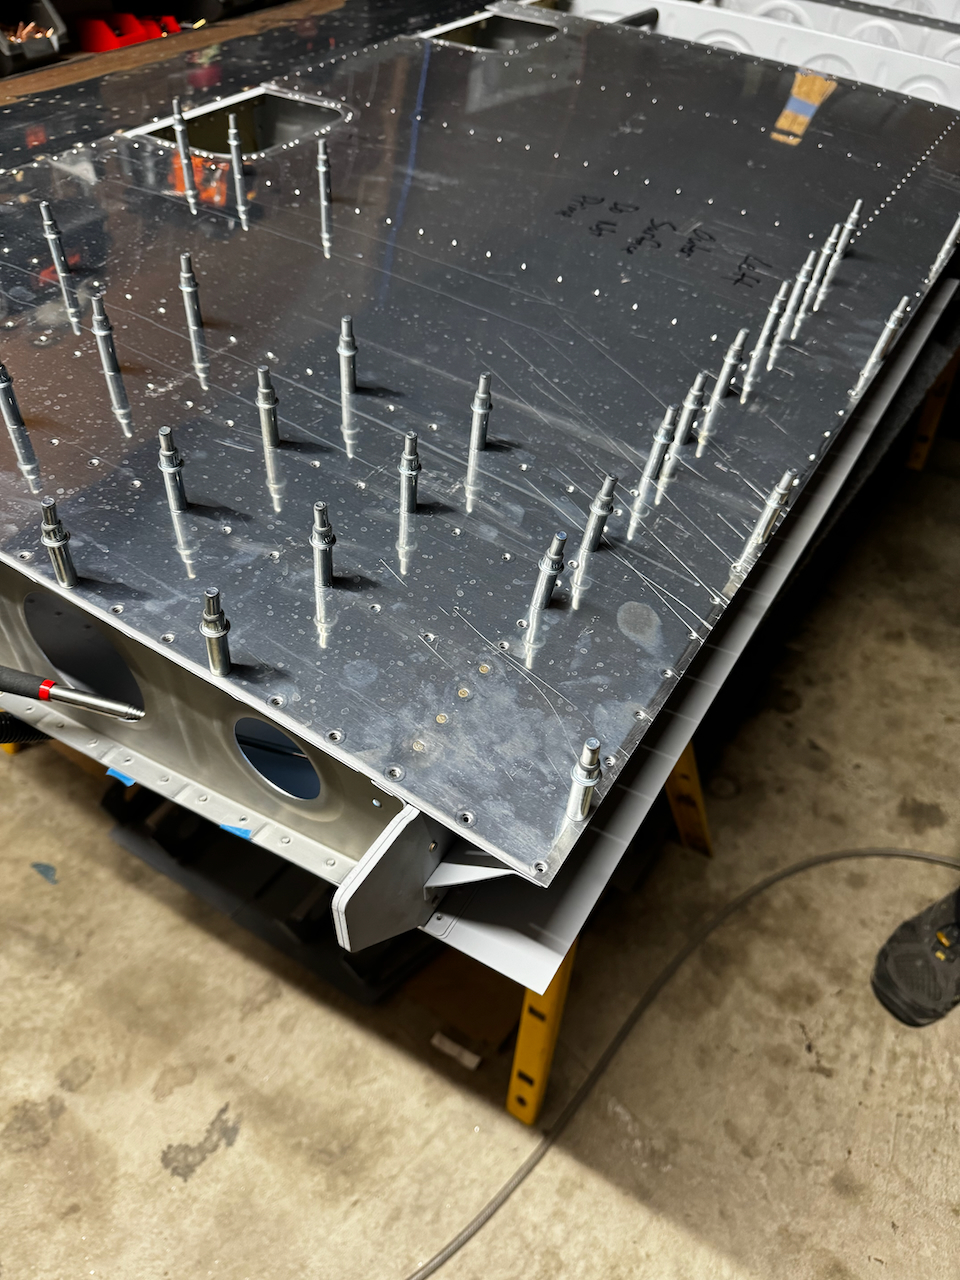
Starting left inboard bottom skin. This time from the aft side
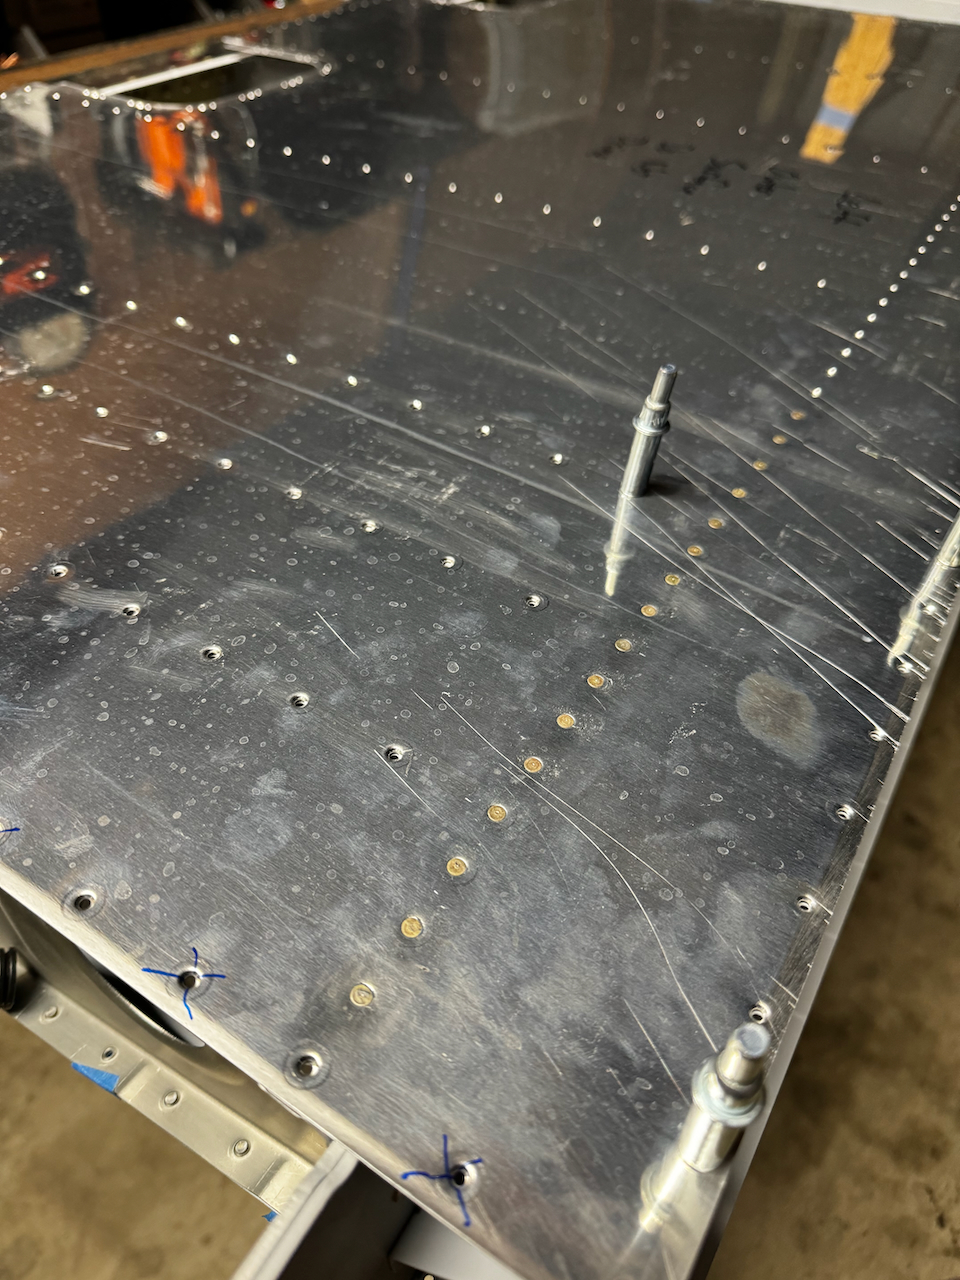
Mostly through the aft rivetrs
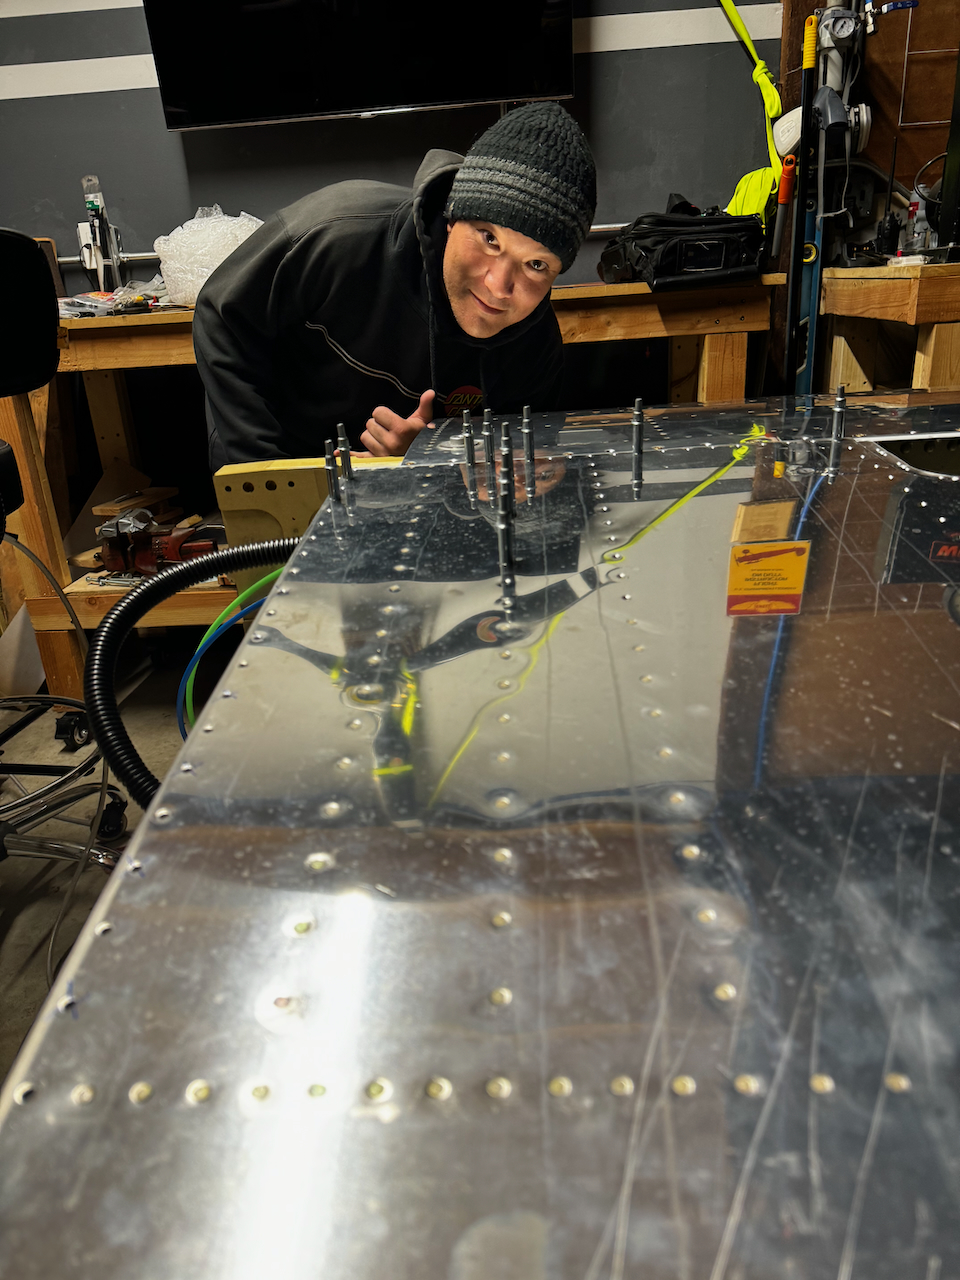
Sam looking at our fine work
done! All in one session. Amazing.
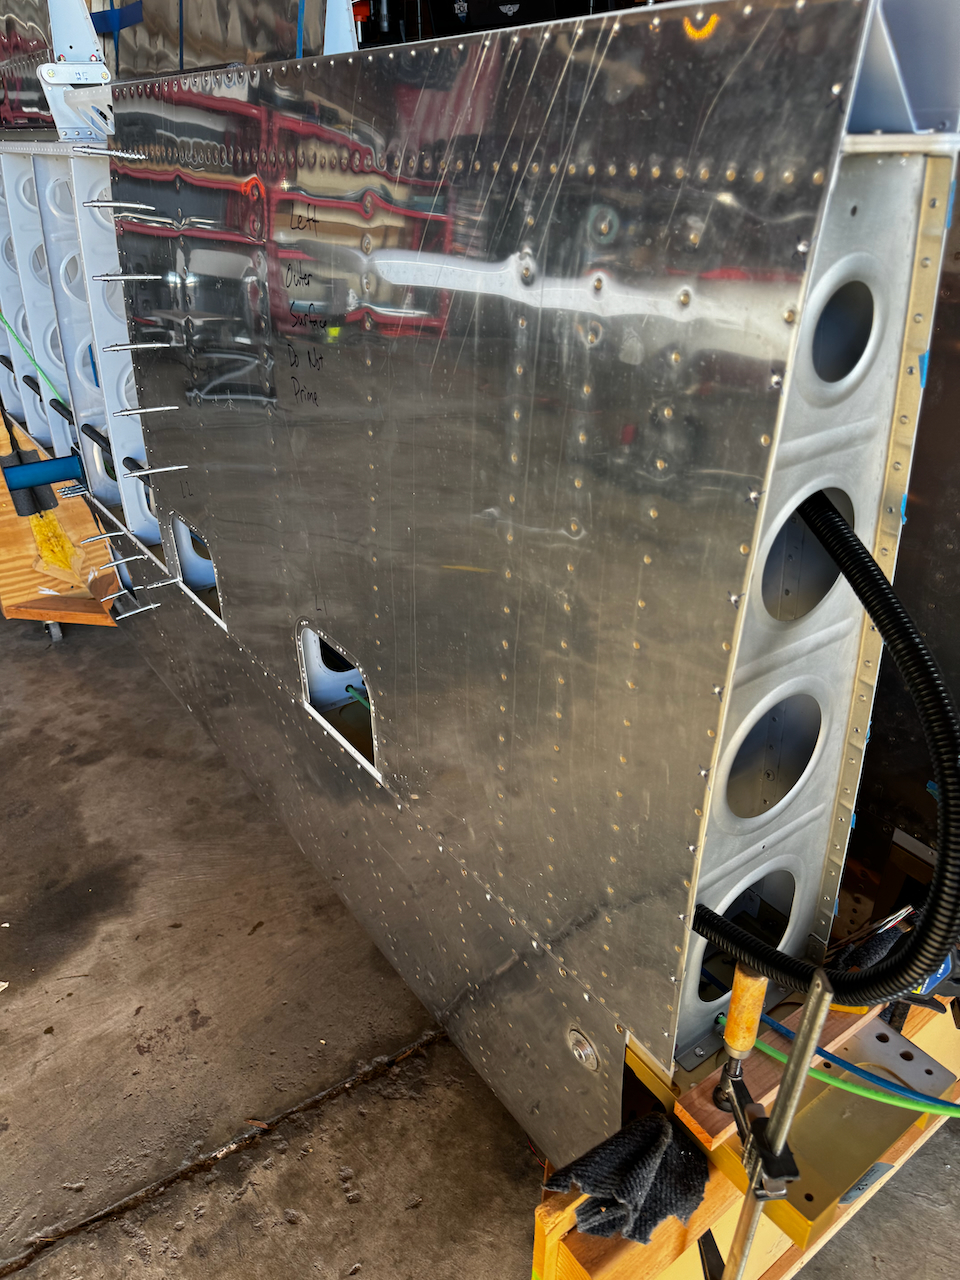
Left inboard done!
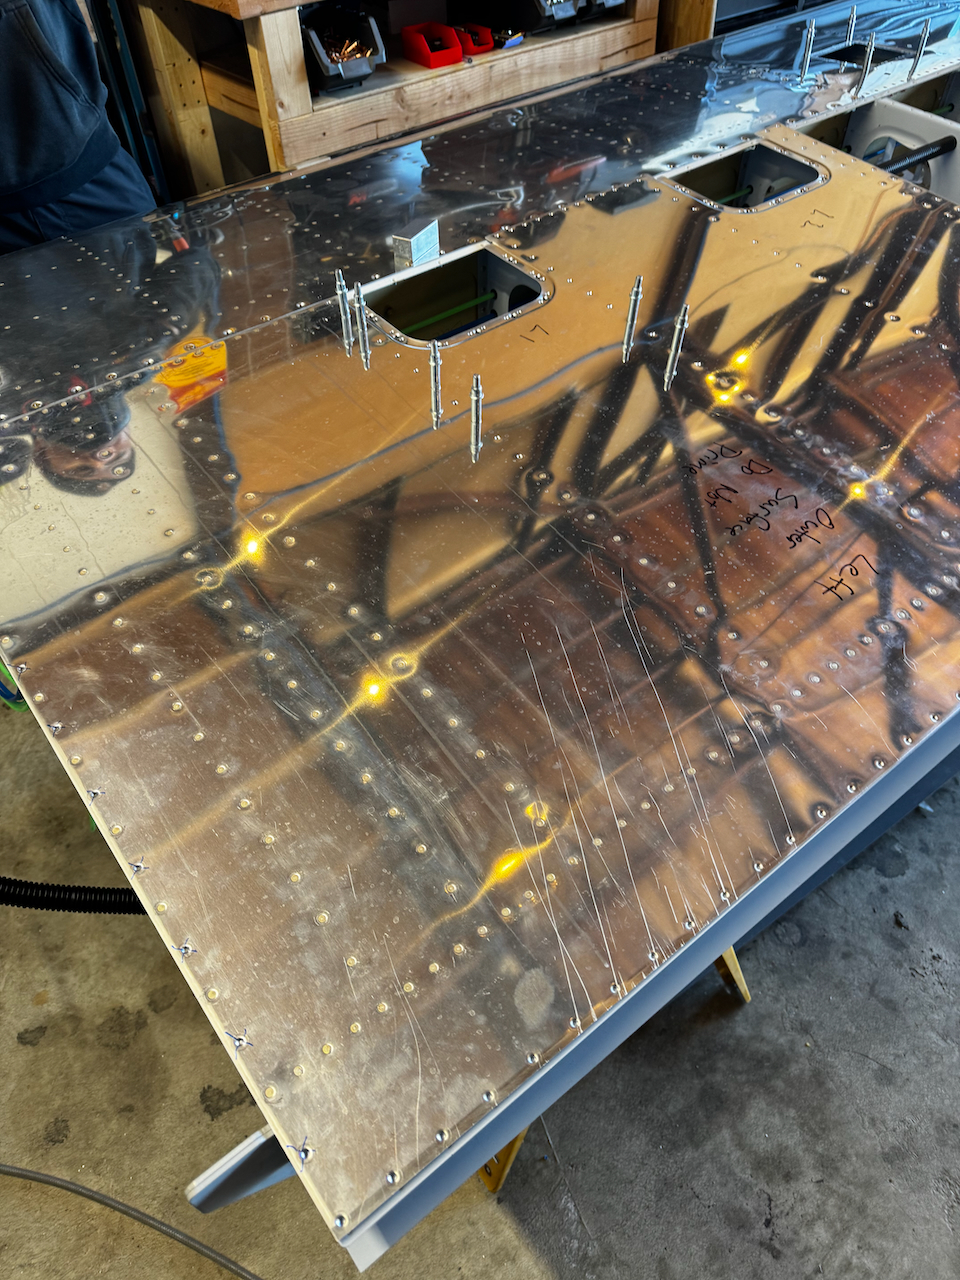
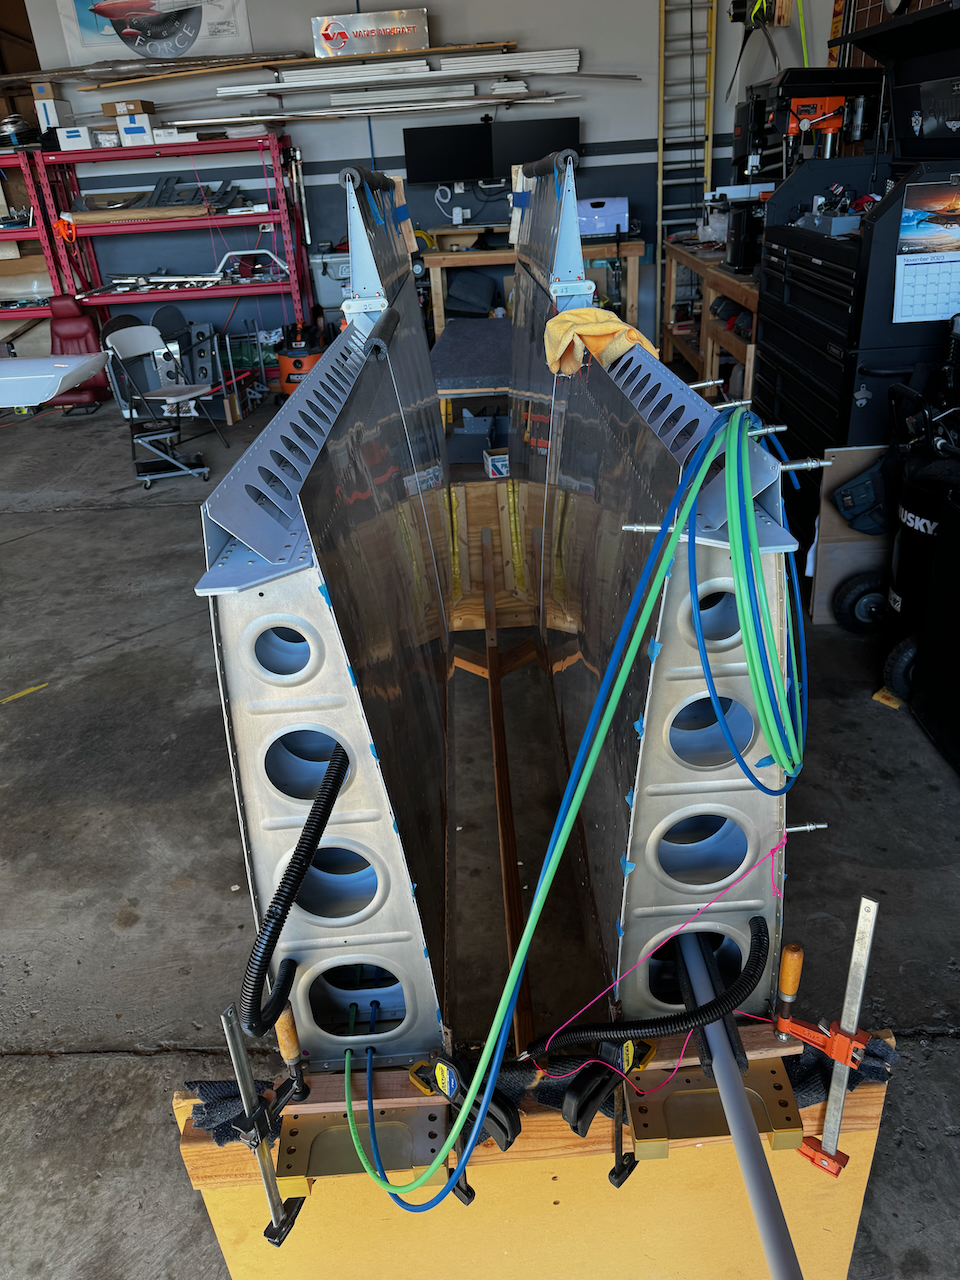
wings inboard bottom skins complete!
With the inboard bottom skins complete, I need to get wing wiring completed. Right wing needs the connector for the autopilot service wired up. The left wing has the Pitot tube, so I will need to install the pitot heat controller and plumb in the tubes. I also need to prime and dimnple the outboard bottom skins. I’ll work through that over the next couple of weeks. Until then… Happy Building!

1 comment
Nice progress. Good to see you posting again.