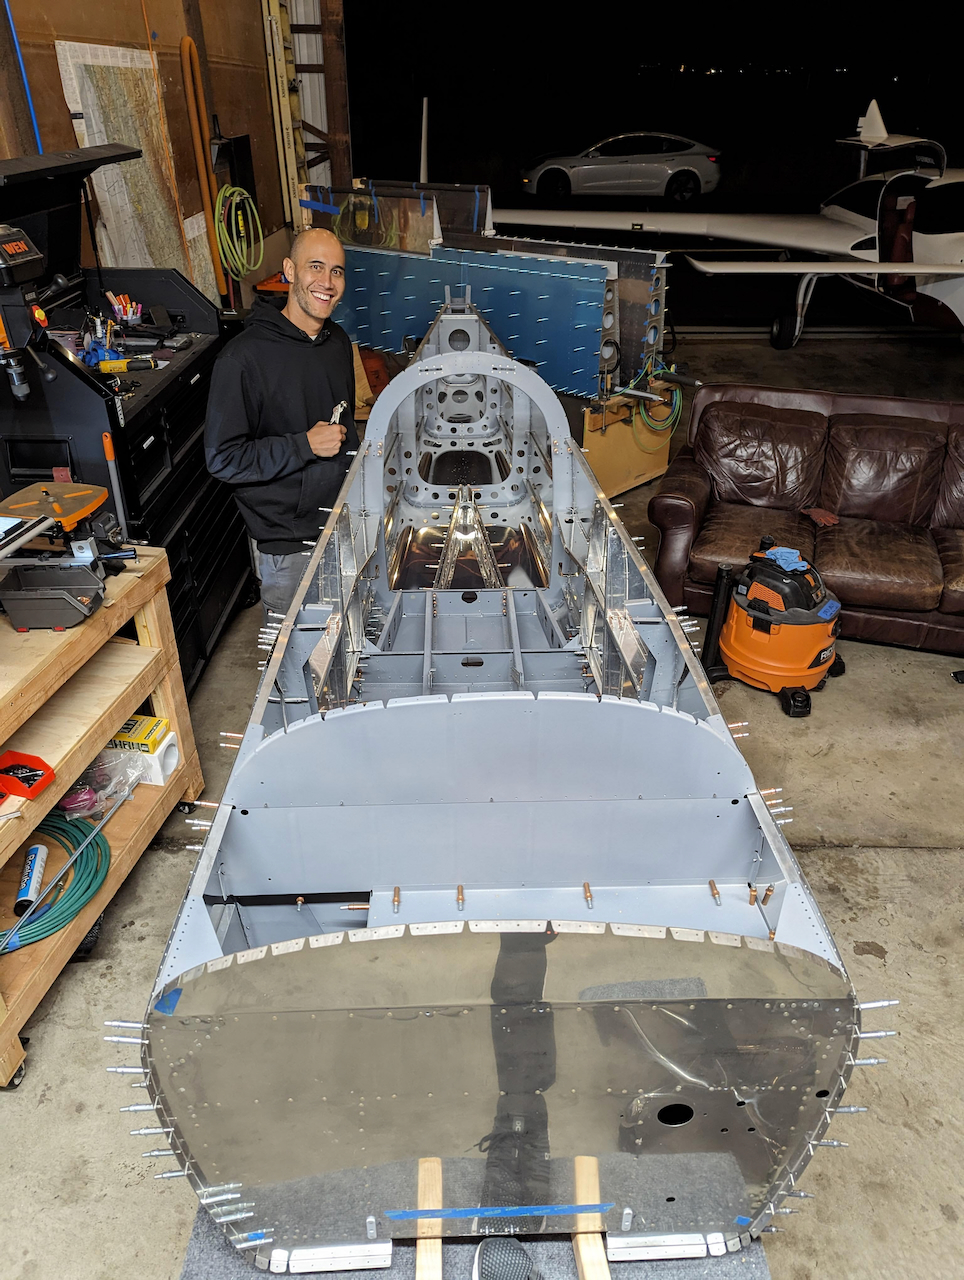
I’m excited with the progress this month. Especially considering the adventures with the Velocity nose gear door, it’s amazing I could carve out some time to move the RV-8 forward. In the last post, we had just finished up bending the top longeron, and James took some good pictures that I didn’t get in to the post.
That’s a grin of satisfaction
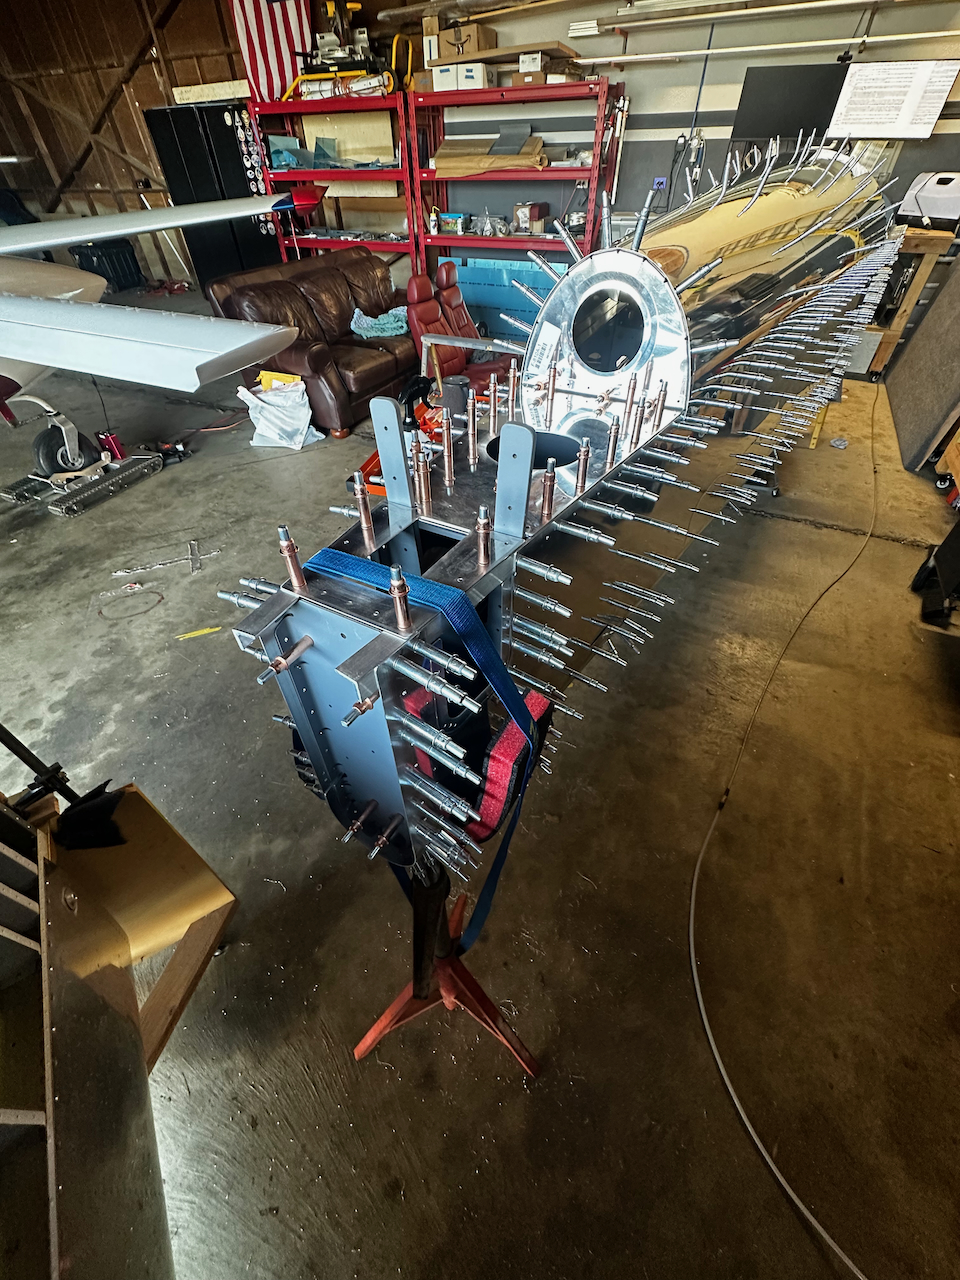
Longeron is ready to be match drilled!
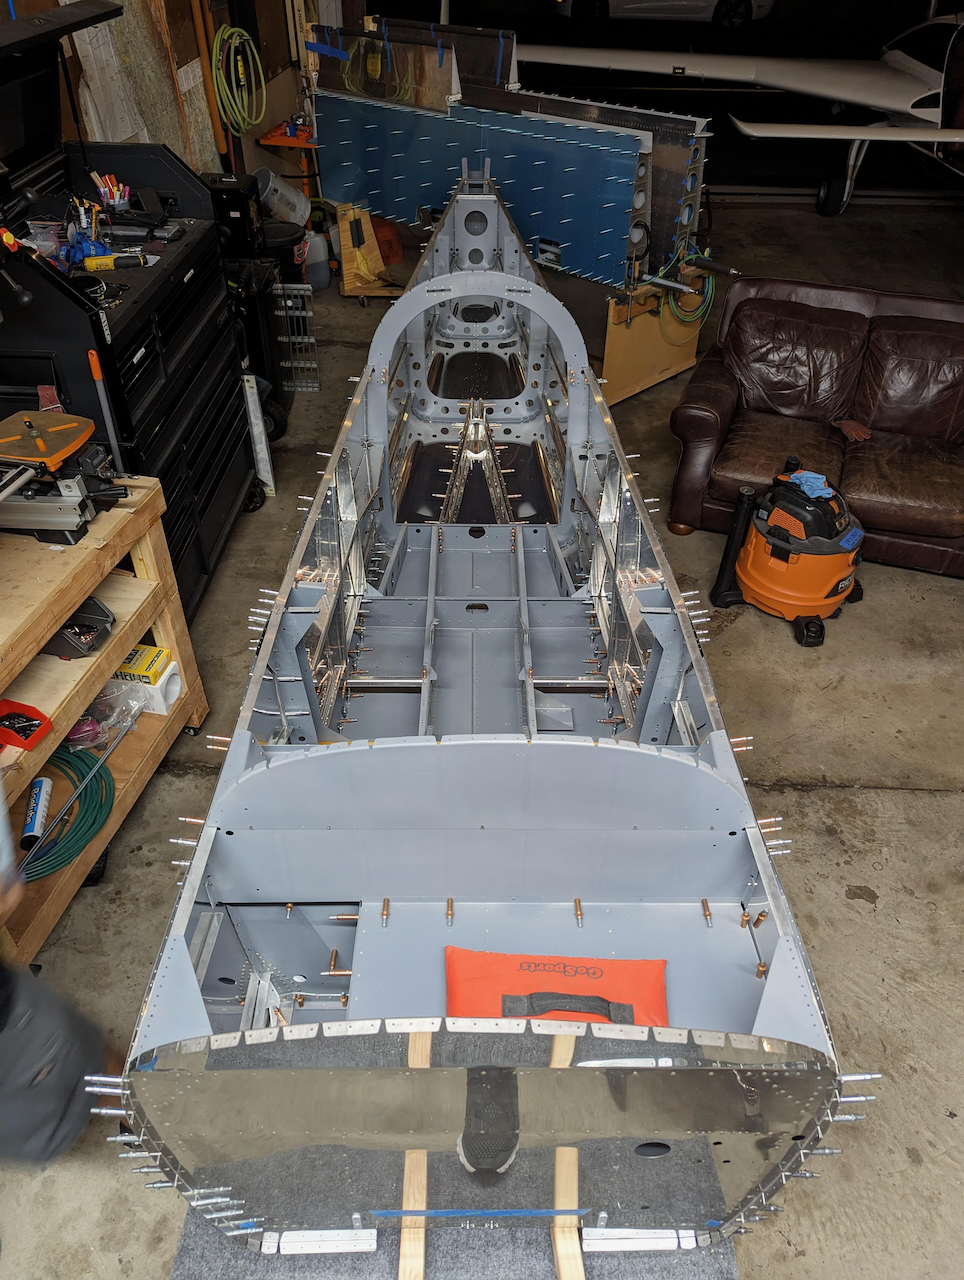
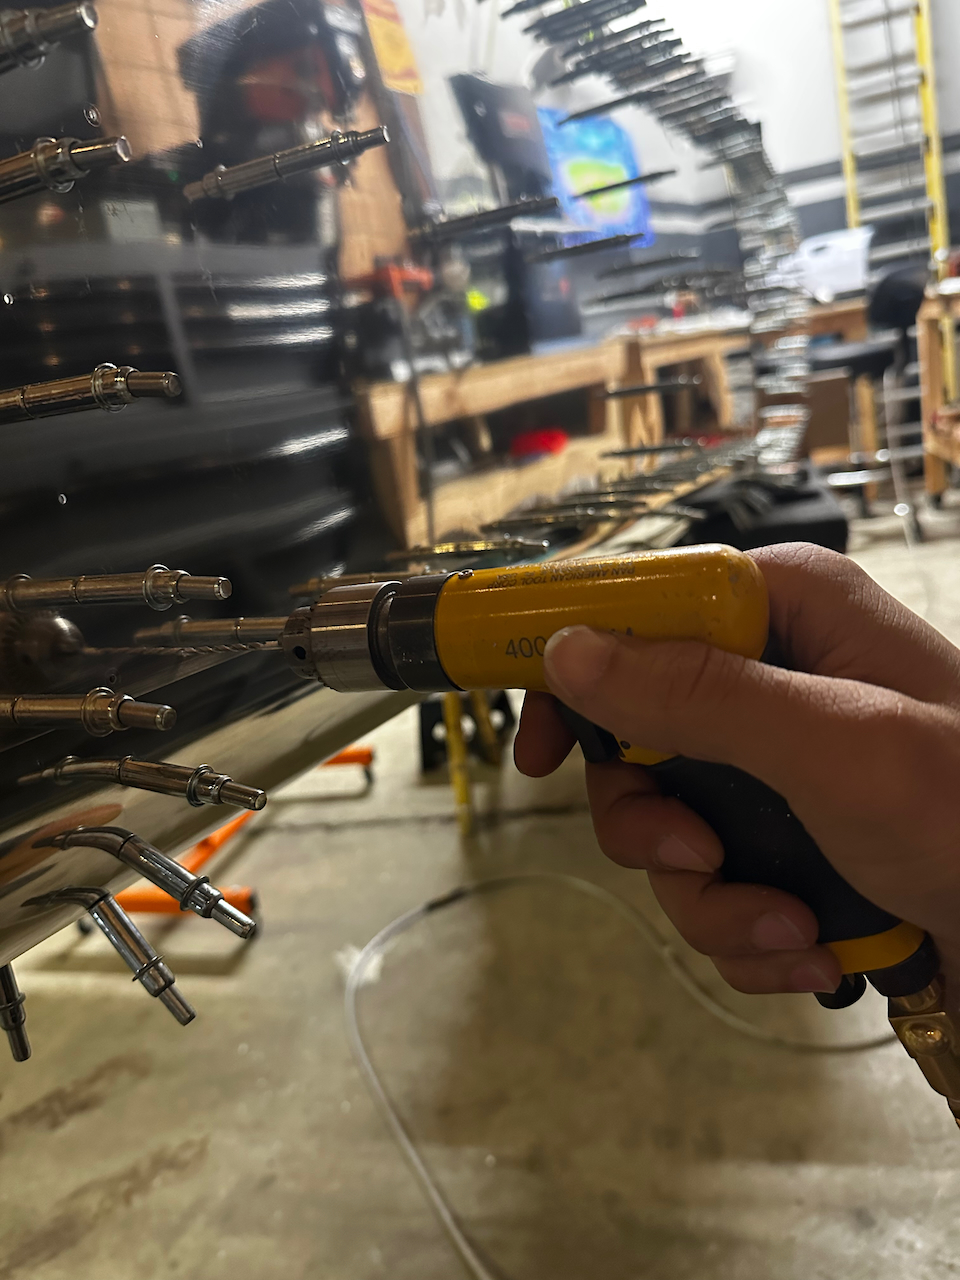
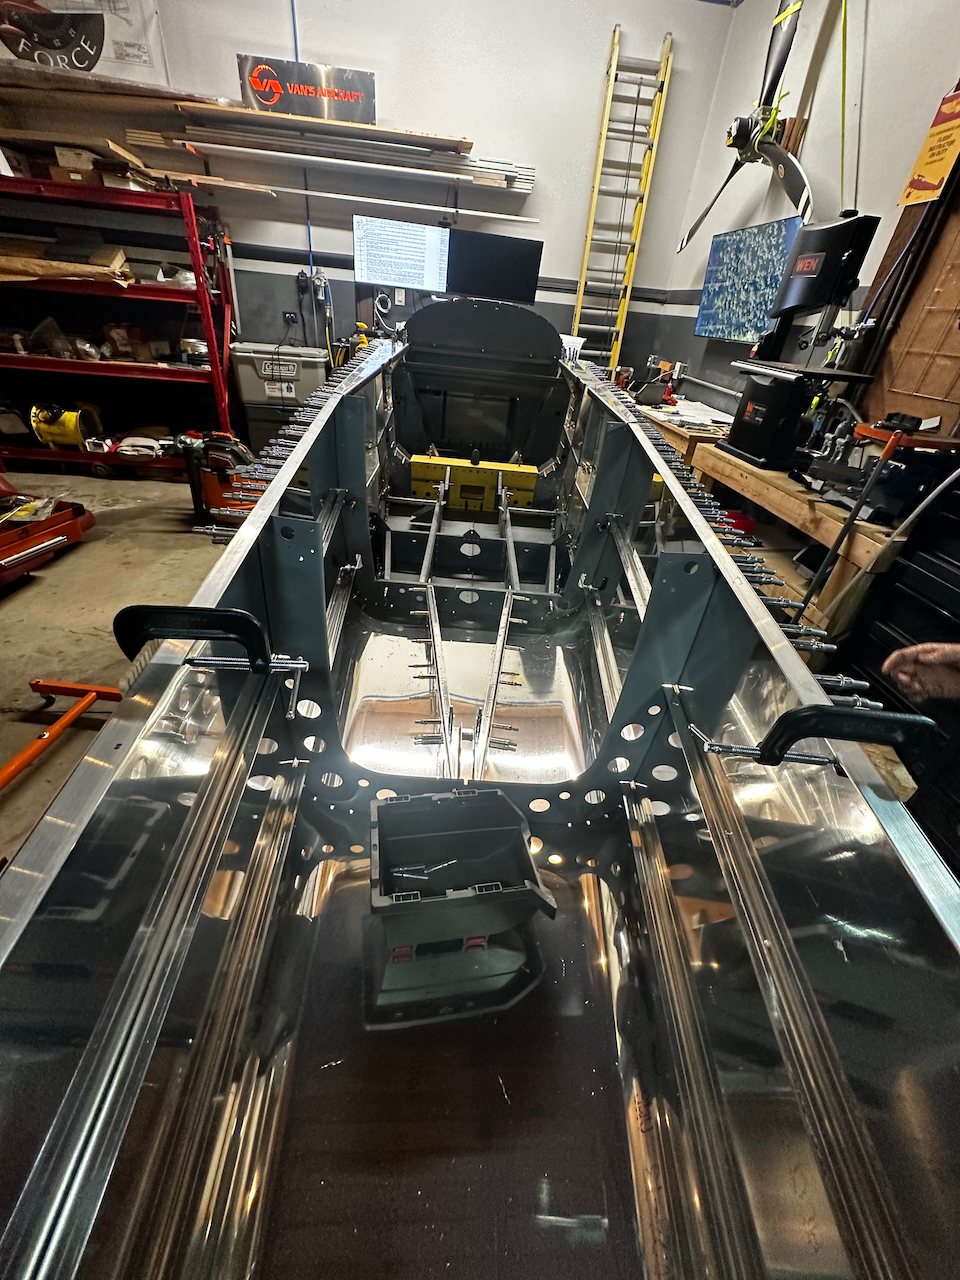
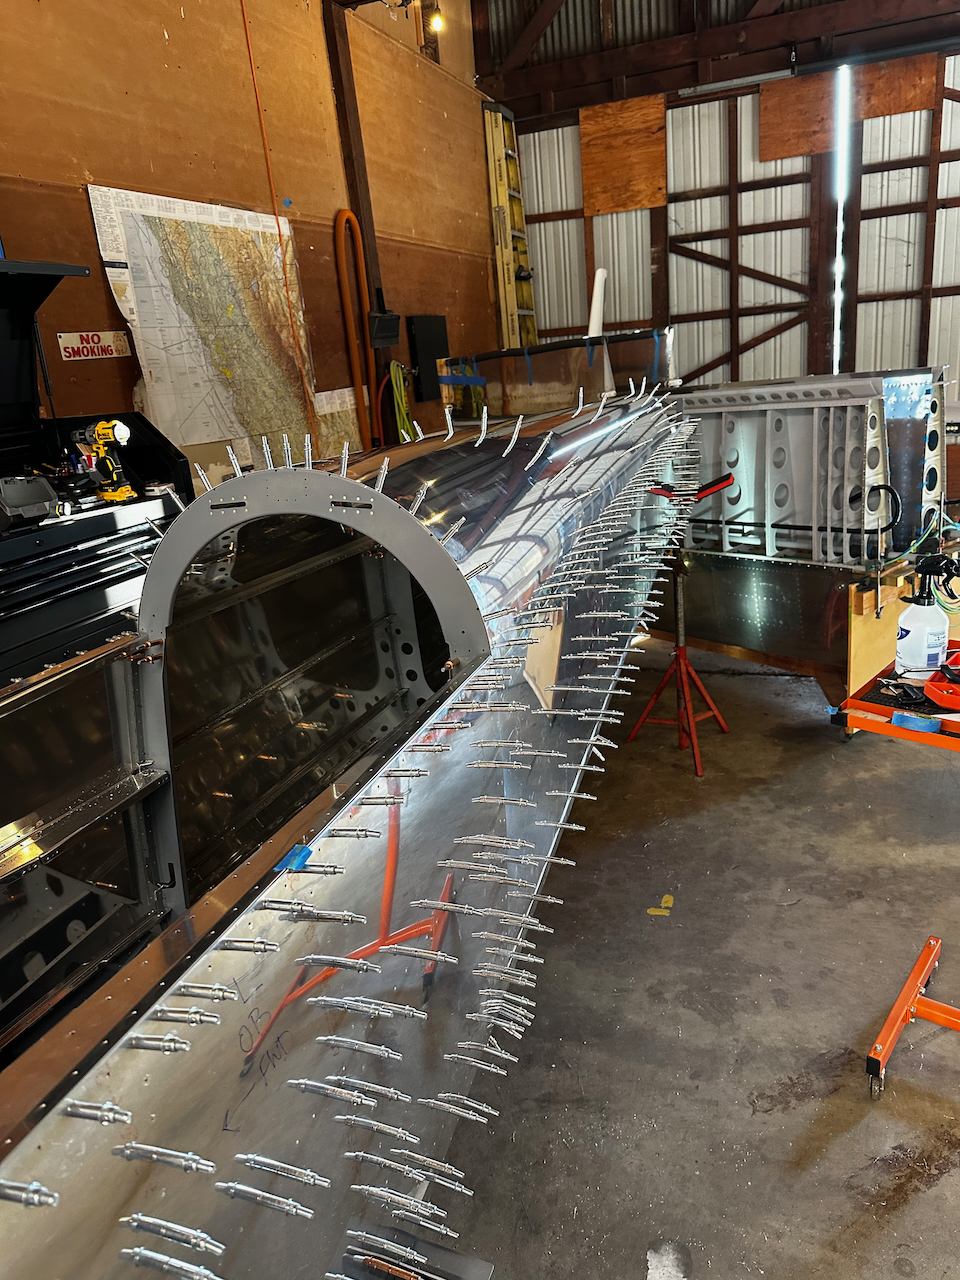
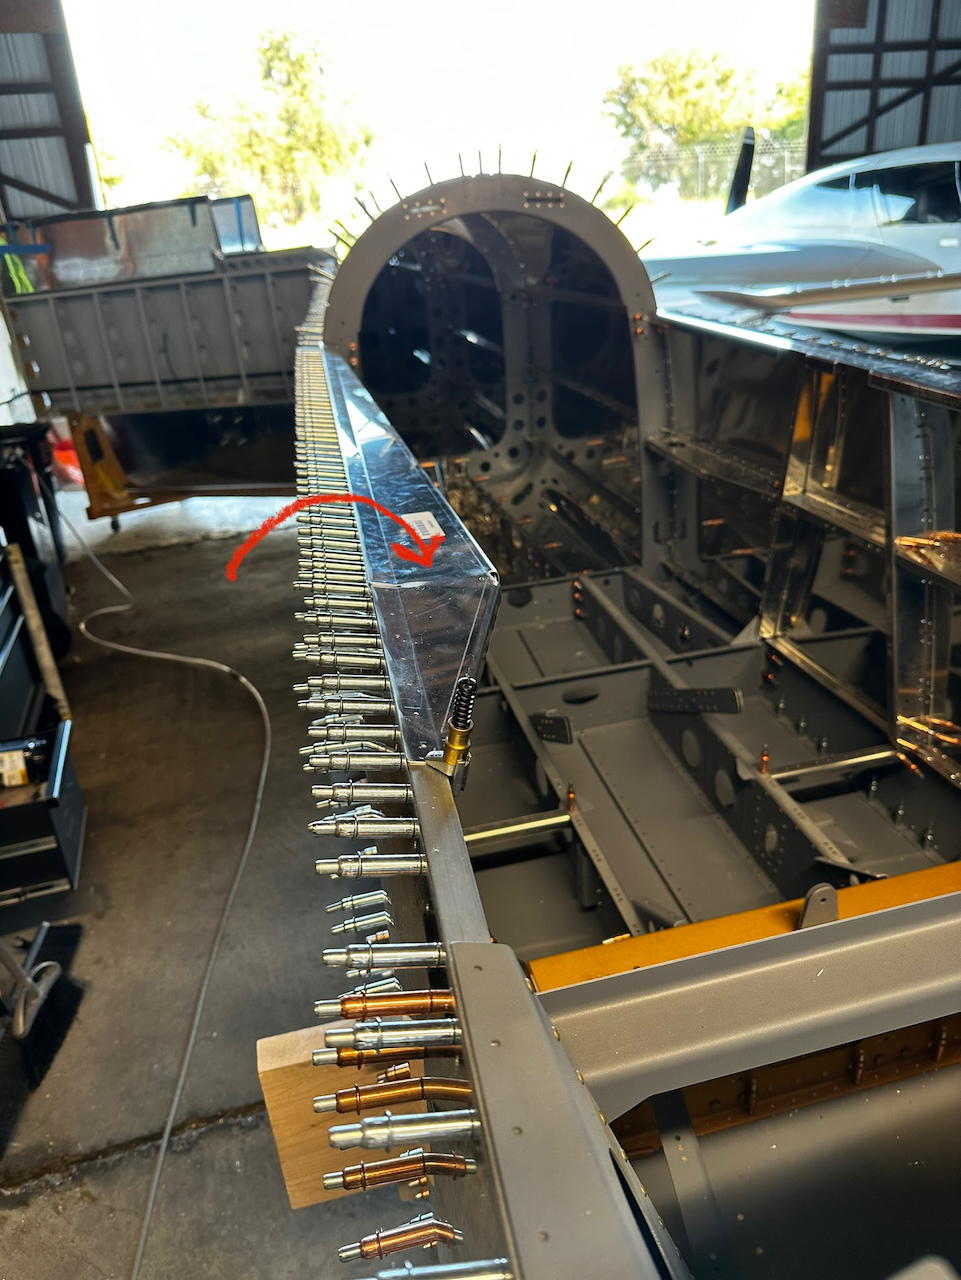
The theme of these sessions was drilling, drilling, and more drilling! When I was done drilling, I drilled some more. Yeah…. 15+ hours of drilling to be specific (Not to mention the 3+ hours Sam contributed)! The overall steps looked something like:
Fwd Skins: Drill longerons, Drill remaining holes
Mid Skins: Drill longerons, Drill remaining holes
Aft Skins: Drill longerons, Drill remaining holes
Top Skin: Drill holes
…. You get the idea….
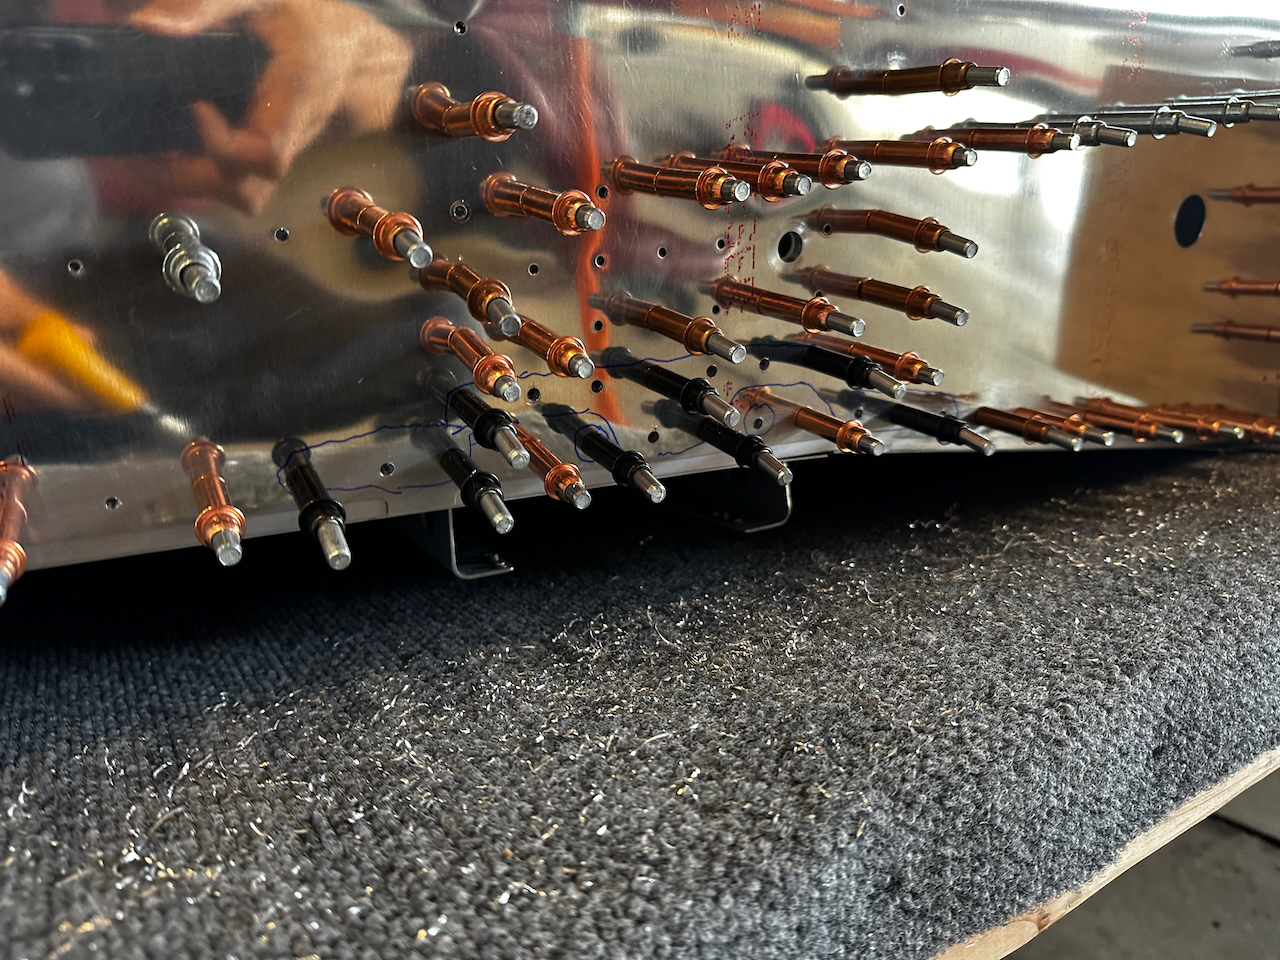
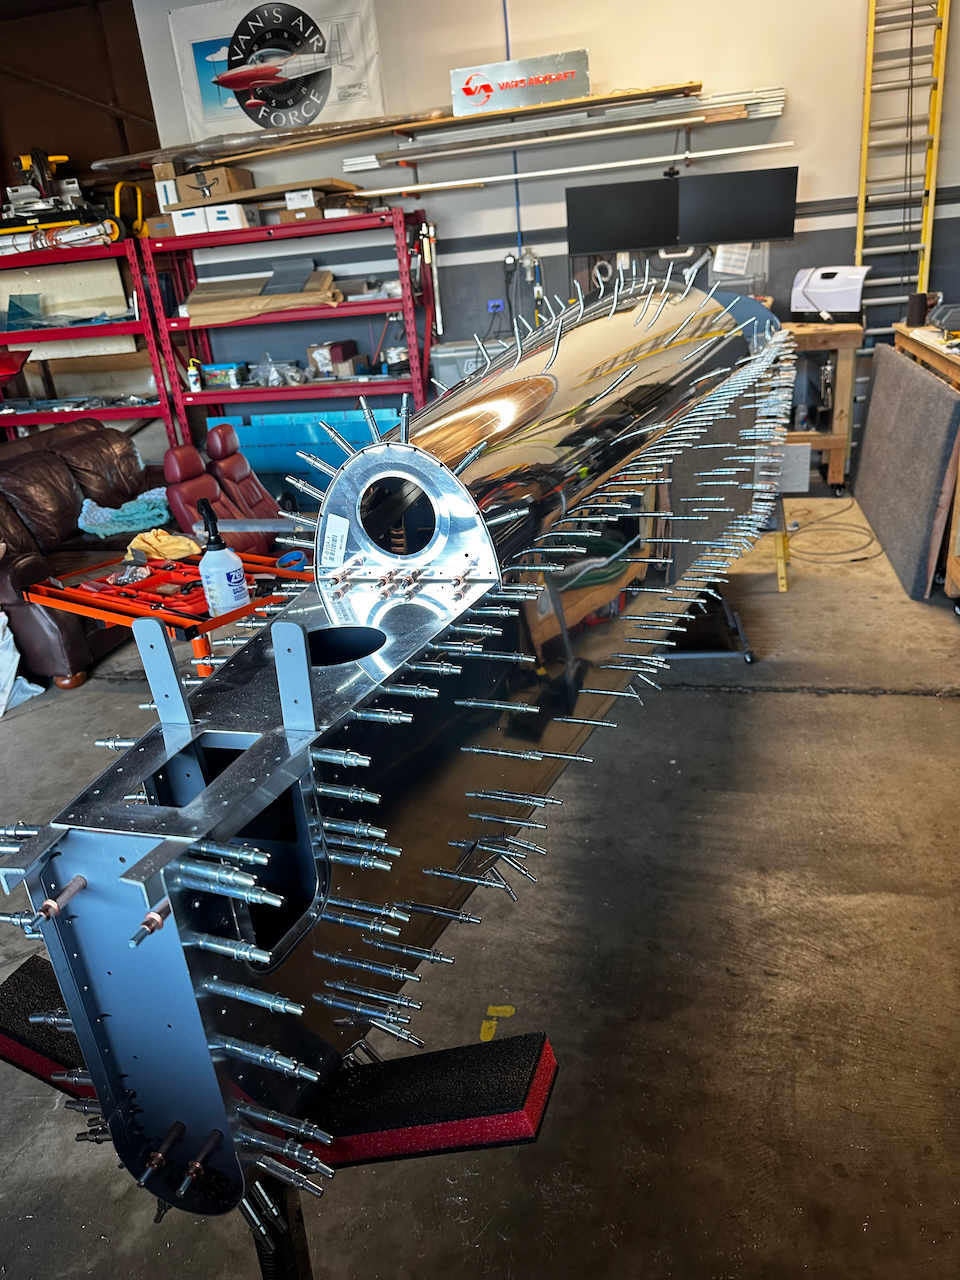
First of many longerons drilled.
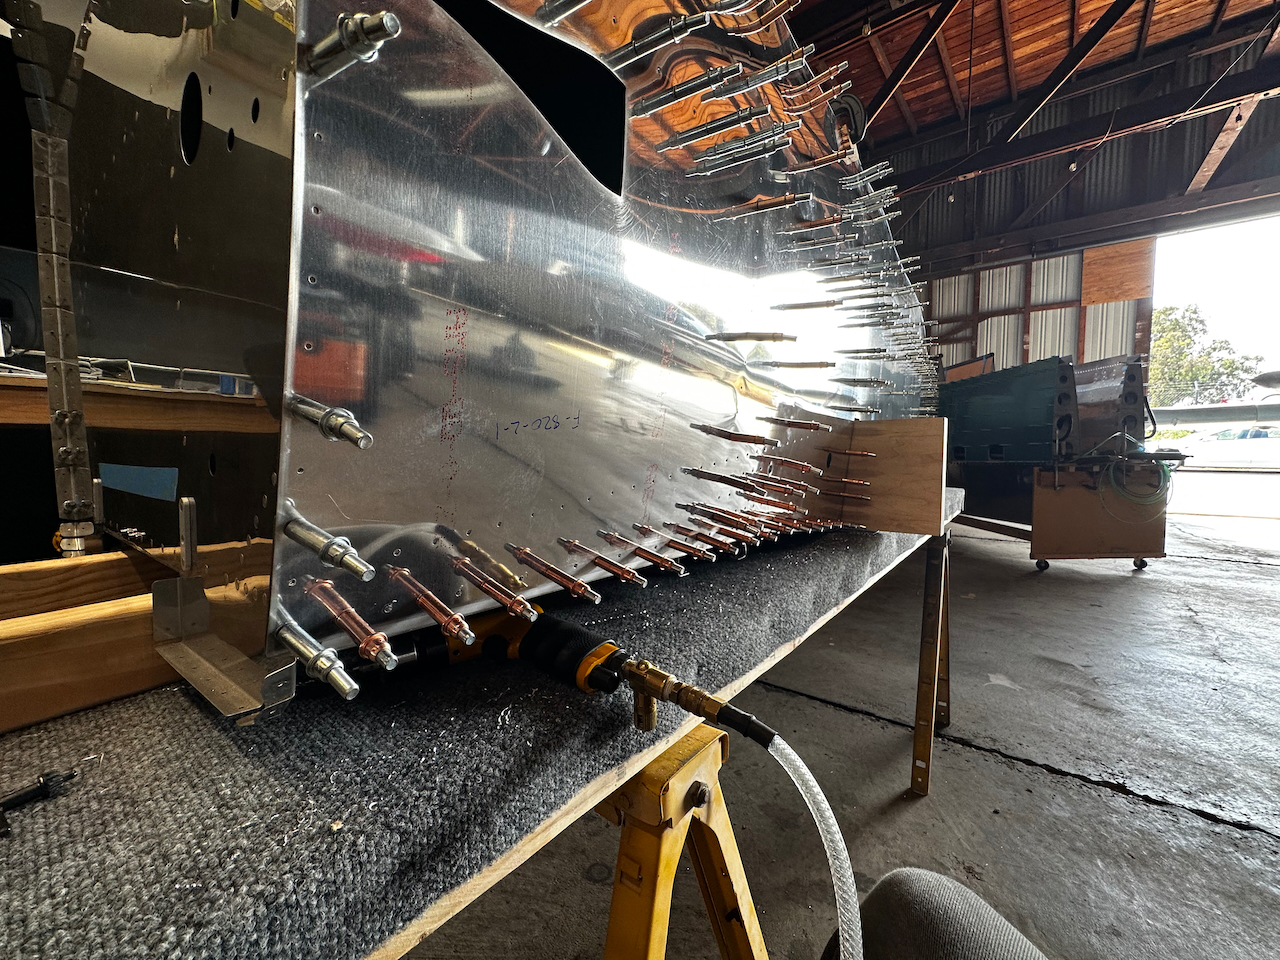
Fwd Skin clecos….lots of them!
Note the previously drawn centerline is used to ensure you are drilling into the longeron correctly
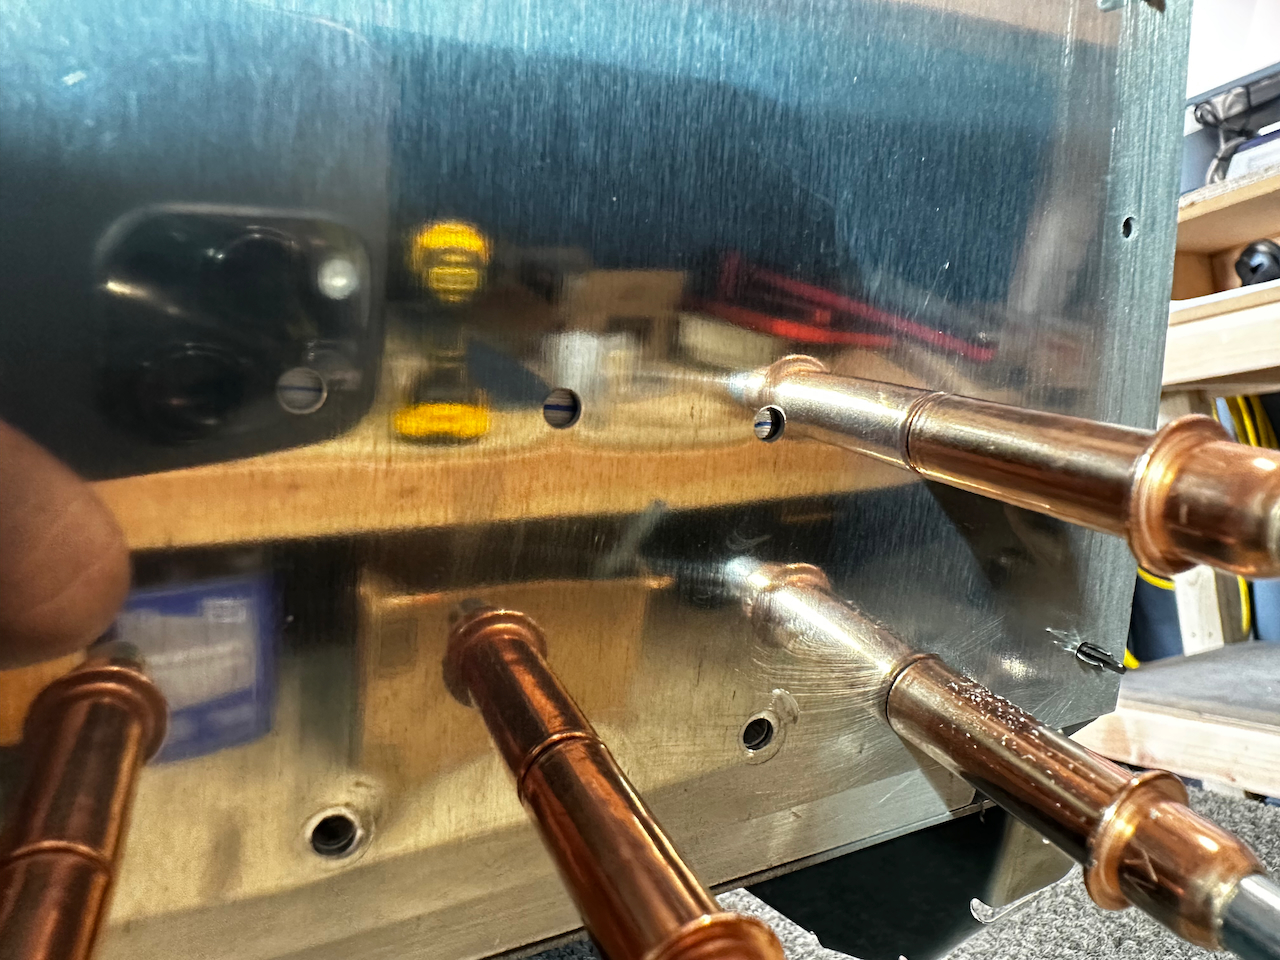
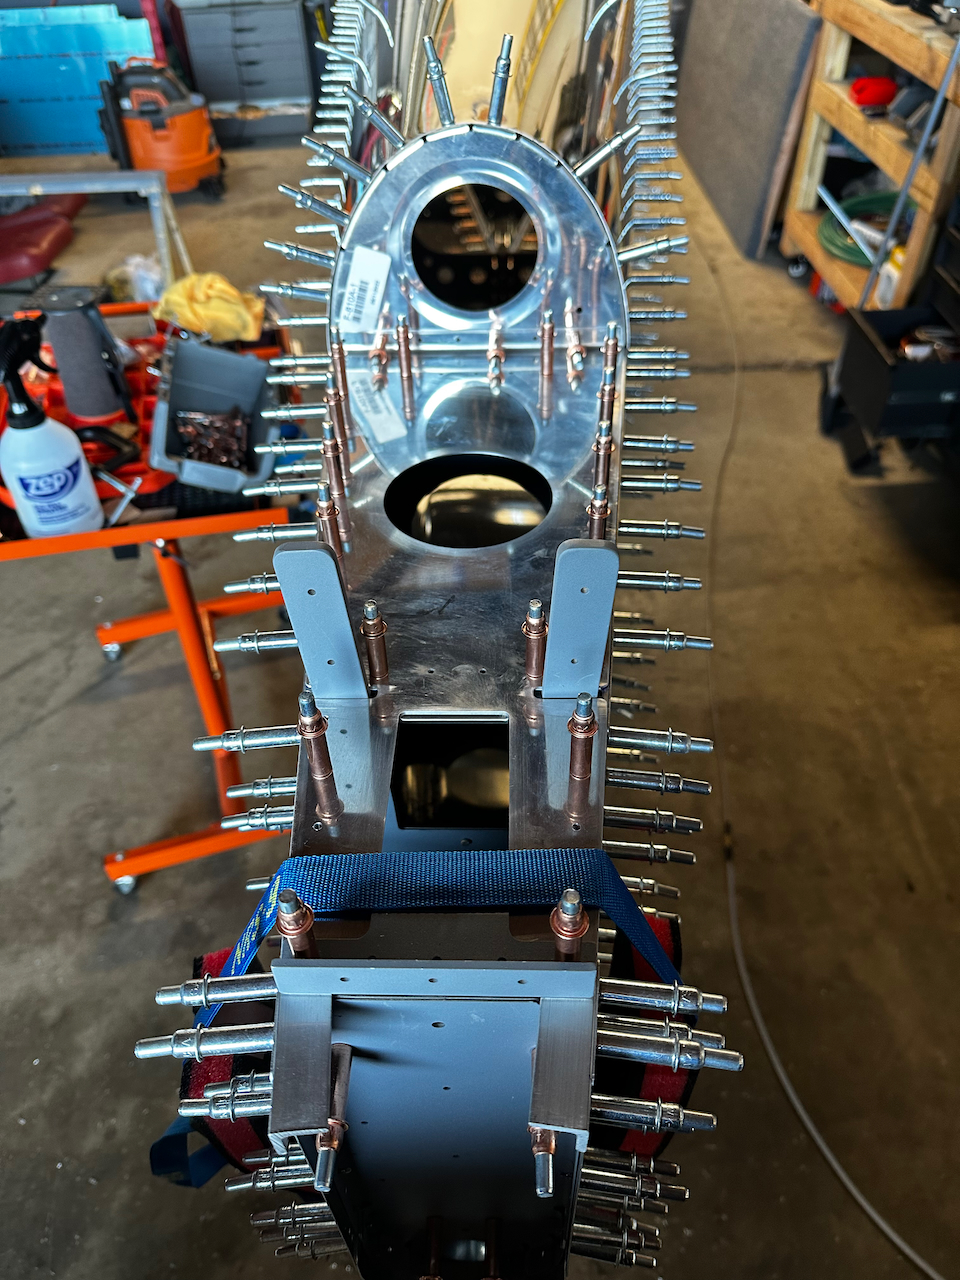
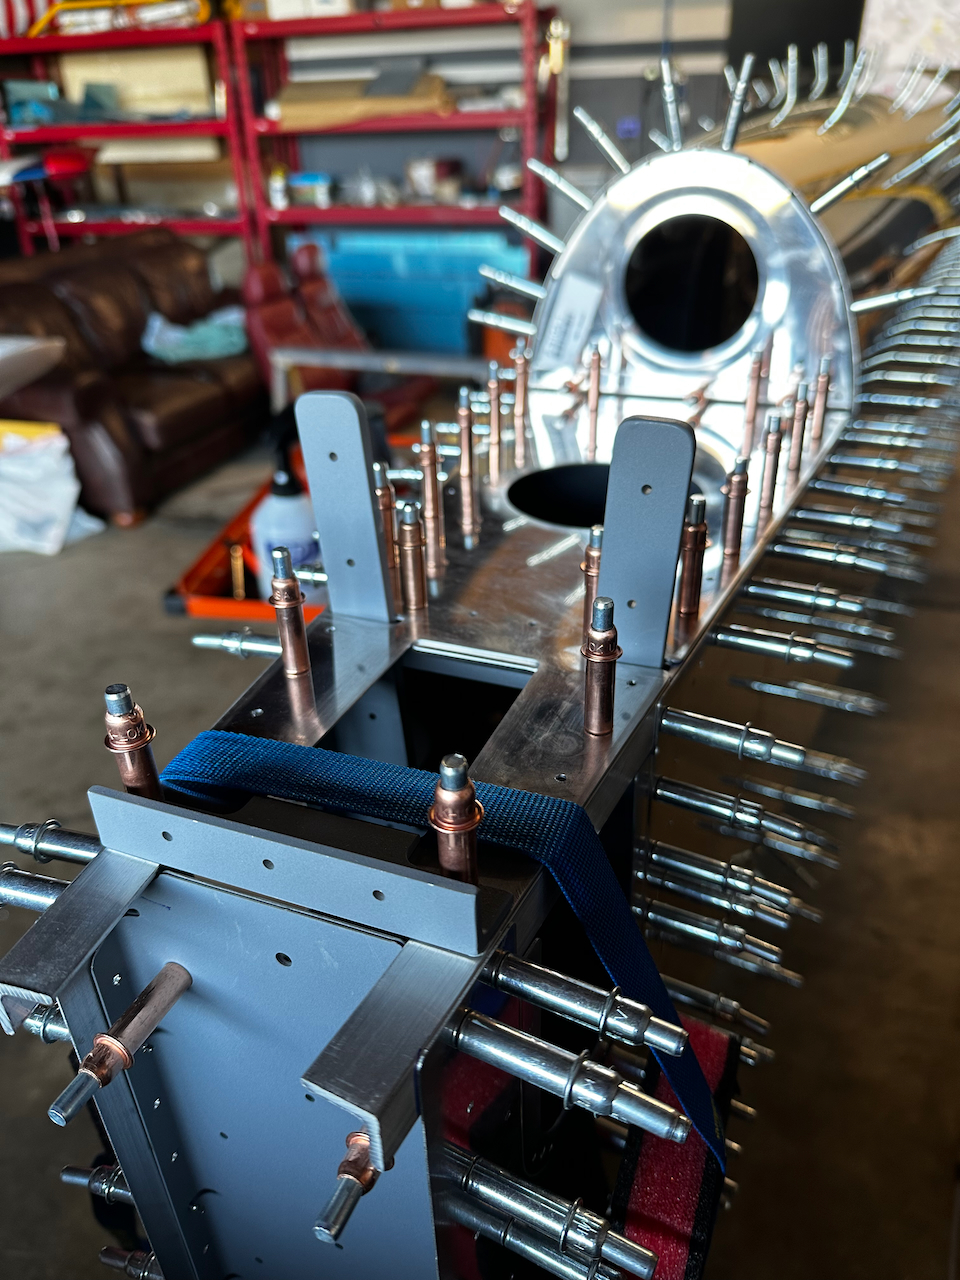
Clamping the Engine Mount brackets before drilling into the F-887 Longeron.
…and Drilled!
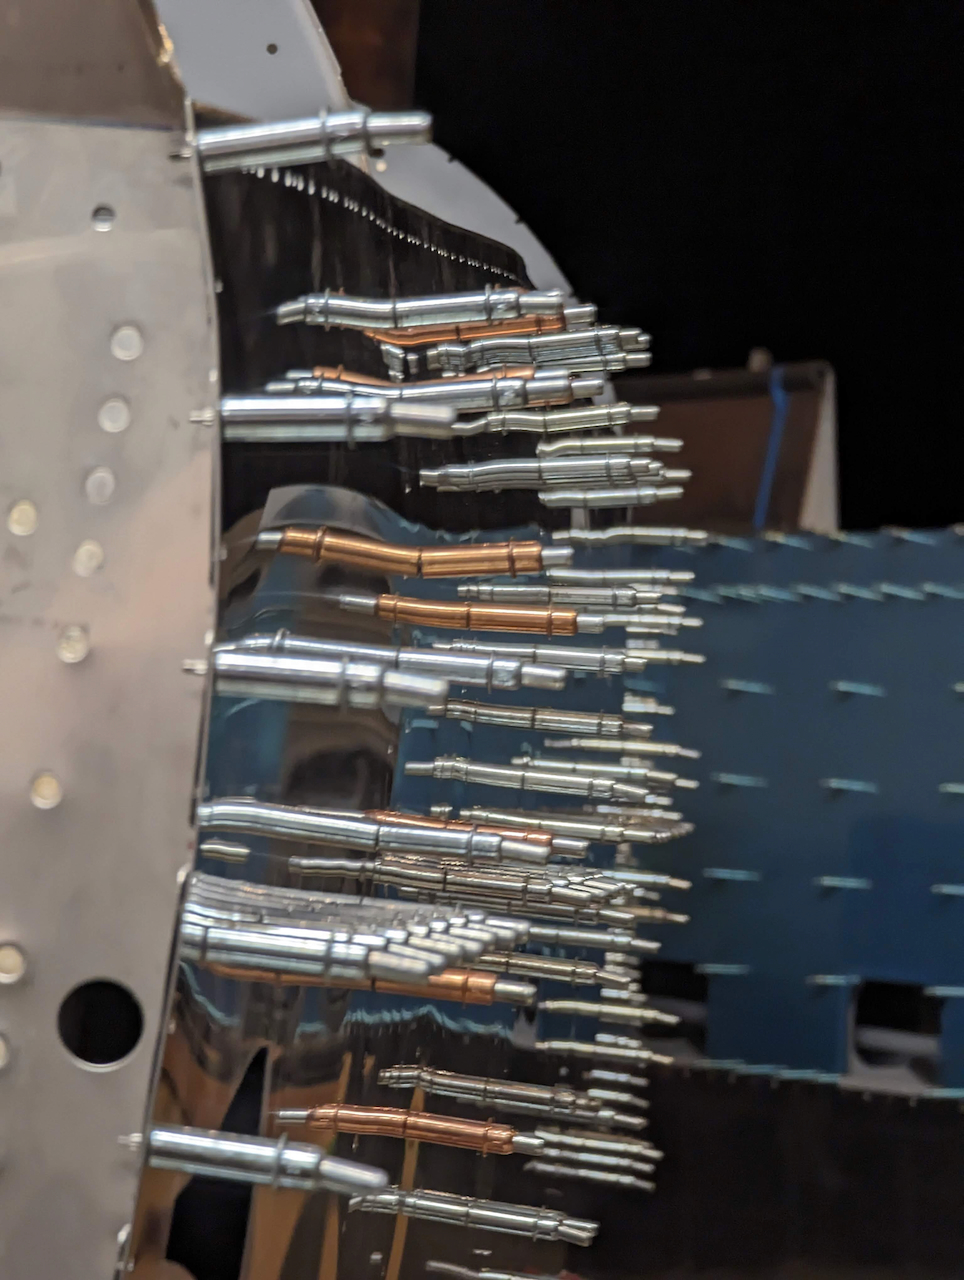
Make sure to mark the various holes that need to be enlarged..easy to get it wrong.
Having the right clecos is a great way to mark the enlarged holes.
More drilling.
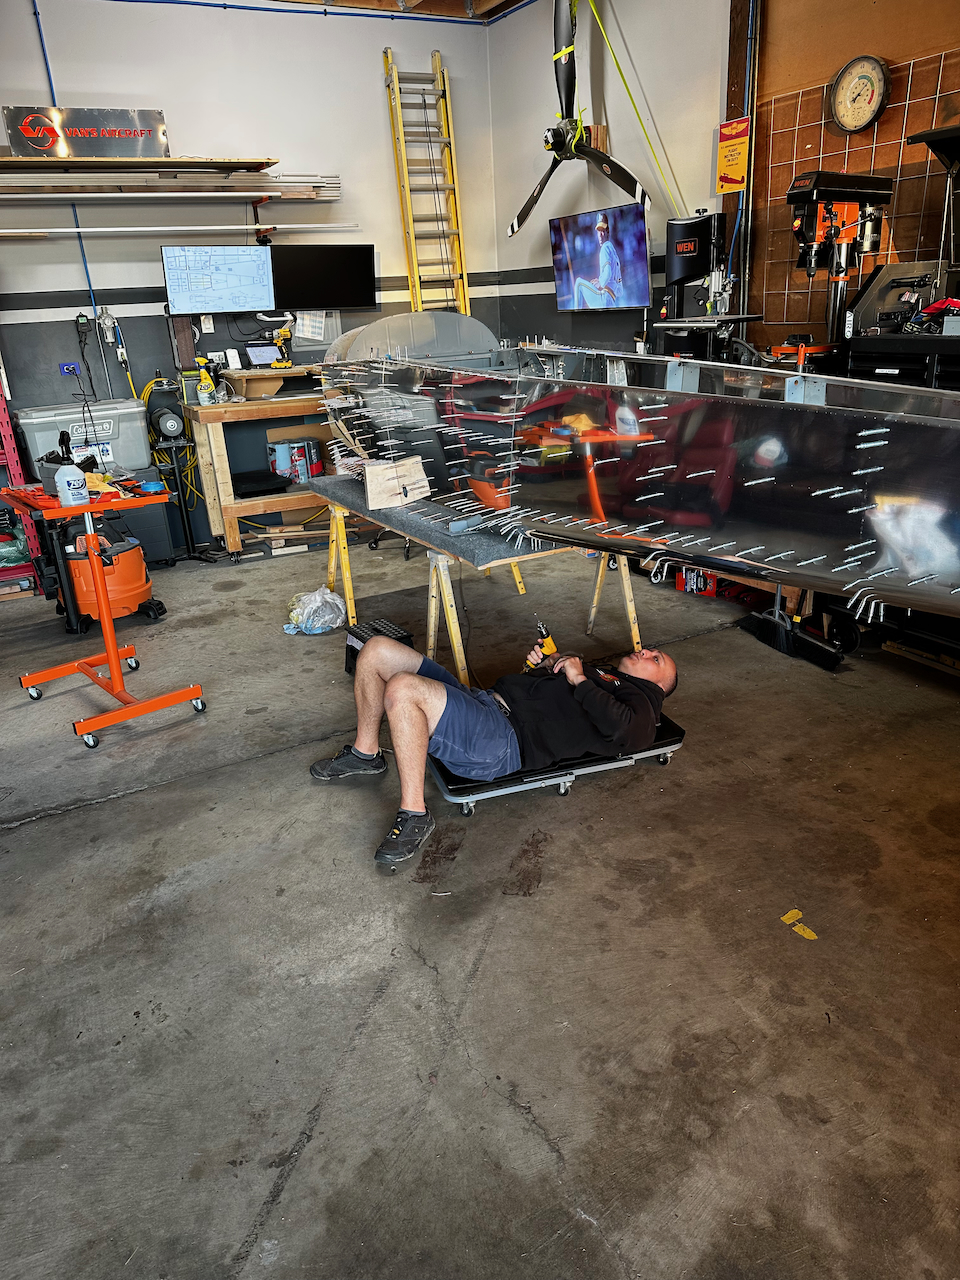
Sam working the aft underbelly
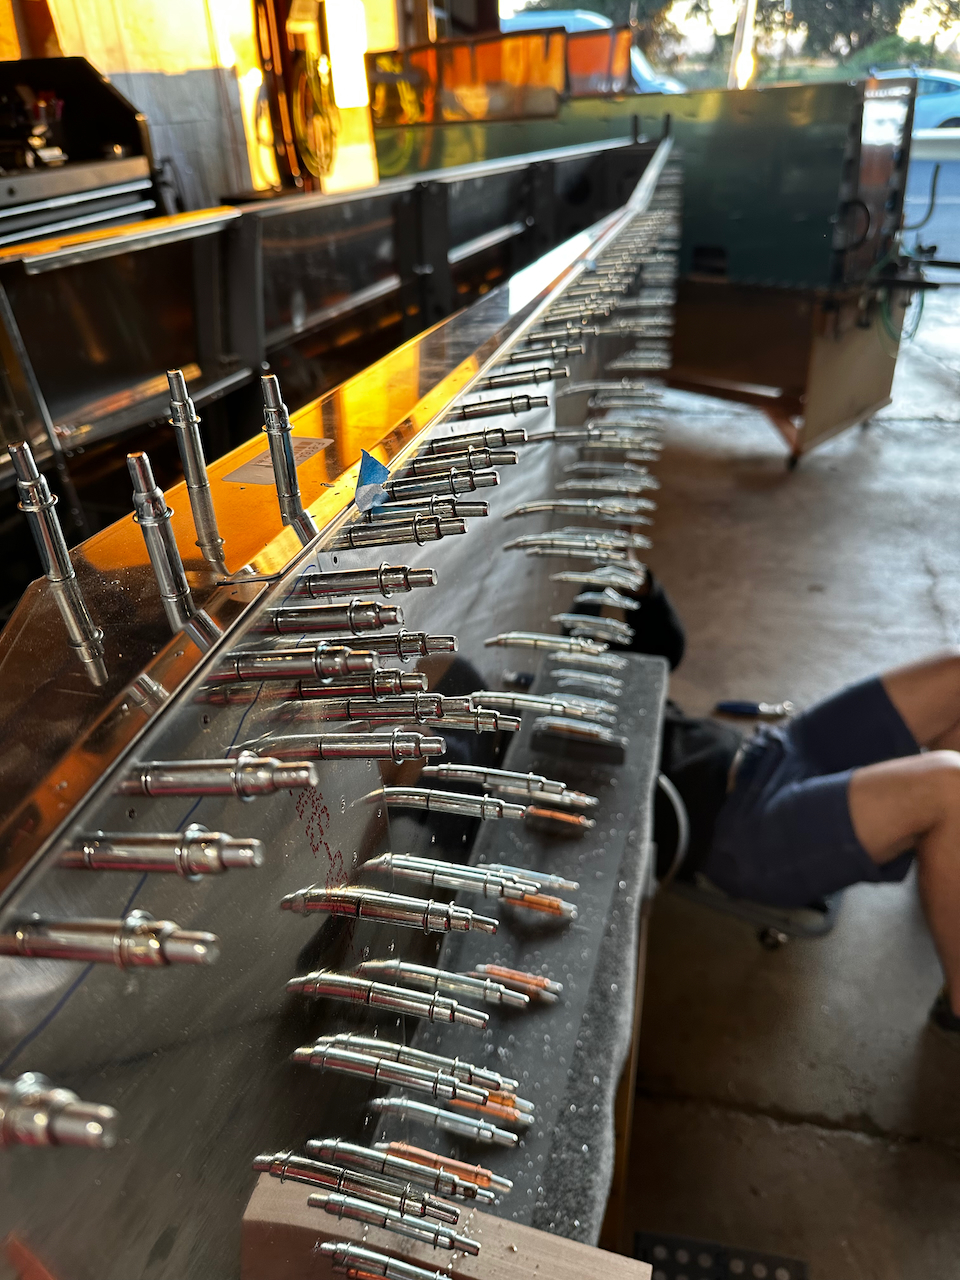
More holes match drilled…
How many left?
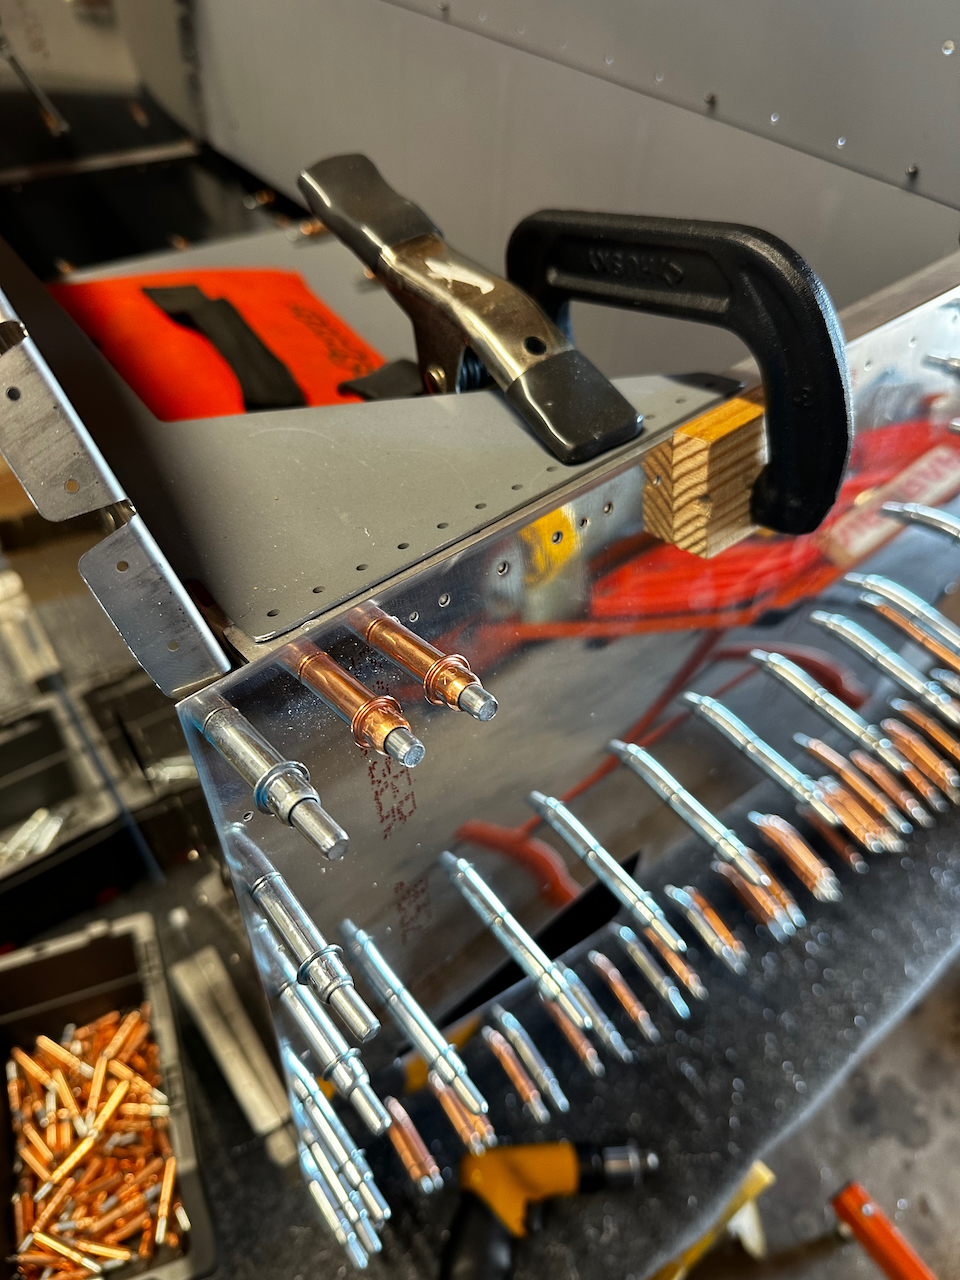
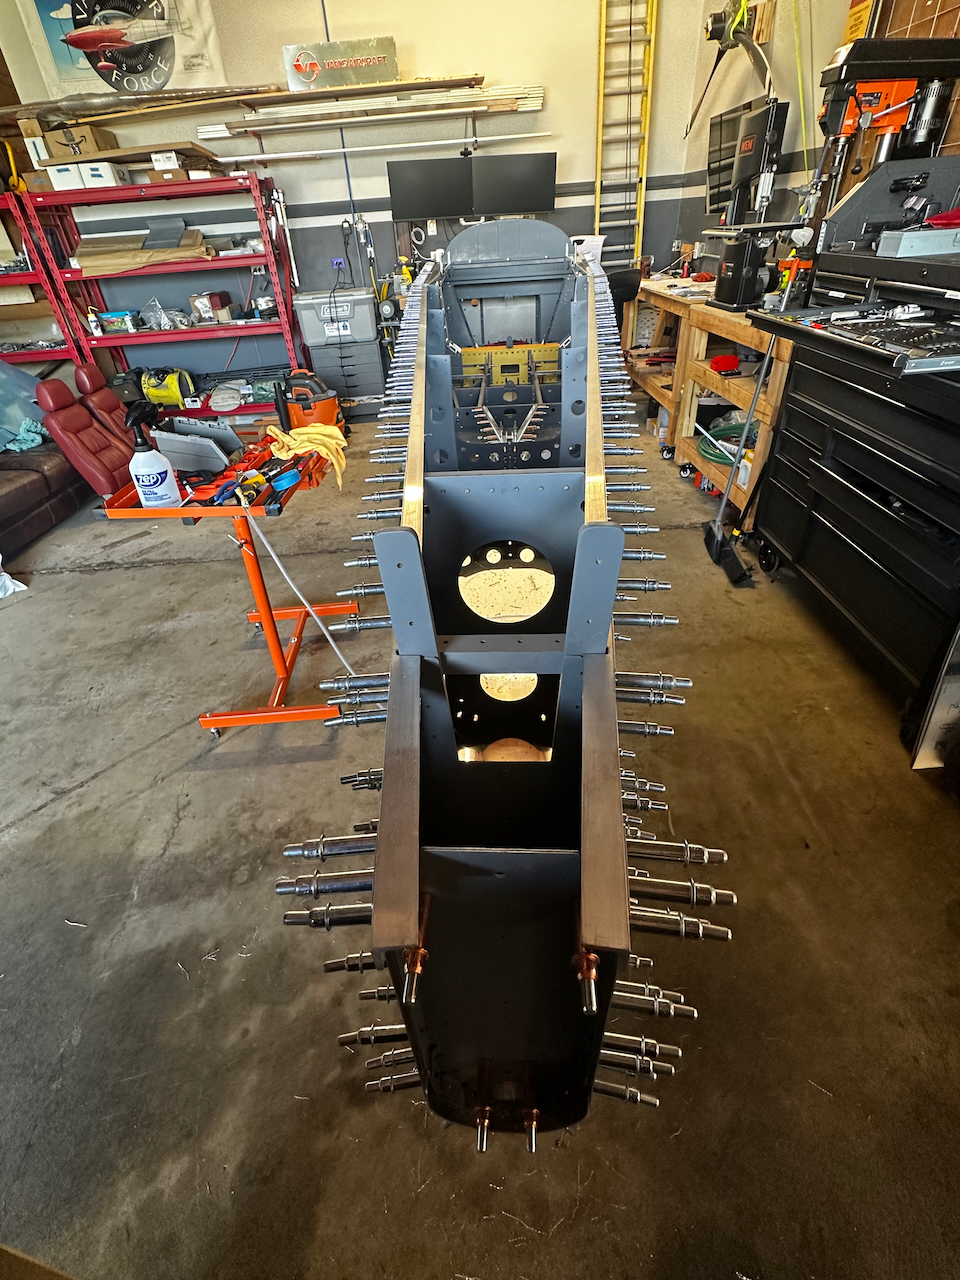
1/3 of the way through the aft skin longeron… so many holes!
All done!
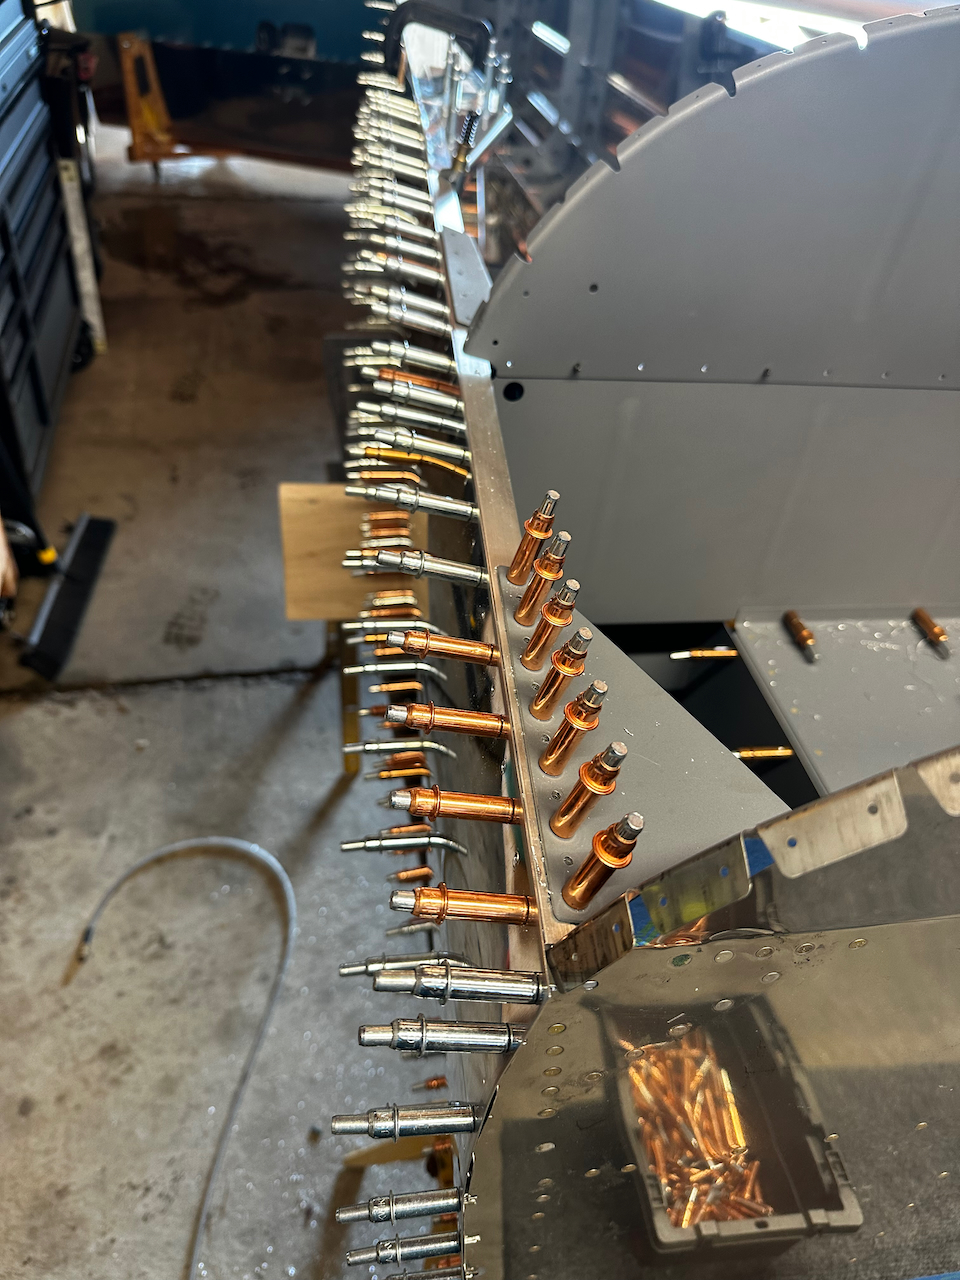
View from the left side
And a head on shot.
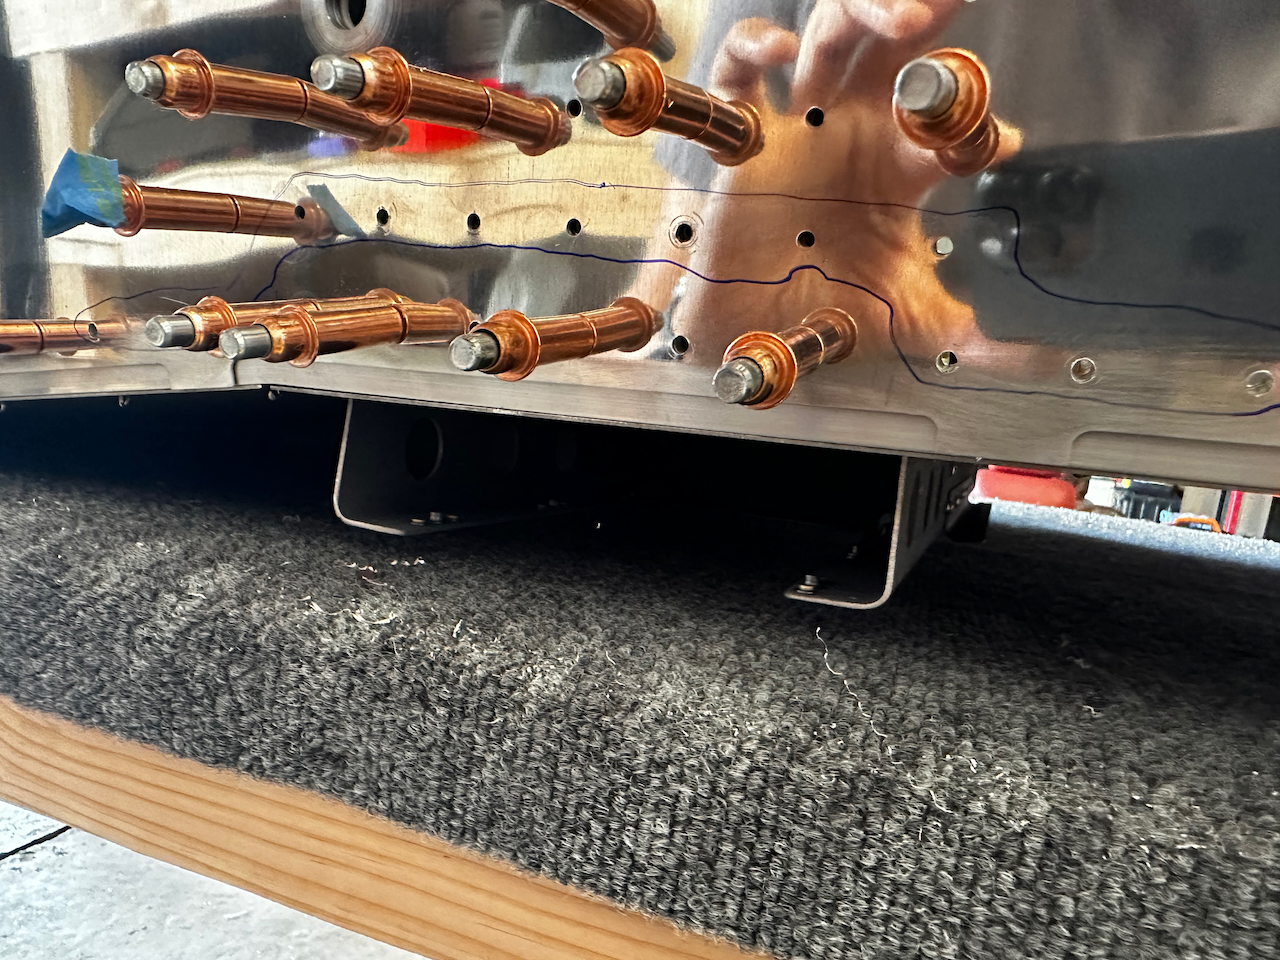
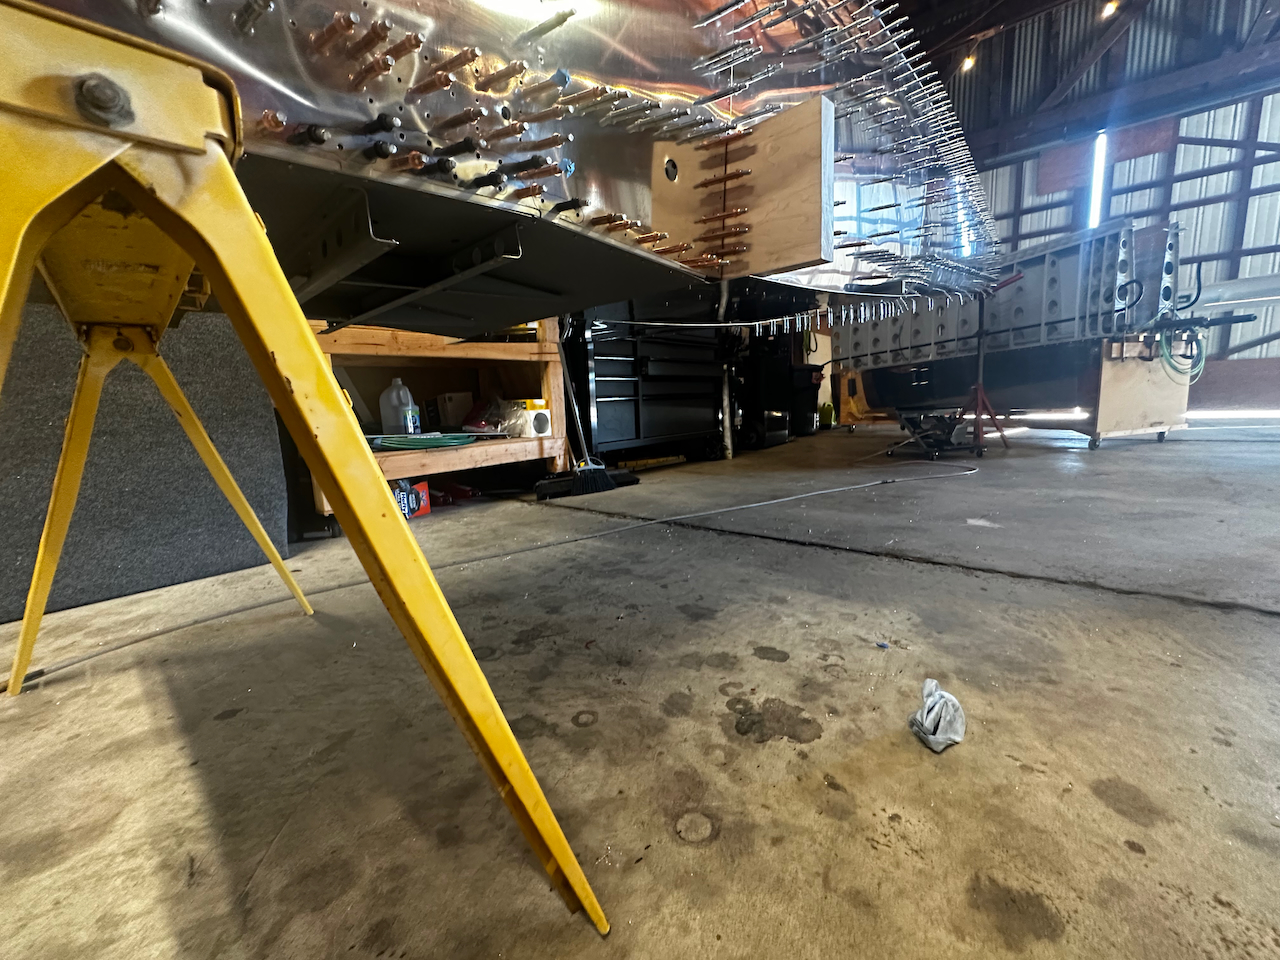
To get some of the bottom holes we had to move the fuselage off the table. It holds itself!
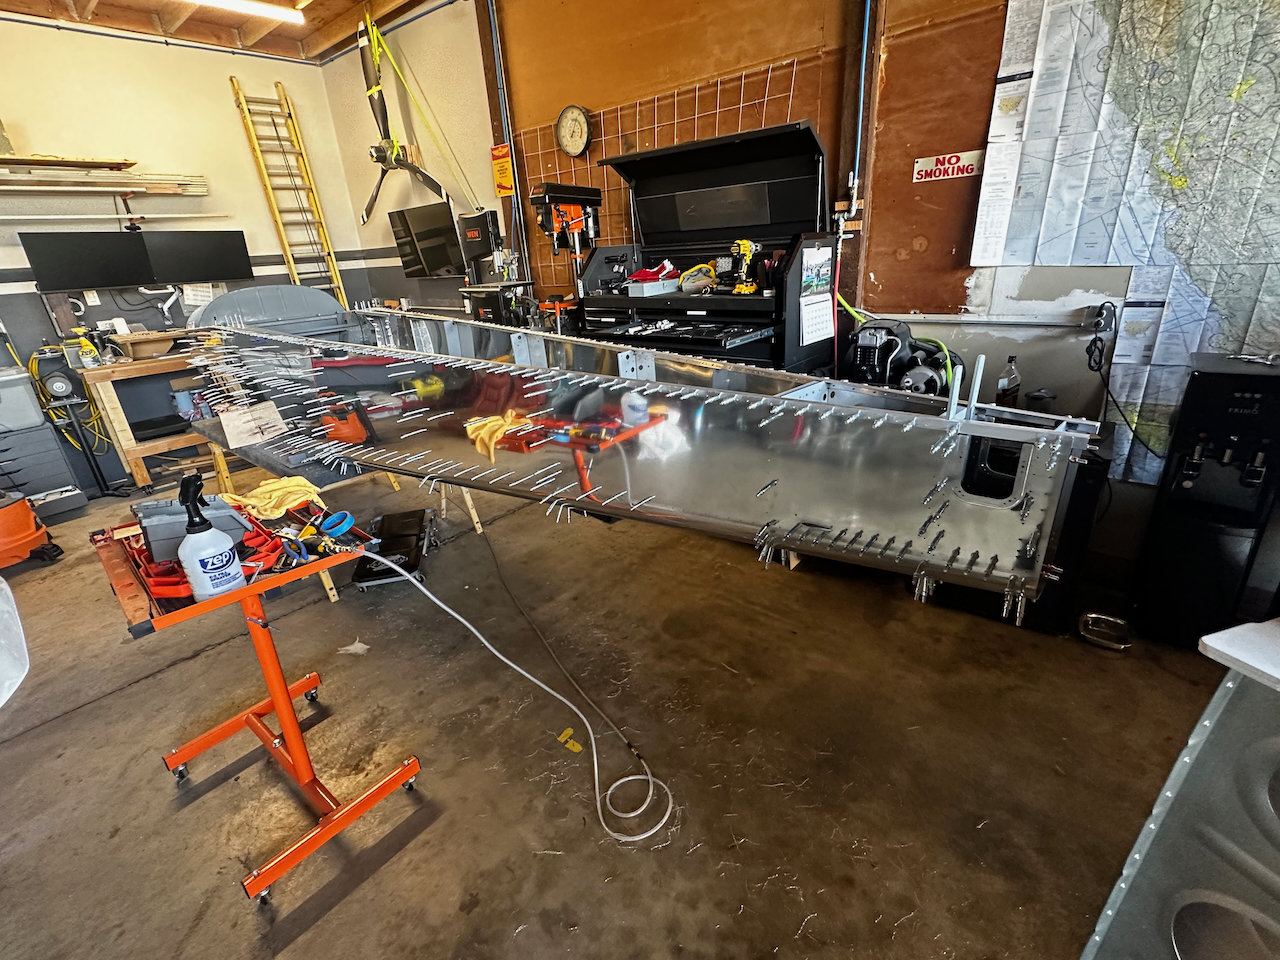
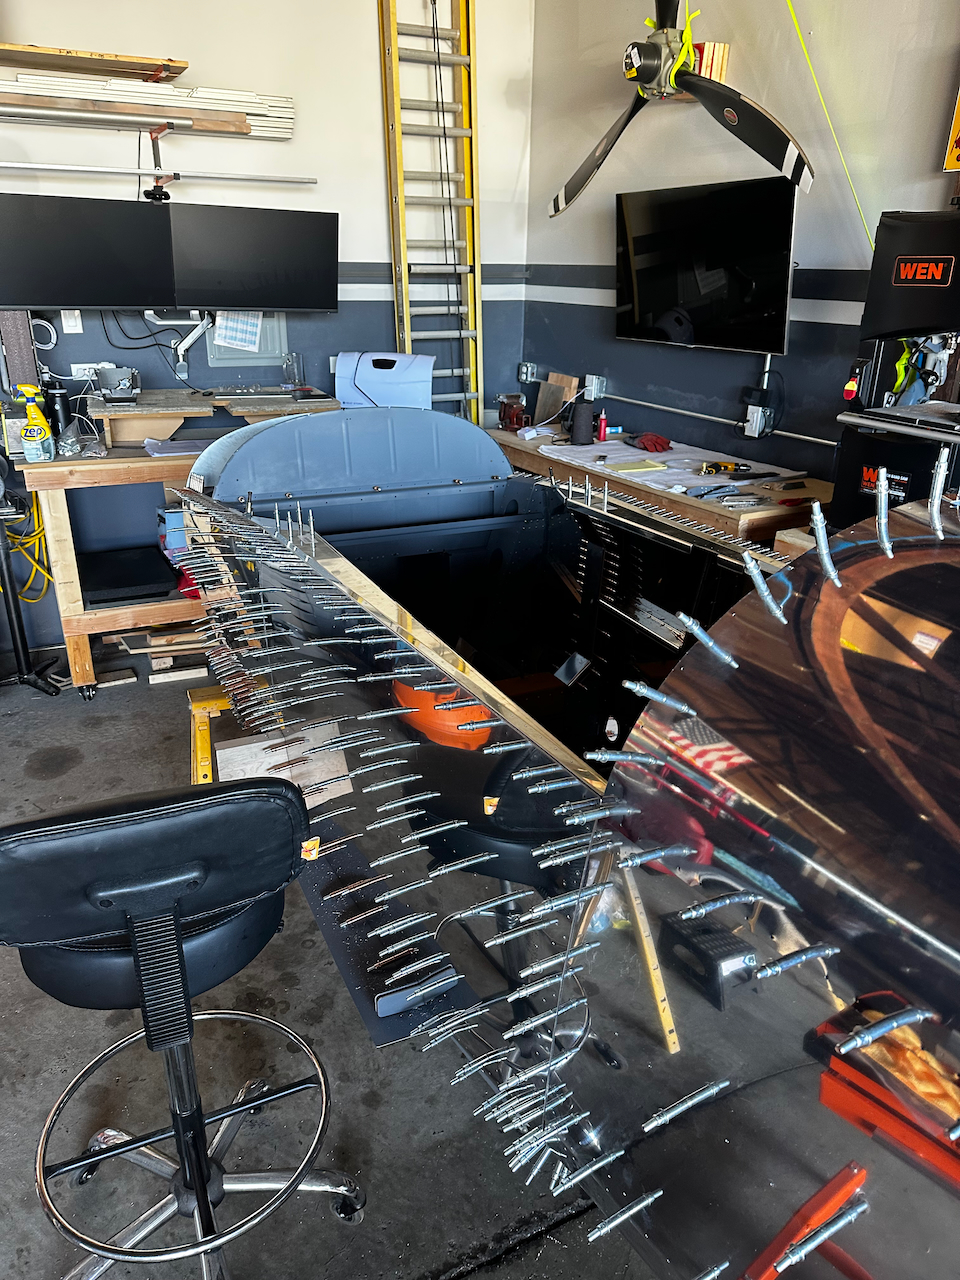
As I’ve mentioned before there are a set of milestones that you pay close attention to on people’s blogs. The Top skin is definitely one of those milestones. For the first time the fuselage is enclosed and starts to really look like the RV-8. You can feel the length, the shape, and can imagine sitting in it very shortly. Yes, I will still take it all apart again, debur it, prime it, and only then rivet it together for the final time. But still, it’s awesome to see. Putting on the top skin (or the “turtle deck”) was easier than I thought. I found starting at the top holes and working my way down the side was best. Getting the bulkheads to line up with the holes was a bit challenging, but using a pick to align things really helped.
bulkhead tops on to prep for turtle deck
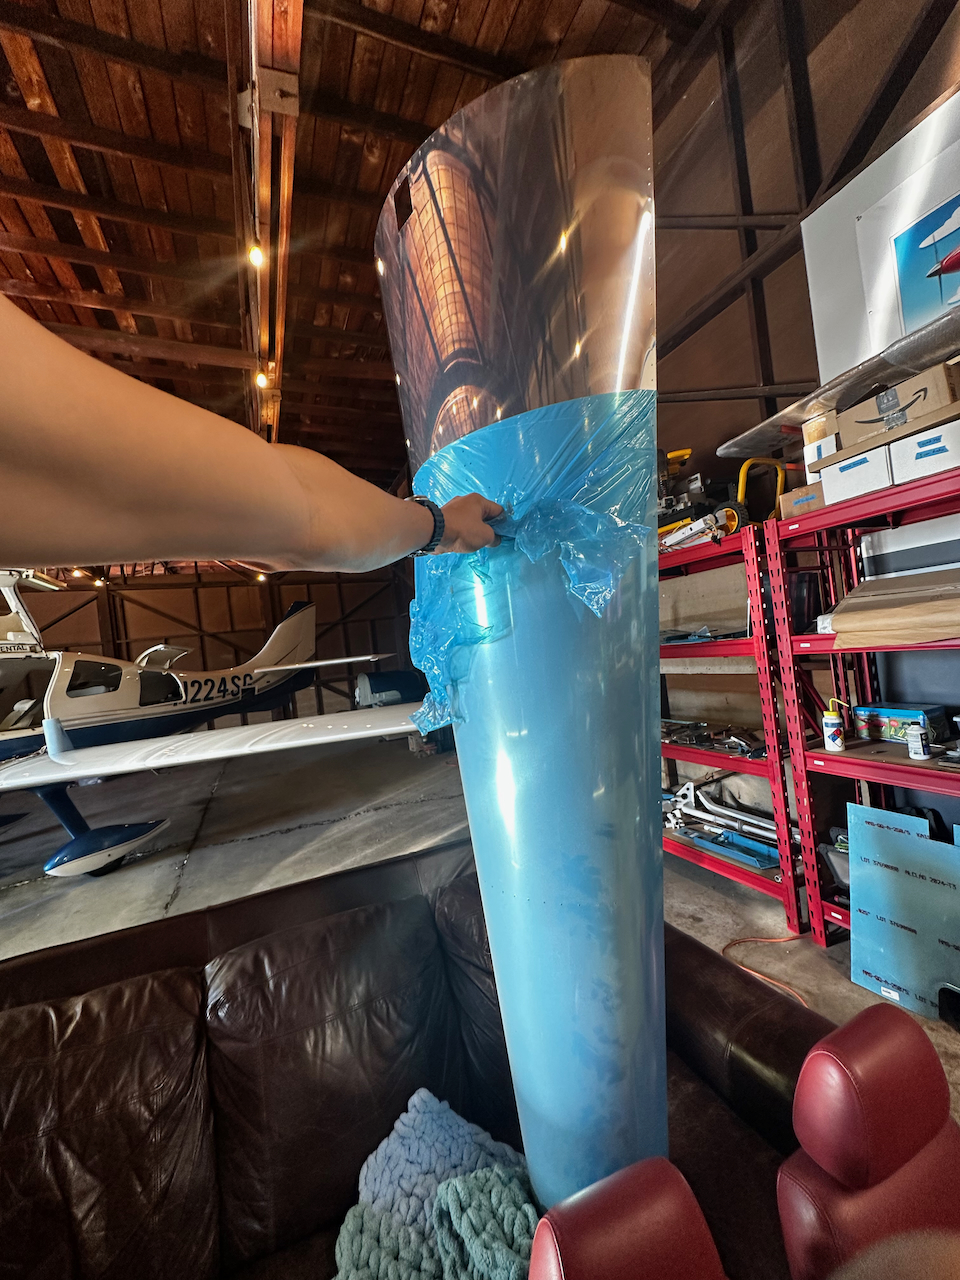
Lots of vinyl to remove!
And she’s on!
Took some time working my way down the skin to get it to fit…
…but the results are exciting!
A view from the other side.
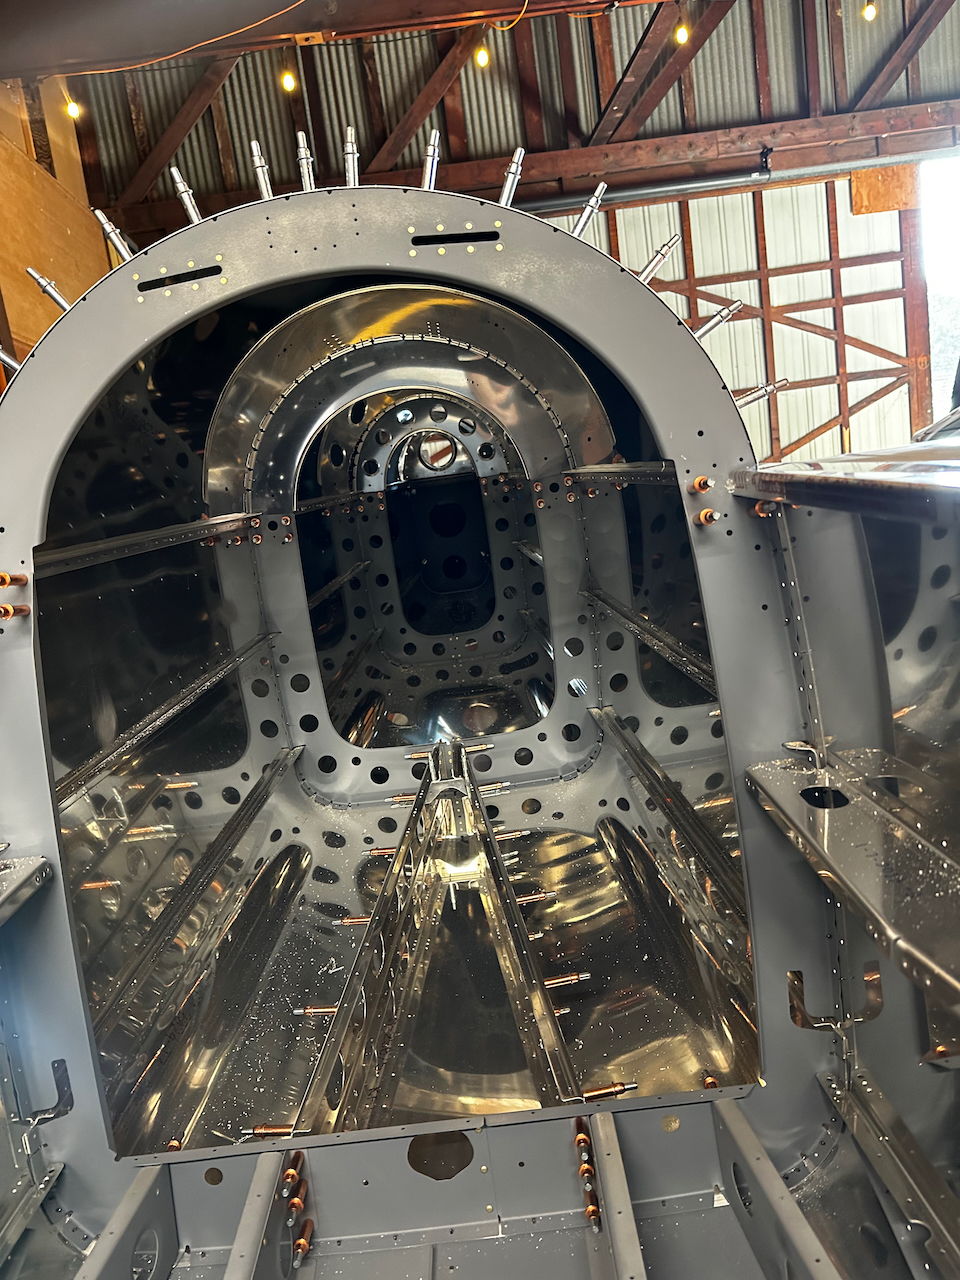
The cockpit area is fully formed!
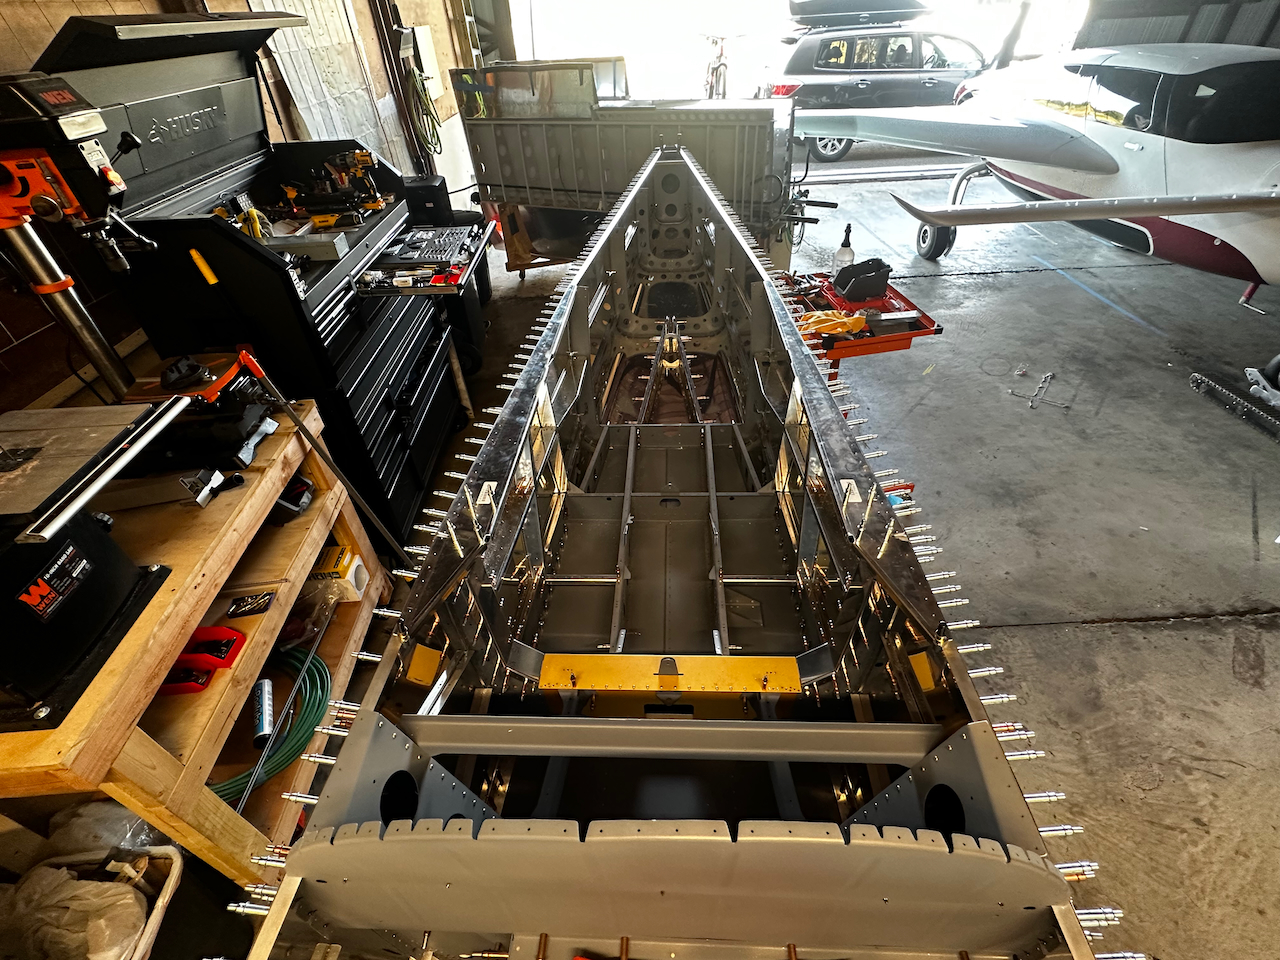
Aft Deck was an interesting area to drill out. A few different sizes that you need to pay attention to, and some awkward drill positioning to get to certain holes, but if you pay attention to the directions is should be pretty easy.
And she’s on!
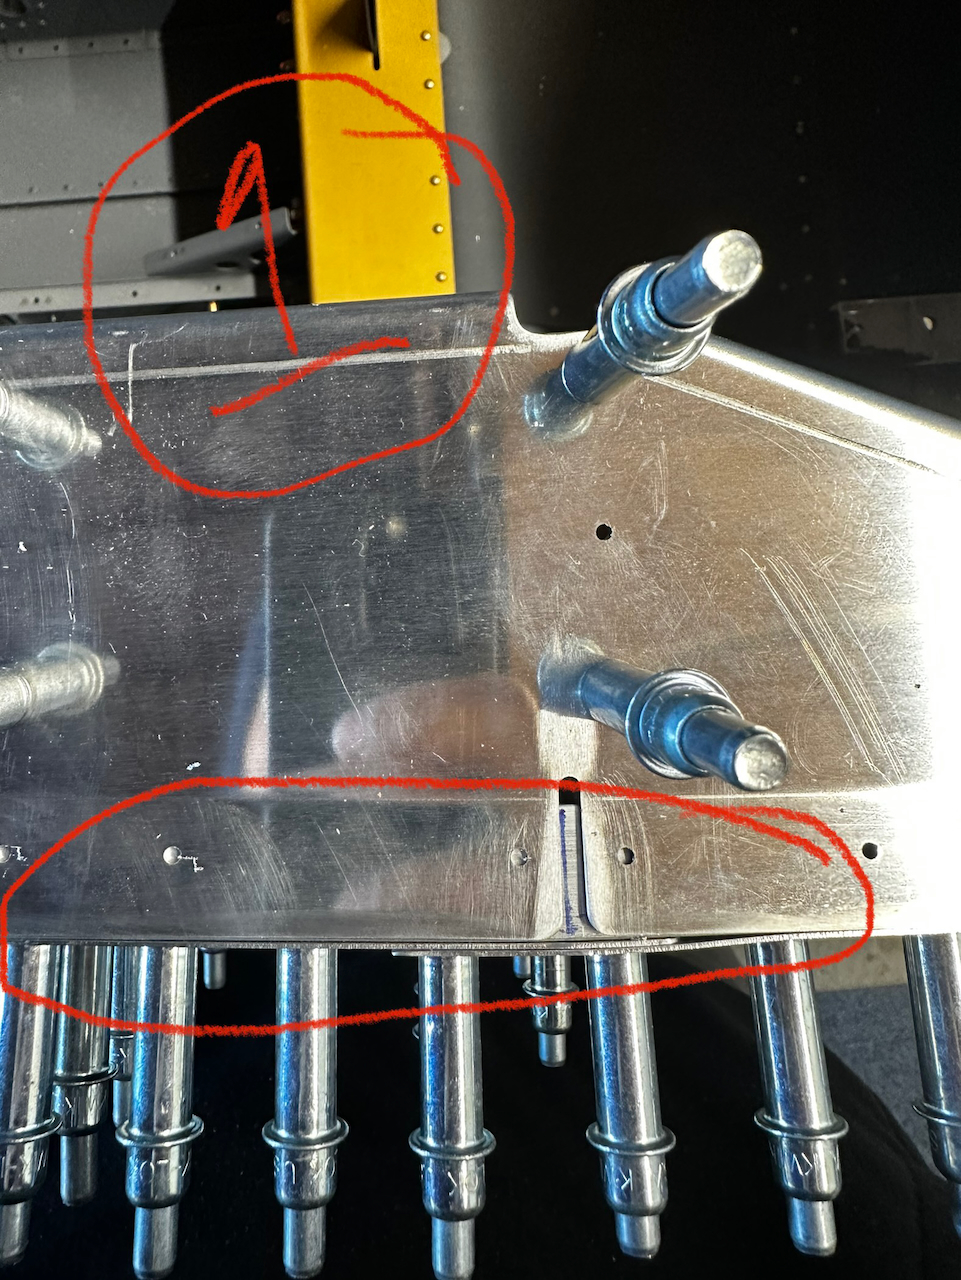
I finished up with the cockpit rails. This is one that was a head scratcher. The challenge is that the manual instructs you to “align the rail with the outer surface of the mid skin. The issue is that you have pre-drilled holes on the center bulkhead that limit your ability to pull the part outboard. I found the best I could do still left about 1/16” of misalignment. I didn’t see a way to fix this… so the question is what to do? Van’s forums to the rescue. With a quick search I found a good thread LINK HERE on many folks running into this same issue. It sounds like the root cause is if the center bulkhead flanges aren’t a perfect 90˚ angle. To be fair, the instructions do have you check those flanges before putting on the skins, but it seems they could emphasize the implication of not getting it right. The conclusion of most was that if it’s close don’t bother correcting. I would say 1/16” is within acceptable tolerances, so I opted to make the rest of the reveal the same, and proceeded with the match drilling.
Cockpit Rails issue location
Rail will not be aligned outboard with clecos in.
with alignment correct, pre-punched holes don’t line up.
Well, that’s it for June! I’m excited for the progress made the past few months and hopefully I can keep the momentum going in July. We are off to Utah for the kids Junior National Volleyball tournament and yep, we’re taking the Velocity. Looking forward to a smooth trip (**crossing fingers**). Next up on the RV-8 is getting the “roll bars” installed, and a few other miscellaneous parts to match and final drill. Then it’ll be disassembly and a whole lot of deburring. Until then…. Happy Building!!
Paolo,
Was great meeting Jess and you yesterday. Thanks for taking the time to show me around your project(s). I found your blog online and think I’m hooked! Super exciting!
Will follow your progress and come by the next time I’m in Paolo Alto visiting with my cousine
Best
Ravi


3 comments
Great progress. You will be flying before you know. 2024 here we come
Paolo,
Was great meeting Jess and you yesterday. Thanks for taking the time to show me around your project(s). I found your blog online and think I’m hooked! Super exciting!
Will follow your progress and come by the next time I’m in Paolo Alto visiting with my cousine
Best
Ravi
Glad you could come Ravi! You’re welcome to come out anytime!!