Two Velocity updates in the same week? What the heck is going on?? Well, it turns out airplanes get jealous, and if you don’t pay attention to each, they will eventually get back at you. (Don’t worry… the RV-8 is getting a bit of attention too…post coming soon on that). The Velocity had been down for 2 months for the avionics work and I think “Speed Bug” is reminding me not to leave it sitting that long again…:). What’s interesting about work on a commuter plane is that big projects are always stressful as you usually have a time constraint on getting back up and flying. Although I can always take commercial, it makes me sad to have a grounded aircraft whenever I go to LA.
If you read the previous post, we discovered a pretty bad leak in the nose gear door cylinder (an overly complex design), and it was causing the gear doors to not fully retract. To get home (and the few flight since) I pulled the nose gear doors off. It is amazing how loud the missing gear doors are. It’s the worst kind of loud because it’s a random vibration loudness that seems to break through noise cancellation. We’ve got a long trip to Utah planned this weekend, so I wanted to get this work done and get the plane back to top shape. When I talked to Velocity about a cylinder rebuild kit they infomred me that they aren’t recommending the cylinder anymore and sent me out a mechanical replacement designed by the late Ken Mishler who was a Velocity builder himself. Since the gear doors were already off, step one was removing and capping of the nose gear cylinders. Easy enough.
Bye Bye Nose Gear cylinder!
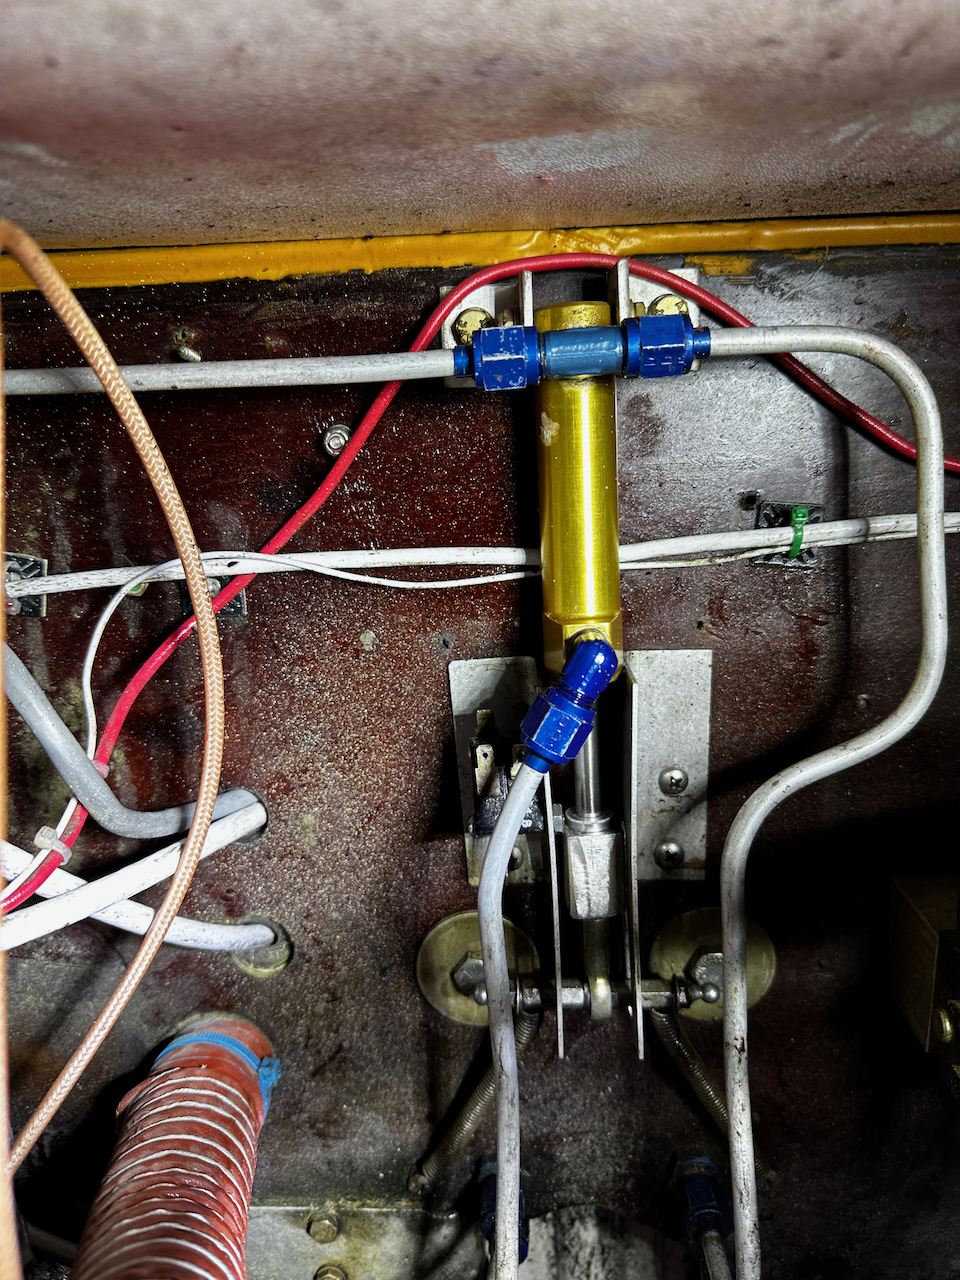
At the top, I’ll need to put in a union to bypass the cylinder…
…at the bottom I just had to cap the sequence valve.
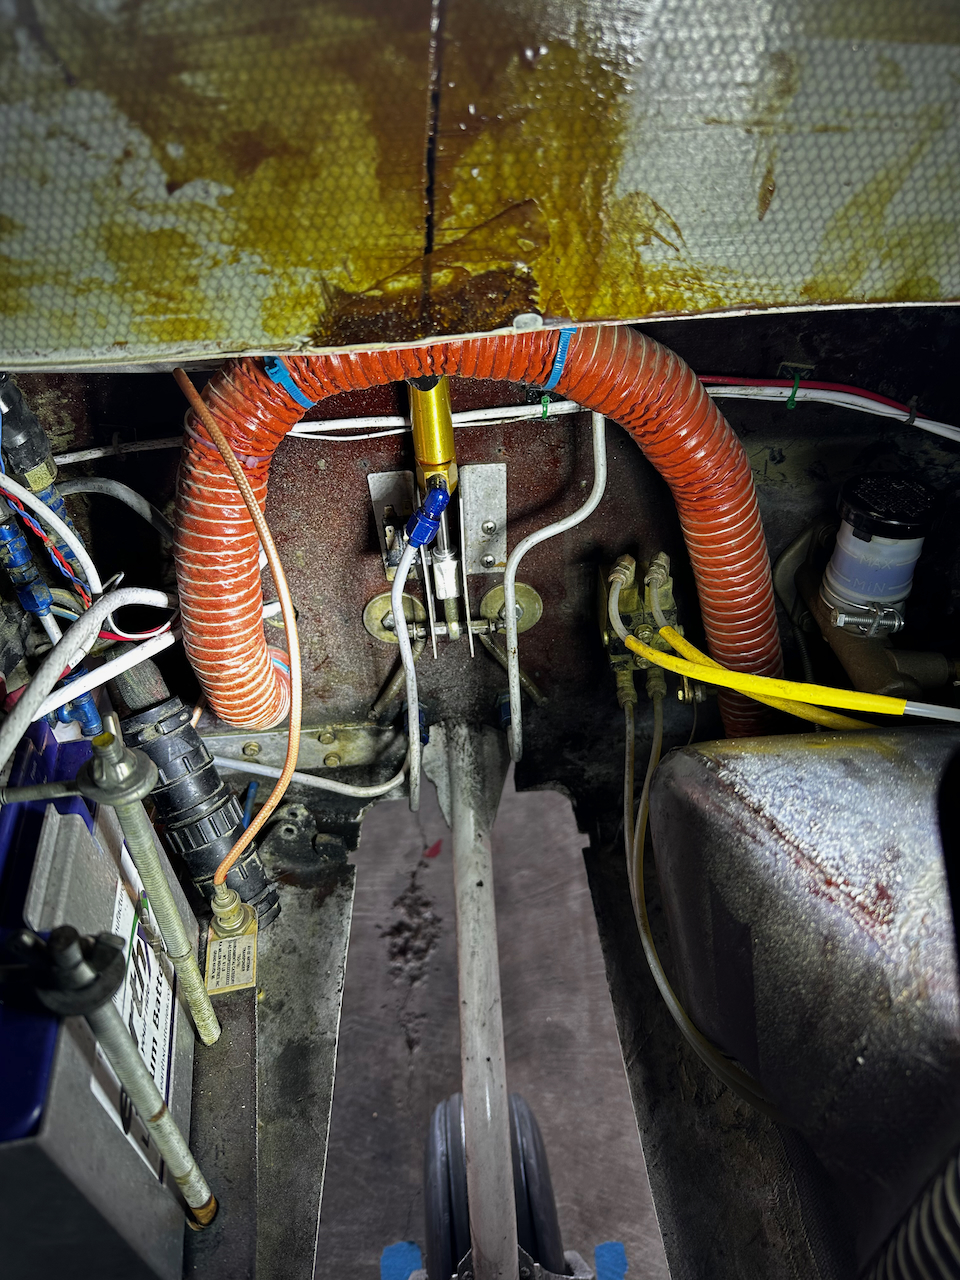
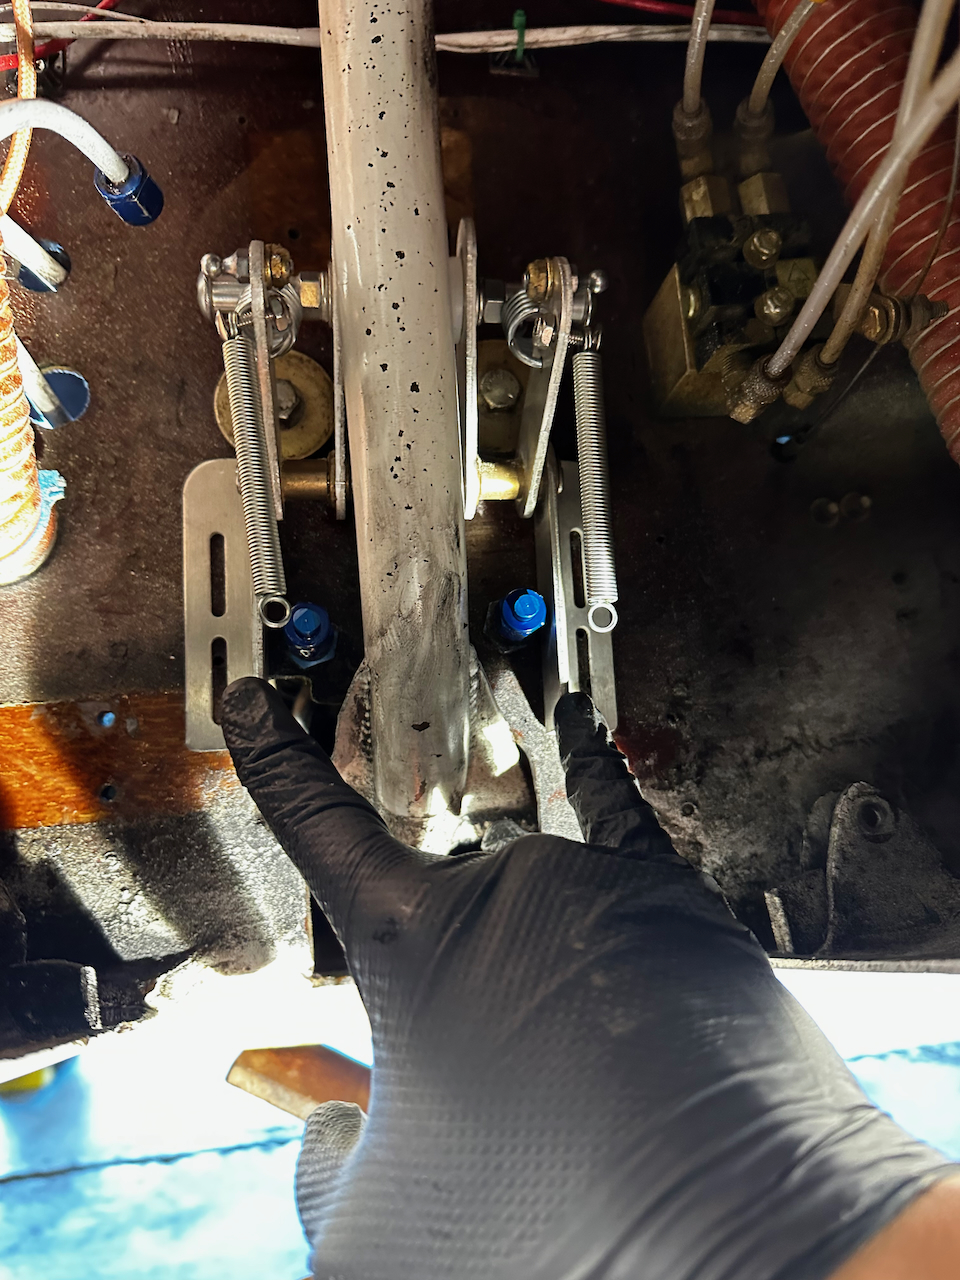
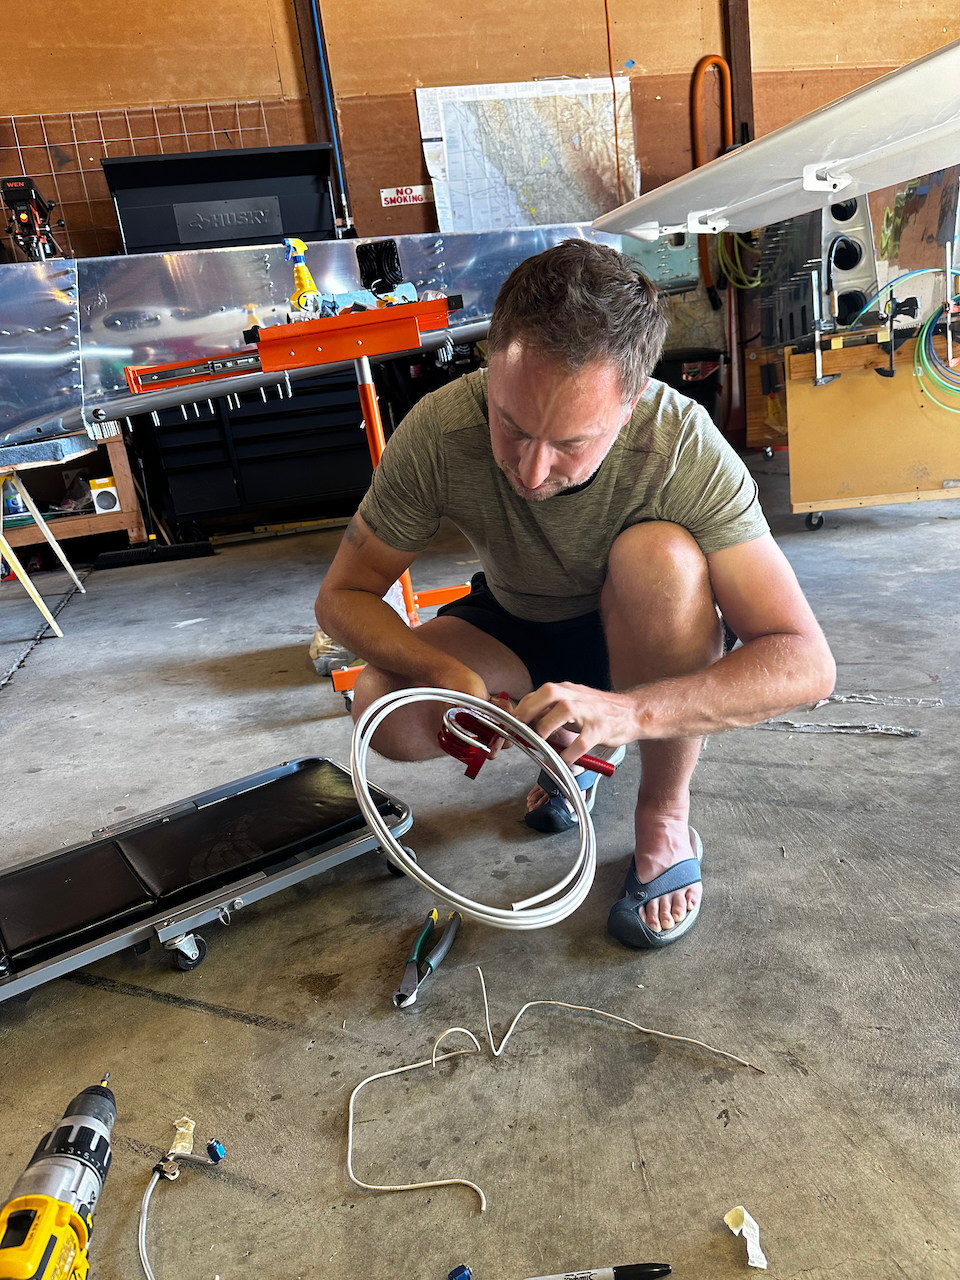
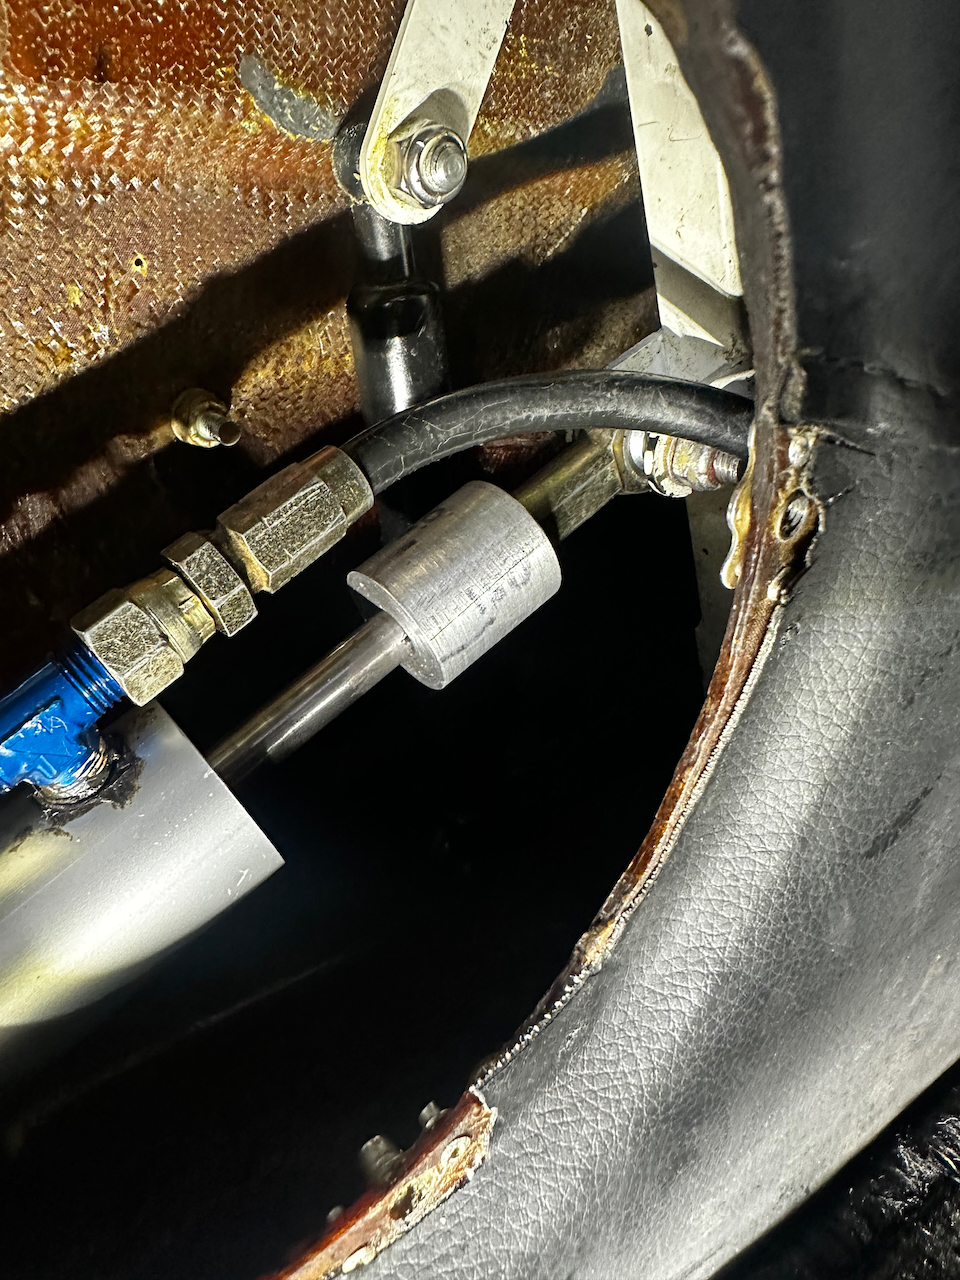
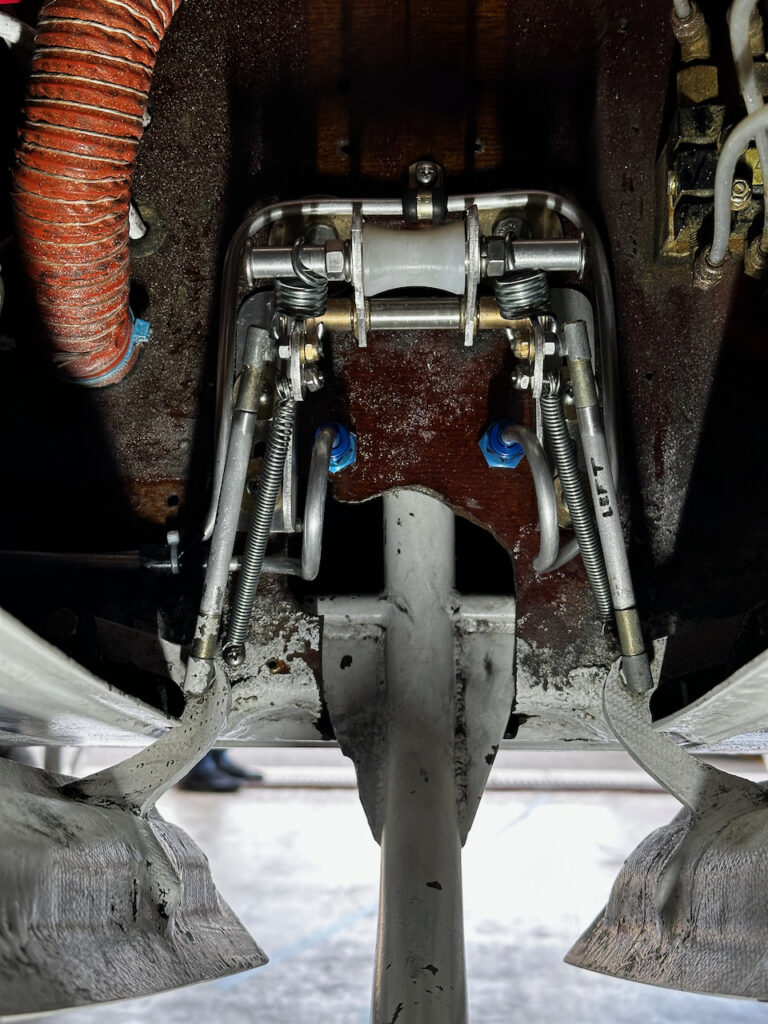
I did the removal in a way to ensure I could go fly over the weekend (went up to Santa Rosa to visit another RV-8 builder who just did first flight!). Note that between each gear change I would jack the plane up and do a gear swing. It was a bit of a pain because I don’t have jacks, and the ones I used were one airport over (about 30 minute round trip). Might make sense to get my own jacks at some point. As much as I really liked the new mechanical design, the challenge is that the new design assumes your hydraulic lines come into the keel way higher up the canard bulkhead. Since my lines were down low (and exactly where the mechanical device is, it was going to be a challenge to get everything to fit (if not impossible!) In the next session, Sam came by and were were trying to figure how to get everything to fit. At one point we were really close to taking off the canard to be able to get to the backside of the bulkhead and replumb the bulkhead AN fittings. Thank goodness we decided that was too big of a job. After inspecting all our options (and Sam talking me off the full-plane-disassembly cliff), we decided a good win would be to remove the sequence valve and clean up the fwd bulkhead in preparation for the Mishler assembly mounting.
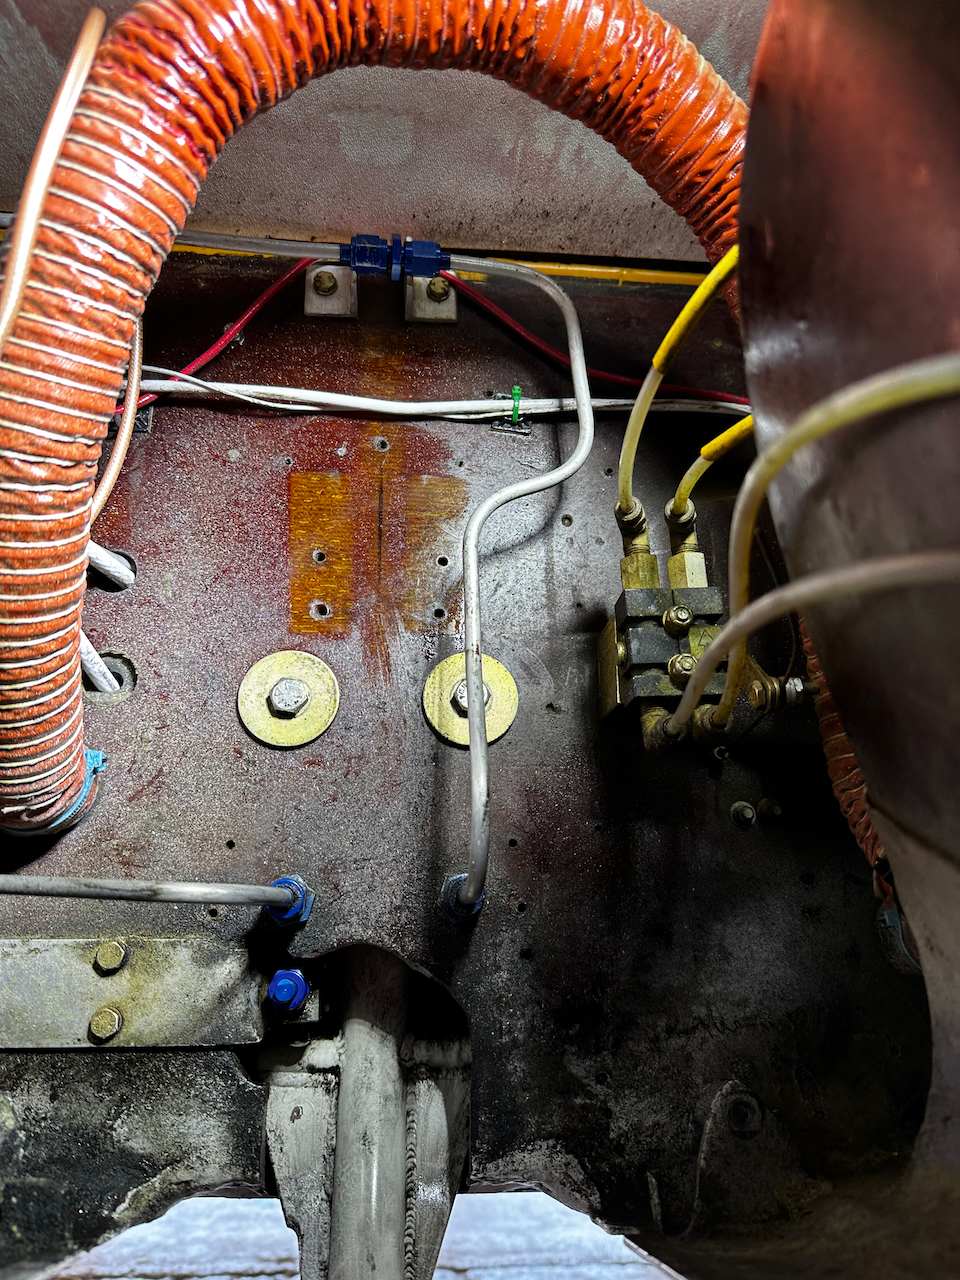
sequence valve out (at the bottom) and the bulkhead ready to go. Note the location of the hydraulic ingress to the aft section of the plane.
We had to cap at the circled areas and remove everything in red.
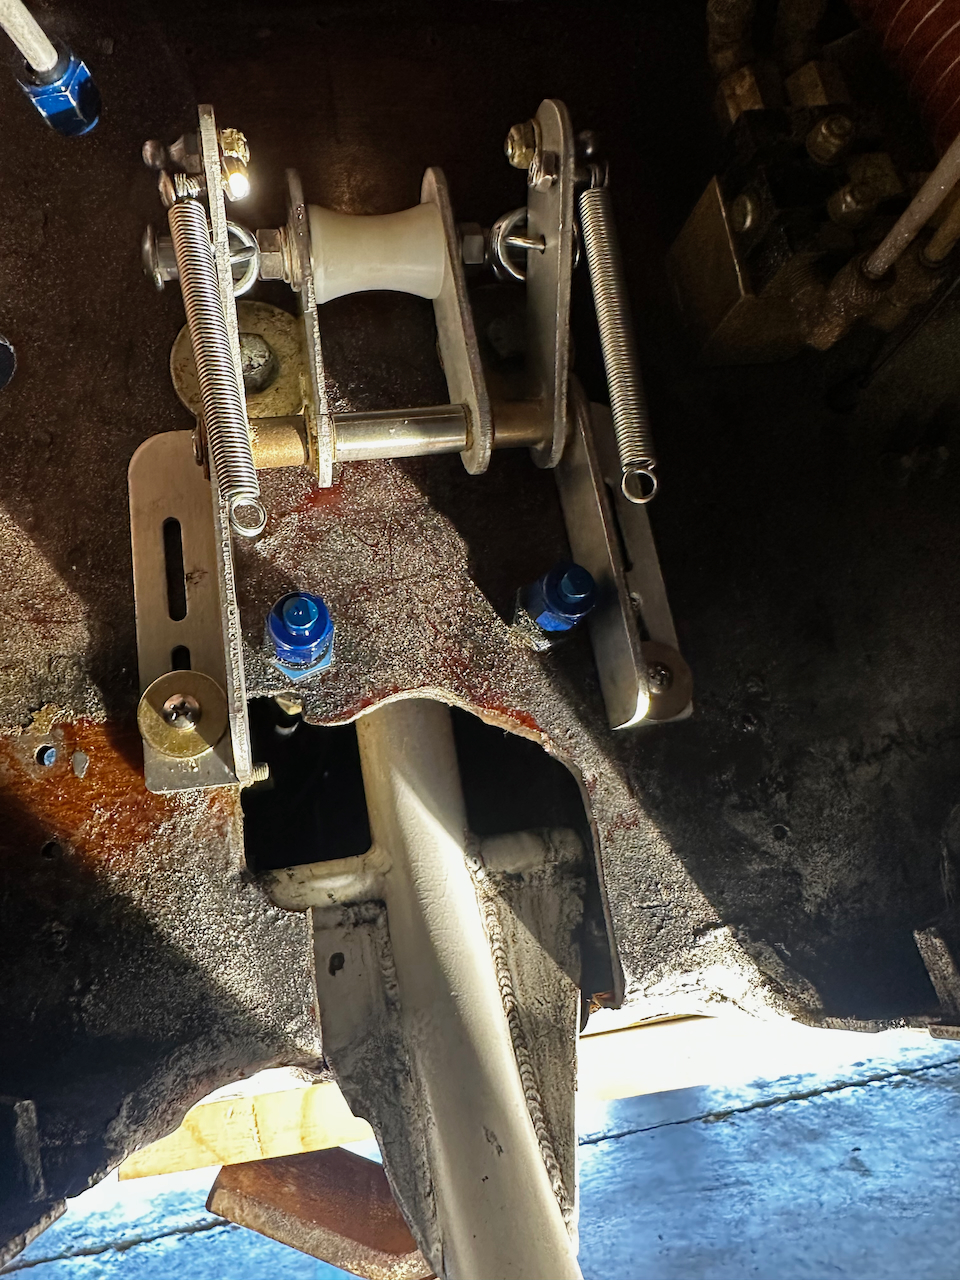
The next day I decided to proceed with mounting the bracket. Once of the challenges was going to be how to route the hydraulic lines around all the mechaincal interference. After a quick mounting test I had a great idea to swap out the bulkhead fittings with 90˚ fittings and pass them through the assembly brackets. After unscrewing the aft connection, I realized that the fitting was actually a t-fitting on the aft side so it wasn’t going to work. When I put the fitting back on I accidentally crossthreaded it and spent a good two hours repairing and successfully threading the fitting back on. I had to find a different way to route the hydraulic lines to connect where the fittings currently were. James to the rescue!! With his unending optimism and go getter attitude we were able to bend some pretty unique shapes to get the lines to avoid all mechanical interference. Sometimes by a few millimeters, but it worked!
test mounting…it might just work!
initial mounting for positioning
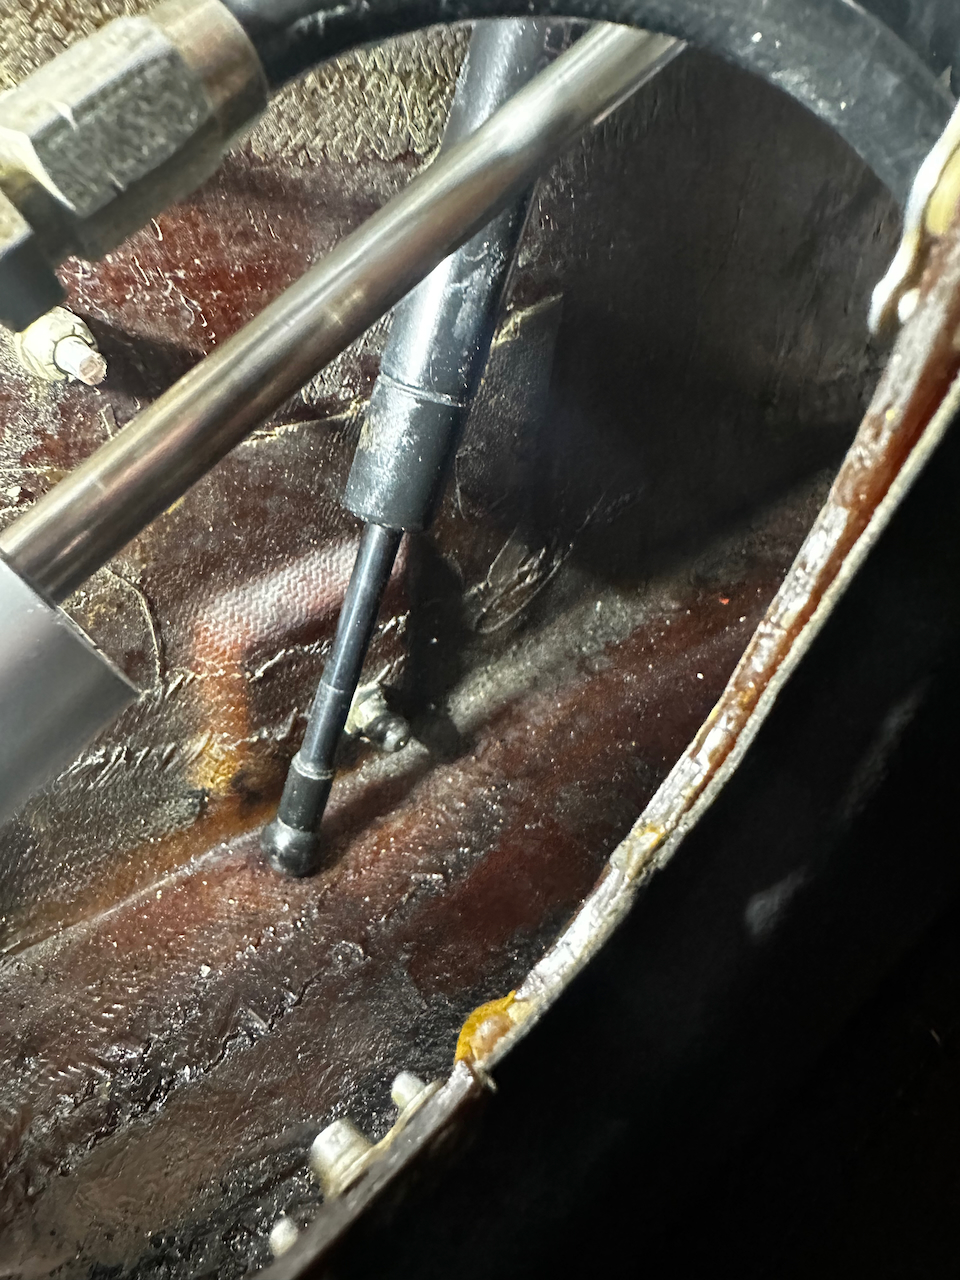
To be able to swing the nose gear door I had to pop the overcenter gas spring. (More to come on that later!)
that is a tight fit but it works!
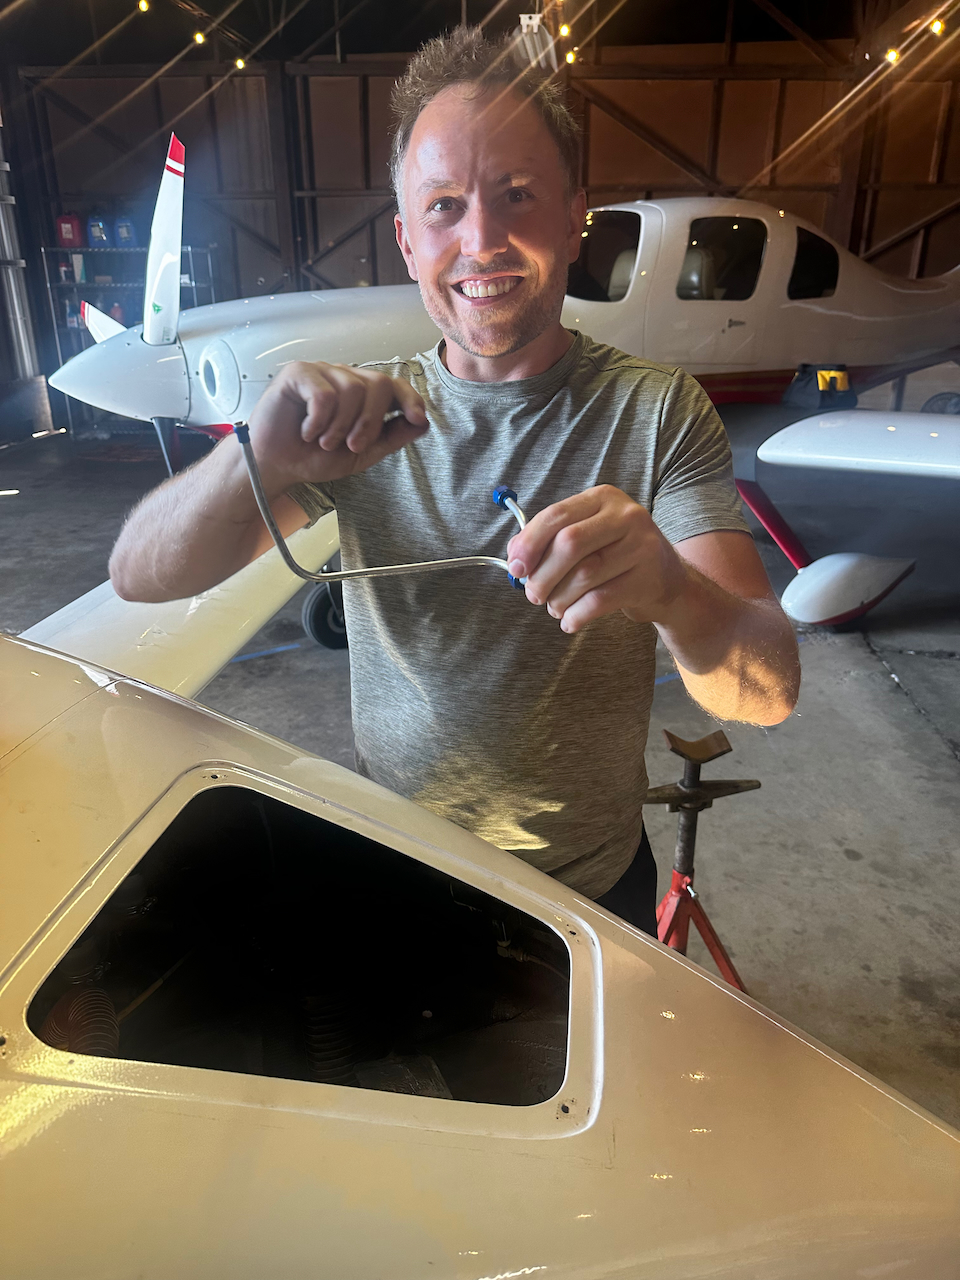
James… the TubeBender.
Nice shape James!!
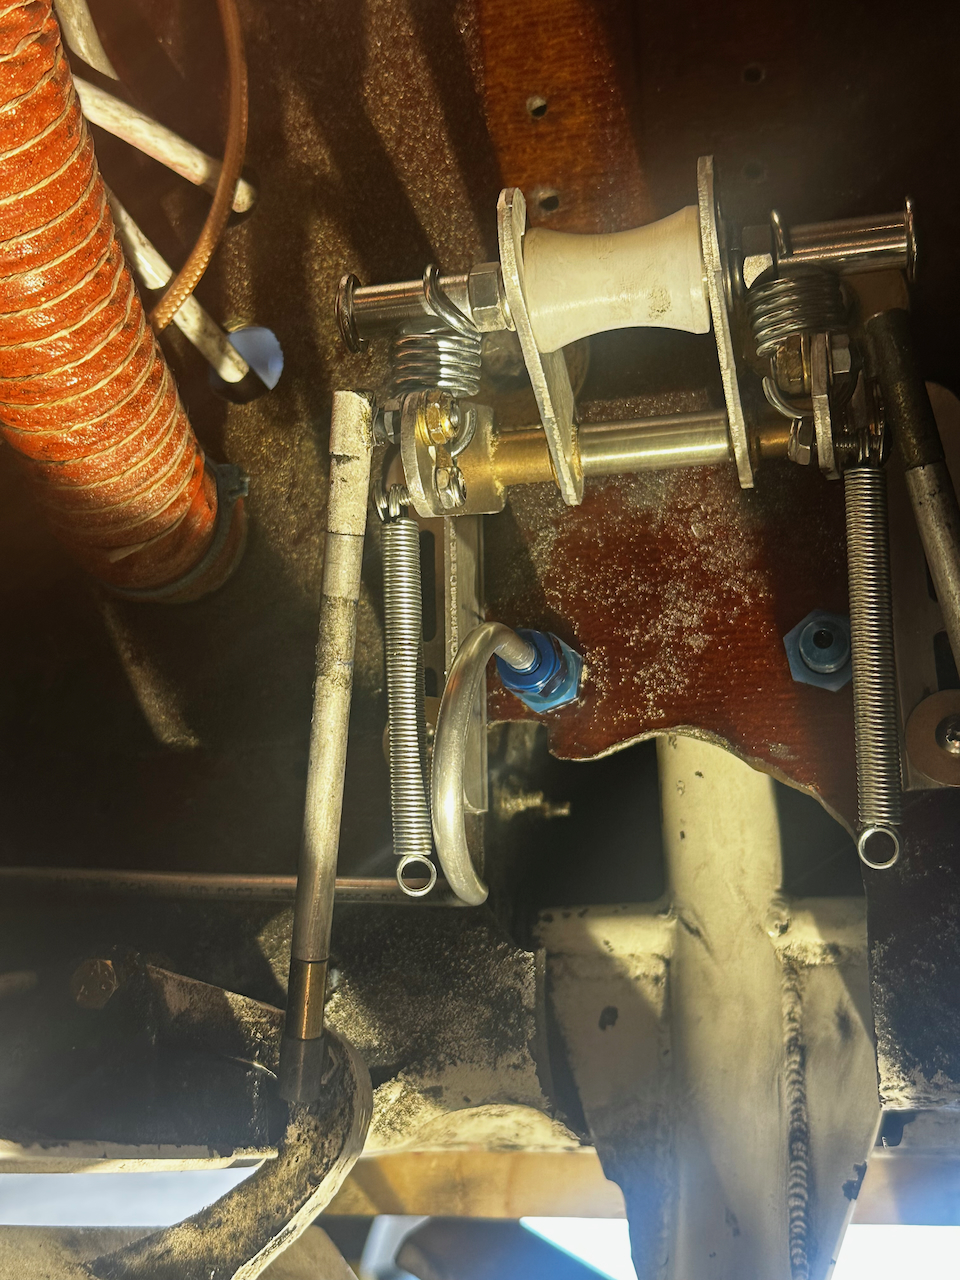
Tubes fit in well around the door linkage.
With the tubes installed nicely, we mounted the down force springs (to force gear doors down) and pressurized the system for tests. Generally it went really well but the nose tire did not come up as high as necessary to completely clear the doors so I ended up with a tiny bit of gap in the door closure. I had no idea how to fix this. The good news is that there is a relatively strong velocity community (velocityowners.com) that was able to point me in the right direction. Long story short there is an access panel on the co-pilot side where you can access the nose gear cylinder connection. By twisting the piston rod you can extend or contract the threads on the coupler. (Note you have to use the dump valve to release enough pressure to twist that piston rod…make sure you are on good jacks!) Just a couple millimeters of change there results in quite a bit of travel up at the nose tire. After a bit of adjustment I was able to fit the tire fully in the wheel well AND still have a clean over center on extension. To ensure the gear was positioned right, I used a borescope to verify the position was perfect.
gear was not coming up high enough.
markings on the bushing to keep track of how many twists I did. It ended up being about 2.5 full turns from bottomed out.
Jerry rigging for adjusting the piston rod….
The system needs to be in dump mode, but the gear needs to be somewhat up to access the rod.
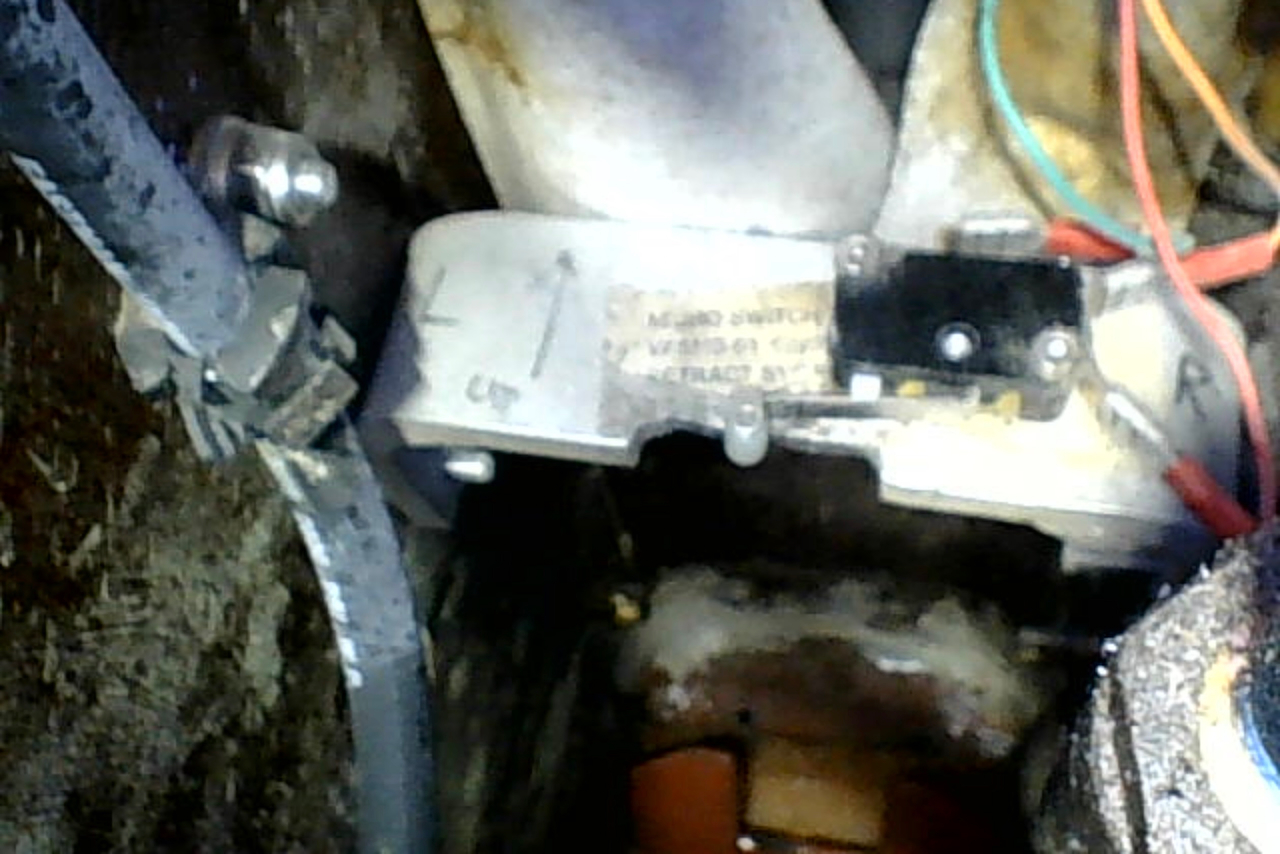
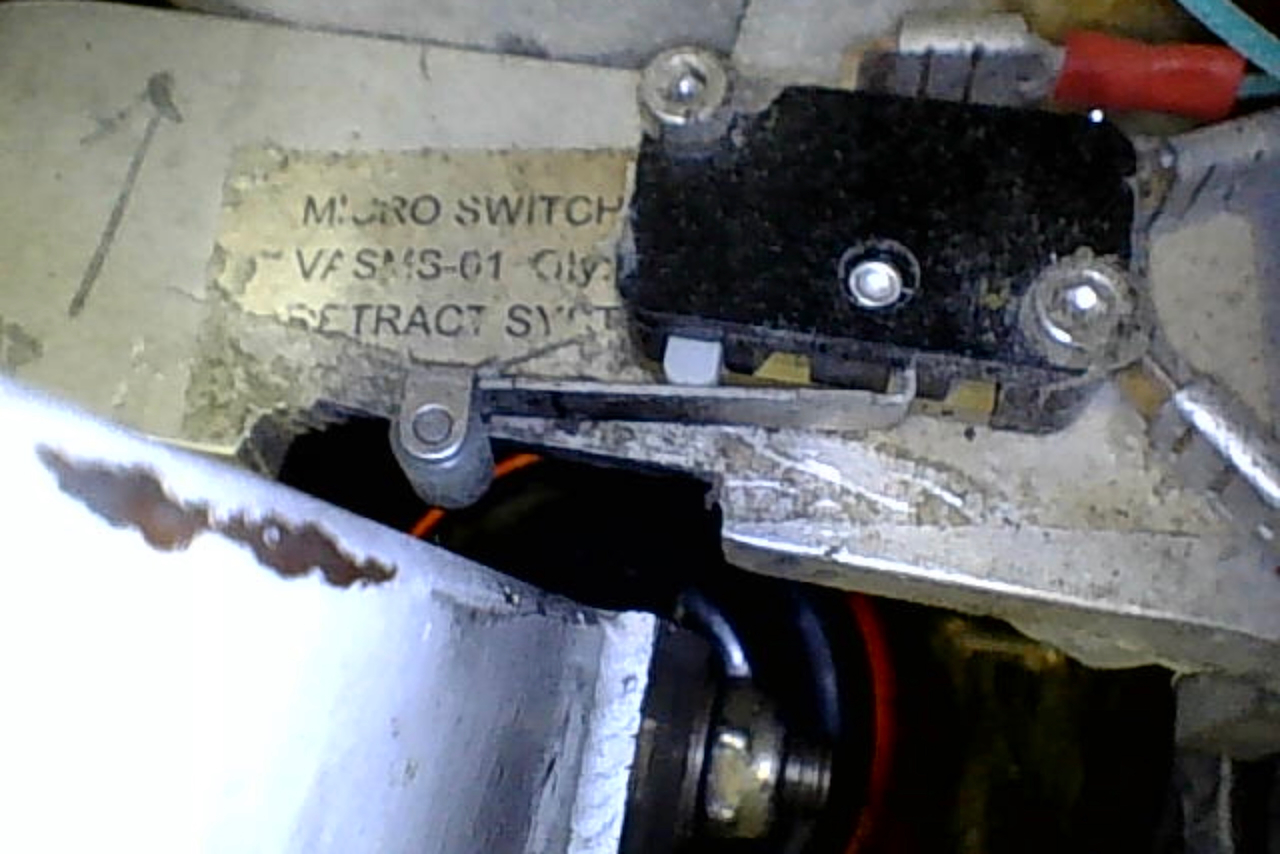
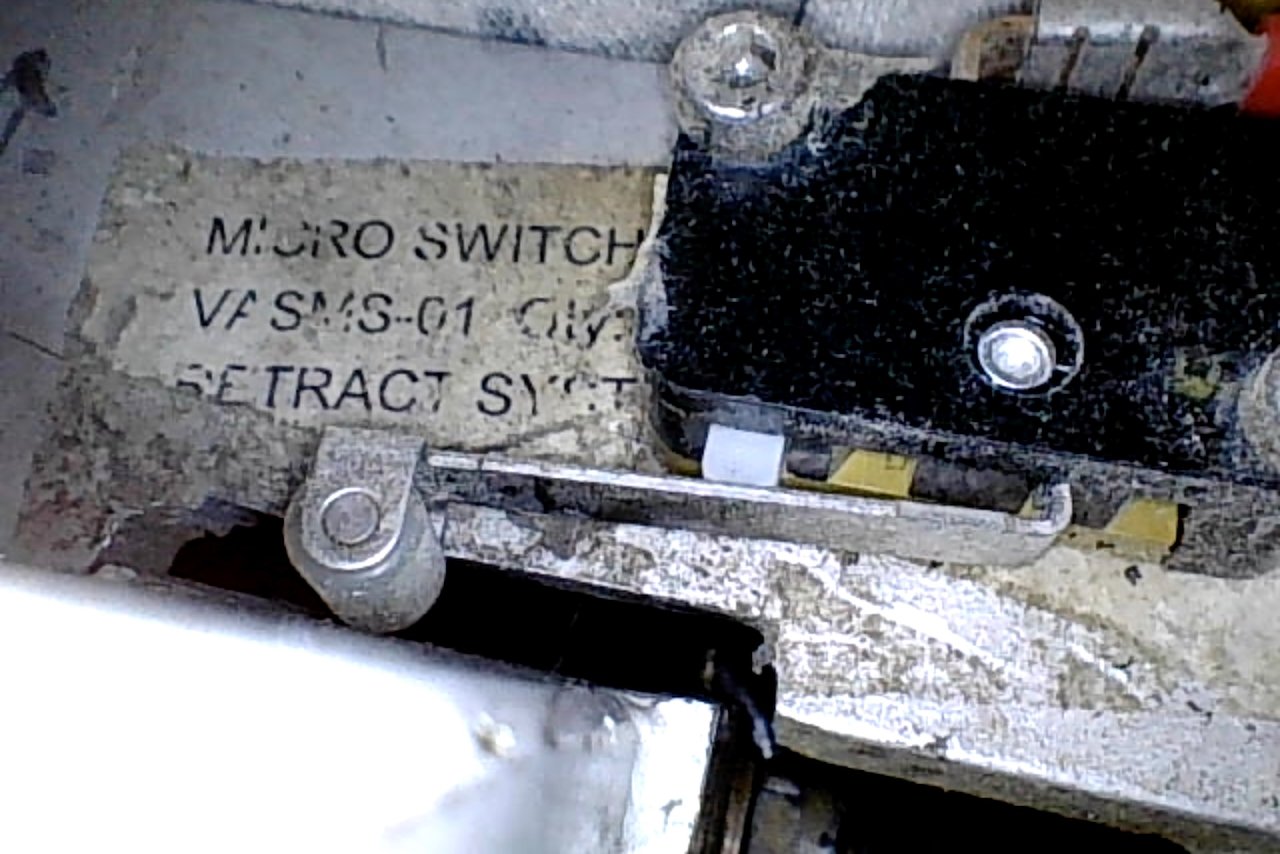
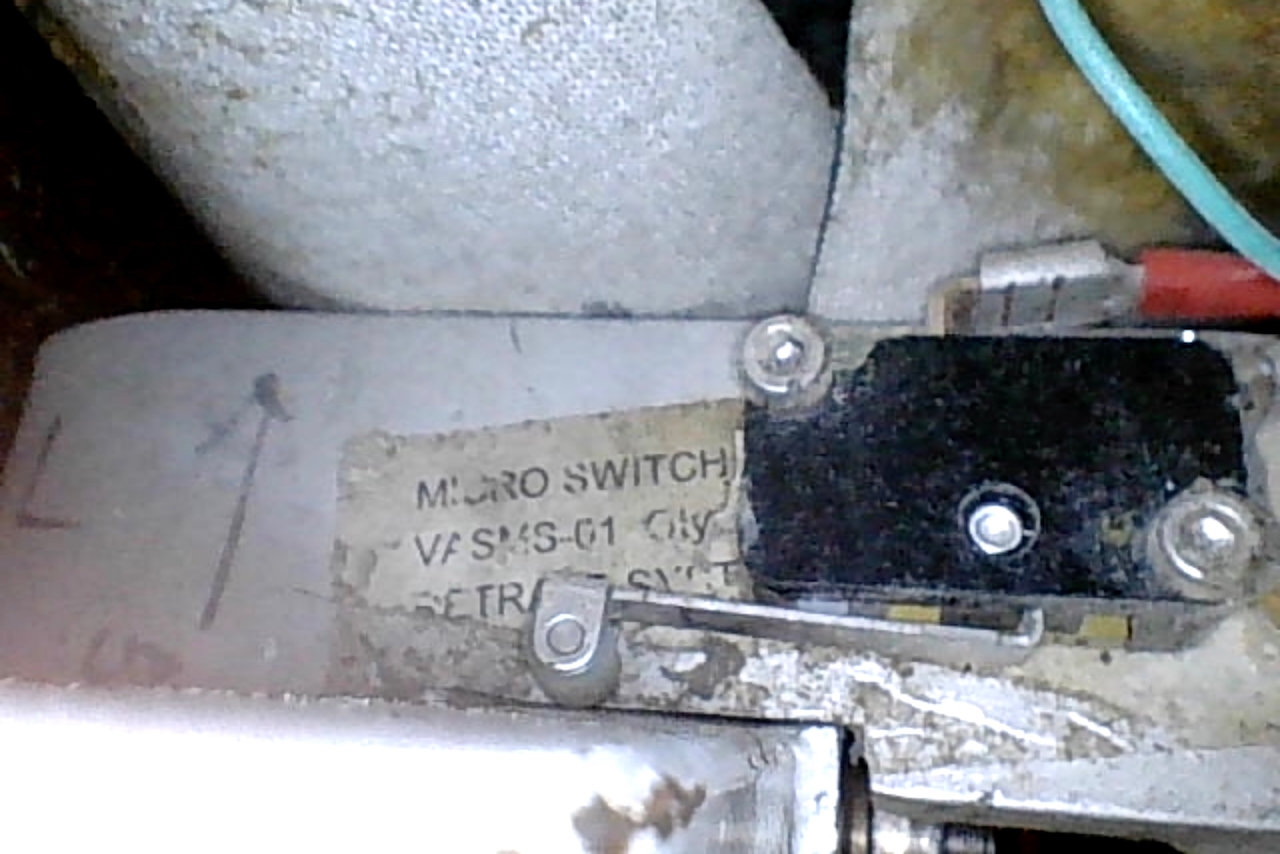
A properly positioned gear will be snug up to that bracket and compressing the squat switch.
WAY too much distance to the landing gear squat switch..
…and more importantly, no over centered.
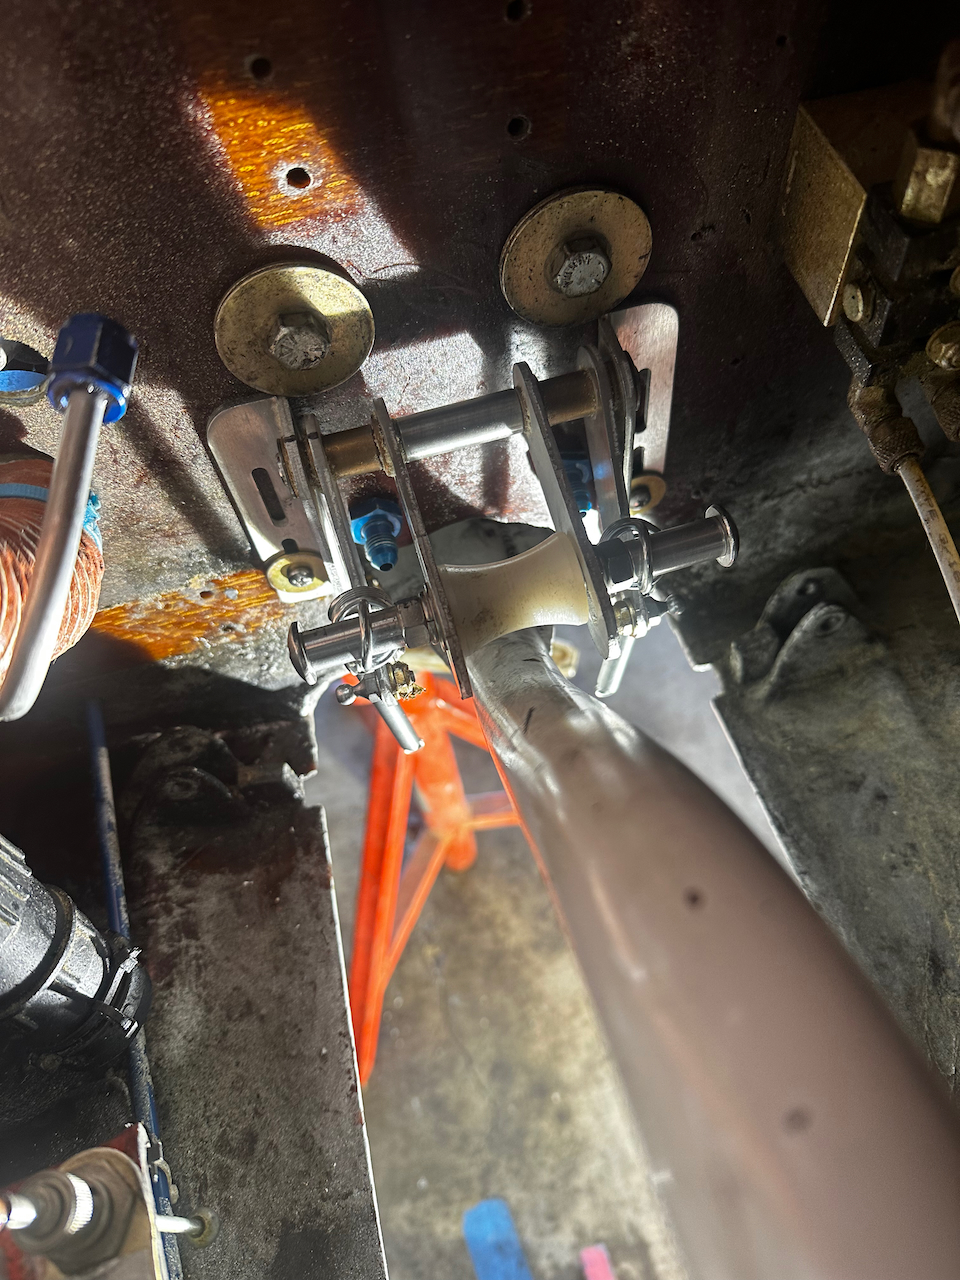
Now that looks good!
Tada! cleaned up with WD40 and ready for final gear swing tests!
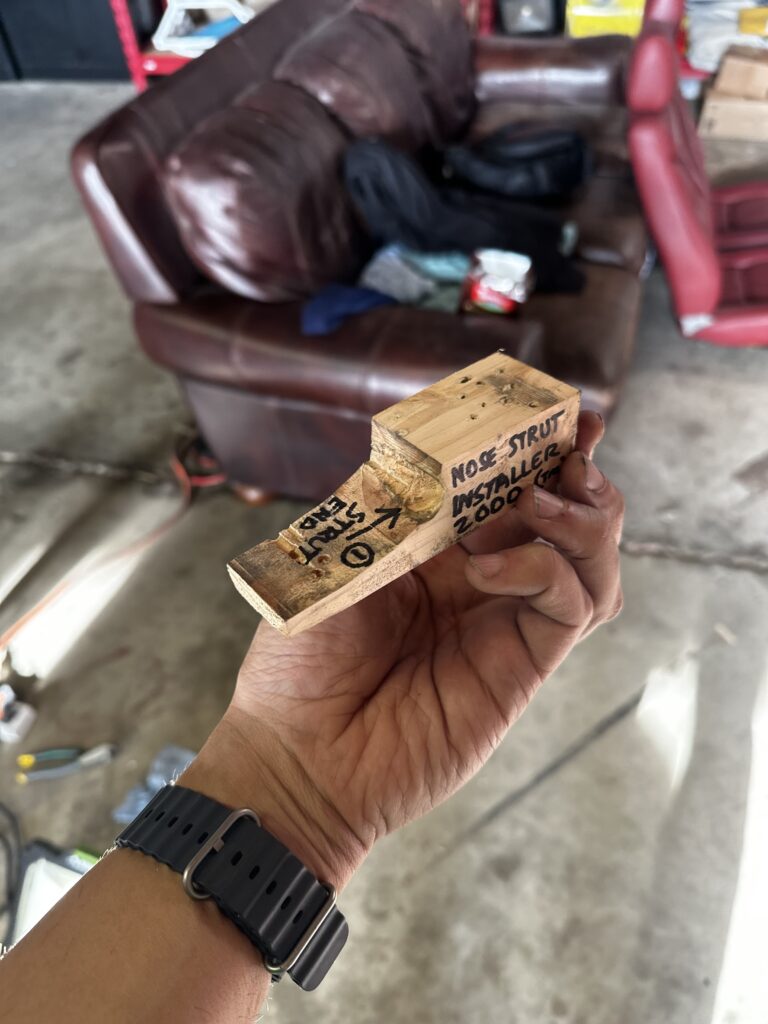
One side note, in case someone runs into this at some point… When we put everything back together the gas spring we had pulled off previously was nearly impossible to re-compress. James, being the mechanical engineer, devised a little wood block that would give us enough mechanical advantage to do it. Very clever!
How do we compress that enough to get it on the ball joint.
You get James to make something custom!!
And so with a few final gear swing tests, and a flight test today the plane has it’s gear doors back. Now fully mechanical and simplified! What a great project and done in a little over 3 days. I learned a ton about the Velocity systems and got a more reliable plane in the process!! After I get the knob panel back, and the….. NEW. HDX. SCREENS (WHAAAAATTTT????..part of the avionics upgrade that is just coming in) I will be in tip top shape. Until then, I leave you with the final gear swing before flight test…. Happy Flying!!


1 comment
You did it. Fantastic. Good flight to Utah..