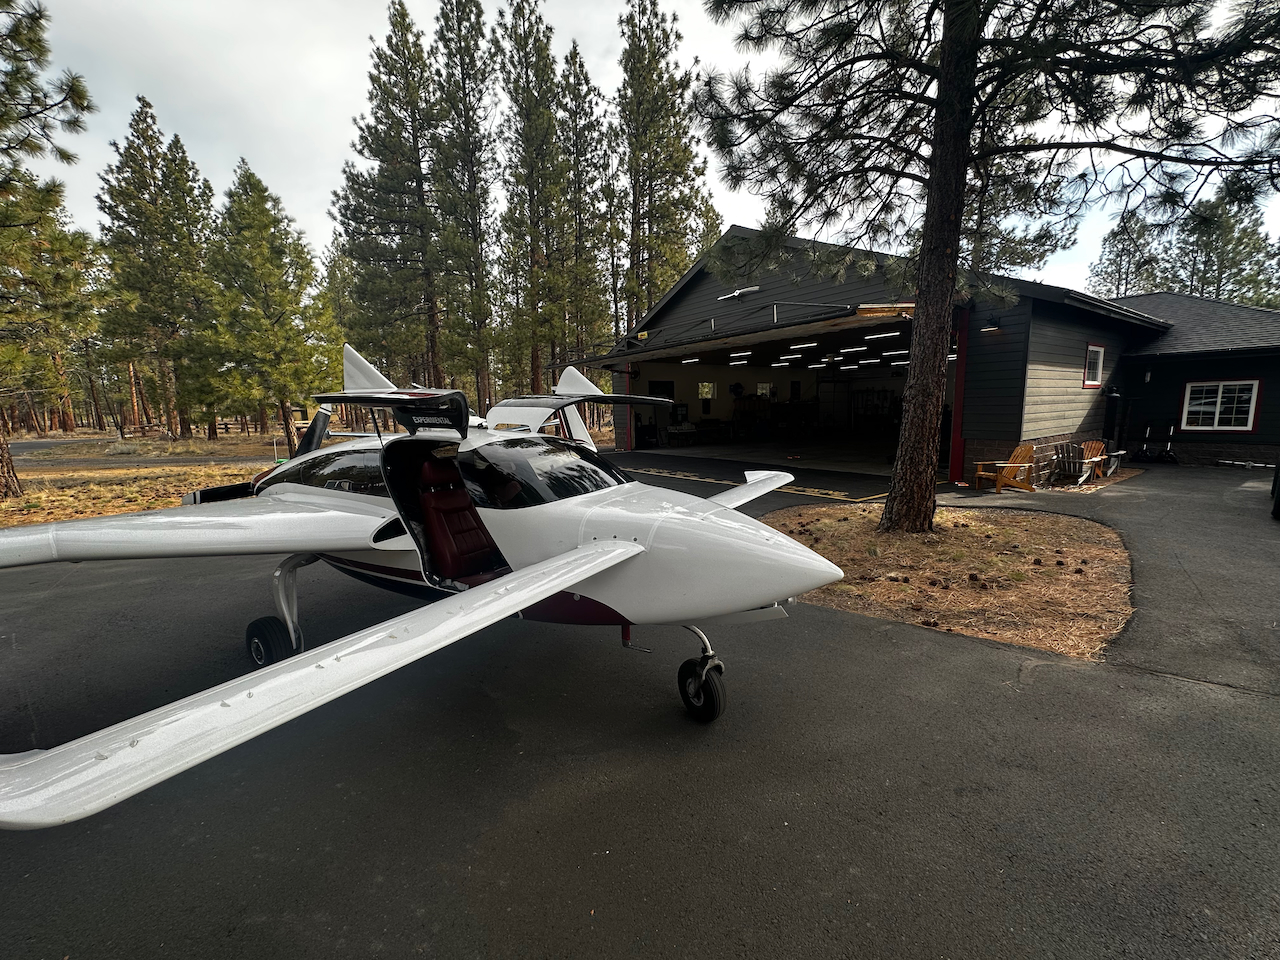
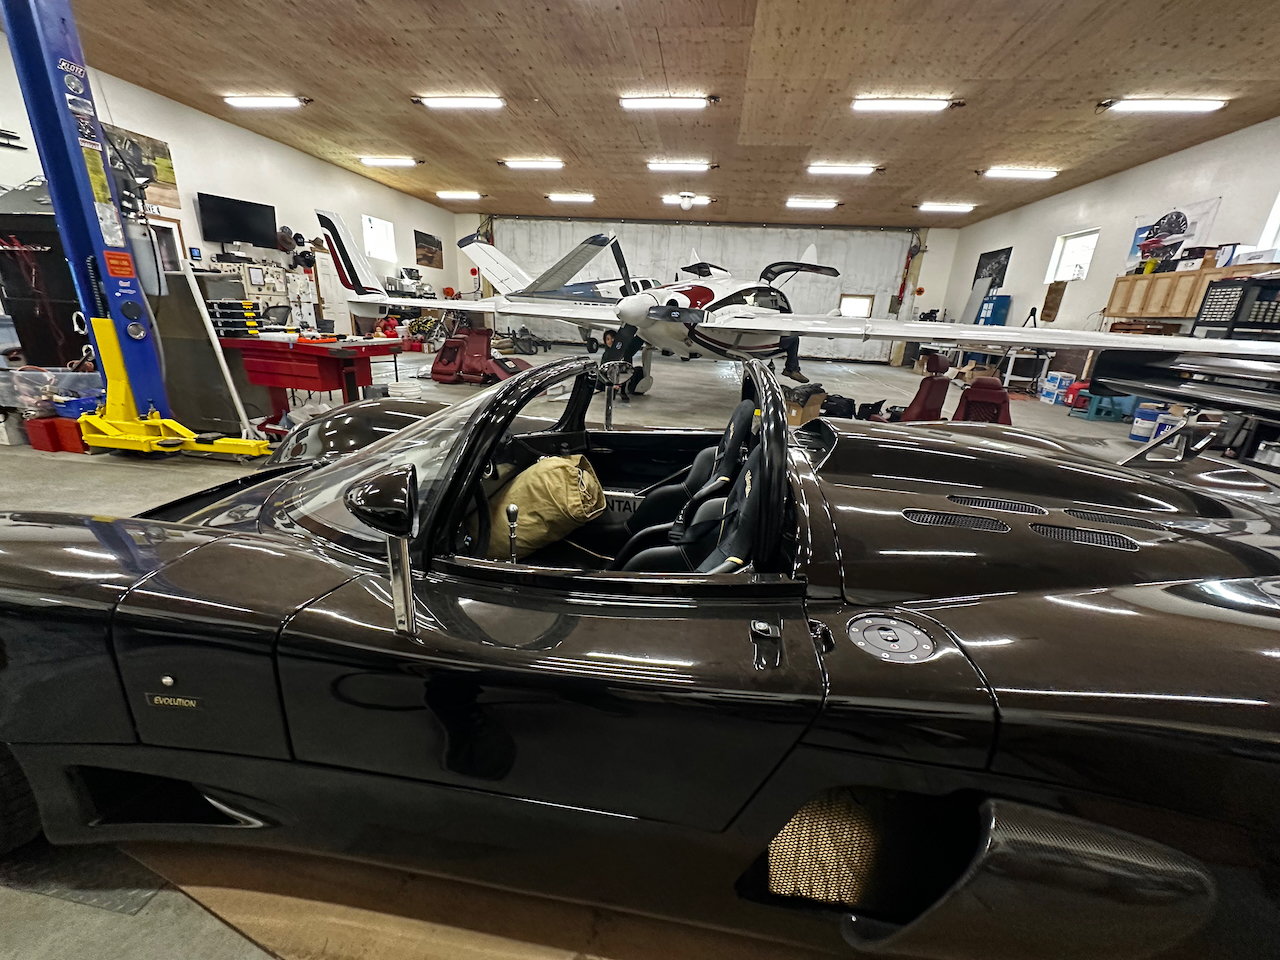
It’s been quite some time since my last Velocity Update. I’ve put over 200 hours on the aircraft and it has been treating me and the family quite well! I’ve done over 30 trips to LA, and numerous other visits around the state. With minimal upkeep the velocity has been a steady performer.
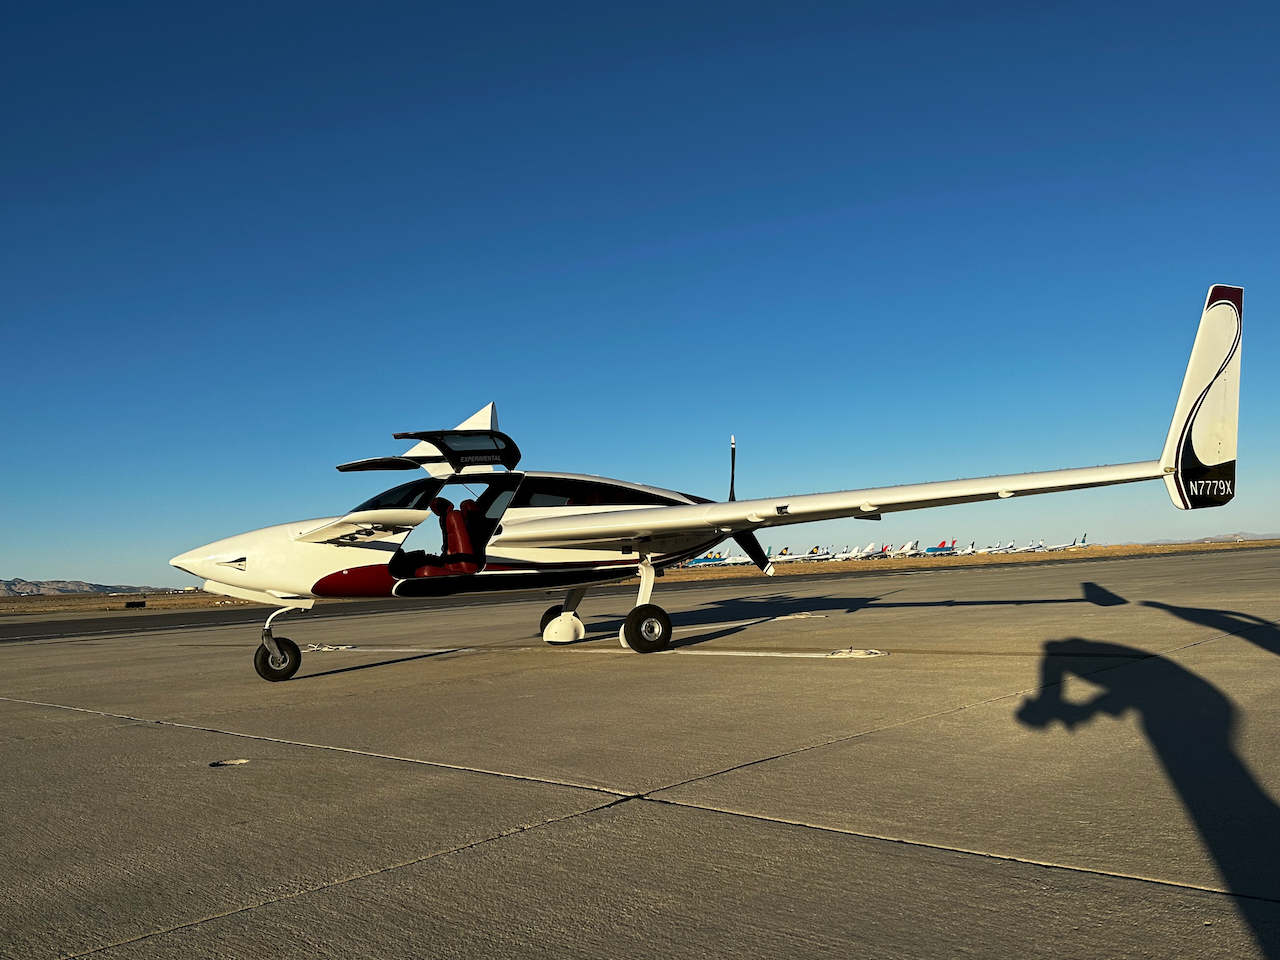
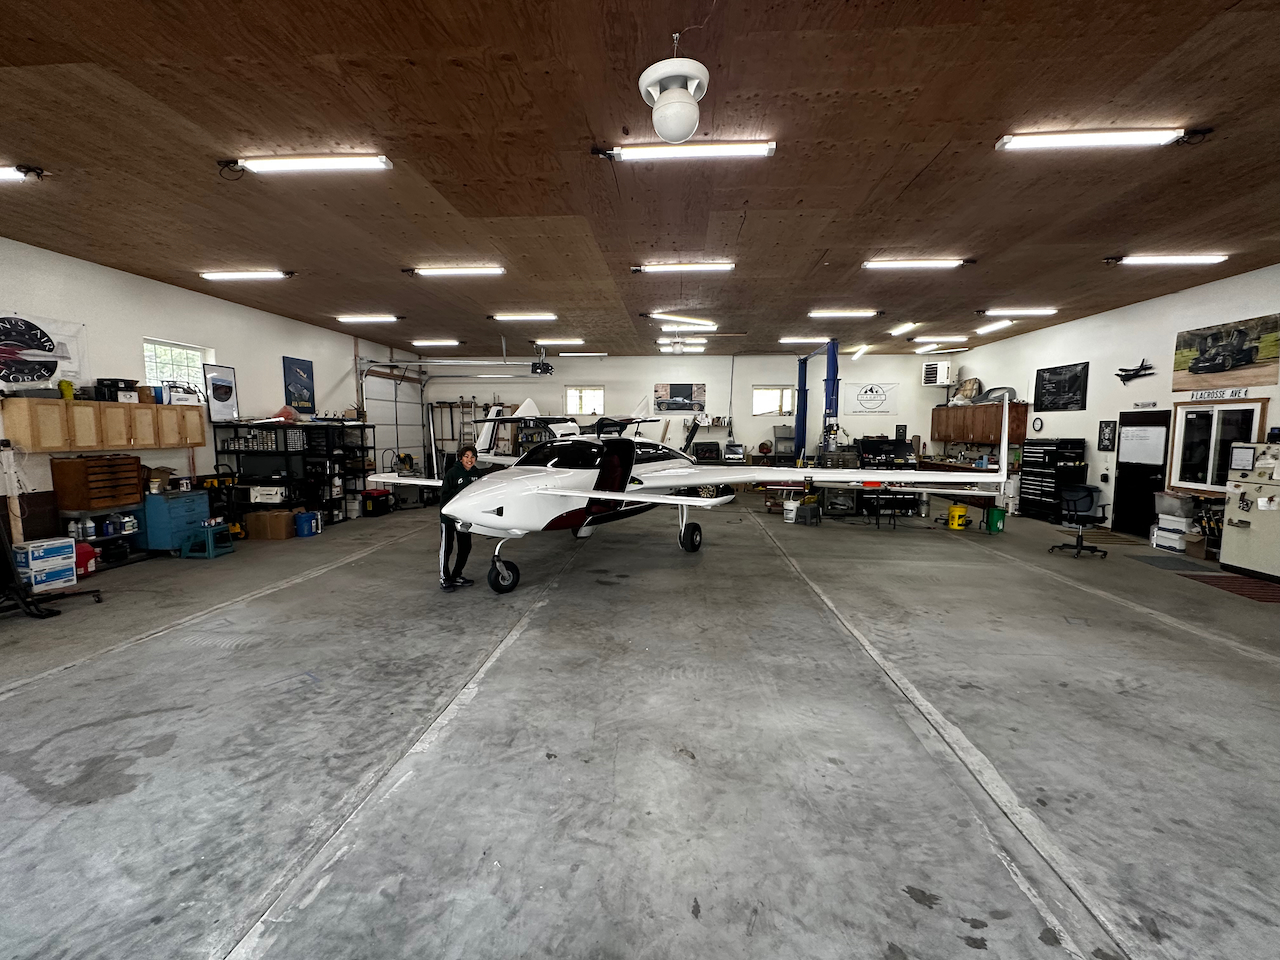
She’s still flying great!
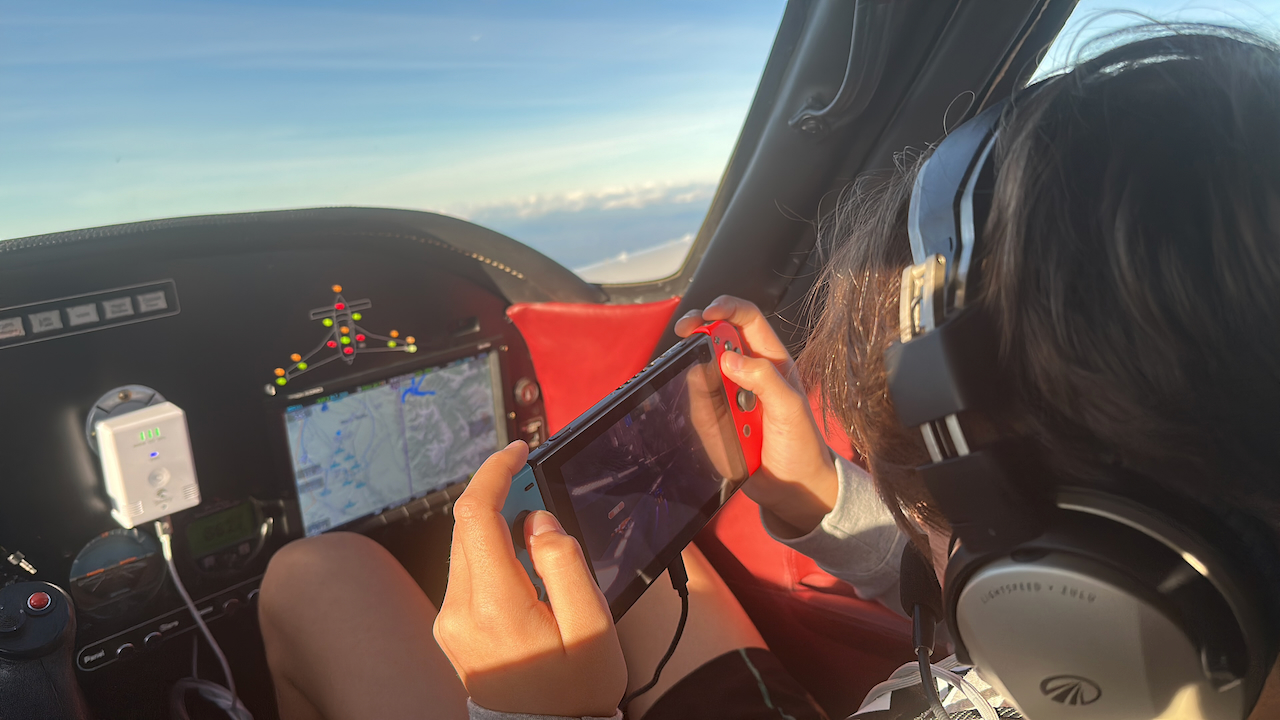
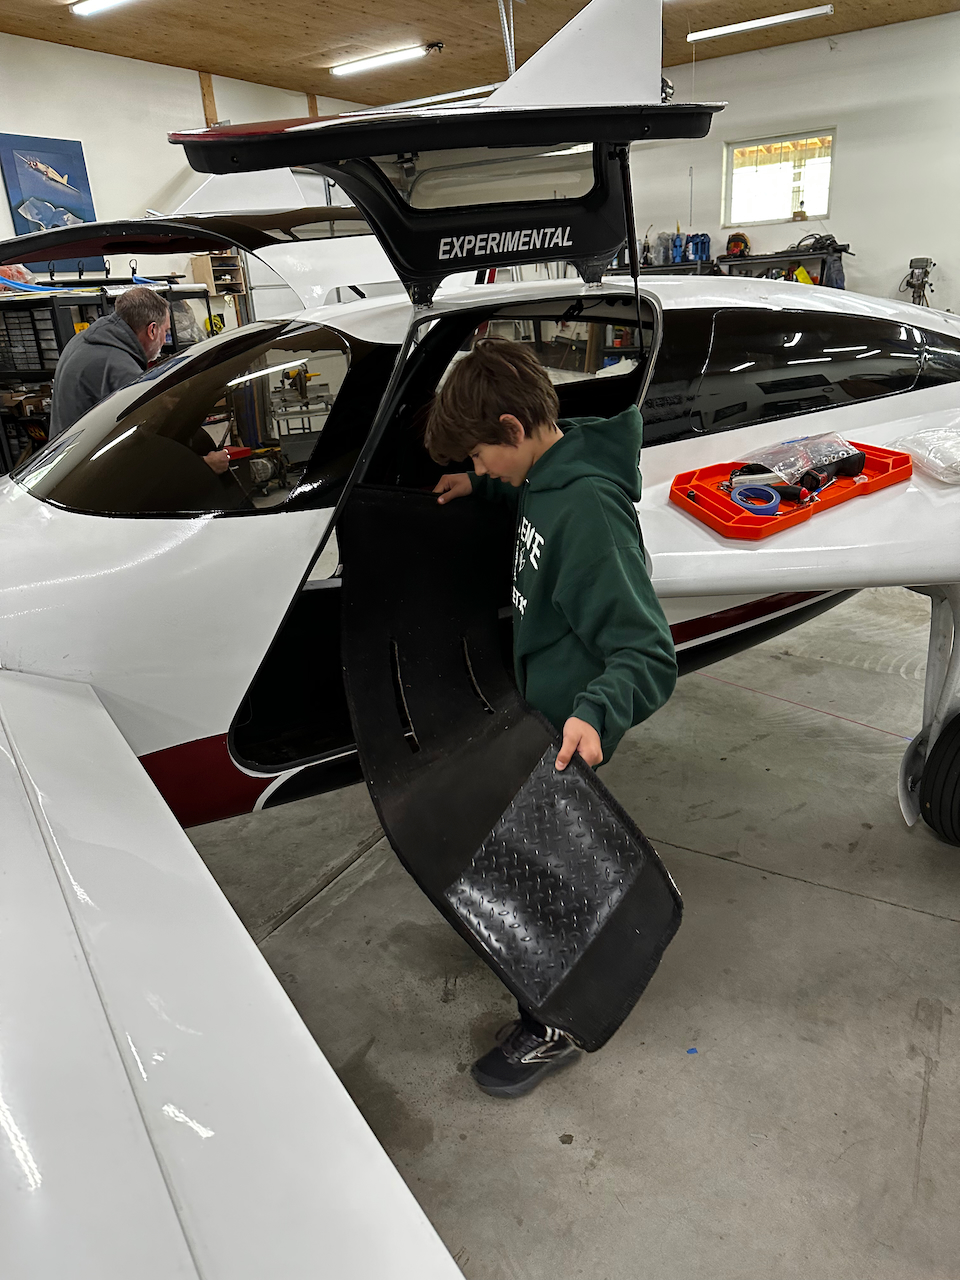
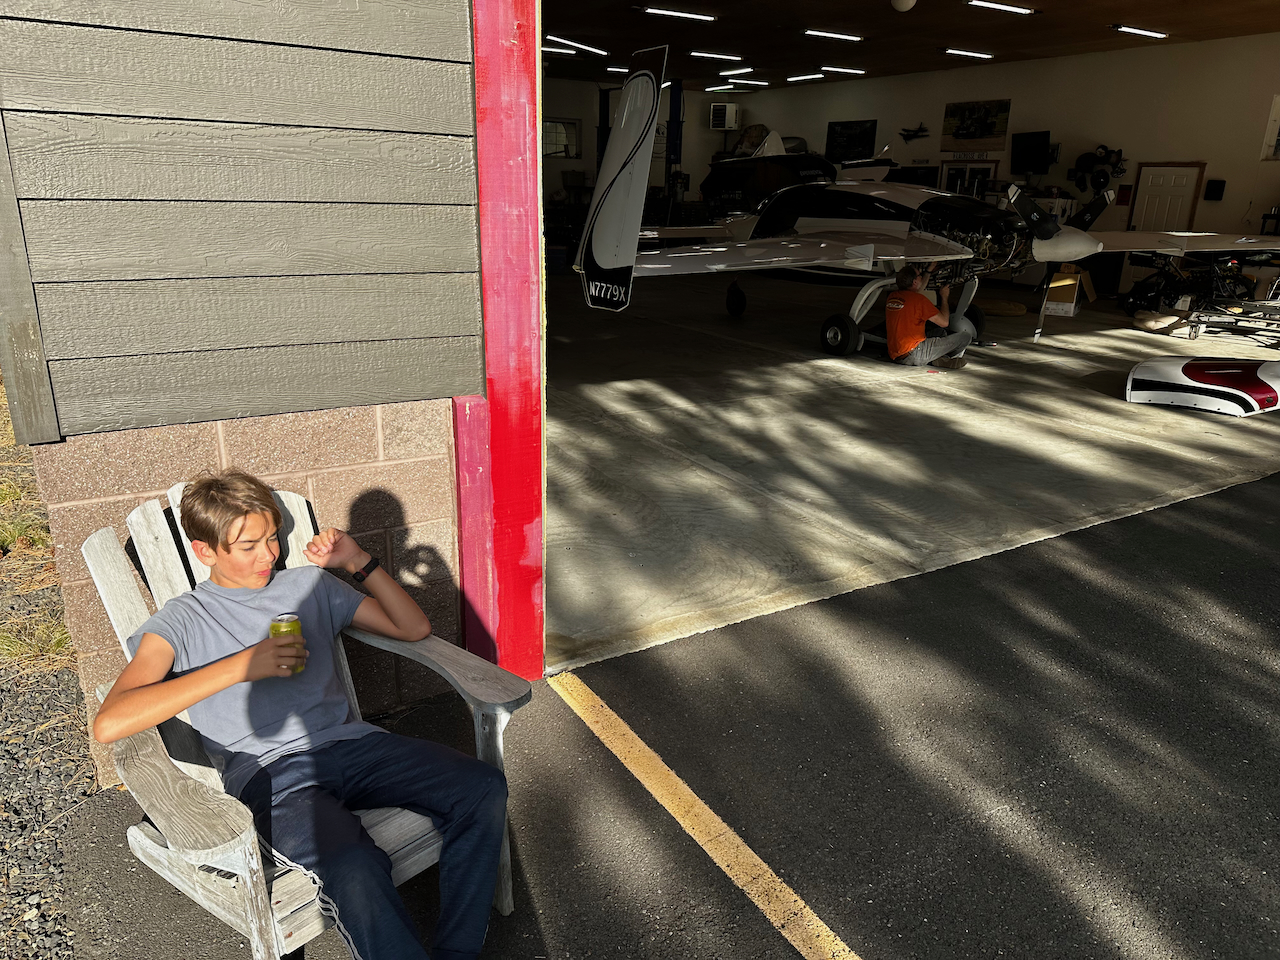
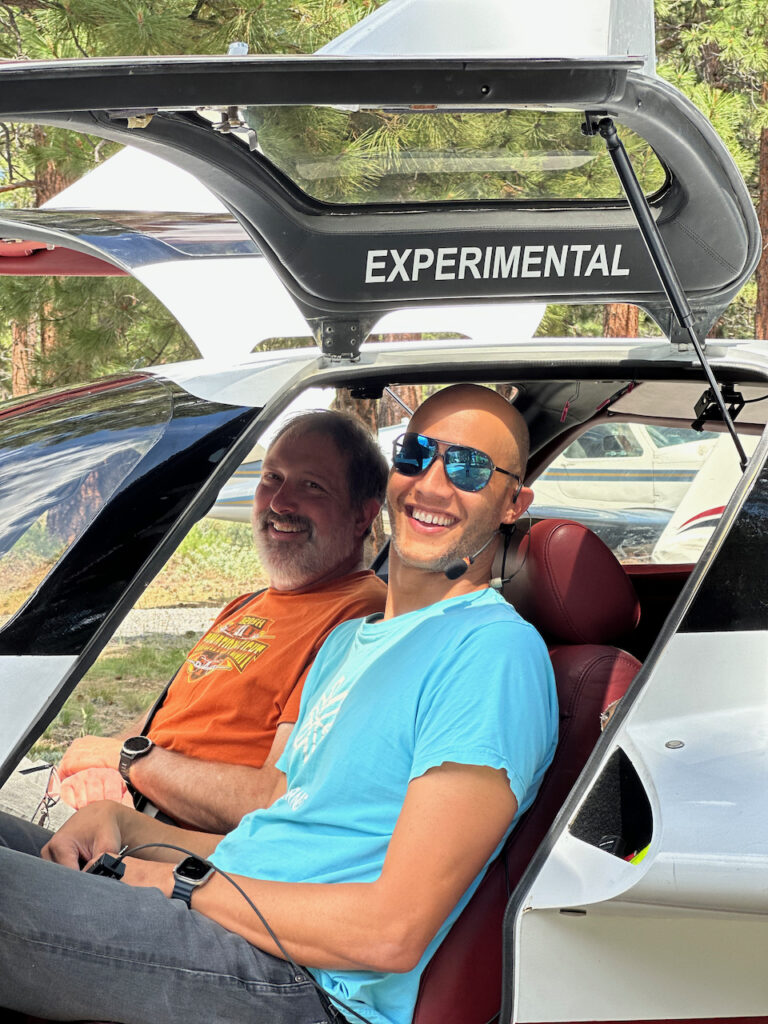
Nico co-piloting…. or maybe gaming?
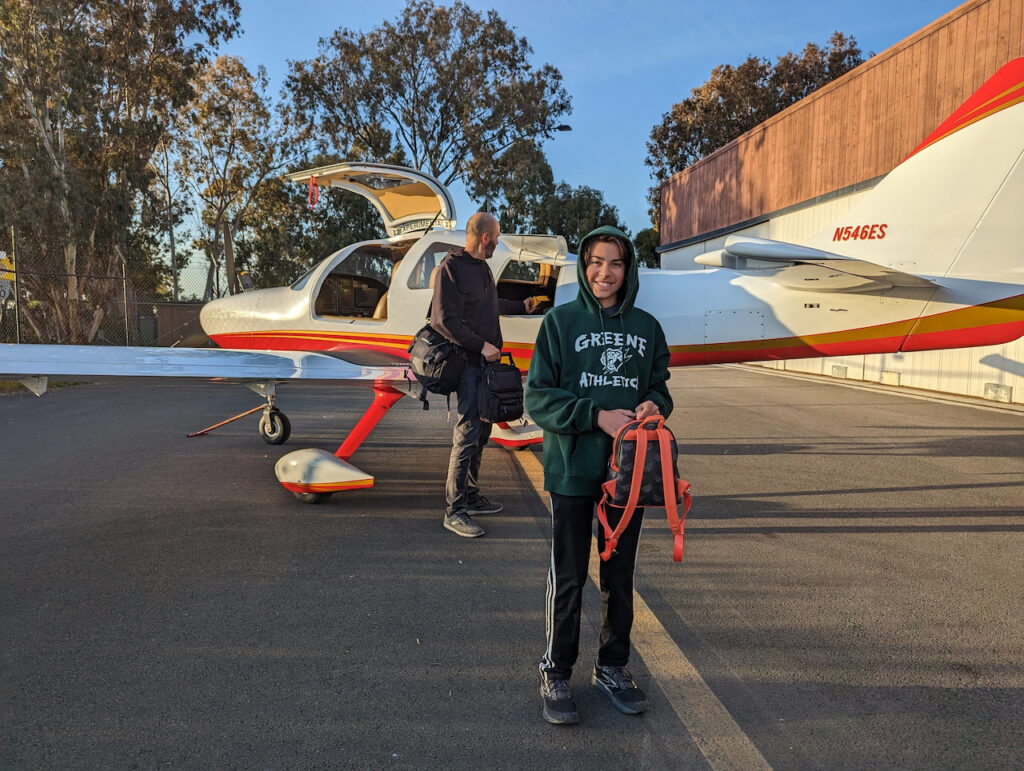
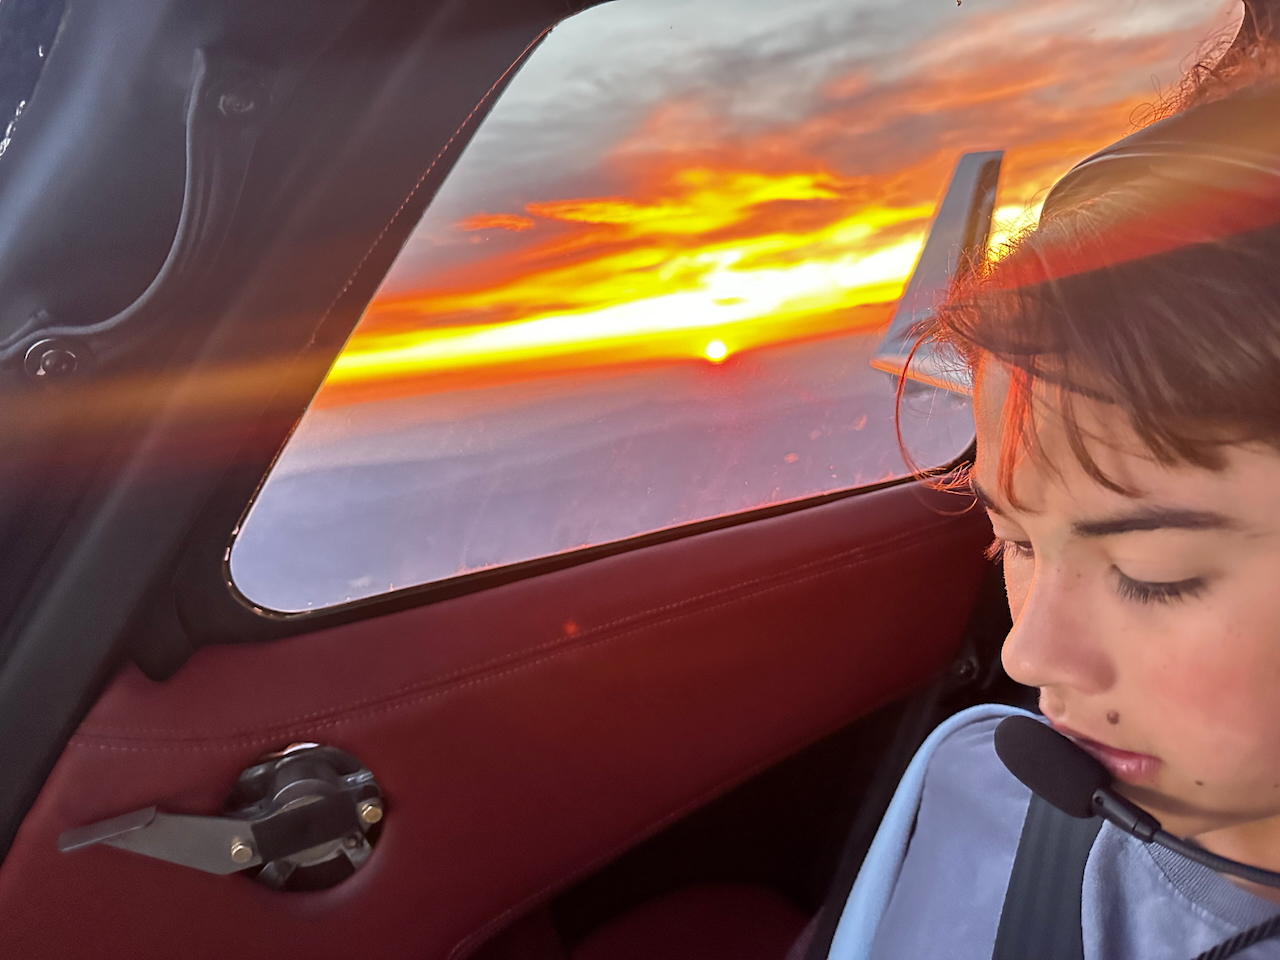
Serious Giacomo on a trip back from LA.
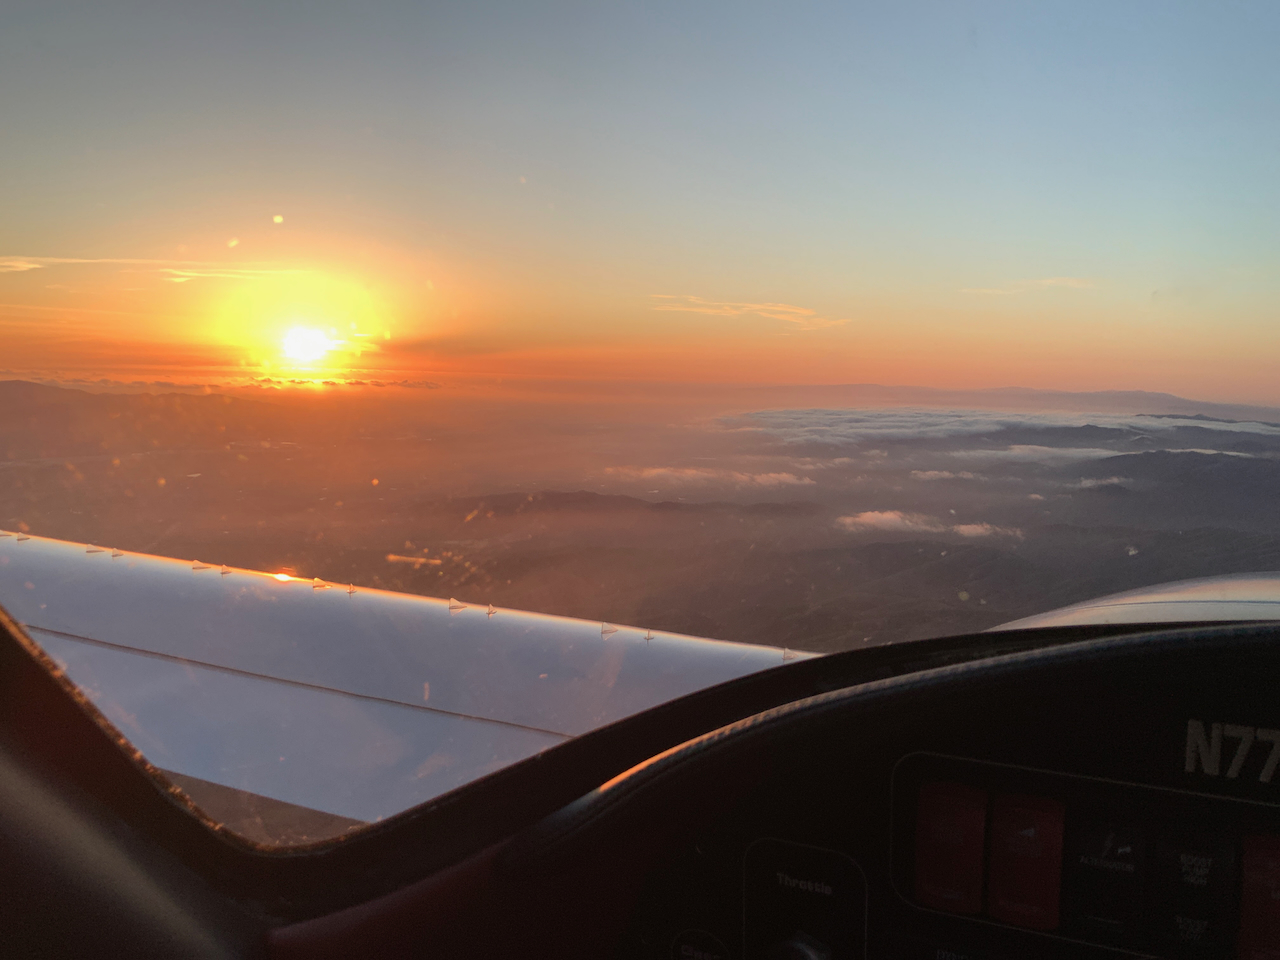
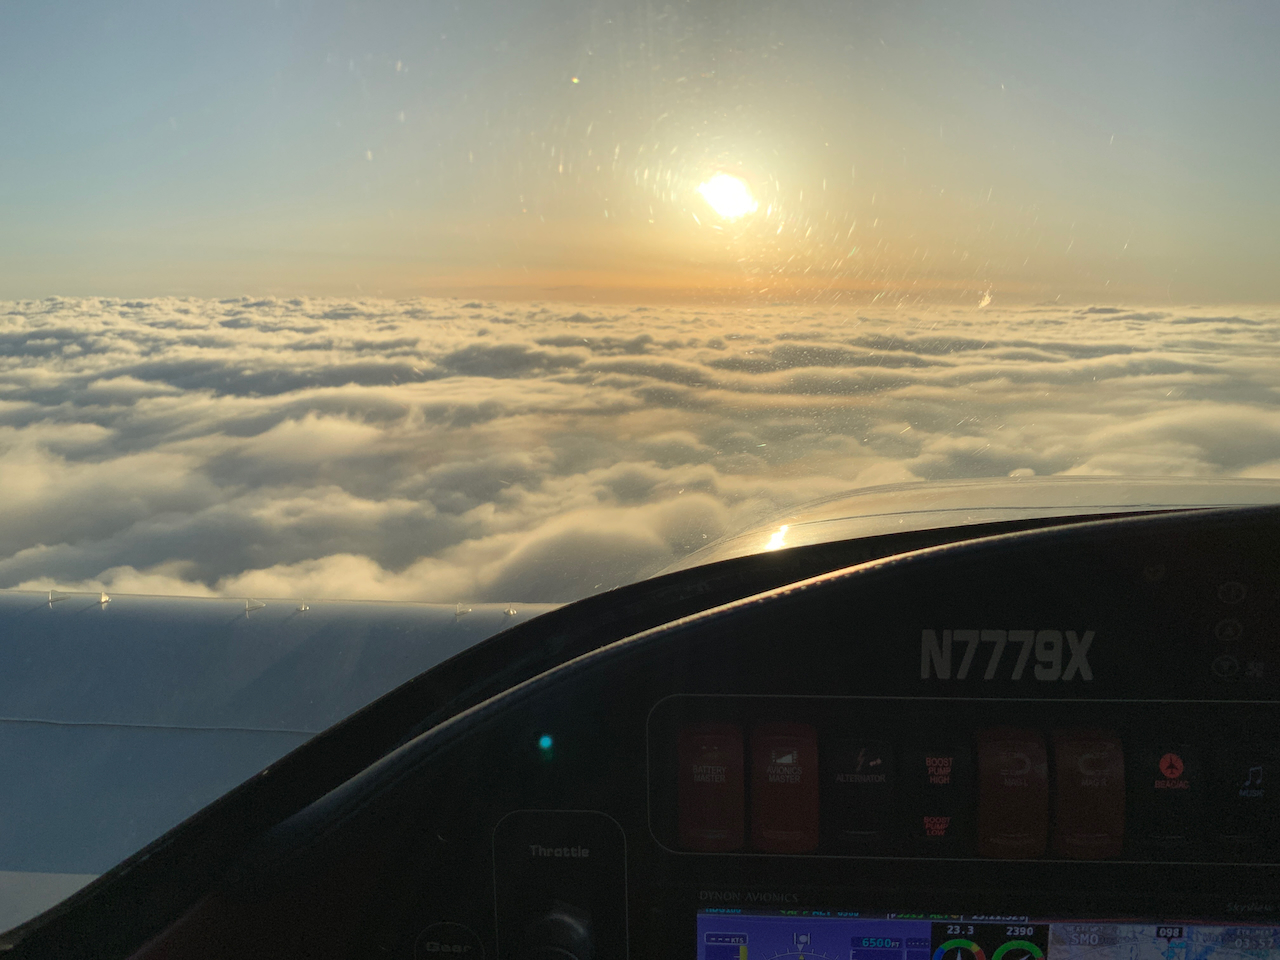
Sunrises….
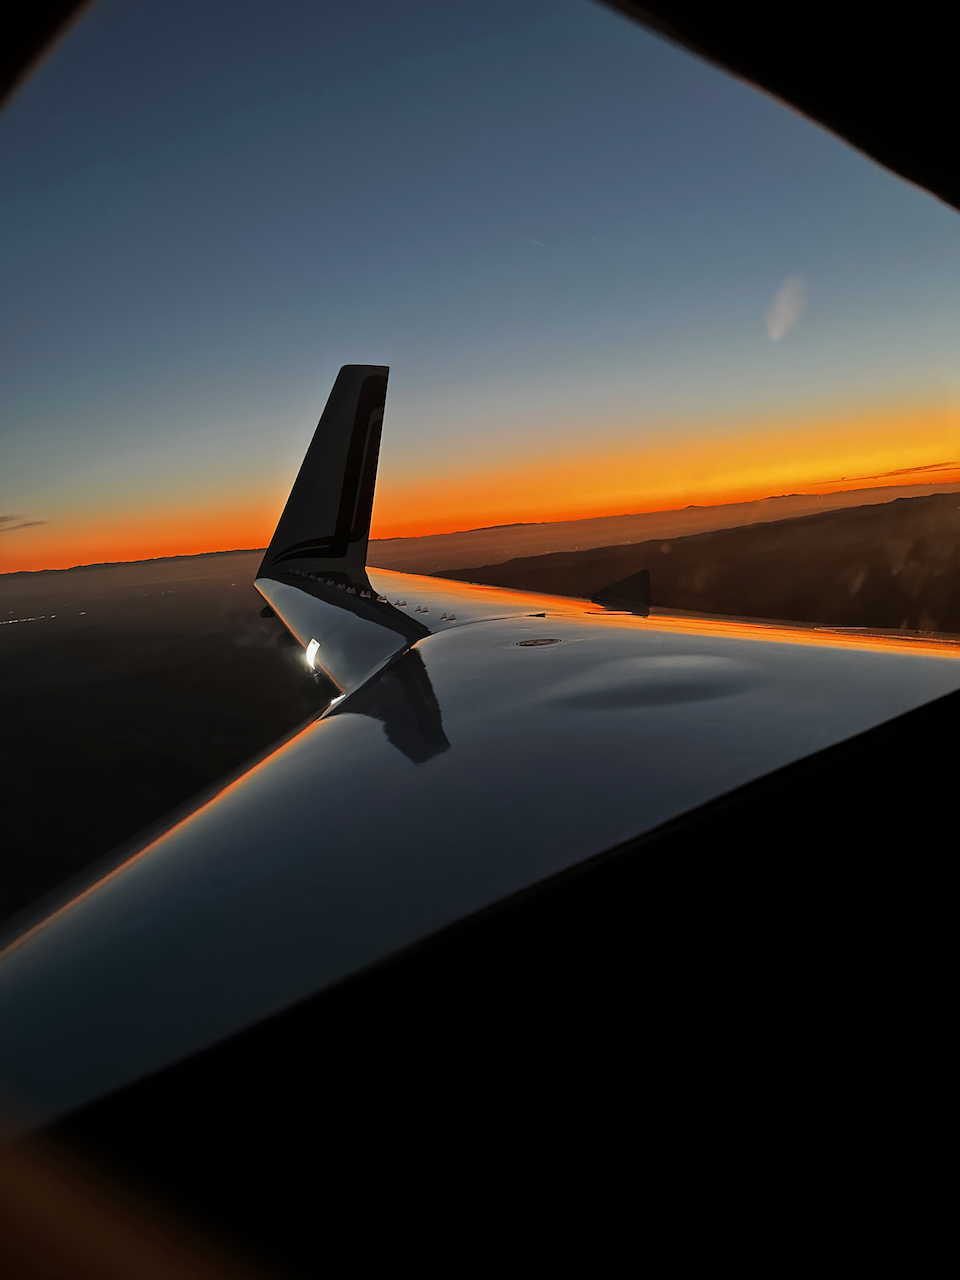
…sunsets…
…night flights…
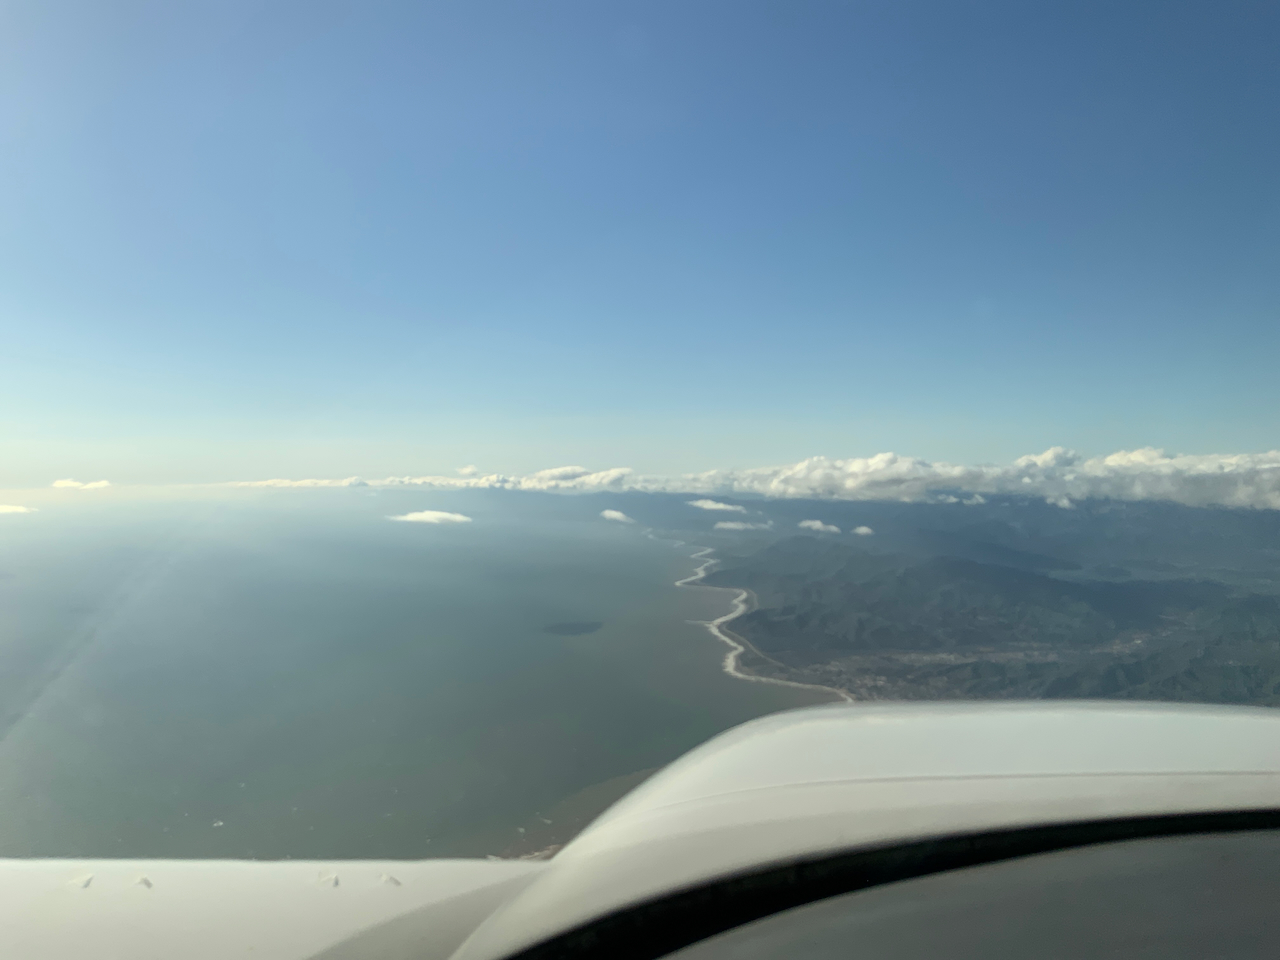
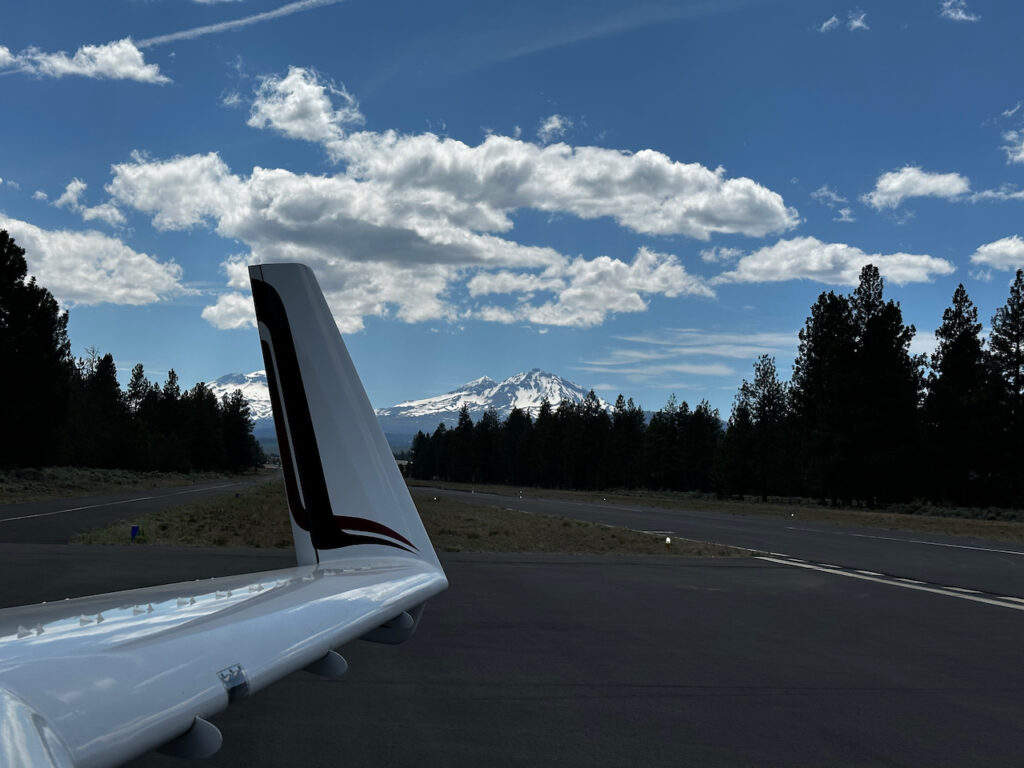
…and beautiful day flights!
So much fun flying the coast.
With all that flying, there, of course, was upgrades, improvements and fixes. The TLDR list is as follows:
Engine Heater installed
Converted half the cowling nutplates to quarter-turn fasteners
Avionics Upgrade and Electrical Wire harness rebuild!!
Starter Adapter Replacement
Nose Gear Door Cylinder Removal
Engine overheat investigation including plenum tweaks, and Fuel Pump orifice adjustments
Whew! That’s a lot of stuff…. most of it has happened in the last few weeks, but below is a breakdown of all the fun. If you’re up for a long read… Enjoy!!
Engine Heater Install
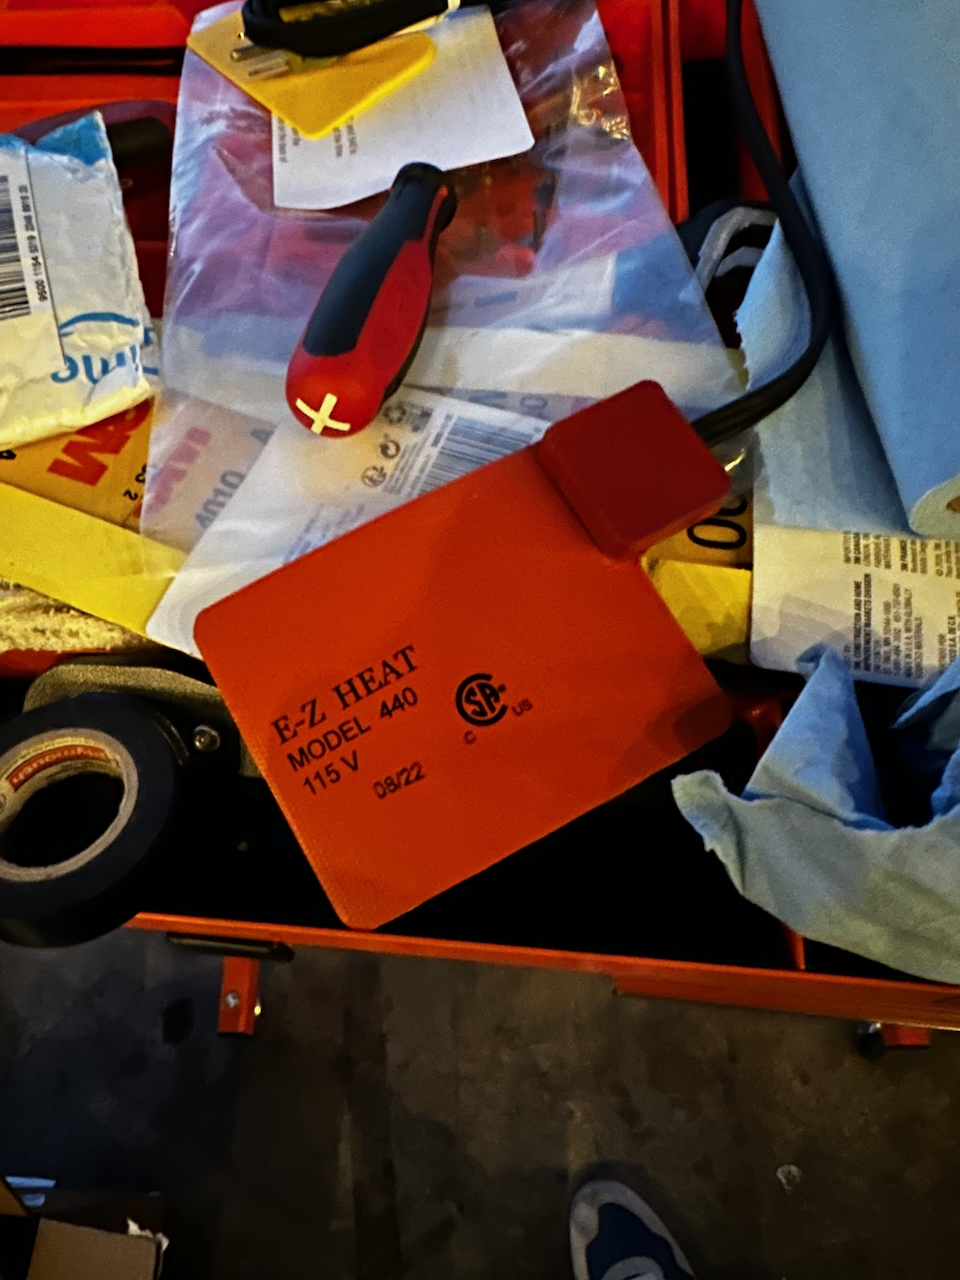
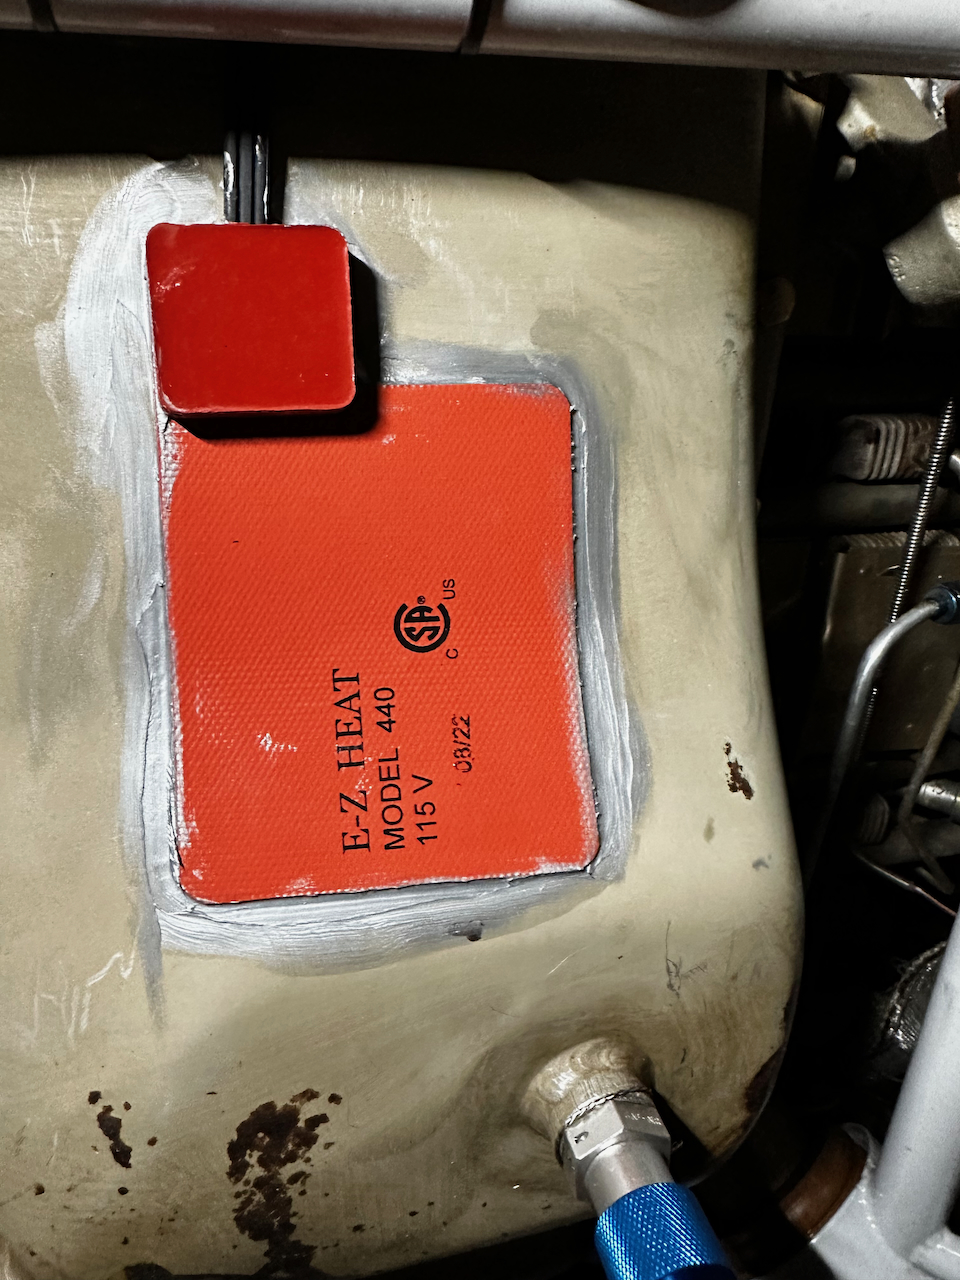
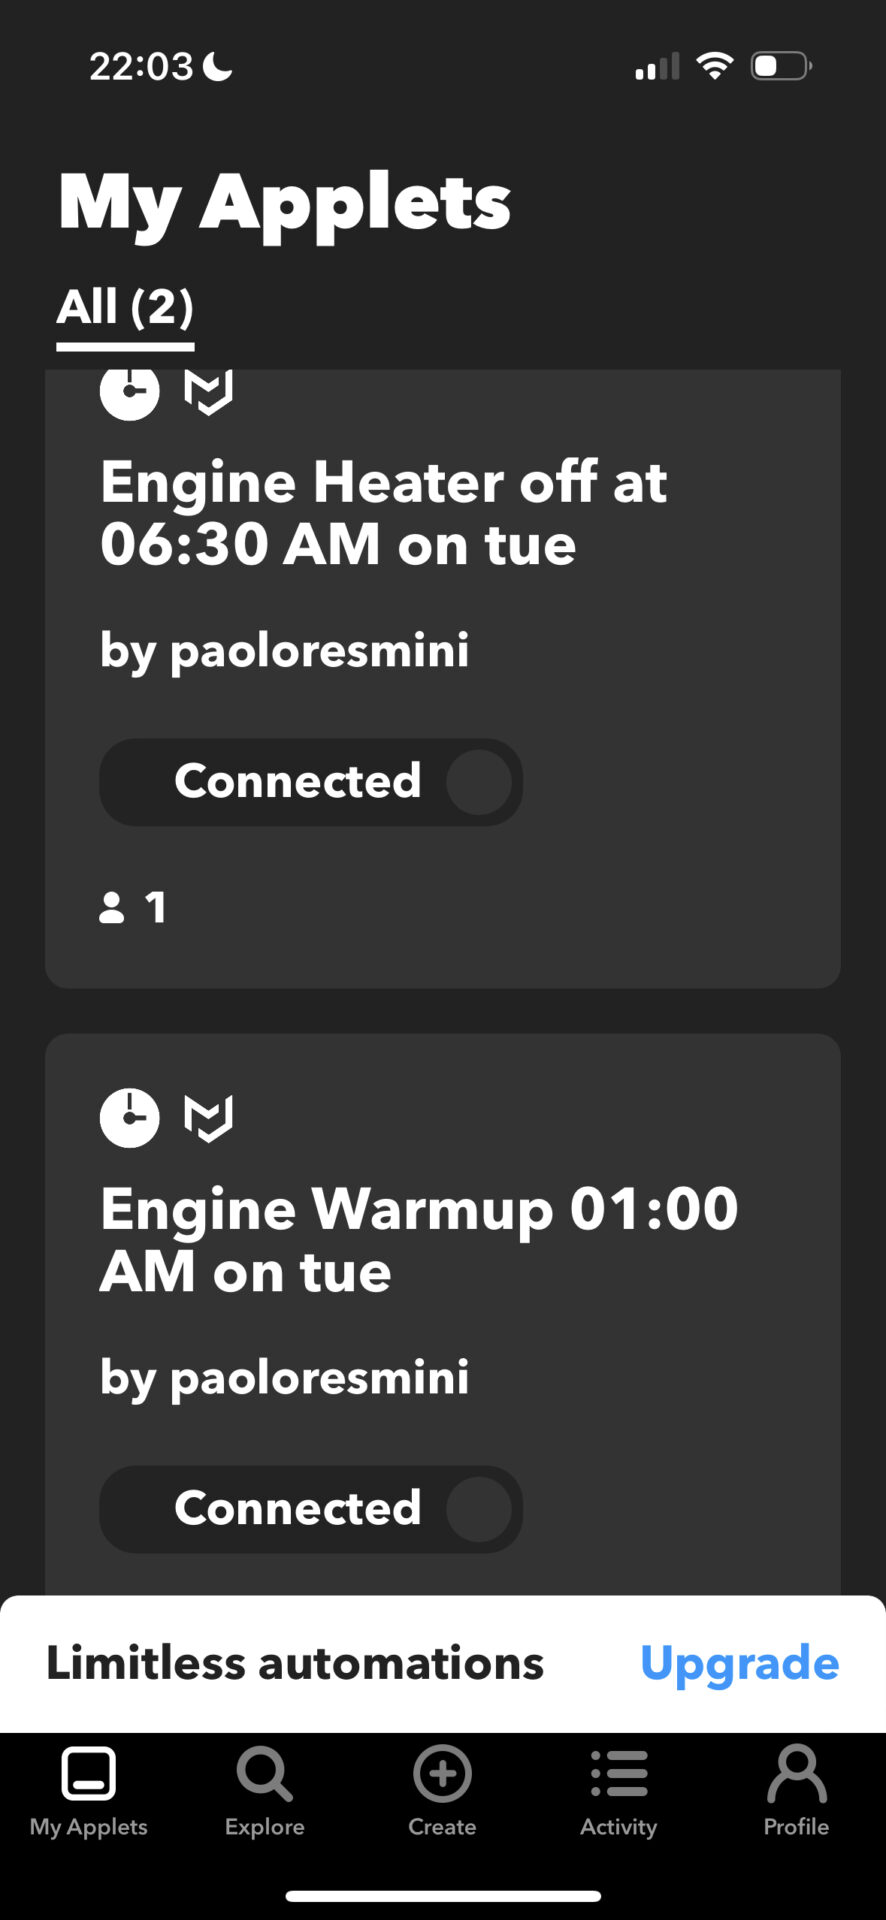
We had a pretty cold and wet winter. My plane was definitely not happiest starting in general (more to come on that later), and really not happy in cold conditions. With my early morning departures for LA I wanted to give myself the best chance of a good start so I ordered an engine heating system (E-Z Heat Engine Heater). It’s pretty basic with a heating pad that attaches to the oil sump. You plug it in and it gets REALLY hot. That in turn heats up the oil to over 120F, which then heats up the rest of the engine through radiant heat. I’ve found that the CHT’s are reading high 60s, low 70s and the oil temps are about the same. This is with temps as low as 28F outside. It’s quite an effective system but requires 4-ish hours to fully heat up. With my standard departure of 6am, that requires plug in at 2am! That’s a bit early, even for me. No problem! With a bit of automation magic it could take care of it self. I got a smart plug that was compatible with IFTTT (If This Then That platform) which allows me to program “at 2am on Tuesdays, turn on”. And just like that, automated engine heating!
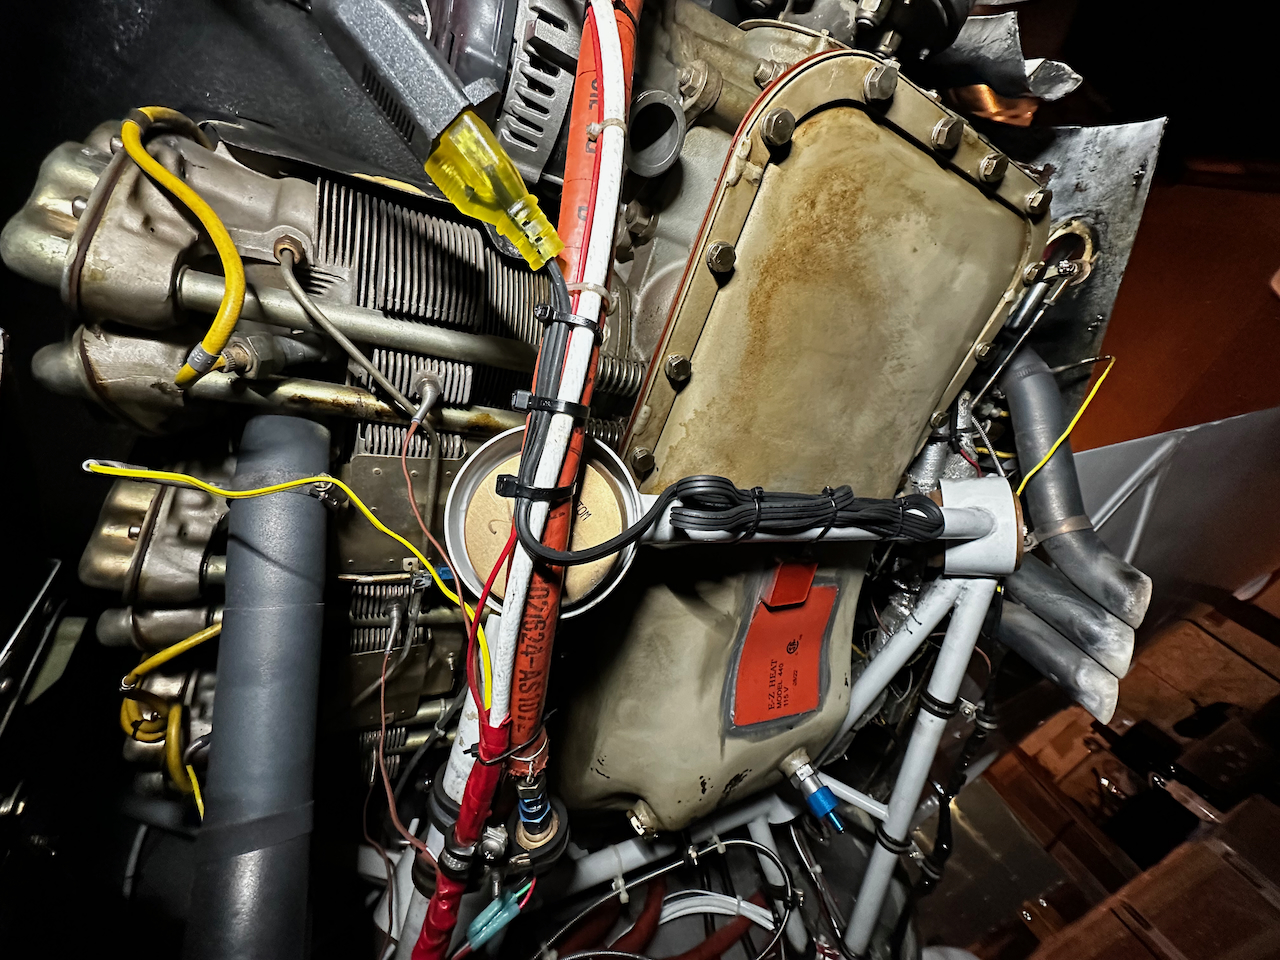
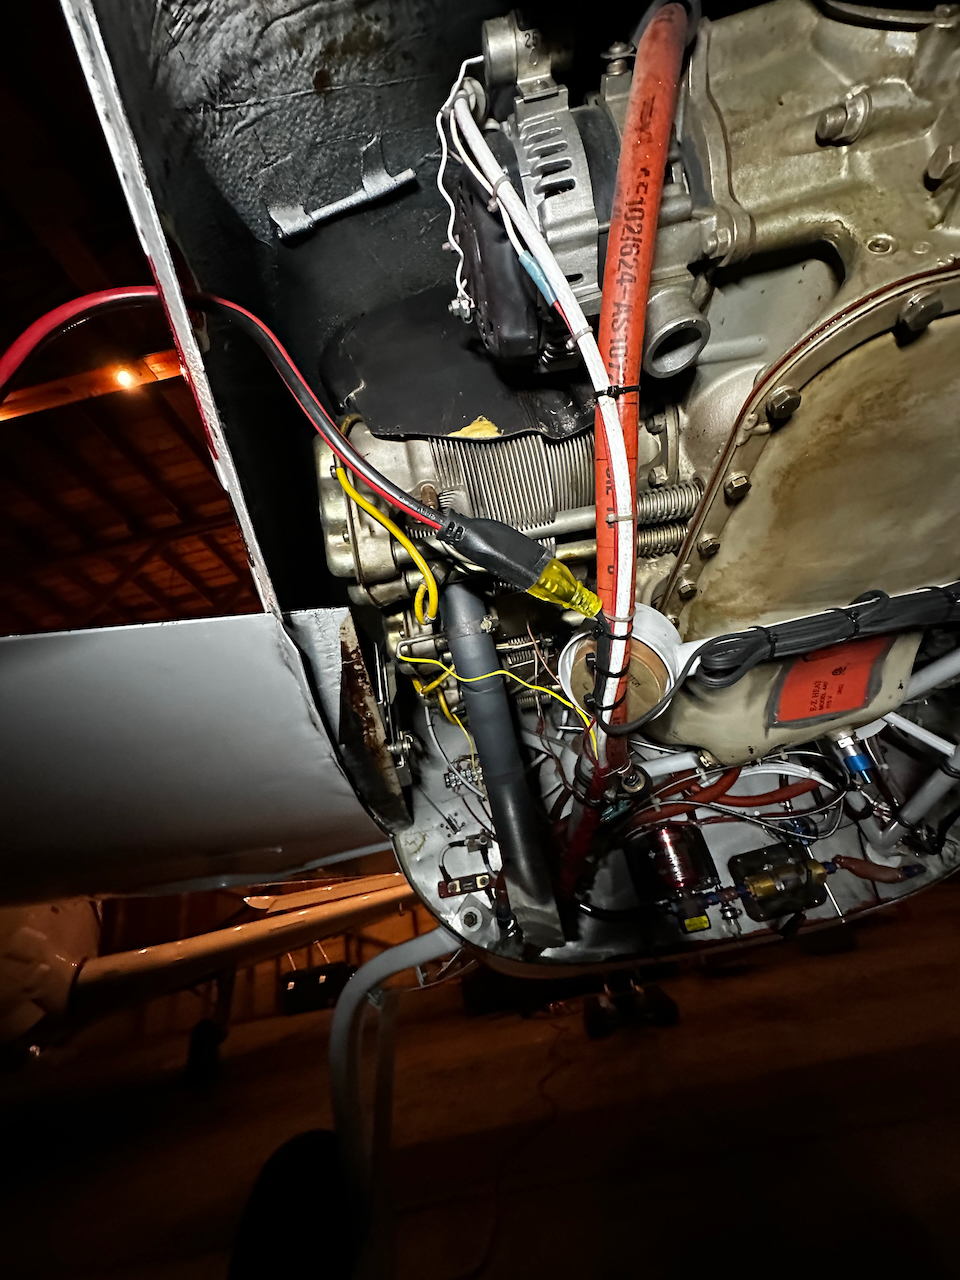
E-Z Heat Engine Heating System
After sticking onto the sump, you seal with a special RTV
securing the excess cord
plug in test confirmed!
Meross Smartplug and…
IFTTT interface for automation!
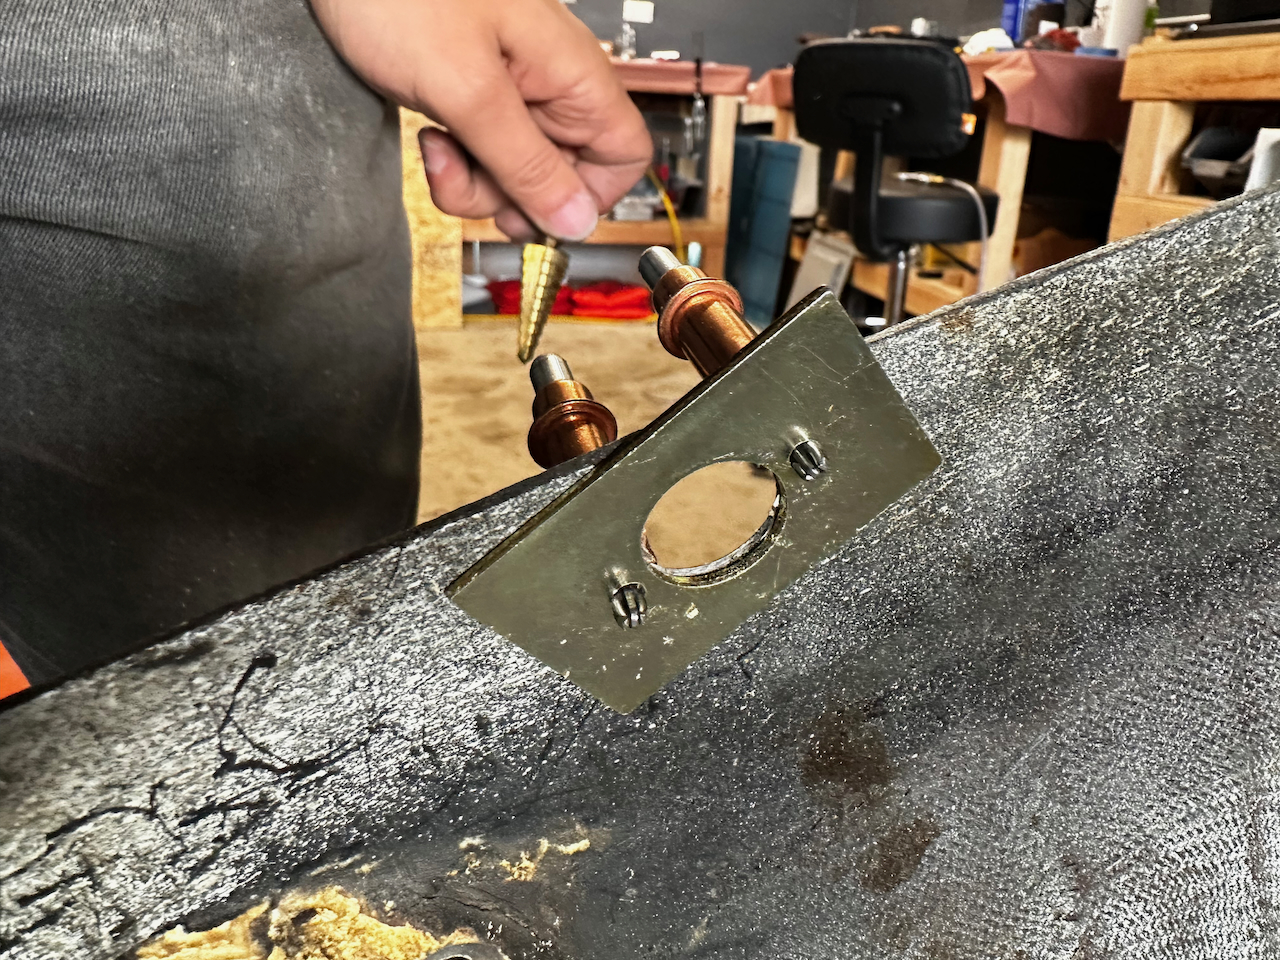
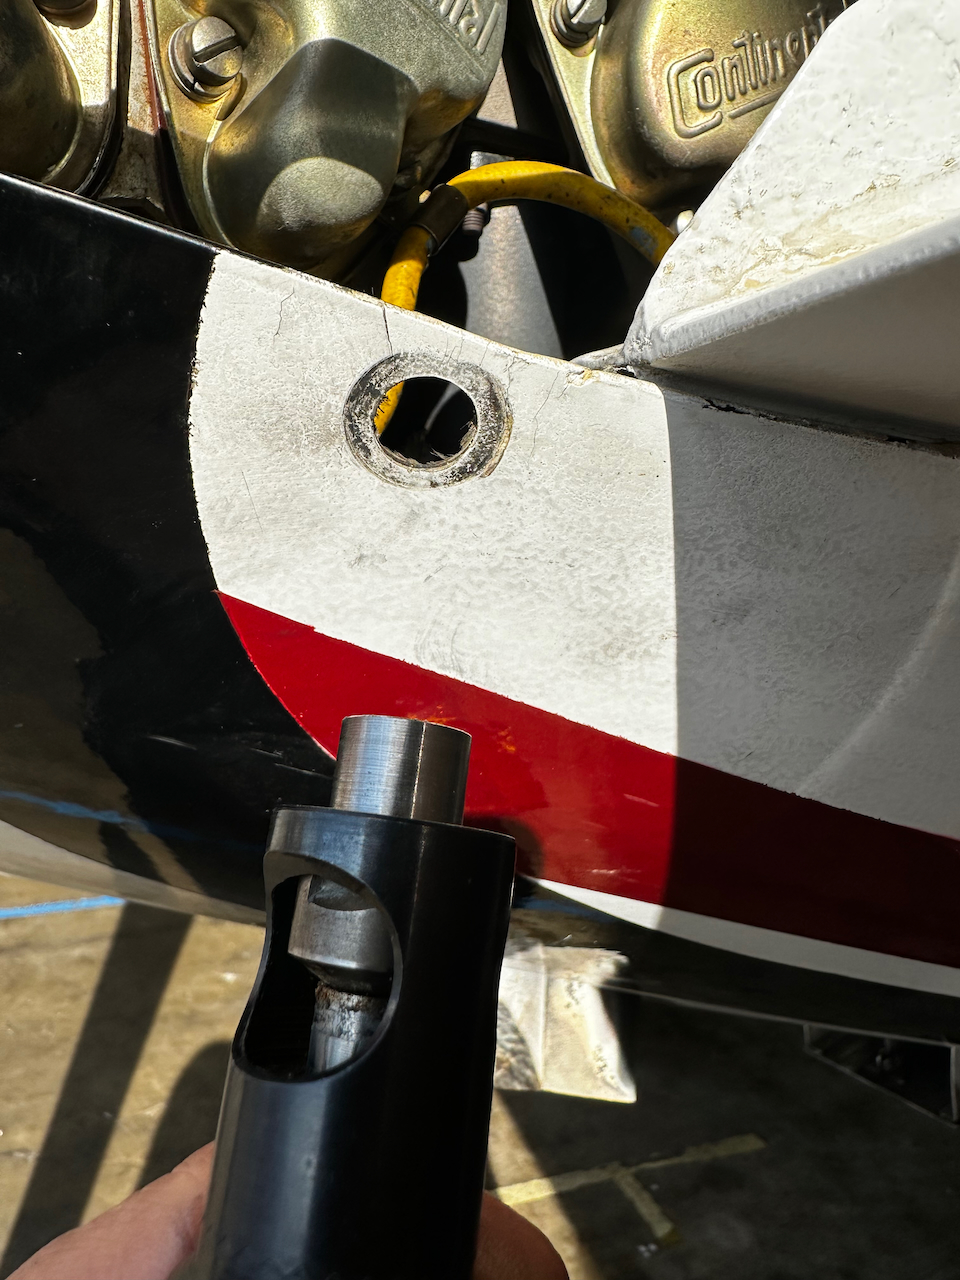
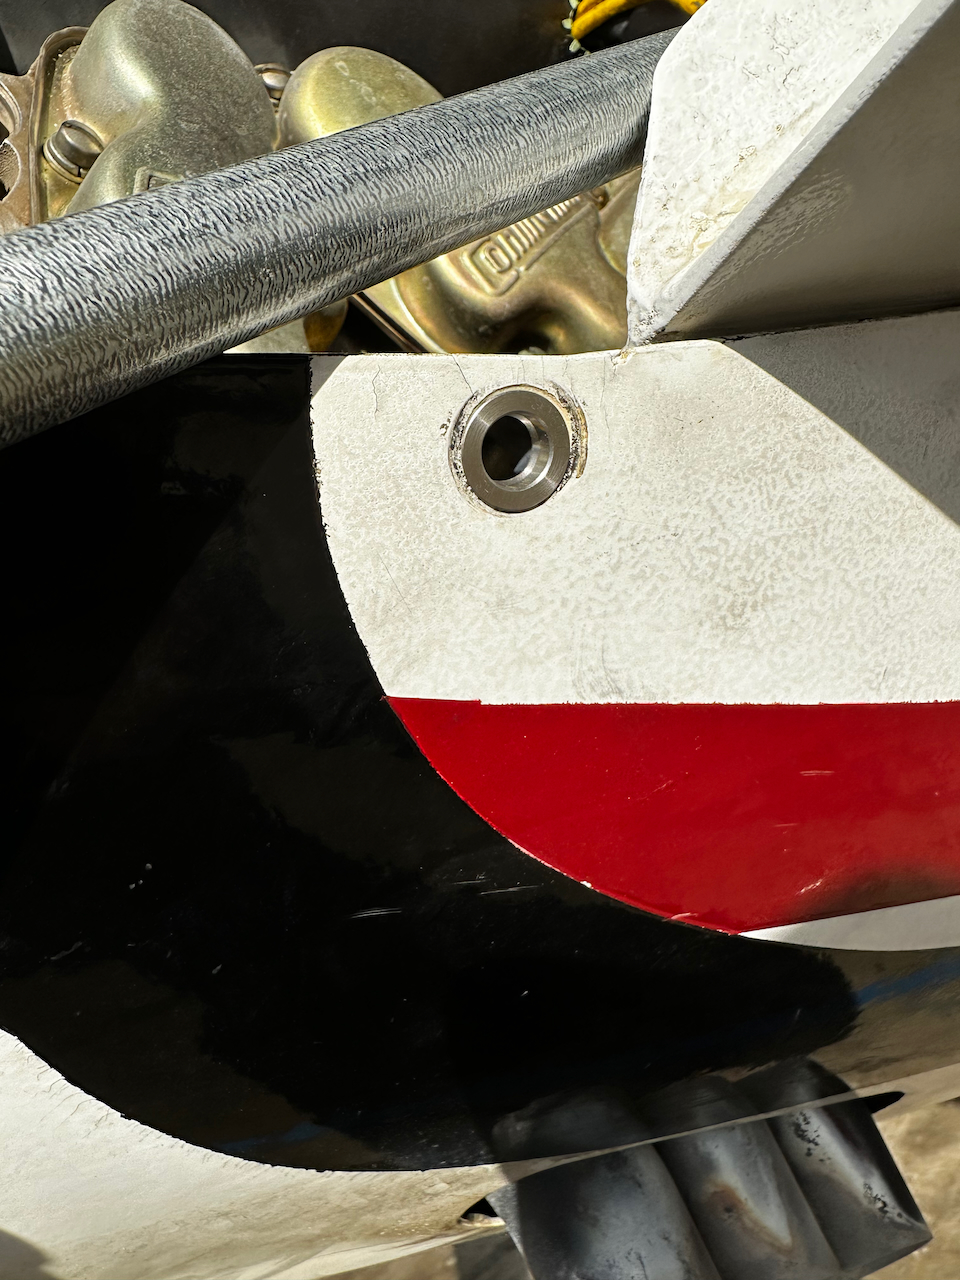
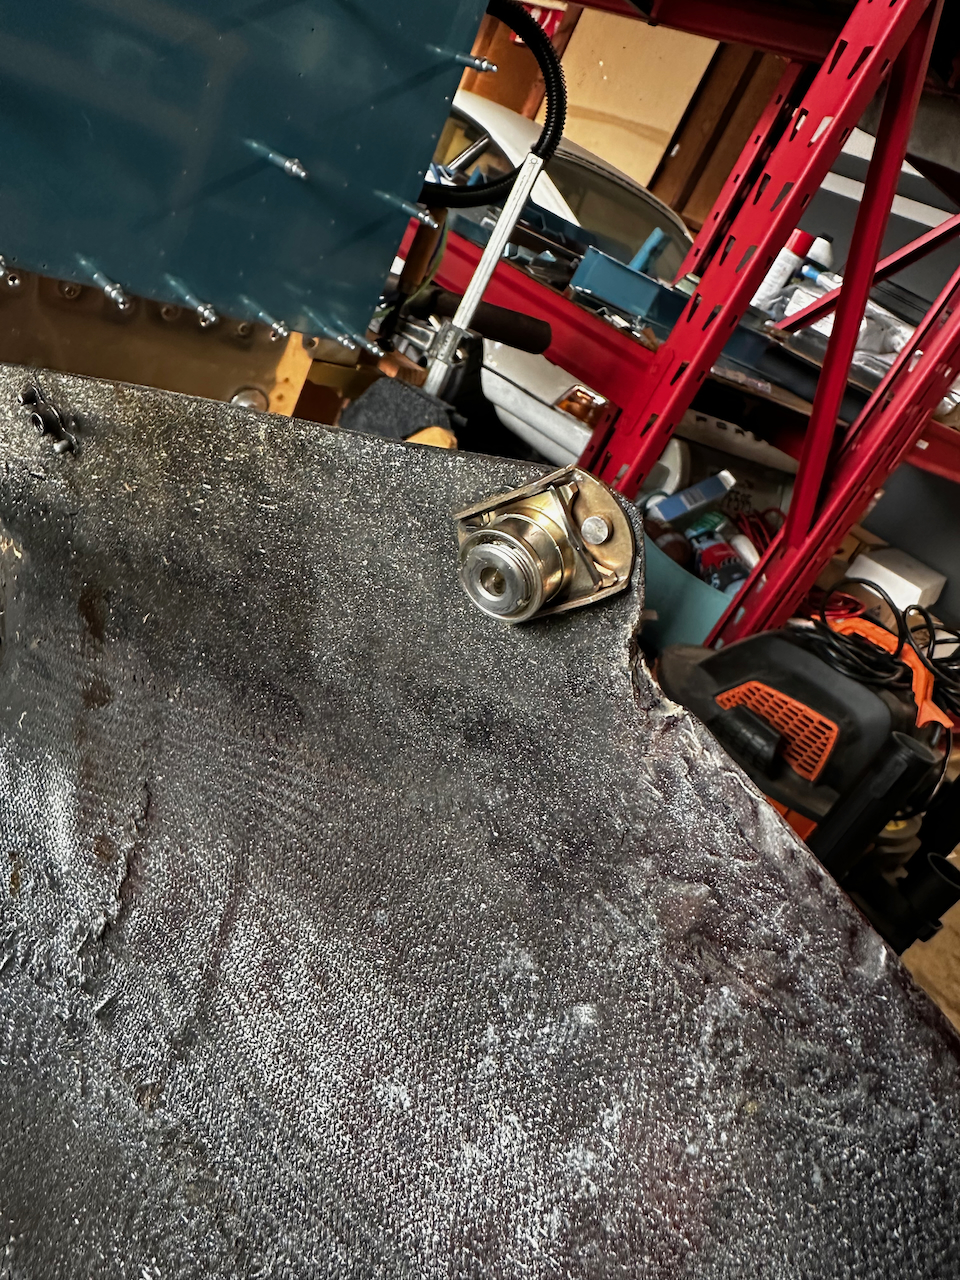
Skybolt Quarter-Turn Fasteners
One big pain I’ve found is removing the cowling. It requires close to 40 screws to remove. I decided to swap out the side screws for skybolt quarter turn fasteners. These require a simple quarter turn to click them into place. It was quite a bit of a pin in the butt to install requiring all sorts of specific templates and tools to get it done. Once I completed the upper cowling I decided to wait on the lower. The lower cowl attach flange is starting to crack and I want to repair that first. Even with the upper cowling complete it makes such a difference in pulling the cowling on and off. Since the install I’ve had a few issues with the skybolt fastener, so I’m still deciding if this is the right solution or not. The cowling is due for a full replacement (or major repair) at some point. Until then, the skybolts should suffice.
Special Templates used to center the skybolts
Special countersink tool to countersink the holes
grommet installed on outer surface
attach anchor installed on the inner surface
fit looks great!
Avionics Upgrade!!
As I mentioned in my last update, one of the areas I wanted to improve was the avionics. Through a series of inspections I realized I wasn’t happy with the wiring at the surface, so who knew what was in areas I couldn’t see. In October I visited Steve Harris at S&T Avionics in Sisters Oregon. At that time we scheduled starting in February, but after delays Nico and I finally got up there in April for drop off. When up there we spent two days helping disassemble and start tearing out the old avionics.
Sisters, OR! Pretty cool place to drop off the velocity
what a dream hangar. Something to aspire to some day.
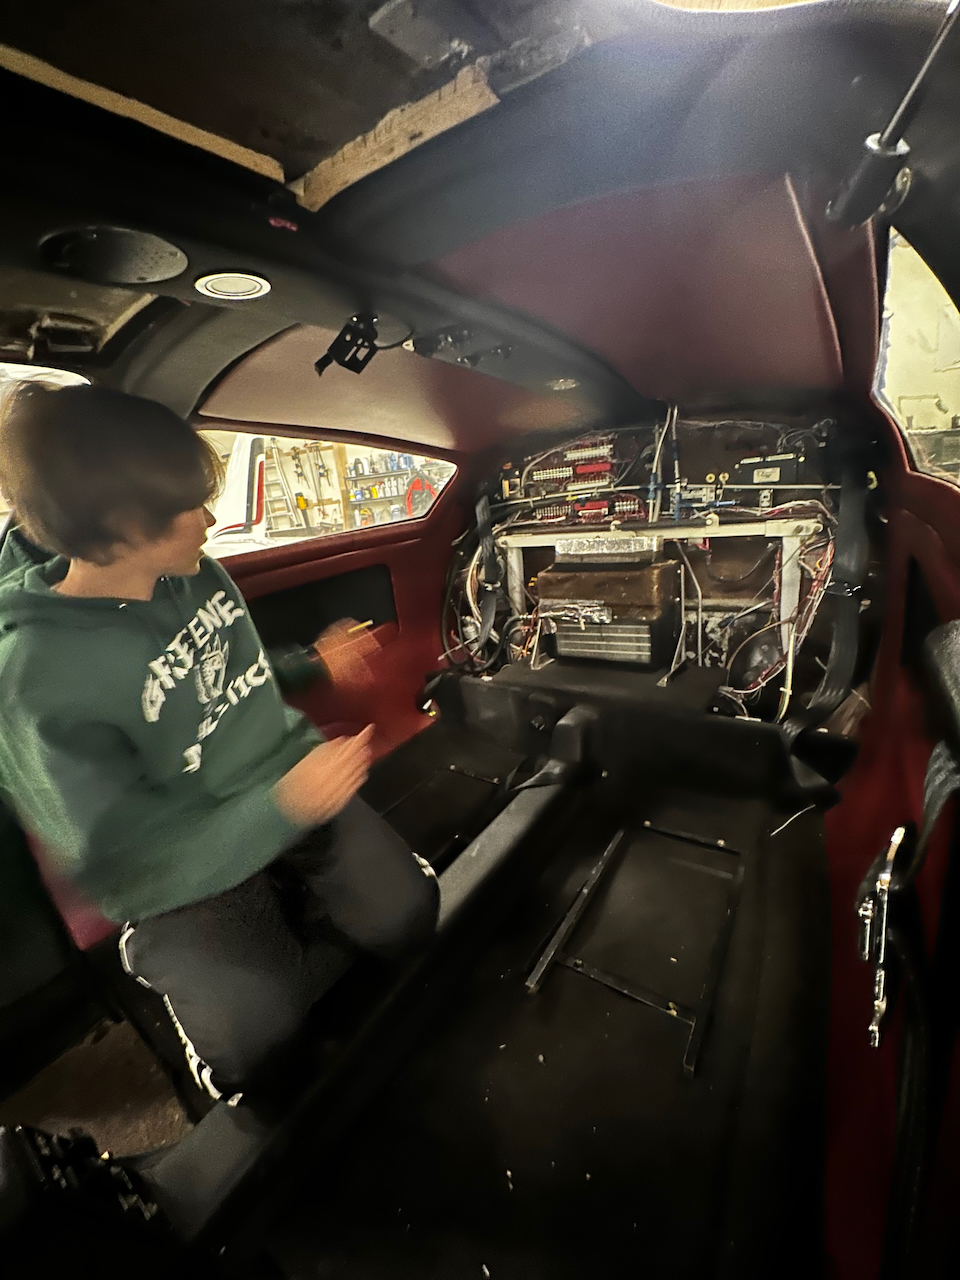
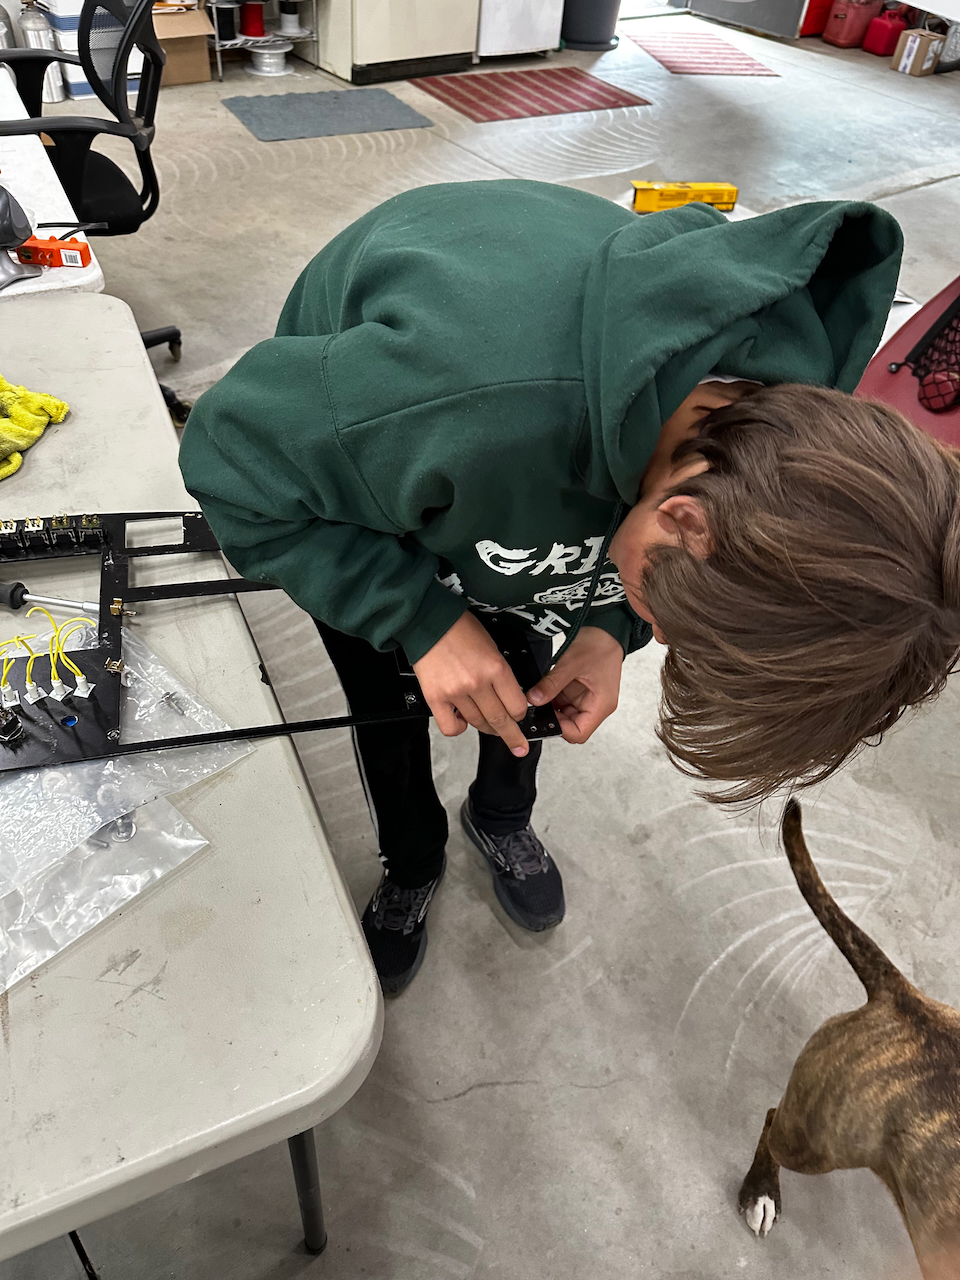
Nico starting to disassemble
and rear bulkhead is off!
fun fact… this model car is the fastest time on the top gear track.
glareshield out, and working on the panel
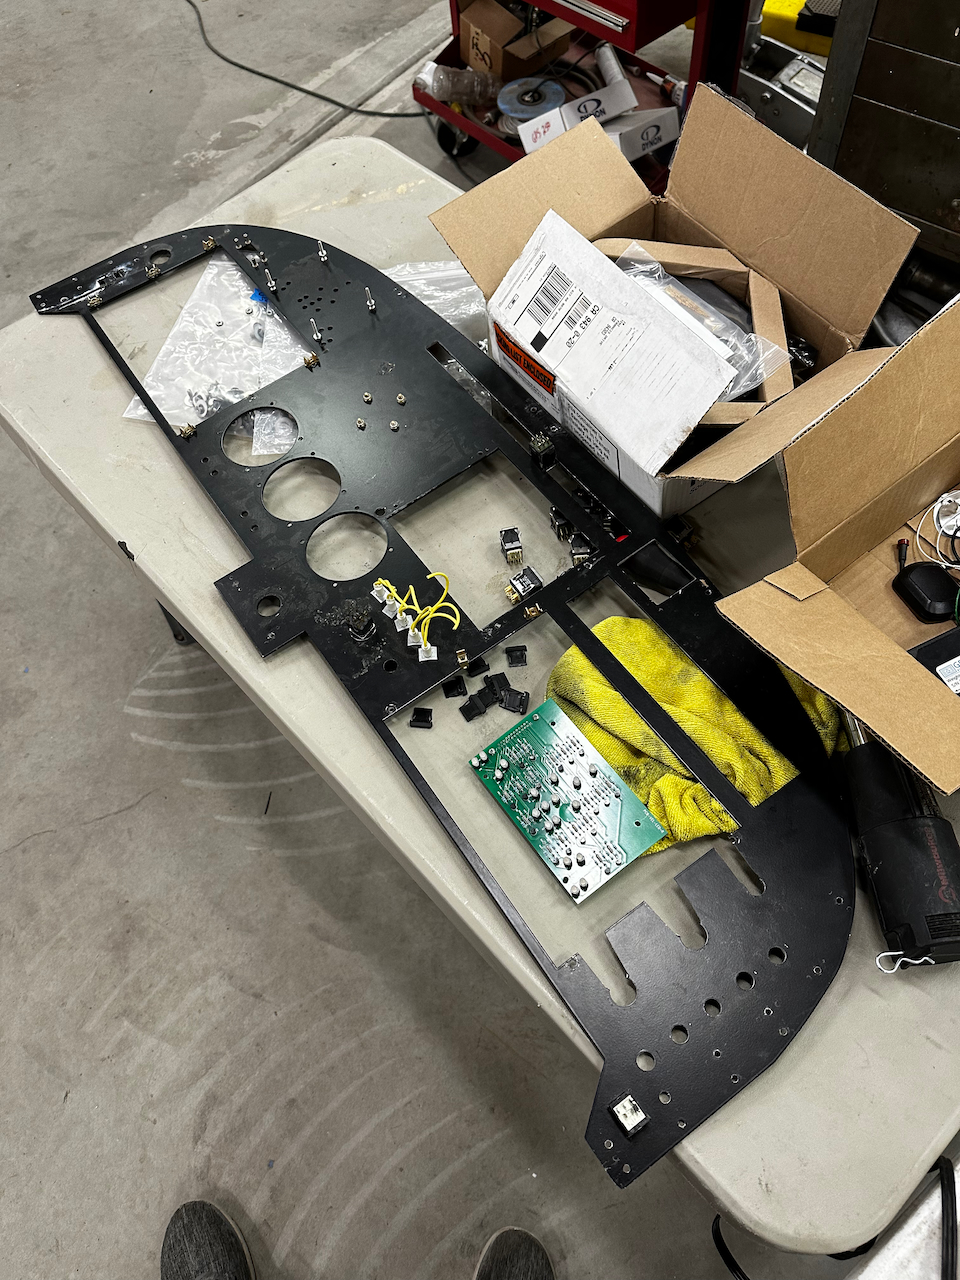
old panel out! That’s a lot of stuff.
I’m Glad Steve is taking care of all of this!
Nico cleaning out parts from the old panel that we need to reuse
Bye Bye old panel… you’ve treated us well!
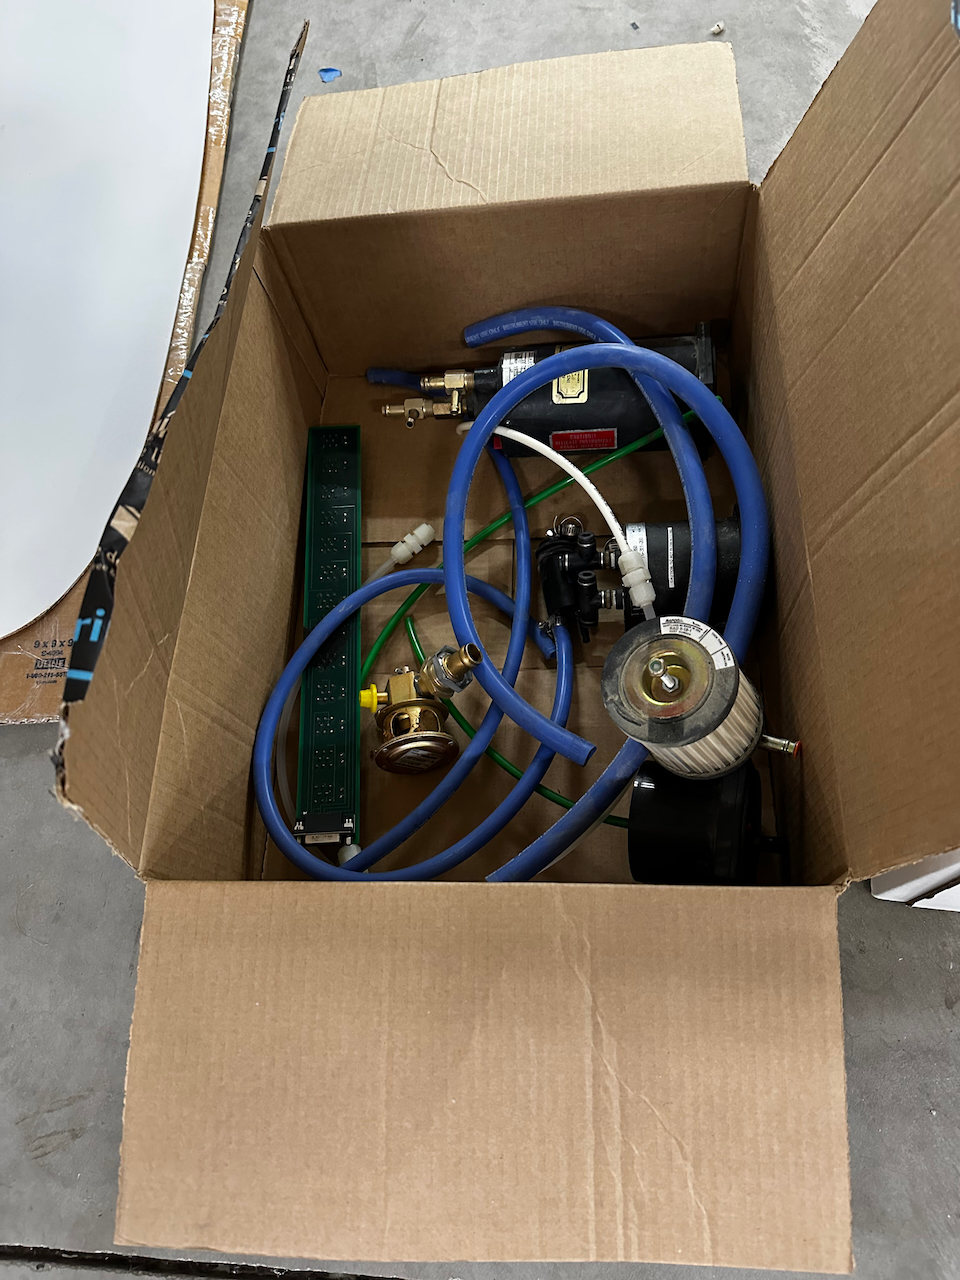
And the box of tear outs begins!
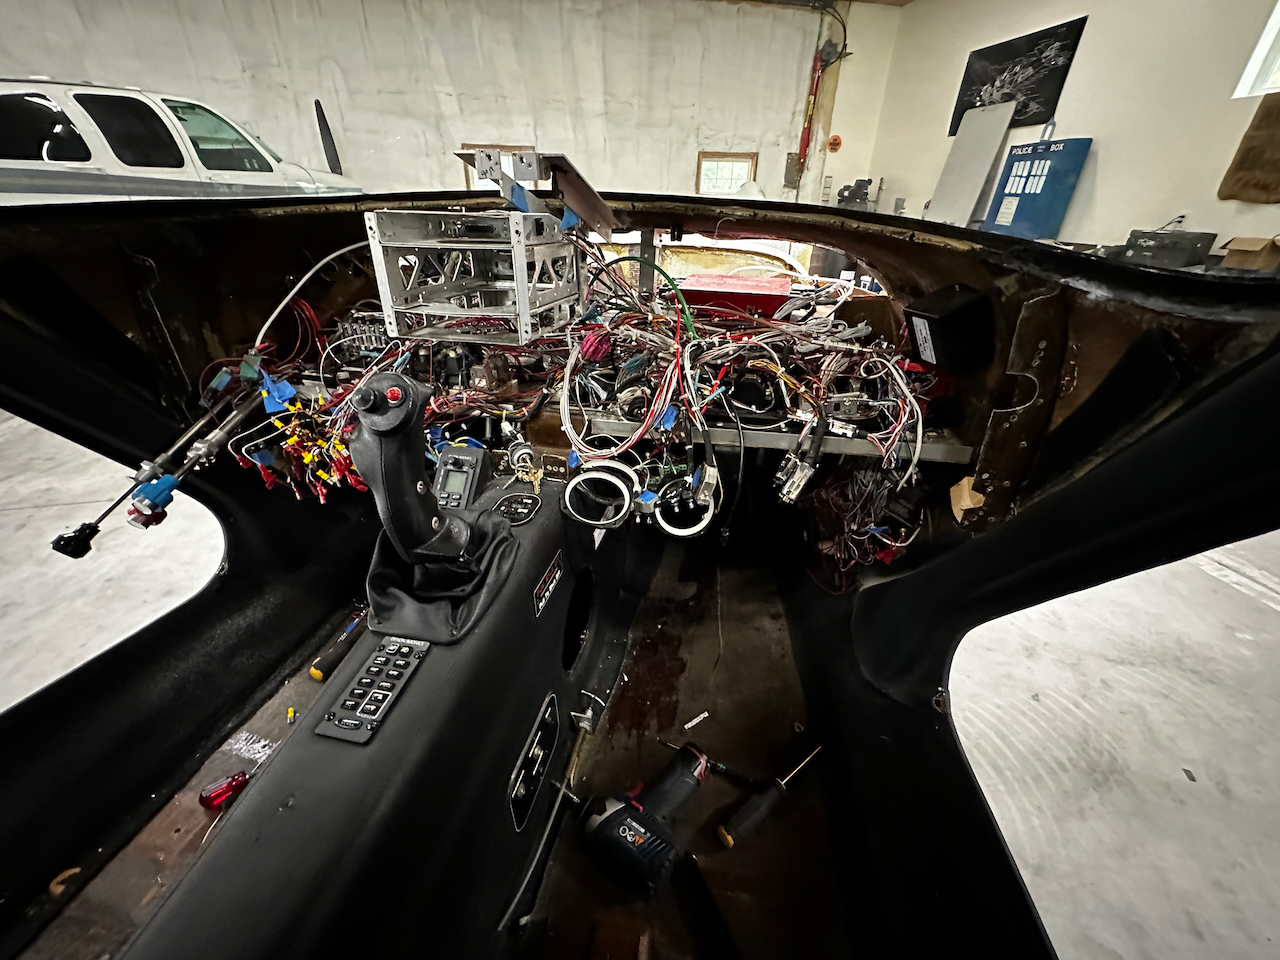
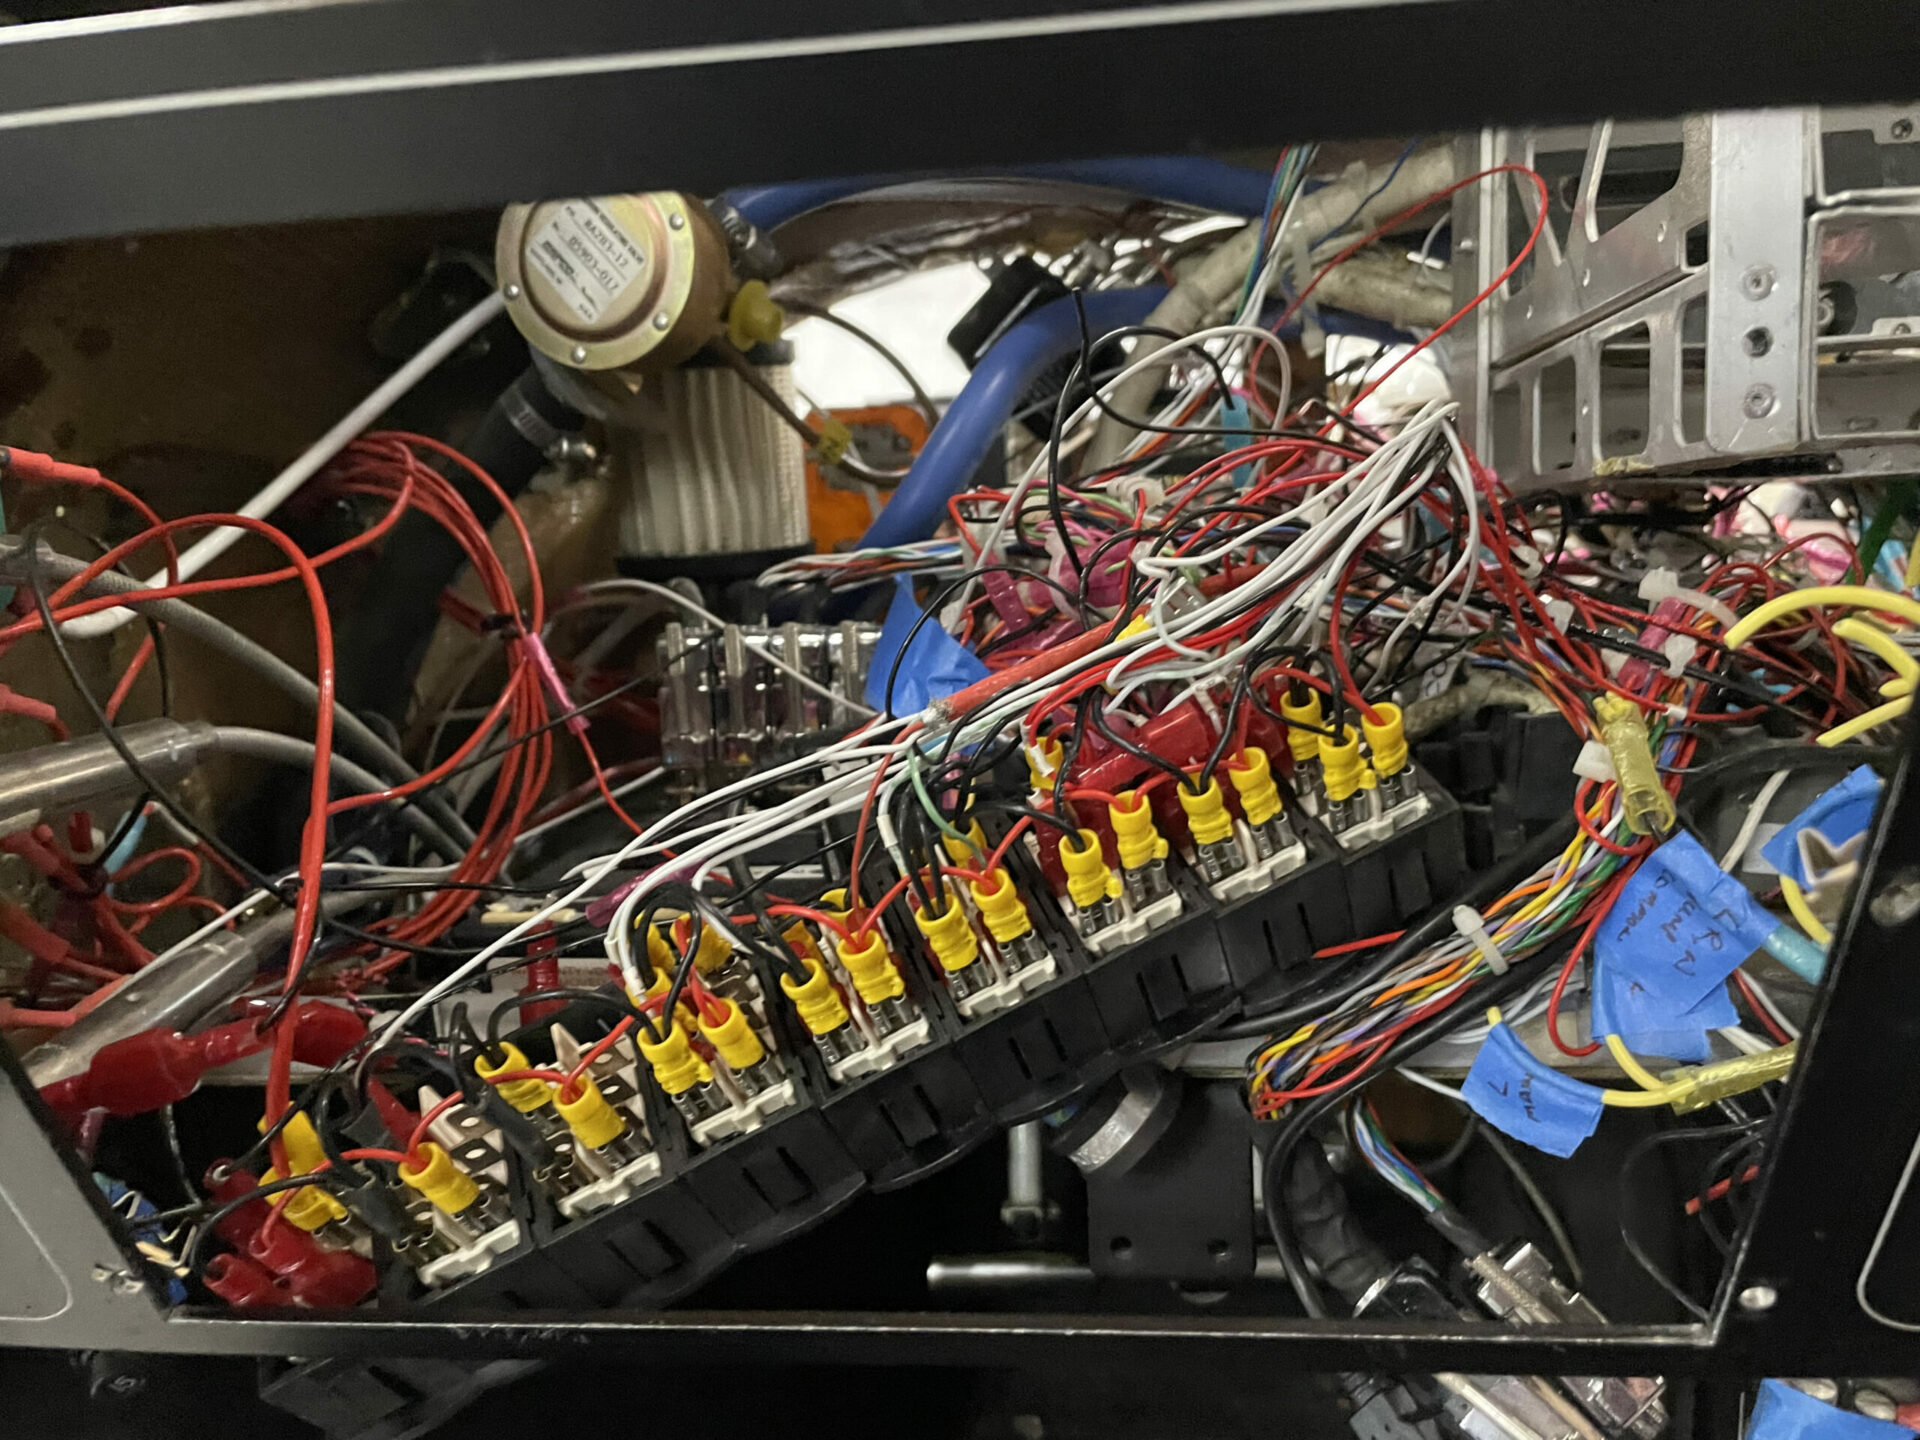
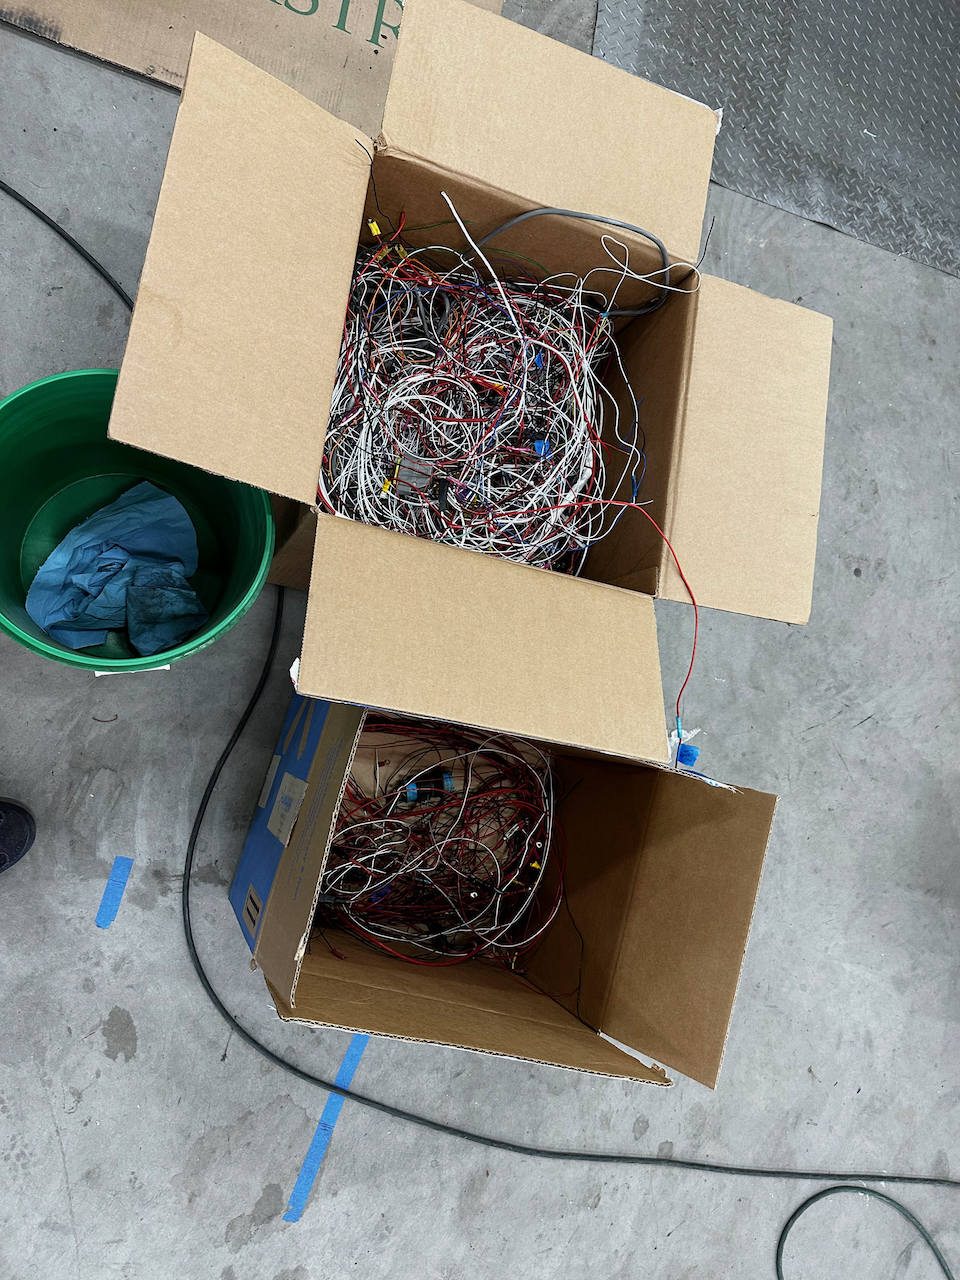
The Spaghetti is real…
…very real. Good Luck Steve!
And so Nico and I headed home, and it would be 8 weeks before we would be back. In that time (and before drop off) Steve and I had many discussions about what I wanted to get out of the rebuild and he was a great partner in coming to a reasonable and acheivable end state. Before we get to all the cool photos Steve took during the build out, I want to get on my soapbox for one moment about what the goals were.
Simplicity – Through enough peeks behind the panels, and flying the aircraft enough I realized how overly complicated the original builders made this avionics and electrical system. From small things like extra butt connectors rather than straight lines between endpoints, to unnecessary LED lights in wheelwells, each point in the system that is not necessary is an extra point of failure and “gremlins”. Within this rebuild, my philosophy was if it’s not absolutely necessary, get rid of it. I wanted the most direct connections possible between endpoints. I wanted all outdated systems out (…vacuum system I’m looking at you). Any frills should be removed… it should be a flying machine and all systems should contribute directly to doing that well and safely.
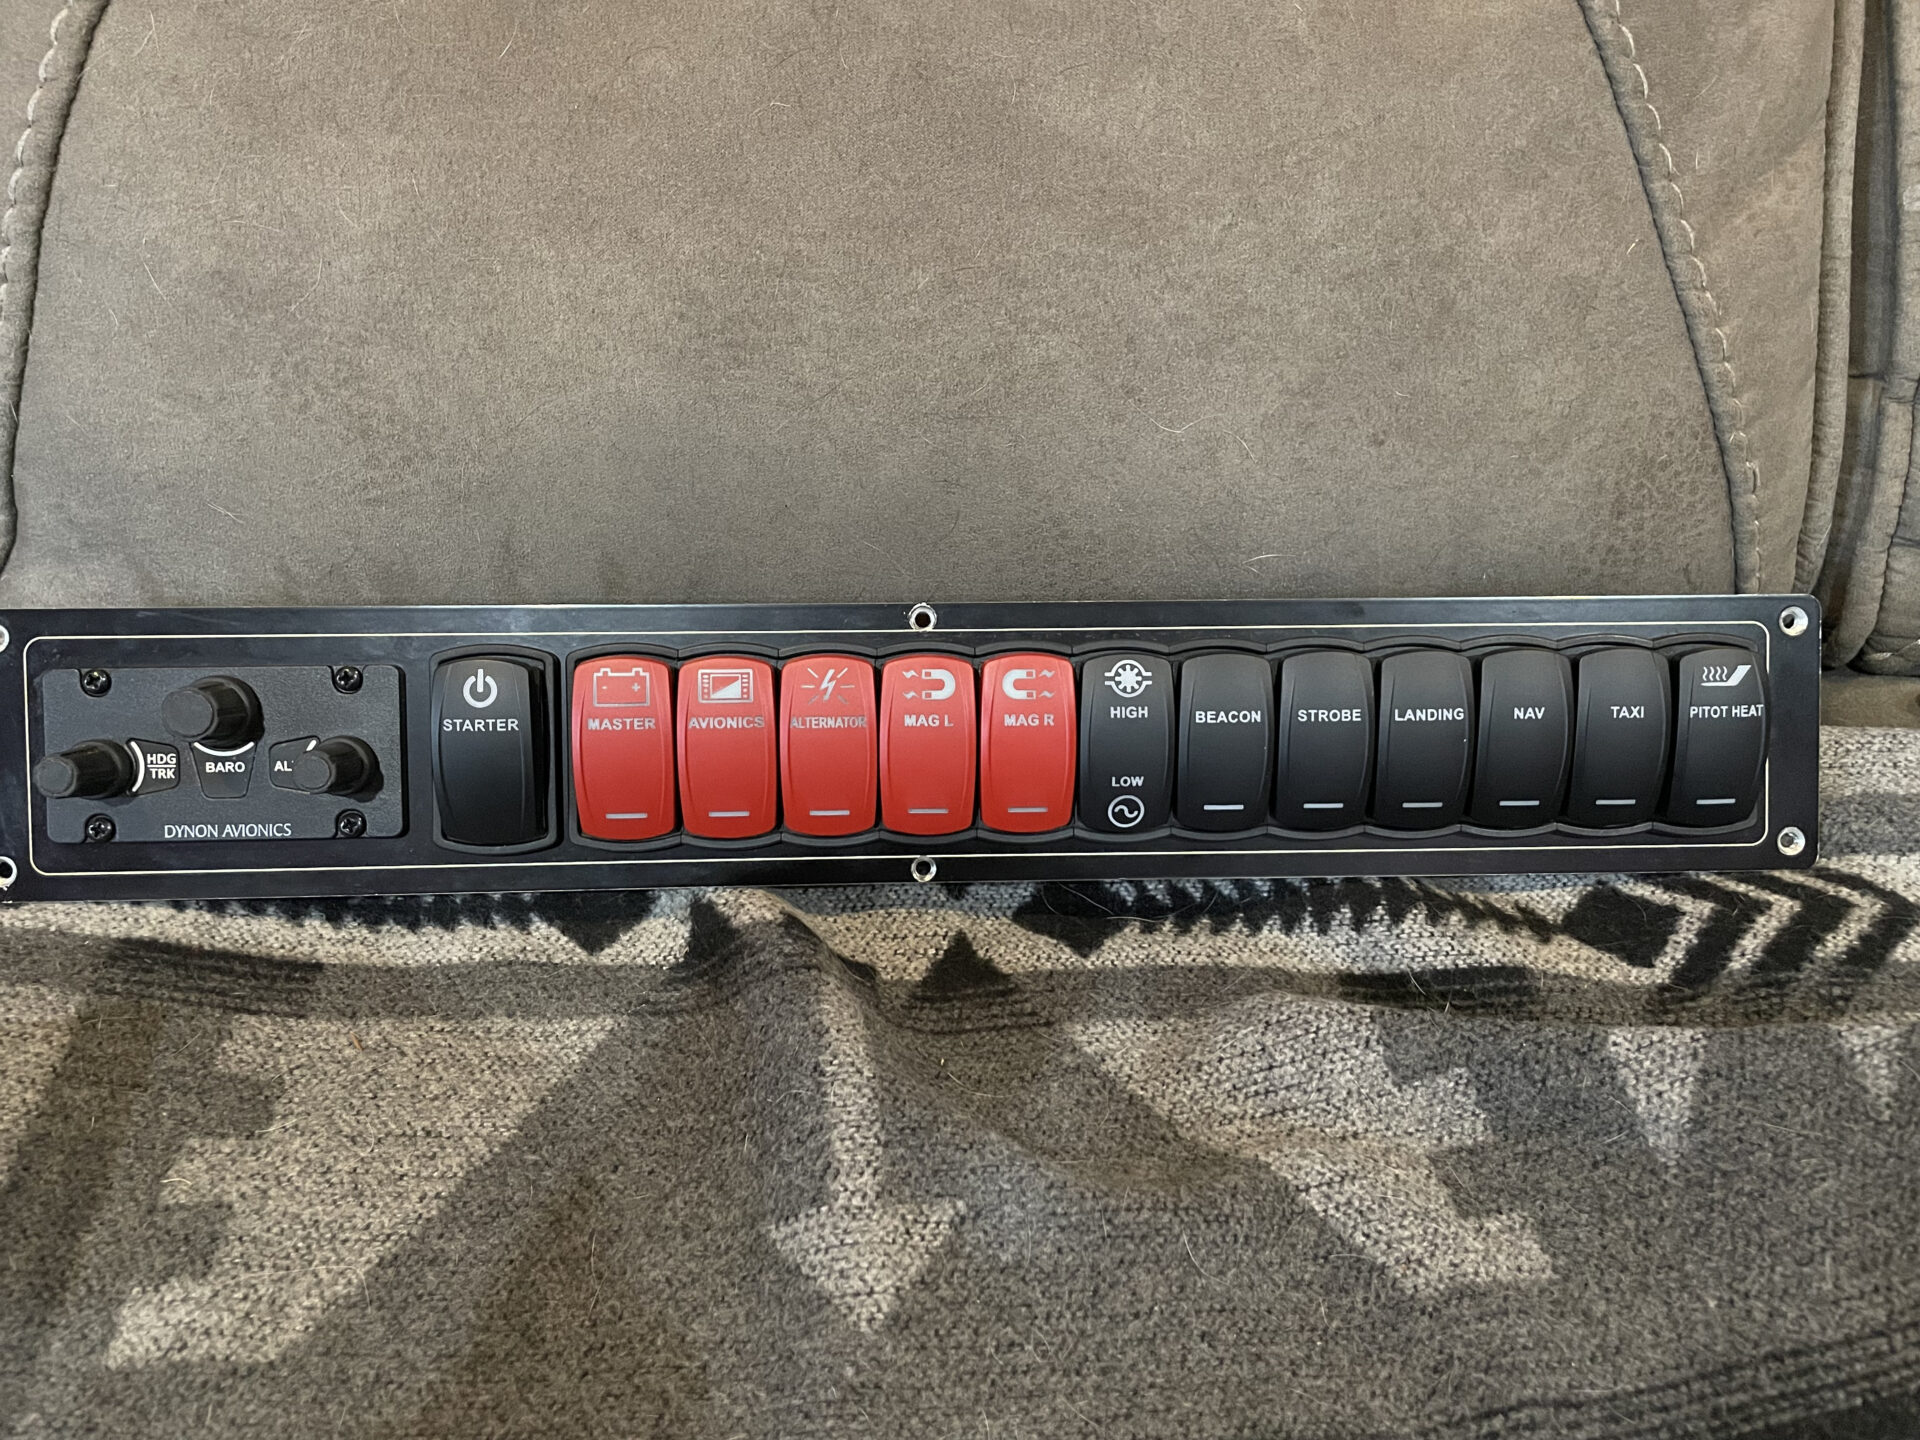
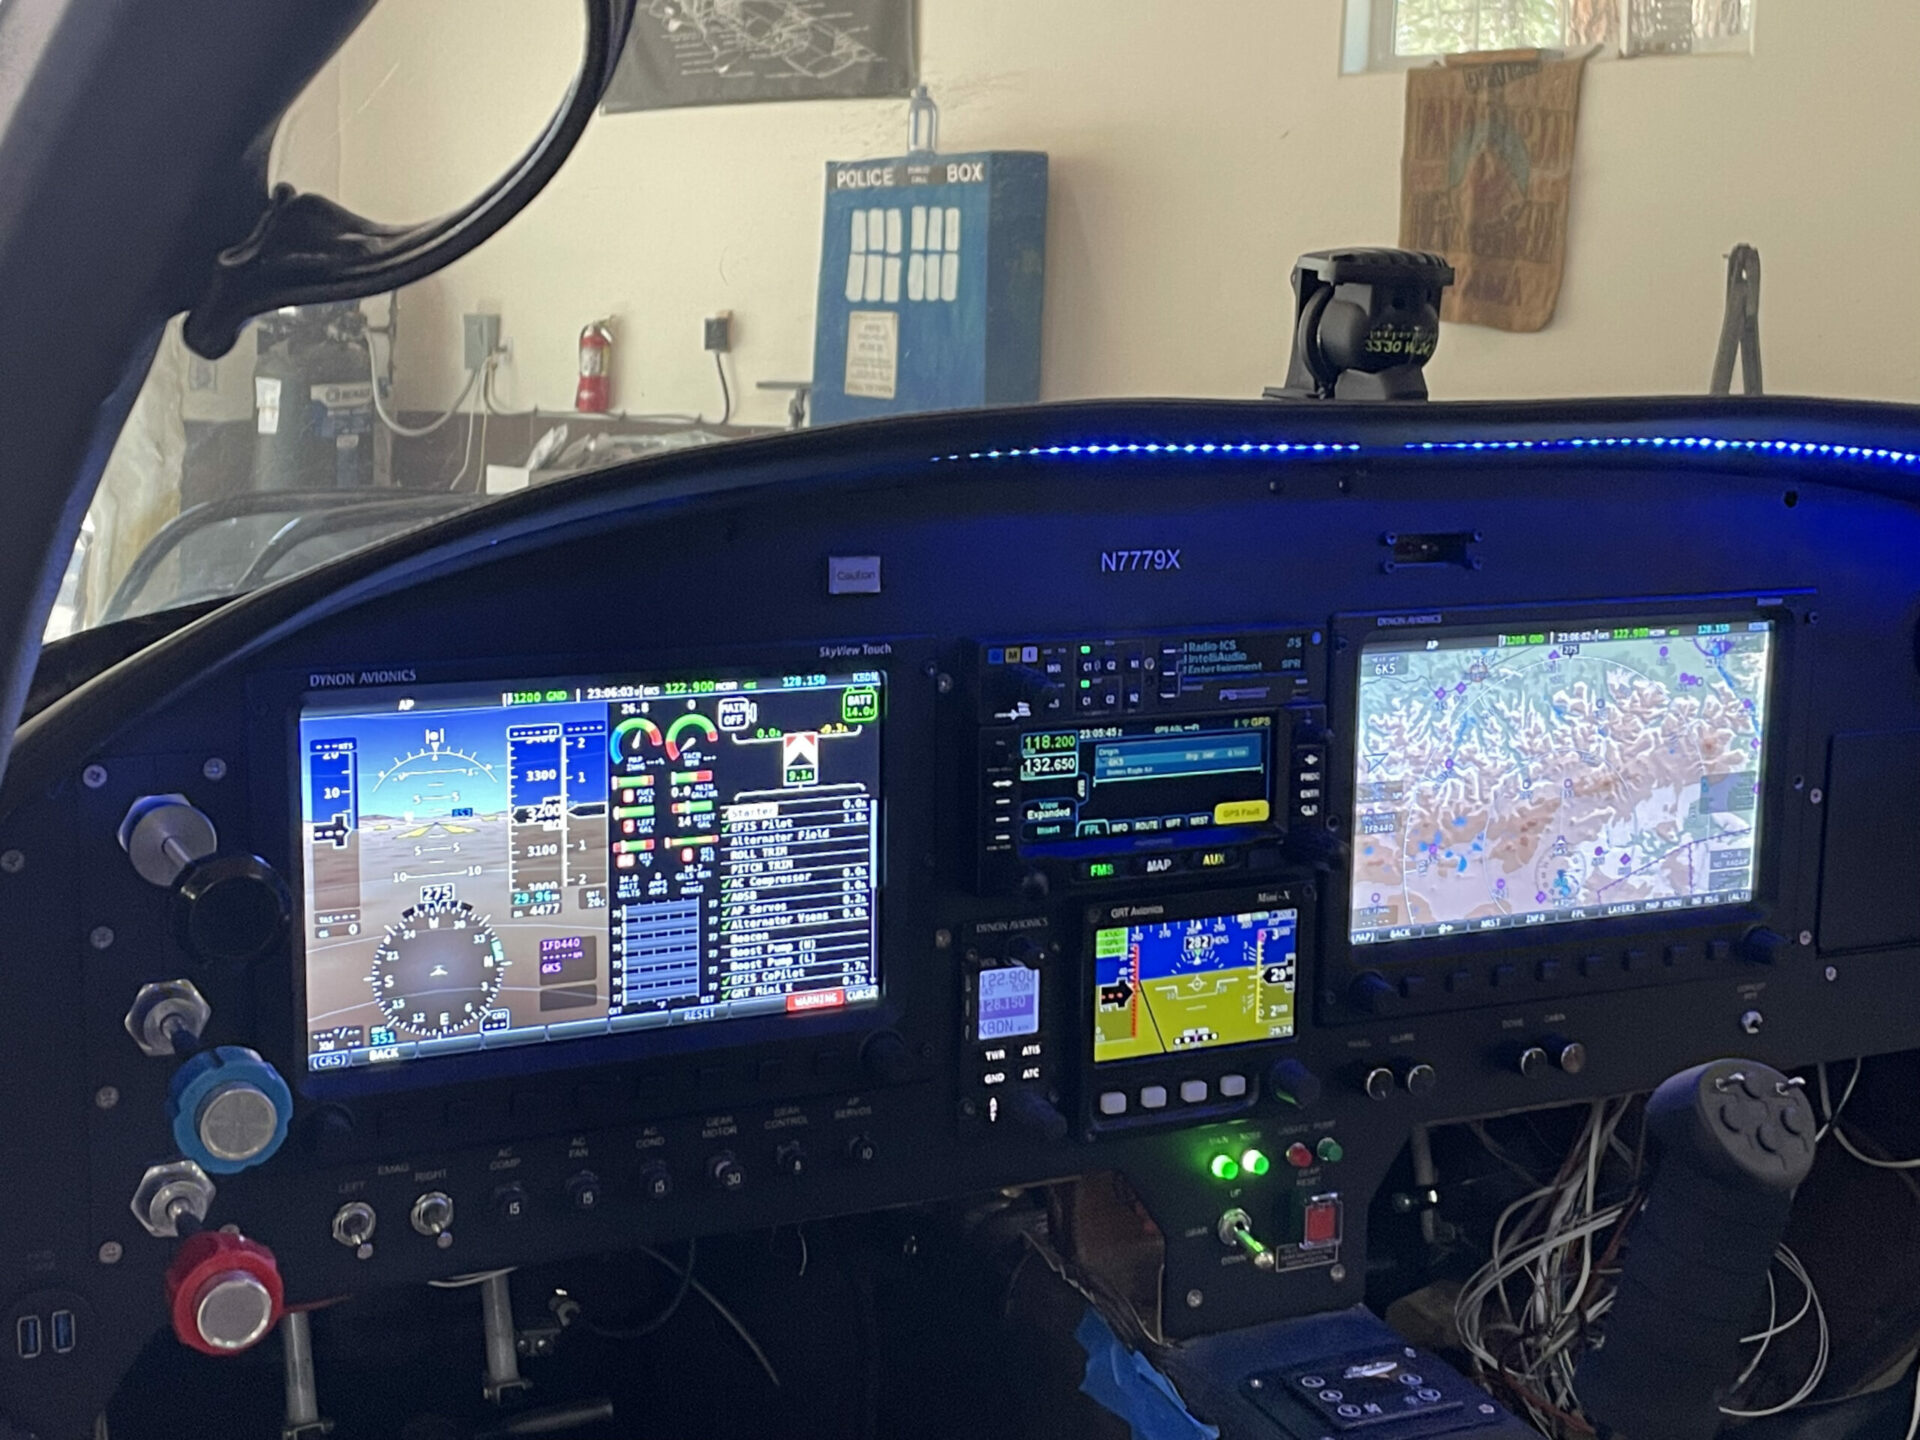
UX – I have a new appreciation for the UX within the aircraft I’ve flown in the past. The Velocity had a user experience that was overly stimulating, with conflicting and distracting information. For example, there were a series of annunciators which included redundant information like what mode the GPS was in (which is shown directly on the GPS already), and big red lights that turned on when you activated a brake (on final, these would flash intermittently if I needed to work the rudder pedals). There was a custom LED panel that was supposed to represent the state of the plane. The problem was that the colors were misleading. Sometimes red items were actually good, and green items were not. It required a series of microswitches (which were notoriously unreliable) to detect certain things. There were switches that turned on systems that had their own switches! What?? This led to over 20 switches within the plane. In this build, I was going to go for an almost spartan UX. Minimal distractions, and clear information where it needs to be. Switches should be organized and minimized. ONE master caution light!
Positioning – The panel was setup for a two pilot operation. The PFD and MFD were on opposite sides of the plane, so usability of both screens was tough. I wanted to the cockpit to be pilot centric. If there was a co-pilot, they would need to learn to fly it like any good CFI does… looking over towards the Pilot side lol. There were a lot of little things similar to this. The screens were low instead of high. The lights were too in your face. One of the radios was in the leg well instead of on the panel.
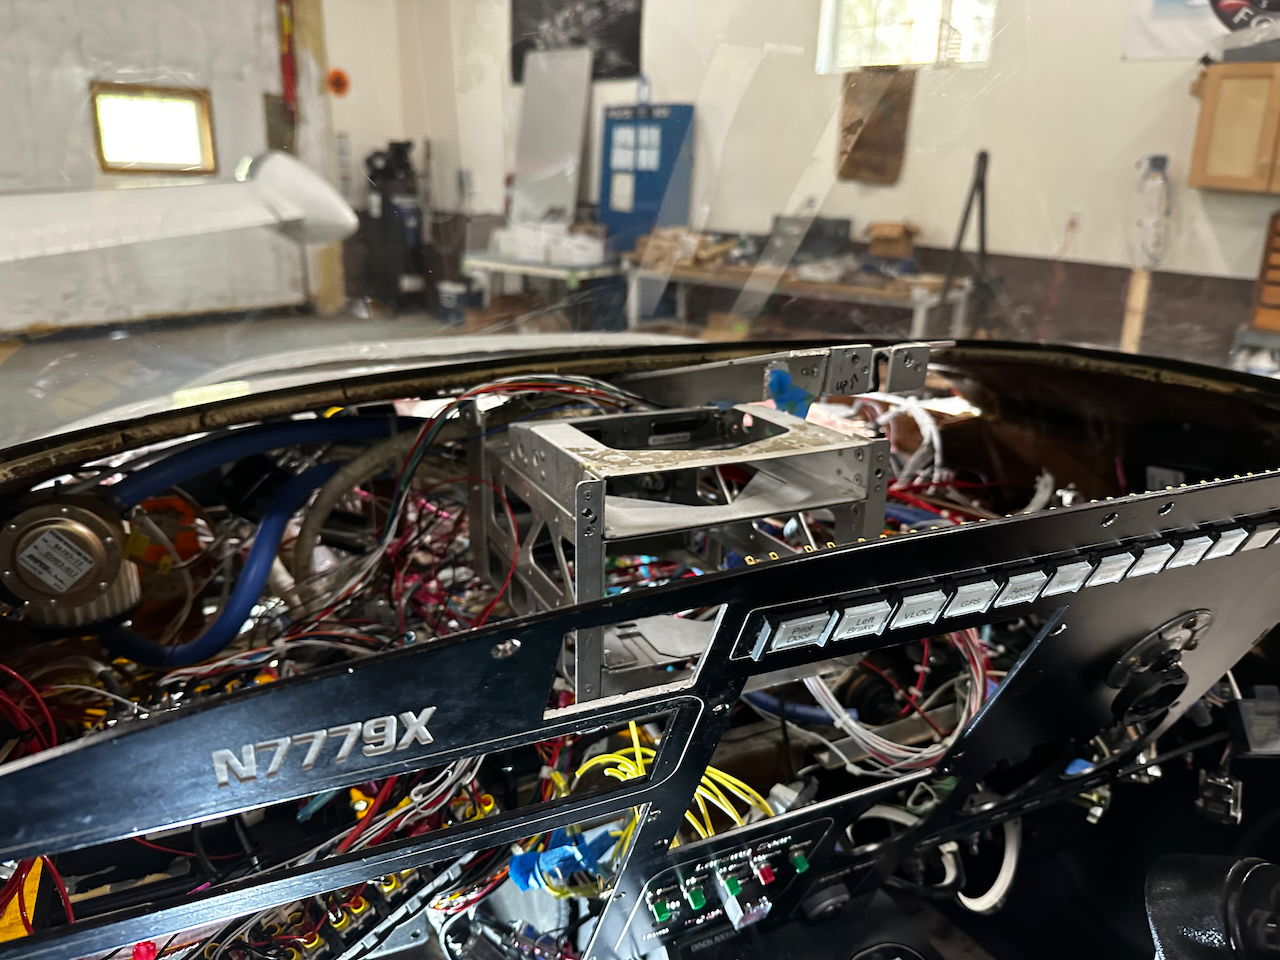
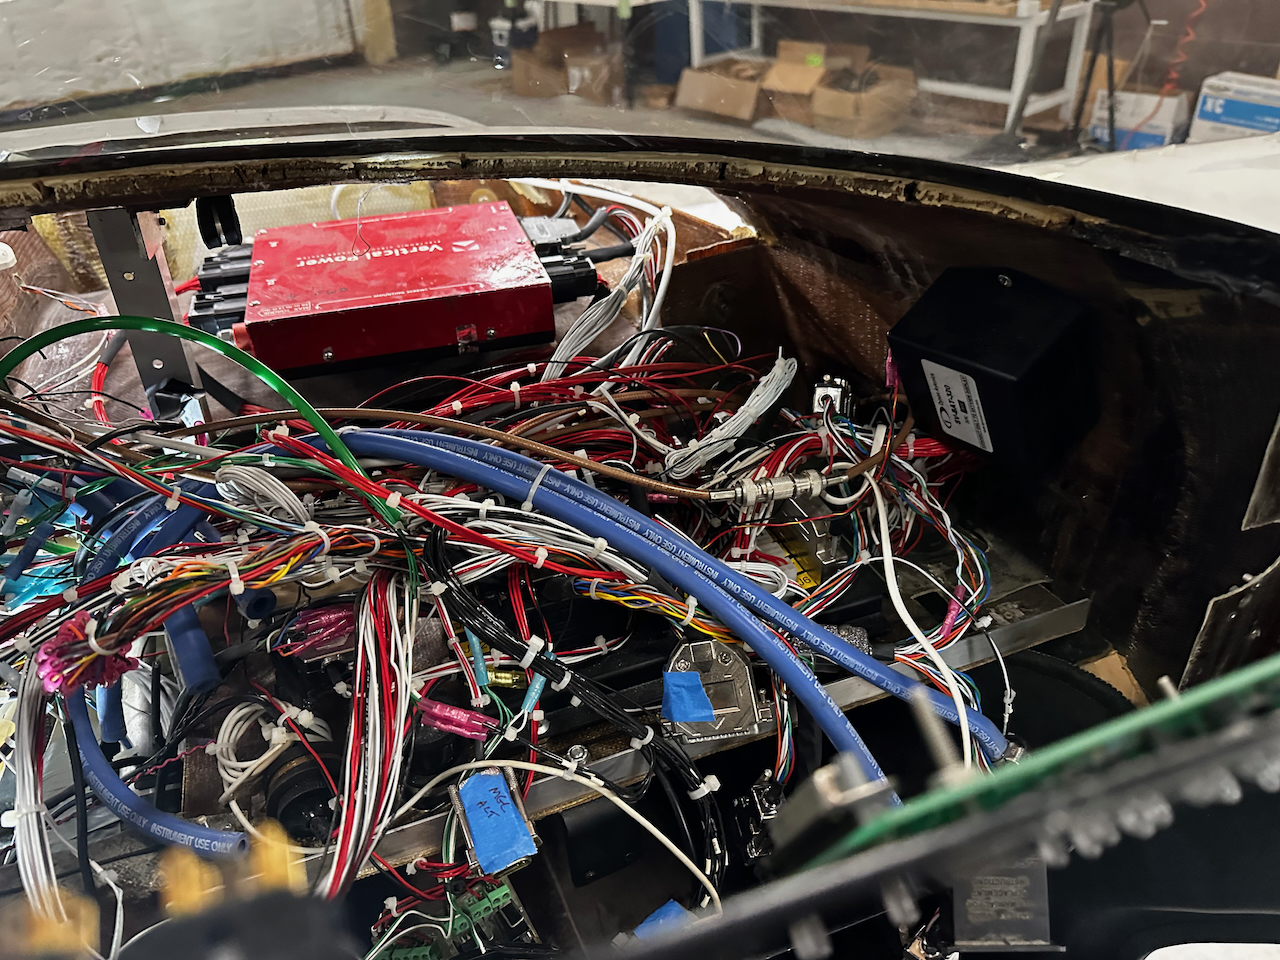
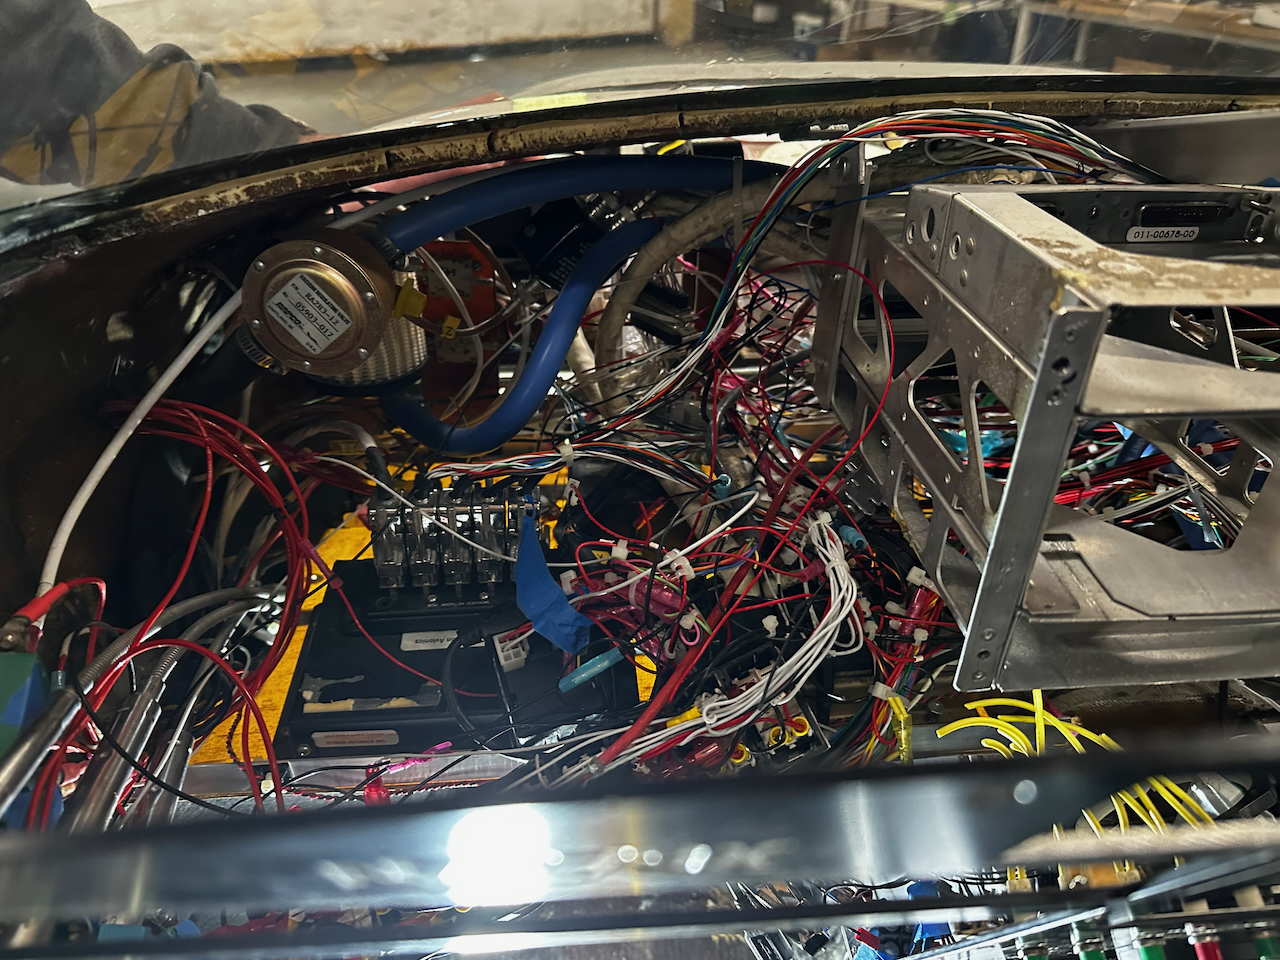
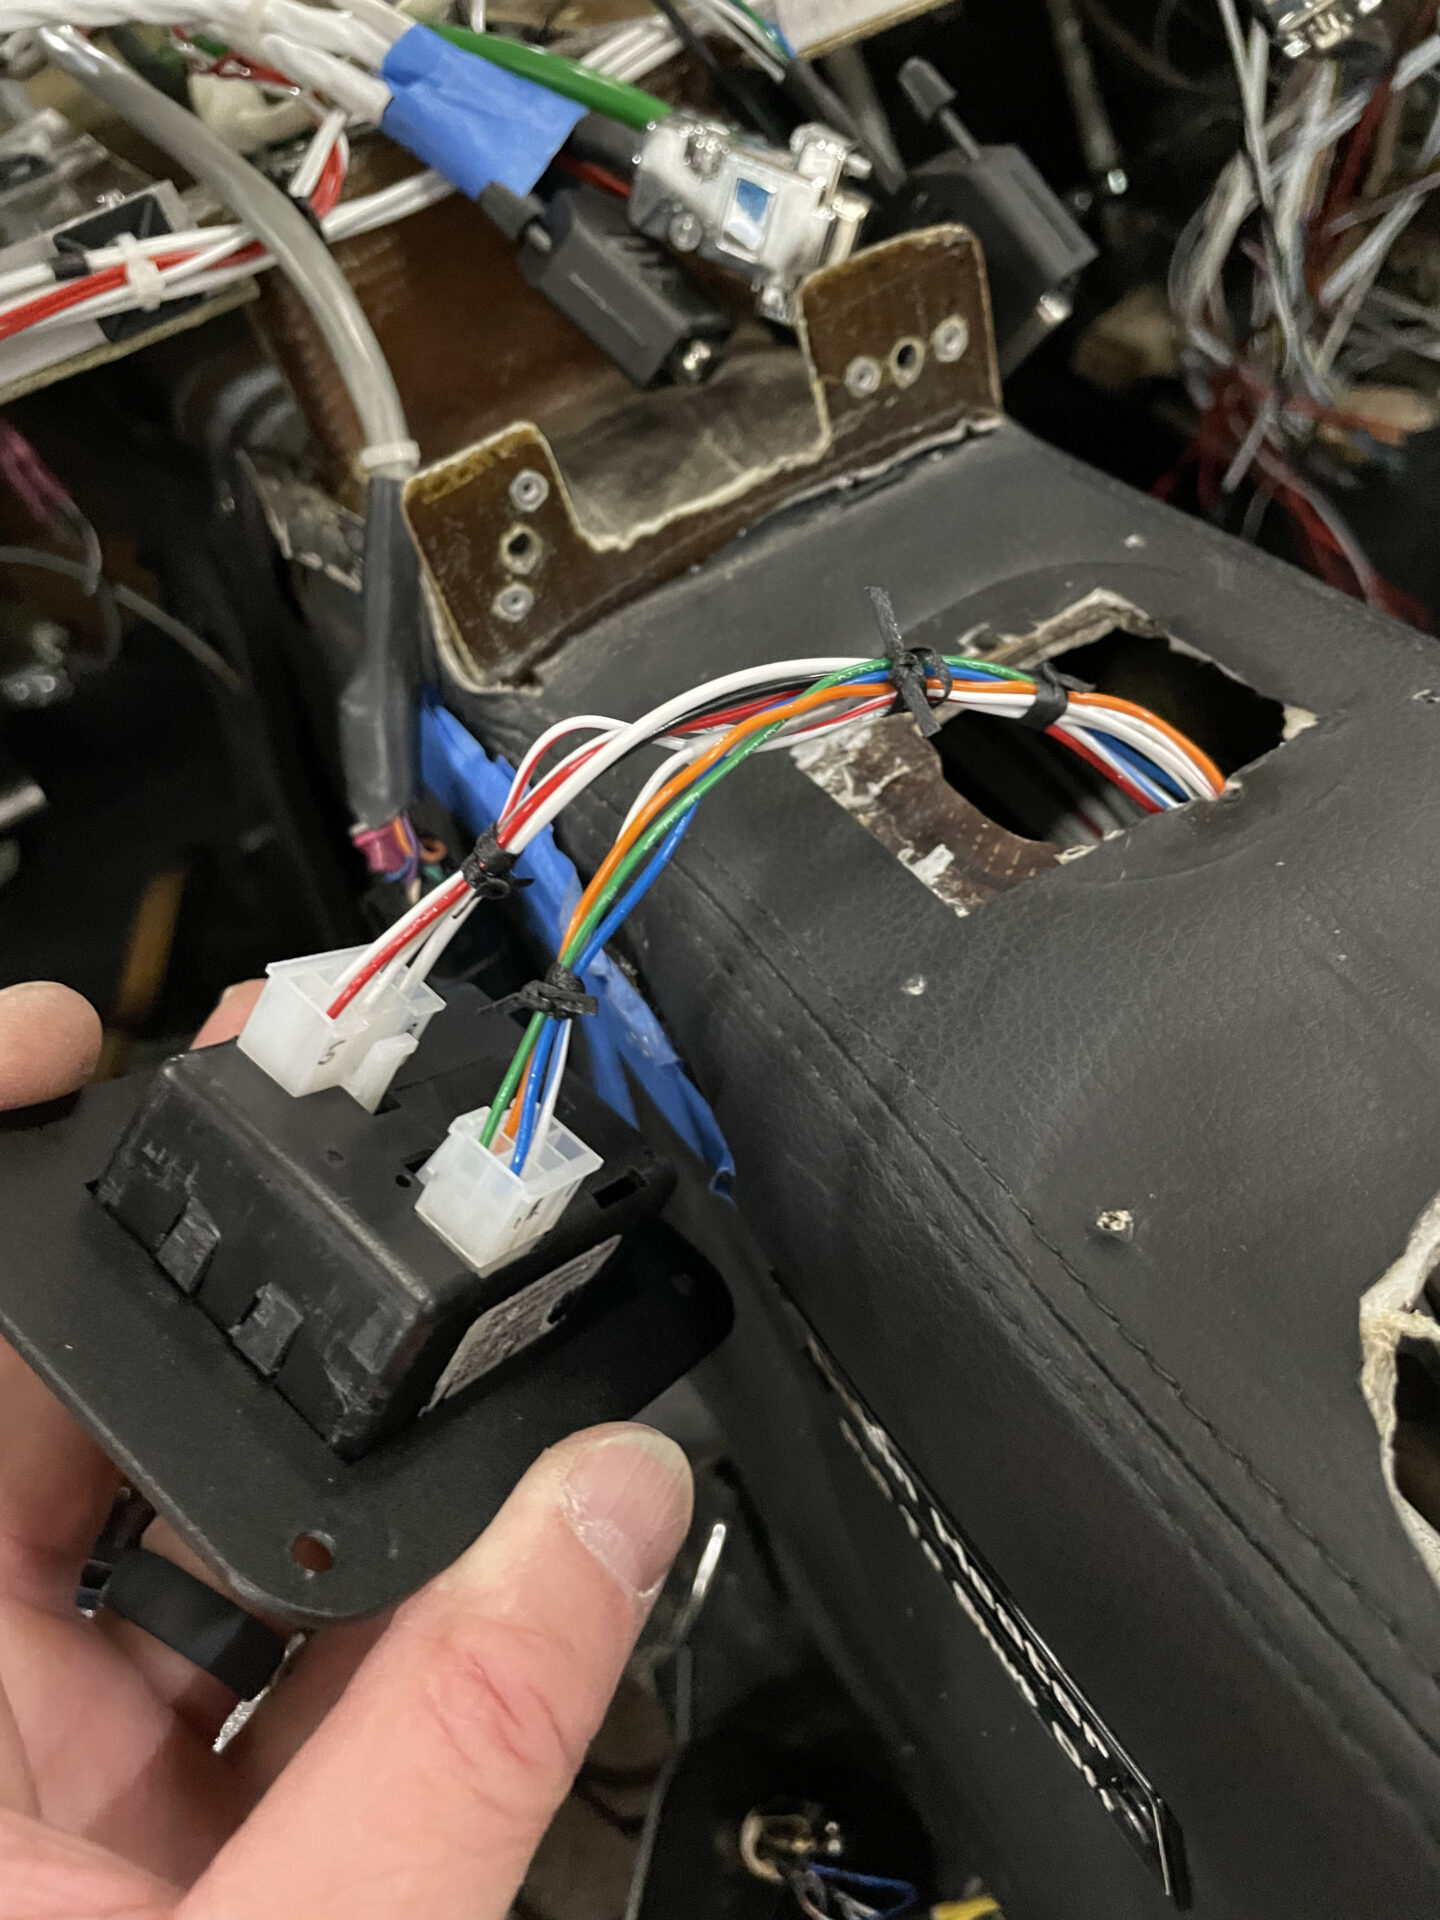
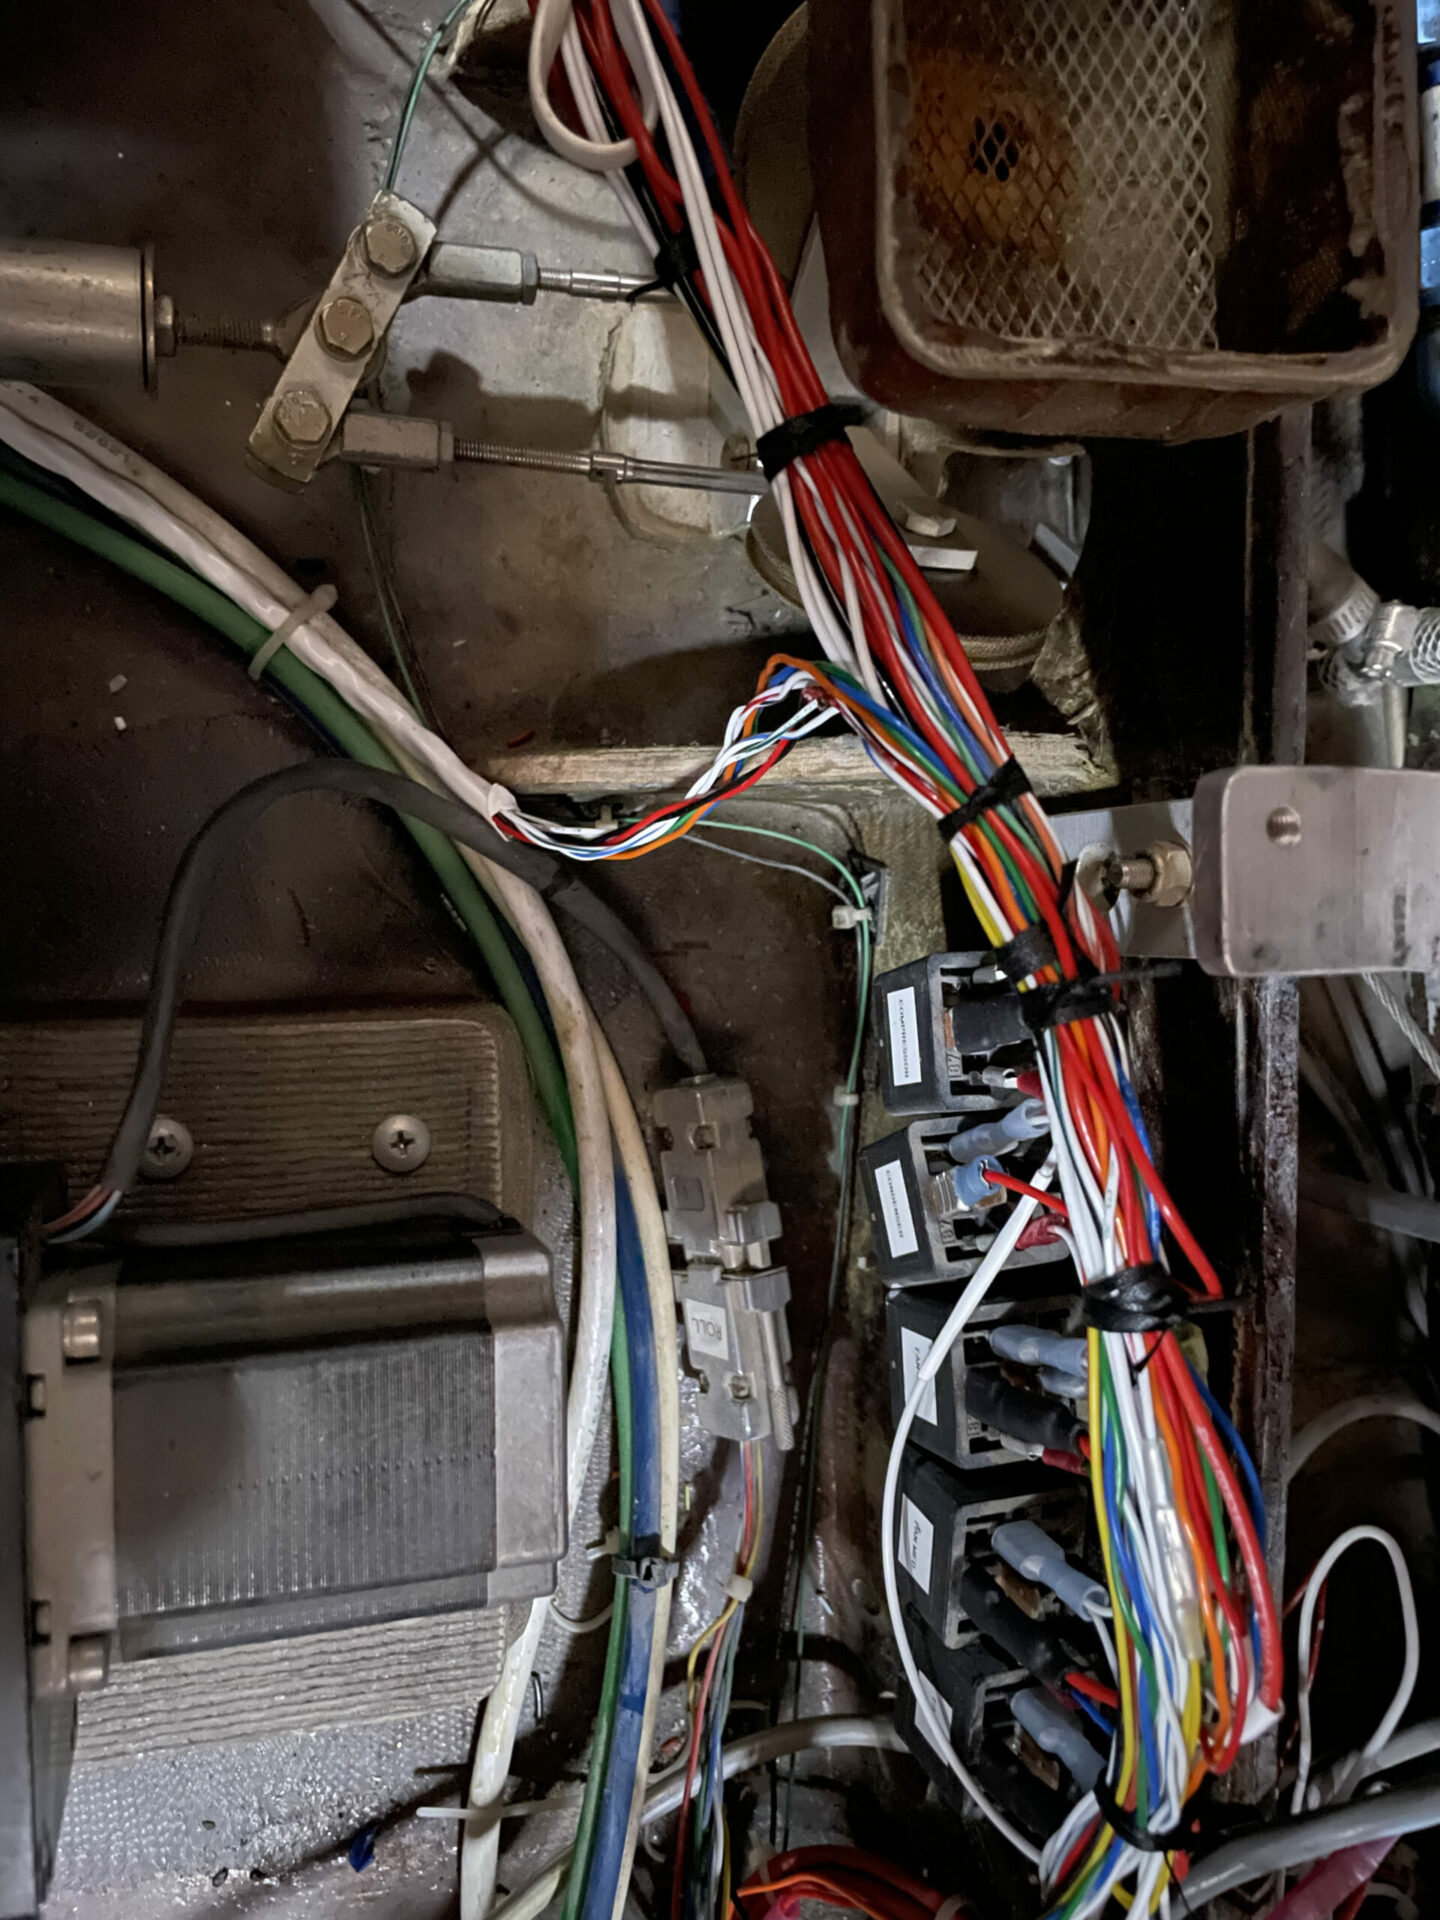
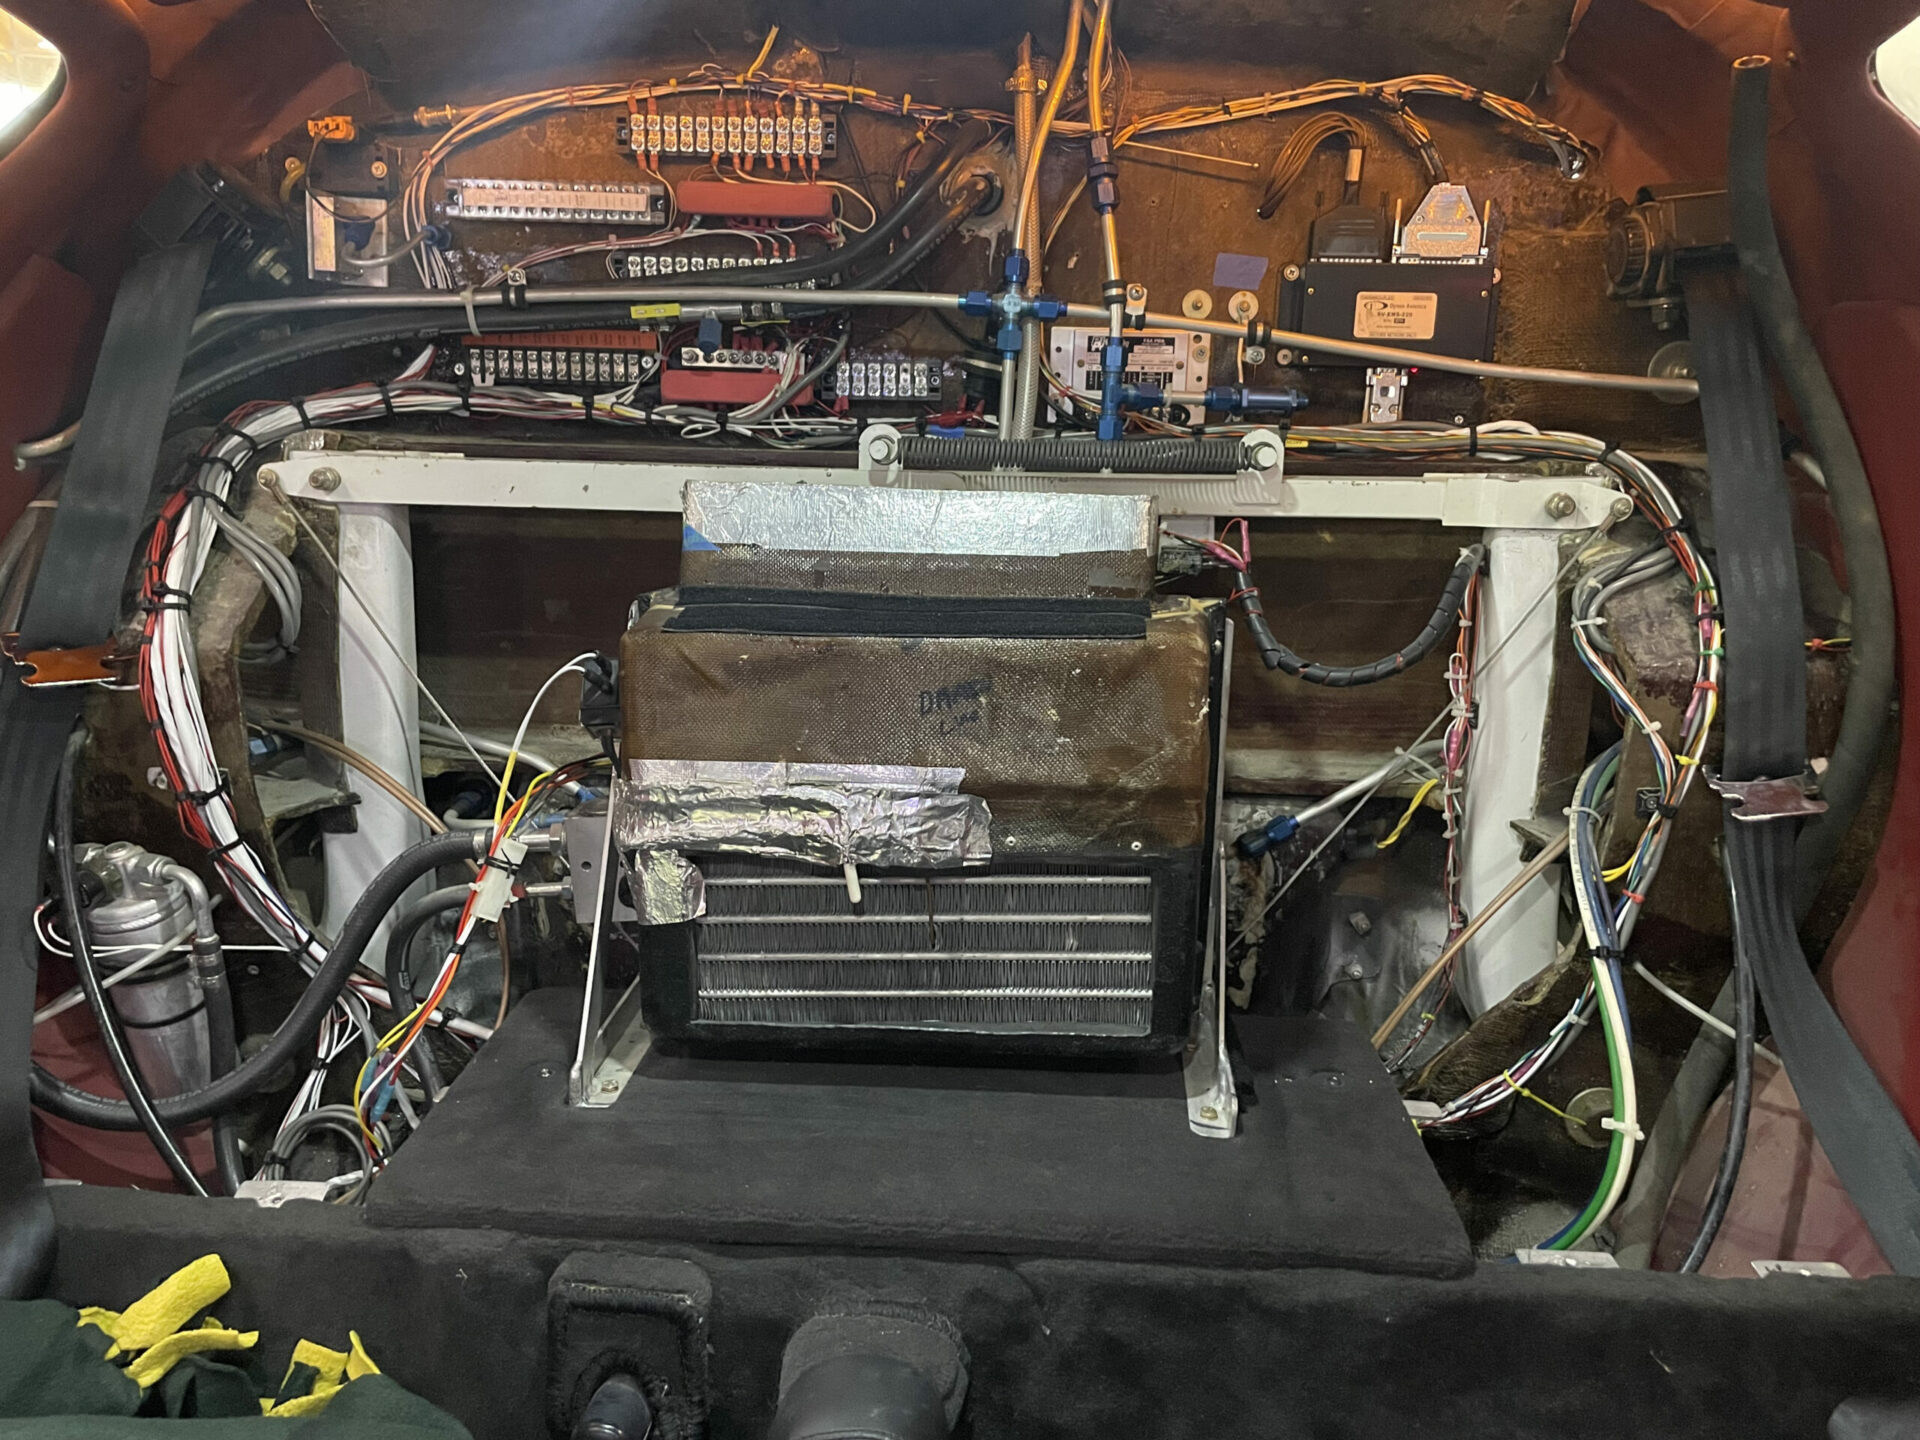
Rewire – I had lost confidence in the quality of the underlying wire harness. There had been too many “gremlins” within the system. Intermittent issues that would seem to go away on their own. This is a very uncomfortable feeling, especially on a plane that you needed to be reliable and consistent such as a commuter plane. Above are the “spaghetti” mess that was behind the panel, and from my observations, it was like that in other places as well. It was time to rewire the whole harness. This included the avionics wiring, the engine sensors, and even the AC unit. Steve was gracious enough to sign up for the task.
OK, I’m off my soap box, and I do want to say, every design has it’s intention, and for the previous owners the design may have worked. To no fault of their own, it did not work for how I like to fly my plane, so I was excited to get the system to a place I was happy with. It was also a really good exercise for the RV-8 avionics which is coming in the next year or two. Now let’s enjoy some great photos Steve took during the build. He did a great job of keeping me up-to-date with what was happening, and set up a shared photo album I could keep an eye on as well. Thanks Steve!
All of this has to come out!
Steve carefully traced and marked the wires to understand what things were doing.
Eventually this would all come out
starting to look like an area to work in!
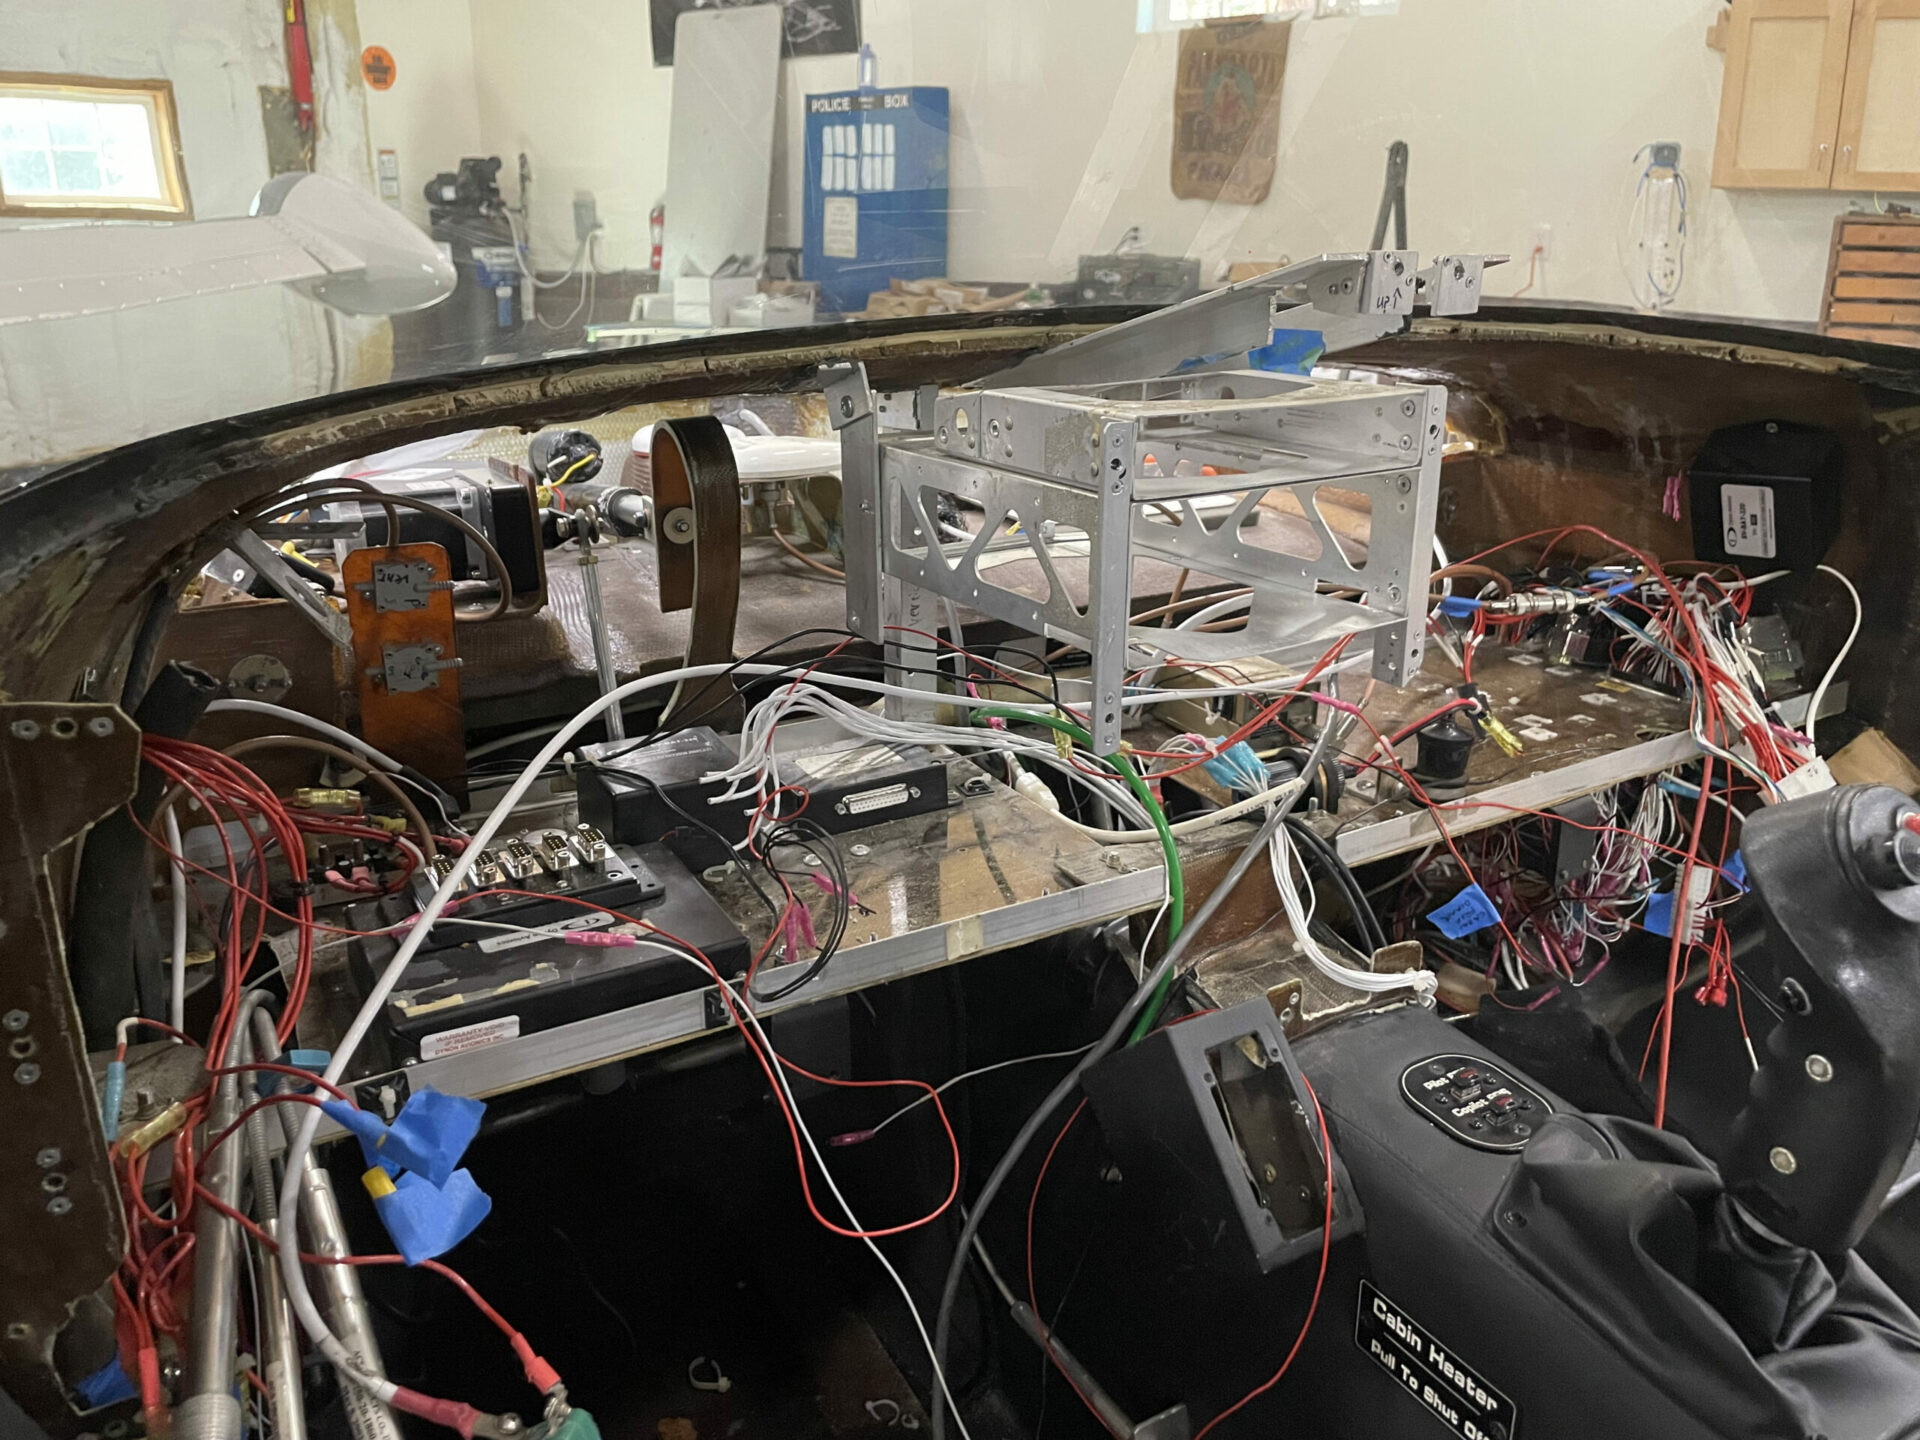
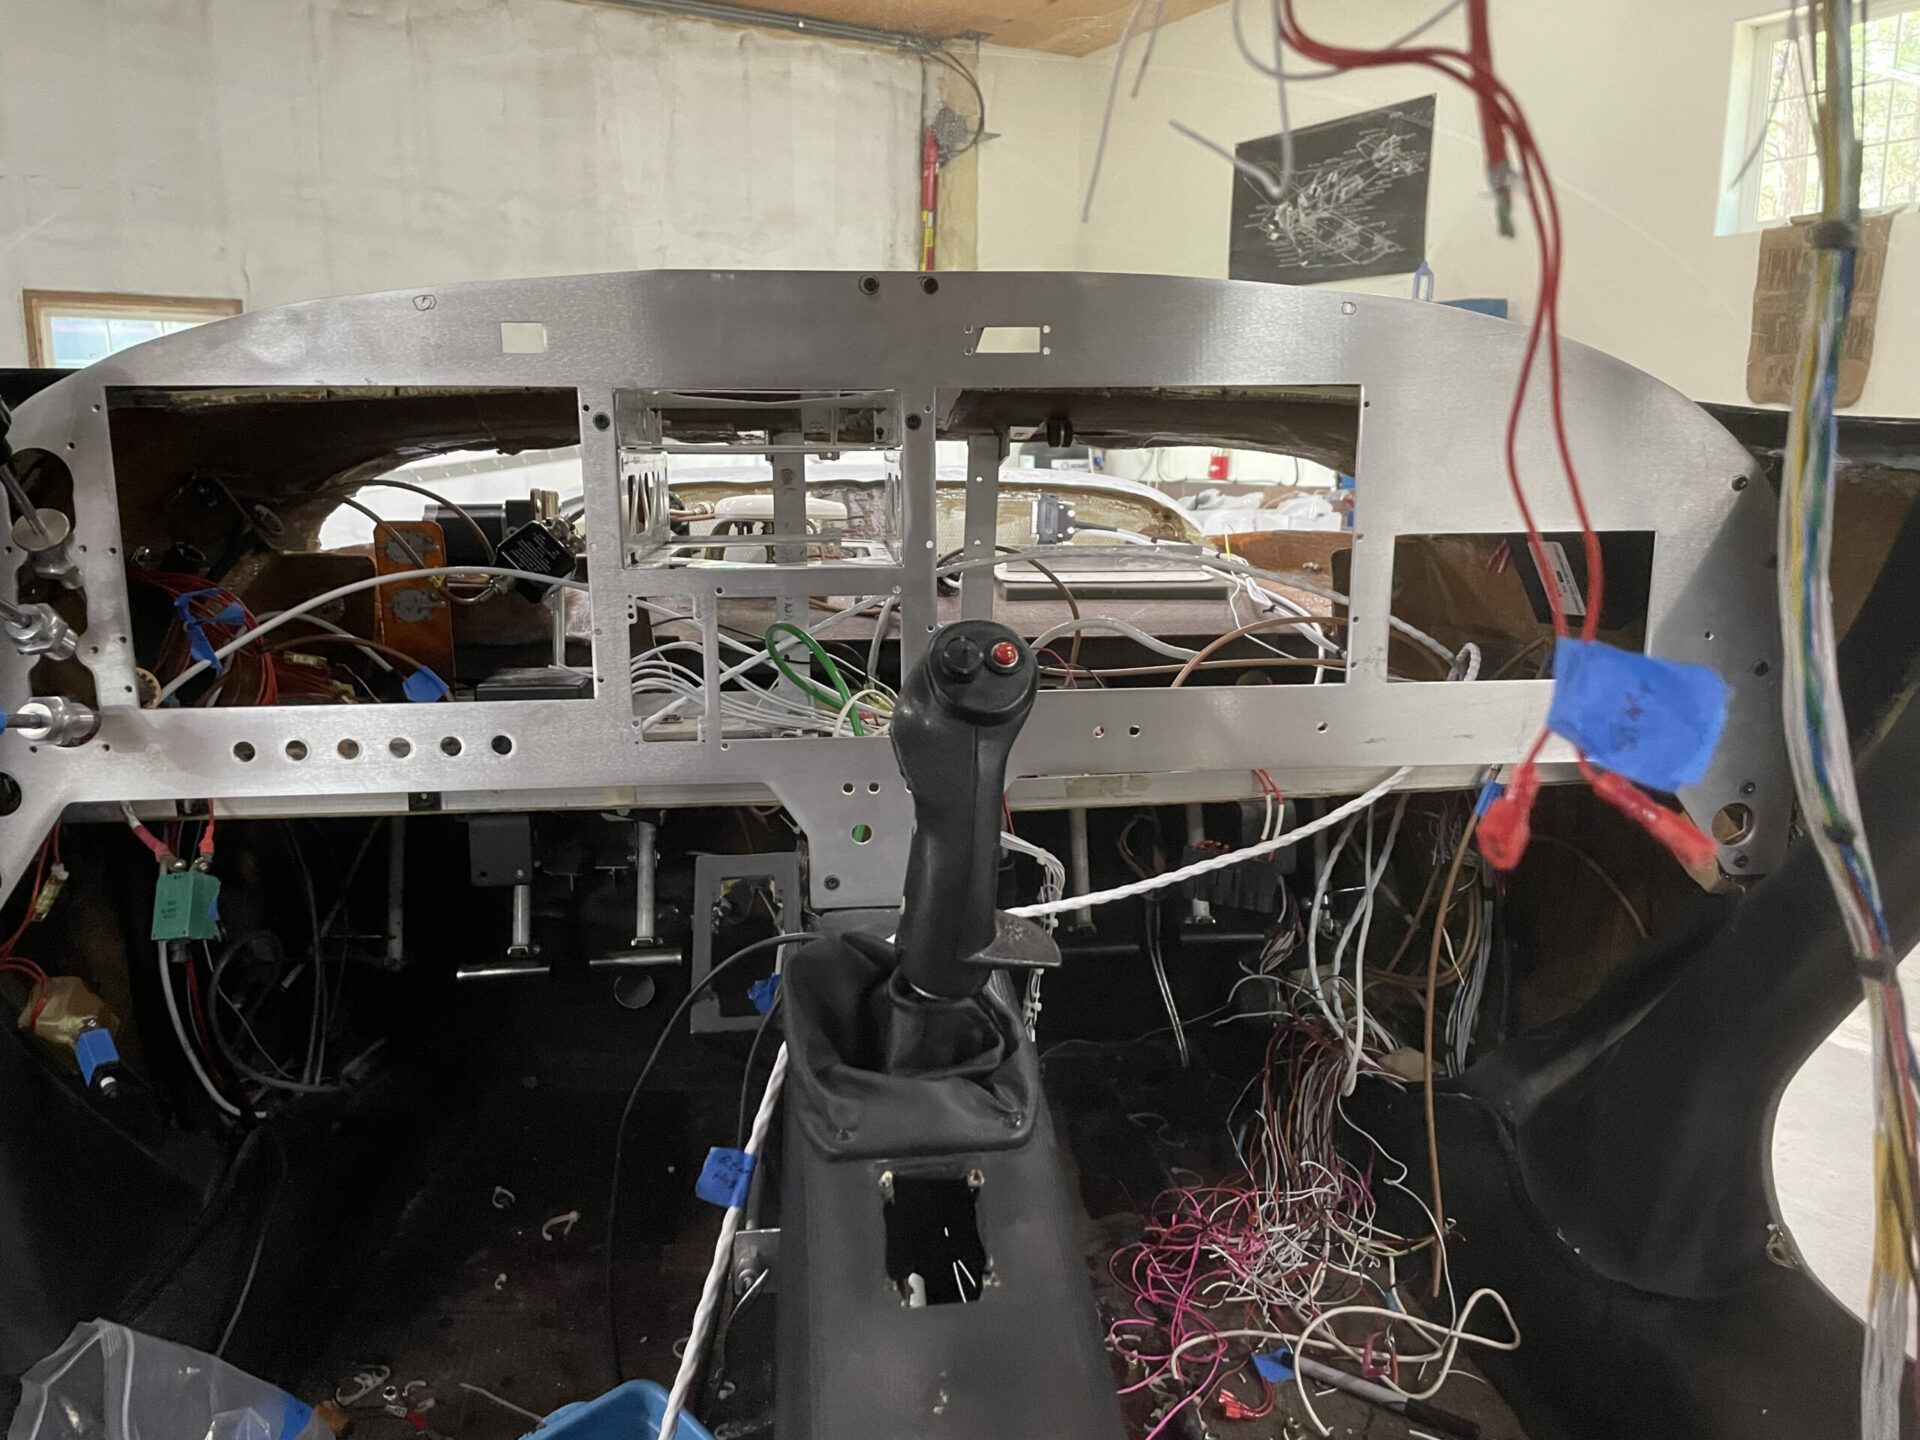
The old overhead panel…this will change pretty significantly.
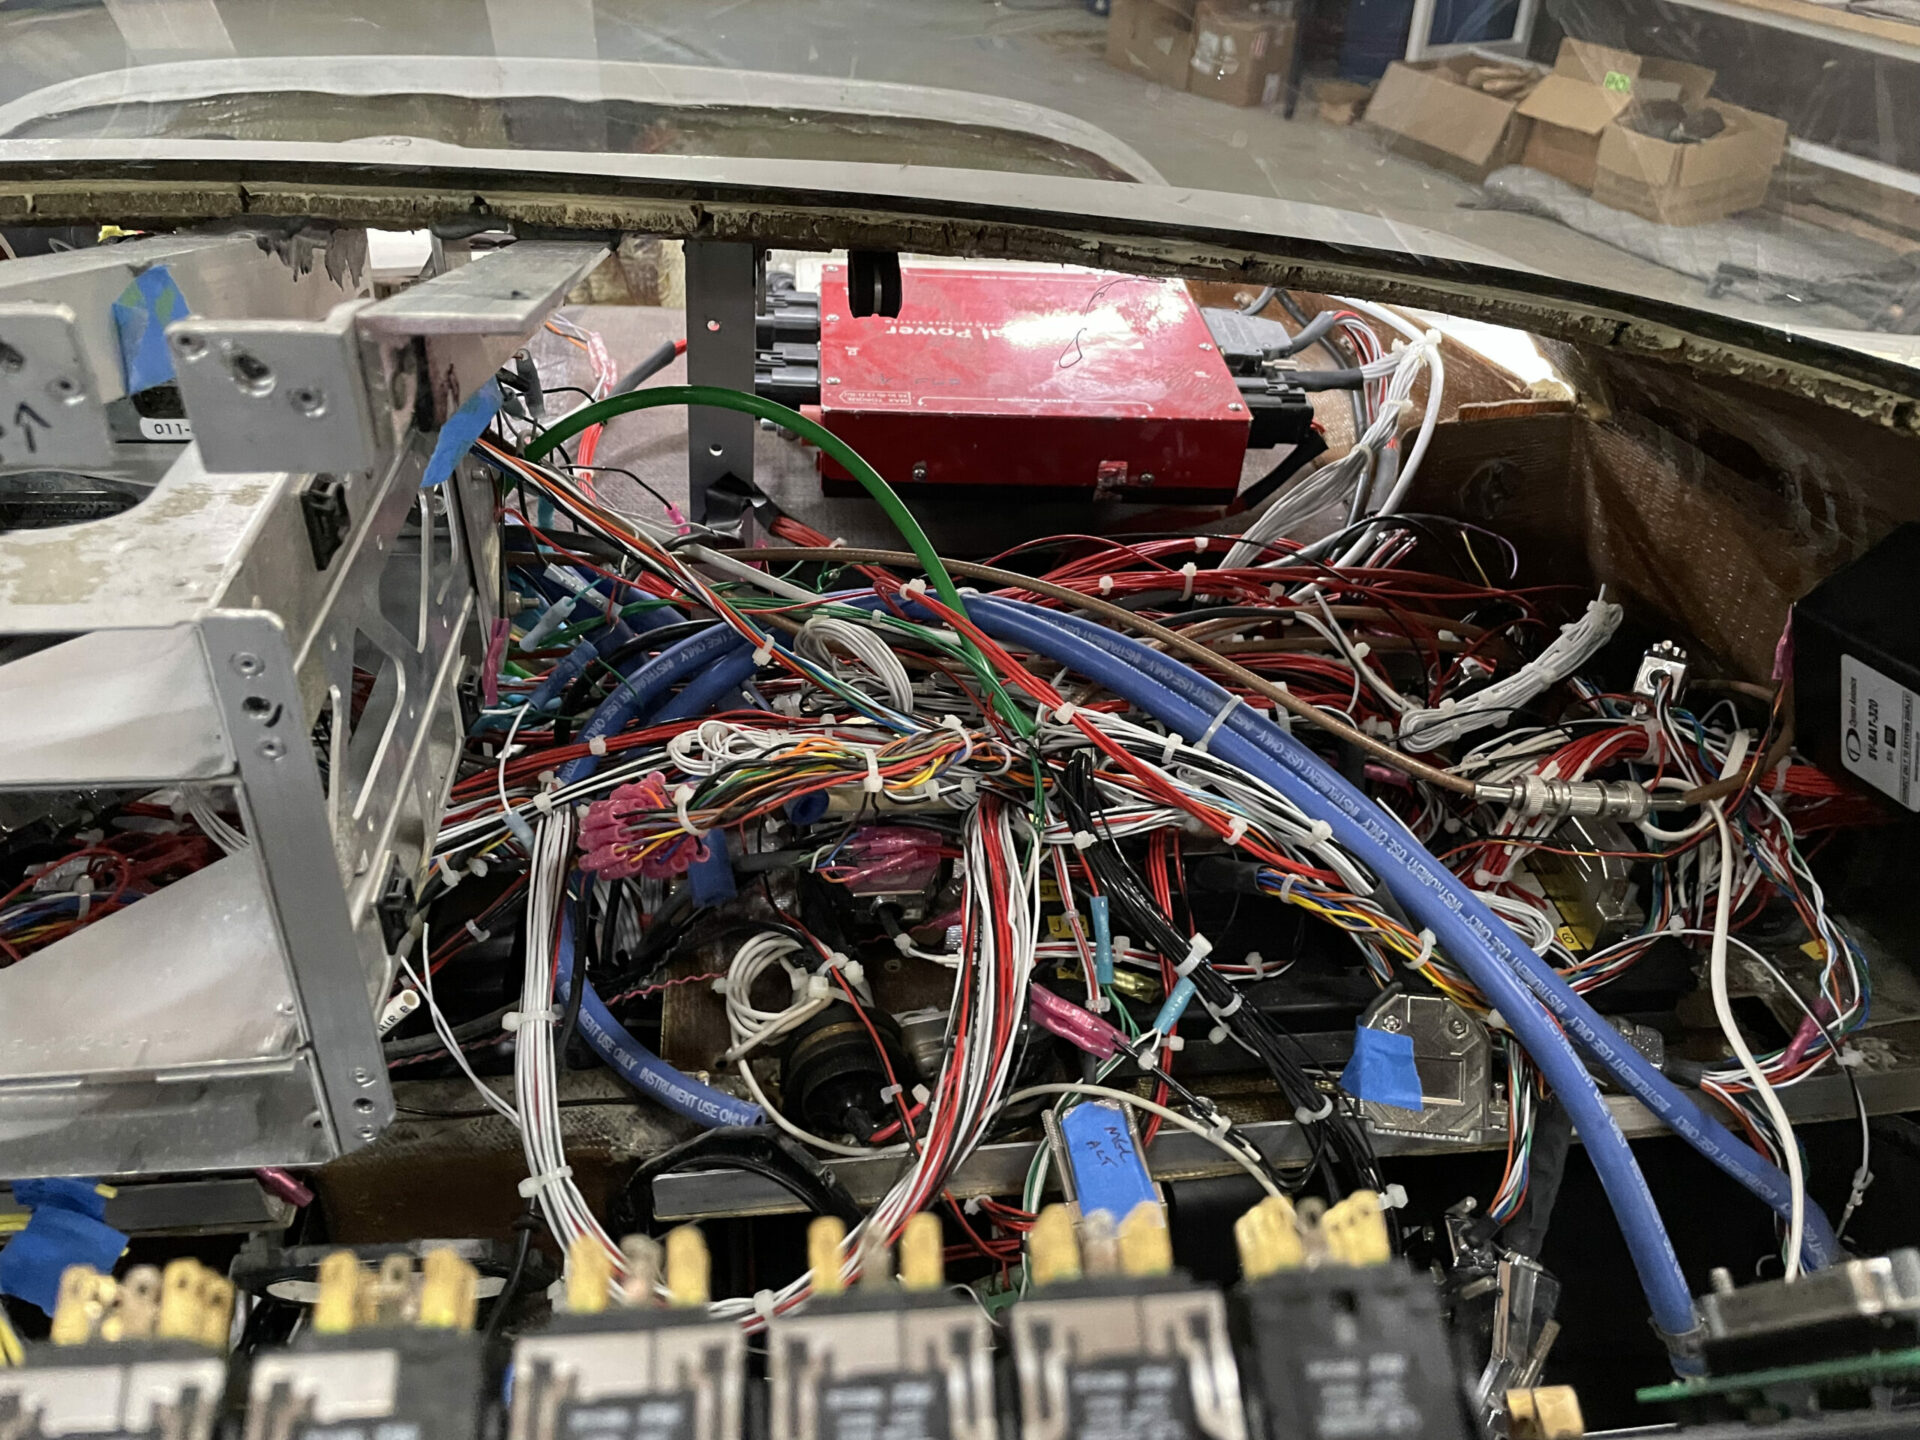
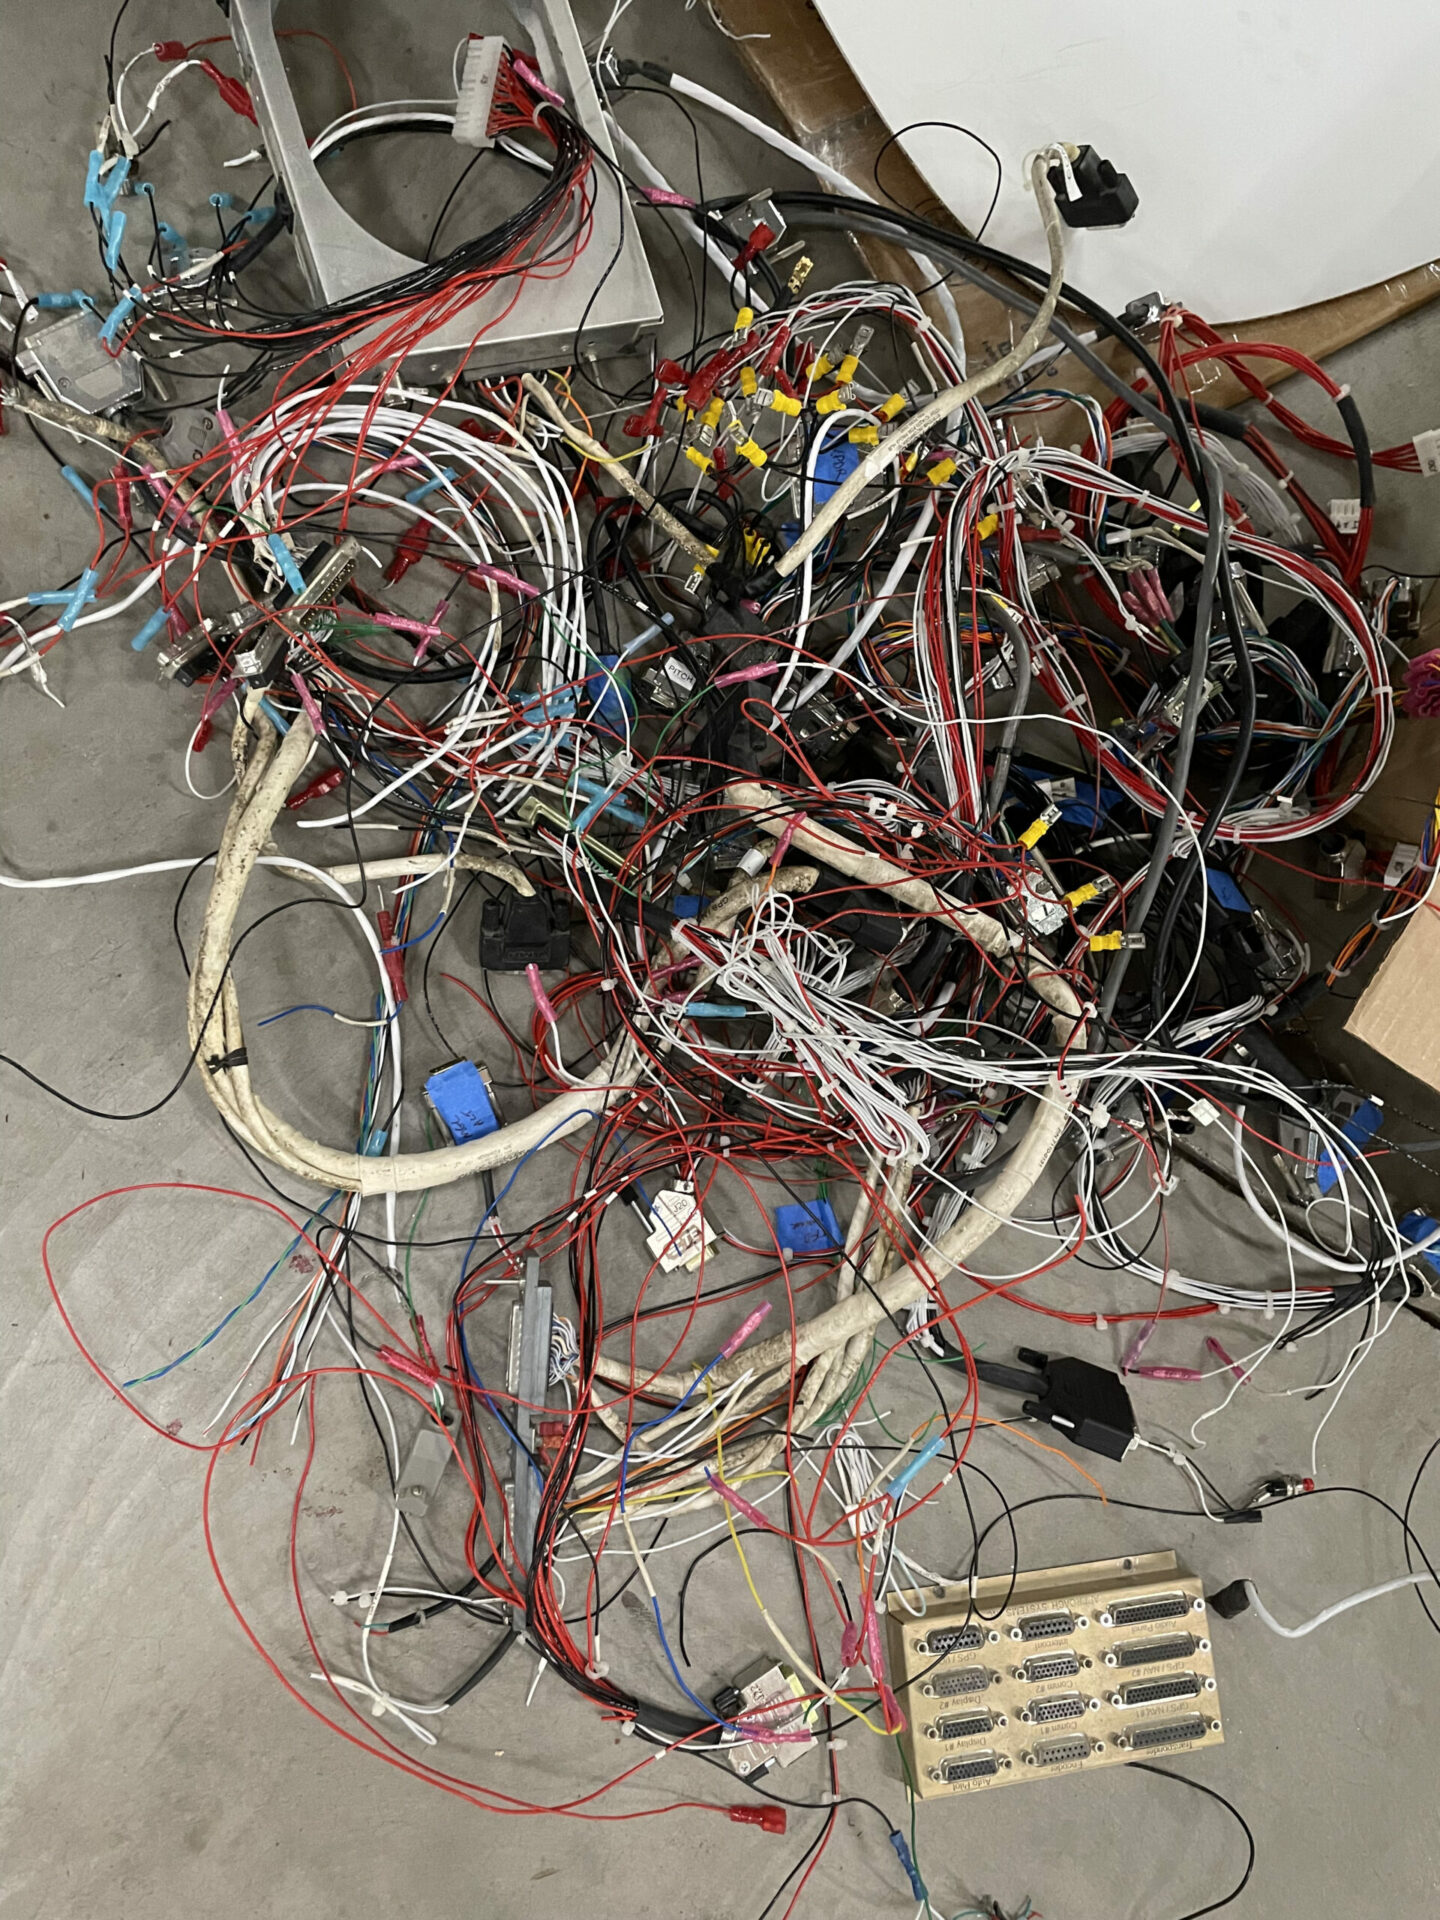
The jumble of mess that had to be sorted through.
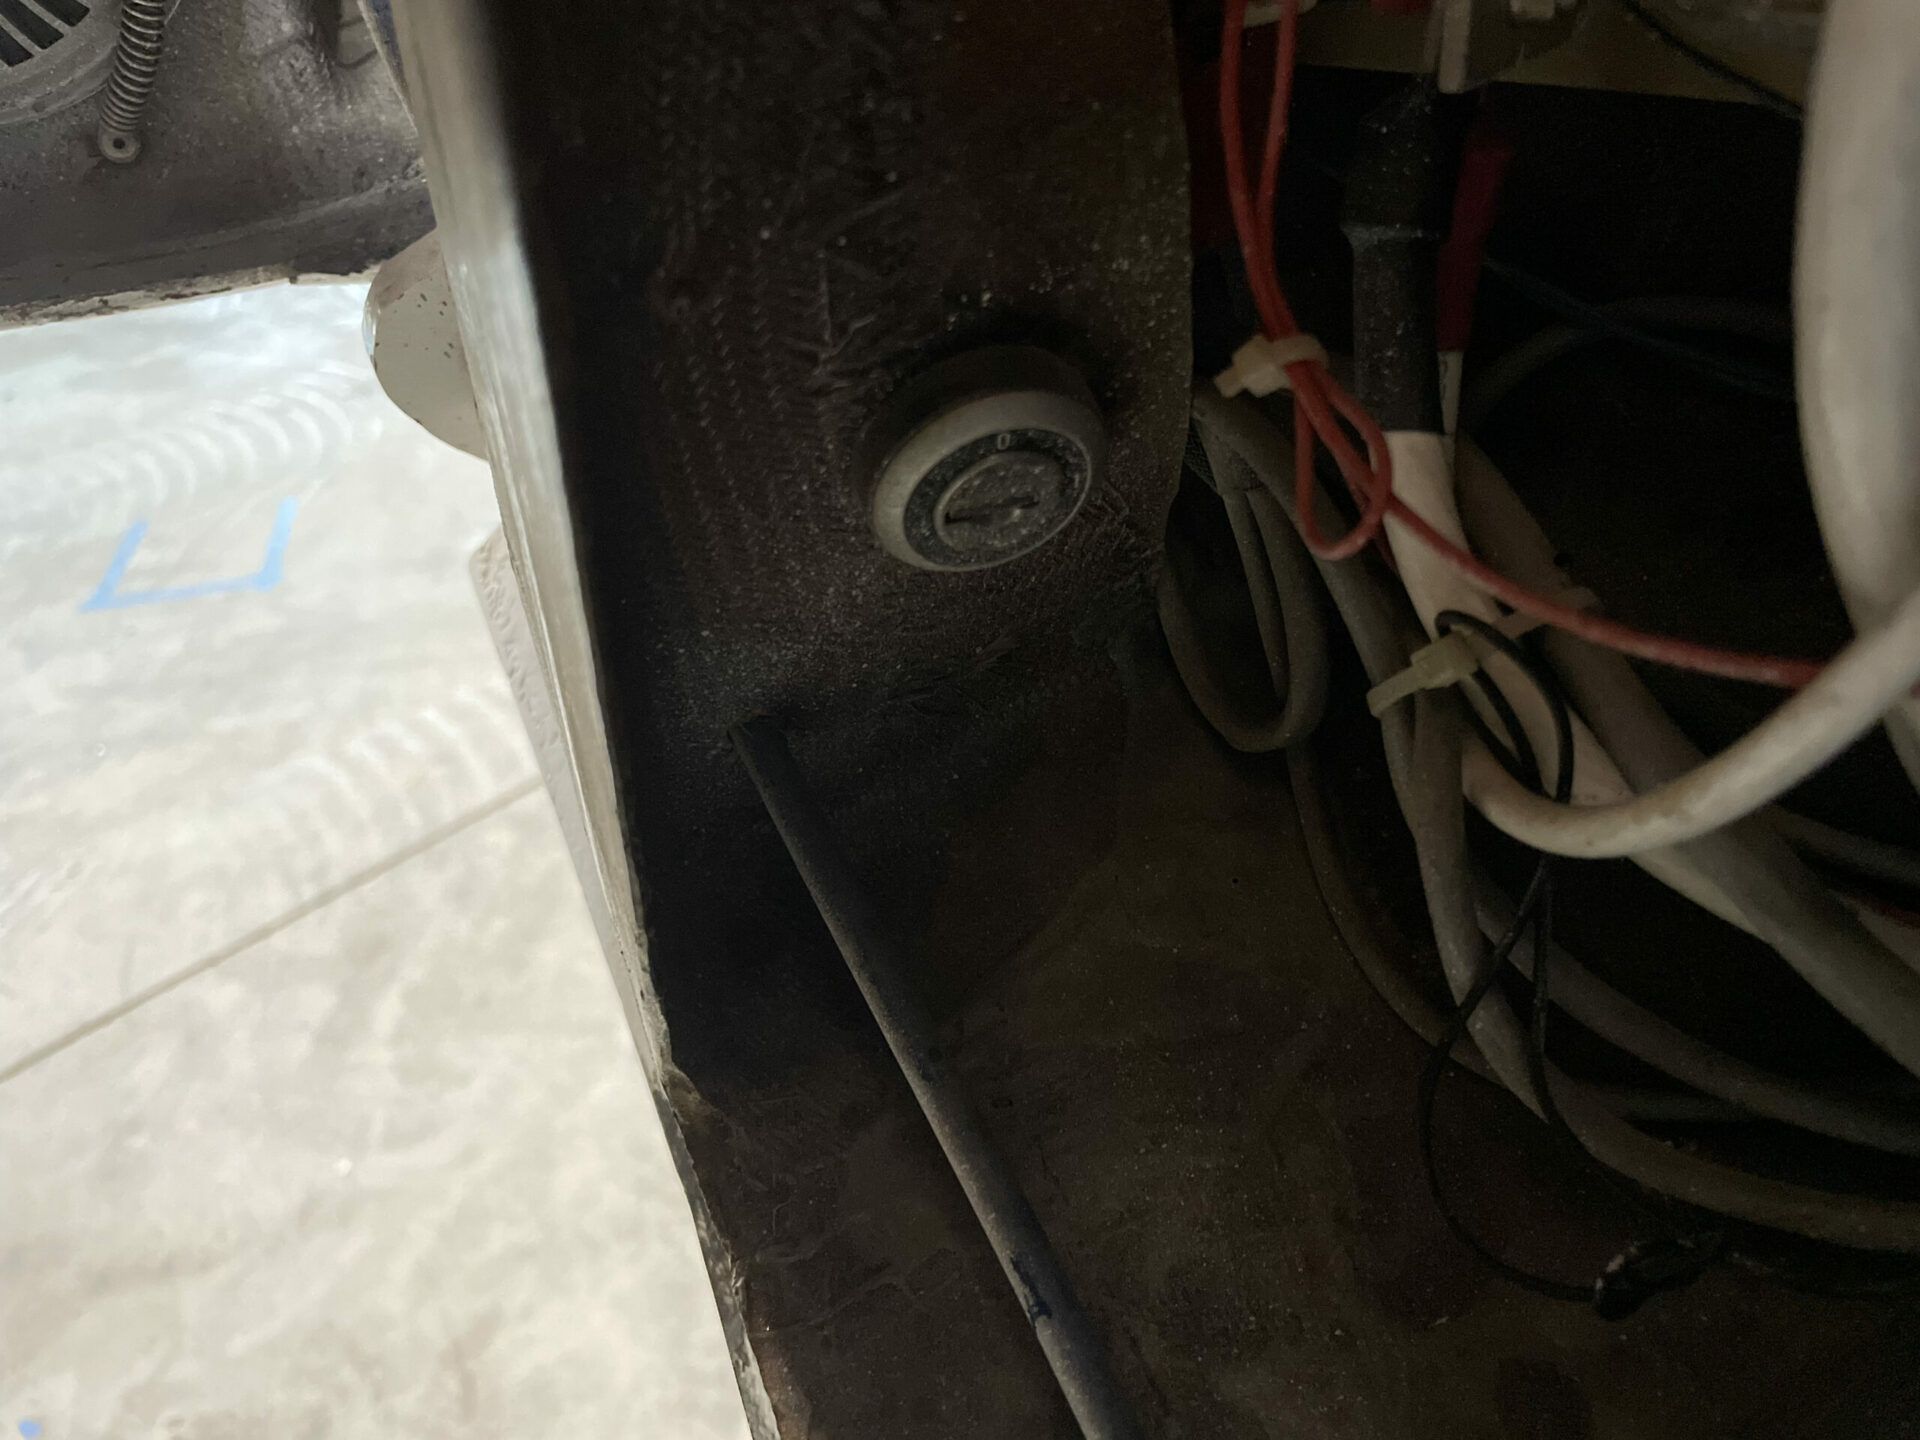
Steve discovered some sort of secret key….maybe for hidden disabling of the aircraft? another point of failure!!
ugh..this is scary. Undersized wire was starting to melt and fail.
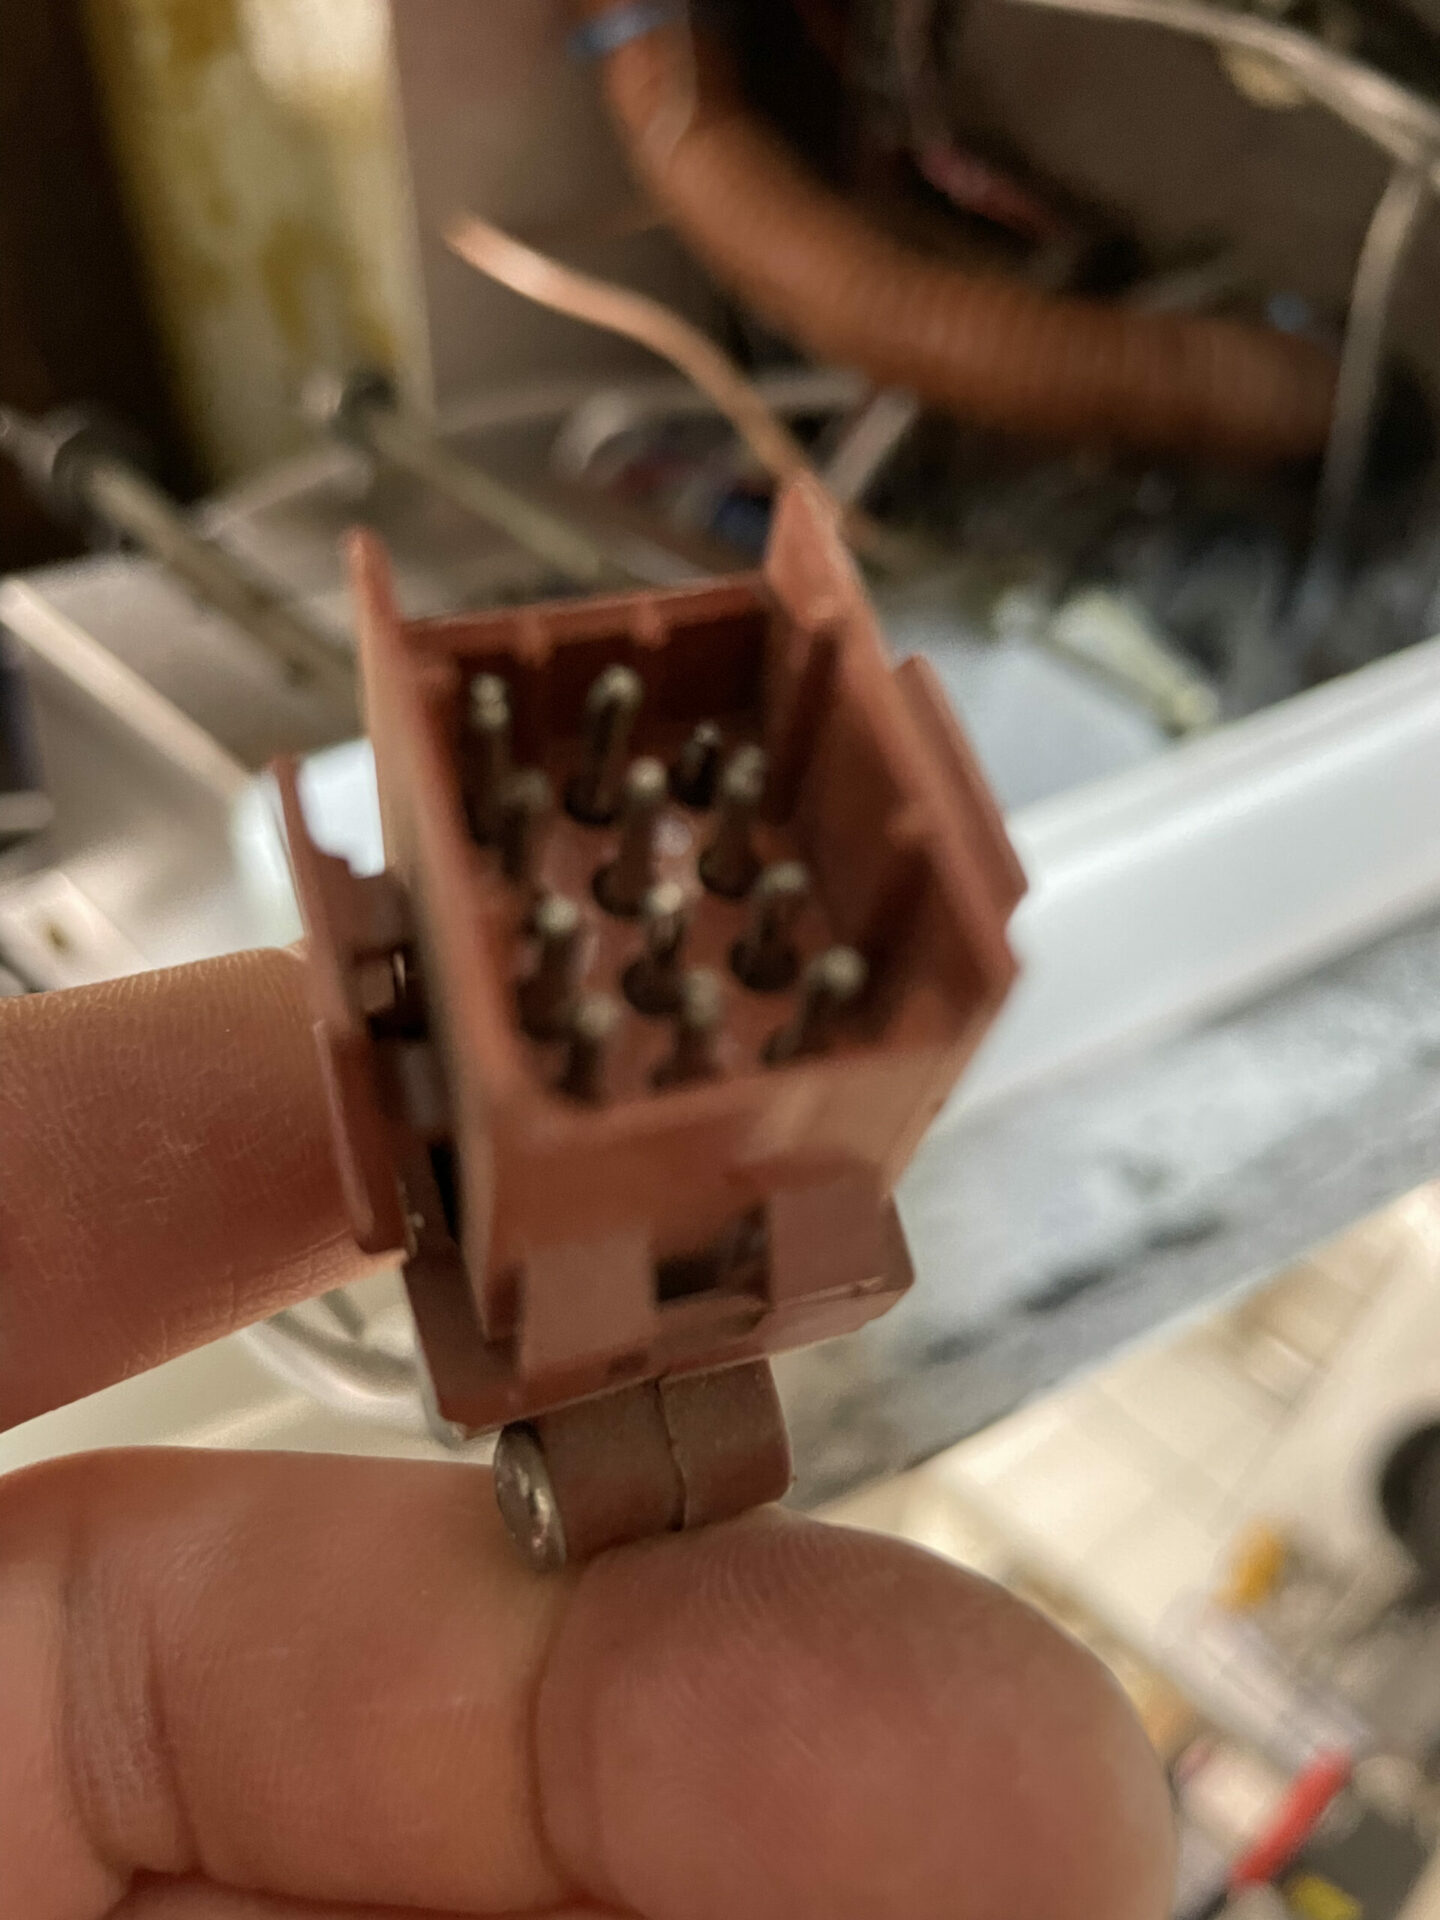
old connector where pins had been crushed or displaced.
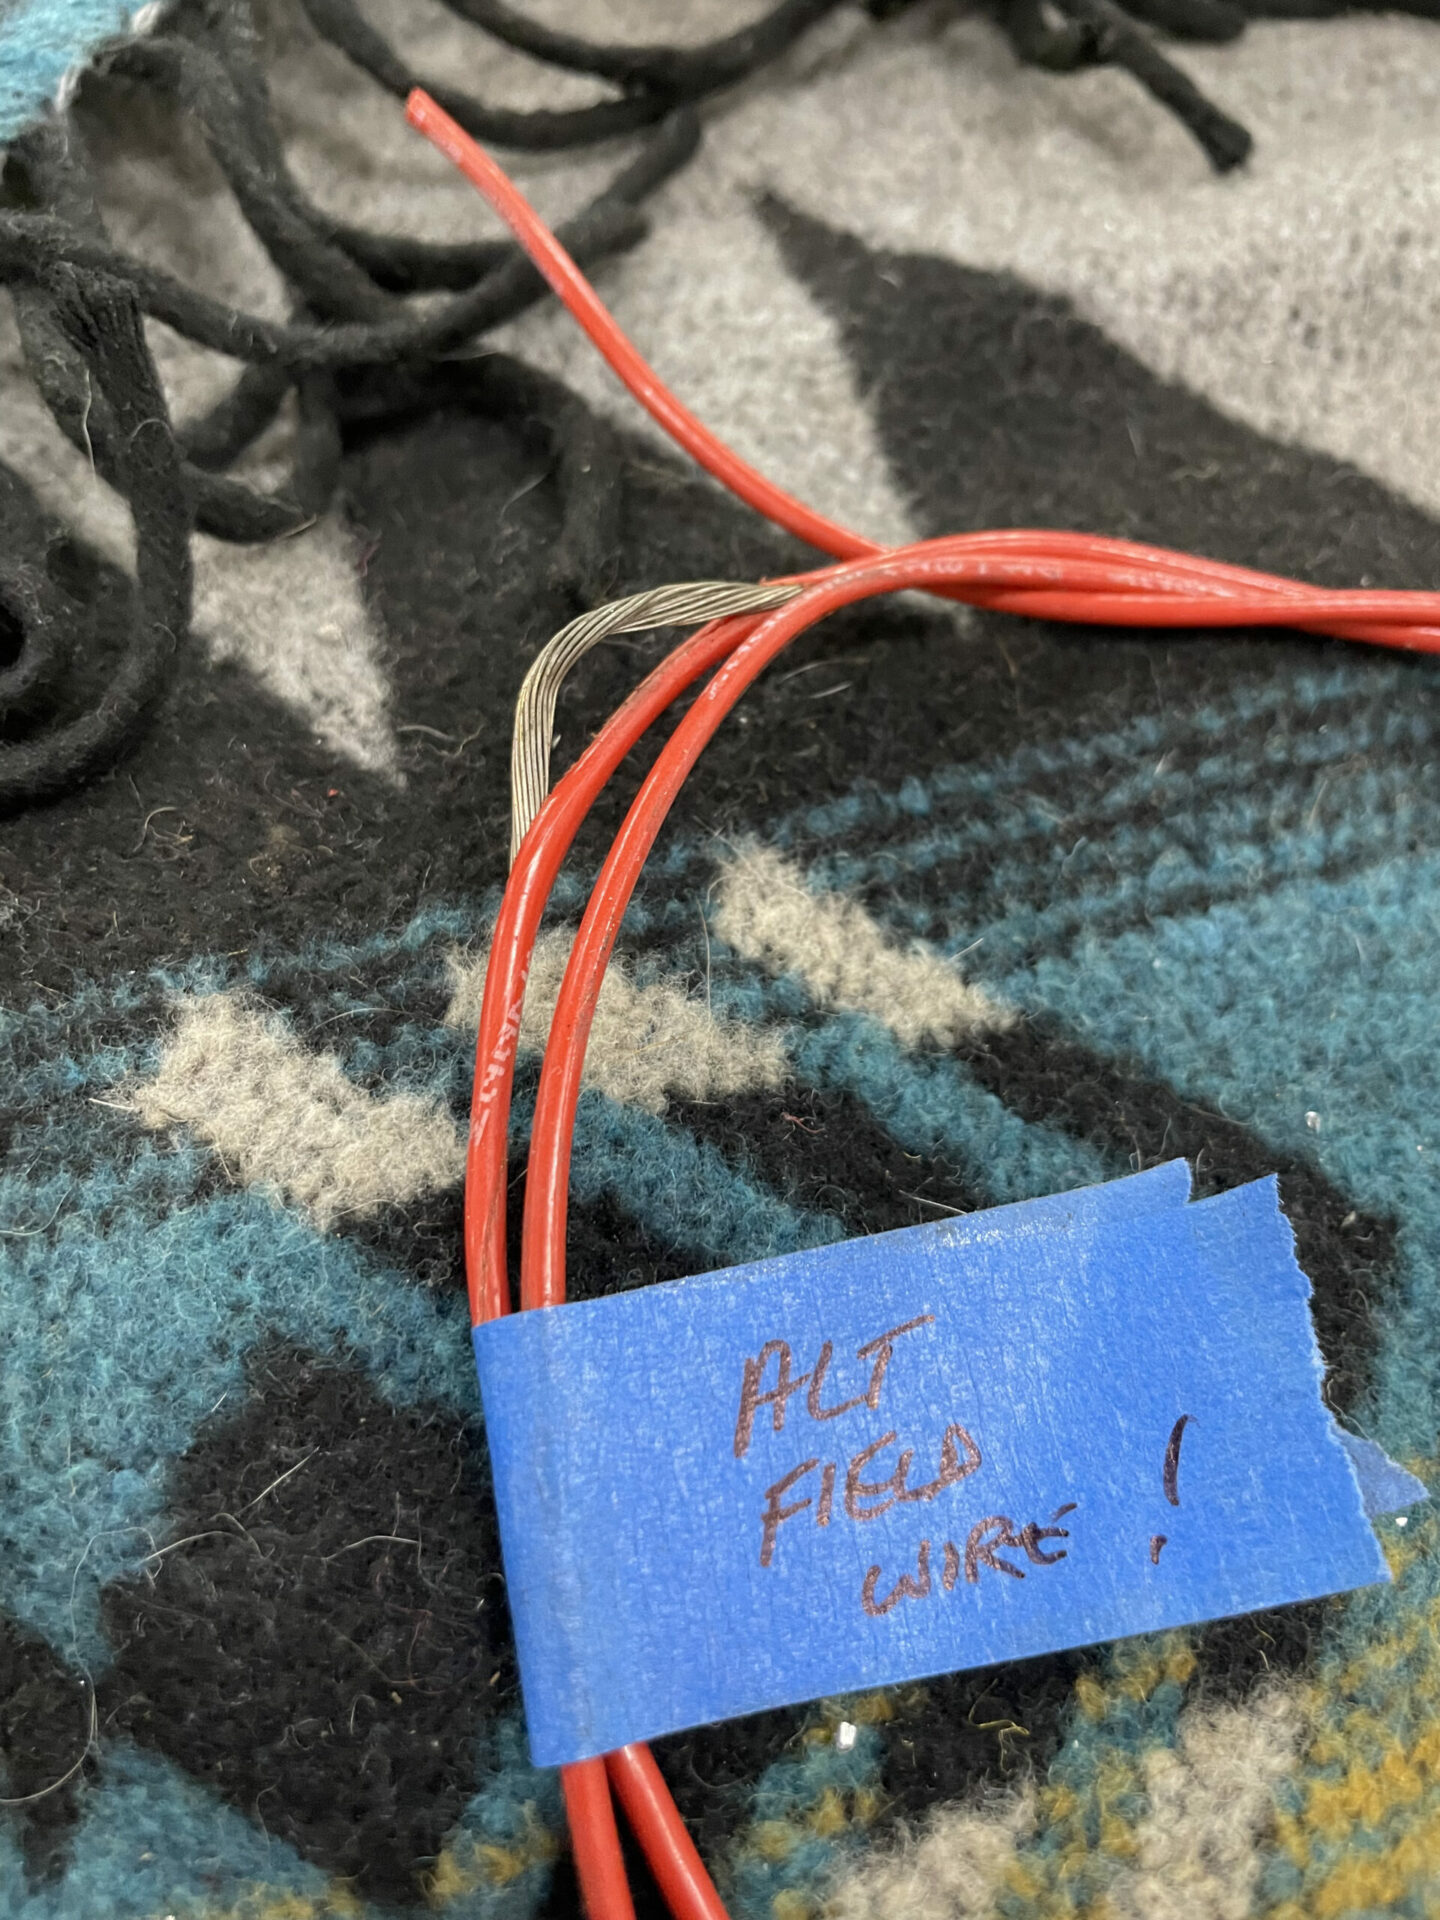
exposed alternator field wire! Yikes!
Look at all the stuff that came out of the plane…wow.
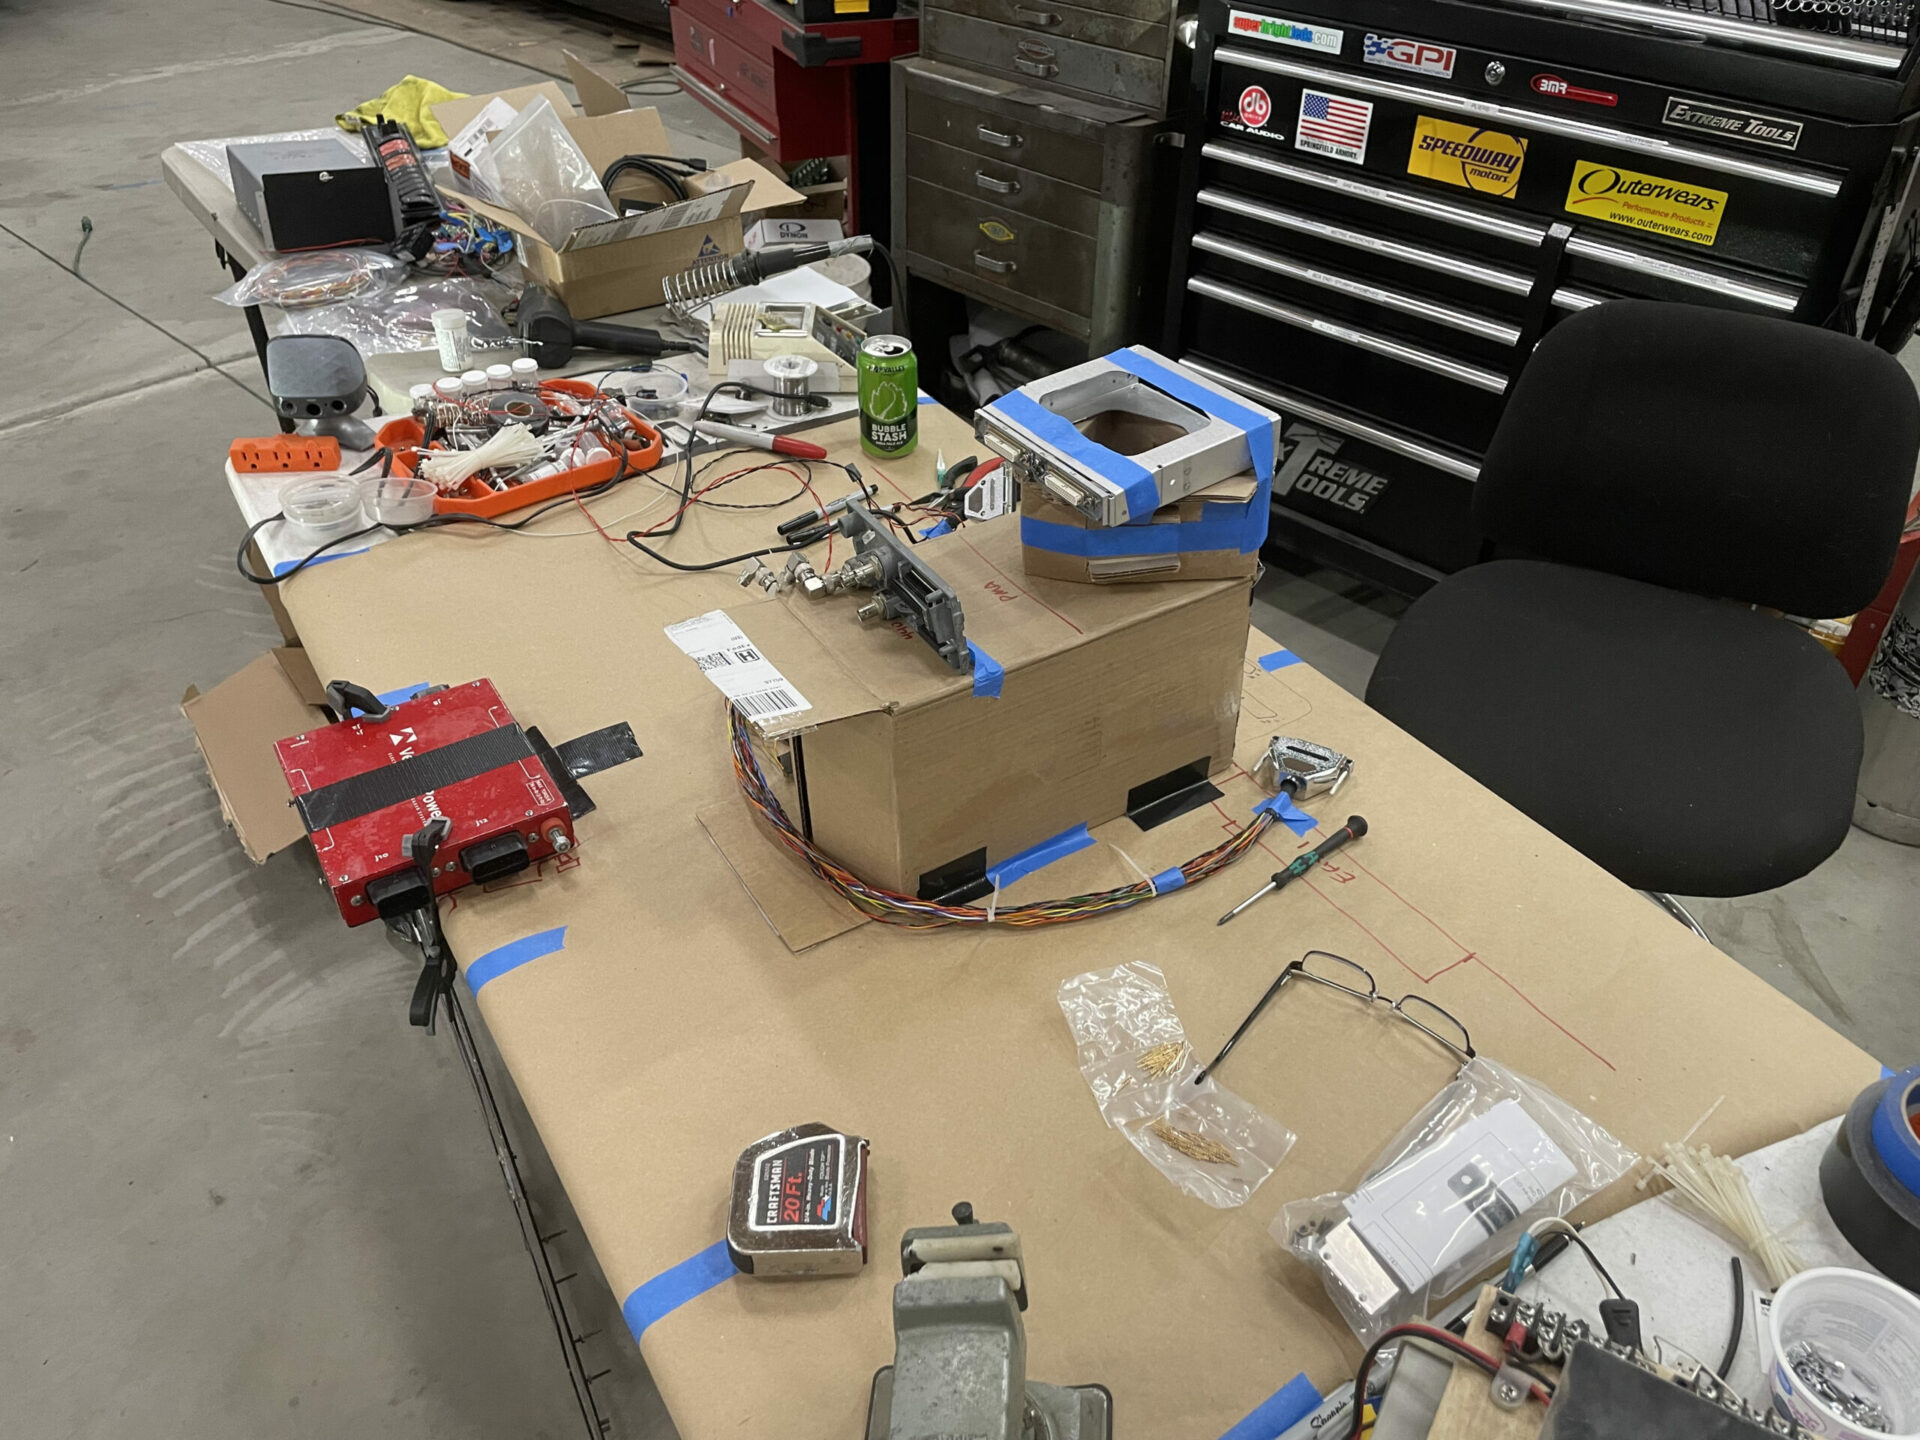
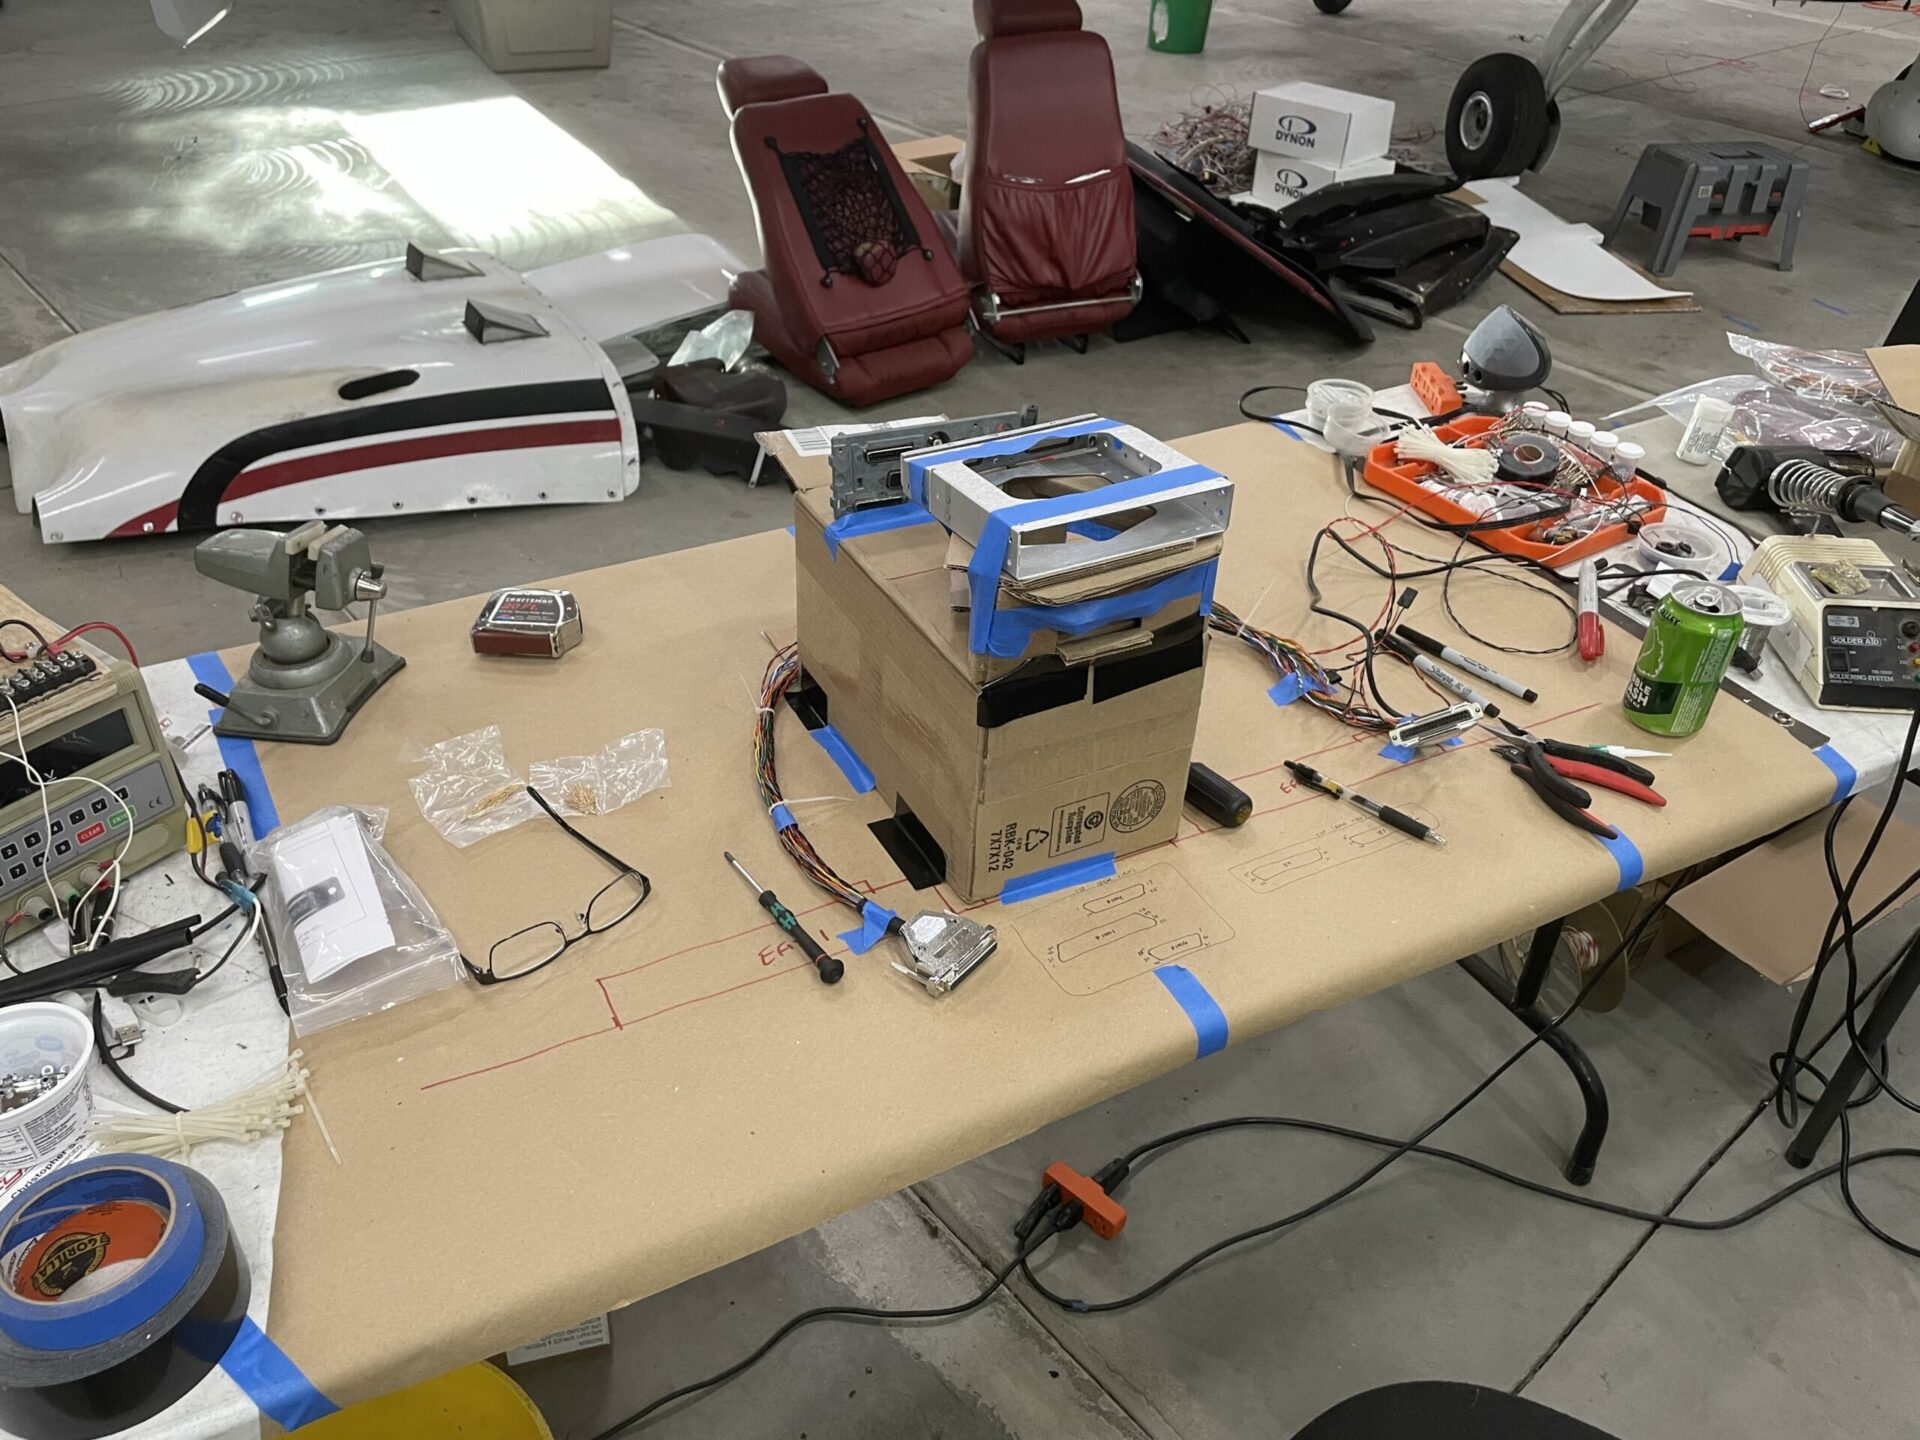
Steve set up a mockup on a table to get wire lengths correct.
he clearly marked out all the areas of interest.
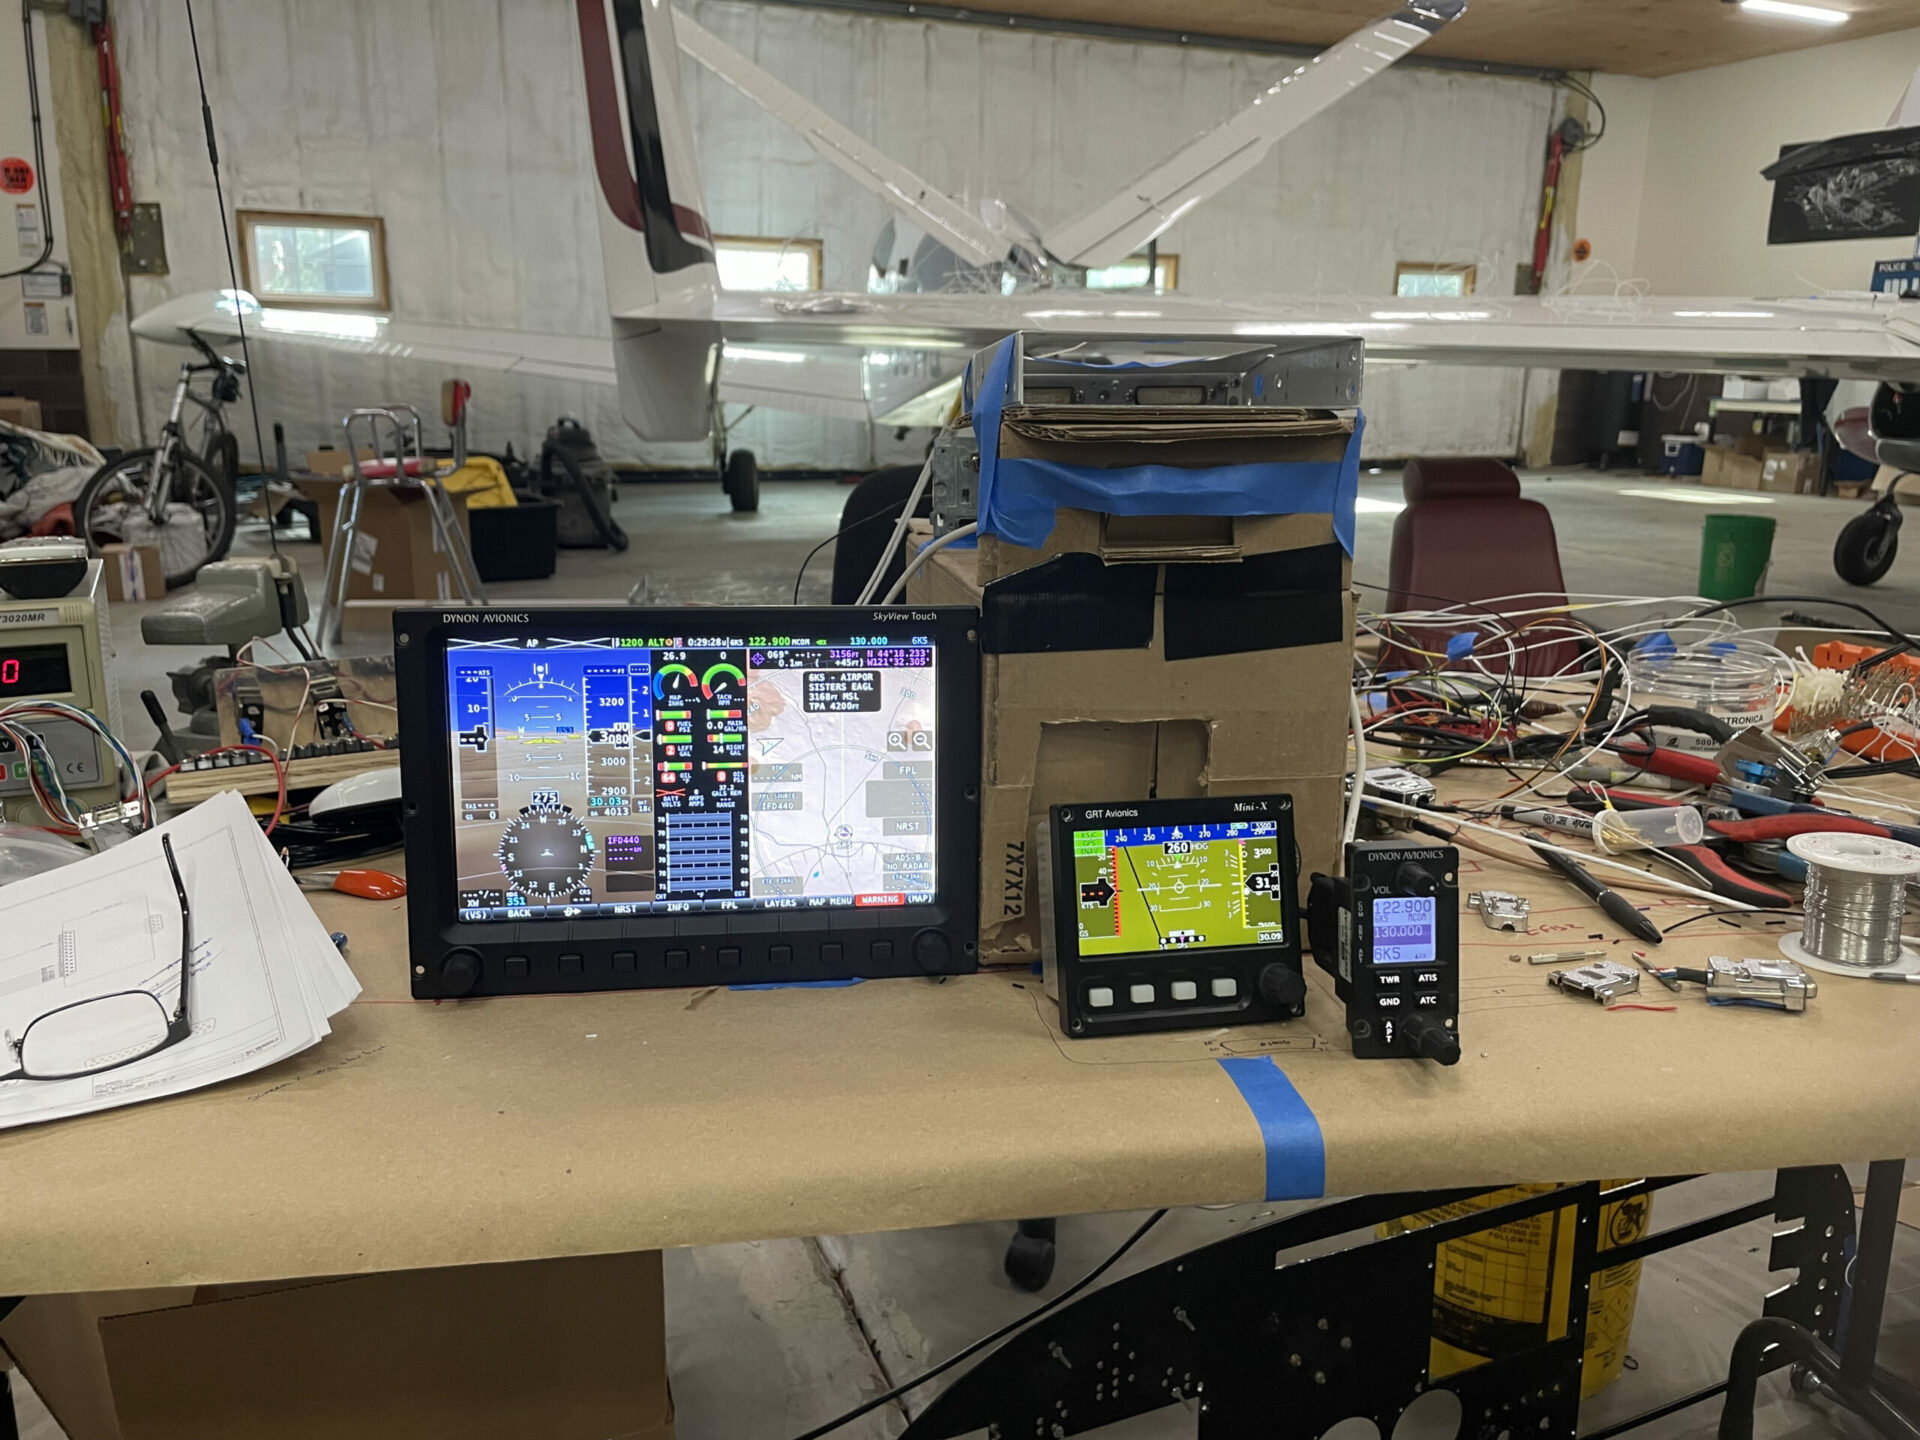
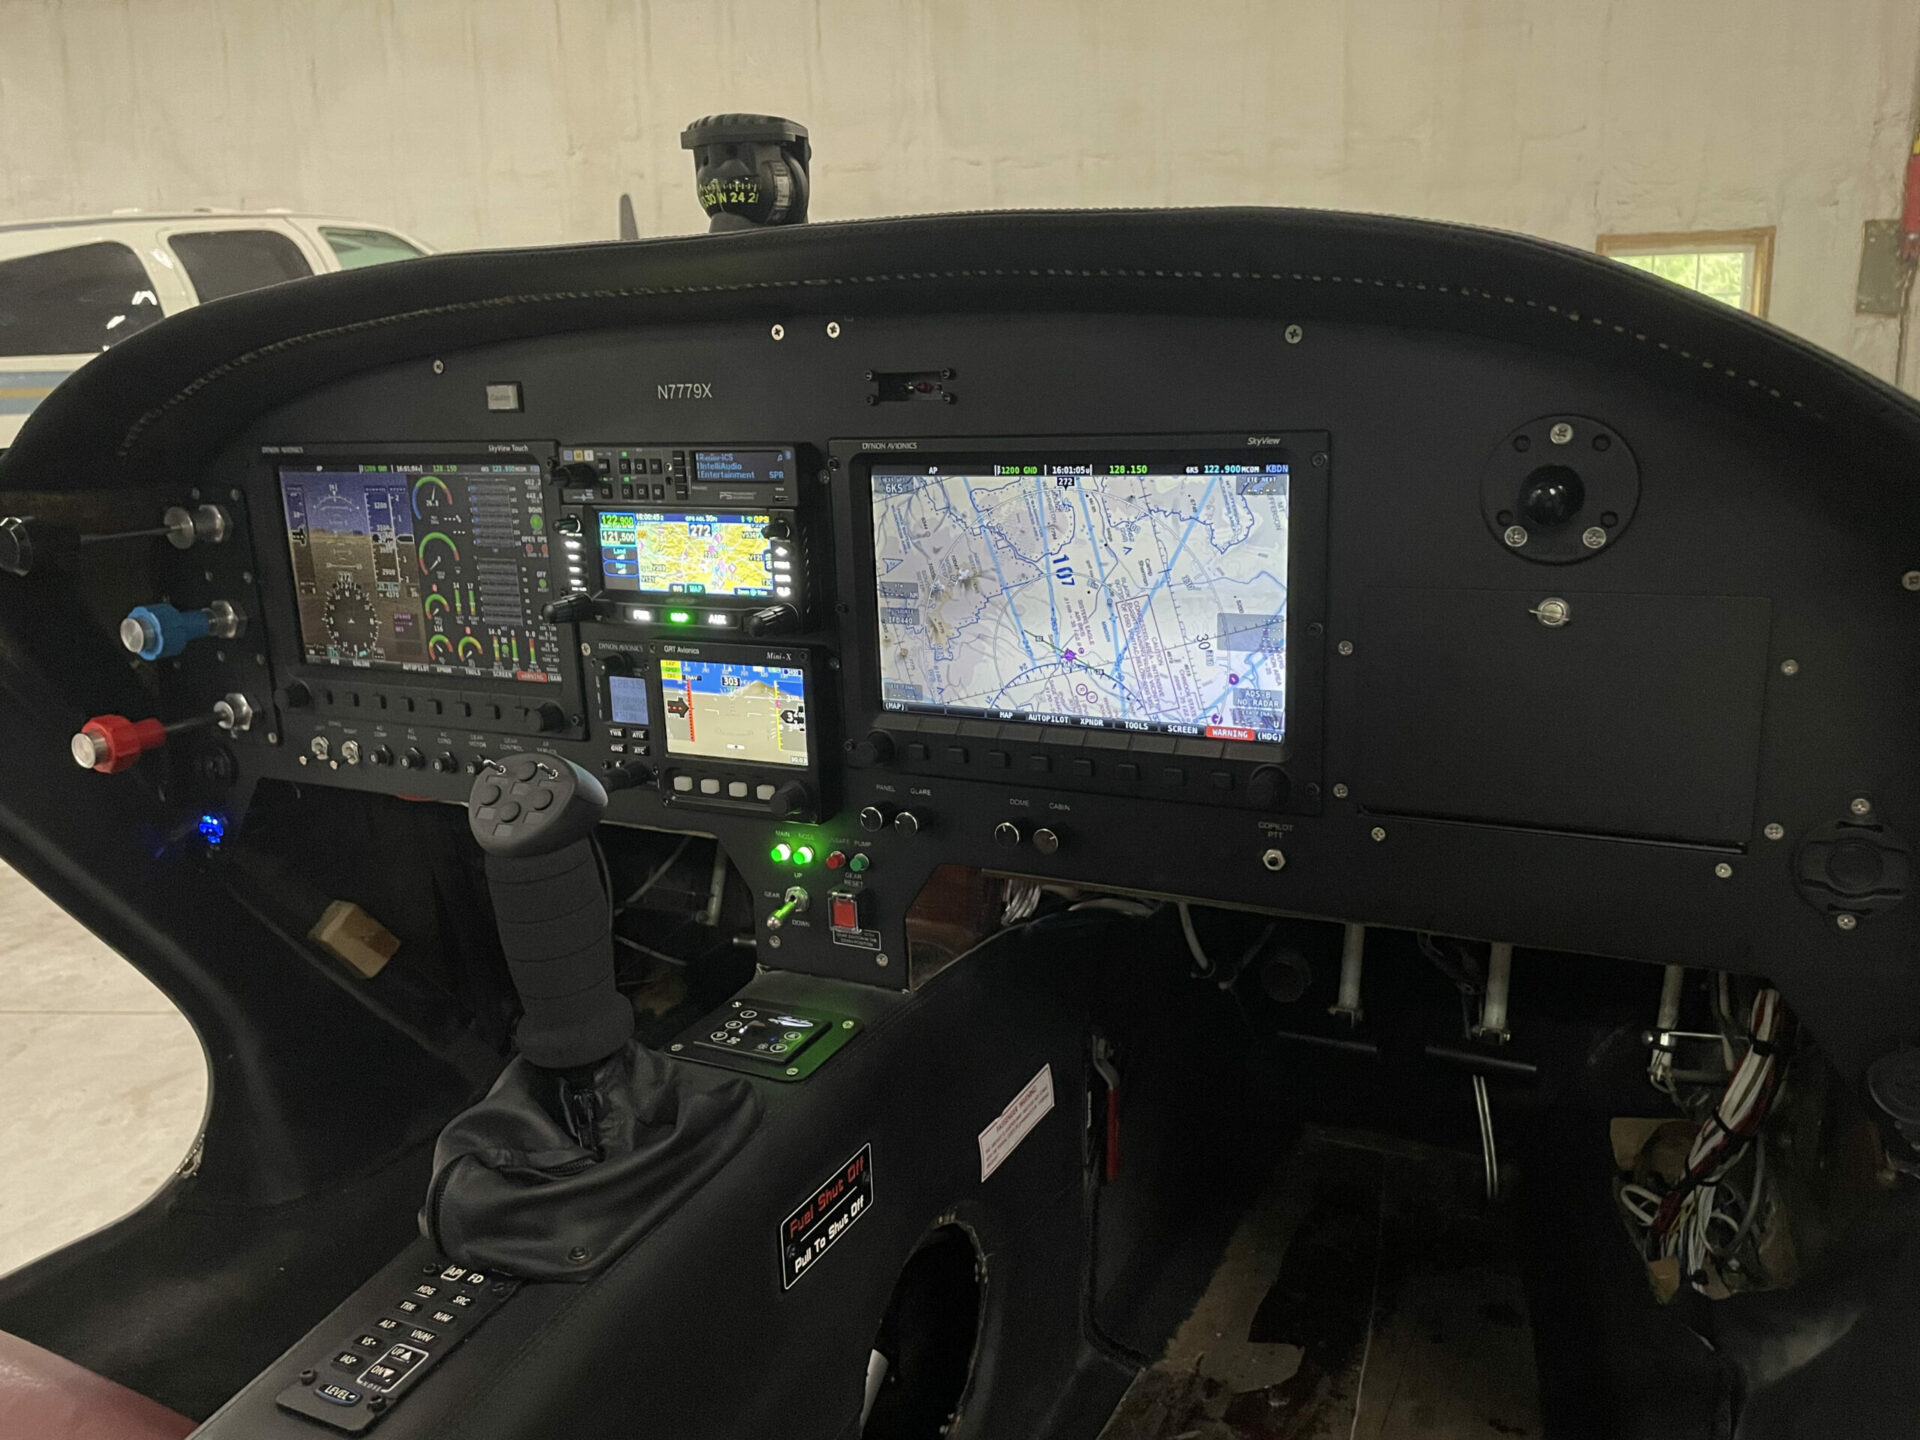
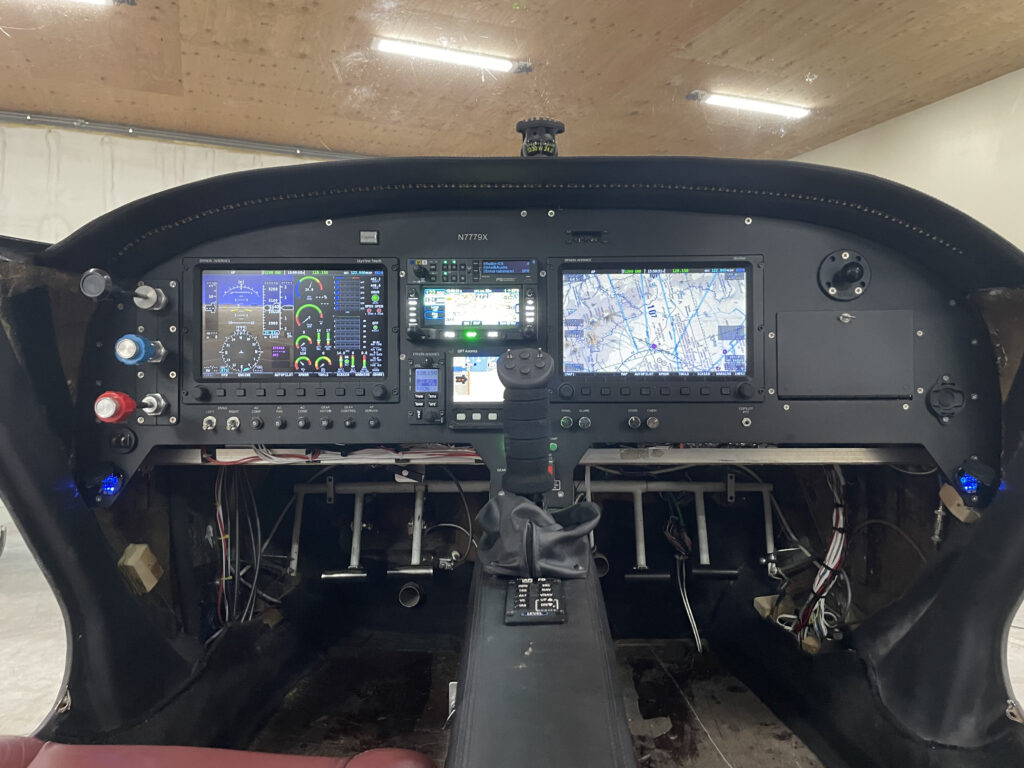
and first power up of the avionics!
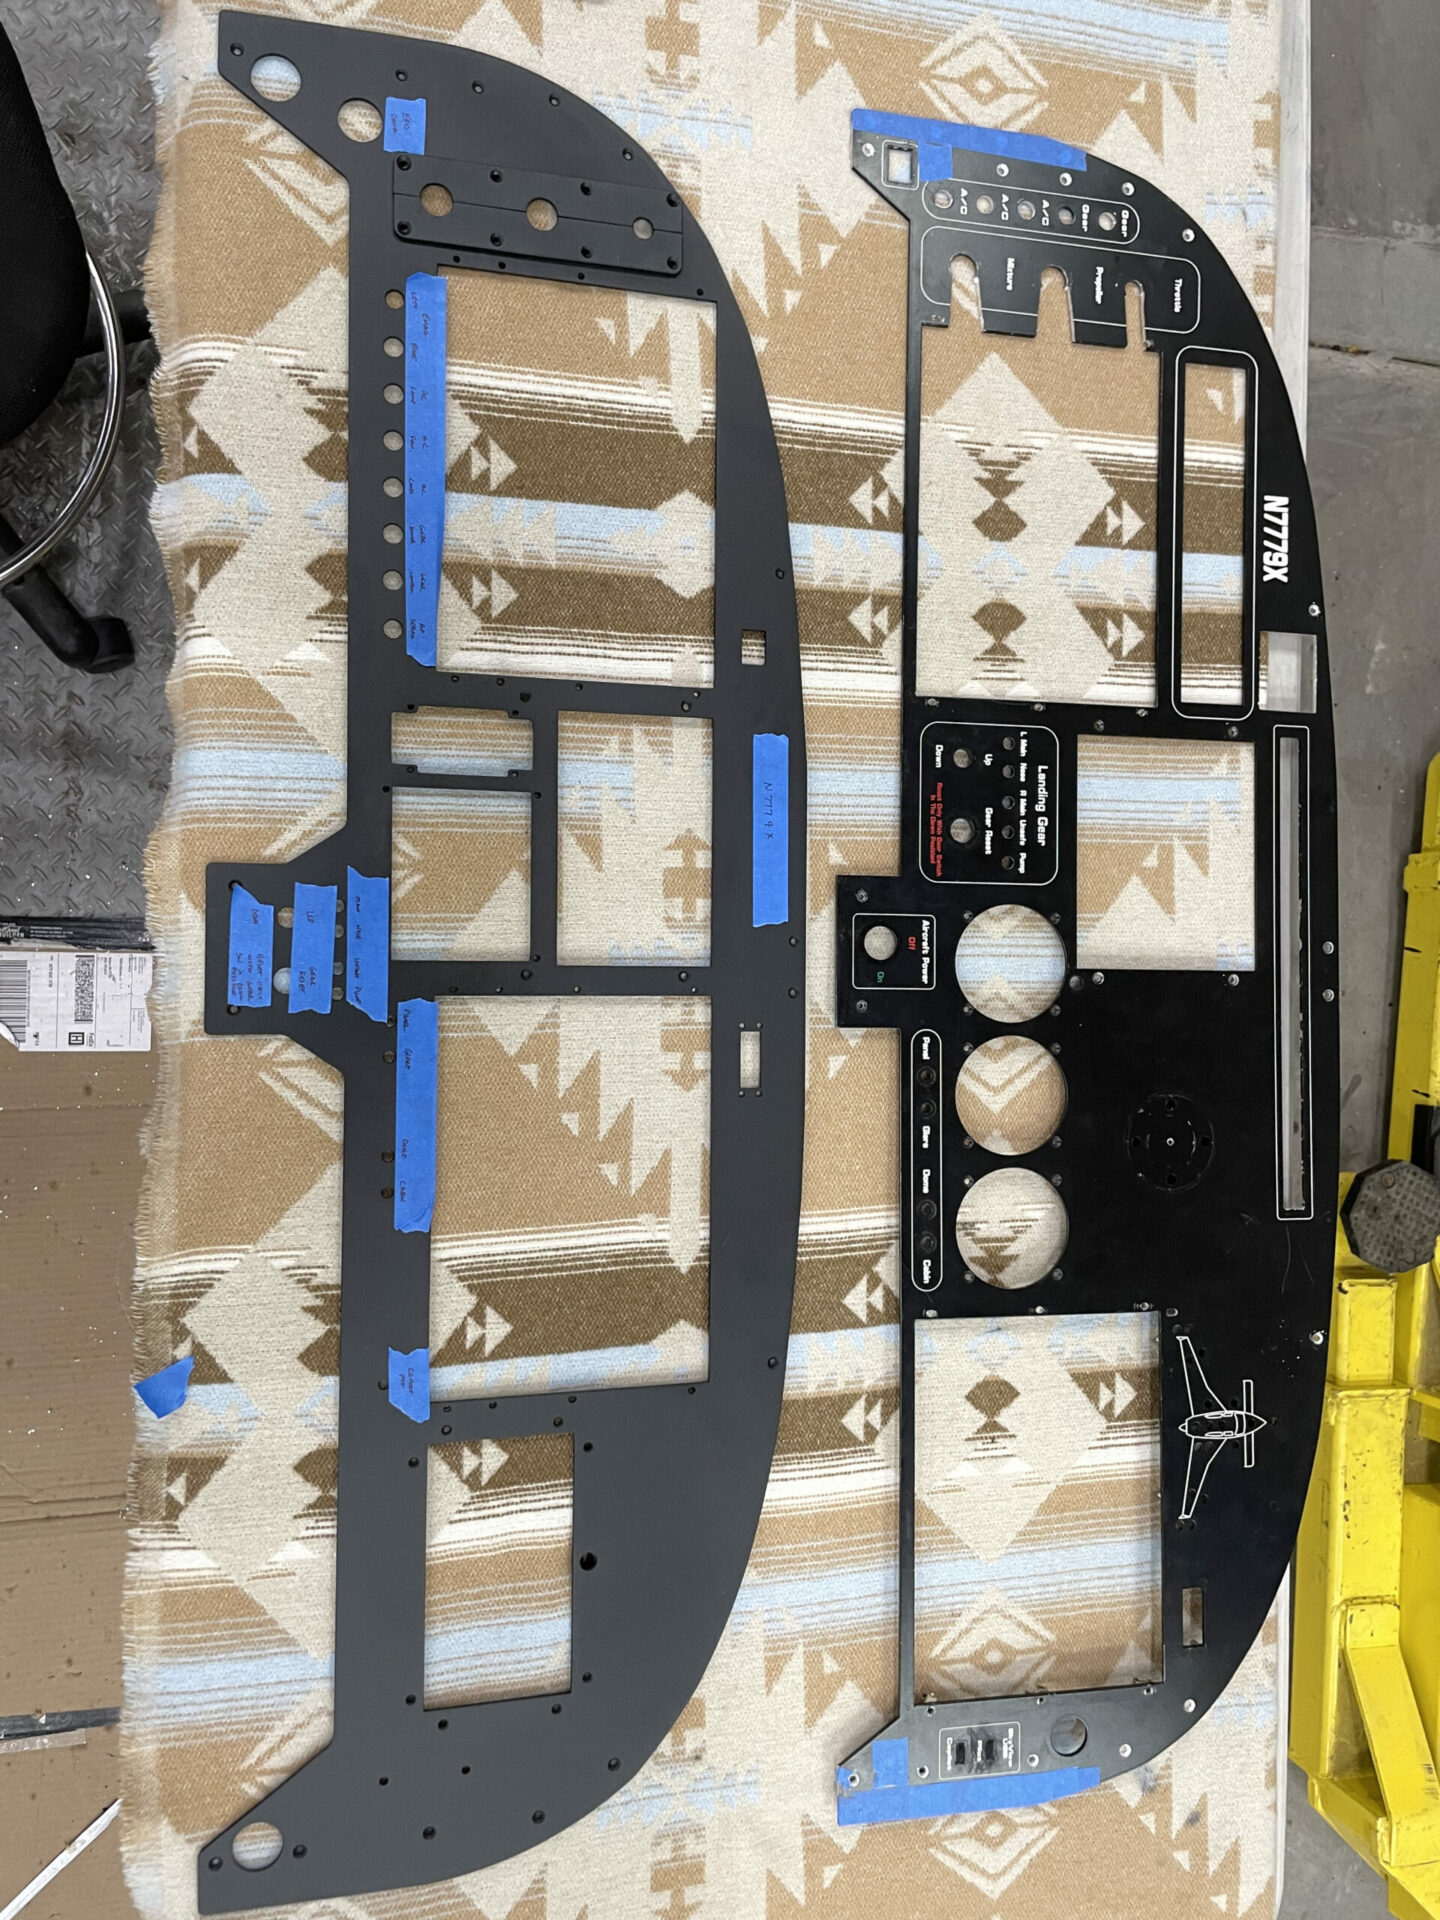
panel came in, and test fit looked good!
avionics going into the panel!
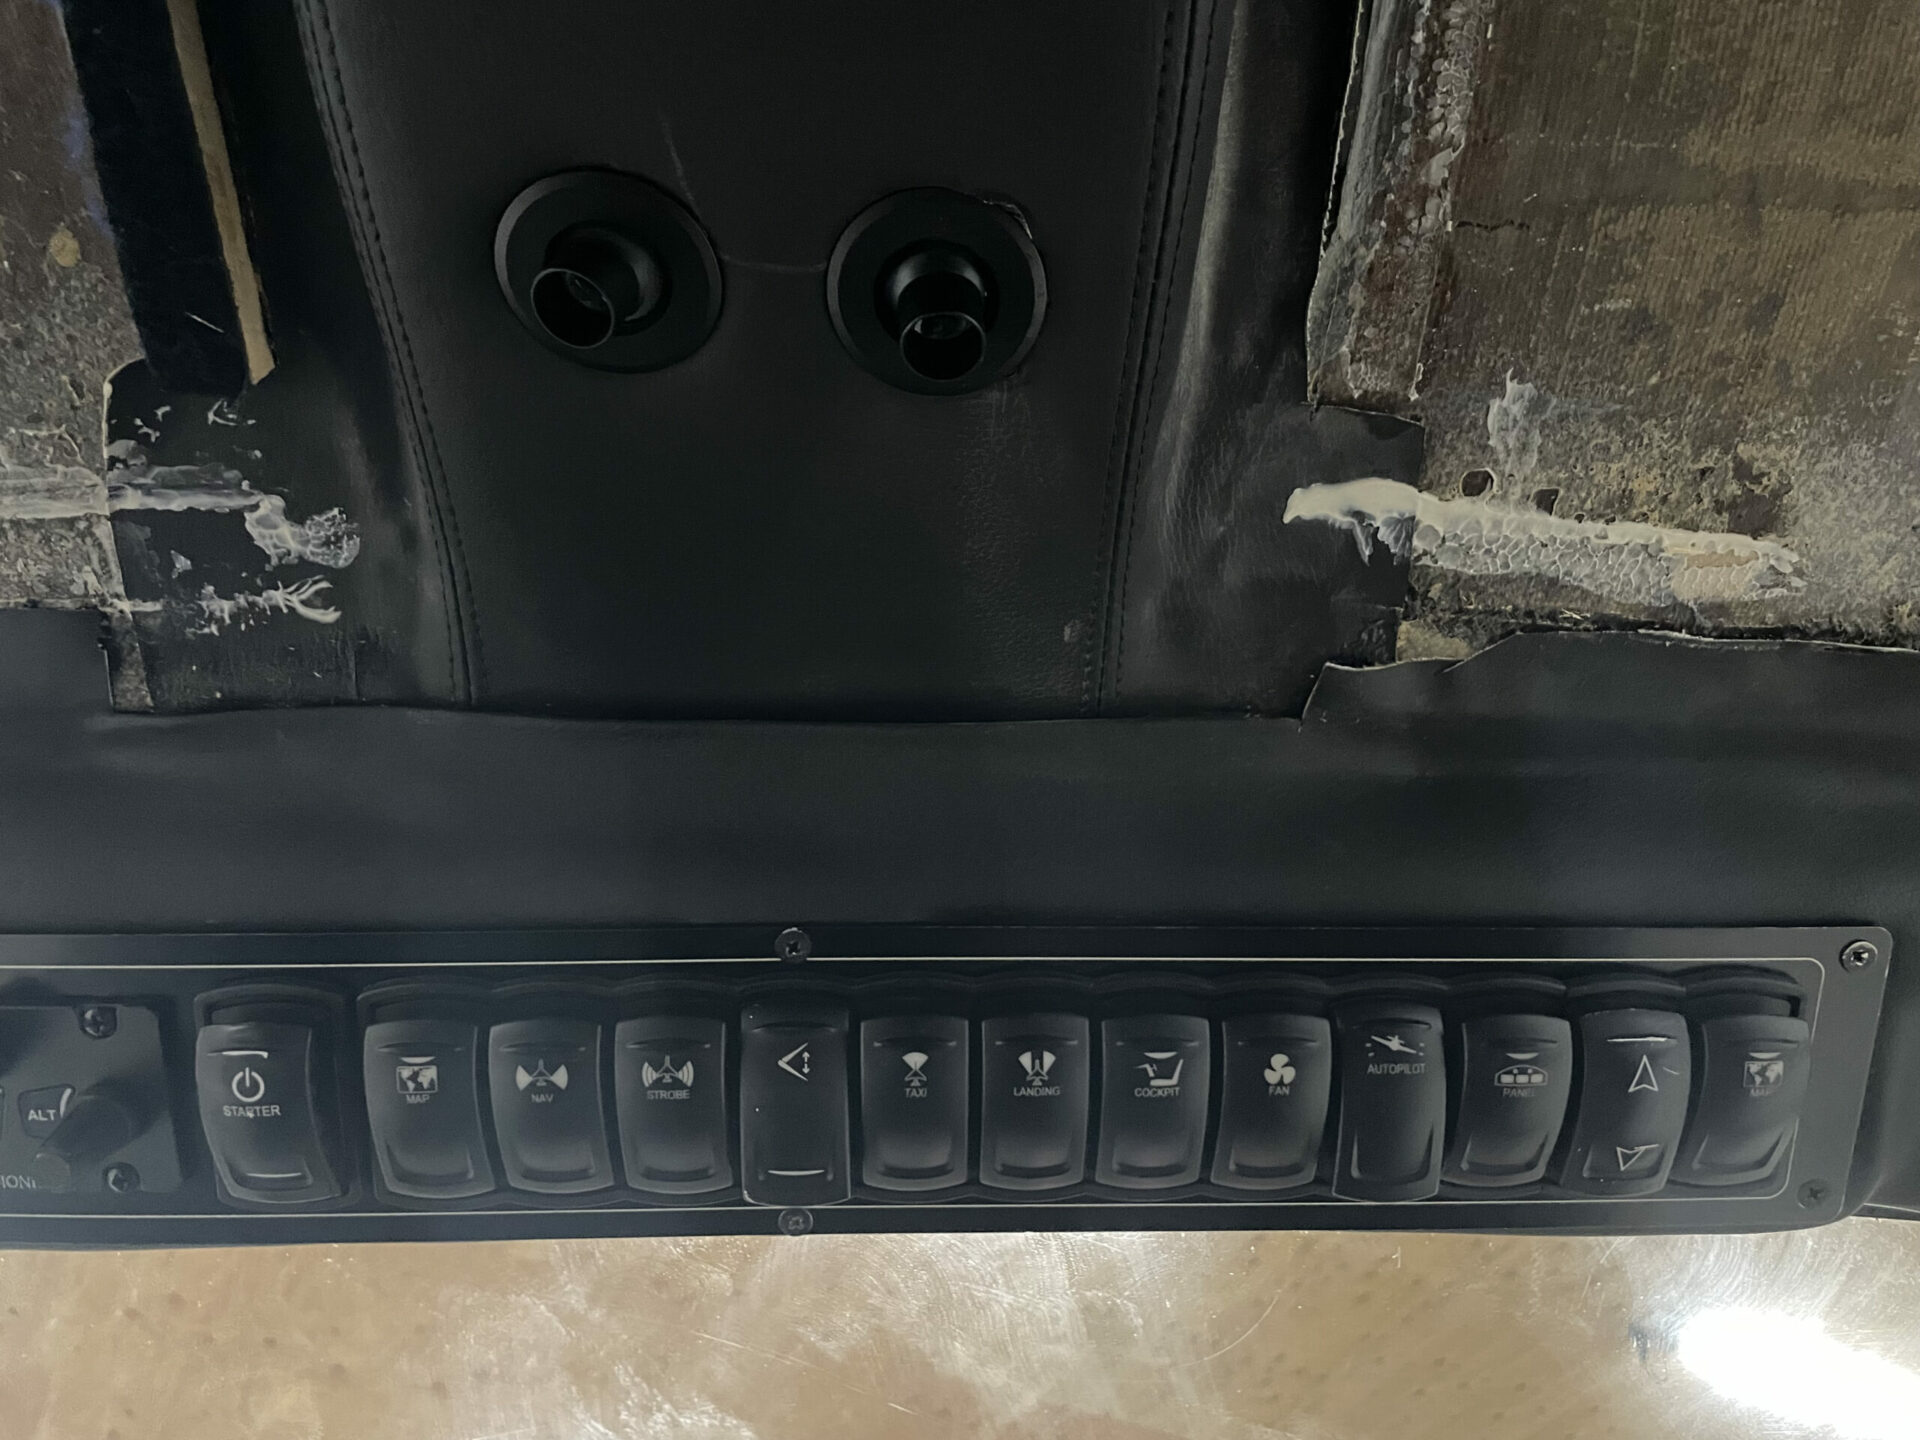
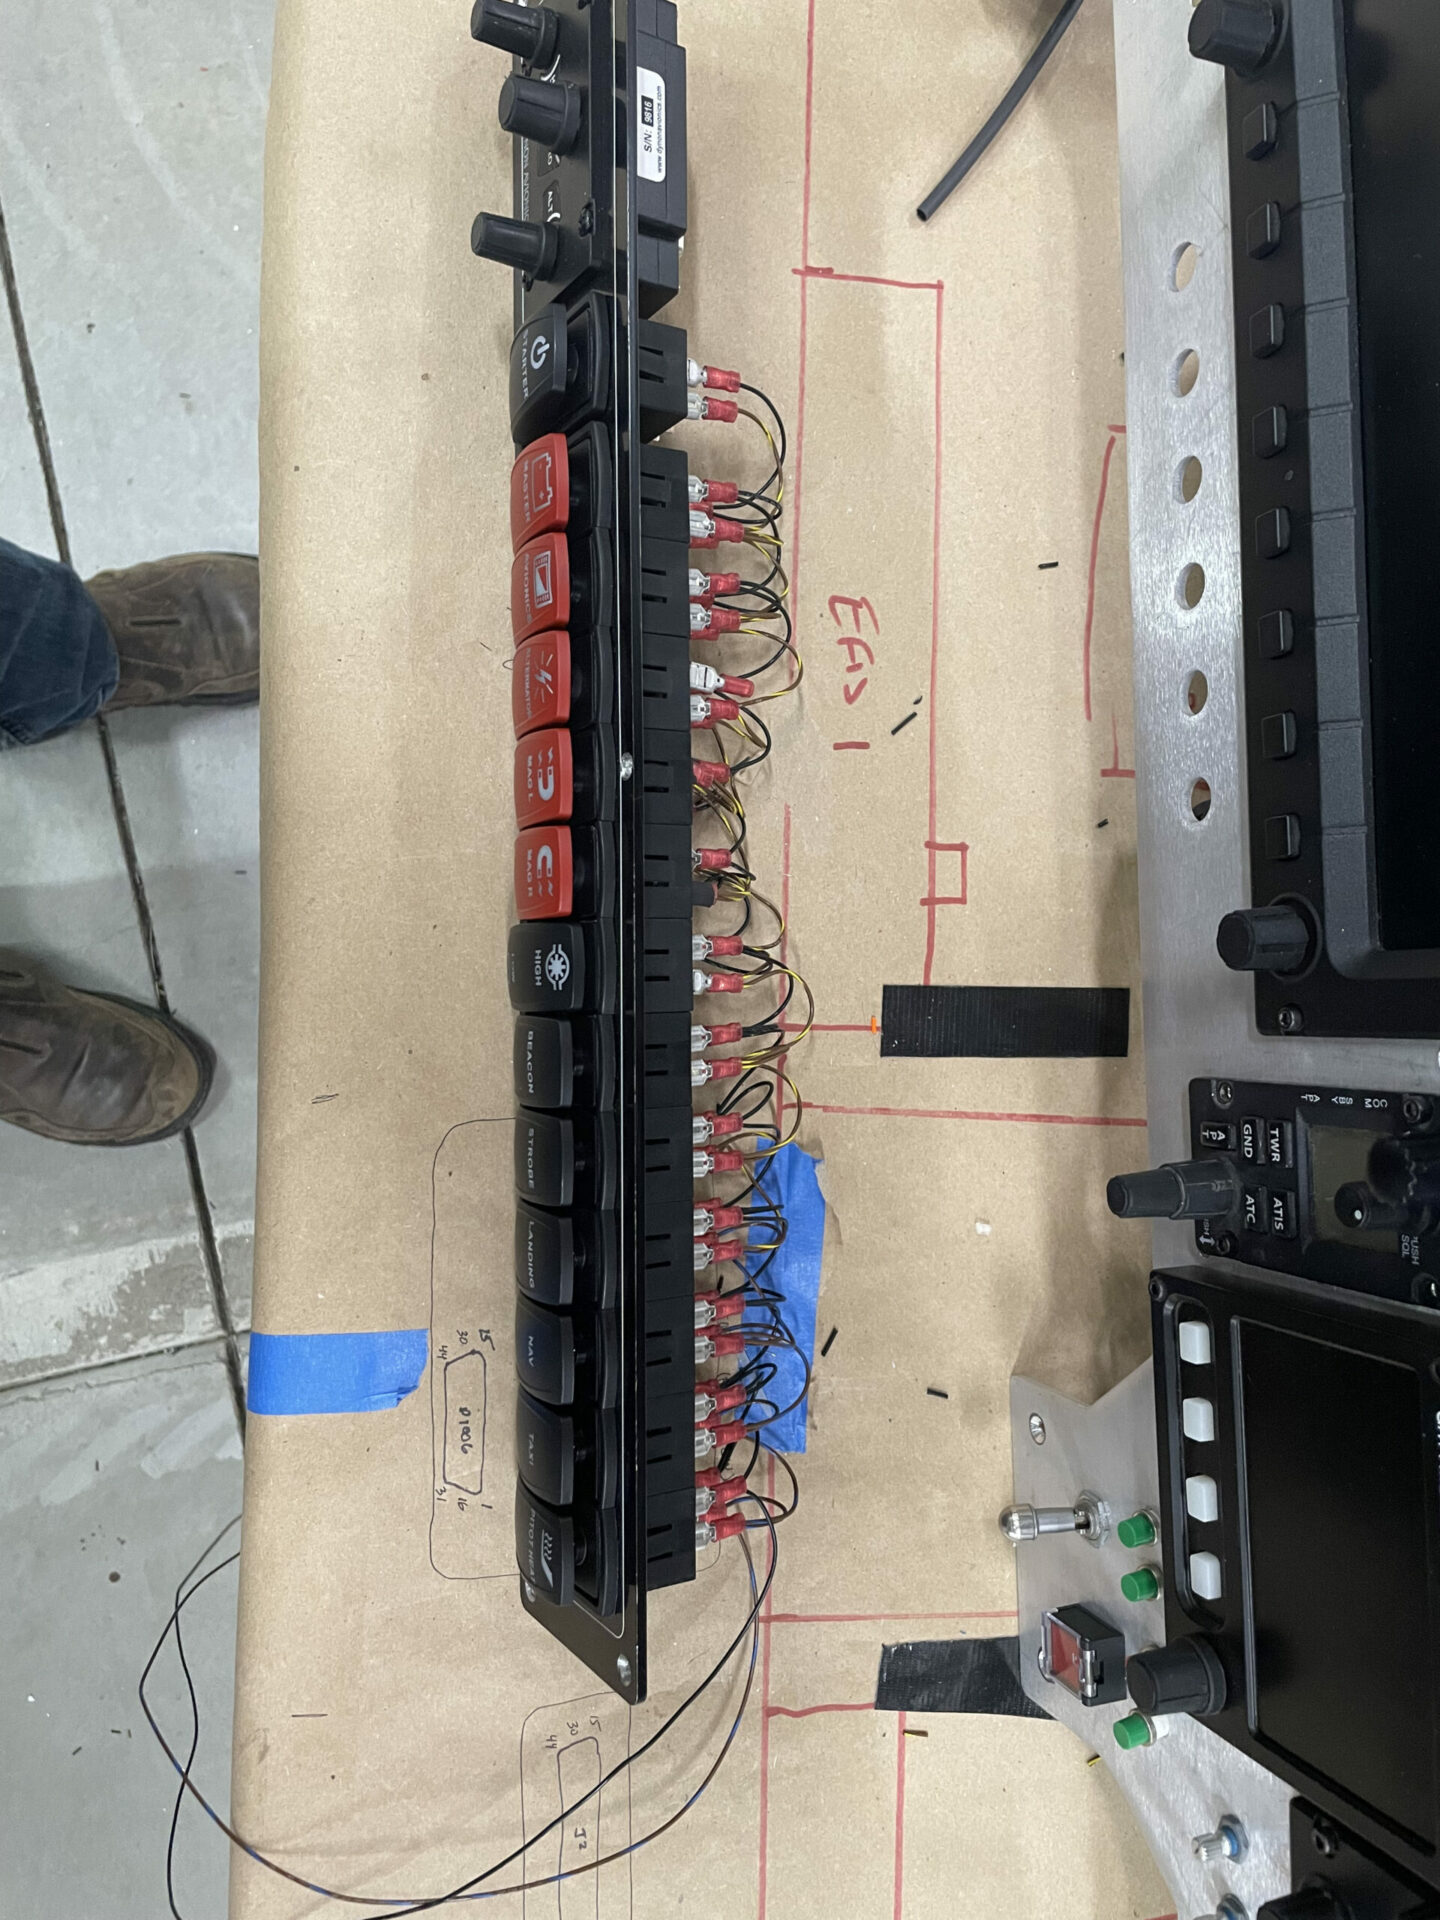
all switches were consolidated to this single overhead panel
the wiring looked great!
wiring ready for new yoke
The Ray Allen G407 stick. Lots of cool functionality.
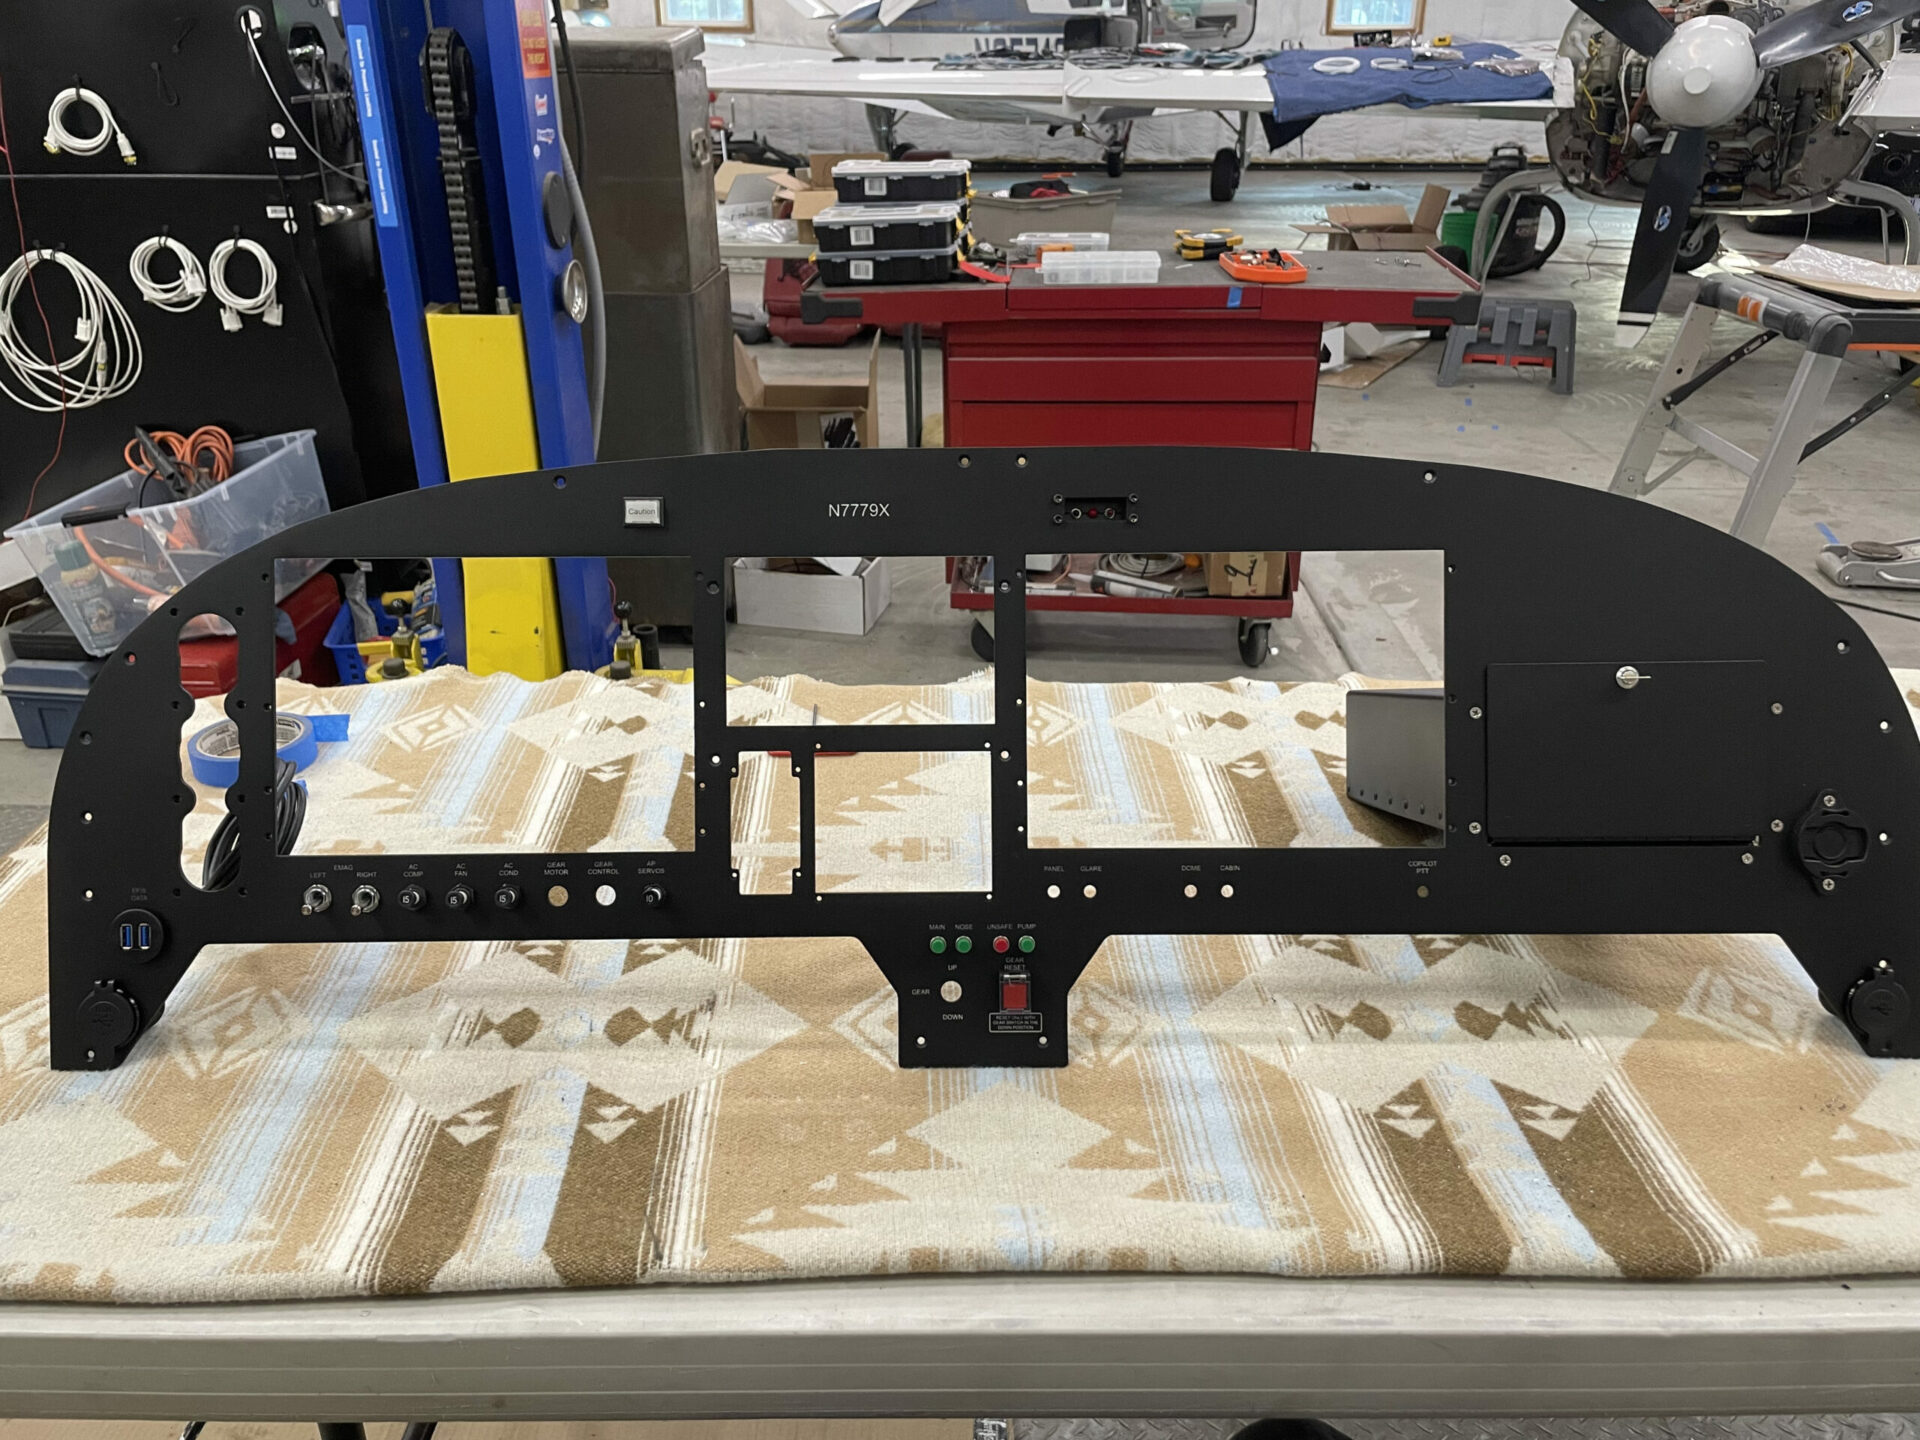
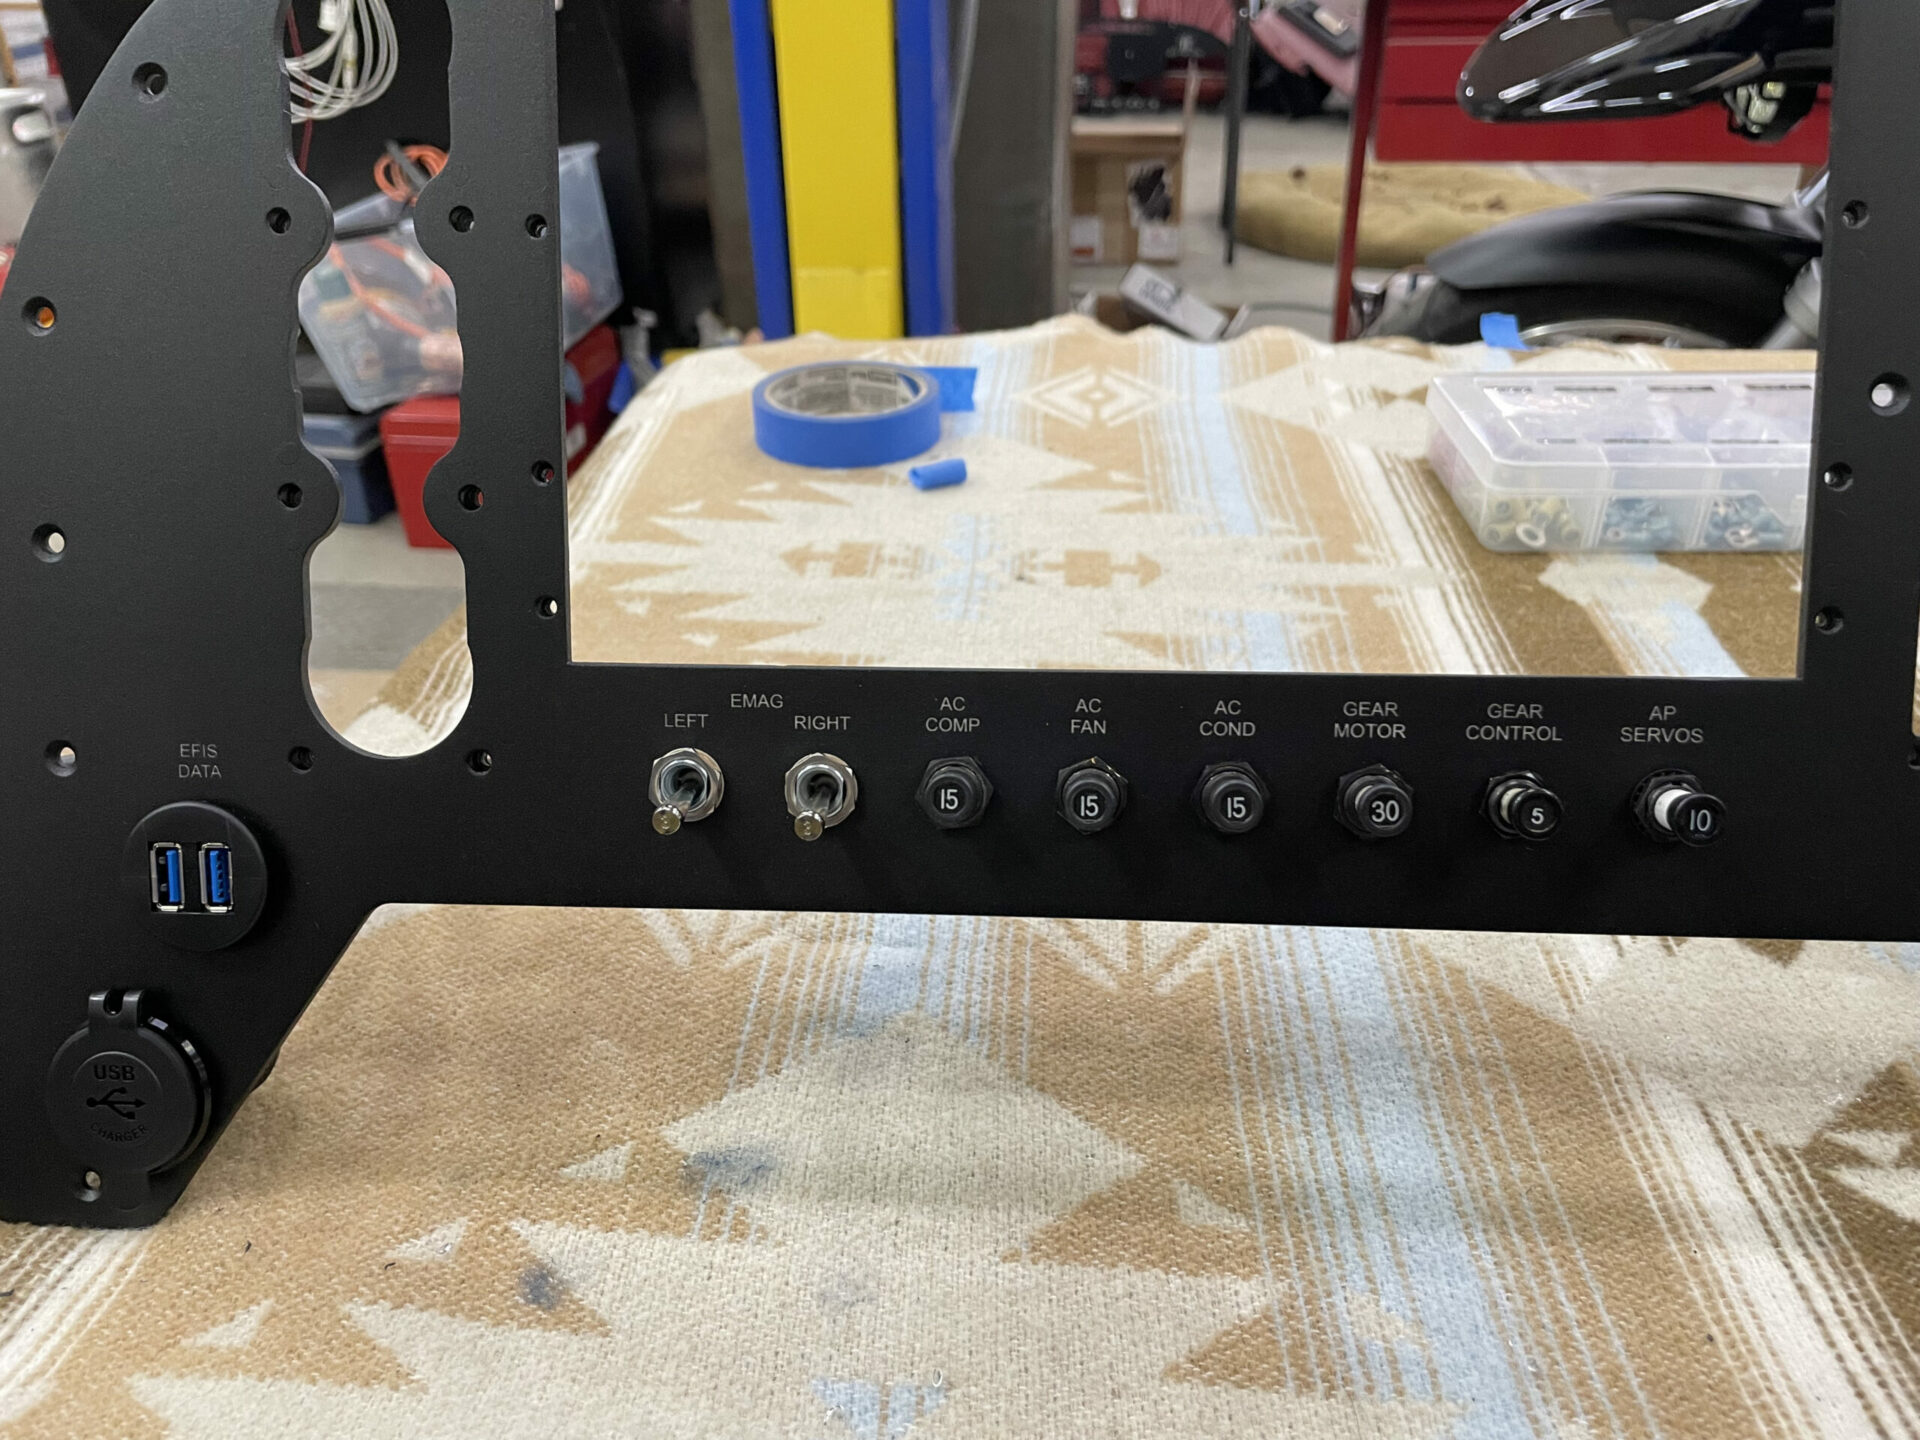
Panel back from powder coating.
Note the two “e-mag” switches. Although I don’t have them installed, electronic ignition is coming, so I pre-wired for them.
AC UI panel relocated and rewired…
…and new beautiful wiring of the AC systems in the aft end.
mock up of labeling for the new panel. Lots of iterations got us to a good spot.
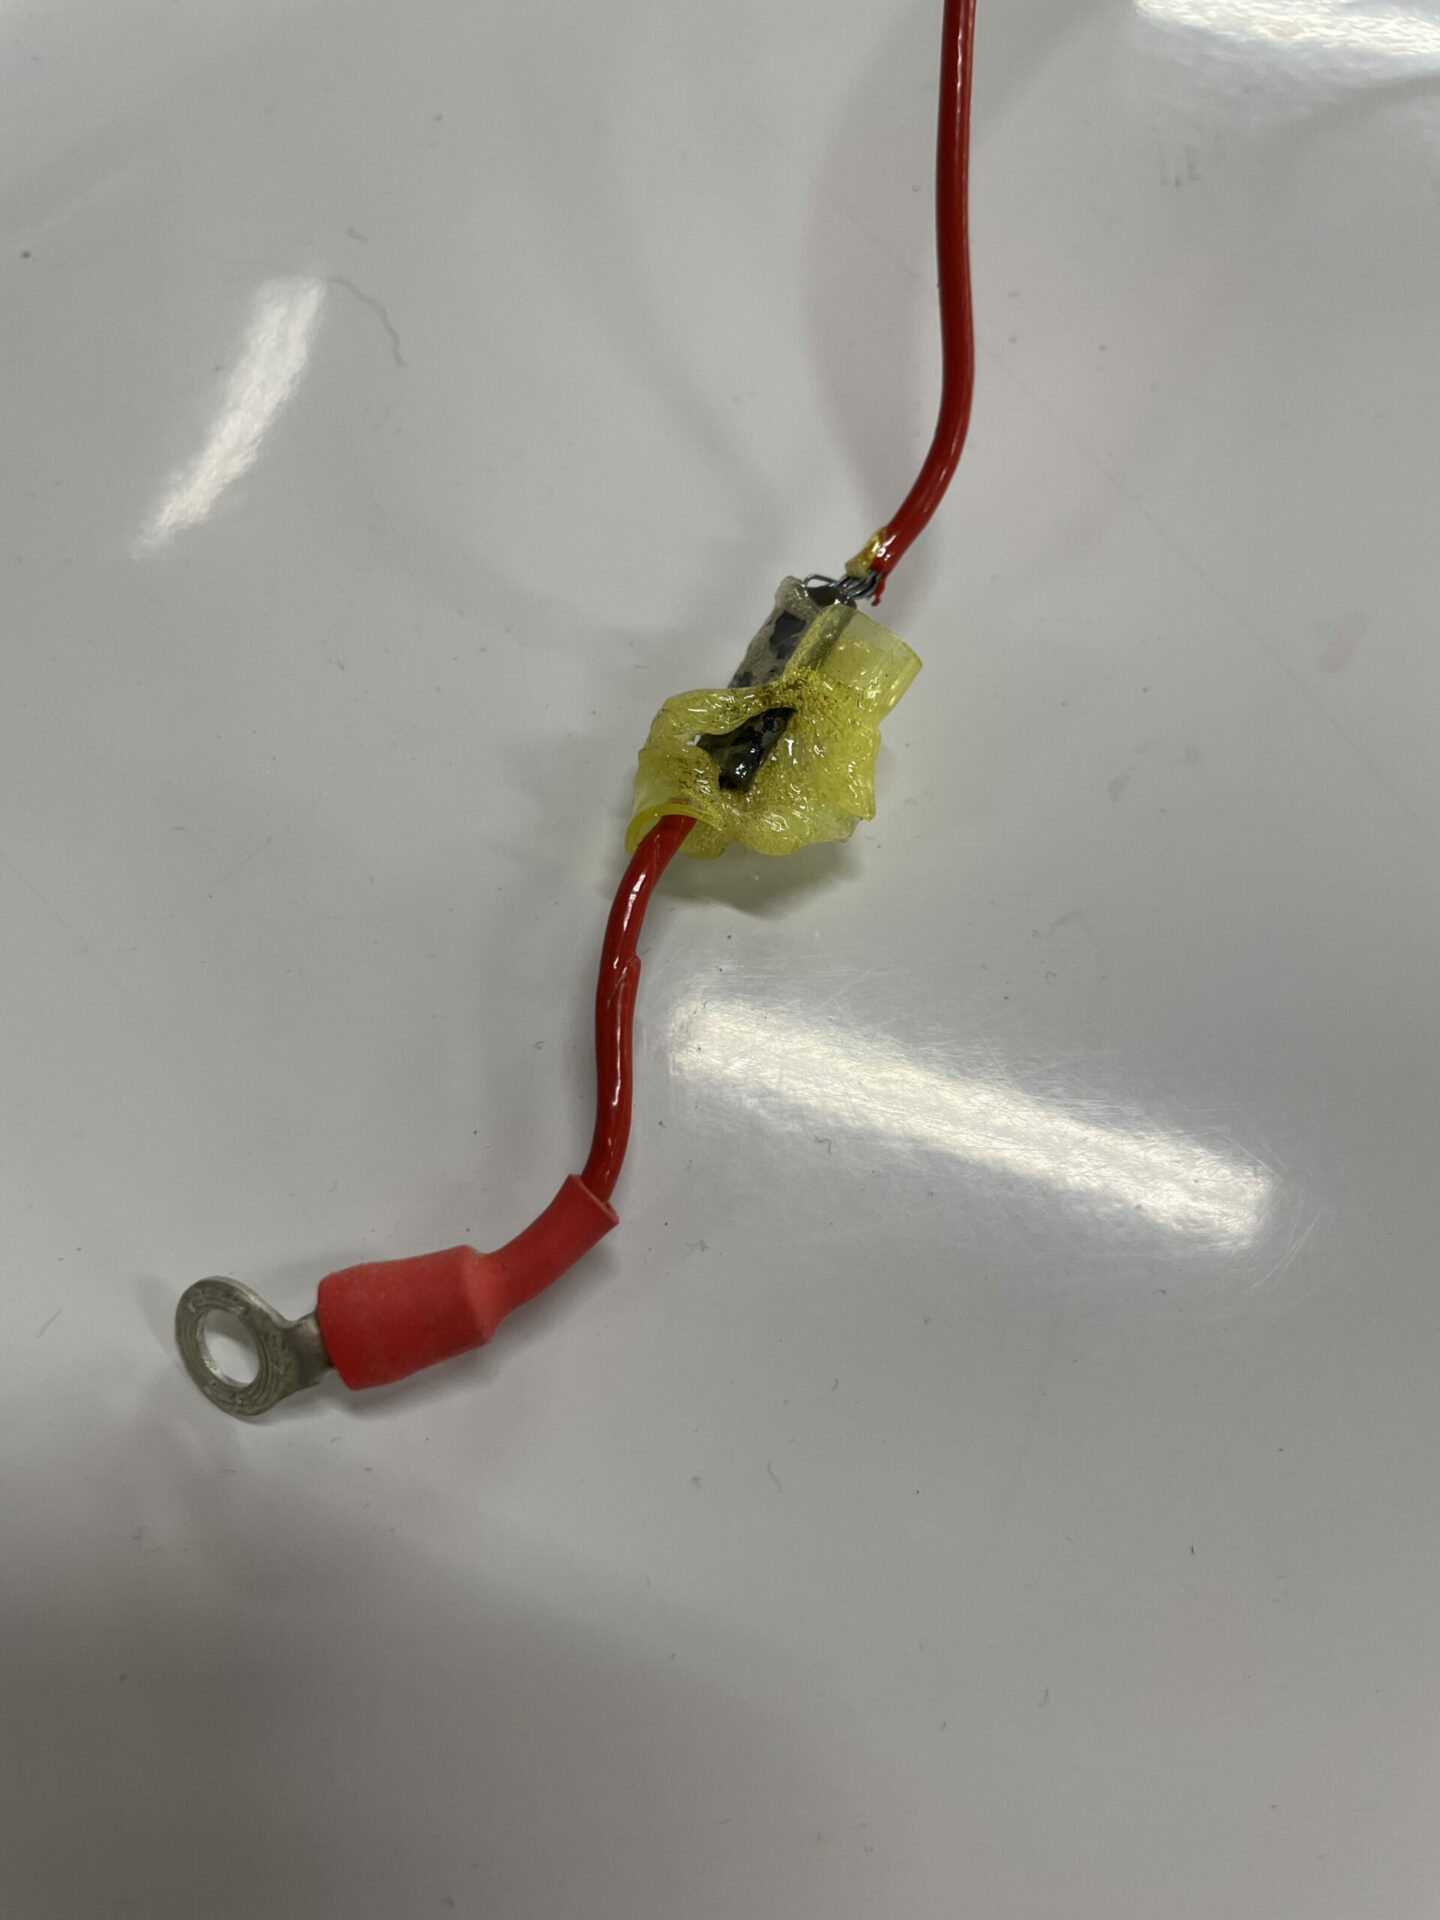
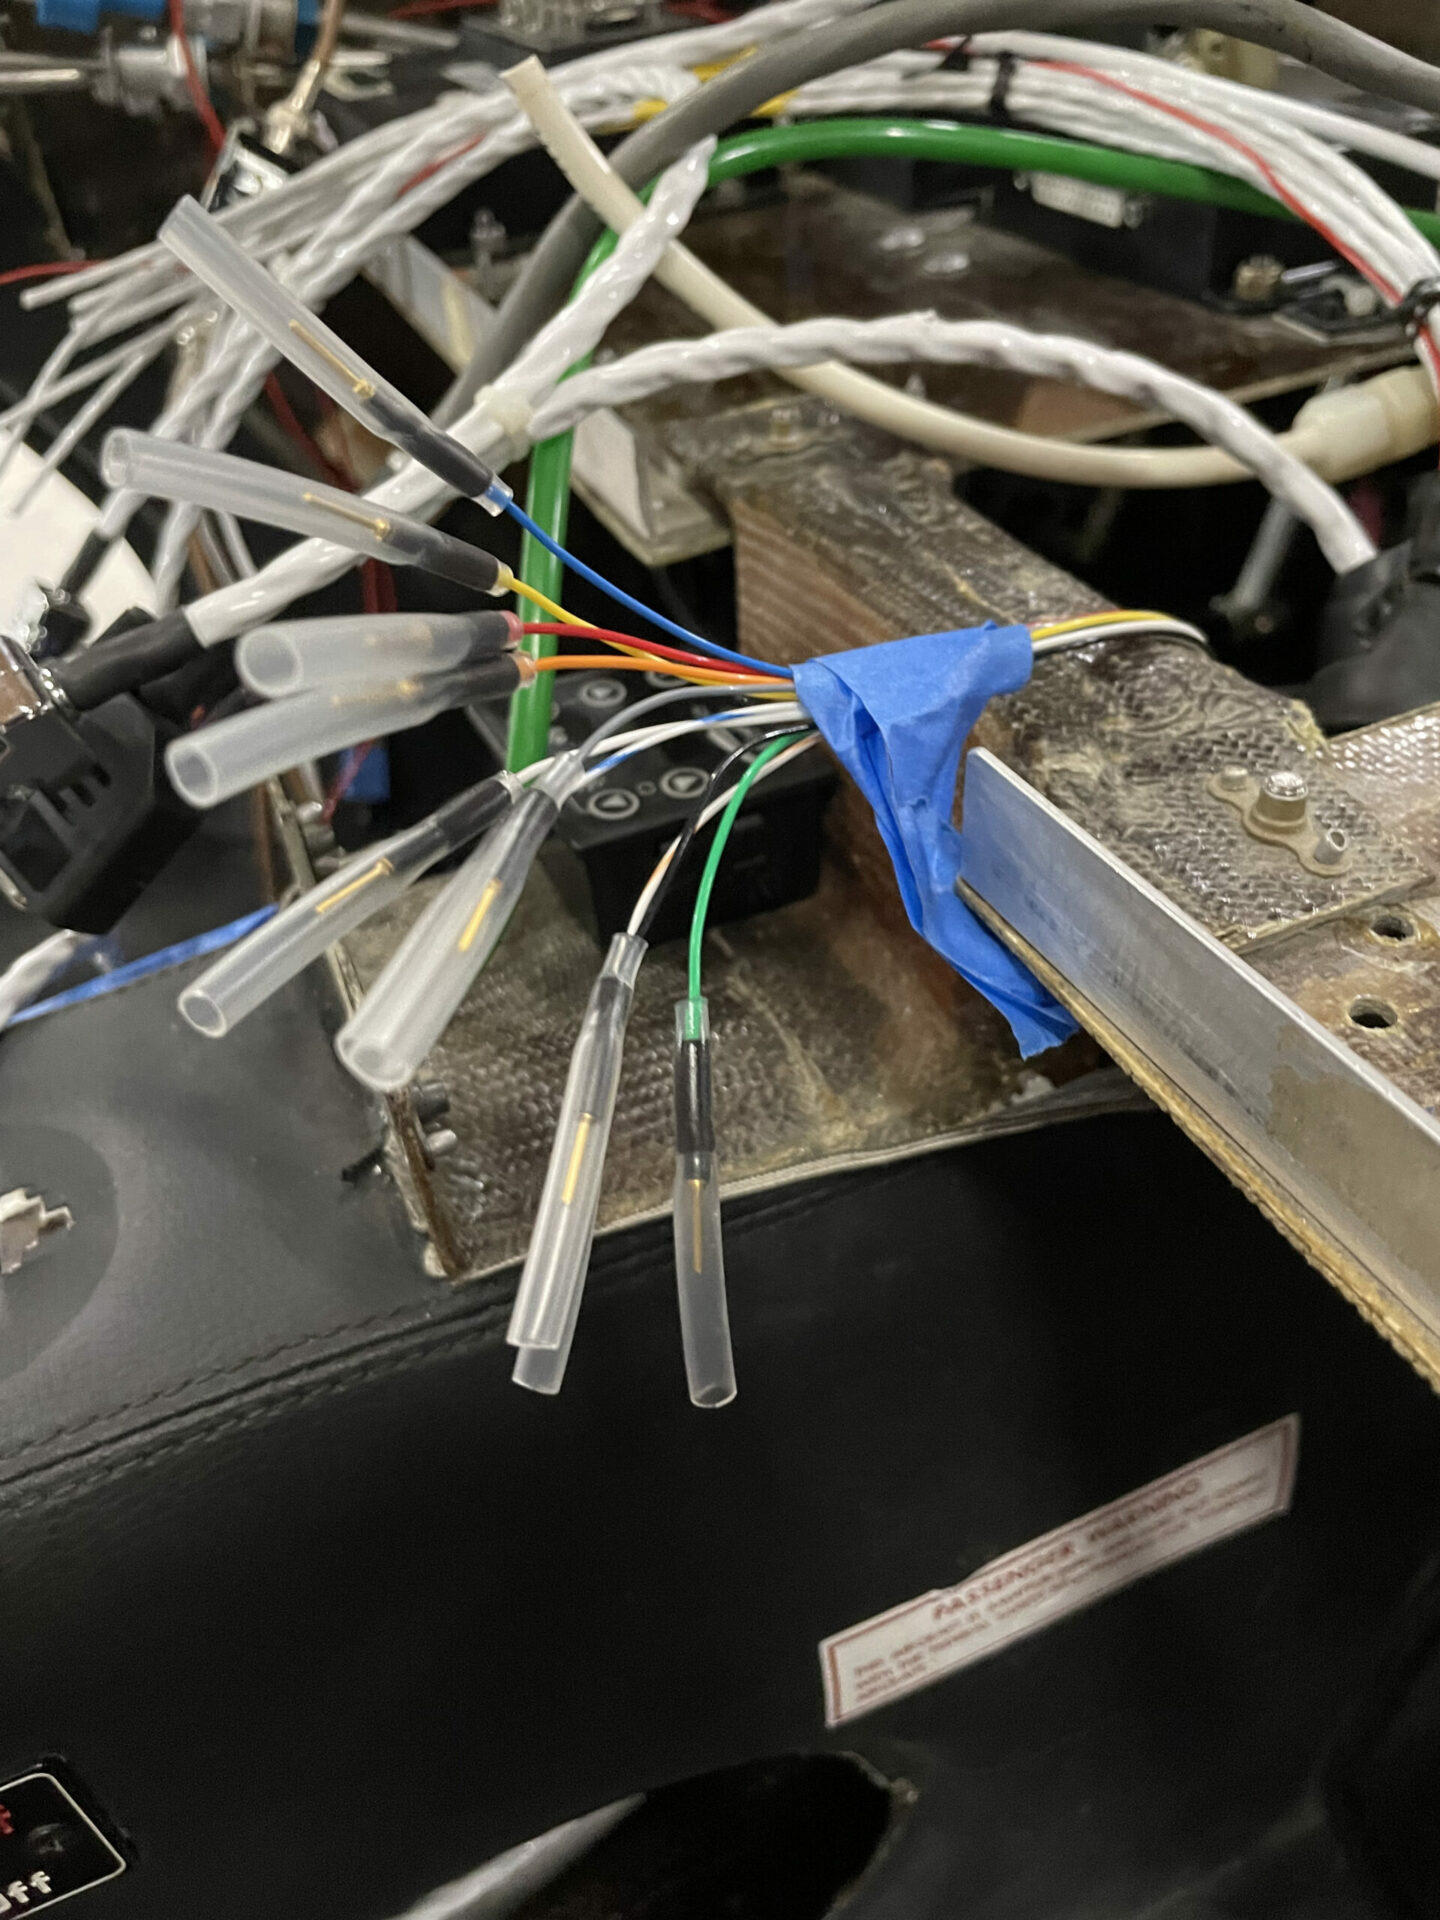
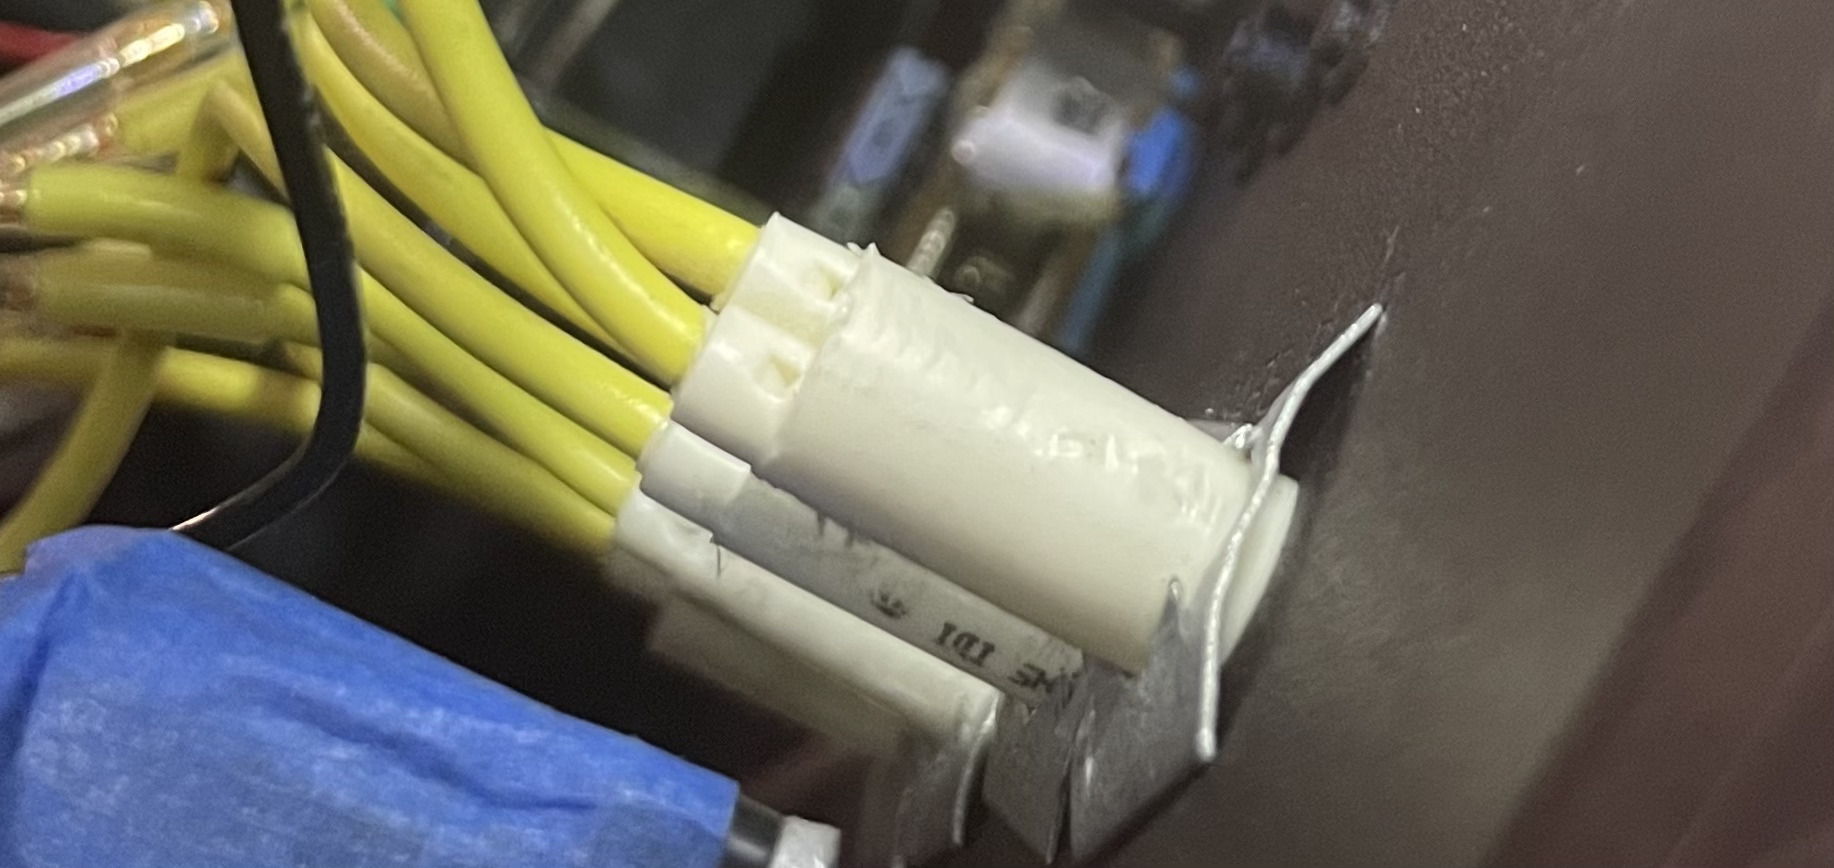
gorgeous new connectors…
… including a properly sized alternator breaker wire.
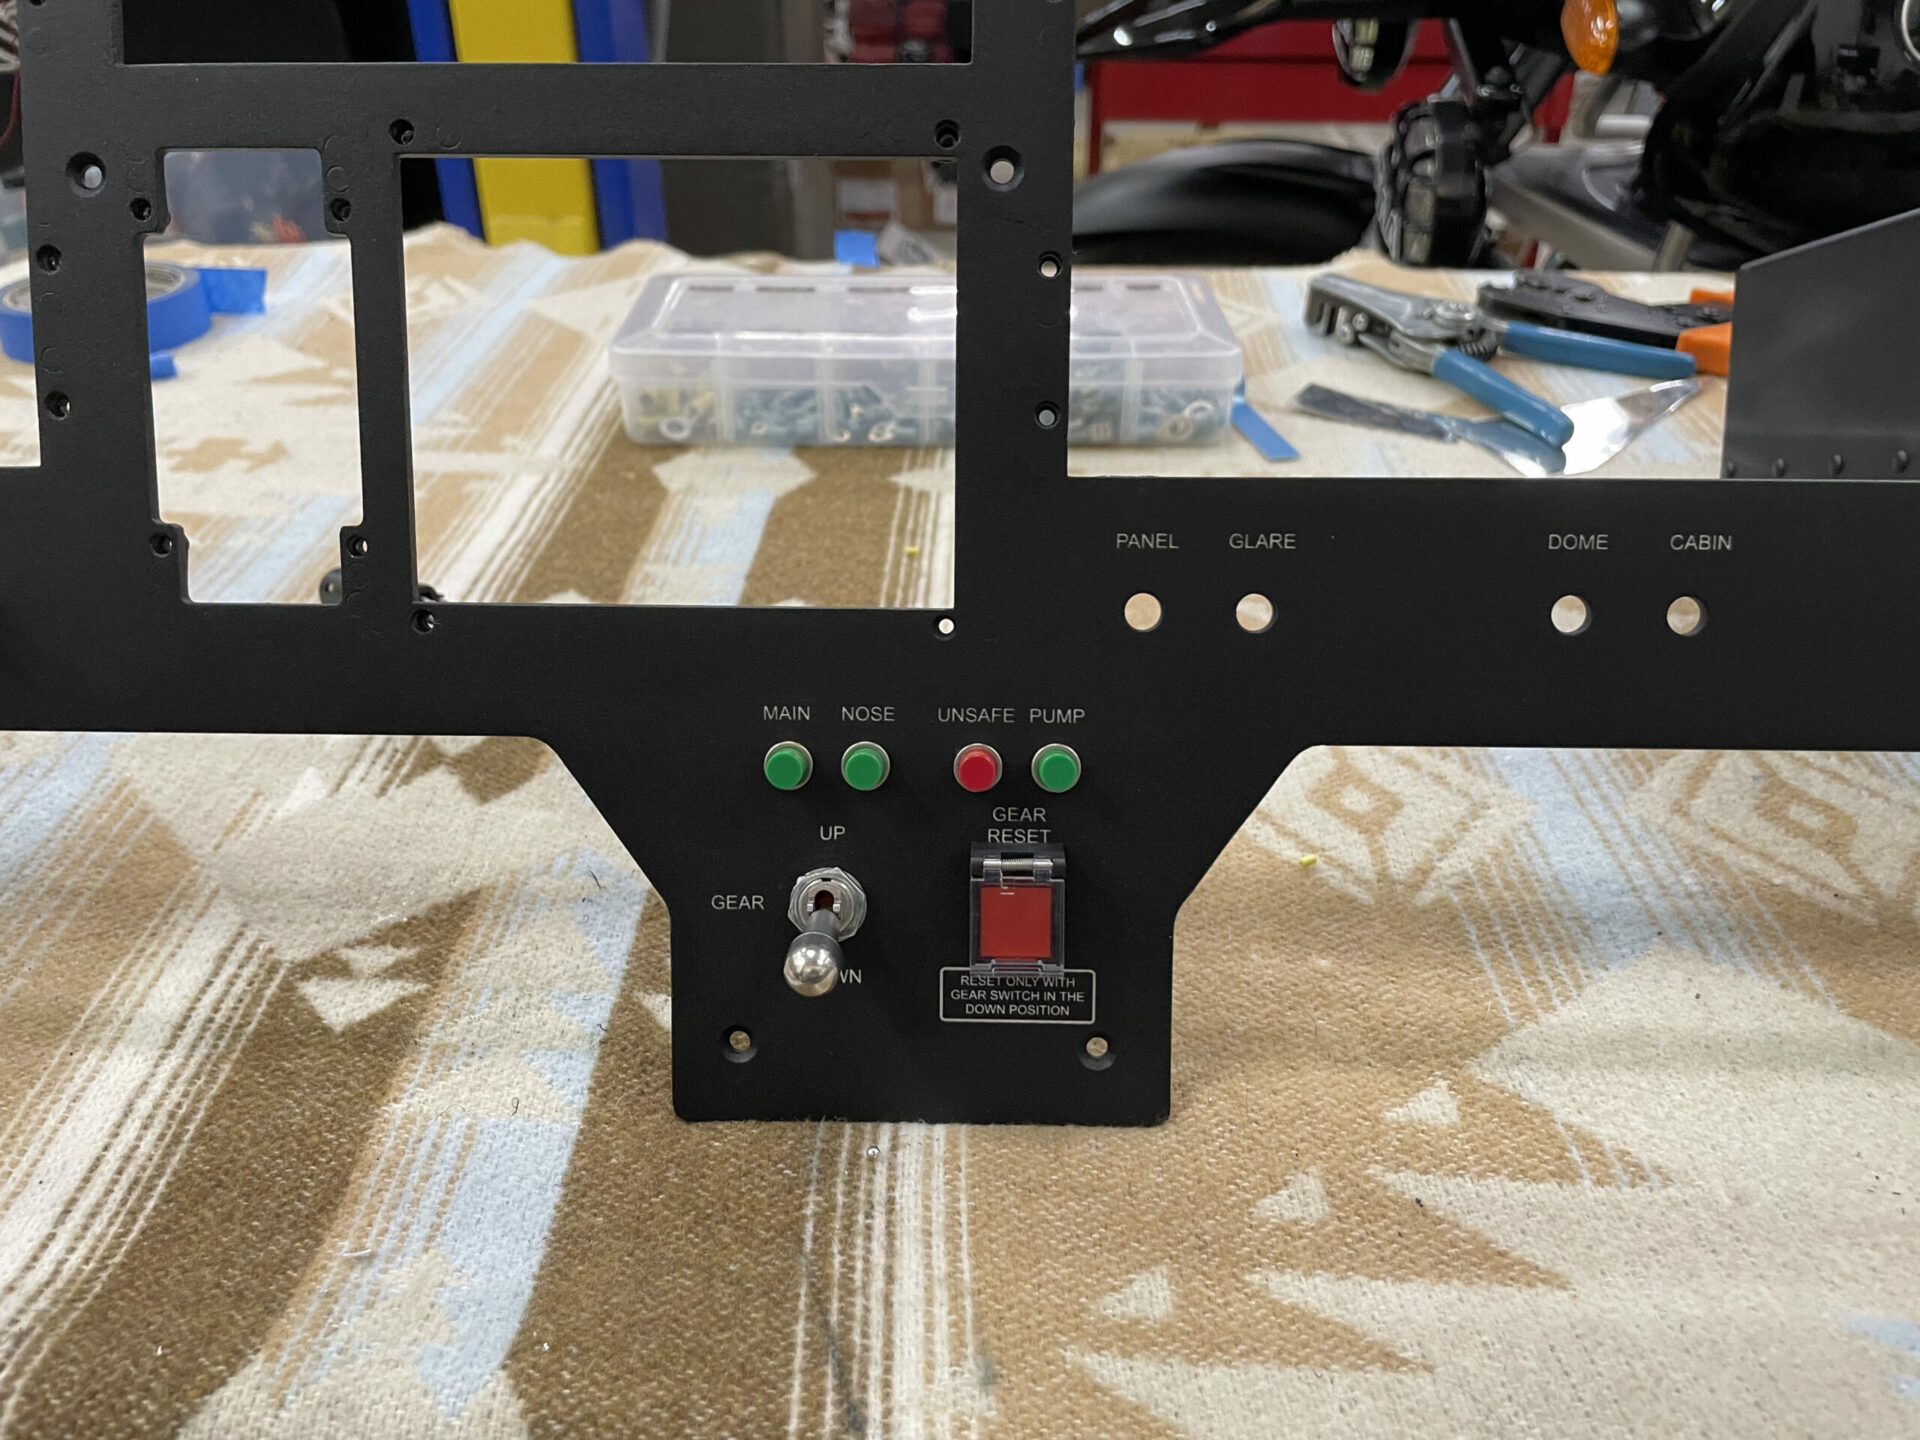
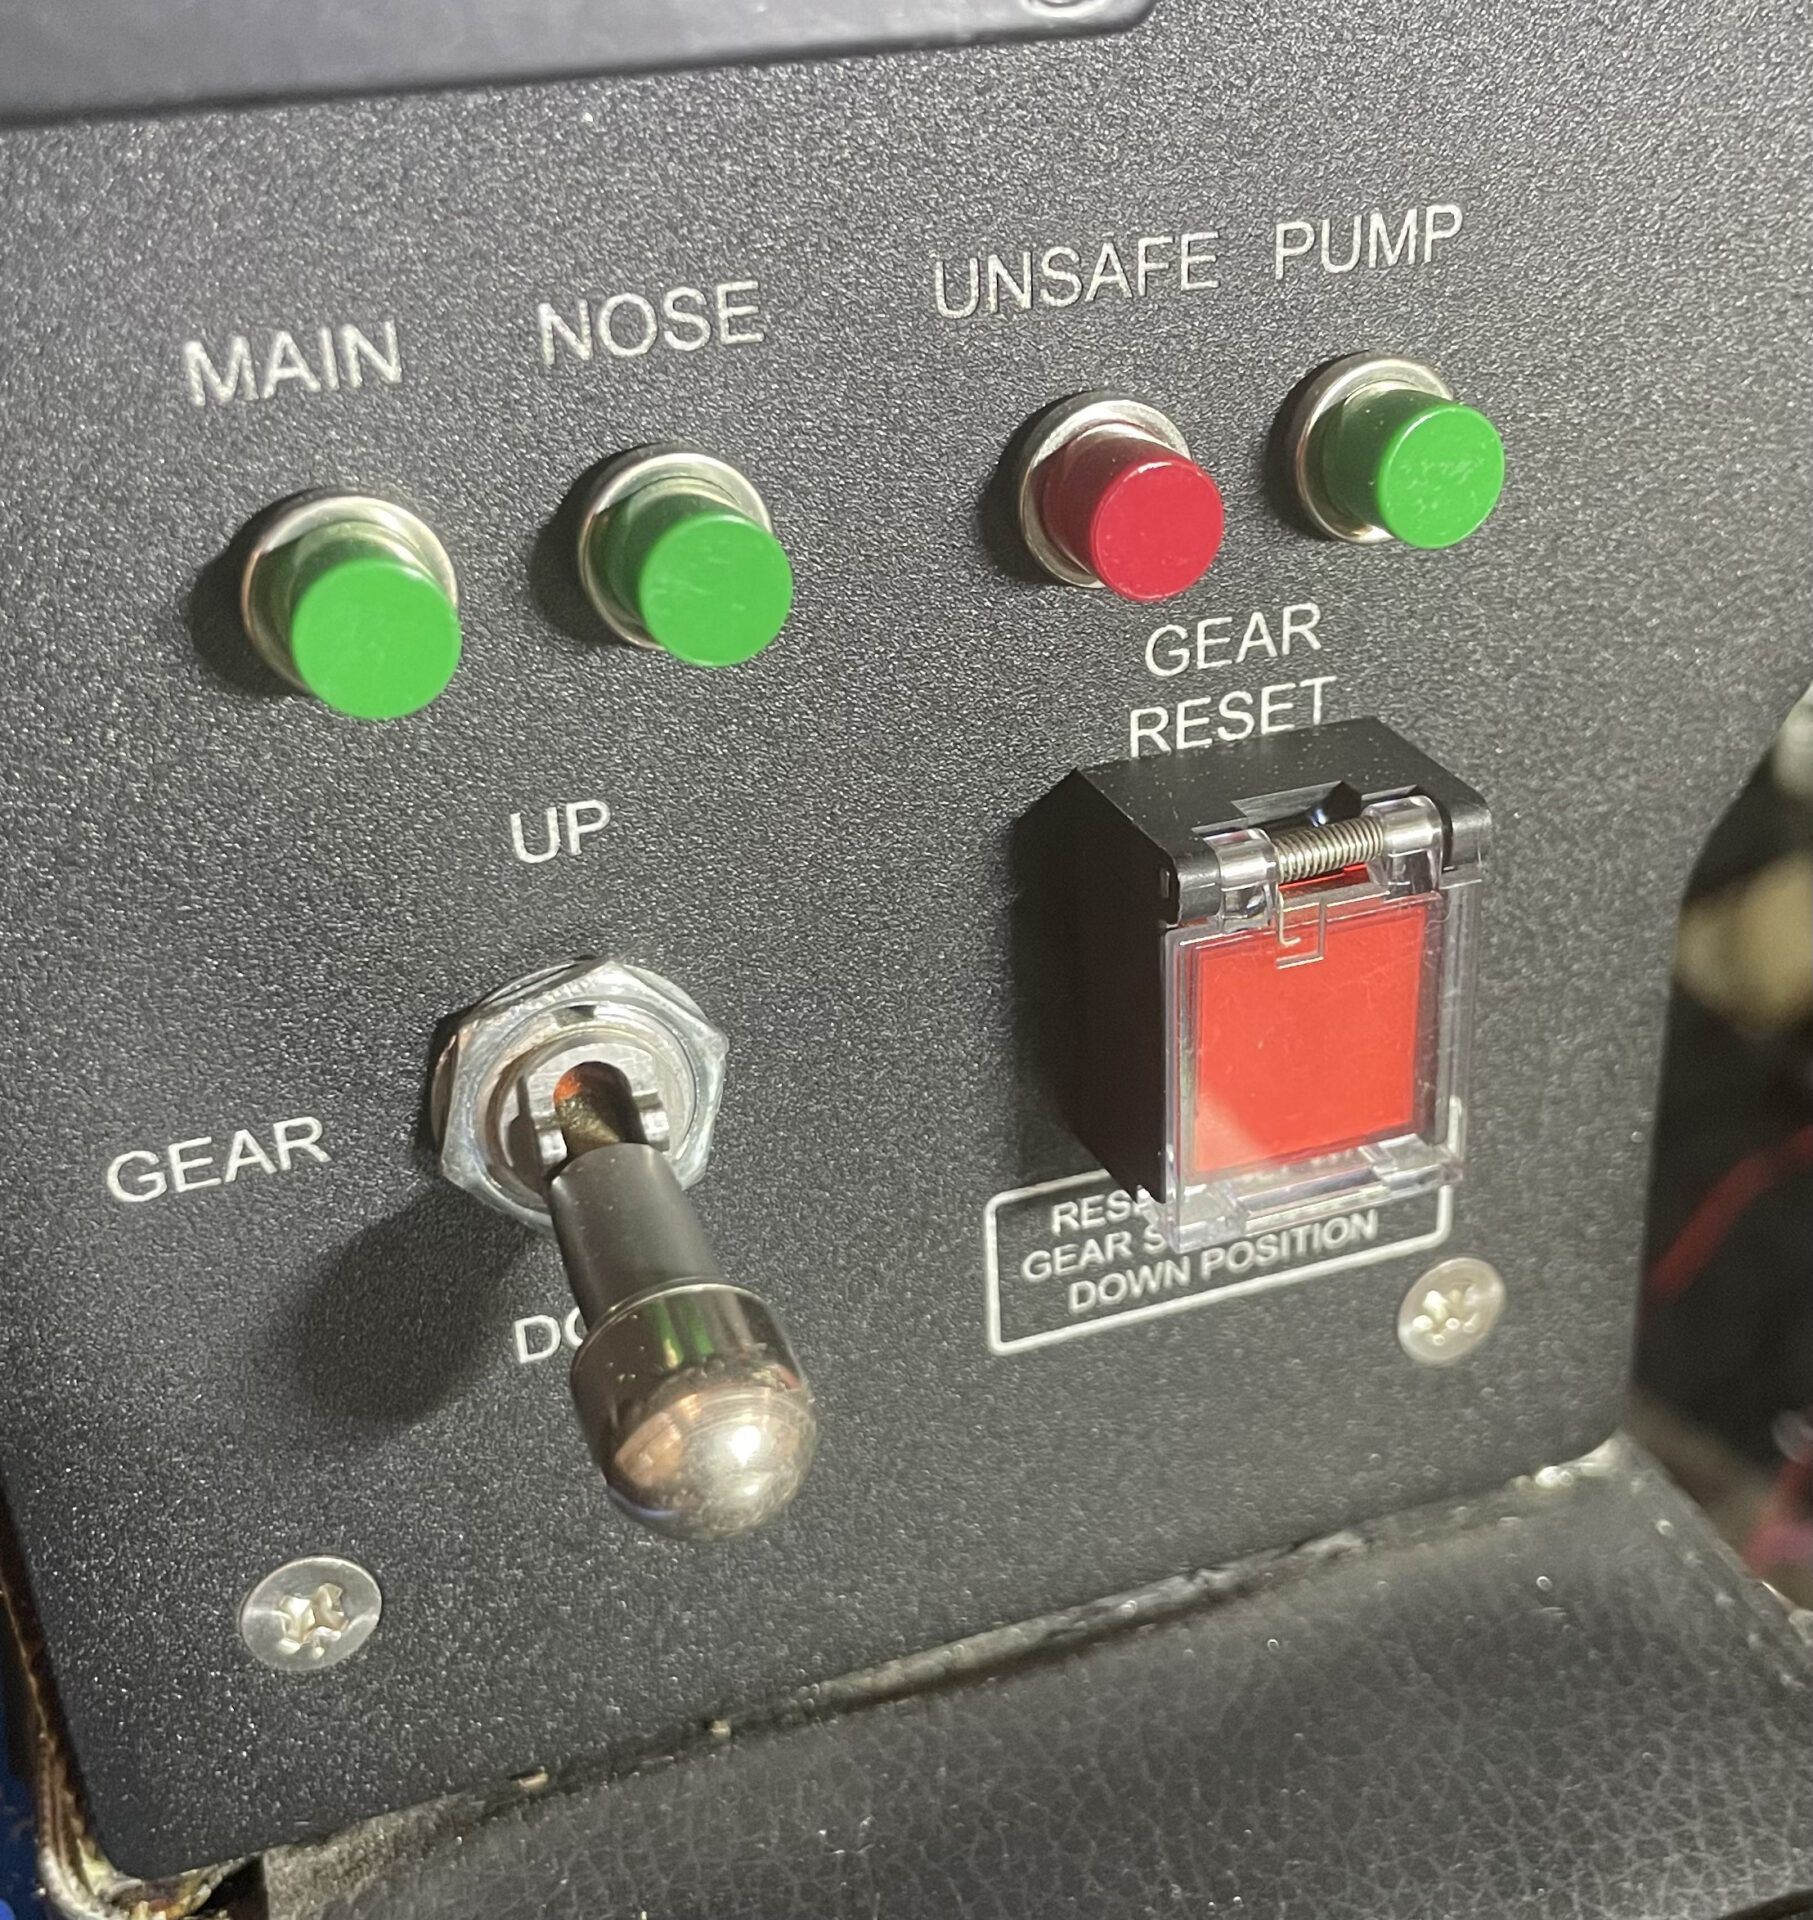
relocated and simplified the landing gear controls
everything clearly labeled and appropriated colored.
New Dynon Remote radio.
Rear bulkhead area rewired. He was able to stop using two full blocks of jumper panels!
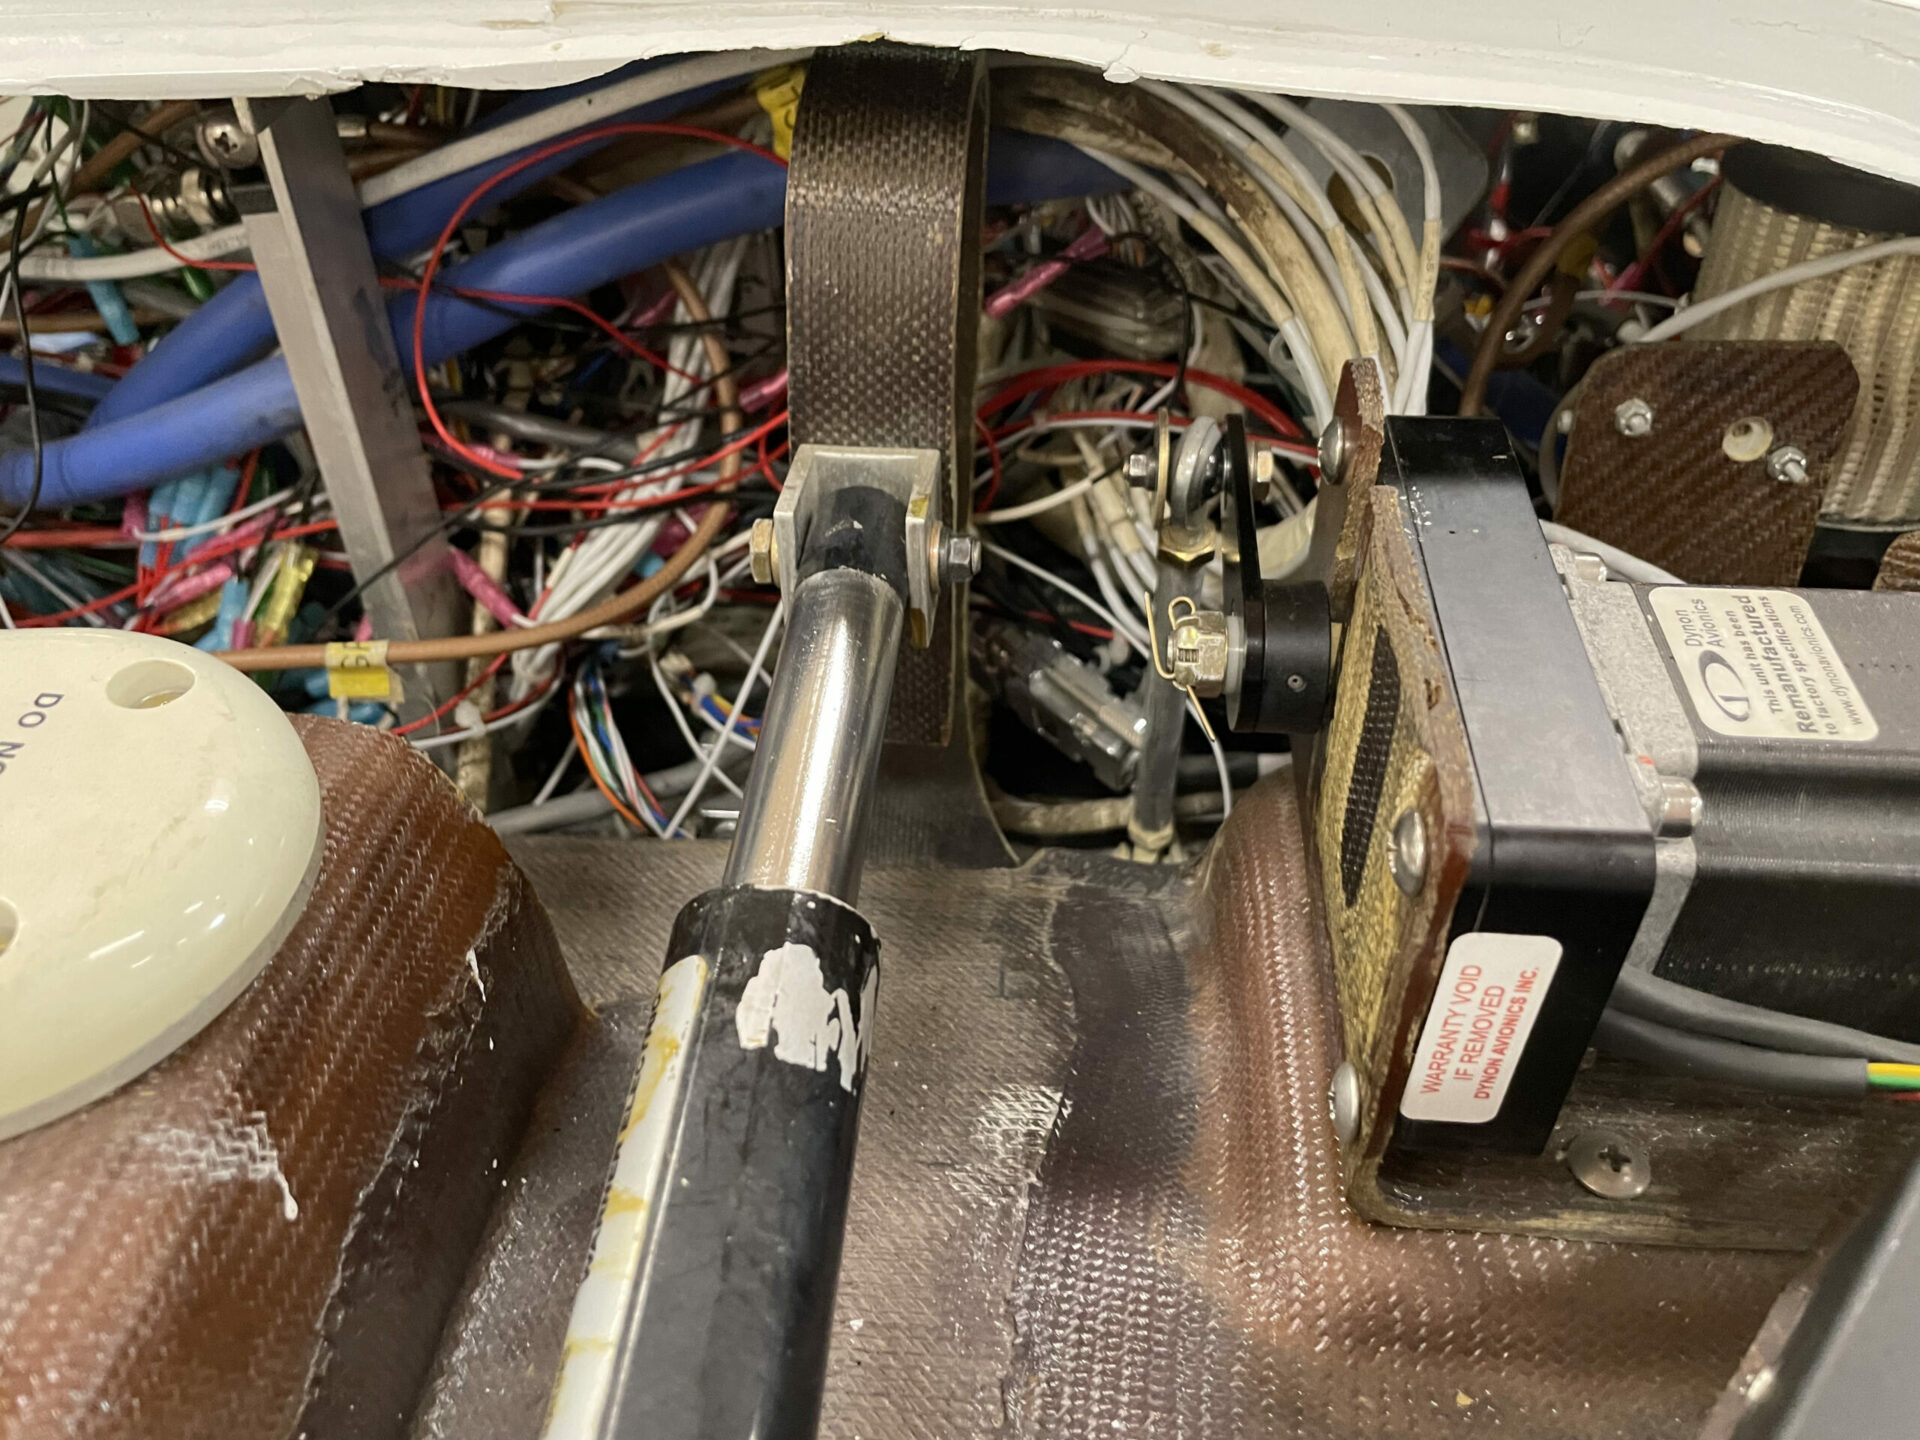
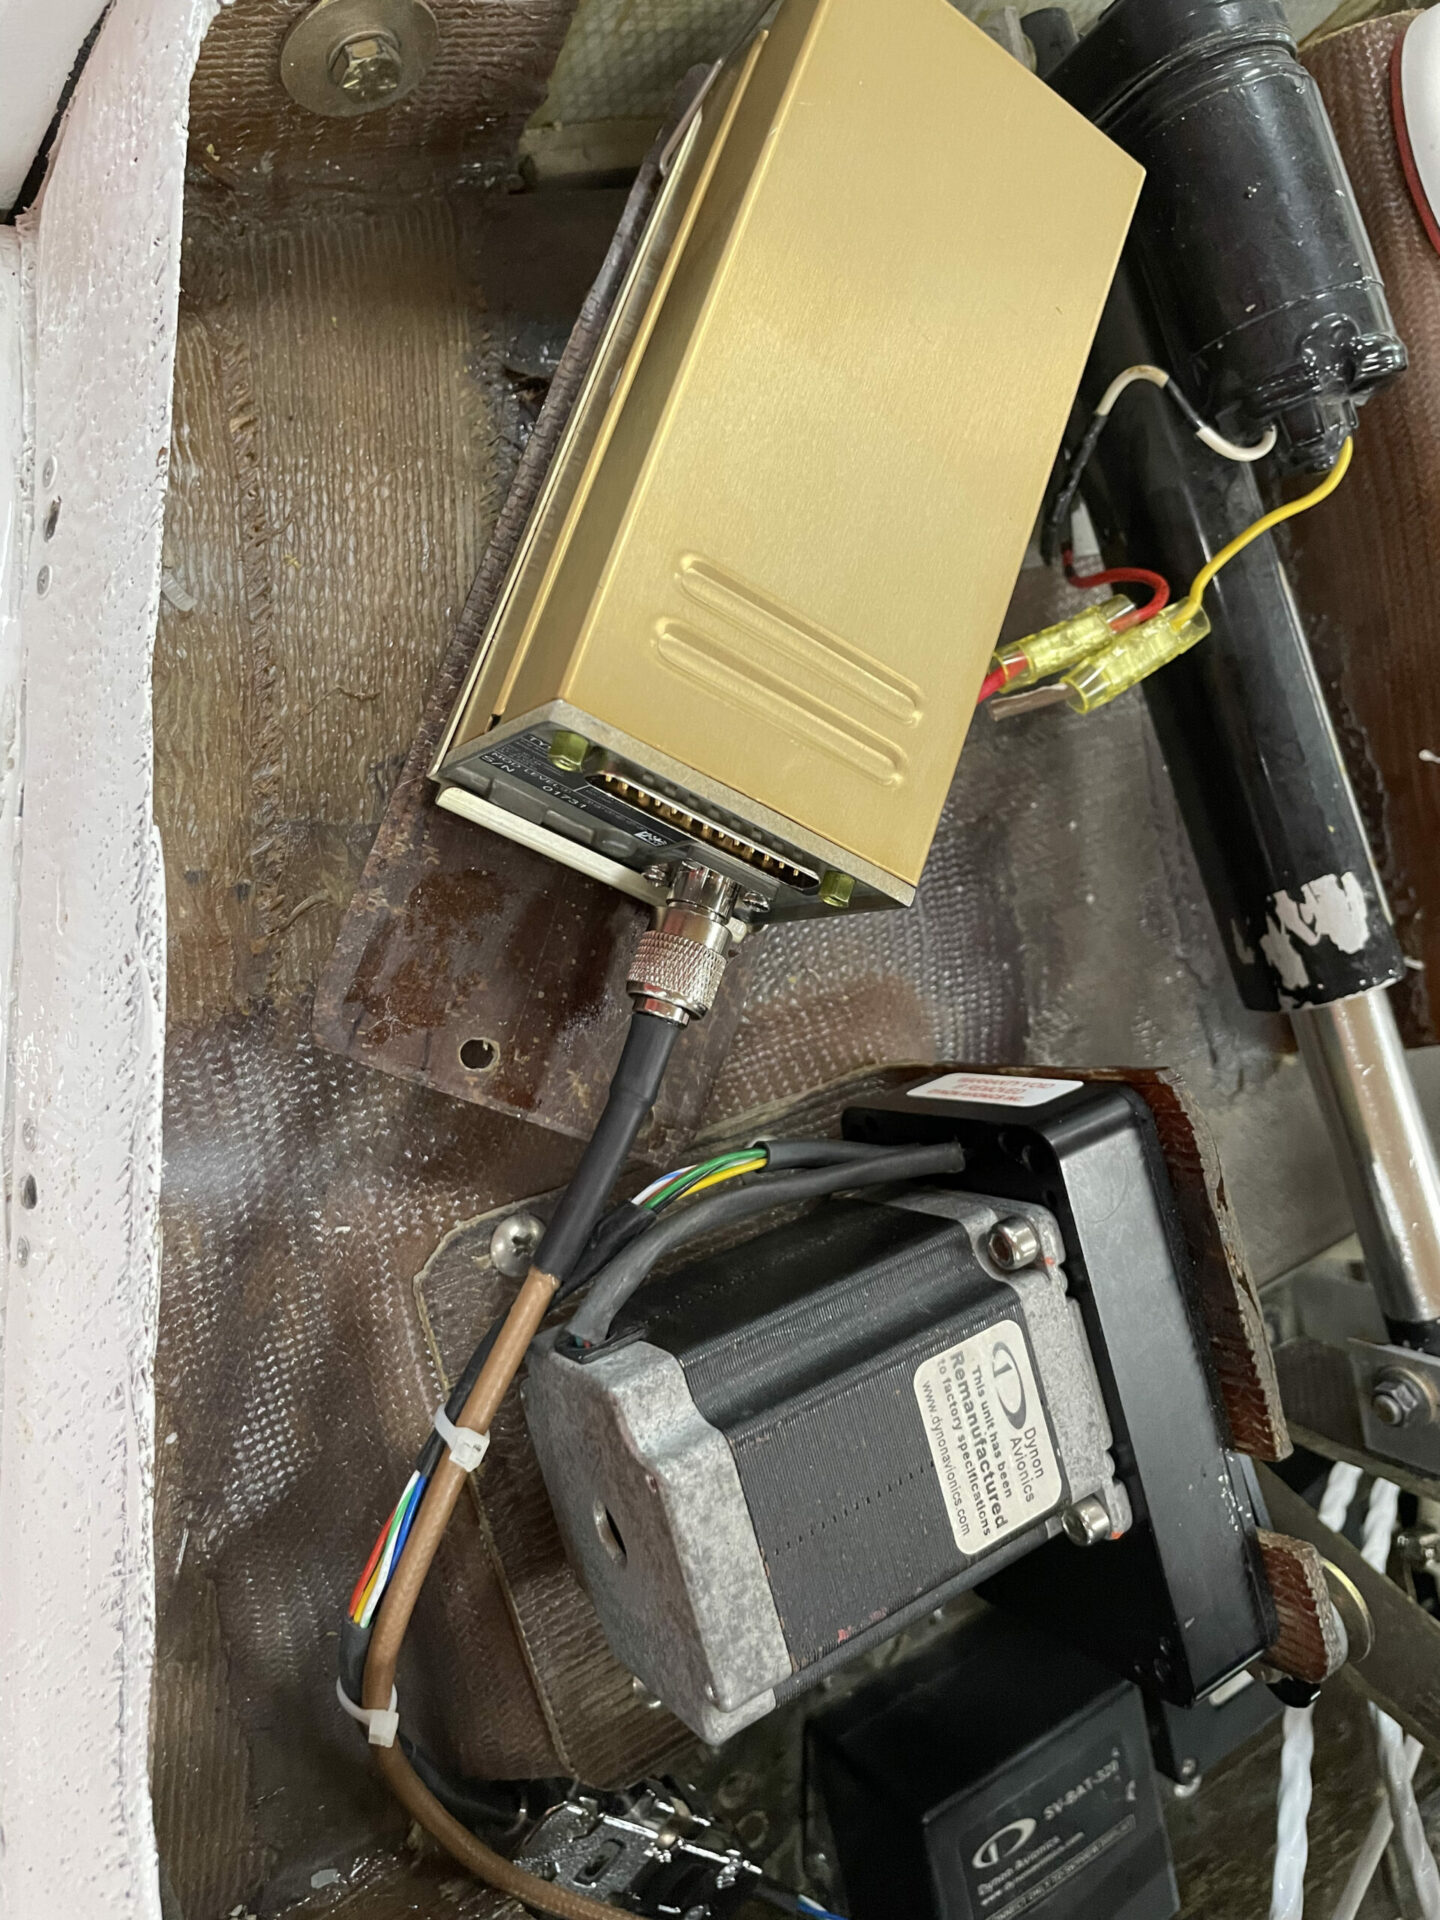
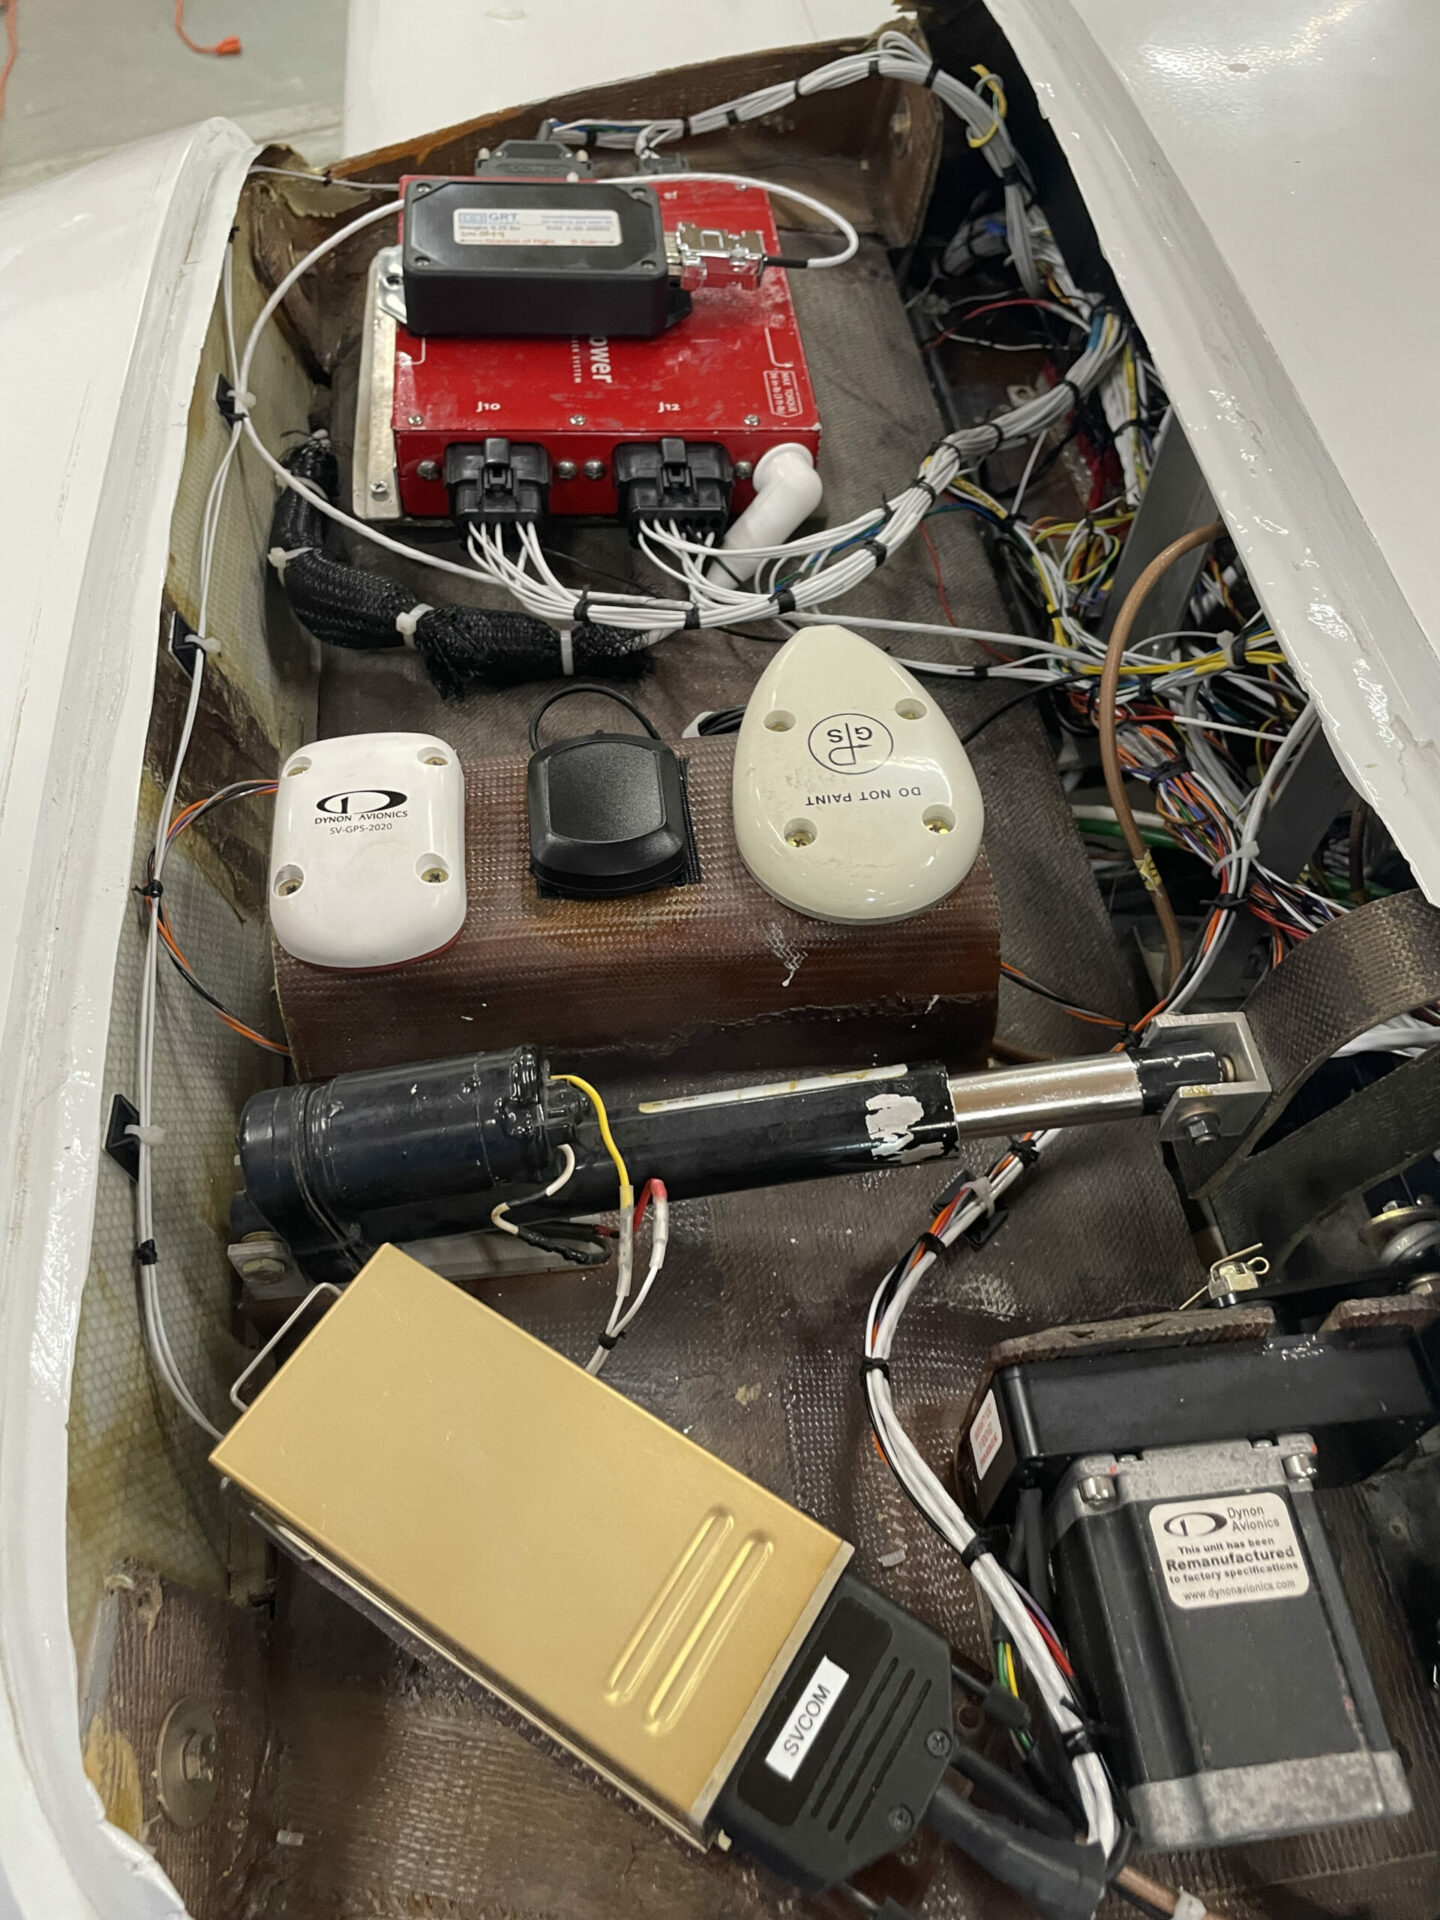
the doghouse avionics redone.
beautifully mounted. Note the magnetometer on top of the VPX. not ideal, but we didn’t want to take of the wing to get it further away.
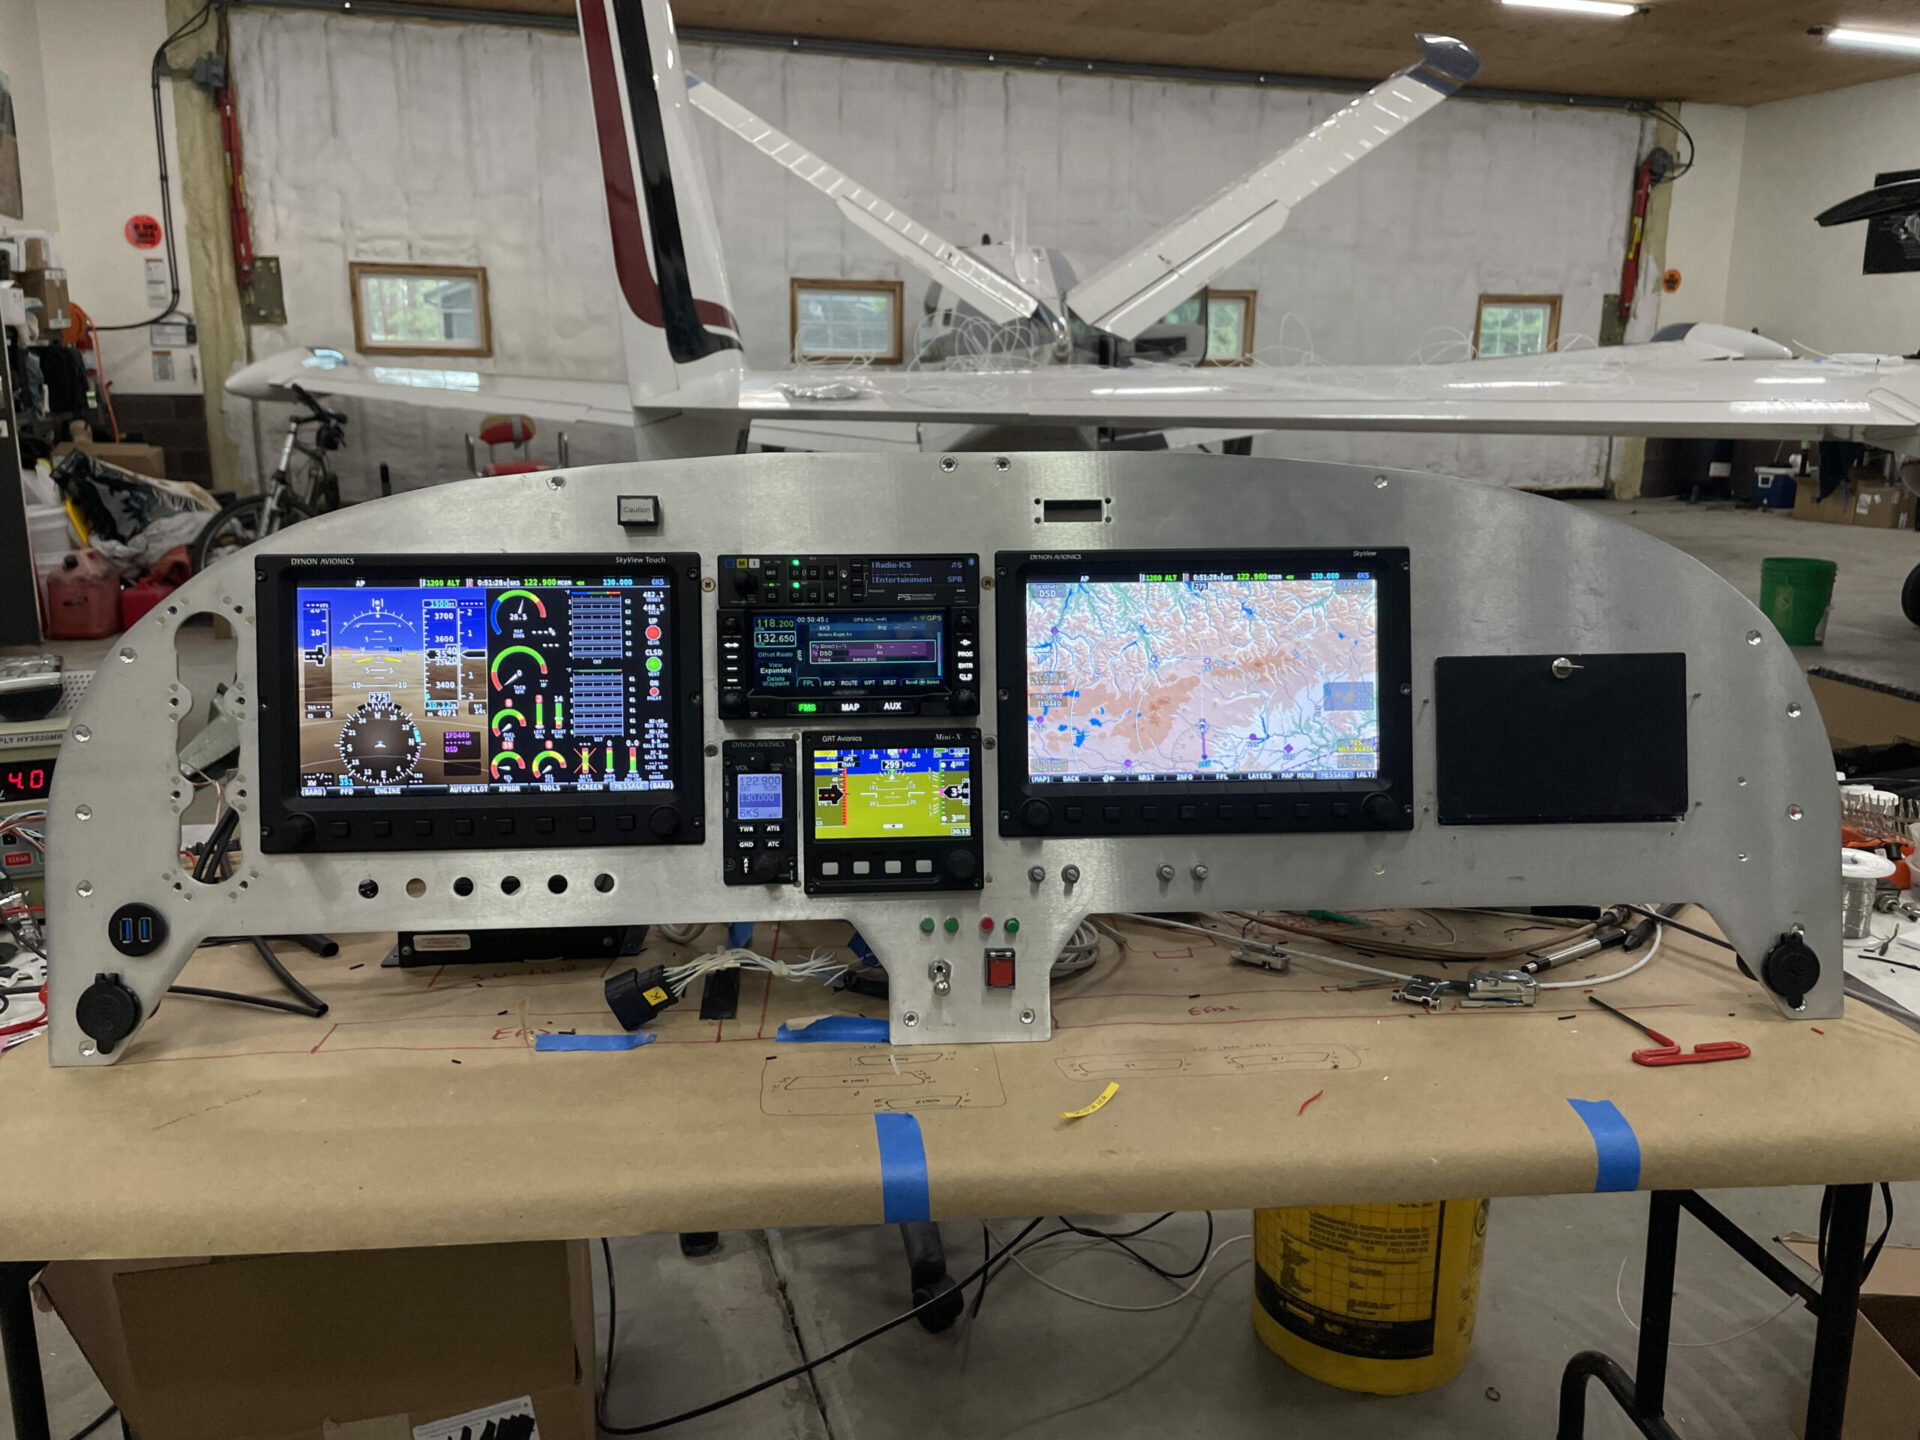
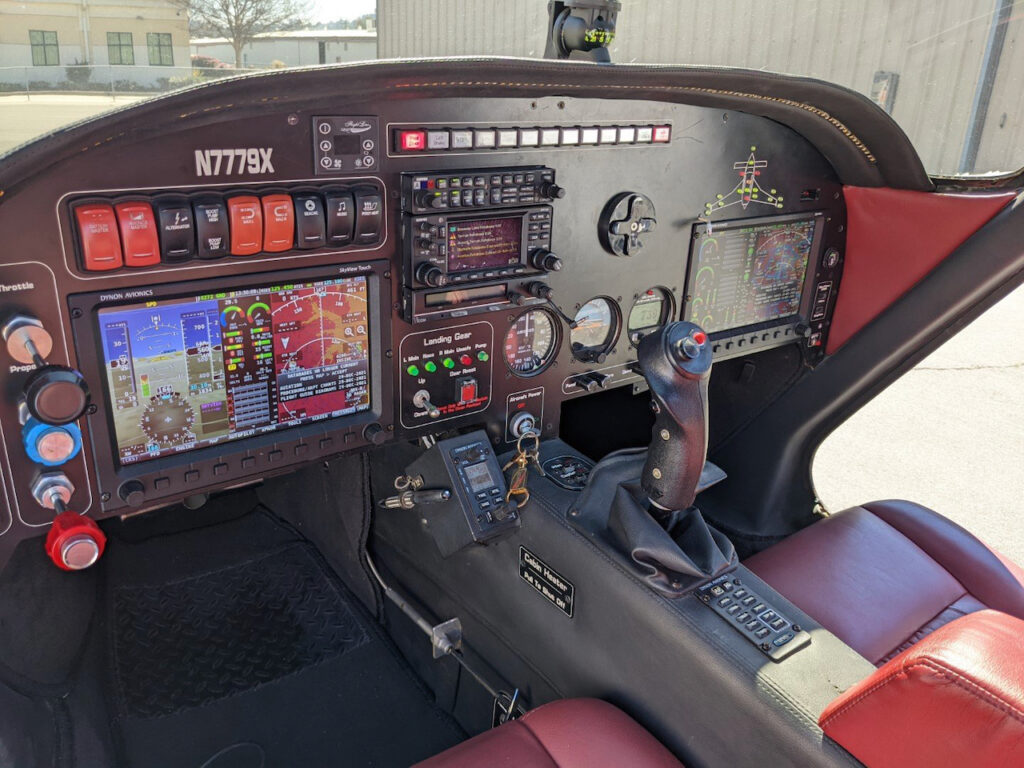
And the finished product looks amazing!
Great work Steve!
The before and after photos are spectacular. What a different philosophy behind the panels, and after a few hours using the new panel I can definitively say I’m way happier with the new setup. Whew!
Before
After
Avionics Pickup Day!
The time had come. almost exactly 2 months later, Nico and I headed back up to Sisters, OR to grab “Speed Bug” after it’s major makeover. (btw… Thanks to James for rides in both directions!) After arriving and admiring all the beautiful work it was time for re-assembly and a test flight.
Like I’ve mentioned before, owning an airplane is quite an emotional rollercoaster. Coming to Sisters to pickup my fully revamped plane was as high as can be. Then came the lows…during re-assembly and test flight is when all the problems started to crop up.
We did a gear swing to test the rewiring of the landing gear system. During it we noticed a pretty bad leak in the nose gear door cylinder. It was bad enough that the nose gear doors were not coming fully up. We removed the doors and continued reassembly. Something to work on later.
When we did the flight test, the avionics were great except the cylinders were reading pretty hot. Long story short, with these new sensors giving me more accurate information, it looks like the engine actually runs pretty hot. Something additional to work on.
One of the hopes of the avionics rework was to fix the CHT sensors jumping when the push-to-talk was pressed. Turns out the rewire did not resolve this. Something else to work on.
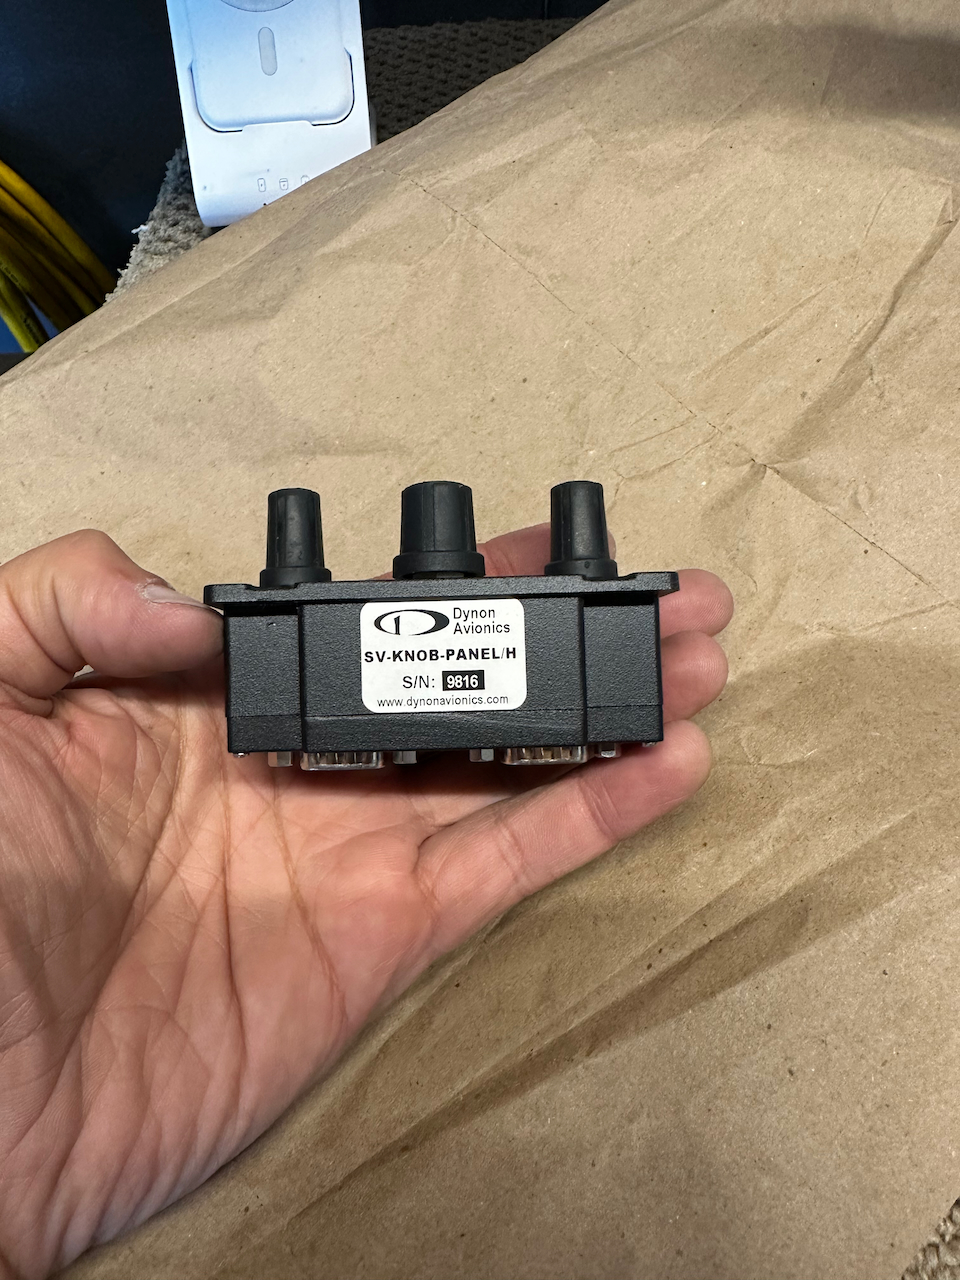
The Overhead knobs panel push buttons for Altitude and Heading seem to have degraded. This will need to be sent into Dynon for repair. Something else to work on.
After a long day of assembly, disassembly, reassembly, we finally got in the plane and headed home…. buuuuttttt… the plane wouldn’t start. Not that it wouldn’t start.. the plane was trying, but the prop wasn’t turning over. We did eventually get it started, but it was NOT pretty.
OK, deep breath…. it’ll be fine, late that evening we finally took off, and Nico and I made the long trek back home. We arrived safely that night, and put Speed Bug away. Home Sweet Home… we’ll deal with the issues tomorrow.
A bit of rest after reassembly
Plane out and ready for test flight.
Steve and I prepping for the test flight.
Probably 50 lbs of wiringing came out!
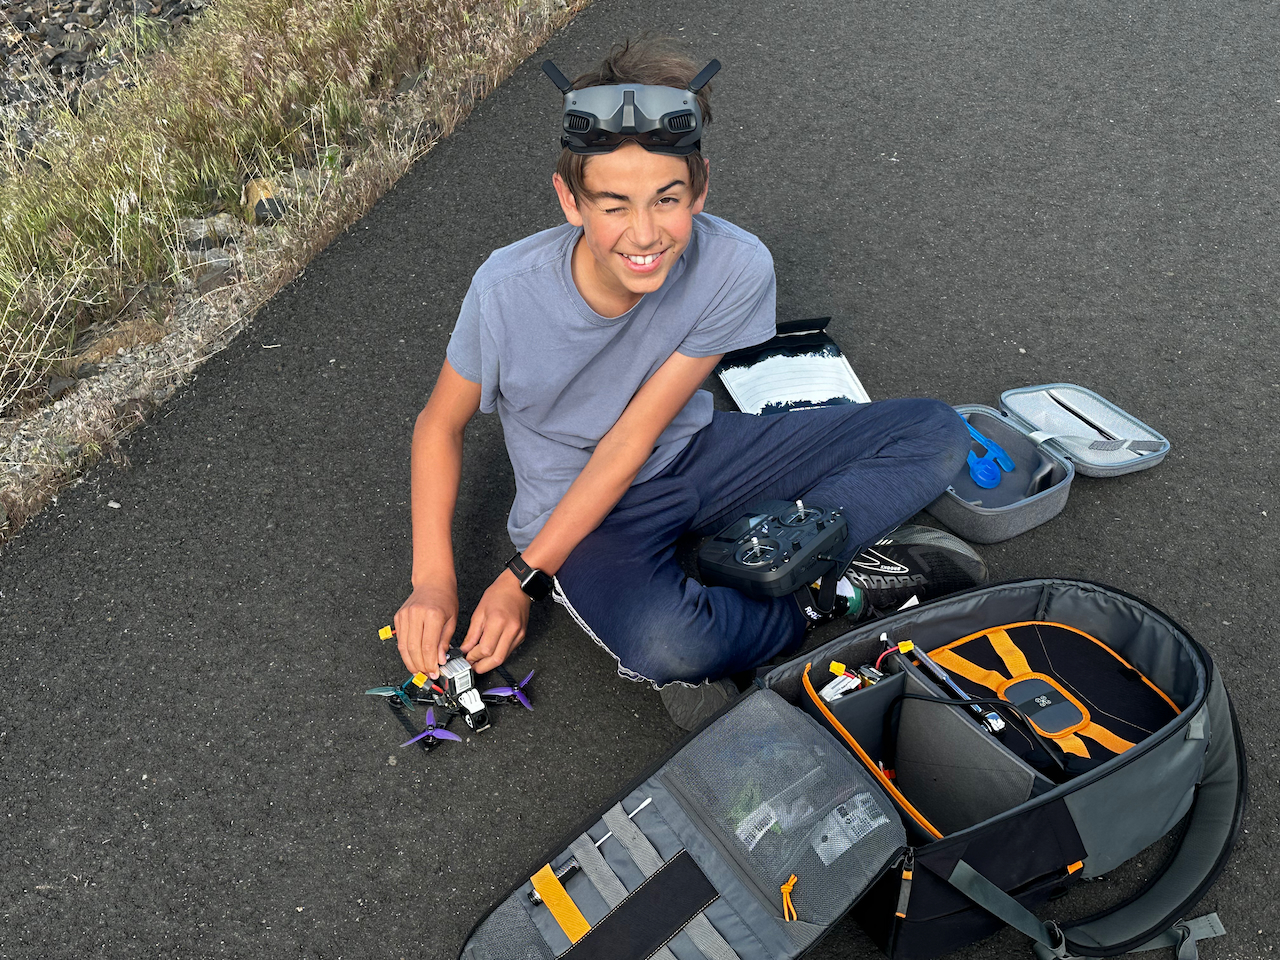
Nico with his new HD FPV drone. There are some COOL videos from his shots.
temporary tape to try improving cooling.
Finally on our way home after a long day up at Sisters.
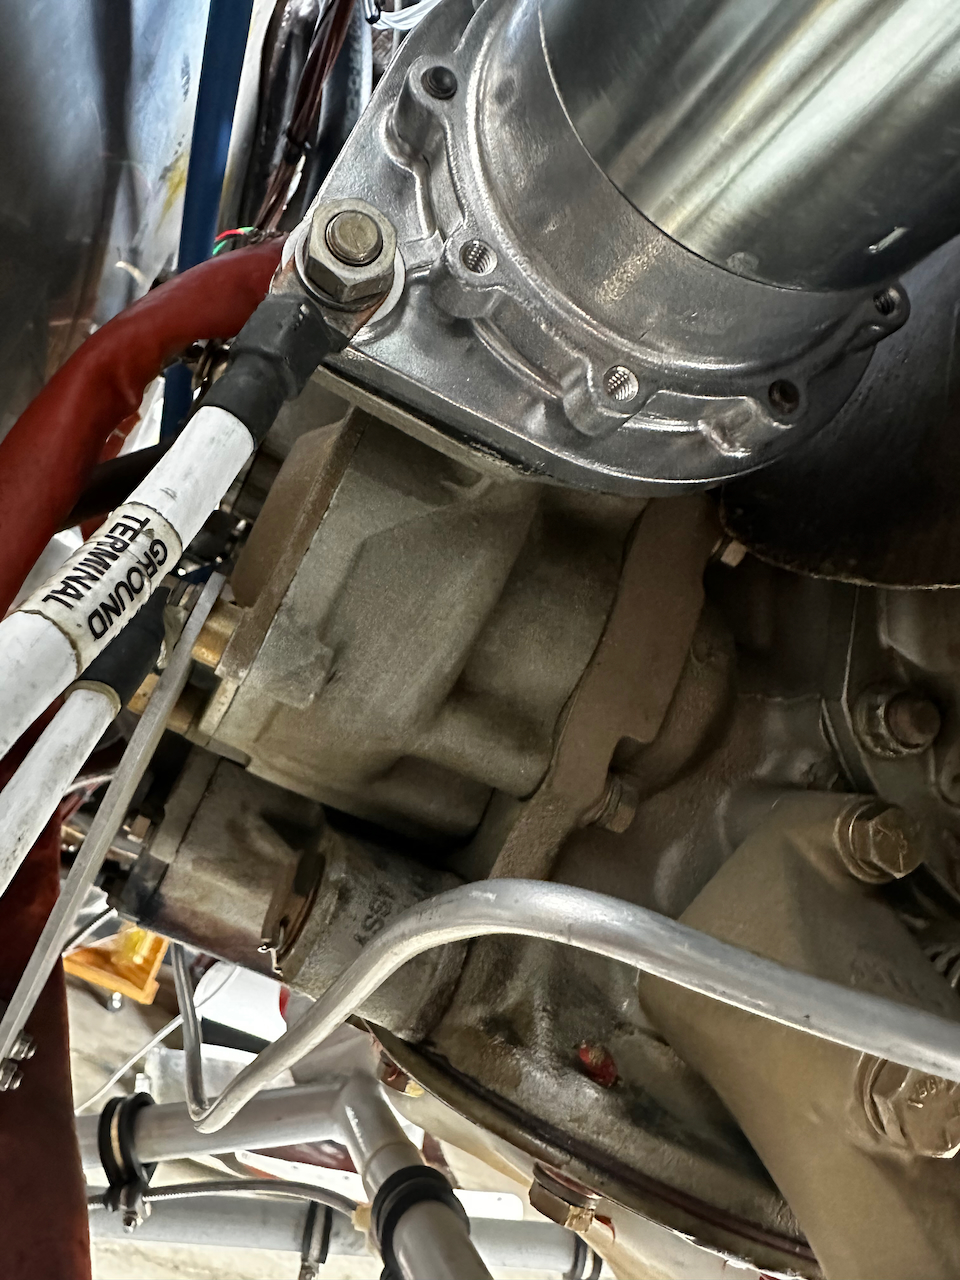
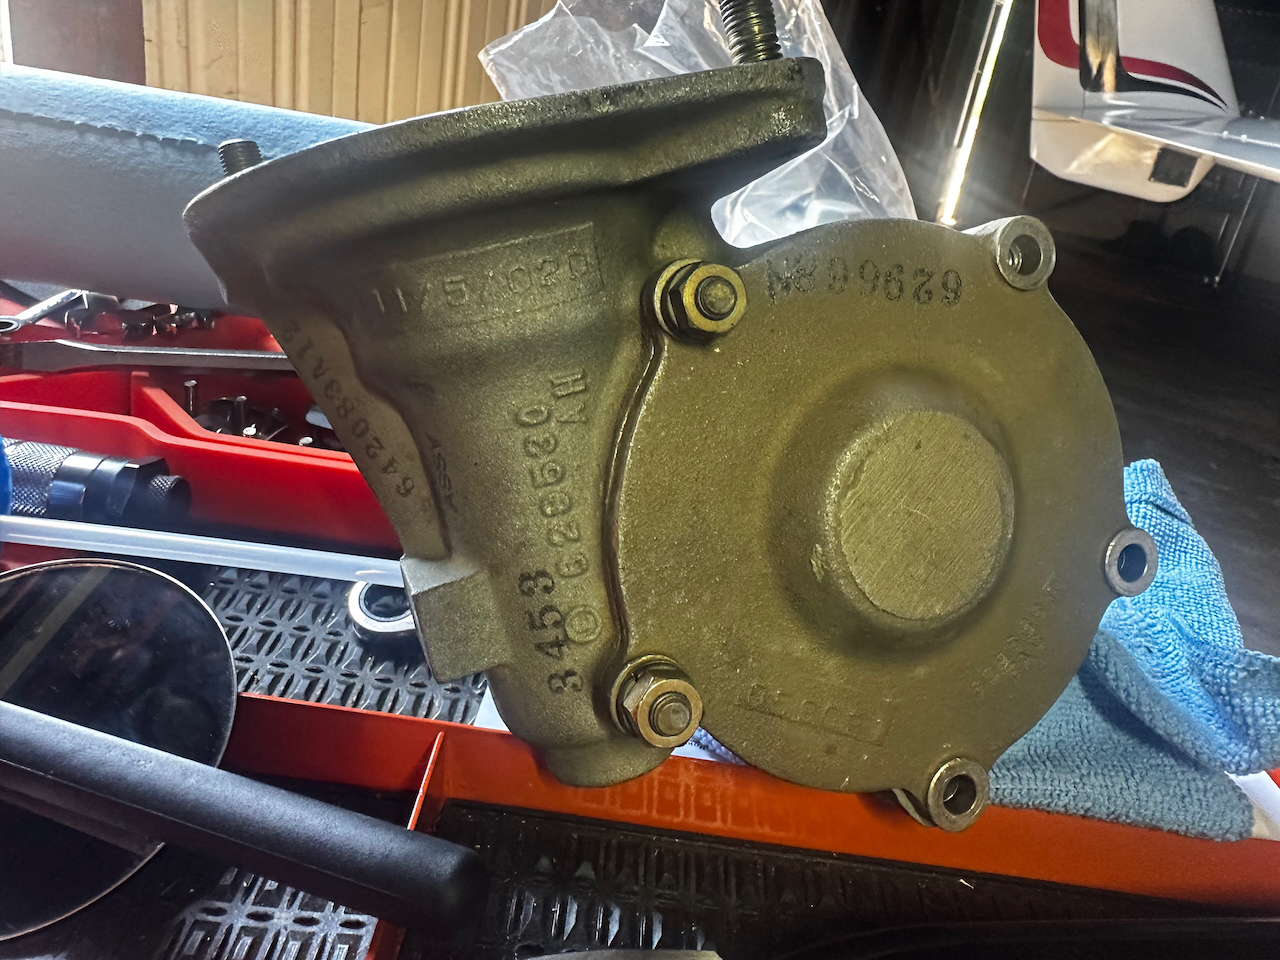
Starter Adapter replacement
I had to triage my issues discovered in Oregon. The engine heating problem was manageable with climb profiles and reduced power and the EMS and nose gear door issues were temporarily deferable. But the starting issue was a no-go issue. There was a good chance if I tried to go somewhere again, I would get stuck. Thank goodness I got the plane home, and I wasn’t going to risk any flights before this was resolved. I had our local A&P listen to the starting and he immediately knew it was the starter adapter. Continental has a weird starting system that requires an adapter that basically converts the starter motor energy 90 degrees and uses a spring system to release the starter when the engine starts. It is known to go bad over about 1100 hours normally, but in this case mine had died after about 450 hours. I was able to overnight a replacement adapter from Niagra Air Parts and 24 hours later I had put it in. The engine started BEAUTIFULLY! In hindsight all the other things I had done (new starter, engine heater, etc) were probably all slightly extending the life of the adapter, but that thing was bad since day 1. I’m so relieved to finally have found the root cause of the starting issues. 5 flights since, and every start has been absolutely perfect. Whew!
That’s the starter adapter. Between the starter and the engine, the adapter makes a right angle turn.
old starter adapter out!
new adapter in!
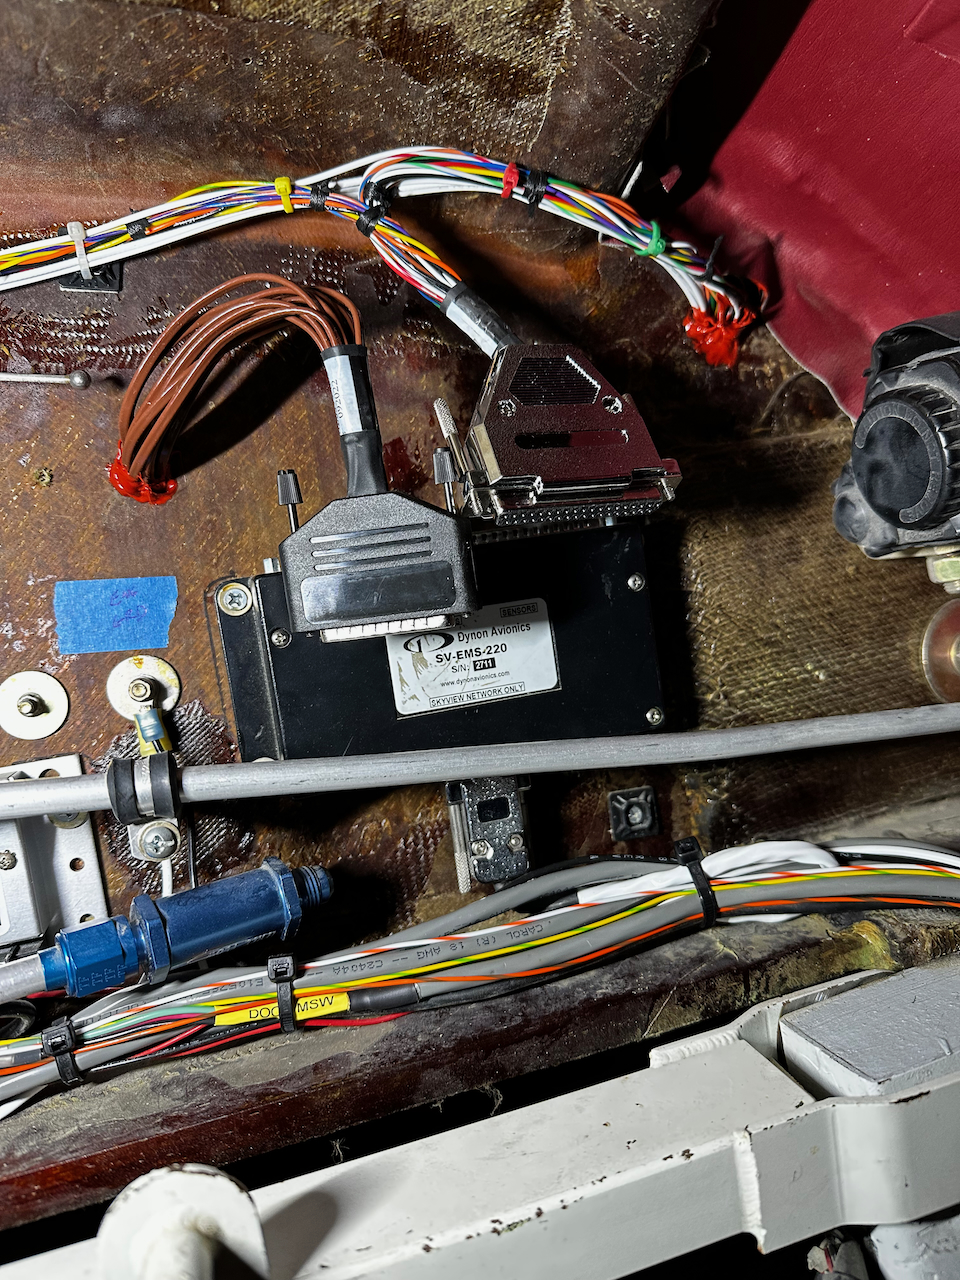
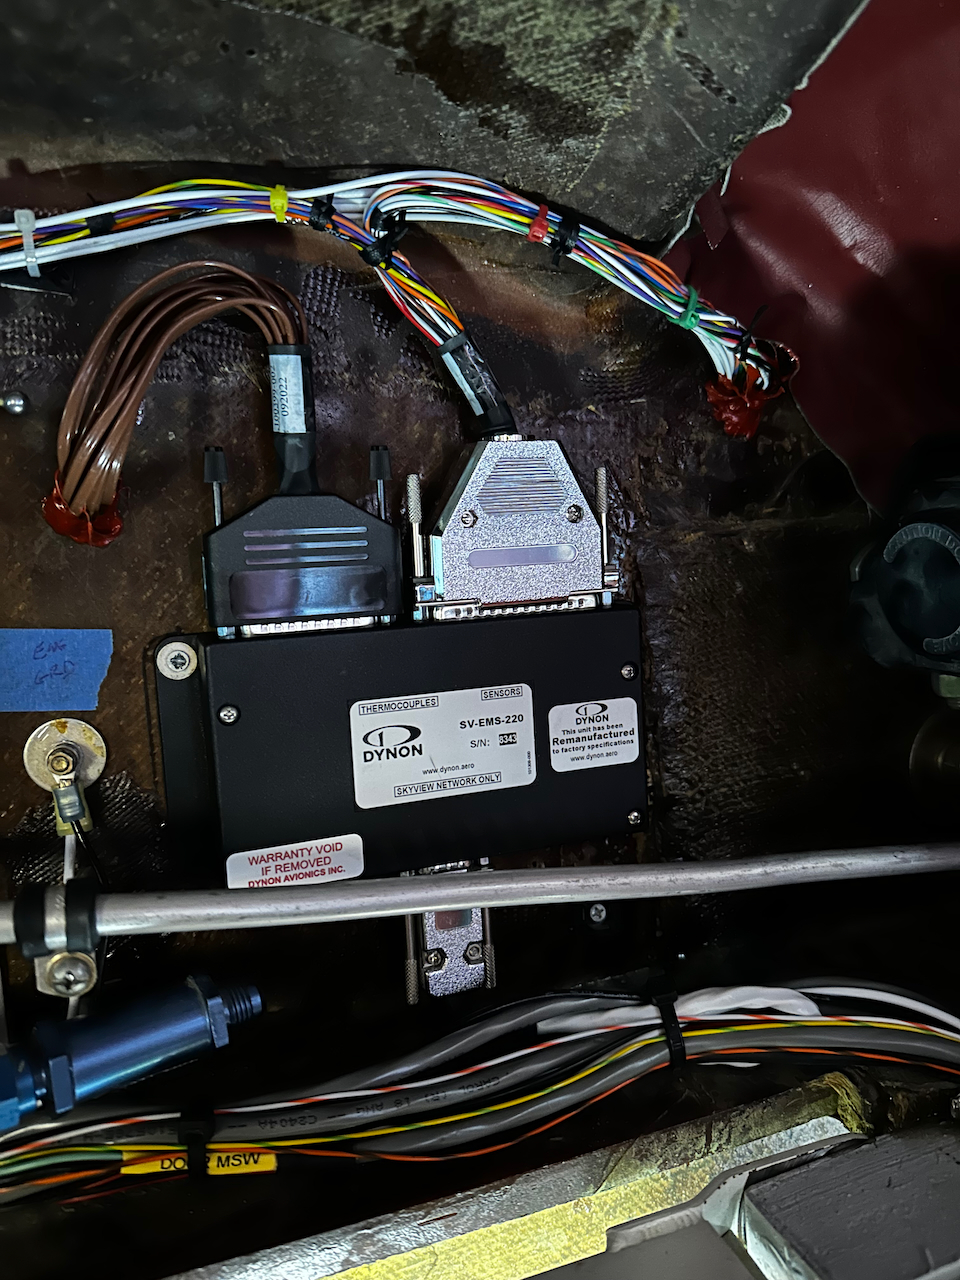
Dynon EMS and Knob Panel Unit Repairs
Dynon is great about support of their units. After the rewire didn’t fix the CHT jumping issue, Steve and I discovered that this is a known issue within the SV-EMS-220 unit from back in 2020, so older units don’t have the fix. They sent me a cross dock shipment of a new EMS, and with a few plug swaps I was able to replace my unit and send it back. At the same time I sent back the knob panel and they will be repairing that soon. One thing to note… I had to force detect all the units on the network for the new EMS to be recognized.
Old EMS unit out…
…new one in!
Knob panel out for repair
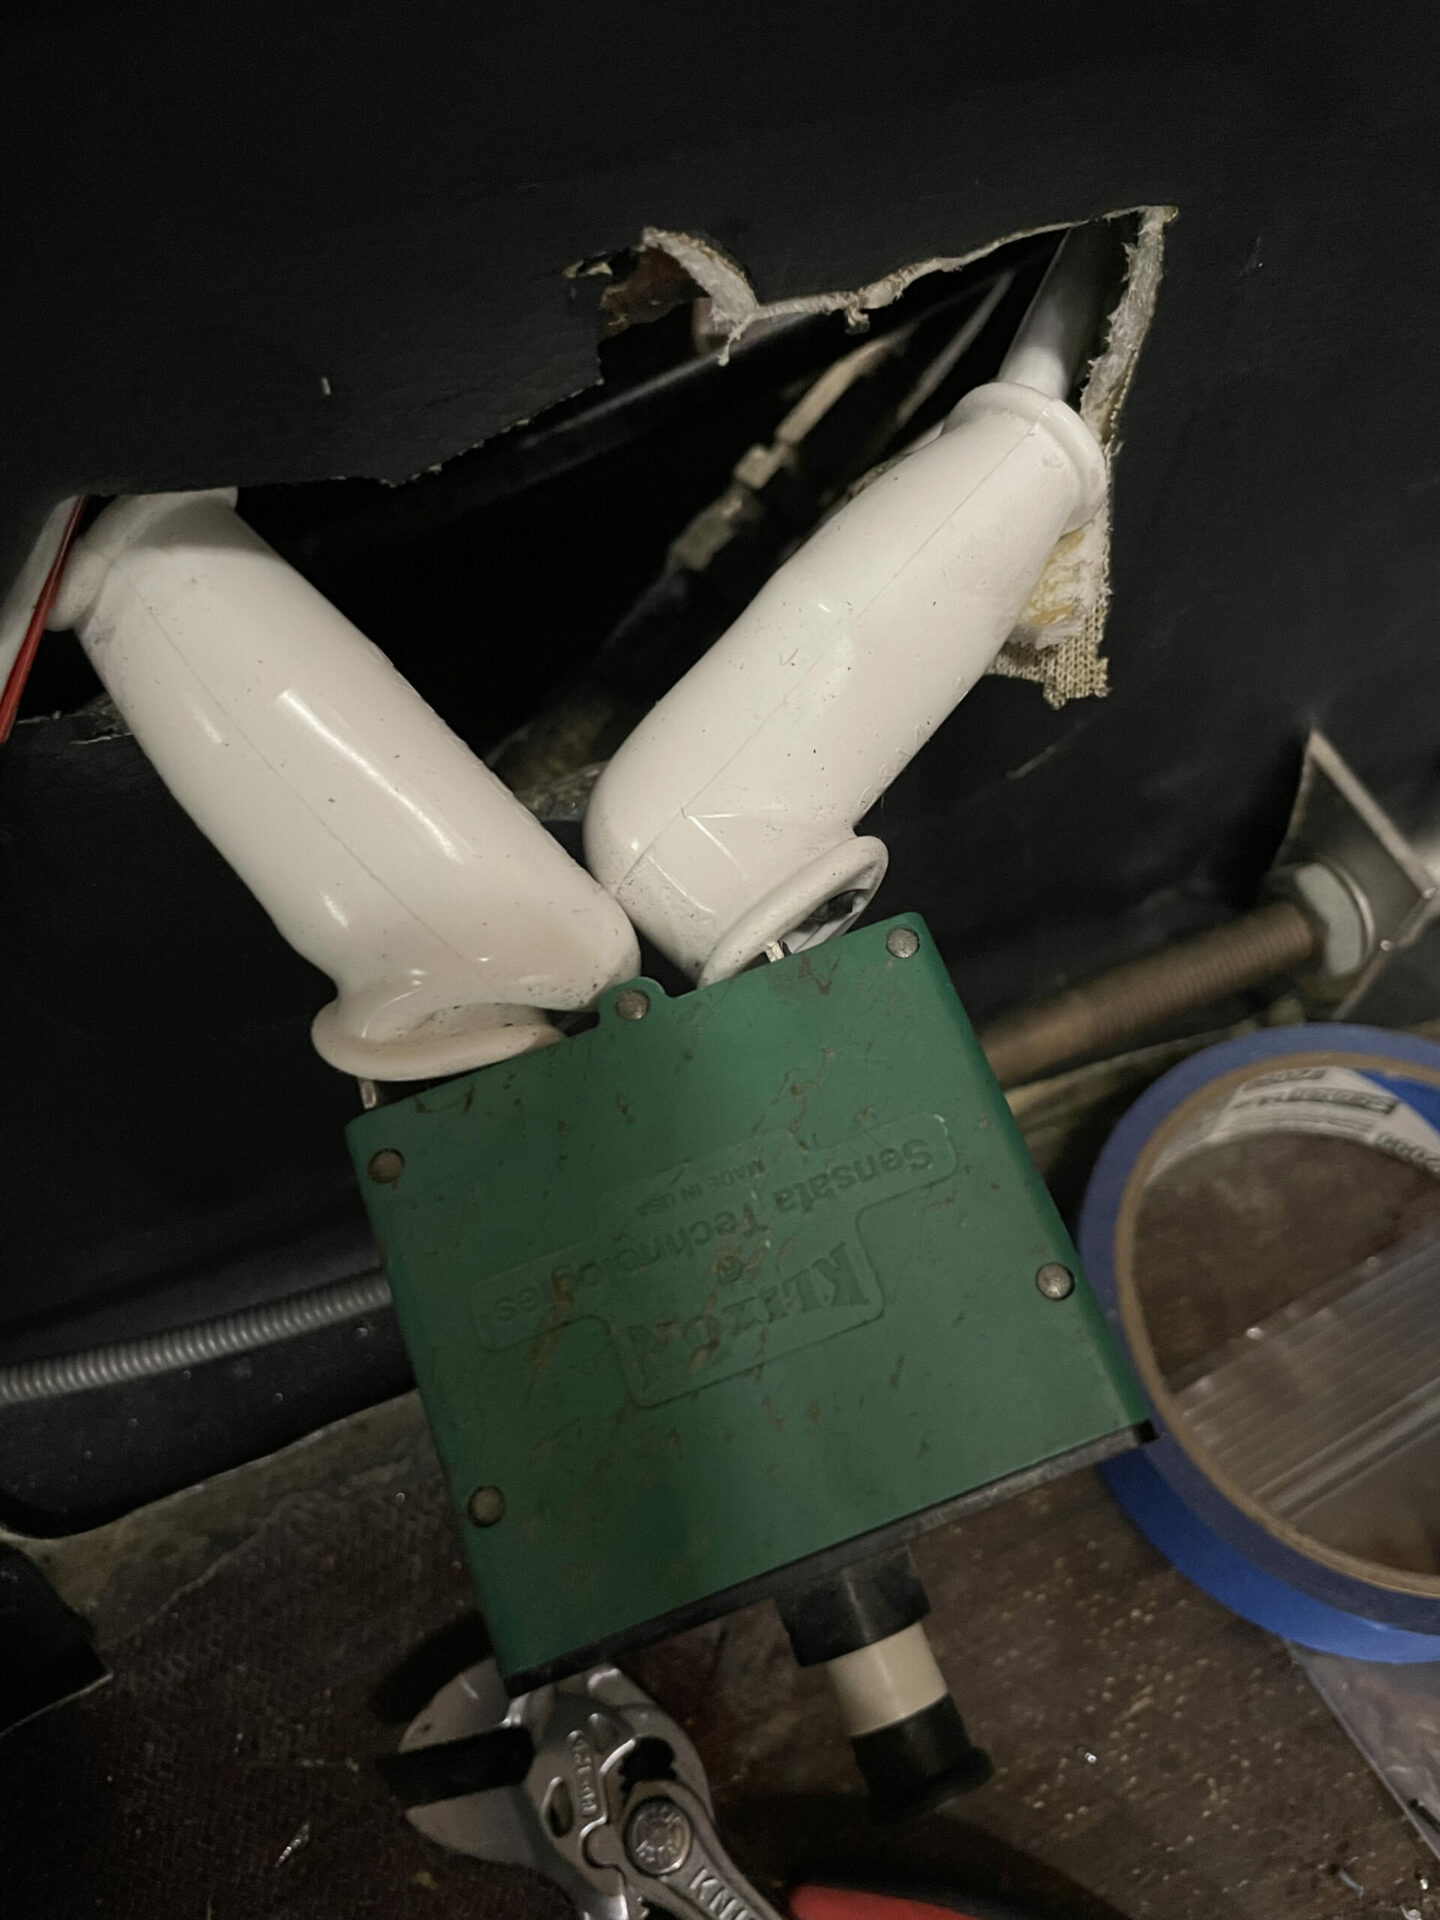
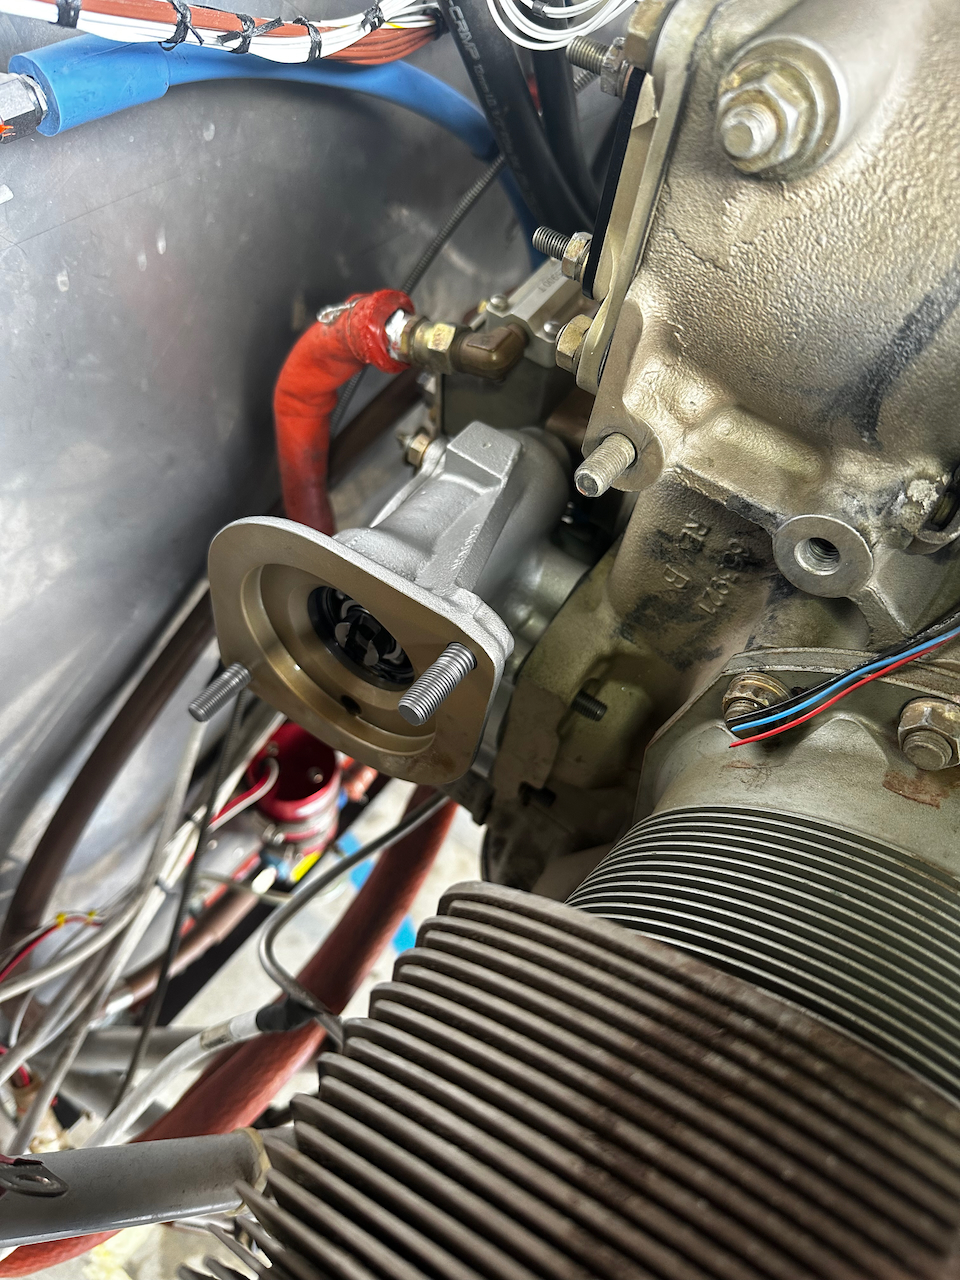
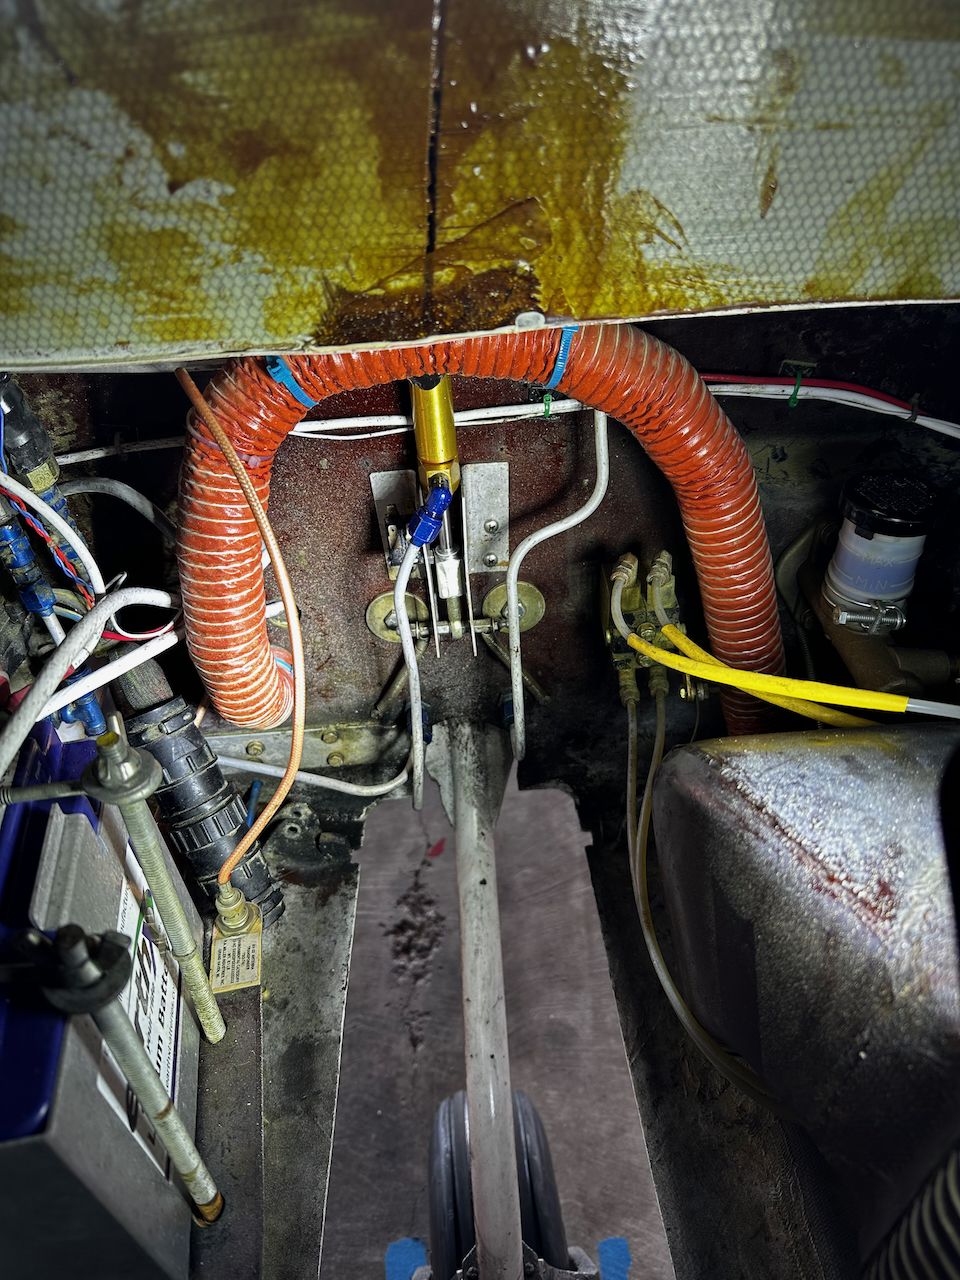
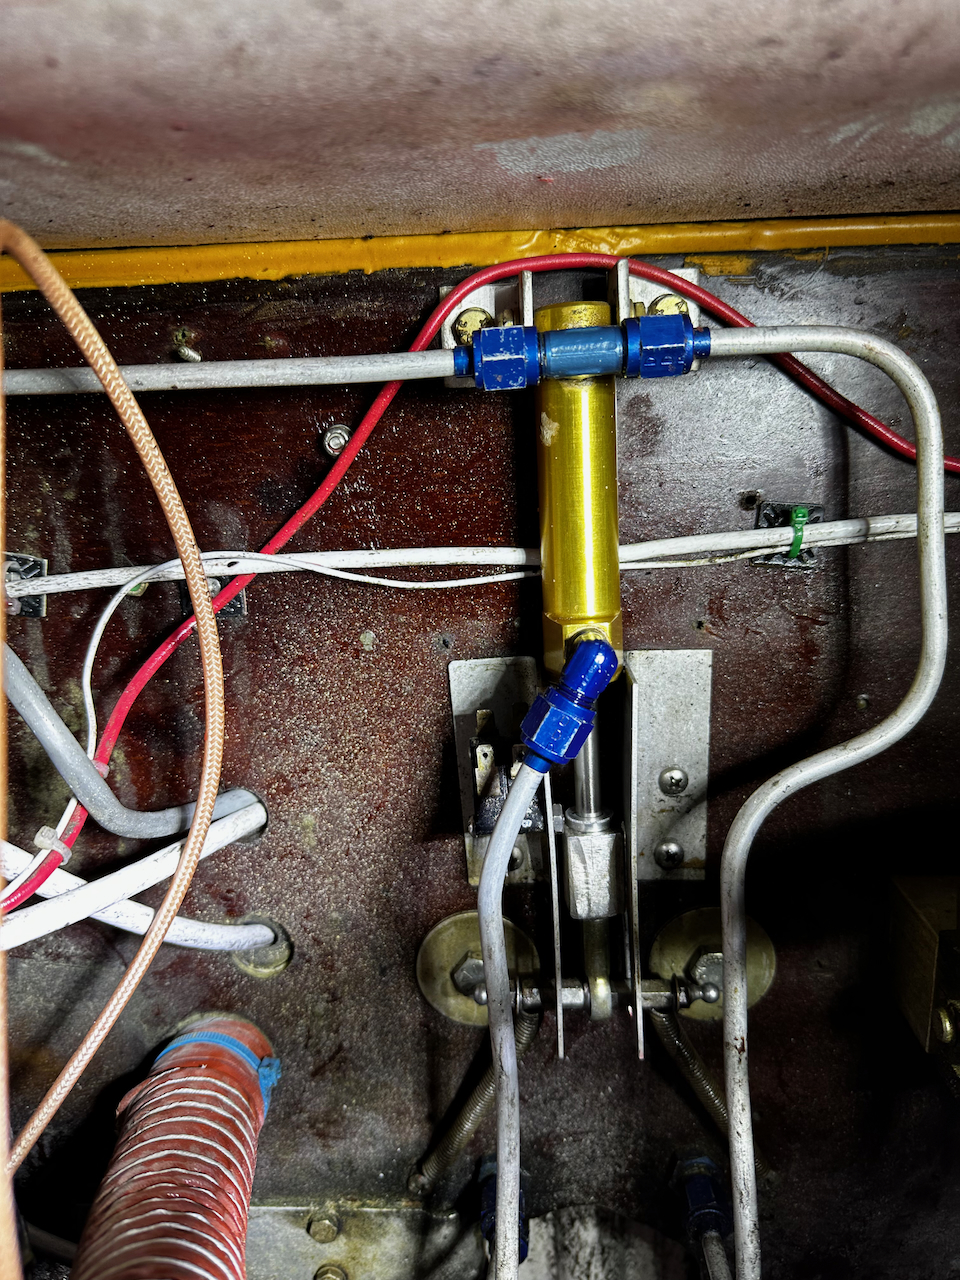
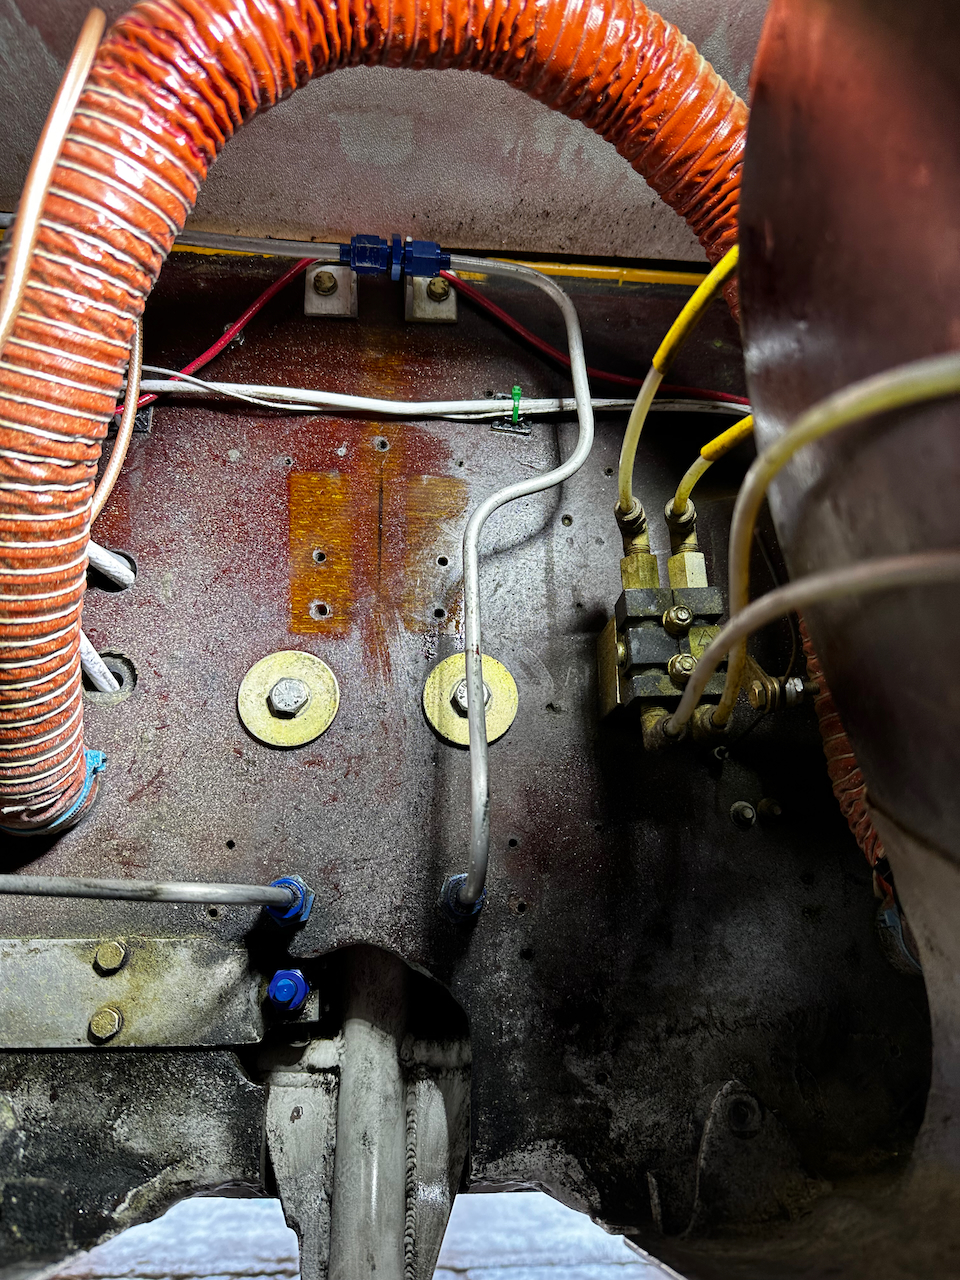
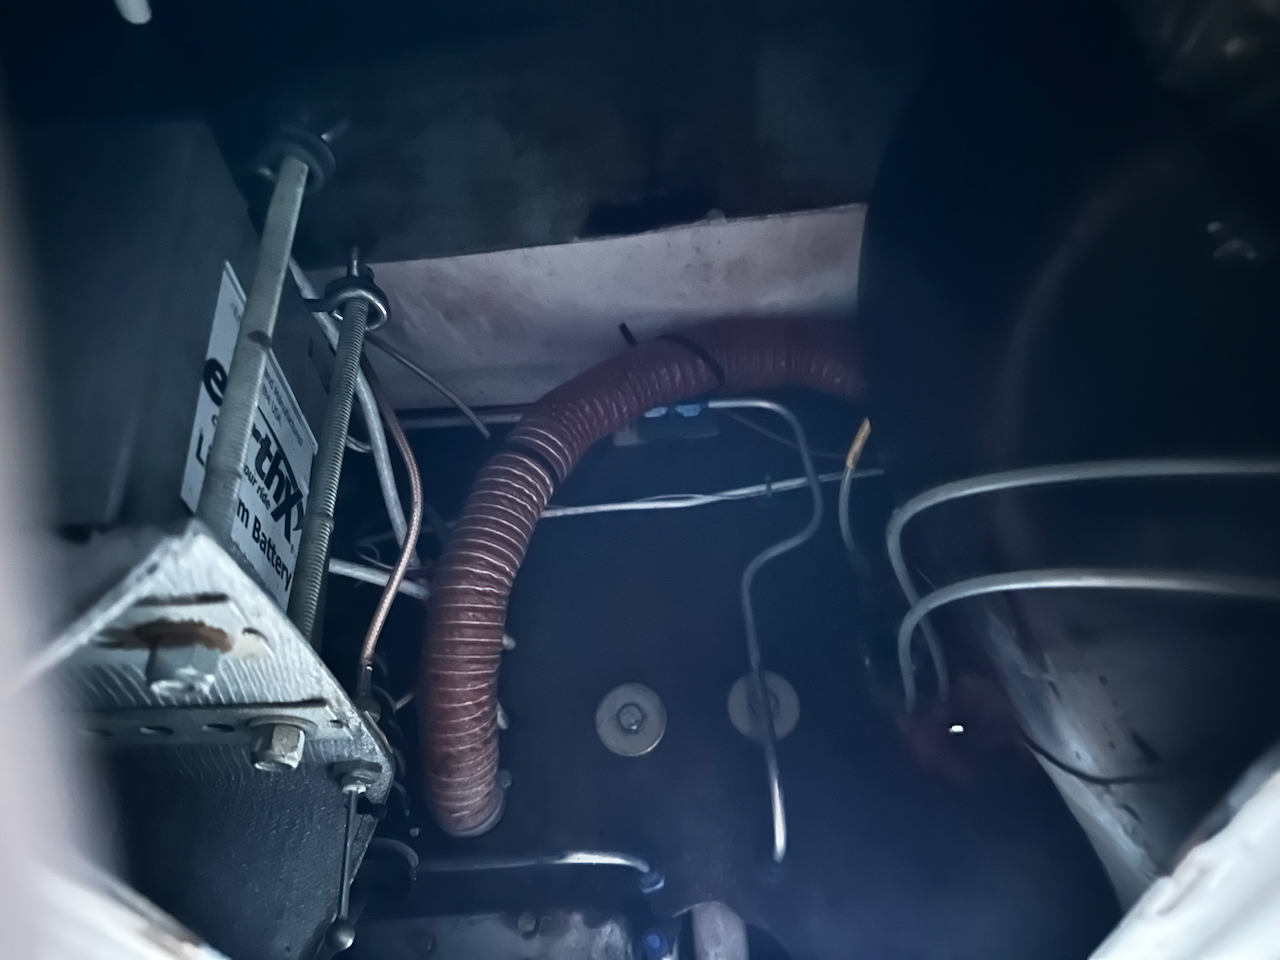
Nose gear door cylinder Removal
The early Velocity design had a hydraulic cylinder dedicated to the nose gear door. It creates a lot of extra complexity with a sequence valuve required in line, and another cylinder that could fail. They have since moved to a mechanical design that simply uses the nose gear leg to push the doors up when it retracts. Much simpler. Since I had a leaky cylinder I decided to get the mechanical system and replace it. The installation of the new system is going to be a big project so for now I just wanted to remove and cap off the old system. Velocity said that it is no problem flying with the nose gear doors off indefinitely, so I can delay the mechanical installation until I have an extended time to work on it (it may require removal of the canard!). After the work I did a gear swing test and everything looked great. No more leak!
Nose gear door cylinder system
I will need to union the lines to bypass the cylinder
all removed and ready for securing.
everything zip tied and ready for gear swing test.
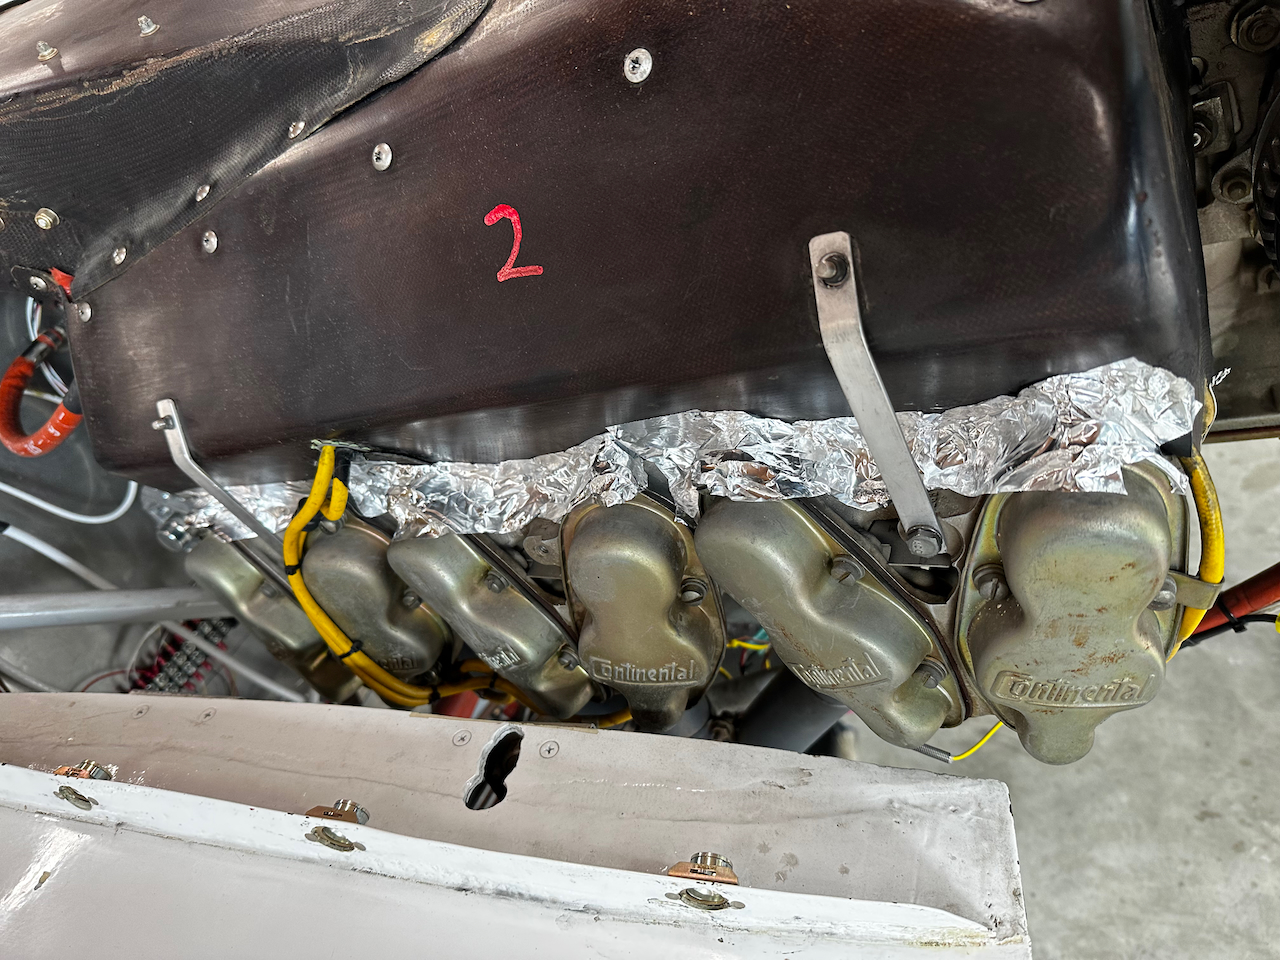
Investigation! - Cylinder #5 running warm
The last of the major issues to be resolved is the warm running cylinder #5. For this one James helped a ton with debugging and trying a variety of things. The first was improving the plenum mechanism by providing additional tabs for pulling the edges tight to the cylinders. Any air that can escape around the plenum without going through the cylinder cooling fins is wasted air. Although it helped by a few degrees, it wasn’t the smoking gun. I sent in some engine logs to Savvy QA (a yearly service I subscribe to that allows me to ask questions about my aircraft) and they immediately identified that the fuel flow is extremely low for my full power takeoff. Normally folks have this up between 28-30GPH. Mine was at 23.6. They were convinced this would make a huge difference in the climb. Sure enough, when we adjusted the fuel pump orifice, I got huge improvements to the cooling during climb. What a relief! In fact it may be a bit too much, so I pulled it back a touch and will try another flight today. The cylinder is still running a touch warm in cruise, but is completely manageable…so for now I will consider this issue resolved enough. I will keep playing around with the plenum air flow to see if I can tweak it just a bit more.
New tabs added to plenum to improve seal around edges of the cylinders.
Thanks James!!
Whoa. That’s a lot of stuff but I guess it’s also been almost 6 months since my last update. I’m not fully where I want to be but once the knob panel is back, and the nose gear doors are back in, I will consider the plane in a great steady state (until the next big issue…ha ha). But the plane is in a flyable and safe state, and I look forward to more flights soon! Until then… Happy Flying!!
Fantastic photos and excellent narrative. I’m looking at a 1994 Velocity 173 FG as a first time purchase. It’s panel looked a lot like your old one. Your update gave me some great ideas for possible projects. I’m not mechanical so I’ll be leaning on an A&P or IA for doing the work. Hope this doesn’t become a money pit.
Good luck Doug! Happy to chat anytime. These aircraft definitely need a lot of love (read $$$), but I think that I’m also dealing with 10+ years of deferred maintenance. Hopefully I’ve gotten over the hump and can have a period of relative calm!!


4 comments
Wowww. Lots of work but thankfully most problems solved. Good job
Holy Crap!
Fantastic photos and excellent narrative. I’m looking at a 1994 Velocity 173 FG as a first time purchase. It’s panel looked a lot like your old one. Your update gave me some great ideas for possible projects. I’m not mechanical so I’ll be leaning on an A&P or IA for doing the work. Hope this doesn’t become a money pit.
Good luck Doug! Happy to chat anytime. These aircraft definitely need a lot of love (read $$$), but I think that I’m also dealing with 10+ years of deferred maintenance. Hopefully I’ve gotten over the hump and can have a period of relative calm!!