Back from a successful Utah trip in the Velocity, it was time to get back to RV-8 work (in between some work to replace the engine vibration isolators in the Velocity ha ha). But first a bit of a Dad brag.
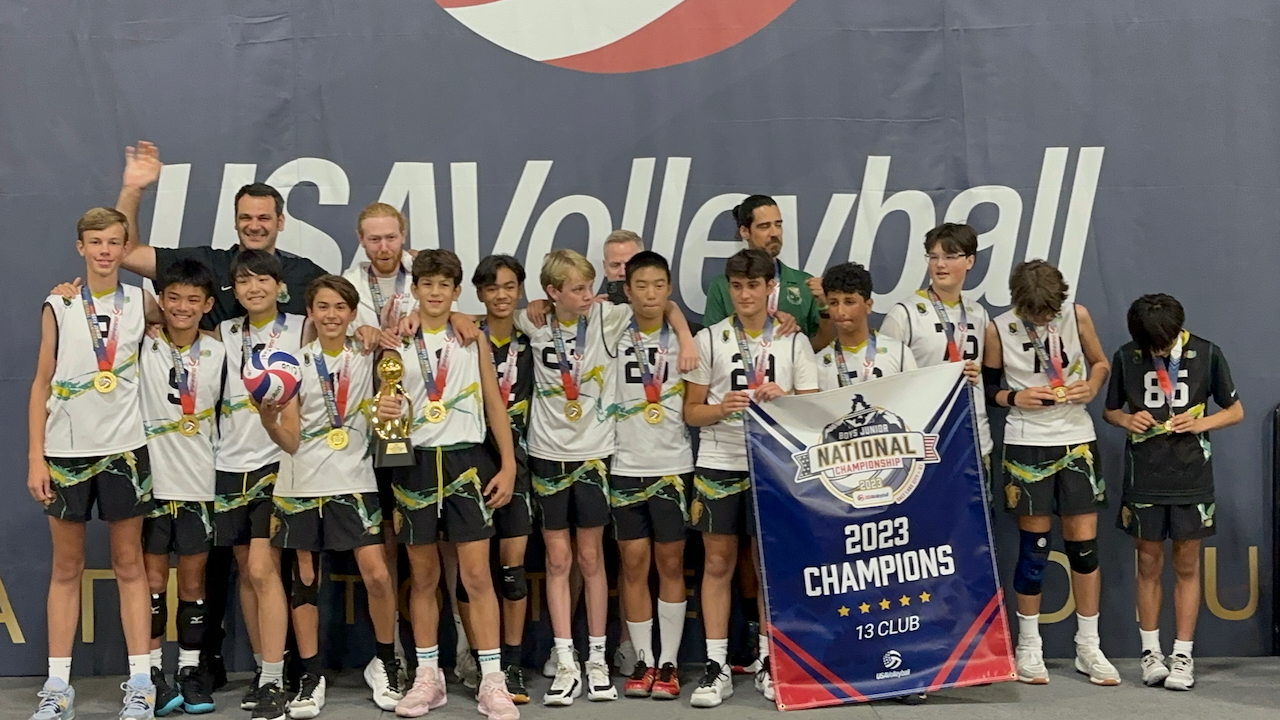
We went to Utah to for Nico and Jack’s Junior Nationals tournament. Nico’s team has been a contender all year and a had a good chance to do well in the tournament. Well…not only did the do well… they won the WHOLE THING!!! Yup, Nico is a 13U National Champion. Although Jack’s team didn’t do as well I was proud of Jack for stepping up for two different teams, and playing for 8 days straight! Wow, what it’s like to be 16 years old…:).
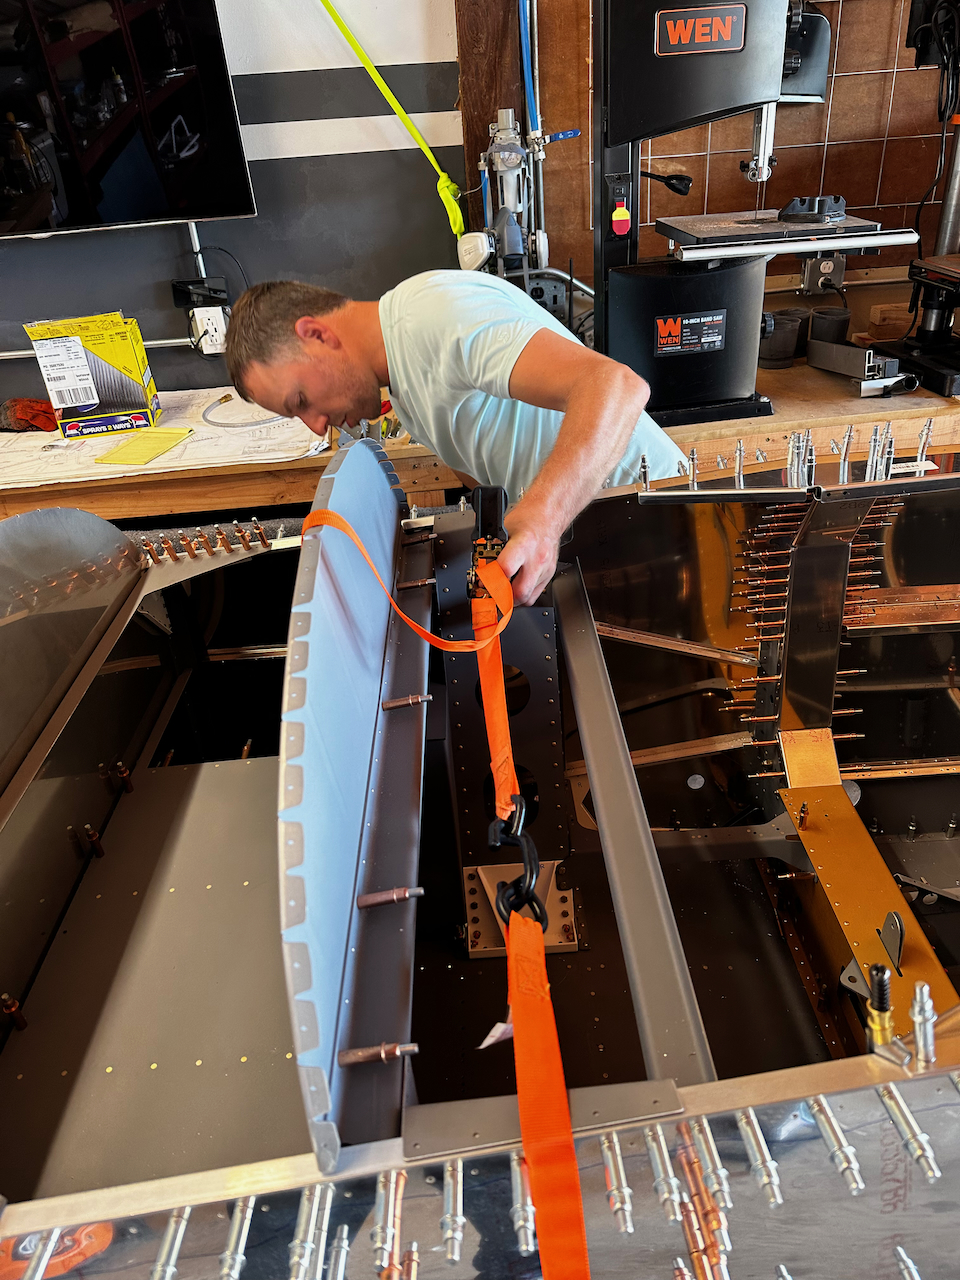
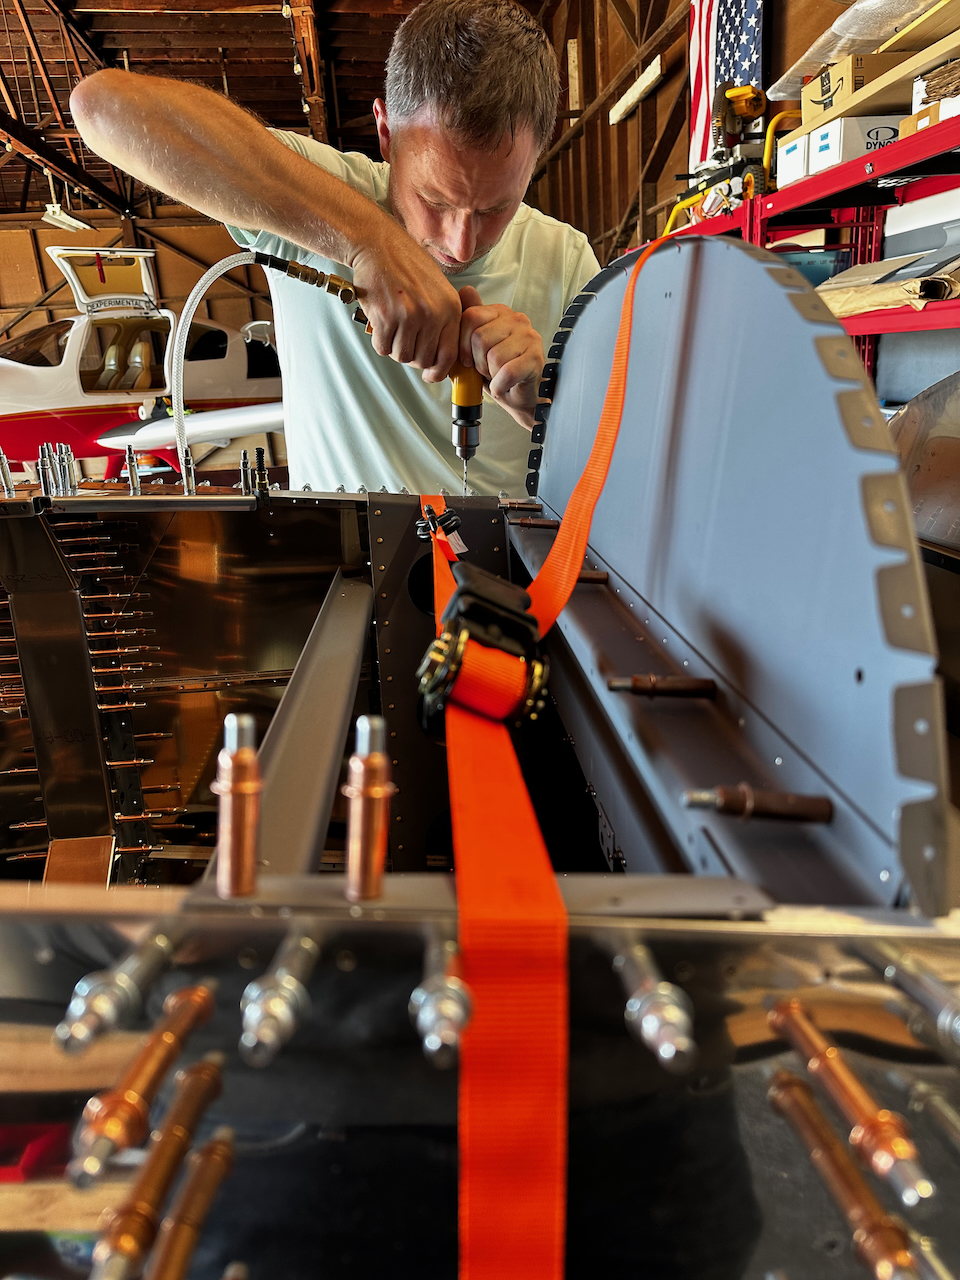
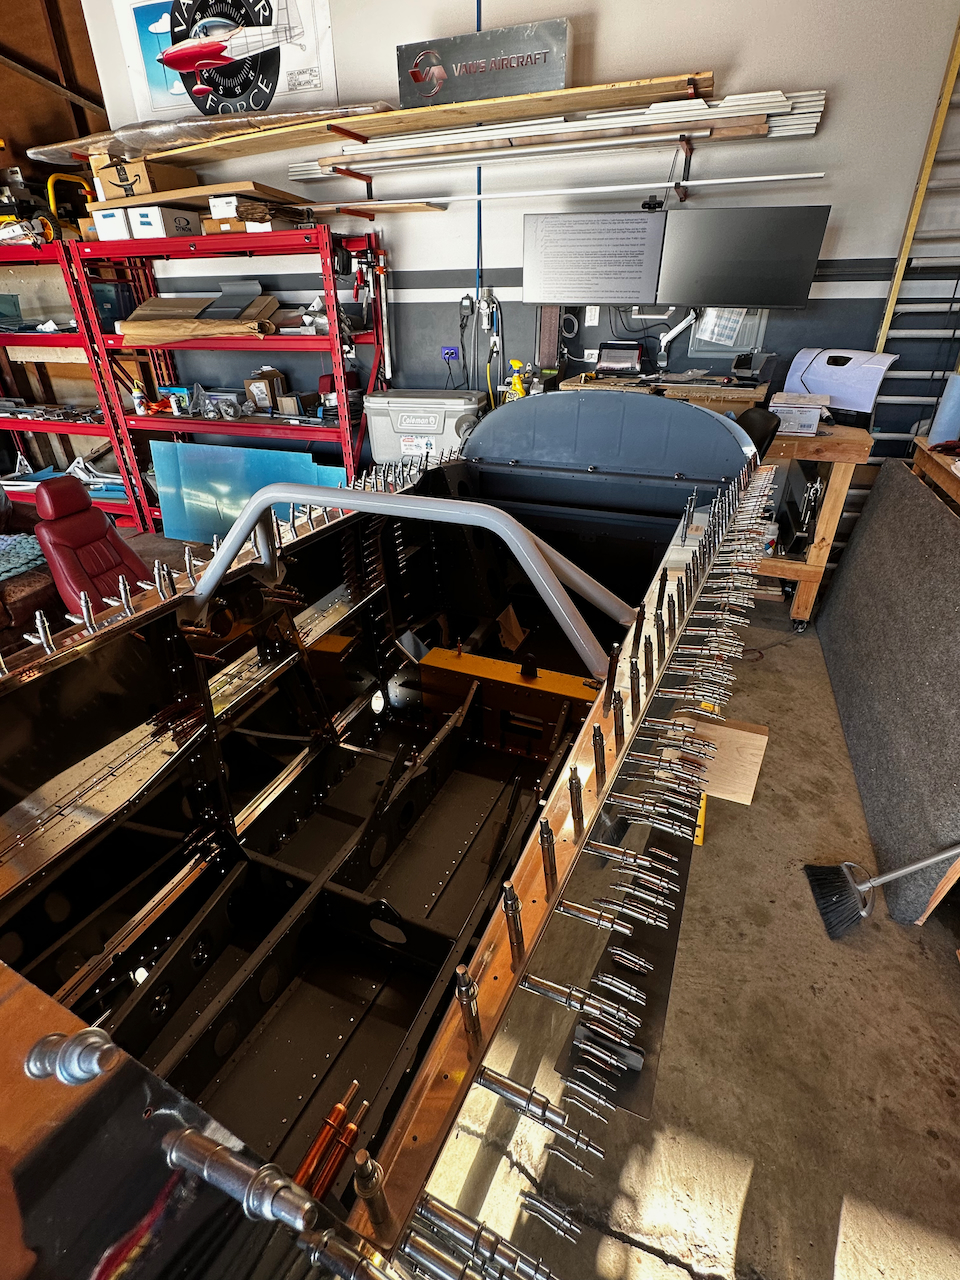
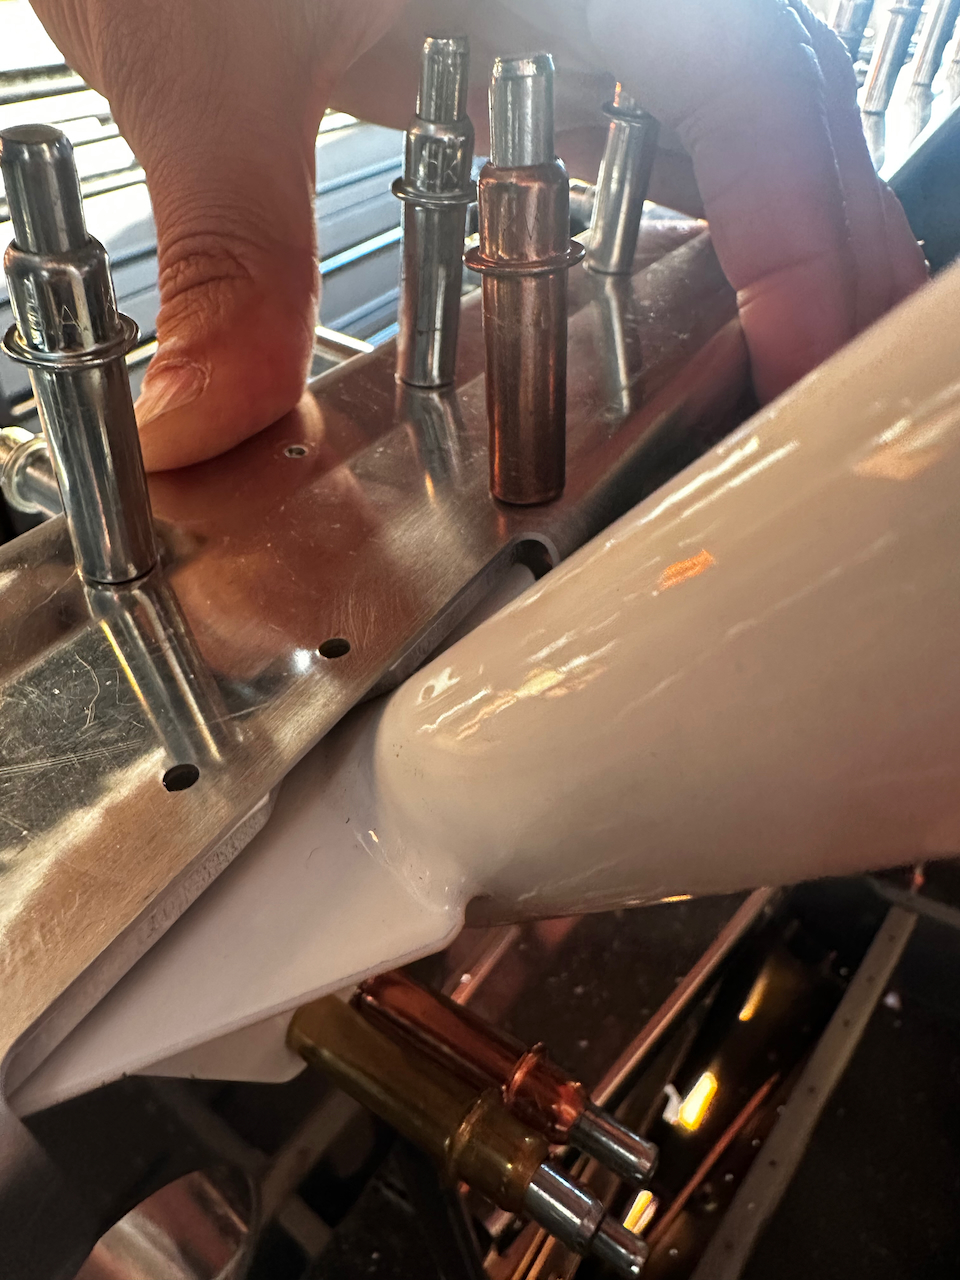
There were three major items that needed to get completed before disassembly and deburring occurs. The first was the gearbox drilling, the second was the seatback support drilling, and the third was the tail spring mount installation and cut out. In the latter two cases I ran into challenges that made it not as straight forward as I’d like. First the seatback support rail. I opted for the “tall pilot” option, thus having a seatback support that sits a little further aft. There is a spacer (F-856) that contours around the aft bar of the support and it appeared that the contour did not match the tall pilot seatback assembly. Hmmmm….
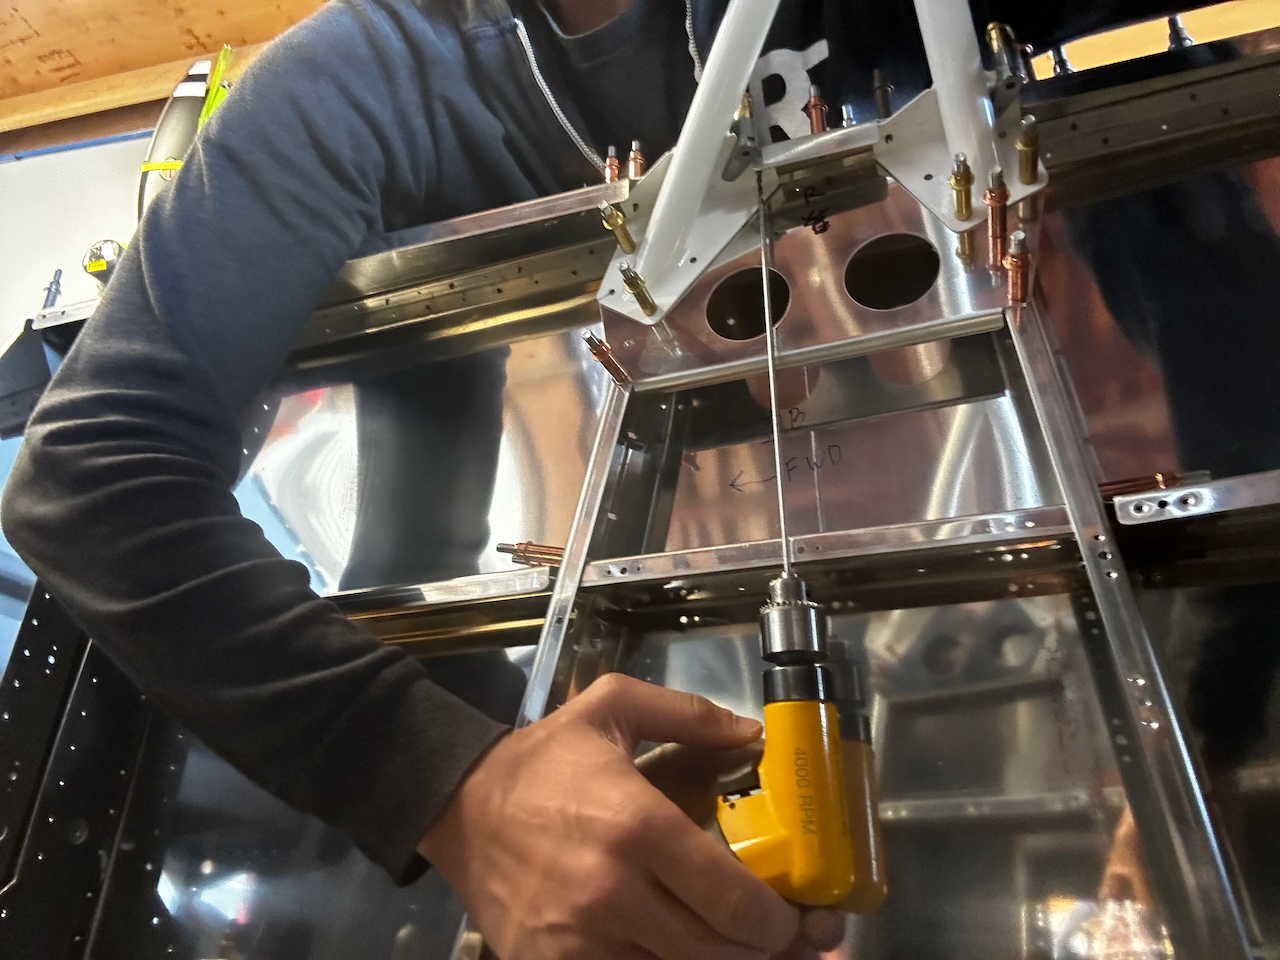
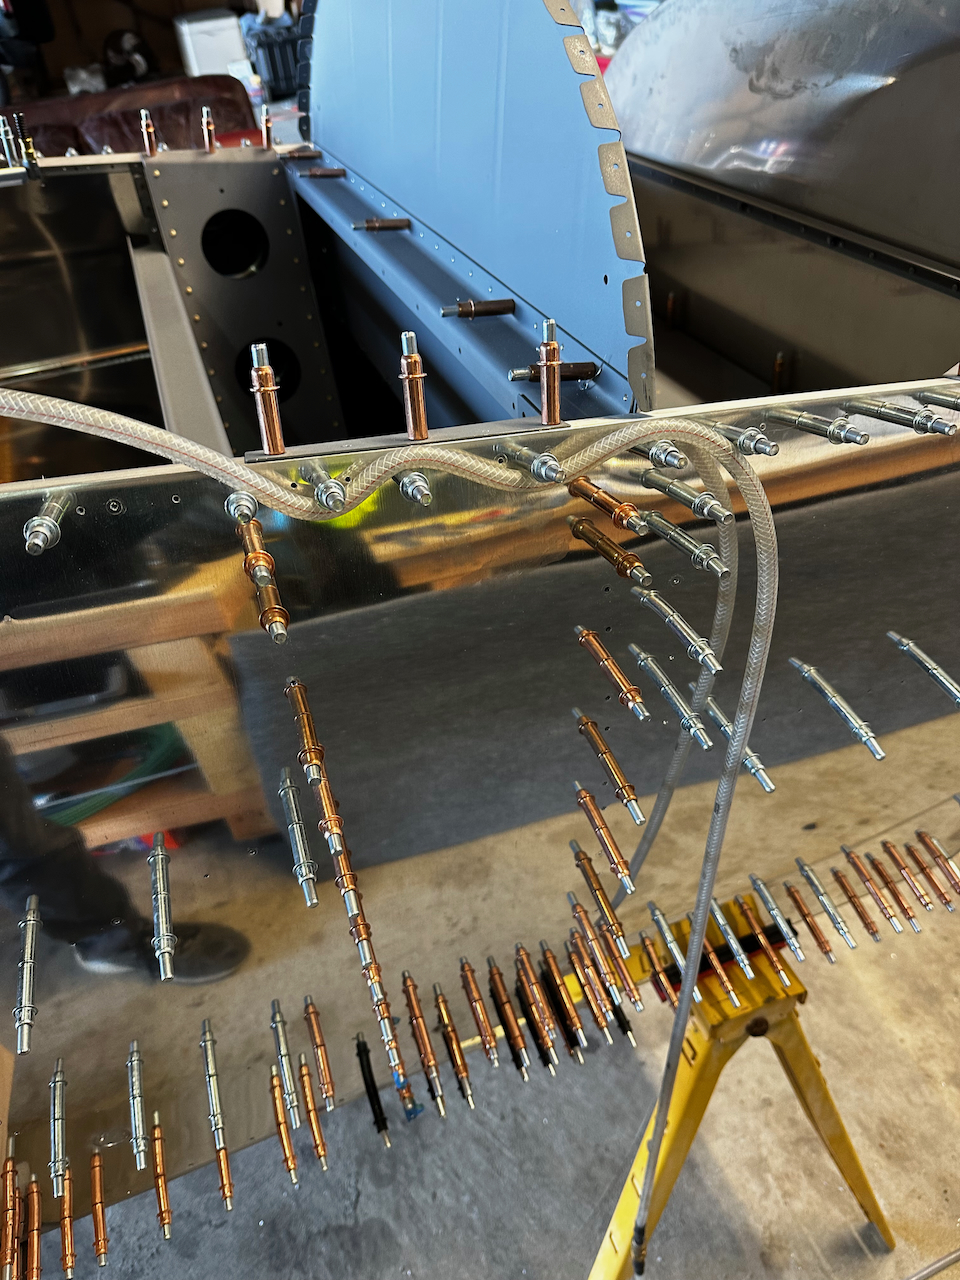
The Gear box drilling requires a strap to pull in the sides.
After cinching it down, you can drill.
The alignment didn’t bow inboard noticeably from the ratchet straps
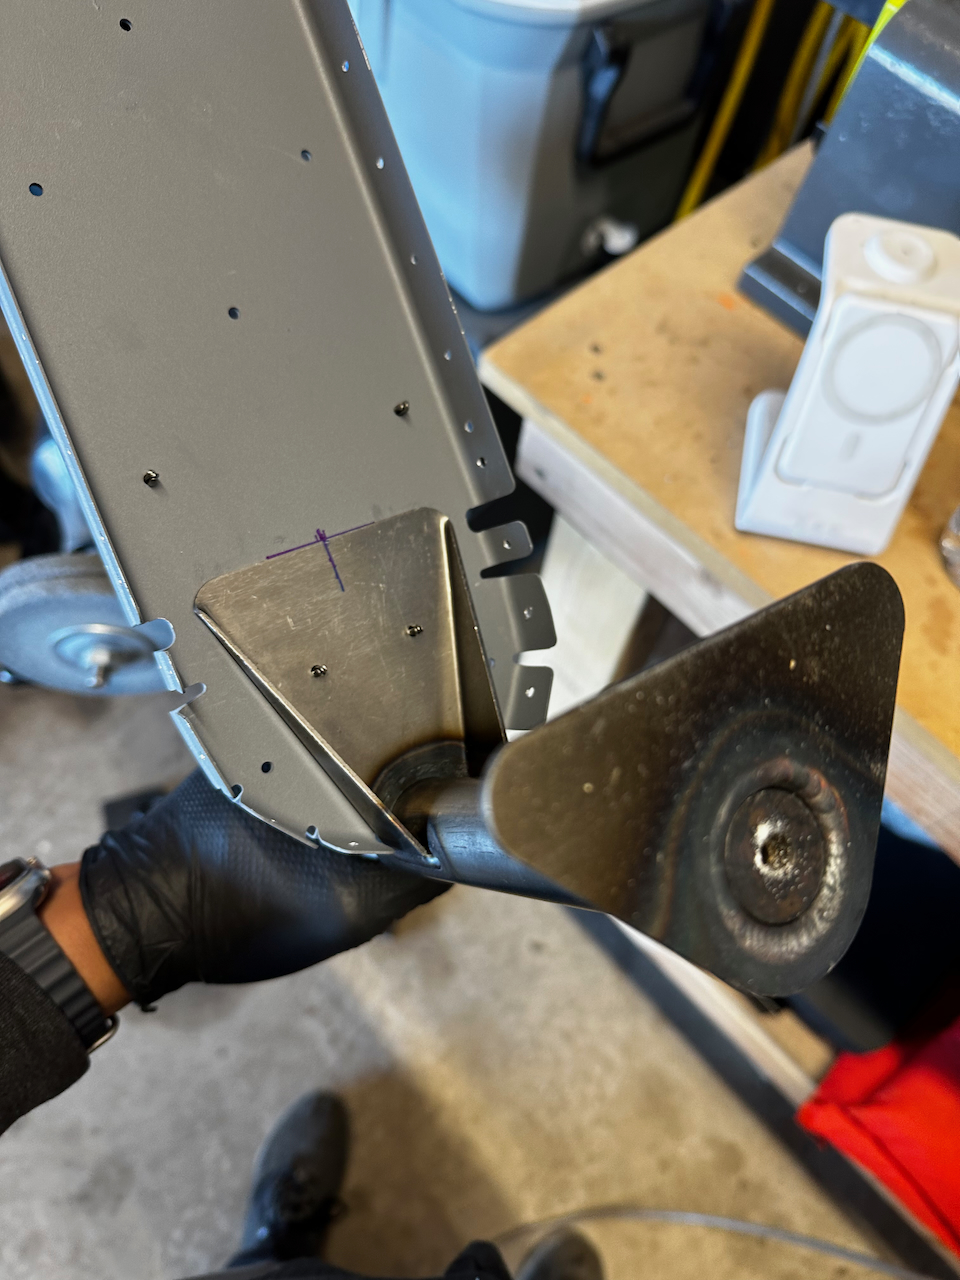
Seatback support rail test fit.
hmmm. contour doesn’t fit right.
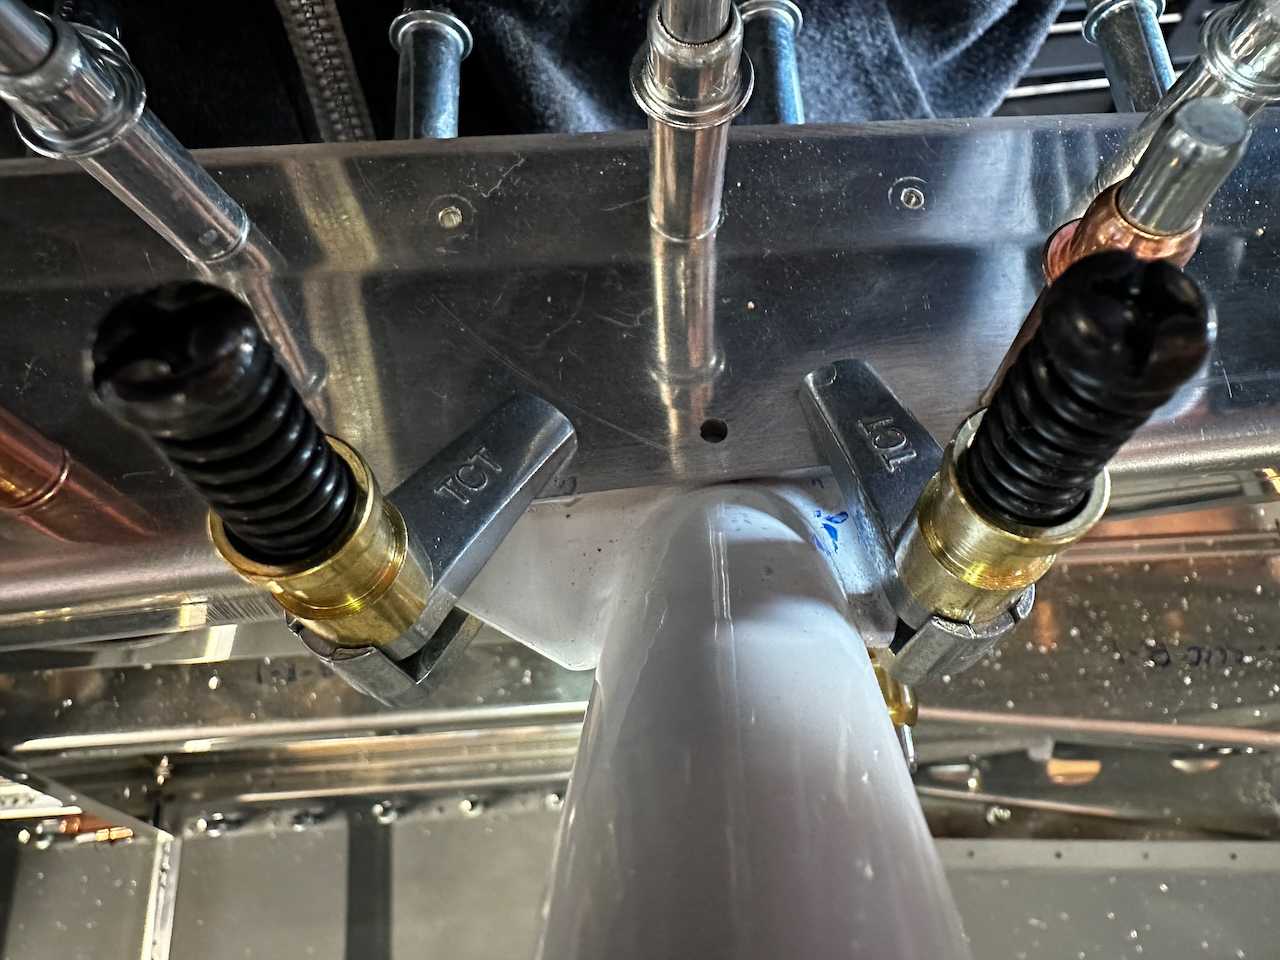
As you can see from the photos, it appears that the spacer is sitting on top of the weld joints and causing it to sit proud of the assembly. It looked wrong enough that I didn’t want to proceed without some instruction. I posted to the forums, but with no response I called Van’s and had a good conversation with Gary. His recommendation was to shave off some of the spacer to clear the weld joint. With the blessing of Van’s support, I proceeded and the rest of the drilling was fairly straight forward. (12” #30 bit once again was critical to making the processes easy..go get it!)
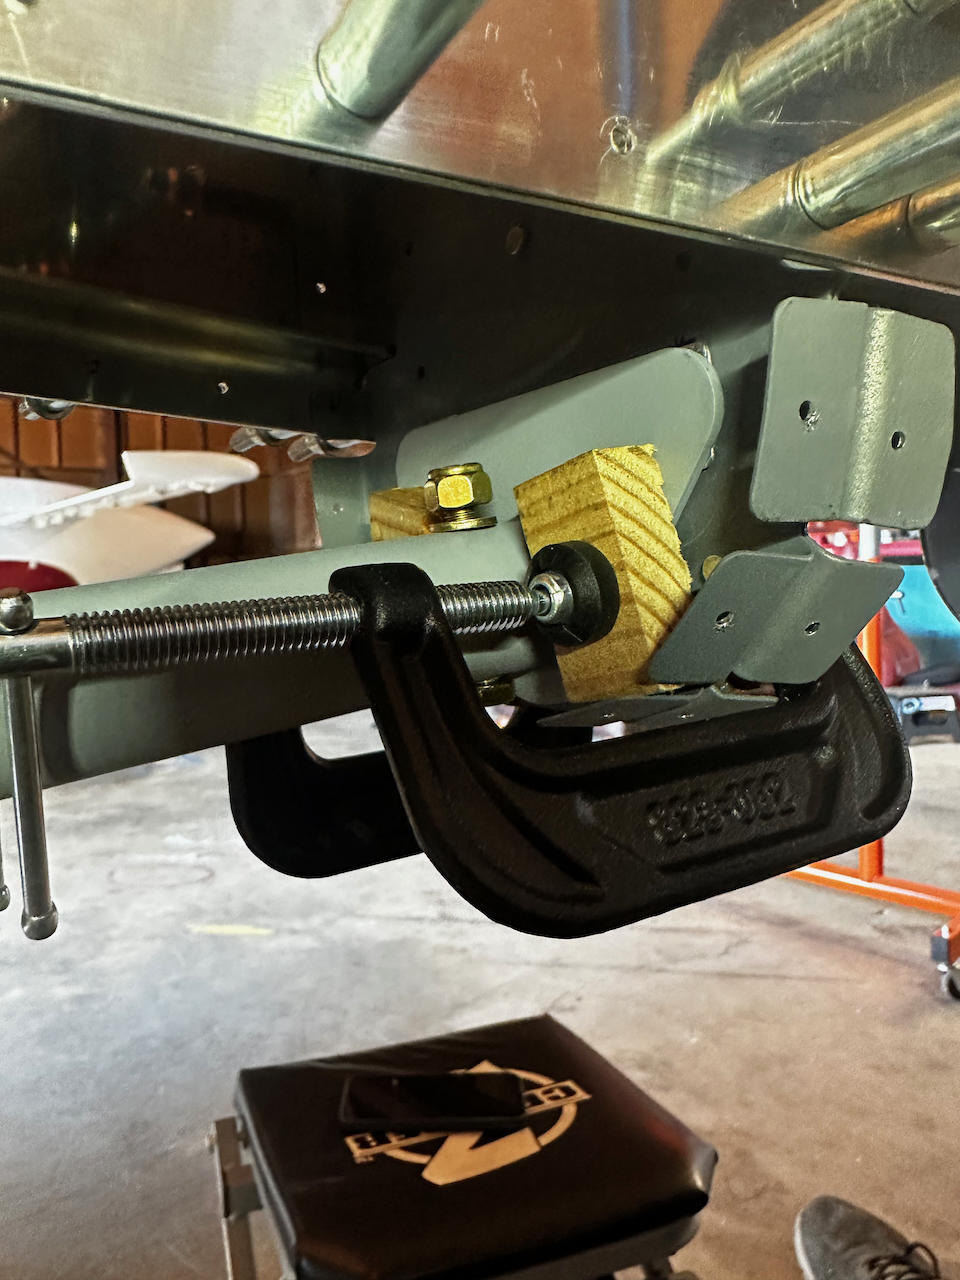
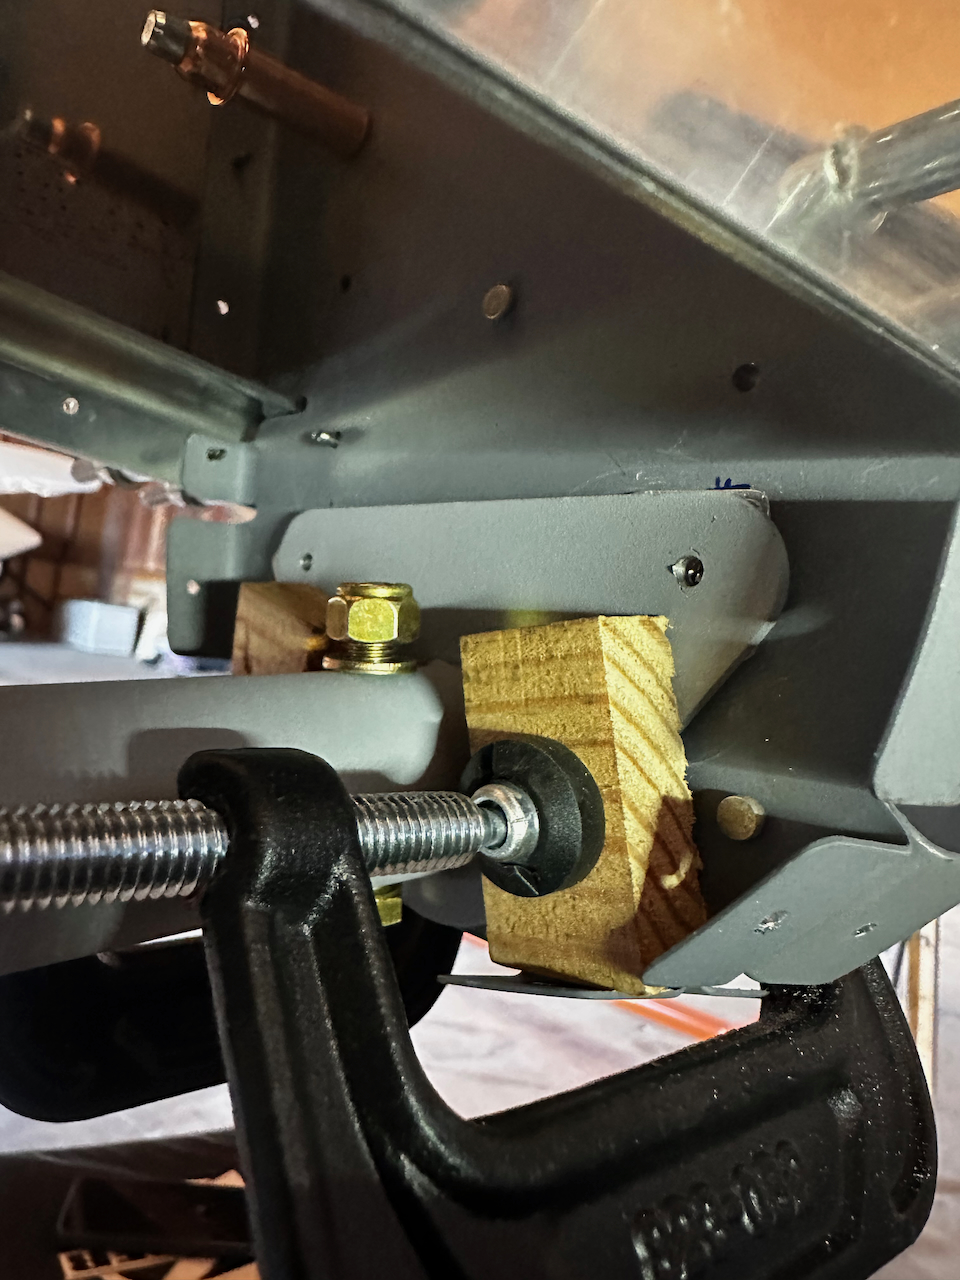
as per Van’s support…
..the fit works!
12″ #30 bit to the rescue!
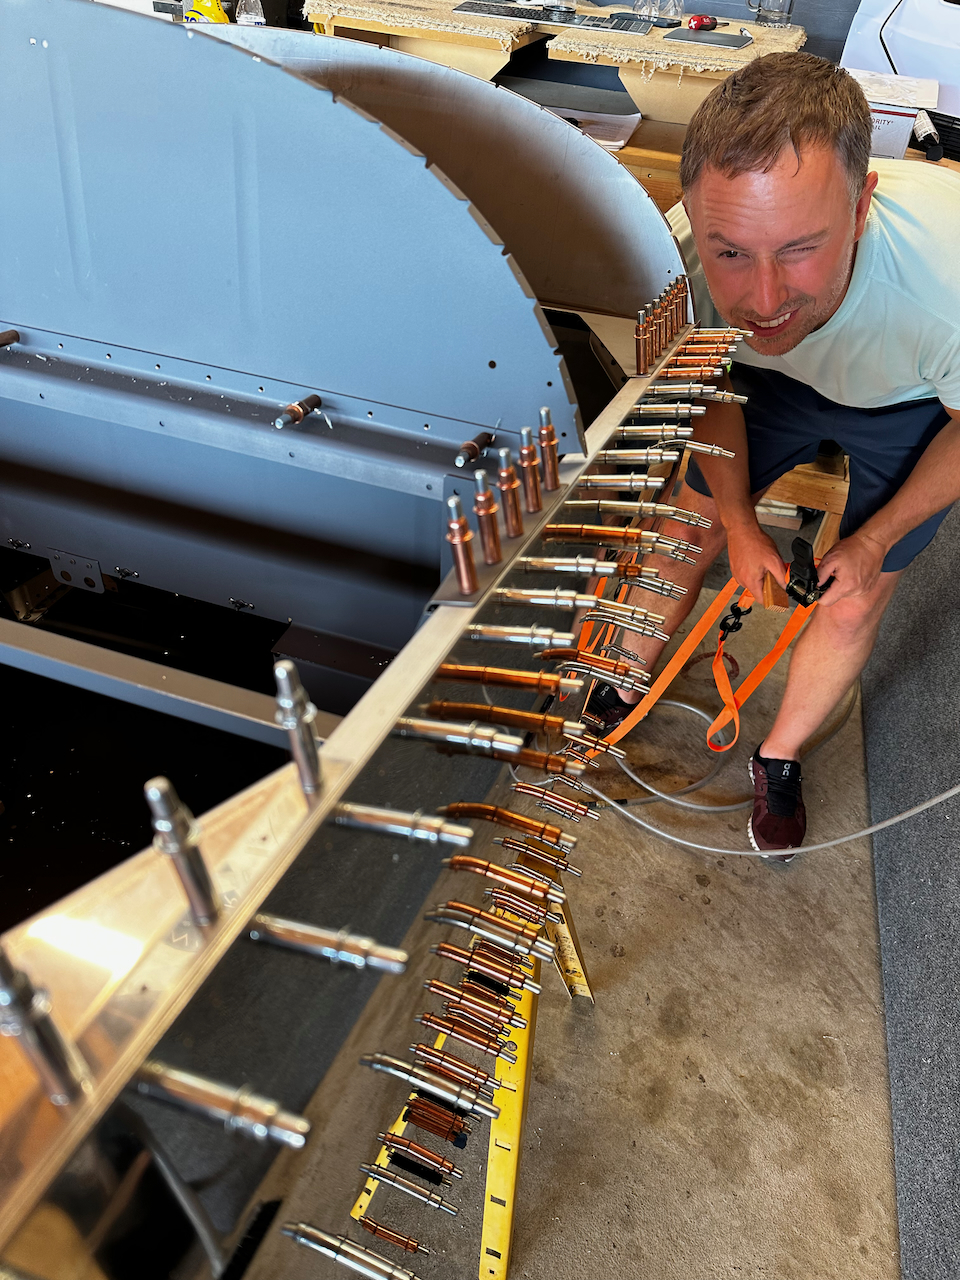
Hose clamping device (aka misused Clecos)
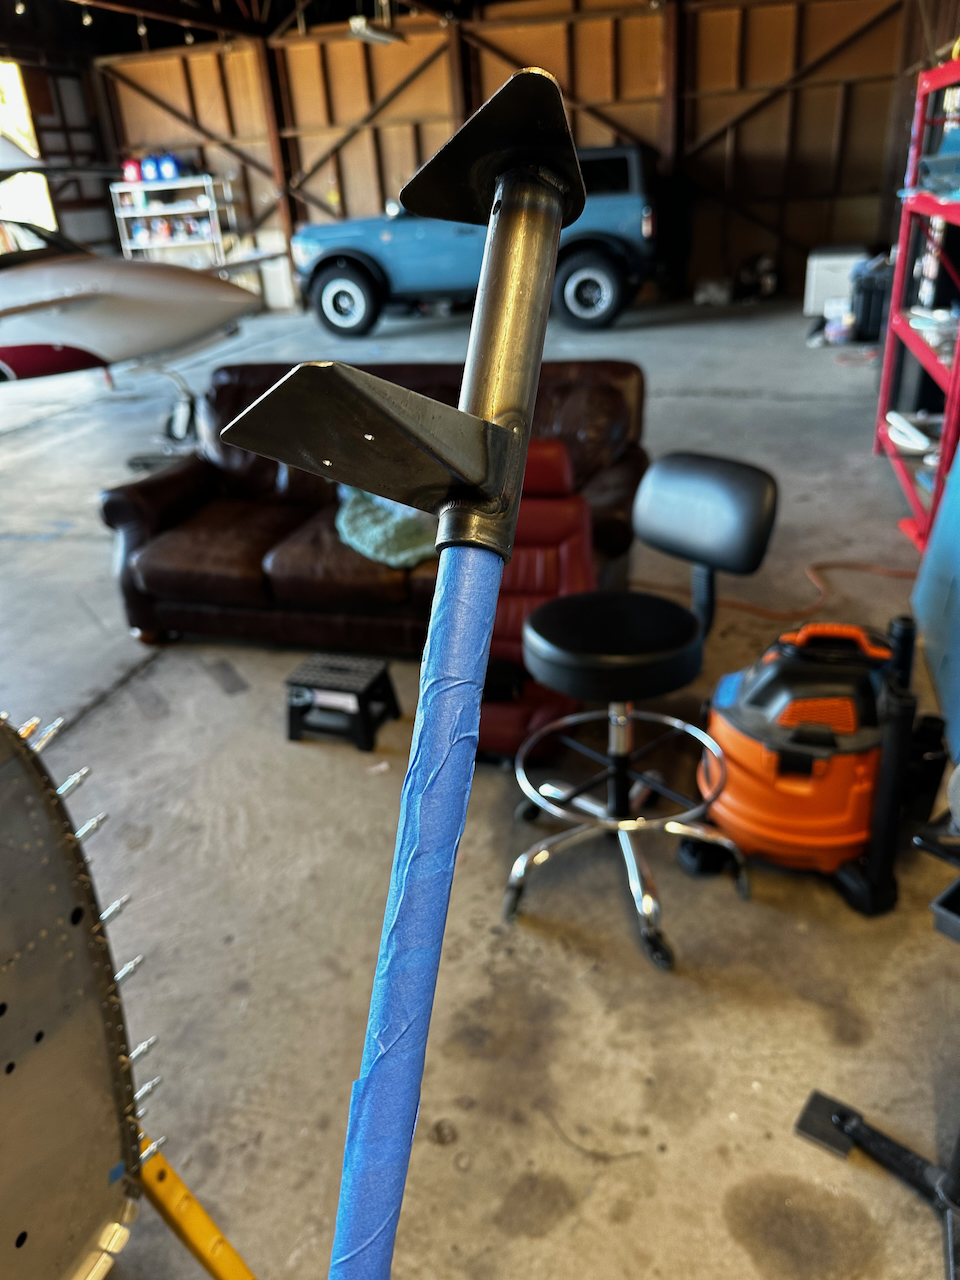
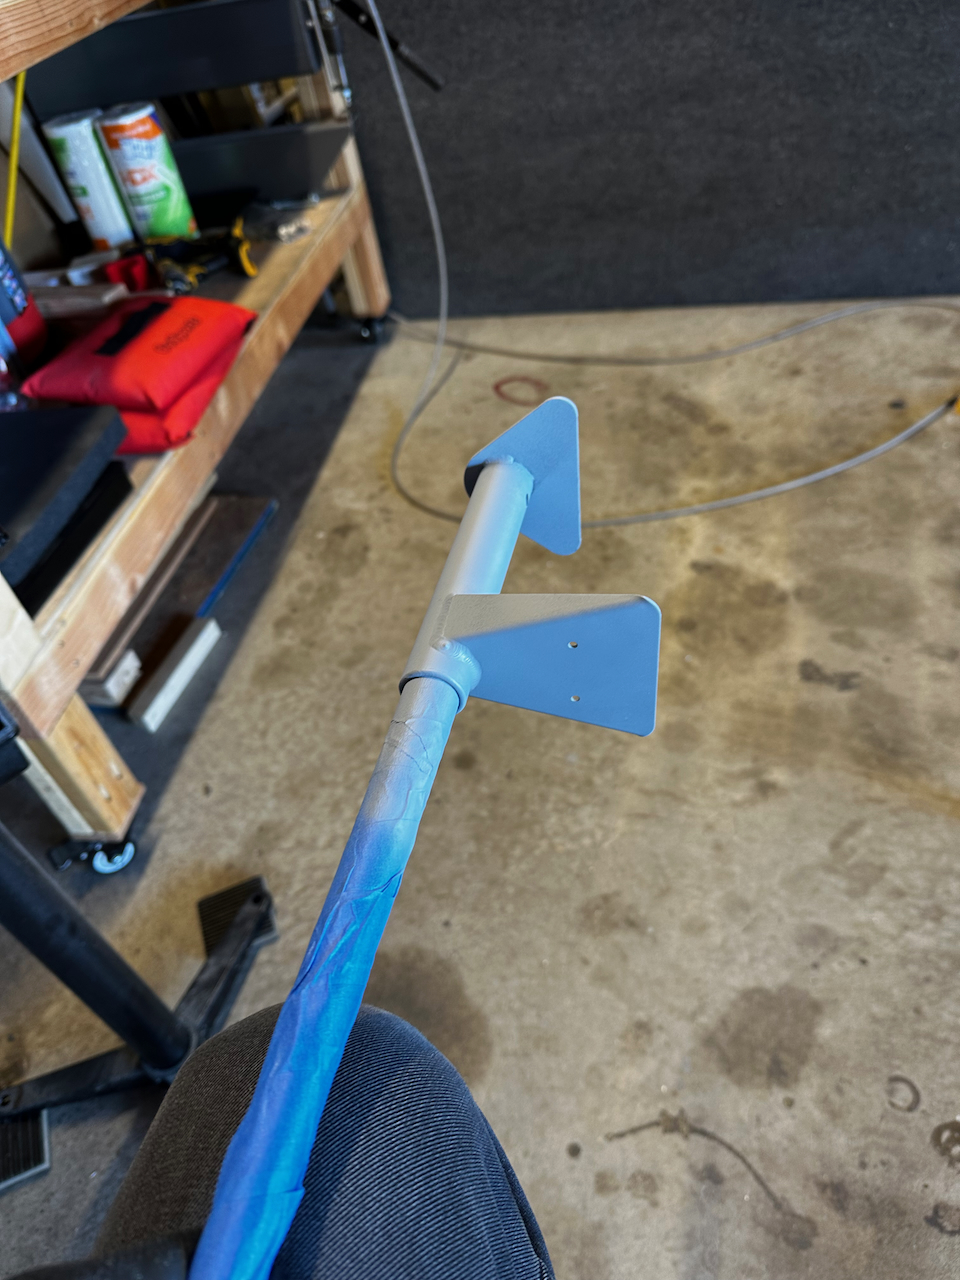
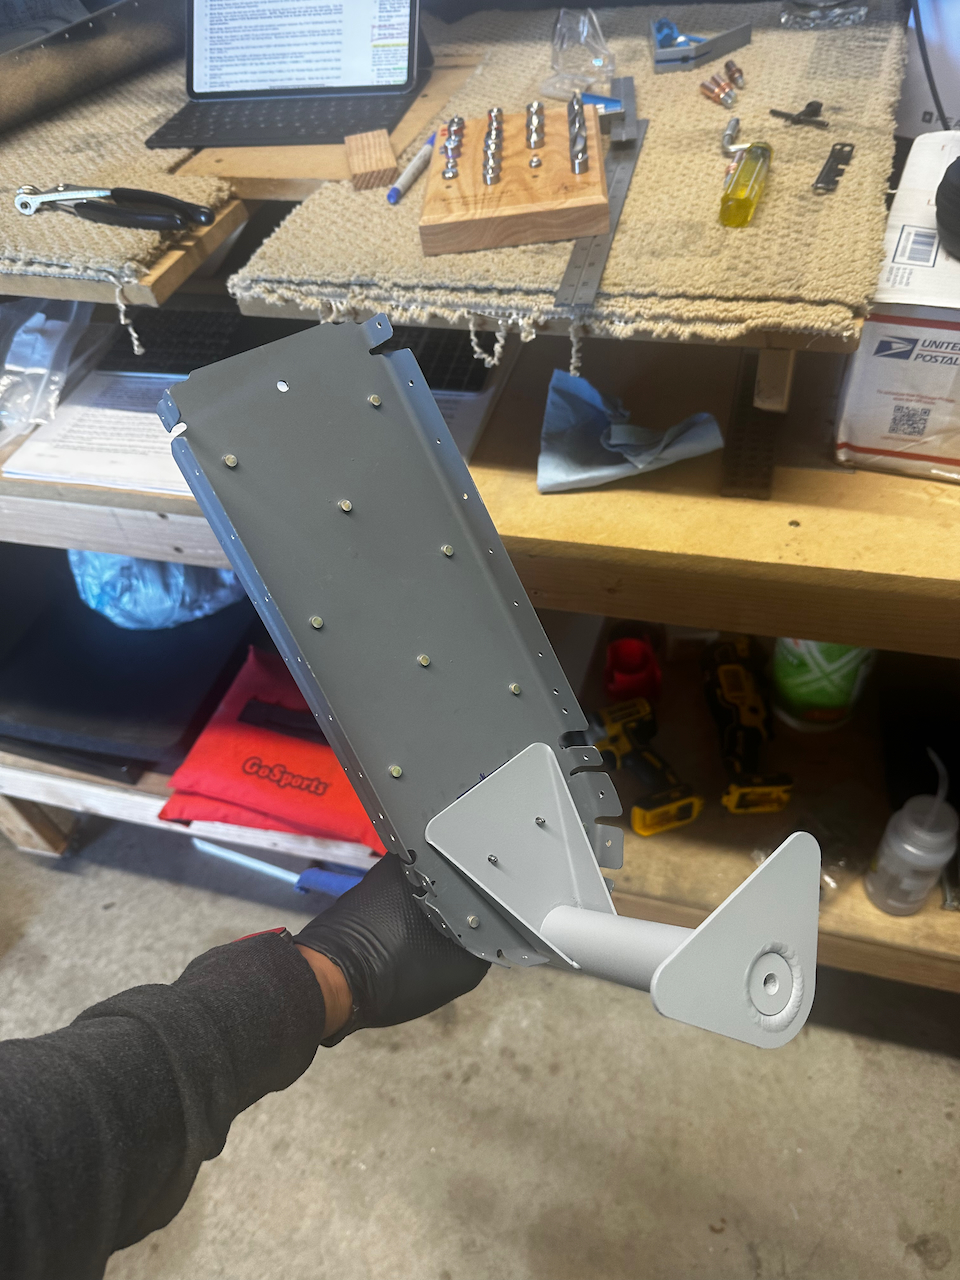
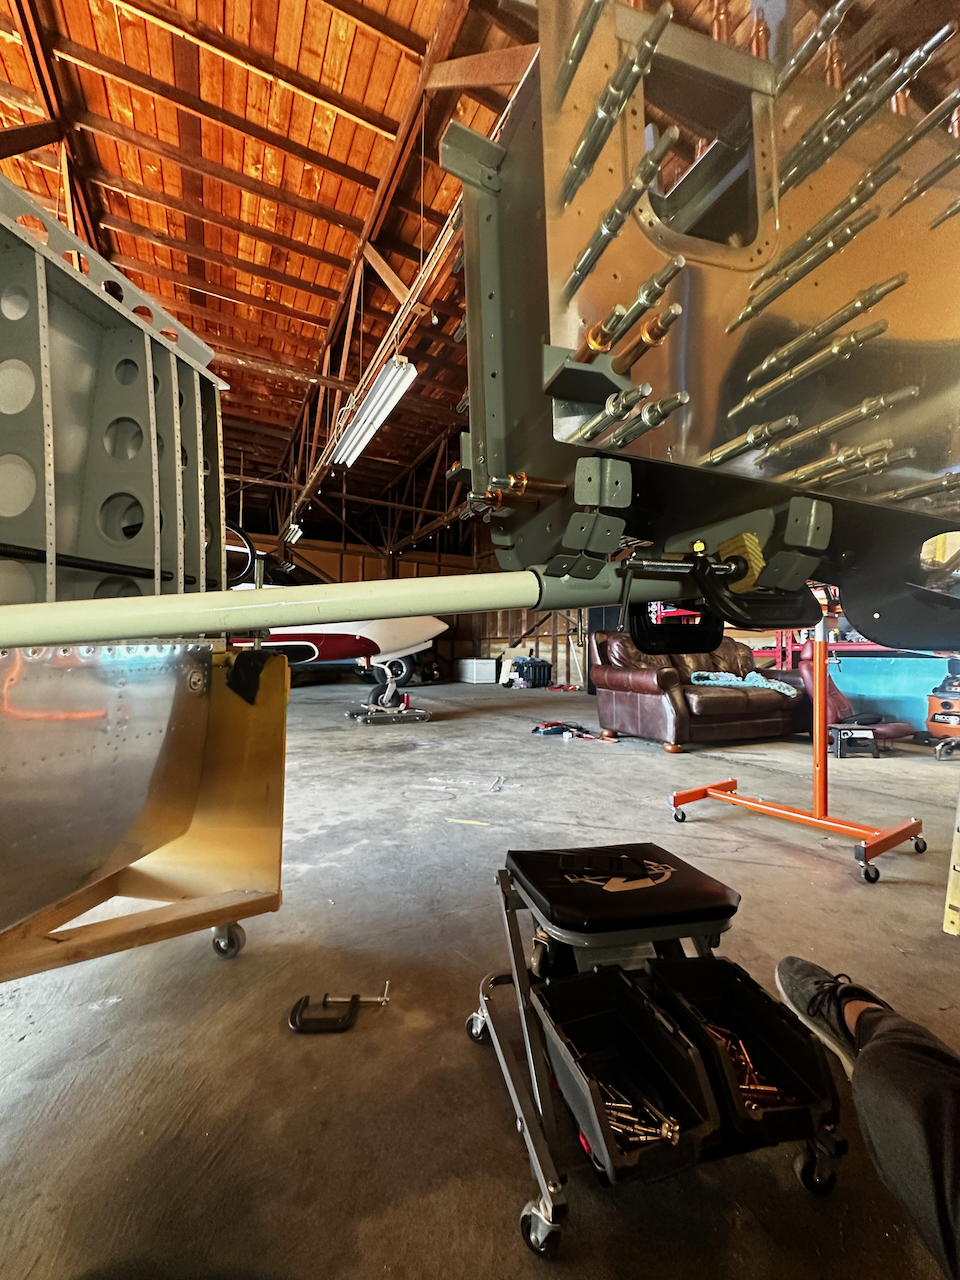
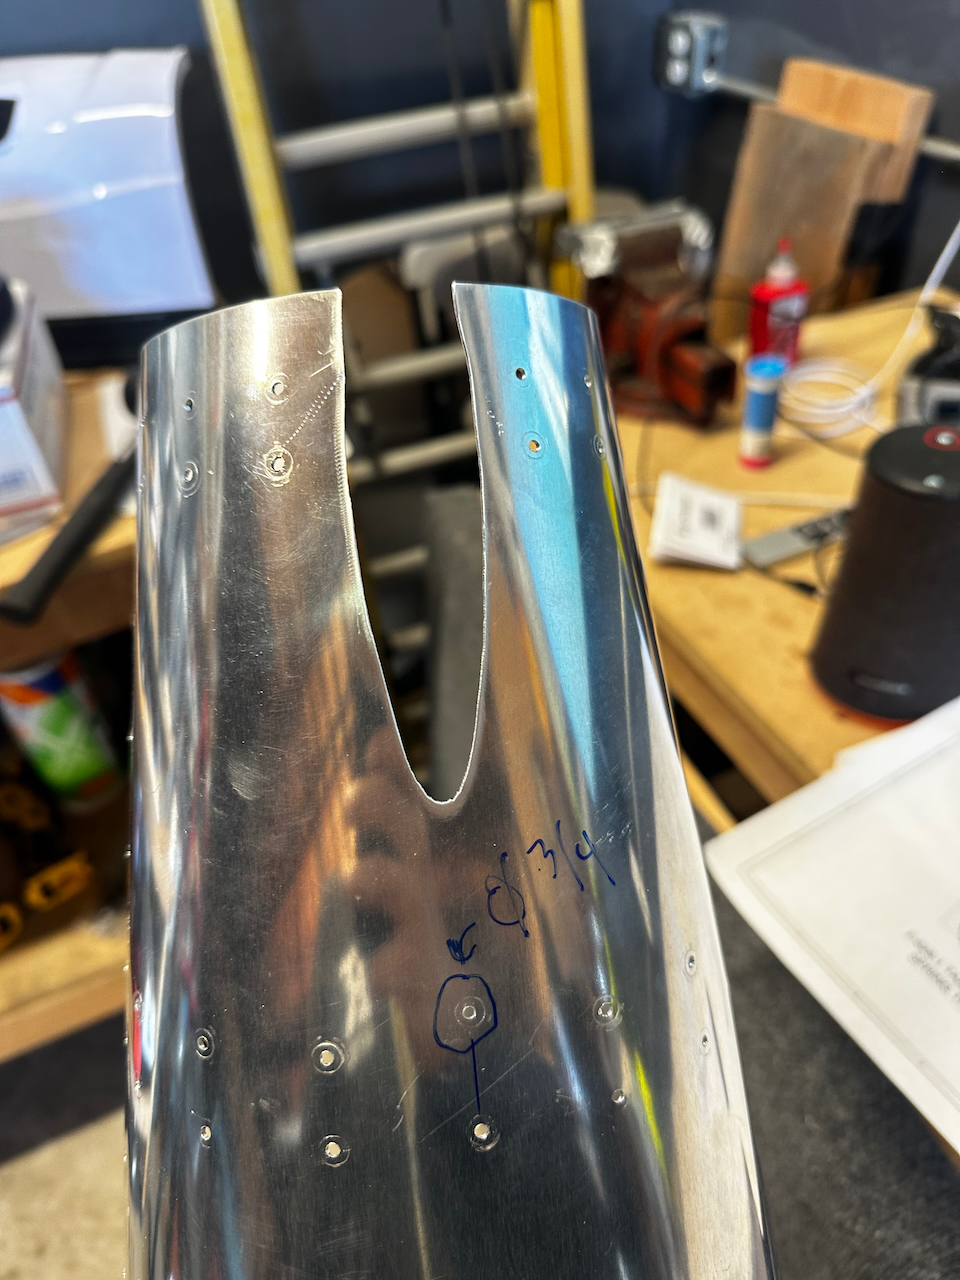
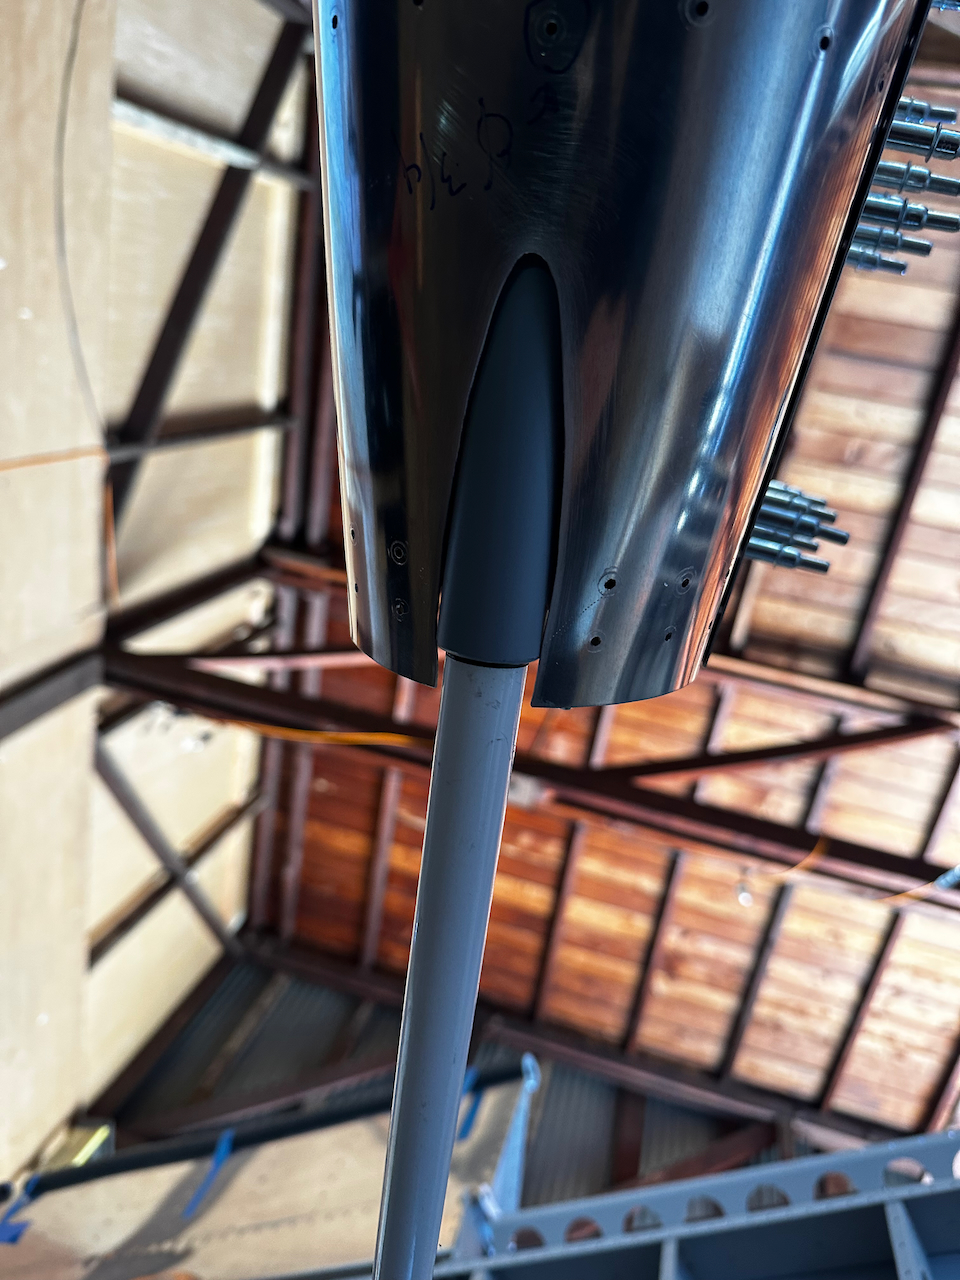
Next up was mounting the Tail spring mount assembly. There was only one issue….I didn’t have it. UGH! This assembly has been backordered for over 9 months, and way back when I got the fuse kit I wasn’t too concerned because looking at the instructions, it wasn’t needed for quite sometime. Well… here I was, and needed it. I had called Van’s a bit ago, and they said the assemblies were shipping imminently. Well, I finally got a notification on Monday that they had shipped my assembly!!! Tracking showed it arriving Friday. It literally could not have been cutting it any closer. I would have been blocked this weekend without that assembly. Whew! This work was pretty fun as I had to align and drill the mount with precision, and then cut the bottom skin to fit the assembly through. The main challenge was the iterative shaving off the opening to remain tight, but not have any interference. You start with a rough cut using the plan template (DWG 73-1). To be honest, the template was close to good enough and with a bit of perseverance (and probably 2 hours working on it), I’m pretty close to happy with the opening. I had to wrap up the session, but will probably take one more pass at the opening to clean up any remaining interference.
The Tailwheel Assembly finally came in!
To do the install requires removal of the F-812 bulkhead and the bottom skin.
This step was supposed to be done a while ago, but I didn’t have WD-409 yet.
finally rivetted F-812 together now that the tail spring mount keeper holes were drilled.
Time to prime!
Used Rattle can SEM primer since it was just one piece.
Colorful!
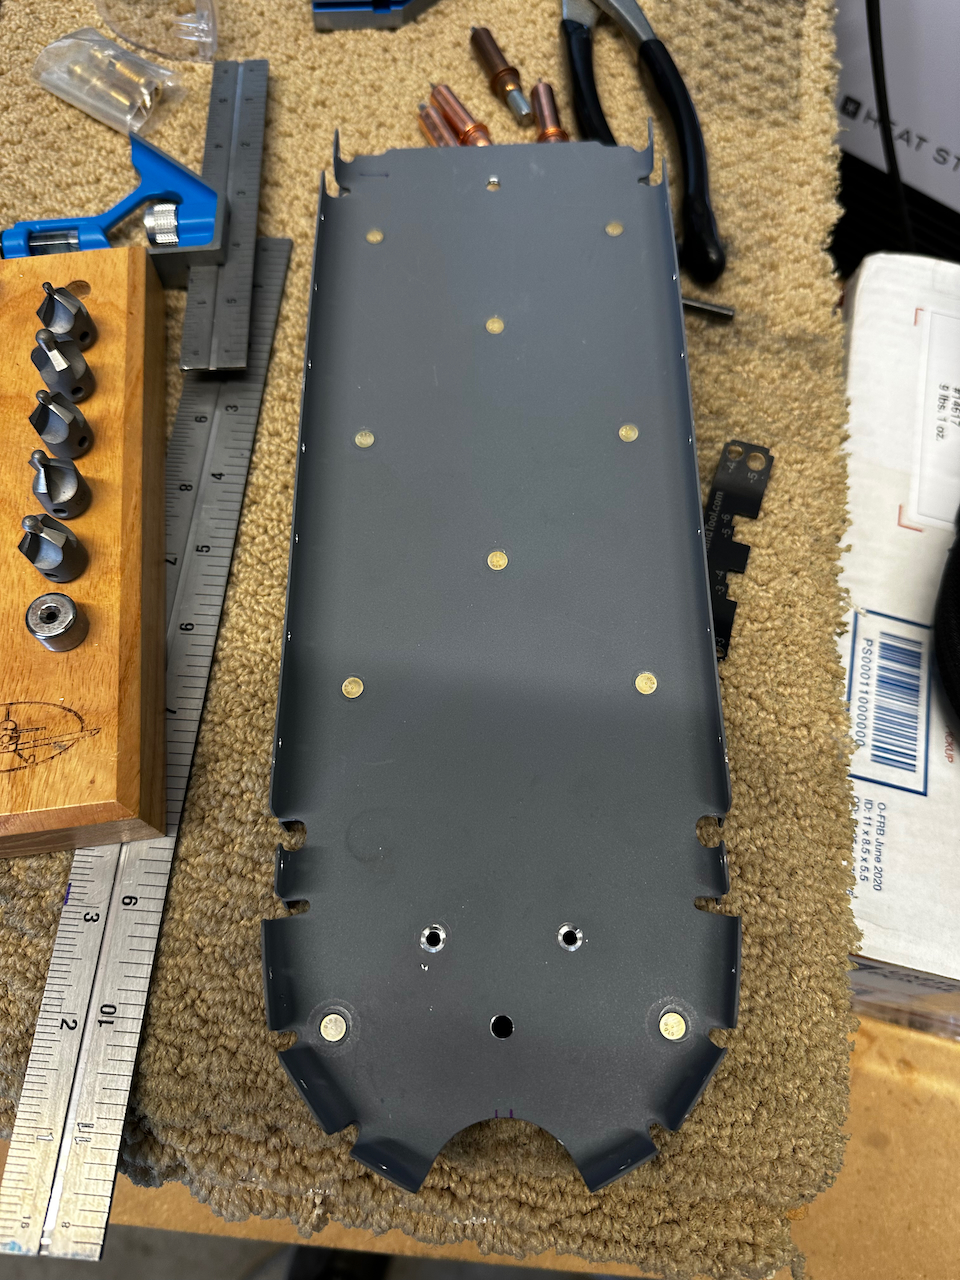
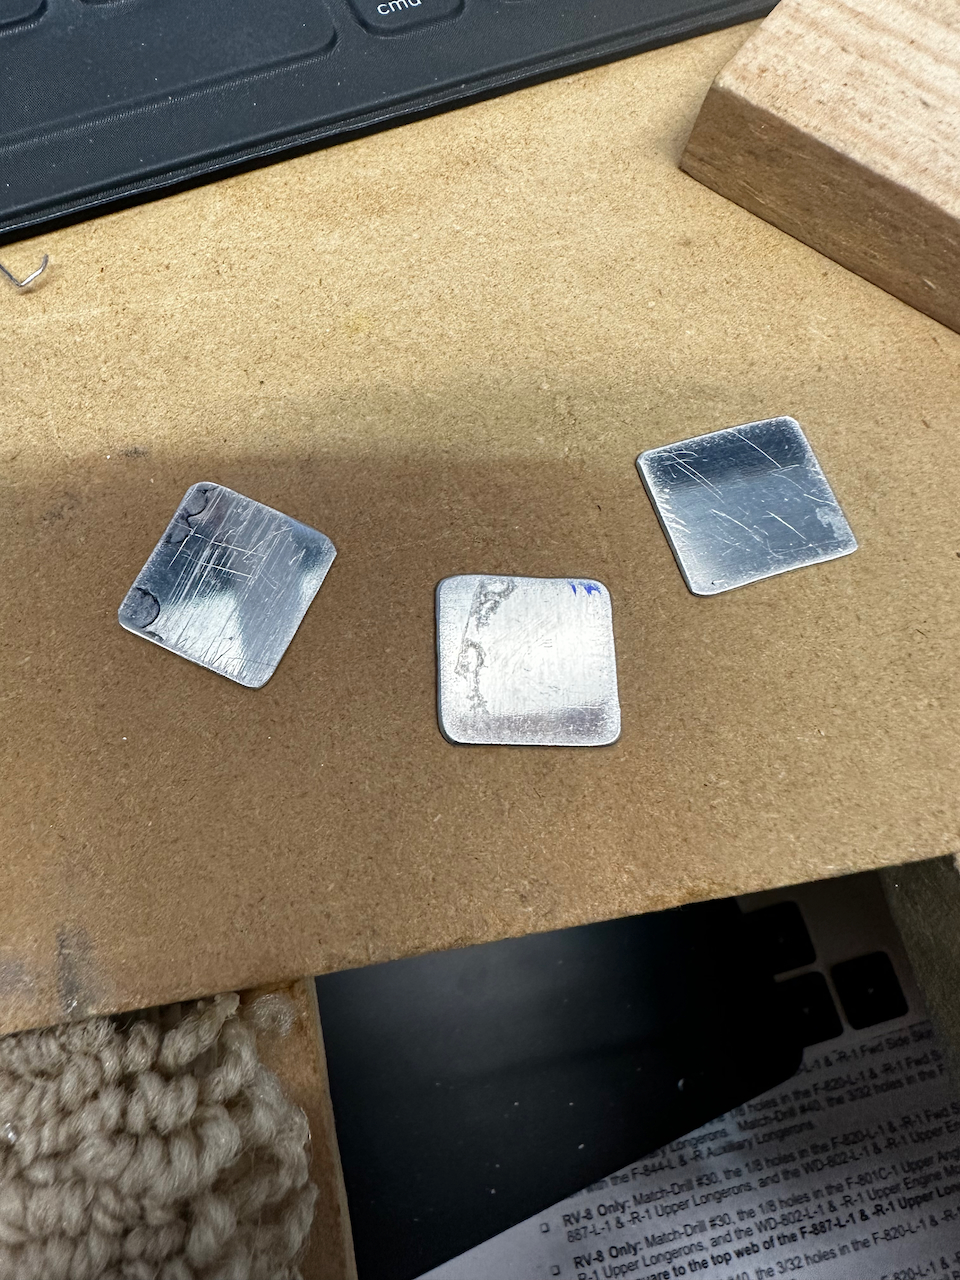
Spacers used for tailspring mount.
positioning was a pain, and I don’t really like my spacers..will probably fabricate something else.
Ready for drilling!
Final Drilling positions look pretty good.
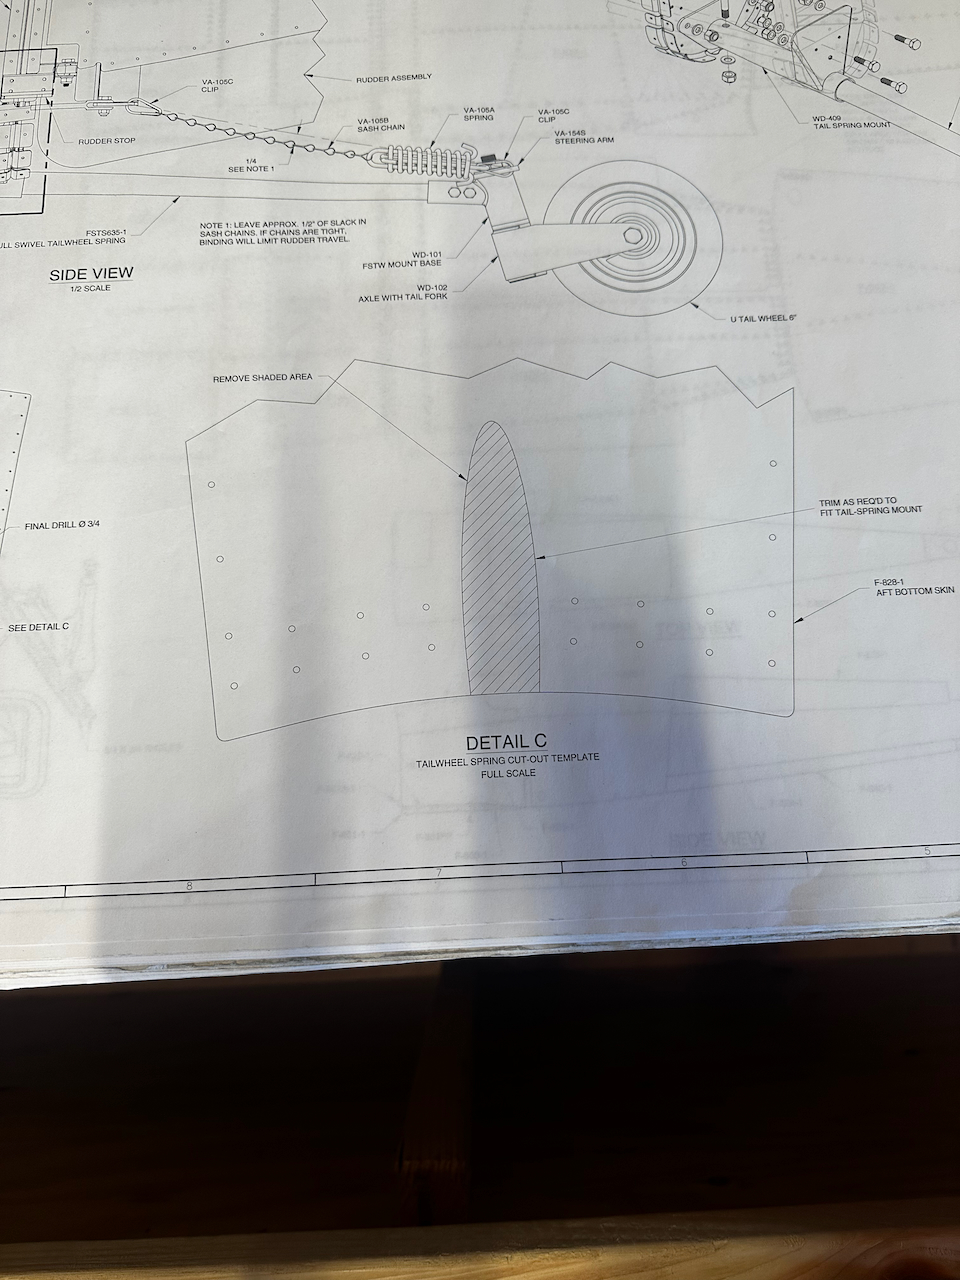
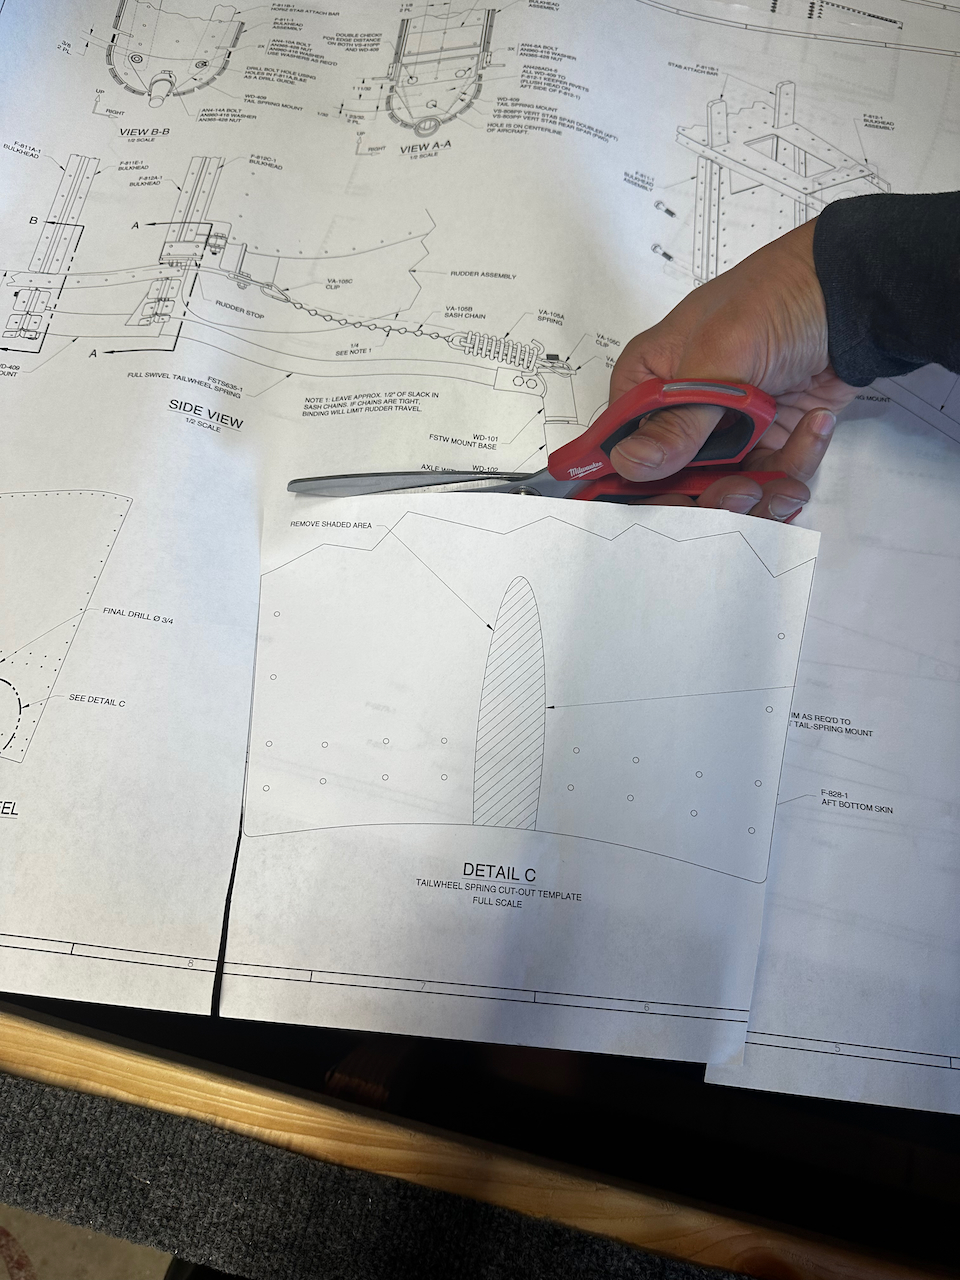
DWG 73 plan includewsa a full size template…
…to cut out…
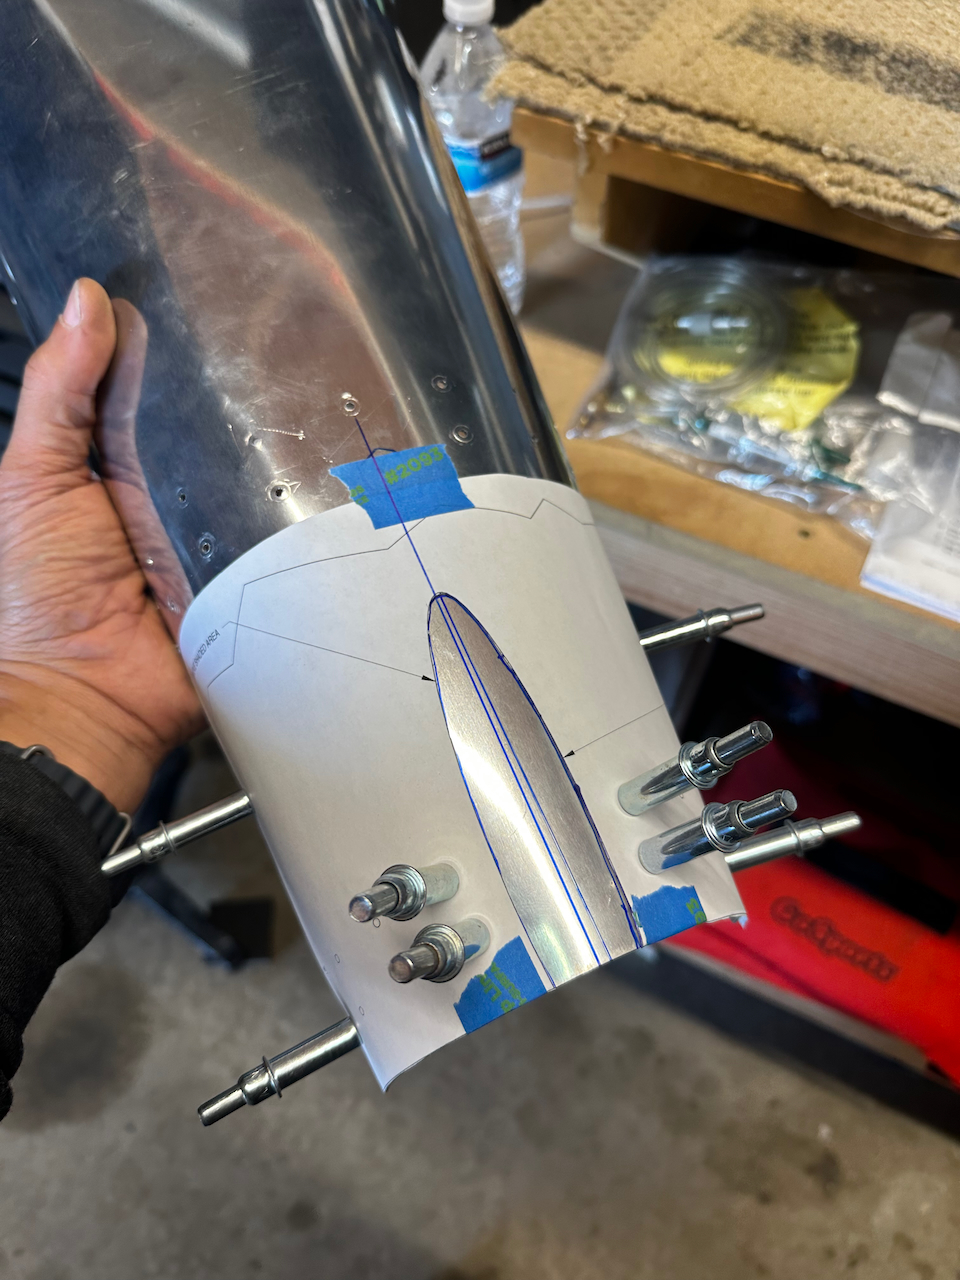
…and cleco on for transfer!
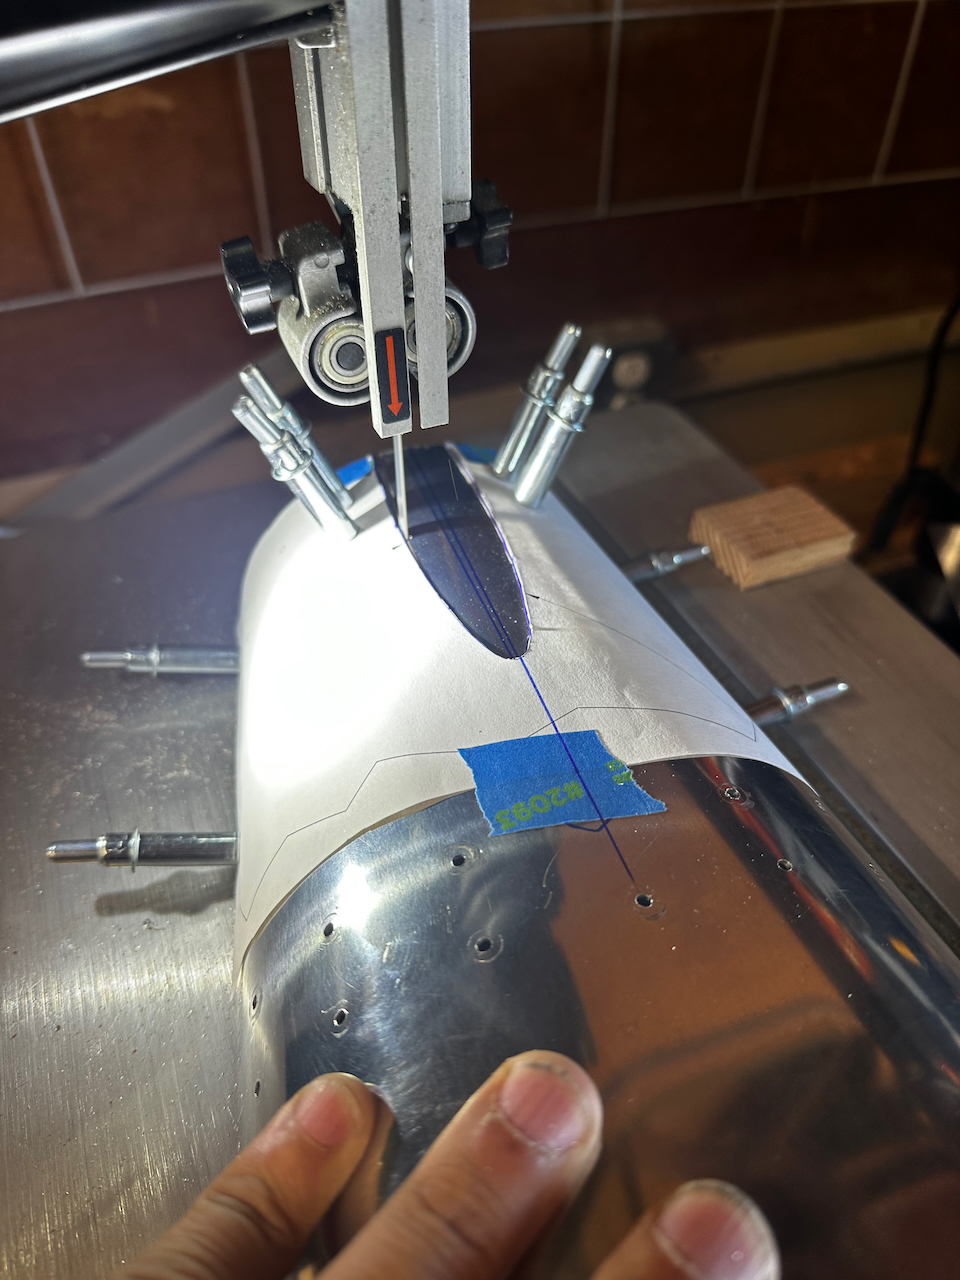
Bandsaw did a decent first pass…
then refinement to clear any interference.
Almost there! One more pass should clean out any additional interference. (Hard to see in the photo, but you can feel it)
I’m headed down to LA for work, but will be back on Wednesday and hopefully finalize the last bits of prep work before disassembly starts. My goal of having everything ready for riveting before leaving for Oshkosh is looking like a bit of a stretch, but maybe I can get disassembled, countersunk, and deburred before leaving? We will see. Until then, Happy Building!


1 comment
Nice progress