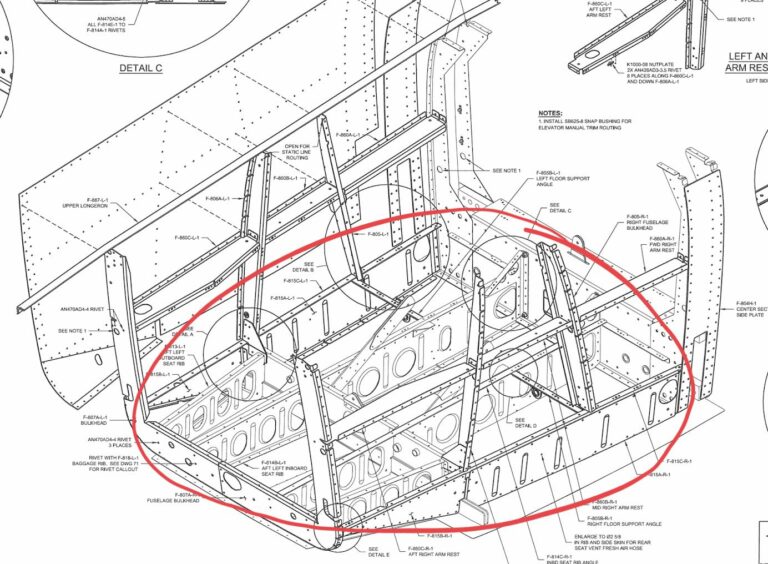
Next up… Seat Rib Subassembly! (In reality I was intertwining center section sessions with seat rib sessions because of the spacer delays, but this post represents all the hours spent on the seat rib subassembly so far). I got a lot of help from a ton of folks for this work. Trusty Sam and Tod, but also Nico and Sam’s younger kid Ryden helped out! If it’s not clear what the seat rib subassembly is, it’s the floor assembly where the seats will be installed just aft of the center section. See the drawing detail below:
Seatrib Subassembly connects to the aft side of the center section.
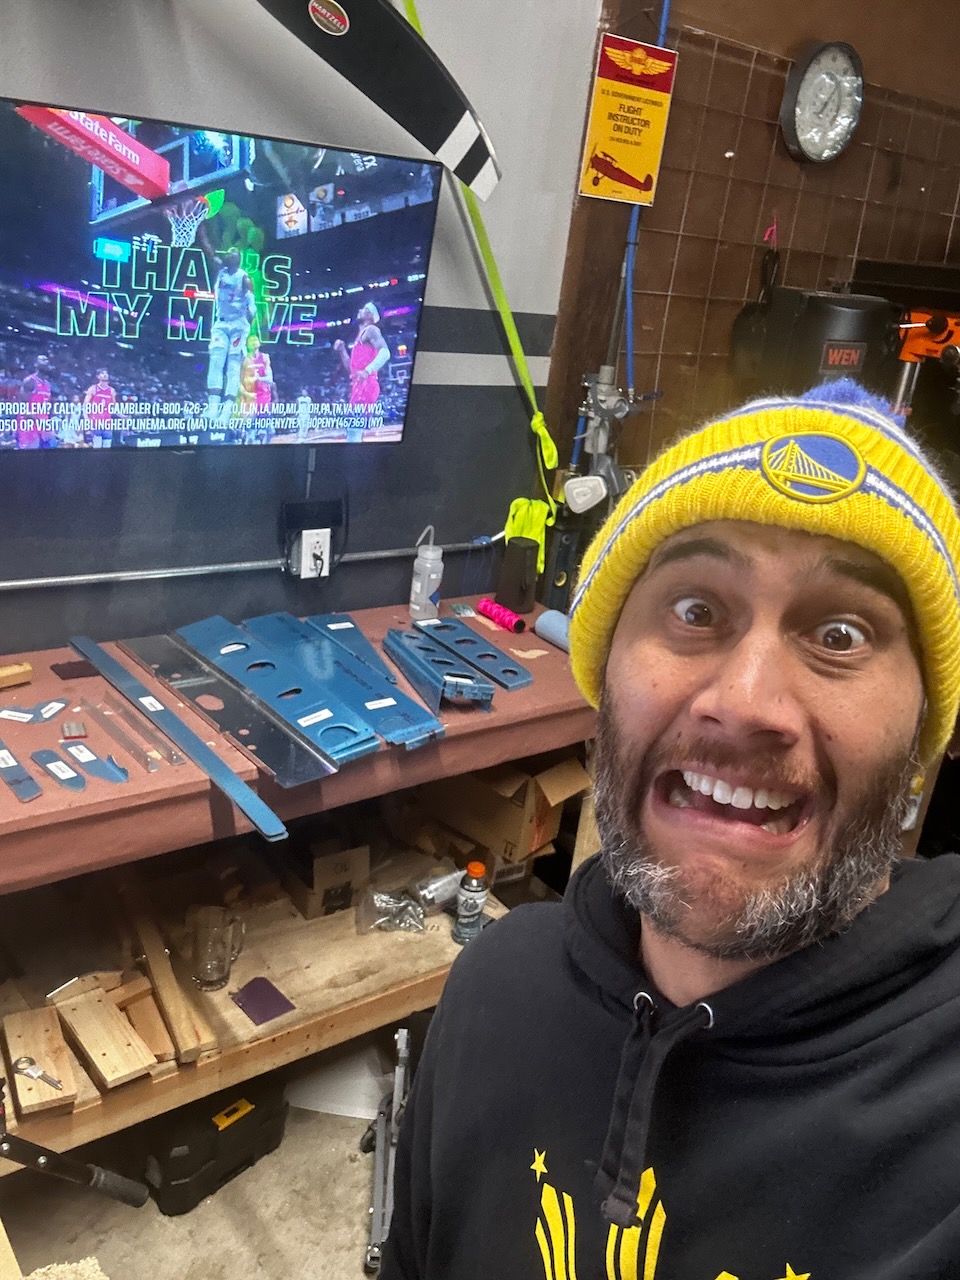
5/2-5/6 - Warriors and Seat Rib assembly
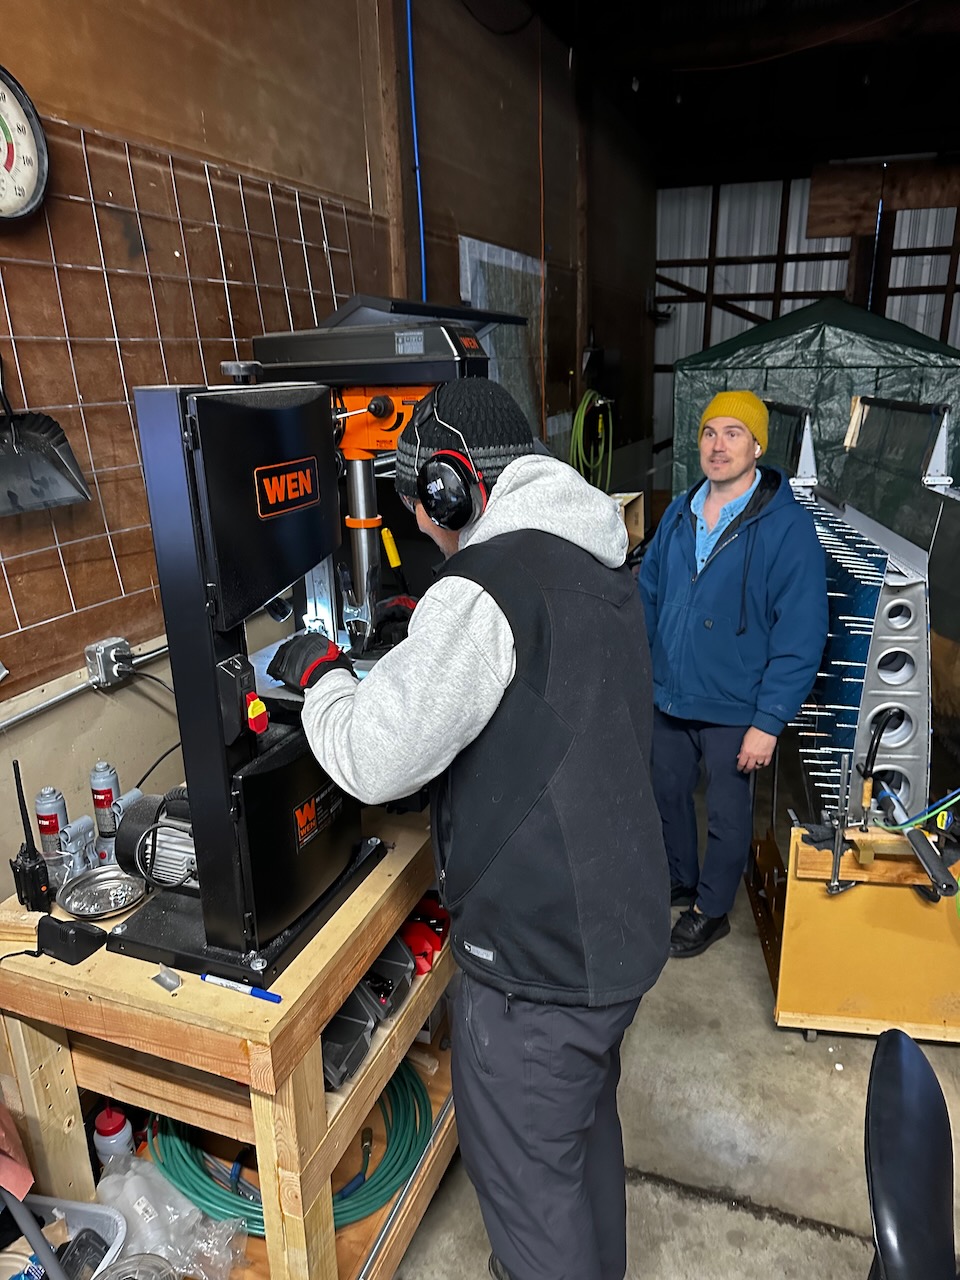
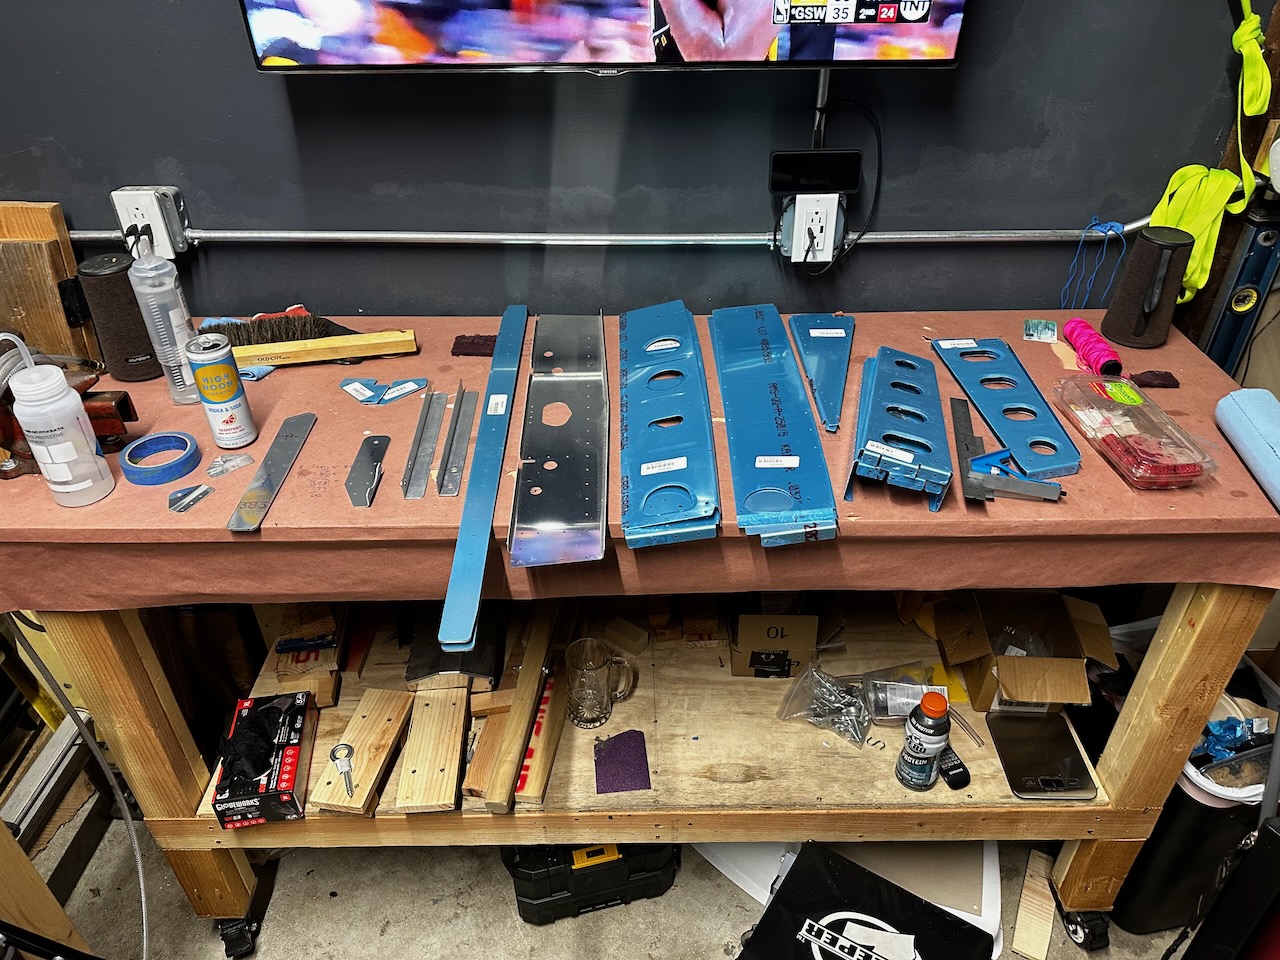
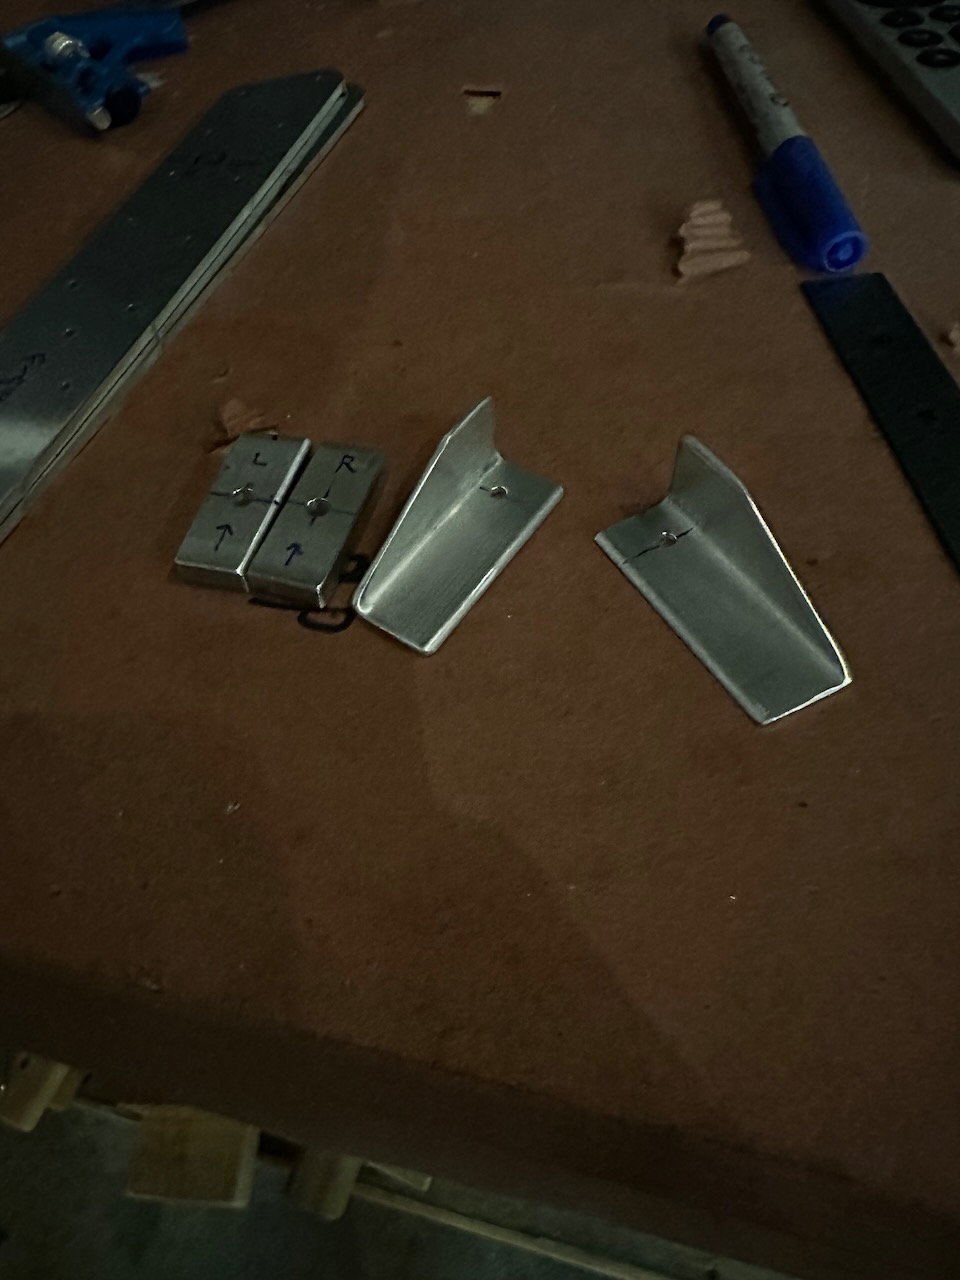
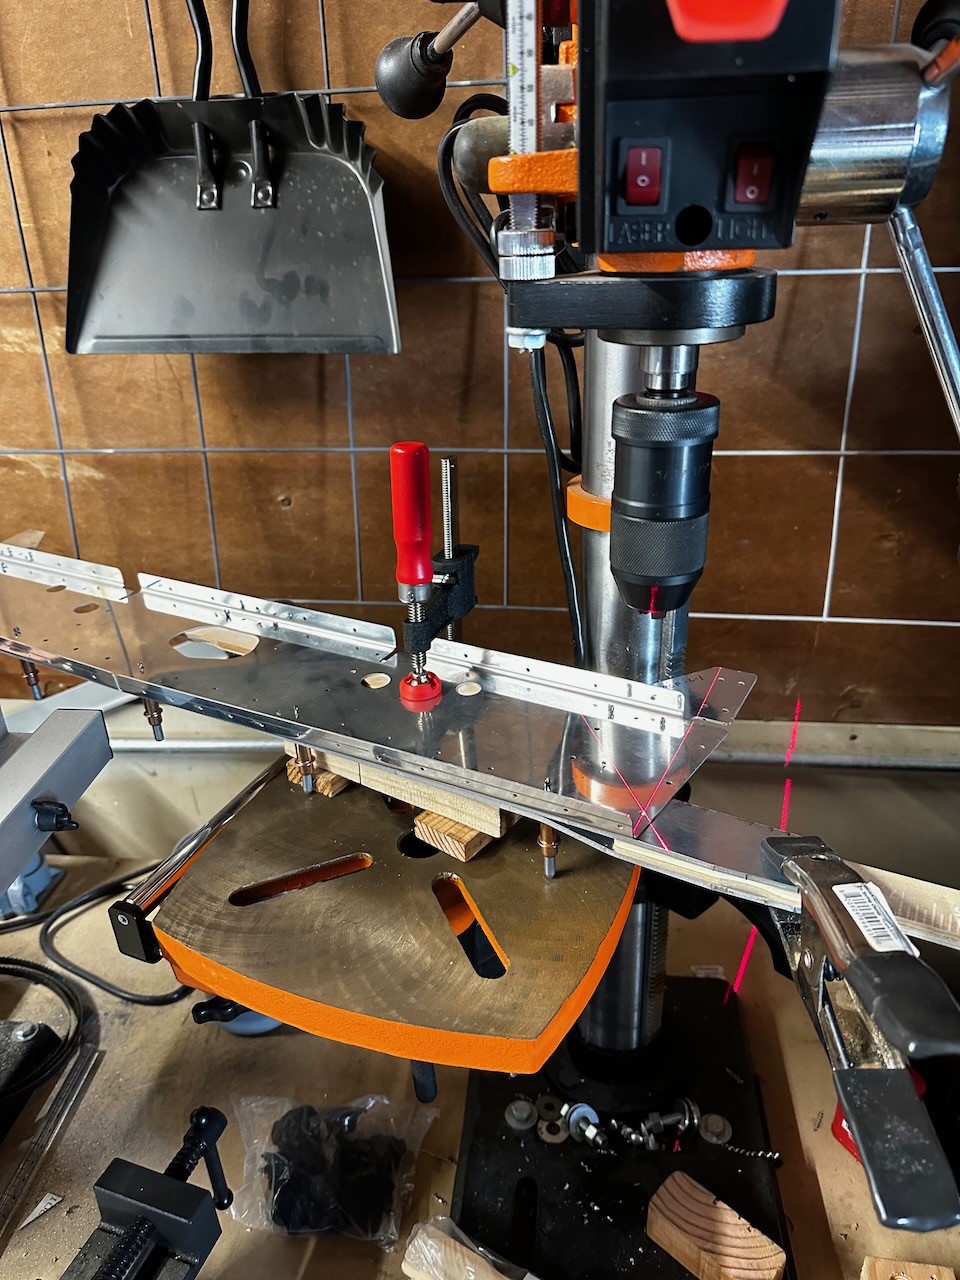
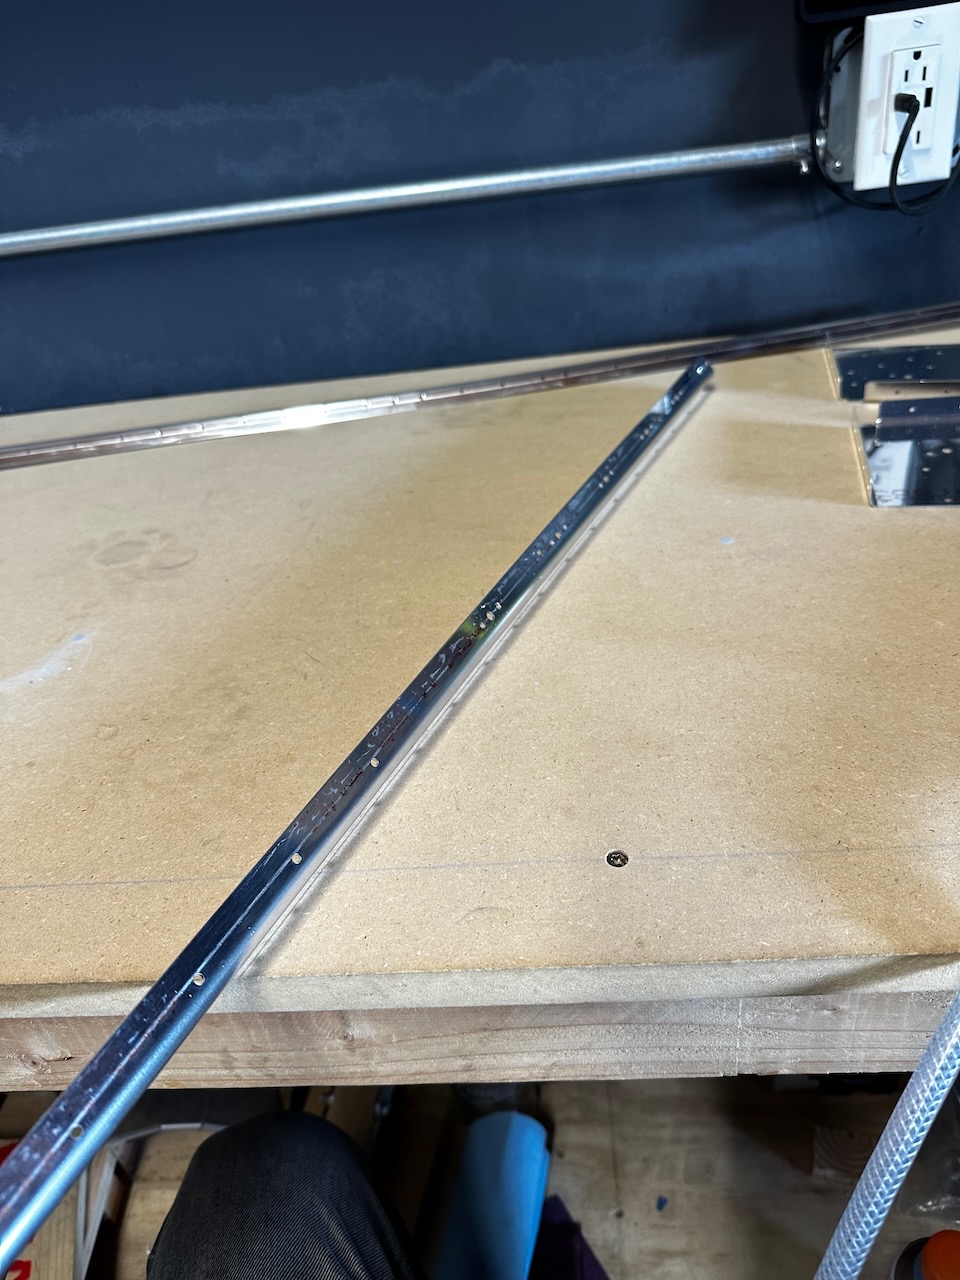
As usual, we start with finding all the parts, de-vinyling (yes…I just made up that word) them, labeling, and clecoing stuff together. I focused on the rear spar attach assembly, while Sam and Tod fabricated some of the more complicated parts from aluminum bar and angle. All while stressing about Warriors Game 1. It was an ugly loss, but a fun working session. The F-805D seat brackets were a bit complicated, so took a couple tries to get right, but Sam worked his way through it. On the rear spar attach assembly, the only complicated part was match drilling the #12 hole through the two attach bars. You needed to set up the drill press configuration just right to cleanly get through both bars and maintain the space between them. See the pictures below for how I ended up setting it up.
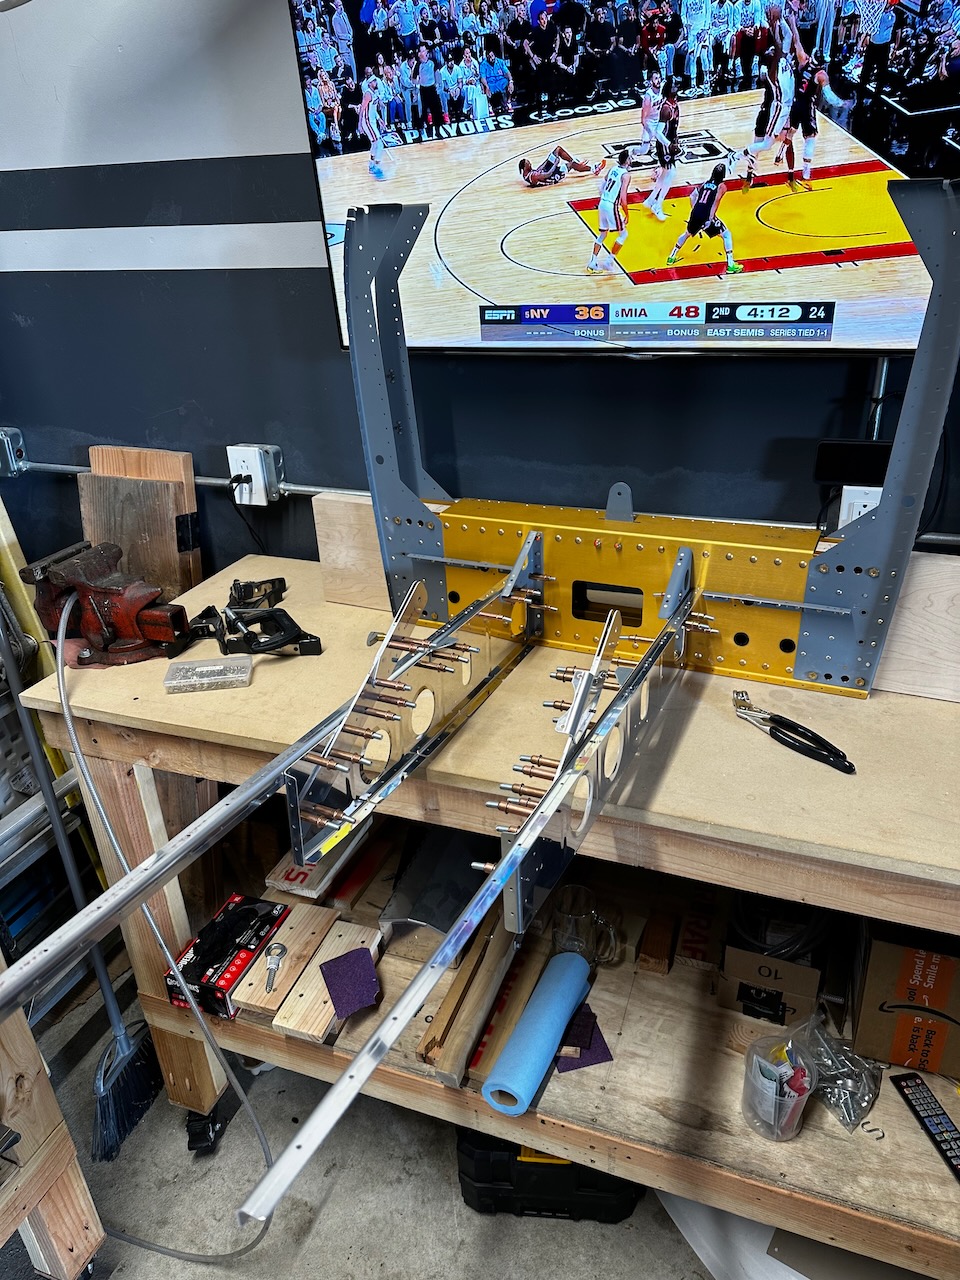
Ugh! Warriors post-season basketball always stresses me out. Building calms me down.
Sam starting work on the F805D Seat Bracket
Tod and I organized parts…
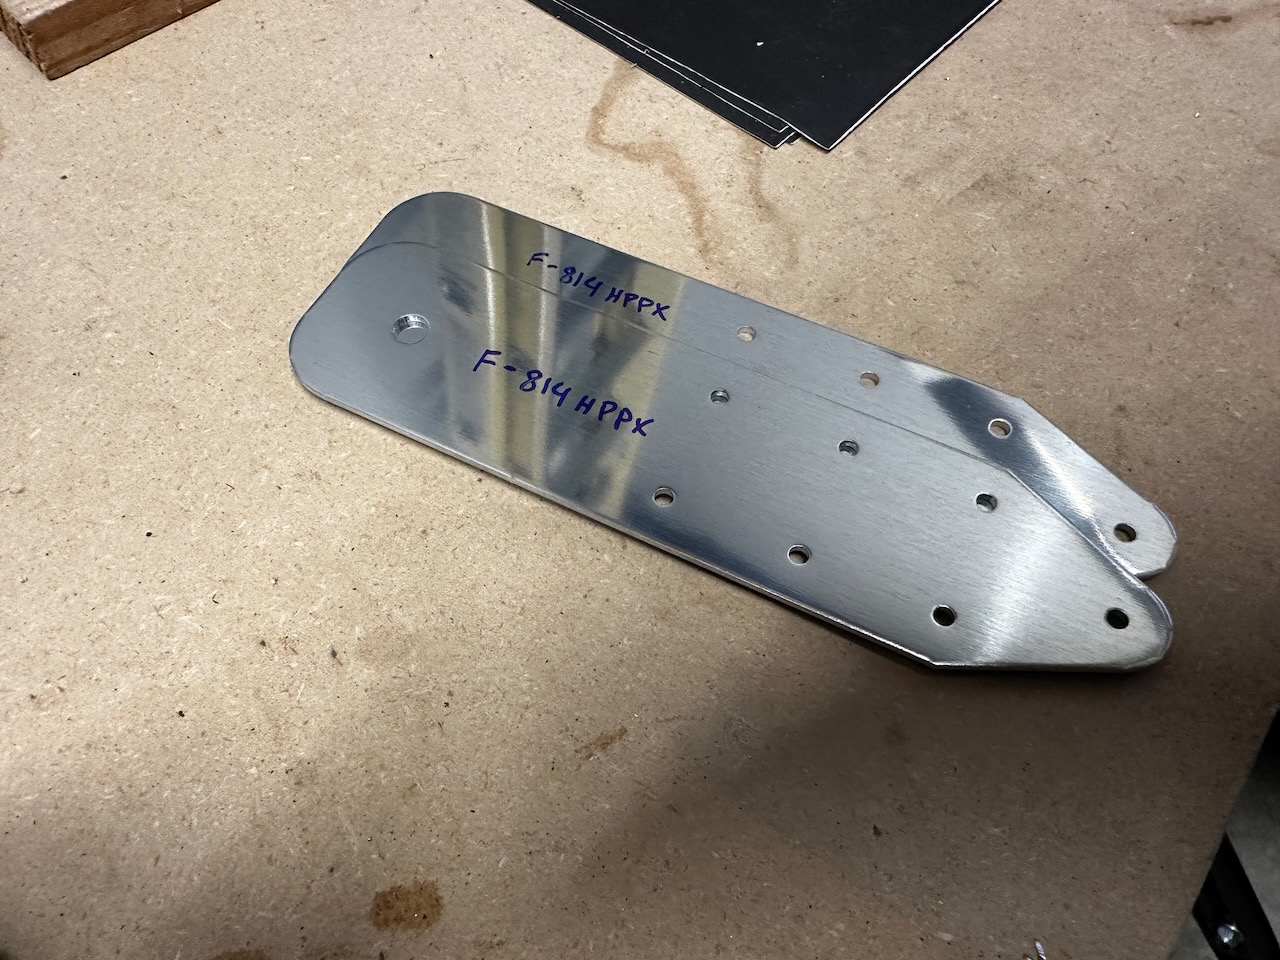
…then removed vinyl and labeled everything.
Tod attempting some spacer fabrication.
F-805D number 1 complete!
And completed spacers
part fabrication done!
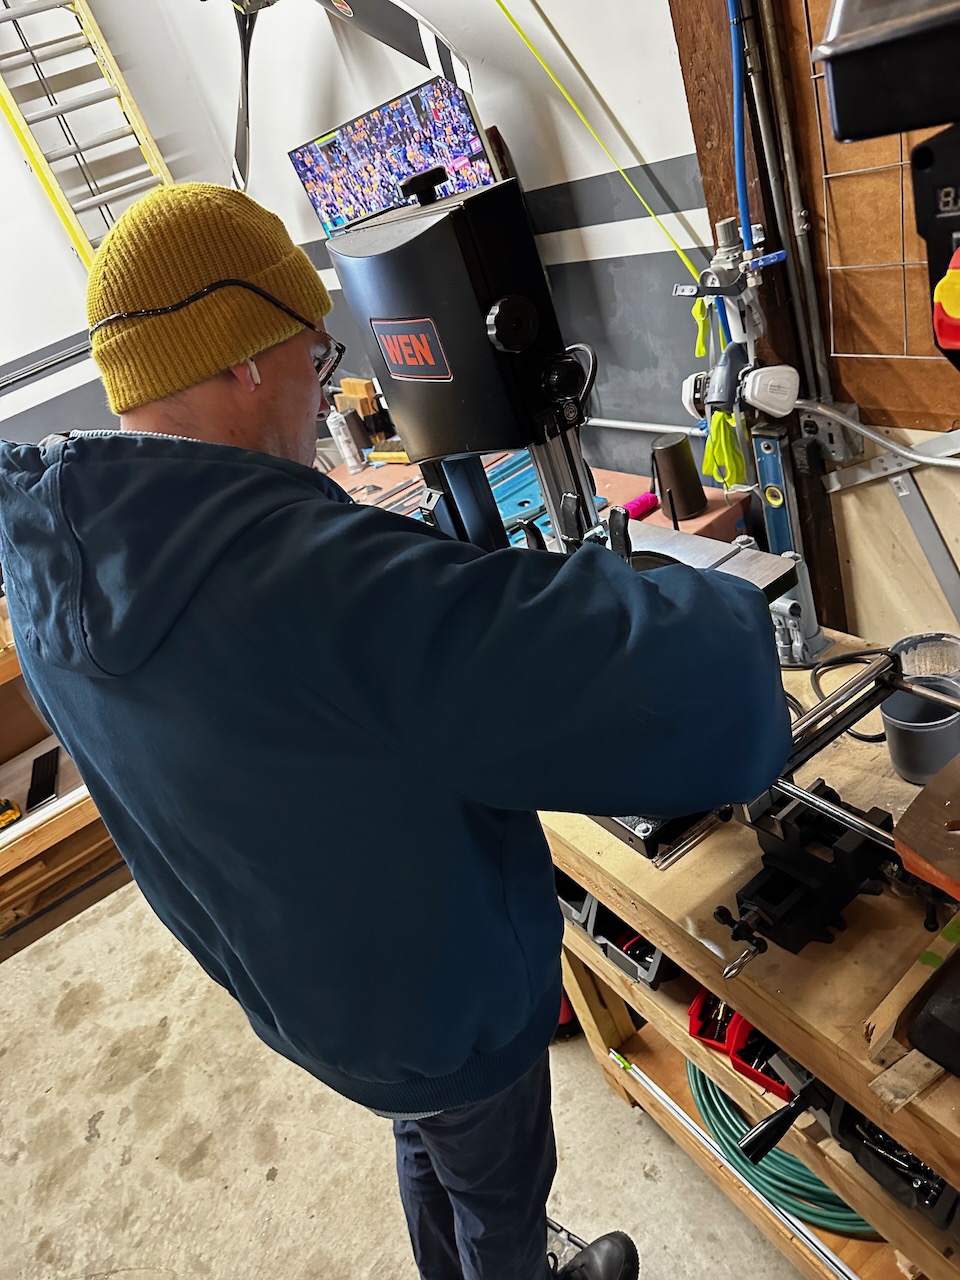
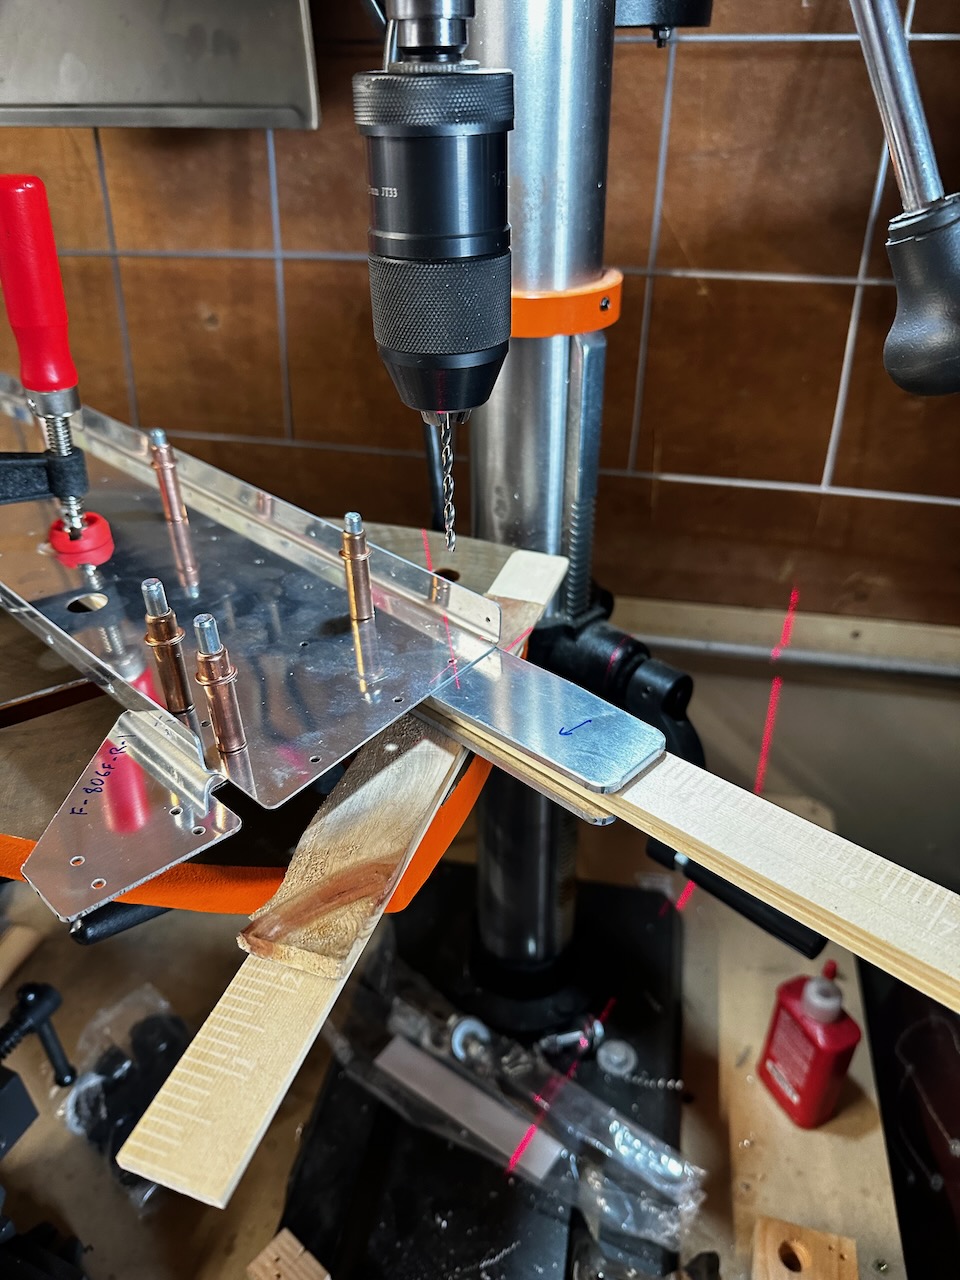
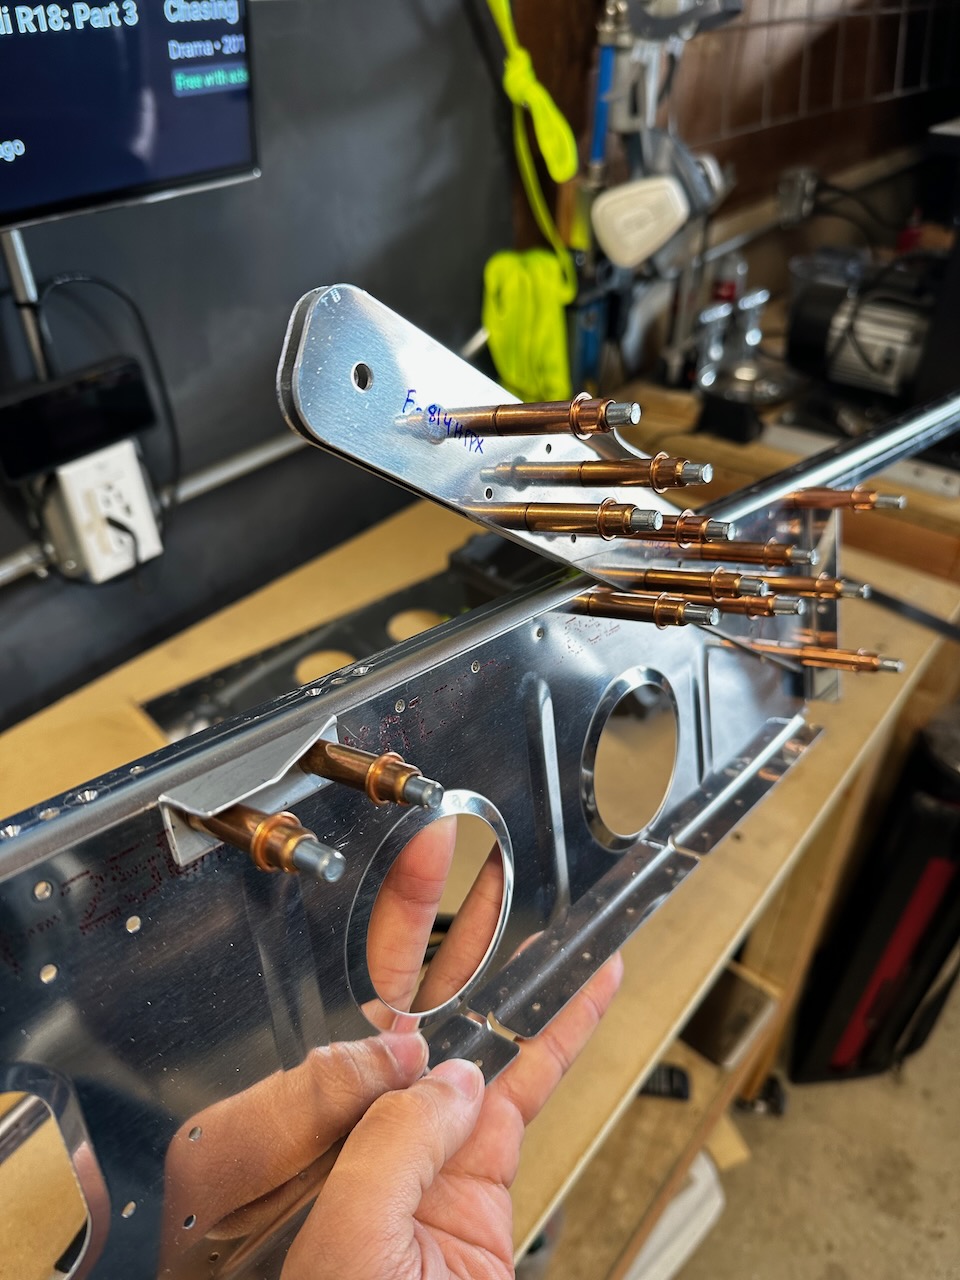
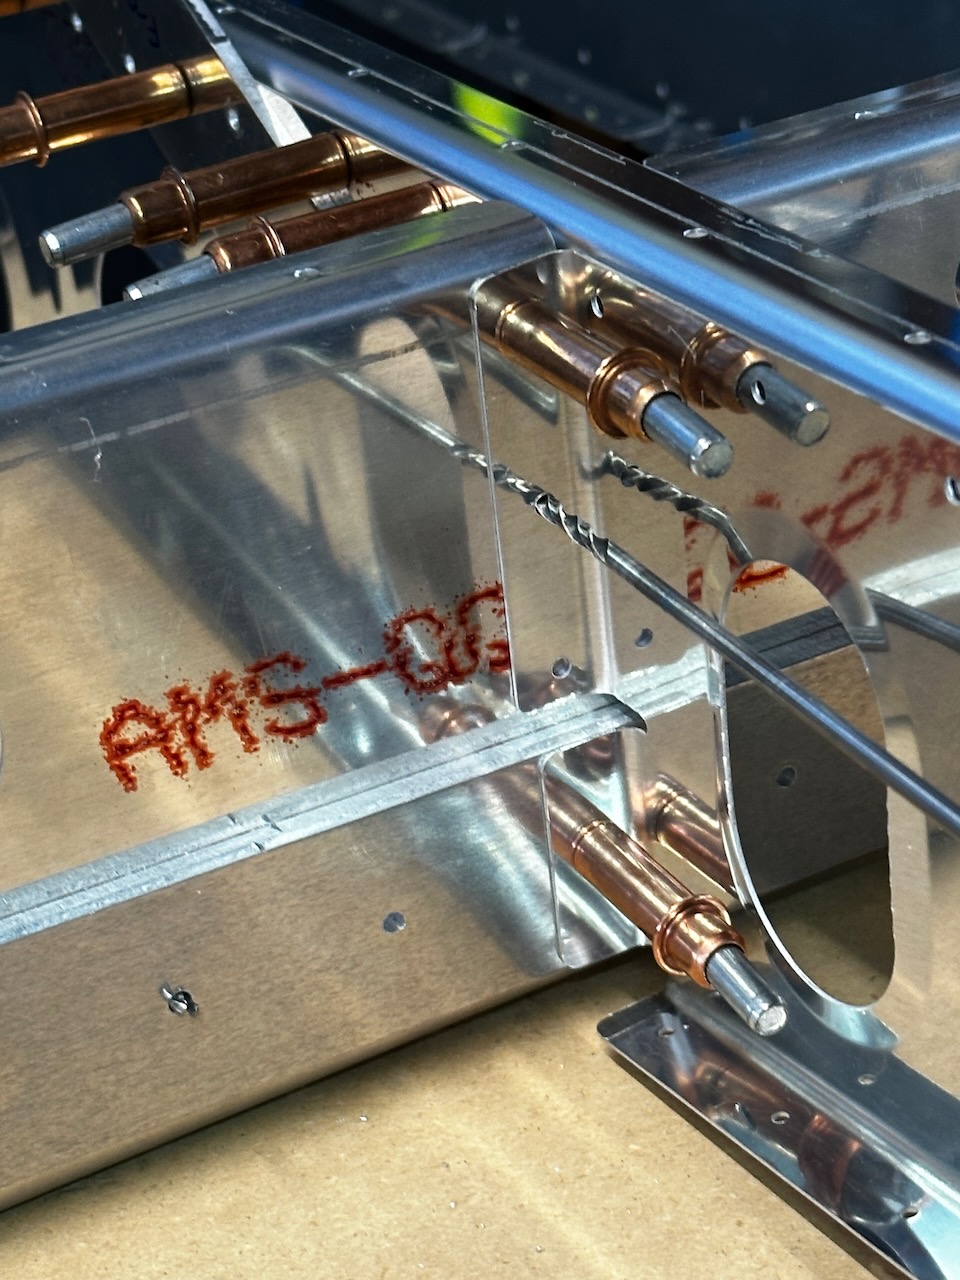
Rear spar attach assembly required some precision drilling.
A few configuration attempts and I finally figured it out. Note wood spacers between bars, and wood backing for drill through
5/6 - Saturday solo session
In the next session, I spent most of my time doing full assembly of the subassembly to ensure fit. Since I’m doing electric aileron trim, I had to do some extra work for that kit. There are a few brackets that need to be attached to the spars. The instructions imply there is a lot of cutting out of holes in the spars to make this work, but after closer inspection it looks like those holes are already pre-drilled now. There are even pre-drilled holes for easier match drilling through the spar. I didn’t figure that out until I was measuring for the hole cuts, and realized that the holes were already there! Another challenge was the match drilling of the seat brackets (F-805D). You are required to level it against the top of the rib, and it’s quite hard to clamp it down for drilling. One I got pretty well, but the other is not quite perfect. I think it’ll do but I may need to make some adjustments later.
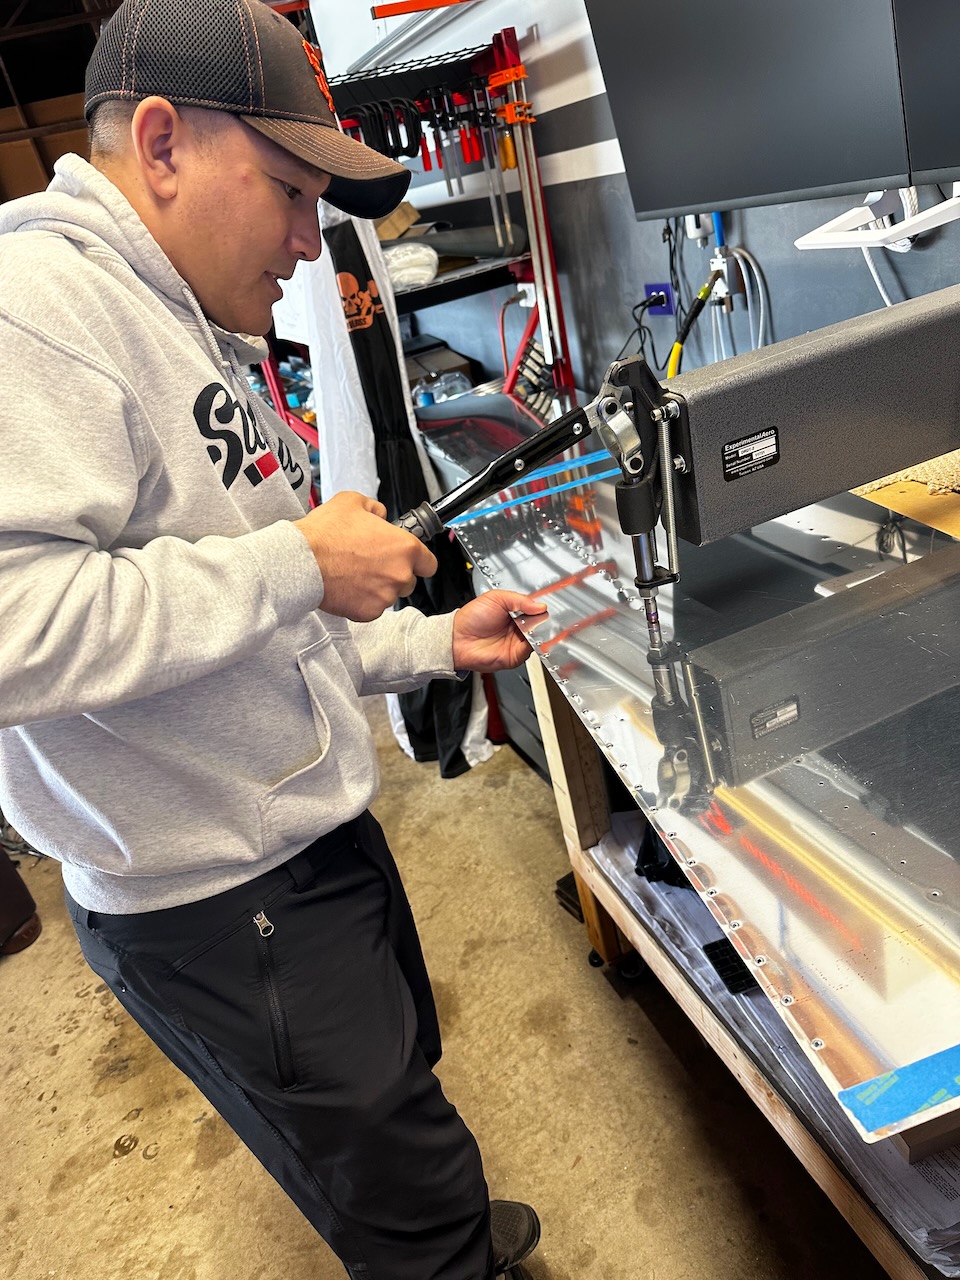
Inboard seat angle needs machine countersinks
assembling the seat belt anchors
Fwd right inboard seat rib assembly
match drilling the seat belt anchor
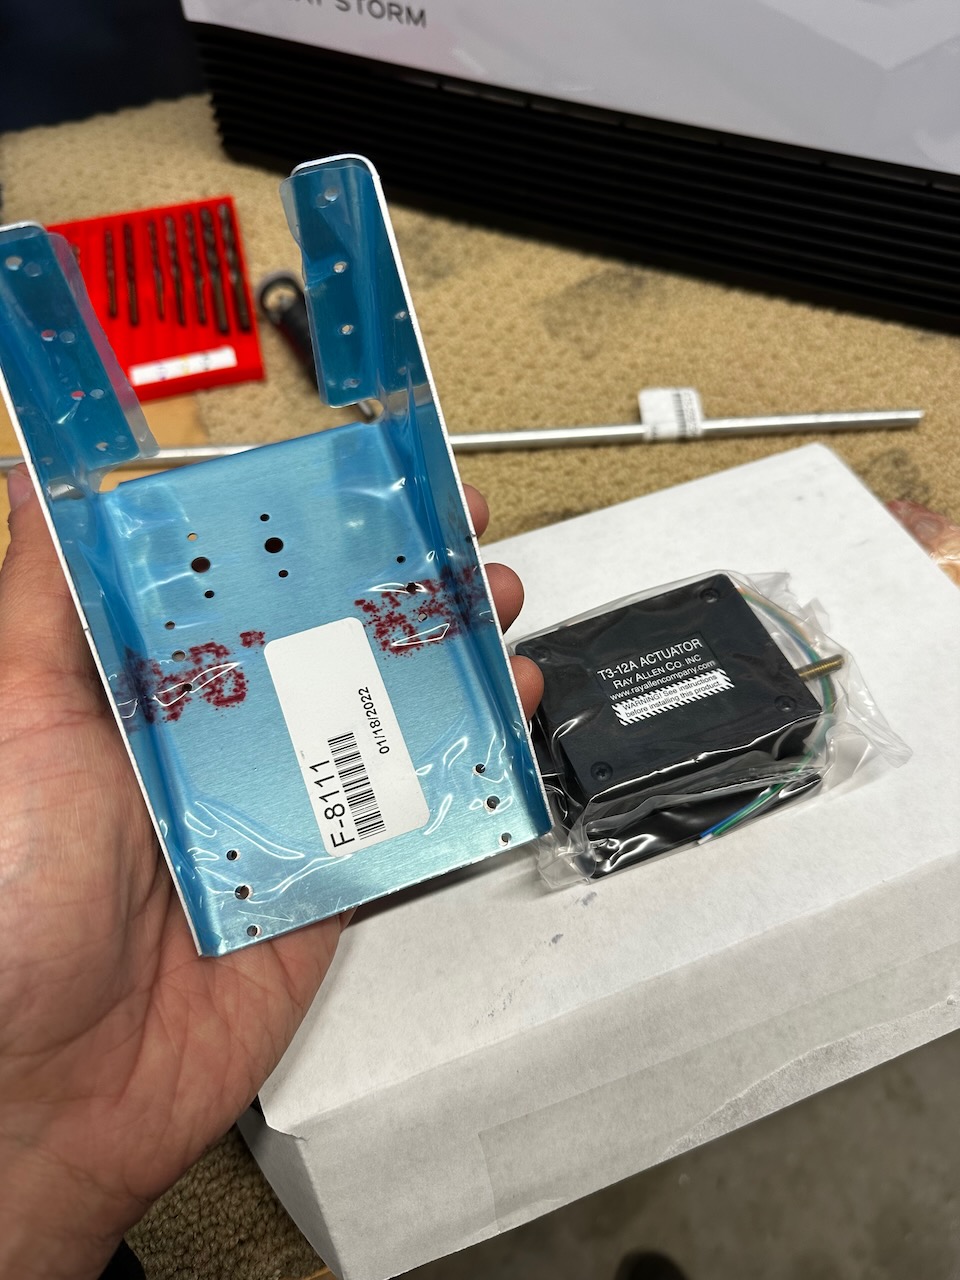
electric aileron trim kit (OP-1)
bracket and trim servo
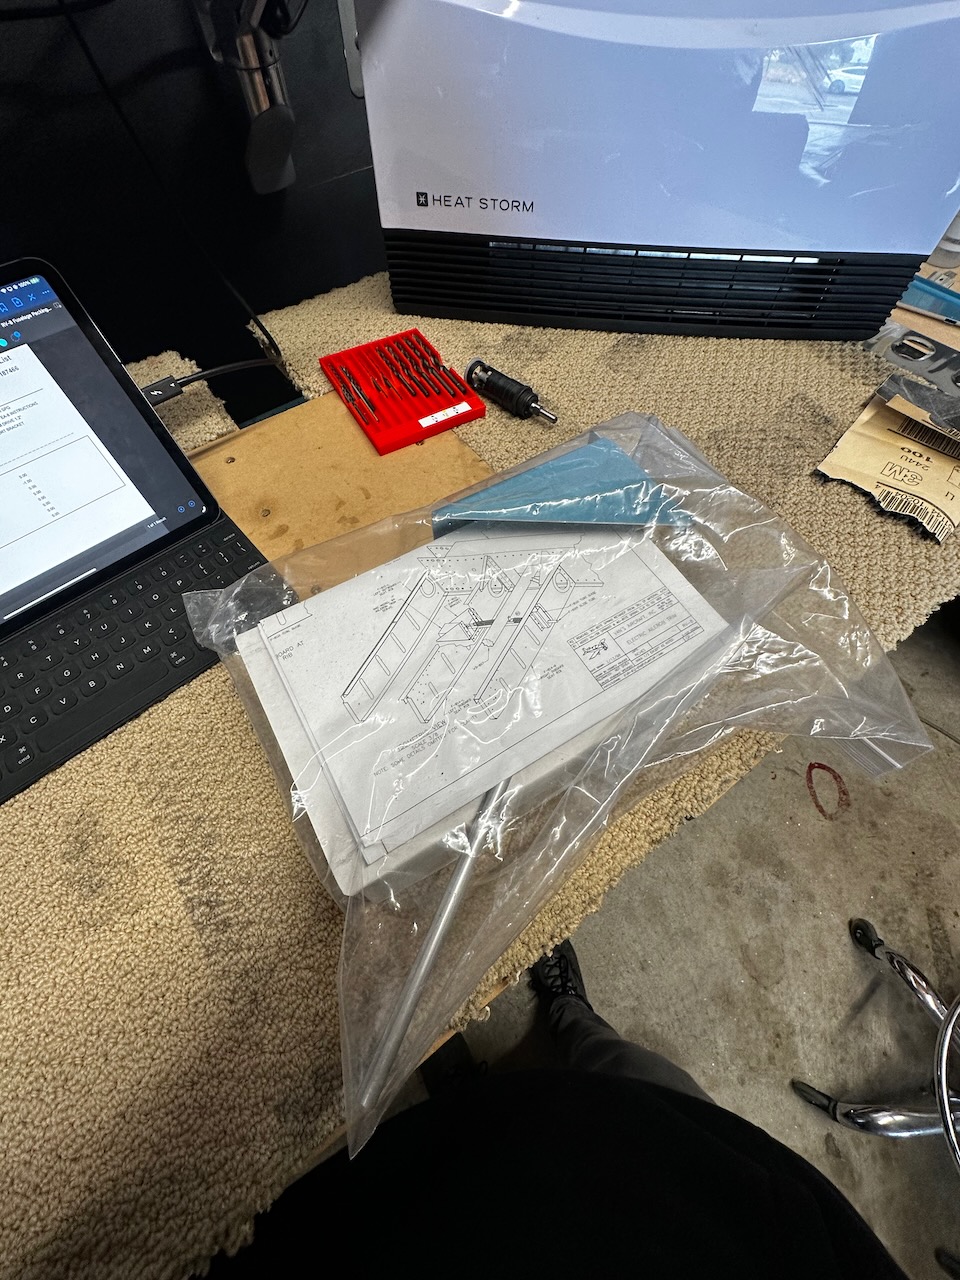
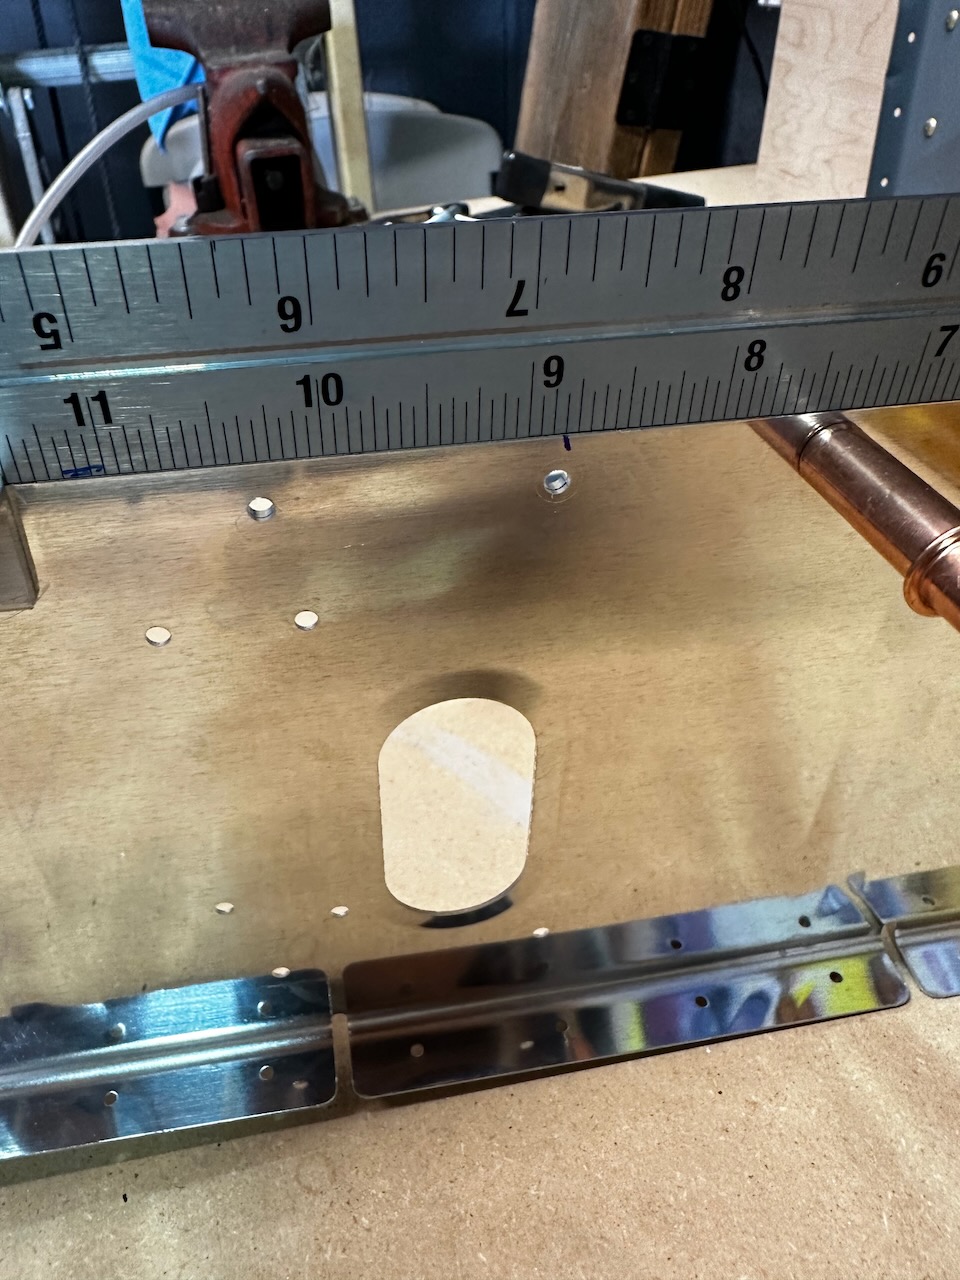
I thought I needed the center section as a datum for measuring…
..but when I measured I noticed that the hole was already there!…
and … looks like there are some pre-drilled holes to help match drill the others.
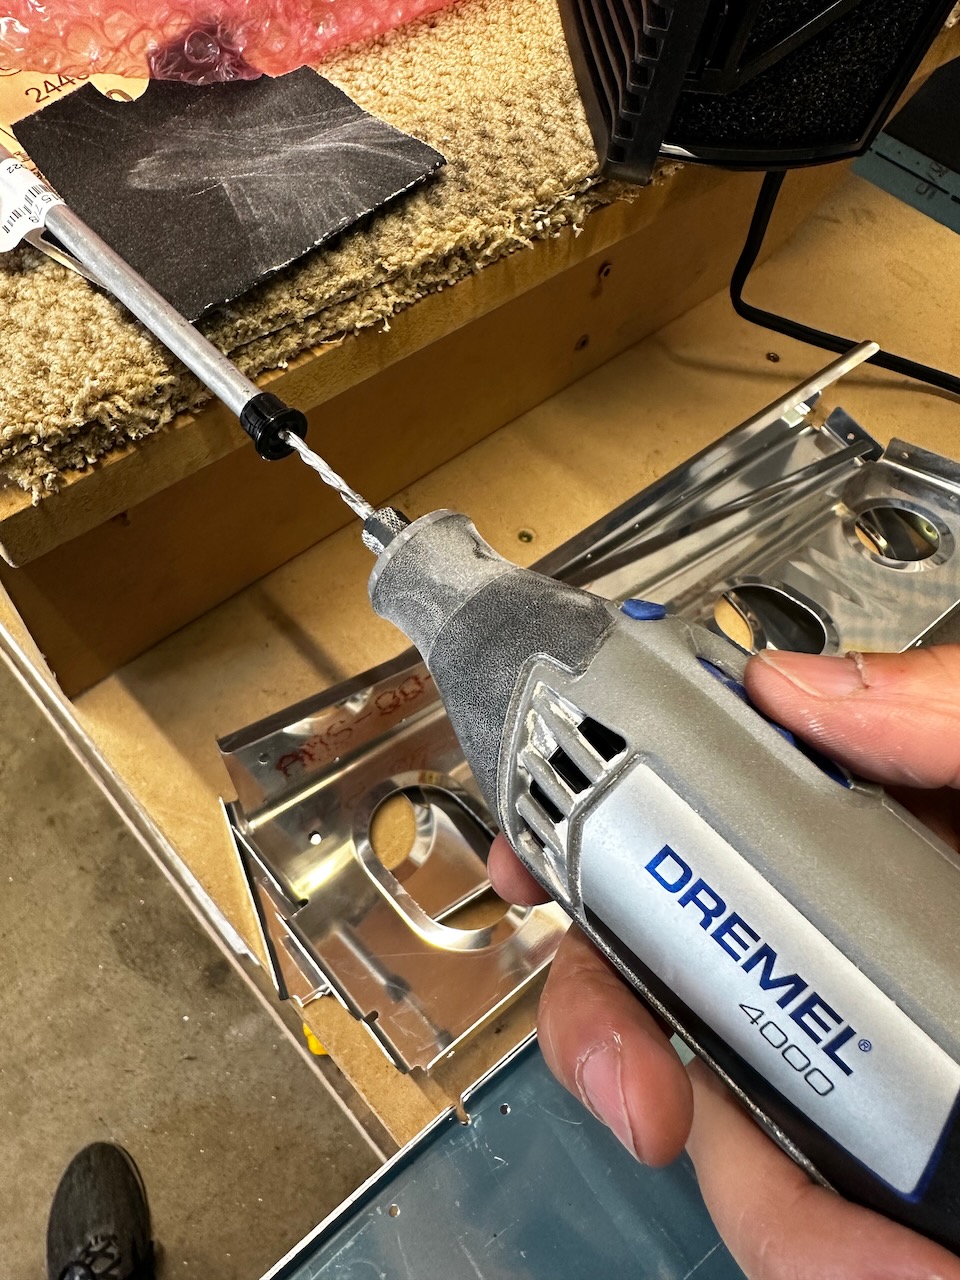
part of OP-1 requres enlargening the spacer bushing. I started with a drill, then reamed out with a dremel.
servo bracket test fit…
..and used the pre-made drill jig for match drilling the bracket.
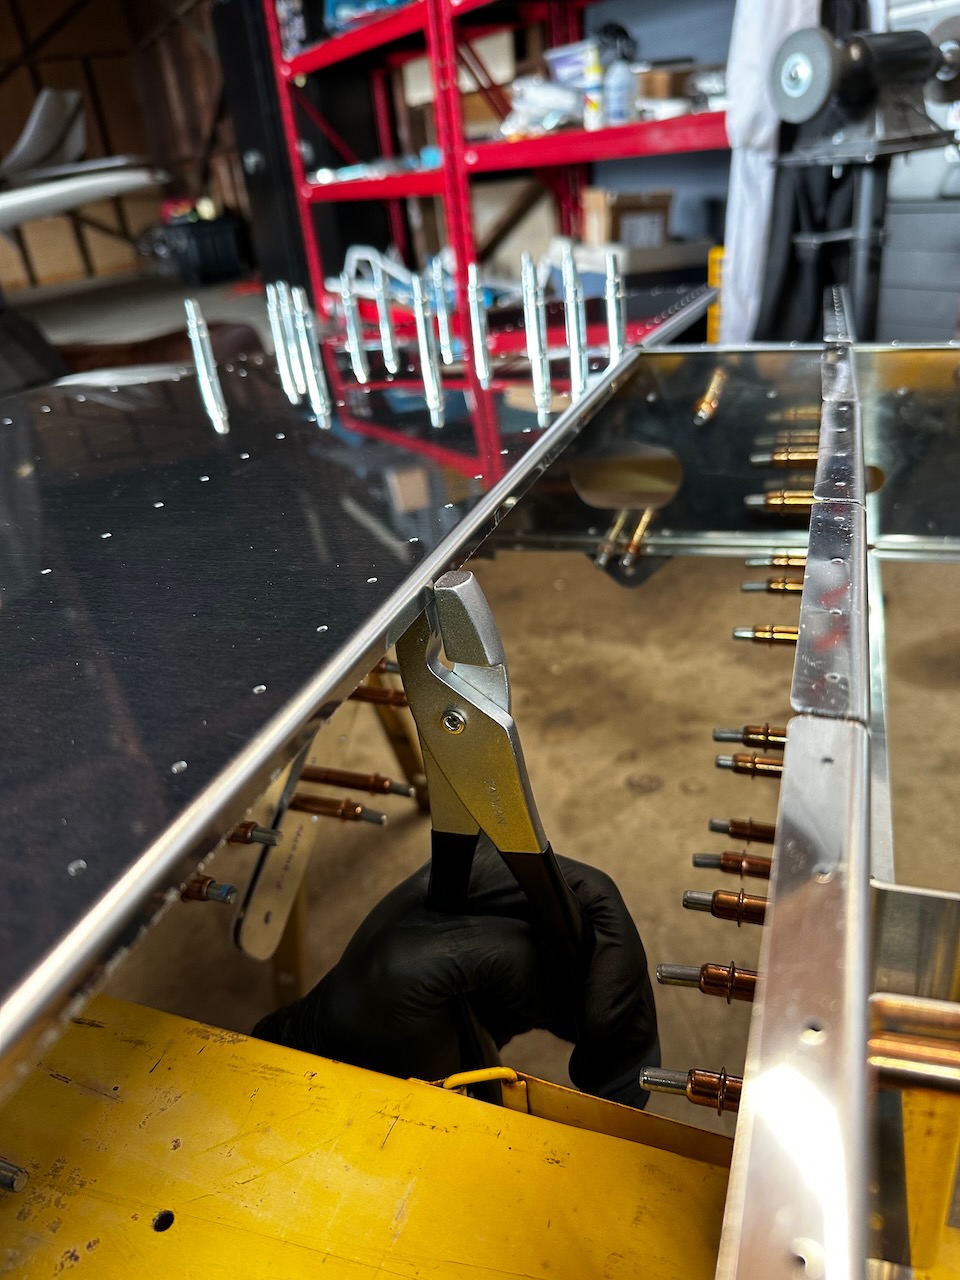
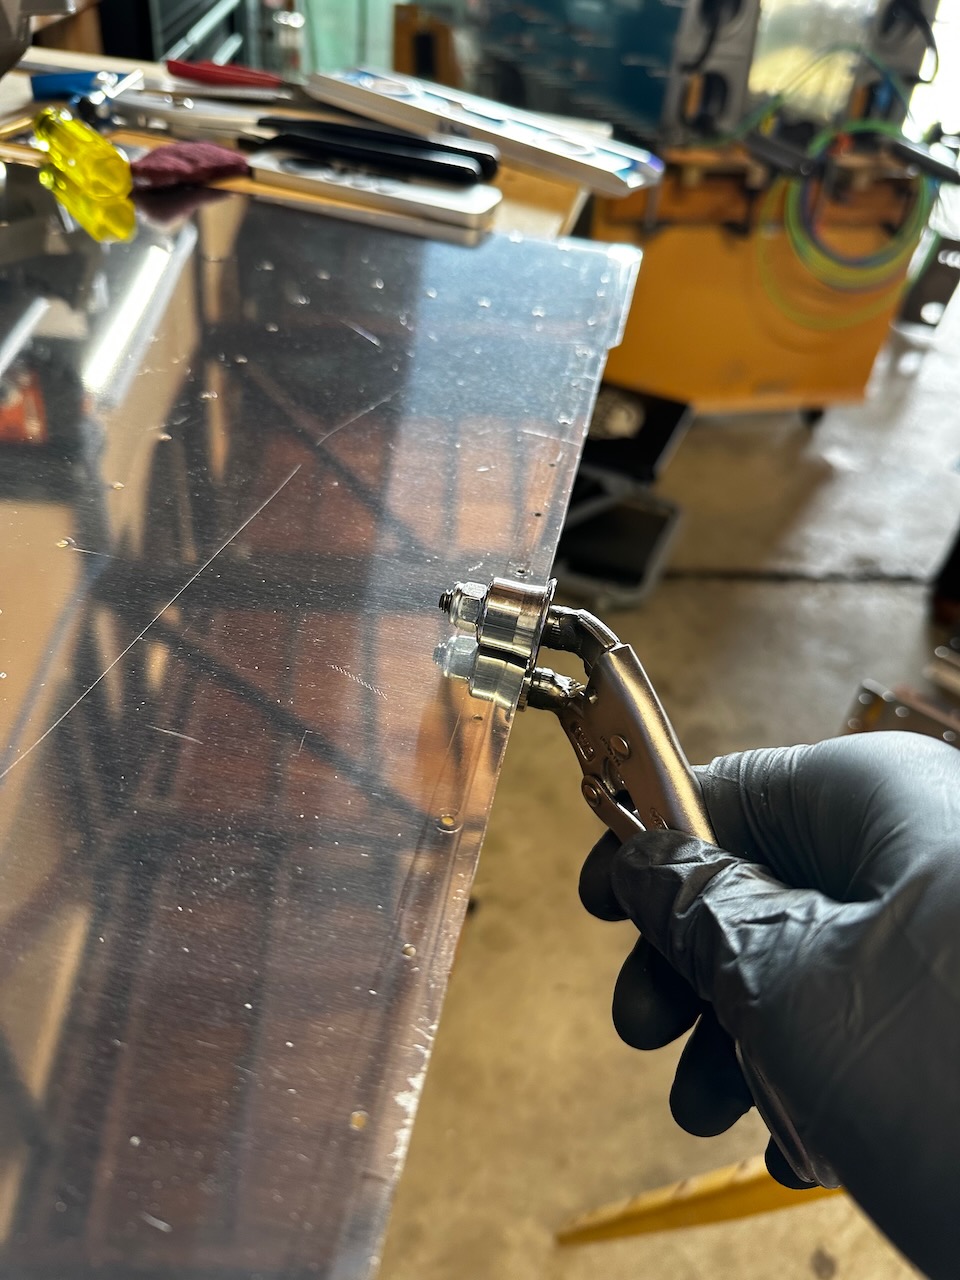
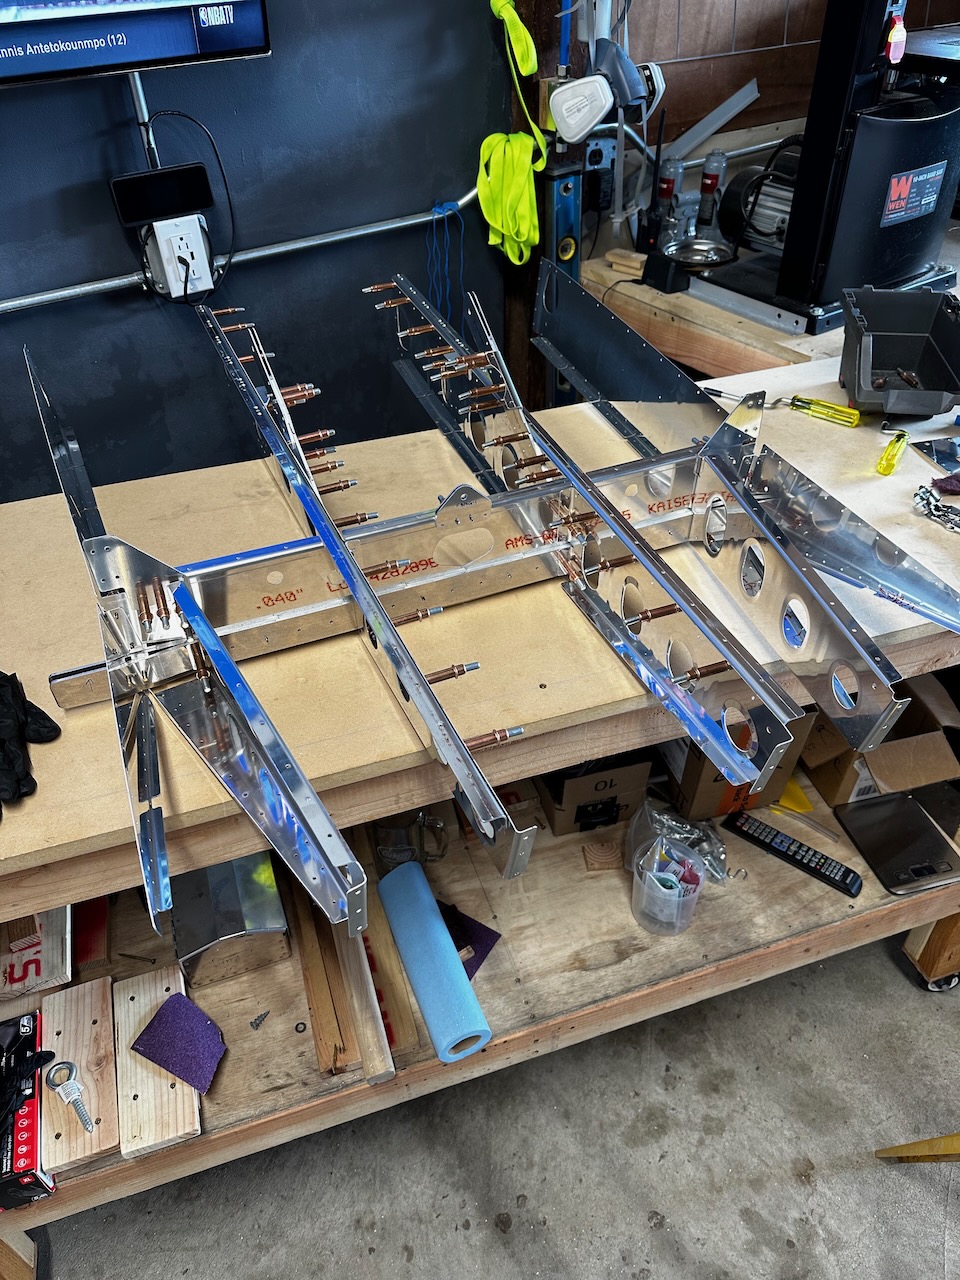
After I dealt with the electric trim kit bracket I continued with assembly. It was fun seeing the skeleton come together. At various stages I final size drilled connecting holes. Once the skeleton was fully assembled it was time to flip it upside down on some saw horses to fit the bottom skins. Normally I would then need to final drill and deburr those holes but since I have the special dimpling dies from Synergy, I got to skip that step. One interesting note (and noted in the instructions) was that one of the skins doesn’t match the curve of the ribs, and because there is a stengthening flange, it won’t naturally bend to fit the curve. So fluting is required to match the curve.With the test fit going well I pulled off the skins and rolled the edges as instructed. The session was quite a long one so it was time to head home for the day!
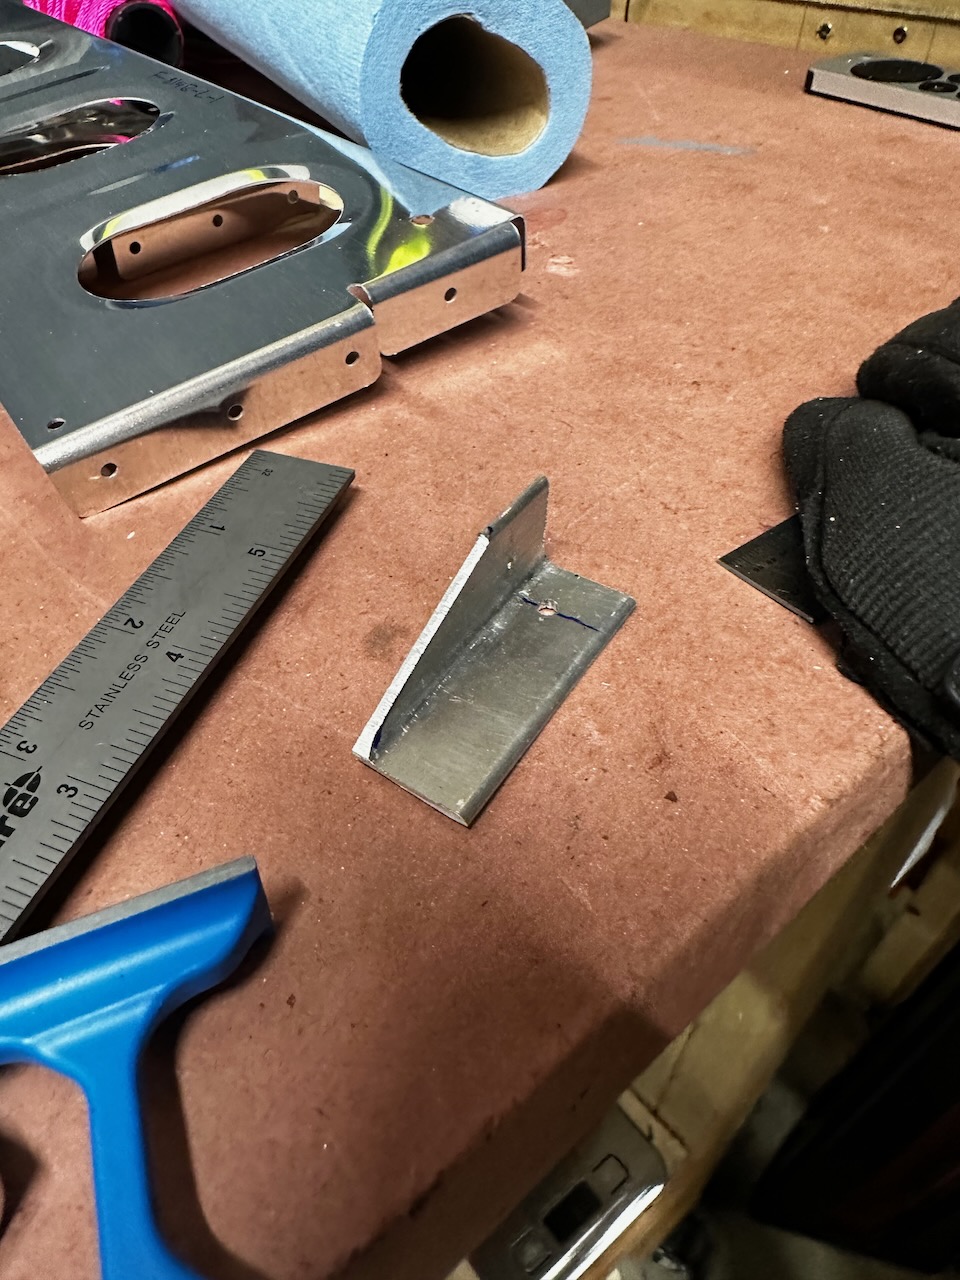
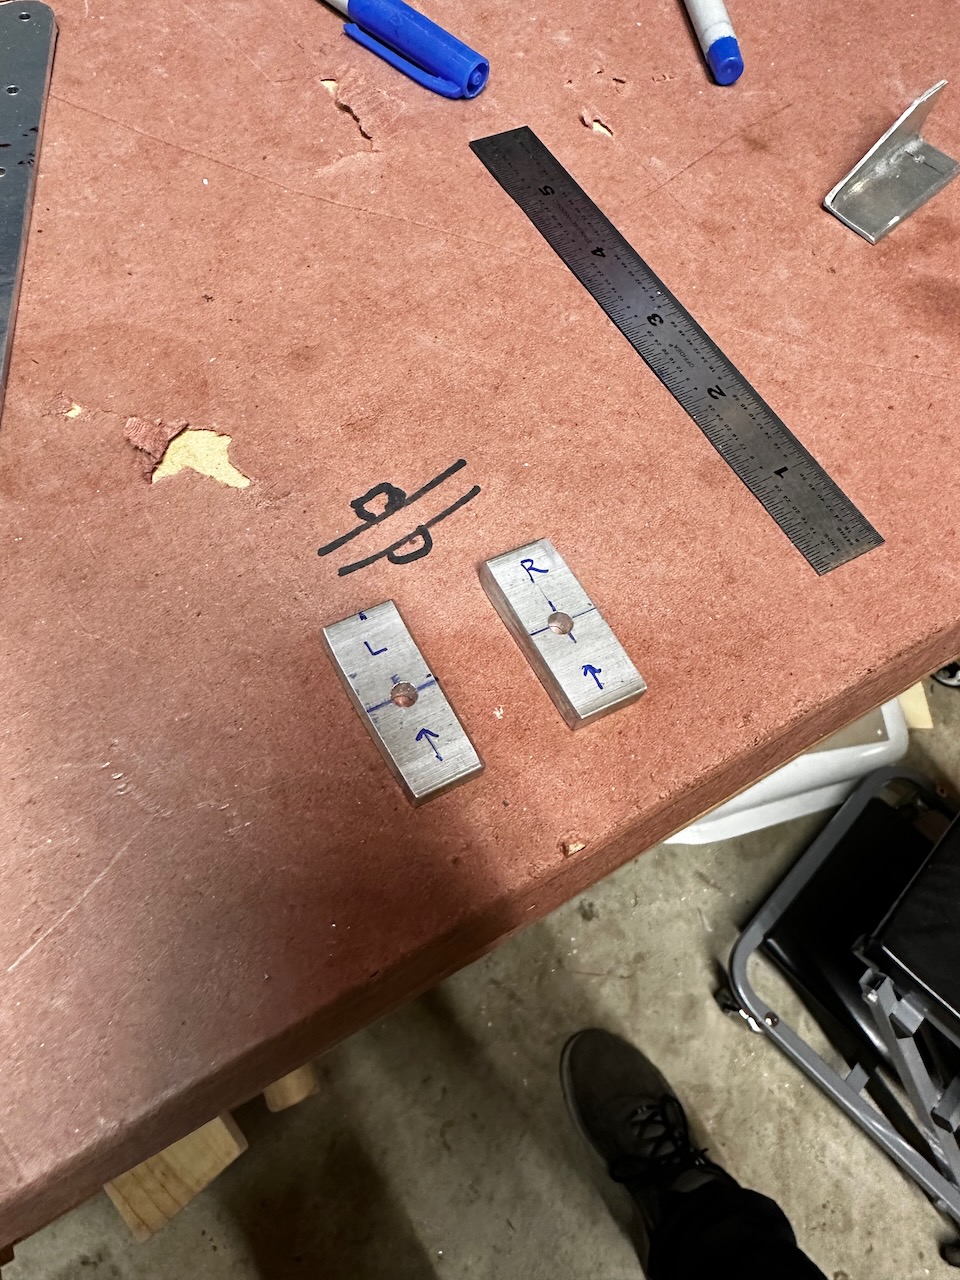
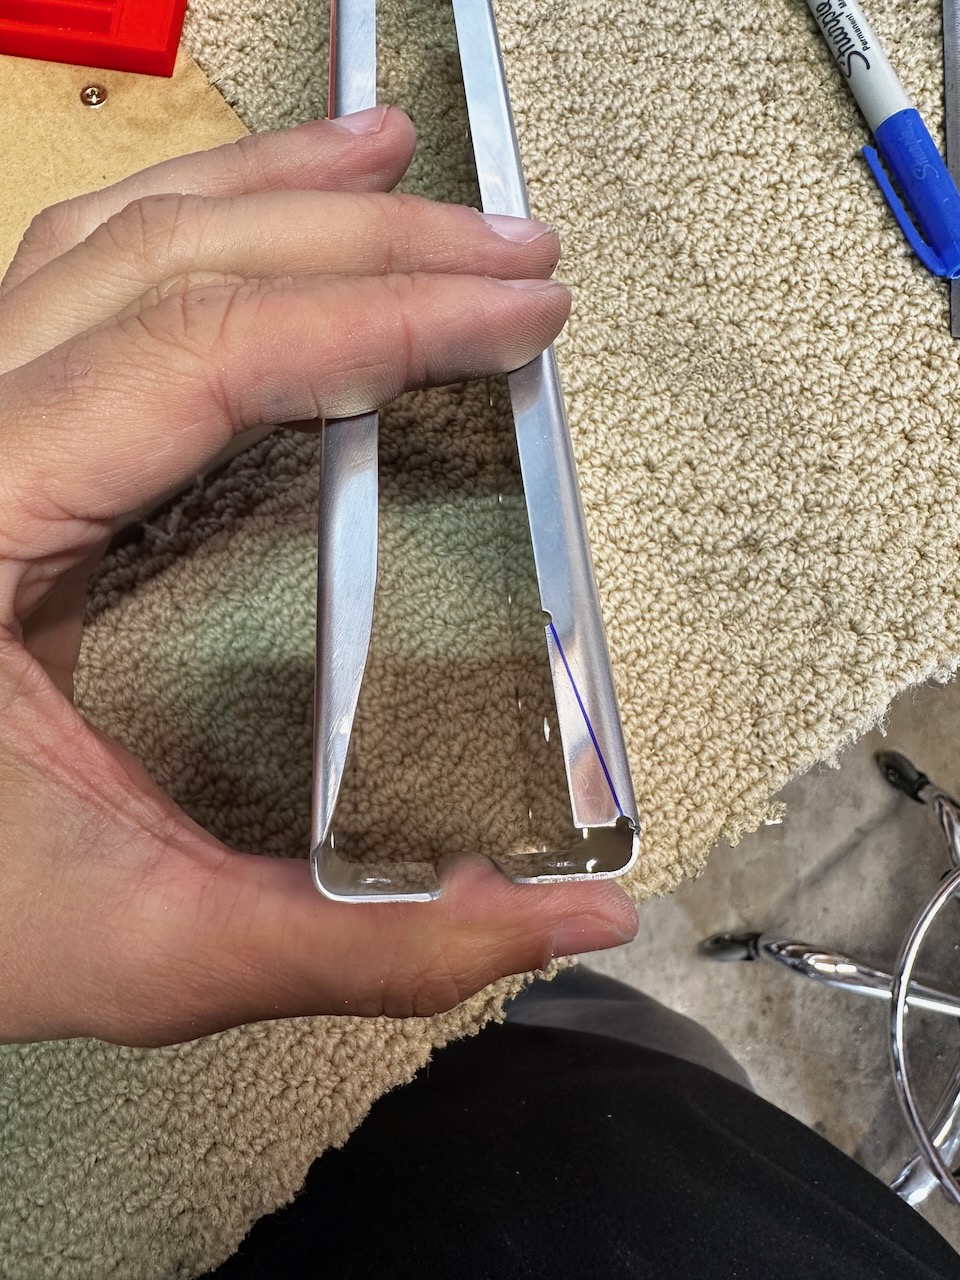
some ribs needed to be trimmed down. Left had completed trim, right was marked for trimming
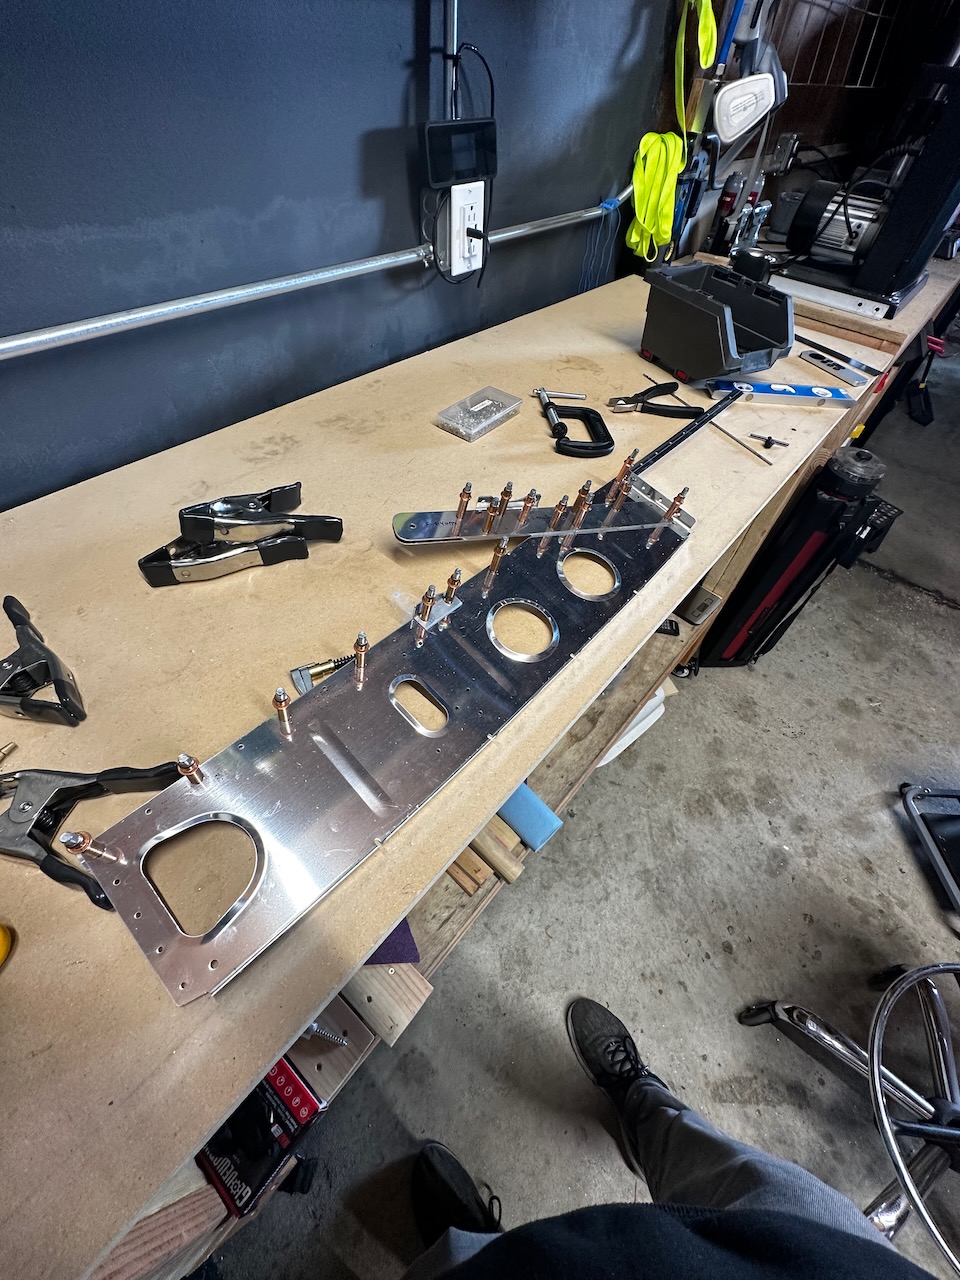
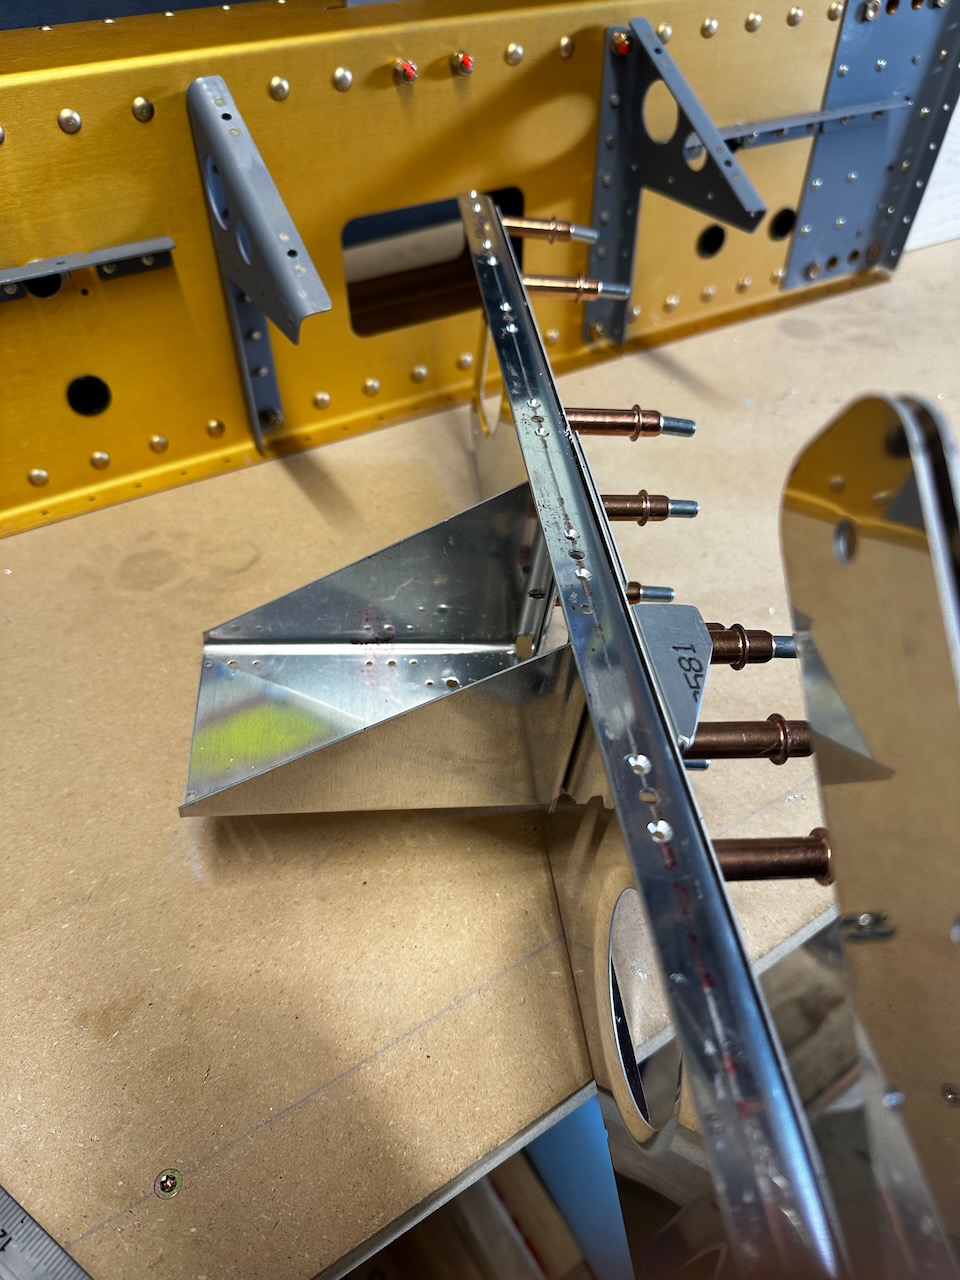
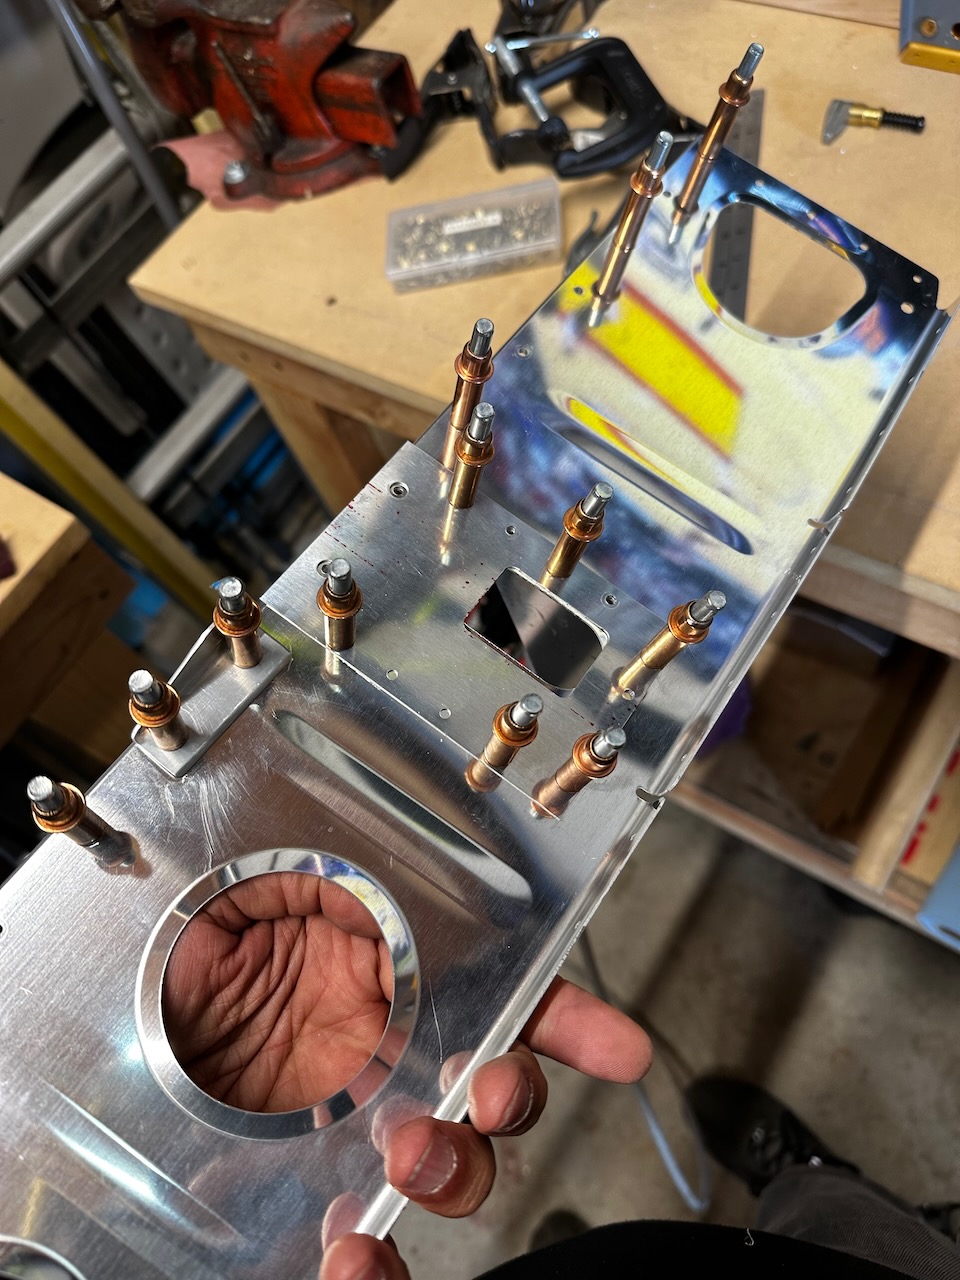
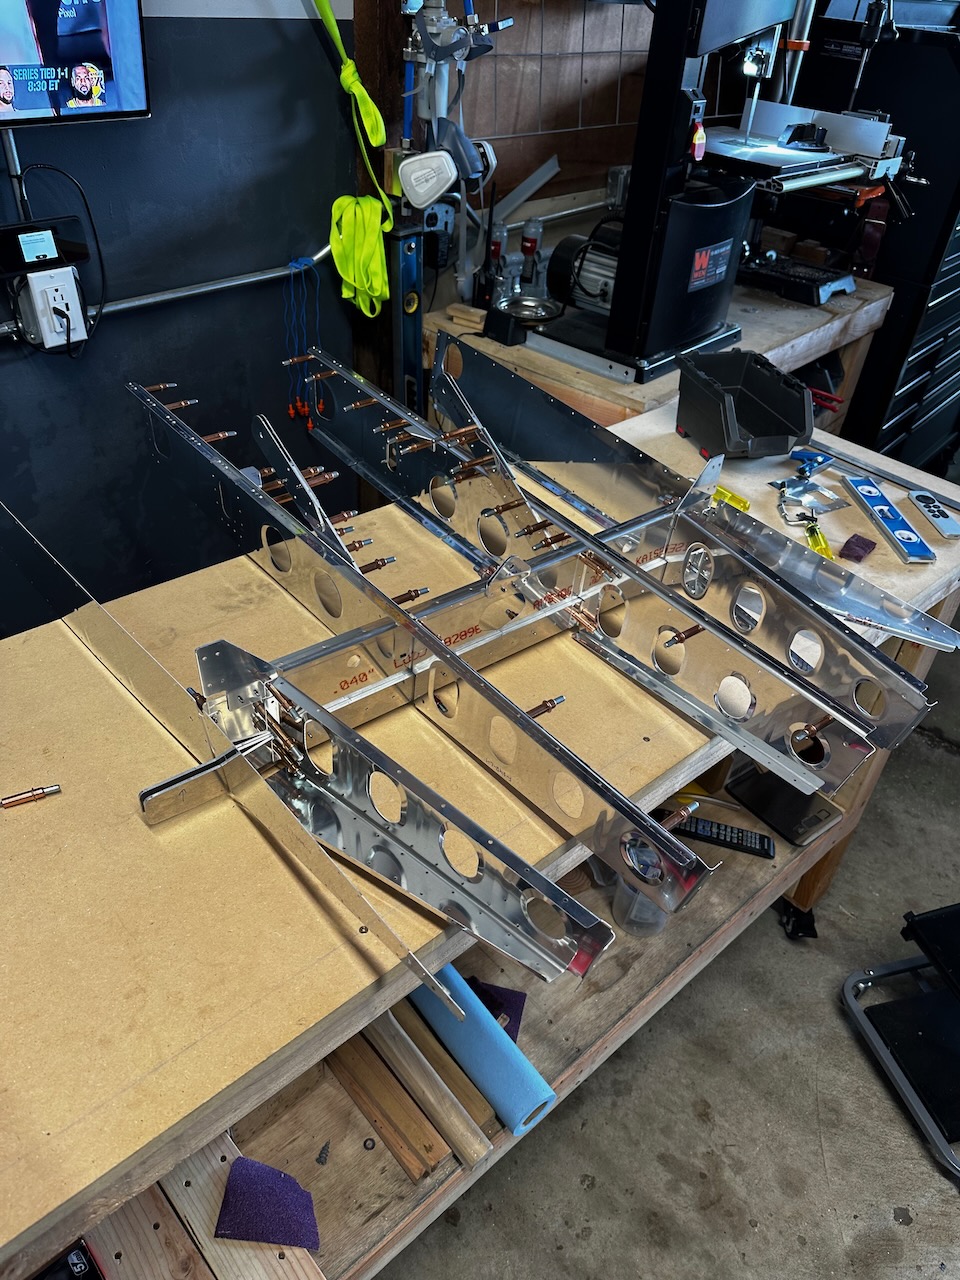
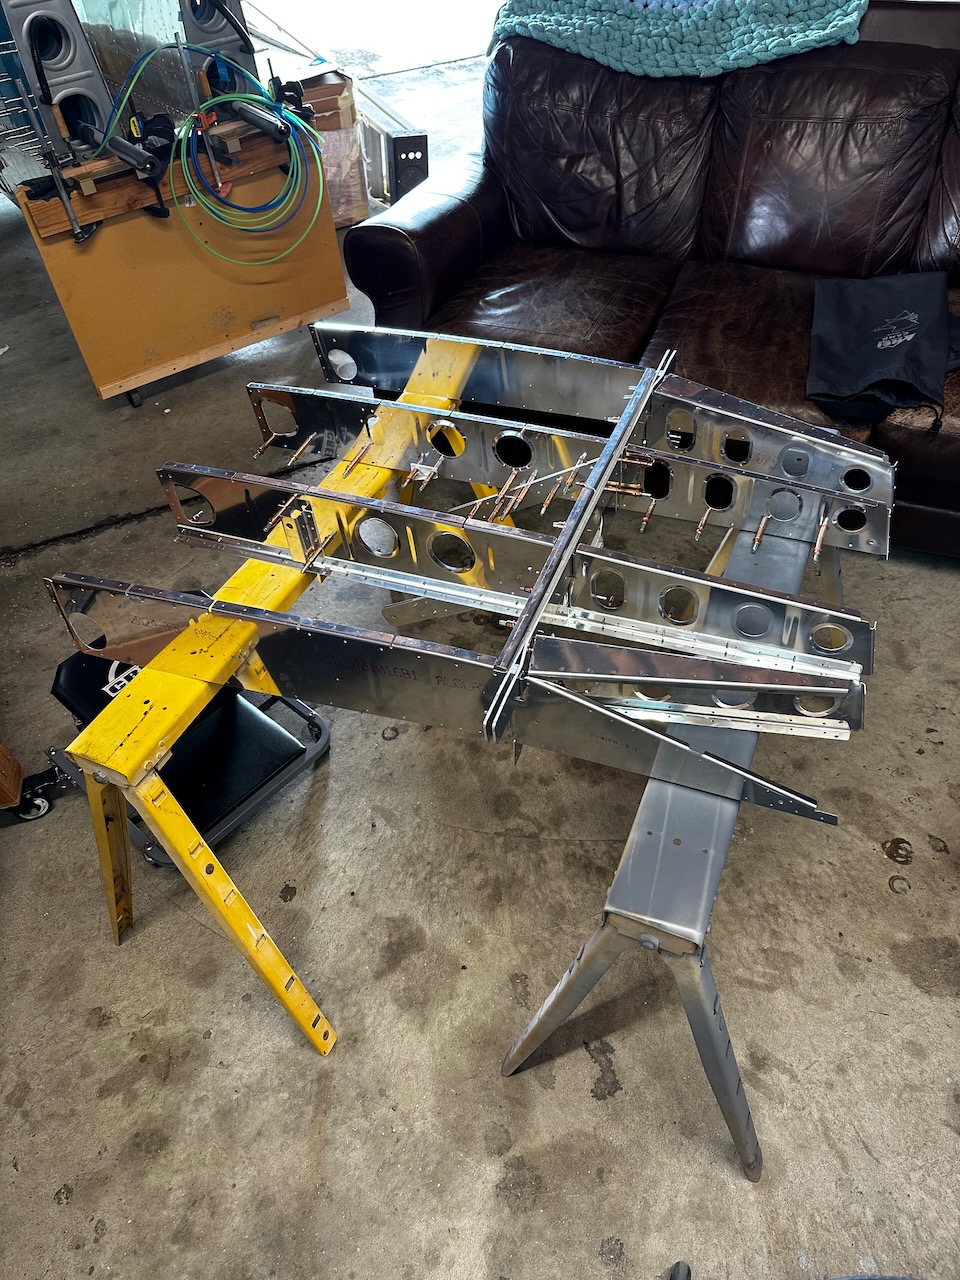
seat rib skeleton coming together!
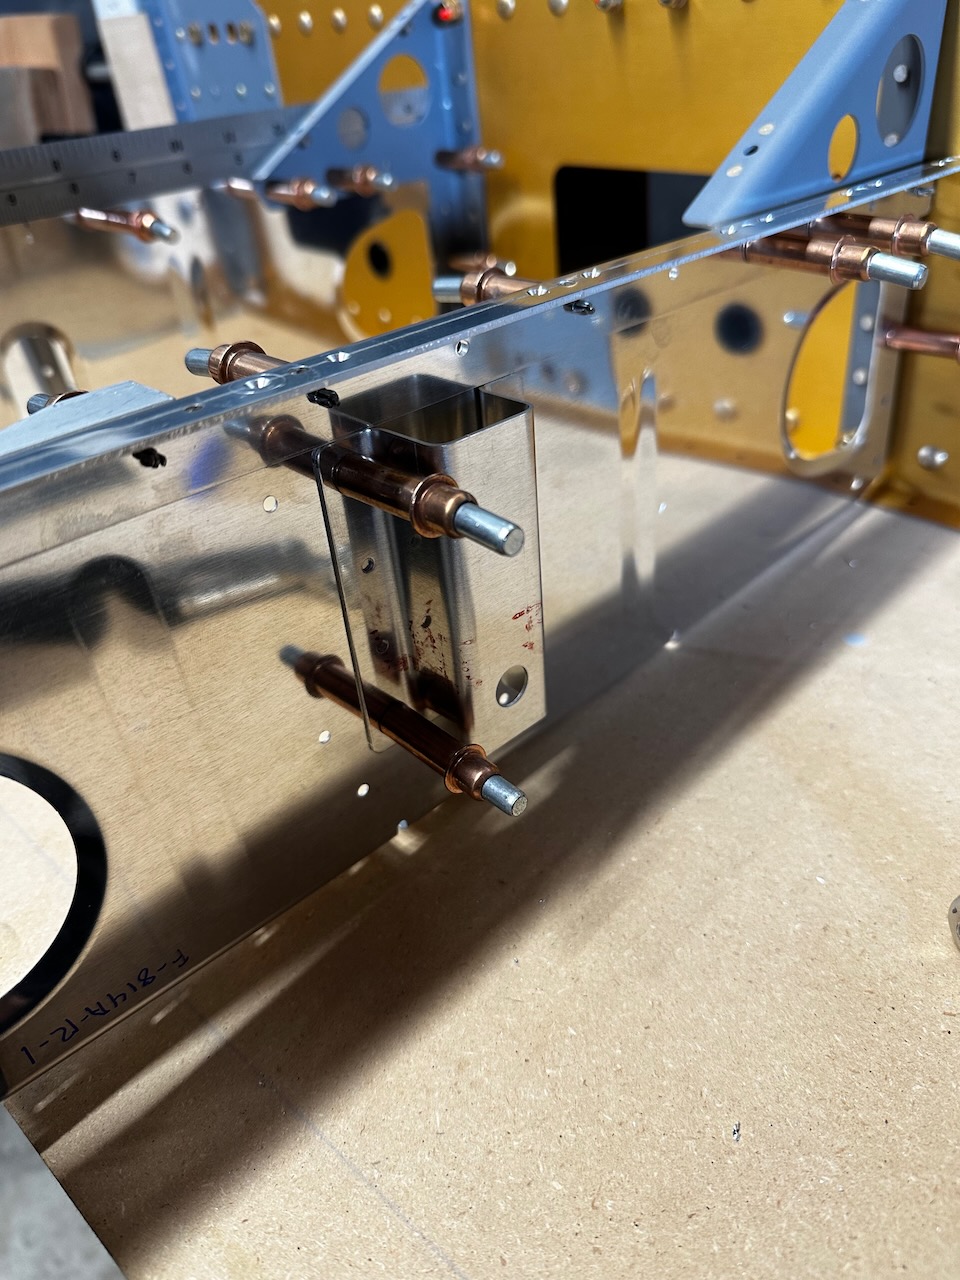
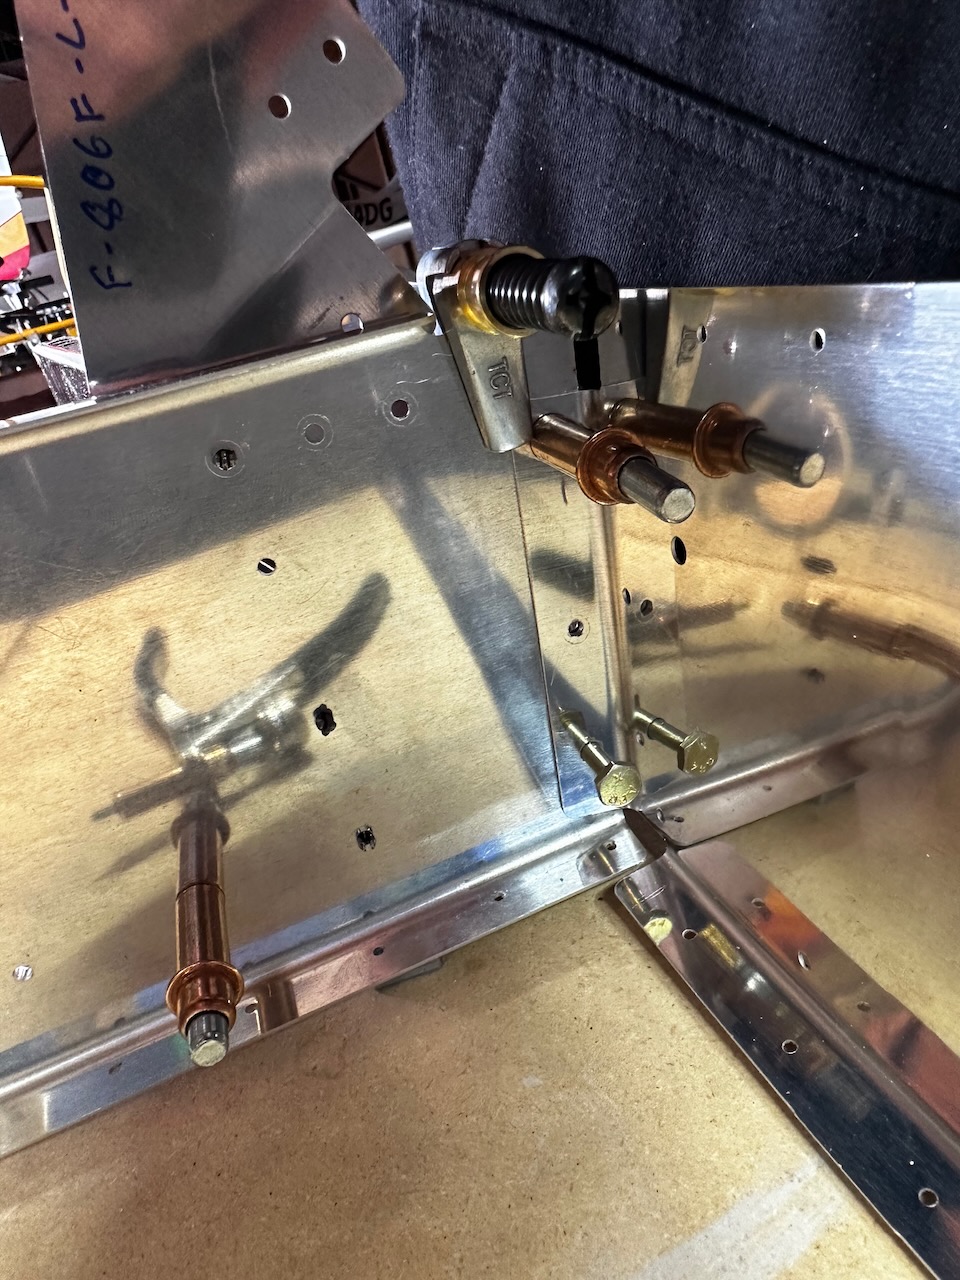
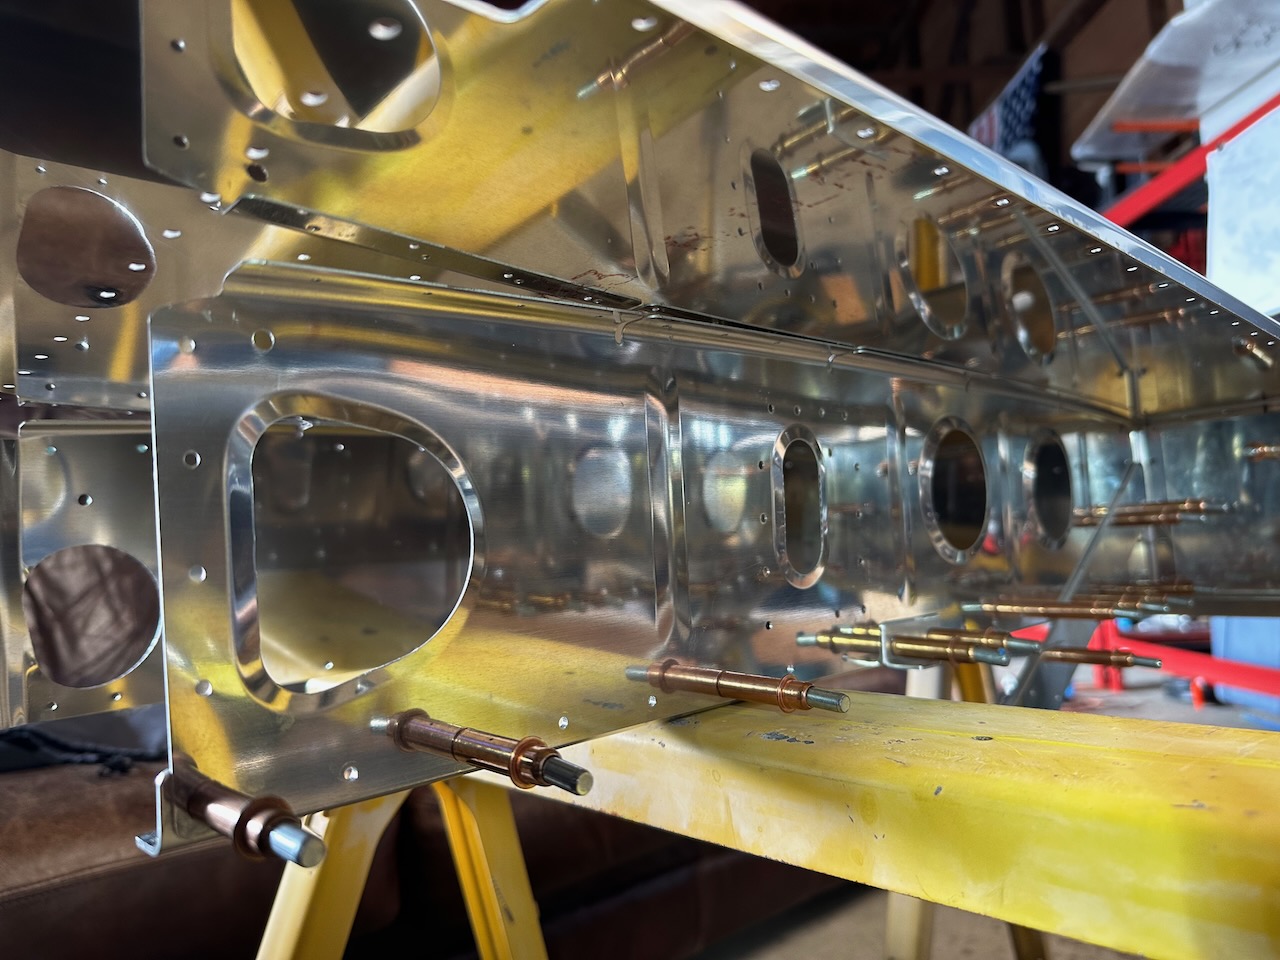
note the bolt through the #12 hole to align during final drilling
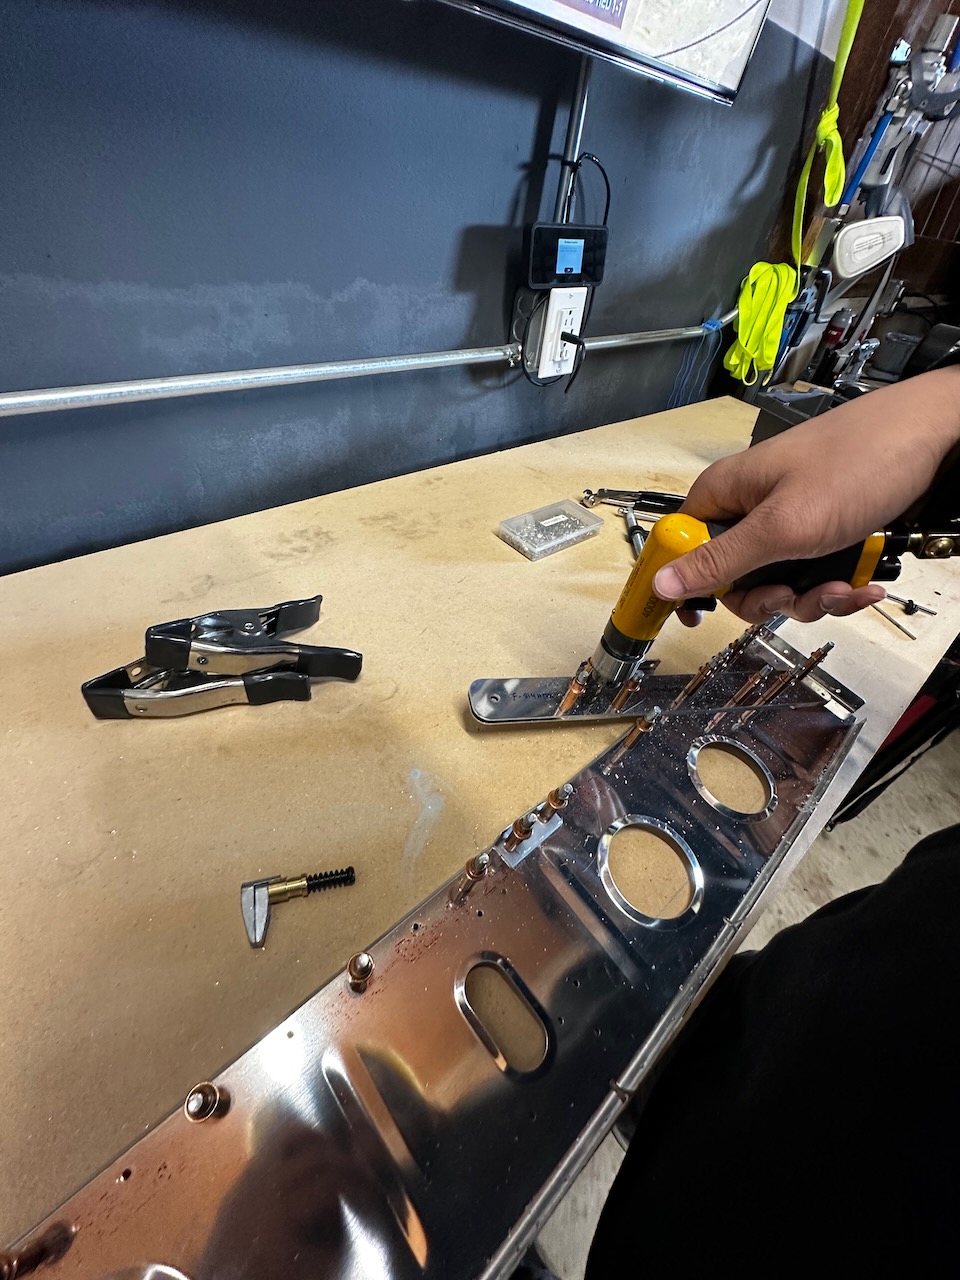
without a 12″ bit, this would not be possible…
… no space for drill closer in!
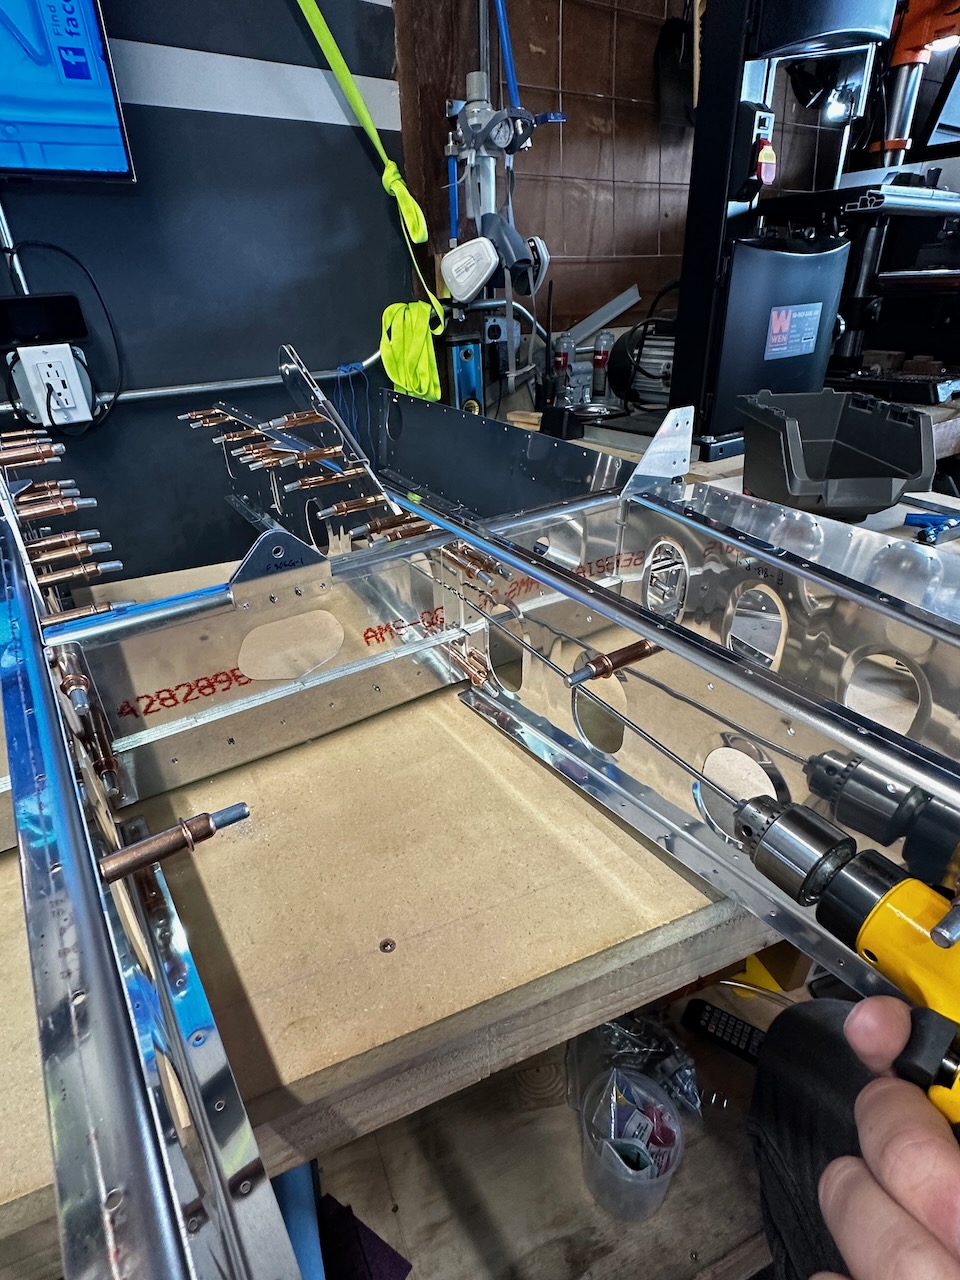
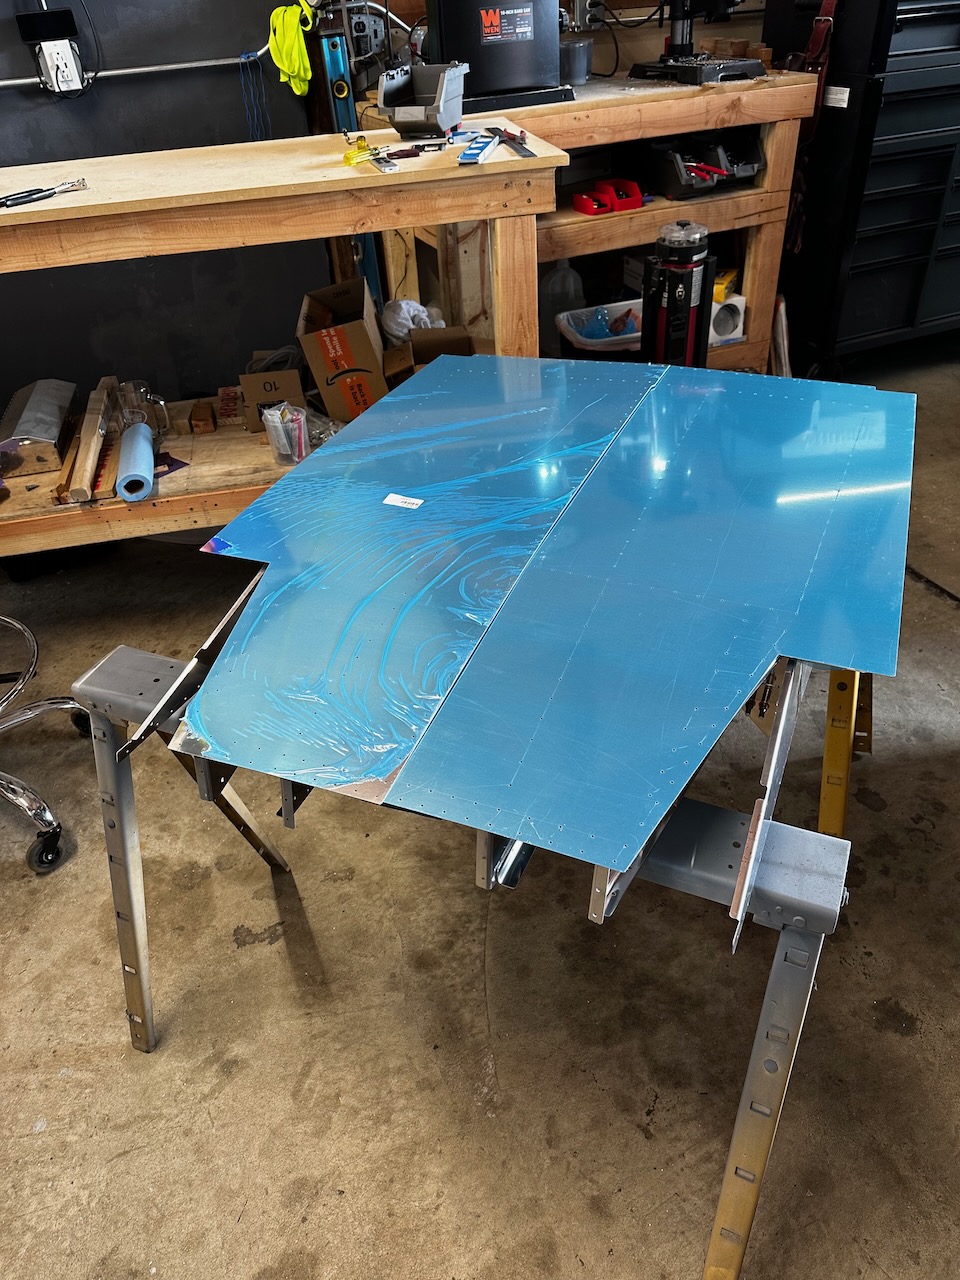
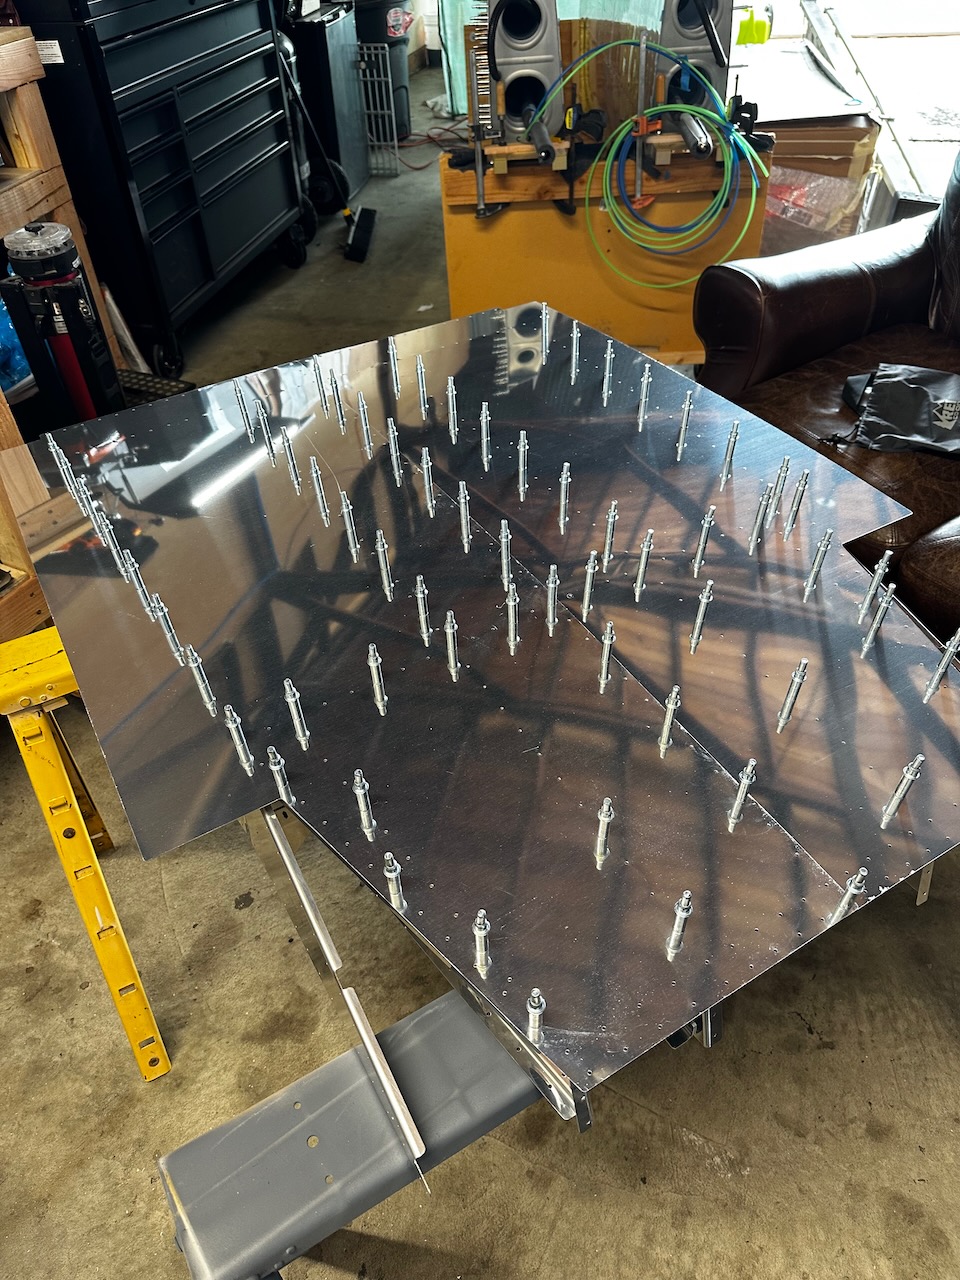
with skeleton assemblied it was time to flip it over for skin fitting
woo hoo! Looks good.
vinyl peel… yes still satisfying!
skin fitting test.
Note the skin doesn’t match the curve of the rib…
…so requires some fluting to more closely match the curve.
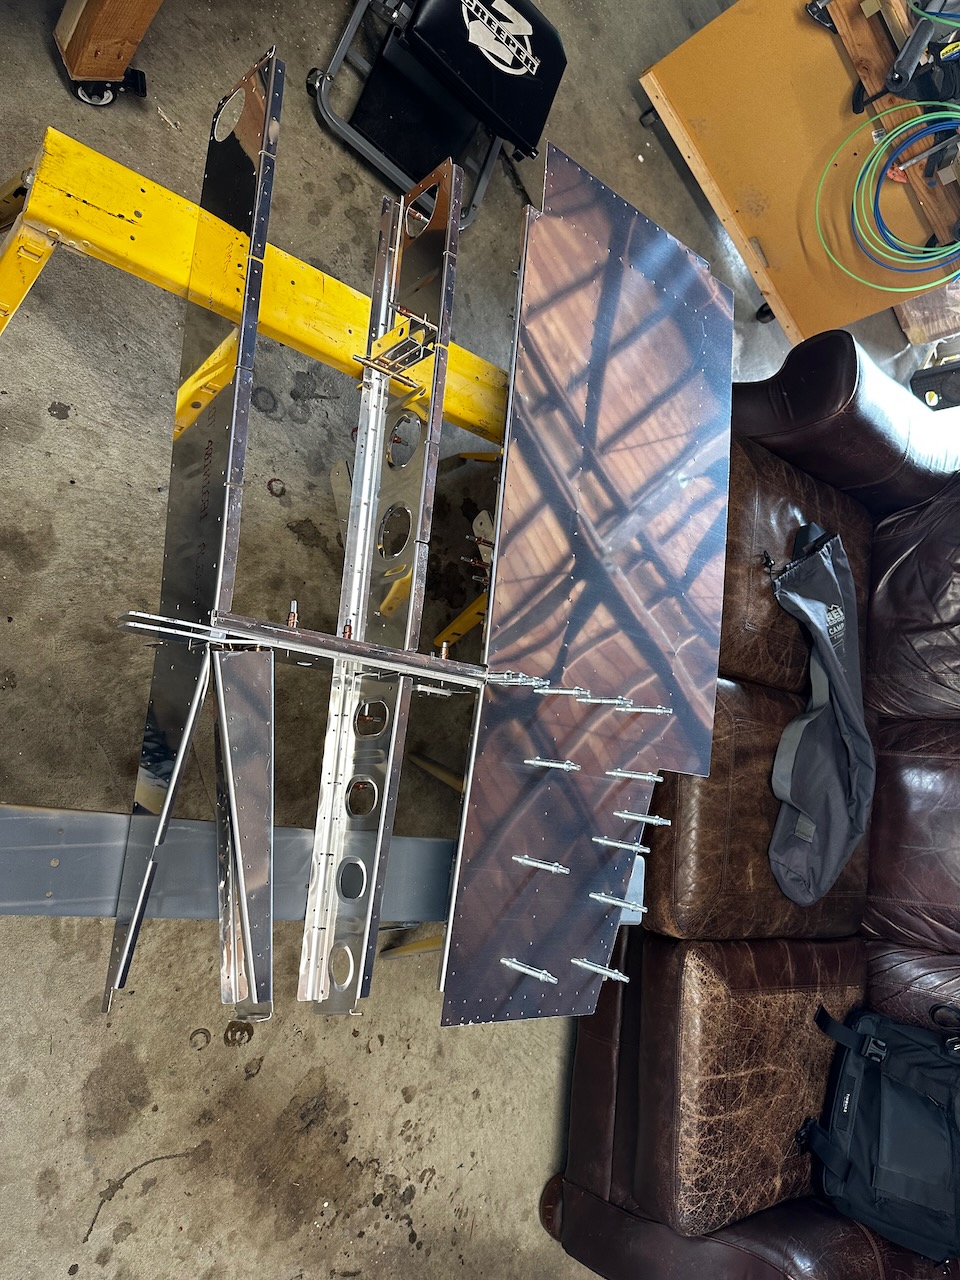
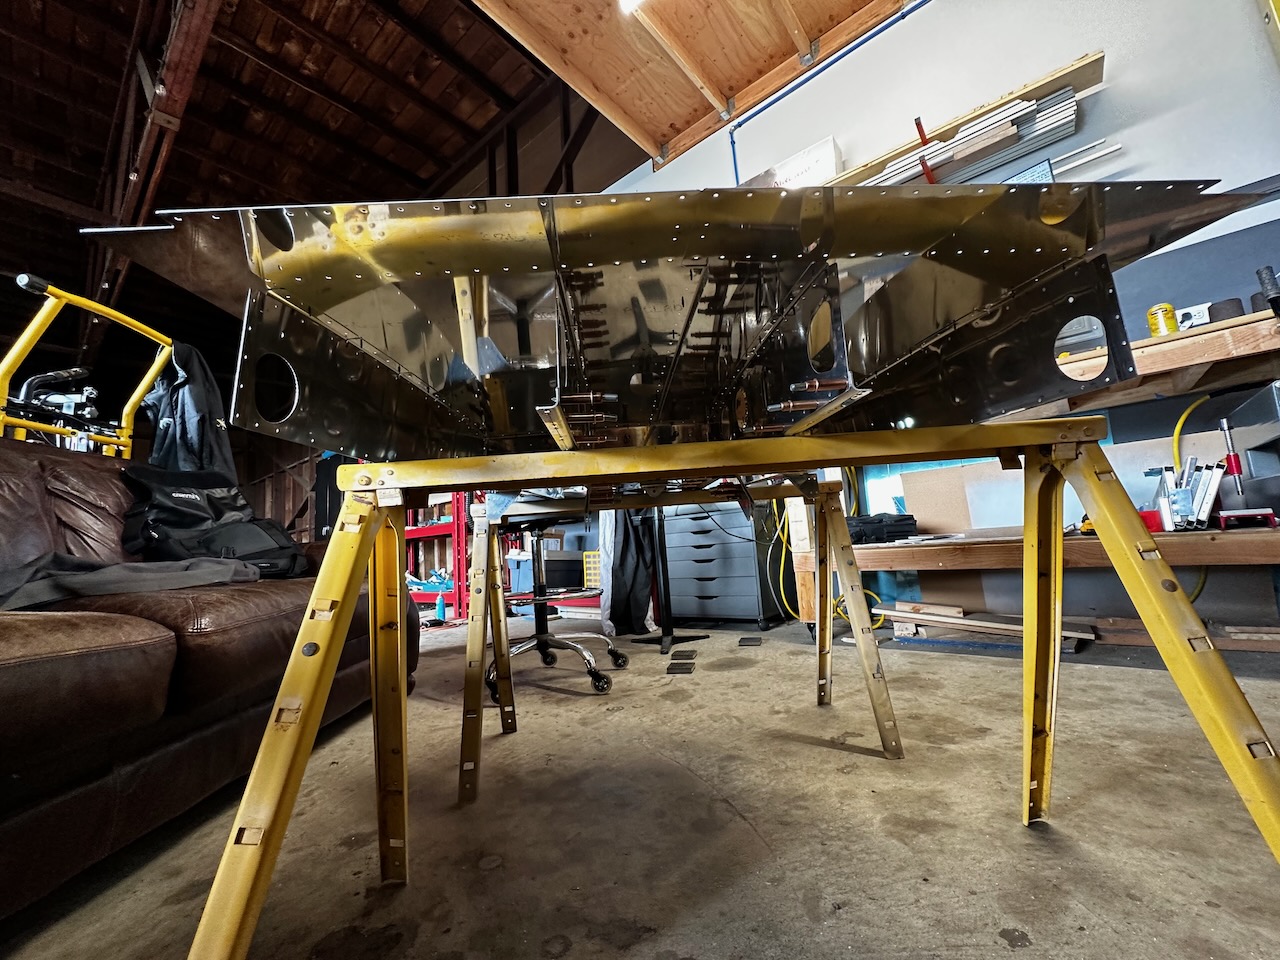
Skins are on and looking good!
underside view
rolling the edge as instructed.
5/7 - Sunday Funday! (and priming)
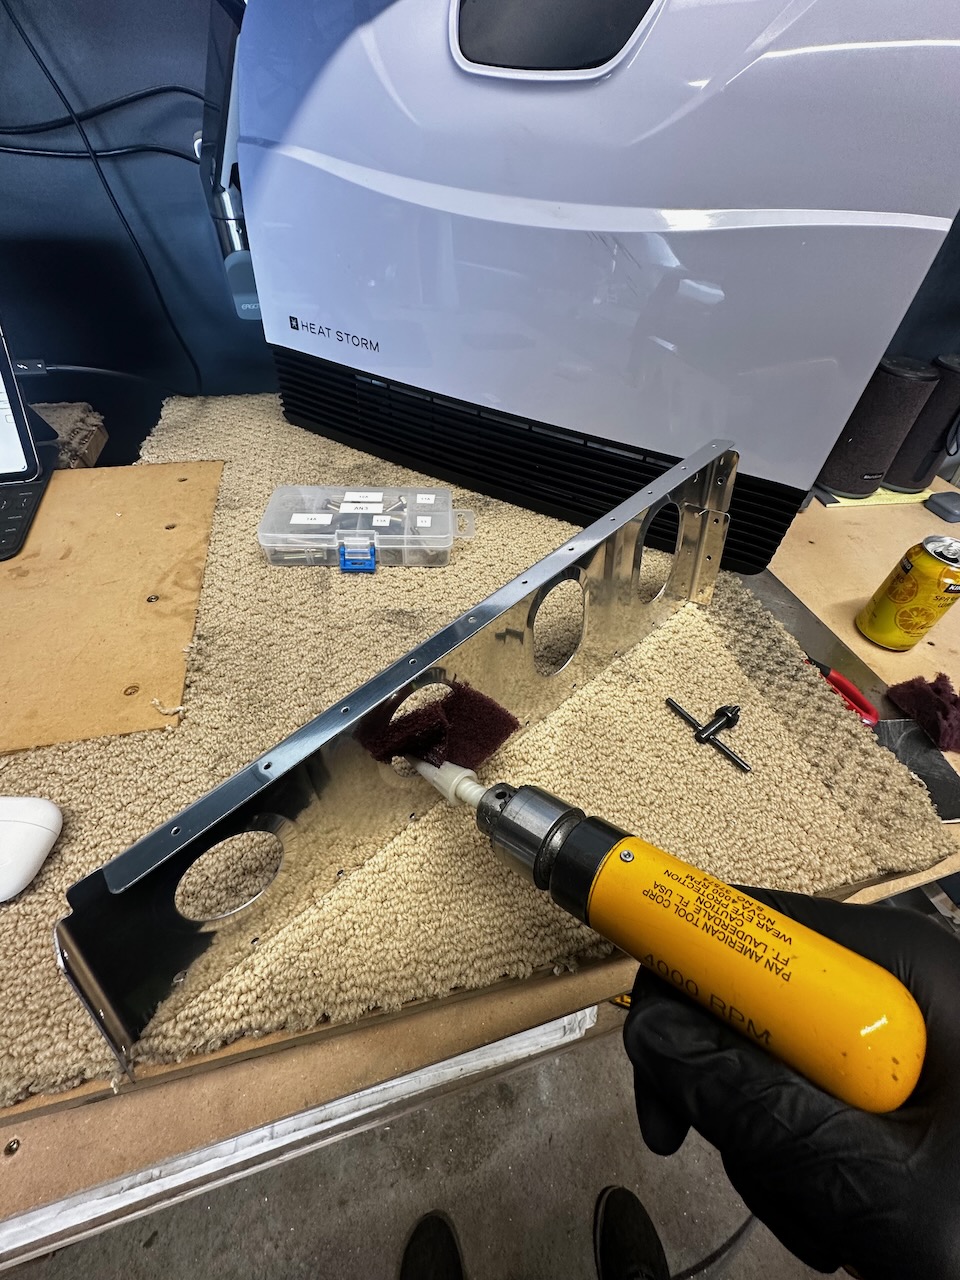
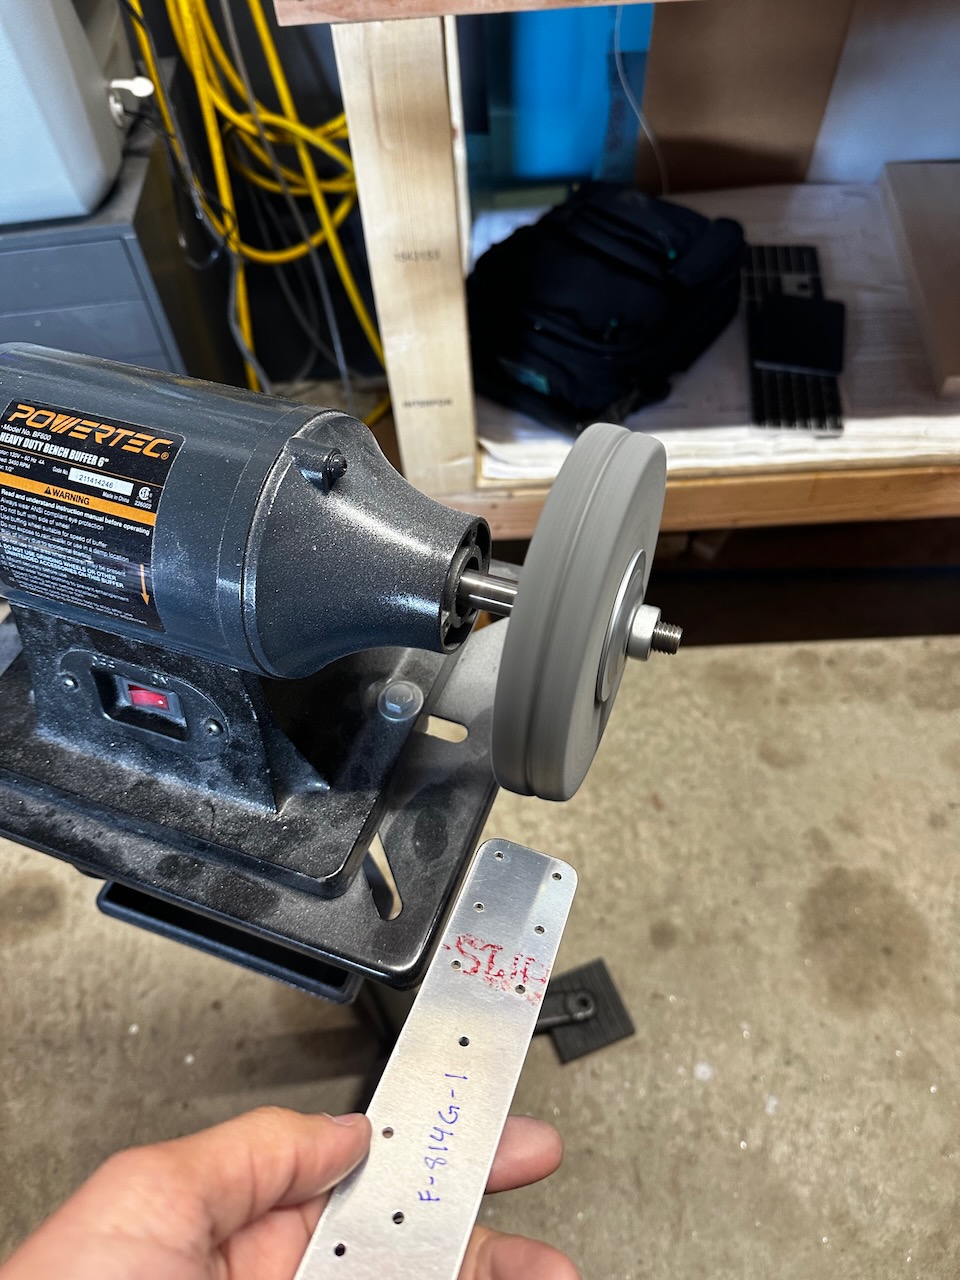
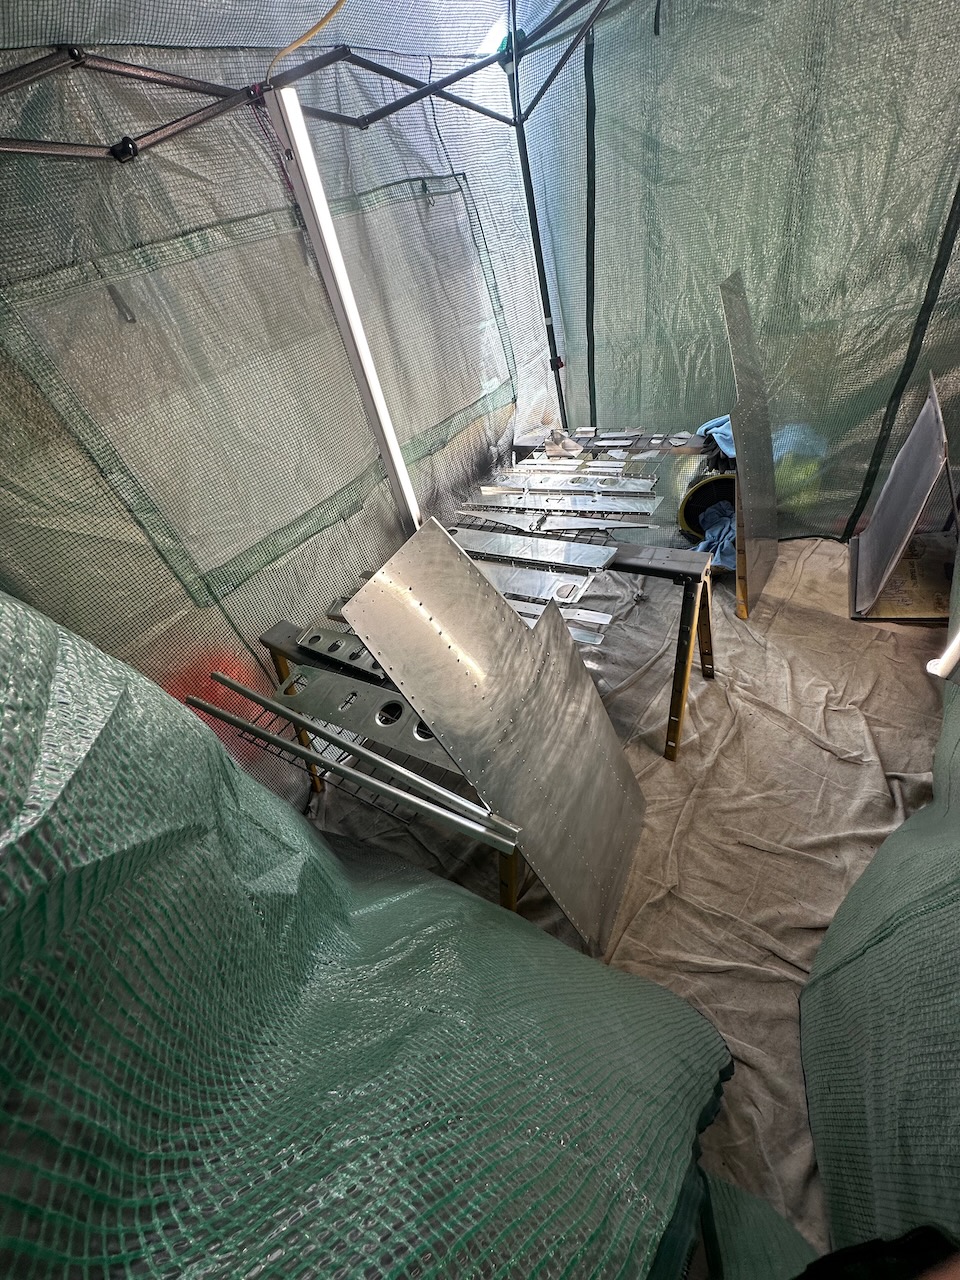
With the skeleton test fitting complete it was time to uncleco everything, deburr rivet and lightening holes, clean up the edges, then clean, etch and prime the parts. A crew came out to help, and through the long day we got everything primed and drying for final assembly! Thanks to all the hands (and the semi-permanent priming setup), we were able to get a fairly sizeable set of parts primed in a reasonable amount of time.
time to diassembly for final prep before priming
time to deburr, dimple, and clean
using the drill to clean up the lightening holes
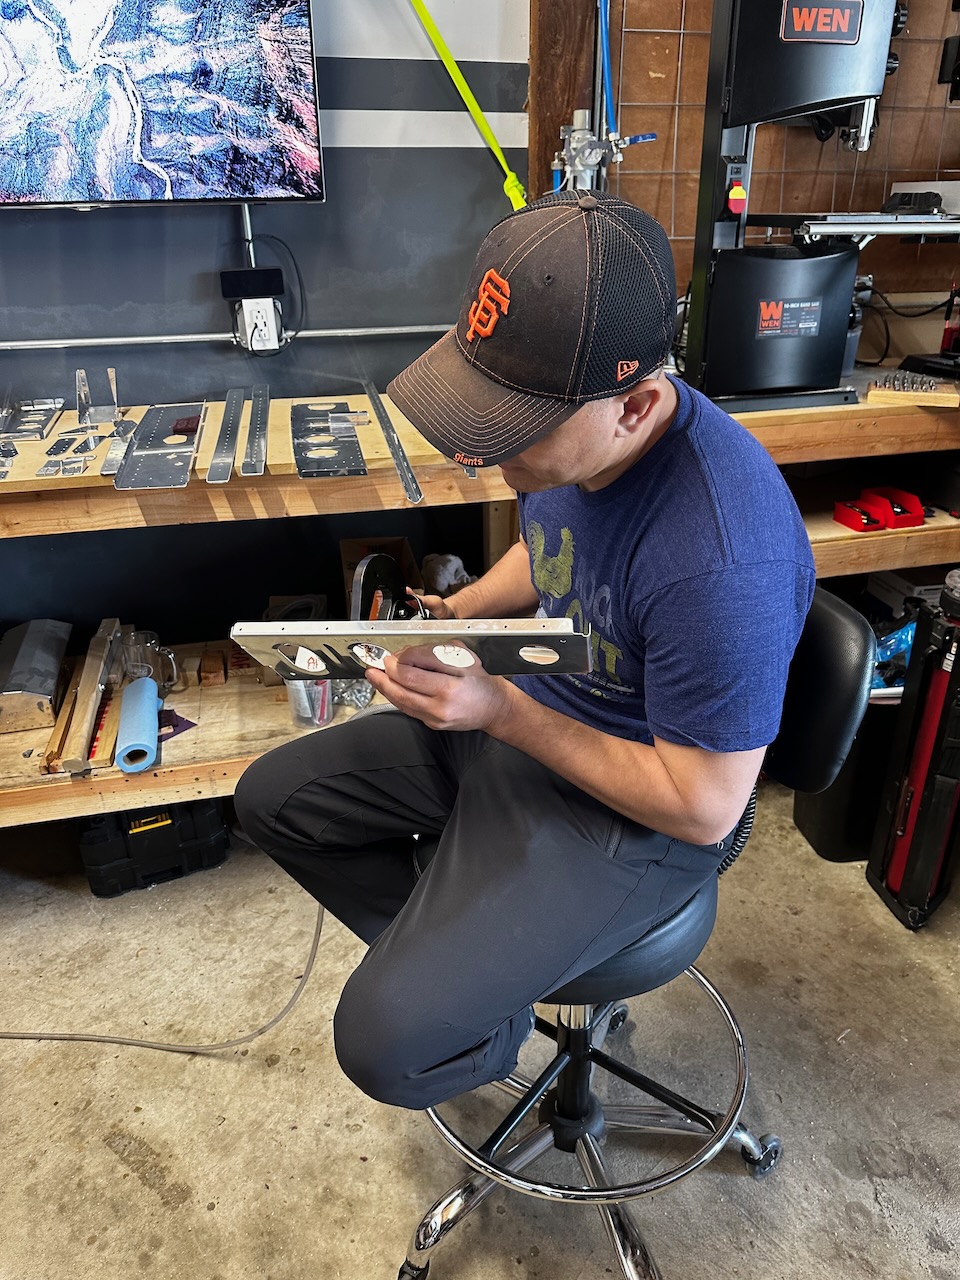
Sam focused on dimpling…
…while I cleaned up the edges.
Bottom skin dimpling was a two person job
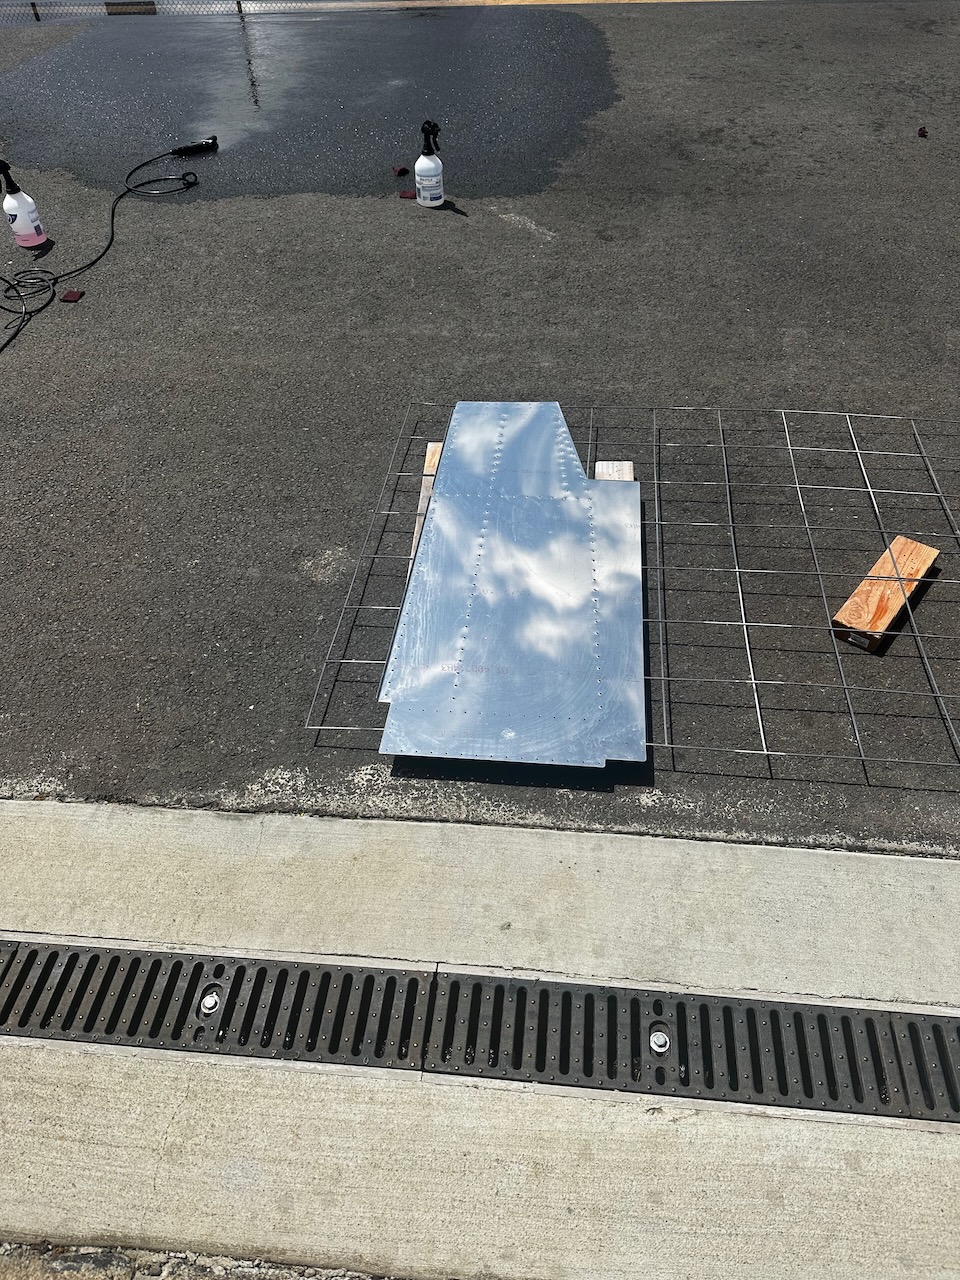
Skin etching required a bit more coordination that the smaller parts.
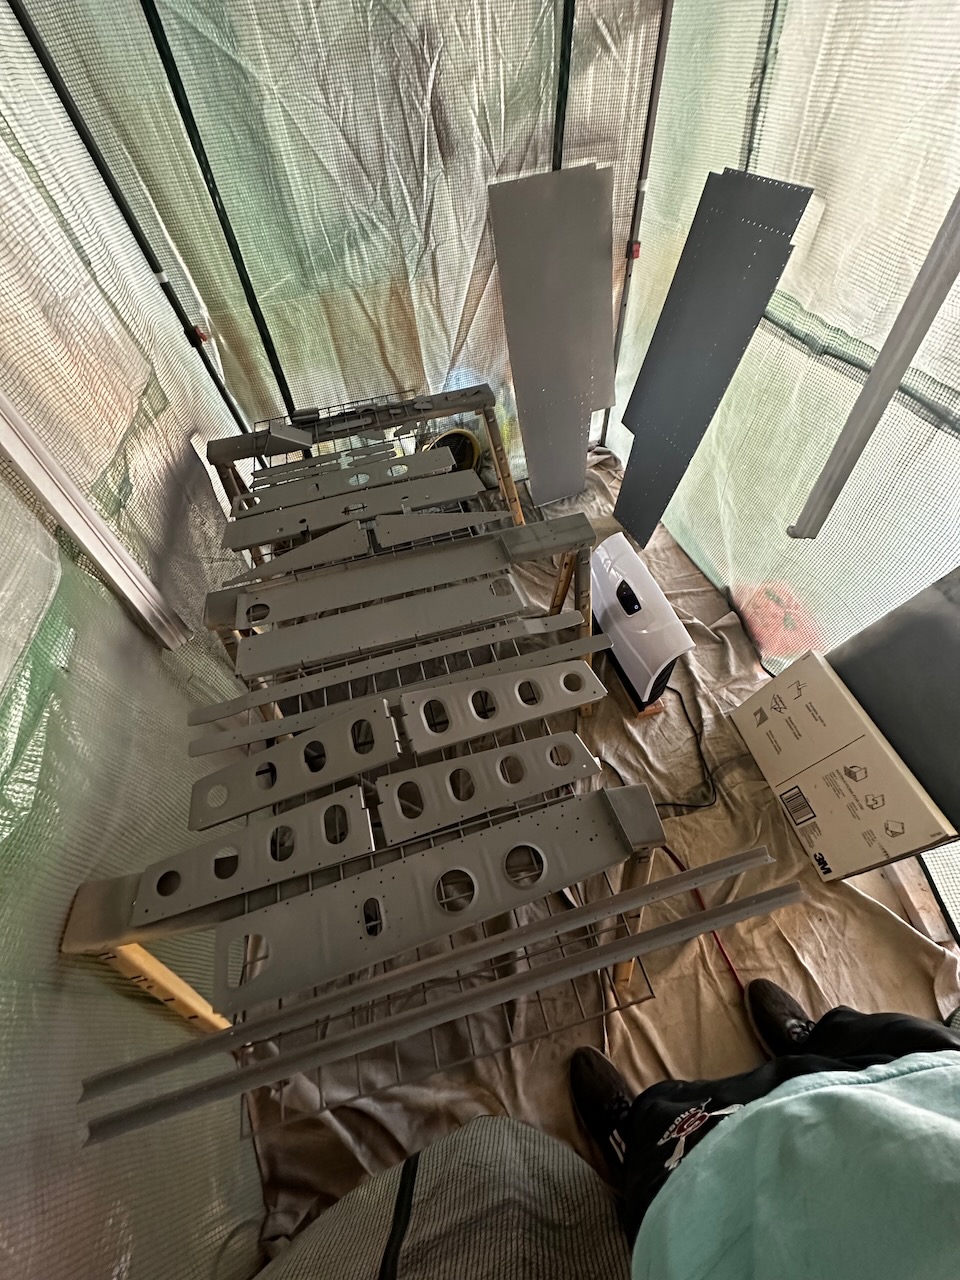
once setup in the booth, we did a final tack clothe wipe…
… then primed!
It was a fun day of work, and play. We took some breaks to have a yummy Bahn Mi lunch, and a bit of goofing off racing other RC toys around the airport (see below). All in all, a great weekend (and week) of building. Next up will be final assembly of the seat rib subassembly. Until then… Happy Building!


1 comment
Good work as usual. Love the human and modem 3 racing with toy car at the end. It is good to have double doses of fun