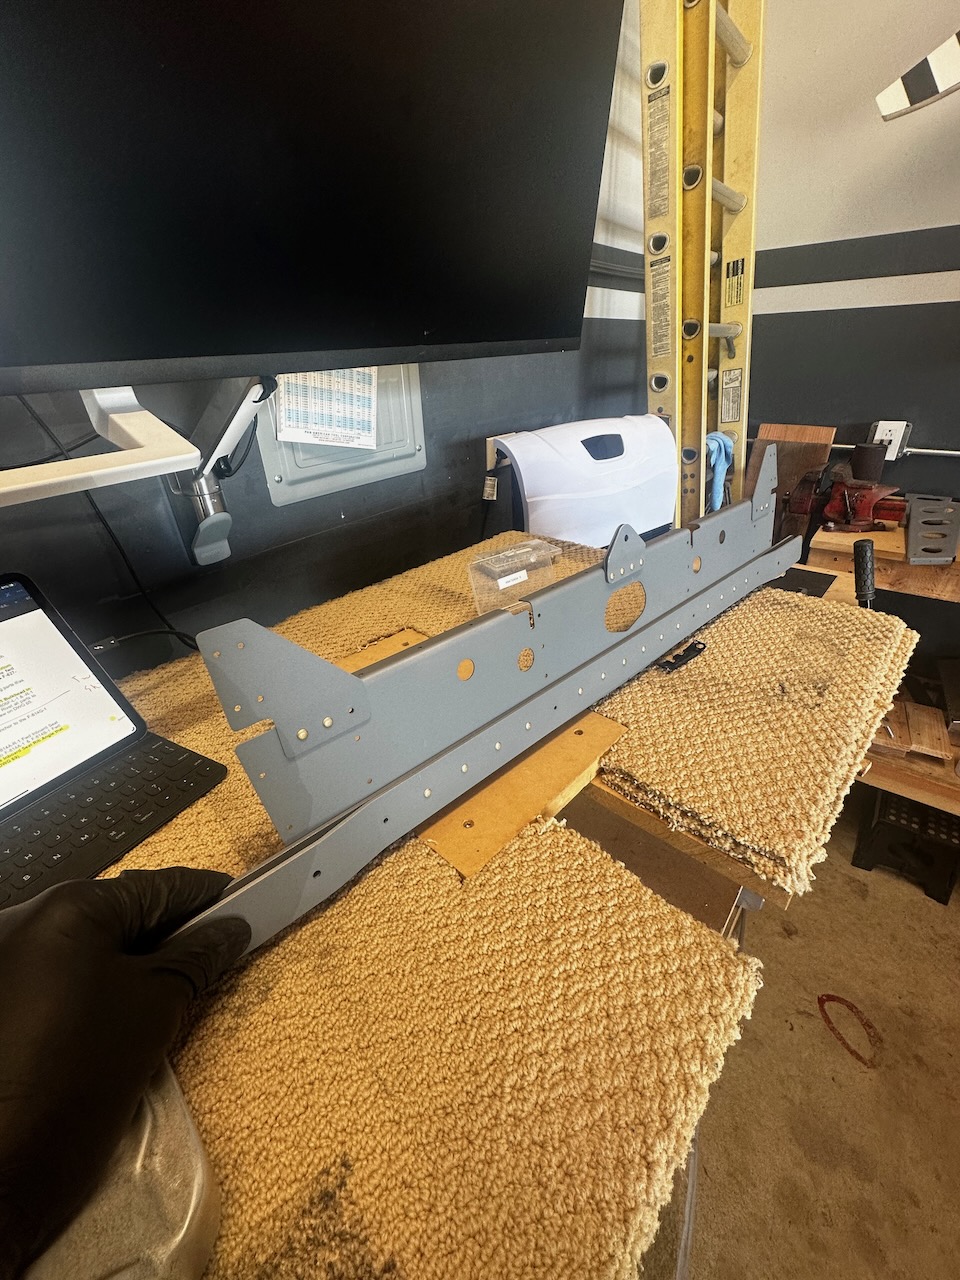
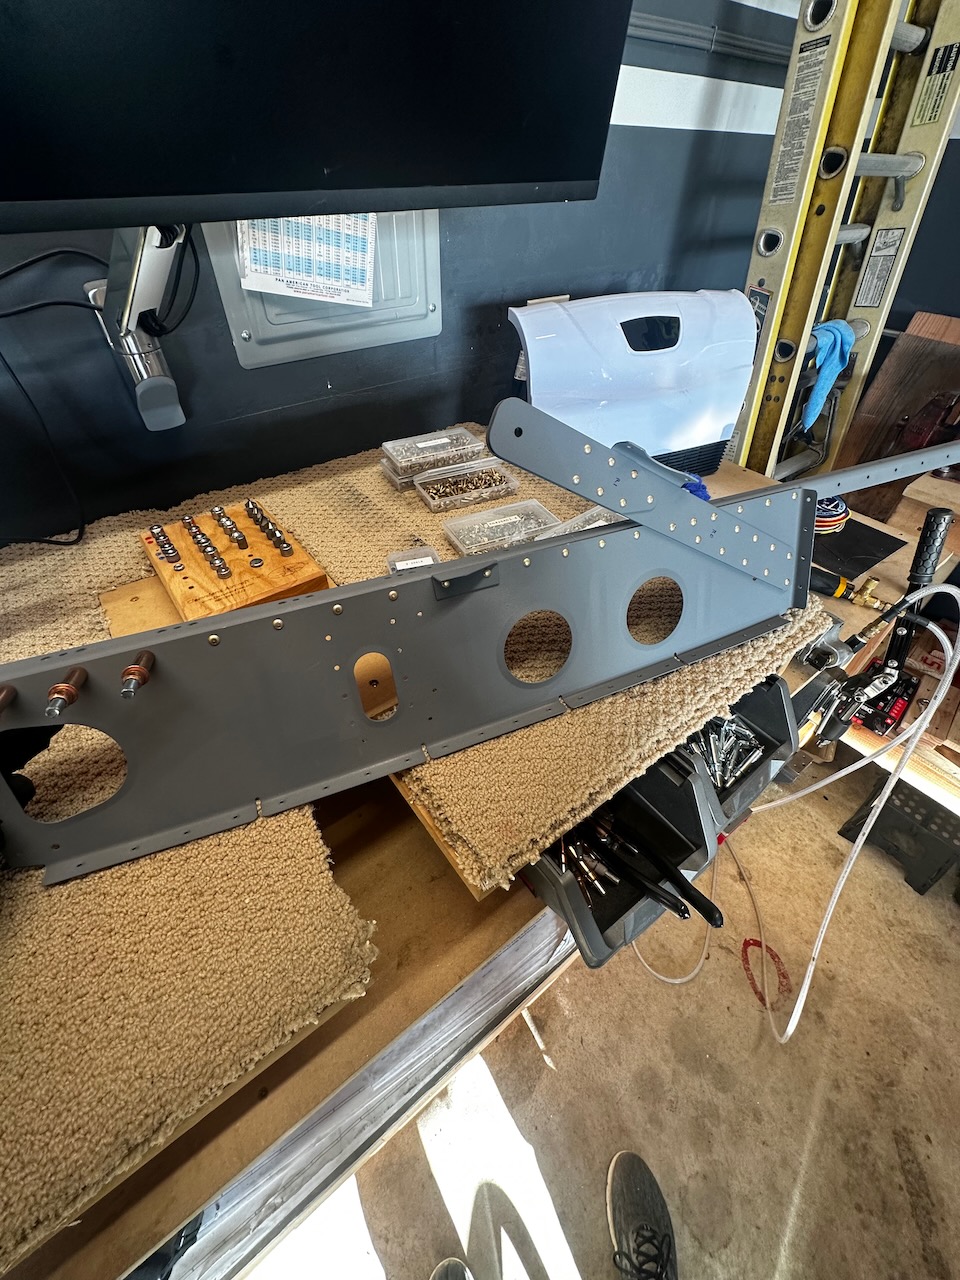
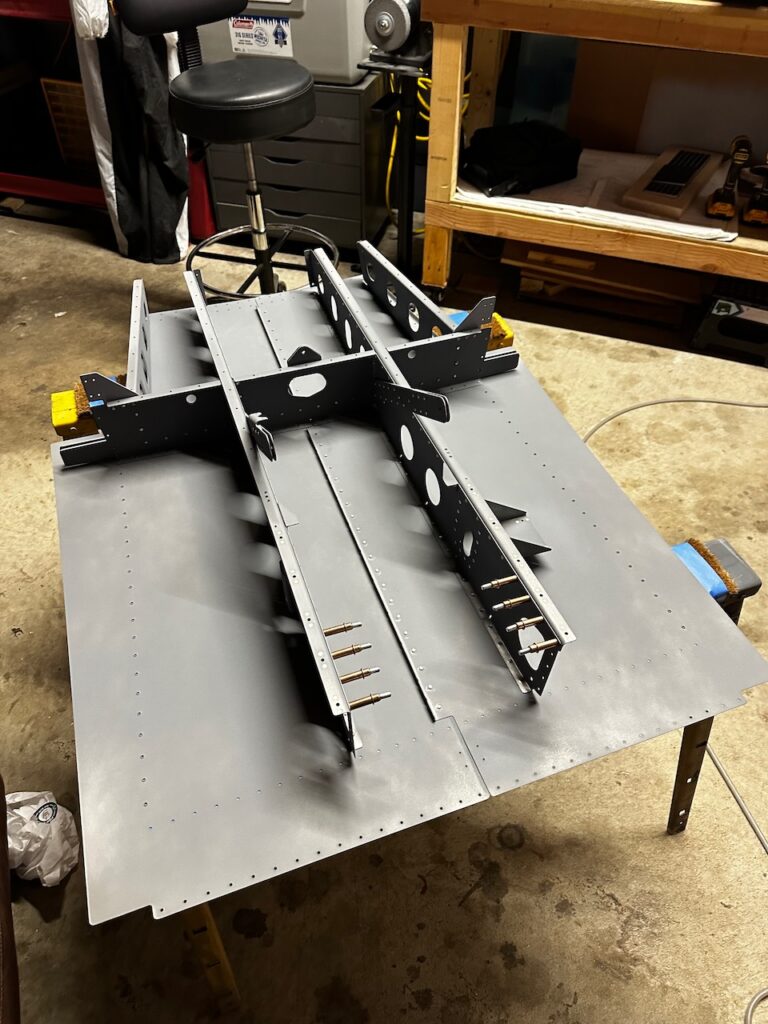
Last post ended with all parts primed and ready for final assembly. The first couple sessions since were about building the Seat Rib Assembly skeleton. First the rear attach bulkhead, then the inboard ribs. finally rivet all that together into the start of the skeleton.
Riveting on the bottom bars
All the gussets on as well
I forgot to prime one side of the gussets so just sprayed prime on.
Nut plates going on
A completed Inboard Rib assembly!
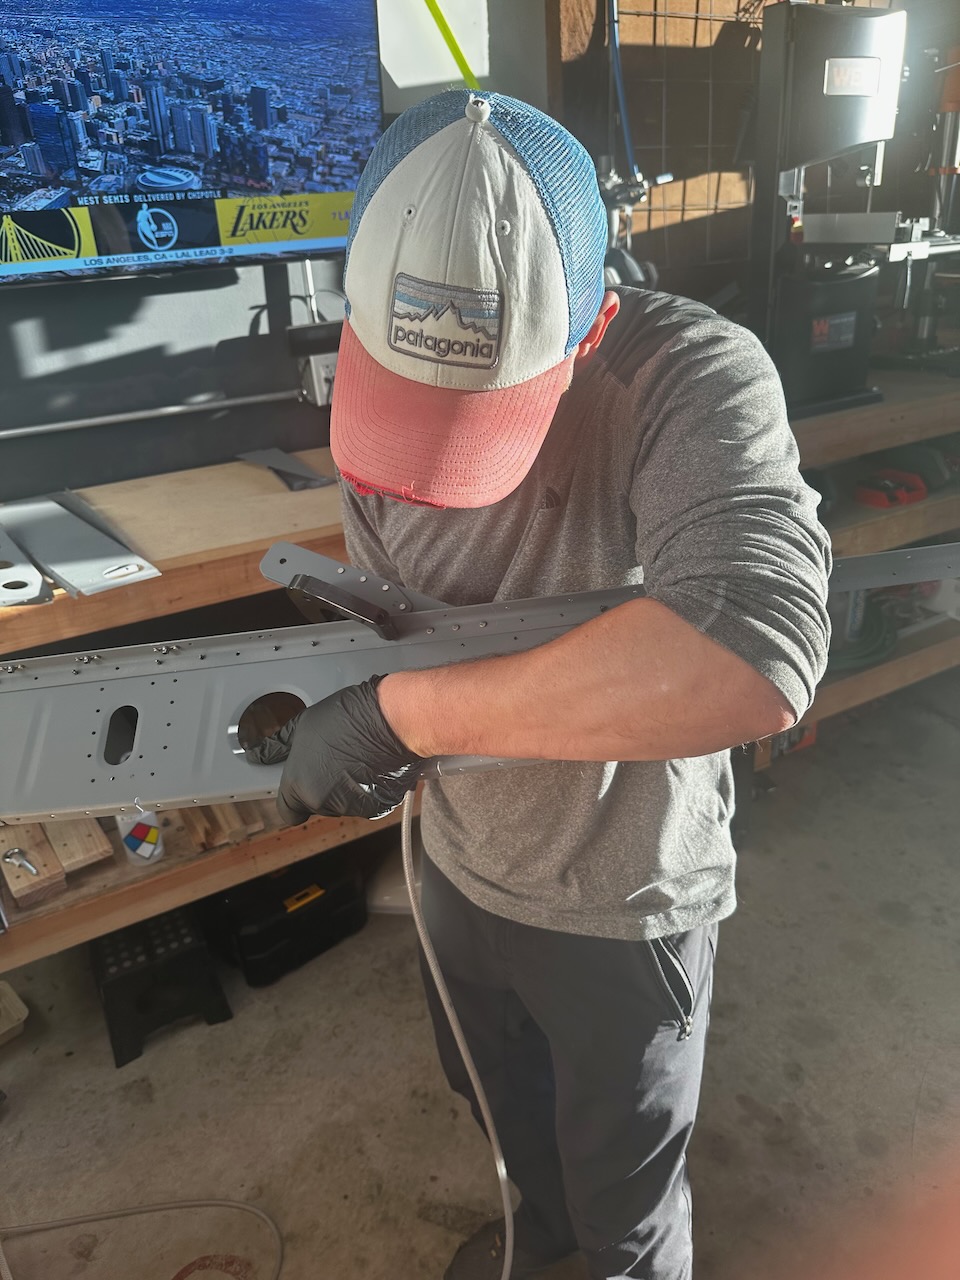
Sam building out the other inboard rib
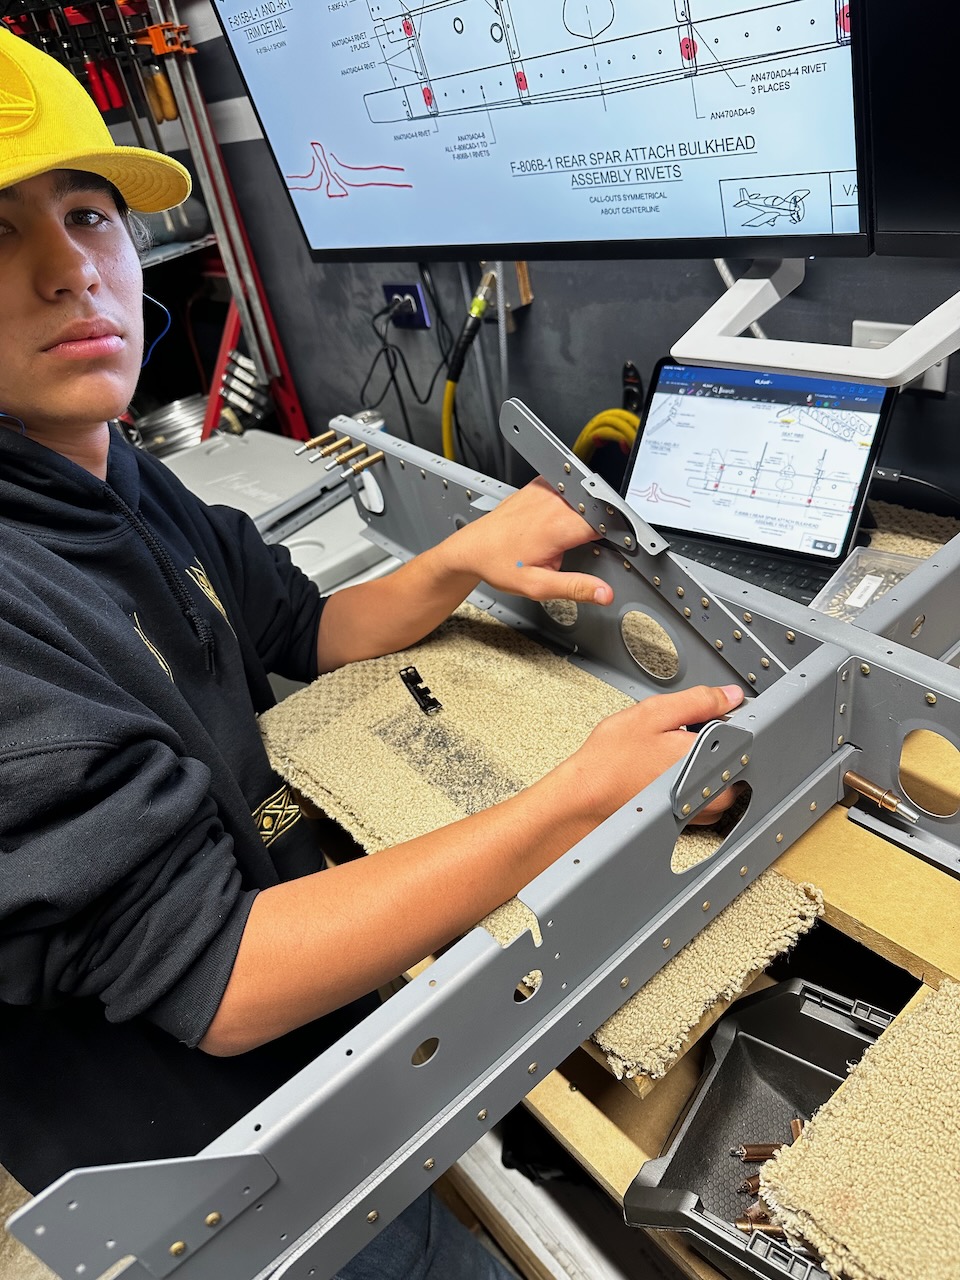
Jack (and Nico) helped buck the ribs onto the rear attach bulkhead
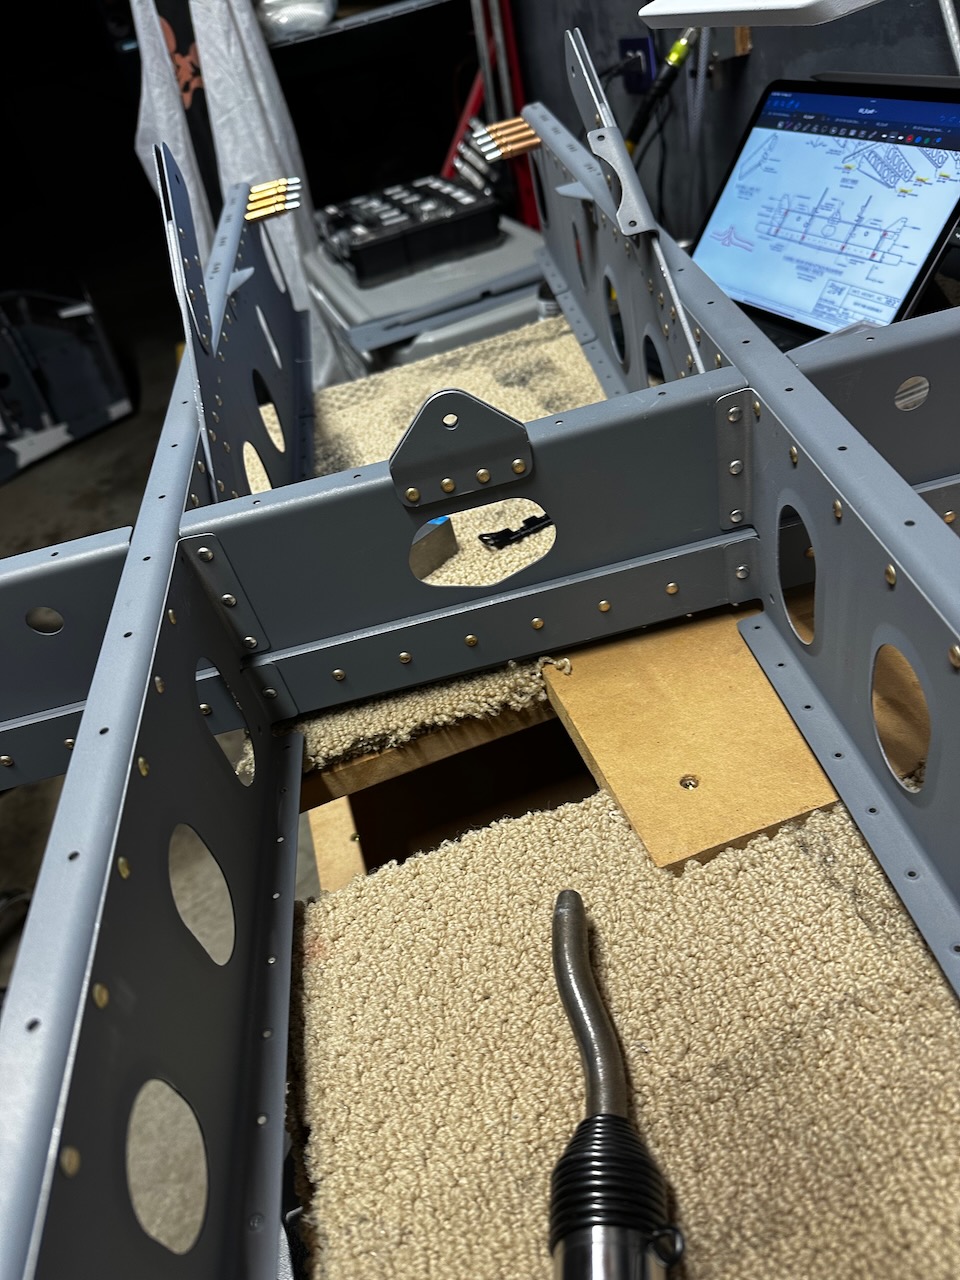
inboard skeleton complete!
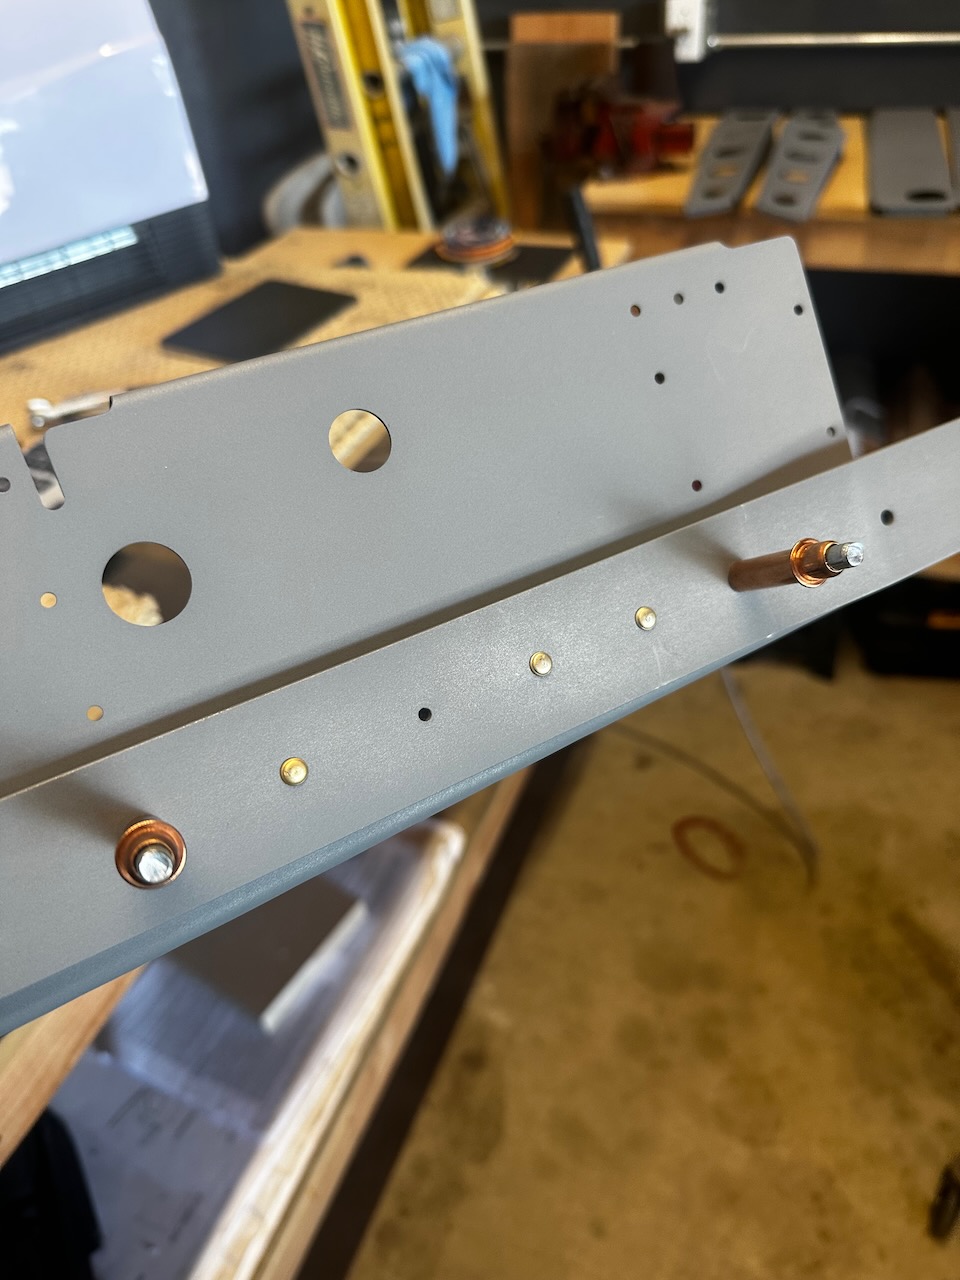
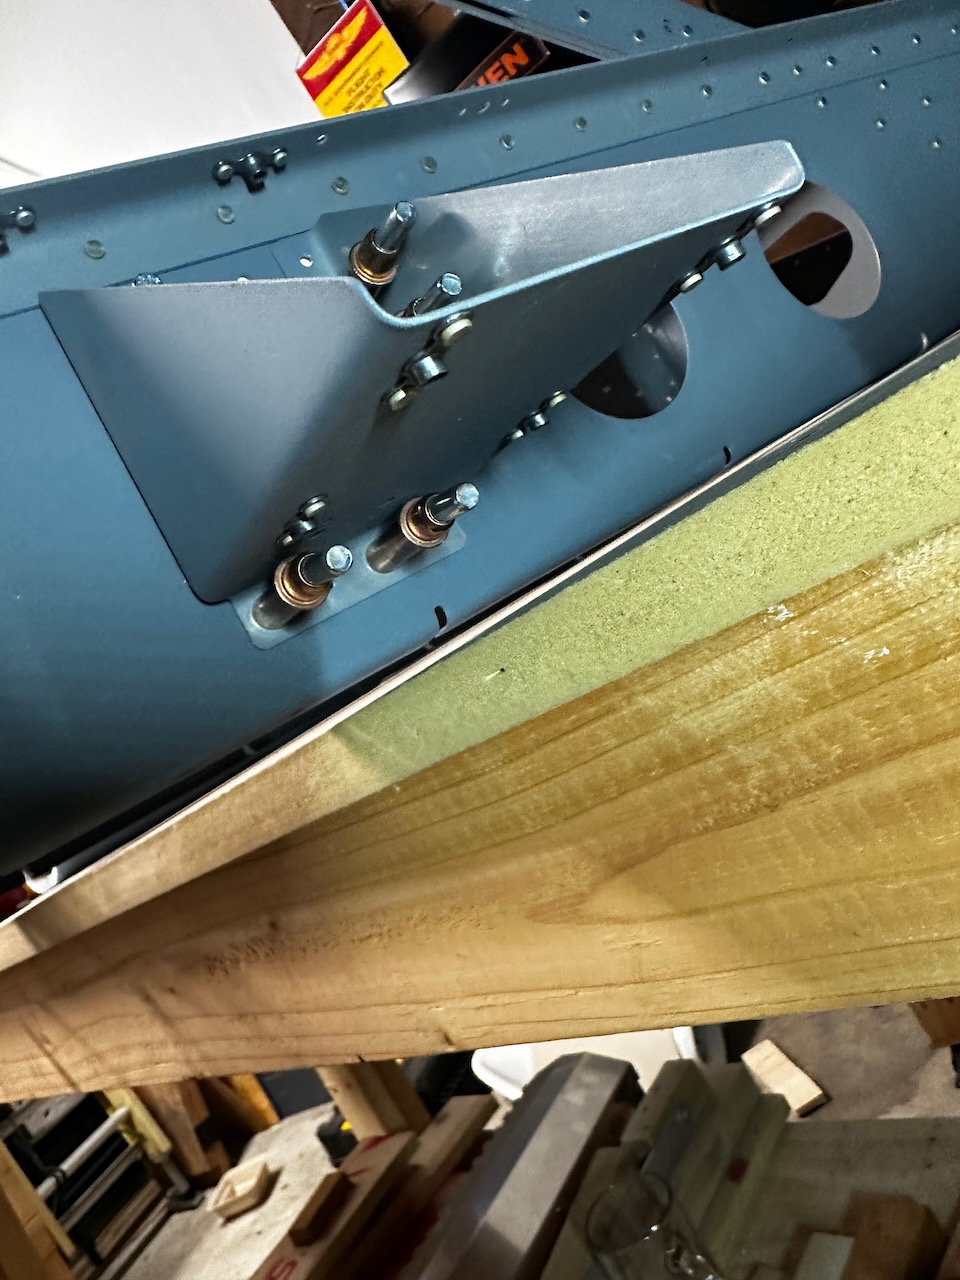
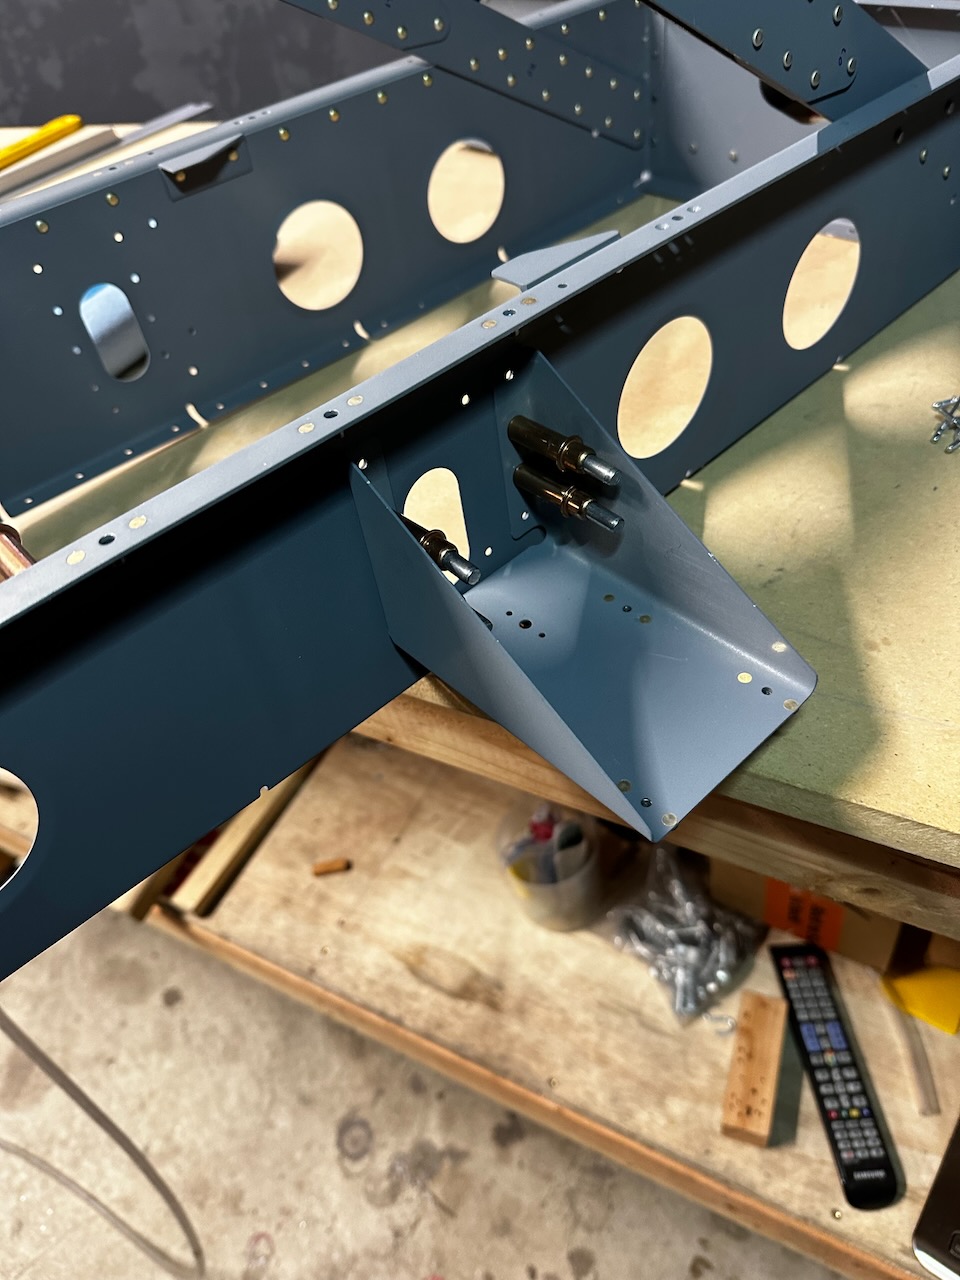
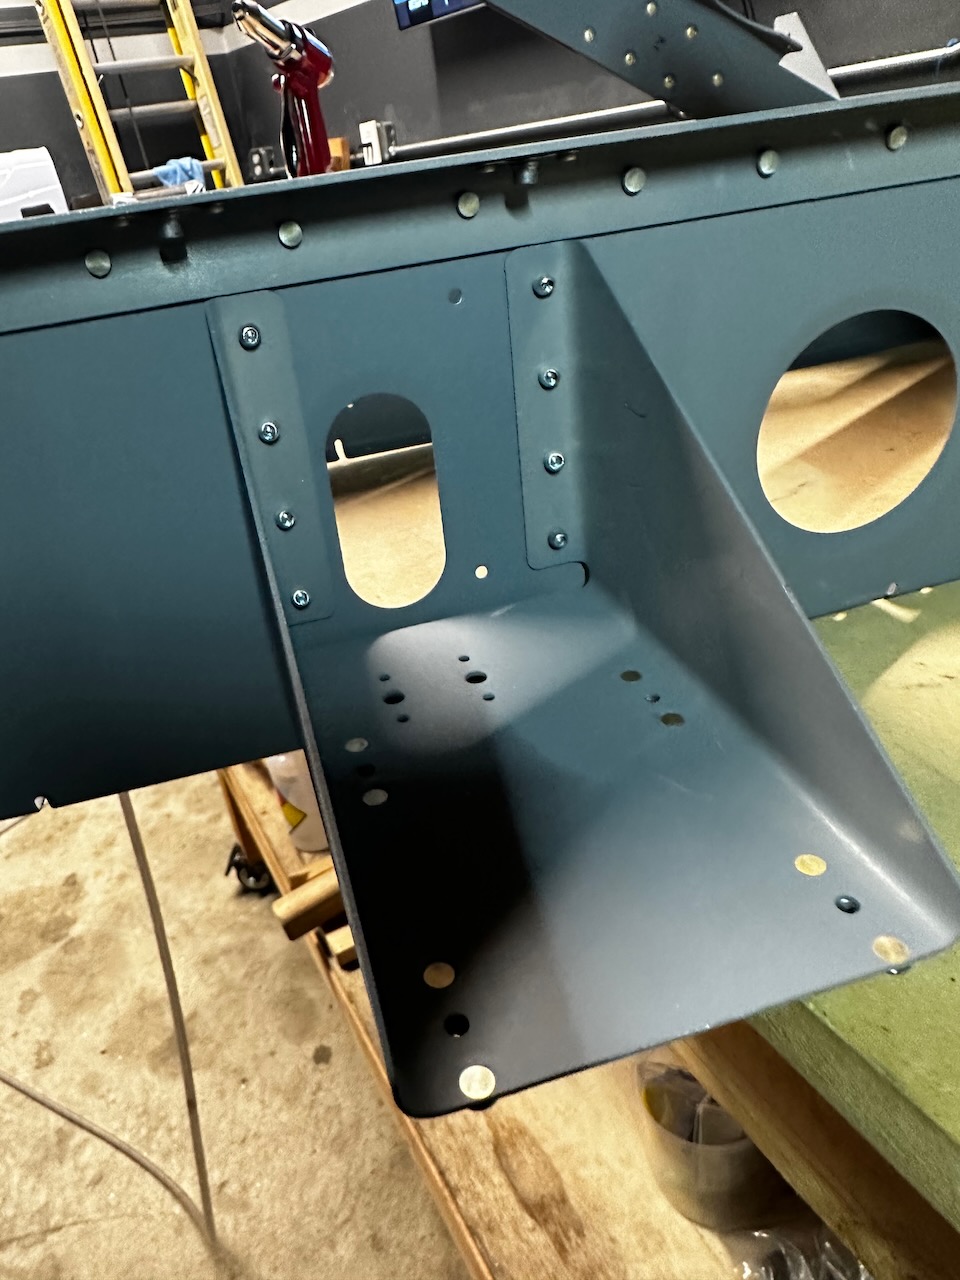
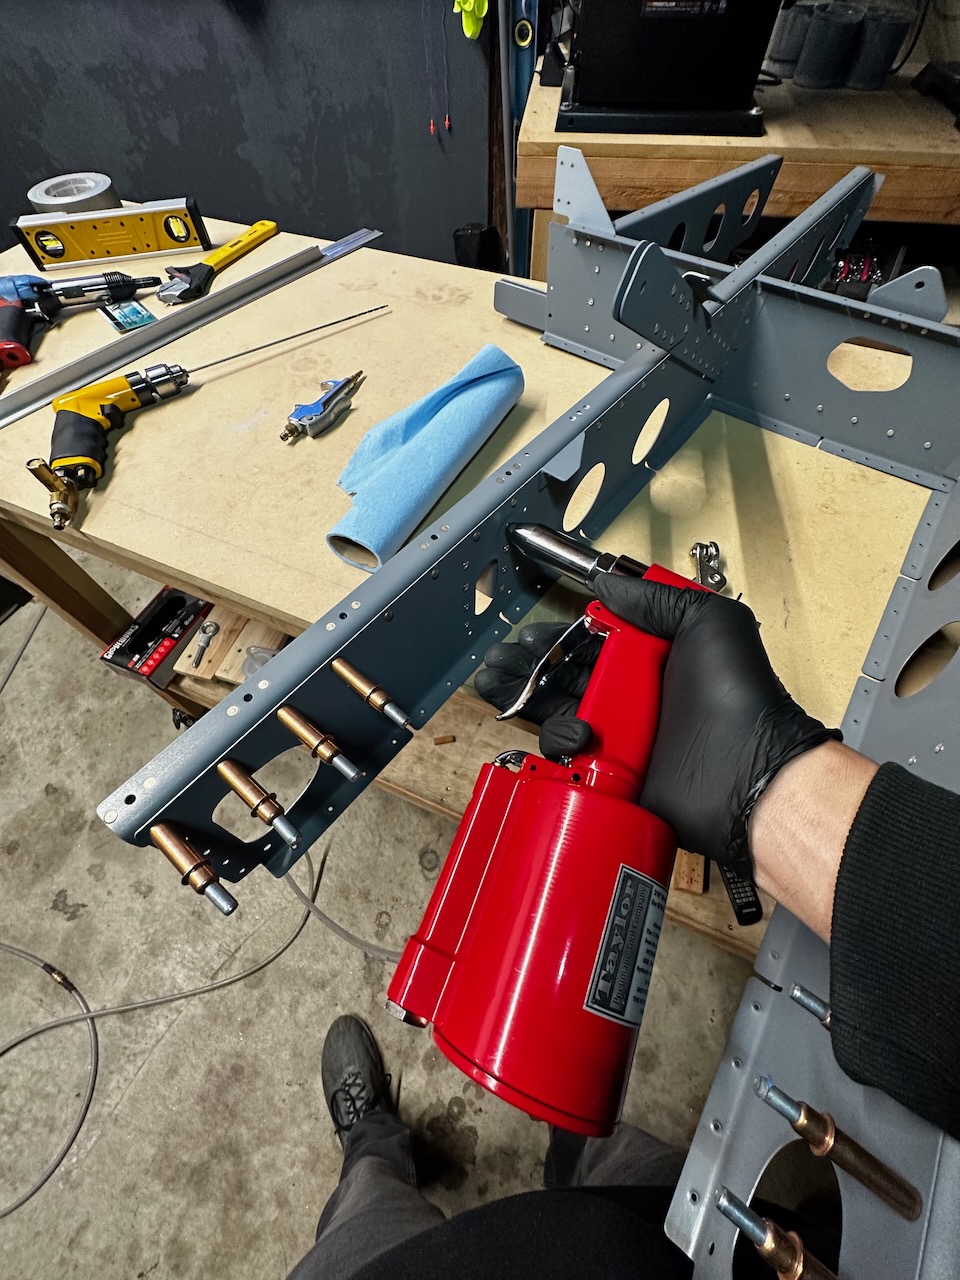
Before riveting on the outboard ribs I needed to attach the electric aileron trim brackets. The good news this is done with LP 4-3 pop rivets….so easy!
nut plates on the trim bracket
and ready for LP 4-3 rivets
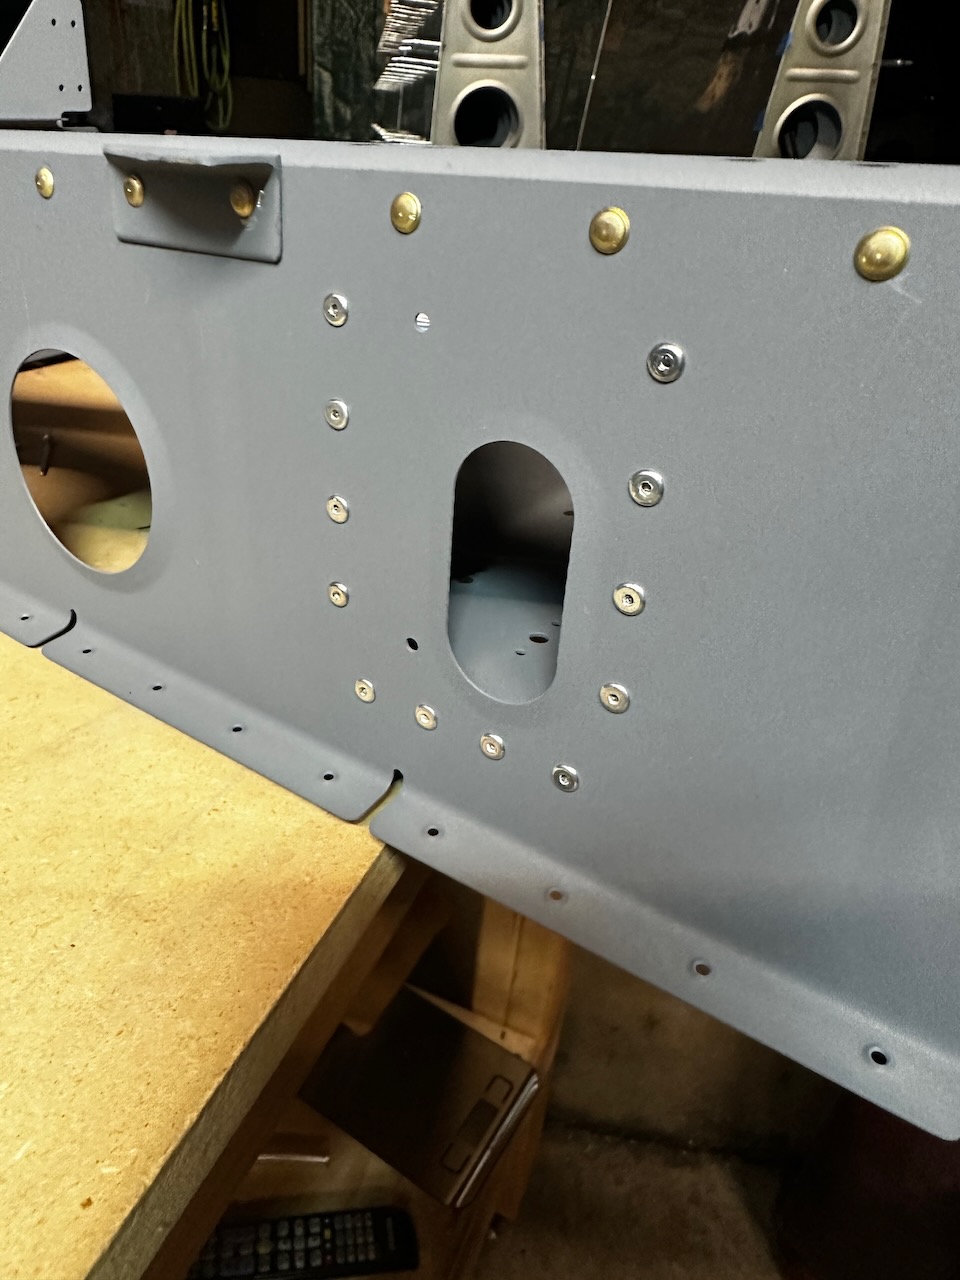
I wish they were all pop rivets!
shop side also looks pretty good.
pneumatic riveter makes for easy work.
tube guide installed
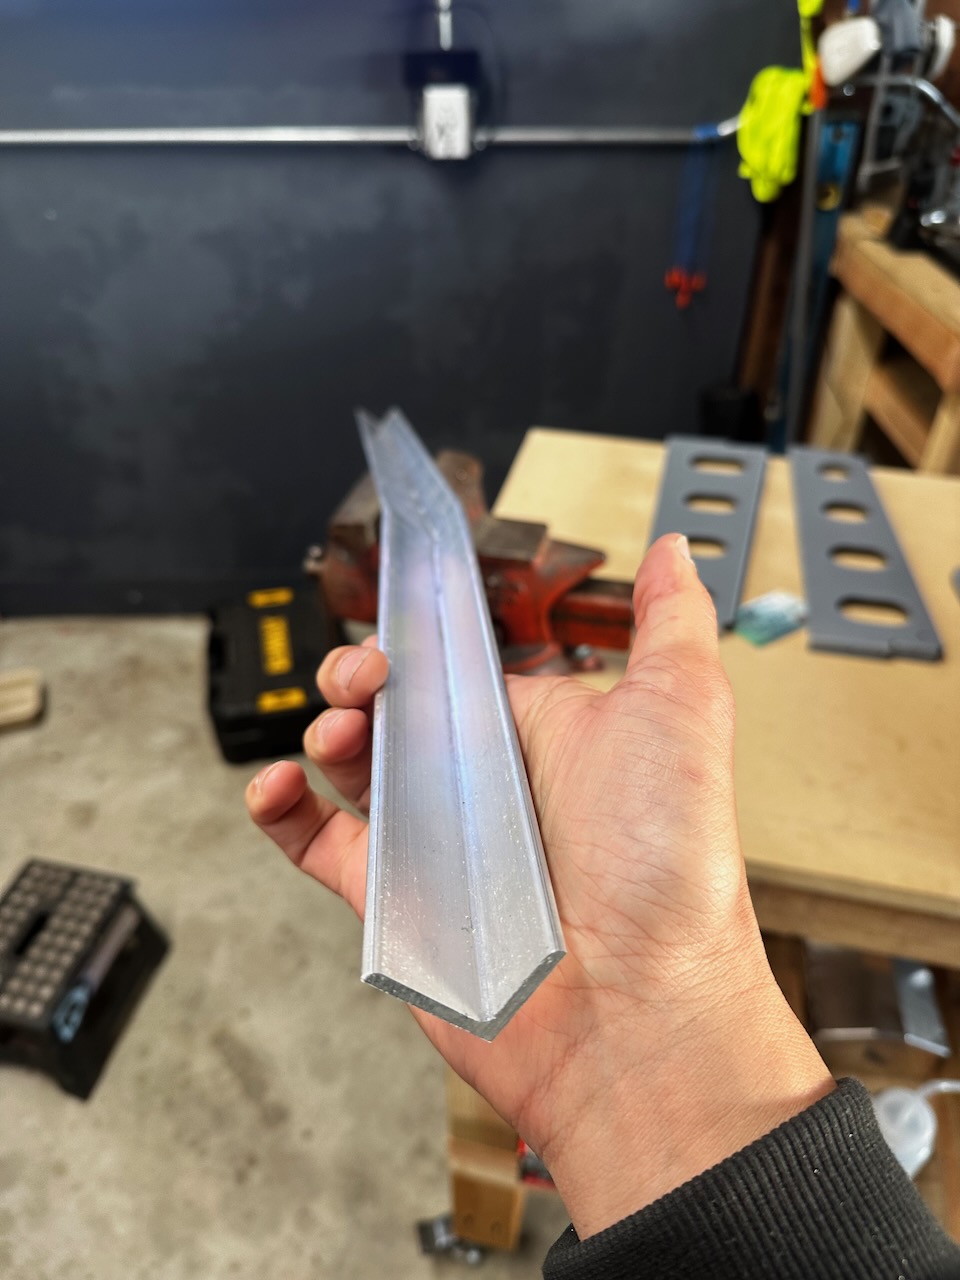
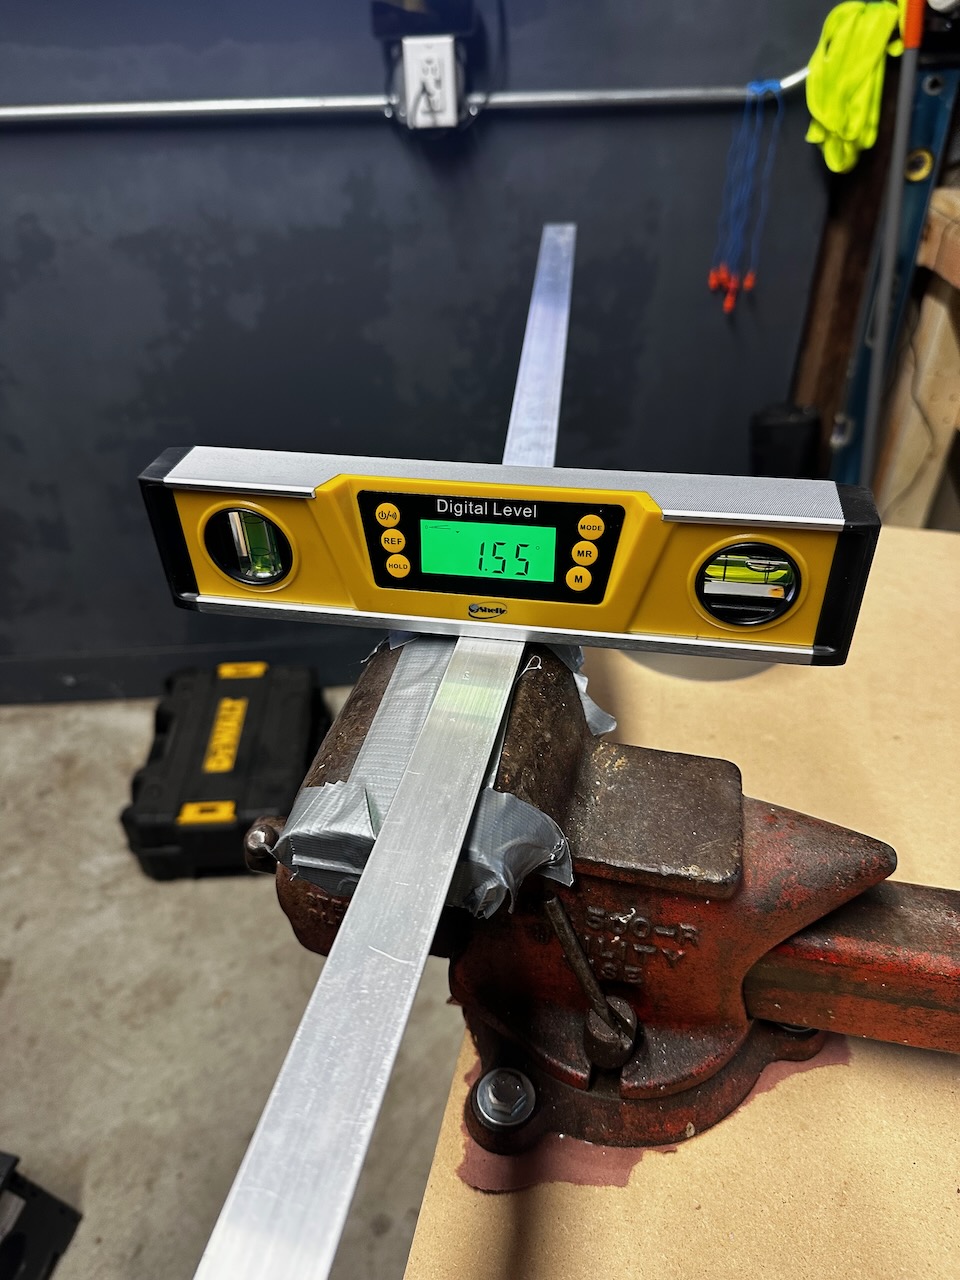
With so many helpers around, we had to parallelize the work. Jack and I decided to play around with the Longeron work. Step one was twisting the fwd part of the Lower Longeron. We made sure to tape up the vice and the wrench, and then we went to work. We needed to twist 7.25˚ from 0. We definitely needed to twist beyond the actual position, and then play with the spring back until we got the right twist. I’m curious if the twist will stay. I’ll check that in a couple days.
Time to bend some Longerons!
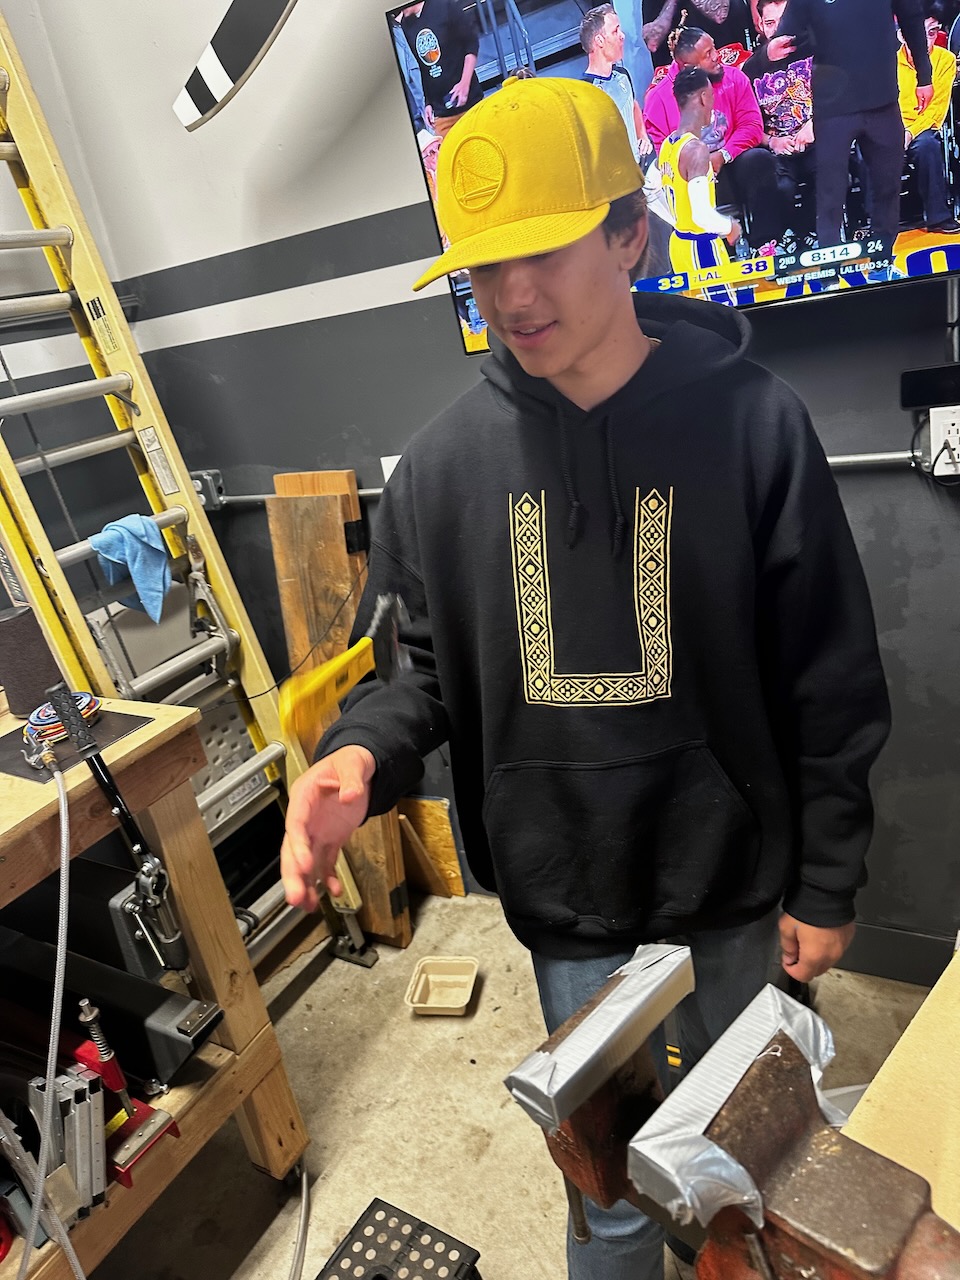
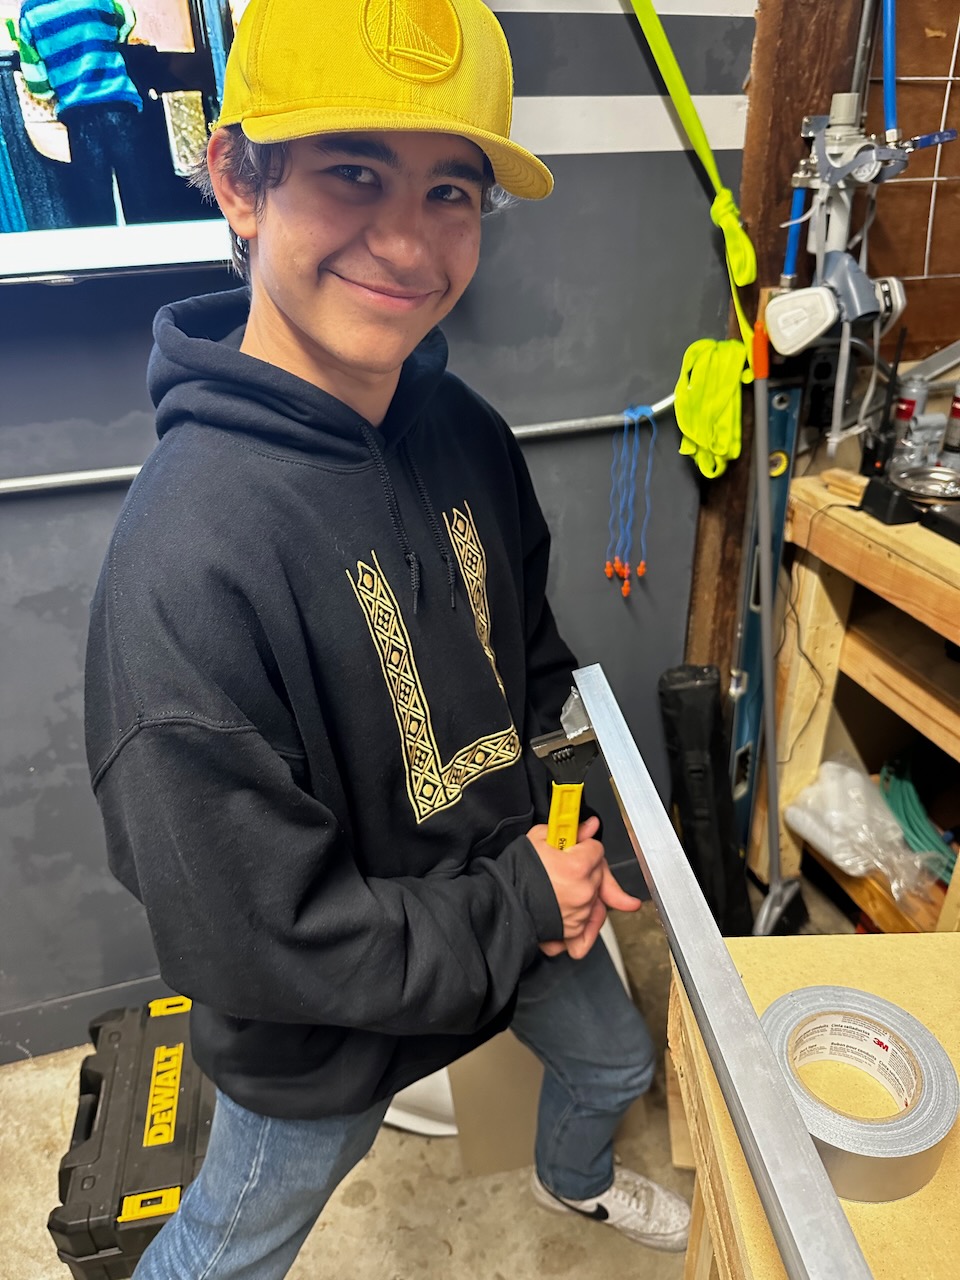
Jack tossing the wrench… please don’t drop it!
starting at 1.55˚…need to get it to 8.8˚
Jack hamming it up for the camera…
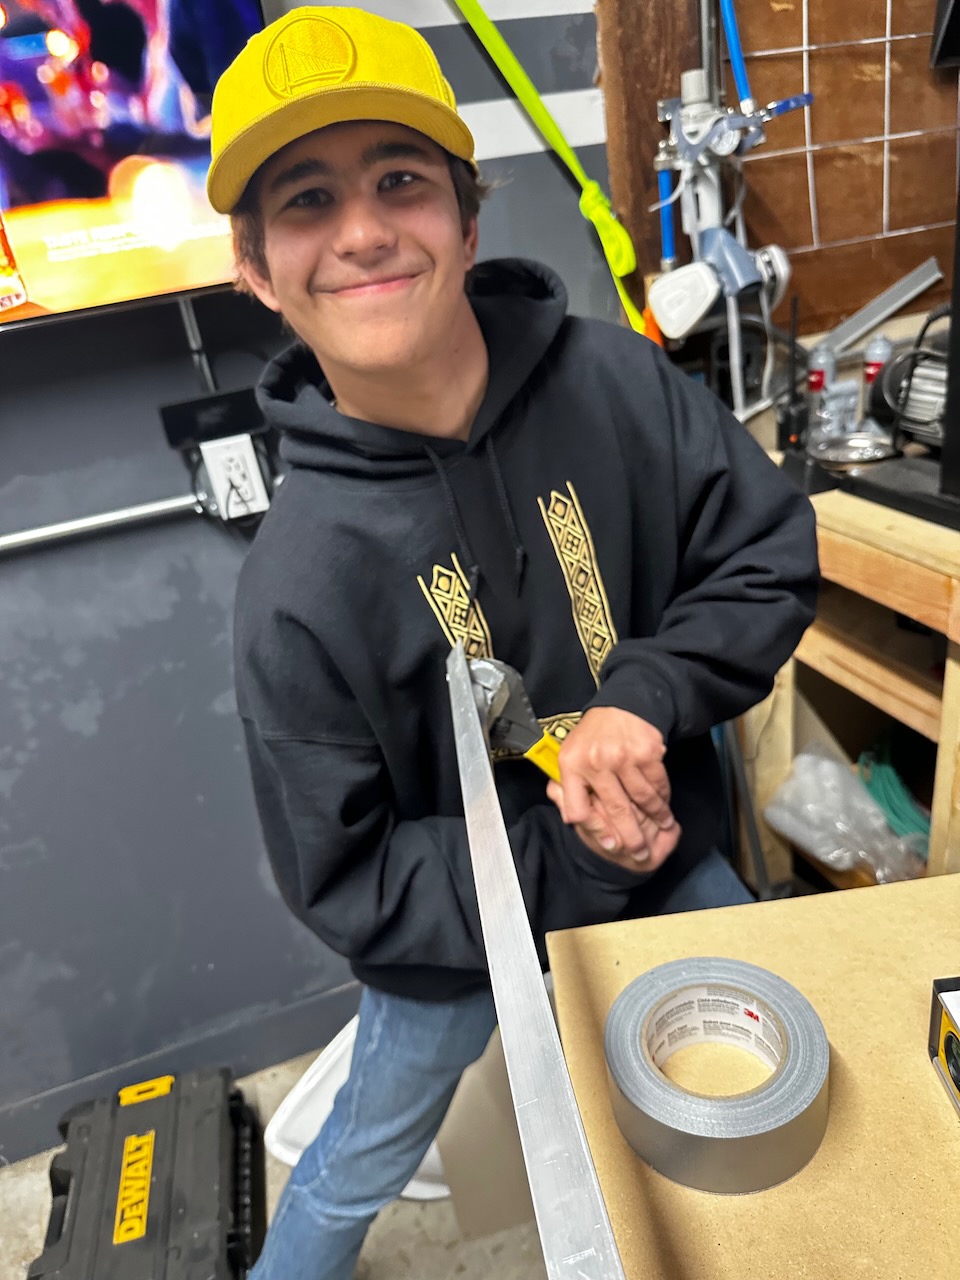
…and still hamming it…
…he always knows the camera is coming!
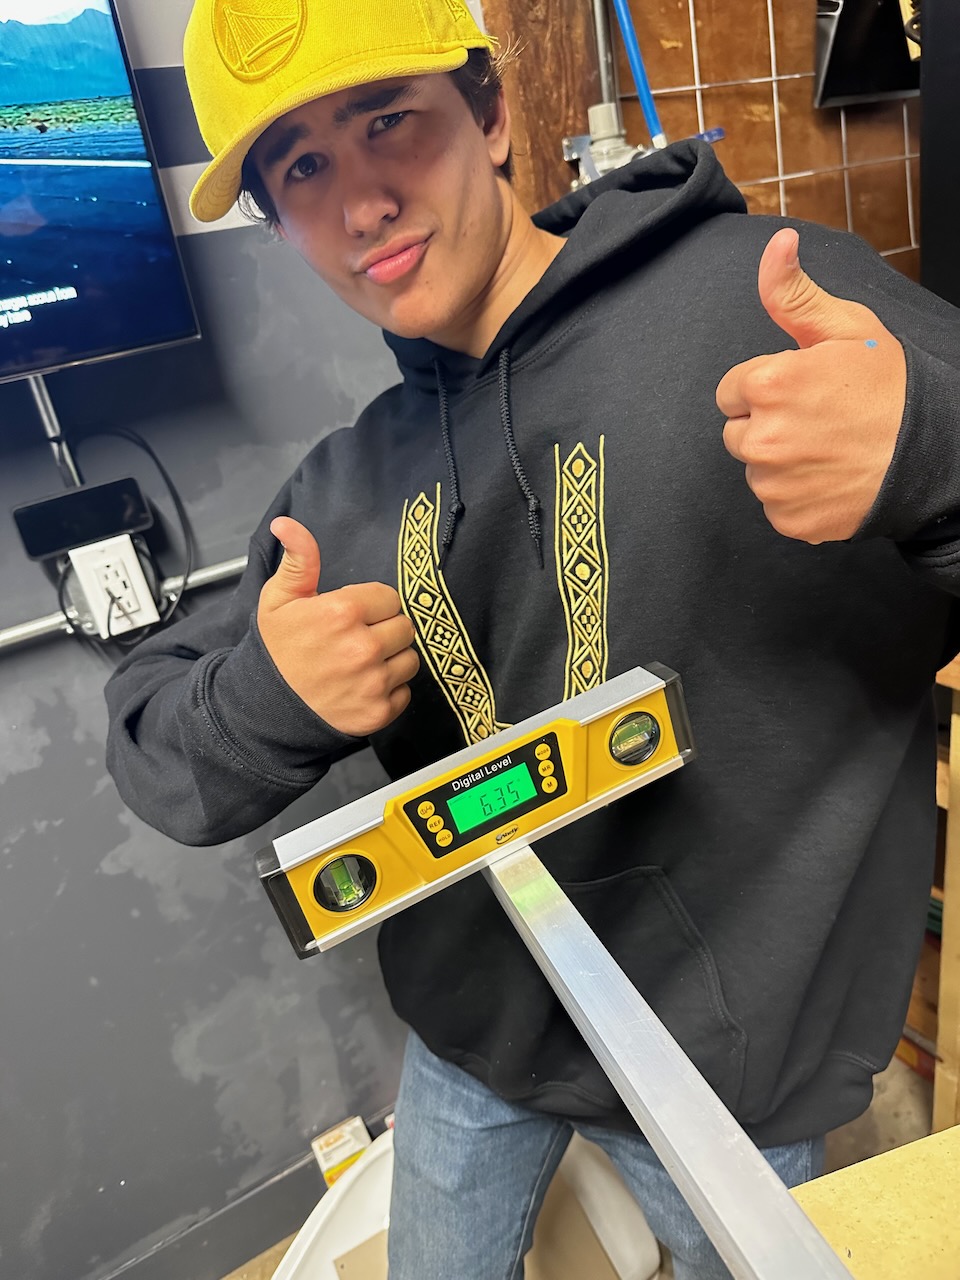
On the Right side we needed to get to aboout 6.3˚. Awesome!
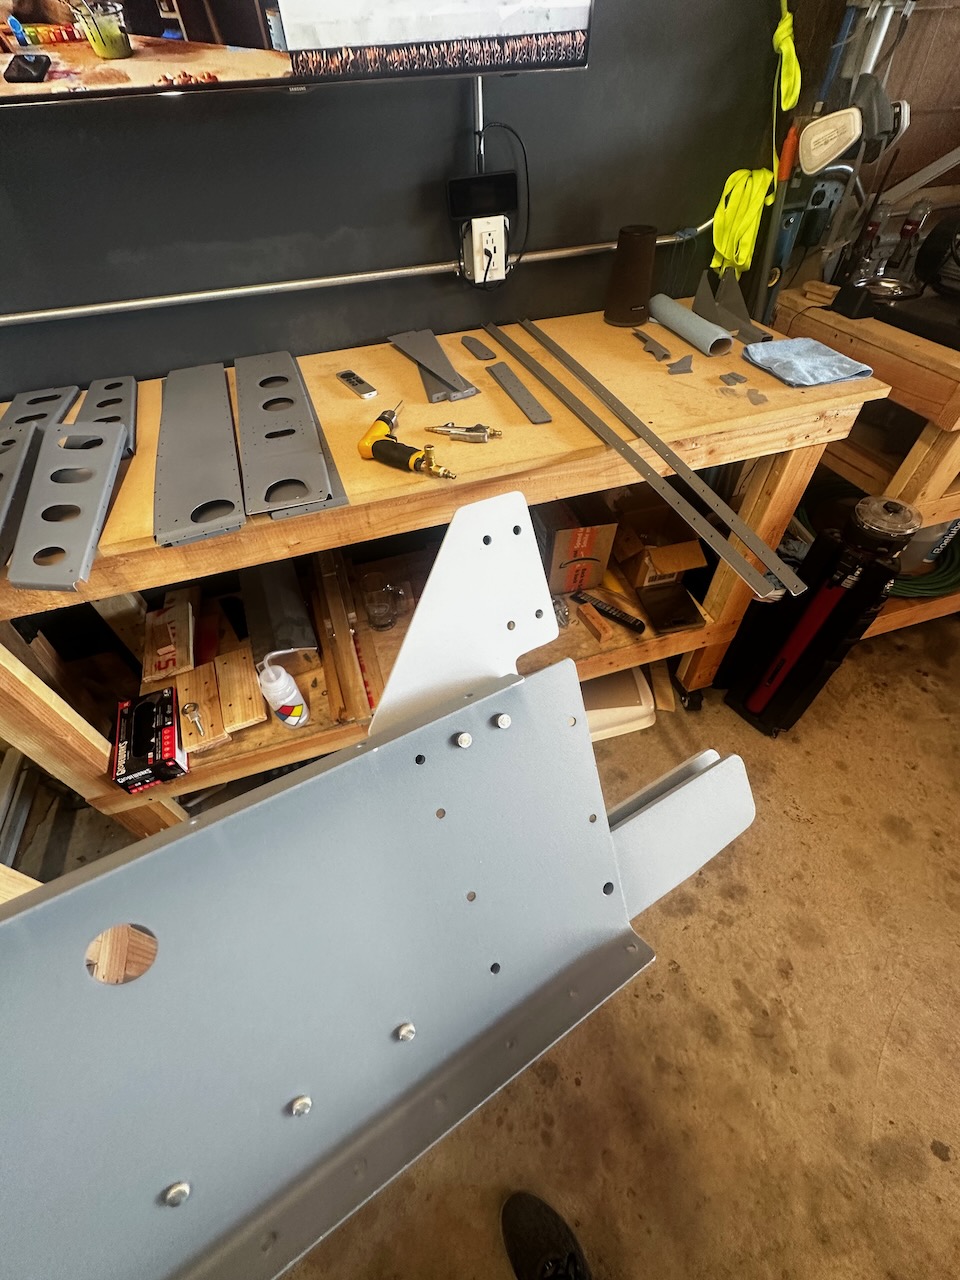
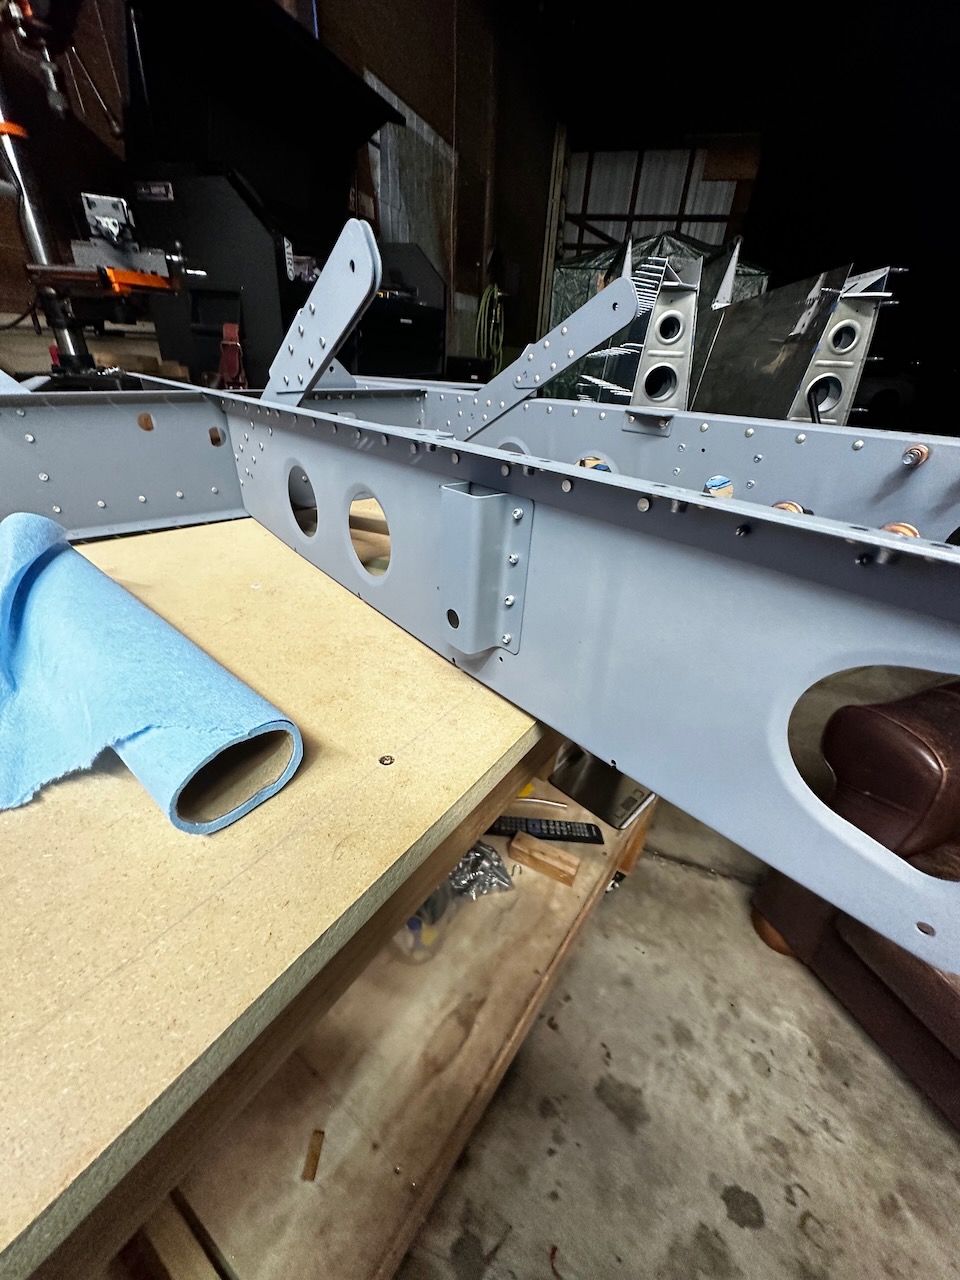
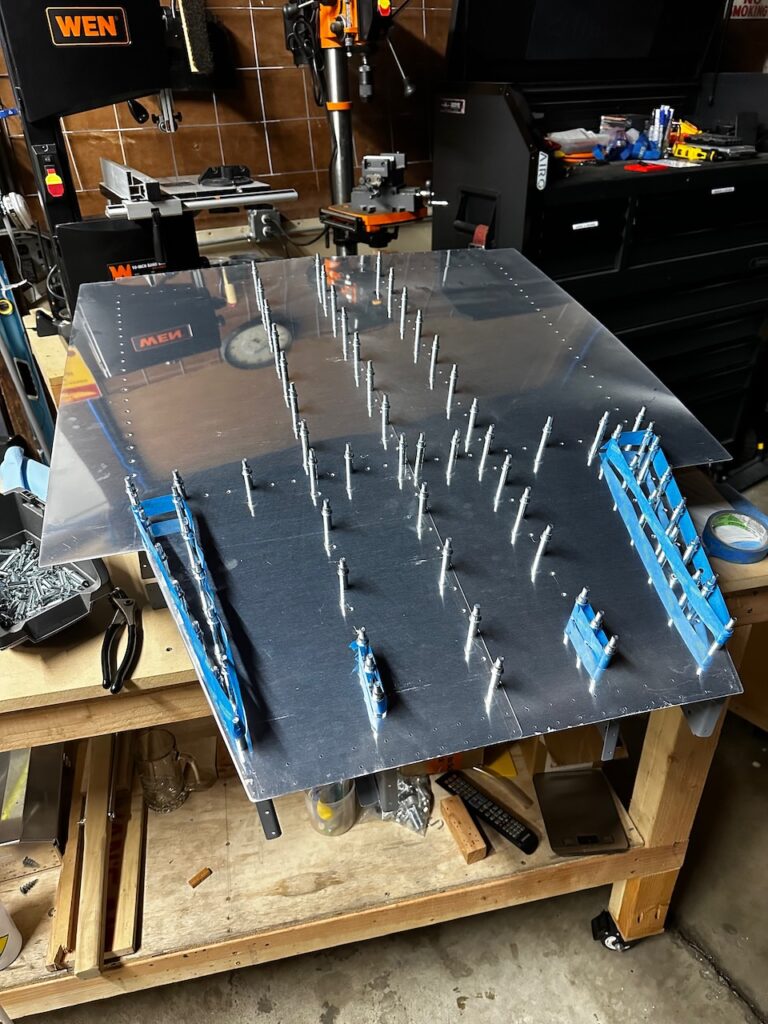
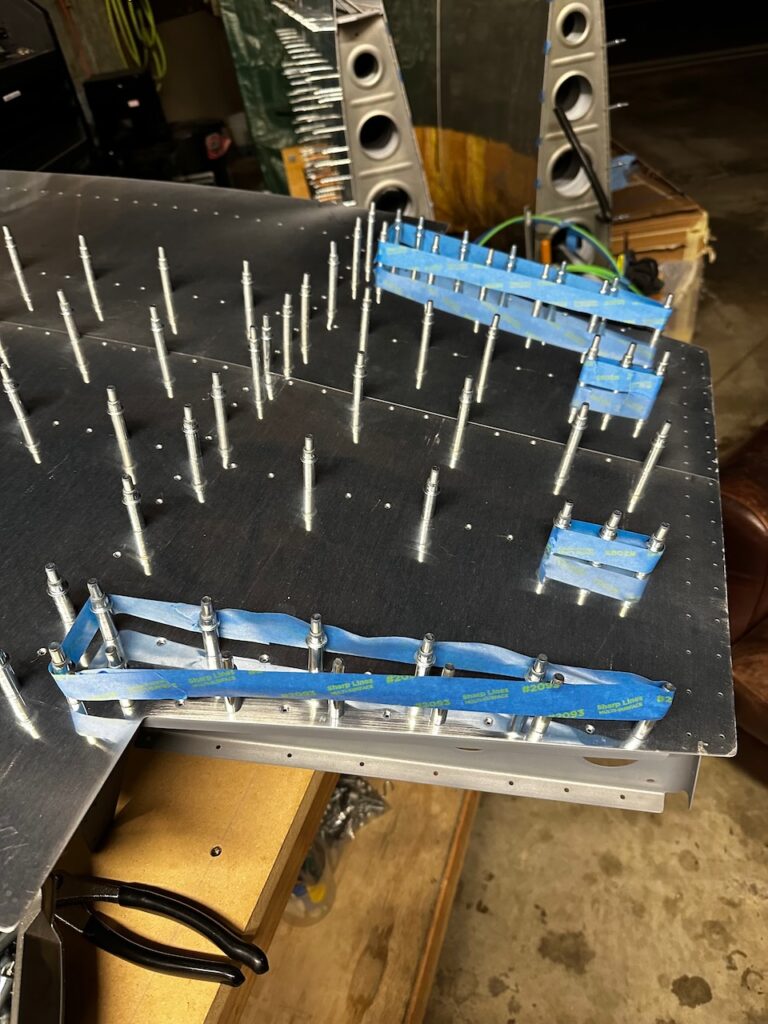
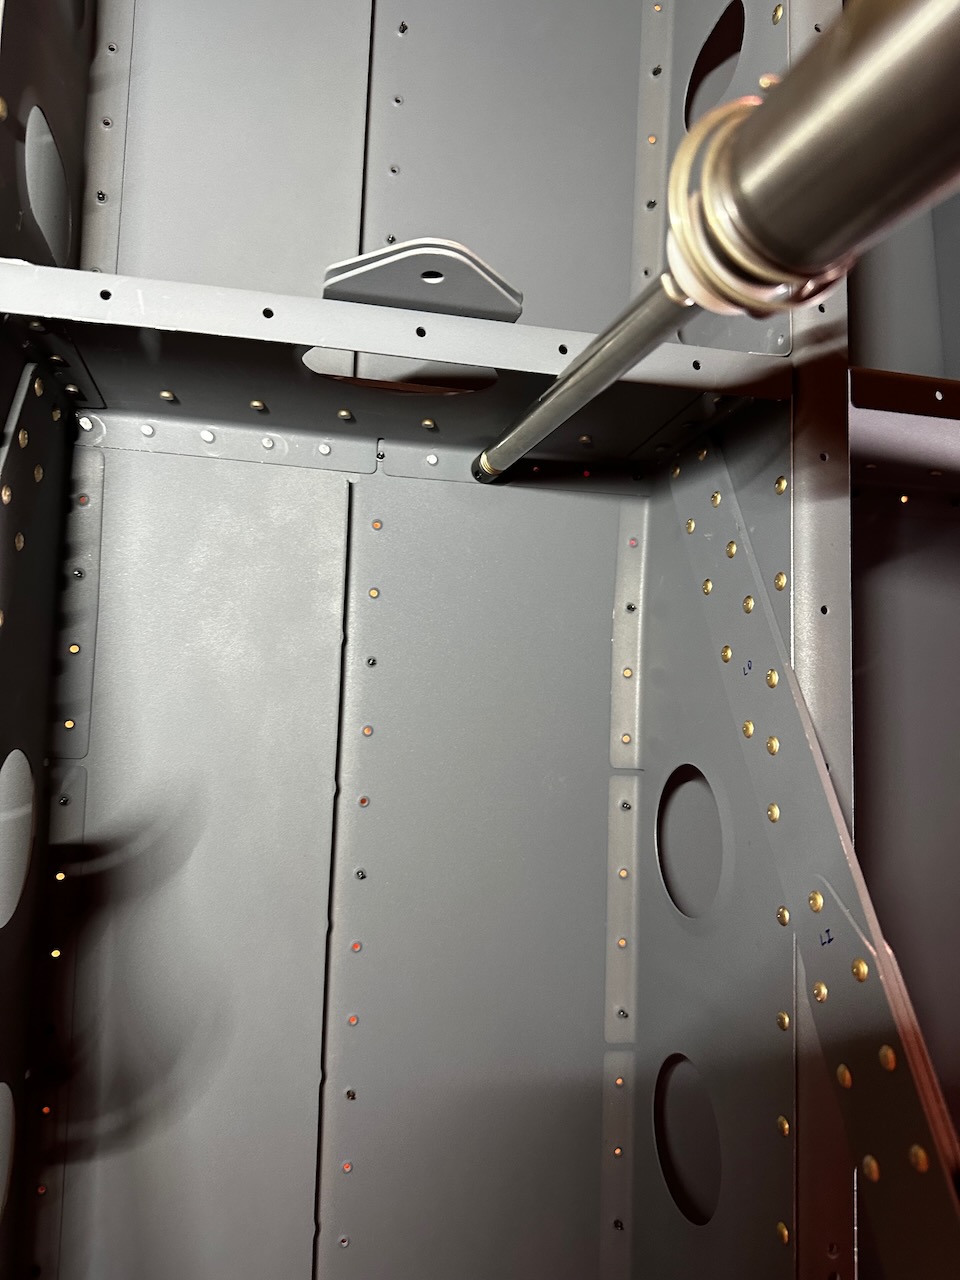
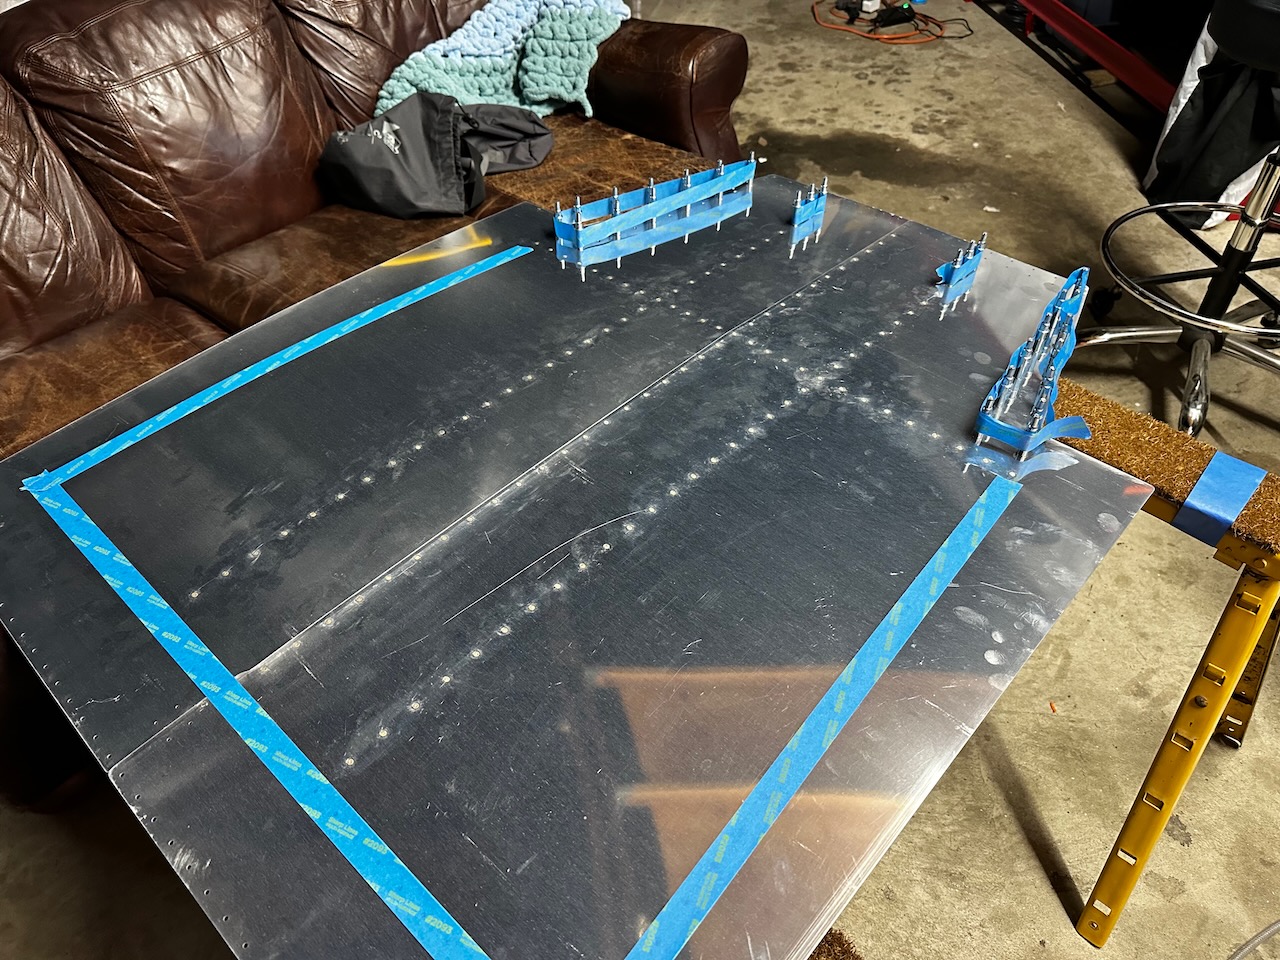
With the skeleton complete, I put on the bottom skins in preparation for riveting. Note that there are quite a few rivets that are not supposed to be installed at this time. I marked these off by taping up those clecos.
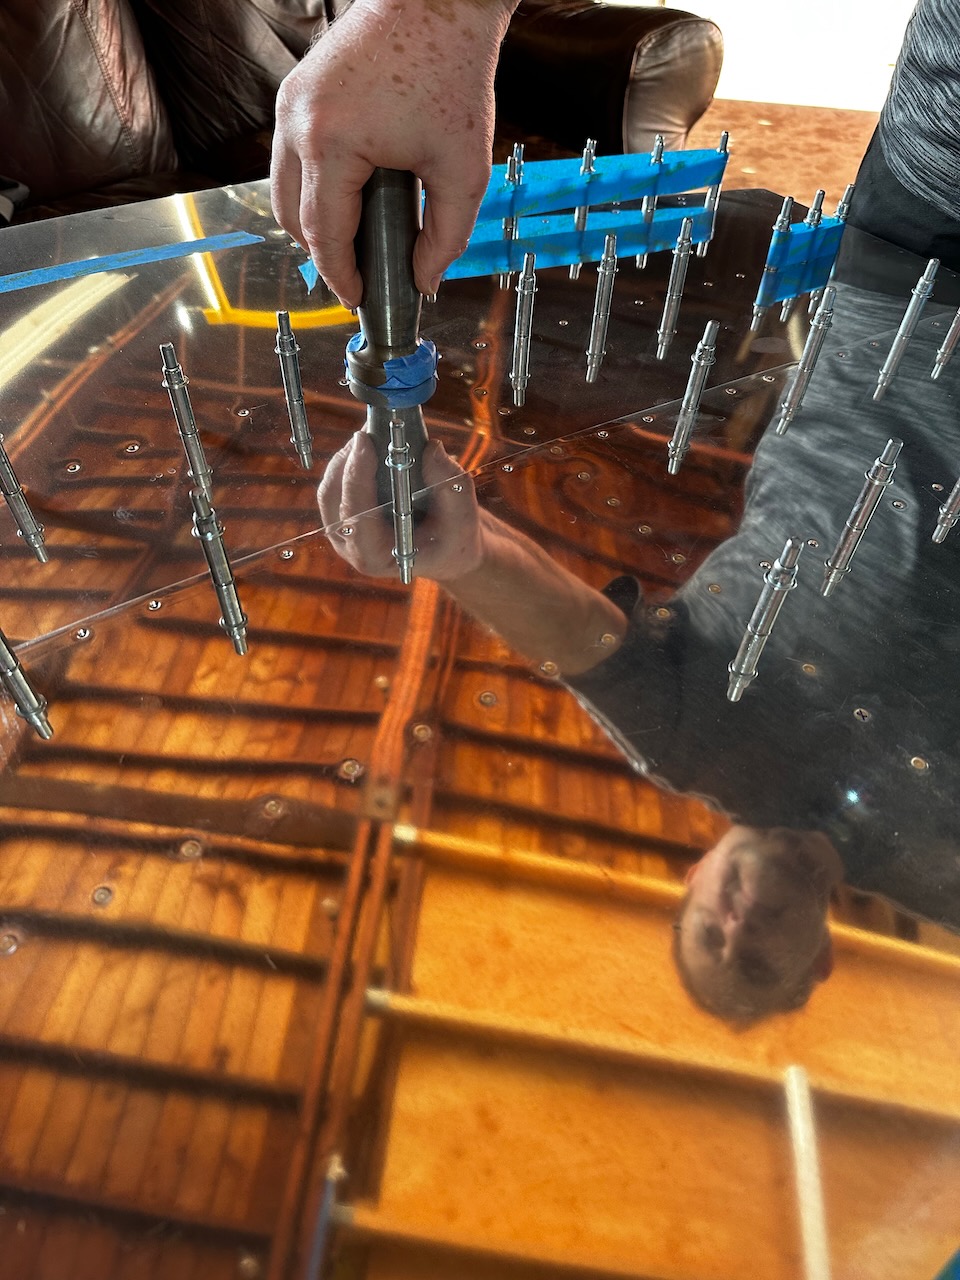
Skins ready to go!
taped off areas to avoid riveting
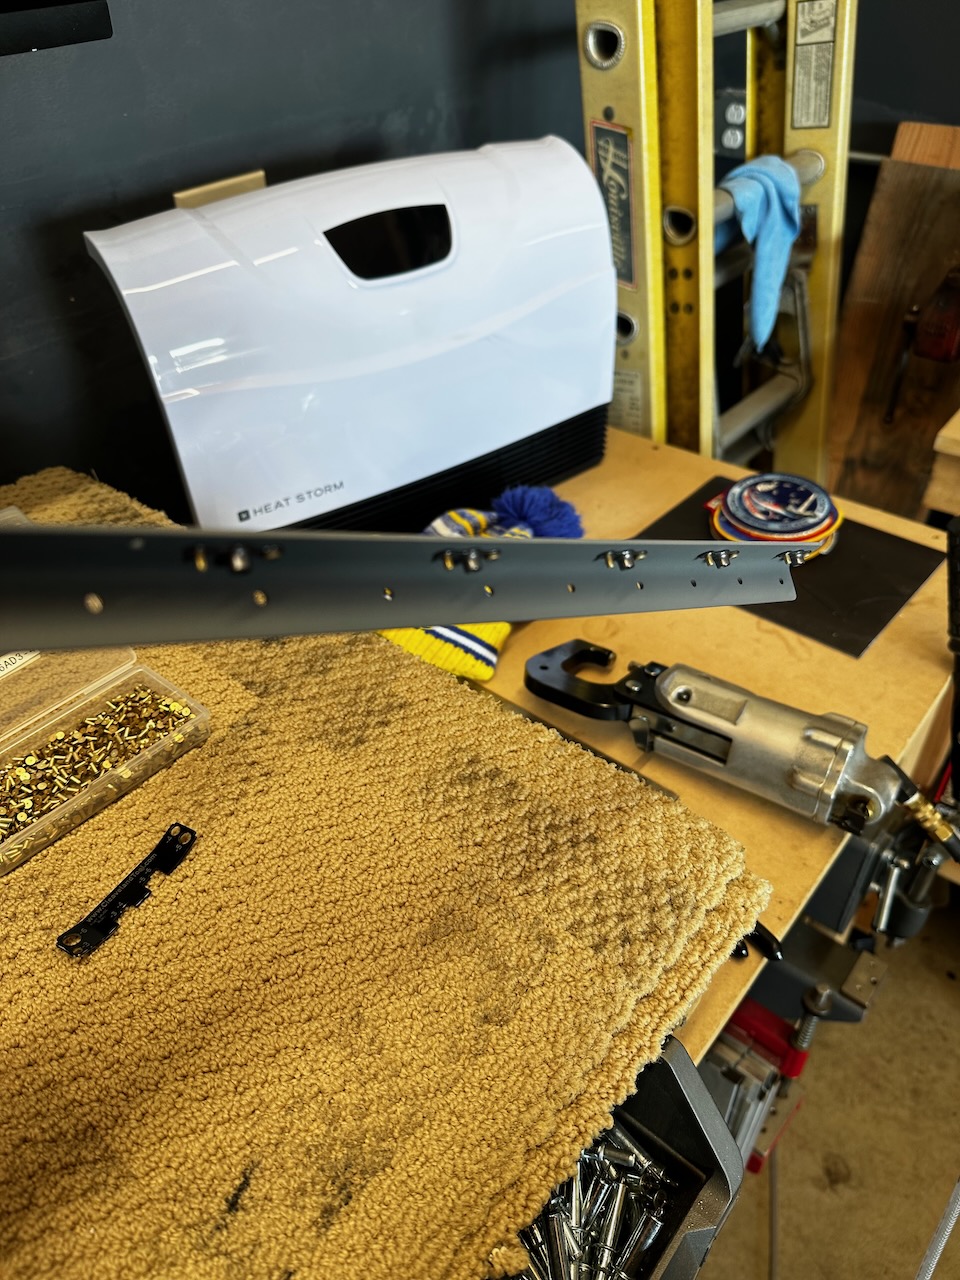
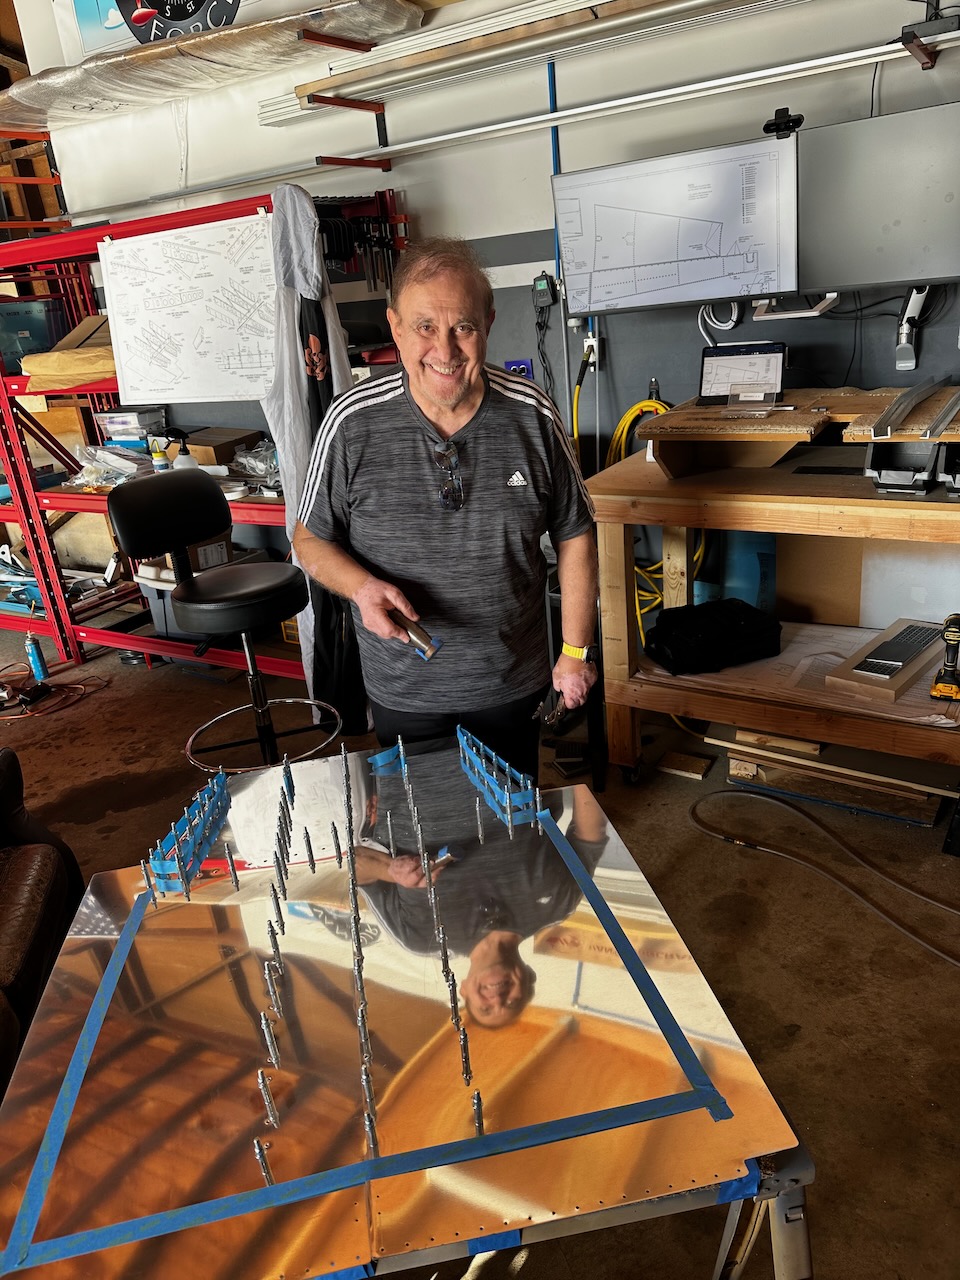
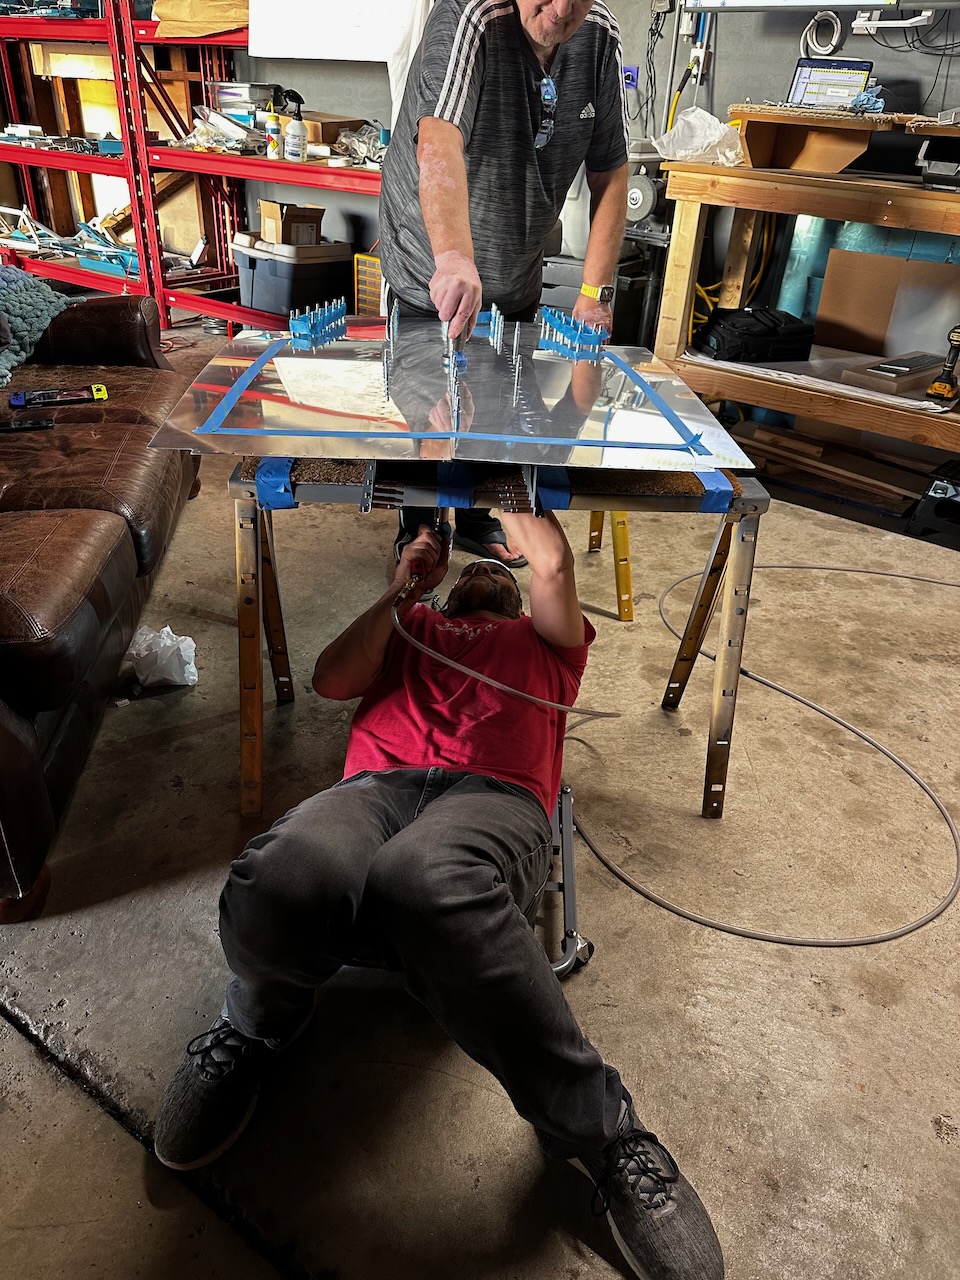
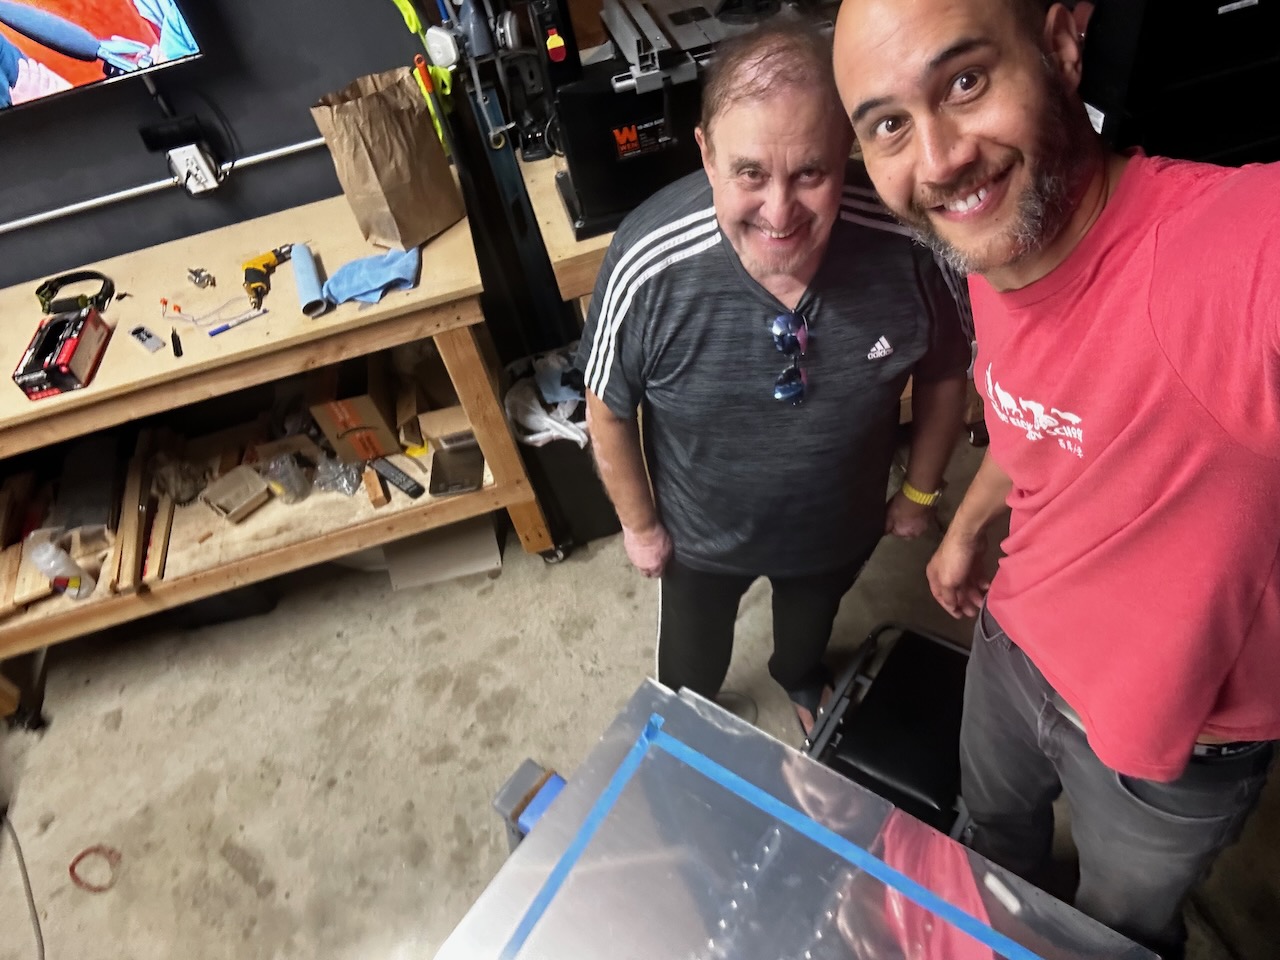
The skin riveting was a two person job for sure. My dad came down to man the bucking bar so I could back rivet the skins. I put the assembly on saw horses (lined with some padding) to allow access from underneath. We chose to start with the ribs, then riveted down the center line (which doesn’t have a rib backing). It went well, with only a few rivets that needed to be drilled out, and just one minor dent from the bar. Easy to hide that during paint. A couple hours and we were done!
Rivet schedule shows everything is going to be 426 3-3.5 rivets
view looking up before getting started
Dad got a quick tutorial on cleco pliers and the bucking bar….
..and off we go!
making great progress… and so far so good!
my arm was exhausted by the end of the back riveting
but the results were great!
Thanks Dad!!
Seat Rib Assembly done! This was some great progress, and is the last of the assemblies before starting to put it all together! I’ll need to build a platform for joining all the current major assemblies. We’re close to something that really looks like a plane part! Can’t wait to see it come together. Until then… Happy Building!