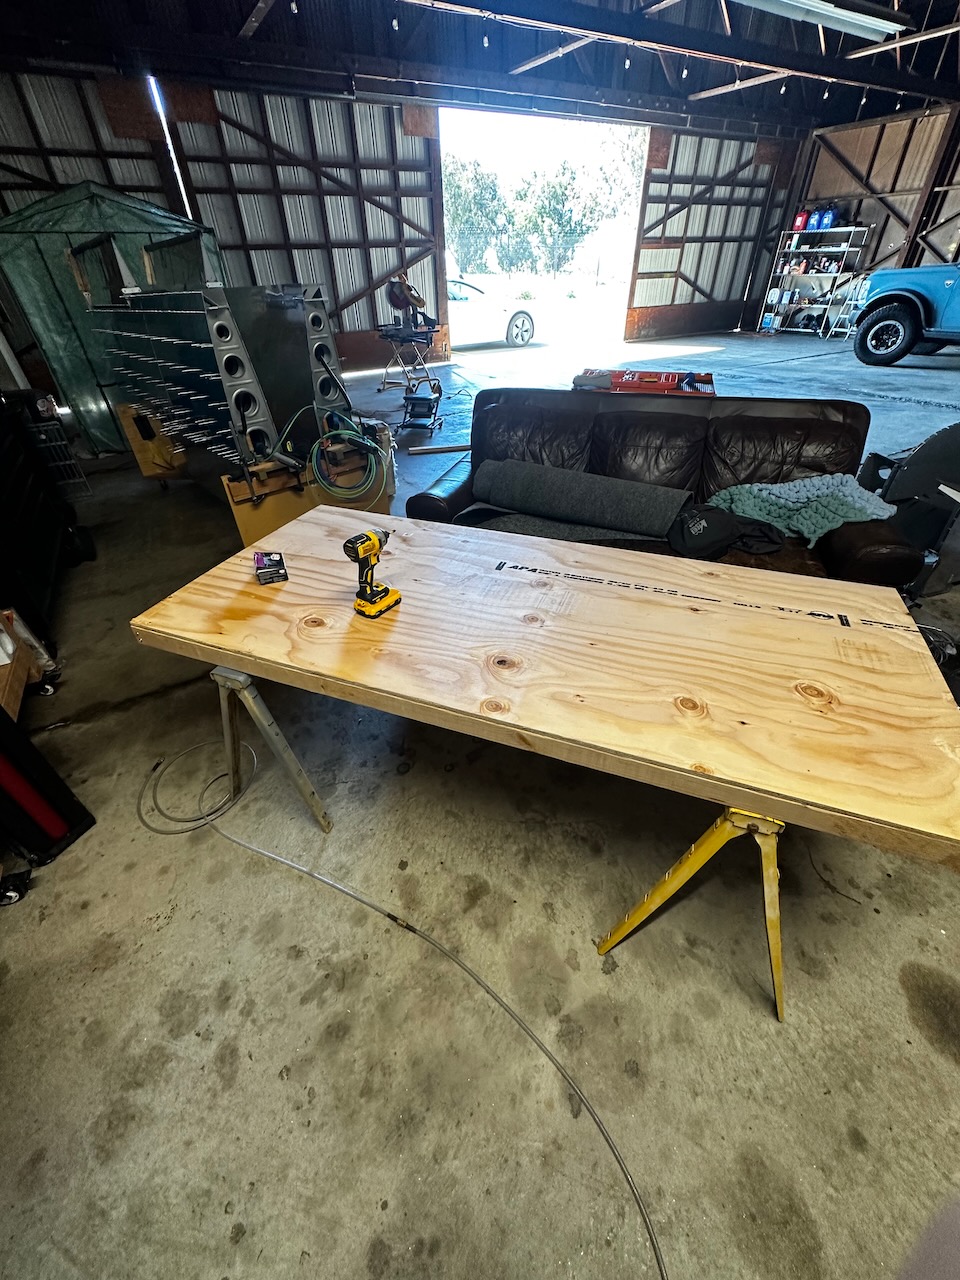
It was time. Longeron bending. It’s one of those scary steps where you feel like it’s make or break. It’s also fairly confusing what actually needs to be done, and the instructions make it feel like you have to end up with highly precise measurements using highly imprecise methods. But… at some point you have to just start, and see how it goes. To do that I needed to get all the assemblies in one place, so time to build a fuselage table! I decided to keep it simple and just build a platform to sit on top of some of the saw horses. A quick trip to home depot and a short while later… tada!
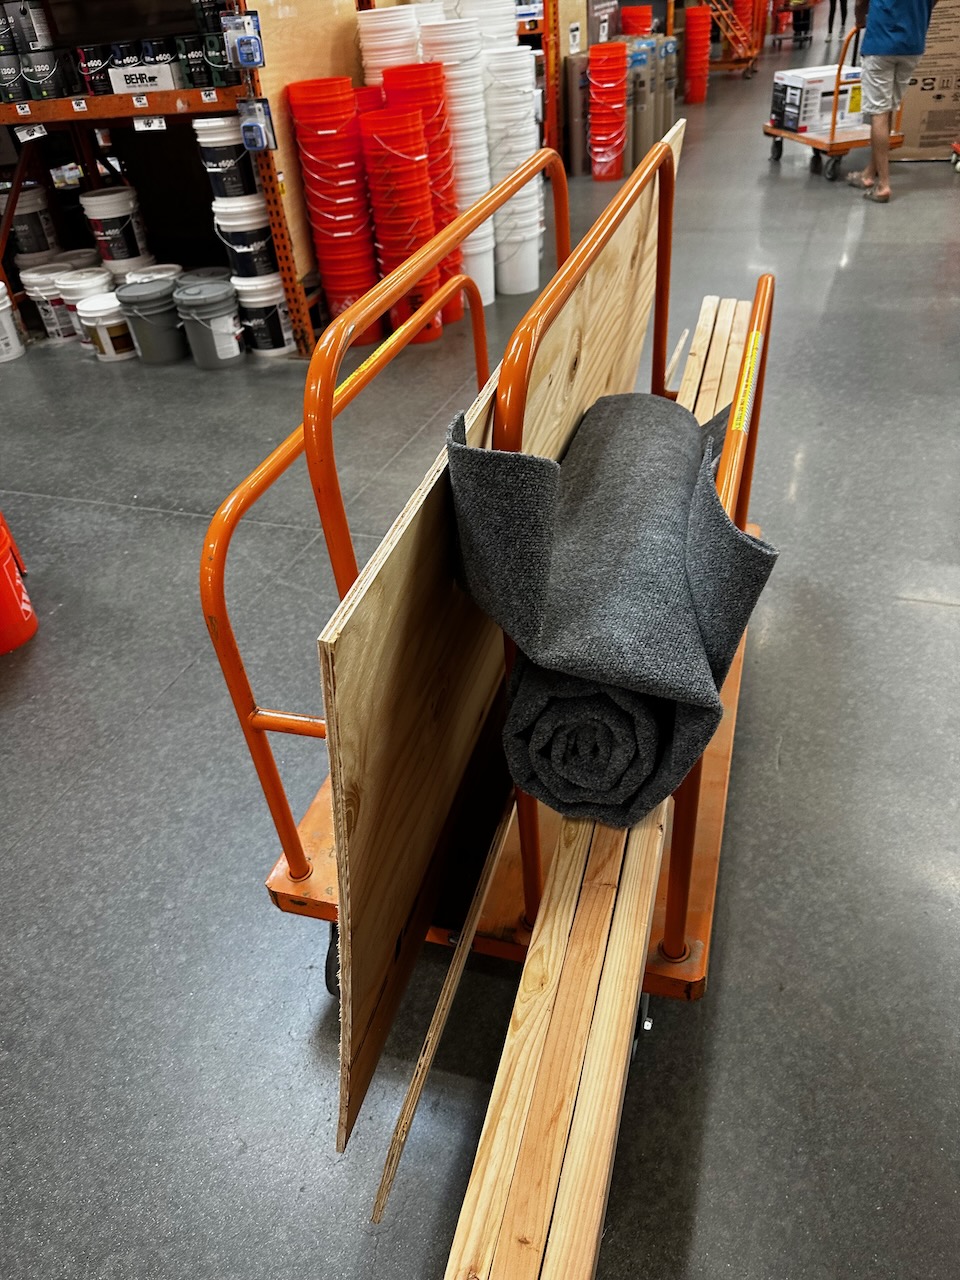
From the aviation department at Home Depot.
platform ready for covering
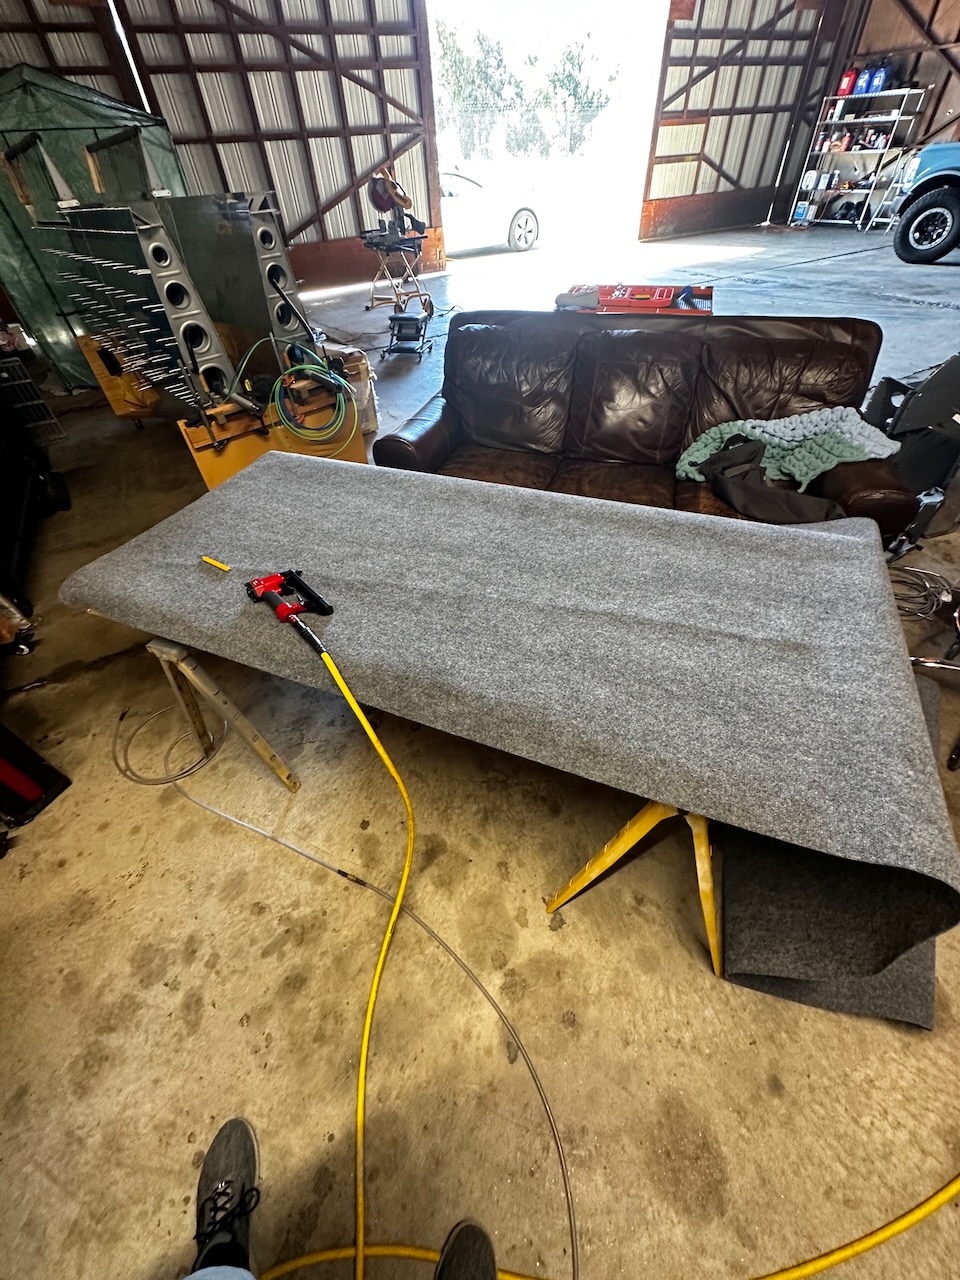
Some cheap carpeting and a staple gun does the job.
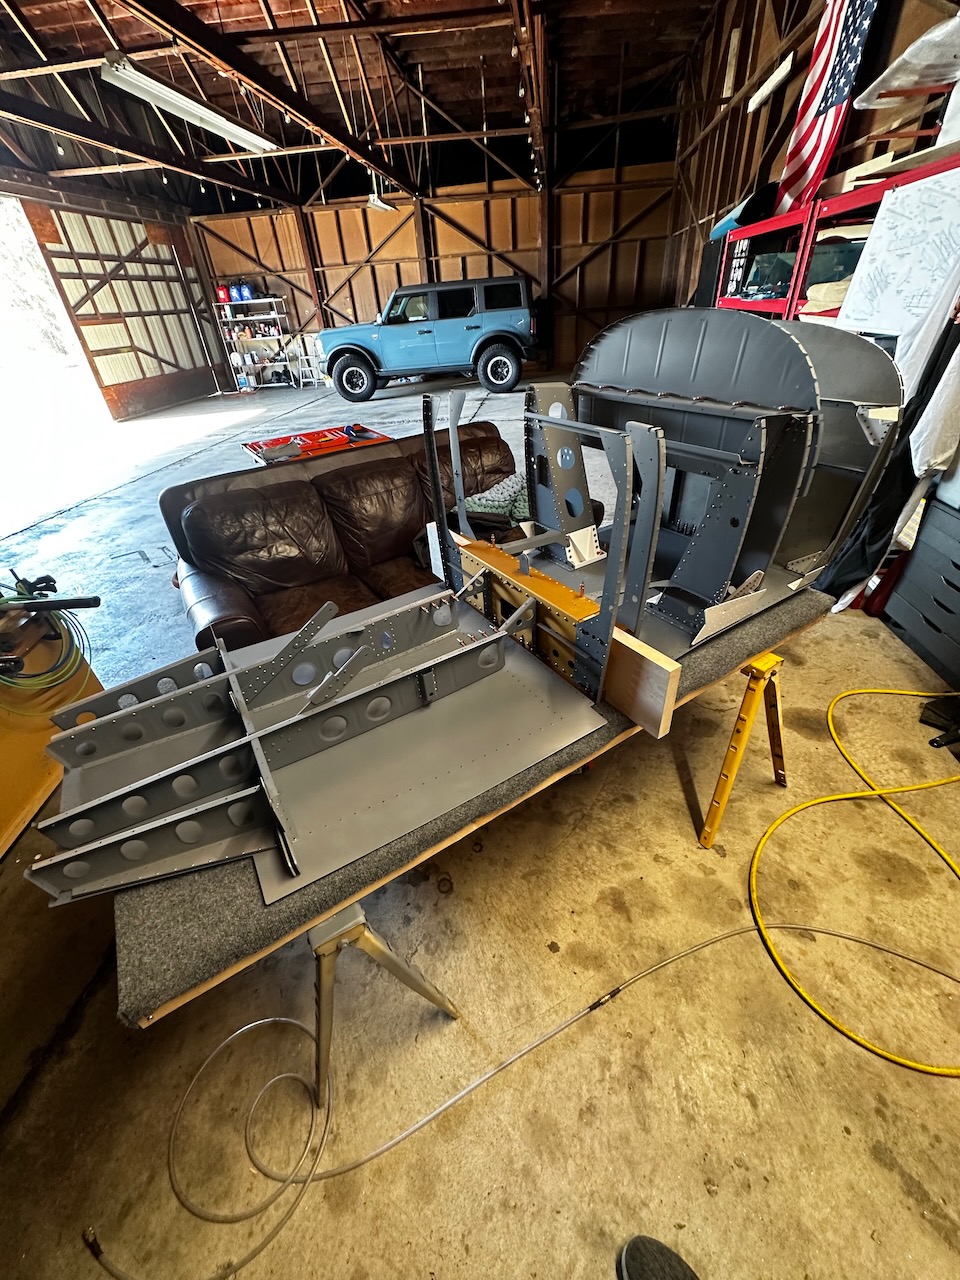
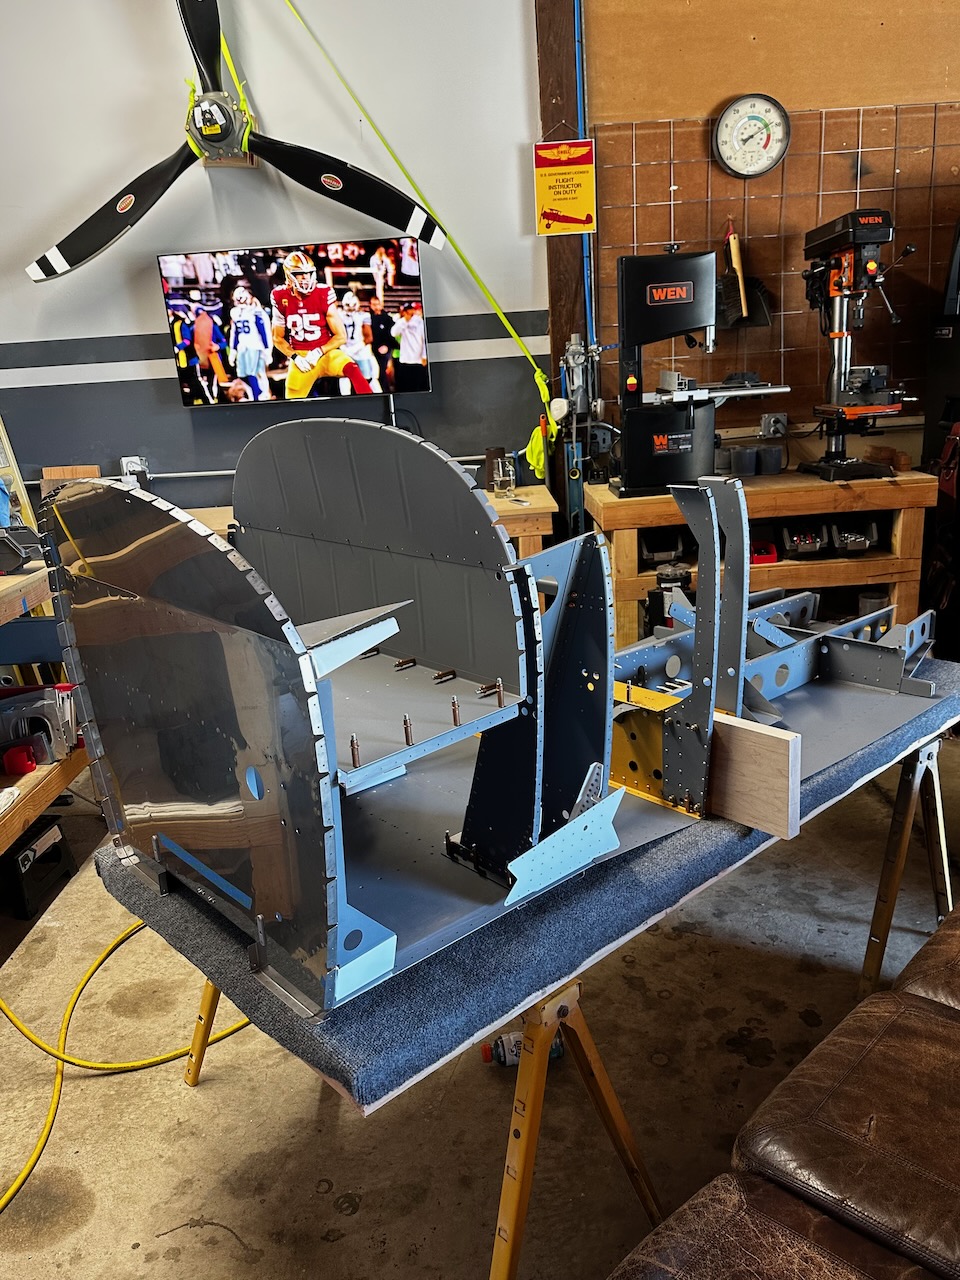
everything fits! (yes I measured beforehand)
ready to start assembly
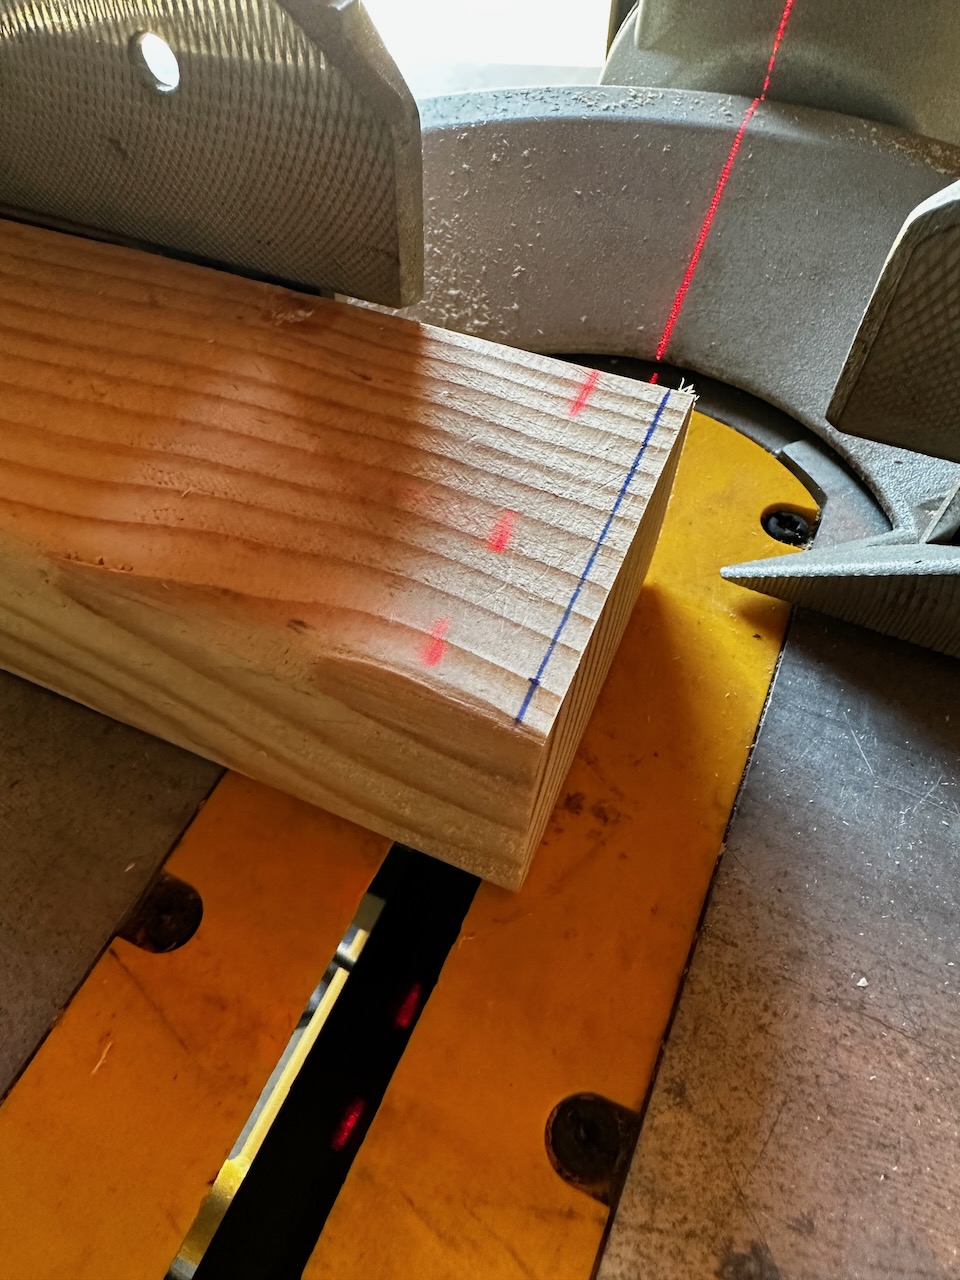
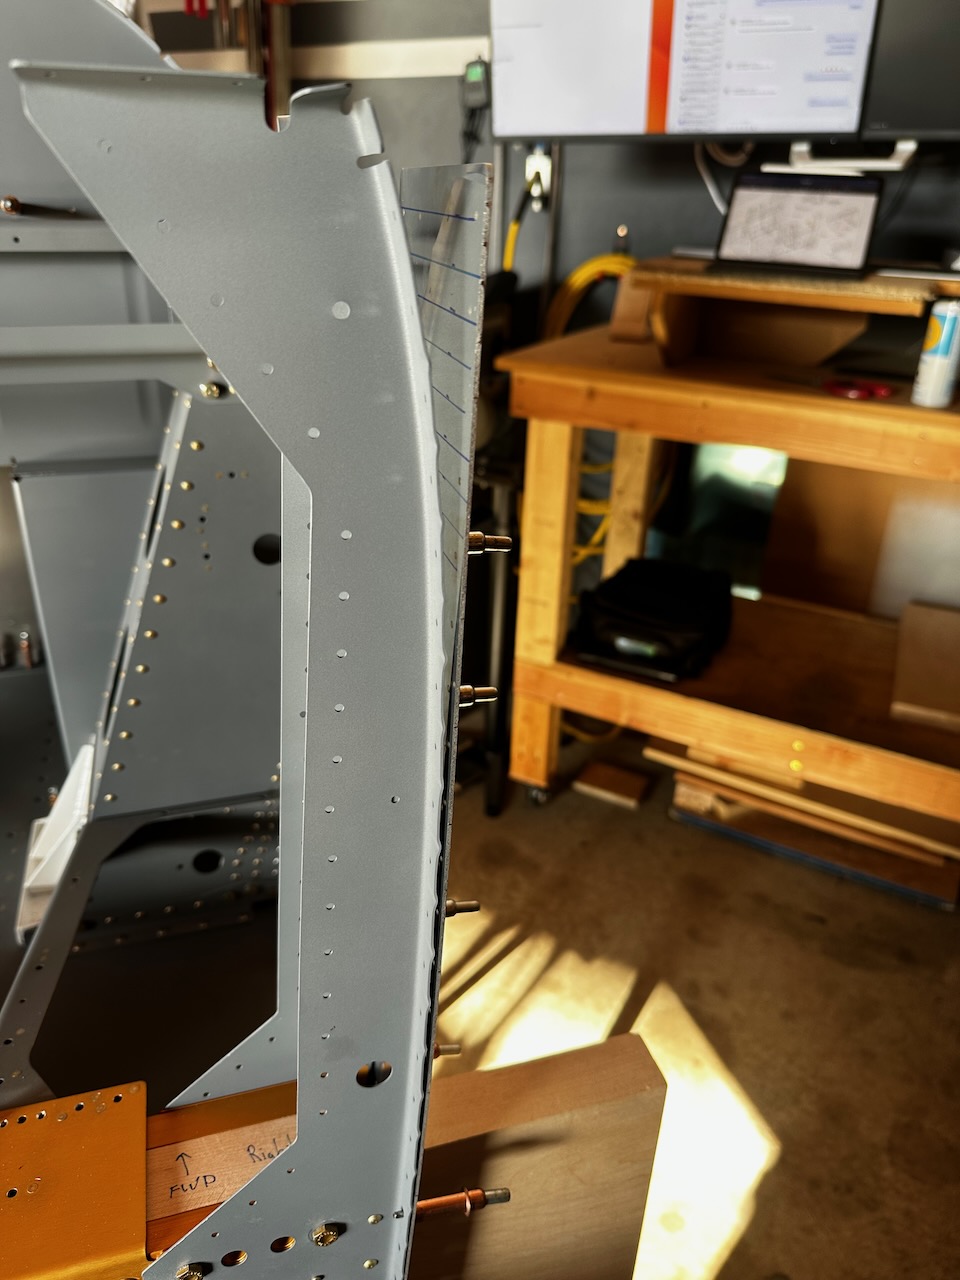
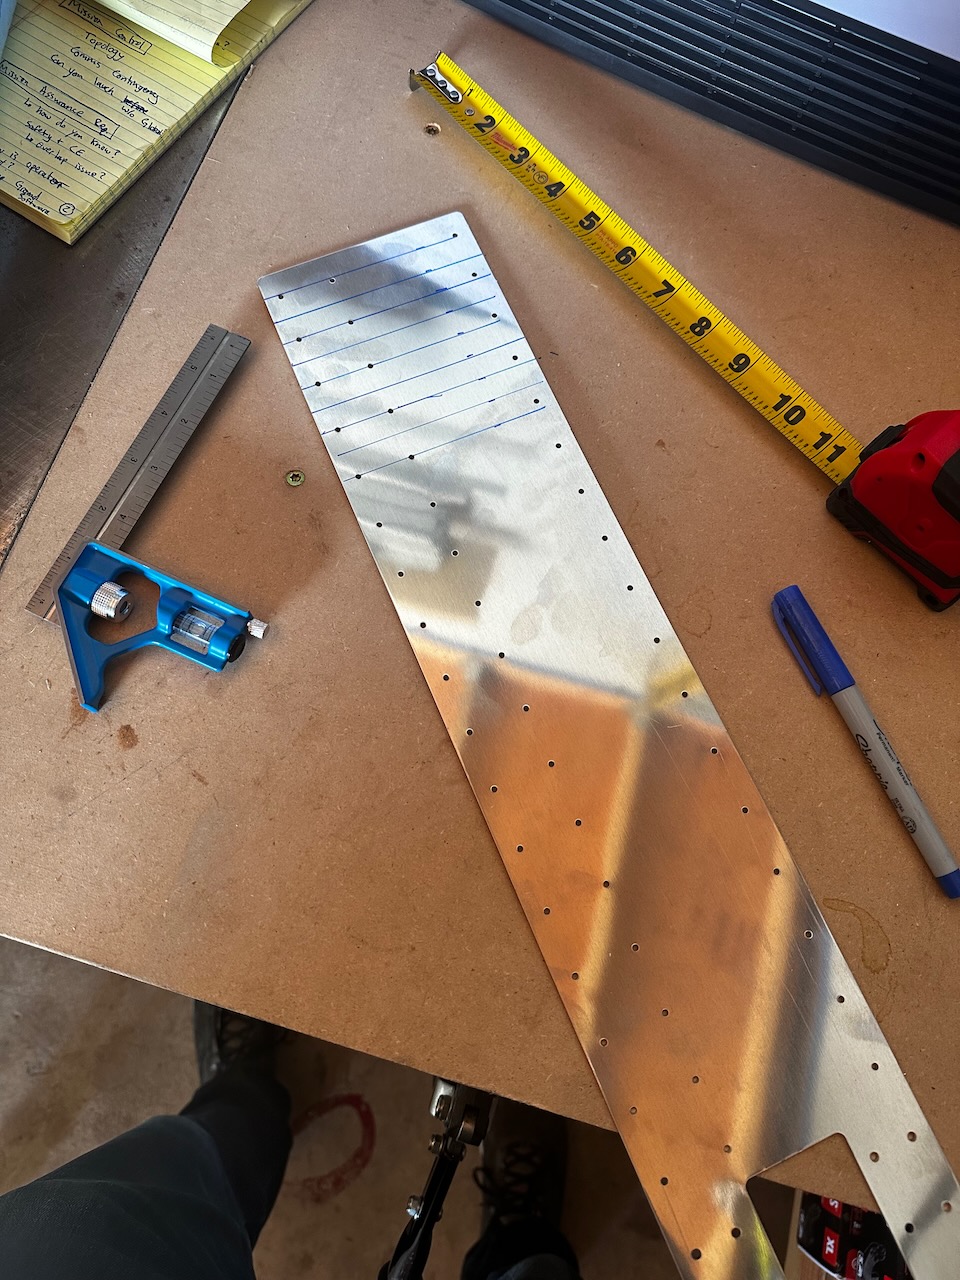
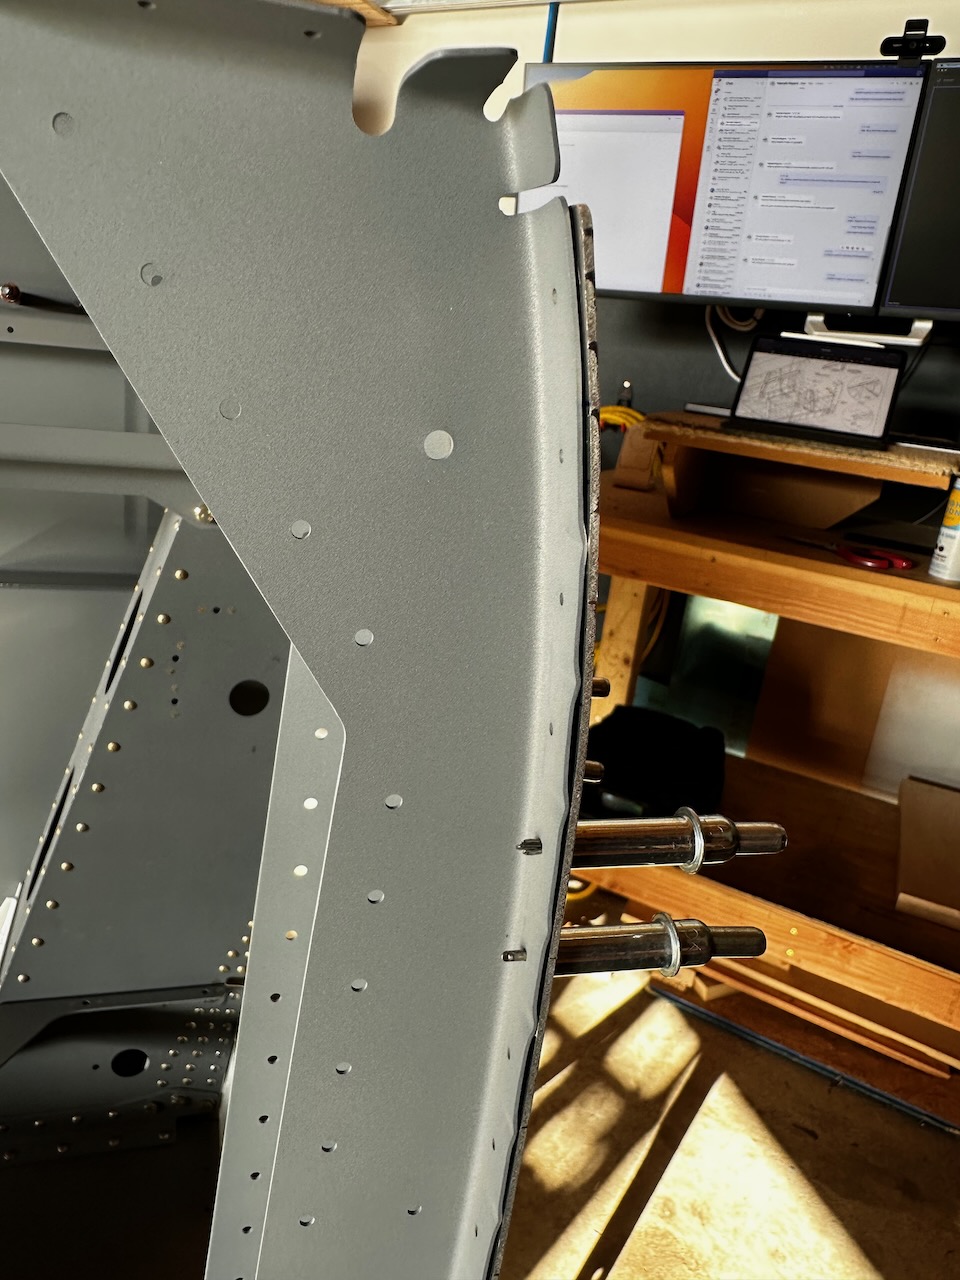
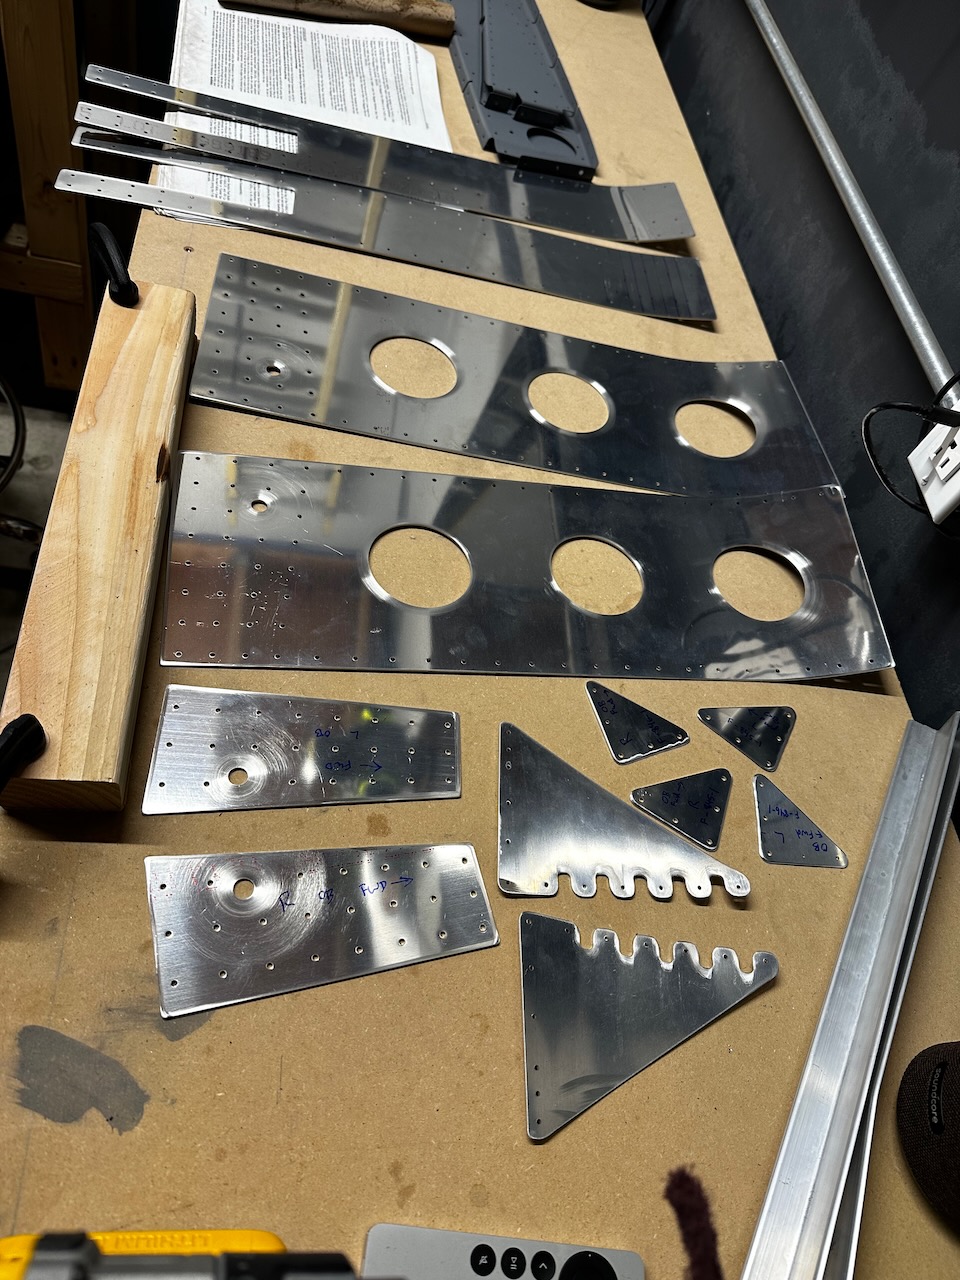
Before getting to the Longerons, I needed to shape some side plates. The instructions actually order the longeron bending before starting to build out the fuselage, but the longerons aren’t needed until different places in the structure assembly. I decided to wait until they were actually needed, hoping to understand a bit more about what I was doing before starting to shape them. In hindsight I think this was a good call, as with the structure in front of you, it’s more clear what you are trying to acheive. So I skipped the longeron bending page, and moved on to the next steps in the fwd structure assembly. The instructions call for a wood block plus 1/8″ spacers to provide a bending mechanism. I marked 1/2″ lines along the bend parts as a reference for perpendicular and evenly spaced bends. I did this for 4 side plates and two gussets.
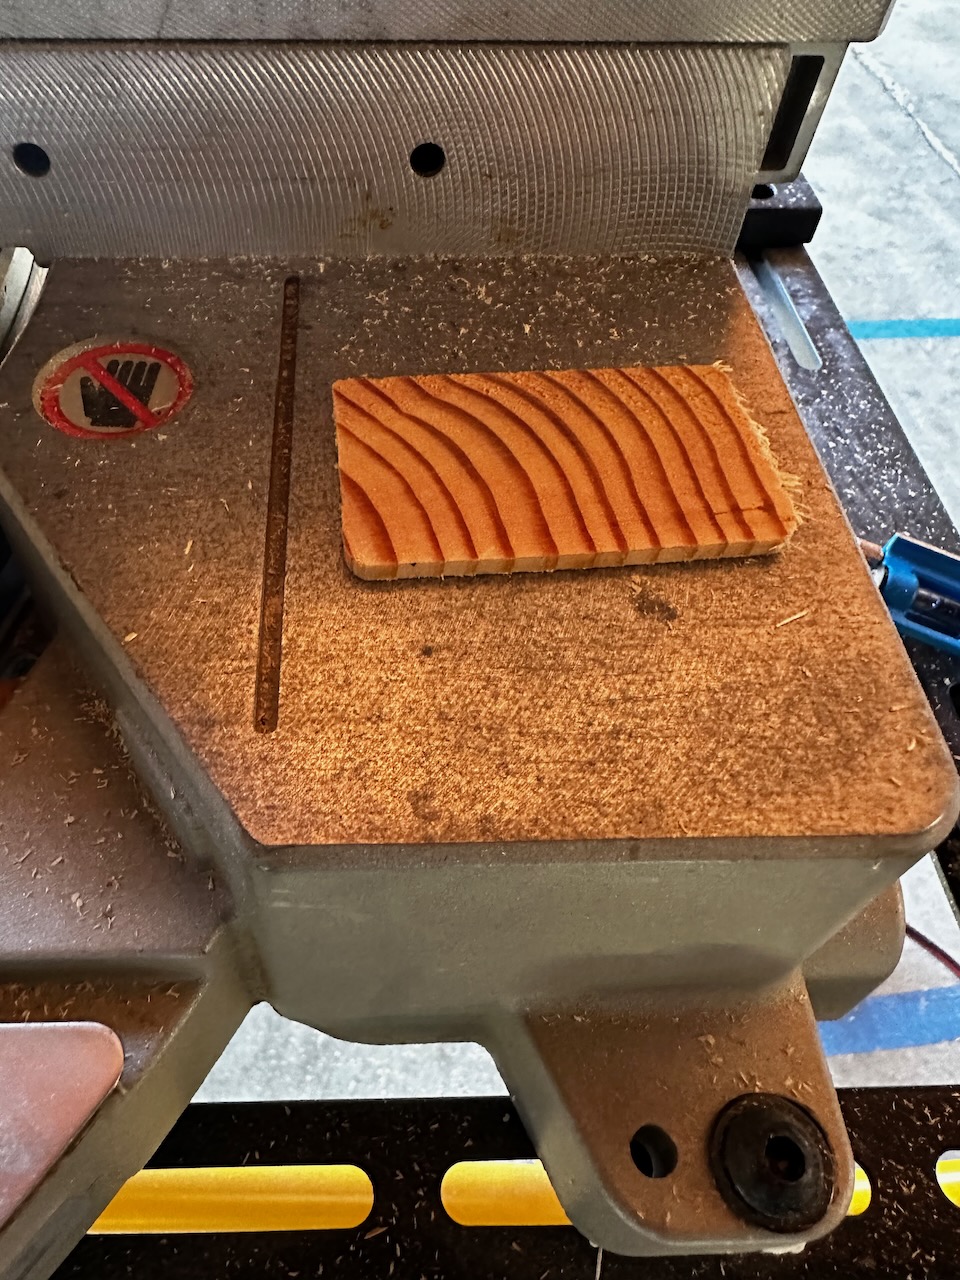
cutting the spacer for bending
pretty thin 1/8″ spacer
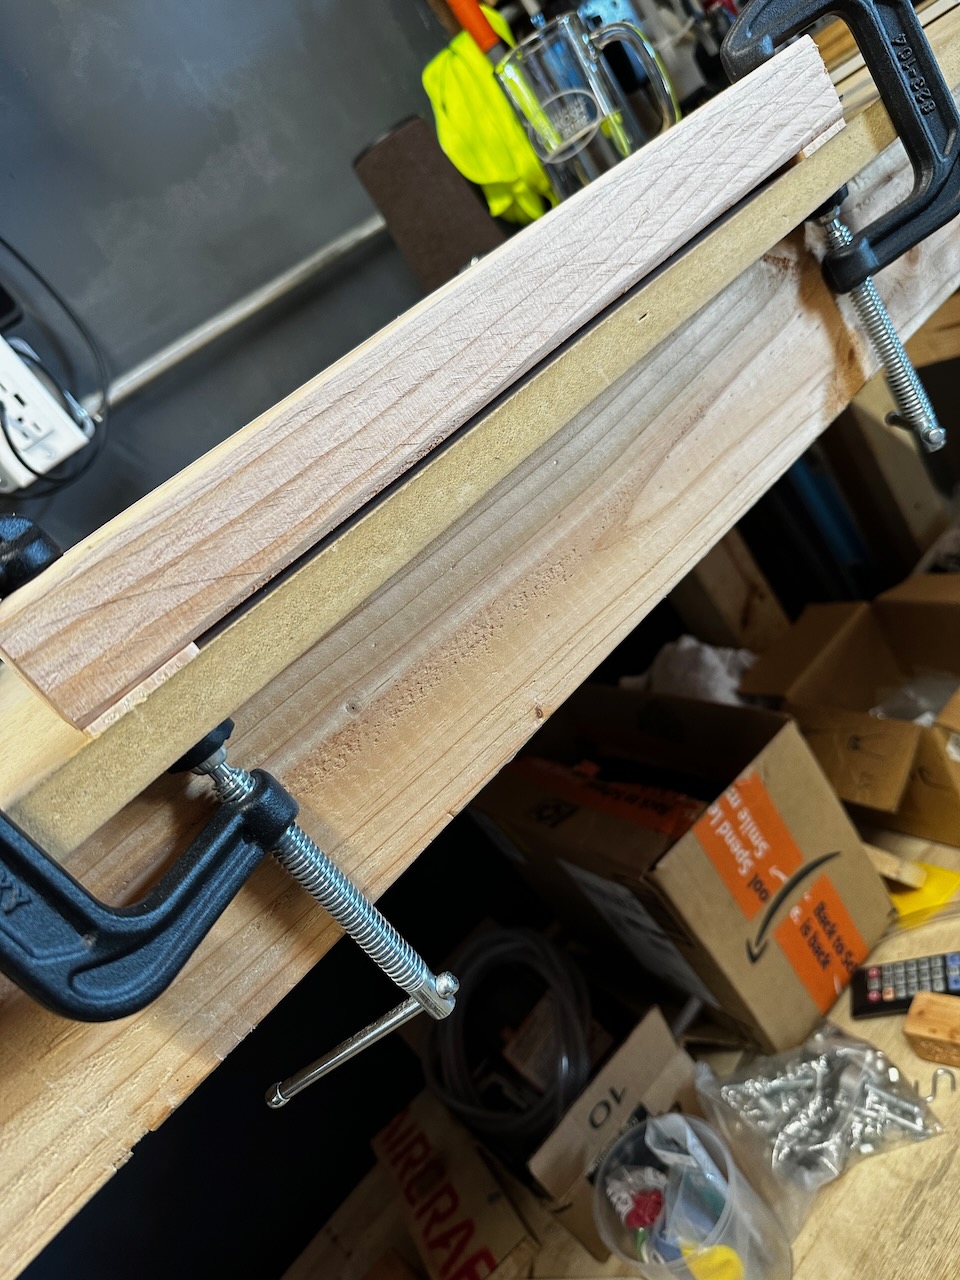
bending mechanism mounted on table
side plates before bending
instructions specify where to start the bending
marking out perpendicular lines for bending reference
after bending
same thing for the other side plates
using the bending jig
and cleco’d up after bending
some of them needed bending to fit the fuselage side wall
all parts ready to go!
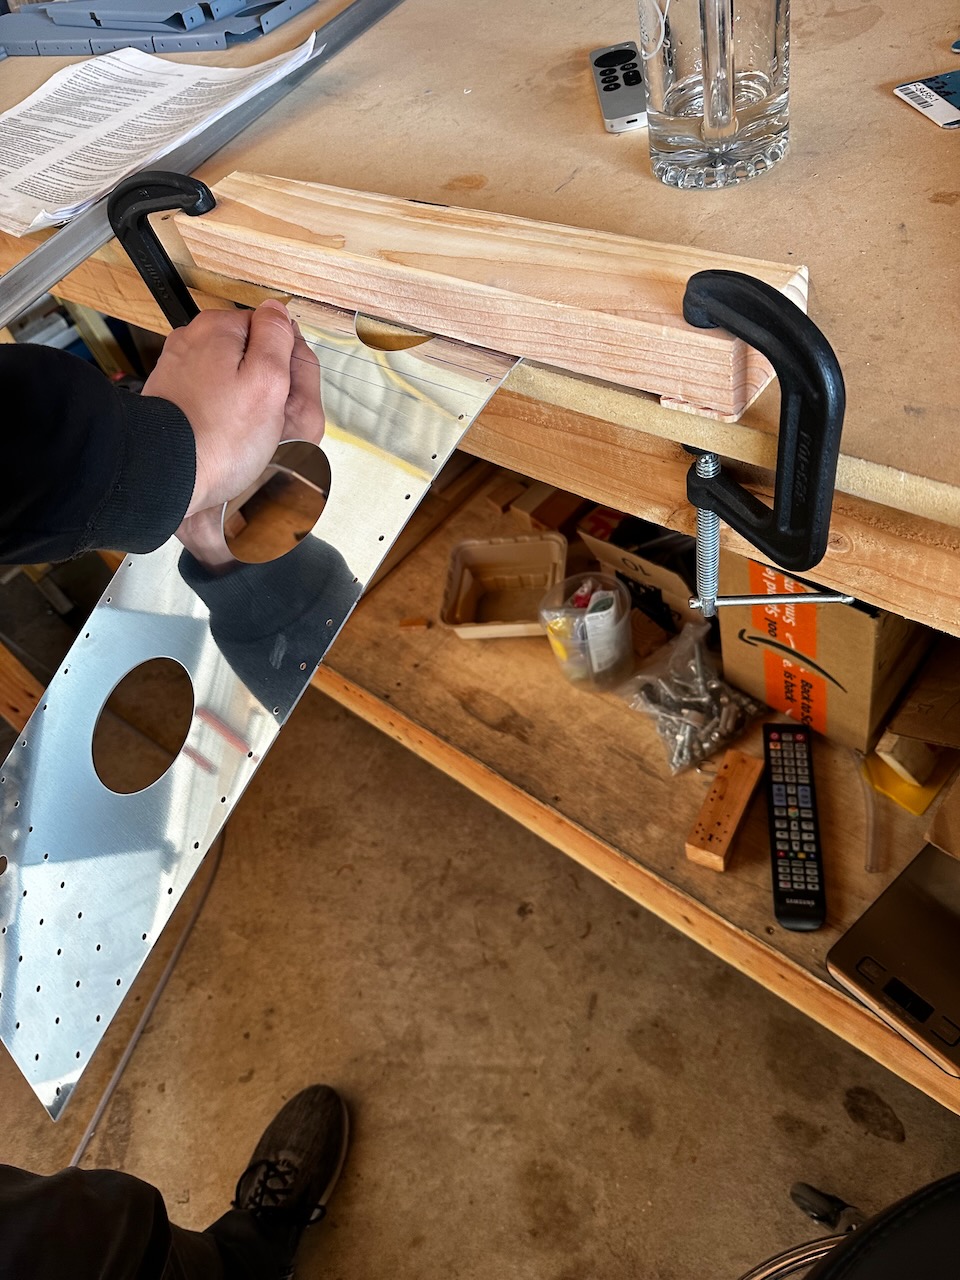
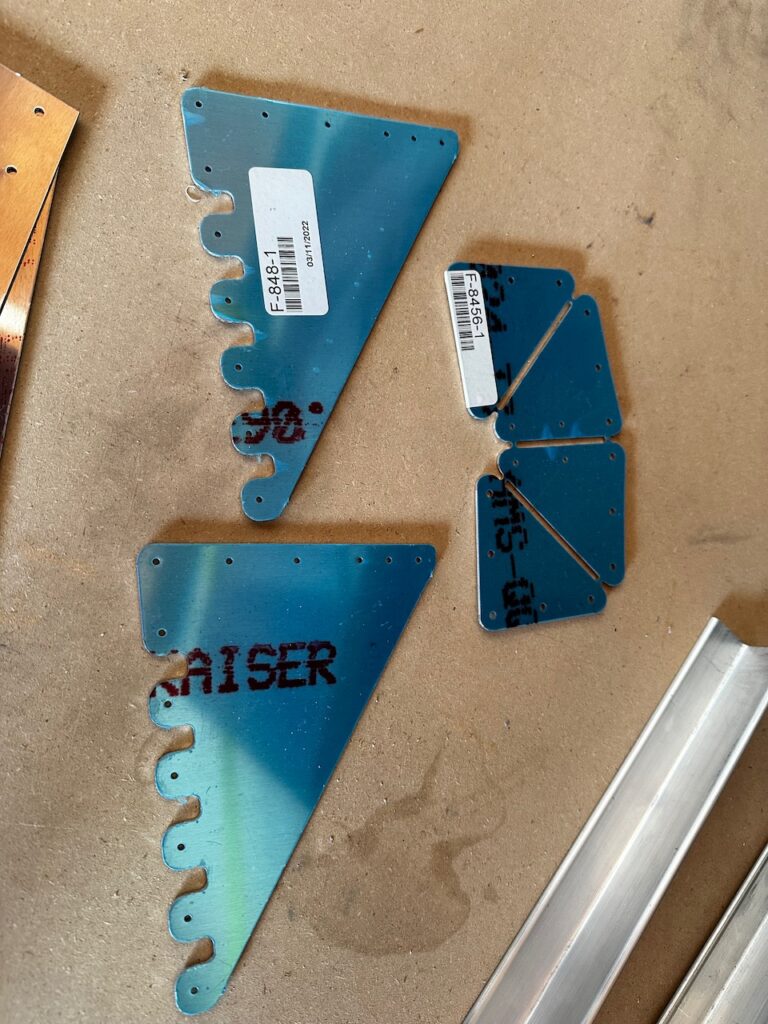
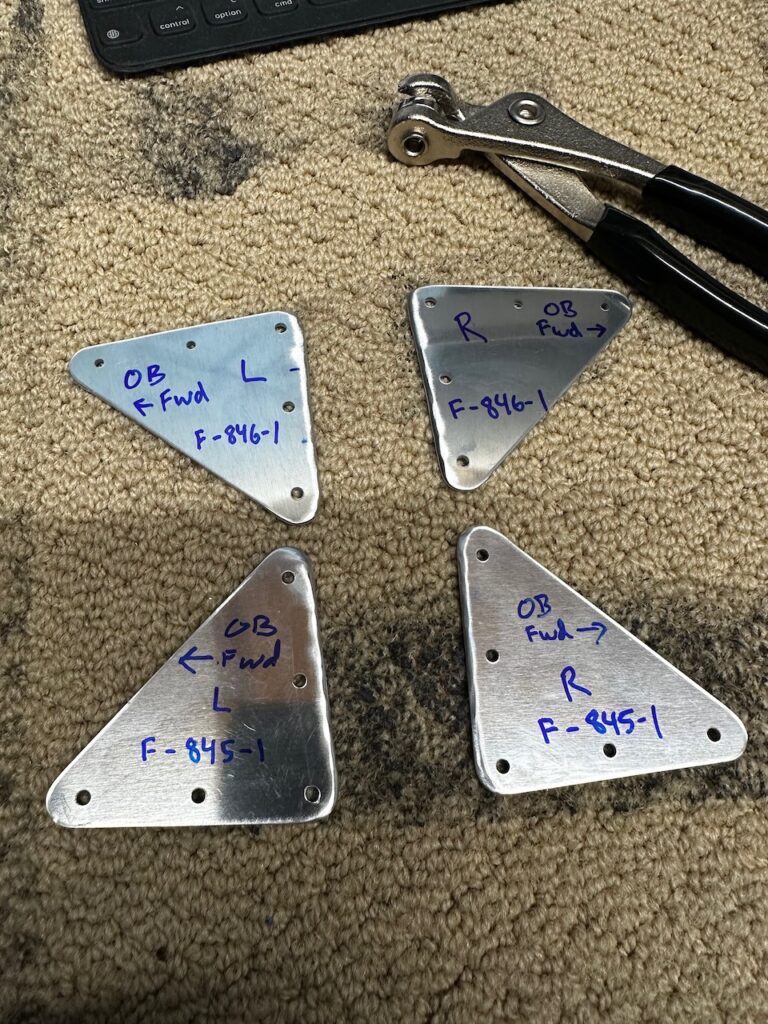
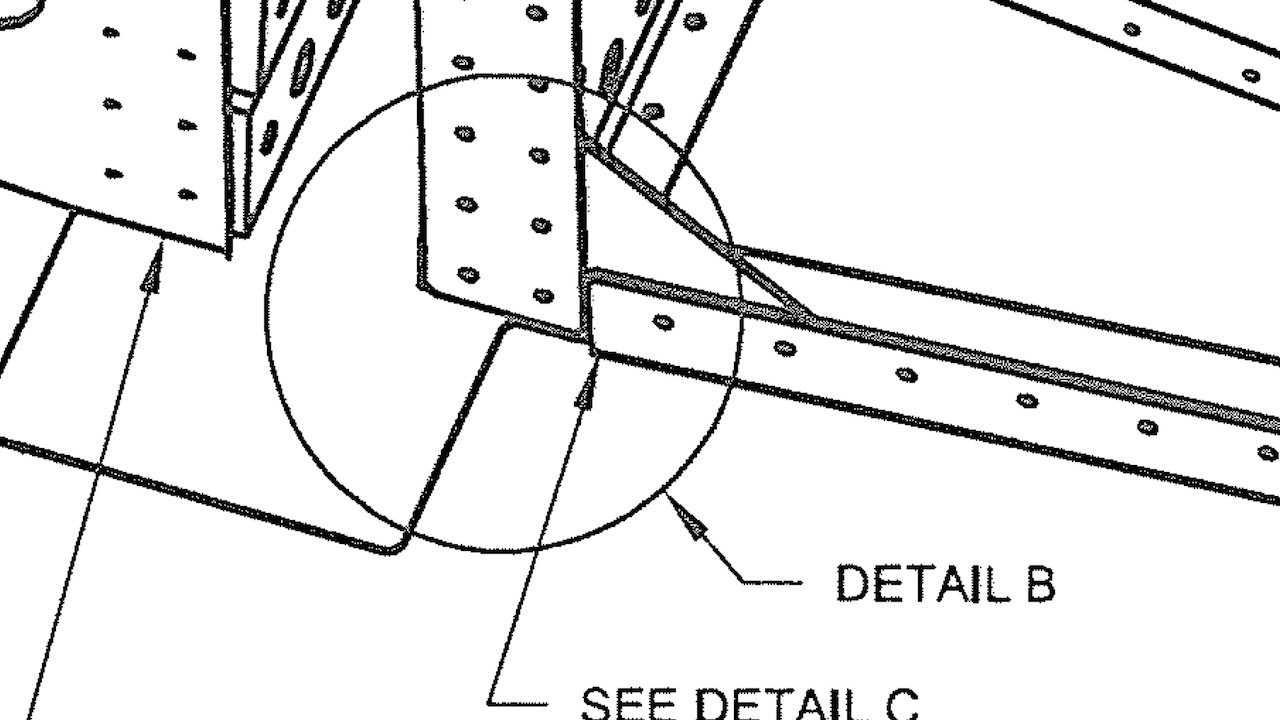
I also needed to cut out some gussets (F-845 & F846). There are left and rights for each of these, and they look very similar, so pay close attention to avoid mixing them up. The instructions give good steps to make sure you keep everything in order.
some gussets to cut out
make sure to mark as instructed...otherwise things will end up in the wrong place. They all look pretty similar.
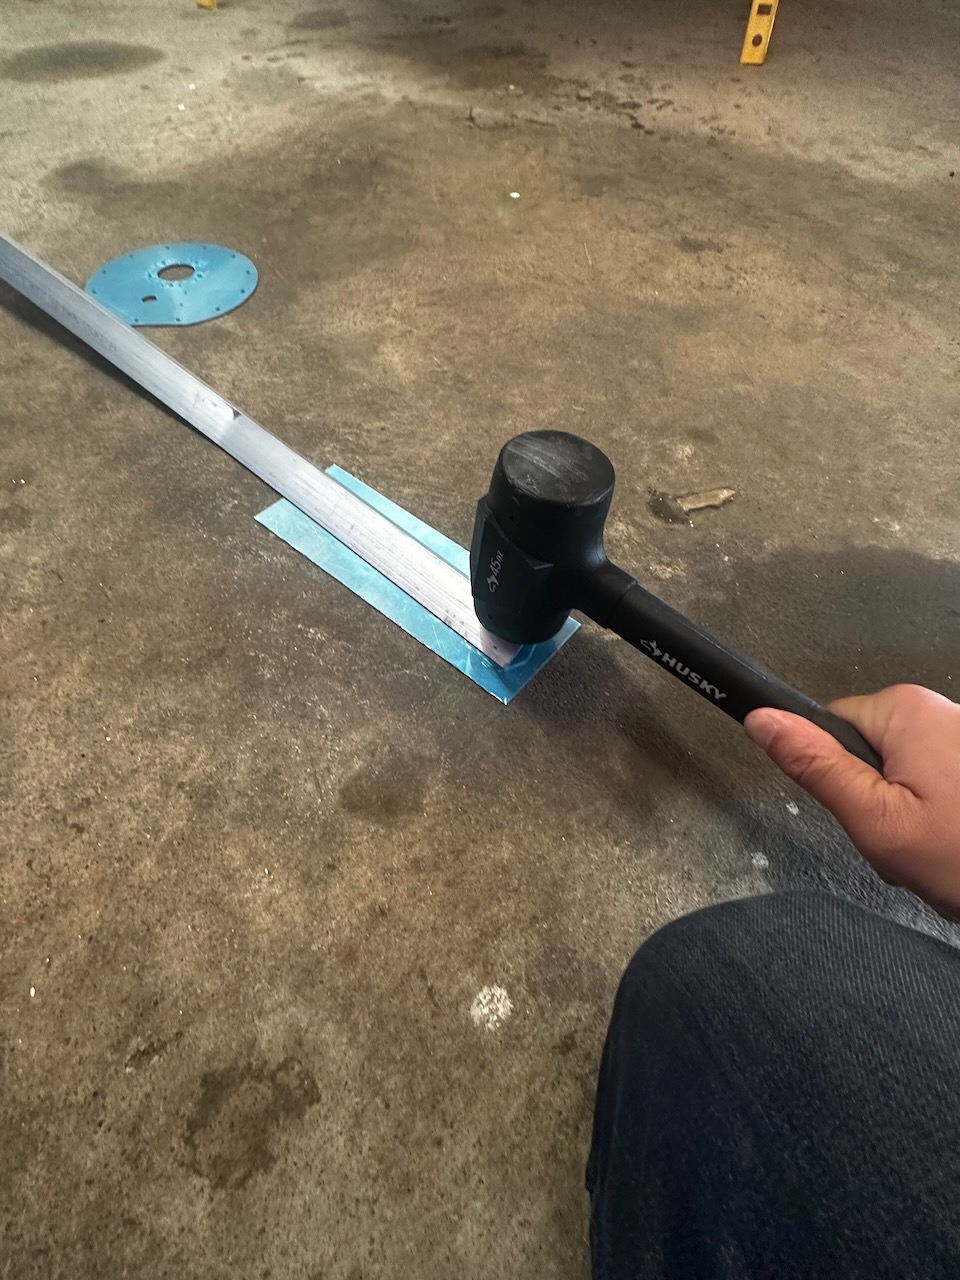
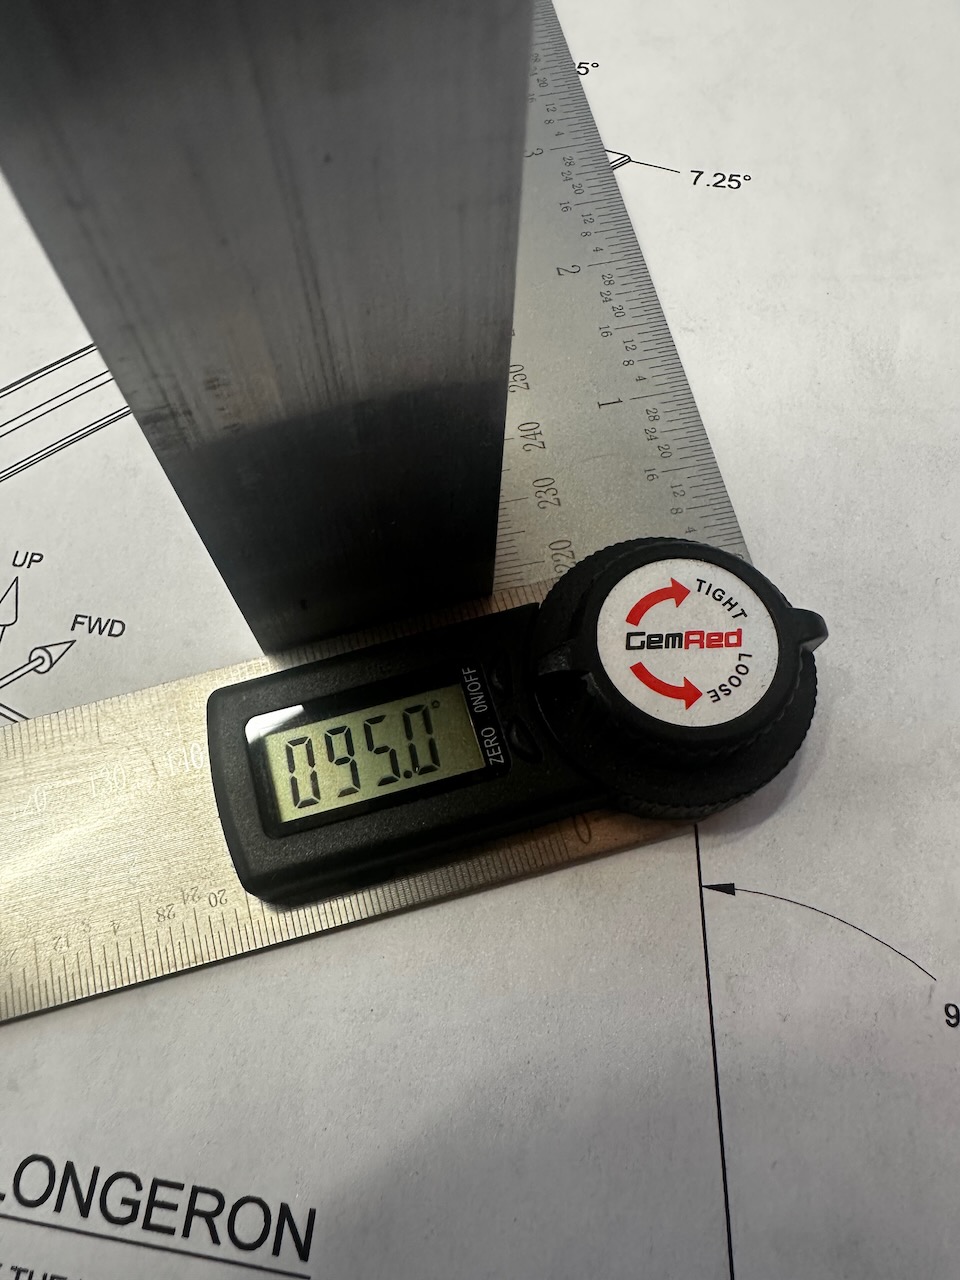
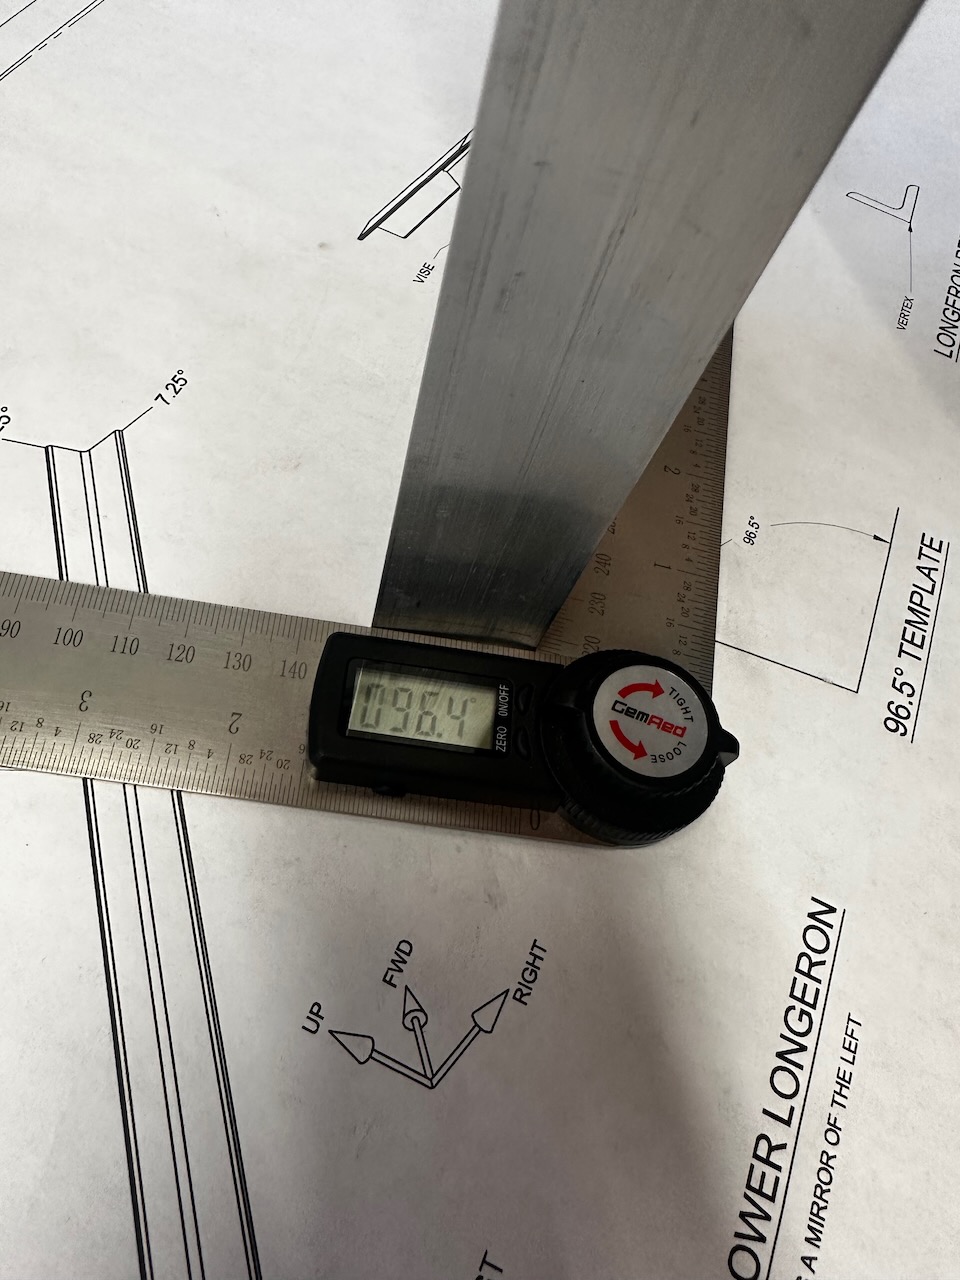
I finally got to a step that required a longeron so it was time to work the left lower longeron. From the last session Jack and I had done the first longeron bends, after verifying that bend “held”, I moved on to the “smash” and “twist” of the aft side. Smashing is used to open up the 90˚ angle out to 96.5˚, then I twisted that angle as specified. A couple notes. You have to hit harder than you think… I used a soft head 45 oz dead blow hammer which worked pretty well but still took quite a bit of force.
bend is still good!
I have to open this up to 96.5˚
hit it pretty hard!
Almost there…
…and a few more blows got it there.
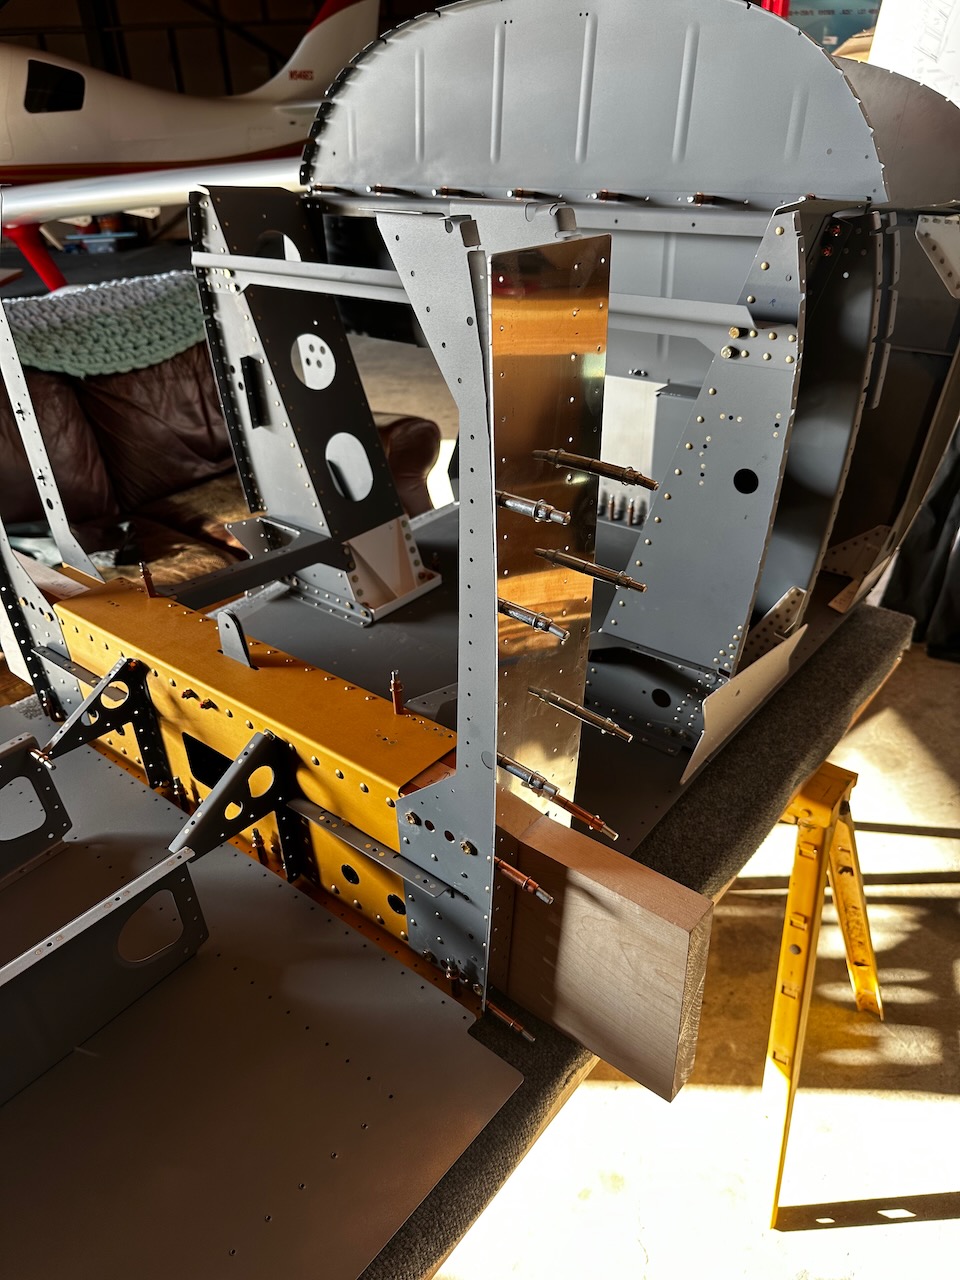
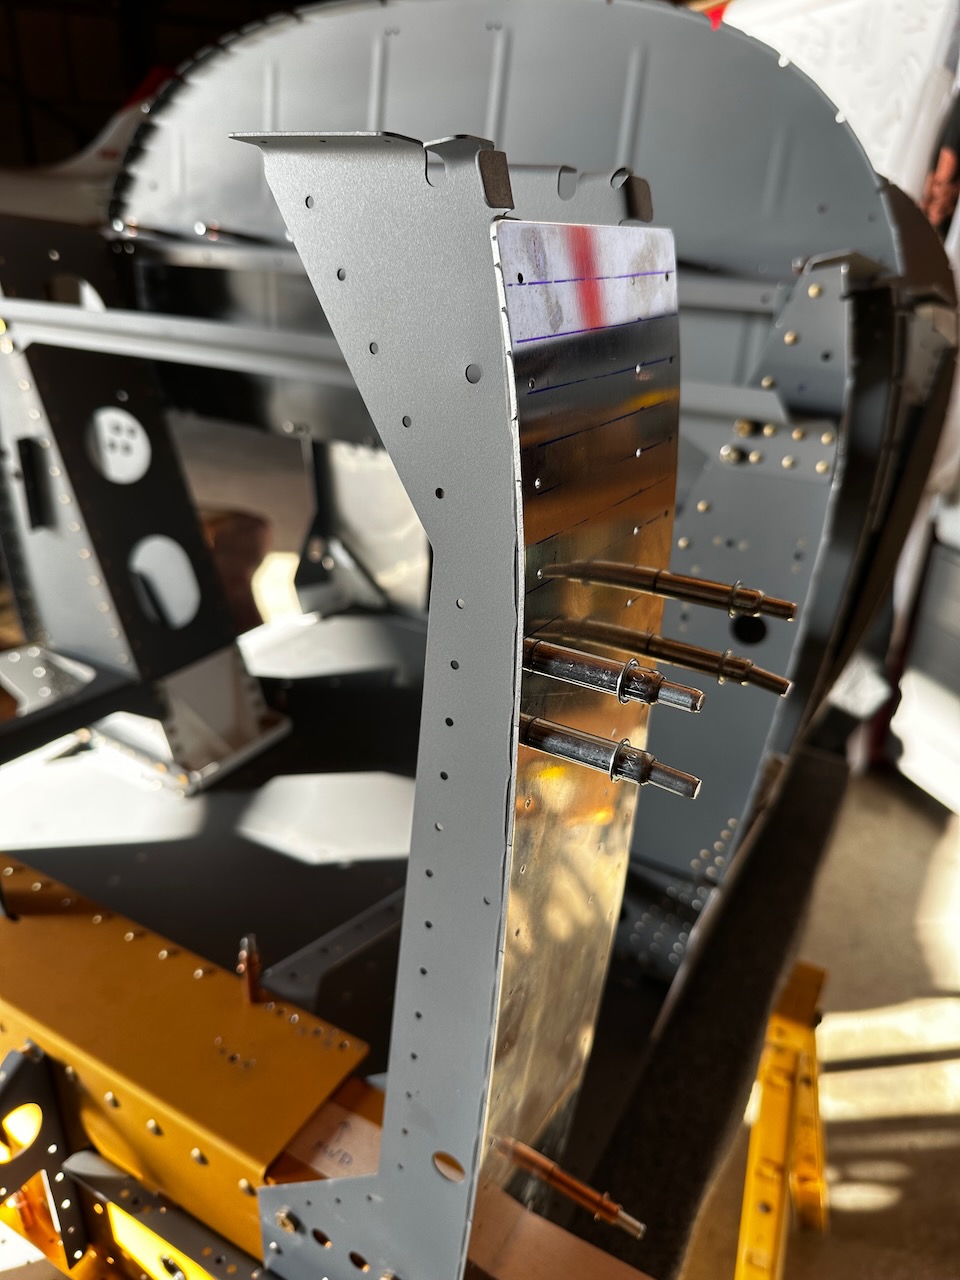
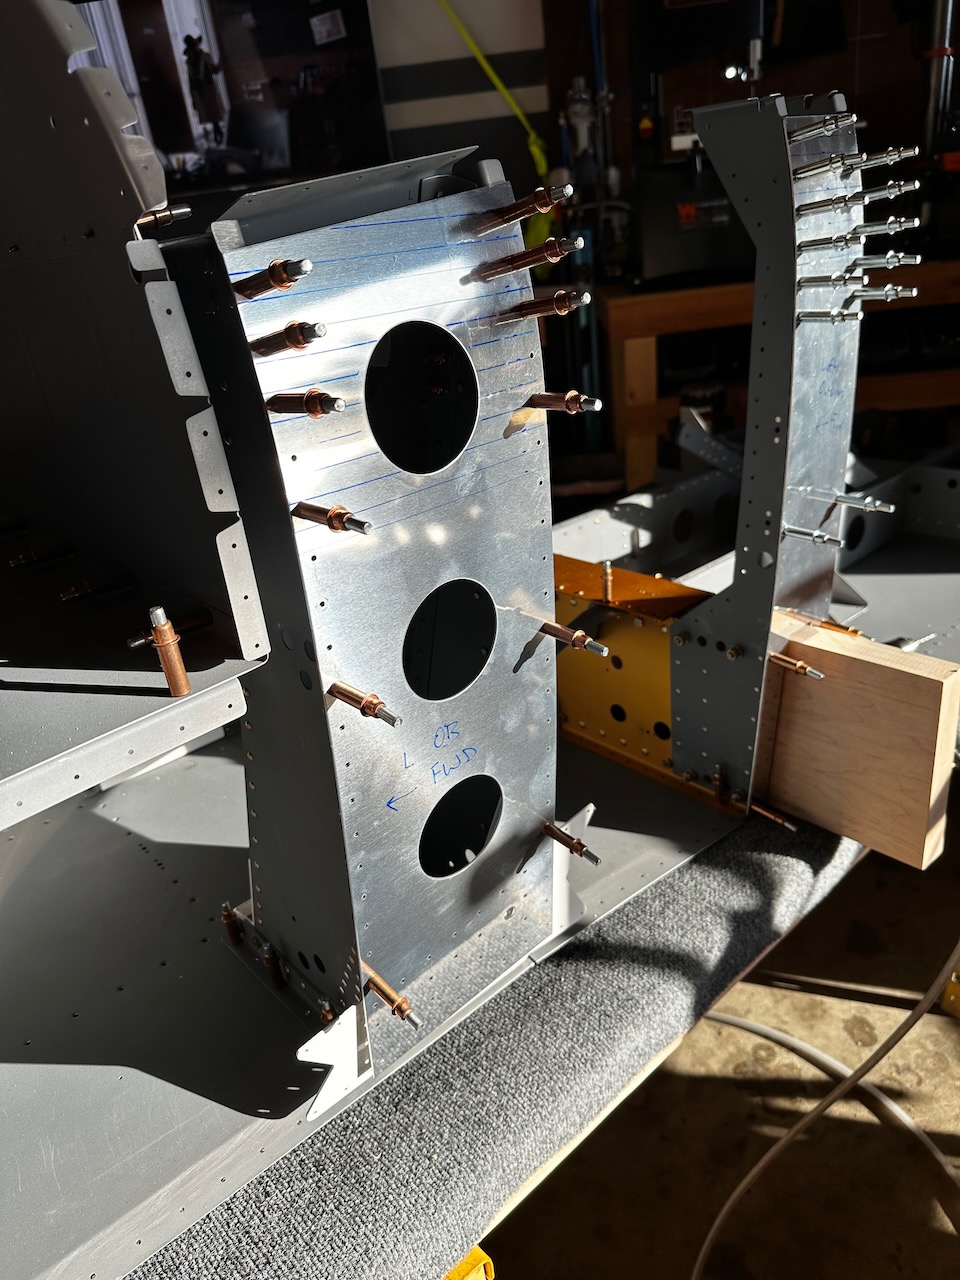
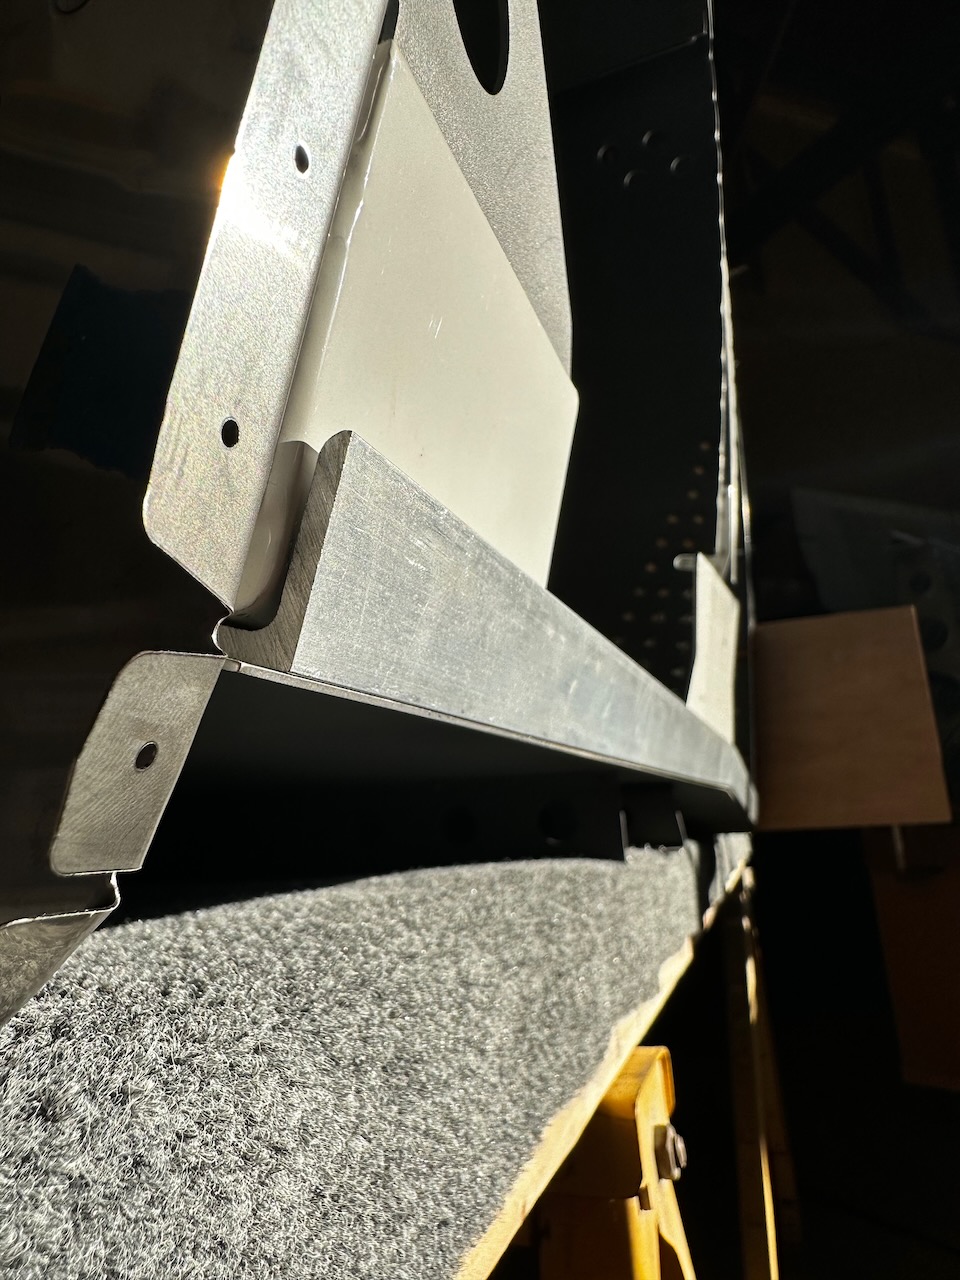
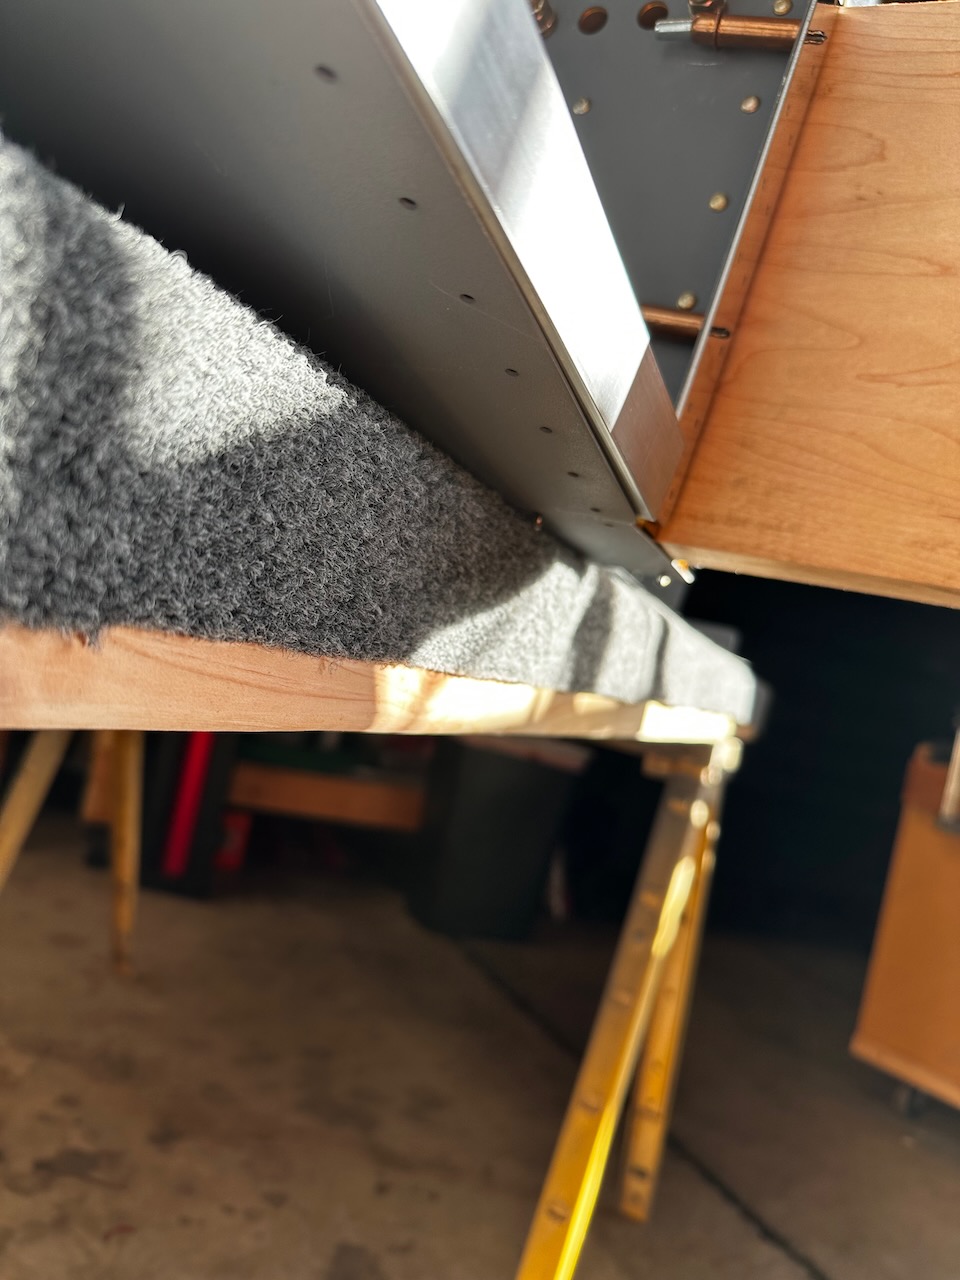
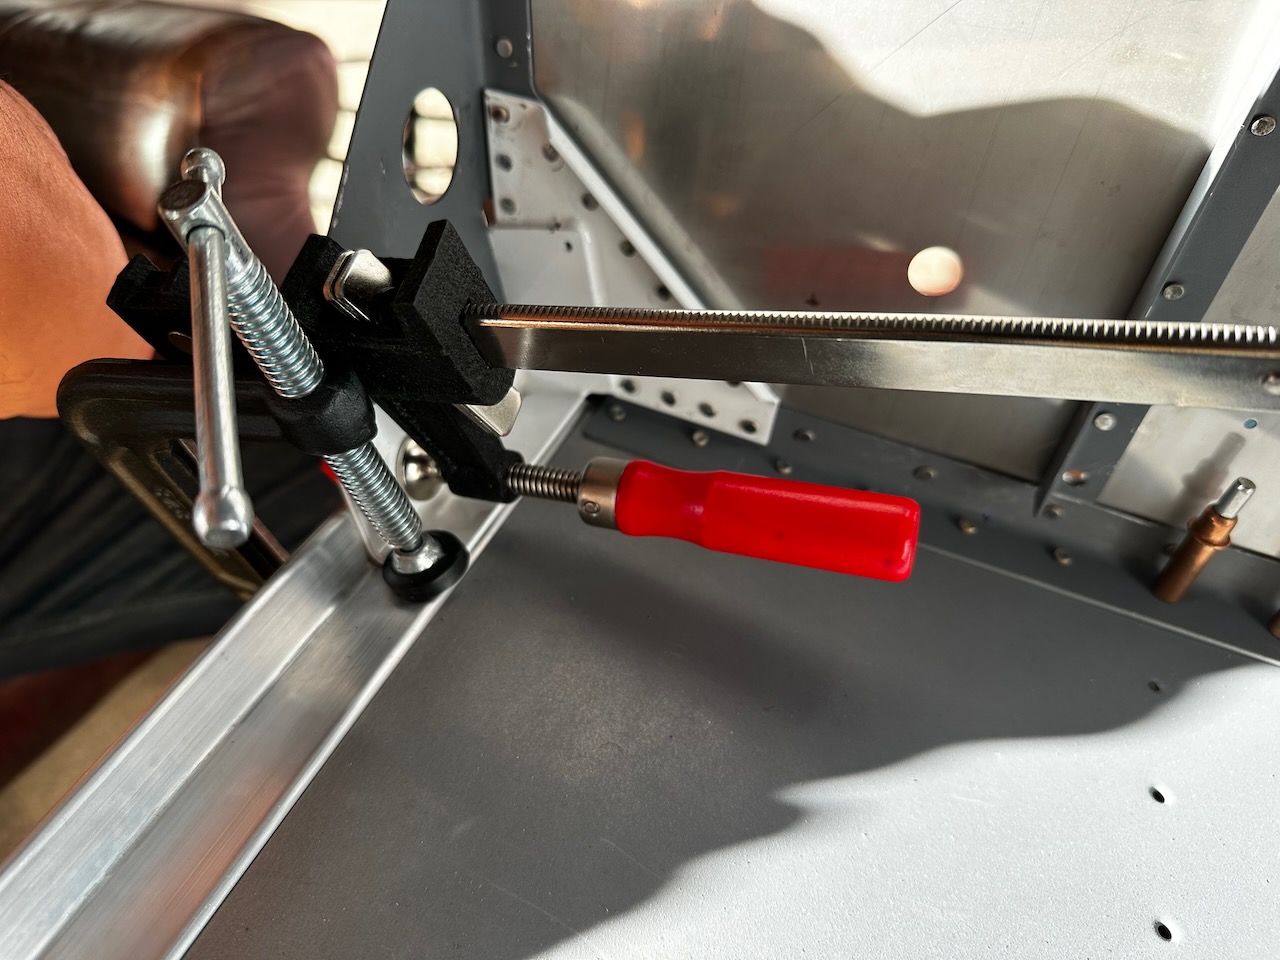
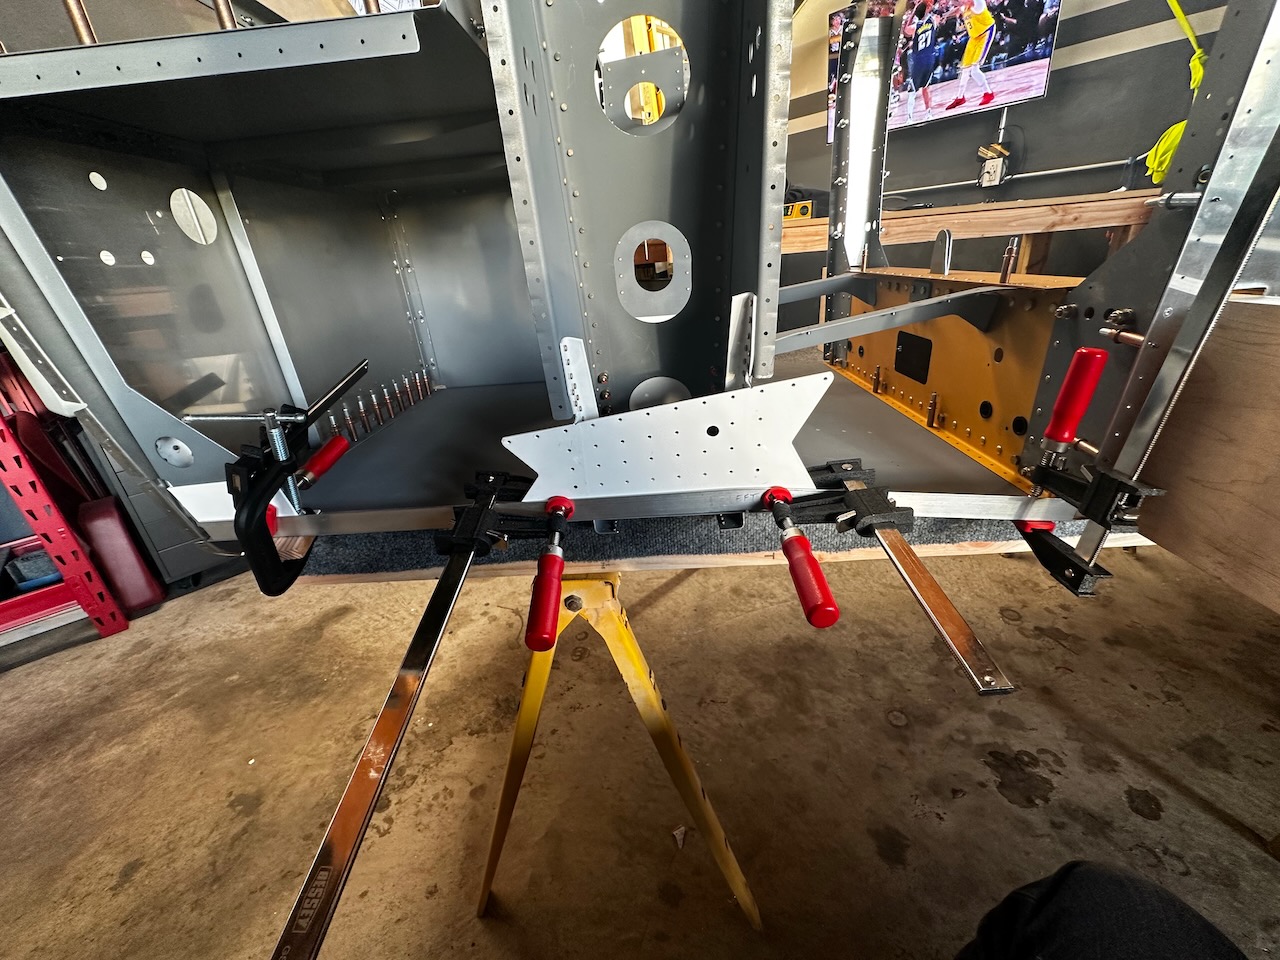
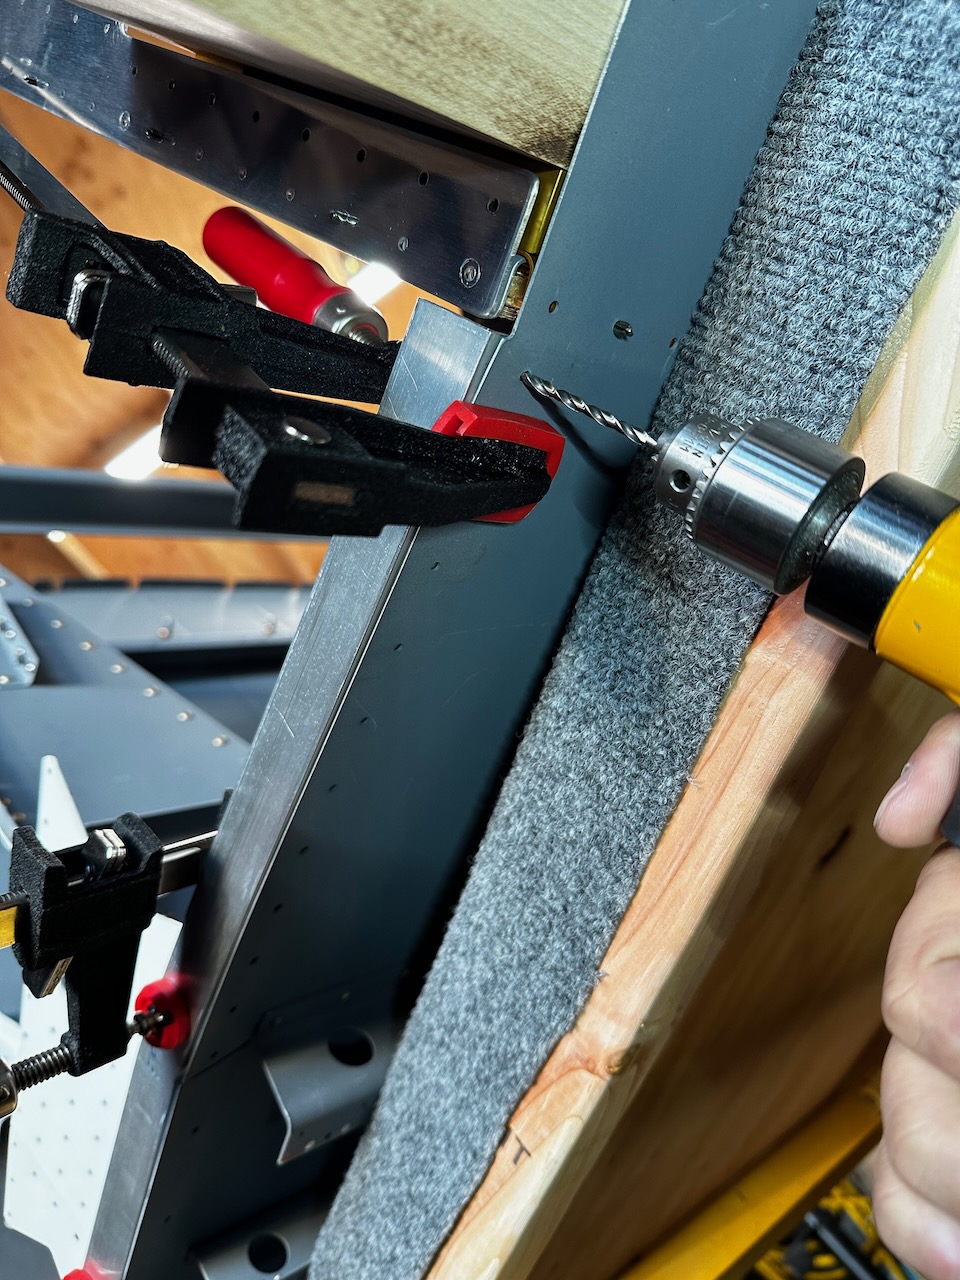
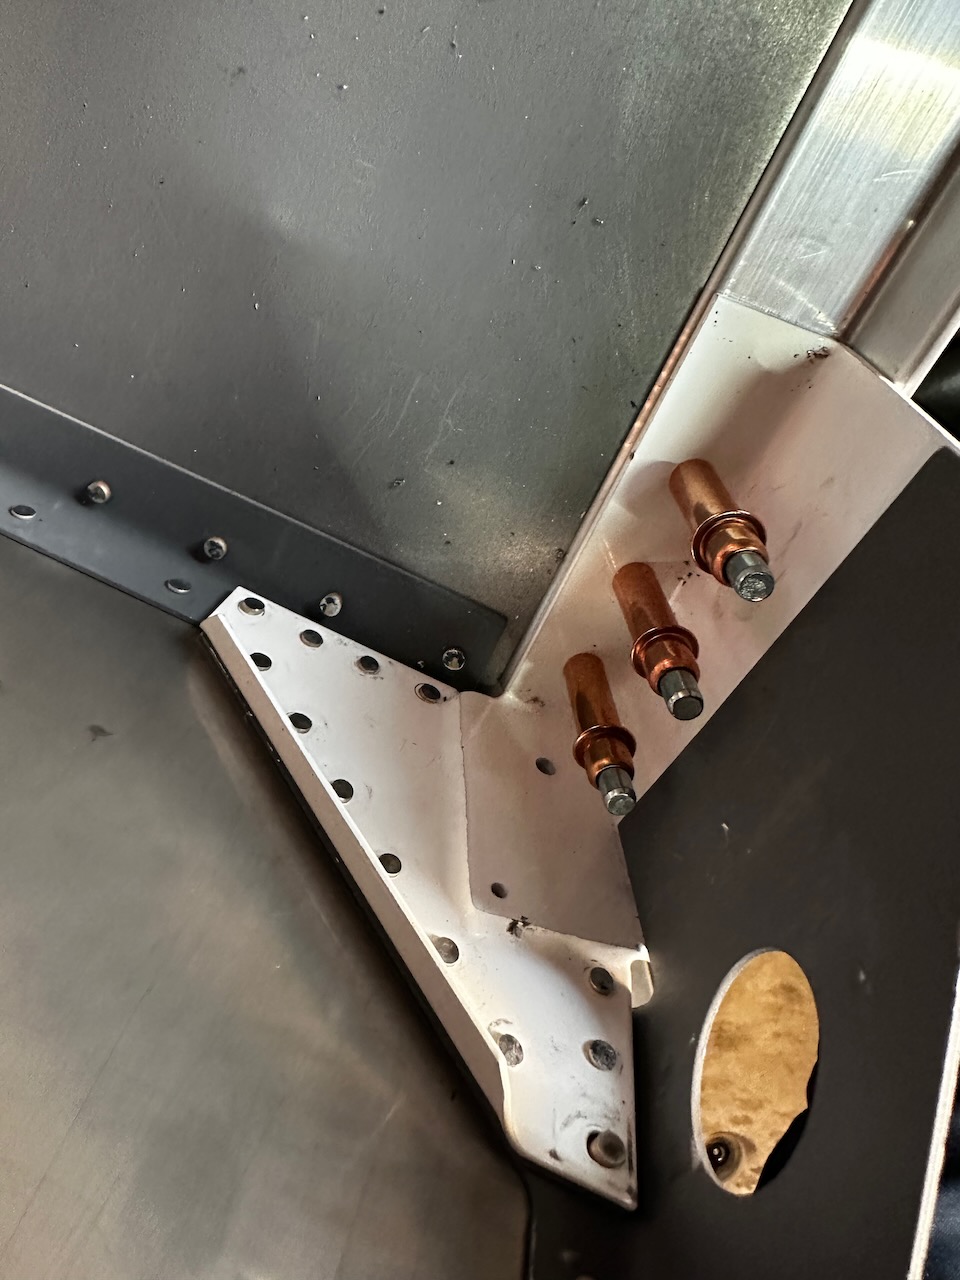
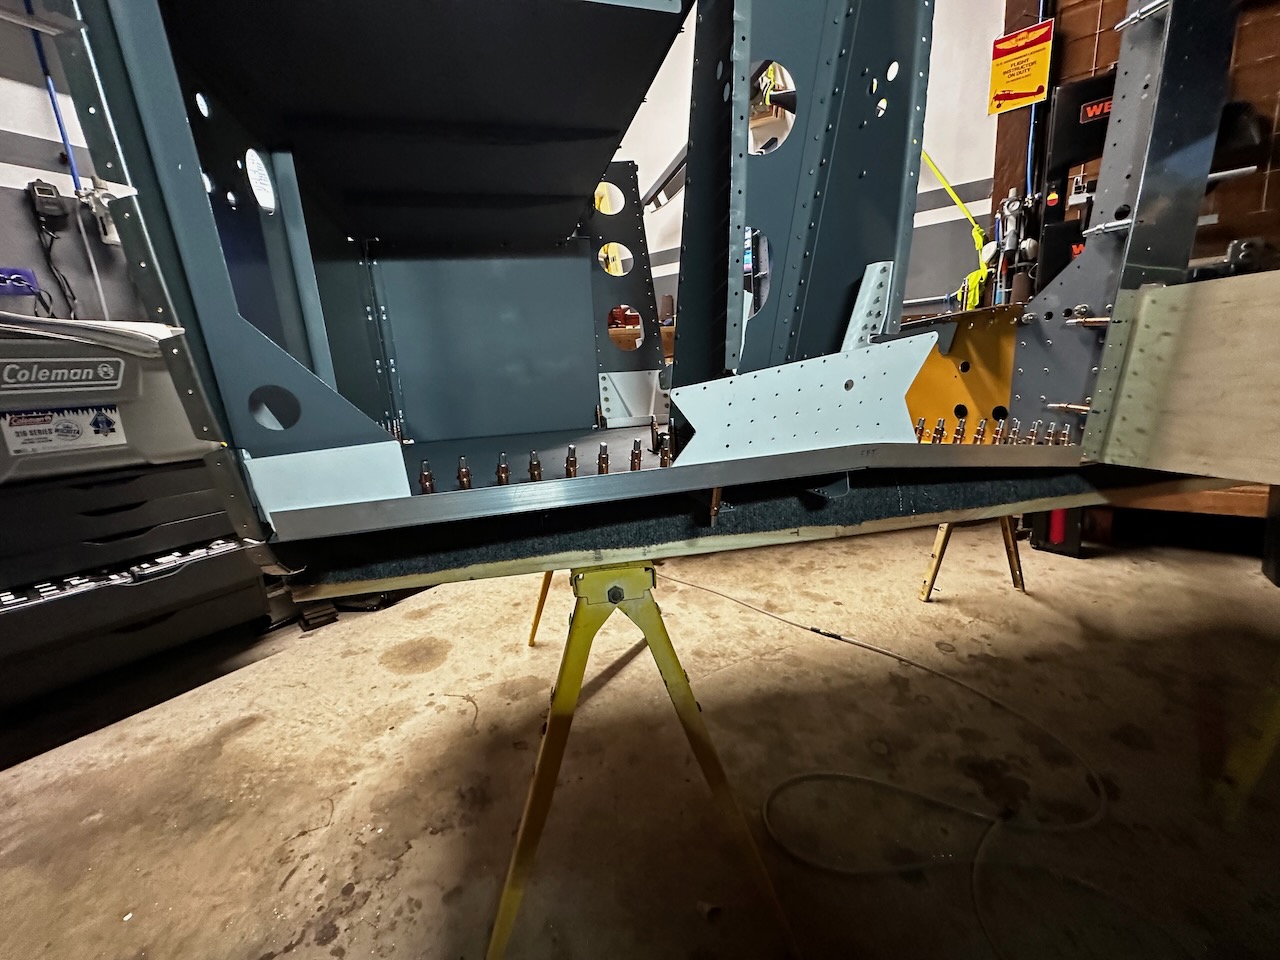
With the longeron bent, I installed the longeron in its place. It was challenging getting it in place but lots of clamps help! One thing to note. The aft outboard edge of the longeron doesn’t appear to stay flush with the fwd floor skin, but after inspecting the plans closely, and reading some posts, it is expected that the longeron sticks out a bit further. It will be radiused as well, so I felt good about it’s final placement. With everything clamped down, it was match drill and cleco! Pay attention to the angle of the skins as it is different in each area so drilling perpendicular was a challenge.
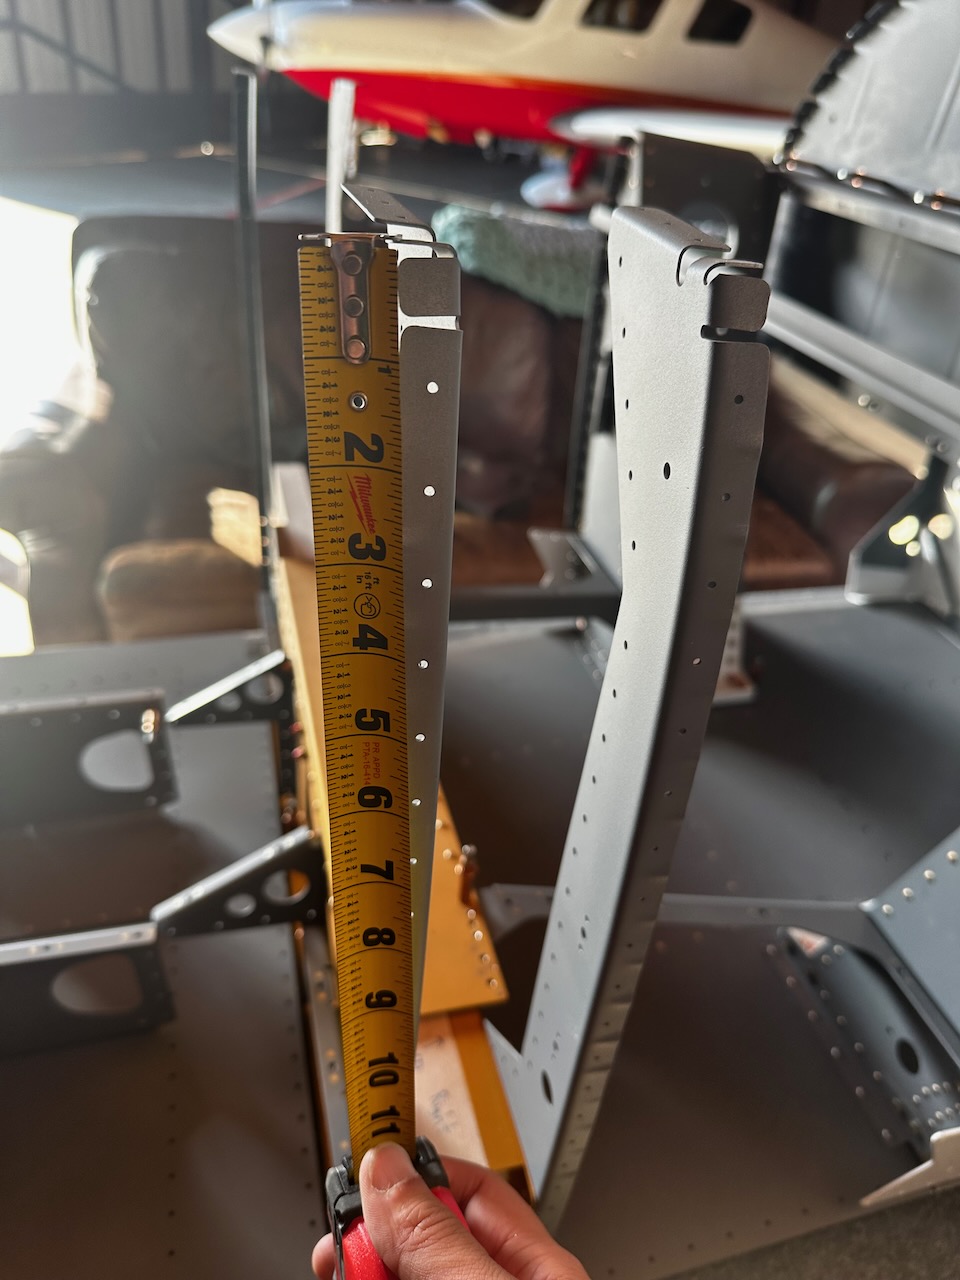
nice flush fit in the front…
…but note the misalignment in the aft
instructions imply that’s ok.
it ended up being out by approximately 0.07″ which jives with other builder posts
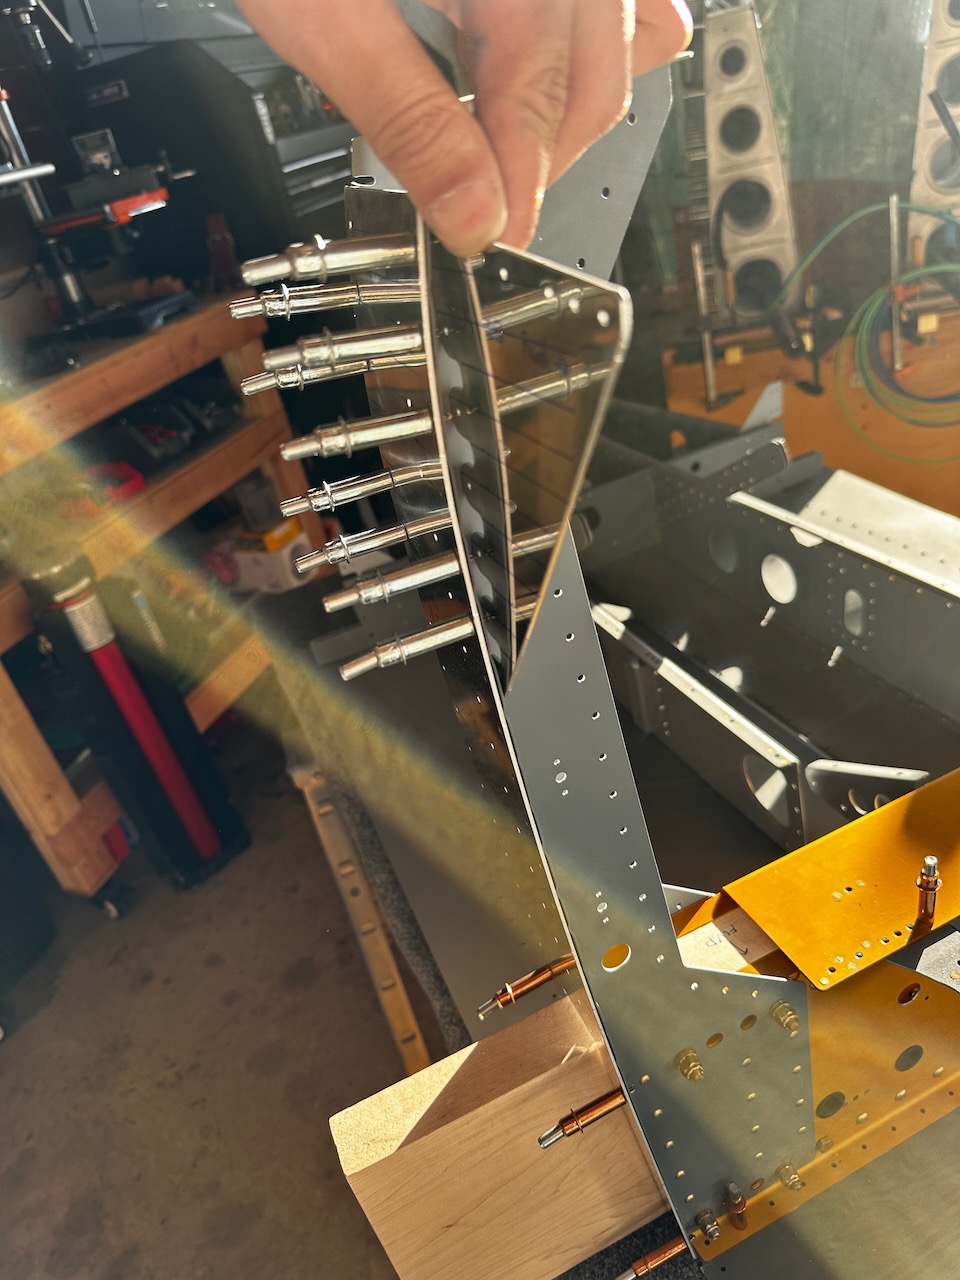
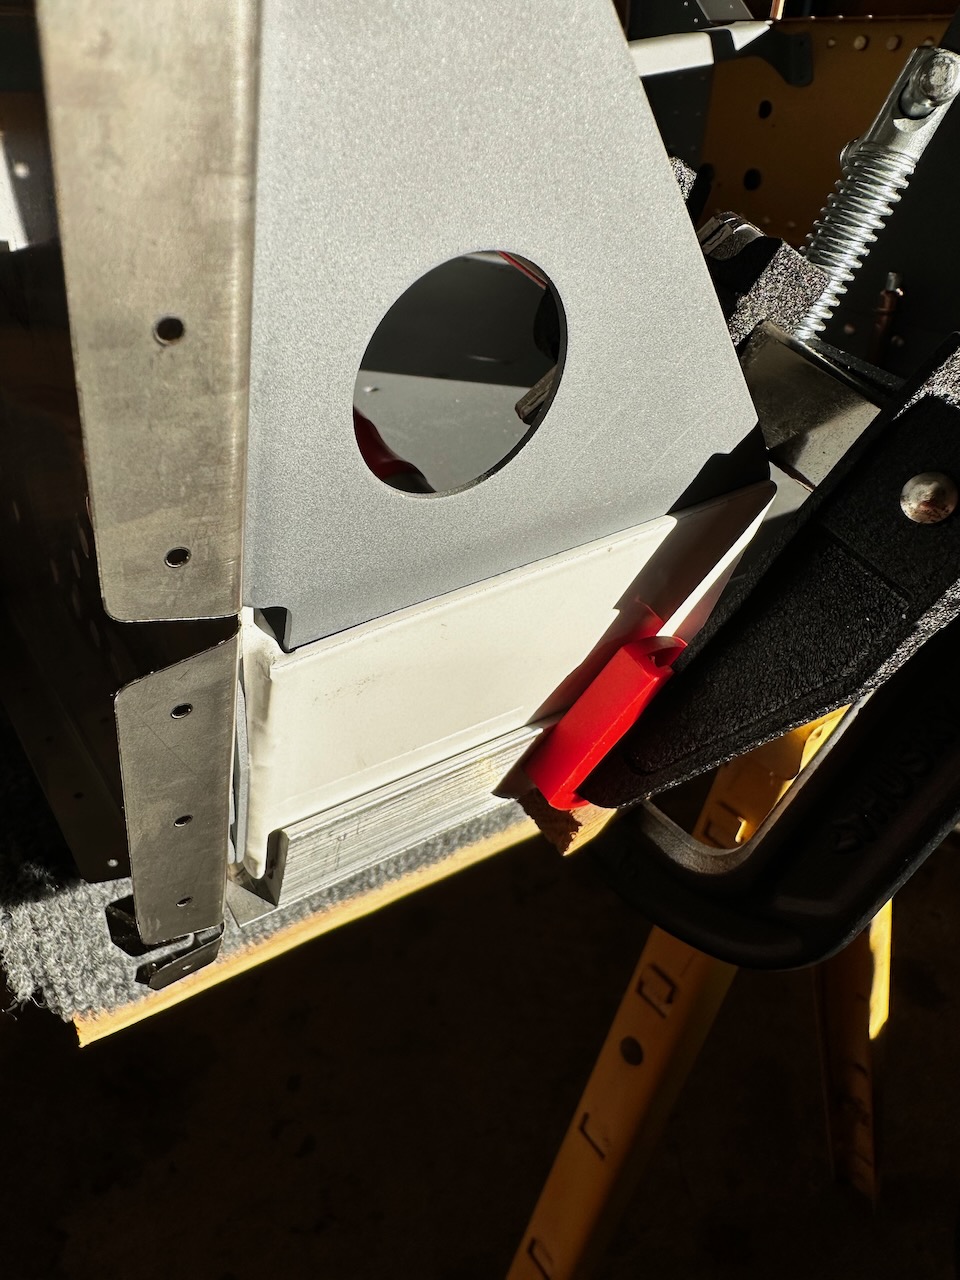
clamps…
clamps…
…and more clamps!
Time to drill… scary, but just gotta SEND IT!
fwd holes drilled out for AN3 bolts
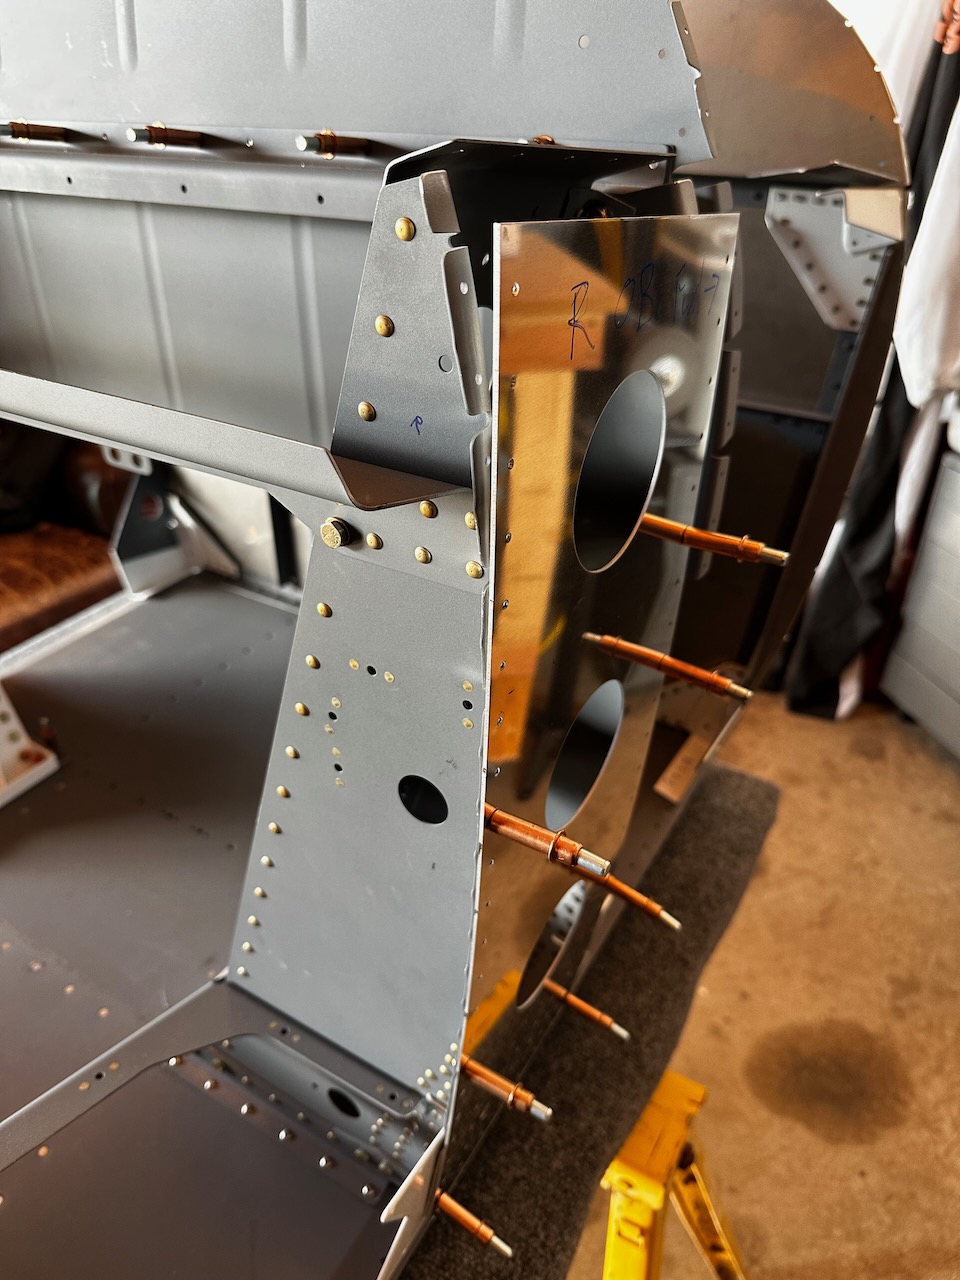
cleco as you go to keep things aligned.
aft view of the completed clecos
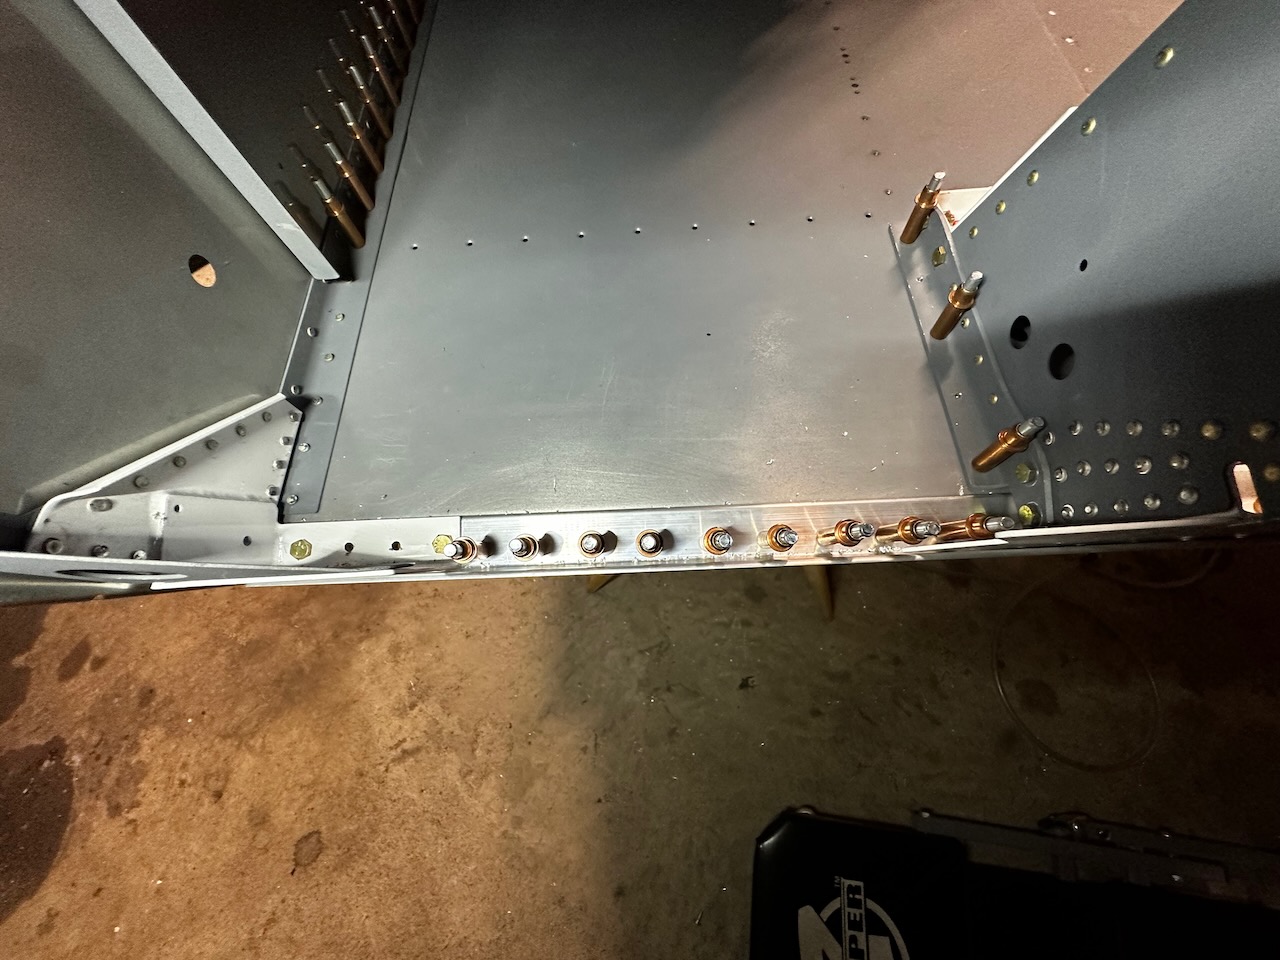
clamps gone, and longeron in!!
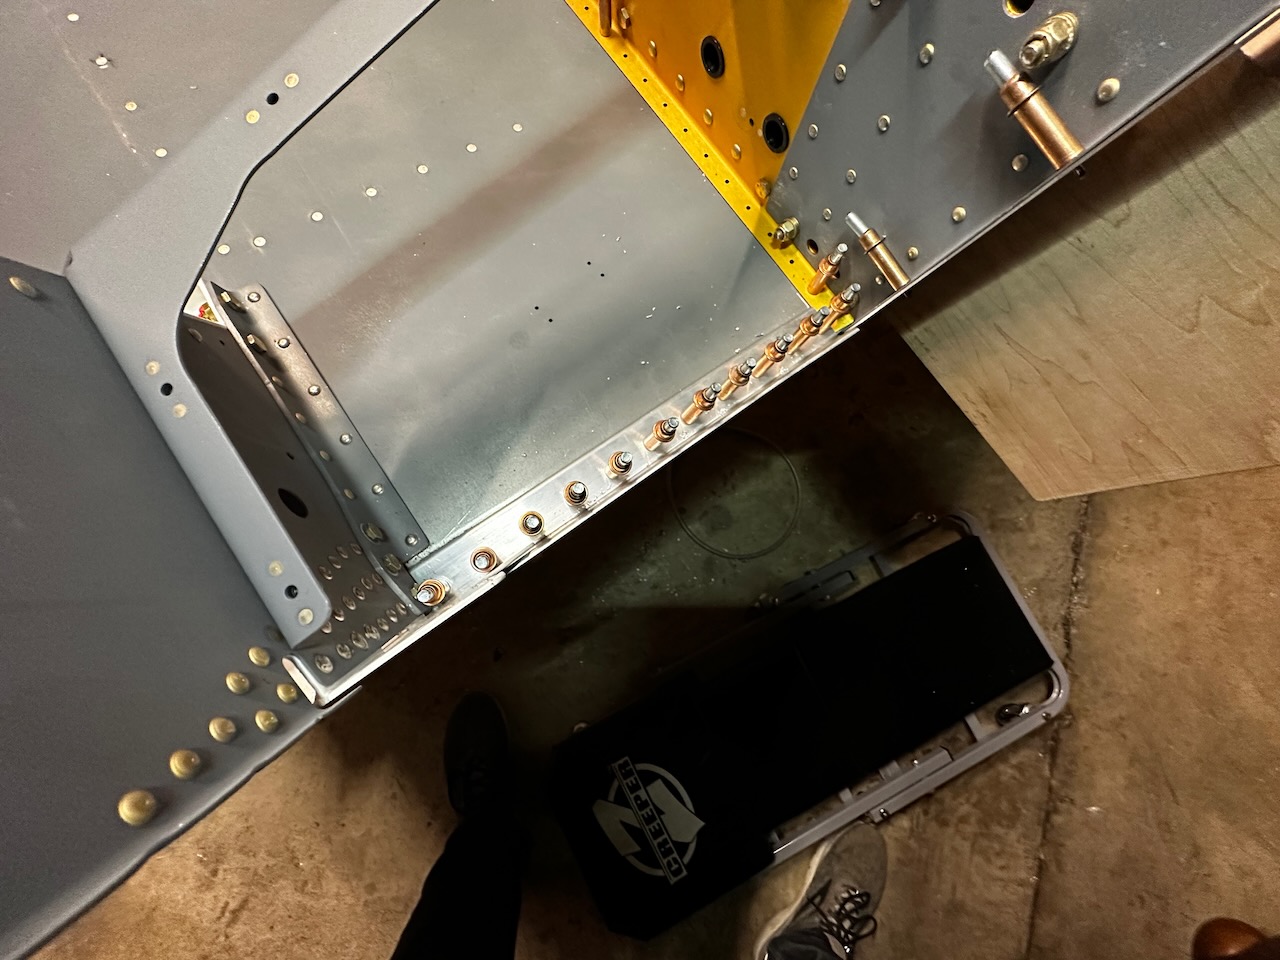
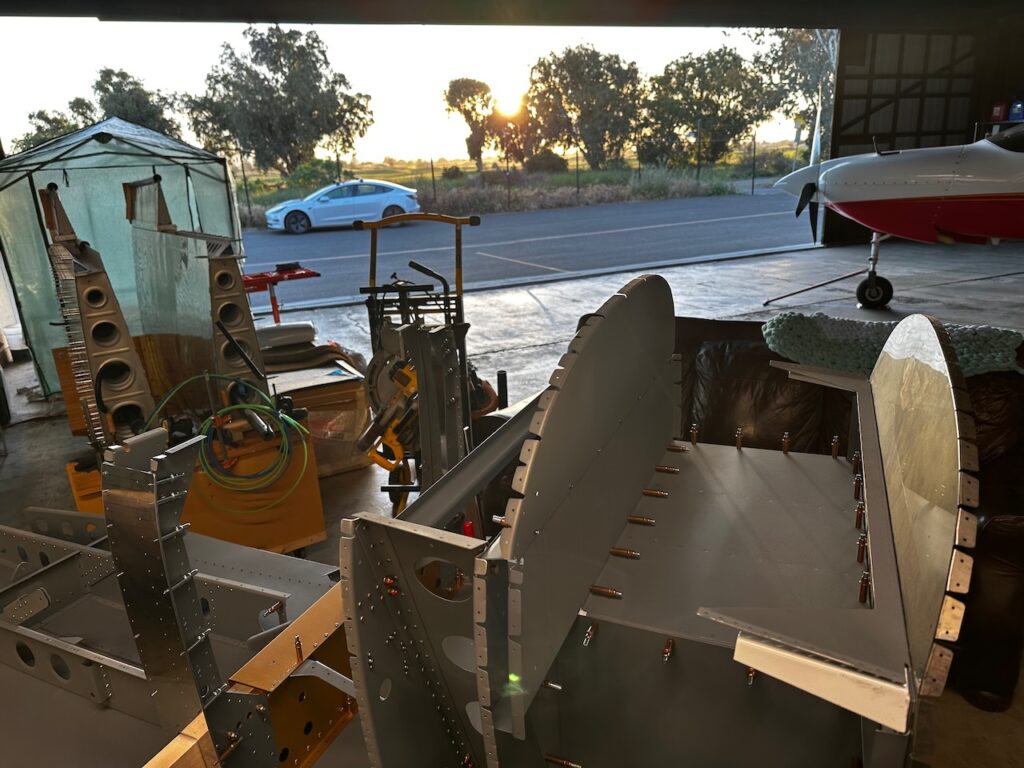
Although a bit stressful, it turned out the longeron step is just another step. Take your time and fit multiple times until you feel good about how it looks. Then go for it! Next up, I have to do the right side, and then add some additional longerons further up the structure. Until then, I leave you with a nice evening sunset from the hangar…never gets old! oh… and happy building!


1 comment
Great progress