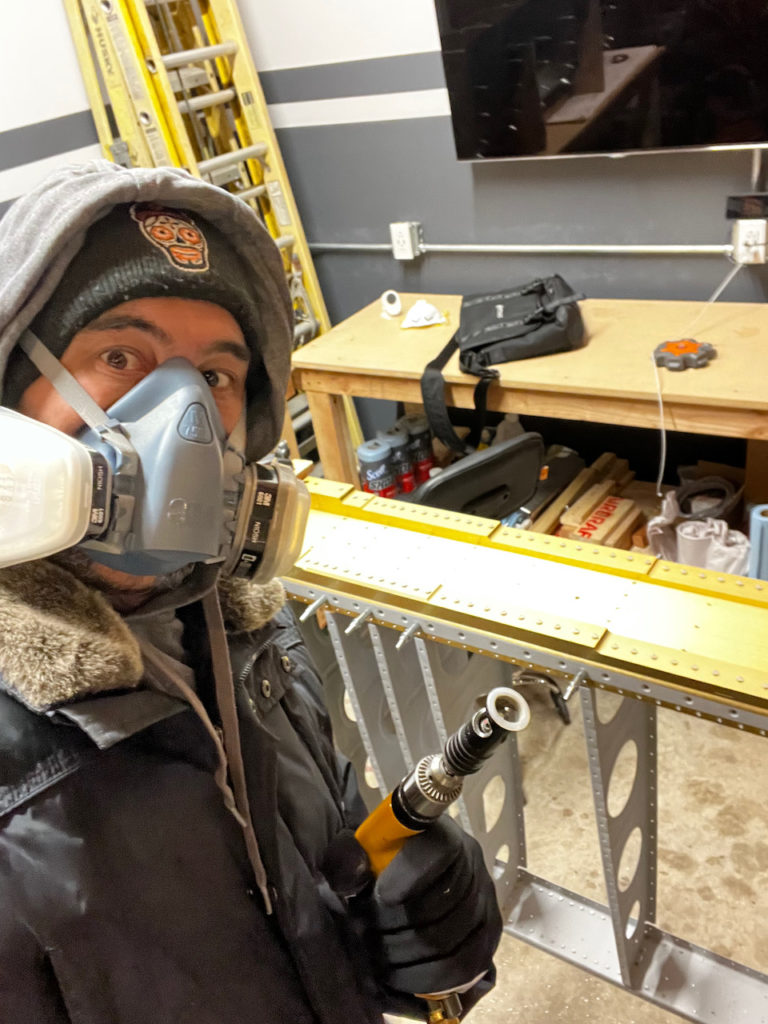
Over three and a half sessions spread across the last few days, I was able to get through the main spar countersinking. Whew…this was quite a repetitive task! But it’s nothing a good audio book, and a great air drill can’t tackle given enough time. Nothing major to report here except for the fun air compressor blow out during an early morning session. See below for more pictures and videos.
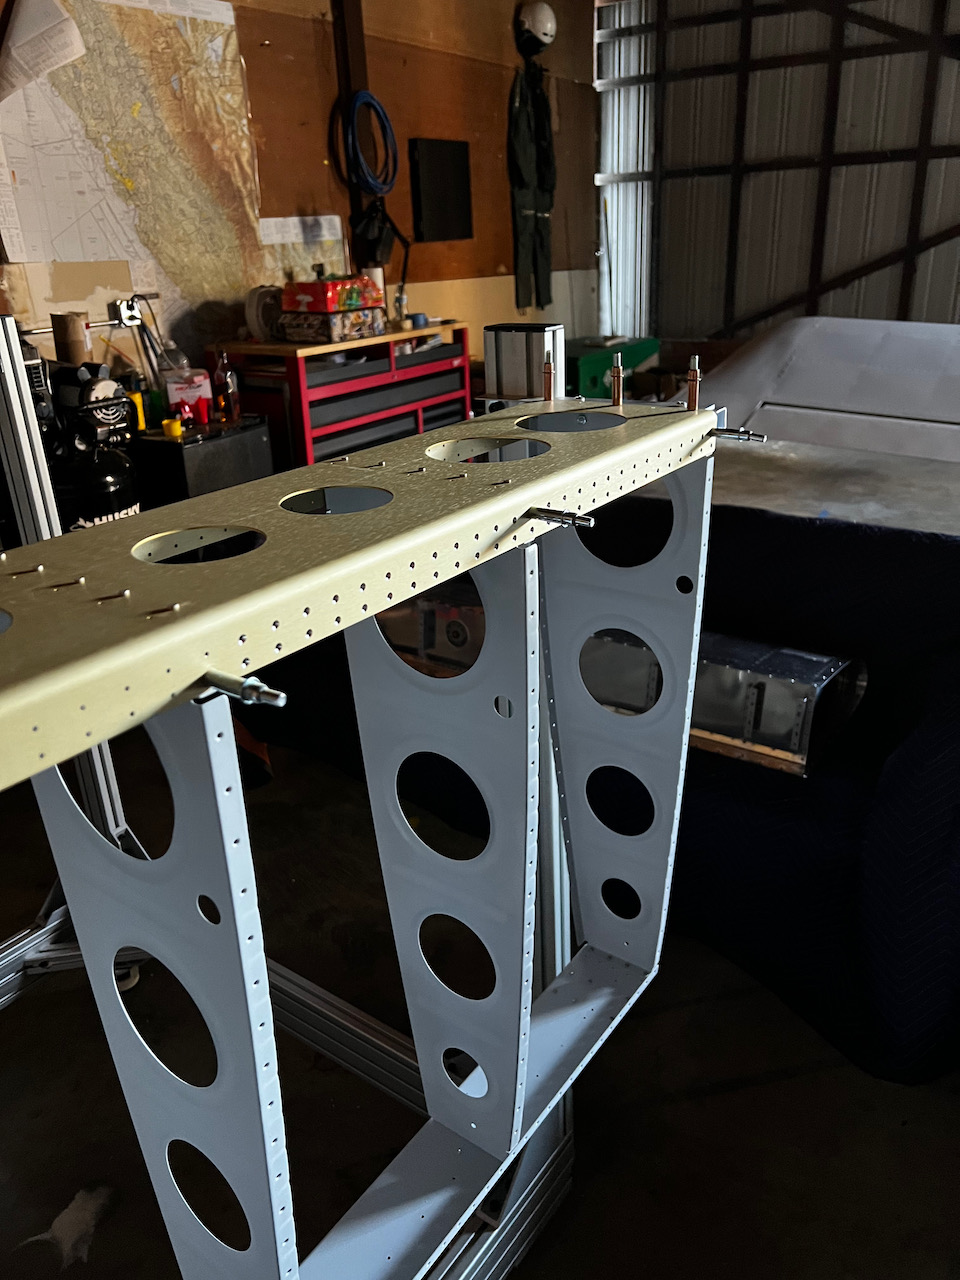
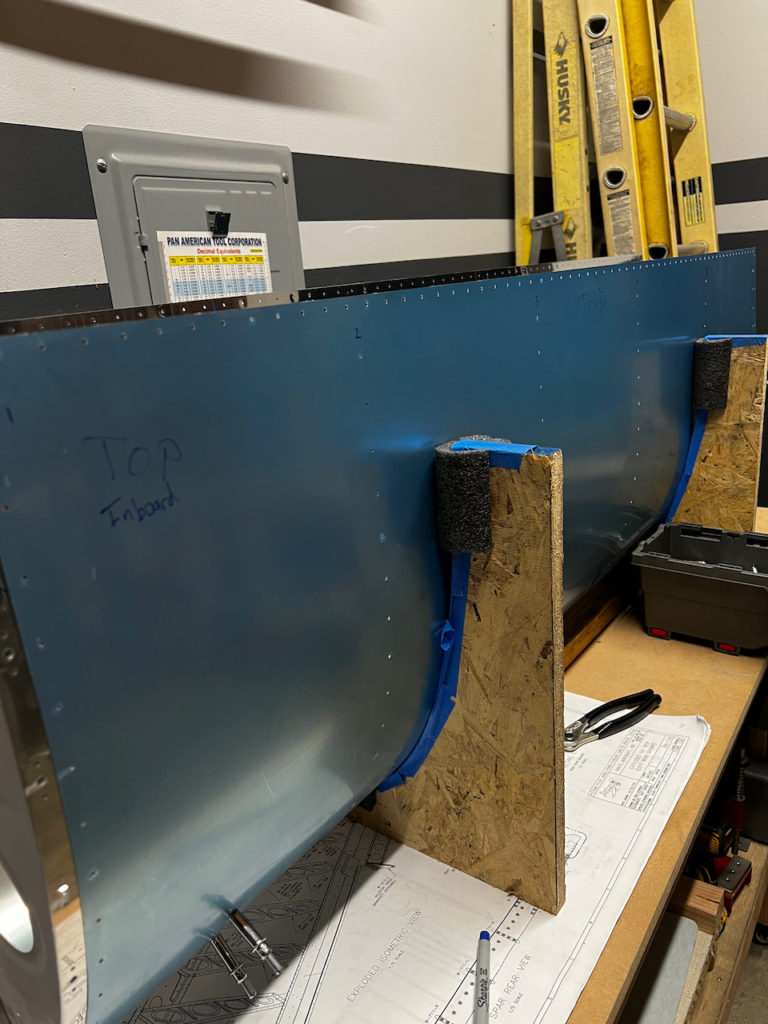
All the countersinking is done!
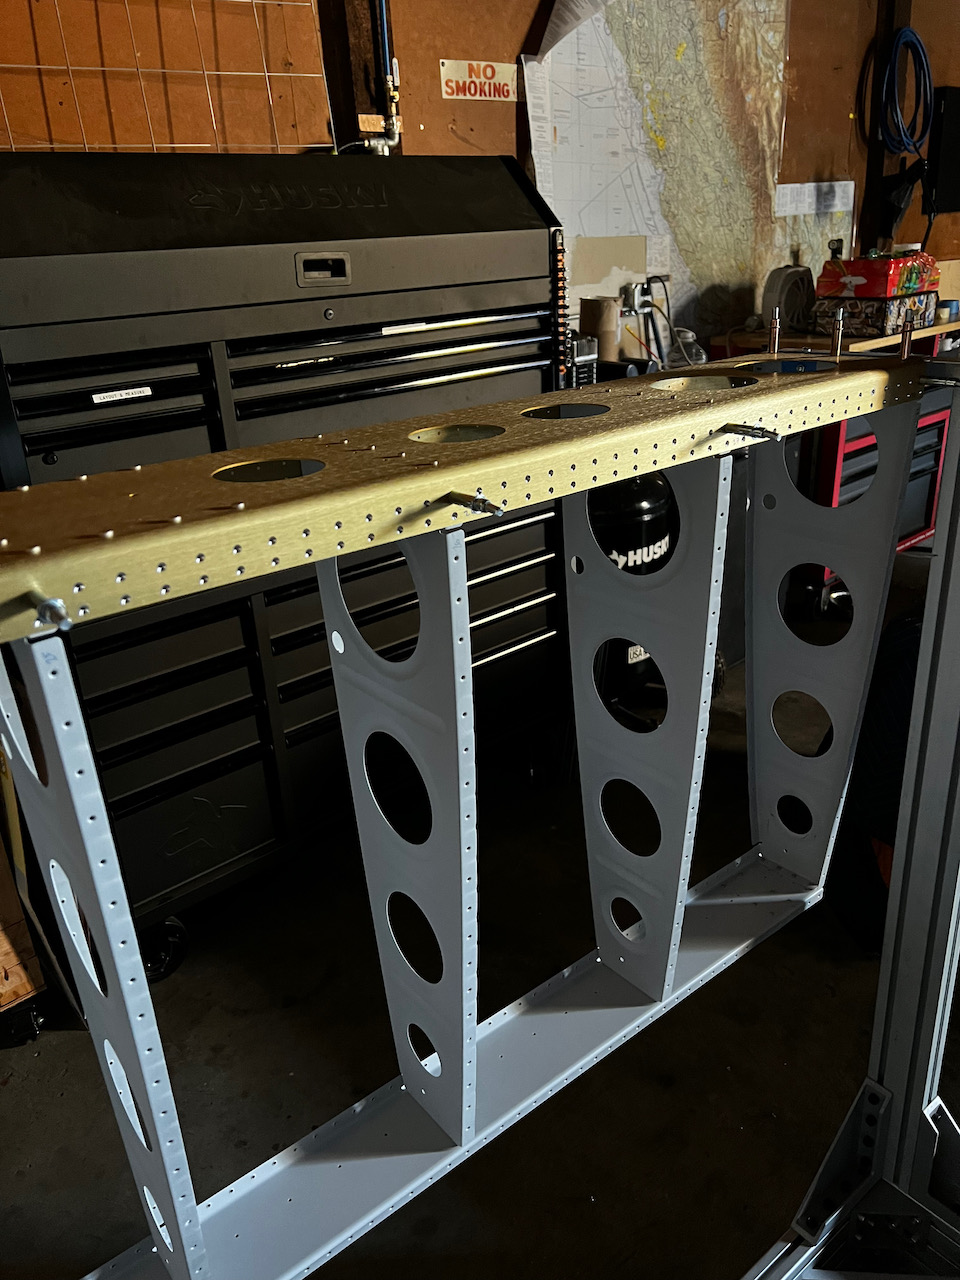
different view, same countersinking
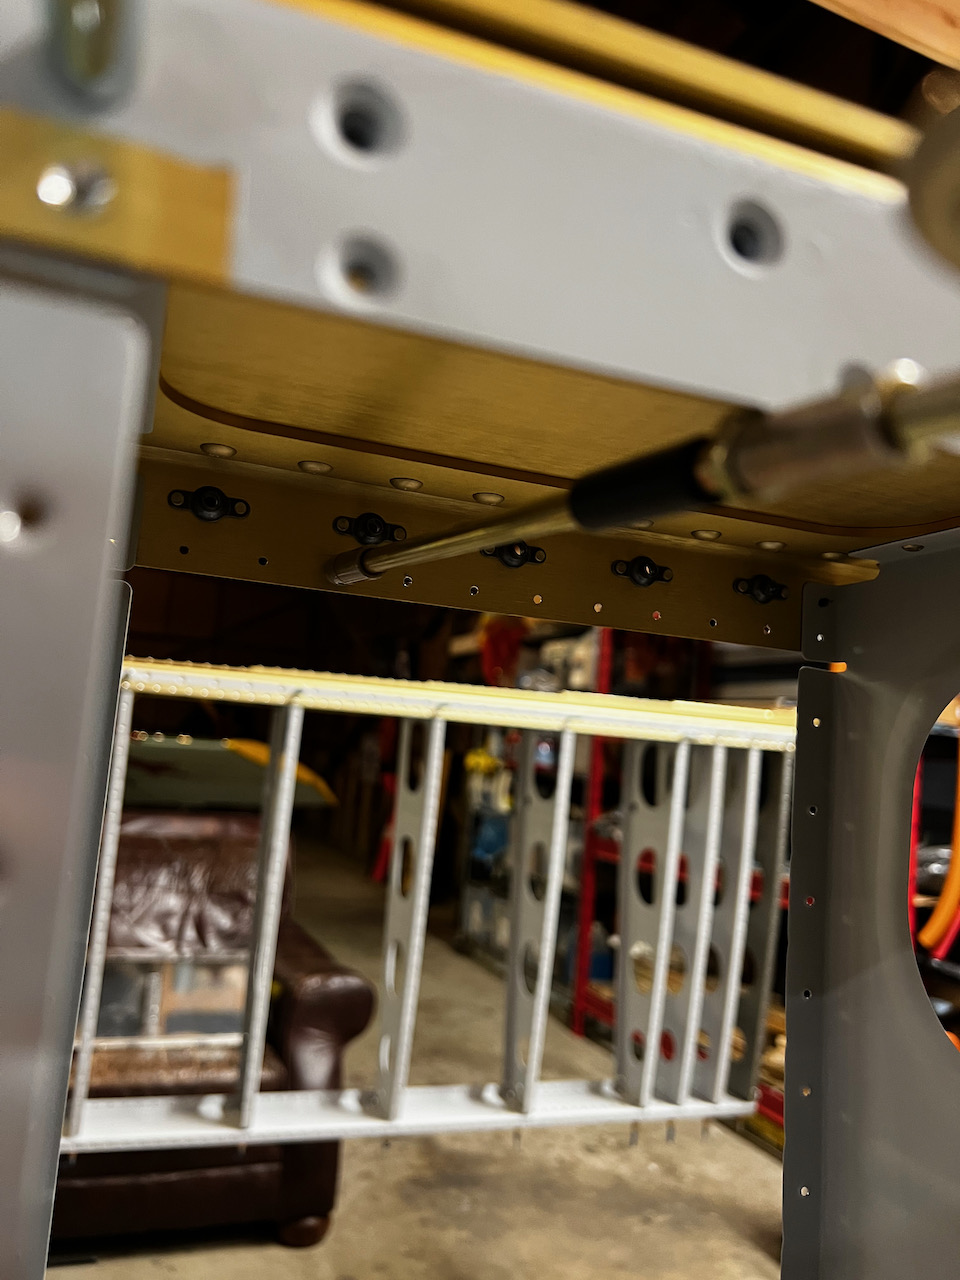
deburing the underside
and in between all the ribs
Once that was done, I disassembled the leading edges, deburred what needed deburring, and then started going through the skins to deburr as well. I only got through the wing walk doublers inner skins before it was time to call it a night. More deburring to come over the next few sessions.
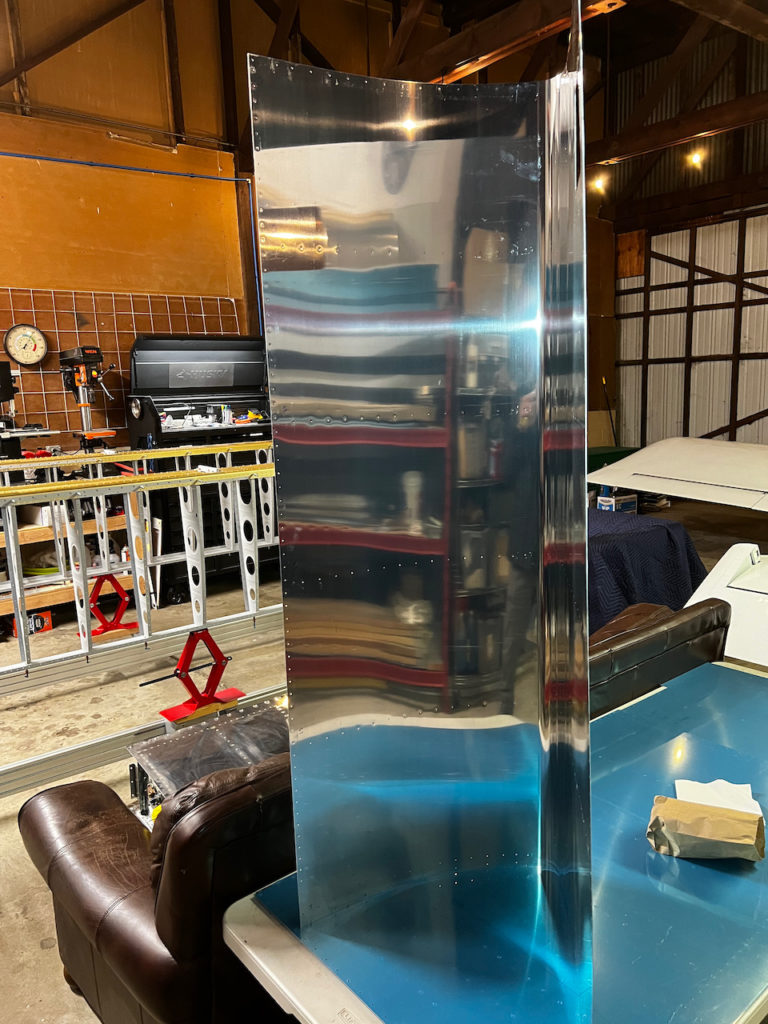
leading edge disassembly
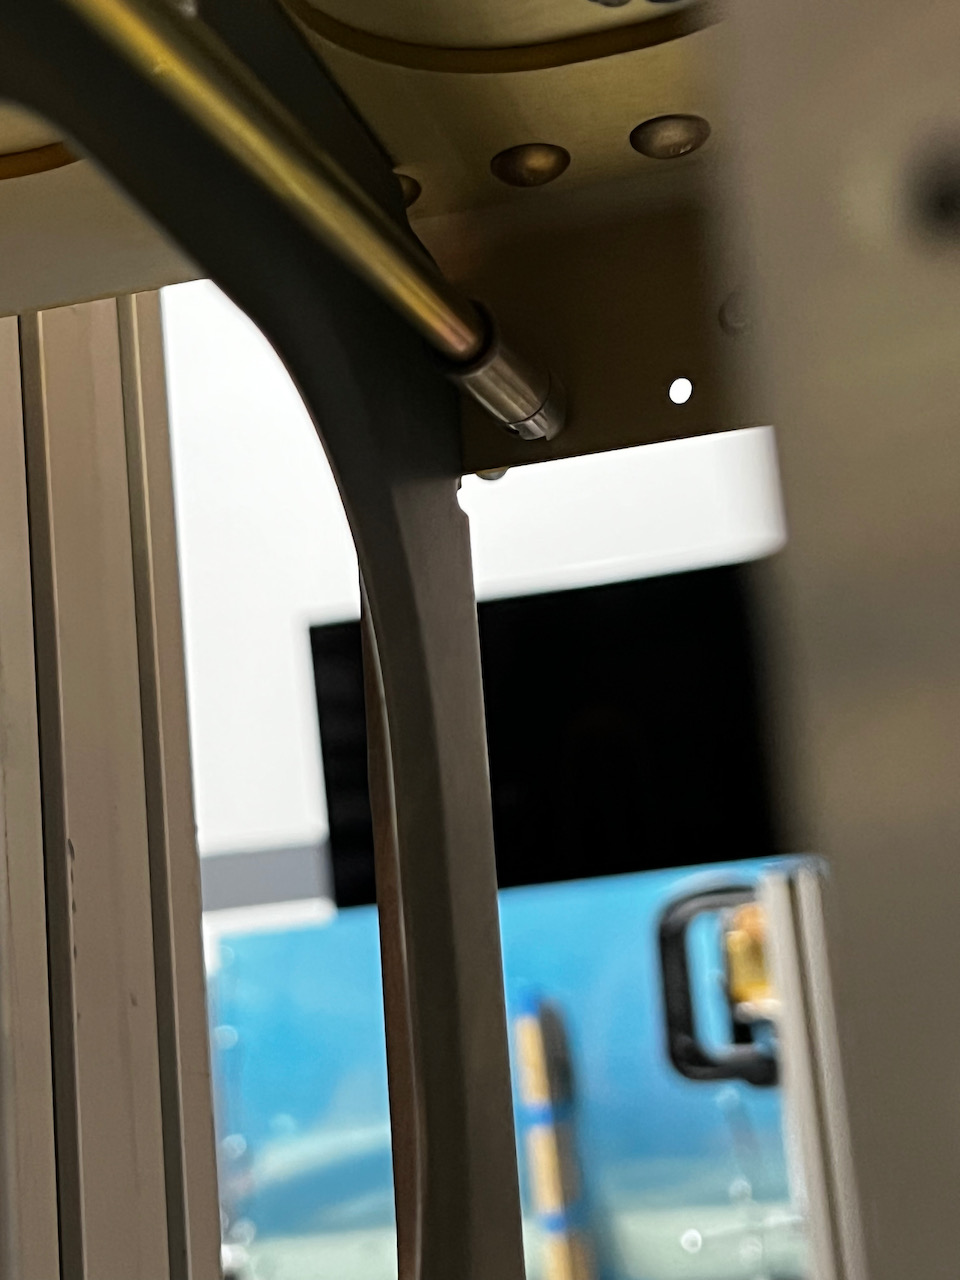
deburring the holes along the leading edge that were previously drilled out.
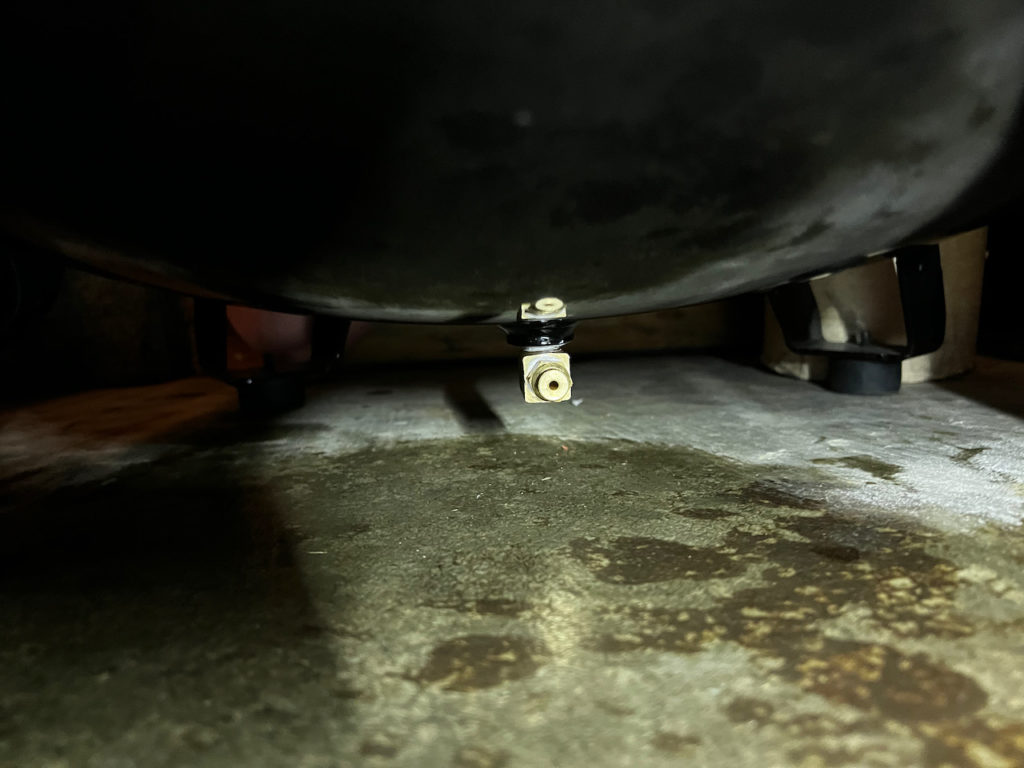
An annoying, but easily remedied situation was a blown air compressor release tube. A quick repair and it was ready to go! Next up, I will continue to debur and prep the skins for priming. Maybe prime this weekend? We’ll see…but until then, Happy Building!
luckily, I had my old release valve in the tool box!
Hi..just getting my tools ready for a RV8 build. So, your blog is great! Would you advise getting more than one microstop tool for the various bit sizes, so you can have them pre loaded? Thank you!
Hey Adrian,
I actually have two microstops, but so far have only used one of them. I would make sure to get the Nylon foot one. I also upgraded to the nicer bearing, and so far it has treated me well. I would just get one, and wait until you find a need to have two before getting it.
4 comments
It seems you hit a lot of less challenging but needed work. I admire your consistency…. Good work
Hi..just getting my tools ready for a RV8 build. So, your blog is great! Would you advise getting more than one microstop tool for the various bit sizes, so you can have them pre loaded? Thank you!
Hey Adrian,
I actually have two microstops, but so far have only used one of them. I would make sure to get the Nylon foot one. I also upgraded to the nicer bearing, and so far it has treated me well. I would just get one, and wait until you find a need to have two before getting it.
Thanks for the reply Paolo..