Some weekends are just perfectly designed, executed and enjoyed! This weekend was one such weekend for me. Between flights of towing gliders, teaching my boys, and an advanced checkout lesson in the Bonanza, I got to spend time re-kindling my boy’s love of RC cars down at the local RC track. What a great weekend of aviation and family!
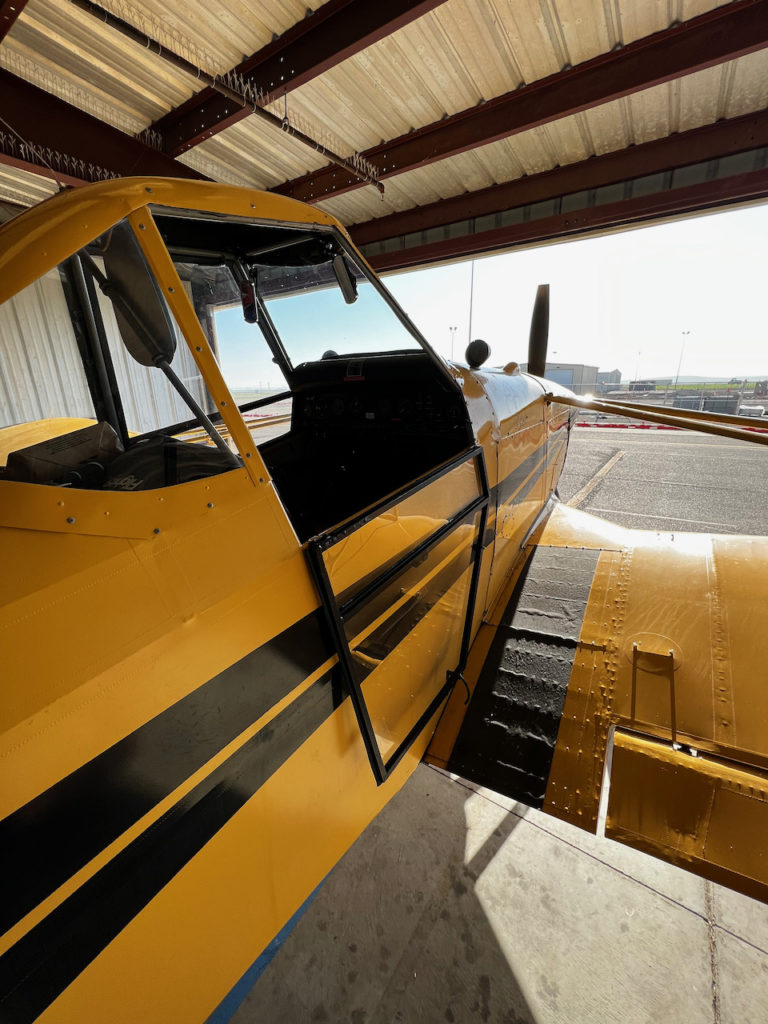
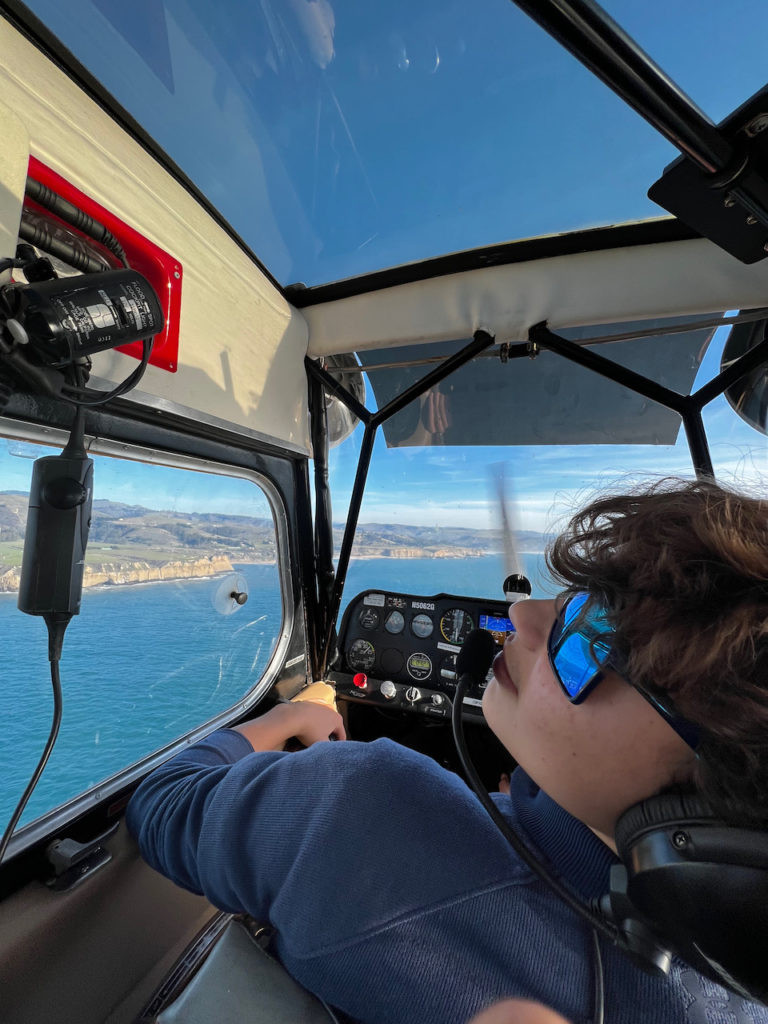
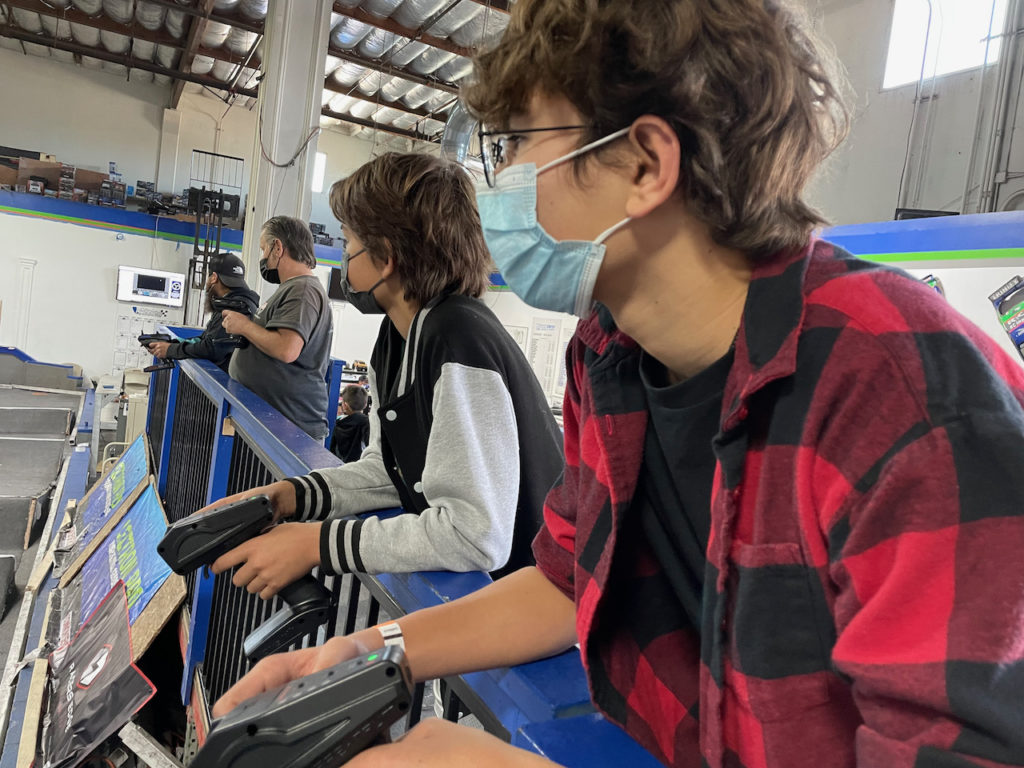
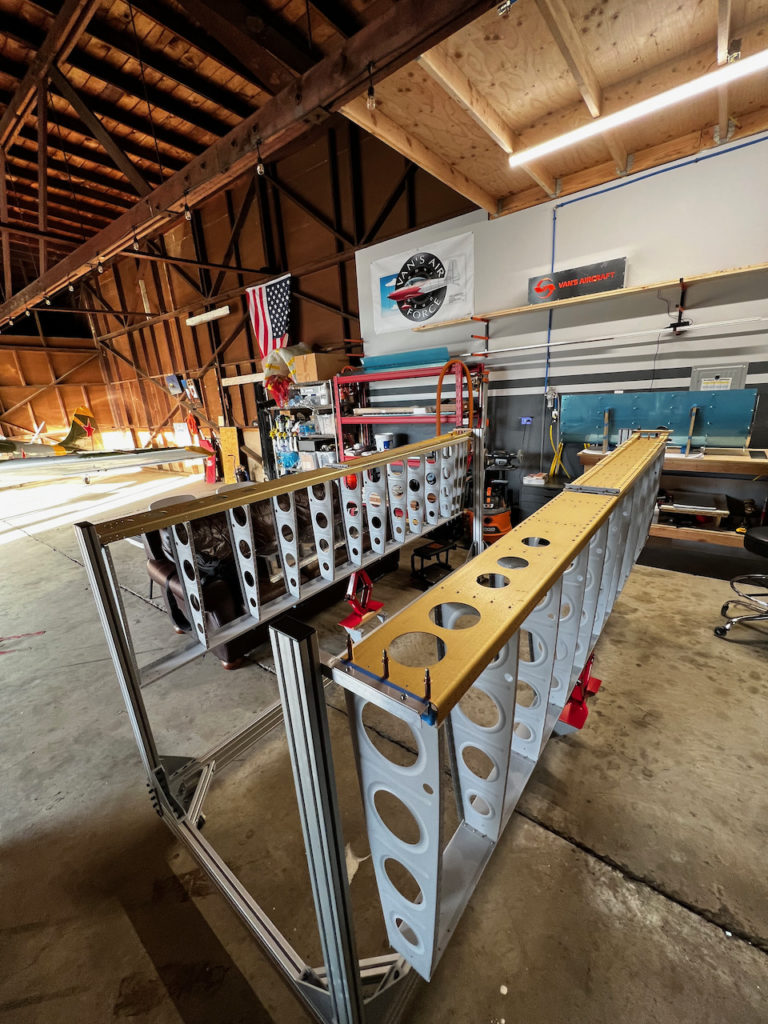
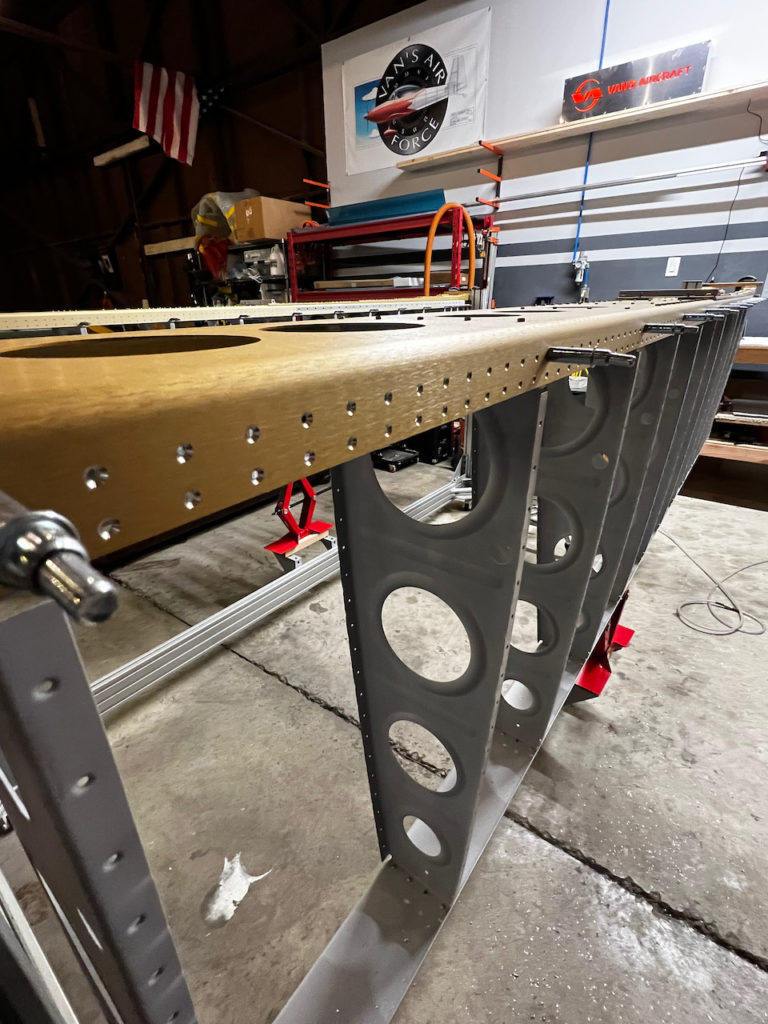
And believe it or not, between all of that I was able to get in 3 different sessions of skin riveting prep. Saturday morning I spent some time removing all the skins from the wing skeletons, and dimpling all the ribs. Sunday I got back to the inboard rib that was backordered, and finally wrapped up prep and riveting of those ribs. And Monday, I became the countersink king with a marathon countersinking session. Read on for details on the progress made!
Saturday Dimpling Session (3.1 hours)
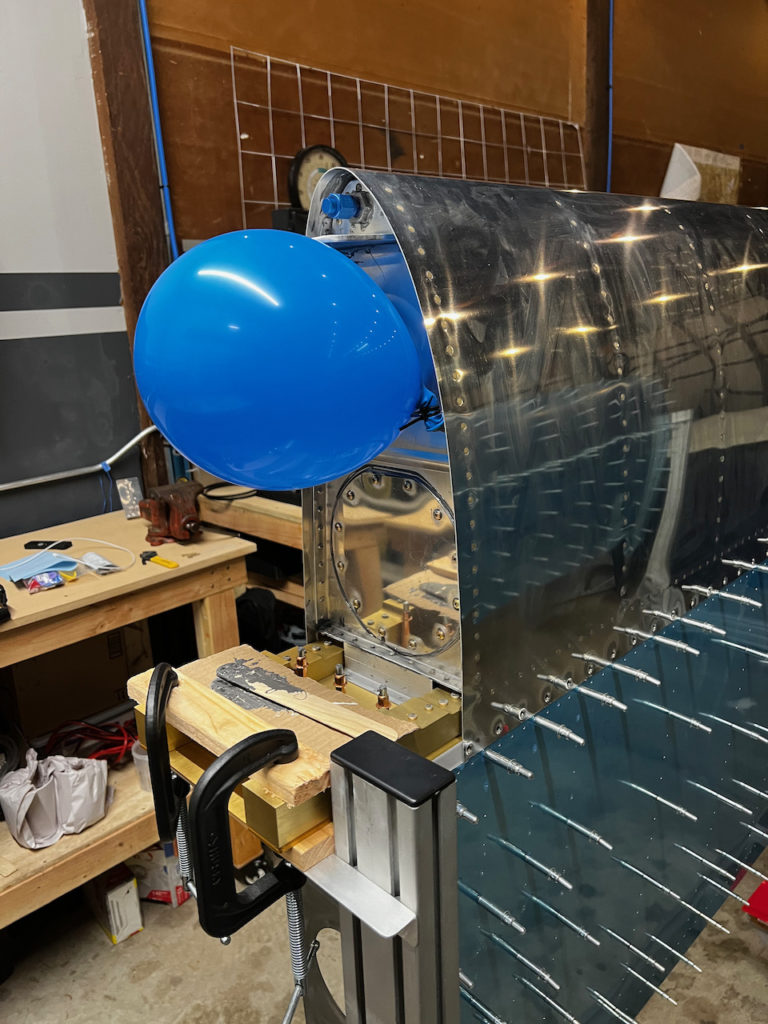
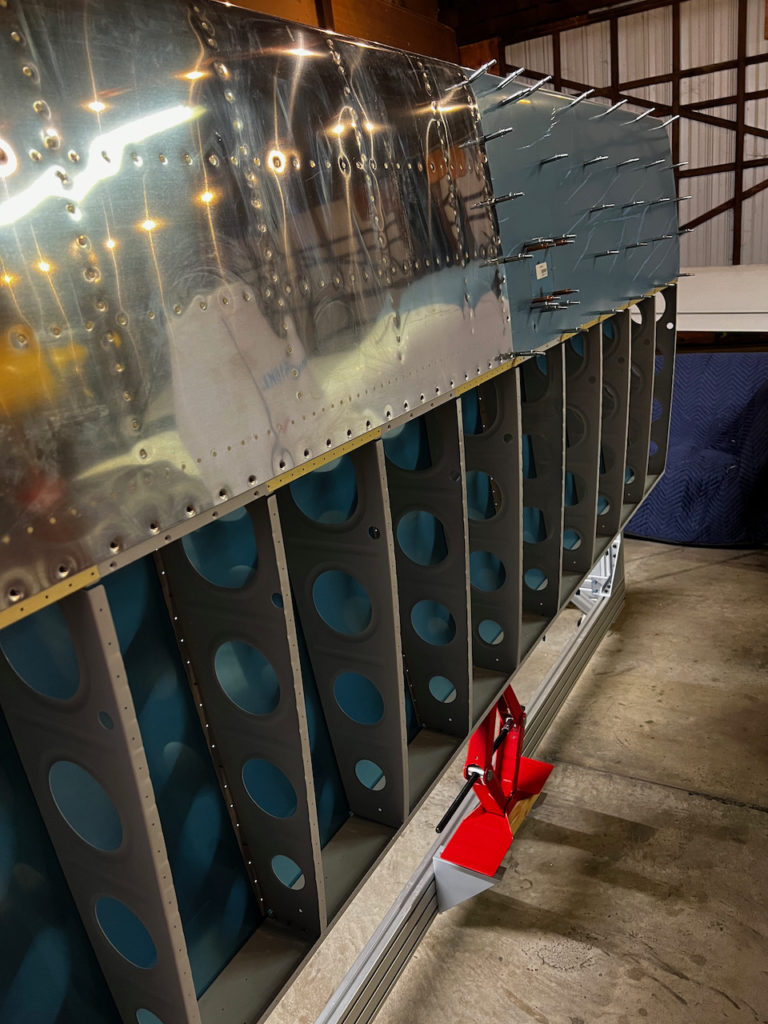
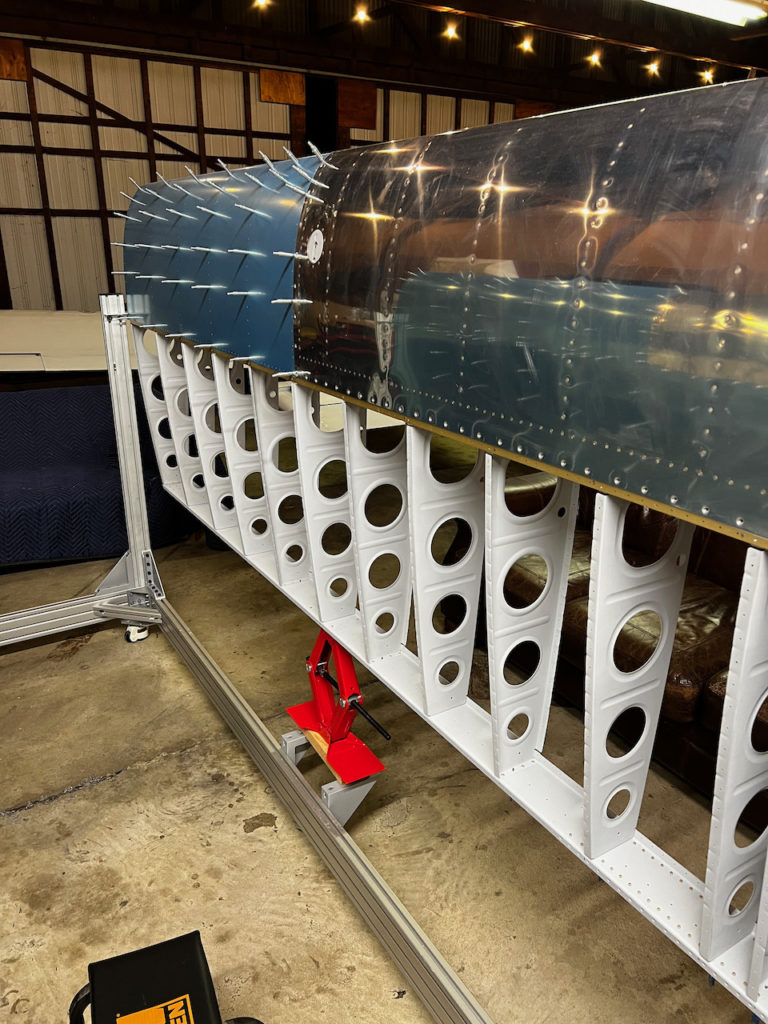
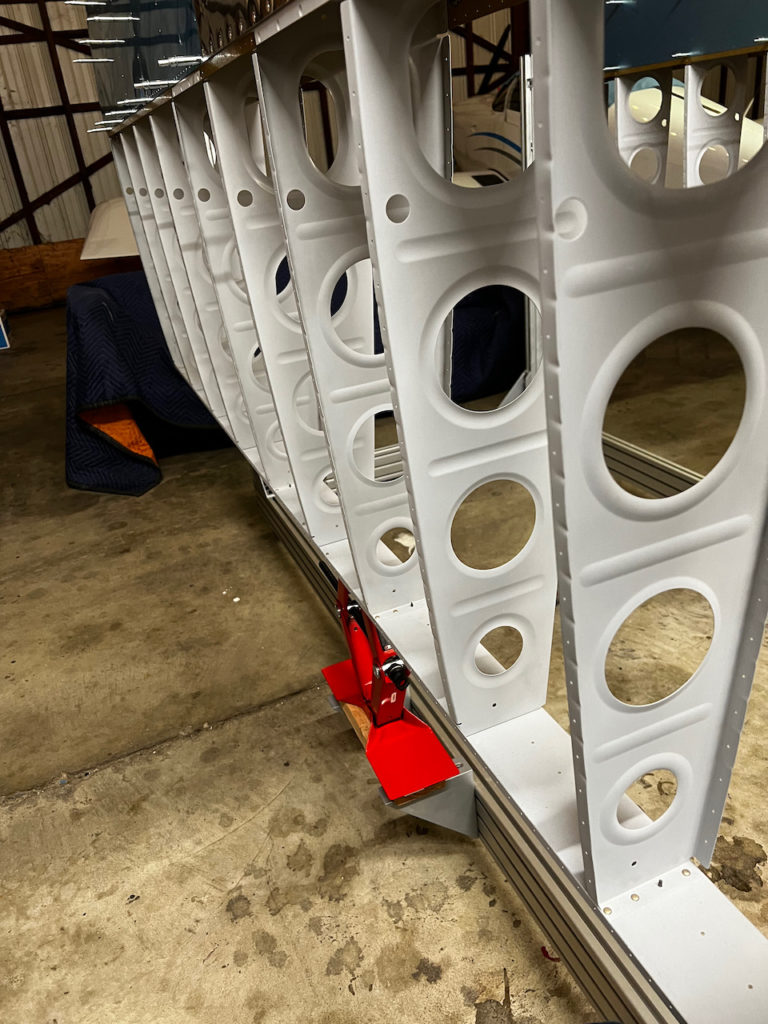
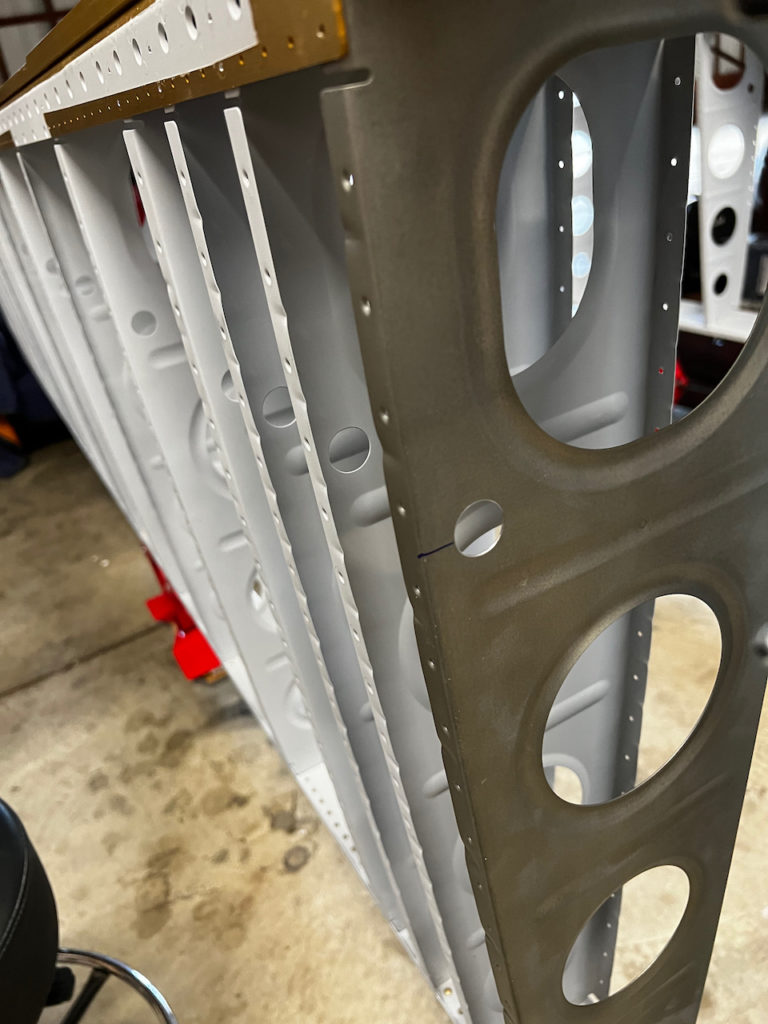
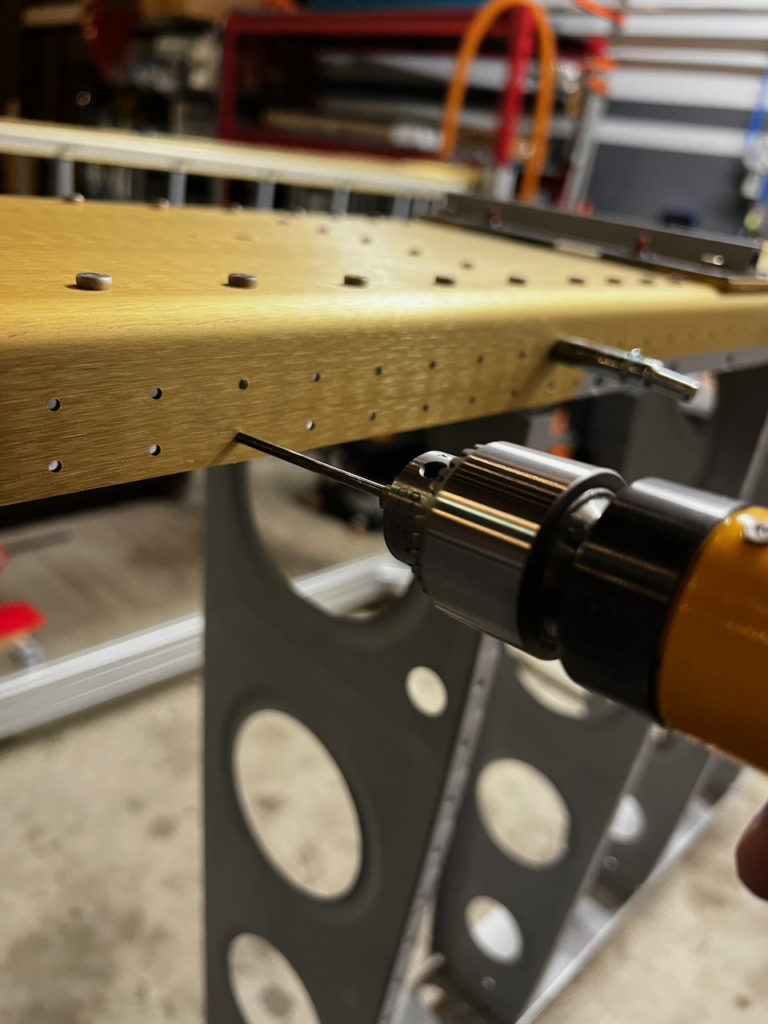
The first session of the weekend was sponsored by my early morning insomnia. It was 4am and I was wide awake, so might as well head to the hangar for some productivity! After a quick pressure test of the right tank (No Leaks! Good stuff!!), I removed all the skins from the skeleton, and spent the rest of the session dimpling. Given 14 ribs per wing, 2 flanges per wing, and approximately 20 rivets per flange, that equals approximately 1120 rivet holes to dimple. Yikes! At about 8 seconds per dimple, that equals 2.5 hours. Yup..that’s about right. It was a long morning of dimpling. Good thing for audio books! One not so obvious decsion I made was to dimple the rear flange + rib flange intersections. It wasn’t clear if this was too much metal to do together, but my dimpler seemed to handle it fine, so I moved forward with it. With the dimples done, it was off to Byron for a day of glider towing!
Sunday Inboard Rib Install (3.3 hours)
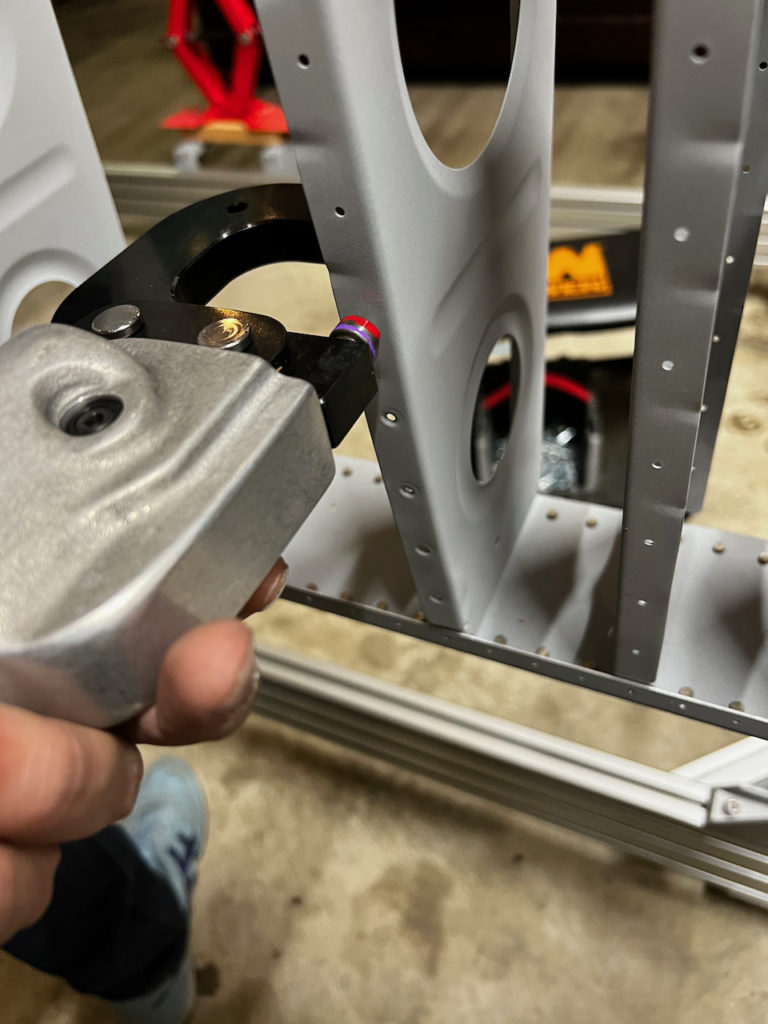
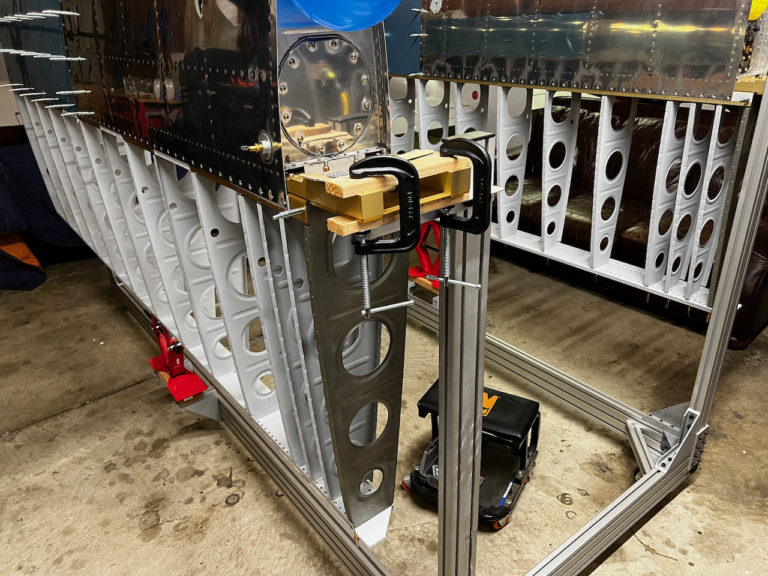
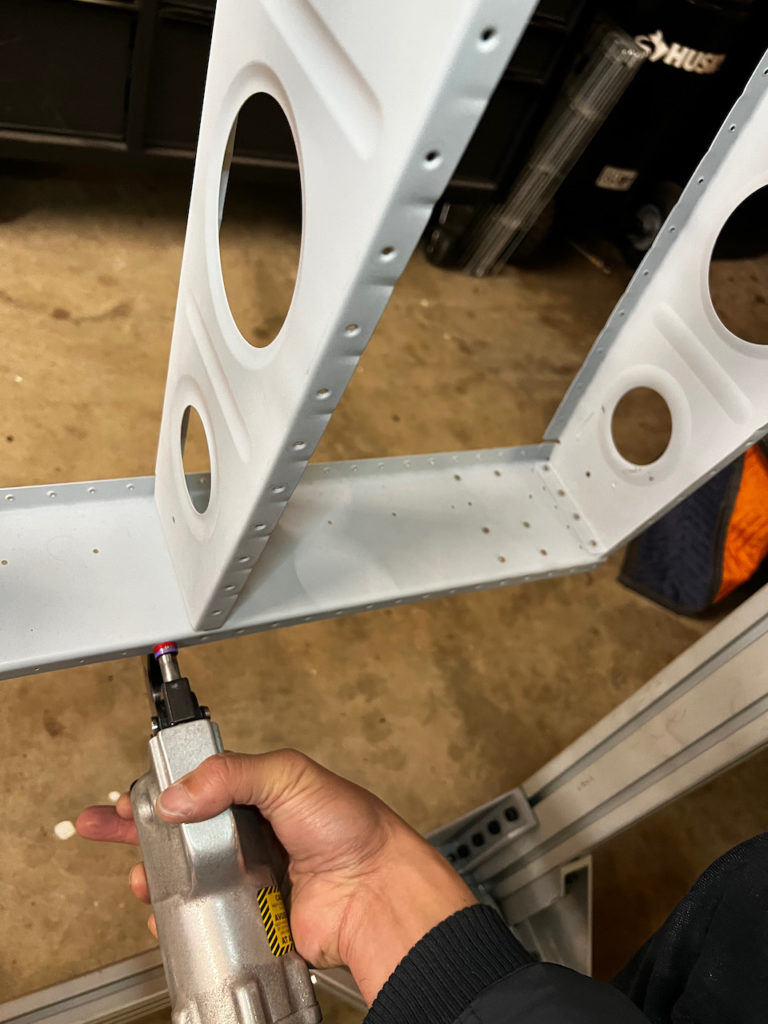
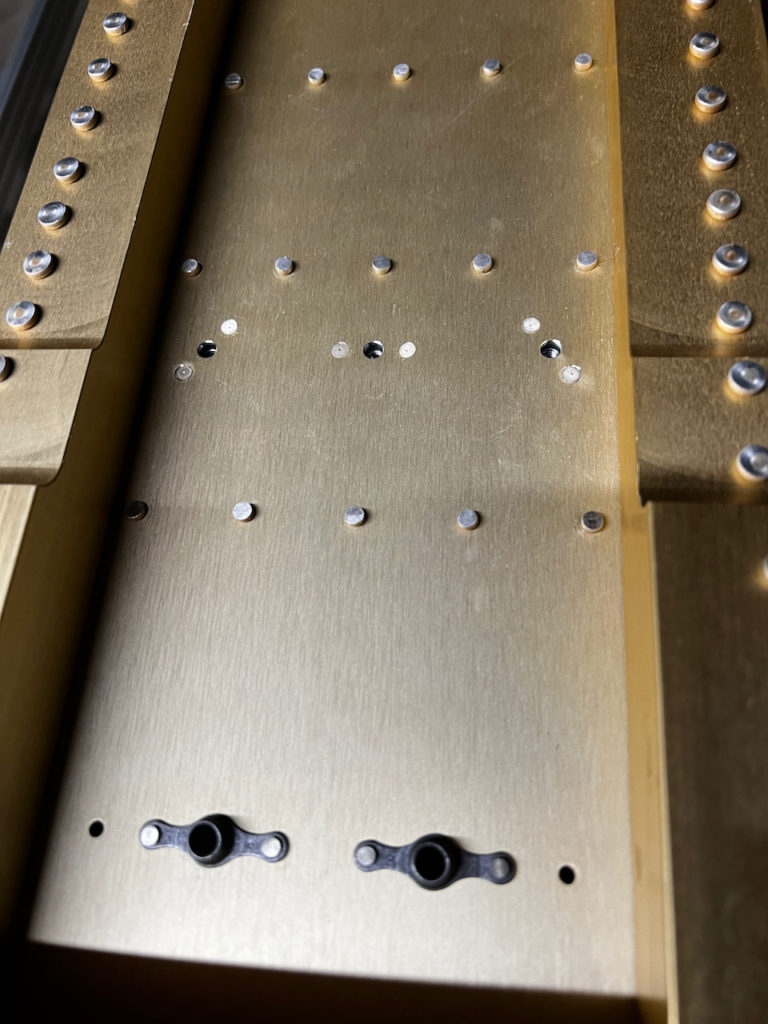
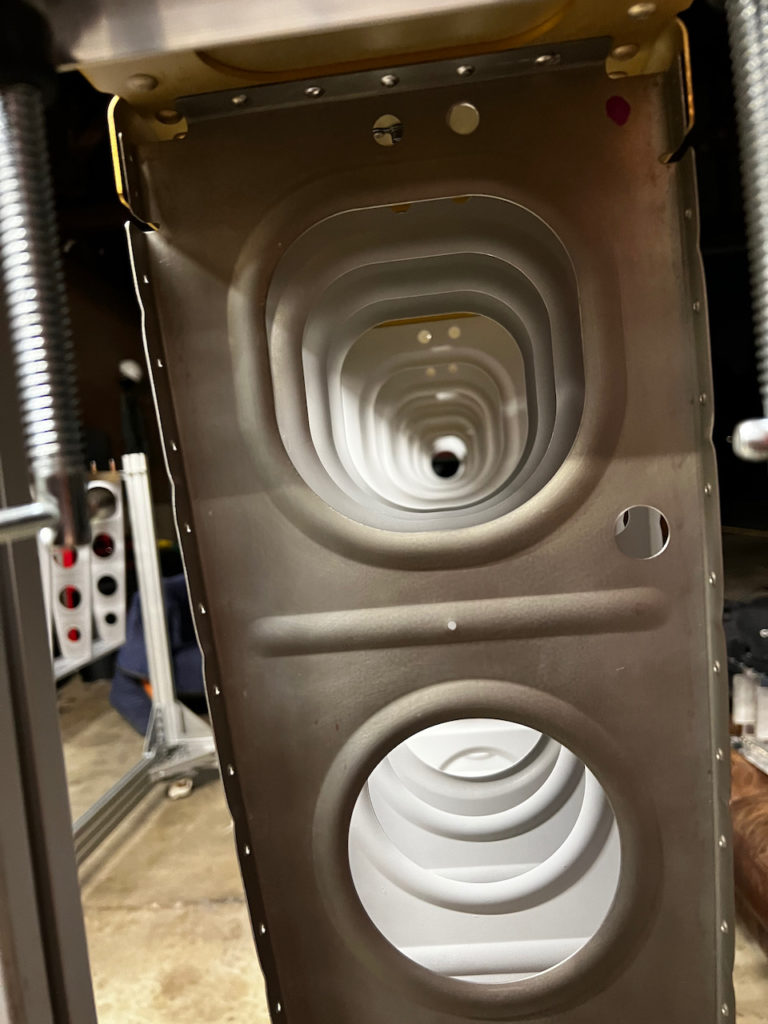
In session two, I removed the tanks and leading edge to countersink the main spar. I realized that I still needed to complete the inboard rib, and so decided to tackle that project and get it out of the way. I started by drilling out / enlargening the conduit holes required for the wing tip wires and AOA/Pitot tubes. Then I riveted the ribs on. The rear flange was easy using a pneumatic squeezer. The main spar rivets were not so easy. In hindsight, I should have waited for someone else to help buck. With the large rivets, and offset rivet set, I didn’t do a great job on the first wing. I even tried to drill one out, but I feel like it only made that hole worse, so I decided to stick with good enough. The second wing was much better and in all I think both sides will do fine.
Monday Countersink Marathon (2.7 hours)
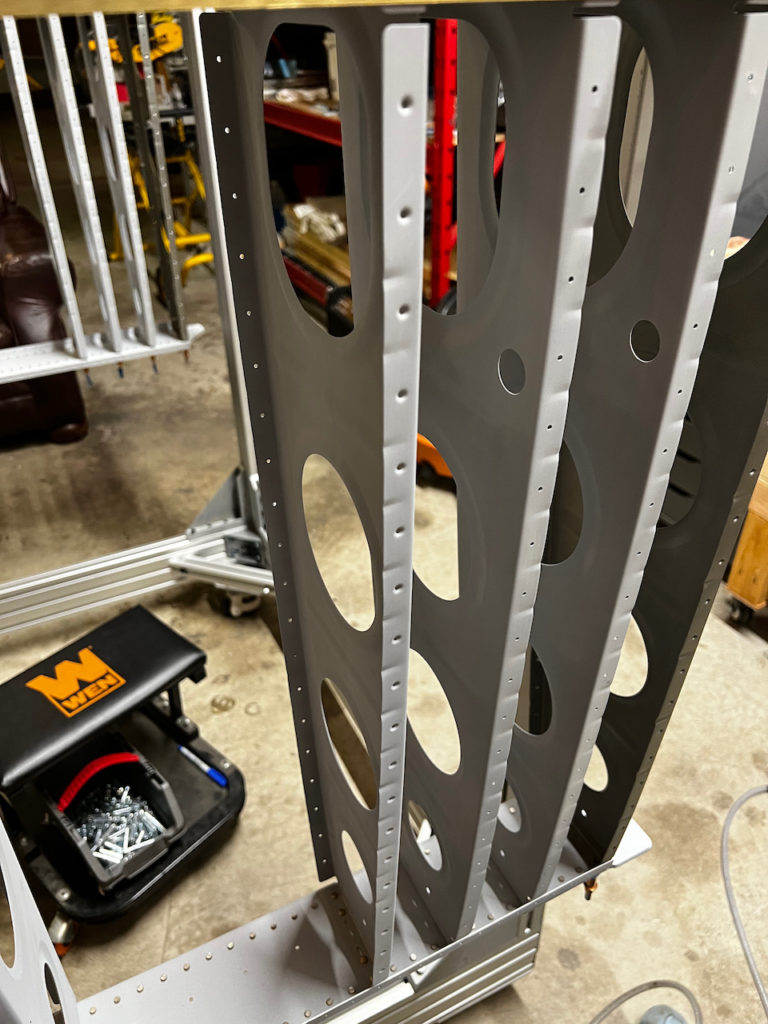
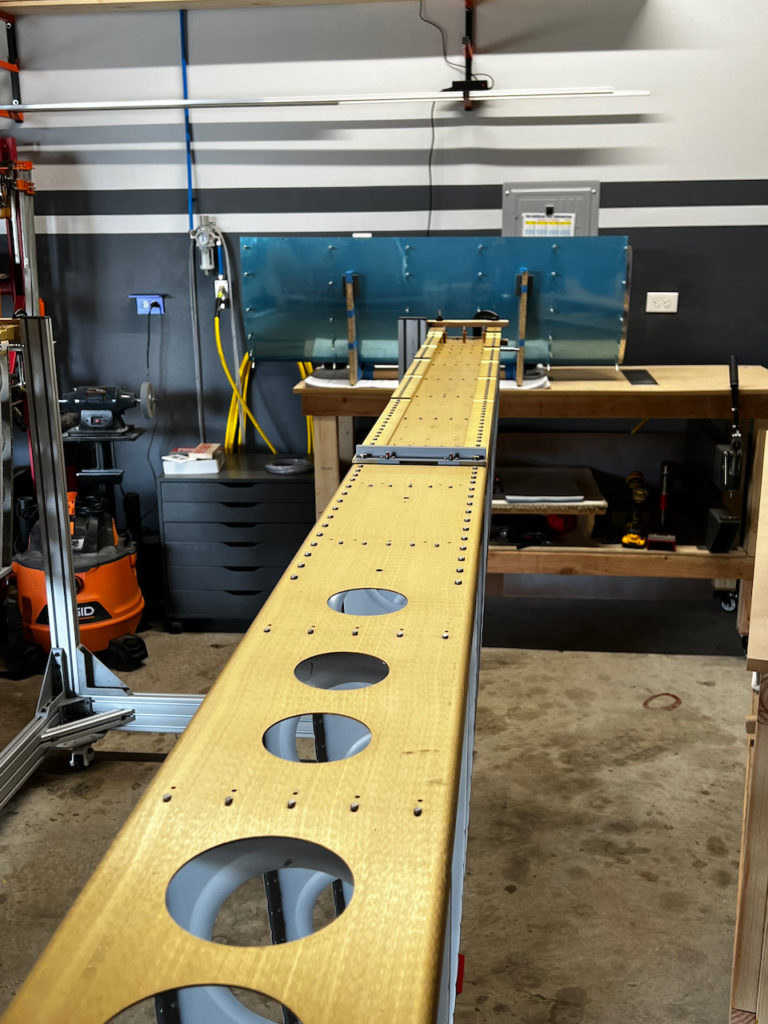
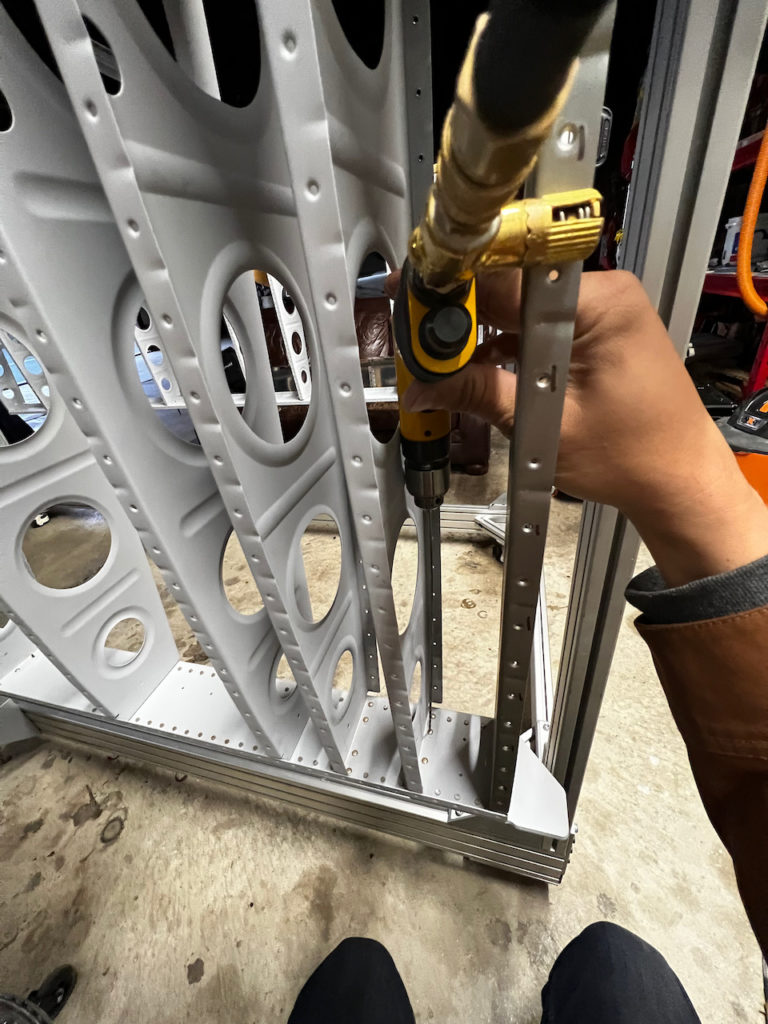
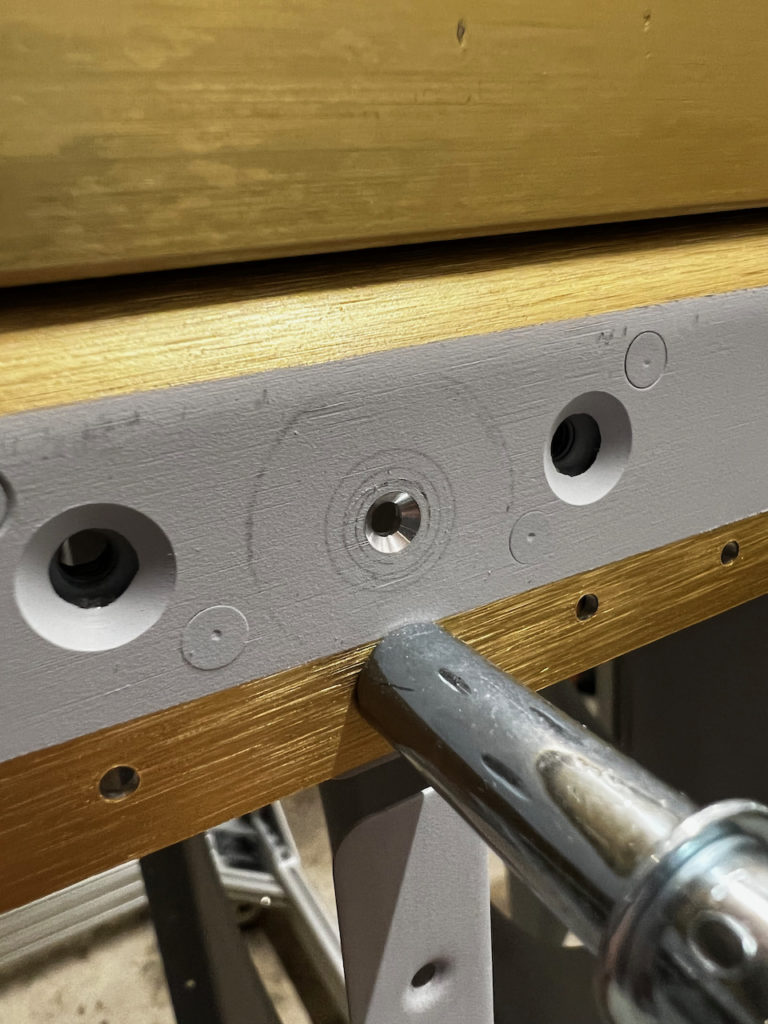
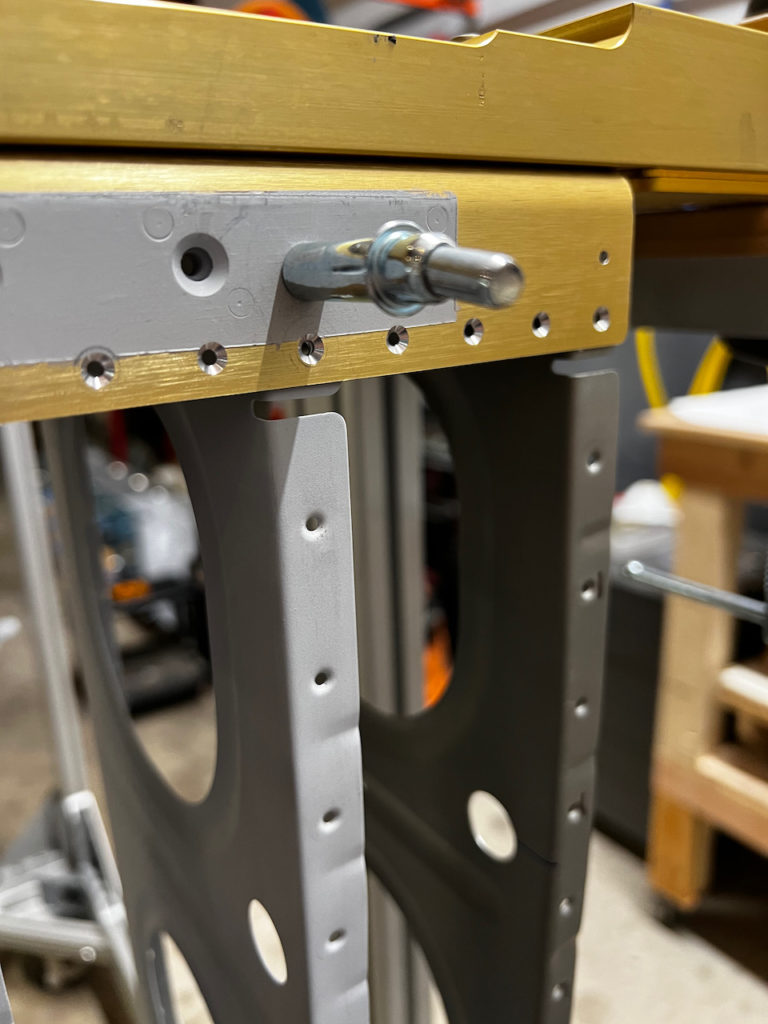
The last session was Monday evening, where the plan was to start, and complete the countersinking required for the spar-to-dimpled-skin mating. One interesting note is that for the countersinks that mate to a dimpled skin, I was able to use the “flush + 7 clicks” technique for setting the depth. But I had to pay attention, because there are a few holes where the rib will be riveted without a skin mating (mainly behind the fuel tank connection points). After reaming out all the holes, I started the counter sinking. Boy was I wrong on how long it would take. After about 2 hours I had barely completed the first flange of the first main spar! It will clearly take a couple more sessions to finish this step, but it’s good to know what is needed. It should go faster as I progress.
A lot of progress made this weekend, but a LOT to go in prepping for skin riveting to start. I imagine my next two sessions will just be used to complete the countersinking, and then I have a lot of priming to do. Until next time, Happy Building!
1 comment
Wowww. Intense weekend. Glad you had fun and the kids seem to have had a blast. Did Giacaomo and Nicco try the glider? Big hug