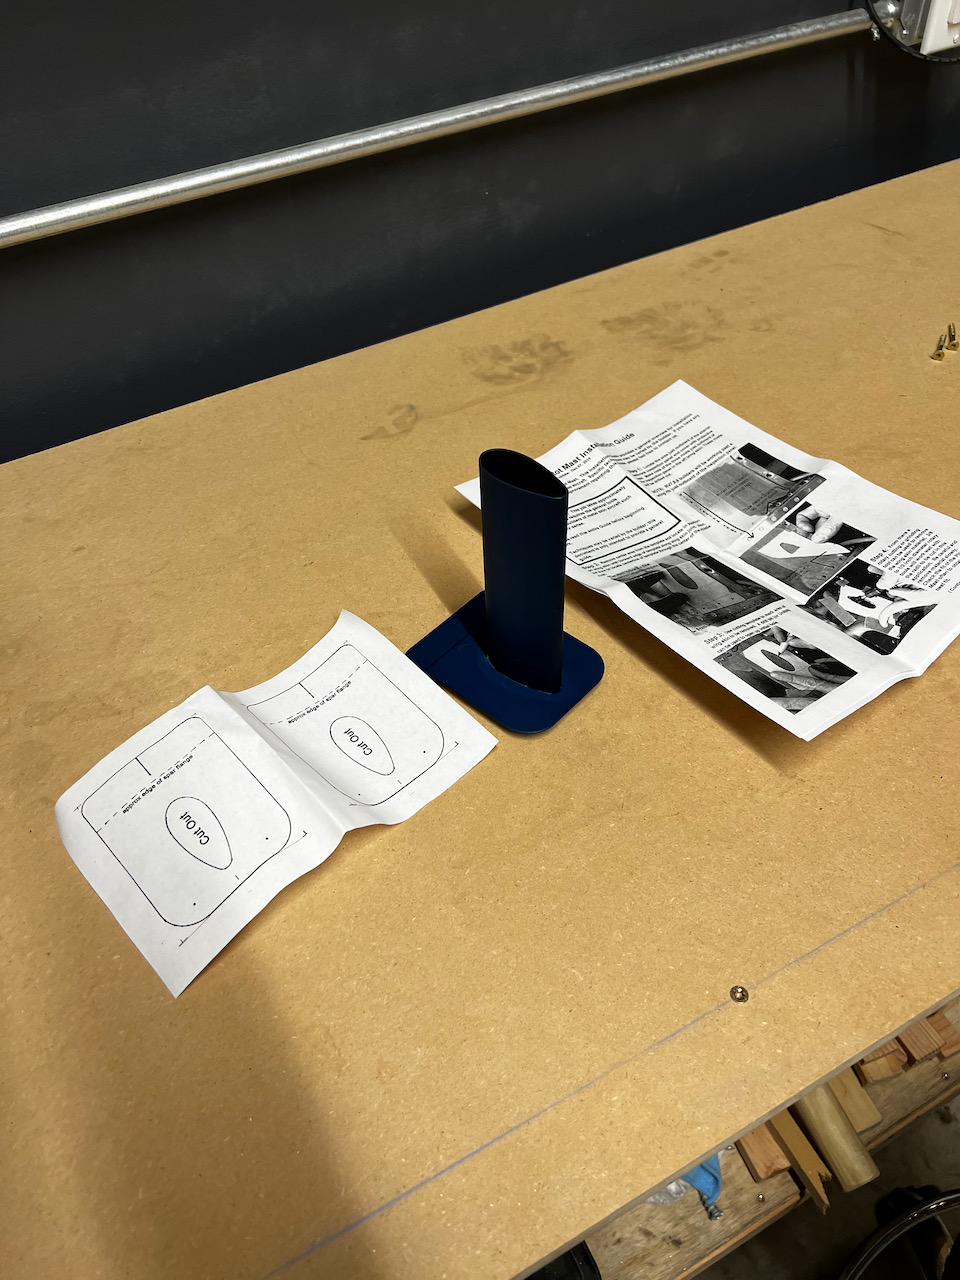
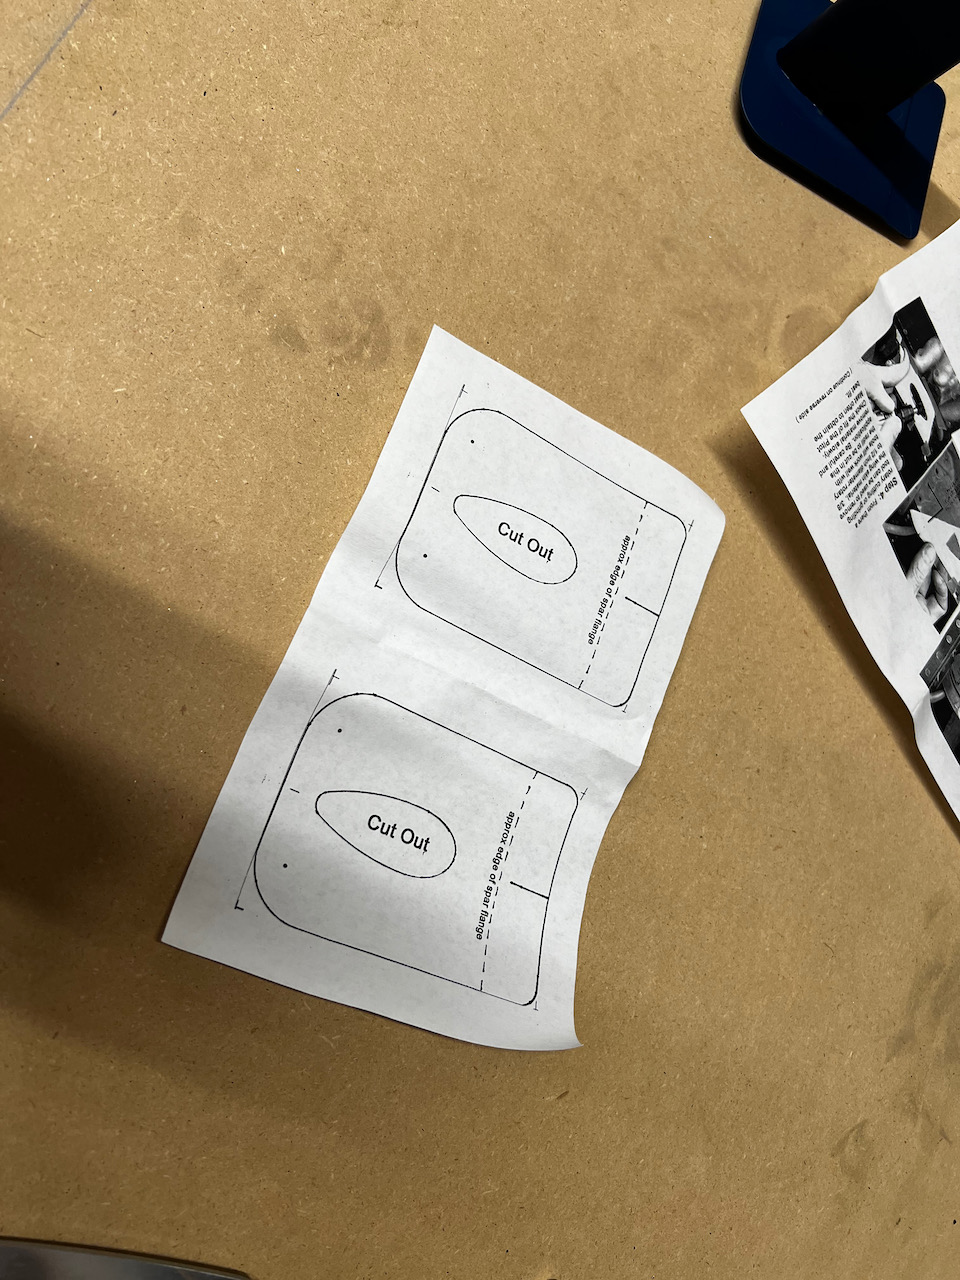
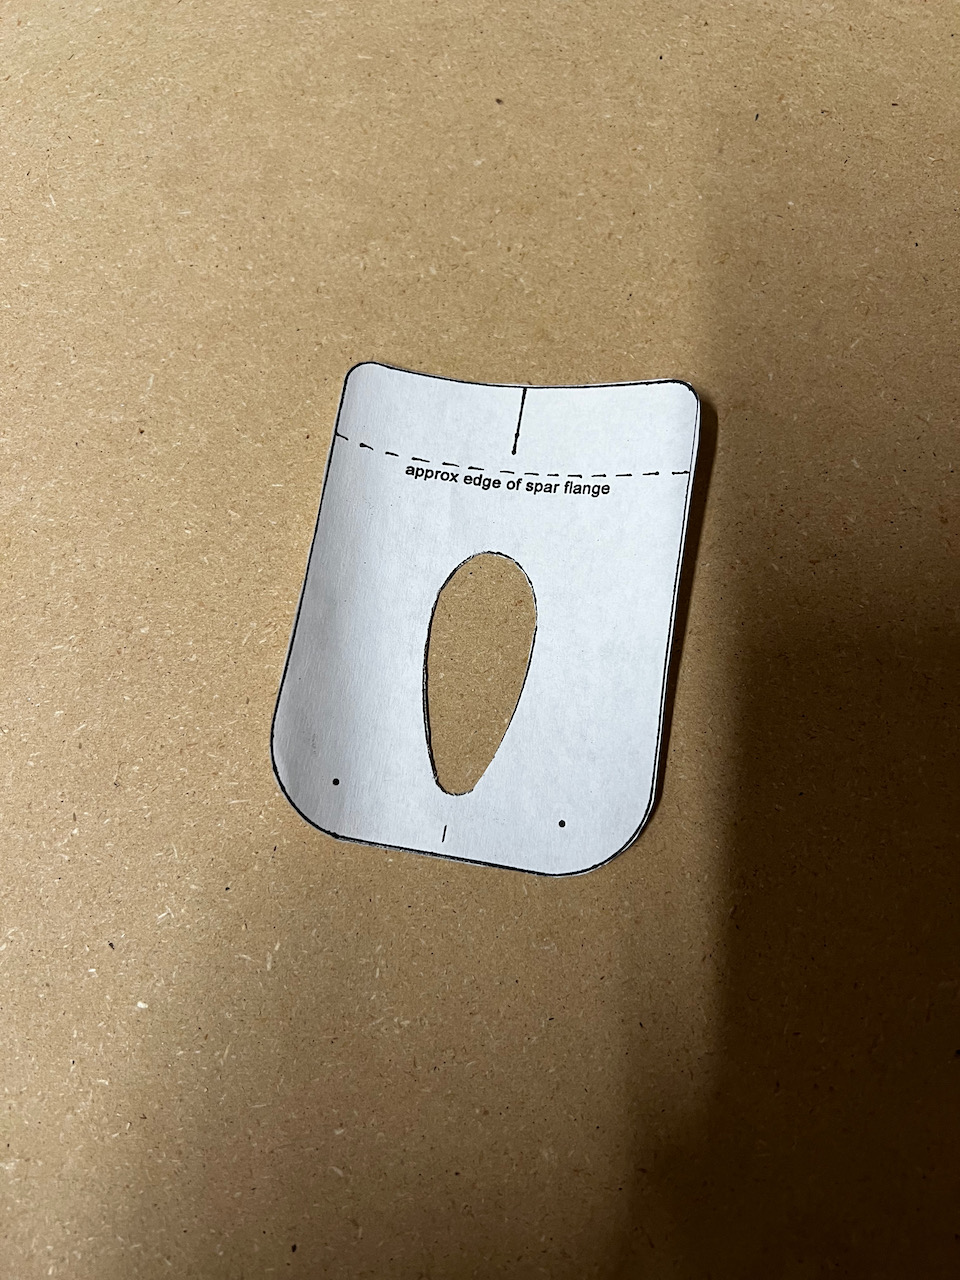
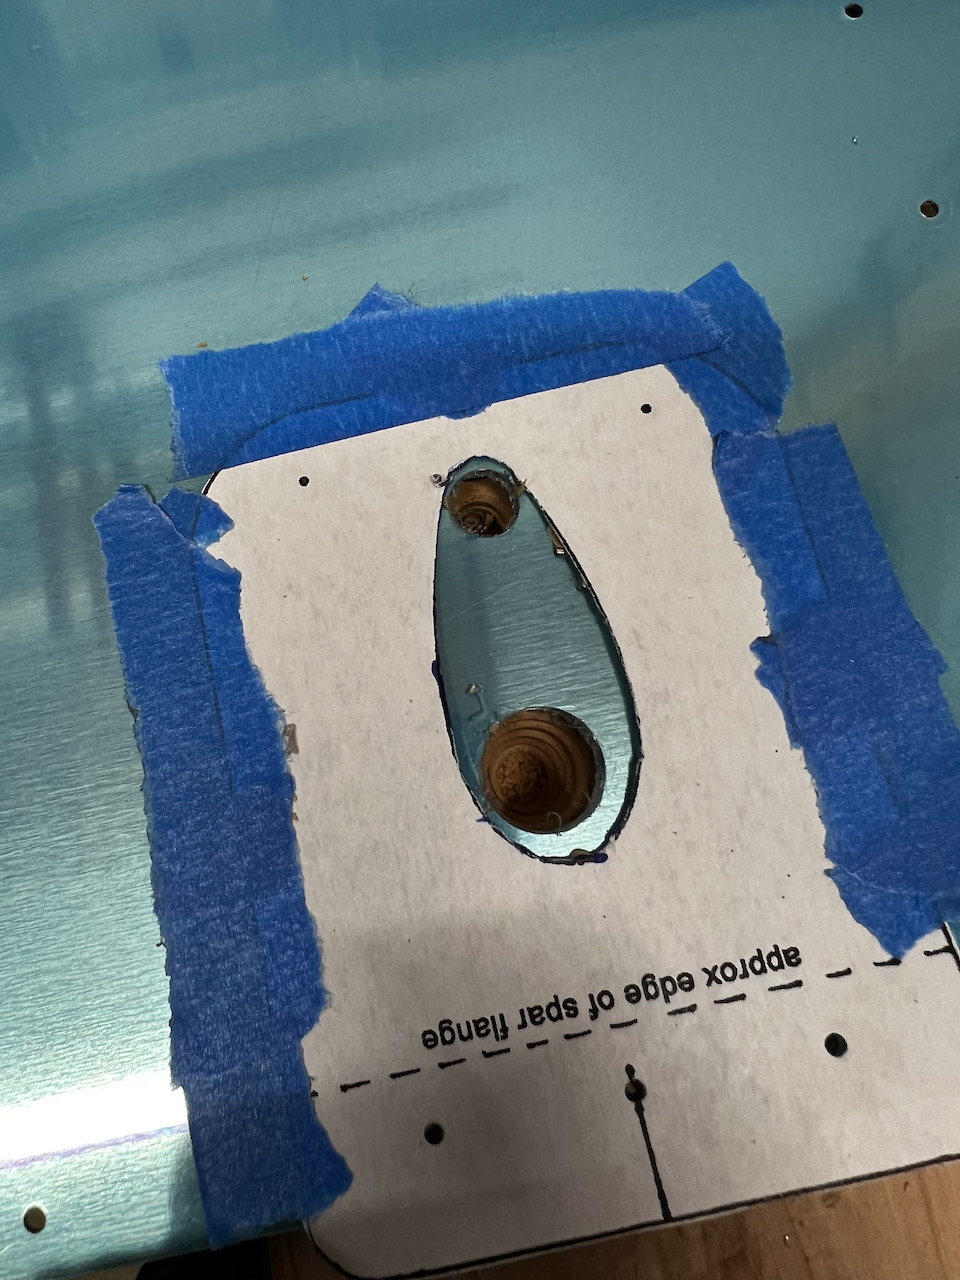
Notice the new section? It’s been a long time coming, but I’ve finally gotten through the fuel tank section, and have moved on to a new challenge… “Riveting the Wing Skins”. As I’ve found in past transitions, it was hard for me to mentally get into this new stage of the project, but I new that I just needed to jump in and get the first steps going. This should be a fun section as a lot will come together over the next couple of months. At the end of it, I should theoretically have something that is really starting to look like a wing. The section consists of a lot of deburring, priming, dimpling, and riveting, but in this first session I tackle a more specific task of fitting the Pitot Mast into the bottom skin. I purchased the Avery Aluminum Pitot Mast kit from Aircraft Spruce, which came with great instructions on installation. The mast mounts with 5 rivets, 3 in the spar, and 2 through holes in the skin. The trickiest part is cutting out the hole that fits the past, but the good news is that the kit comes with a nice template.
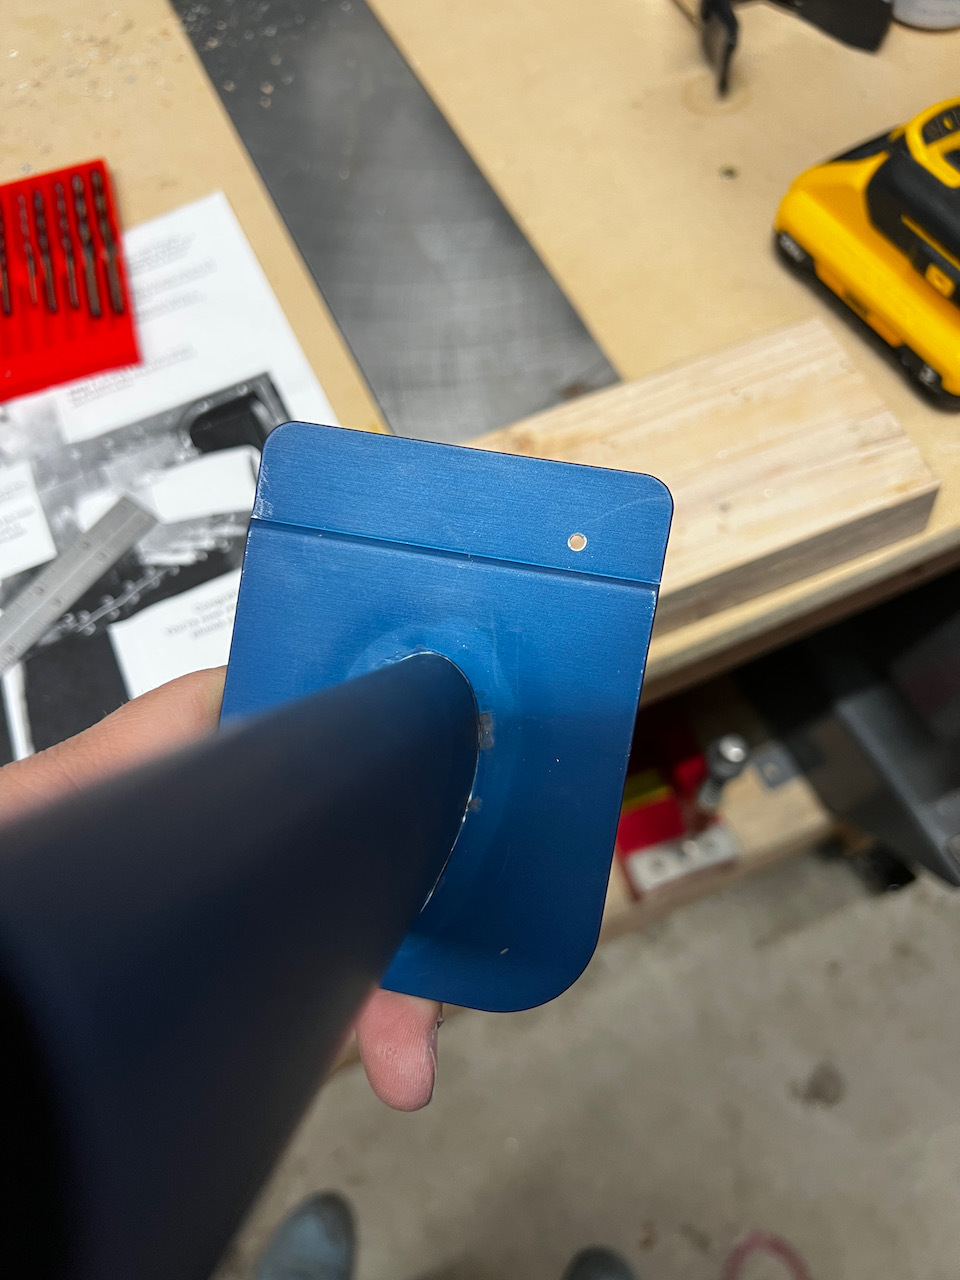
Nice kit from Avery
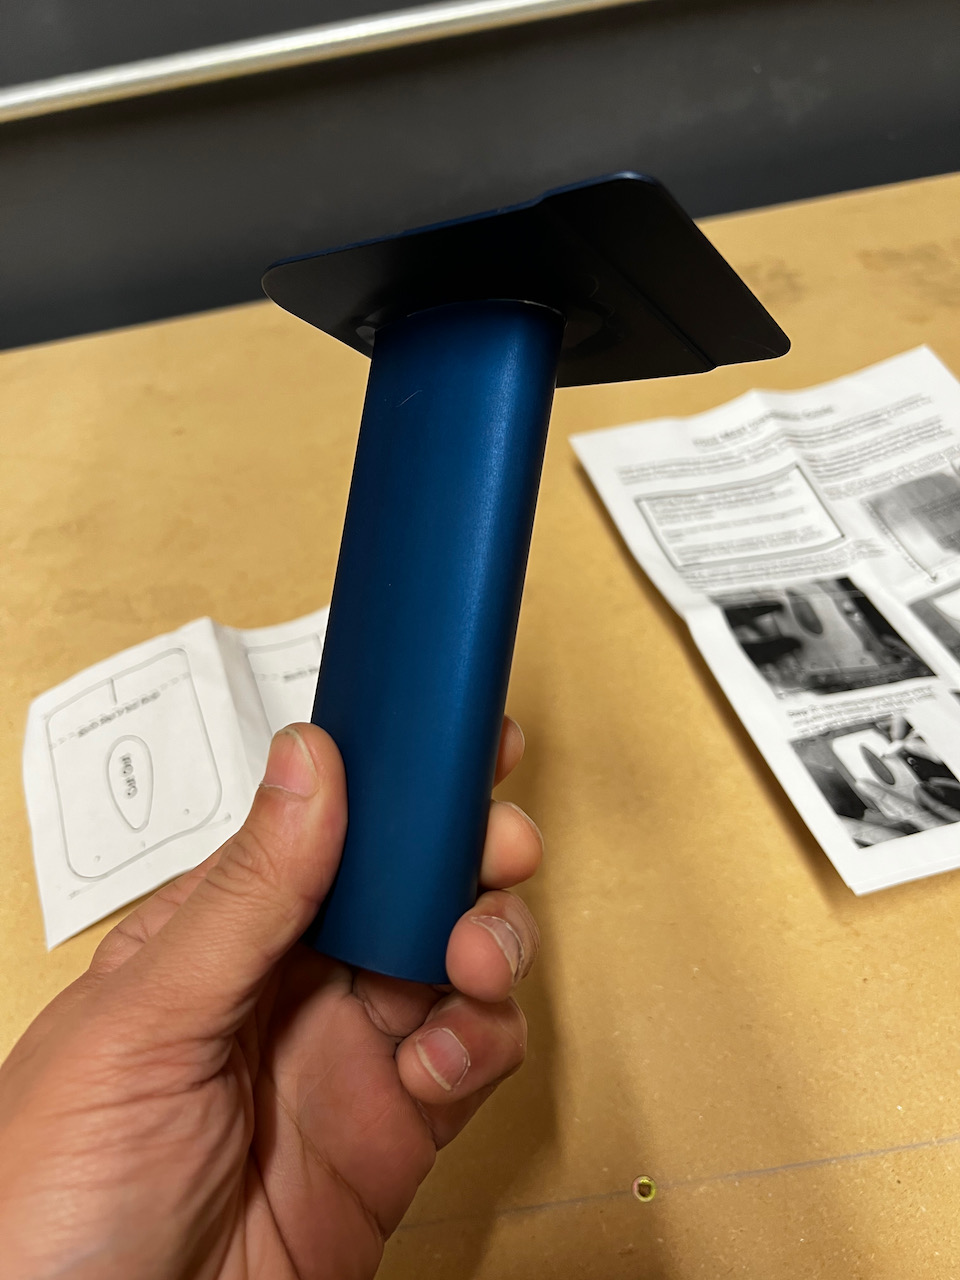
beautiful aluminum mast
mast mounts via spar holes
two templates, just in case
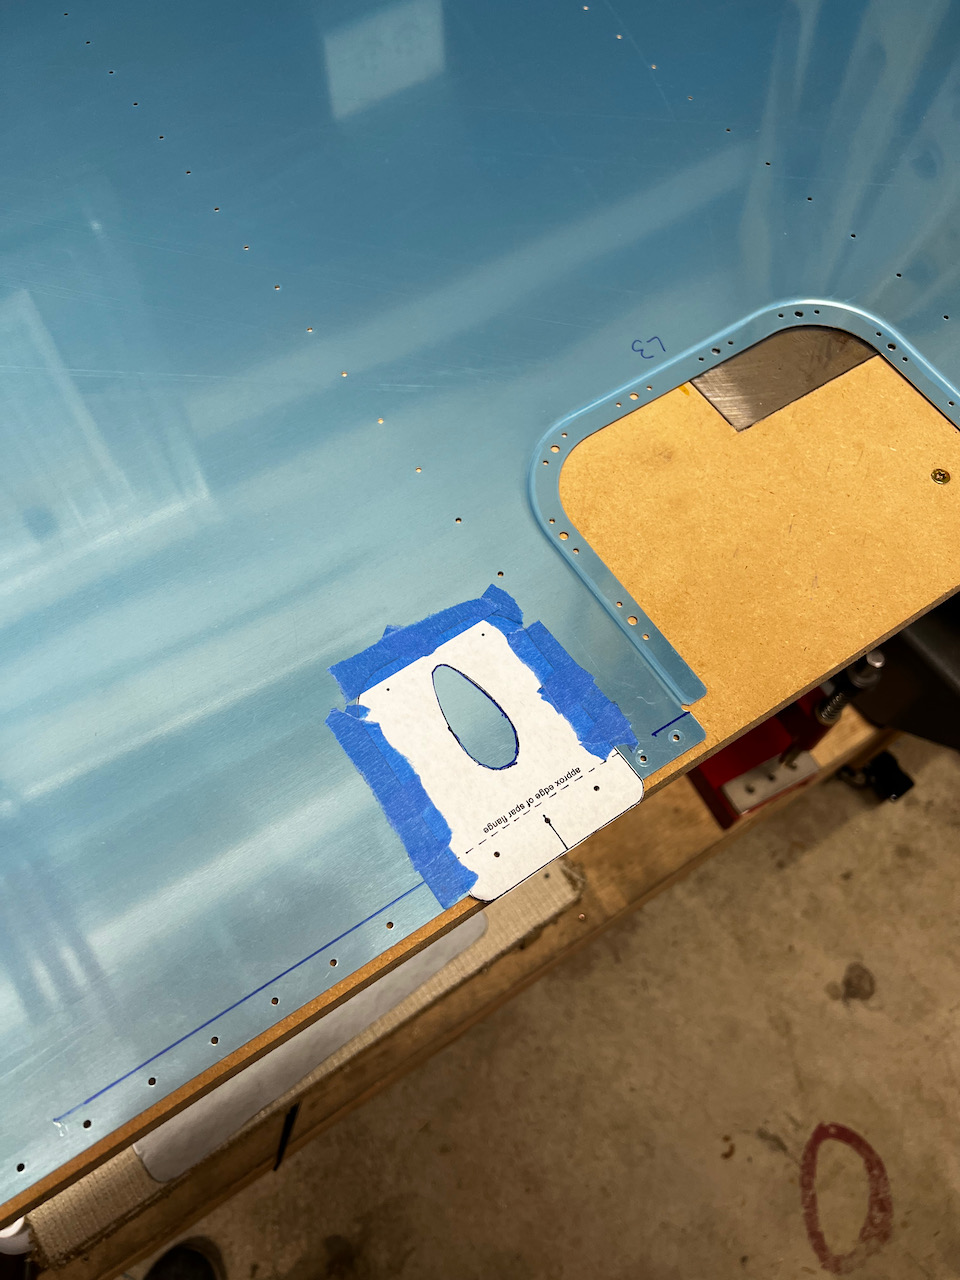
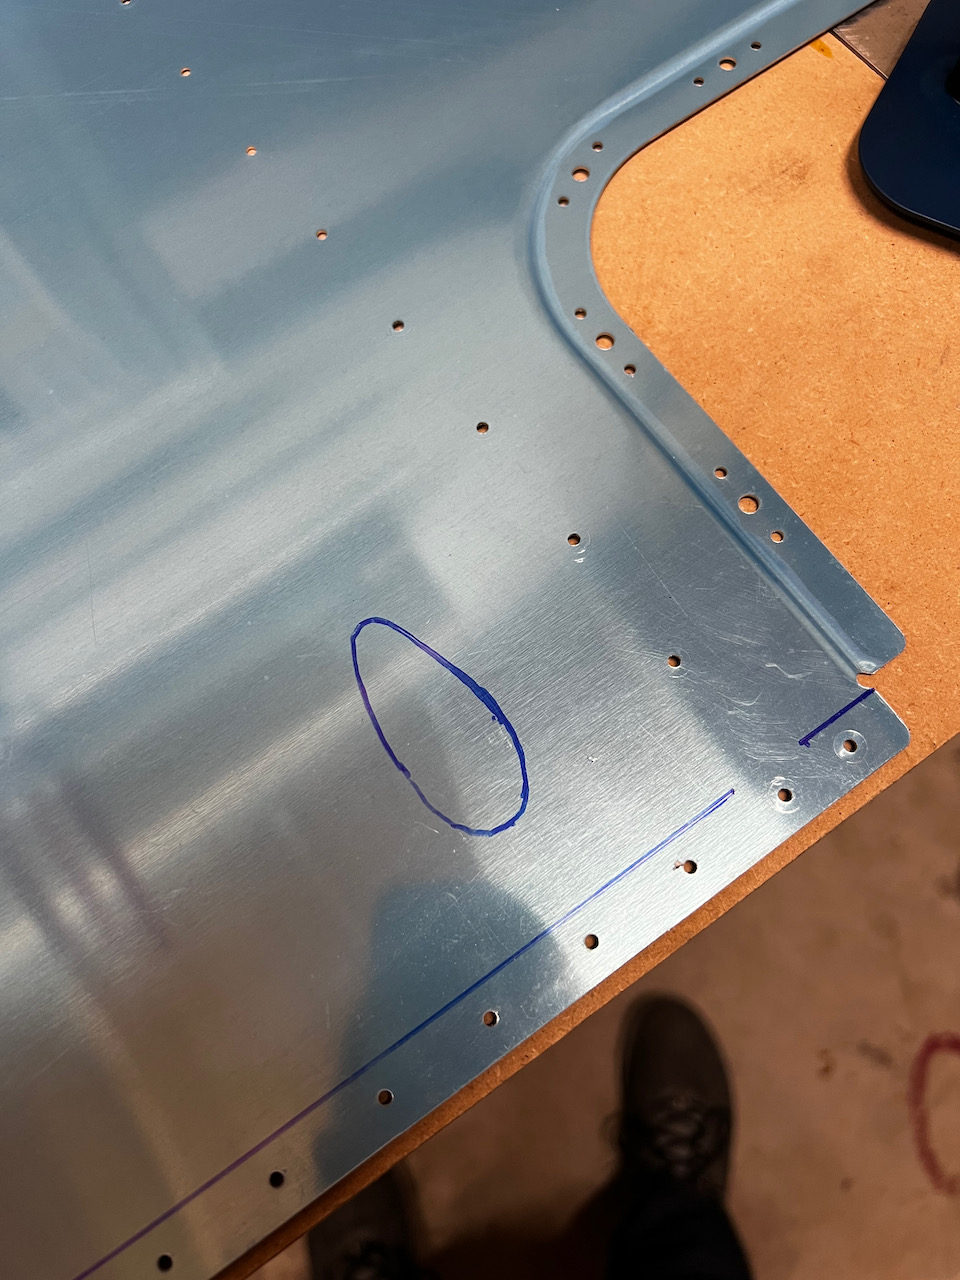
cut out and ready to mount
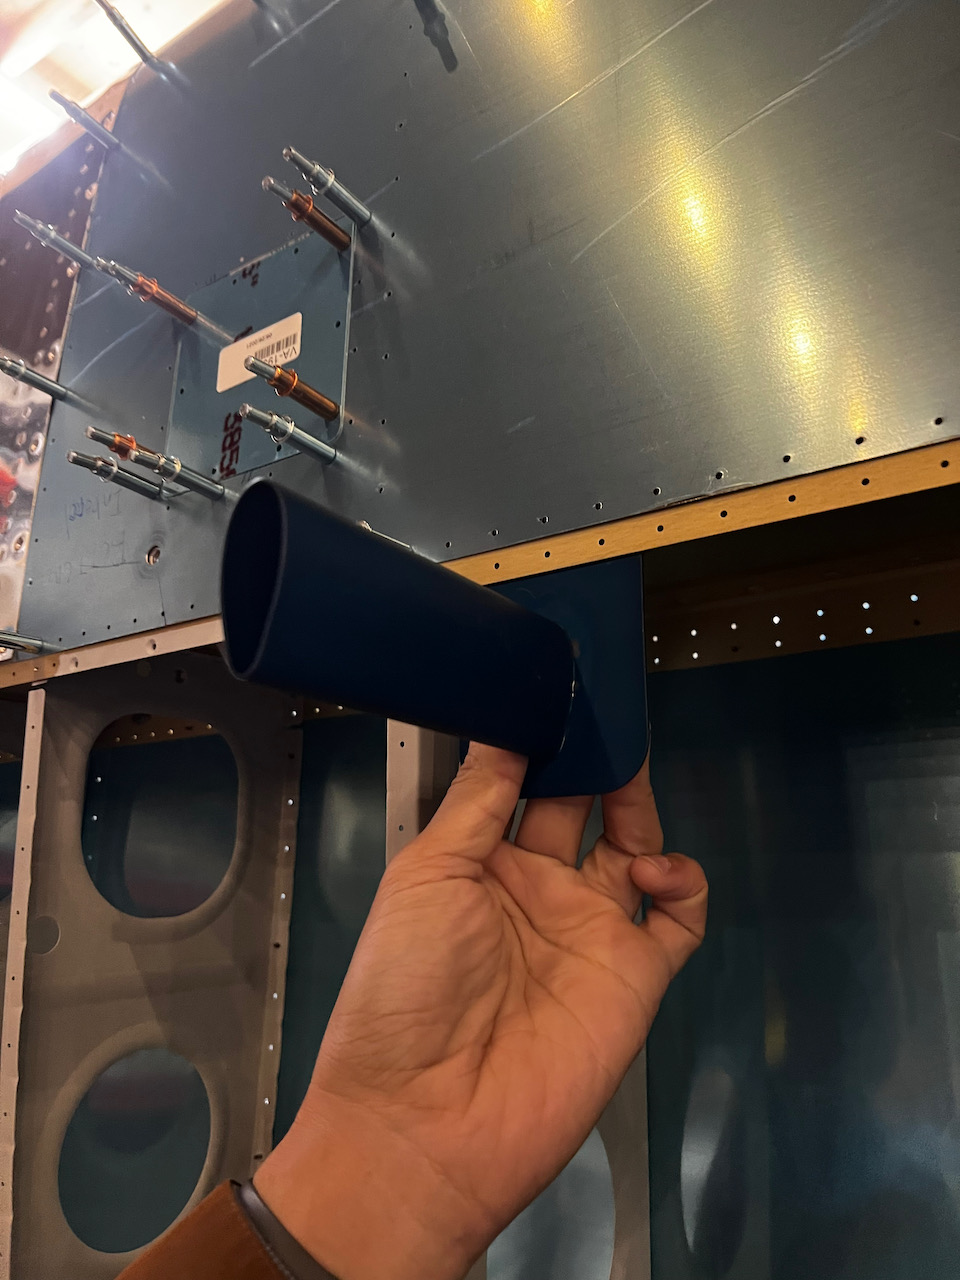
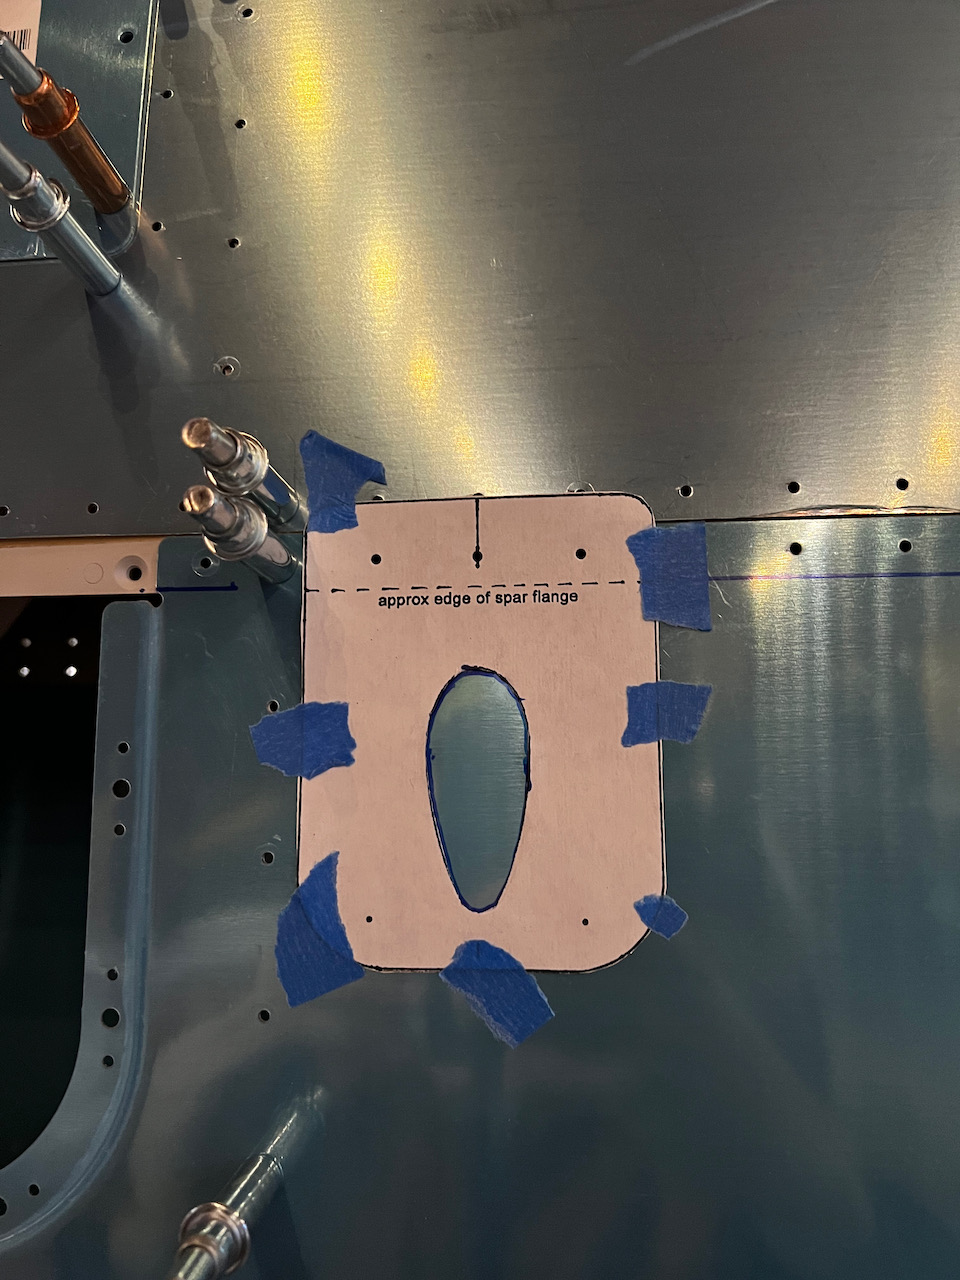
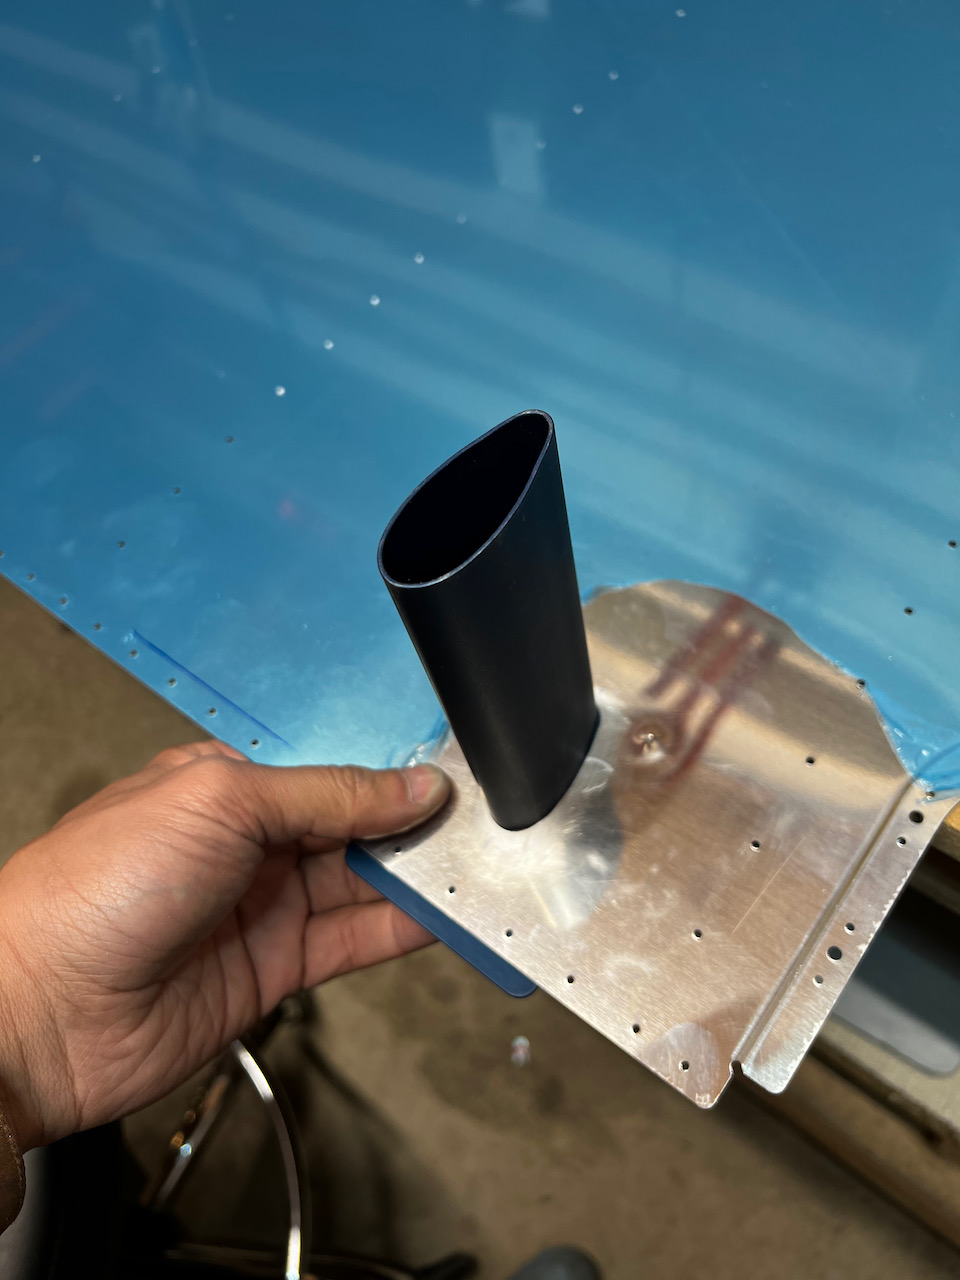
mounted for marking
turns out I moved it over one hole, but this was first attempt
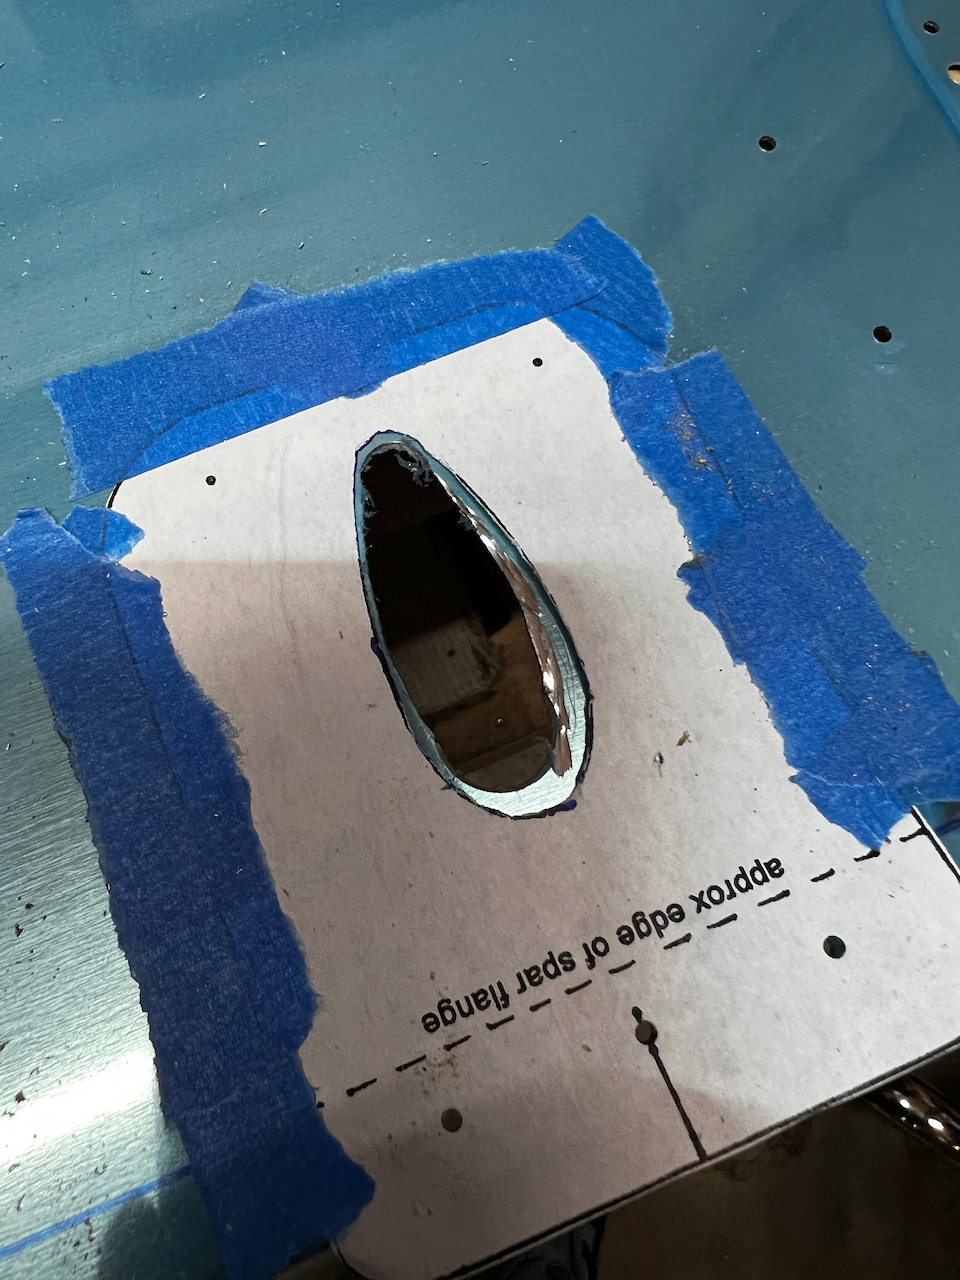
I used the unibit to drill starting holes as close as I could to the edge. The a jig saw with a nice metal blade to refine the hole. Then it was a long time slowly dremeling and test fitting until I got a nice hole which fit the mast nicely. I used a variety of deburrers, sand paper, and scotchbrite to clean up the edges.
starter holes as close to the edge as I as willing to get
then jig saw to remove material
great metal blade made the cutting easy
refinement with the dremel got it close
quite a bit of enlargement was needed…
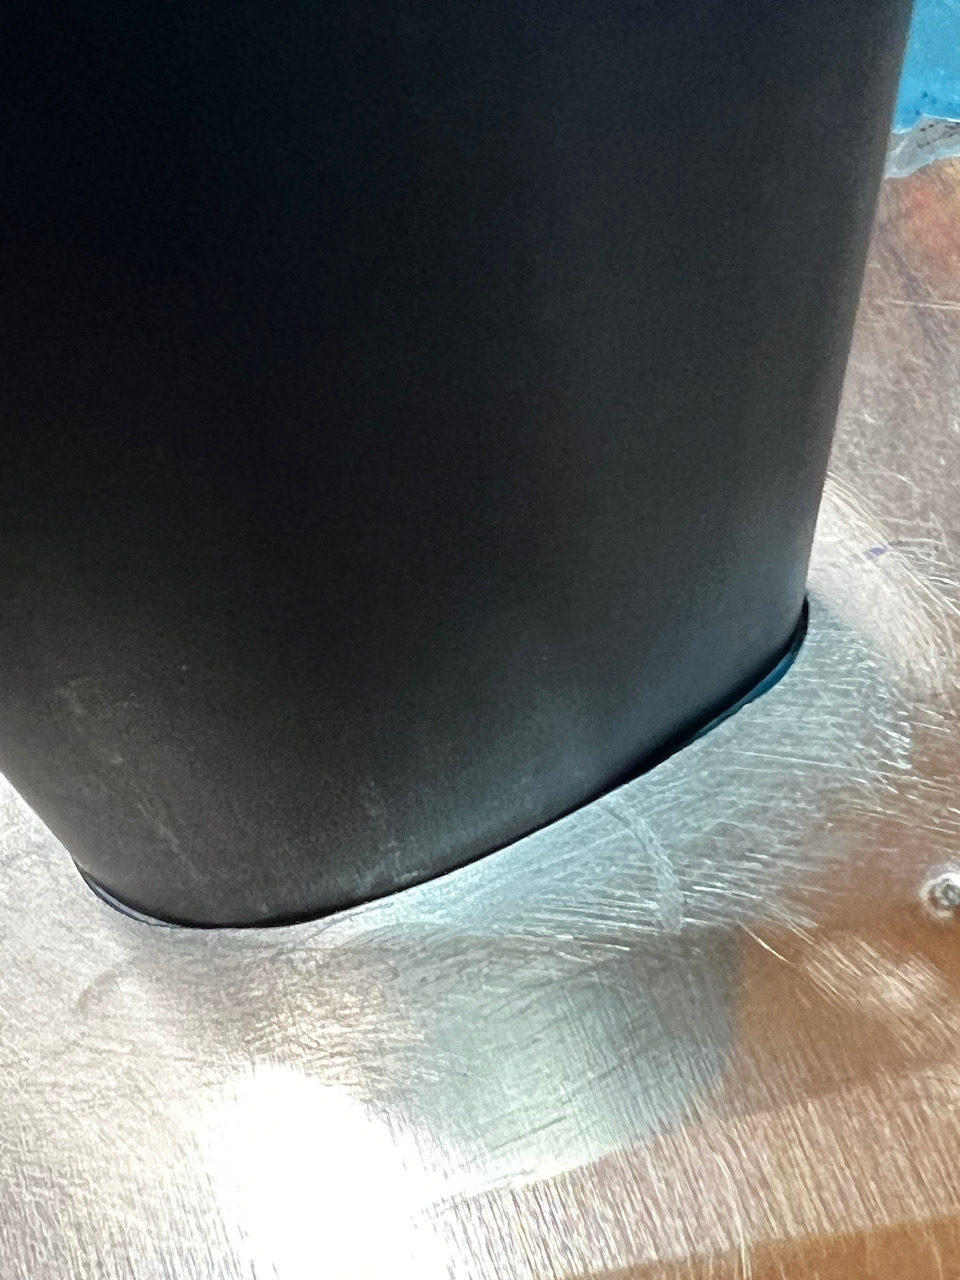
…but resulted in a pretty nice fit!
not bad!
always better when the warriors are playing
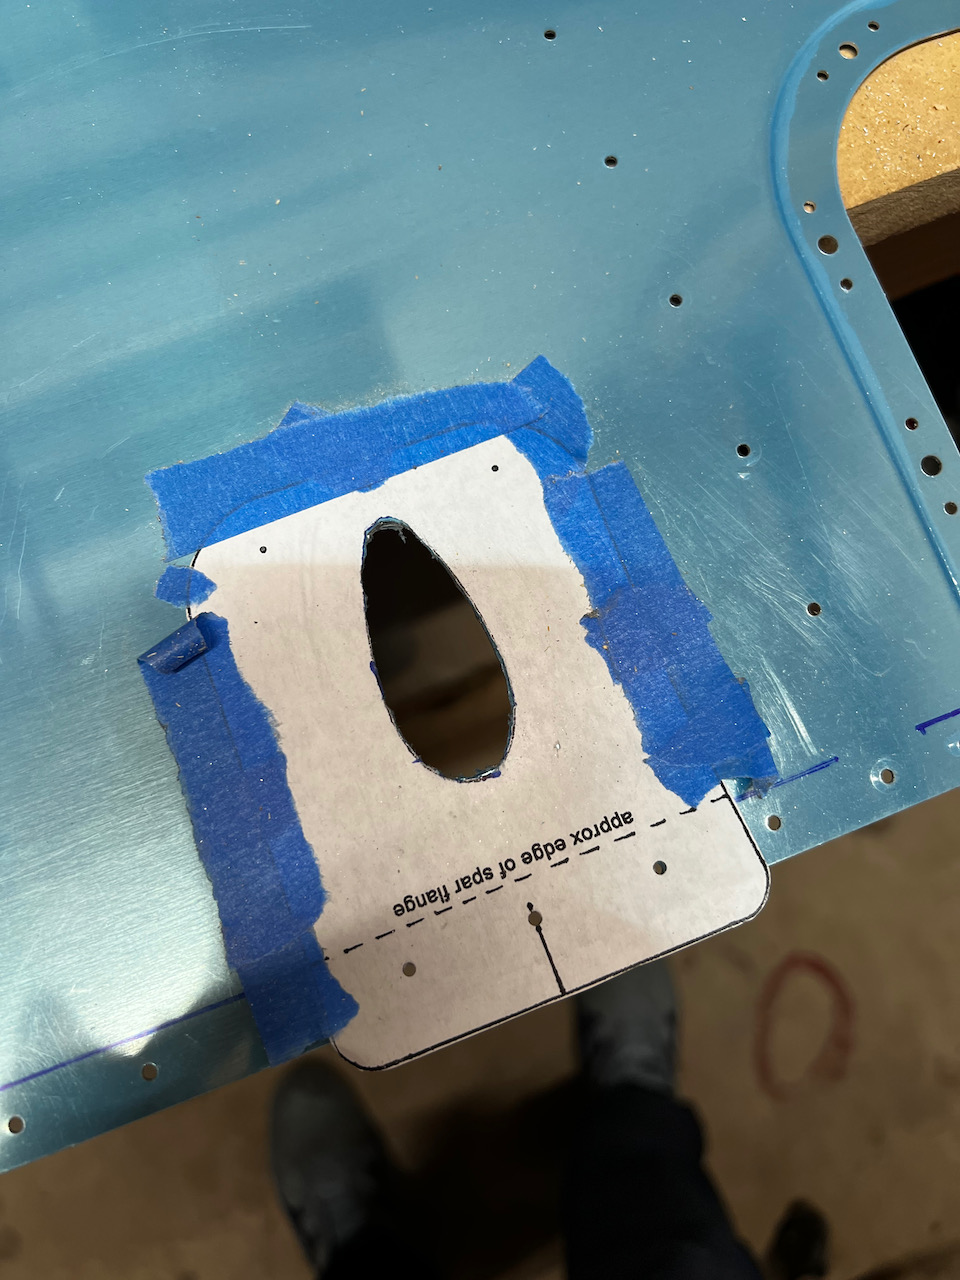
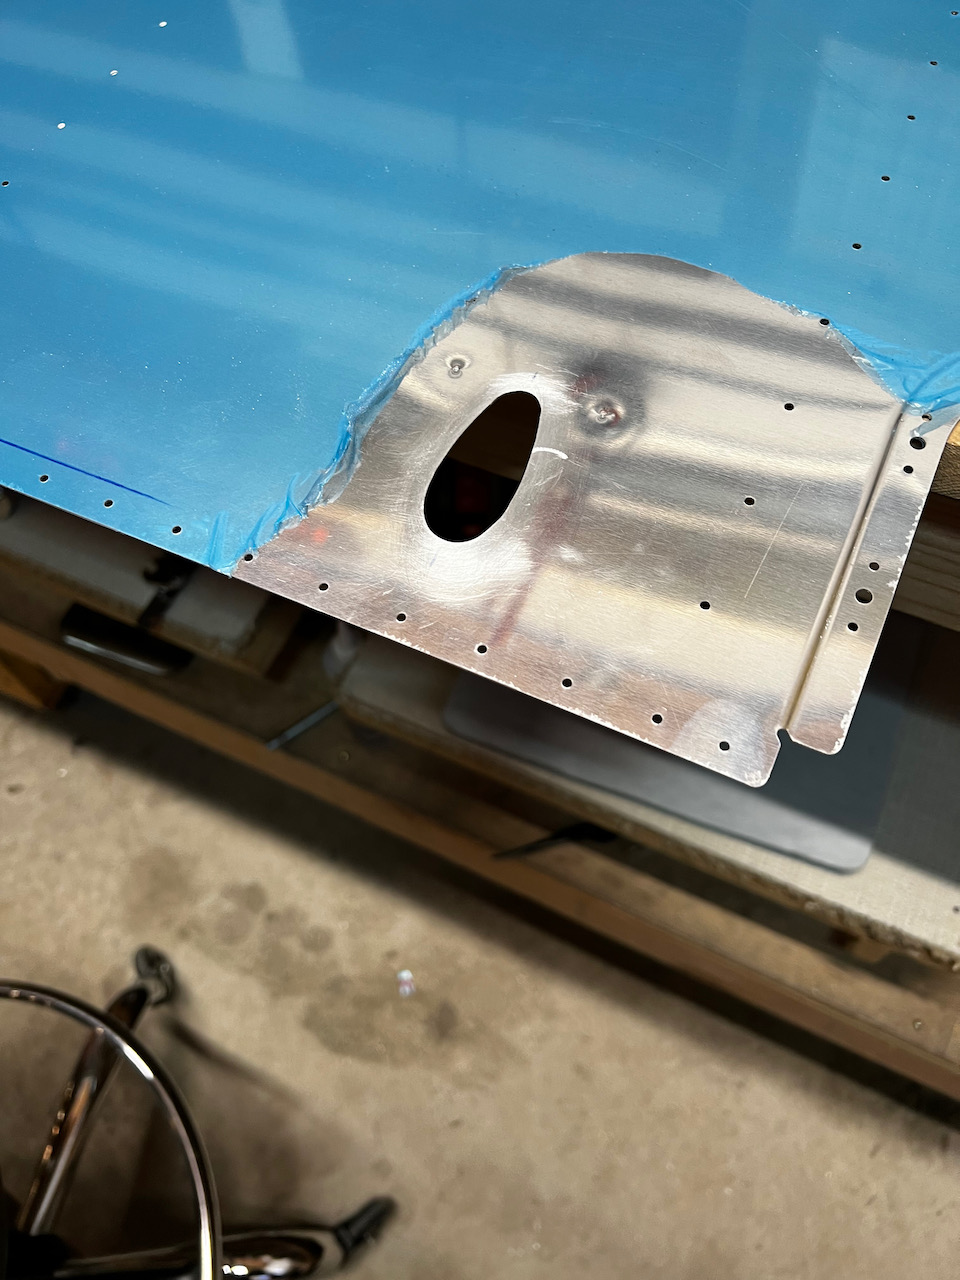
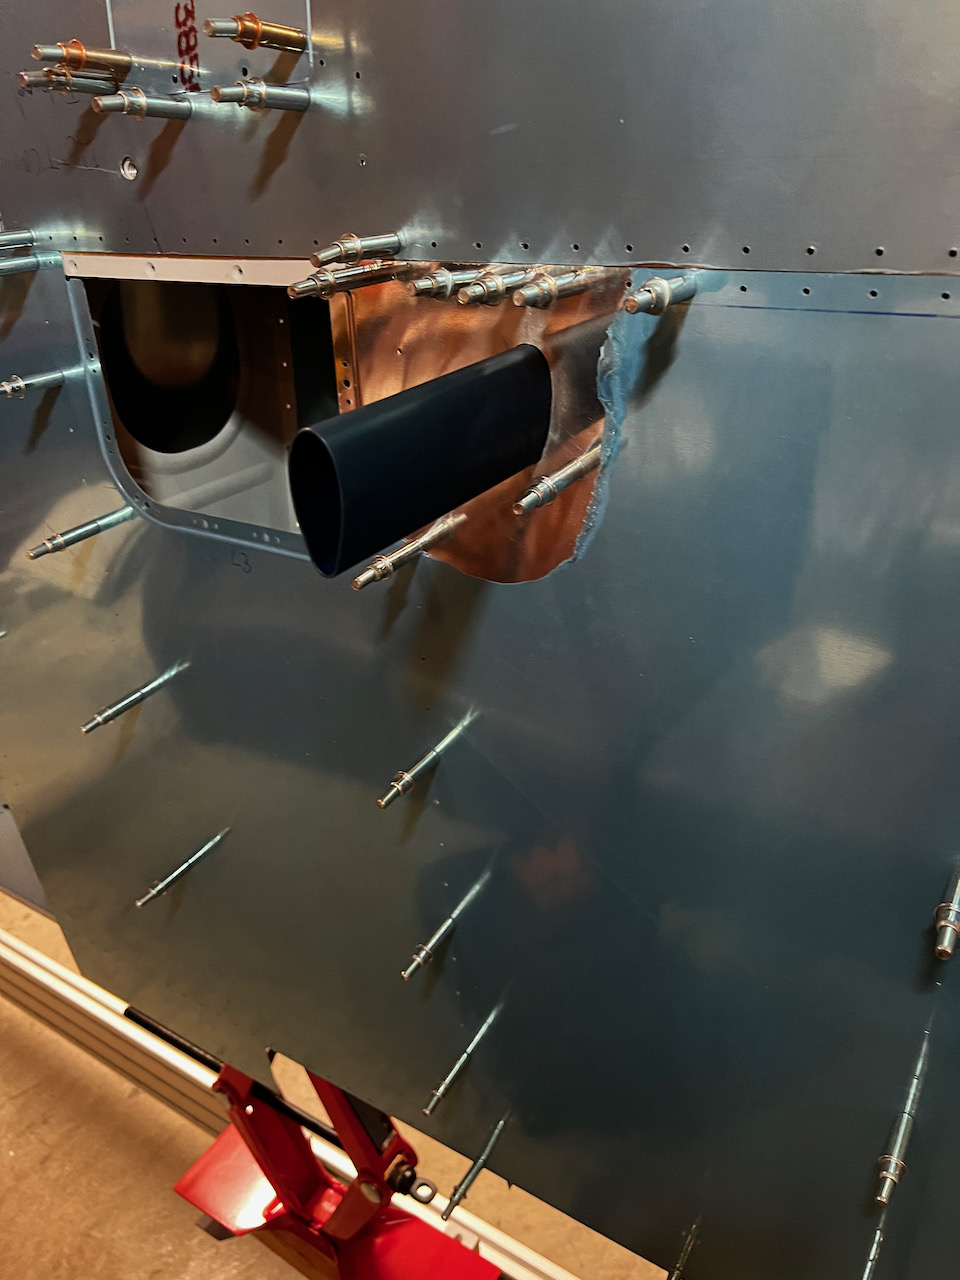
Once the hole was cut, the rest of the process was pretty straightforward. After test fitting the skin with the mast, I drilled and cleco’d one at a time until all five holes were drilled and deburred. The final fit looks good, and when mounted with sealant the tiny gaps should fill in nicely.
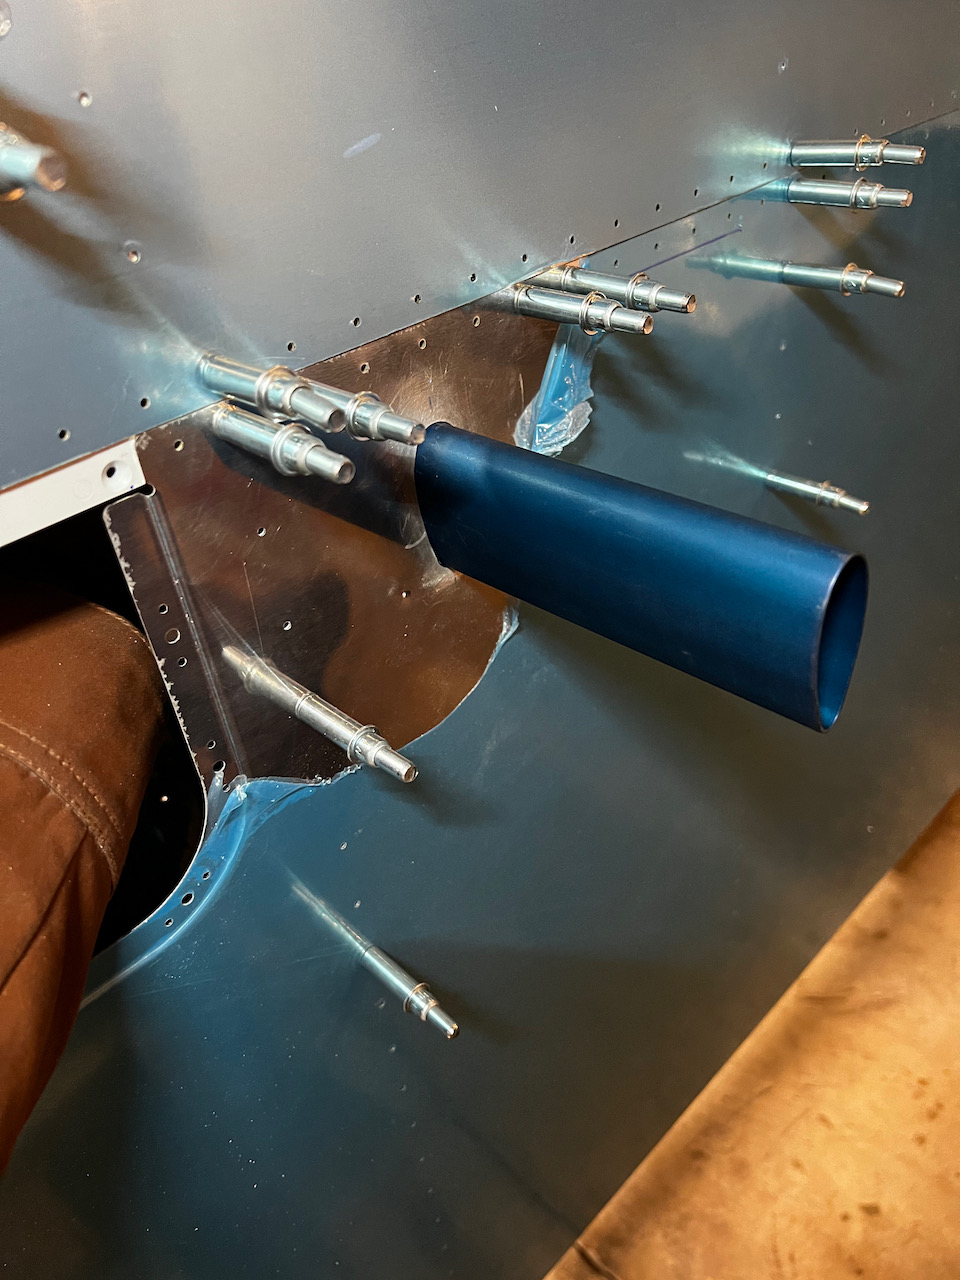
Test fit before drilling
first hole drilled and deburred
All holes cleco’d nicely
One thing to note if you use this specific mast kit. There is a bit of an offset lip that is on the base plate which is used to align it with the spar flange edge. You need to be careful that the mast hole doesn’t force the mast too far forward which would result in the lip of the plate overlapping the flange too much. This would result in the plate not sitting flat on the inside of the skin. Mine worked out nicely, but it wasn’t completely on purpose. Since I chose to enlarge the hole to the aft side, it just so happened that the lip alignment worked out pretty nice. Food for thought. In the next session I will be removing all the skins, and starting the rib and skin prep process. Until next time, Happy Building!