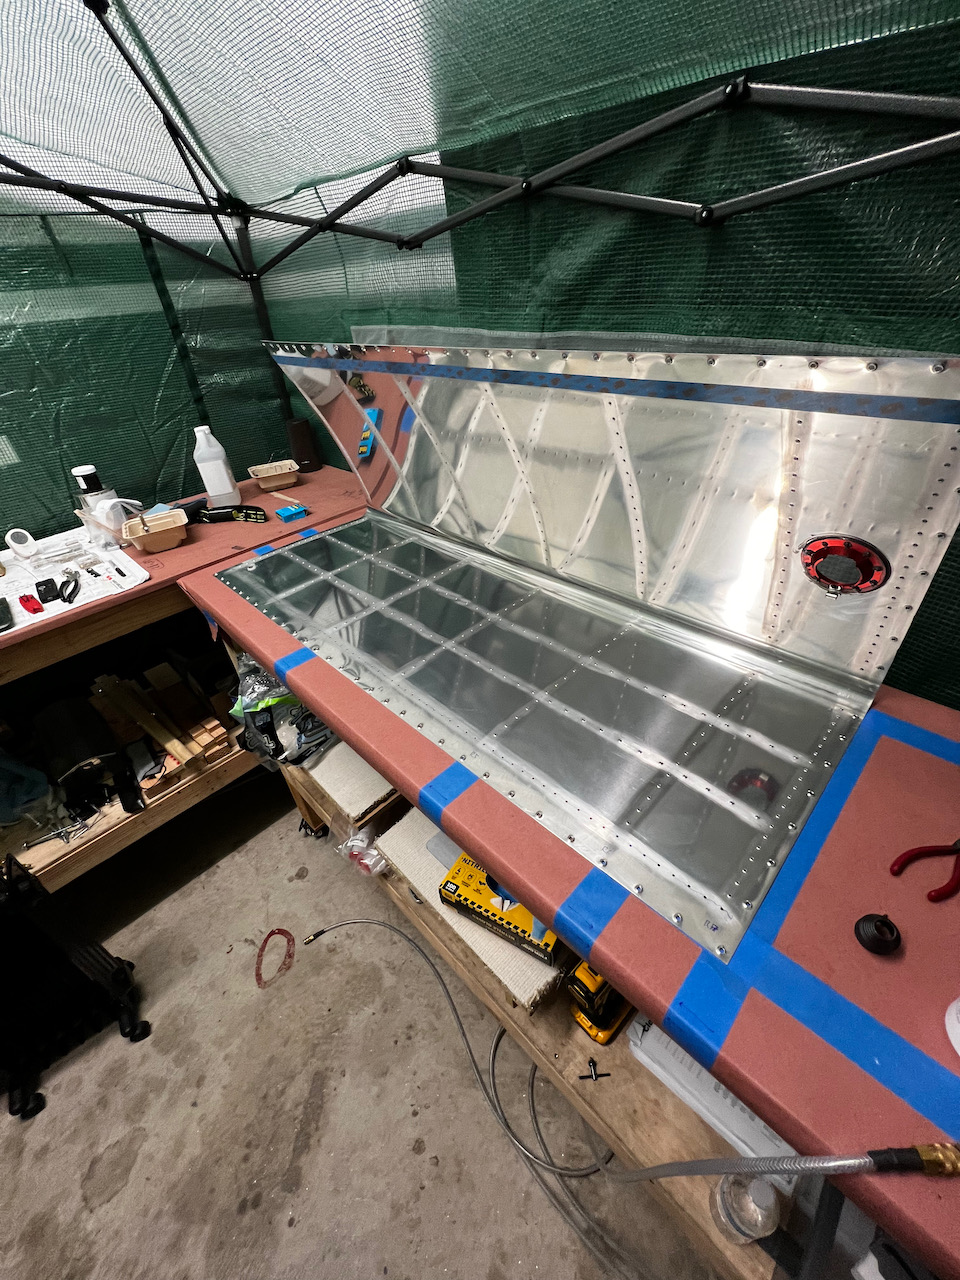
It was an epic weekend of building. Between a bunch of kids volleyball and basketball games I was able to get in a good number of build hours. It started with finishing the stiffeners, then I moved on to some rib prep work, and finally installing the fuel drain flanges. I accomplished a lot, and am starting to get comfortable with the sealing process. Read on for a lengthy post on the goings on of the sessions.
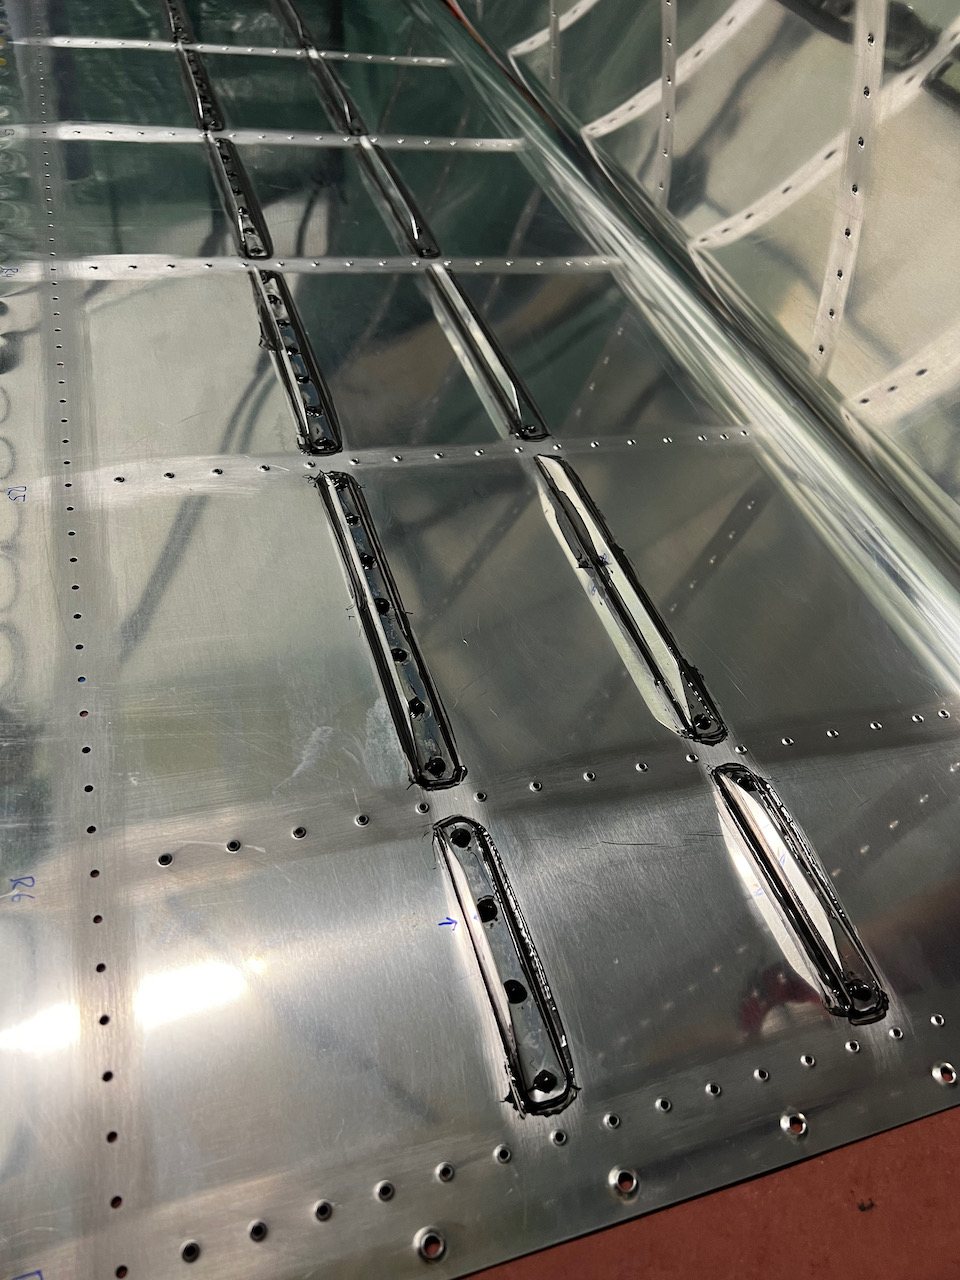
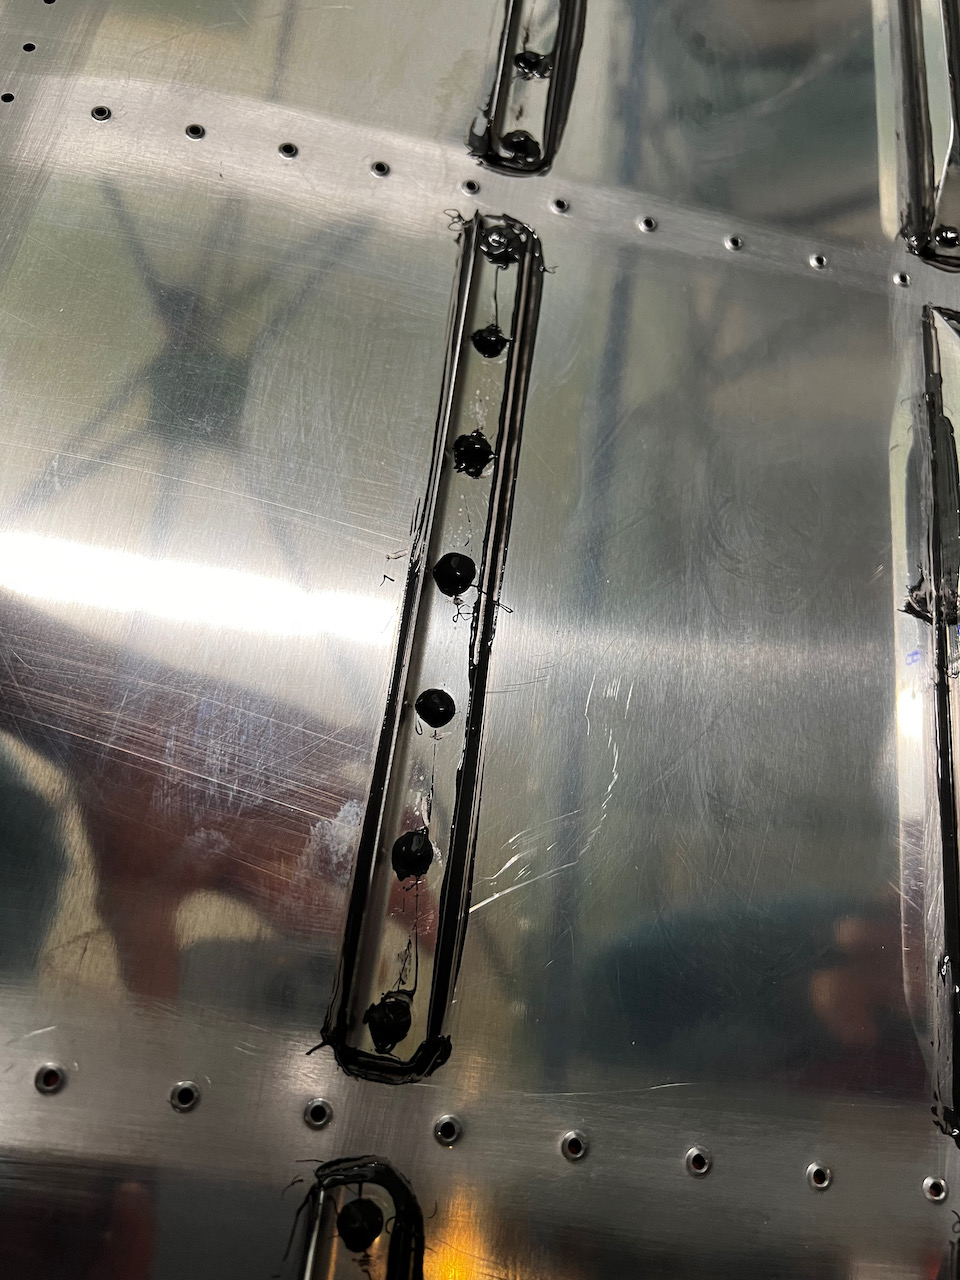
Fuel Tank Stiffeners
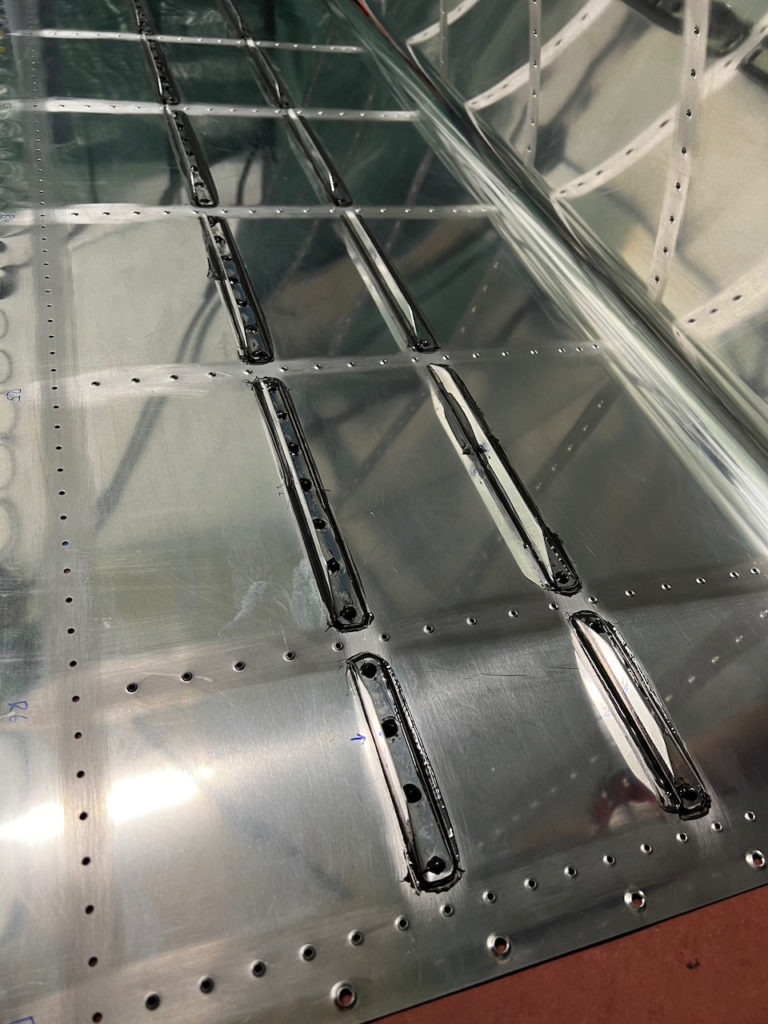
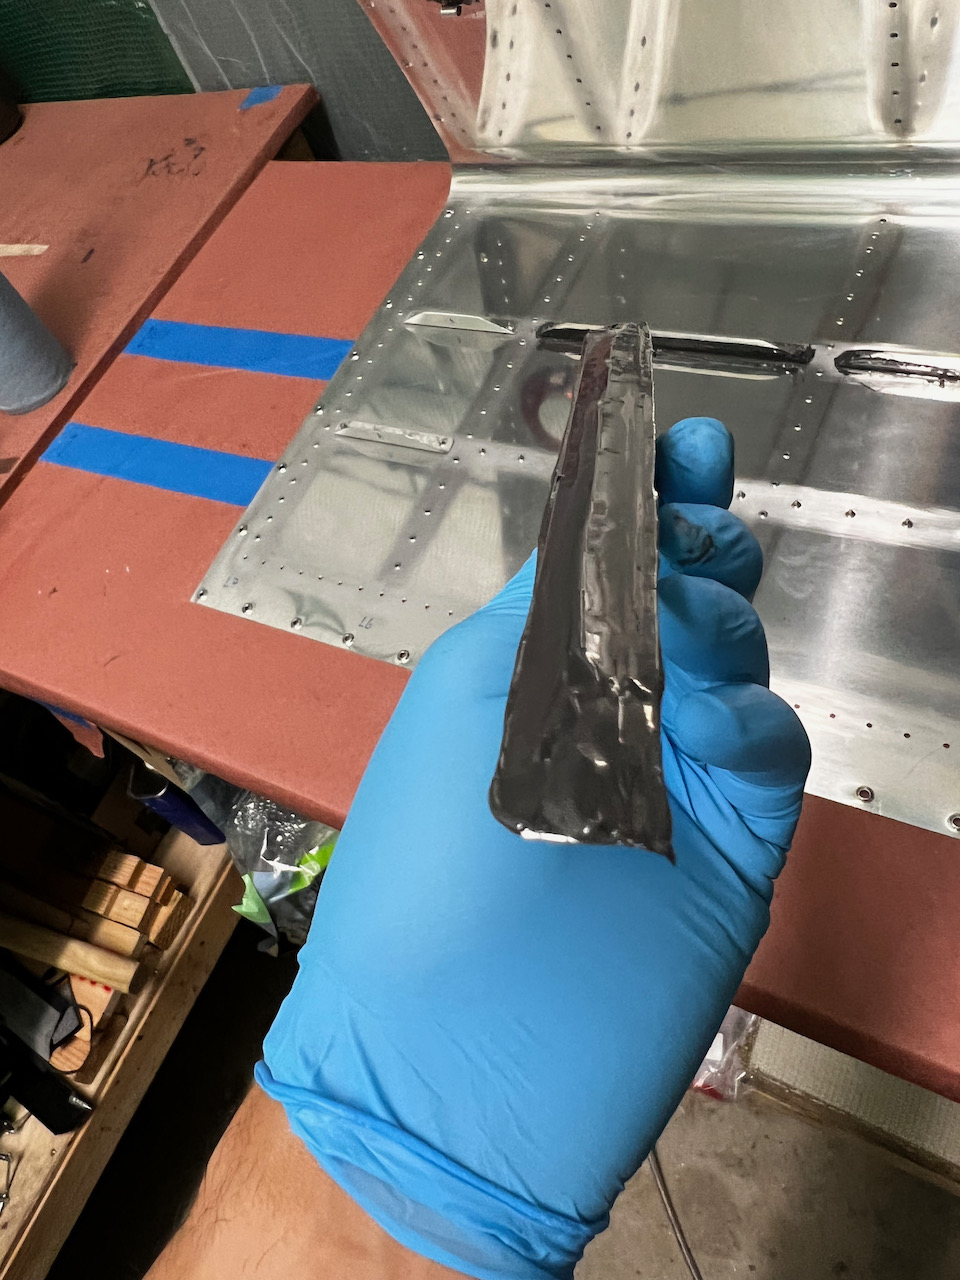
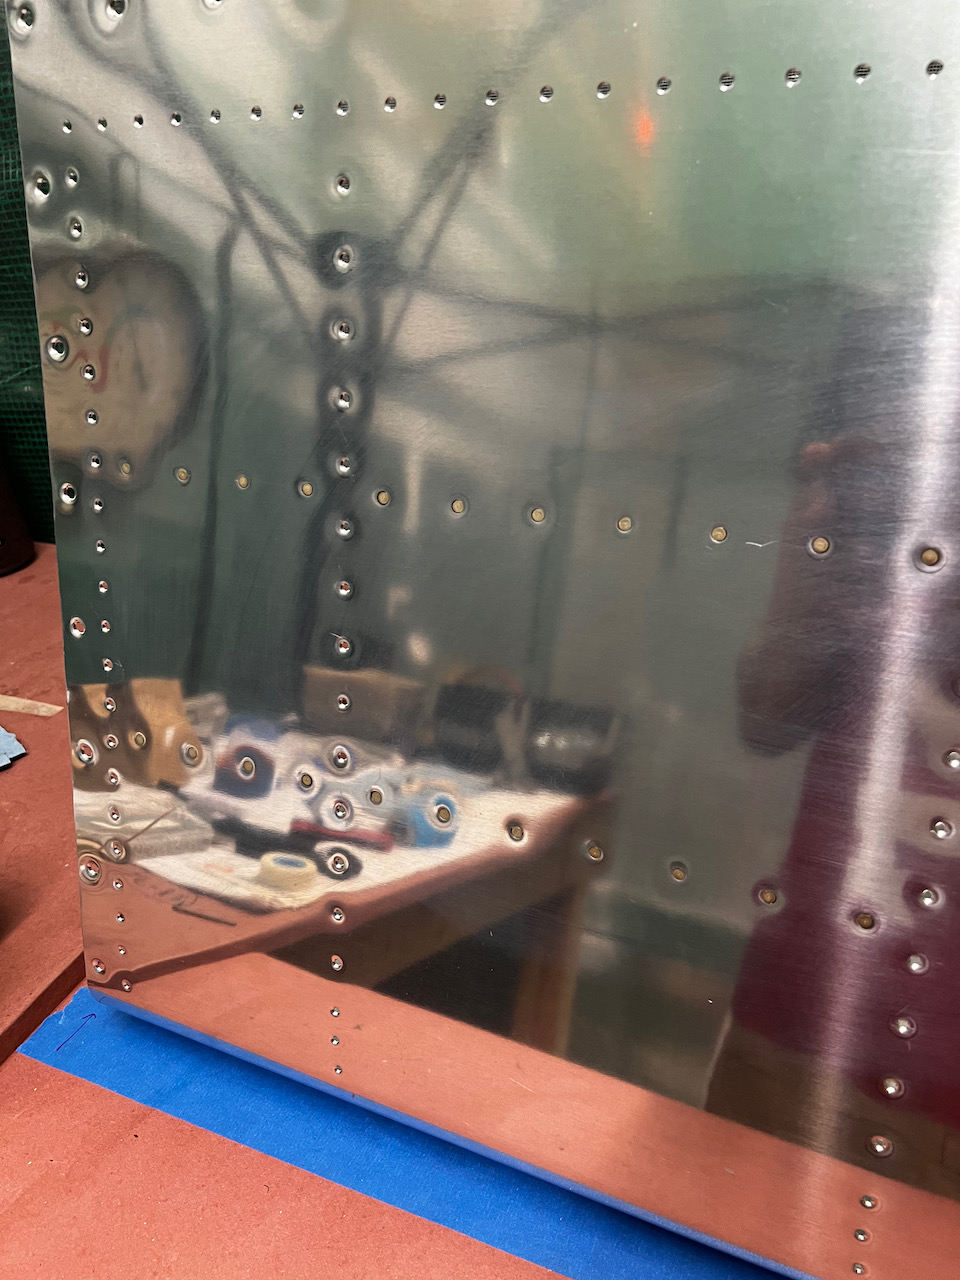
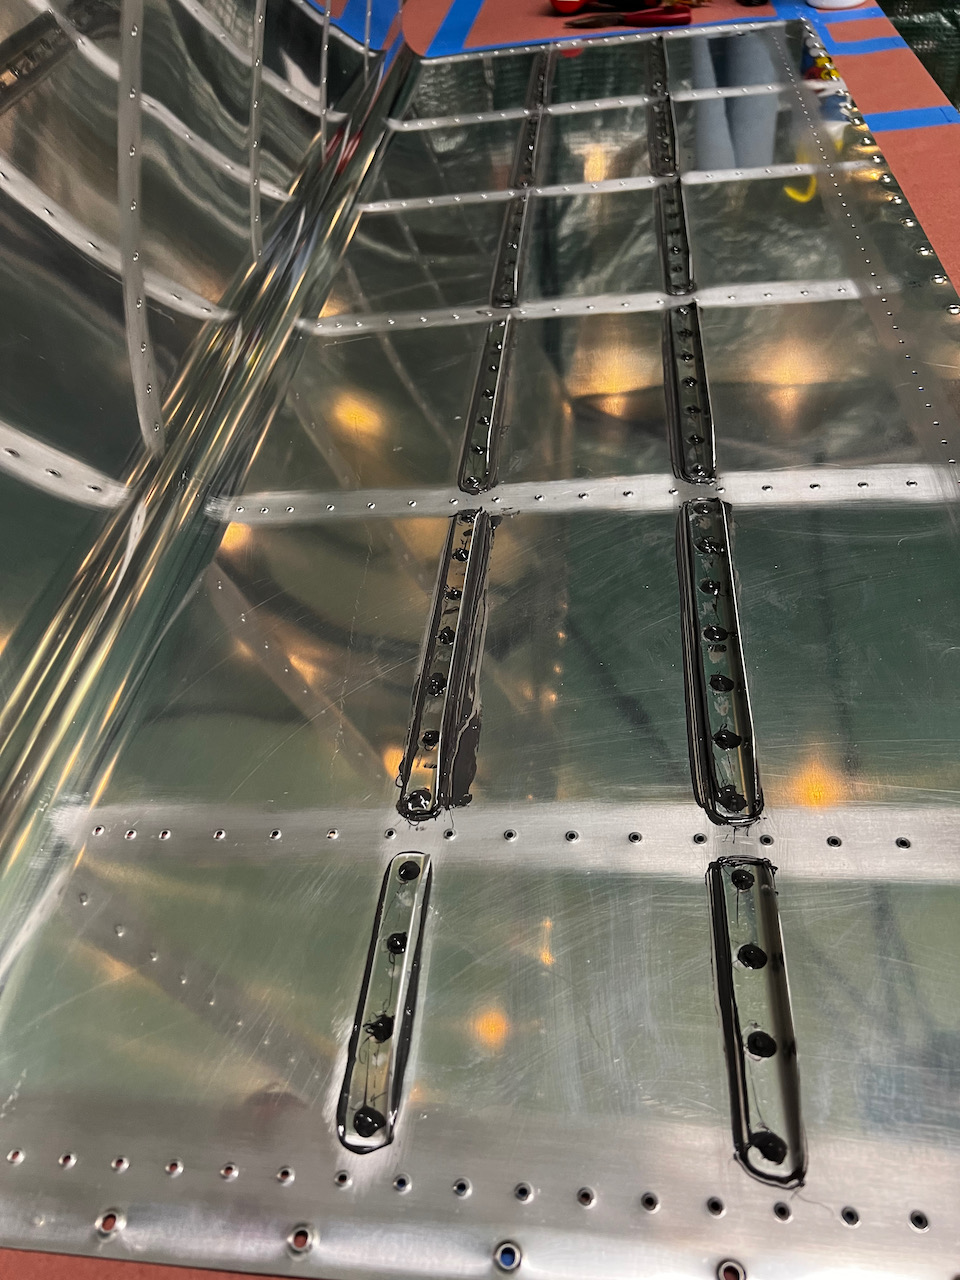
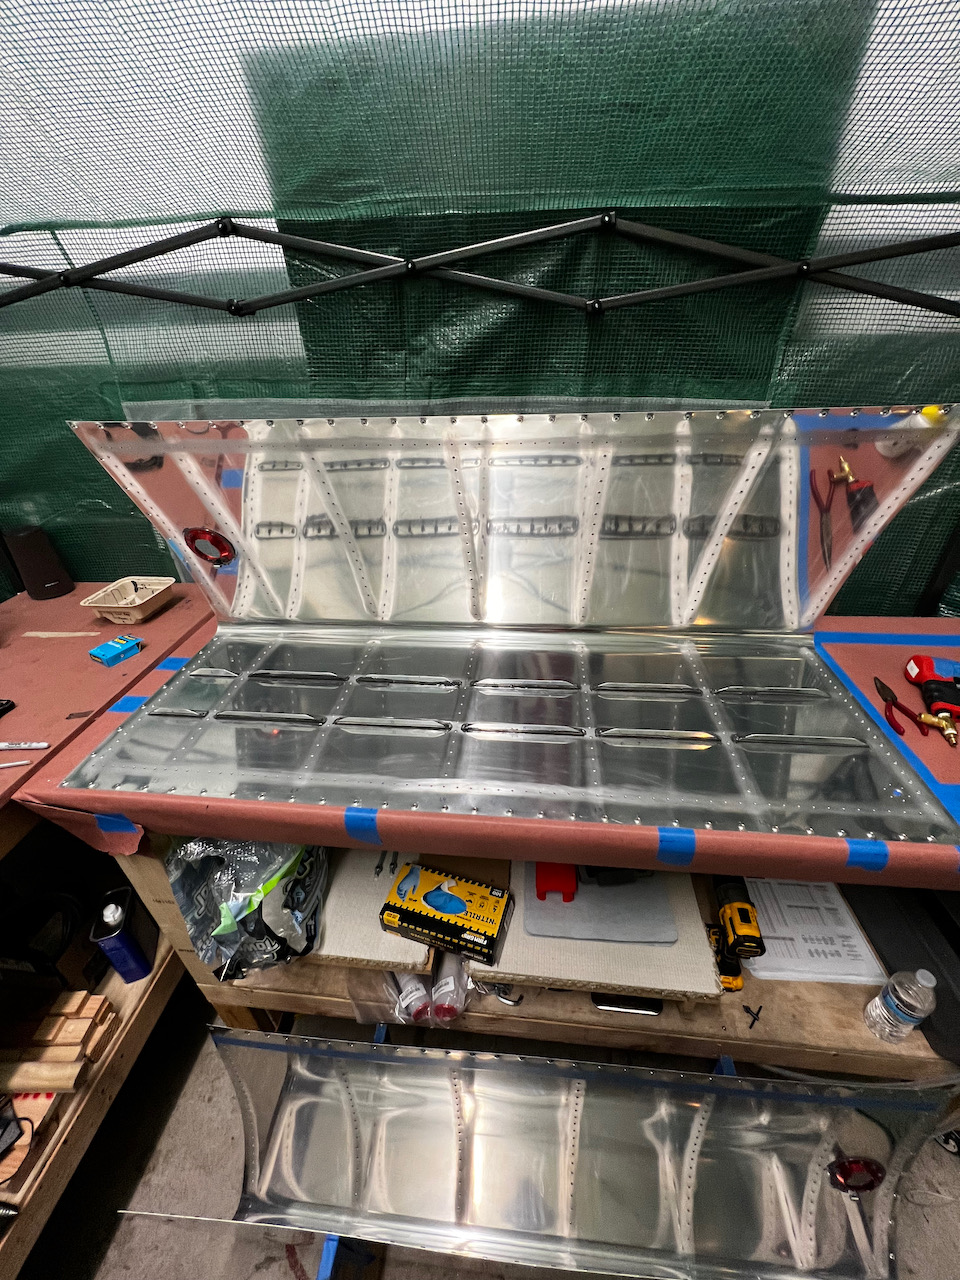
Practice makes perfect, and it clearly played out with the fuel tank stiffeners. What took two and a half sessions to get the left wing done, I was able to get done in one session on the right wing. I’ve had a lot of learnings over these first few sessions. Outlined below are the takeaways from this part of the build that should help with the next steps.
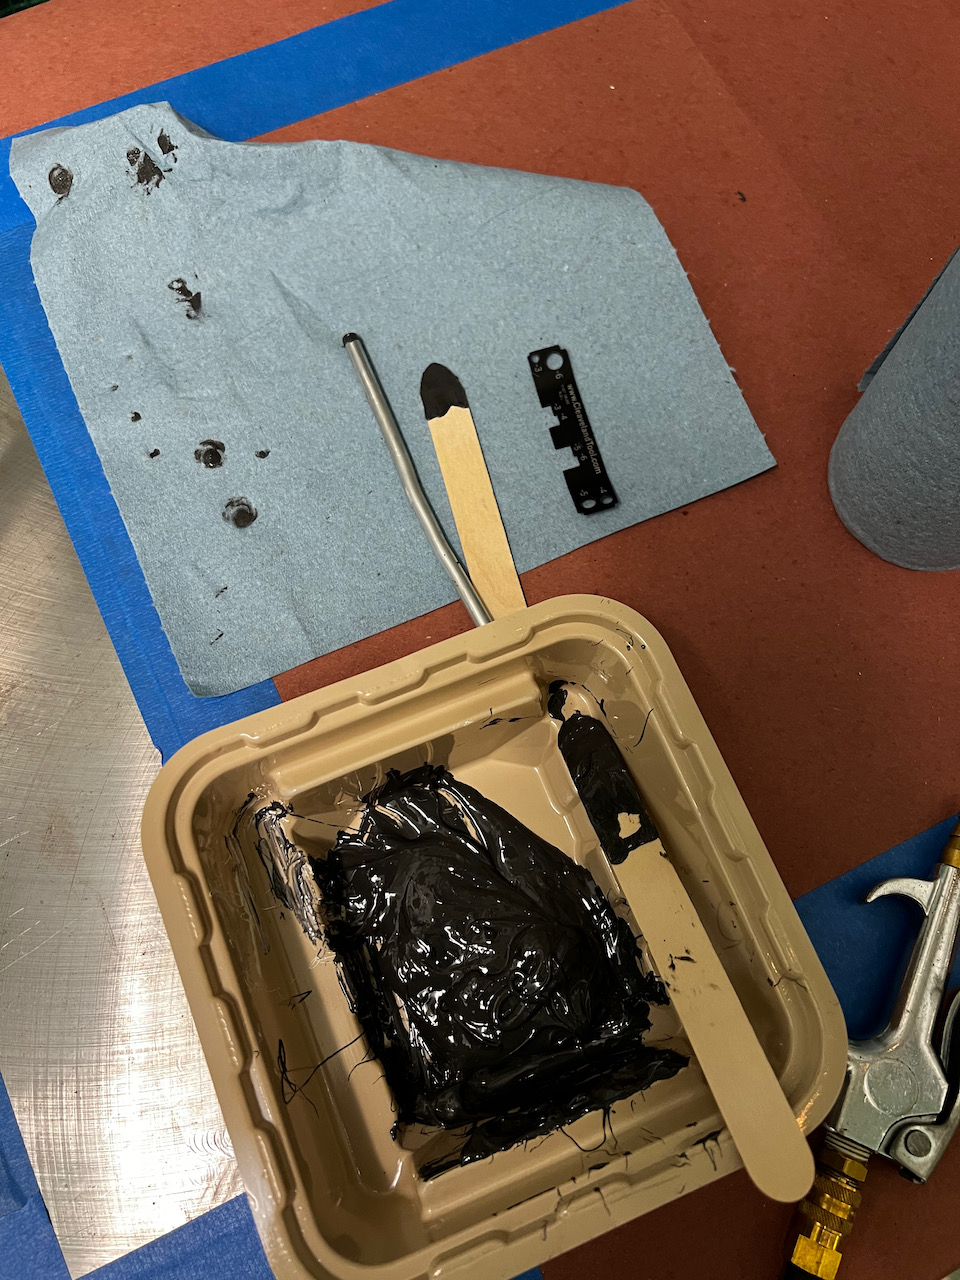
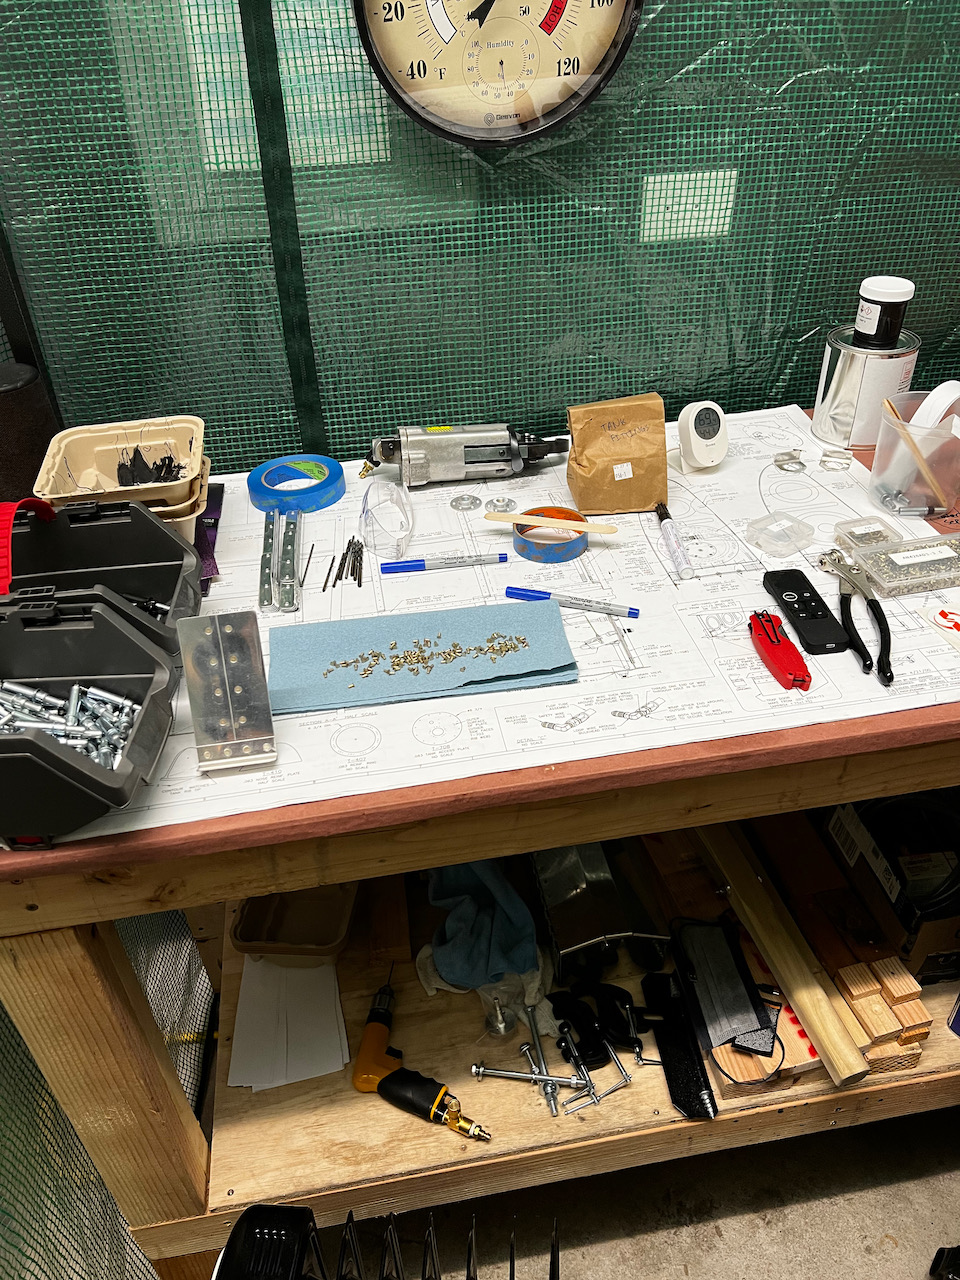
- Get prepped: By knowing what you are going to do and getting organized before you mix, you can use all of the cure time towards build. This includes fully cleaning everything (including your tools!), organizing your work area, and ensuring you are in a position to avoid distractions during the session (did you go to the bathroom already??) I found that I can get through about 70g of sealant if I’ve prepped properly (and have a plan..see below).
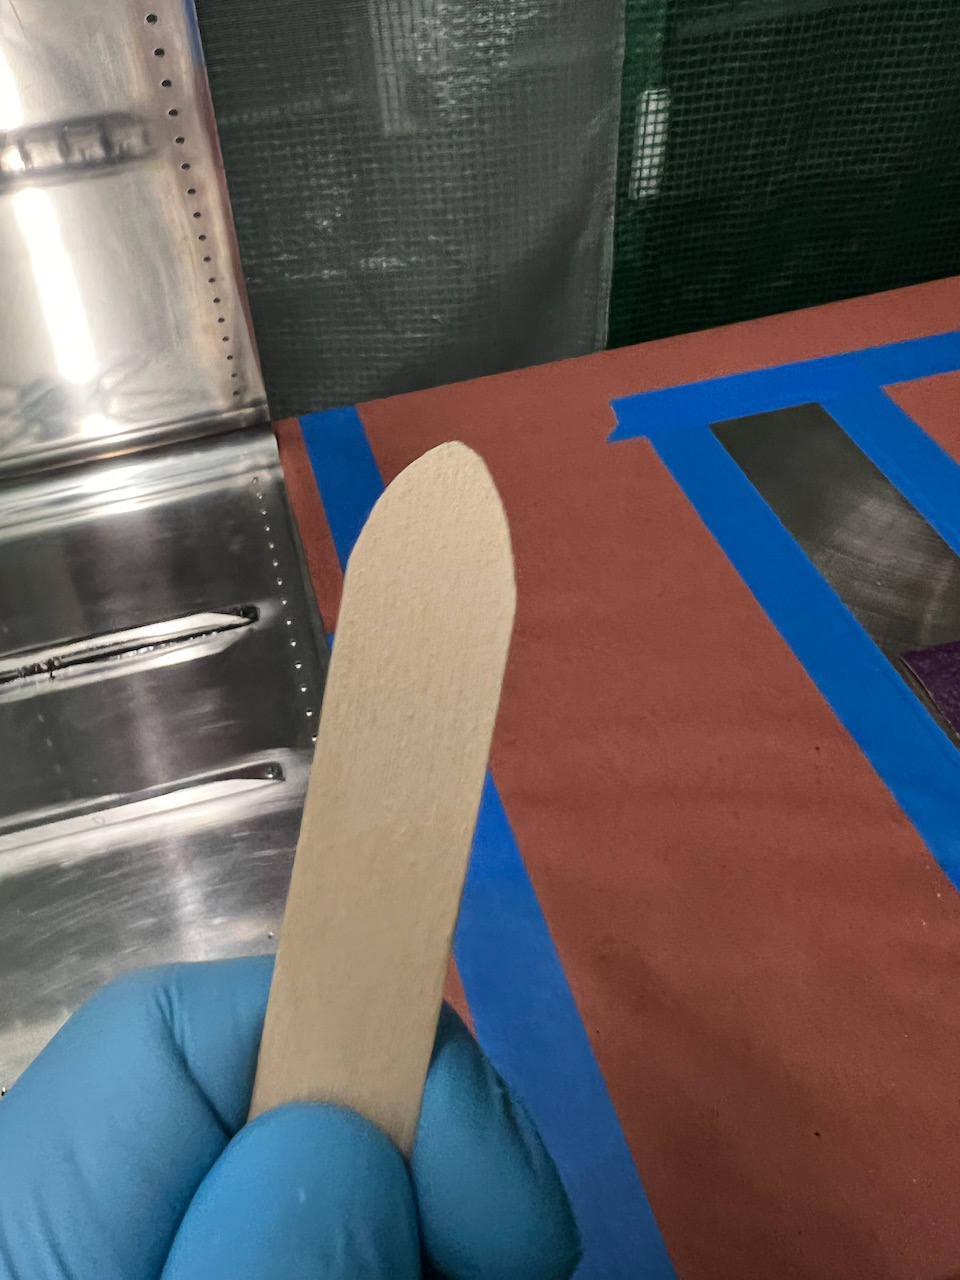
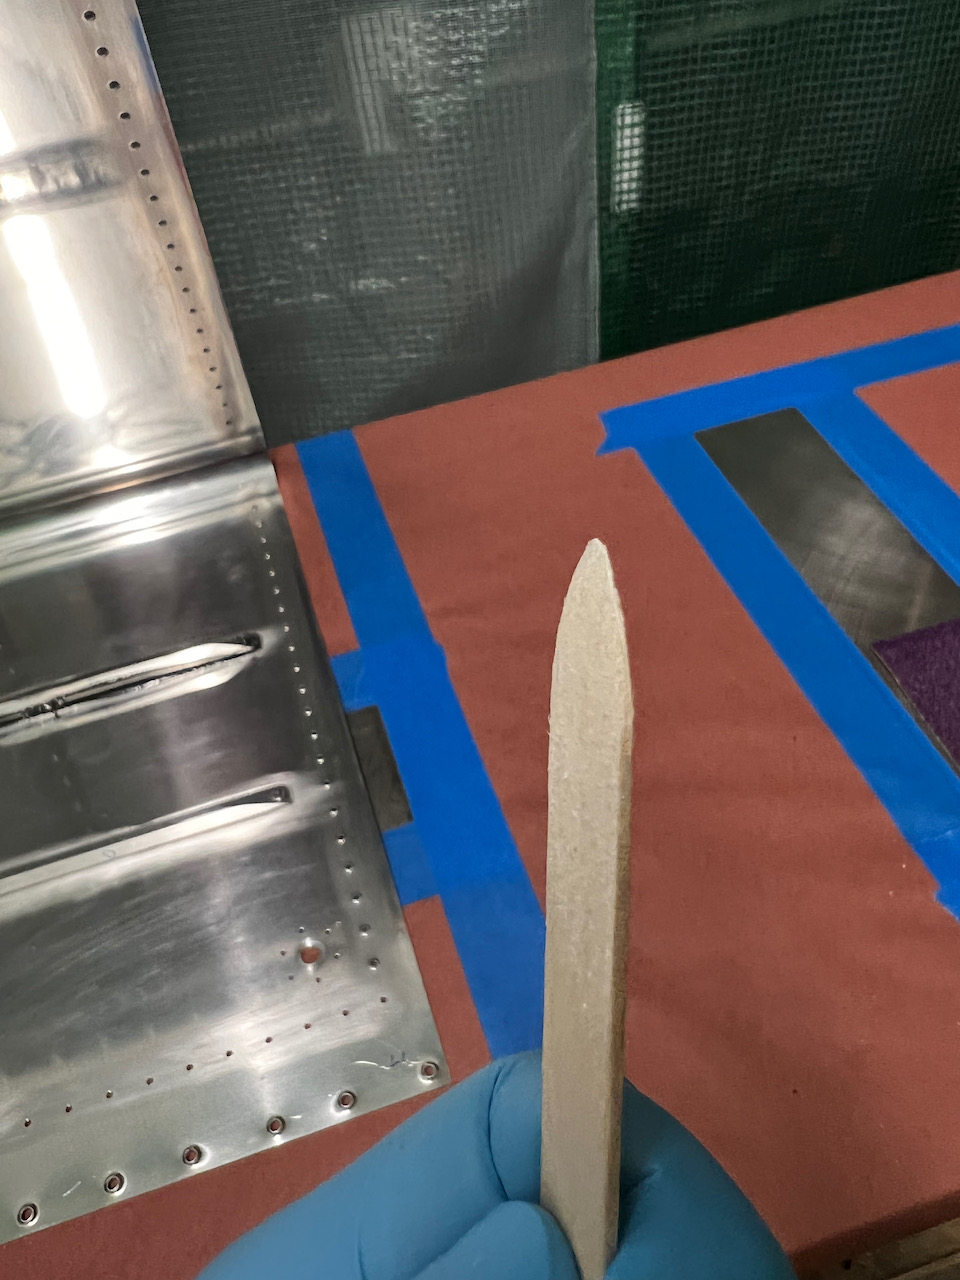
- Have your tools ready to go: The newly shaped popsicle sticks for fillet forming was a key example. Make sure your rivet head tool is ready to go. Is your air compressor on?
- Have a plan: After the first round of stiffeners, I as able to figure out a routine that optimized my efficiency. This included riveting multiple stiffeners before doing fillets and shop head covering. It also included a consistent sequence of activites.
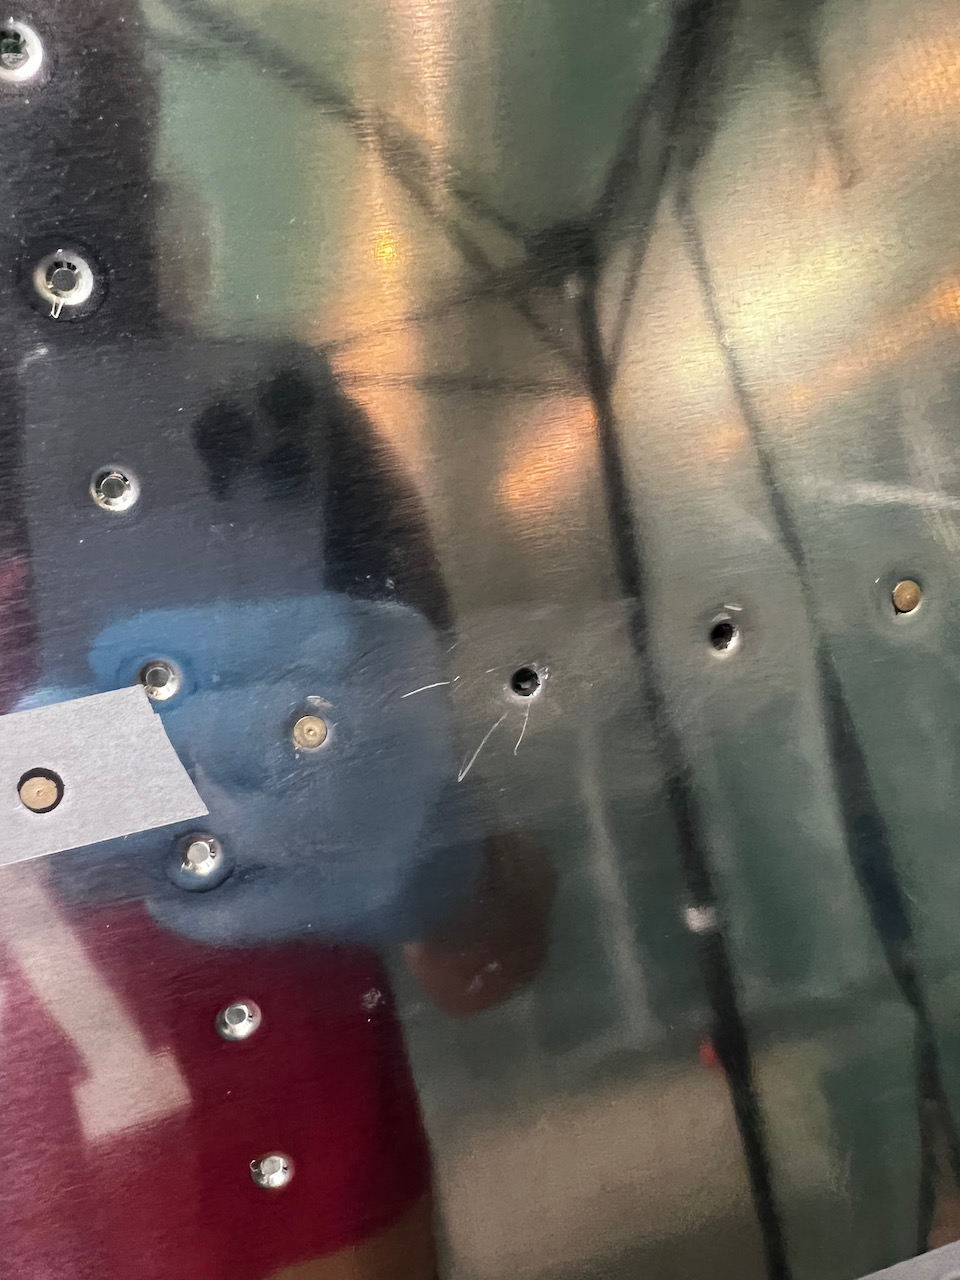
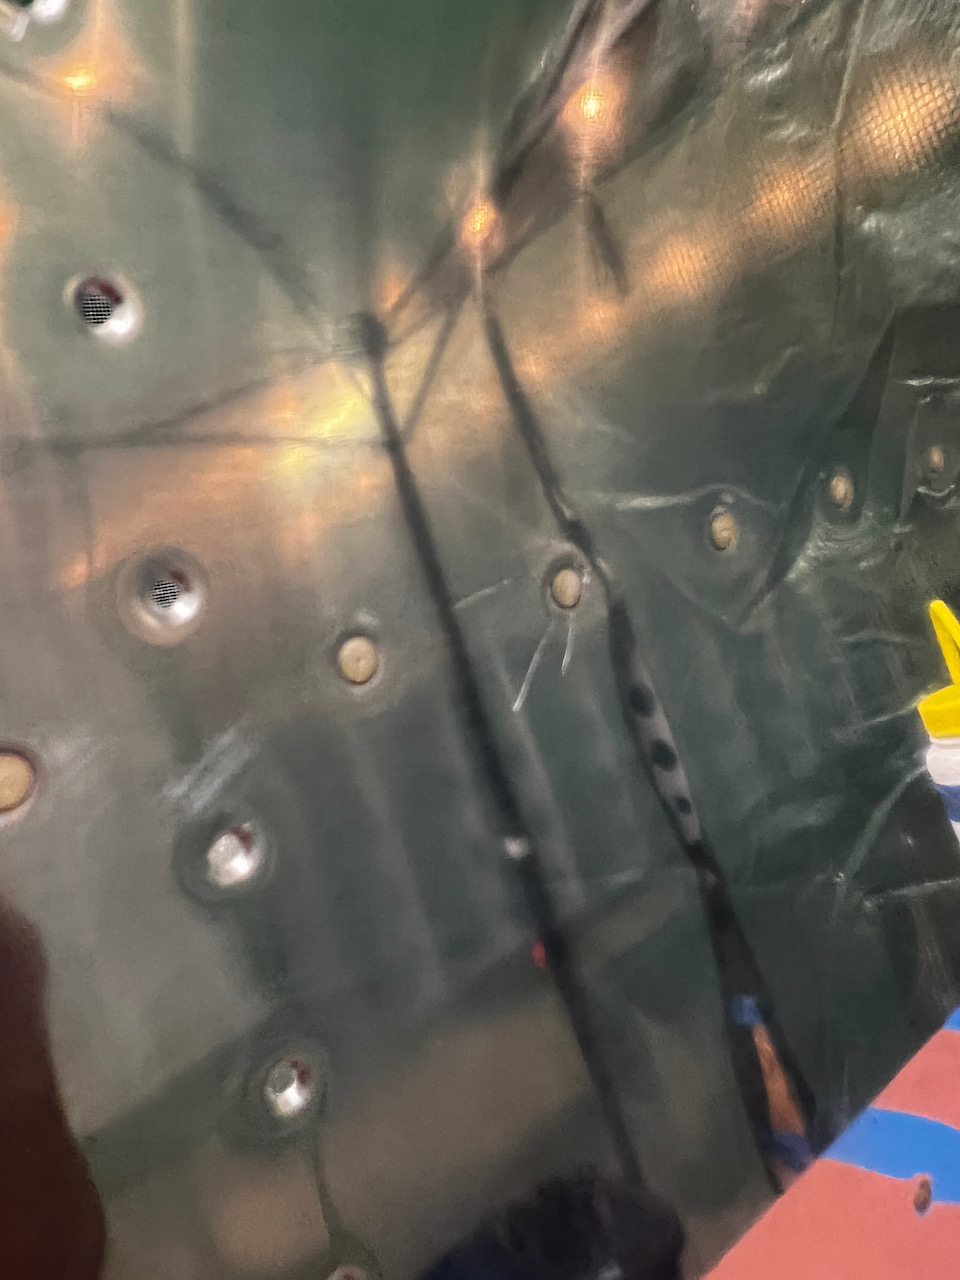
- Don’t forget you are back riveting! There were a couple times I started to back rivet, but wasn’t on the steel plate. This could have been REALLY bad…to the tune of completely replacing the skins. But I got lucky in all cases that it didn’t do any real damage, but in one case I did have to drill out some rivets. Drilling out rivets that have sealant on them is NOT fun. One thing I started doing was really paying attention to the sound as I started the gun. If you are on the plate, it sounds a lot different than if you are over wood. I also looked through the rivet holes nearby to see that I could see steel plating behind the holes.
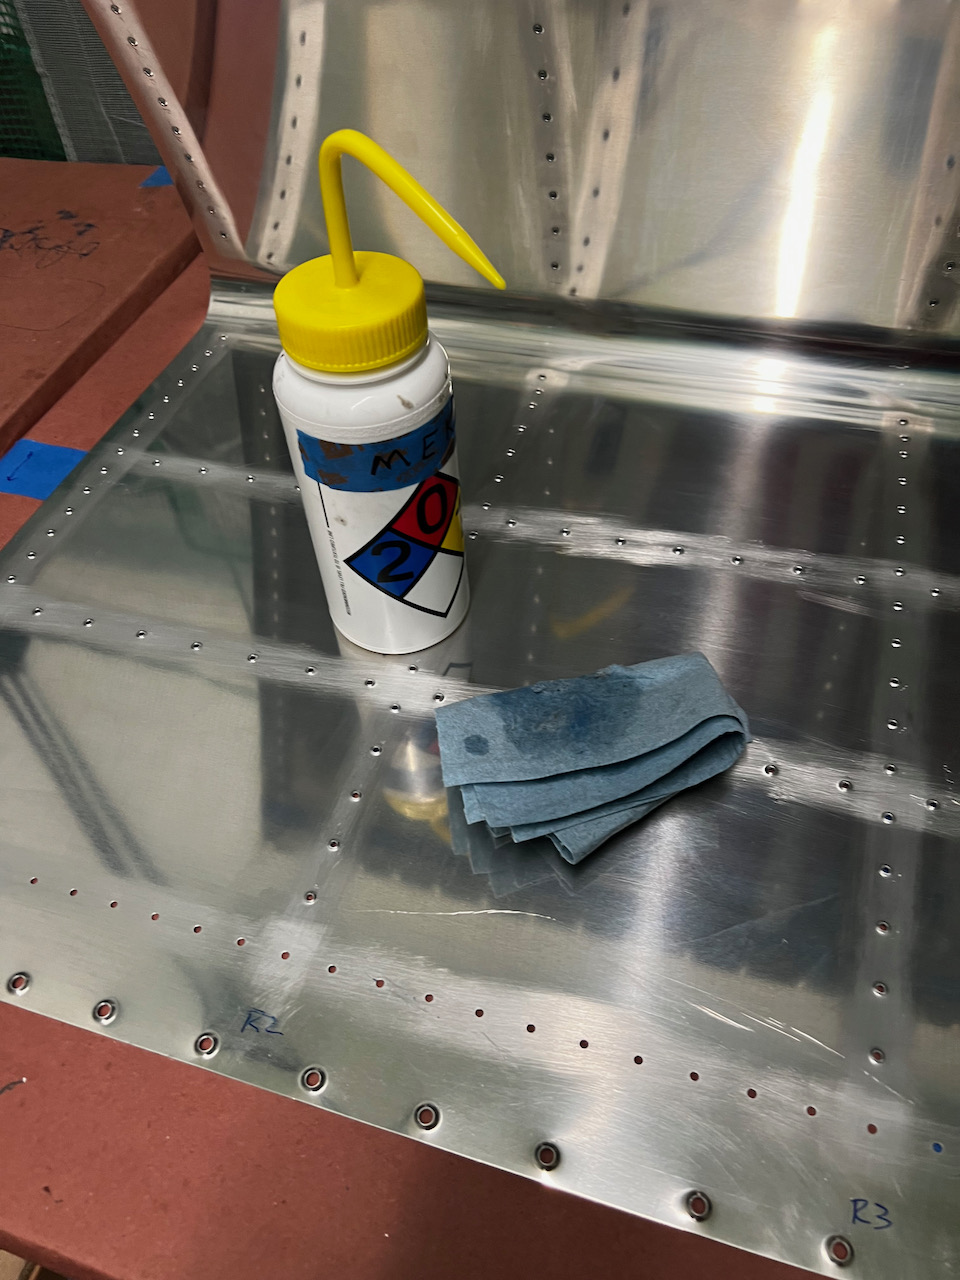
- Keep clean. This includes your tools, your work area, yourself (mainly gloves), and the part you are working on. Check yourself often to see if there are any hiding sealent blobs. If you can get this off, you’ll avoid lots of other things getting contaminated. Don’t be stingy on your gloves, your shop rags and your MEK. I wore double gloves so I could easily tear off a set, finish what I was doing, and then put on another. I also had a big bottle of MEK and constantly cleaned the area I was working on. Be deliberate with where you place your hands and you’ll be fine.
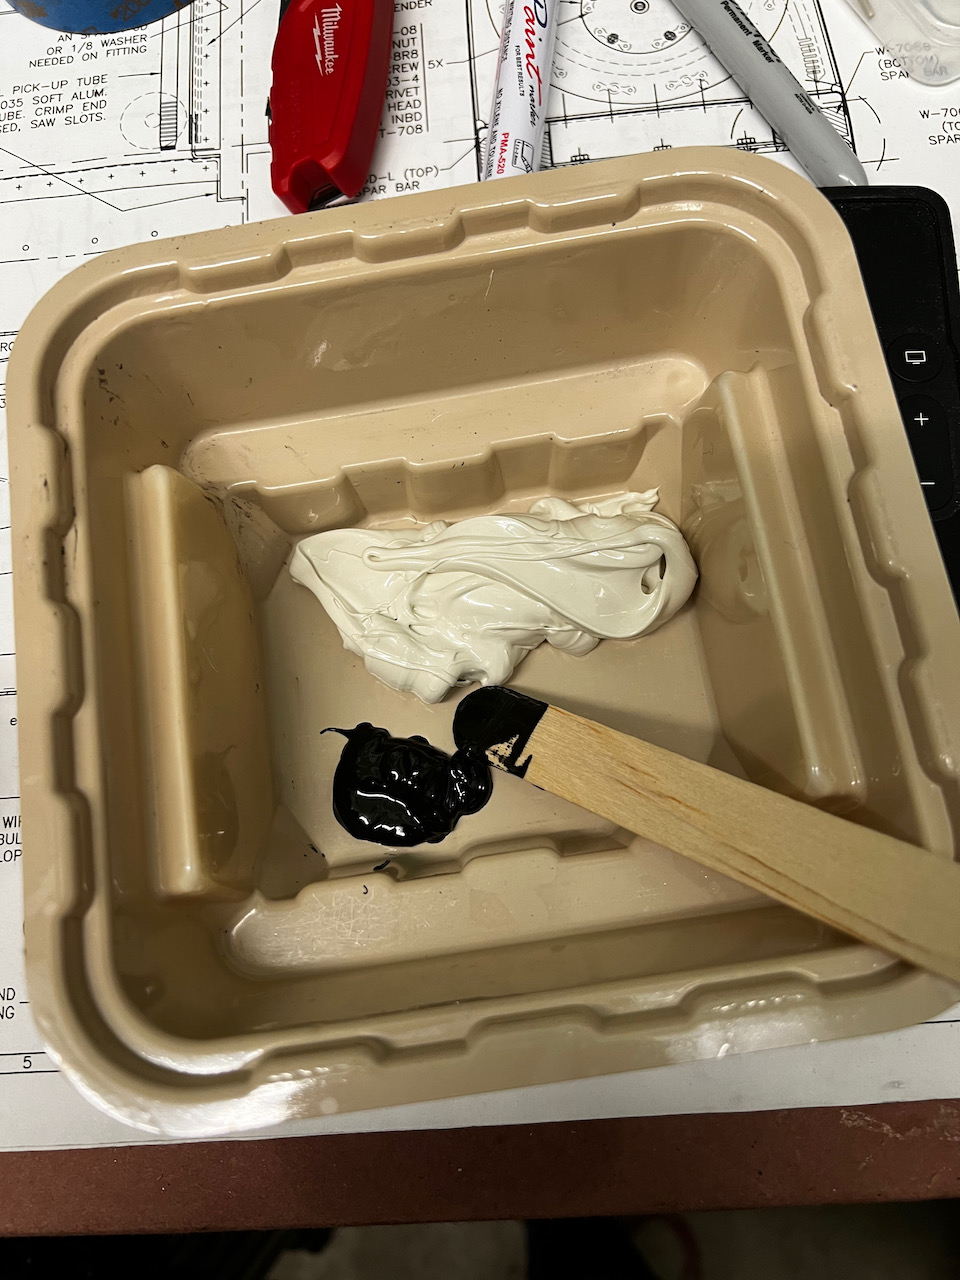
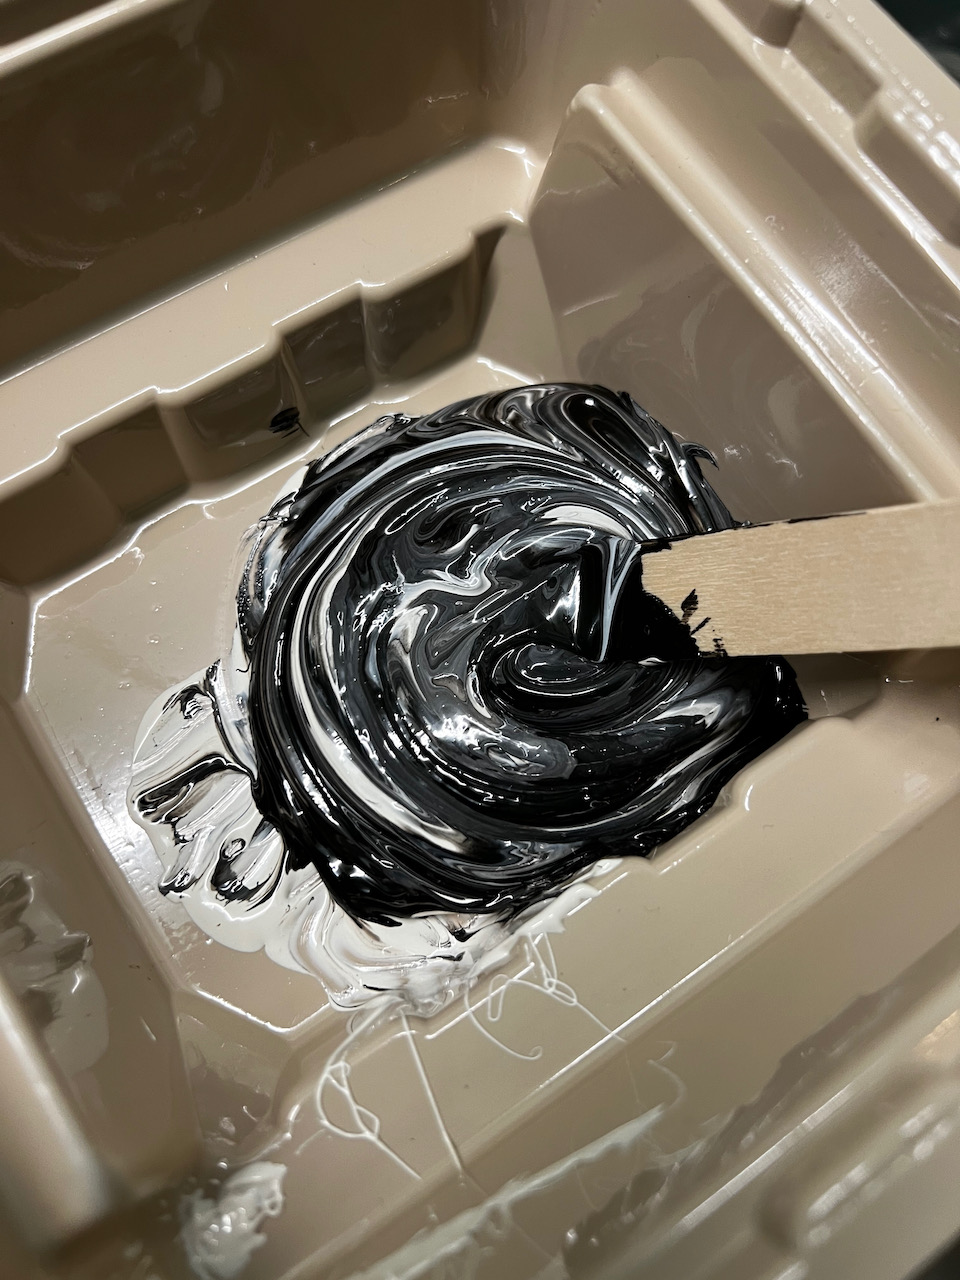
- Slow is smooth. smooth is fast. Take your time. It feels like going fast is what you need to do, but you have more time with the sealant than you think. It sealant gives you about 1.5 hours before it becomes unworkable (at least at 70˚F).
- End early, and clean up. Don’t underestimate clean up time. It is way easier to clean up while everything is still curing. The couple of times I missed a part or two, it was a pain in the butt to clean up (and that was at most 48 hours after initial mixing. If you reserve a good 30 minutes to clean up at the end of each session, your next session will thank you.
- Listen to the experts. I can’t stress enough how much watching the Van’s Fuel Tank Build video (over and over) helped me visualize what I was going to do. There is a lot of outdated, and incorrect information on the forums. Scott McDaniel of Van’s has a relatively recent video (at the time of this writing, less than a year old), and does a great job detailing what needs to happen for a tank build. The proof will be in the leak test, but the procedures and explanations are very clear. Let’s hope it all results in solid, leak-free tanks.
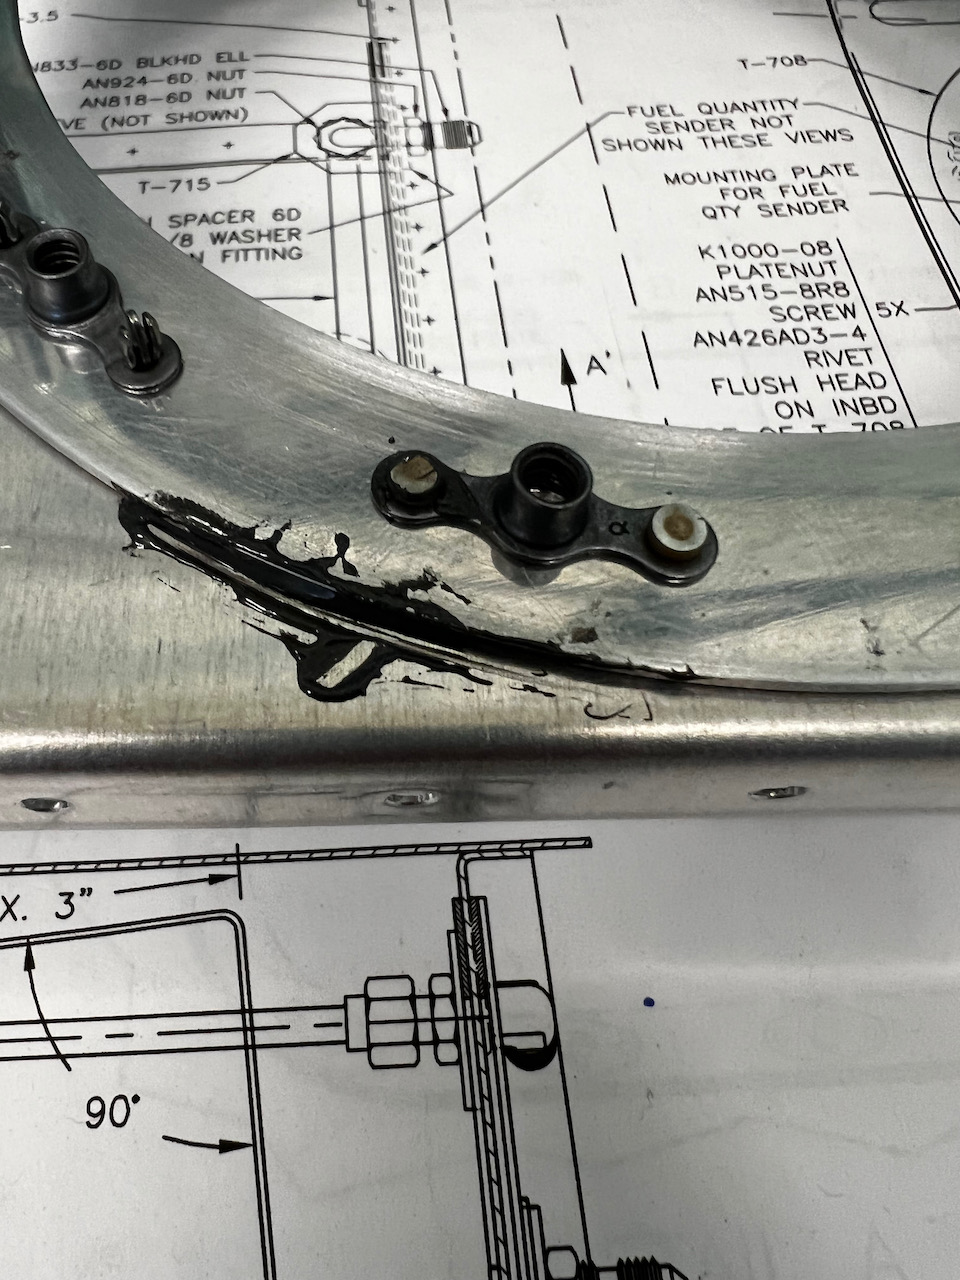
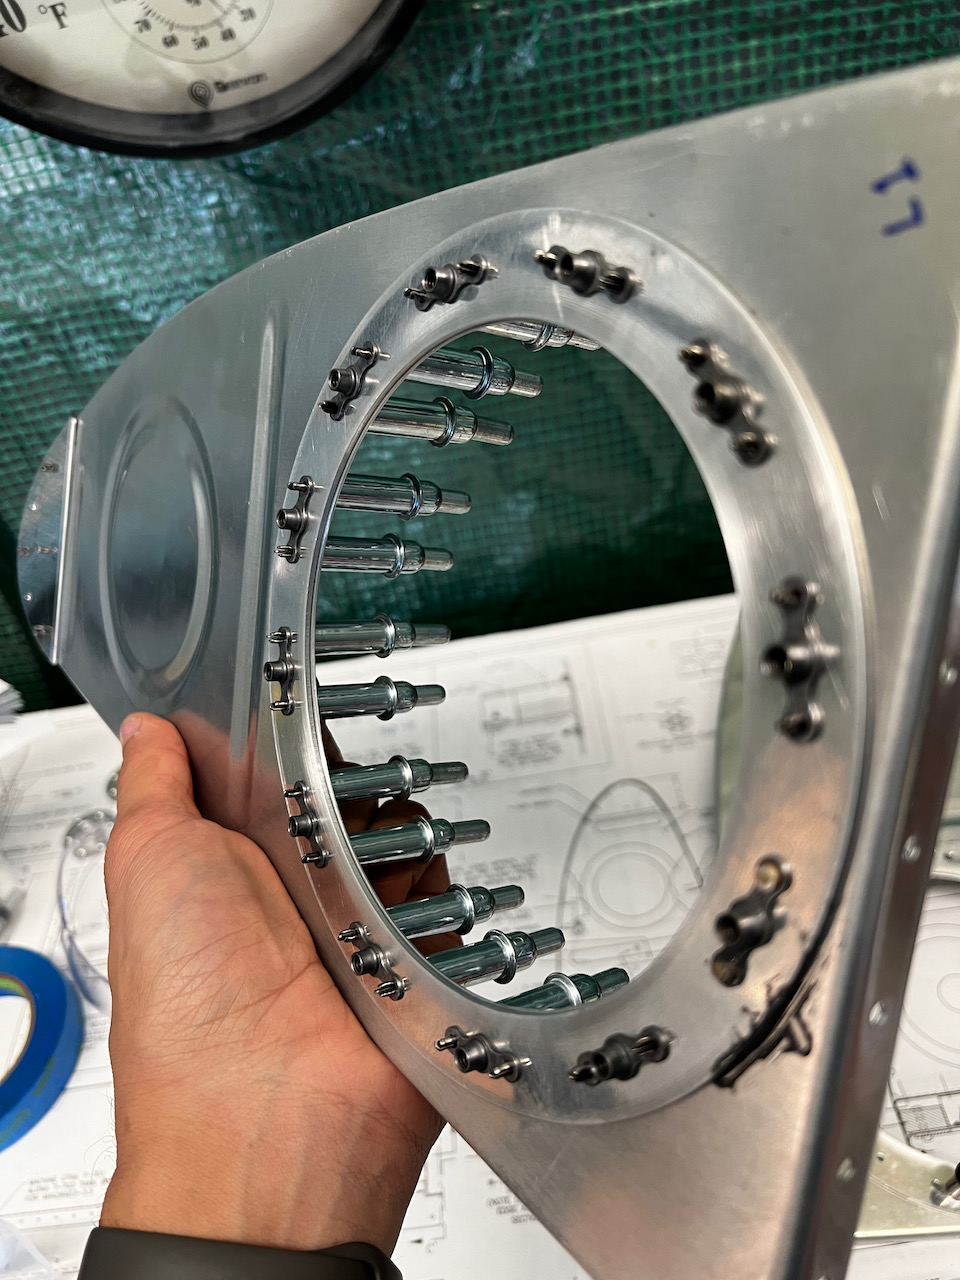
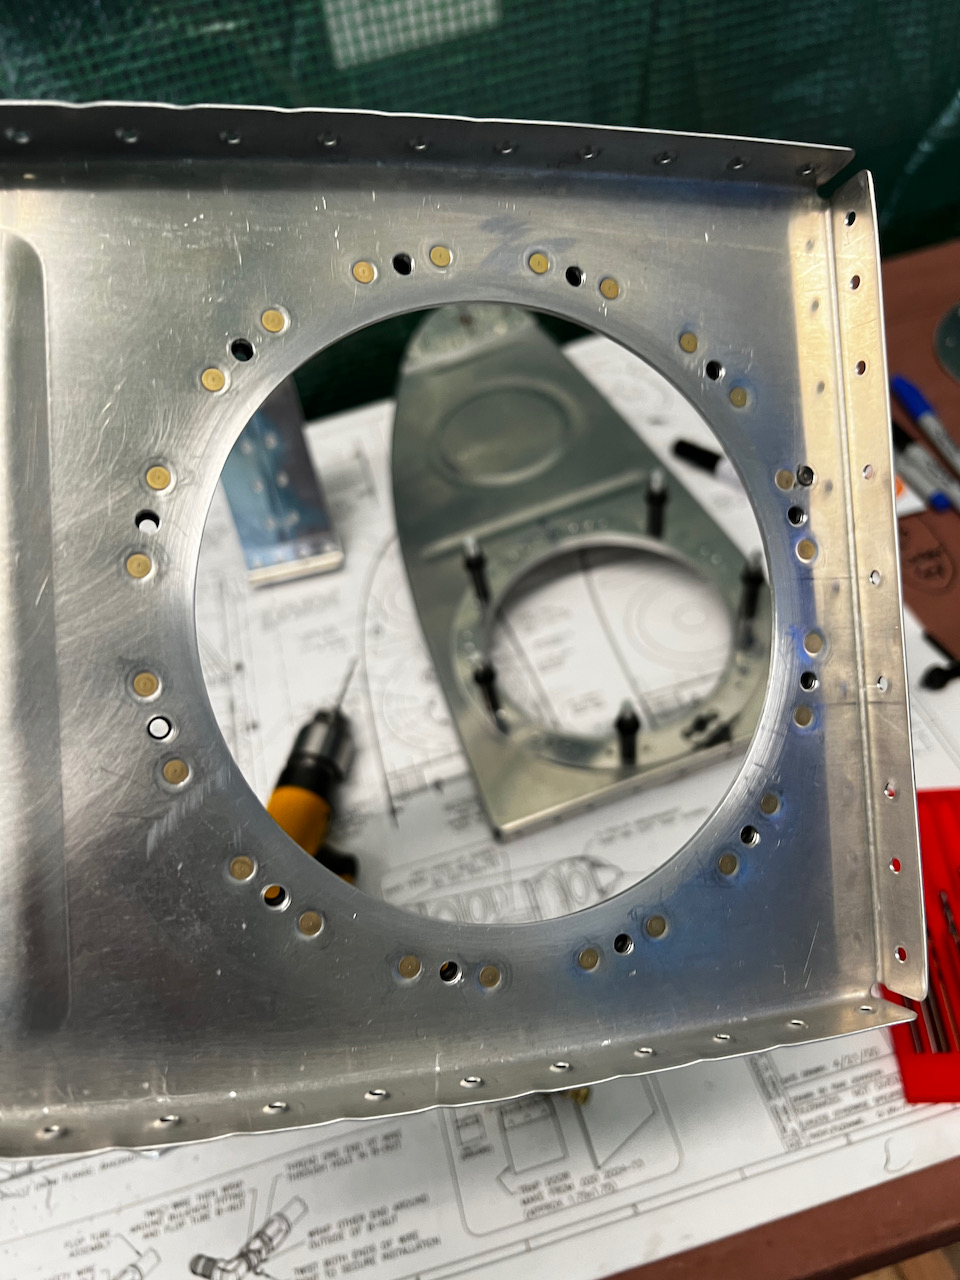
Inboard access port doubler
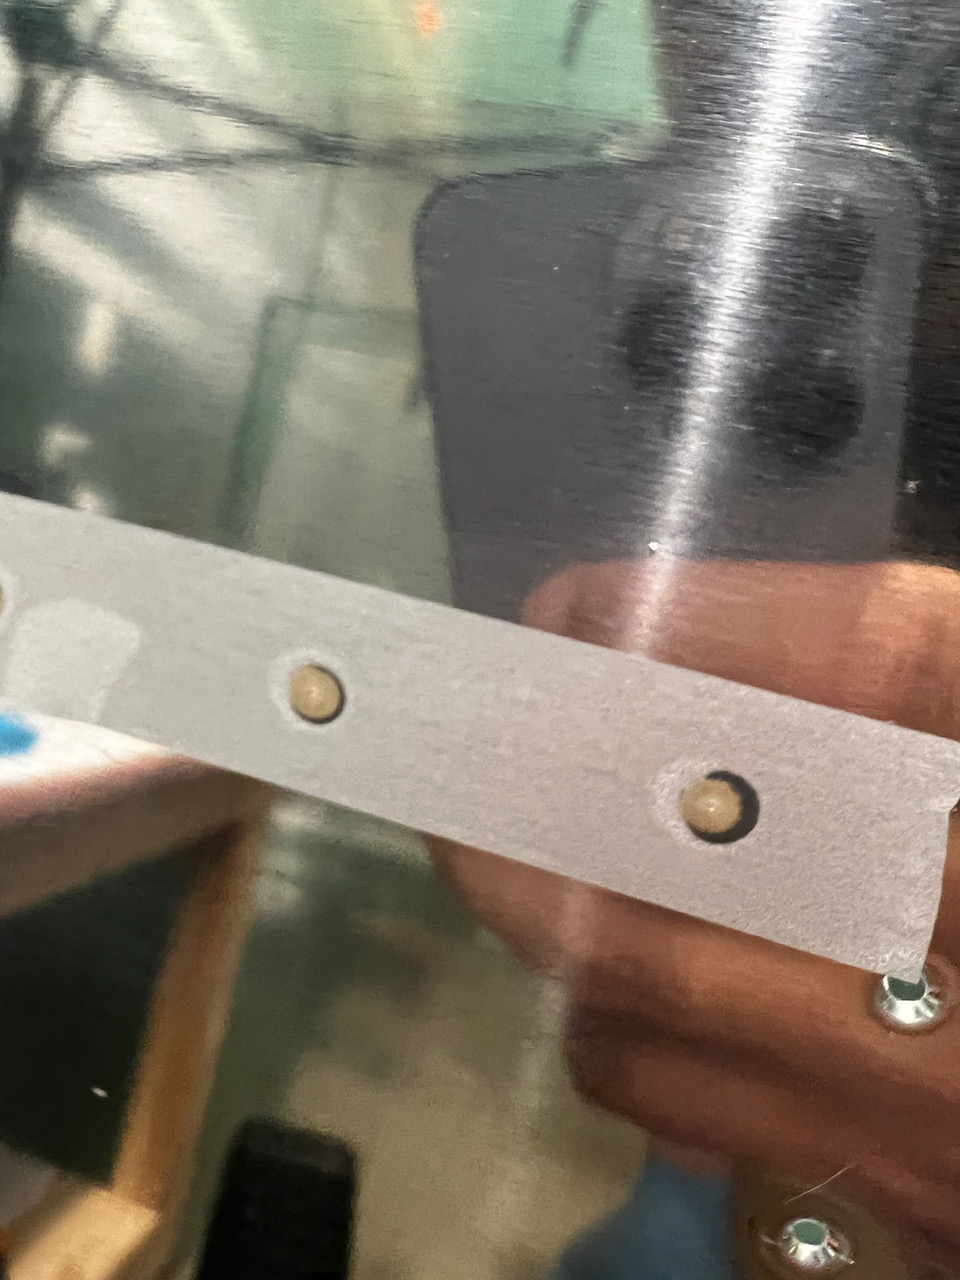
I had skipped a step to rivet the access port because it required a dab of sealant to close a tooling hole. Now that I had some left over sealant, it was a perfect time to take care of it. It was pretty basic work of riveting on nut plates along with the rib and doubler together. There were quite a few nutplates, so it took a while.
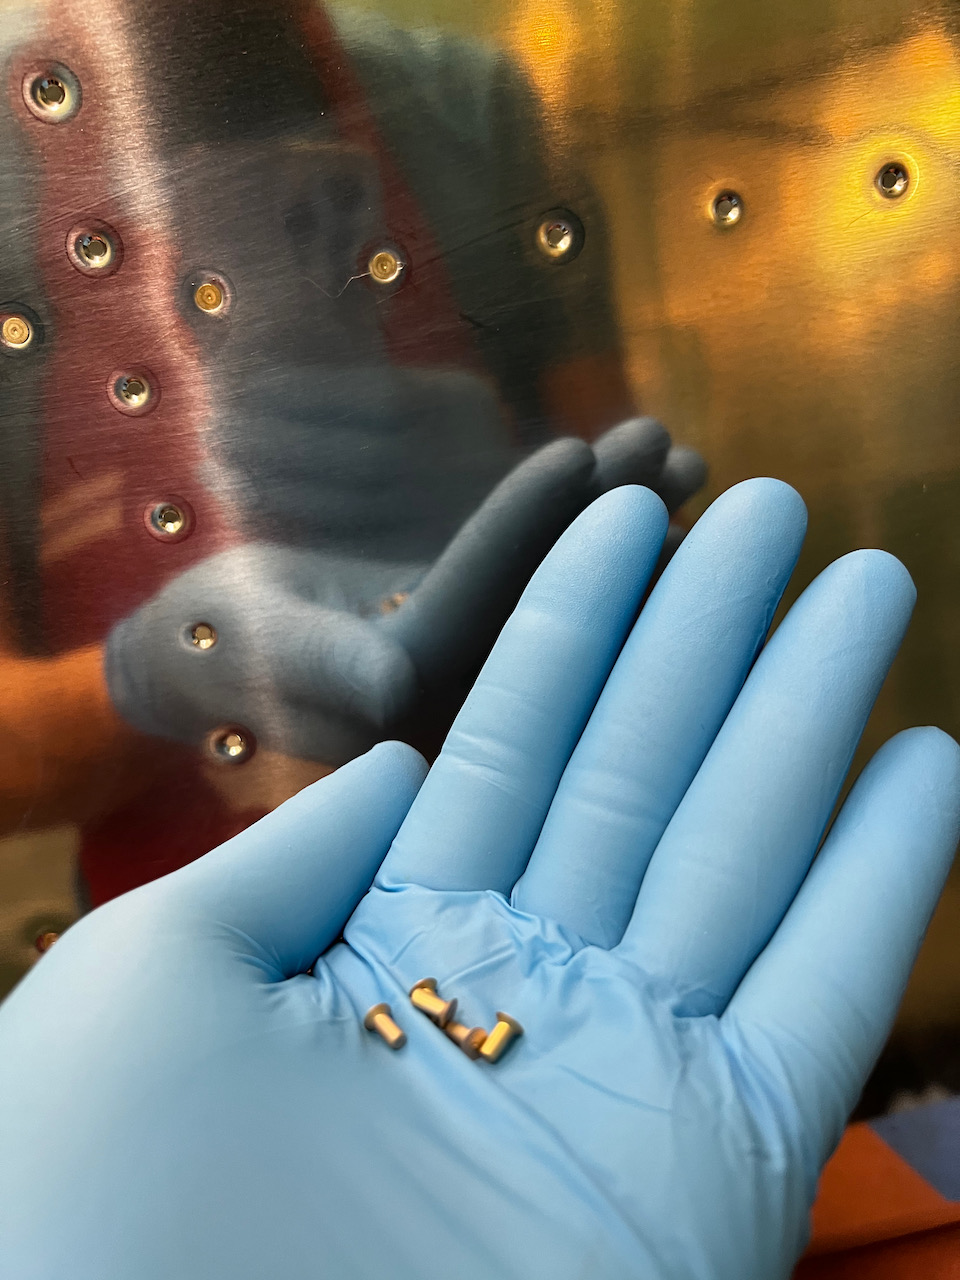
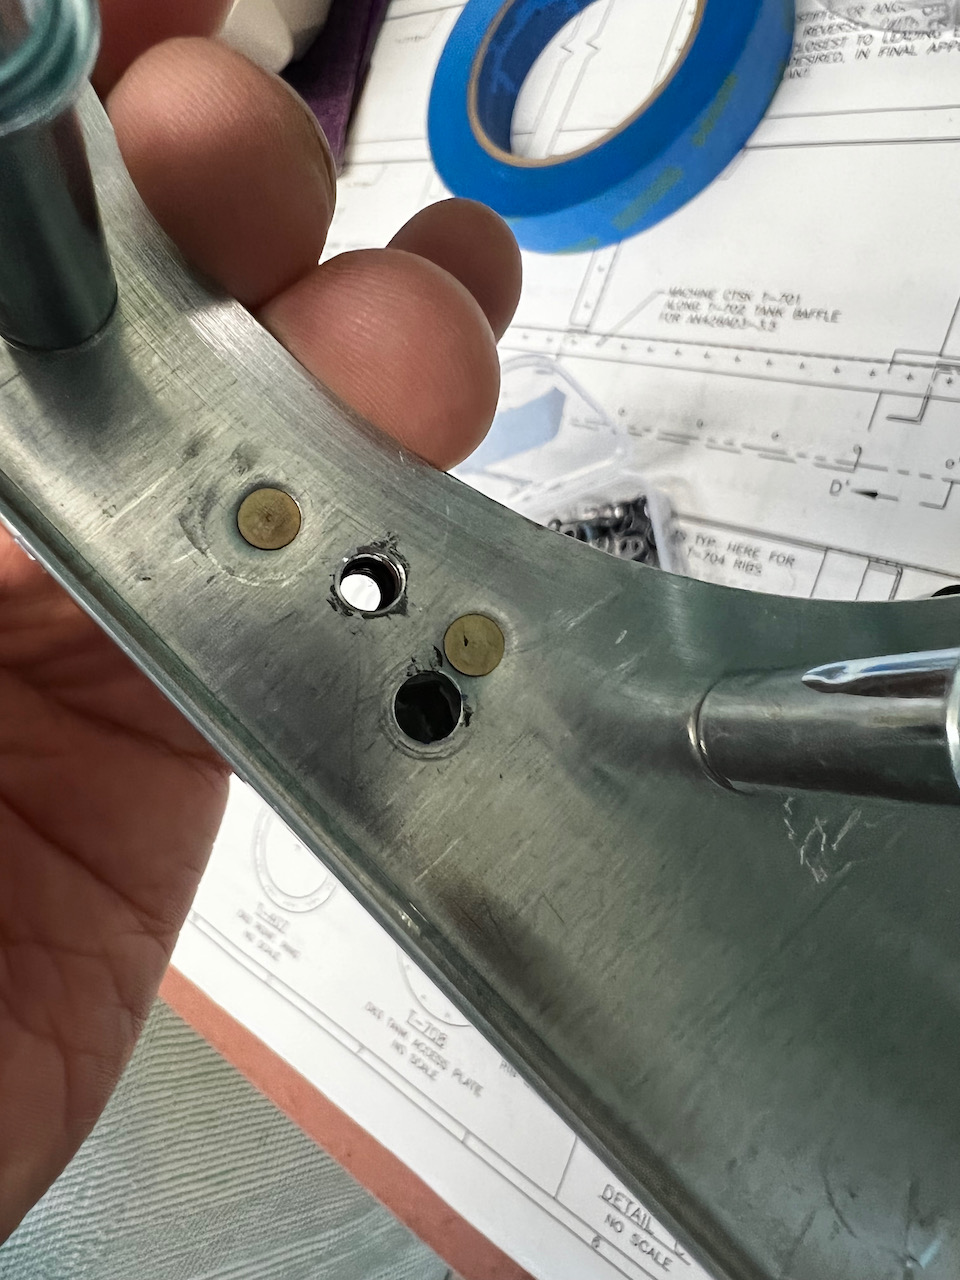
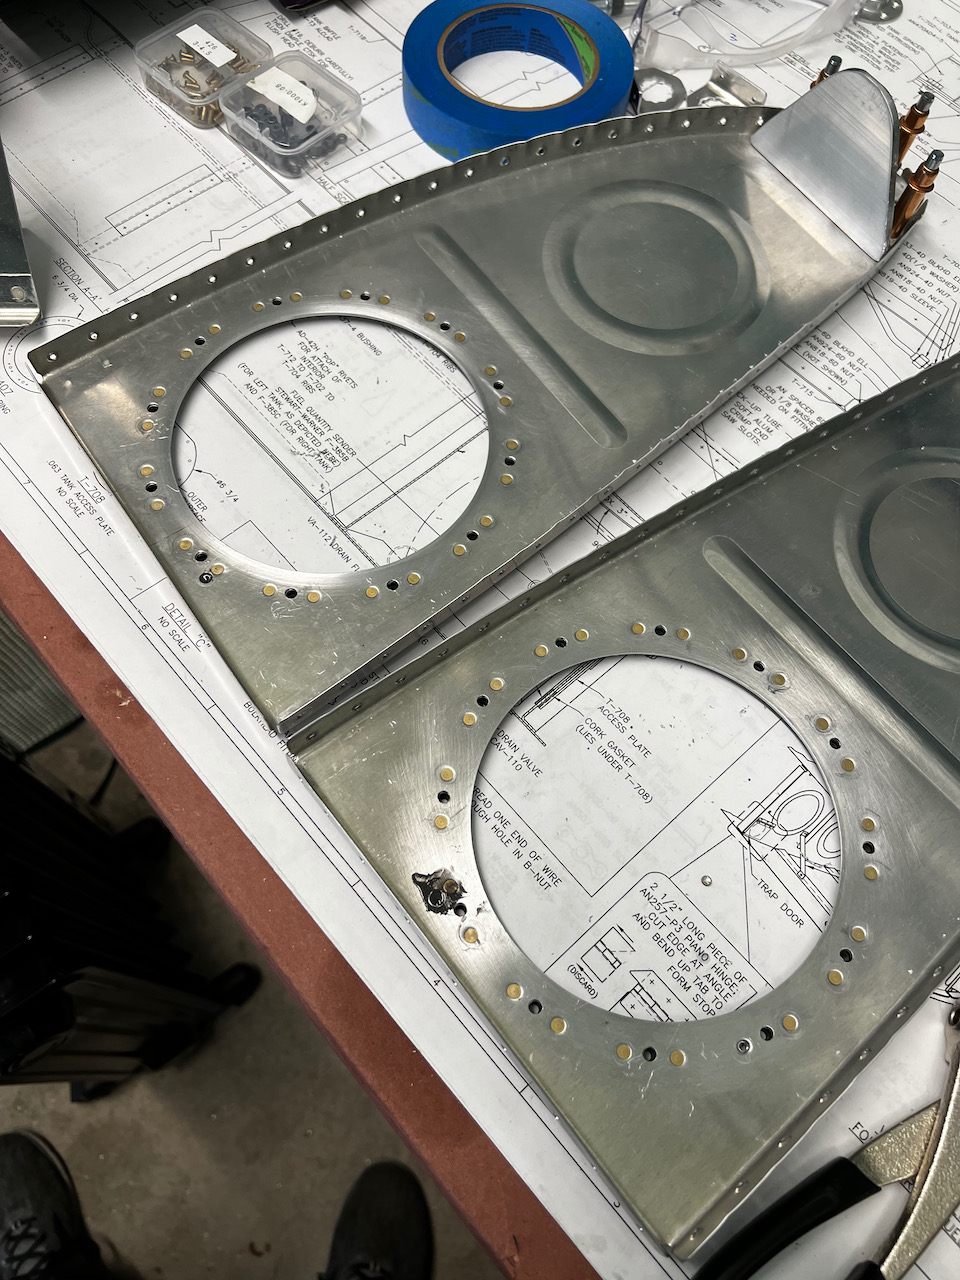
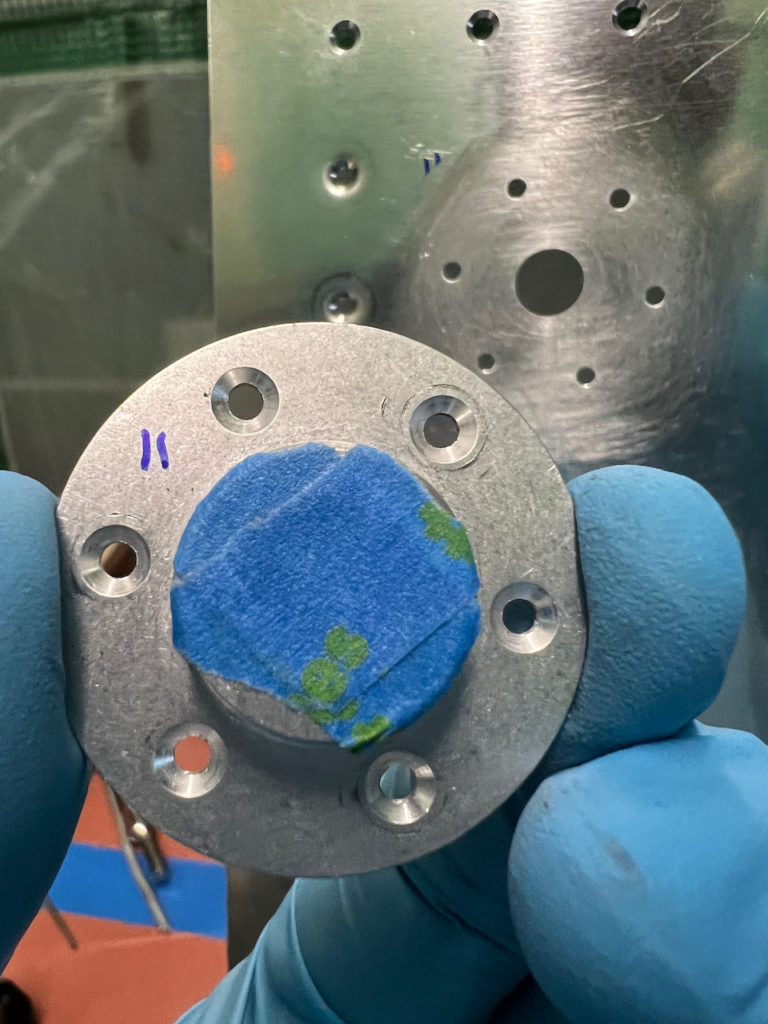
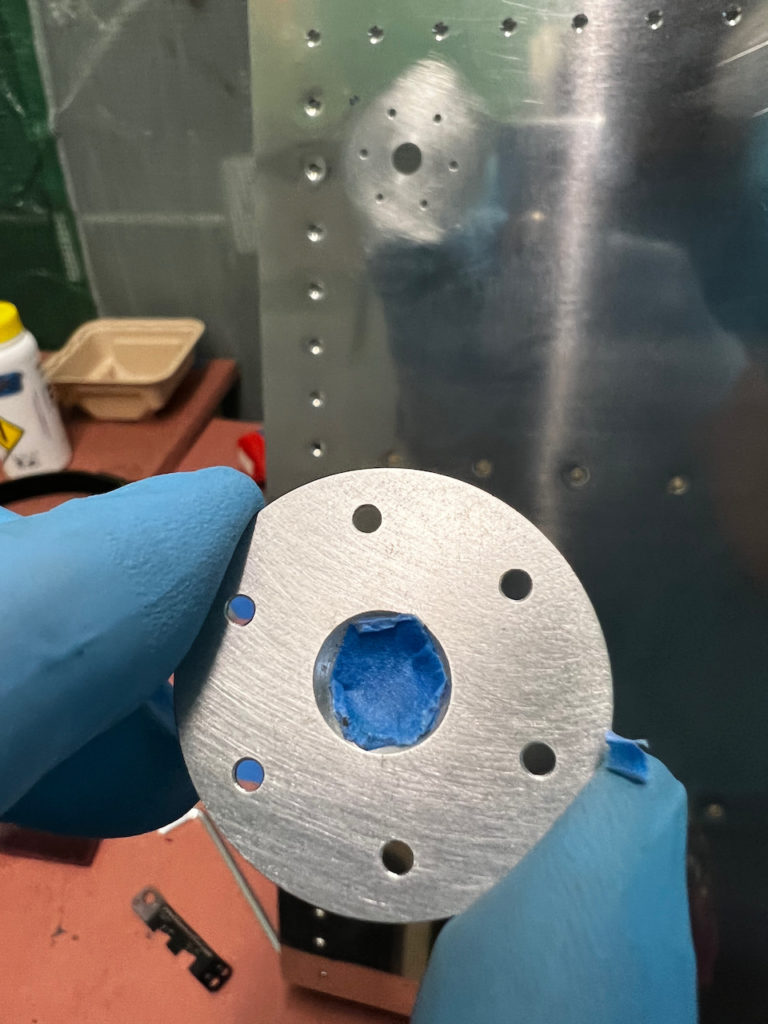
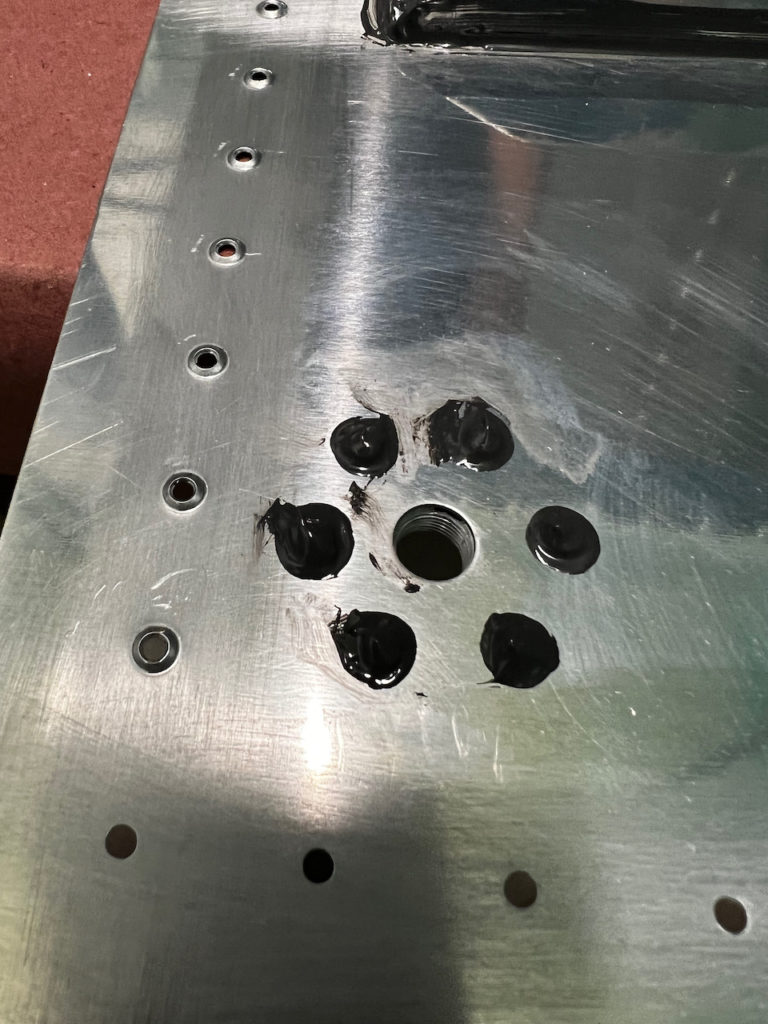
Fuel Drain flange Install
The last thing I got done was the fuel drain flange install on both wings. It was a simpler version of the fuel cap flange, so should probably have been done first. One silly mistake I made was not putting the cleco through the correct hole when I did the second flange, and without paying attention, squished the part onto the completely wrong part of the skin. That resulted in a bit of unnecessary clean up work, but no long term effect. From some forum posts I learned that covering the ports of the drain is important (since there are threads in there you don’t want sealant to get on). I also had to use a 4″ yoke to be able to get all rivets with a squeezer. Without that, you would probably have to buck at least one rivet (sorry no pics since I didn’t want sealant all over my phone). Prep scuffing, MEK cleaning, squeeze riveting, and post rivet cleanup and I was done!

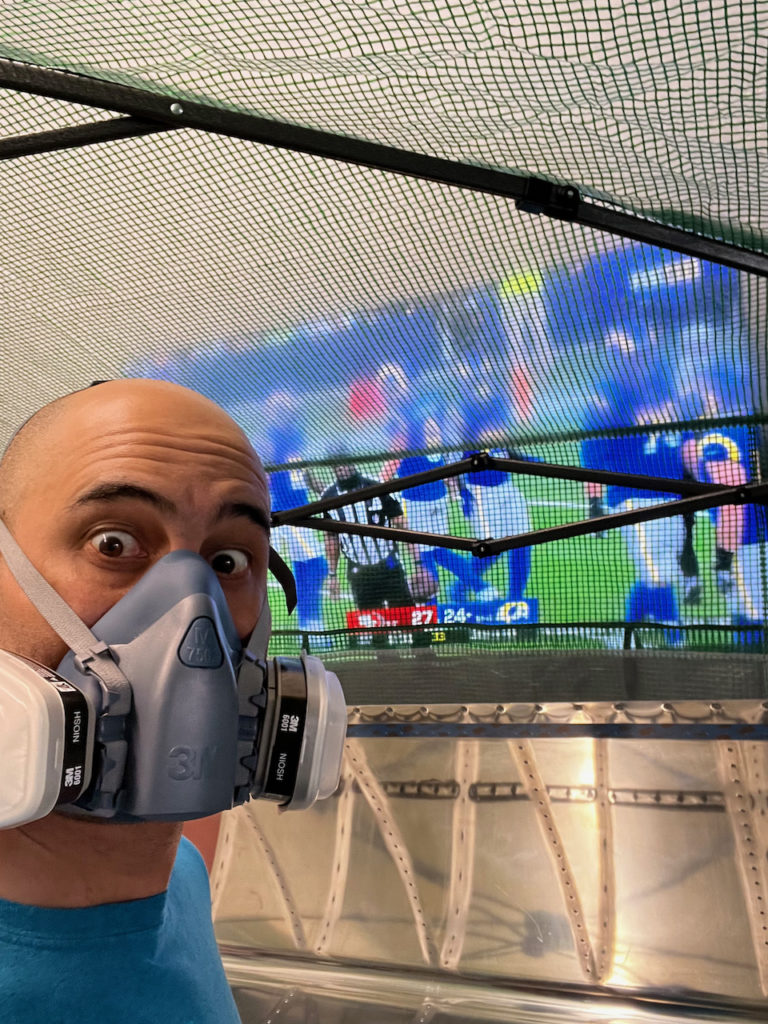
Did I mention it was an epic afternoon of professional sports as well? Niners had a crazy overtime win to clinch a spot in the playoffs, and Warriors got one of their star players (Klay Thompson) back after 2.5 years! It’s great to have sports playing while working..but quite odd to be cheering at the top of my lungs…. in my respirator mask.
And so, with the end of my long weekend, I am ready to start installing the ribs. I foresee this taking a while, and I may need help, so might not be so easy to keep the momentum up. That being said, I’m looking forward to getting that started. Until then, Happy Building!
3 comments
Woww. Looks like a very fruitful weekend. Nice progress. On top of that the 49ers did it. That should give you a nice start of the week. Looks like Giacomo and Nicco will be recruited for the next step.
Wow Paolo
Really awesome
I liked your comment
“Slow is smooth. Smooth is fast”
I heard a quote once
“Slowly is the fastest way to get to where you want to be”
Seems like that is working for you.
Really interesting work.
Dan
Thanks Dan! Yeah when I try to rush through it, things always end up taking longer. I’m looking forward to a long session this weekend. Hopefully can make some good progress.