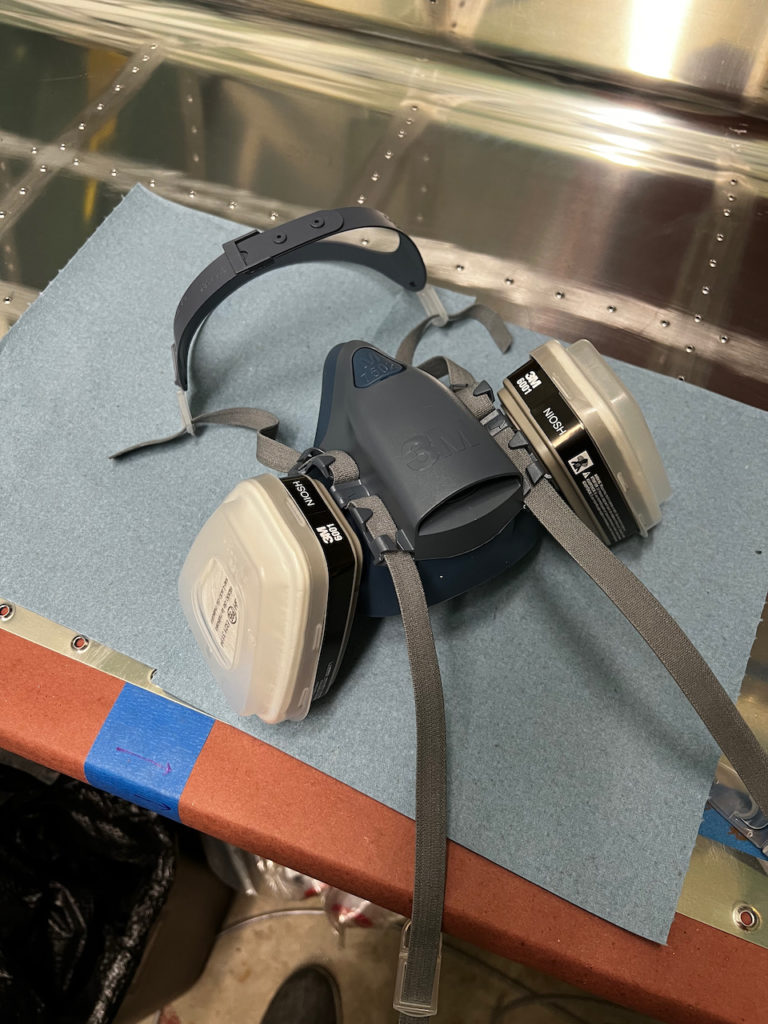
Keeping with the momentum, I got a couple sessions in today. In the morning I got the left tank fuel cap flange attached. In the evening I started working on the stiffeners. First though, I changed a couple things from the last session. I decided the full face respirator was a little overkill. I got a half face respirator, and tried the safety glasses, but eventually just used the respirator. I also spent a little more time prepping properly this time. With the limited workable time, being completely ready before mixing the sealant is key.
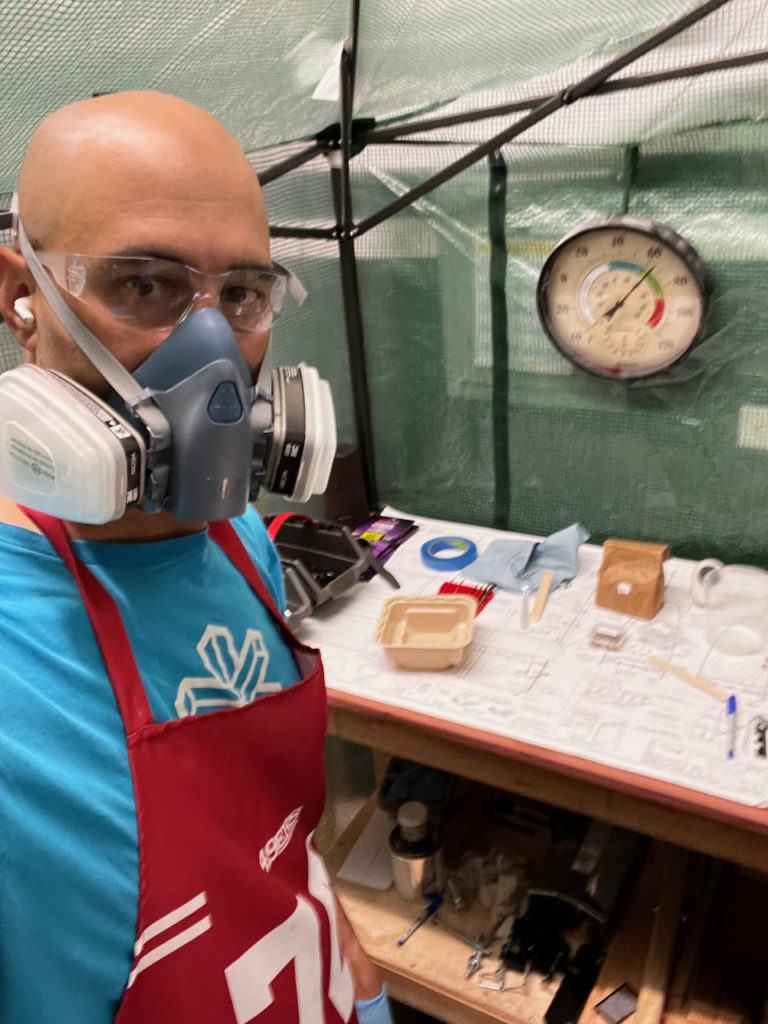
New respirator is a lot less restrictive, and still does the job!
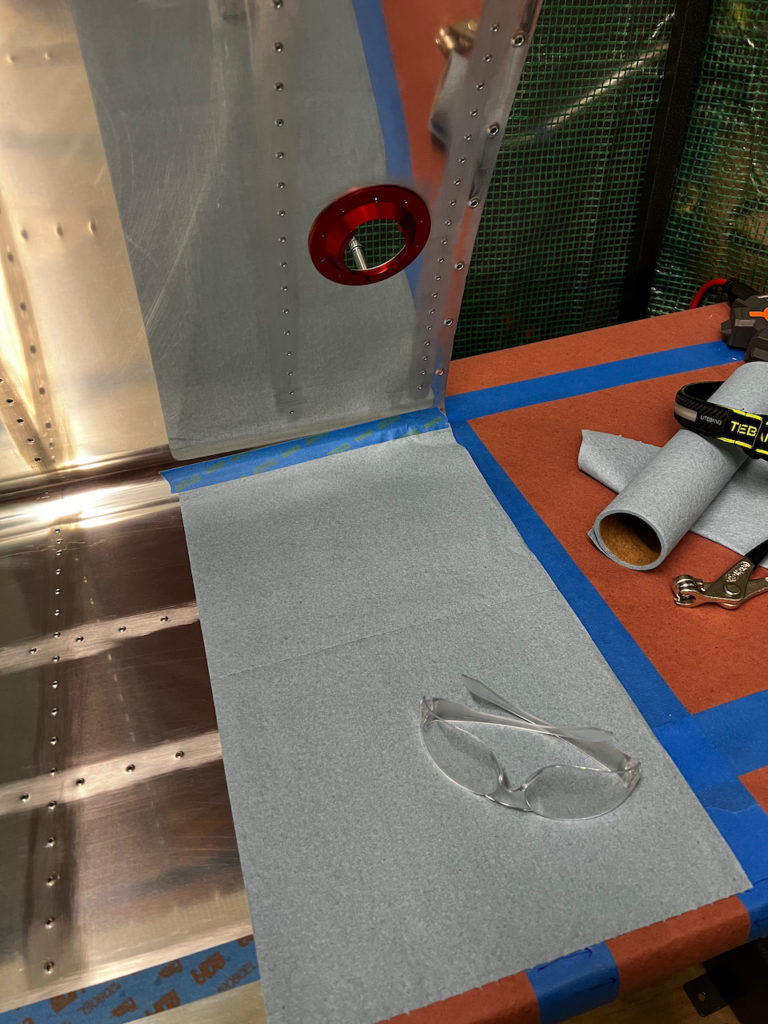
getting the work area prepped and protected minimizes post task cleanup.
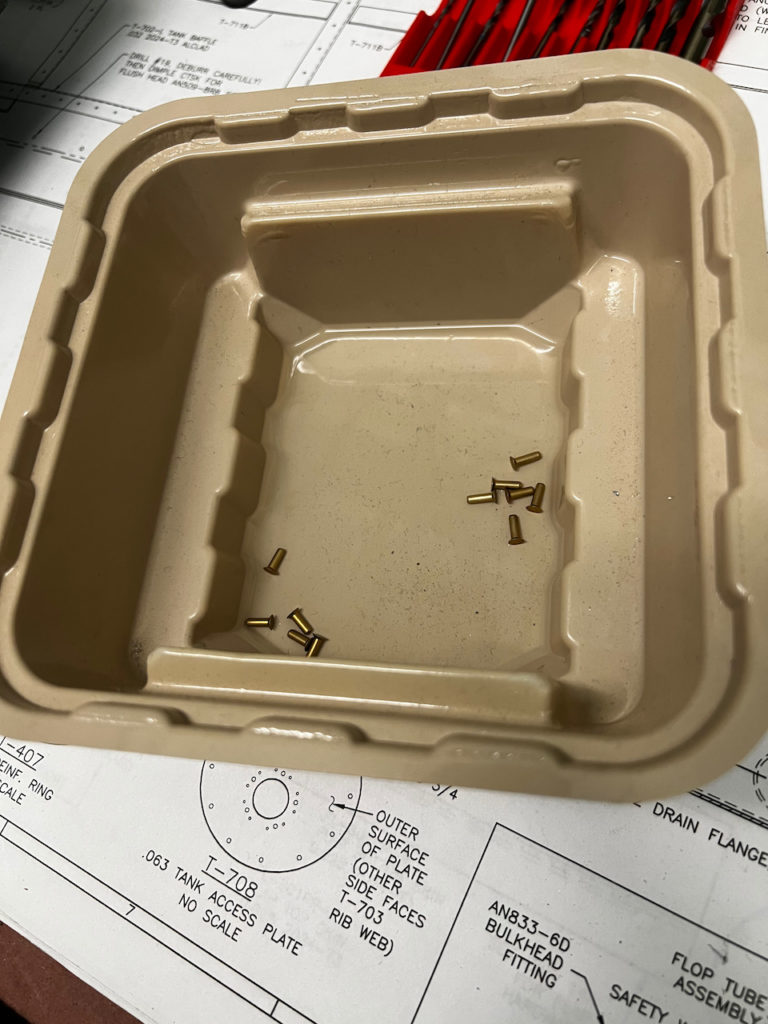
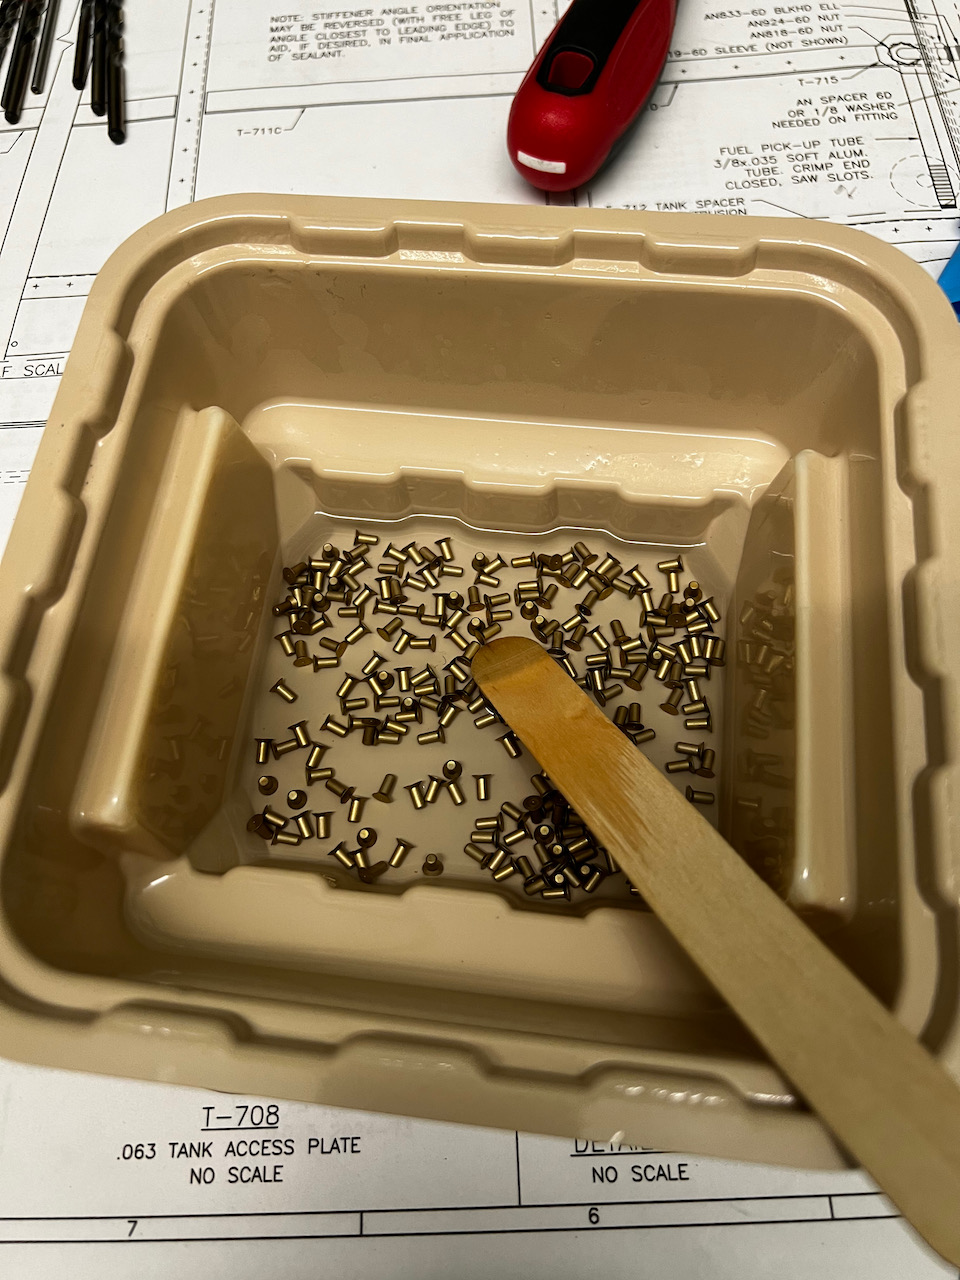
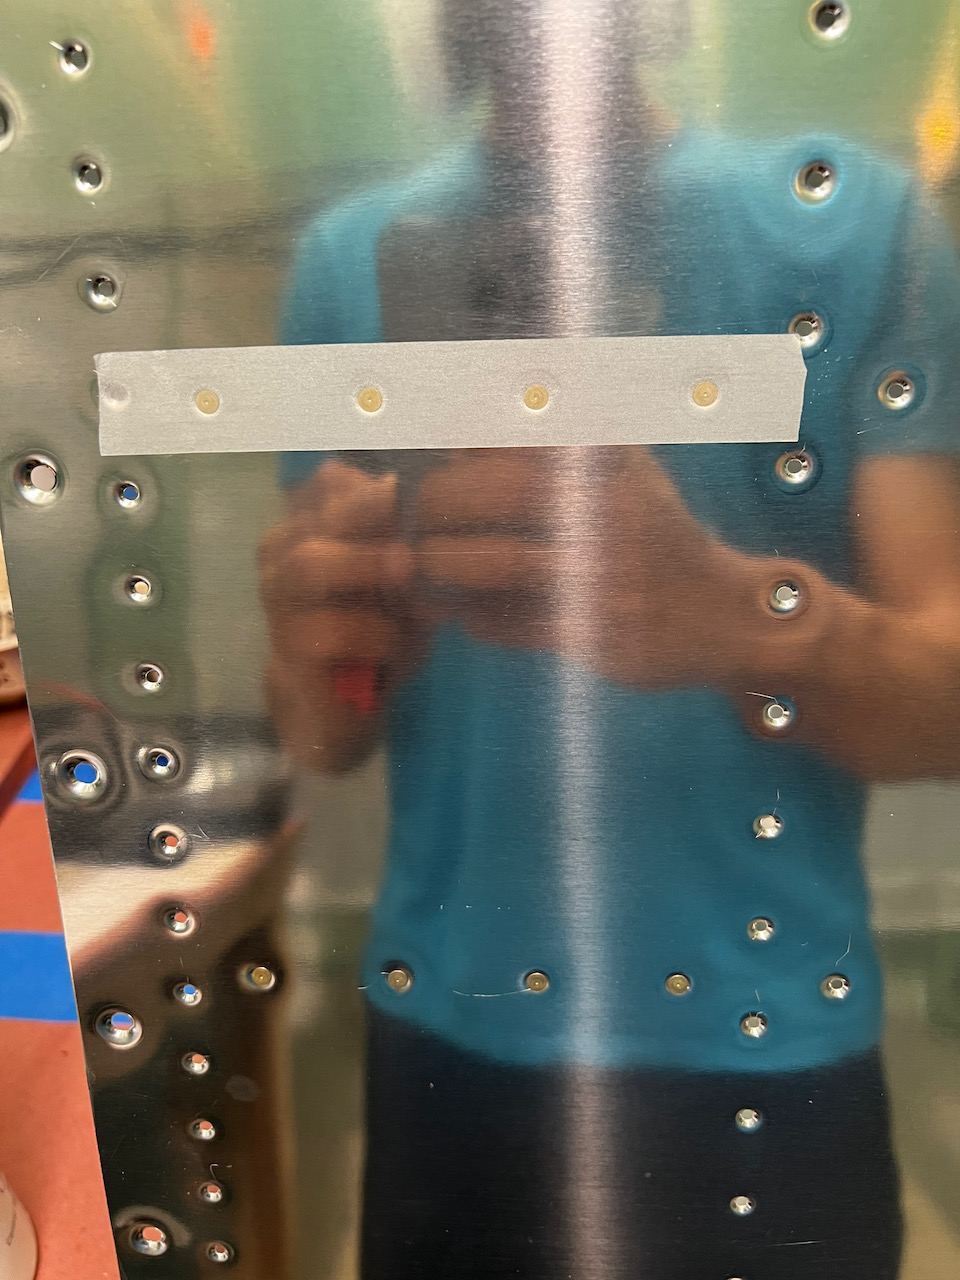
Plans call for rivets to be cleaned in MEK before use with the sealant
everything ready to go!
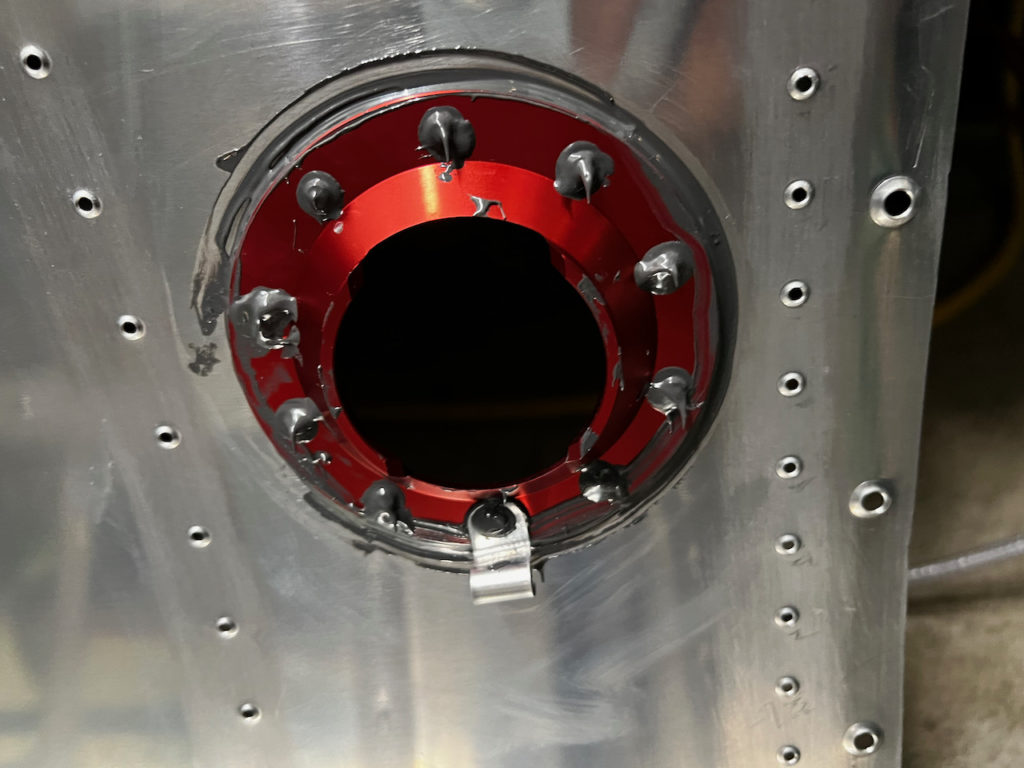
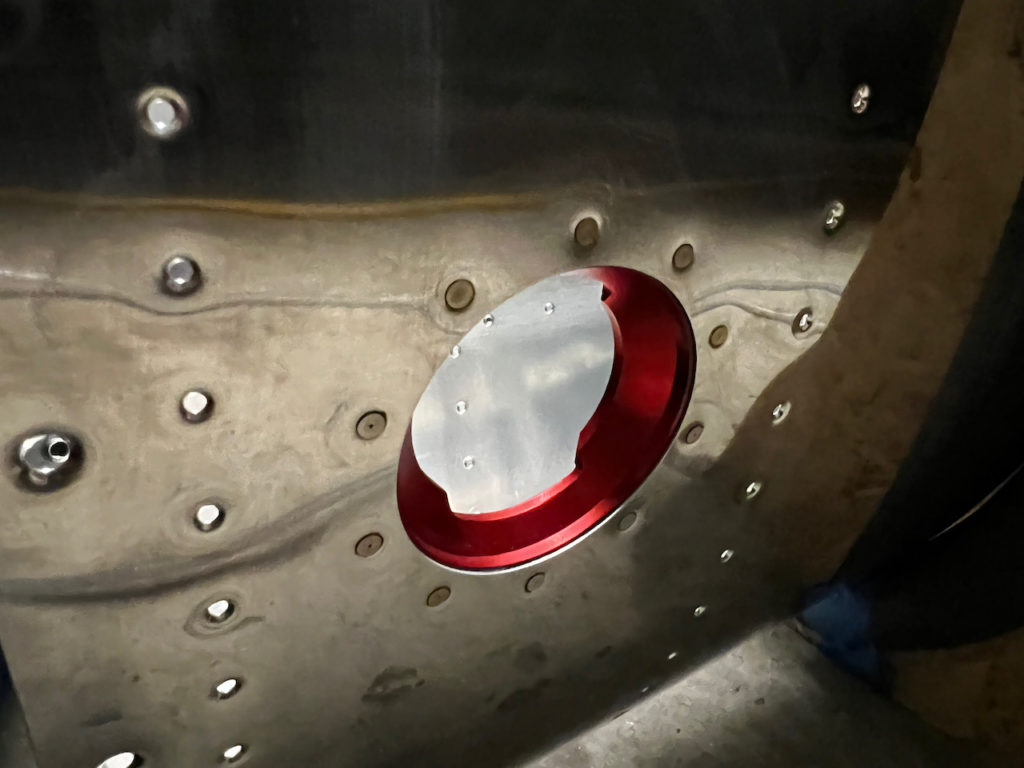
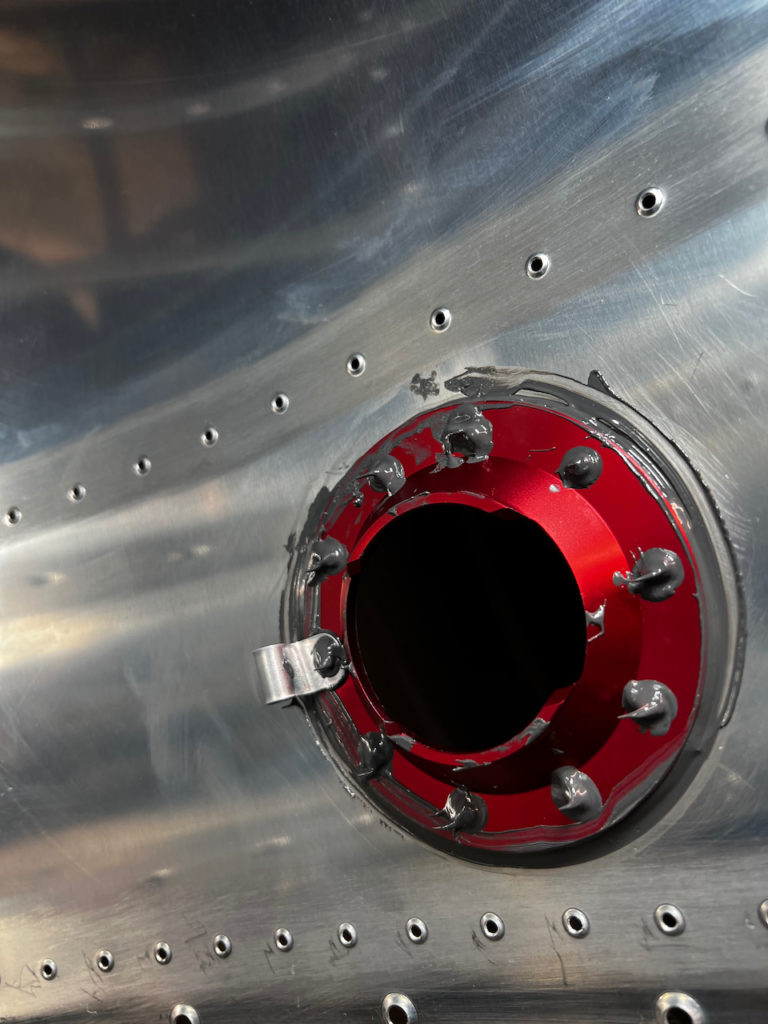
With prep done, the fuel cap flange was a little easier this time, although I had to drill out one rivet again. I was pleased with the results and was excited to get back to it after work. As usual, due to the messiness of the sealant, once the actual work begins, it’s hard to get photos of the detailed stesps.
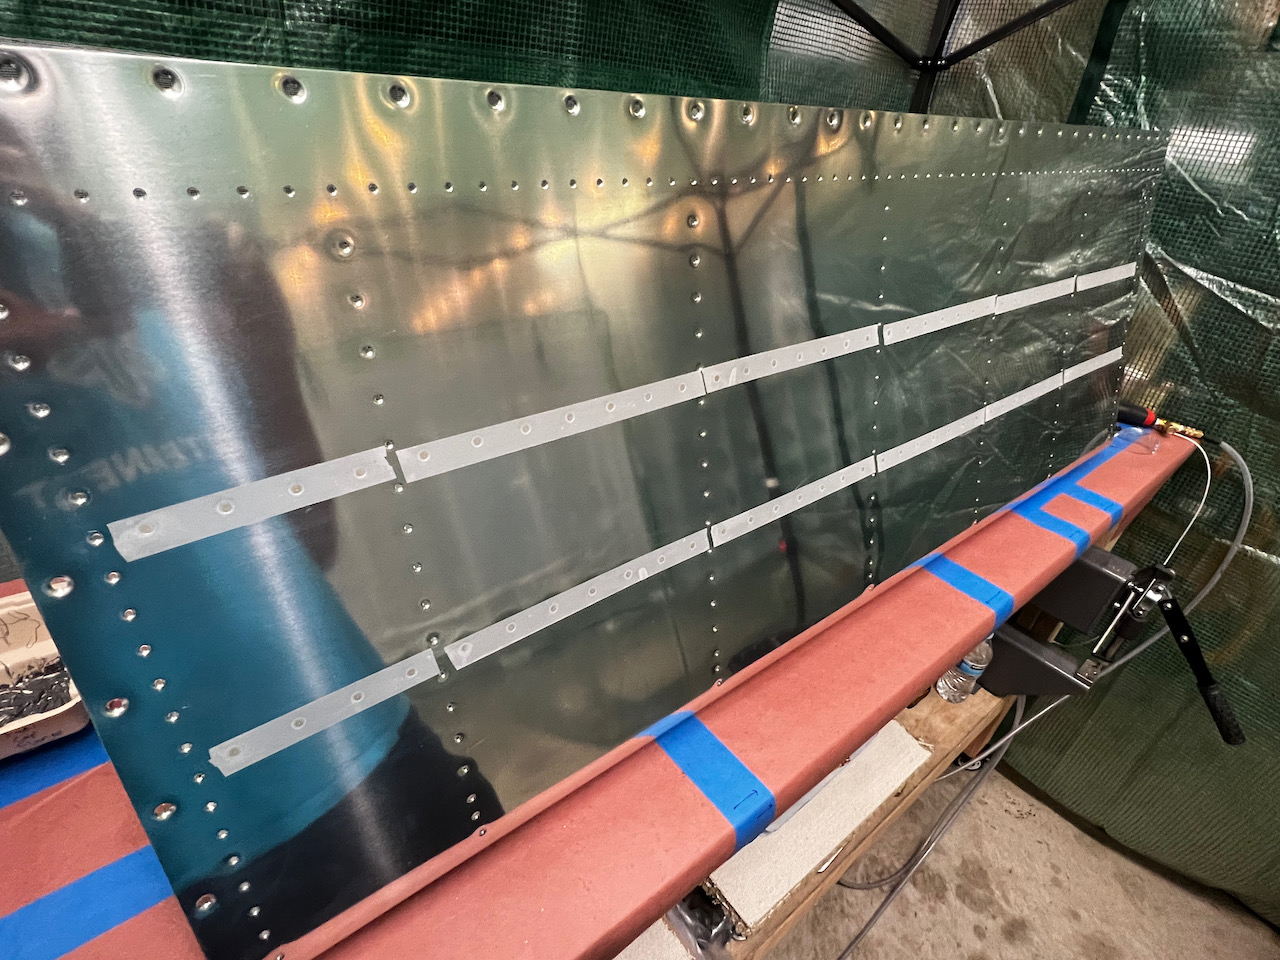
After work, I can back to get another session in. What’s nice is that with prep of 30 minutes, and work time of about an hour, it is easy to get something short in. Stiffeners were easier in some ways, but more difficult because of the back riveting (it’s not as easy as a squeezer). Prep was a little different. Using the special low stick tape from Cleaveland, I got all the rivets inserted and taped down. Then I test fit the stiffeners to make sure everything looked good before starting the sealant work.
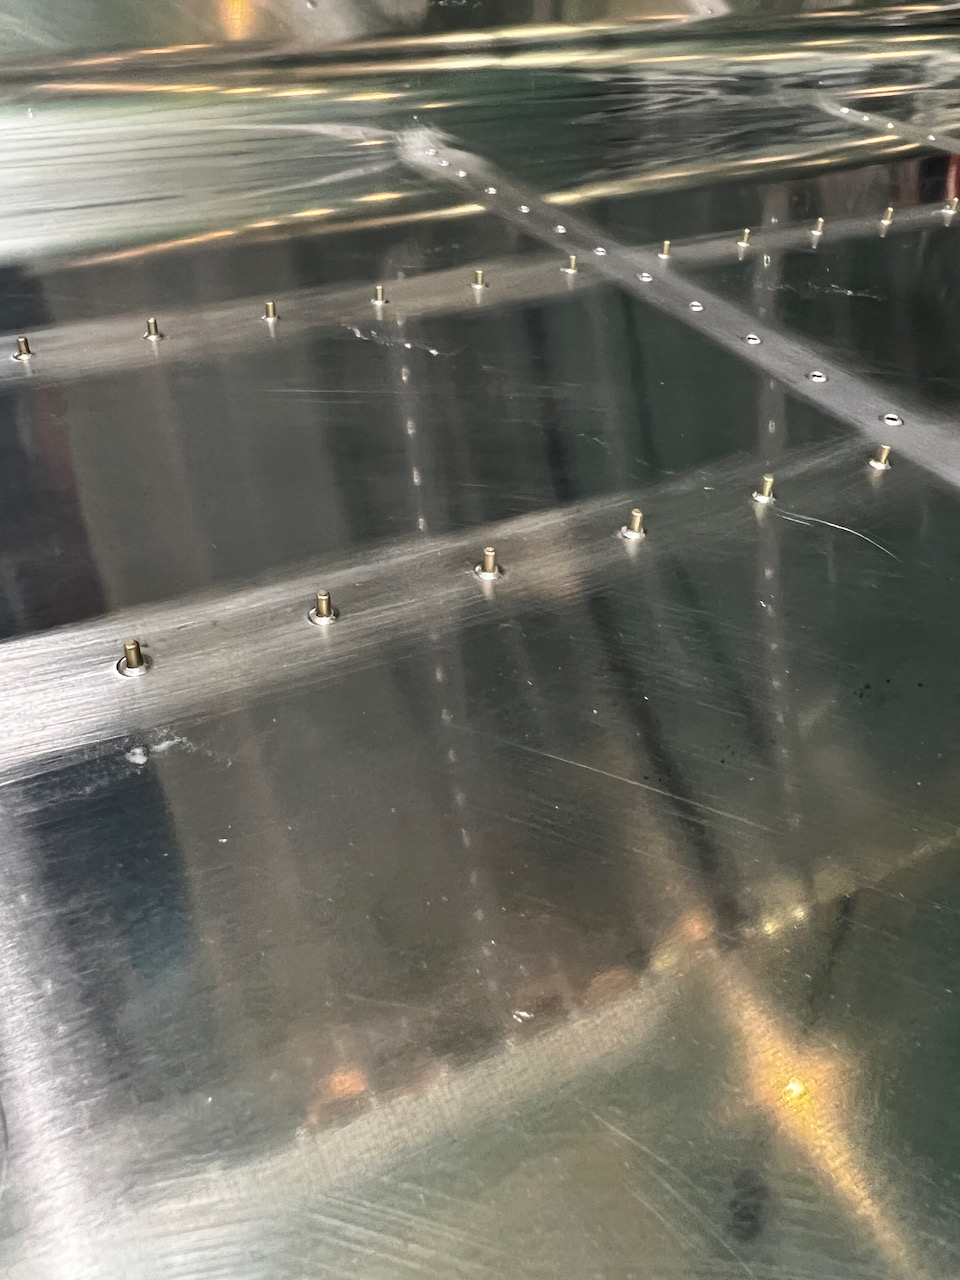
The back riveting worked nicely, and the taping I did on the table worked well for gauging if you were actually on the back plate.
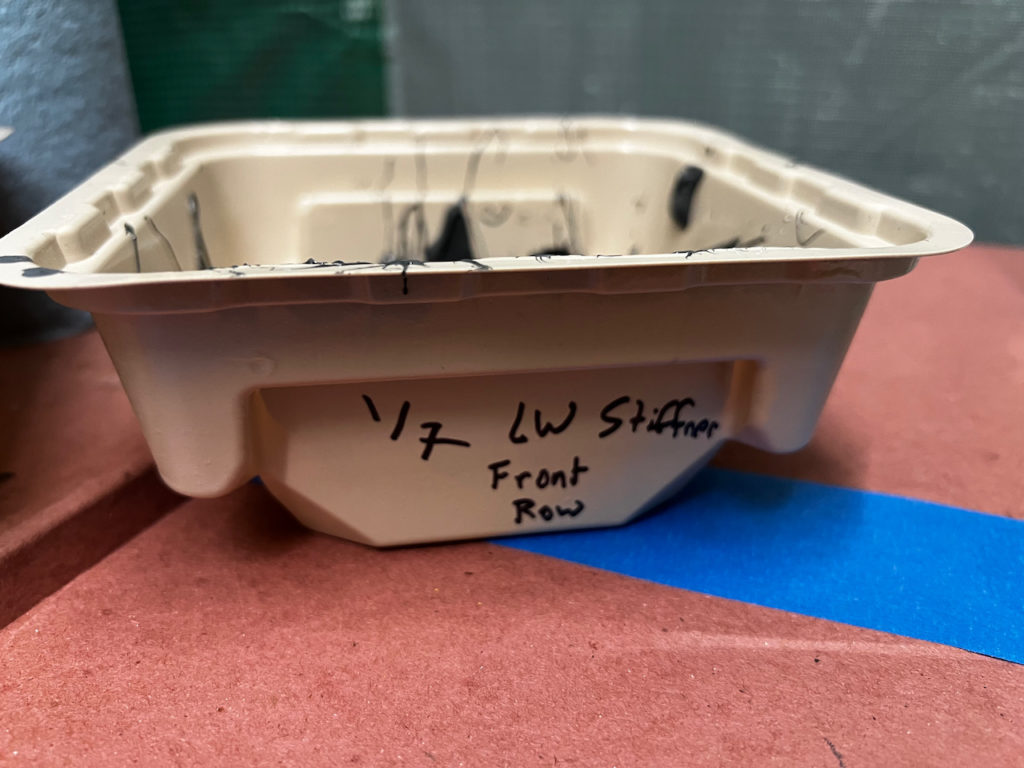
front row mostly in
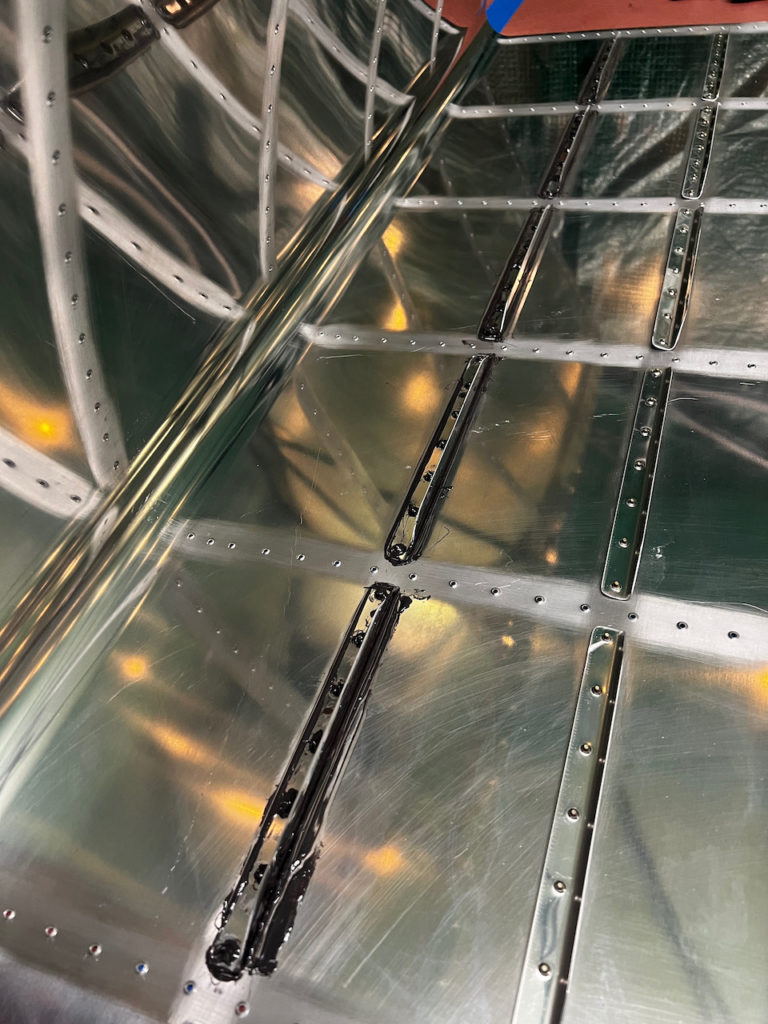
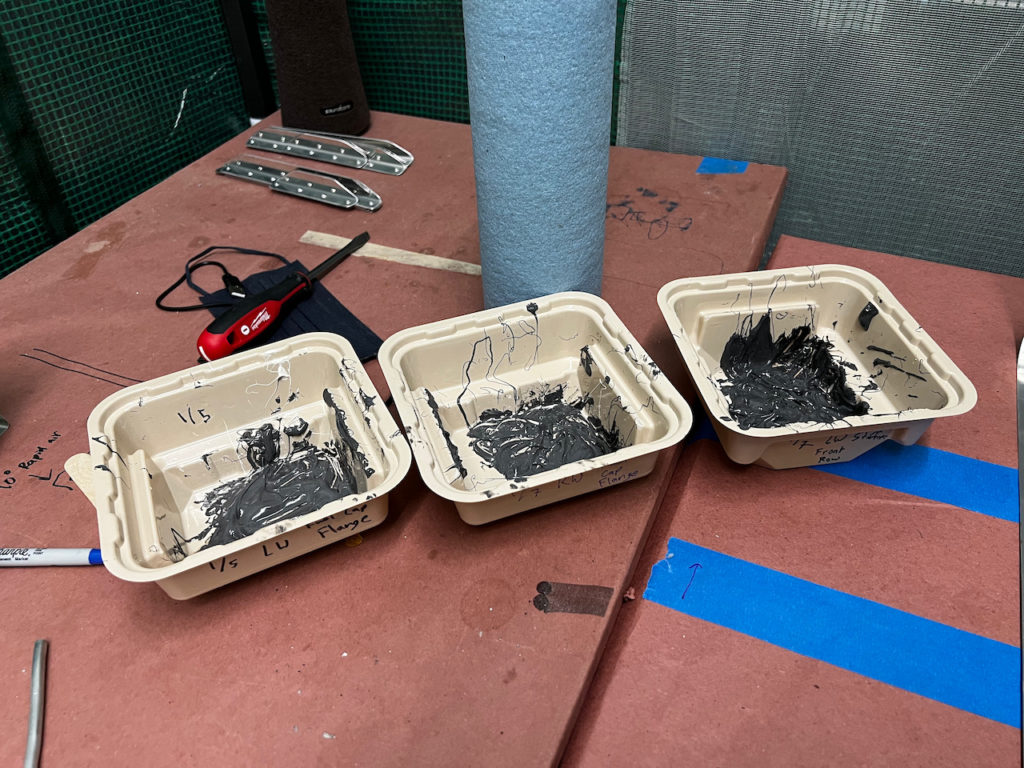
One thing I’d like to figure out is how to more cleanly create radiused fillets properly. The popsicle sticks are ok, but I think I need to grind them down a bit more to have flexibility. To keep track of how well the sealant is setting, I’ve been marking the trays I use with a date and description. It’s interesting to see how the curing progresses over time.
Next session I’ll continue on the with stiffeners. I’m guessing it’ll be a couple (or three) more sessions until I’m done with stiffeners. I’ll be an expert in no time! Until next session, Happy Building!
4 comments
Careful ! Dahandahan ! Cuidado !
This crazy guy…the sealant samples is a nice touch
Ha ha. Thanks Tod! Looking forward to another session with you soon
I’m gonna get you that sweet caulk tool… love caulking…