
It’s Proseal day! Oh wait. You remember how I said I was done with final prep? It turns out I forgot quite a few items. So over yesterday and today, I once again kept doing prep work to make sure I was as ready as I could be for the sealing process. Then it was REALLY time to start using that nasty stuff!
Prep, Prep, Prep
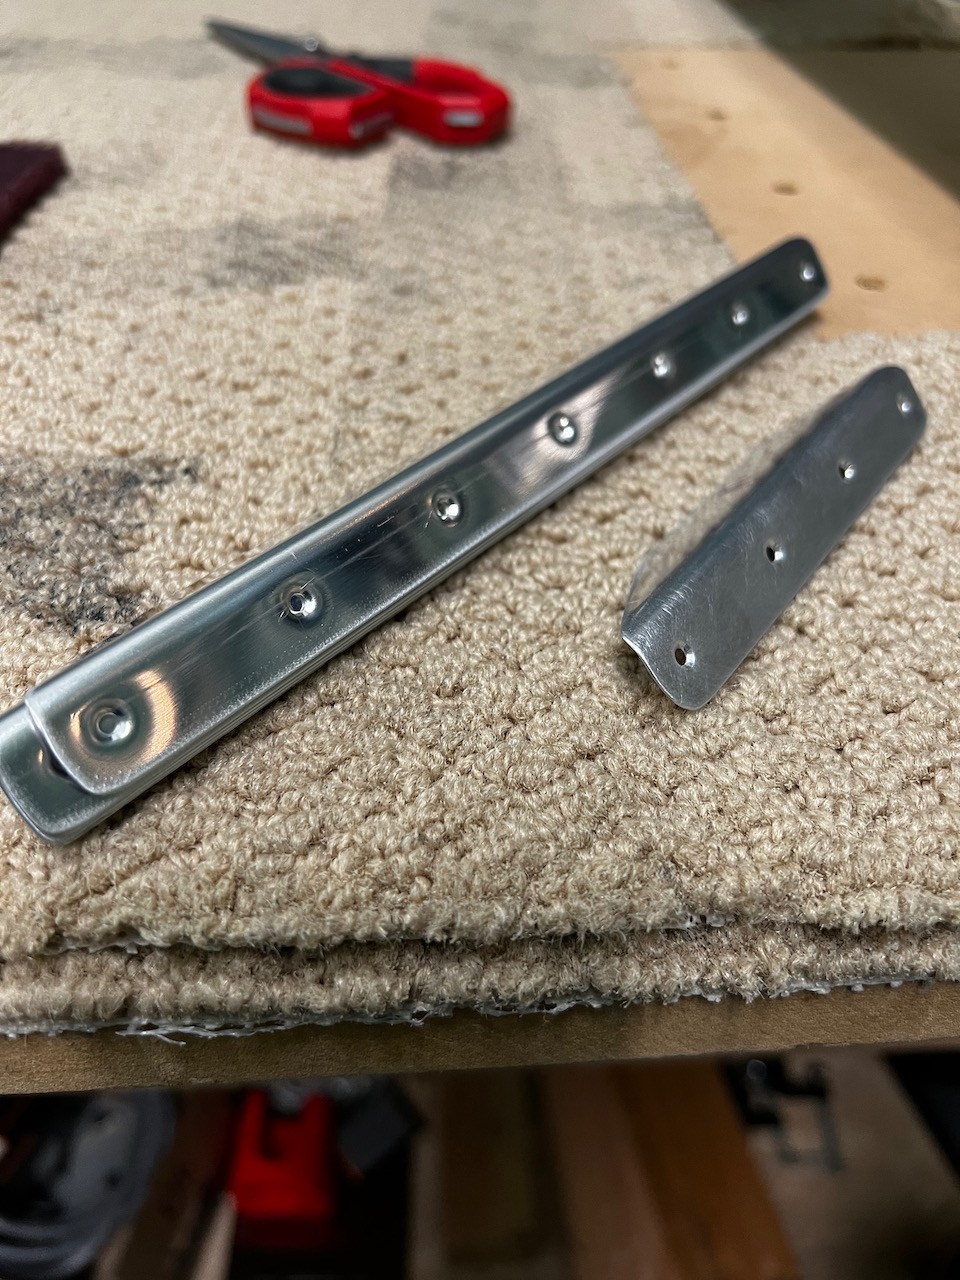
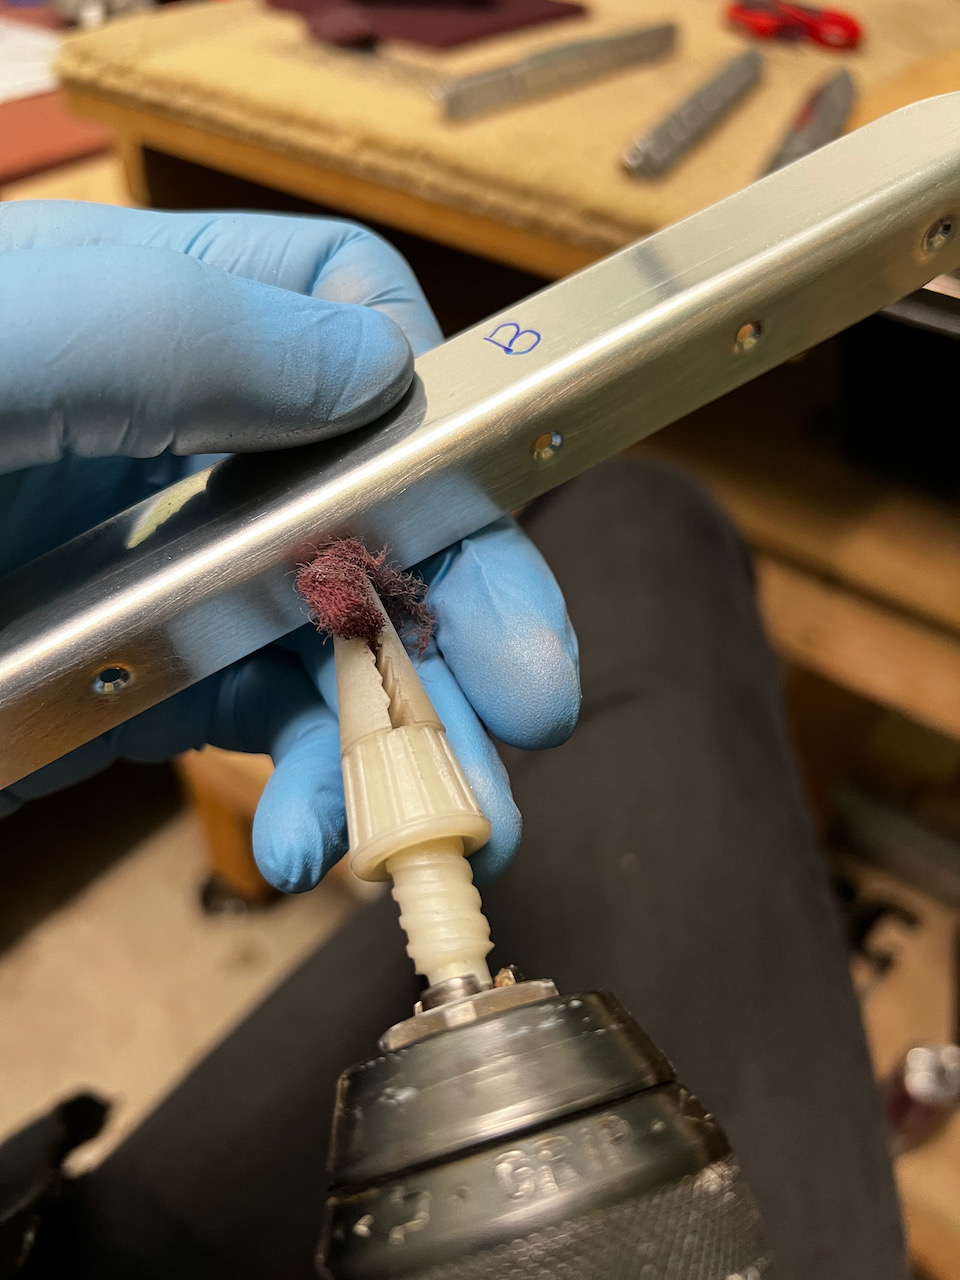
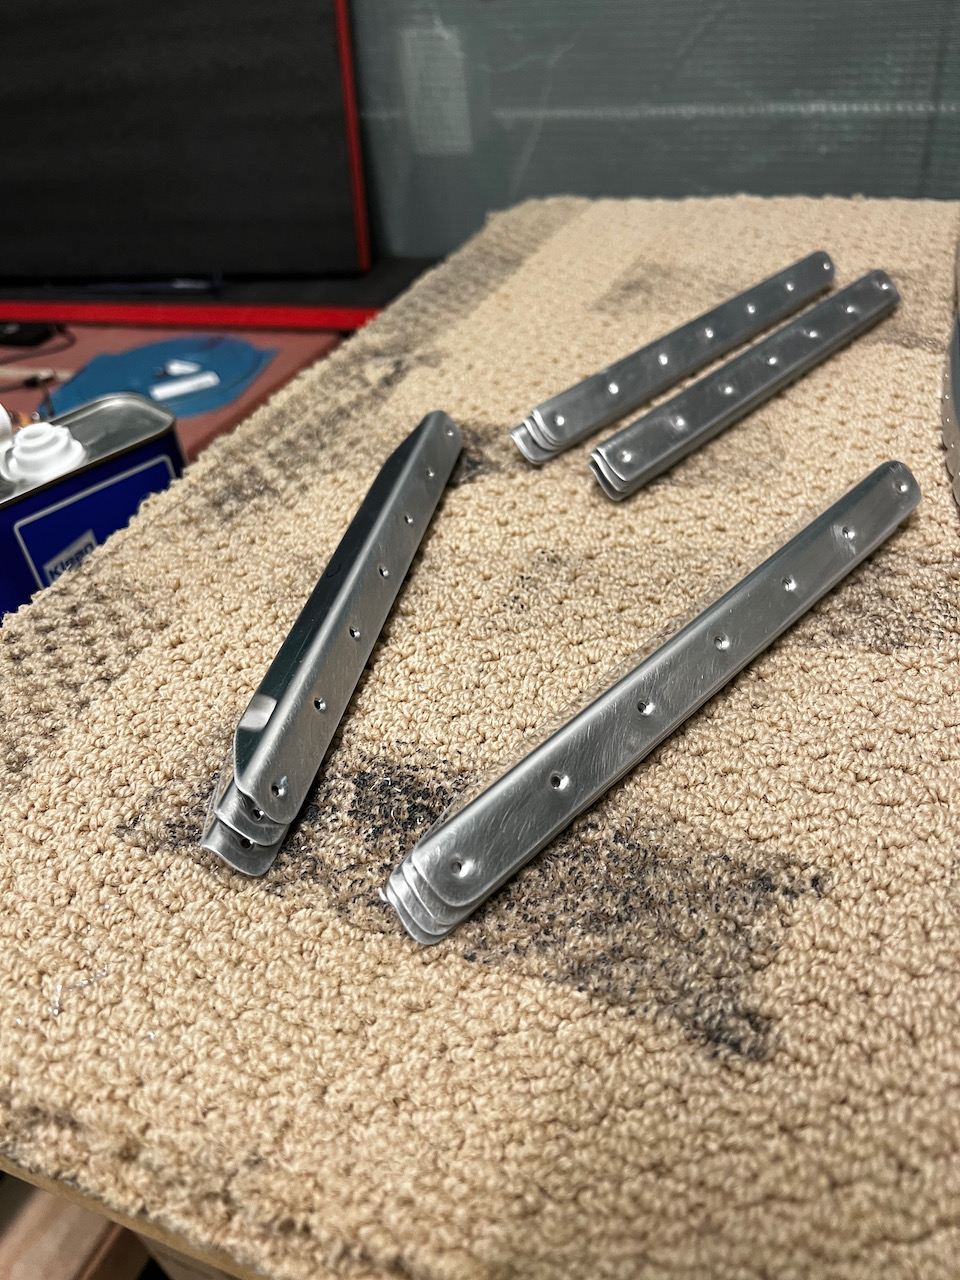
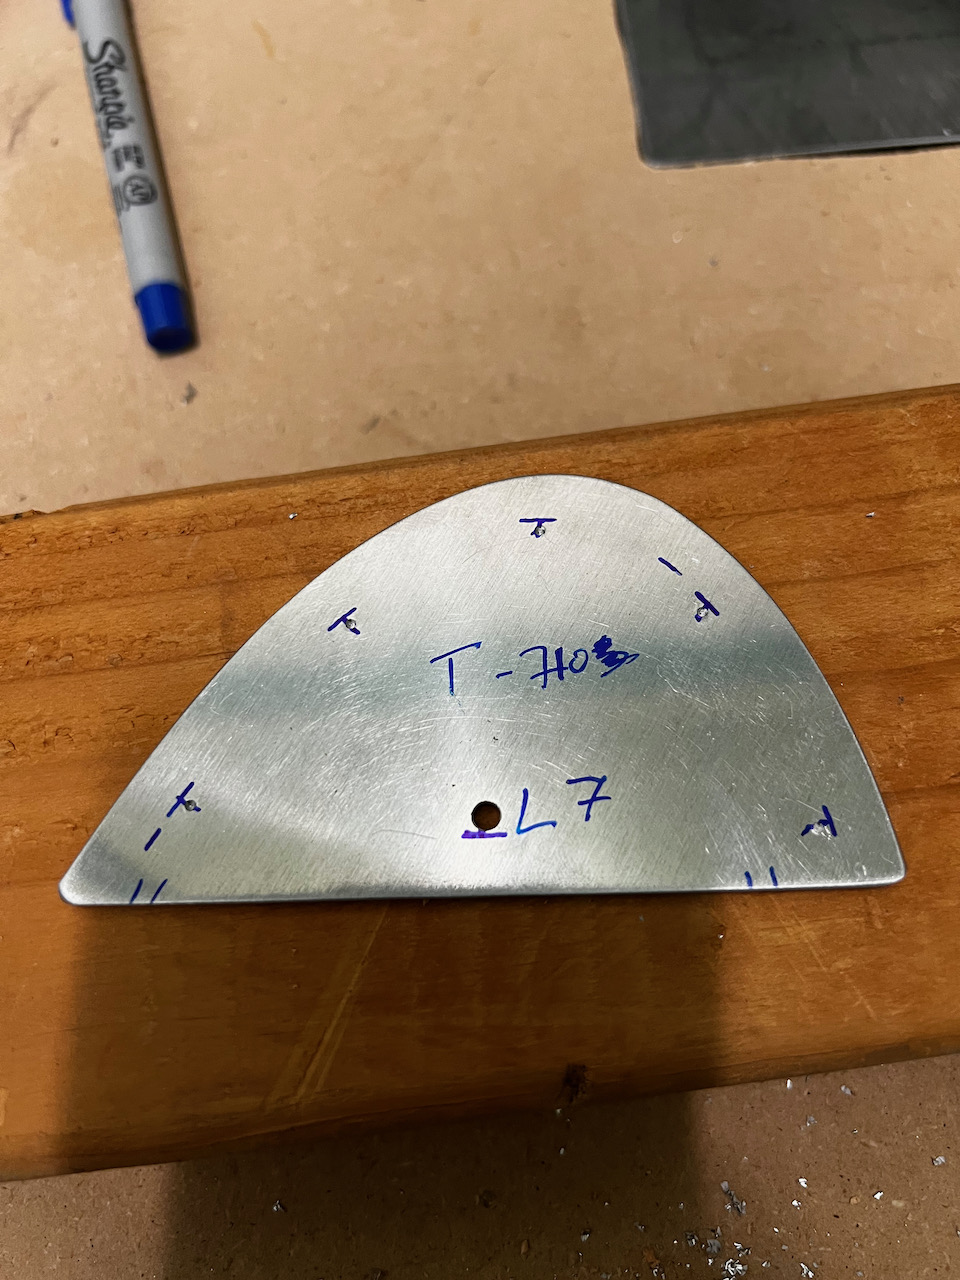
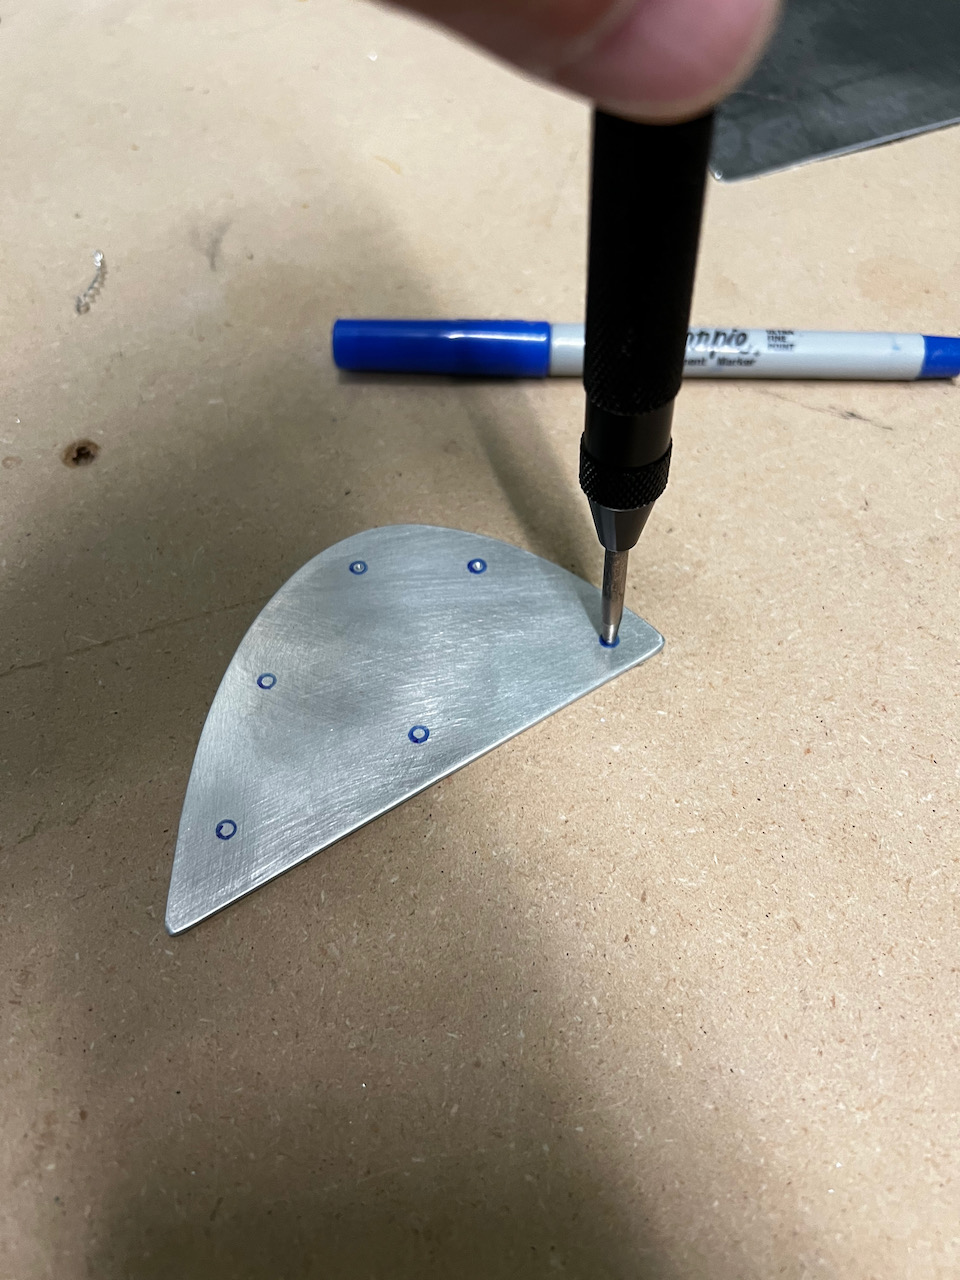
The evening after I declared I was prepped and ready to go, I woke up in a cold sweat (not really) realizing that I completely forgot about scuffing and dimpling quite a few parts! Through two morning sessions, and one evening session, I knocked down as much prep as I could. I really wanted to get to the Proseal, but I also wanted to be methodical with how I got there. I figure once I’m in proseal mode, I probably won’t want to do much else until it’s over. I started by scuffing up all the stiffeners. Unfortunately, since Giacomo had already dimpled the parts, scuffing was a two part process of scuffing the flat side, and then getting into the dimples as best I could to scuff them up as well. Having learned my lesson, on the ribs I did scuffing and cleaning first, and then did the dimpling. With all that done, I was inventorying all the parts for tank assembly when I realized I never drilled the holes for the outboard ribs double plates. It was pretty straightforward, and I got through both ribs fairly quickly.
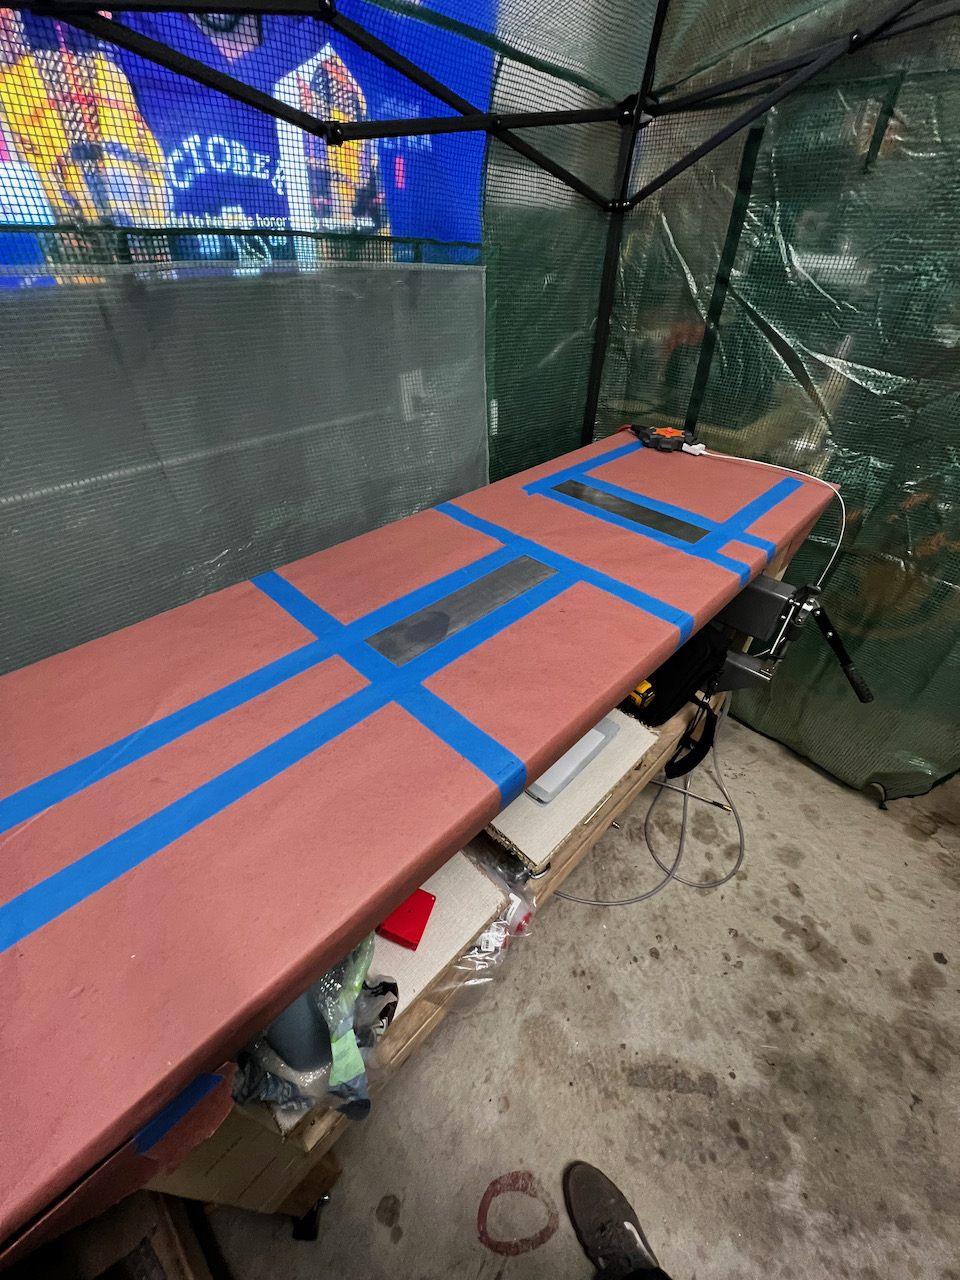
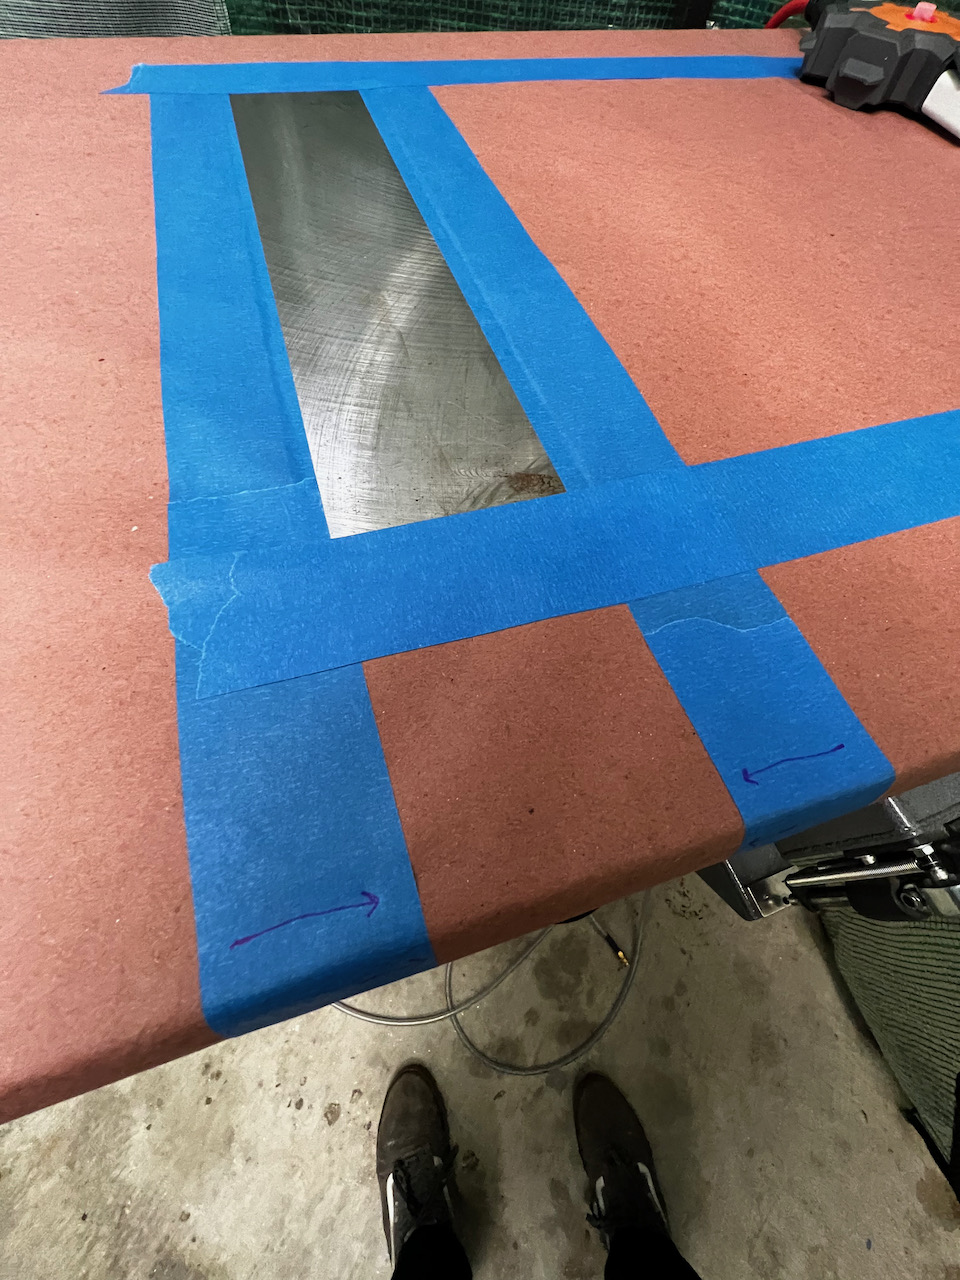
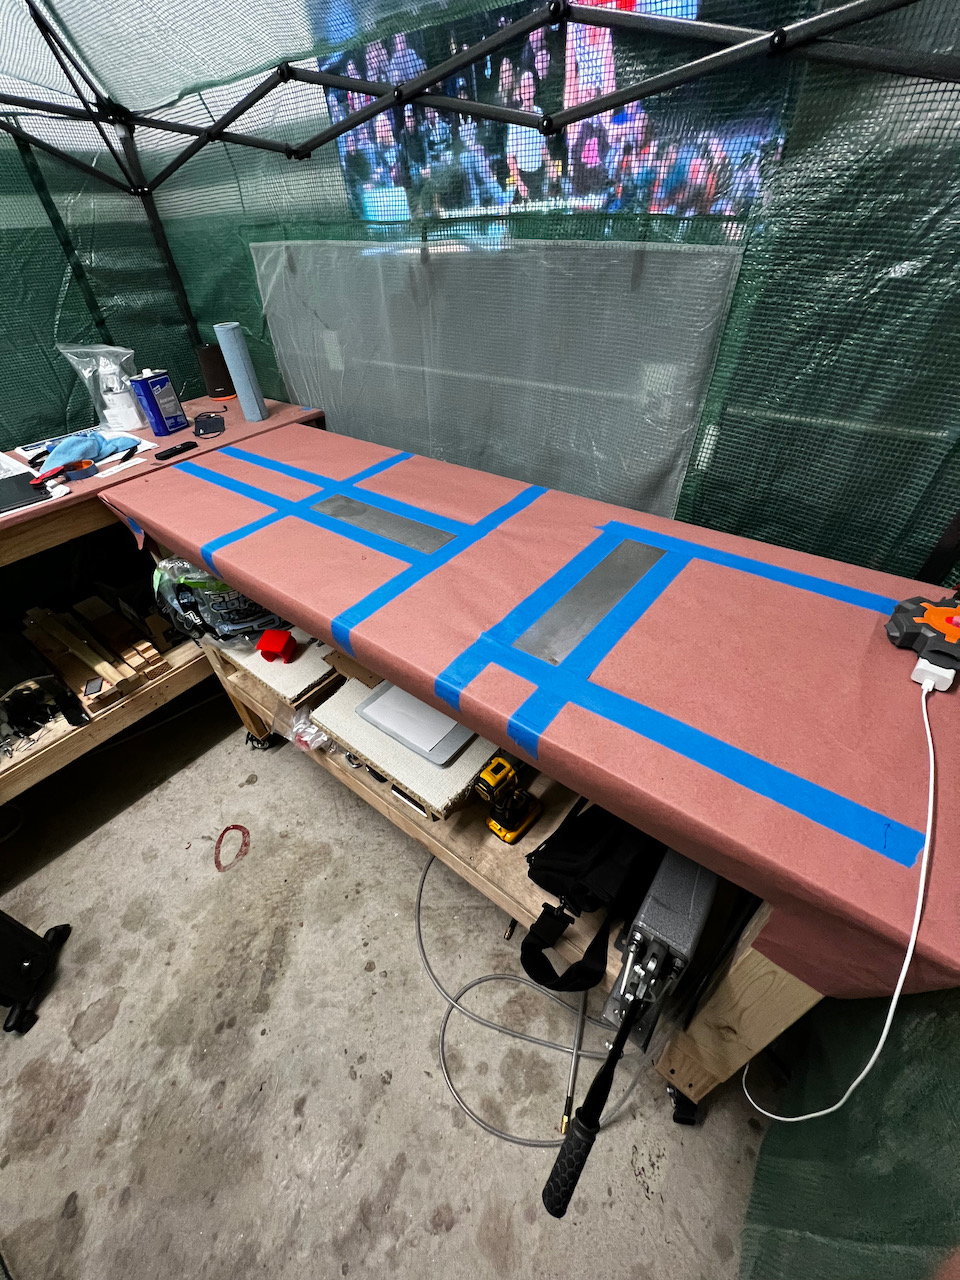
Now that I was done with the prep work (at least most of it), it was time to clean up the greenhouse, and get the table prepped for the next step which will be a lot of proseal, and a bunch of back riveting. I put down a new layer of butcher paper (two actually), and cut out some of it to expose the back rivet plates. I’ve got two different plates, one that is vertical, and one that is horizontal. The horizontal one will be used for the stiffeners (coming soon). Notice how I extended the blue tape to the edges of the table to give me reference points to help ensure I’m on a back rivet plate before riveting. With everything cleaned up and a fresh table top, it was time to start sealing!
Proseal here we come!
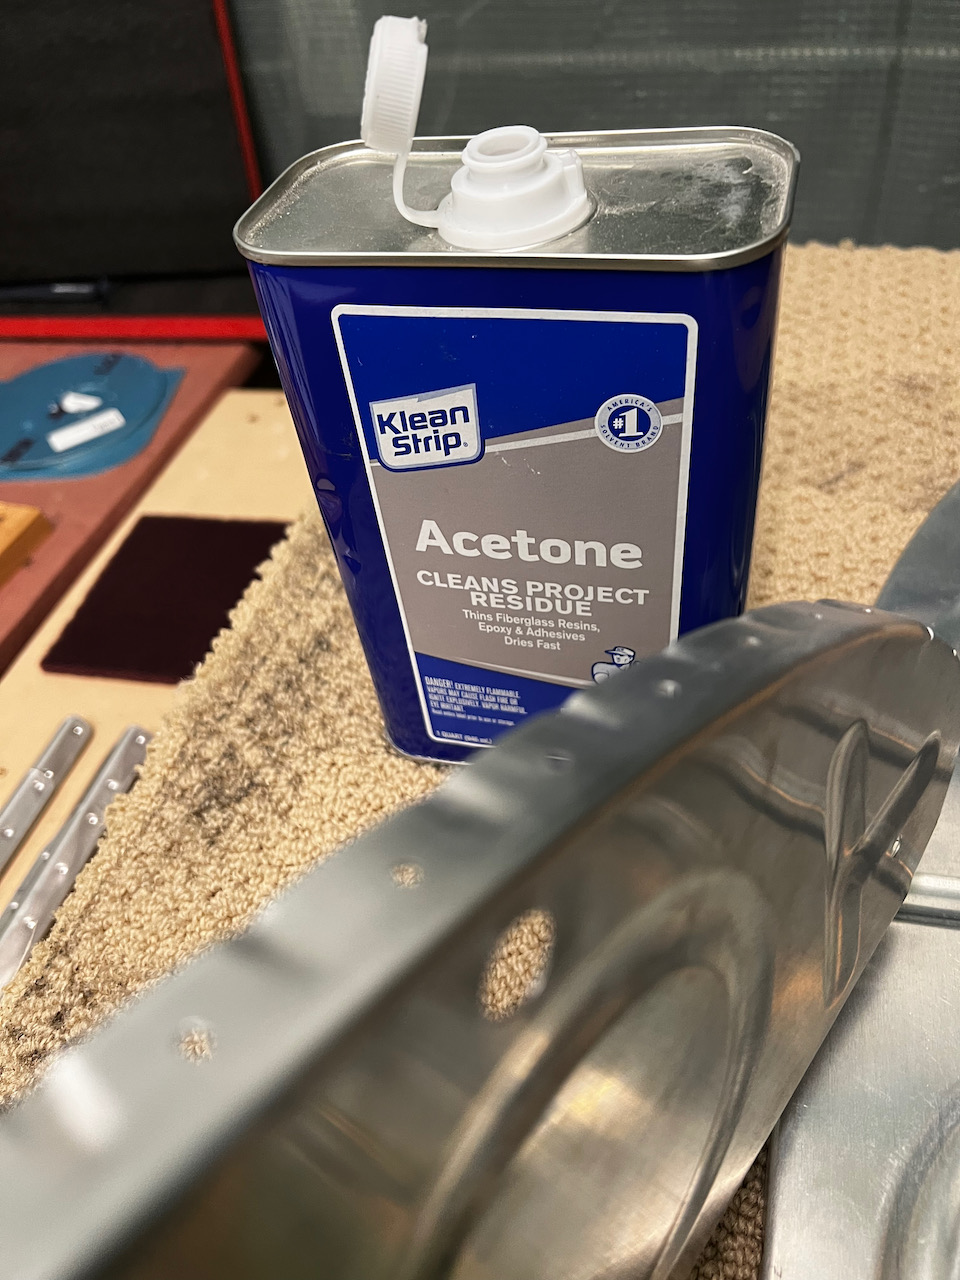
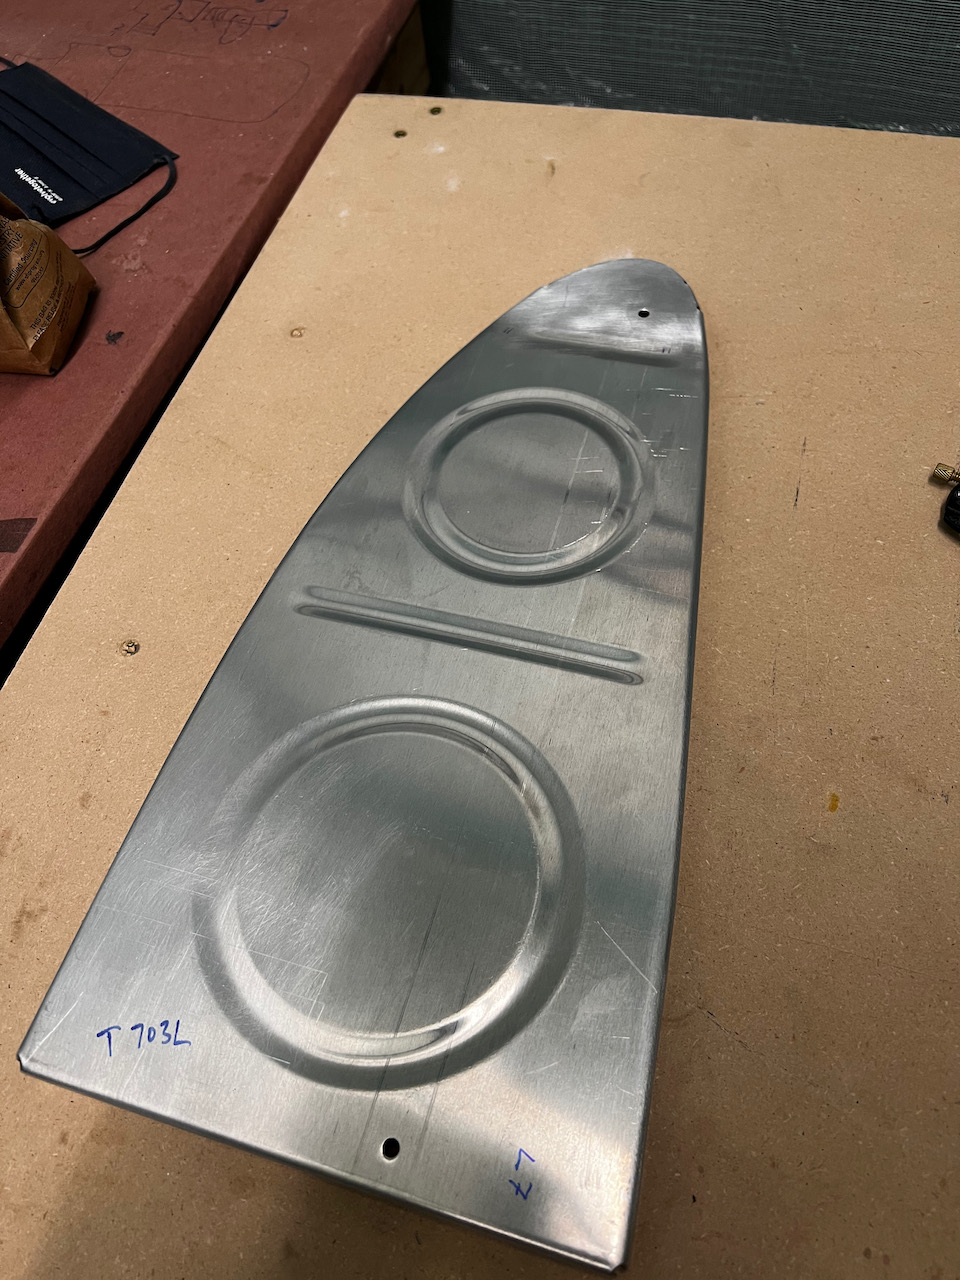
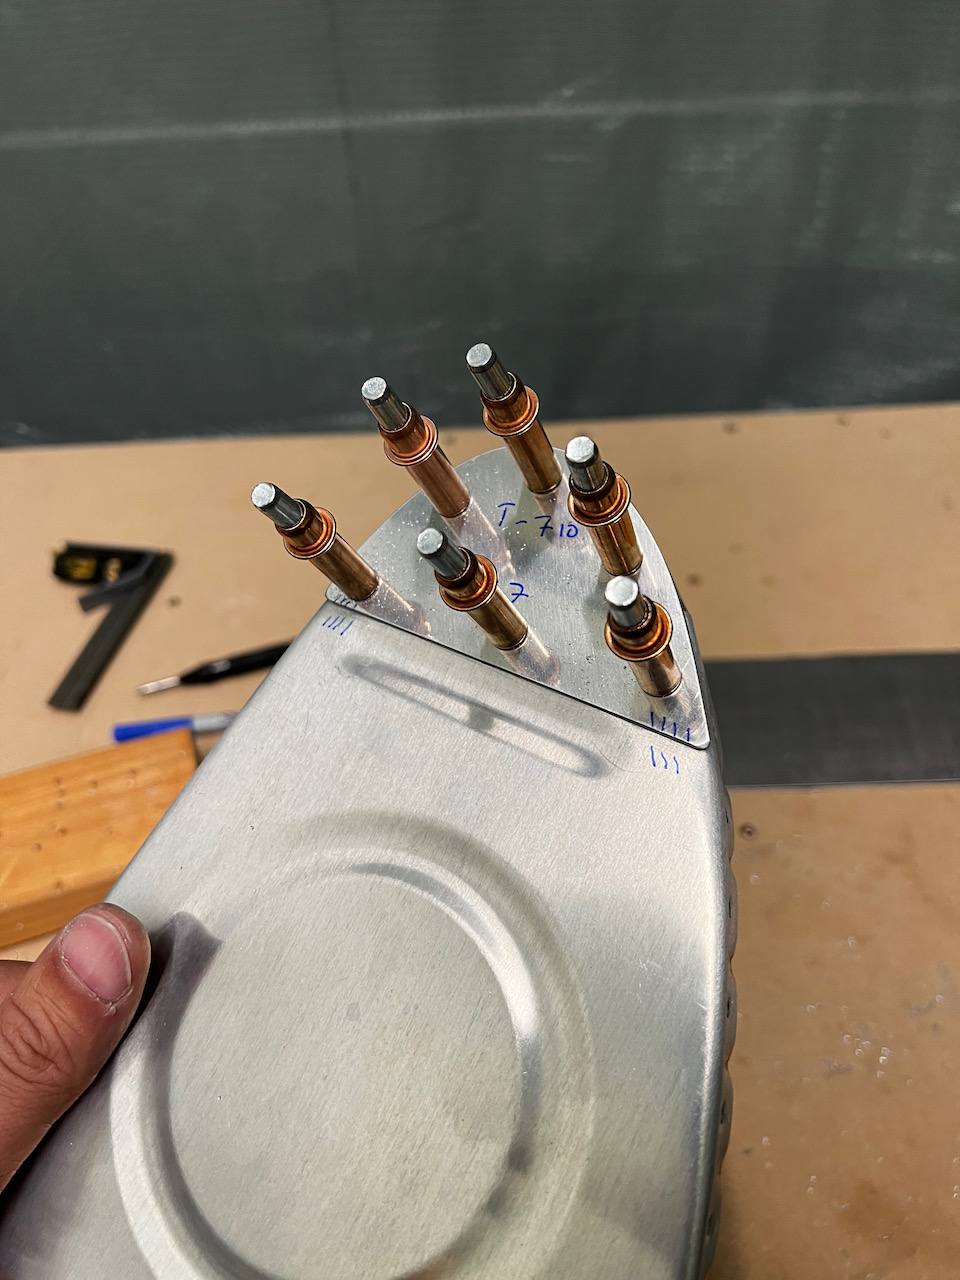
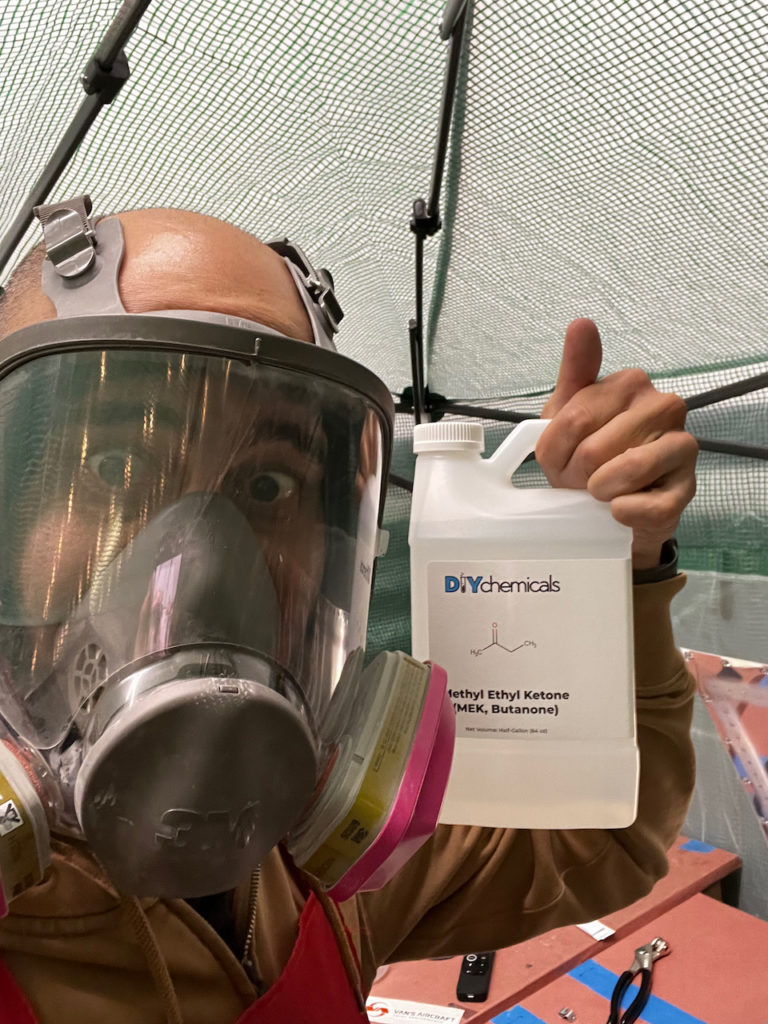
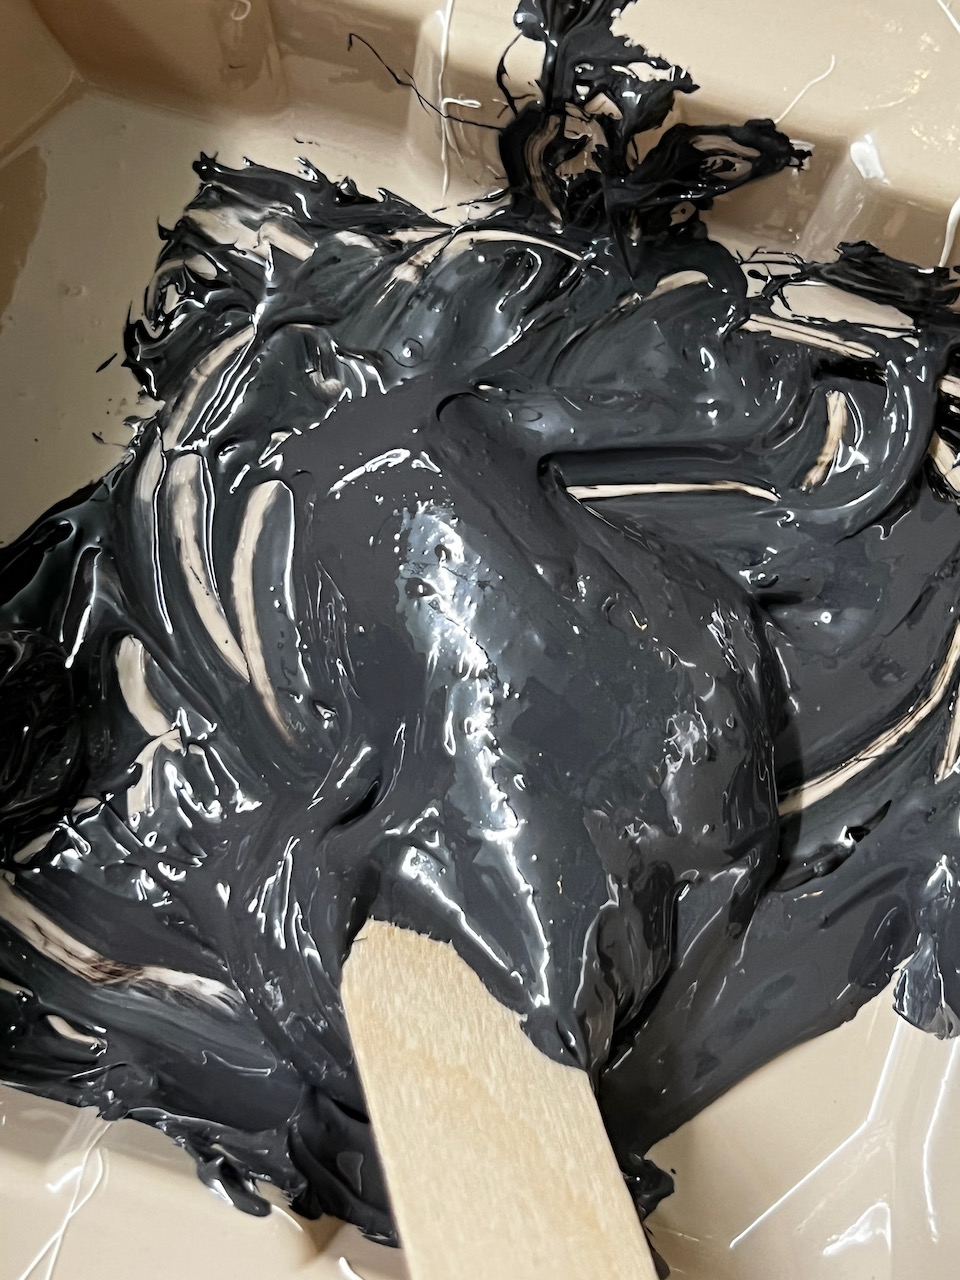
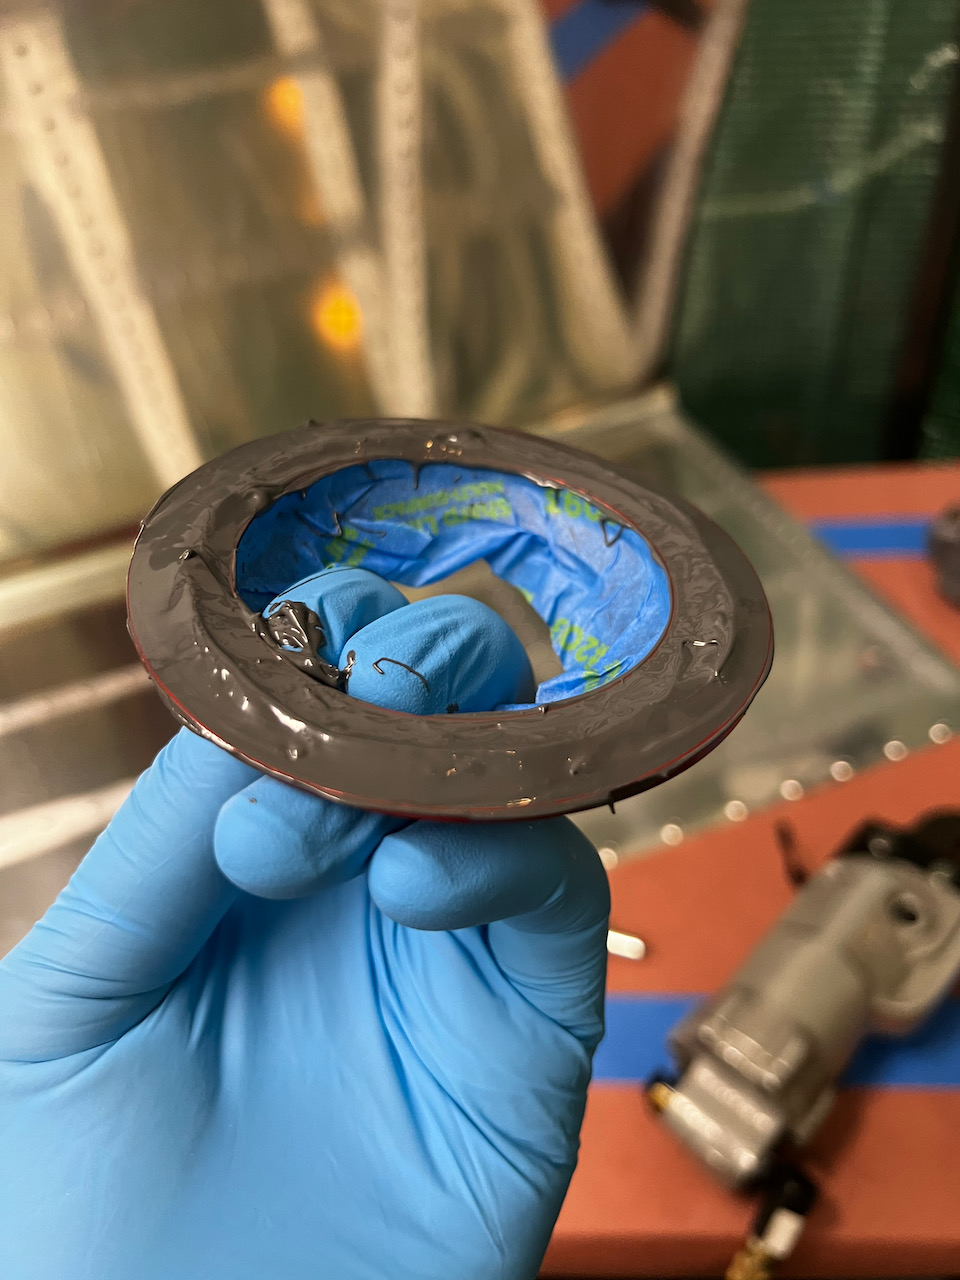
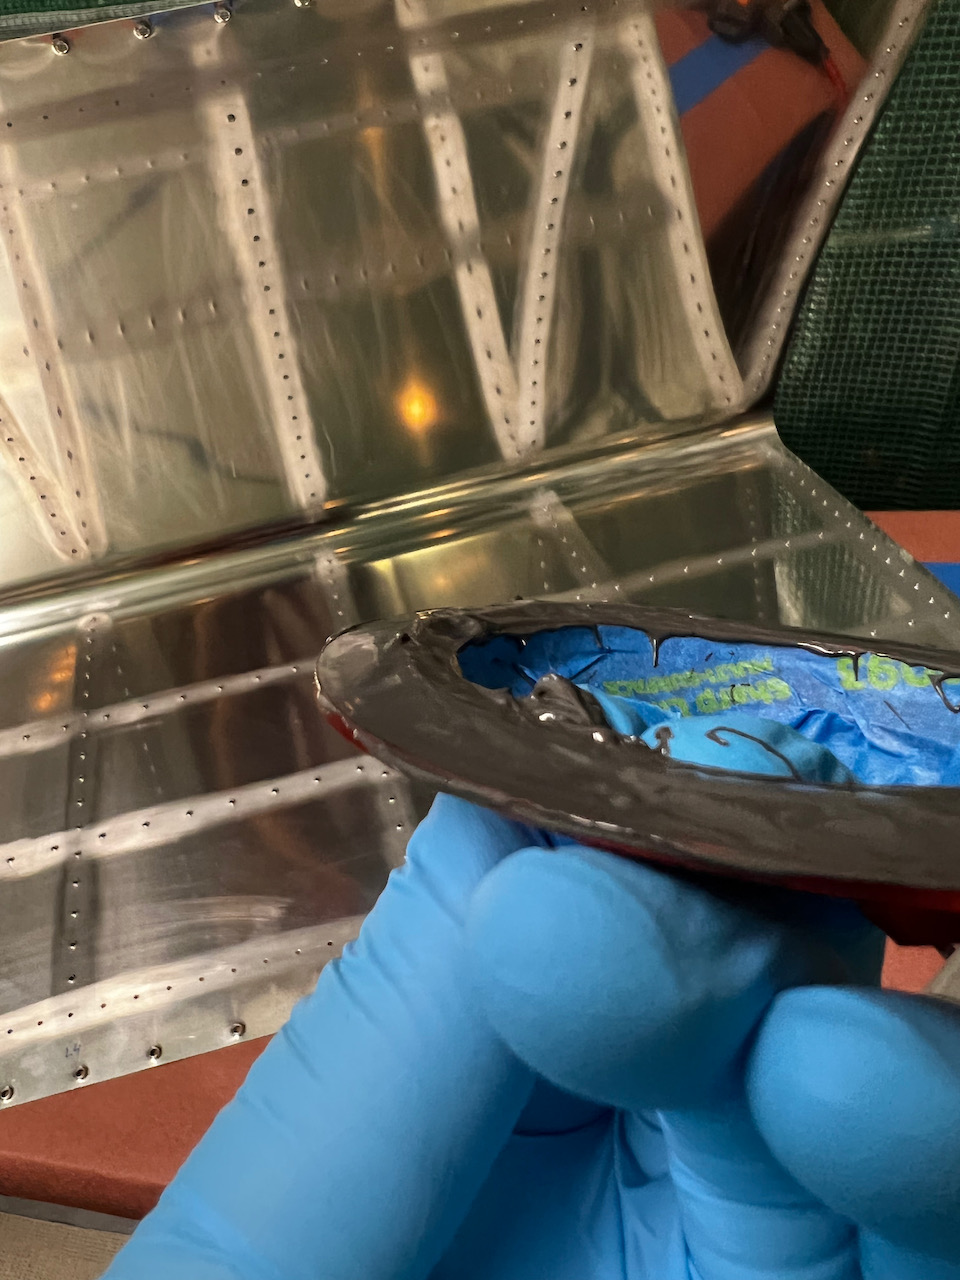
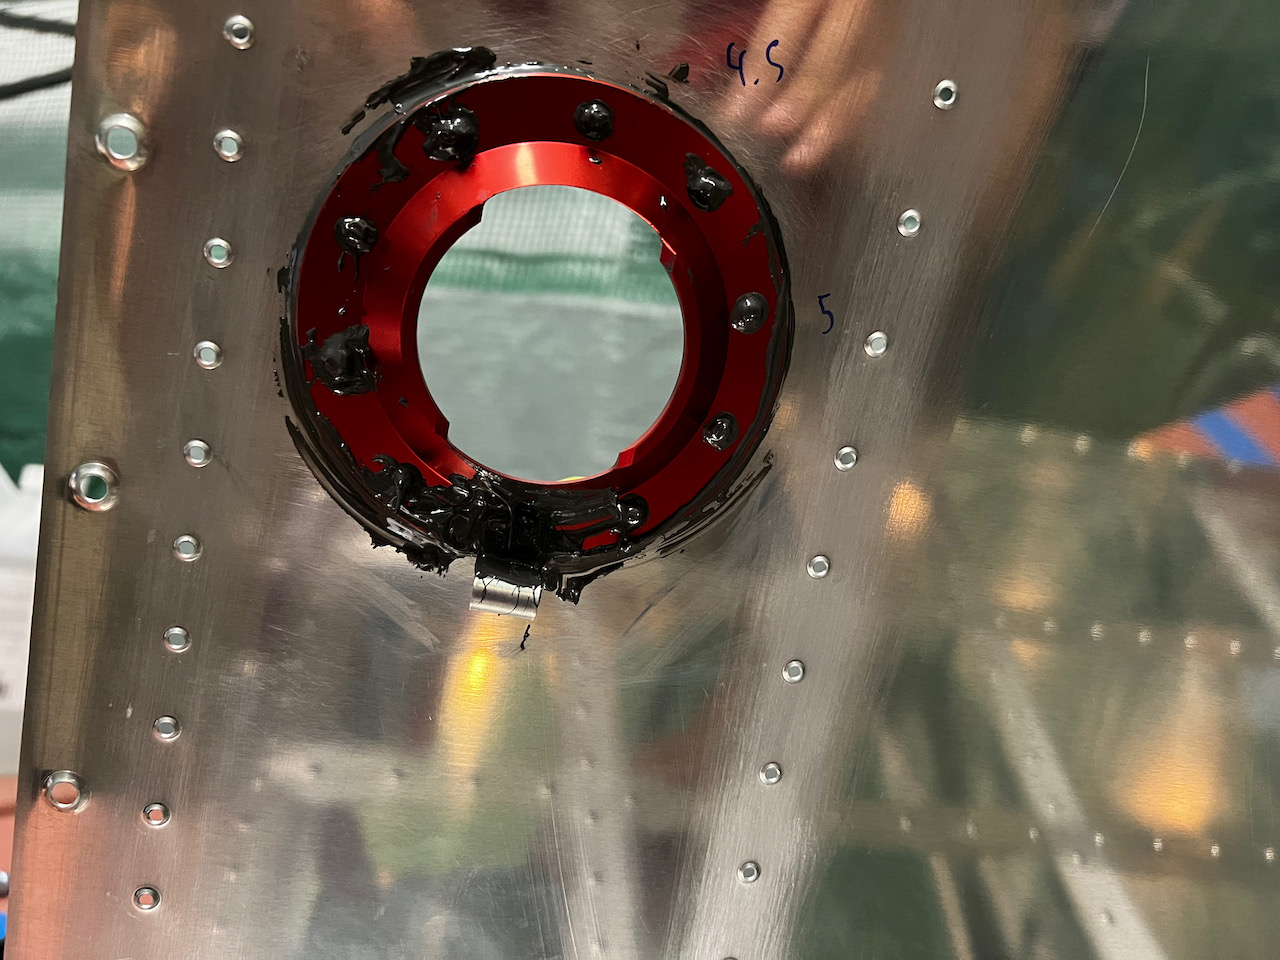
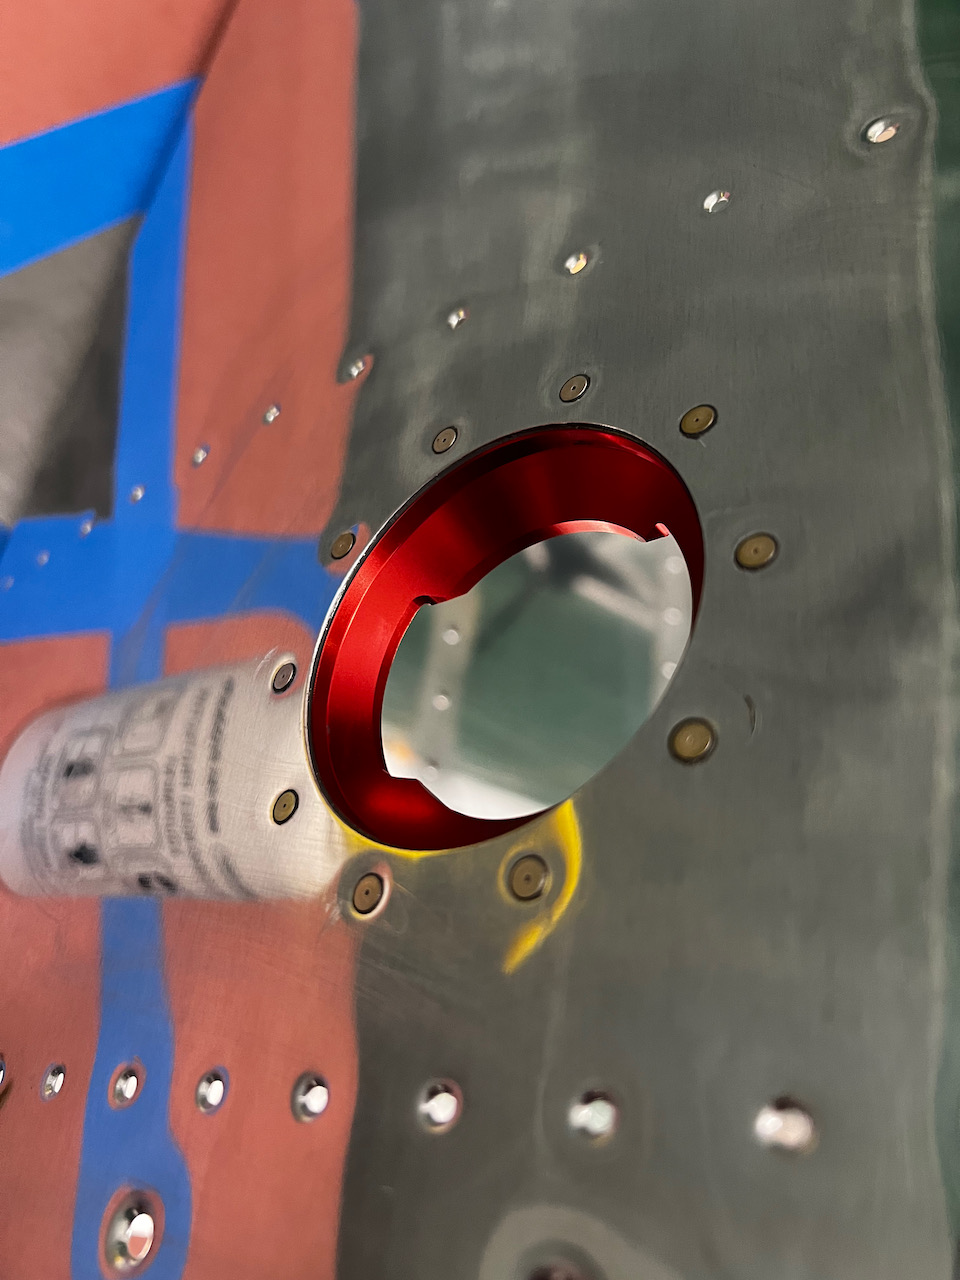
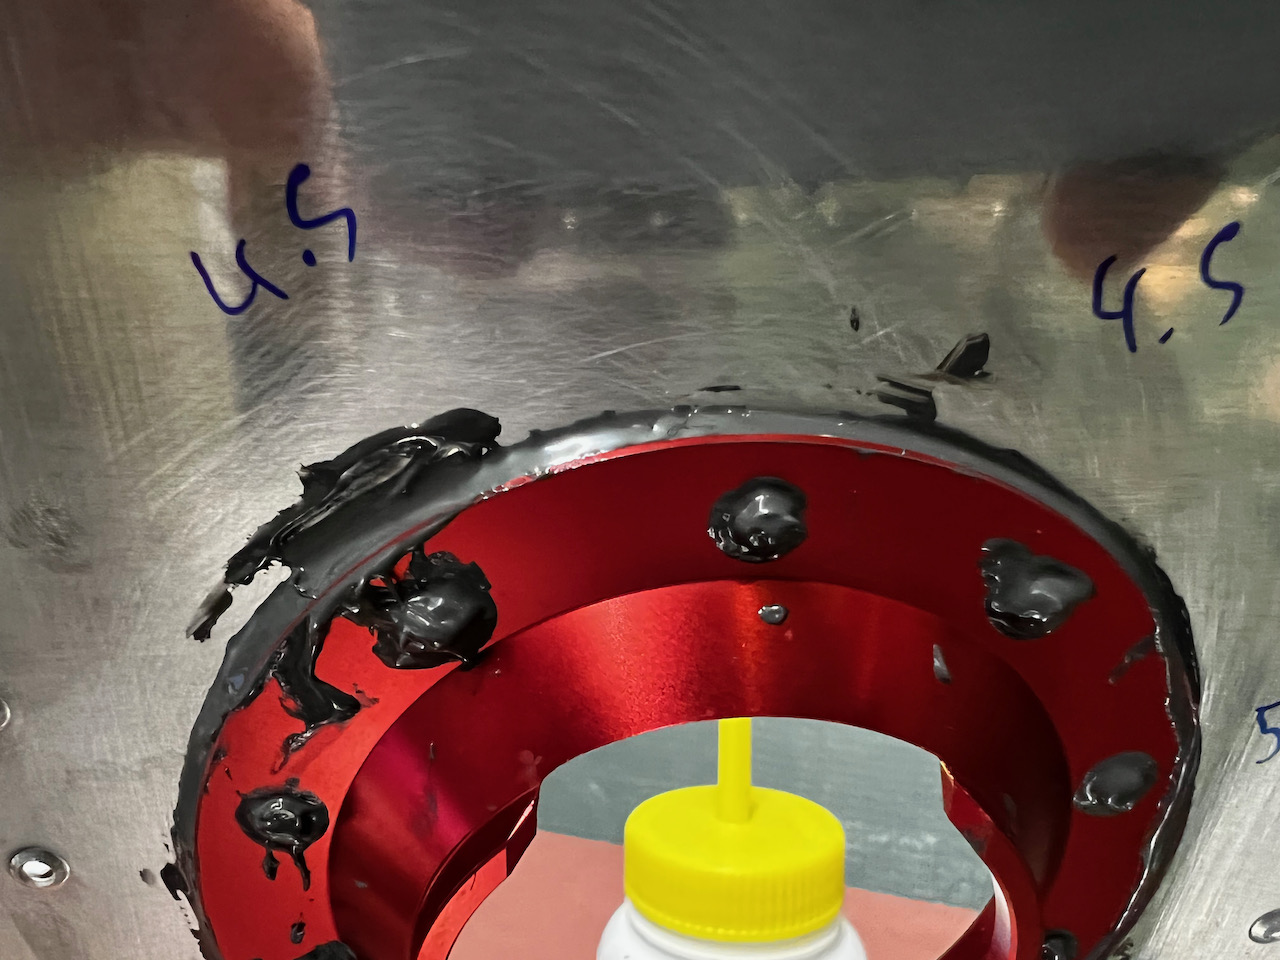
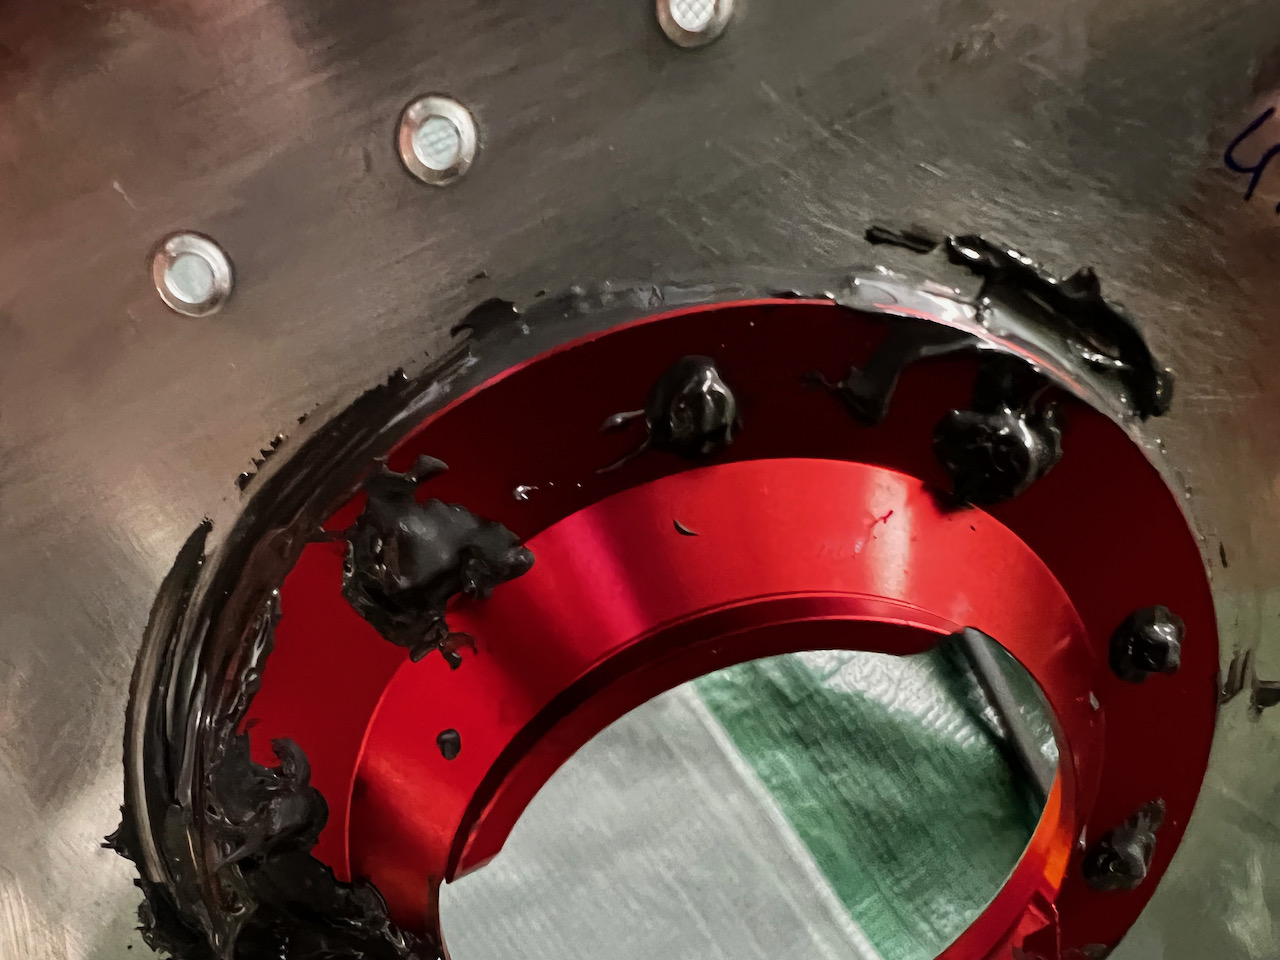
Finally!! After what feels like forever studying, prepping, and having nightmares about this step in the build, it was finally time to take the leap. Proseal is one of the steps in the build that has forum lore behind it. The noobs like me read so much about what can go wrong, that by the time you get to it, you’re convinced it’s impossible to get it right. But, you must forge ahead anyway if you want to eventually have a flying aircraft. Once of the saving graces as I jumped into this part of the build was a Van’s video done by Scott McDaniel where he walks through (in detail) the process to build a fuel tank. I had watched the two hour video multiple times by the time I got stared. I’ve embedded the video below if you’re interested. As in the video, I decided the part I was going to start with was the fuel cap flange. In hindsight, it’s a pretty complicated part, and I should probably have started with the stiffeners, but no matter, the choice was made. After one final test fit of the part, I dawned the full face respirator and got going. Full face respirator you ask?? Well there are two pretty toxic chemicals that I was using, both off-gas some serious vapors. And since I was in a poorly ventilated Greenhouse, I wanted to make sure I had all my bases covered.
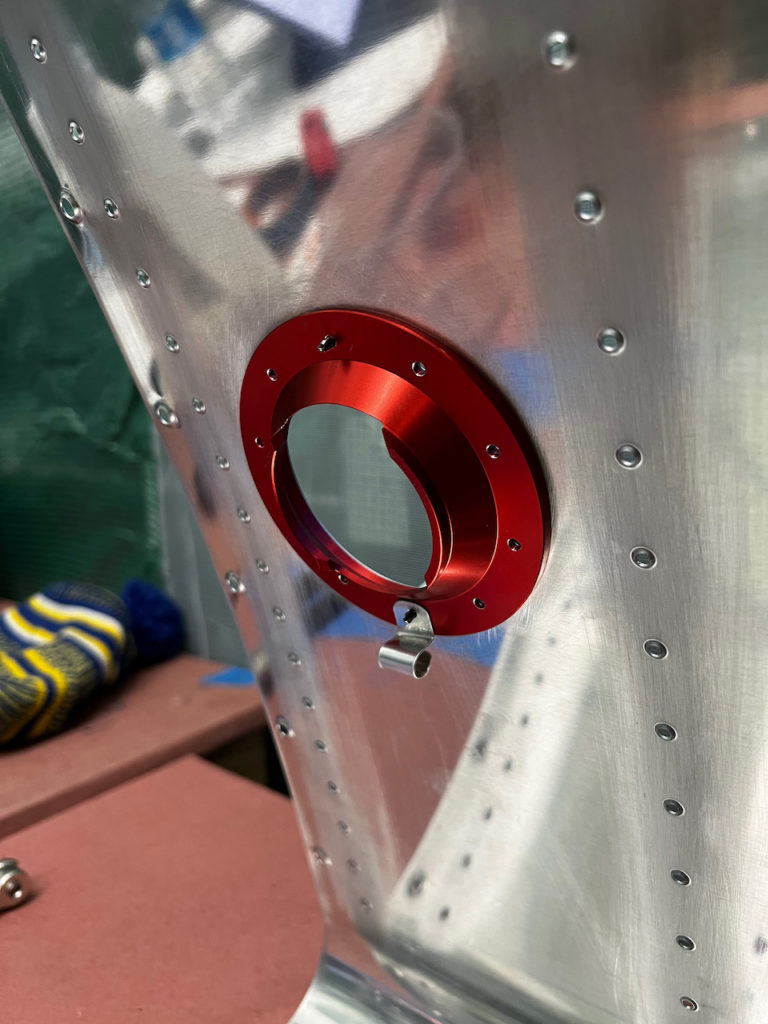
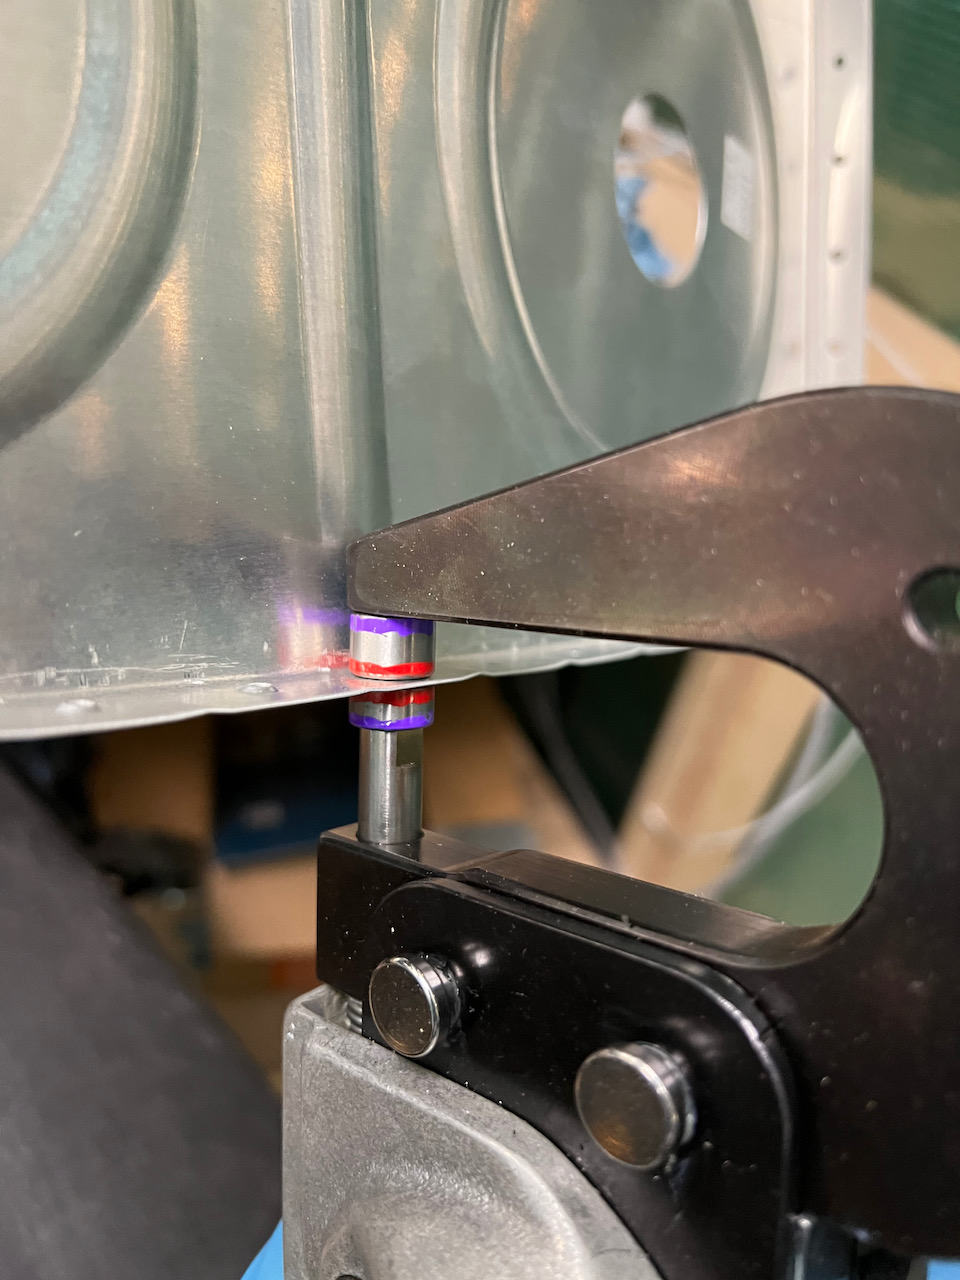
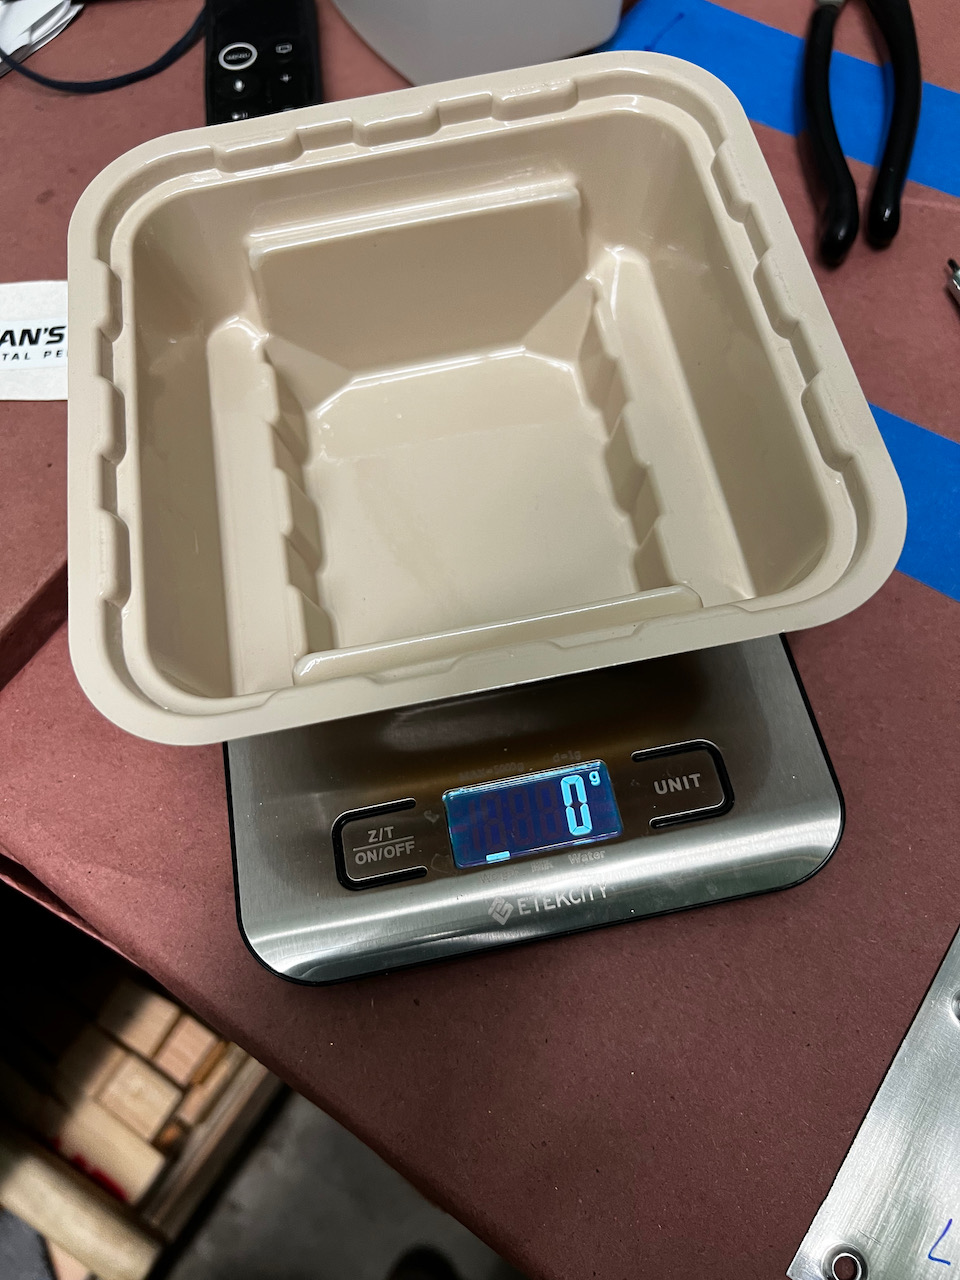
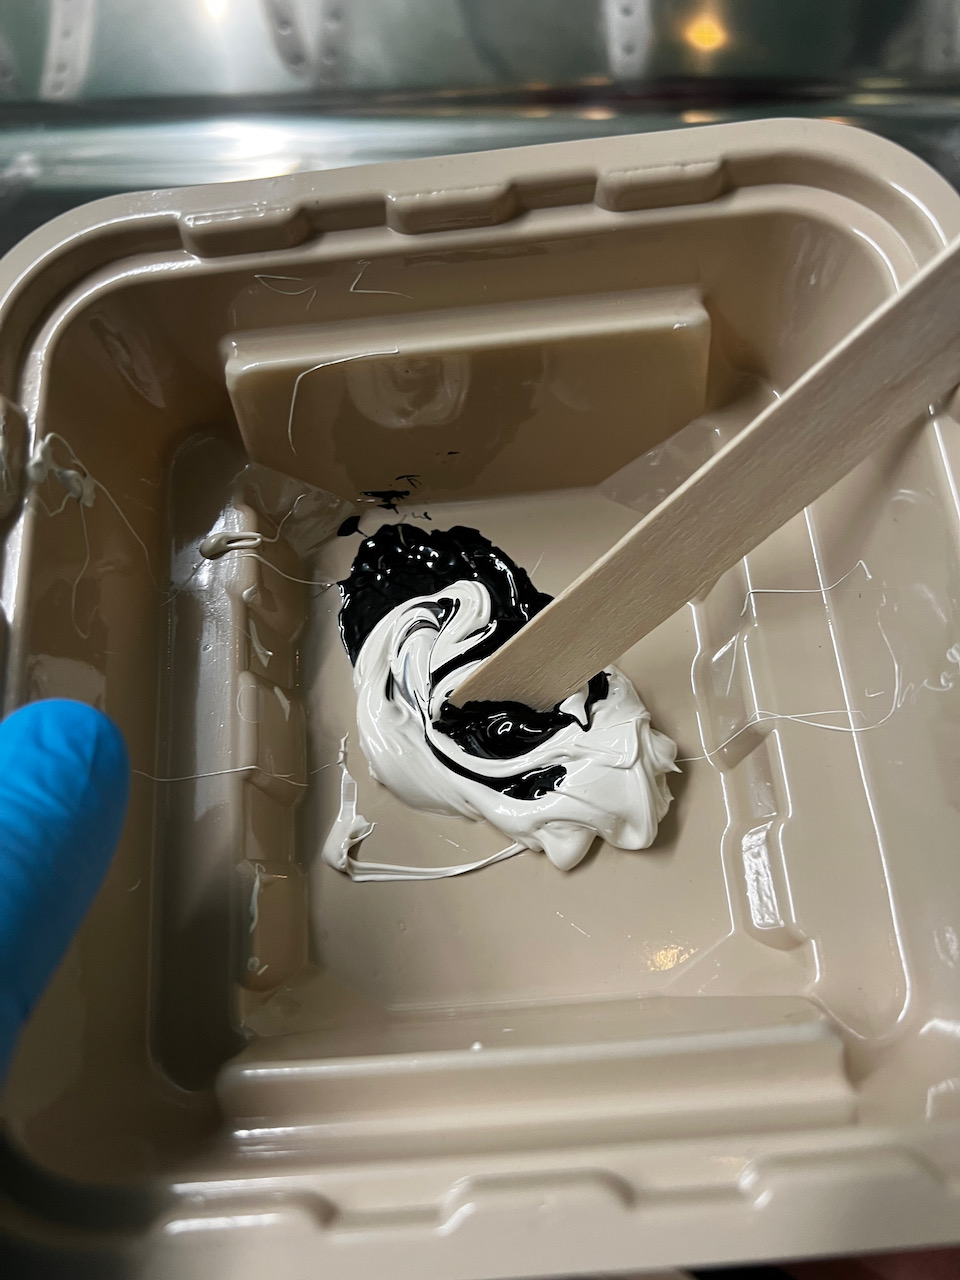
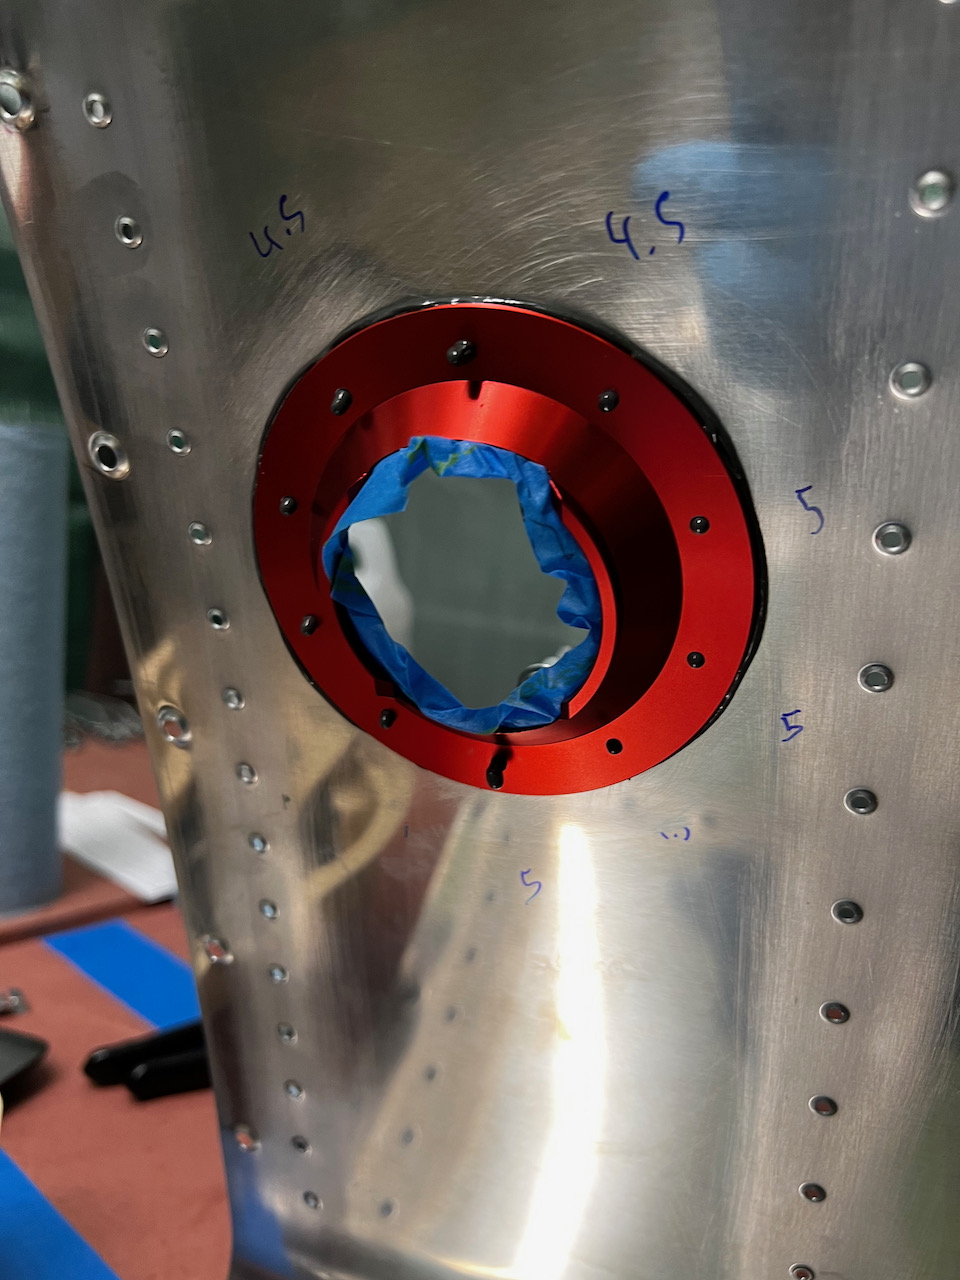
Proseal comes in two parts, and you are required to mix it by weight (10:1) to “activate” the compound. Once it is mixed, you have approximately a 2-hour working time at which point the material becomes too “set” and unworkable. After mixing up the proseal I got to work applying the sealant as per the Van’s technique. It worked pretty well, and I saw most of the signs described in the video. I kept the mess down to a minimum by wearing multiple gloves and taking my time on each step. The riveting went mostly well (I did have to drill out one rivet) and using the aluminum tubing technique I was able to cover the individual shop heads after rivets were in. I made sure to clean up all the excess proseal on the skins surface which required quite a bit of MEK and shop rags, but in the end it looked pretty good. After cleaning up the tools for the night (there was definitely a lot of proseal on all the tools I used), I was able to sit back and enjoy the fruits of my labor! (Apologies for the minimal “in process” photos, but once you start working with the proseal, it’s tough to pick up anything without getting proseal on it. I’ll try setting up a timelapse on the next step.)
This was a really big step. Although there is a TON left to do on sealing the tank, taking that first leap into the sealant was a long time coming. Hopefully with time I will get better at handling the compound and become more efficient with my sessions. Next up will be the other flange cap and drain valves. Until then, Happy Building!
1 comment
“On more rivet” 😉 on the wing of this plane.
By the way it is almost time to christened it. Name please. 😃
Messy work but excellent results.