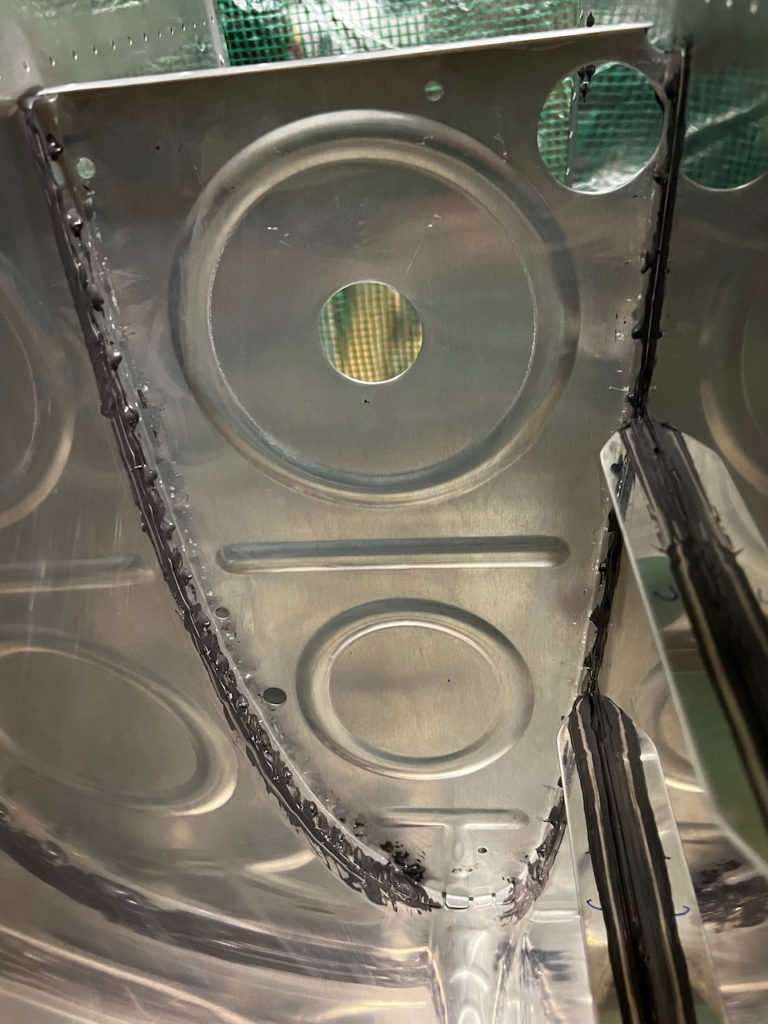
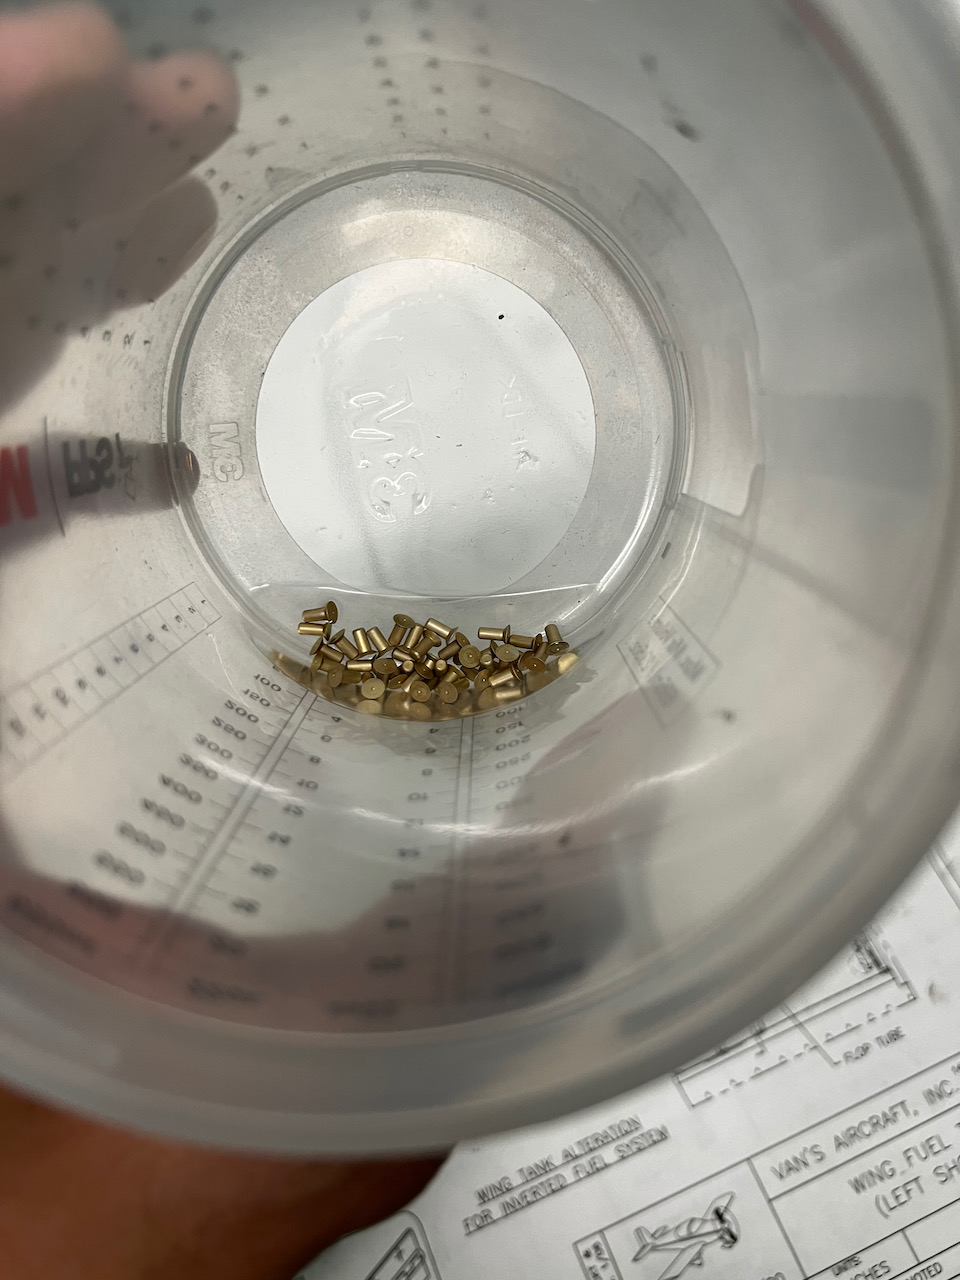
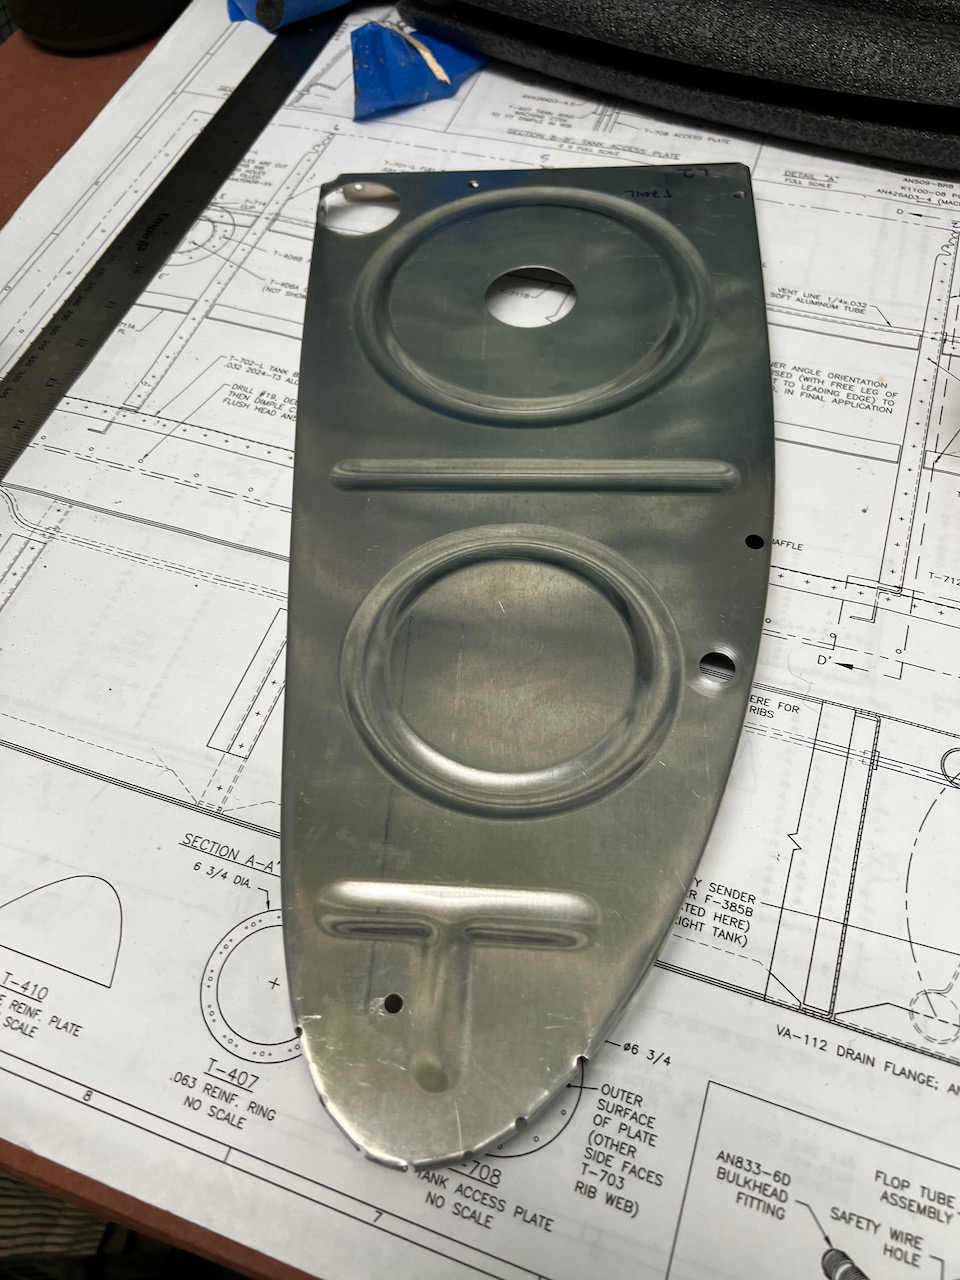
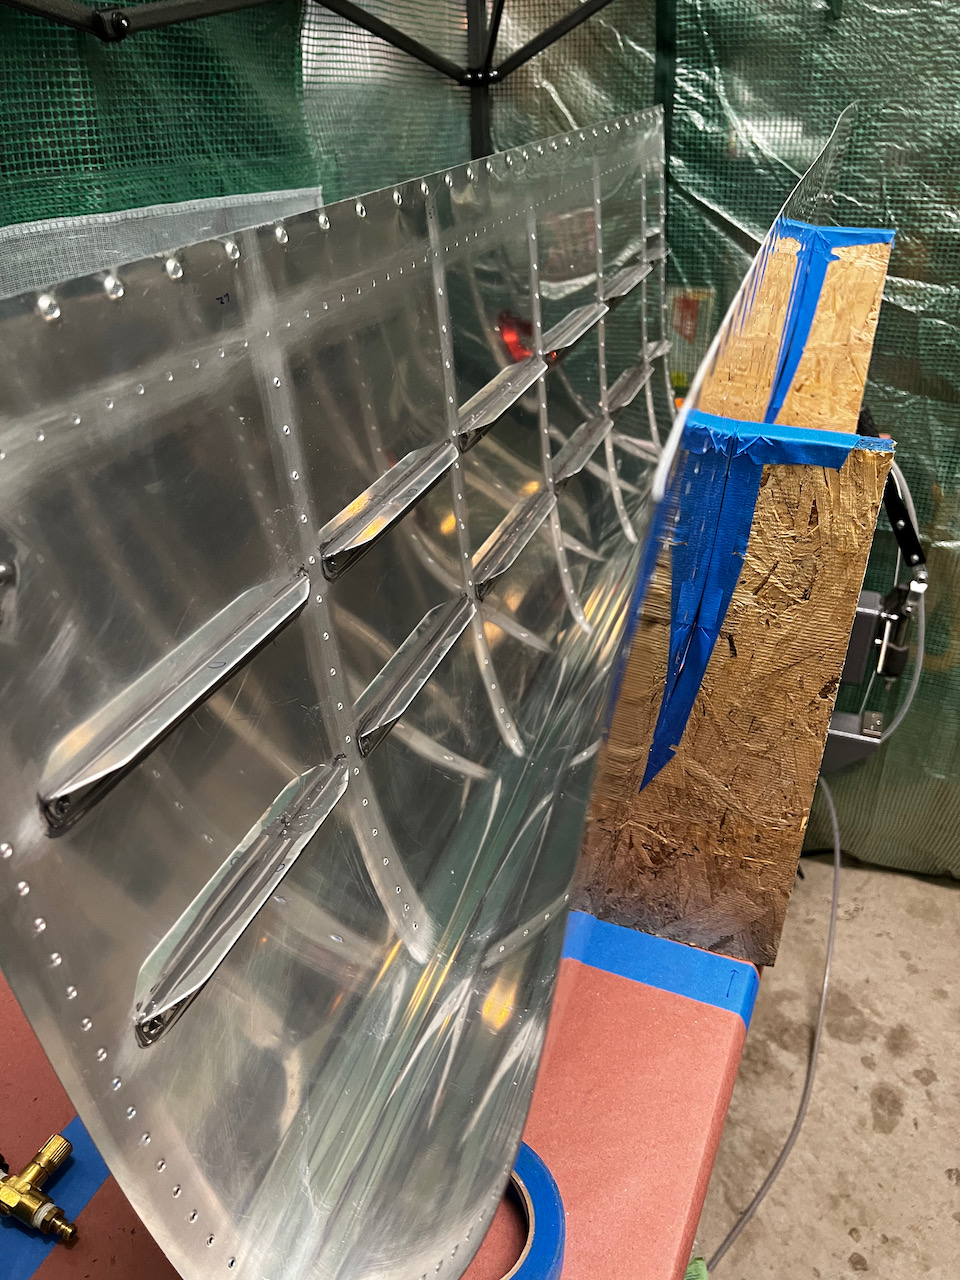
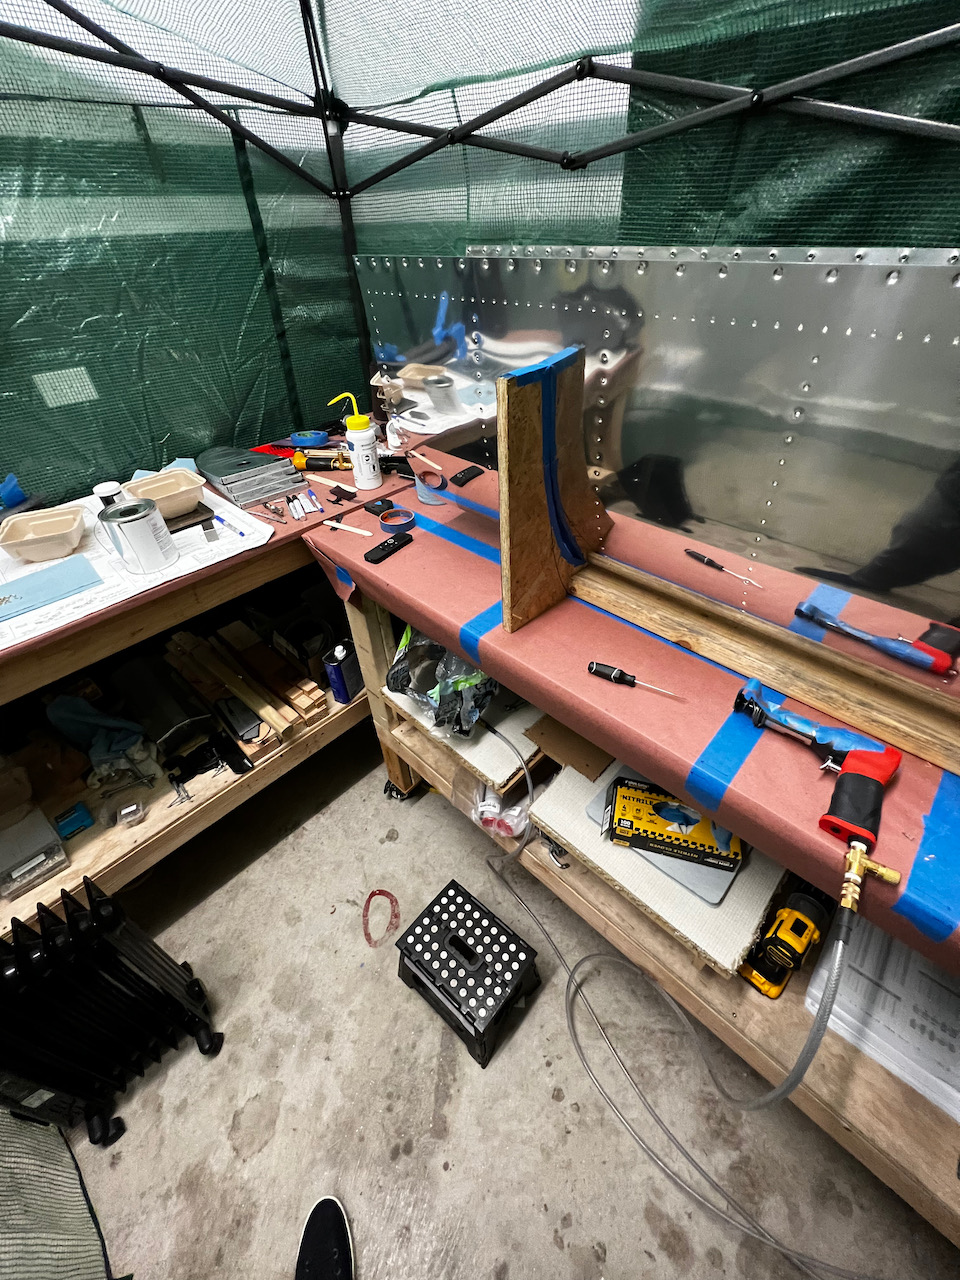
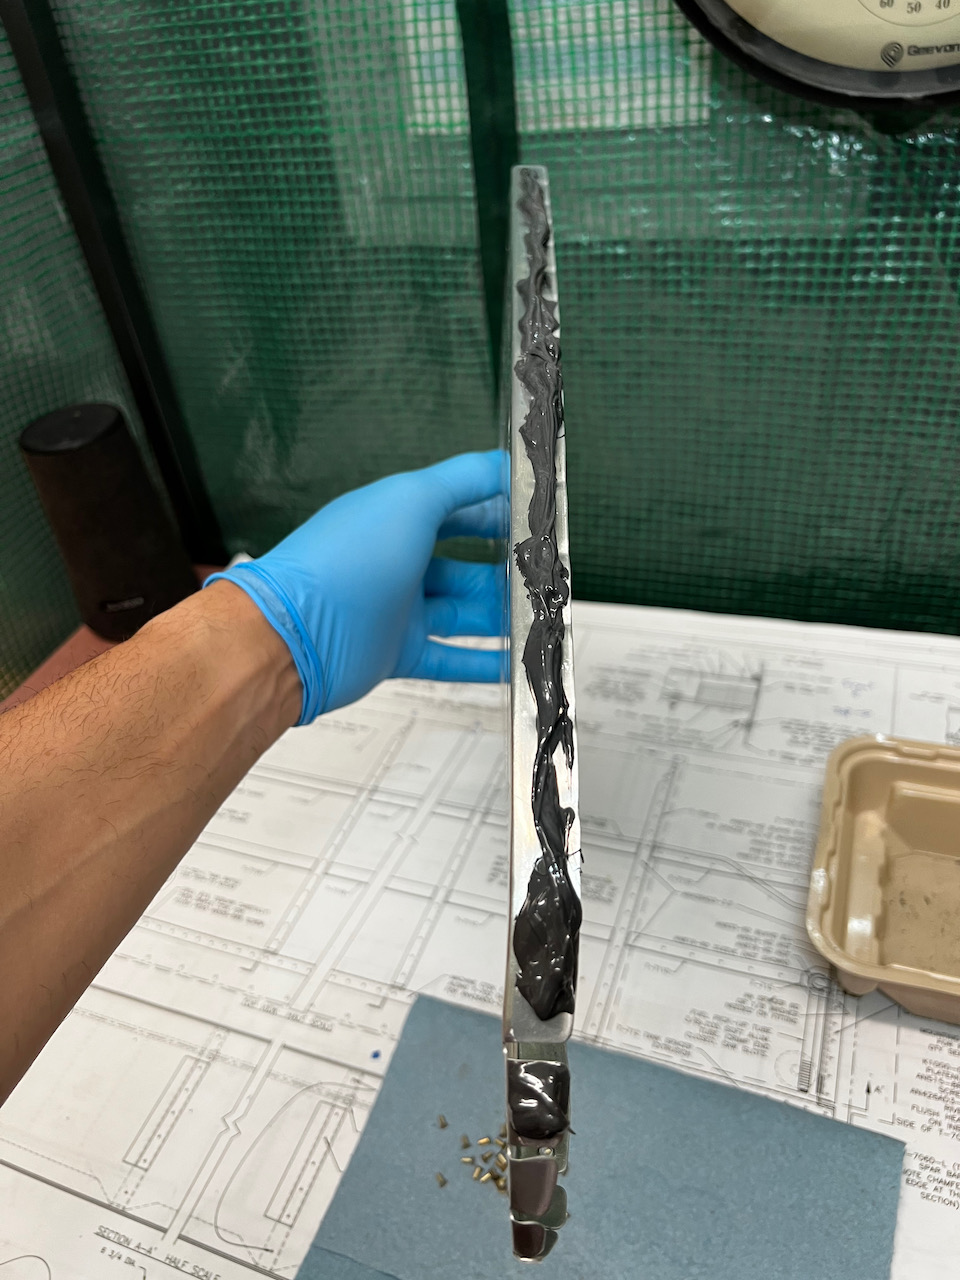
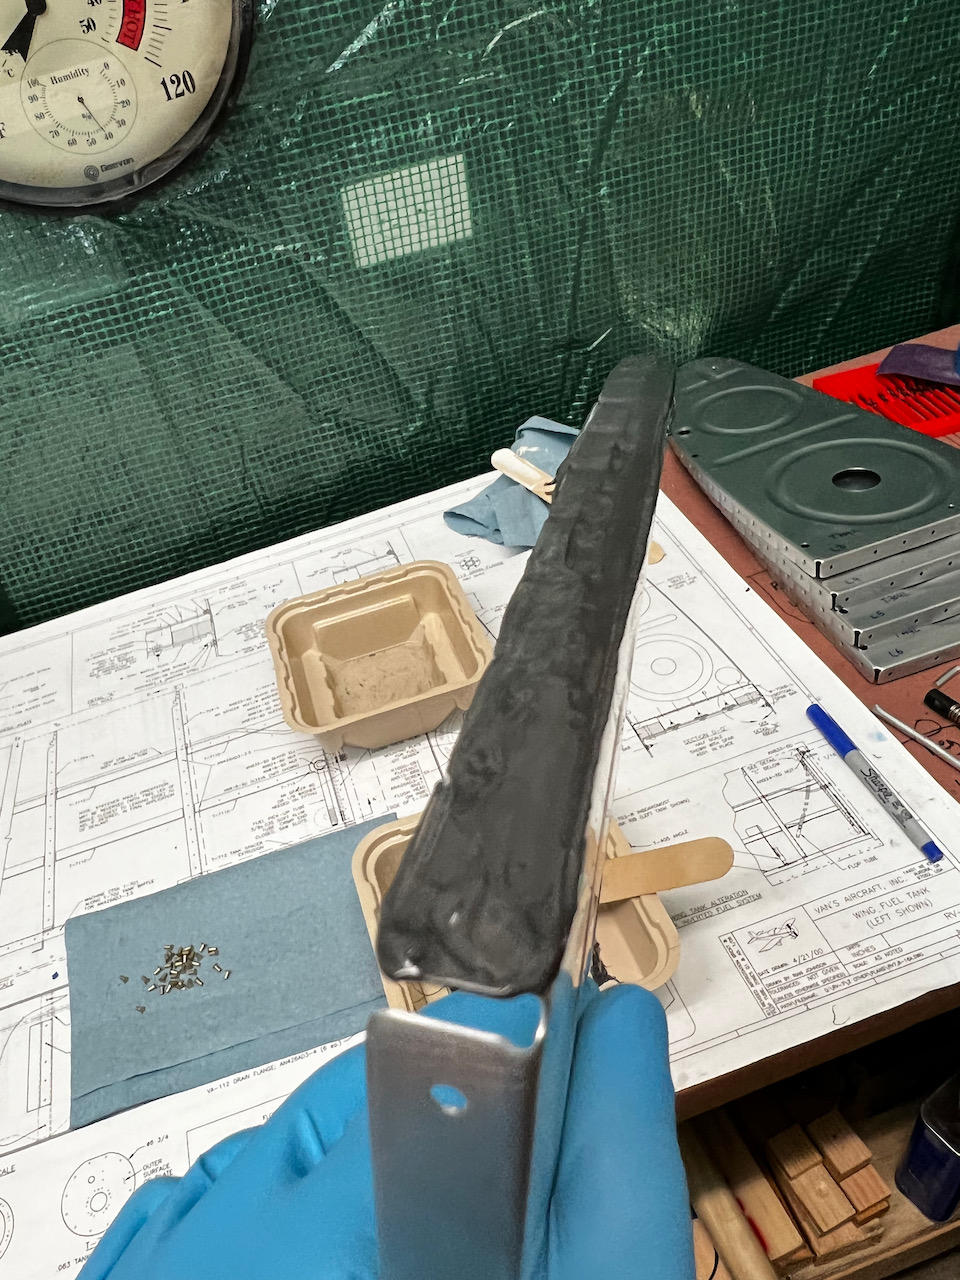
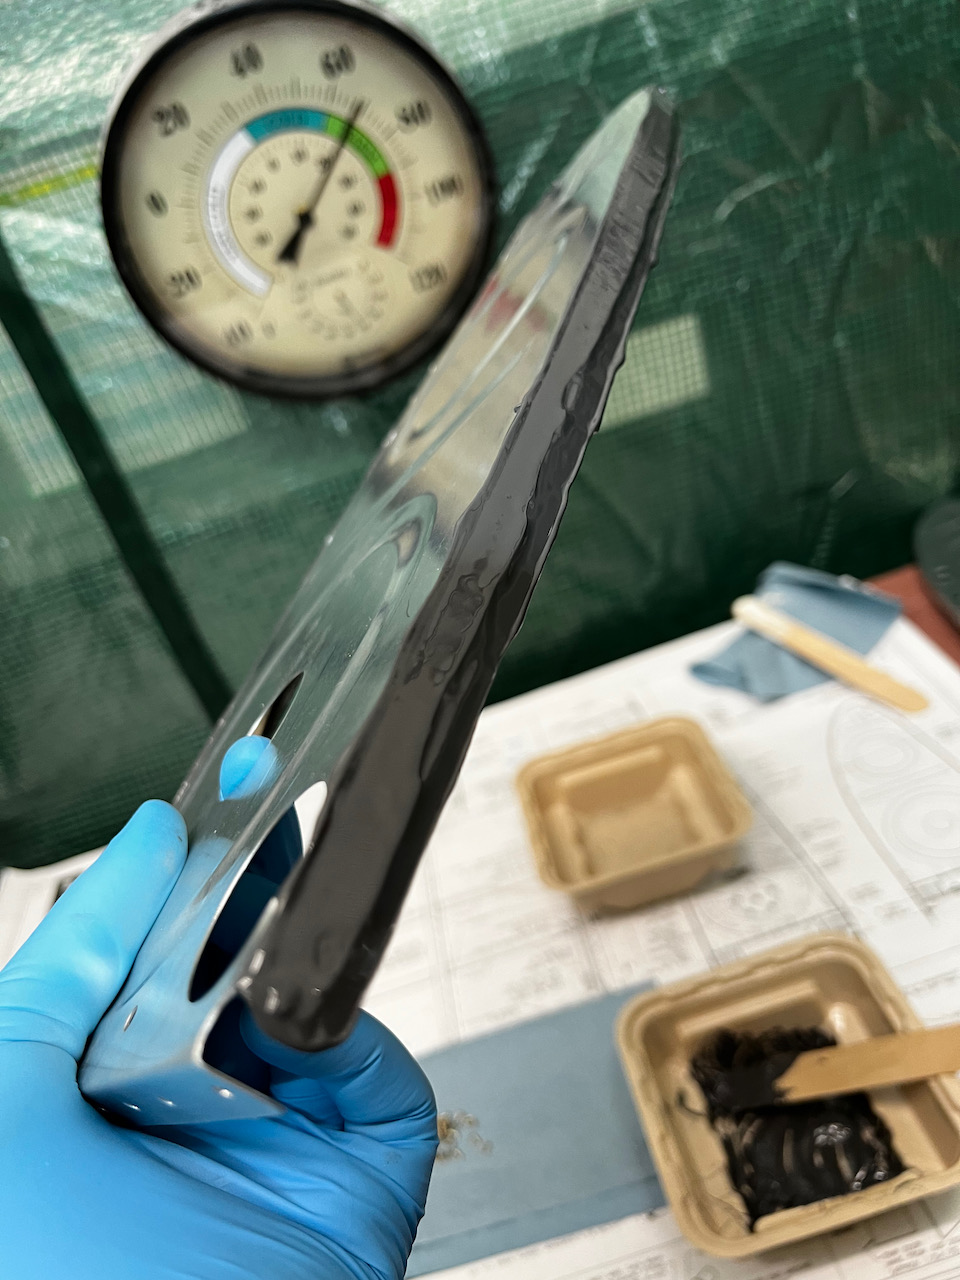
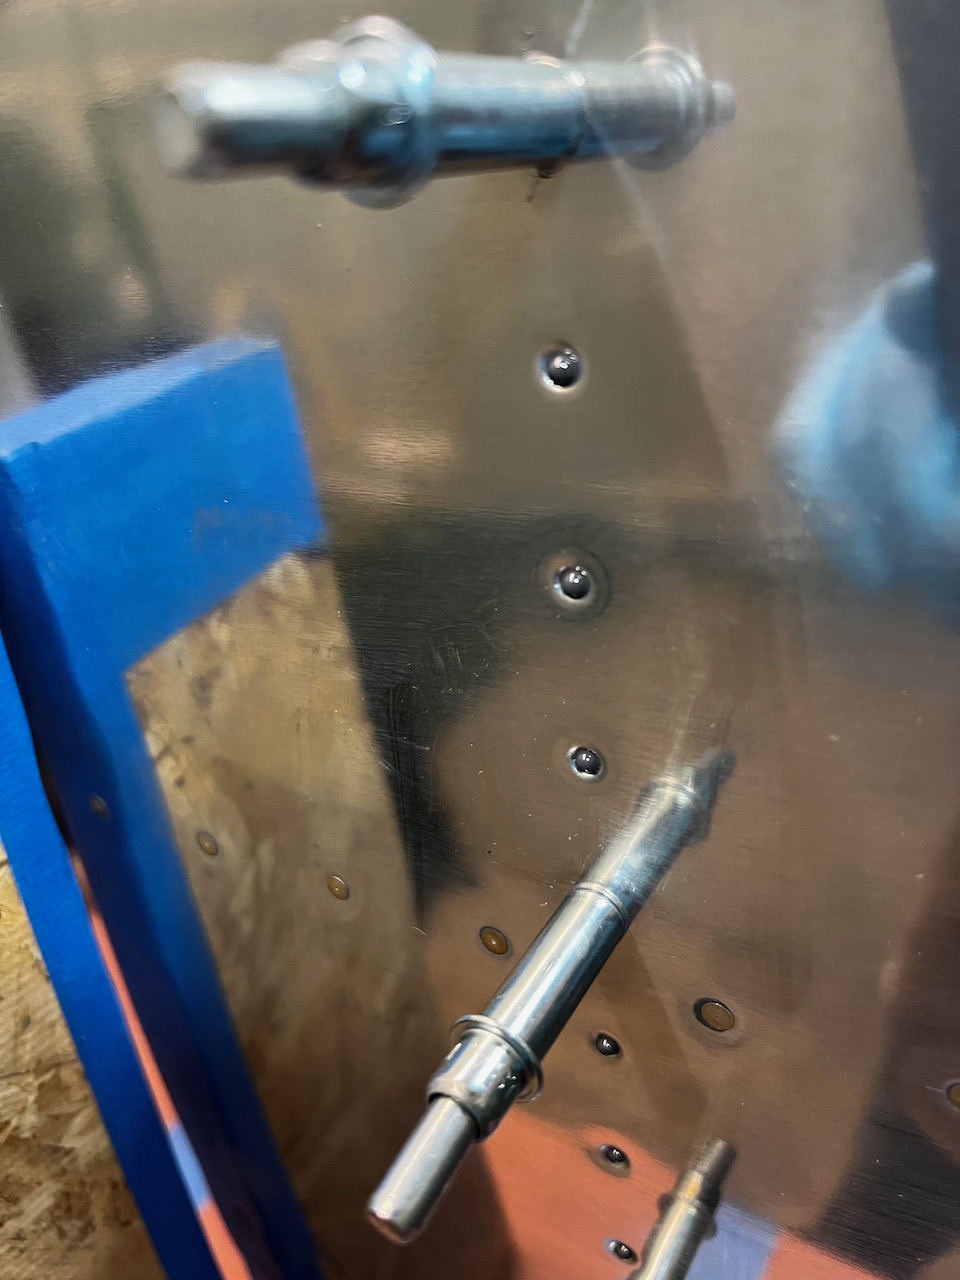
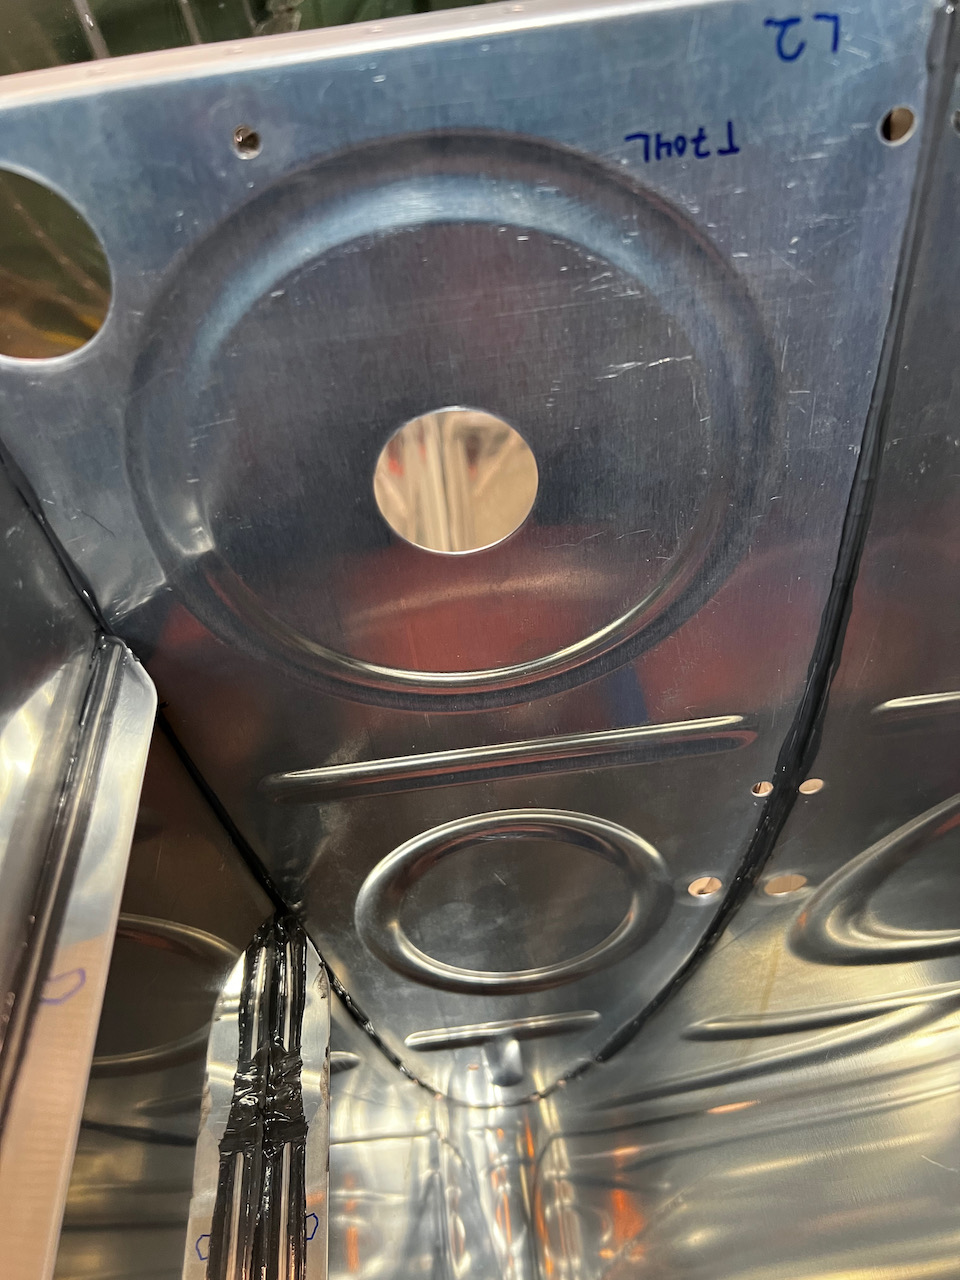
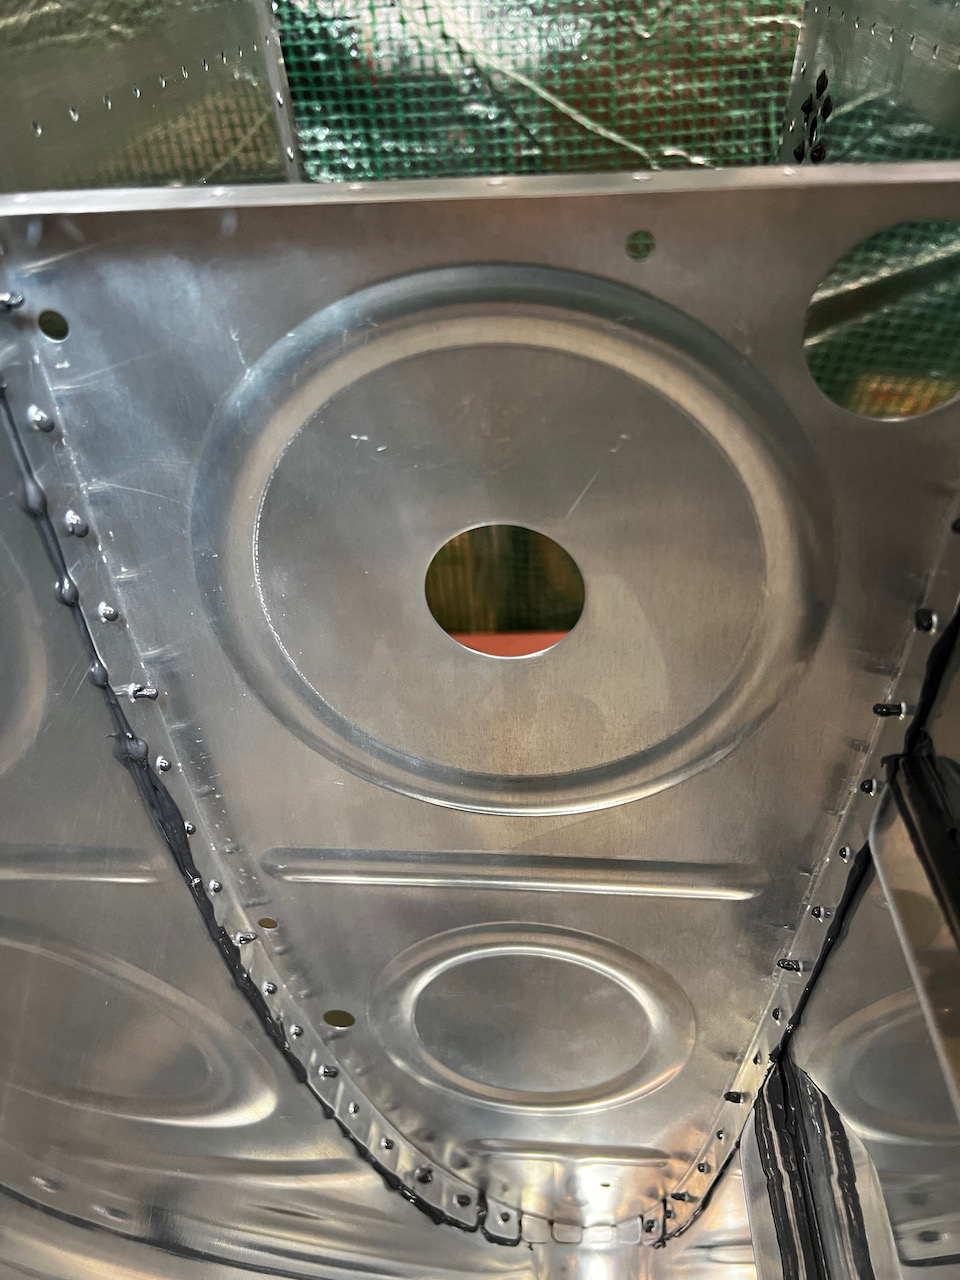
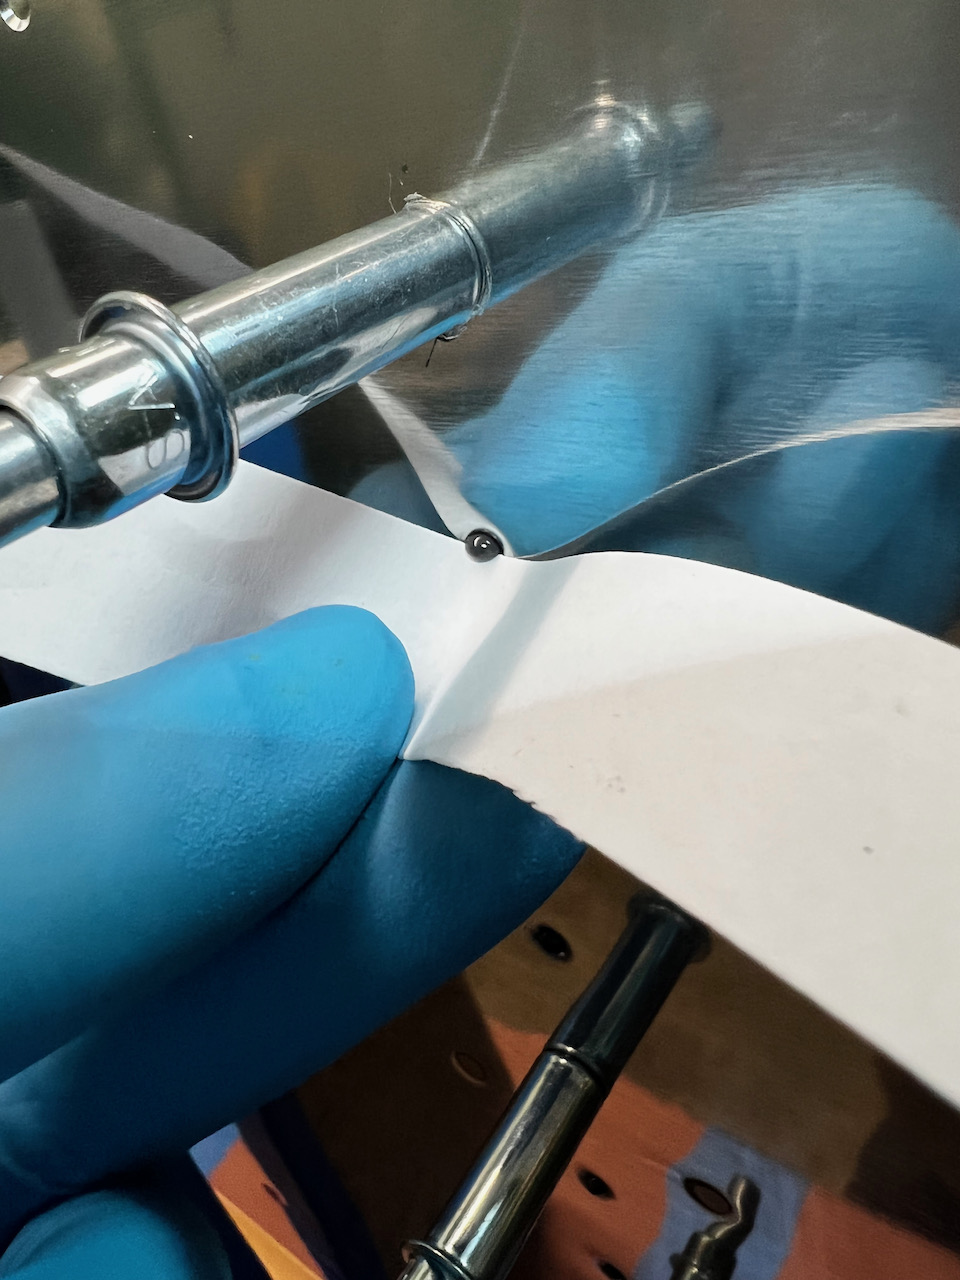
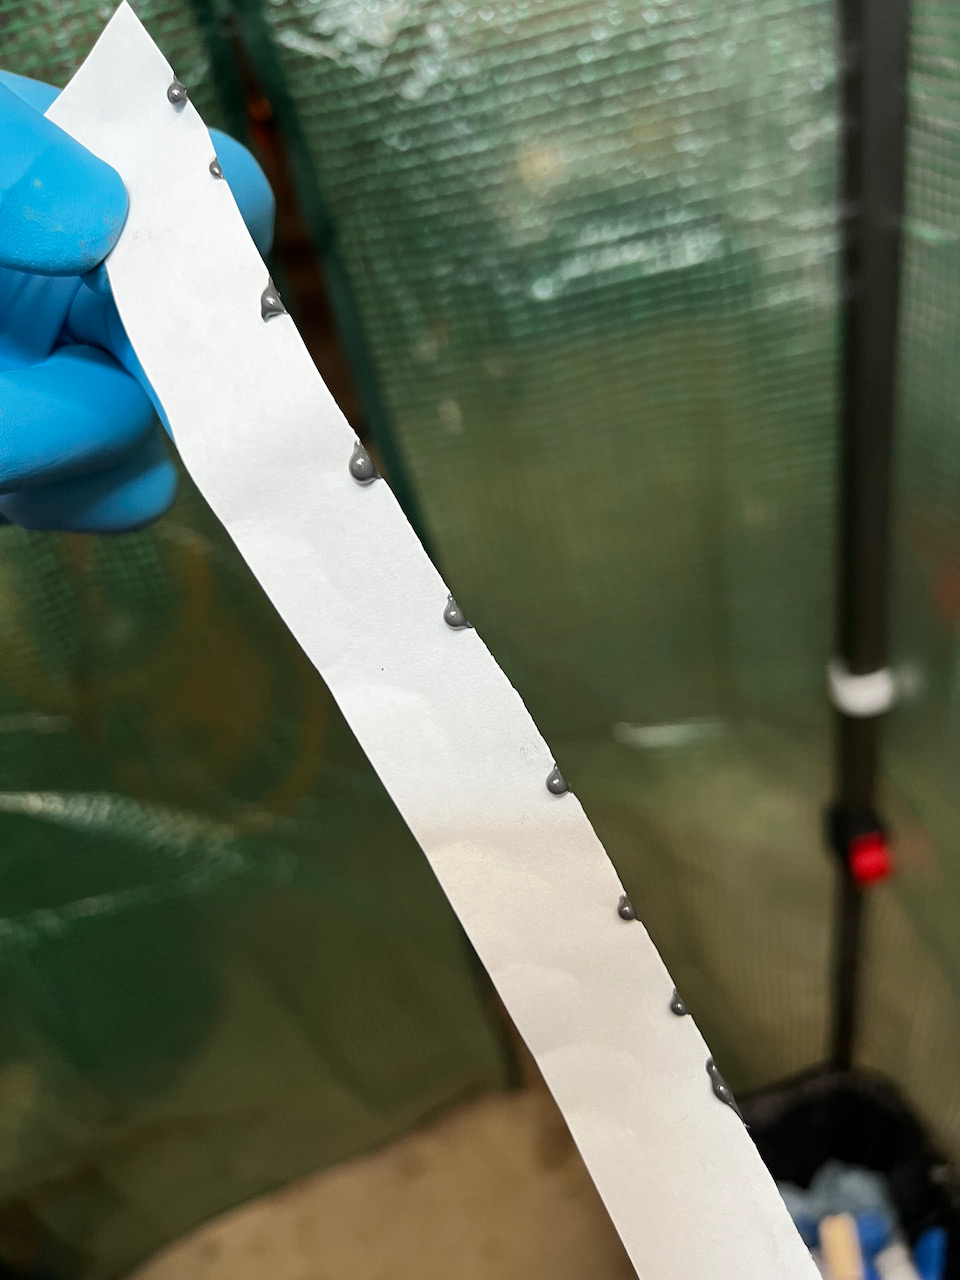
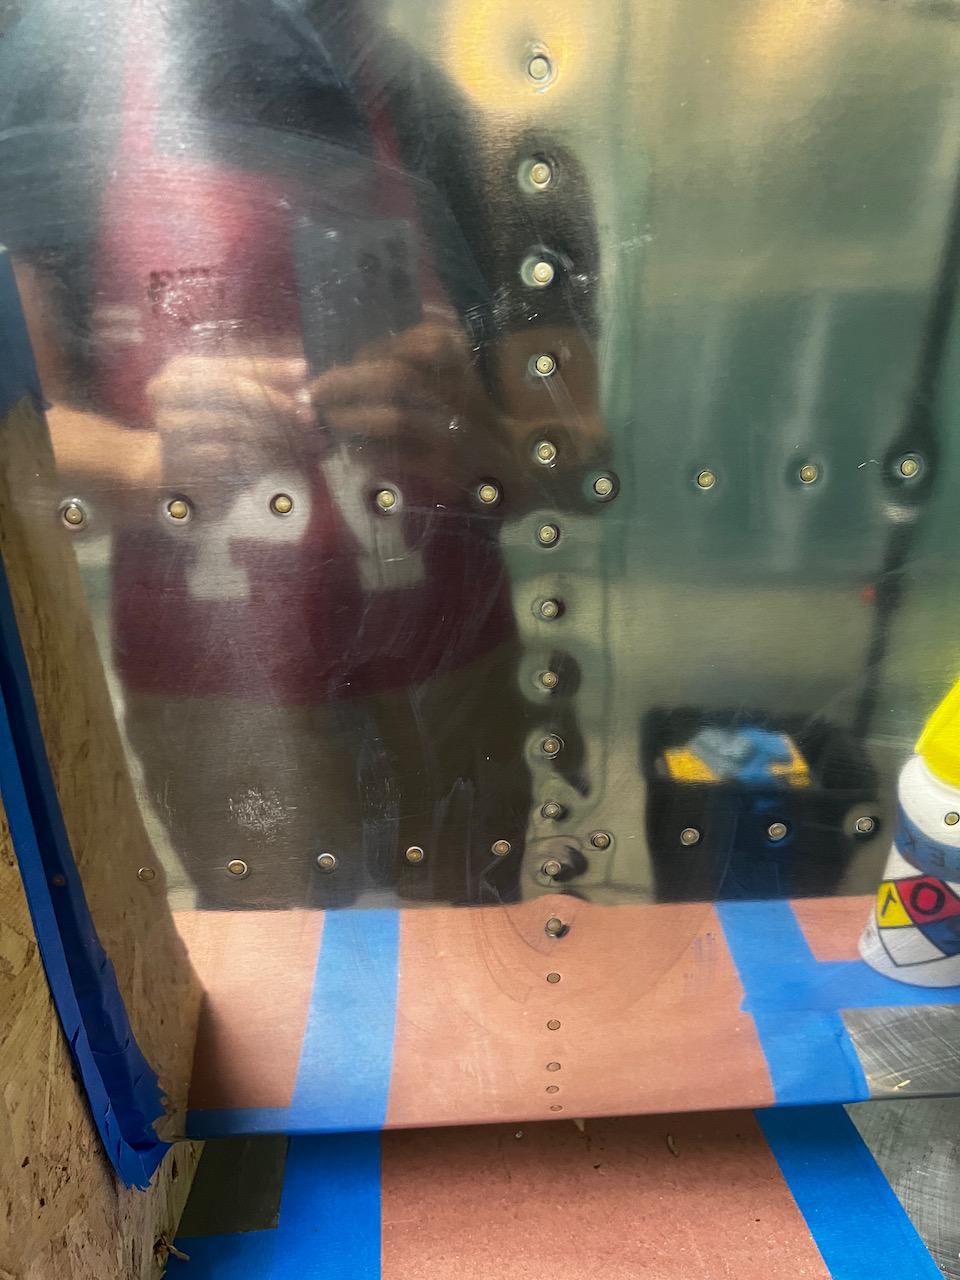
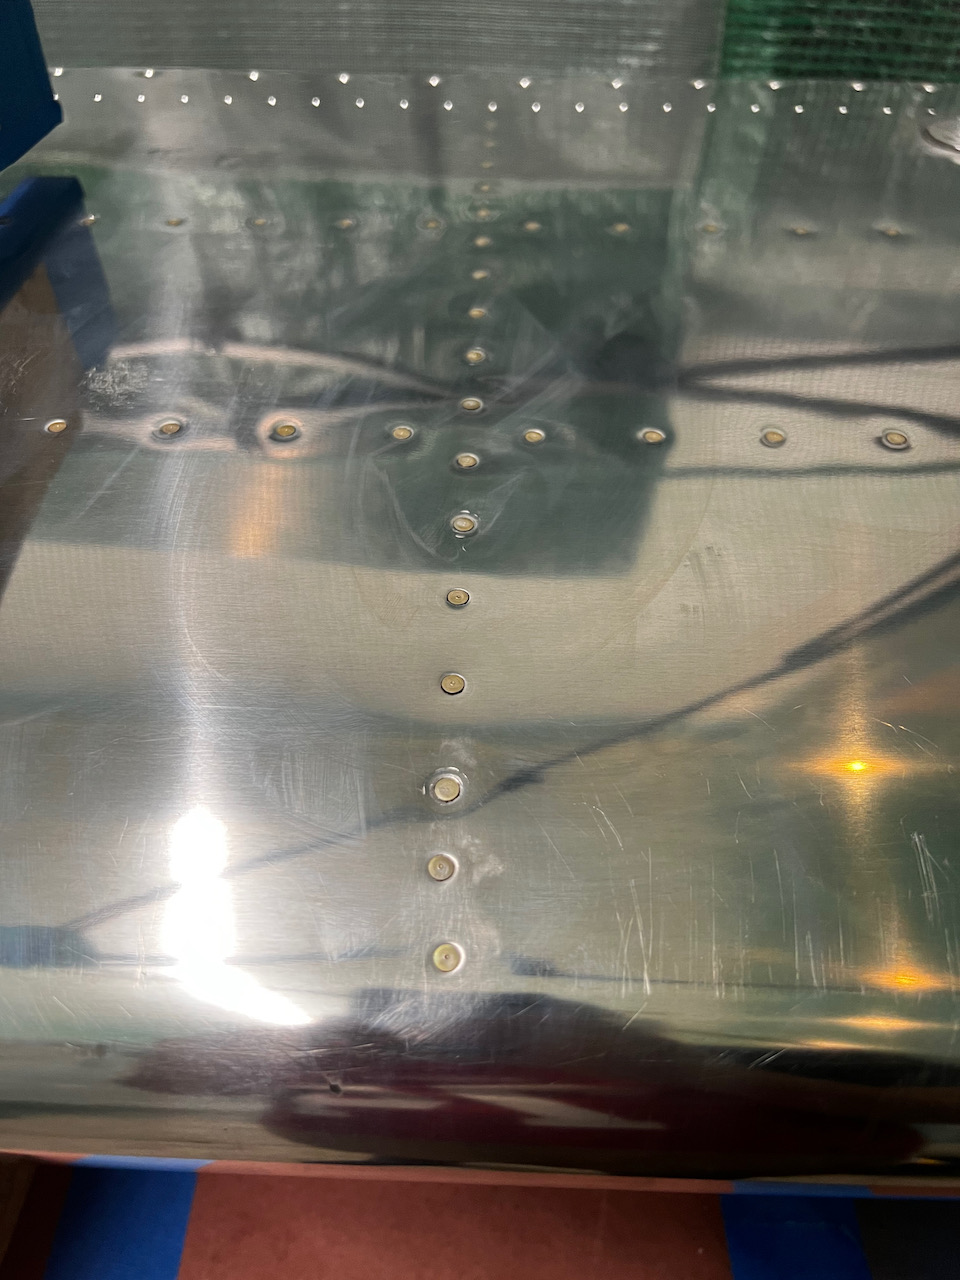
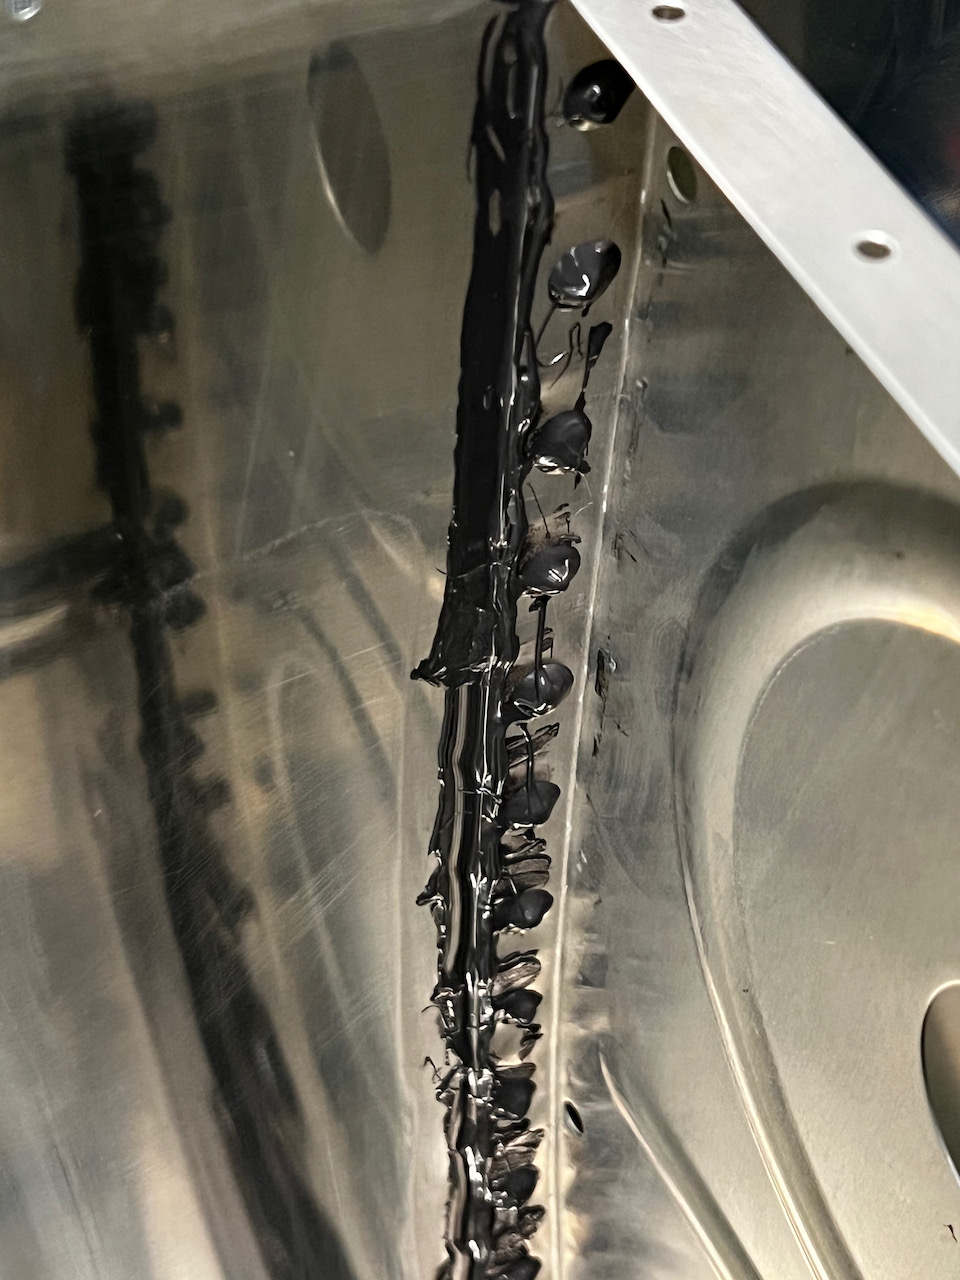
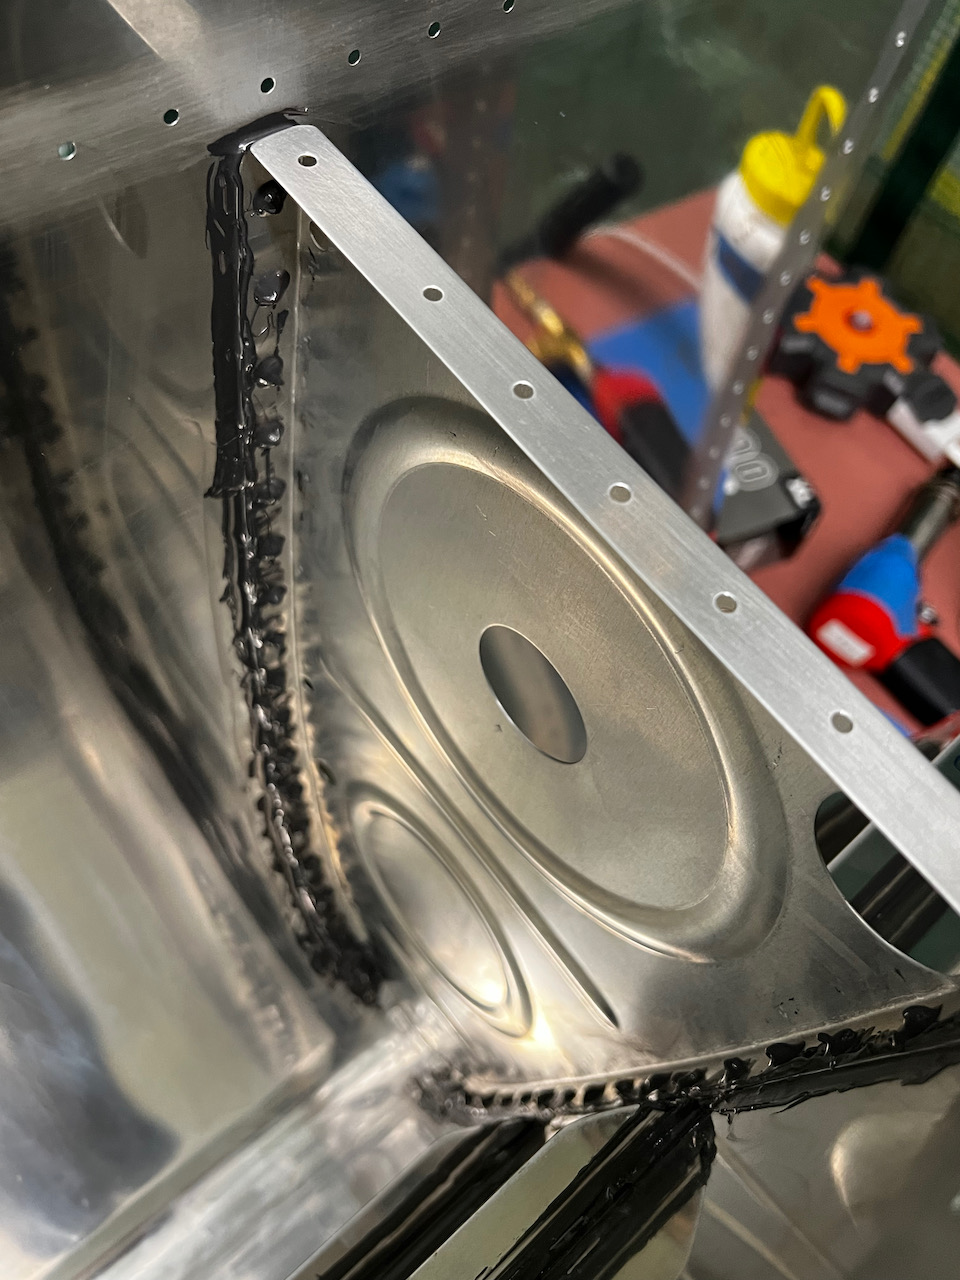
Tonight’s session was a humbling experience. I figured the ribs were just a variation of the stiffeners, but in reality they are a whole different beast. After a quick test fit of the first rib, and prepping everything as best I could (cleaned everything, tools laid out, and MEK in the waiting to consistently clean), I measured out about 50g of sealant and got started. Application of the sealant to the rib was straight forward using the technique from the Van’s Video, and even getting it installed was not bad. But that’s when the challenges started. Getting into the correct position to rivet and buck at the same time (Giacomo couldn’t make to the hangar tonight) was challenging, and as soon as I attempted to get positioned properly, my bucking hand was fully covered in sealant! What a mess!! Subsequent rivets got better, and I eventually got through it all. I felt lucky that I didn’t have any rivets that needed drilling out as I tried to work slowly and deliberately. The problem is that by the time I was finished filleting and covering the shop heads, the sealant had really started to set. On my next rib I will turn down the temperature which might give me a bit more working time. With clean up after the sealant work, the whole thing took about 3 hours. Hopefully I’ll be a little more efficient next time around. I think with a second person it could be a LOT faster. Well…..1 down, 9 to go (not counting the inboard and outboard ribs). As usual, photos were sparse as I was covered in sealant but check out what I managed to get below.
Assuming about 3 hours per rib, this should take me another 27 hours or so to complete the intermediate ribs. Slow and steady wins the race on this one. It’s not a task I will want to redo! Until next one, Happy Building!
1 comment
Learning curve day. You are right a second set of hands would have probably reduced the complexity. Big hug