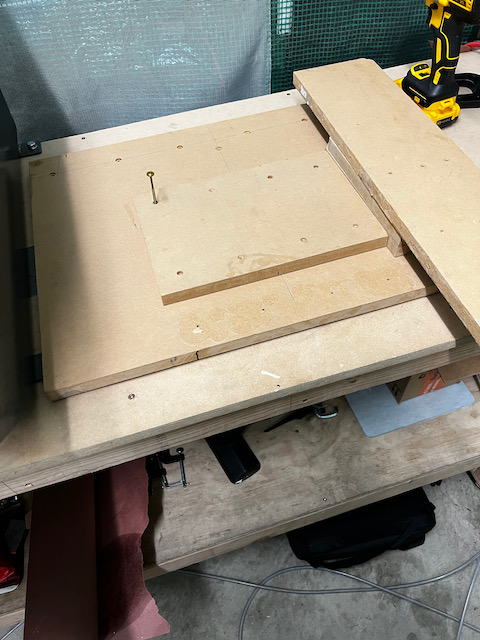
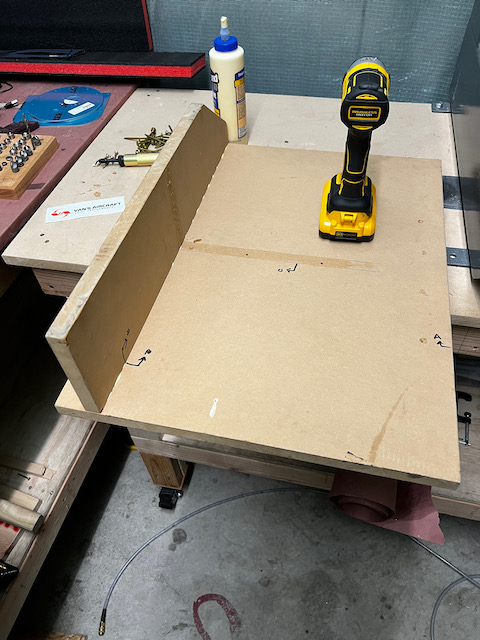
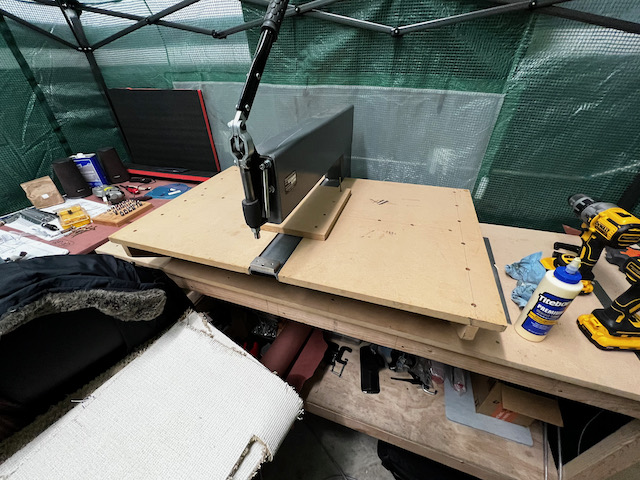
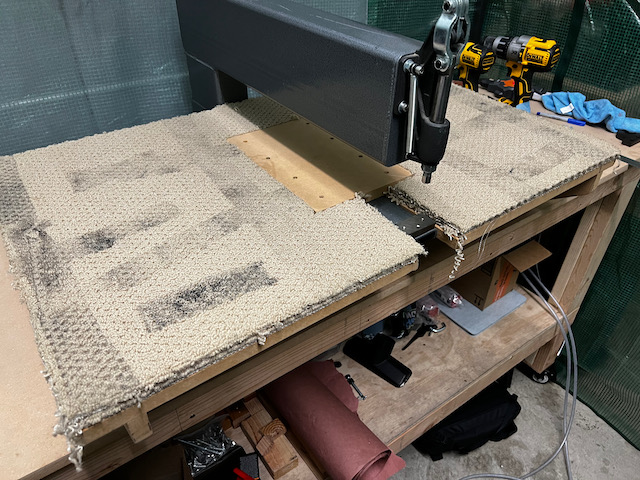
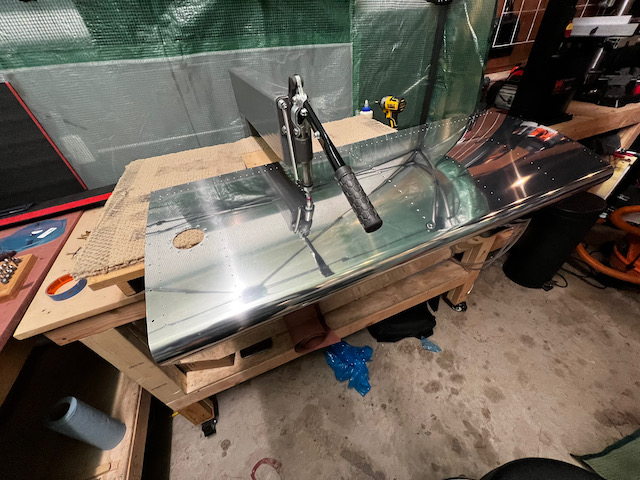
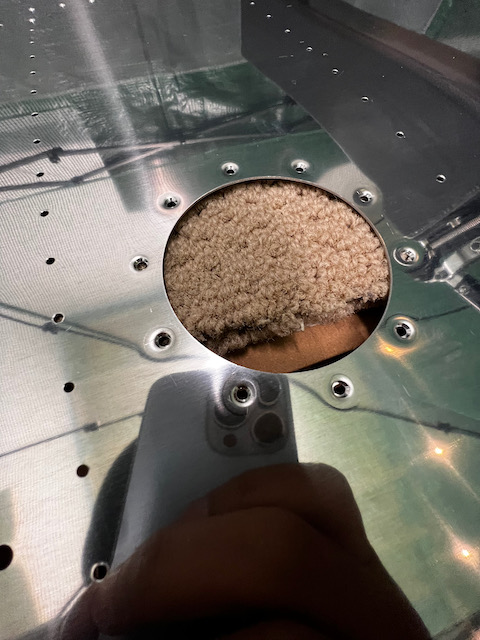
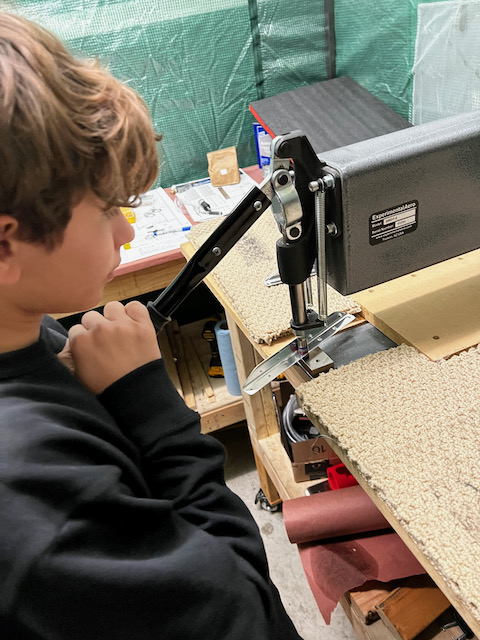
One day at a time, one step at a time, you simply make progress. Before you know it, you reach a big milestone. With a good push today I think I’ve finally gotten fully through prep of parts for fuel tank assembly. In the morning, I started by getting the DRDT-2 all setup for large skin dimpling. Since I haven’t used it for anything large yet, I hadn’t put together the table that came with it when I purchased it last summer. The good news is that when Jess grabbed it in Seattle, she disassembled the table and marked the parts really well so reassembling it was quite easy. Glue, screws, and a little elbow grease and it was done! I even kept the carpeting which finished out the table nicely.
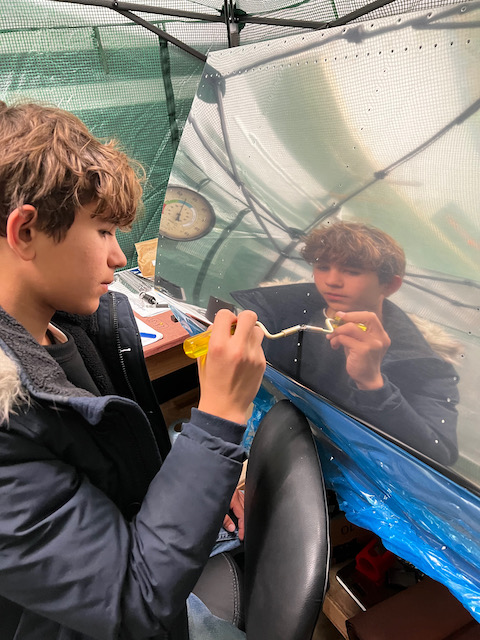
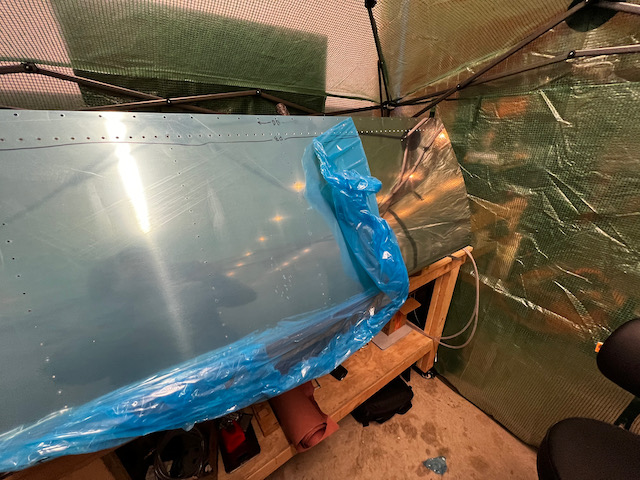
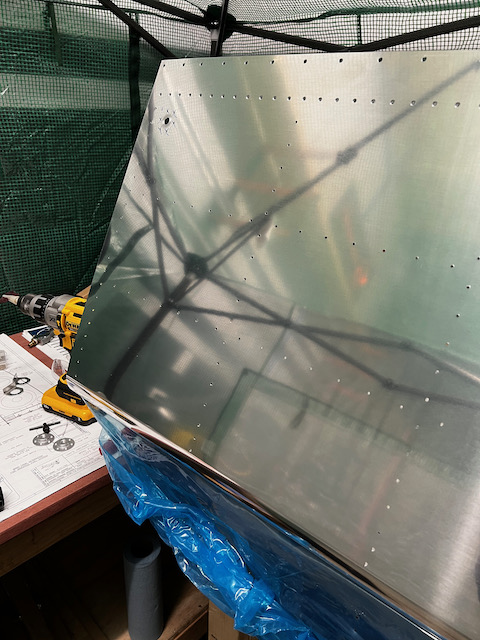
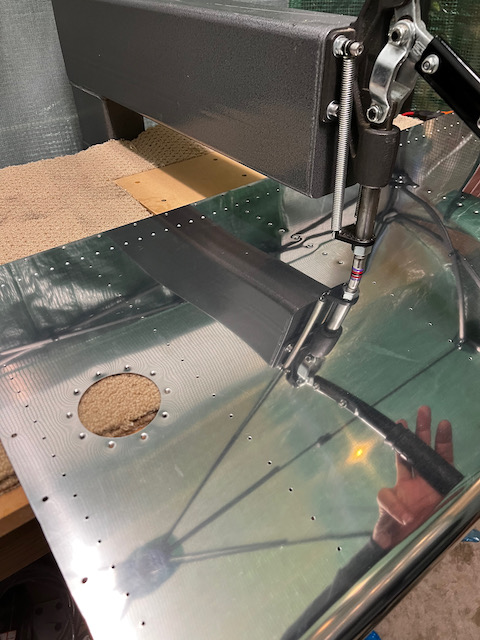
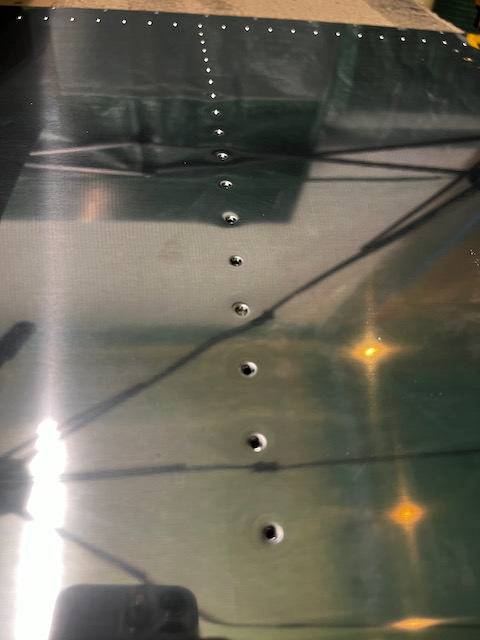
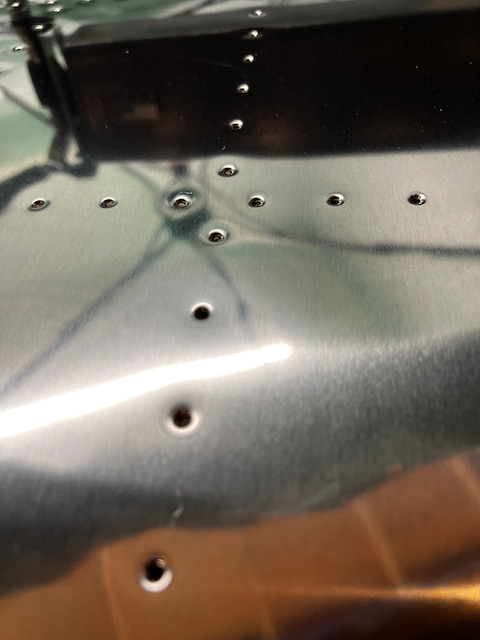
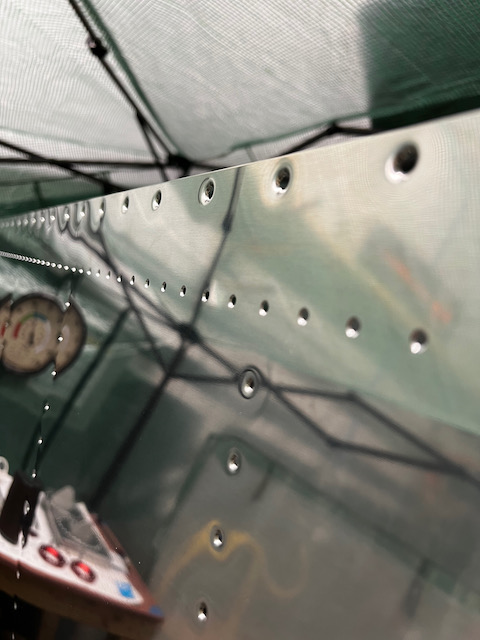
With the first skin deburred, and the DRDT ready for action, I spent the remaining time dimpling most of the first tank skin. (Although I didn’t have to, I decided to deburr all the pre-drilled holes. It just felt like there was enough rough holes that it was easier to simply deburr them all.) Dimpling the large skin by myself was rather awkward, but I found that by using the reflection of the skin, I could line up the hole pretty accurately. I took my time as one of my nightmares is punching an extra hole in the skin accidentally.
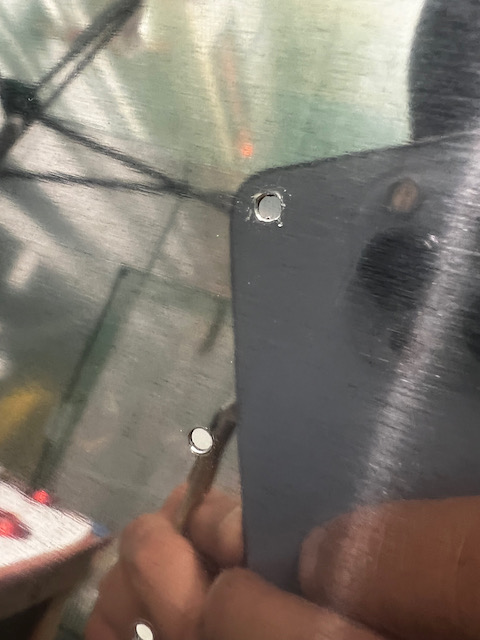
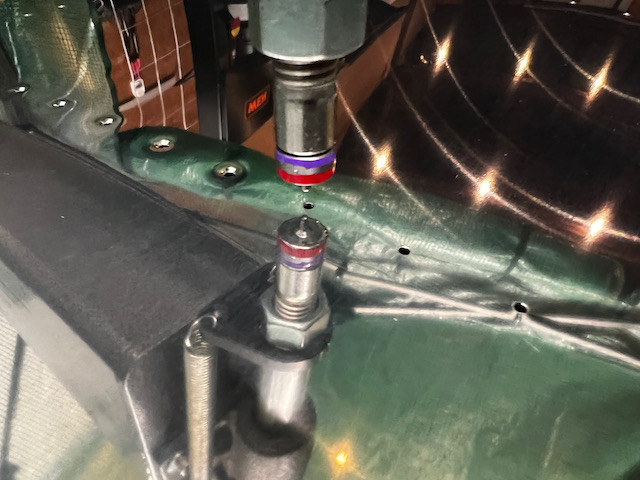
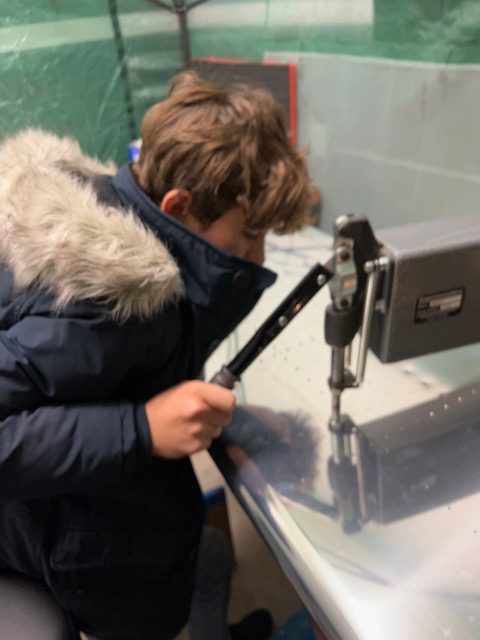
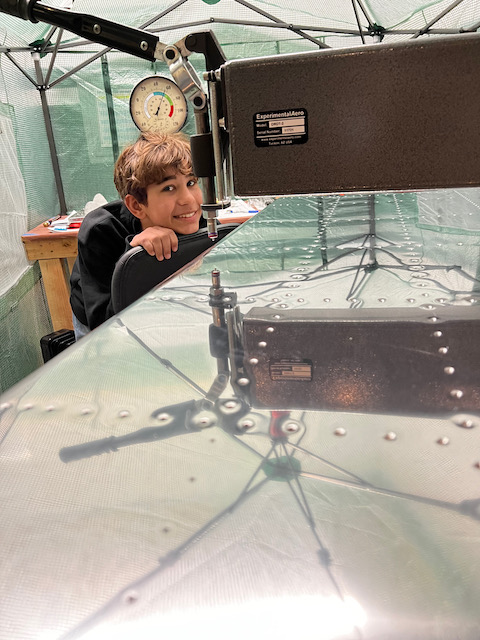
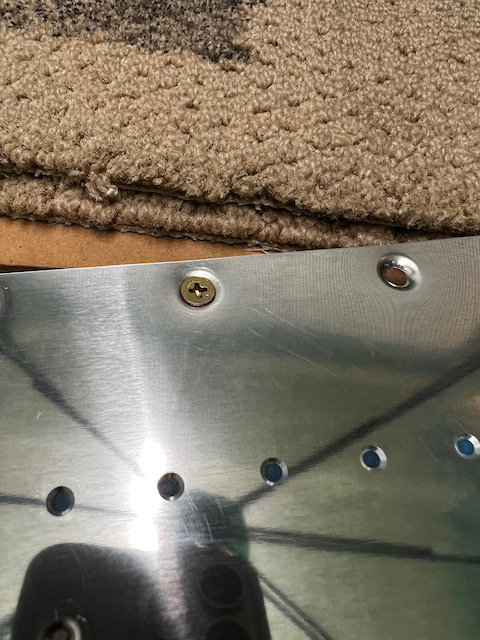
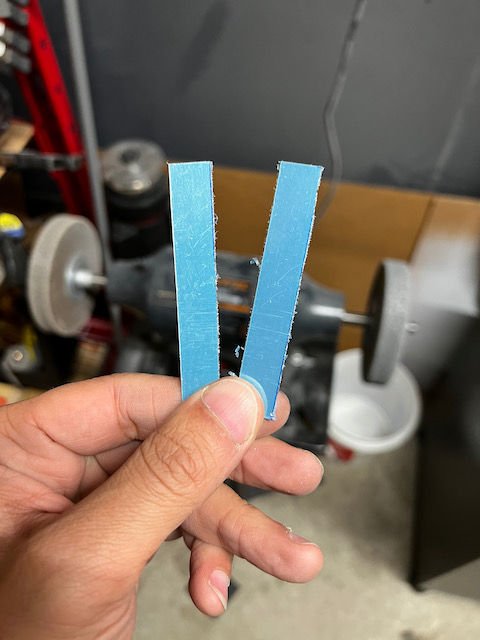
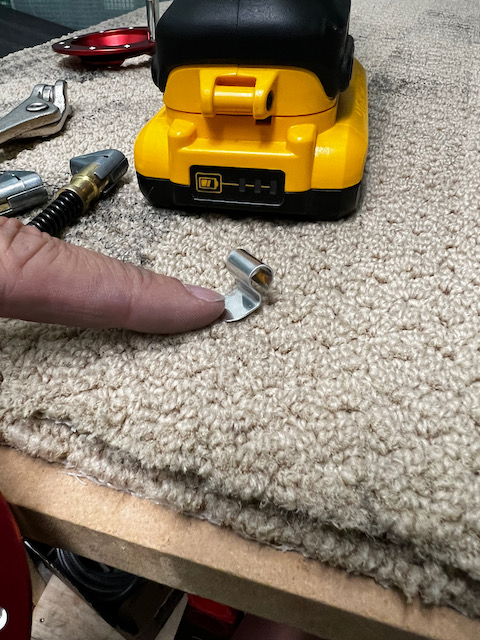
Realizing the dimpling would be significantly easier with a helper, I picked up Giacomo after work, and we went back to the hangar to finish up the dimpling. We wrapped up the first skin and deburred and dimpled the second. We also went back and dimpled the larger AN509-8R8 Screw dimples on both skins. I had to look up the cleaveland tools site to make sure I had the correct dimple die for the #8 screws (turns out it is the 509-8 dimple die. makes sense.) Those larger dimples looked HUGE, but a quick test fit showed it was correct.
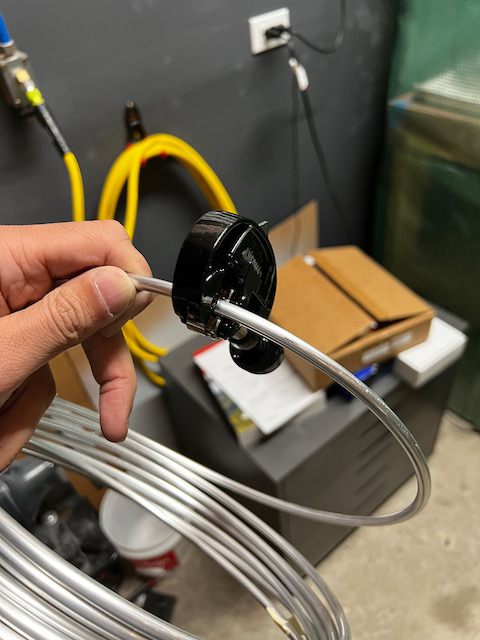
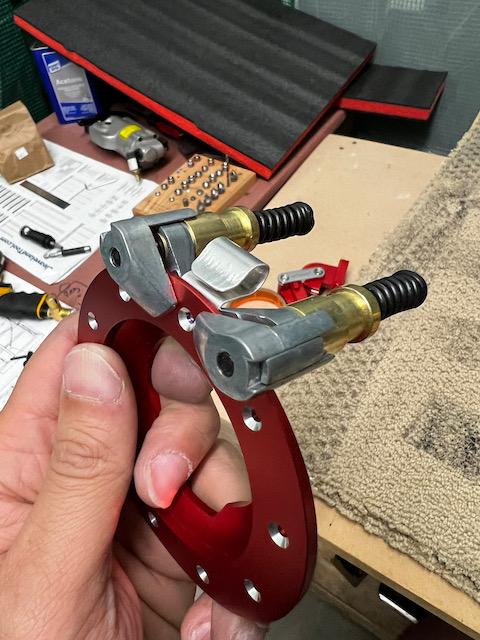
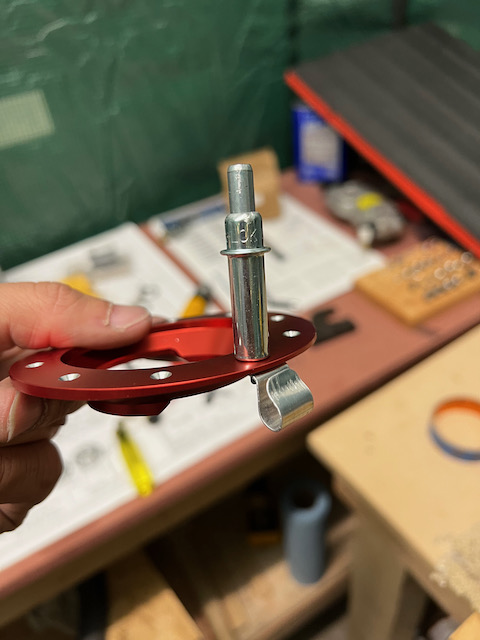
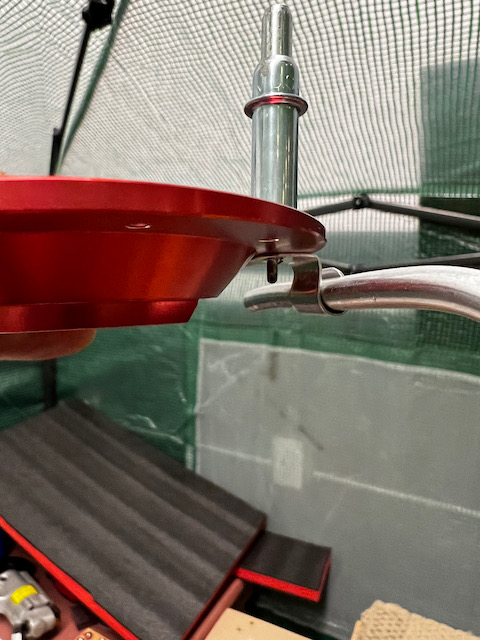
With the skin dimpling complete, Giacomo and I split up. He continued with dimpling, tackling the numerous stiffeners, and I worked on fabricating the vent lines. Getting the metal shaped right took a bit of finagling, and honestly, the first one didn’t turn out that beautiful, but it’s functional, and will never be seen, so I decided it was sufficient. The second go was a bit cleaner, and both are now ready for installation.
And with that, I’m pretty sure the last of the prep work is complete (I’ll verify that tonight)! It felt like a bit of a slog (a fun one!), but one step at a time I got through it. Next session I will finally break open the Pro-Seal and have a go at assembly. First thing to tackle will be the fuel tank and drain flanges. Until then, Happy Building!!
1 comment
Nice work. You guys make an excellent team. Tell giacomo I’m proud of the work he is doing. Good luck with the finally assembly. I stay in awe of team resmini. Looking forward to the next chapter 🤗🤗