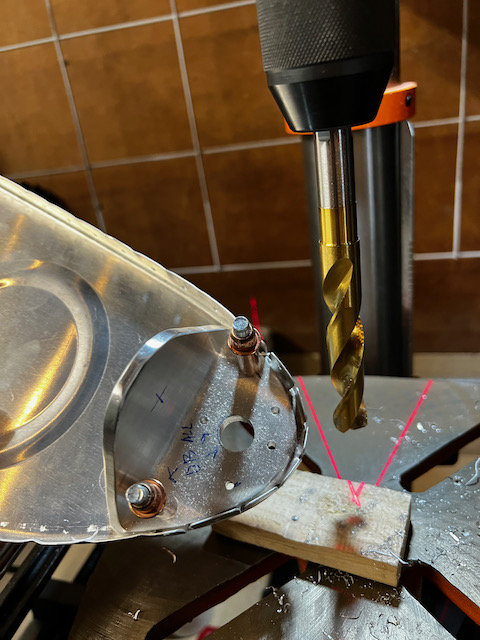
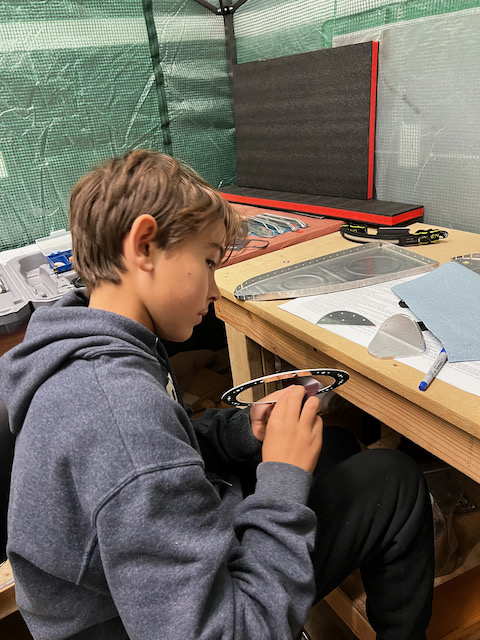
Today’s session was fairly quick, but with the boys tagging along it was a fun one. First we finished up drilling that hole for the flop tube, then Nico and Jack wrapped up deburring of all of the parts.
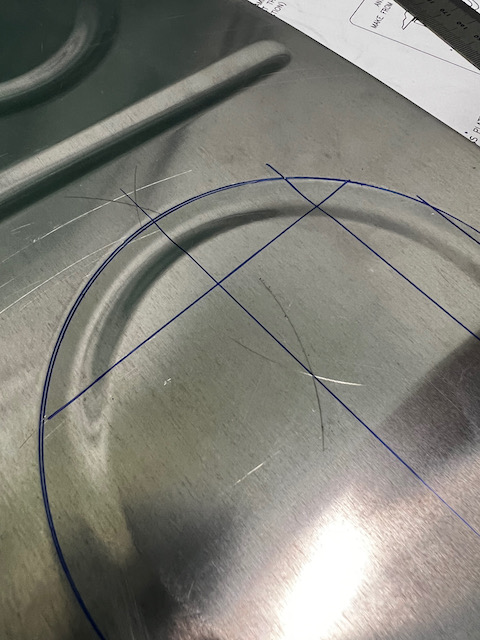
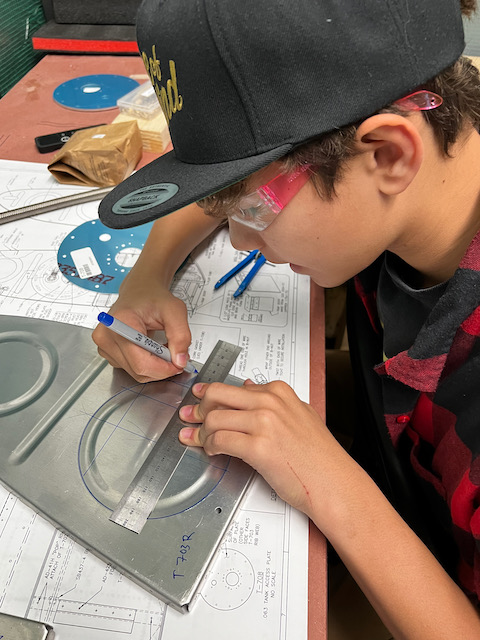
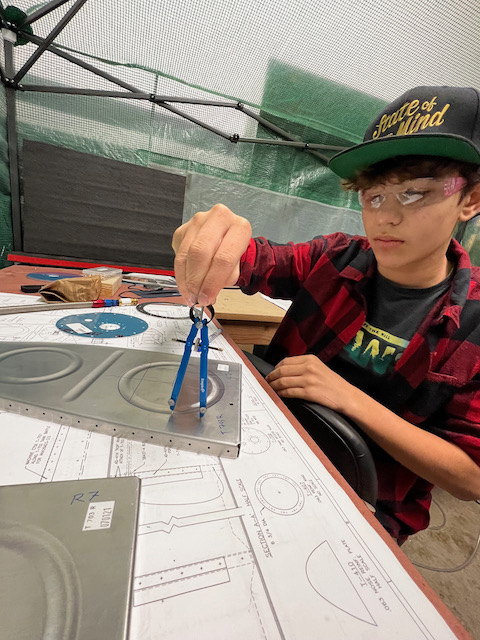
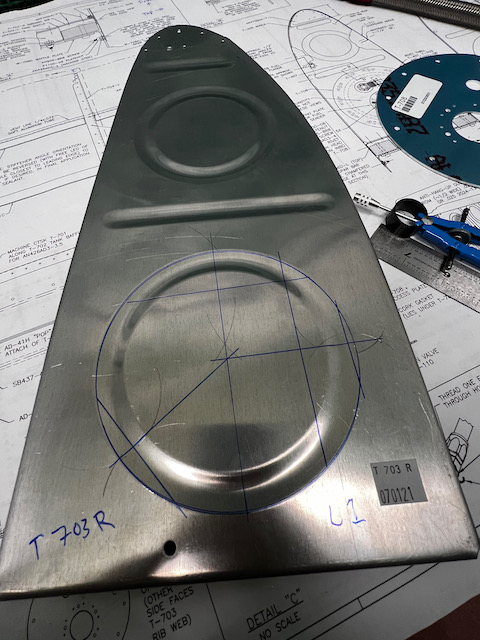
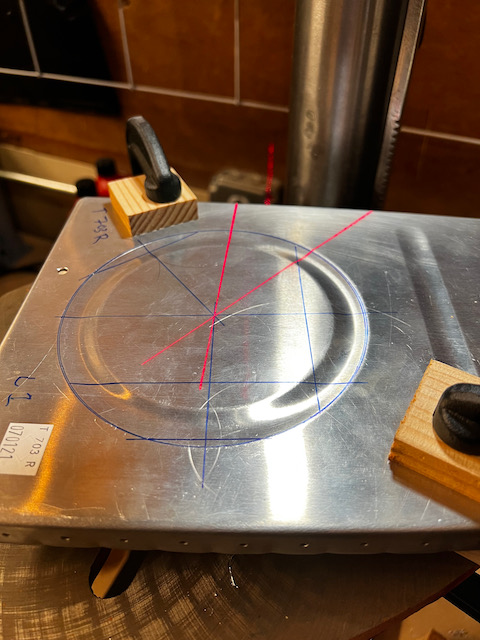
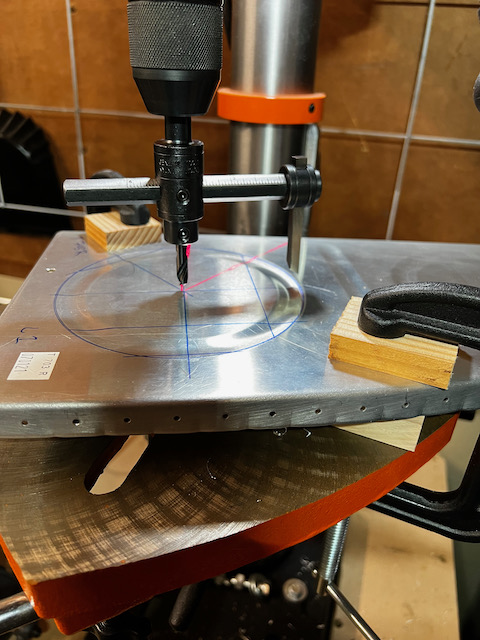
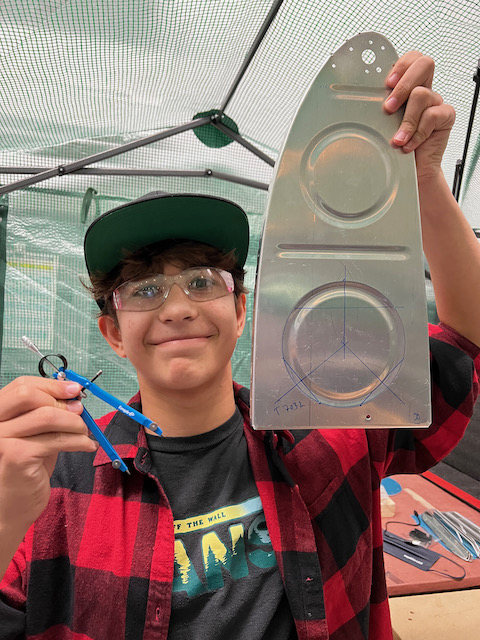
After that quick task we moved on to the major project of the day, getting the access ports on the inboard tank ribs started. The basic task is to drill a big hole in the side of the tank which will be closed up later. The hole is required to allow installation of the fuel sender and fuel pickup and get access to them if there are ever issues in the future. When I say “big hole”, I mean big enough that you can’t use a drill bit to get a clean cut. The challenge is locating that hole and then drilling it. Using the T-407 as a template, and centering based on the plans, we scribed the circle. Since we were going to use a fly cutter in the drill press, we needed to figure out a way to locate the exact center of the scribed circle. With a little YouTubing, we found a cool technique using a protractor and ruler. I’ve embedded the video below if you want to check it out. The gist is that by using a protractor to scribe intersecting circles based on any two points of the circle, you are guaranteed to have a line that bisects the circle. Do that a couple times, and you will have the center point of the original circle. As Giacomo said… “Math!”. I think he finally found something cool that can be done with math.
After finding the center point, it was on to the fly cutter to do the cutting. I have never used a bit like this before but after getting it set up properly (and clamping down the ribs correctly) it was fairly easy. In the video below you can see that the drill press vibrates pretty bad, but it still cut nicely.
Centering and clamping the rib accurately is key to a clean cut
The fly cutter swings a blade at the end of an arm and slowly cuts through the radius set.
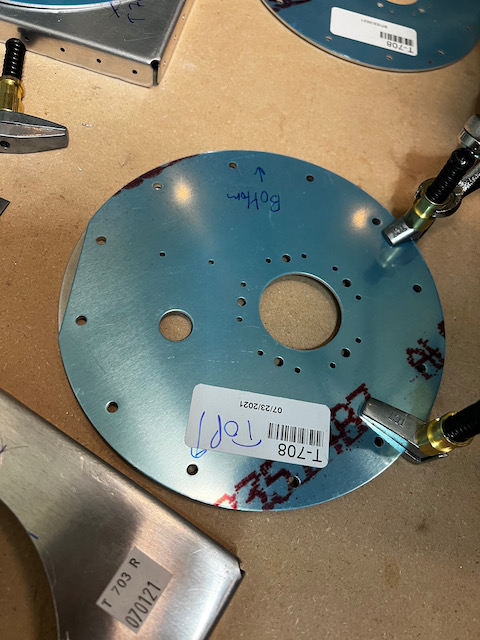
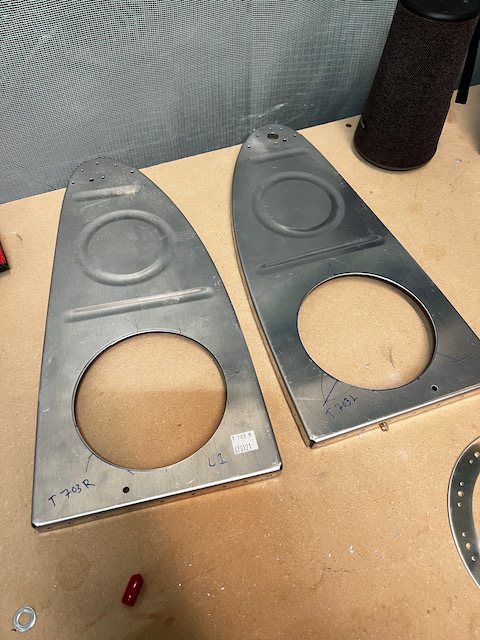
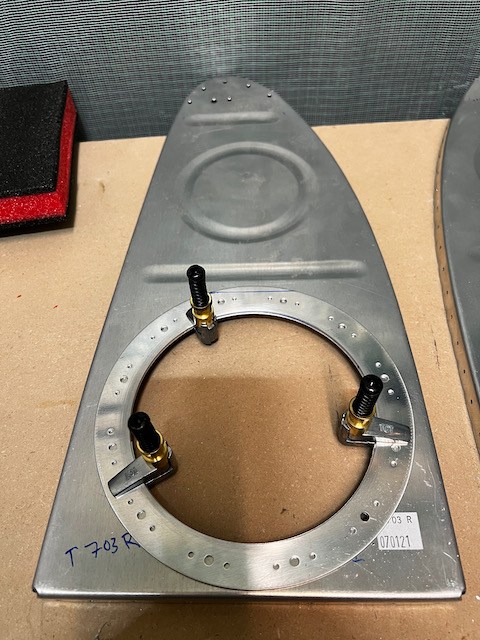
The end result was two nicely cut access ports. We purposely cut them a touch small so we can match trim them to the T-407 doubler. One thing to note here. The plans call for using the T-708 cover plate for drilling to ensure the flat edge lines up parallel with the stiffener bead. The problem is that since it is a plate, it is hard to determine where fore/aft to place the plate to ensure even edge distance around the hole. Instead we clamped the T-407 and T-708 parts together and scribed the front edge onto the T-407 piece. we could then use that to make sure the holes were oriented for proper orientation of the T-708 cover.
scribing the front egdge of the T-708, allowed for correct orientation of the T-407 doubler.
We clamped down the doubler, and started the first hole for match drilling the rib (using the #19 bit). Unfortunately we realized after the first hole that we didn’t have the right clecos (the black 5/32″ size). It was a good stopping point since we were headed down to an “inspection party” of a fellow builder building an RV-3. Good news is that someone at the party will be lending me some clecos while I wait for my order to arrive!
Not bad for first time using a fly cutter bit
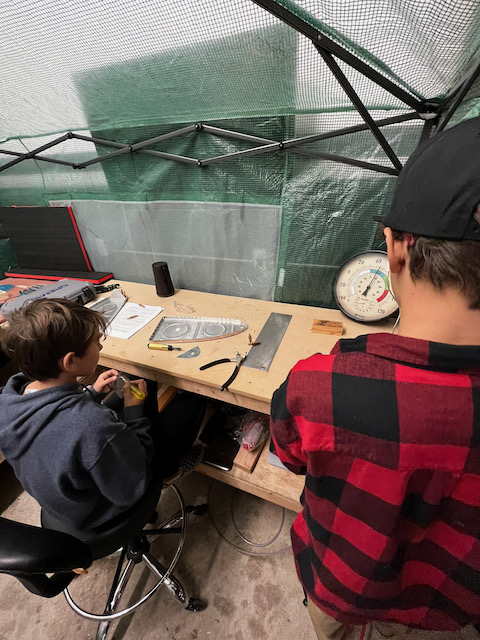
Goofball Giacomo being Giacomo
Note how the scribed front edge of the Access cover is oriented.
Next session the plan is to get the access ports drilled and nutplates riveted. Until then, Happy Building!
Great team work.
Interesting comment by Giacomo. I had a problem working with trigonometry because it did not make any sense how it would be in anyway useful in real life. After discovering that it has a lot practical applications I became a fan.
3 comments
Best helpers !!!!
Great team work.
Interesting comment by Giacomo. I had a problem working with trigonometry because it did not make any sense how it would be in anyway useful in real life. After discovering that it has a lot practical applications I became a fan.
Good job you guys