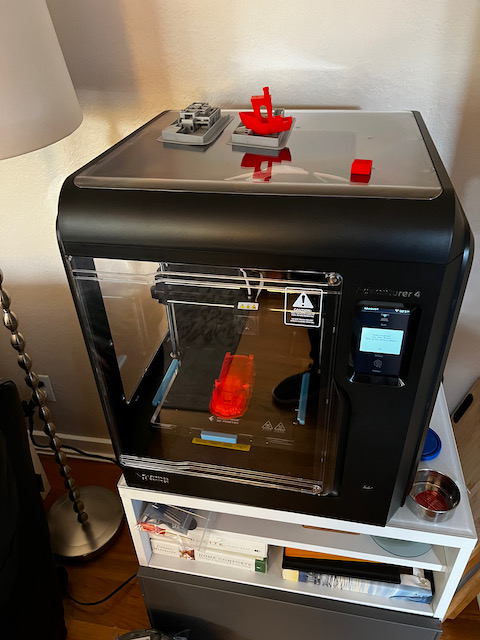
The boys and I got a little distracted with our new 3D printer we go for Christmas. The first one was defective, but this one is working great. Nico is off and running printing cars, Jack loves Anime characters, and I’m excited to start printing things for the workshop. Once we got a bit of time on the printer, it was back to the hangar to continue on the tank prep.
Flashforge Adventurer 4
Printing the classic Benchy test model.
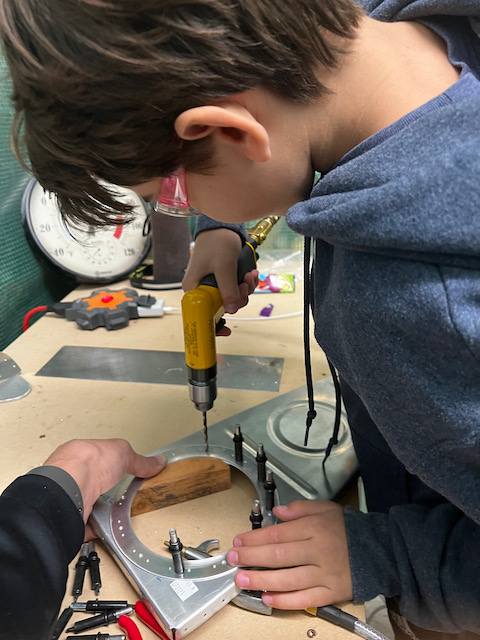
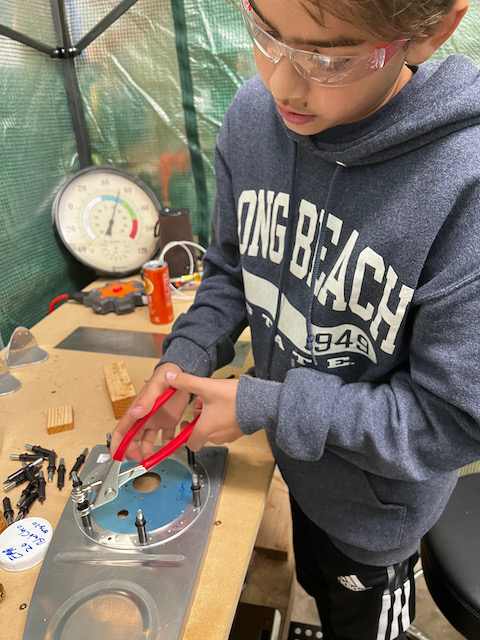
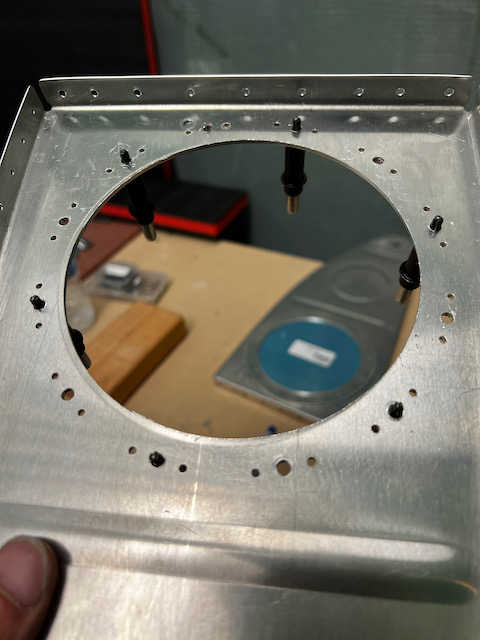
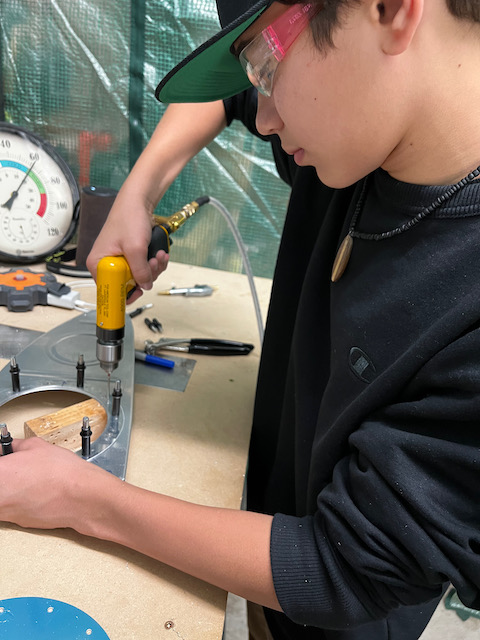
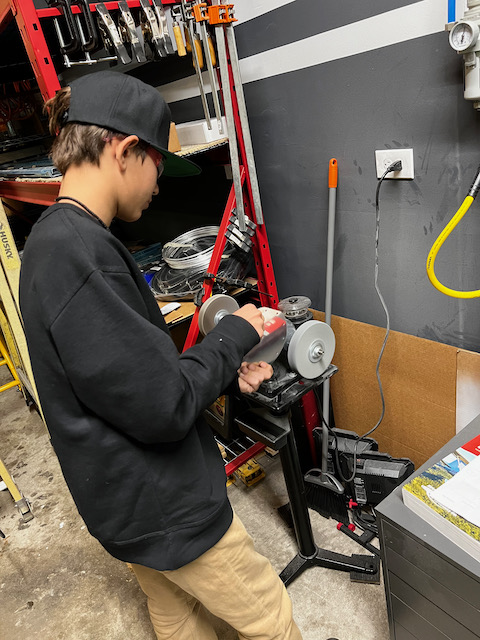
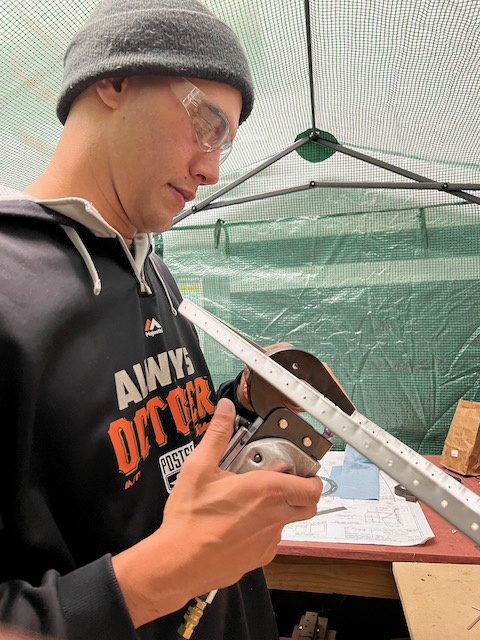
Nico came down for a bit and helped me finalize prep on the left inboard rib. Then Giacomo came to do the right side. Pictures below.
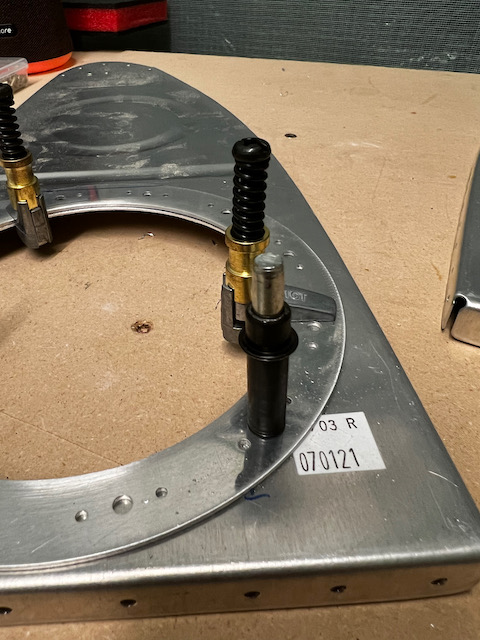
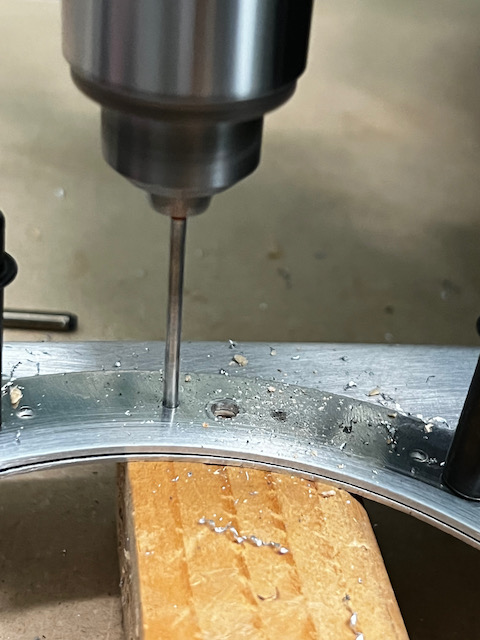
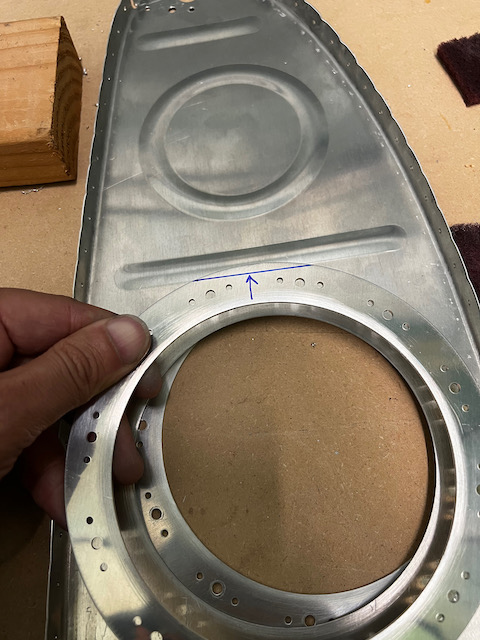
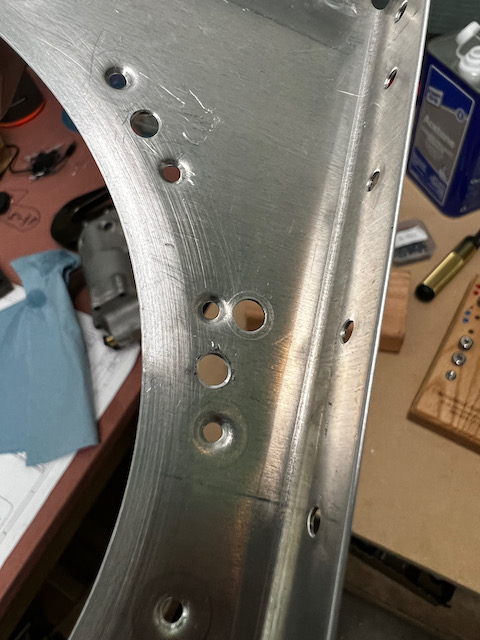
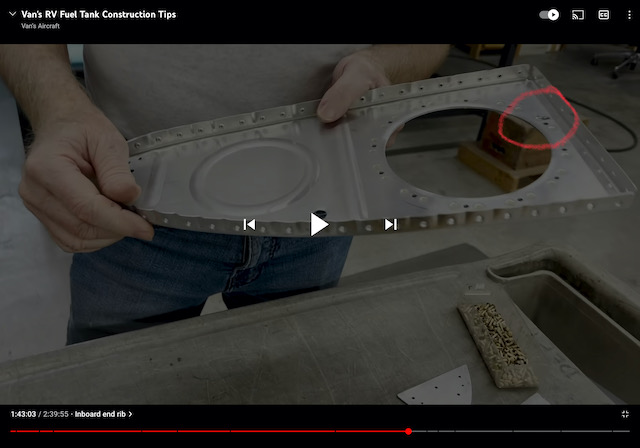
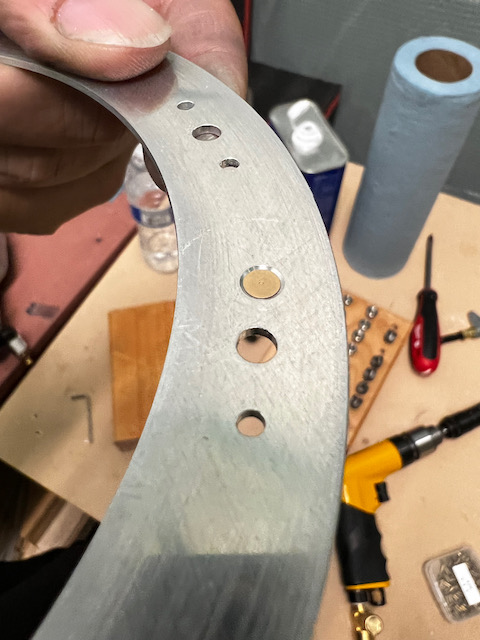
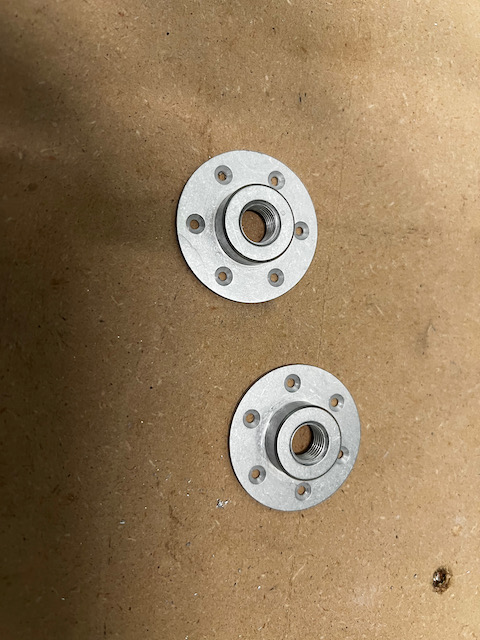
One issue that came up was an issue with hole proximity to a tooling hole. Because of the required alignment of the doubler and access cover, the resulting rivet hole for one of the nutplates ended up being quite close to a machine tooling hole. I was fairly concerned, but then looking at a video directly from Van’s fuel tank build, I noticed the same close proximity hole. When talking with Alexander, the local EAA tech counselor, he said that although it’s not ideal, it should be fine. See pictures below.
the close hole after dimple
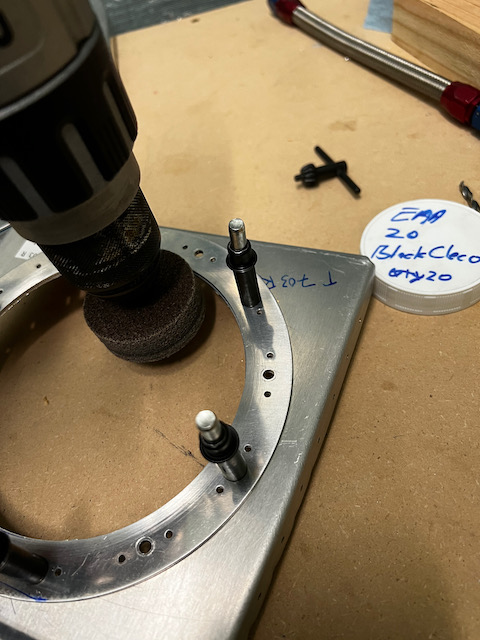
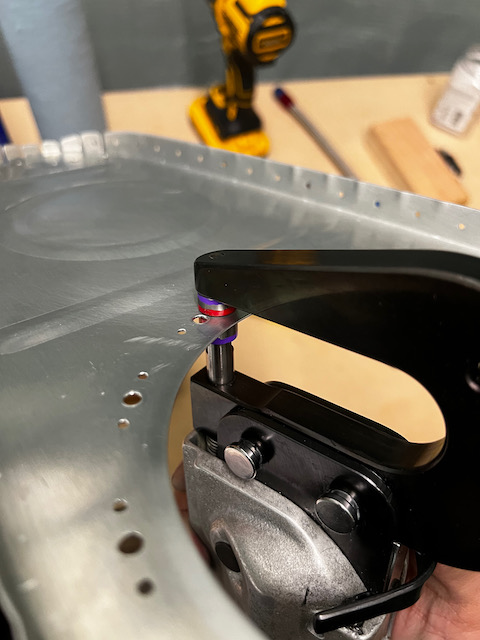
Once Giacomo finished the drilling and deburring, I dimpled the rib to receive the doubler plate.
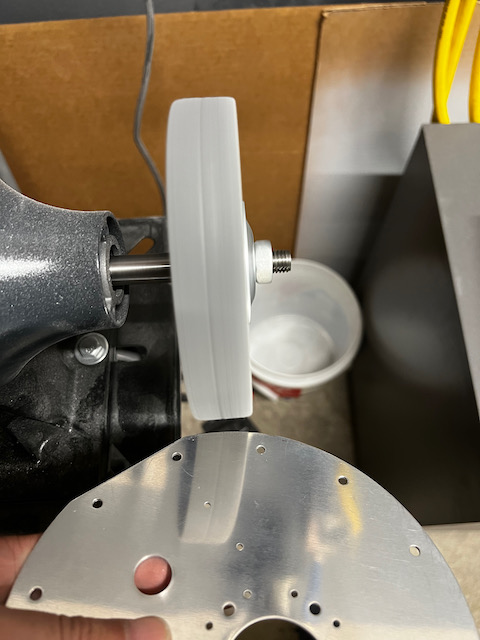
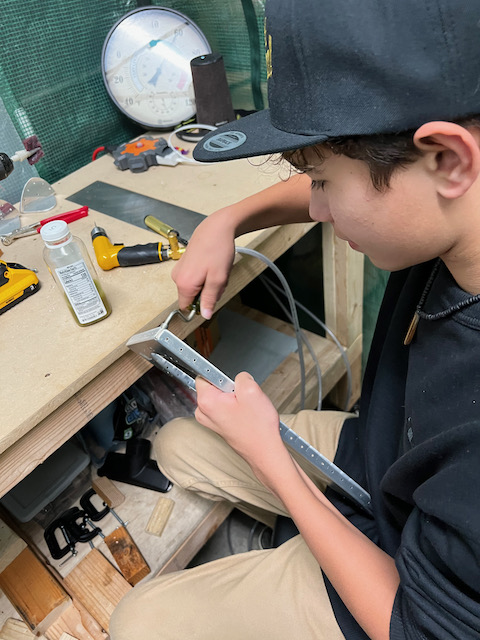
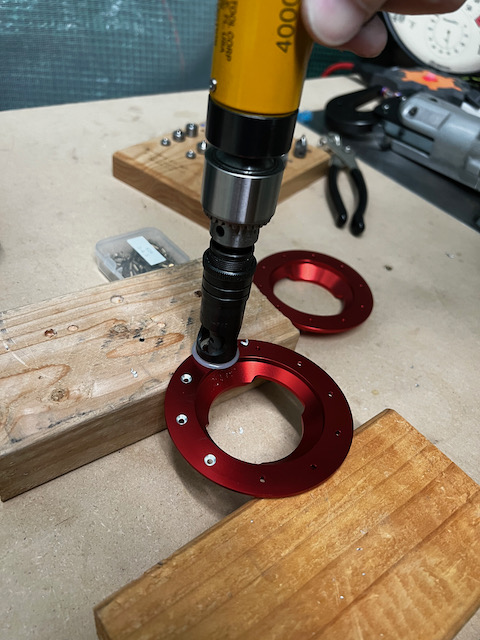
One interesting challenge was the countersinking requirements. I needed to countersink both the doubler plate and the Fuel Cap Flange. Since they need to receive the dimpled rib and skins respectively, the countersink needs to be slightly deeper than just a flush rivet. With a little research (thanks VAF!), this depth is 0.007″ deeper than flush. With my countersink cage, this requires 7 clicks beyond flush. Below you can see what that ends up looking like.
two 2x4 blocks and a pilot #40 hole made easy work of the flange countersinking
Notice the extra depth on this countersink to accomodate the dimpled skin.
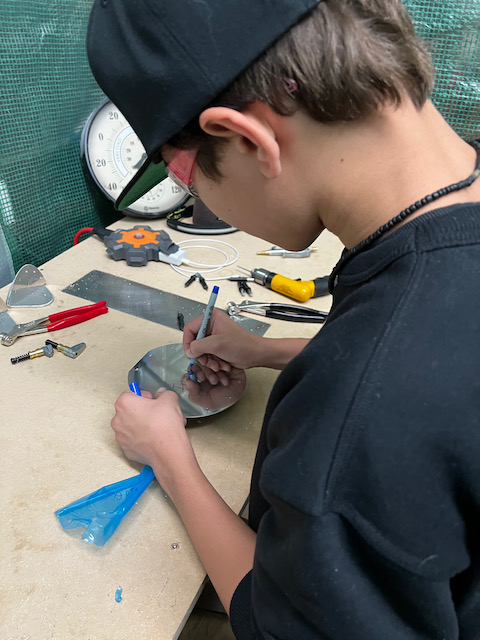
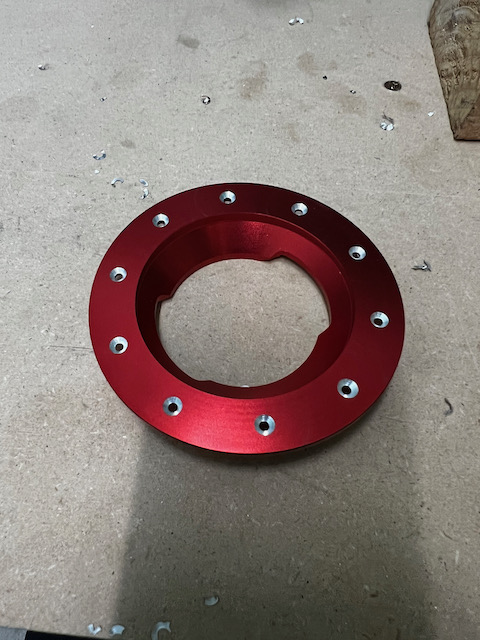
fuel cap flange fully countersunk for riveting
With almost everything ready to go I needed to use the VA112 parts to match drill the skins for the fuel drain. But I couldn’t find them! I checked the packing slip and I definitely received them (thumbs up on the packing slip marking!), but nowhere to be found! After tearing apart the workshop twice, I finally found them in one of the parts boxes. Lesson learned. For small parts on the next kit, I will not only mark them received, but will mark their location in the workshop. That should help. Next session I should be able to finish up prep, and start final dimpling for assembly with sealant!
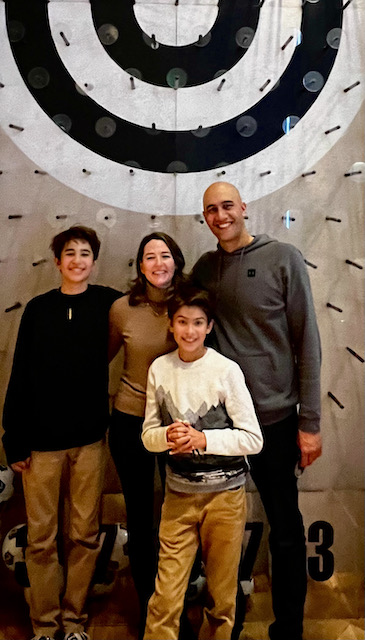
Until then, Happy Building, and Happy New Year from our family to you and yours!!
More progress…. Wowww. Glad to see the new toy (3D printer) has already been put to intense use 😂😂. Congratulations to all of you for the speed and time you are investing. Great family picture.


1 comment
More progress…. Wowww. Glad to see the new toy (3D printer) has already been put to intense use 😂😂. Congratulations to all of you for the speed and time you are investing. Great family picture.