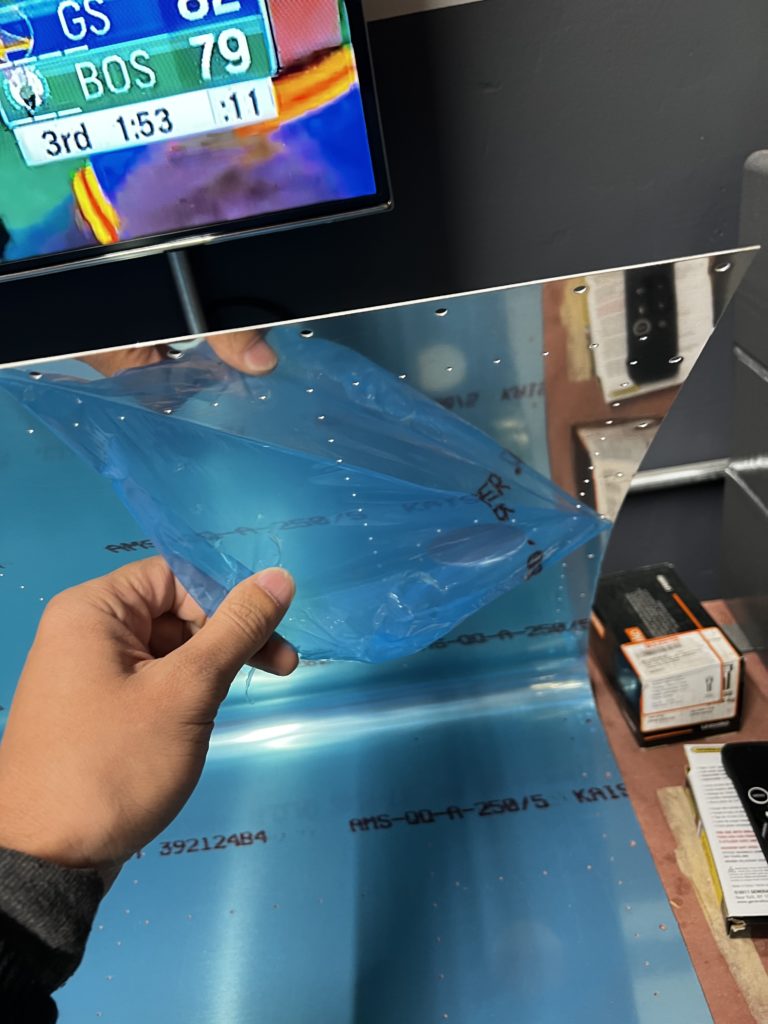
For this session, I thought I would be heading in for an hour to tackle the quick task of fitting the tank skins on the ribs, and drilling out a few holes that weren’t pre-drilled. Turns out the task was a little more challenging that I thought. But before I got to the difficult task, I needed to remove all the stiffeners and inner vinyl. No matter how many times I do it, there is still that satisfaction of peeling the vinyl.
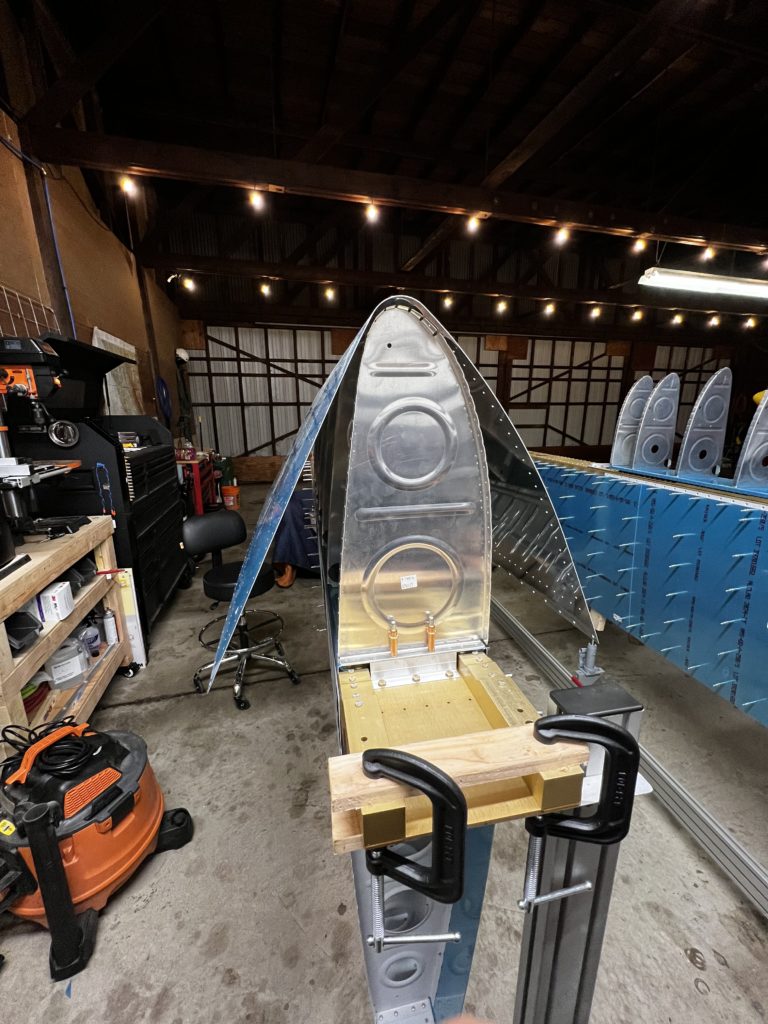
Stringers removed and stored away
Oddly satisfying….still.
Next up, I was supposed to attach the skins to ensure fit, and drill out some holes that weren’t pre-drilled (remember since I have the special dimple die set, I don’t need to final size drill any pre-match drilled holes which saves a ton of time on drilling and deburring). Being the smarty pants that I am, I read ahead and learned that afterwards you have to remove the tank from the spar and reassemble, so I figured I’d devise a way to remove the tank without having to disassemble. My strategy was going to be to cleco one side of the tank skin, then remove all the attach angle bracket clecos (except for the ends which I would be able to get to) and then fit the rest of the skin. Well, it turns out that if you don’t start from the top and work your way down both sides, It is really difficult to get the skin to bend around the leading edge easily. So after getting all of one side done, I had to start over because I couldn’t get the skin to bend around enough to match the holes.
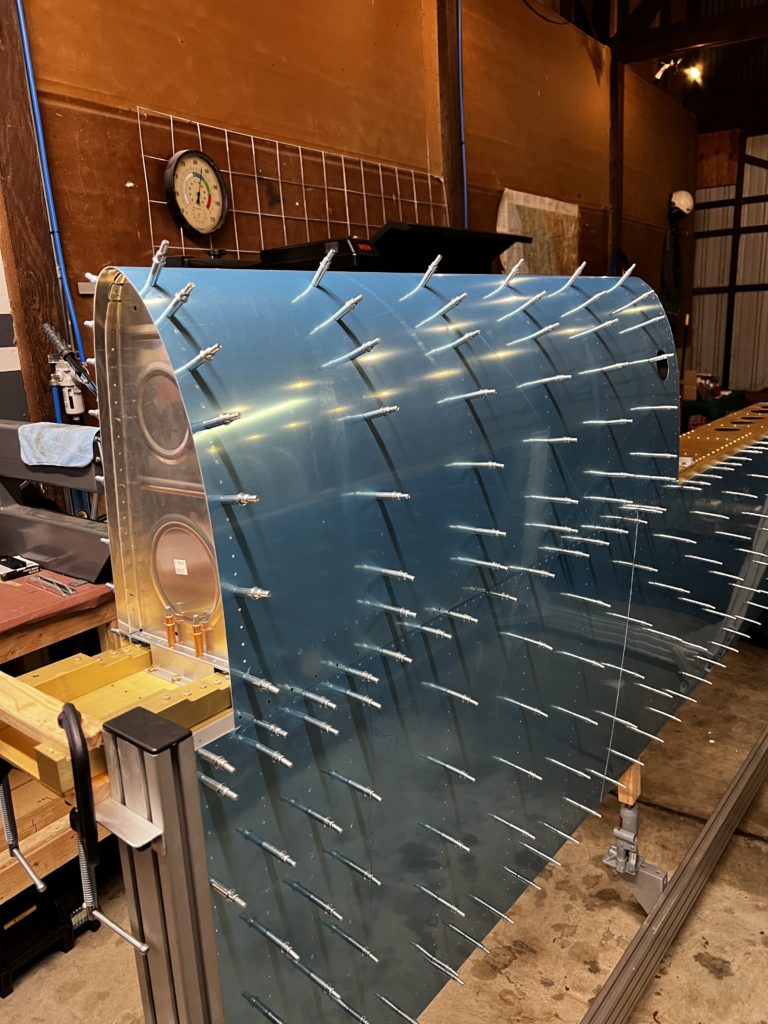
Second time around, I started from the leading edge and worked my way down each side one row at a time.
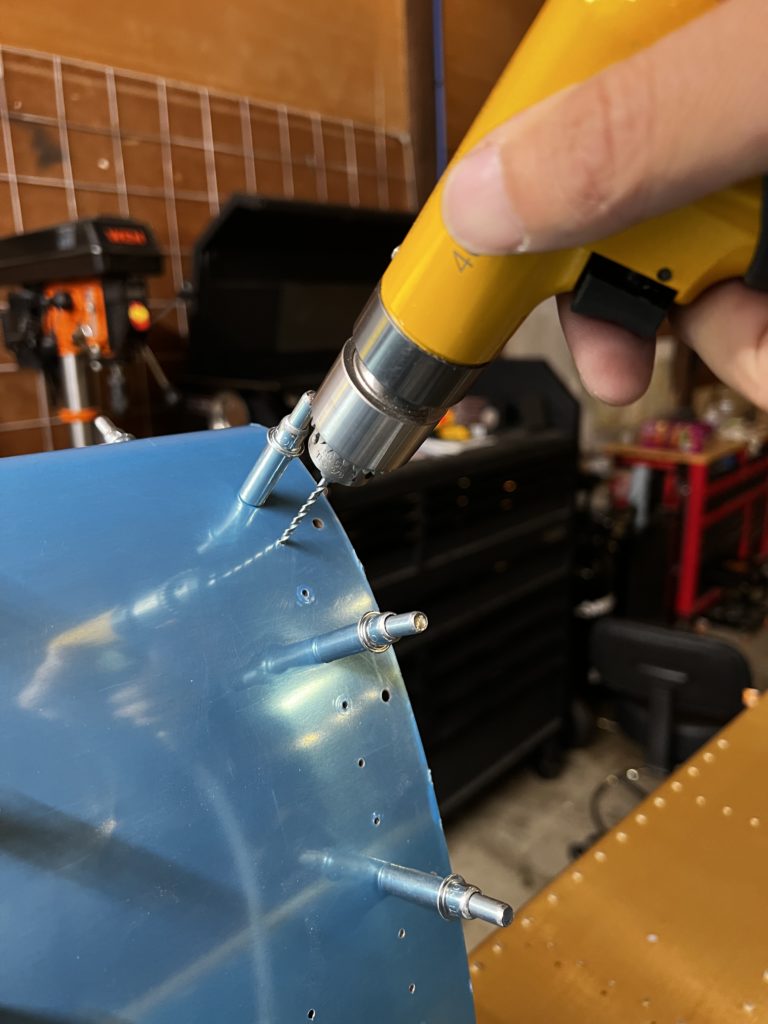
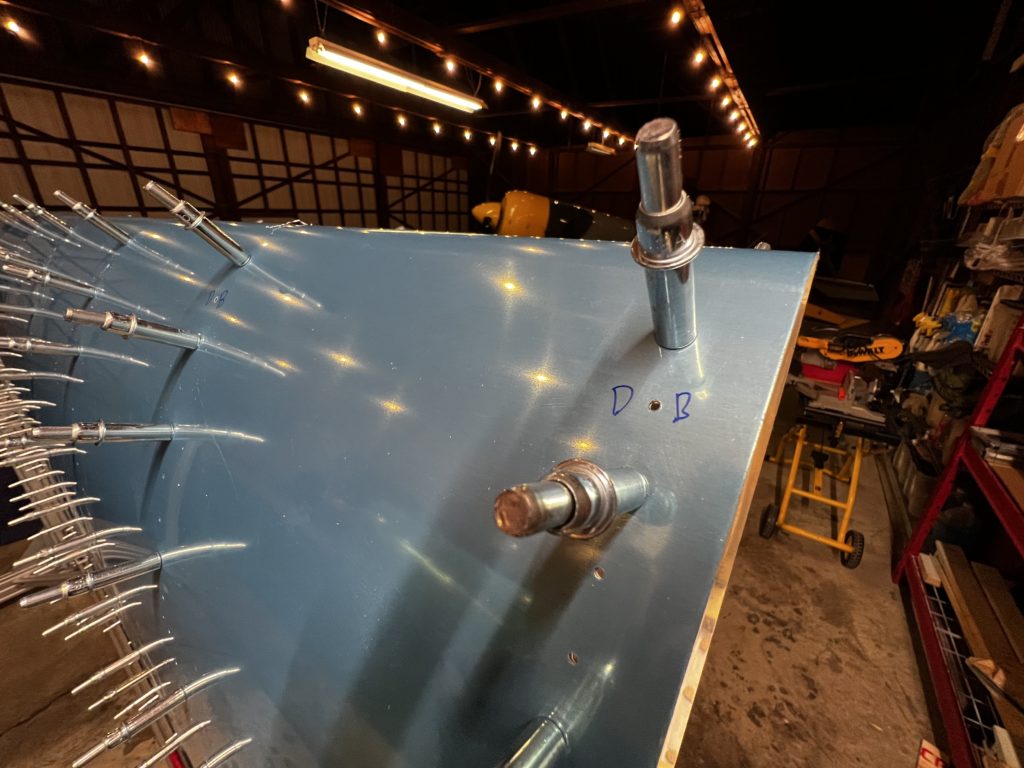
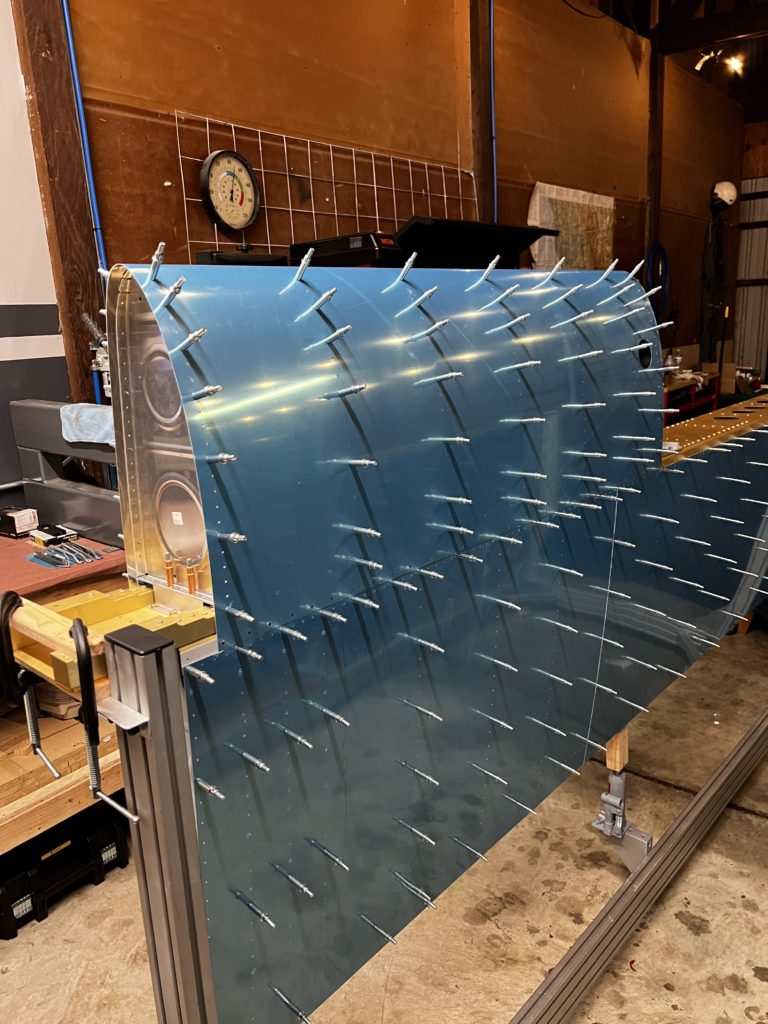
Although it took a while, there was nothing too complicated about getting the skins cleco’d. It was a little challenging getting the ribs to line up at first, but once I got a couple rows in, everything lined up pretty nicely. I was surprised how tightly the skins fit, but I guess that’s the point. After the skin was fully on, I drilled out the tank ribs, using the skin holes as a template.
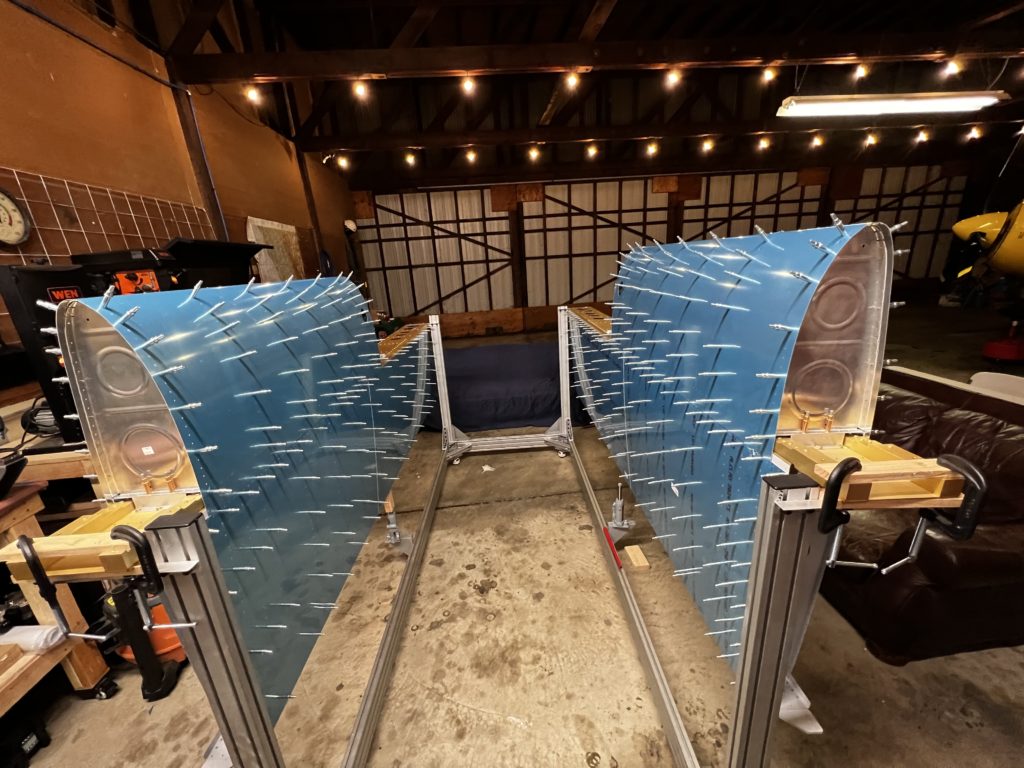
Right tank skin completely on!
Drilling out the ribs through the pre-drilled tank holes.
After the right tank was done, it was a simple rinse and repeat on the left side. Both tanks on look great! I marked the holes I need to debur so as not to forget (and I also added it to my checklist for items to go back to before final assembly). Although it took a lot longer than I expected, I got done what I was hoping to, and it’s one step closer to final assembly for the tank!

2 comments
Wowww. Lots of progress. You will run out of tasks pretty soon 😂😂😂
How many percent done ? 7%?