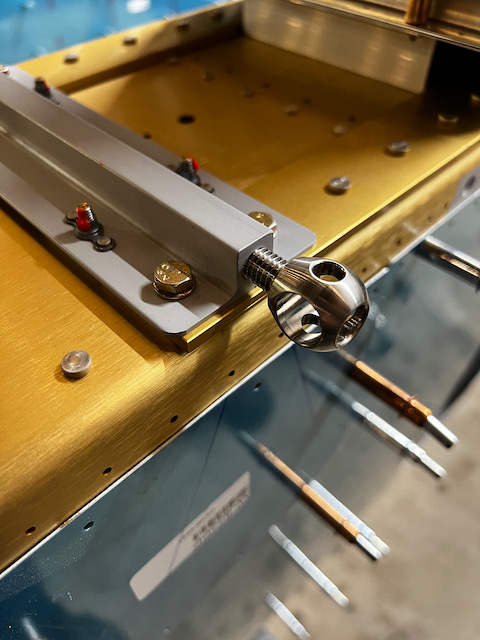
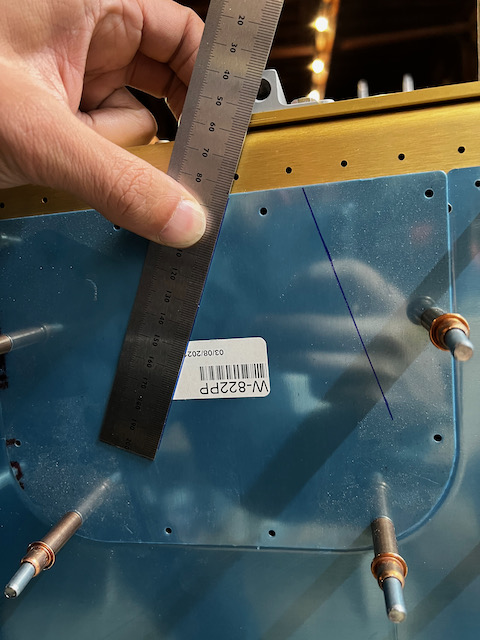
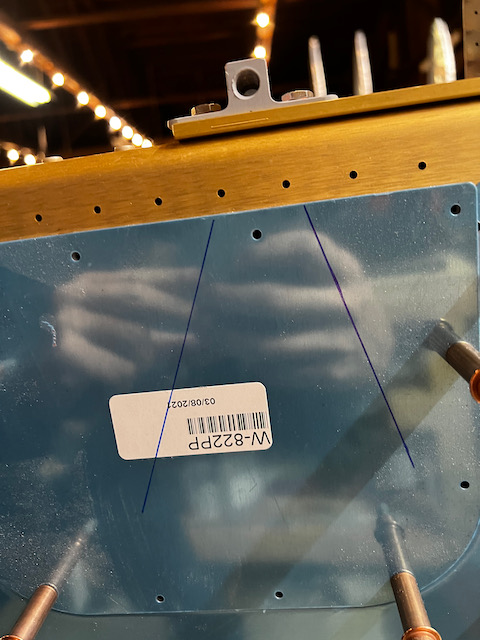
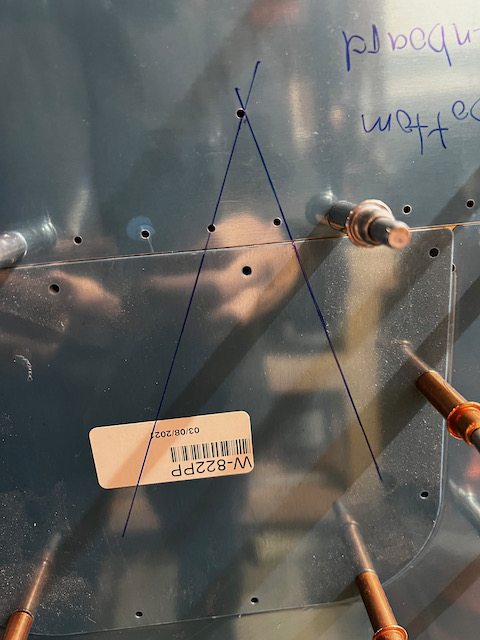
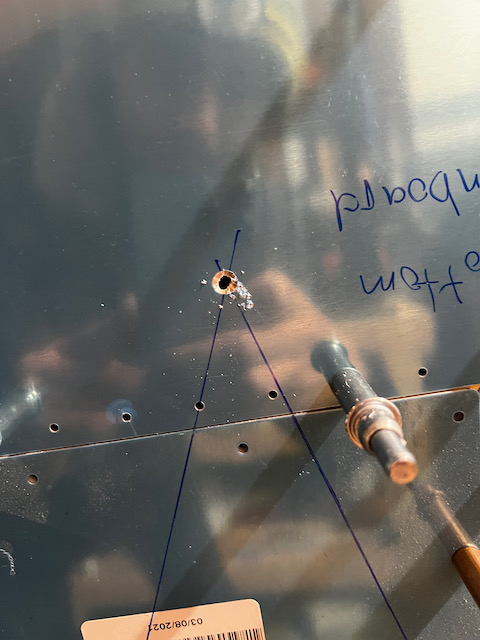
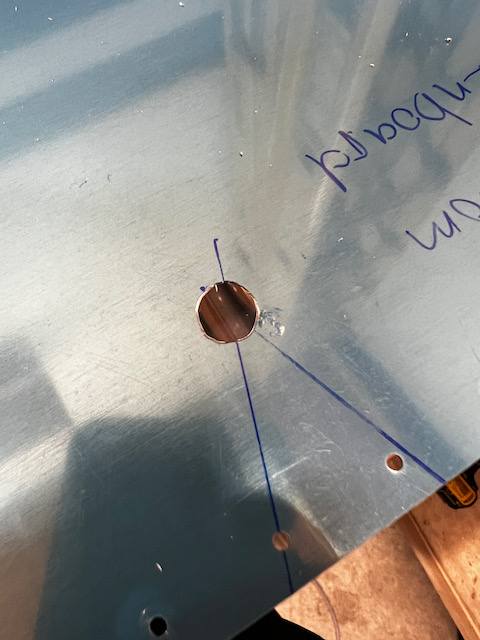
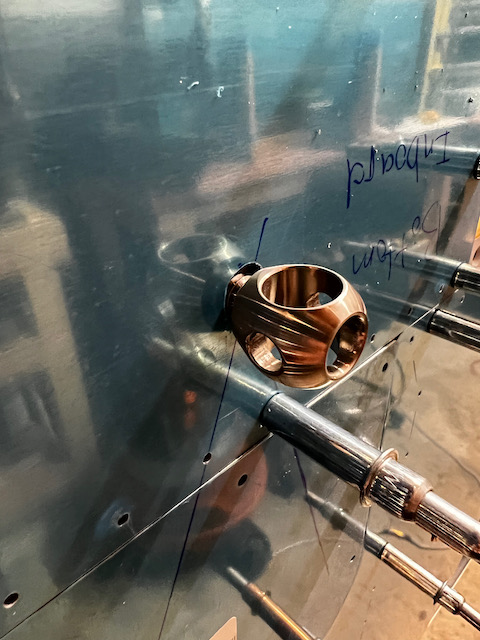
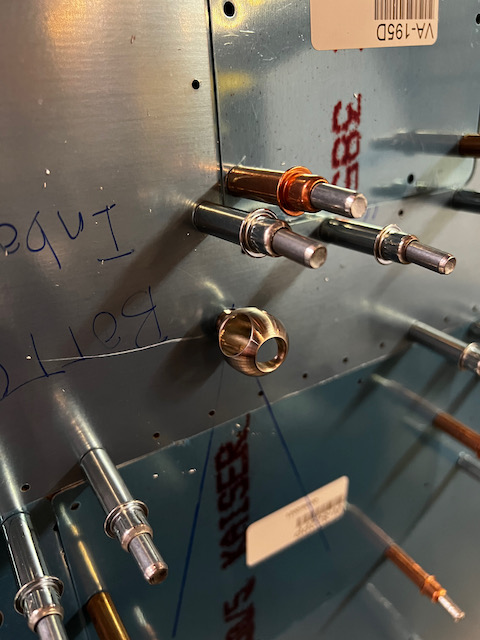
There is a lot of assembly and disassembly throughout the build. Building up is fun, but it turns out, tearing down is also fun. I haven’t heard that in all the blogs as a lot of folks seem to feel it is a step in the wrong direction, but I see it as a solid milestone when you have to start tearing down to prep parts for the next step. Tonight I did a bit of disassembly as well as going back to fill out some steps I had skipped previous. It started with the tiedowns where I needed to locate the hole location to drill out on the bottom skin. I followed the instructions of drawing some lines on the bottom skins through the tie-down while the leading edge was off. Then after reattaching the leading edge, I extended the line to intersection which, in theory is where the tiedown center is. Although it was pretty darn close to centered, it turns out that it’s not as accurate as just using the pre-drilled hole that was already there. I think this is another case of instructions being outdated. When doing the left wing, I just used the pre-drilled location, and it was almost perfectly centered with the tie down.
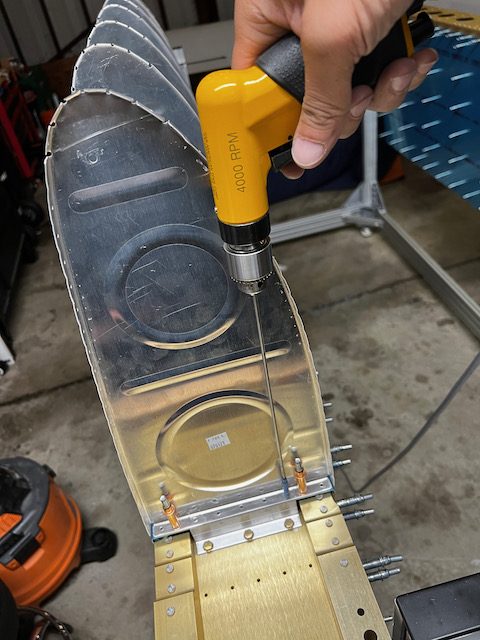
Next up, I needed to remove the tank skins, and attach the tank ribs to the baffle so I could drill to final size each of the holes on the rear flange of the ribs. The only unique step here was adding an ad hoc “drill stop” so that I didn’t drill so deep as to damage the spar. Nothing a little painters tape couldn’t handle! Although it’s a little sad to see the wing looking a little less wing-like, I’m excited to be moving forward with the fuel tank which has definitely been an area of anxiety for me. Dessert at a friend’s house was calling shortly after completing the drilling, so that was it for the night!