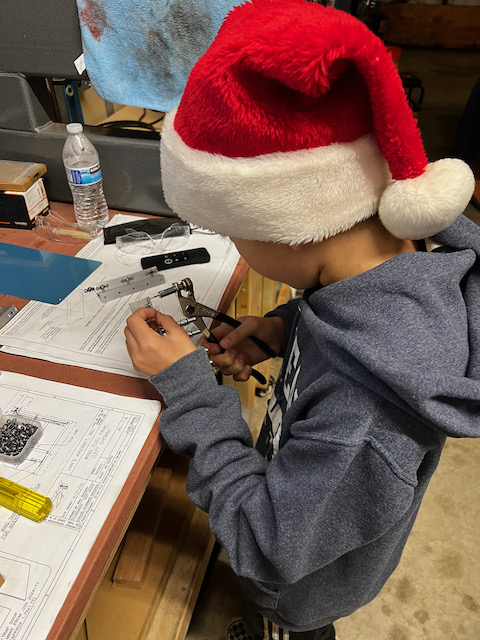
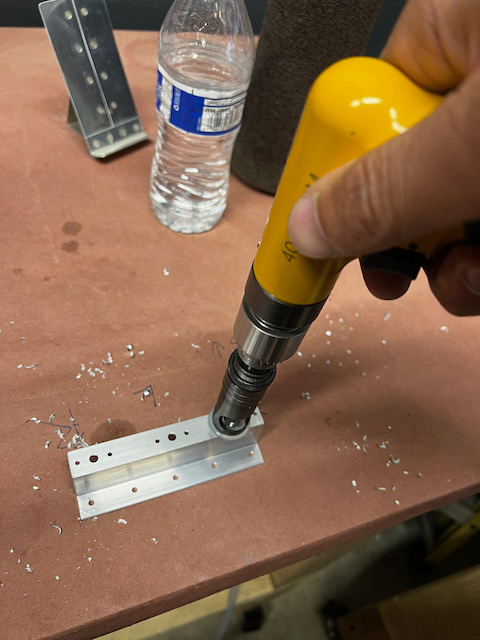
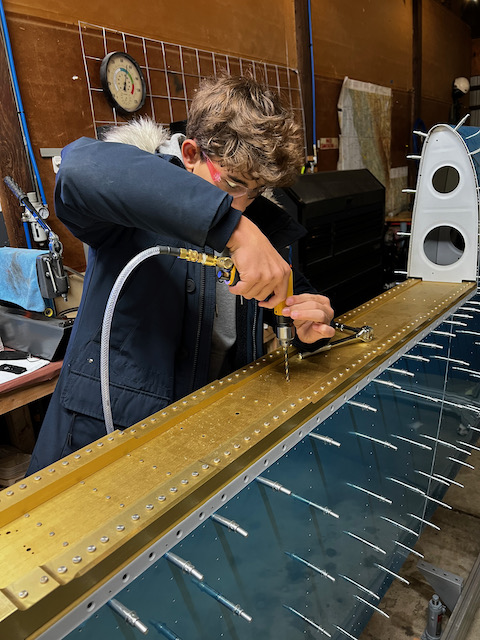
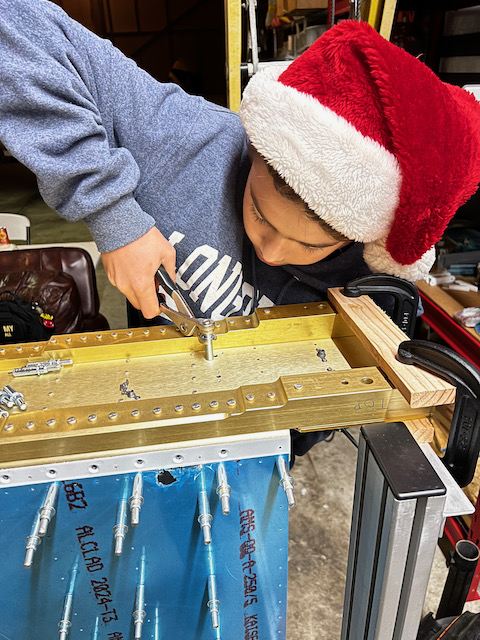
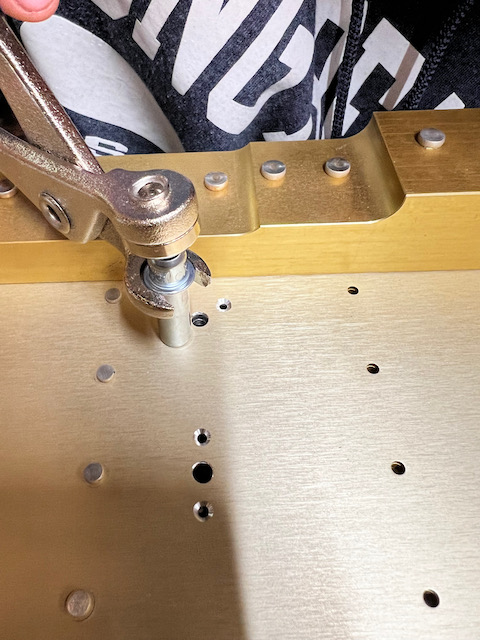
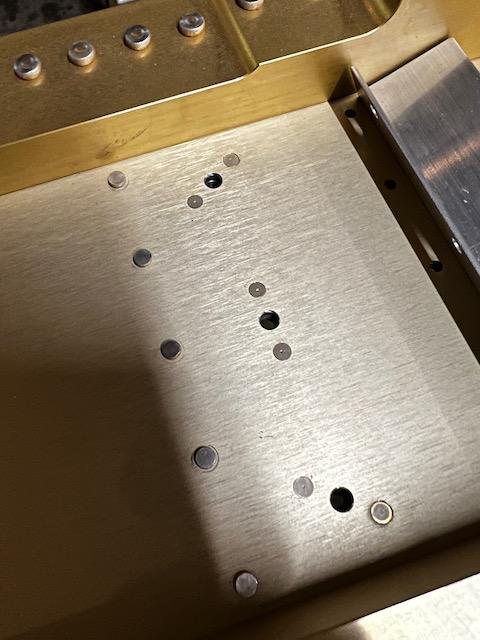
Tonight’s session was one where many hands would be useful. We had to assemble nut plates to brackets, do final size drilling, countersinking and squeeze riveting and back riveting. I had Nico on the nutplate cleco’ing while I did countersink duty. He also checked my countersink depth, and had me re-drill if any countersinks were too shallow. When countersinking the edge holes, I definitely needed to be more careful since the nylon cage foot was not completely on the metal piece. I over countersunk a couple, but I think they are still useable. With the countersinking done, I could take Nico’s assembly and squeeze rivet them together. I forgot to take a picture of it, but we had a nice line of all 12 brackets riveted together within an hour. (The pre-work done yesterday to have all the parts laid out was worth it)
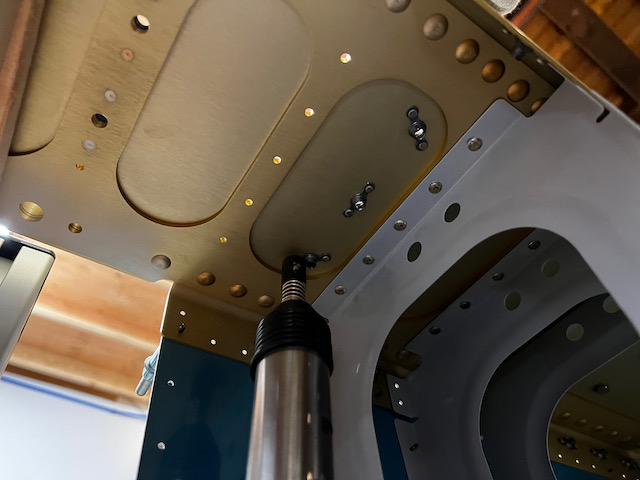
When we were done with that, Giacomo and I reviewed next steps which included final size drilling the spar holes for the AN3-4A bolts and then bolting them to the spar. I realized that the brackets pre-drilled holes for those bolts were also pretty tight, but didn’t realize it until after riveting on the nutplates. I was able to get the bolts through, but it made for a harder exercise that if I had checked it before and. Mental note, don’t forget to check for final size of EVERY hole that something is going to go through. Giacomo took on drilling duty while I got each of the brackets started. Since this wasn’t the final tightening, we just lightly hand tightened until the bracket was snug.
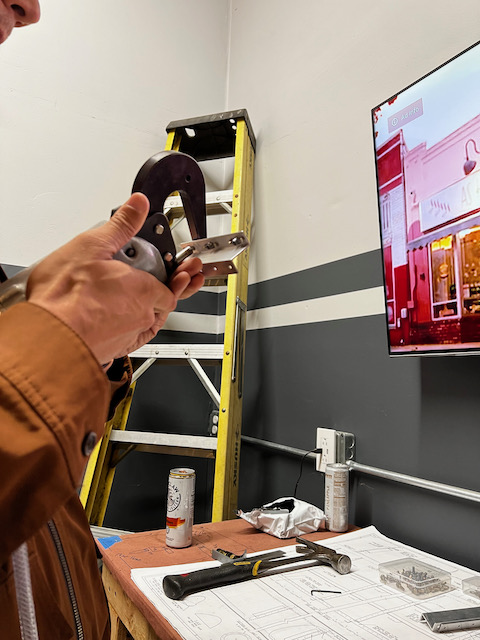
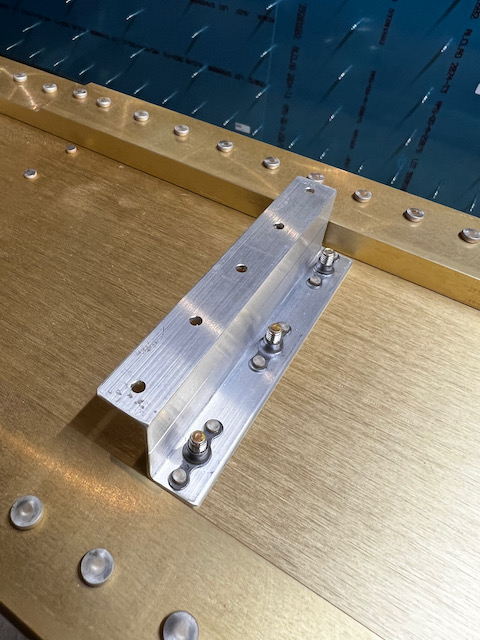
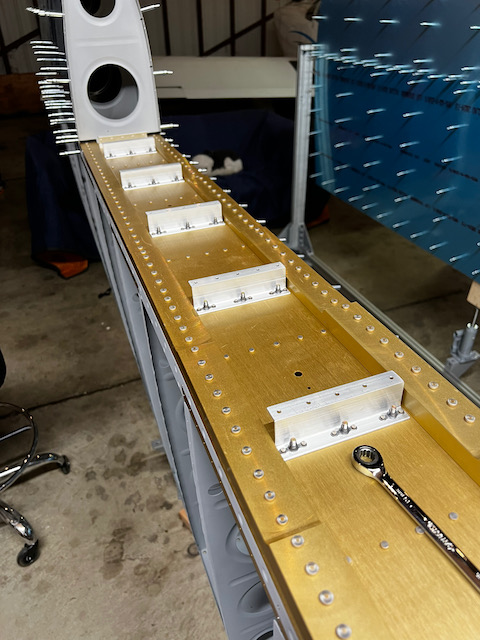
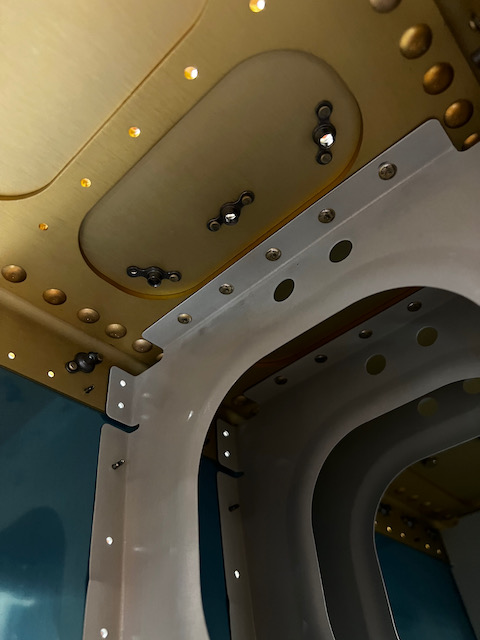
The final task of the evening was getting the inboard most attach angles installed. These are unique from the others in that they require the nutplates get attached on the spar side rather than the bracket itself. I assume this is because of the assembly order of operations when finalizing the tank mounting. Nico got back to cleco-nutplate duty while I countersunk the the rivet holes. After deburring and clecoing, Giacomo and I got to try something new which was using the big BB-46 back rivet bucking bar from Cleaveland Tools and our back riveting set to set the rivets for the nutplates. It was great practice for what will be a standard task when riveting the skins.
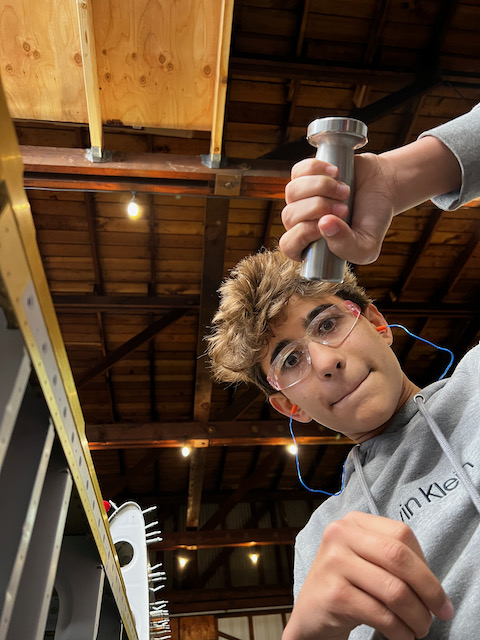
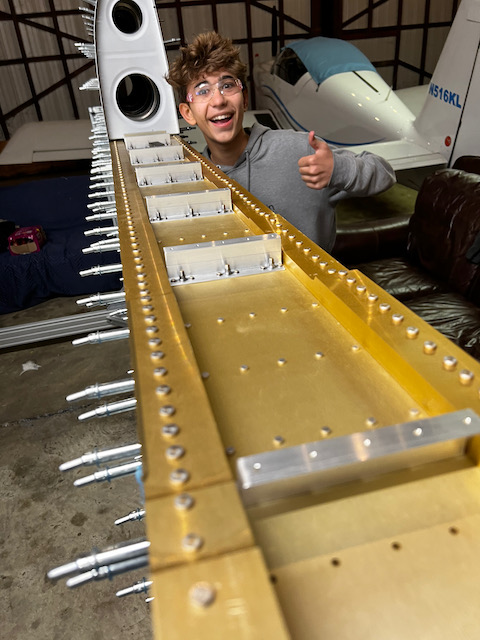
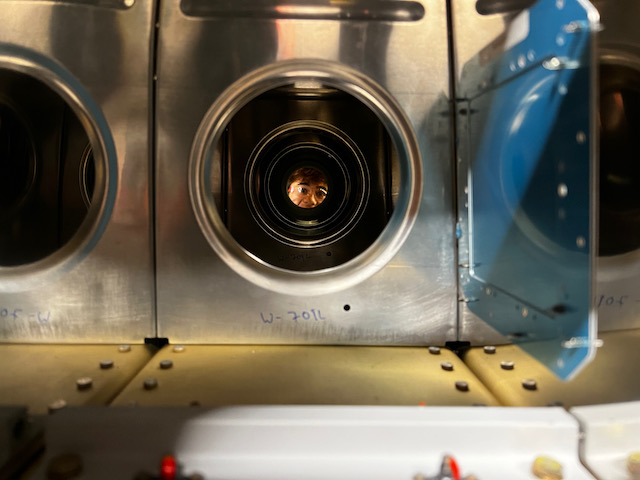
Any night with the boys is a good night. When it is a productive session, that is just bonus. Tonight was one of those productive nights, and we also had a bit of fun along the way. See if you can see what I saw staring down the lightening holes of the leading edge assembly!
Next session I will be fitting the rear tank baffle to the attach angles before getting started on final tank rib prep. Getting close to proseal time!!
1 comment
What a beautiful father and sons exercise. Good job Niccolò and Giacomo.
Good progress on those wings. Congratulations