Between running out of clecos, a series of birthday celebrations, and my companies 10 year anniversary and leadership offsite I had no time in the past week to get any building done. It was great to get back to the hangar tonight and make some good progress. The first part of the session I wrapped up a variety of leading edge tasks, essentially completing most everything I need to do in the section. I then moved on to starting assembling of the fuel tank. Yikes! Read on for the detail.
Leading Edge Wrap-Up
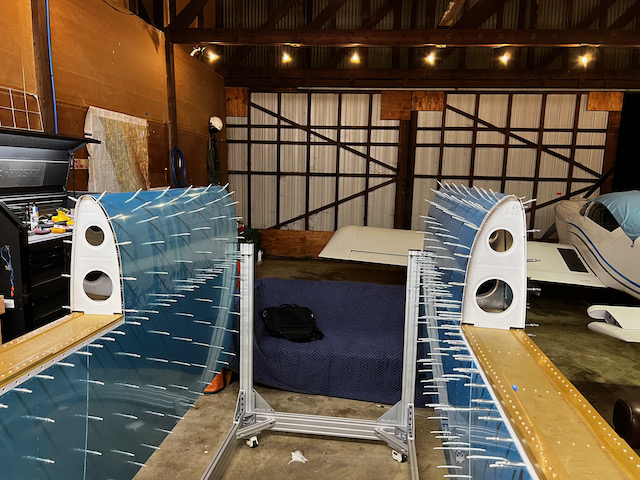
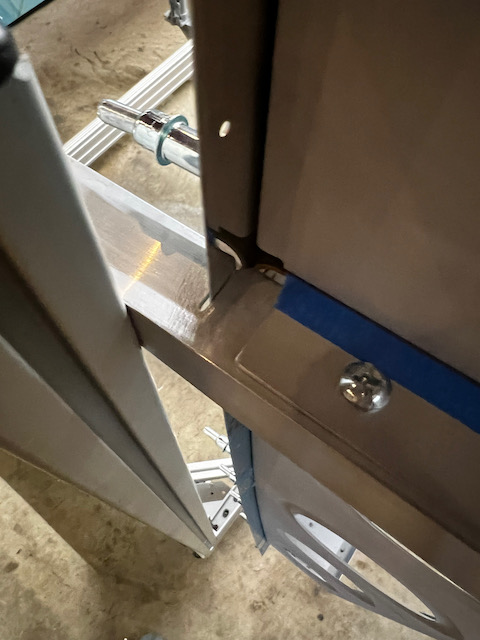
With my new set of 200 clecos arriving I was able to complete the right leading edge. I also spent some time replacing all the clecos I took out of the main skins. I feel better with more clecos in that thing. I then needed to fit the assembly on the main spar to ensure good fit. As with the left wing stand, I needed to carve out a bit of the spar shelf to make room for the wing skin. It was fairly straight forward this time around. After getting the assembly lined up properly, I cleco’d everything together.
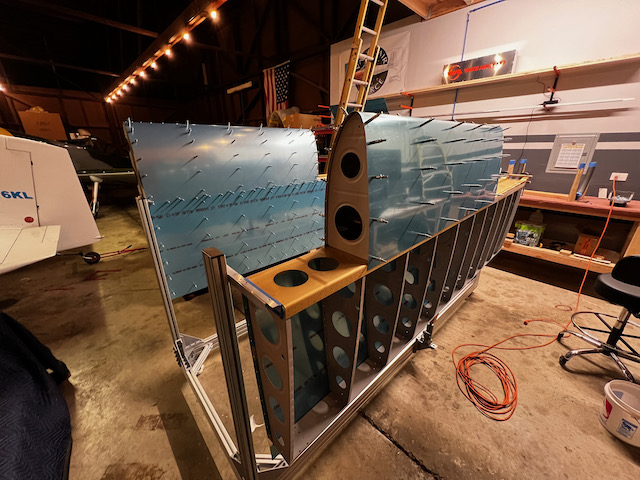
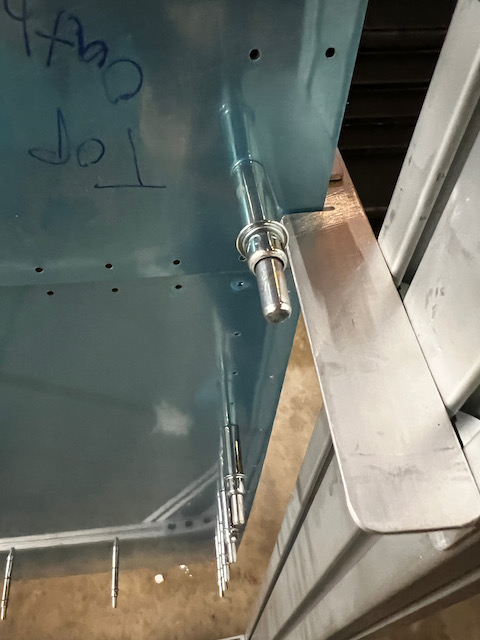
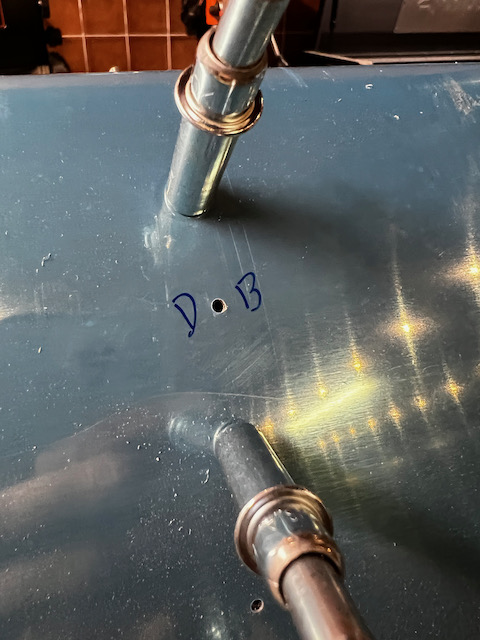
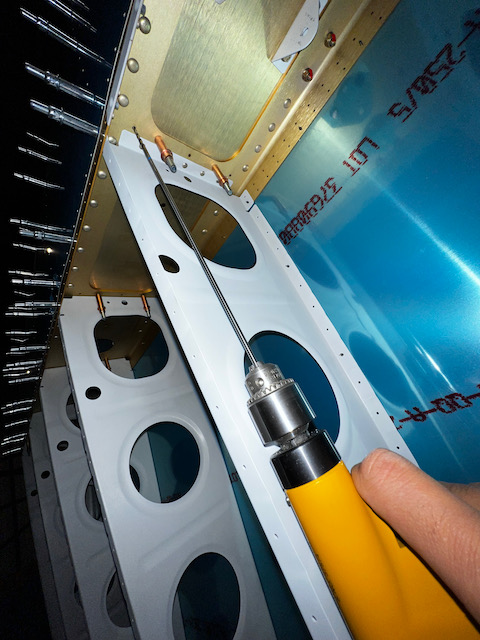
I then wrapped up some miscellaneous tasks to close out that section. There are a few holes here and there that need to be drilled out. This included some of the rear flange connections to the main spar as well as forward holes on some of the rib flanges. One bit that I hadn’t used before which ended up being really useful was the 12″ bit for the rear flange drill out. Otherwise I would have scratched up the primed rib surface with the smaller bit. Since I won’t be deburring every single hole, I marked the holes I would need to deburr with the “DB” label. This will be a good reminder when I get to that step (along with a note in my electronic instructions). With the drilling done, and the notes taken, I stepped back to enjoy both wings progress so far. On to the fuel tanks!
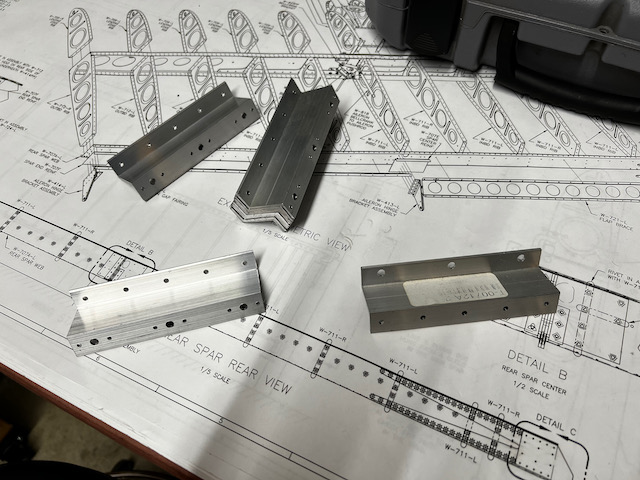
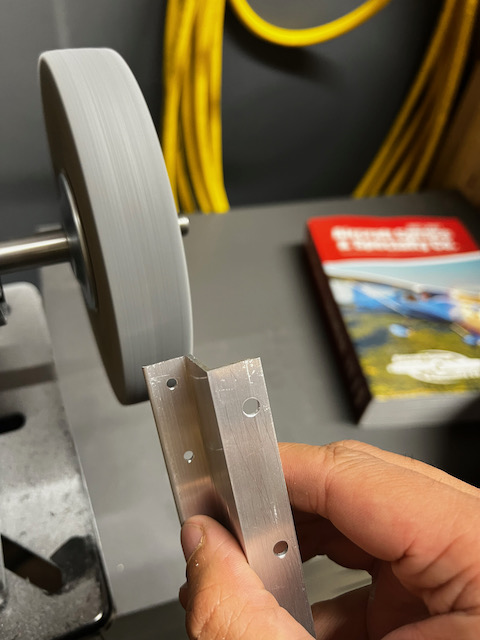
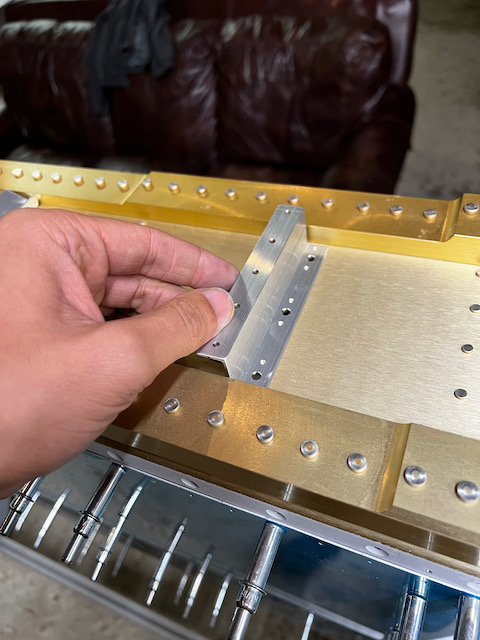
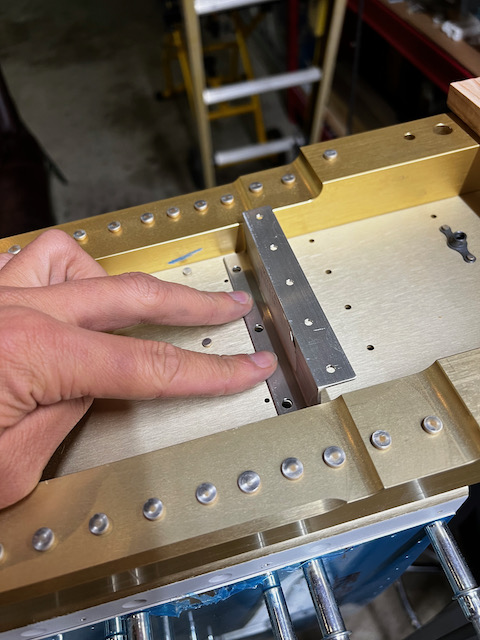
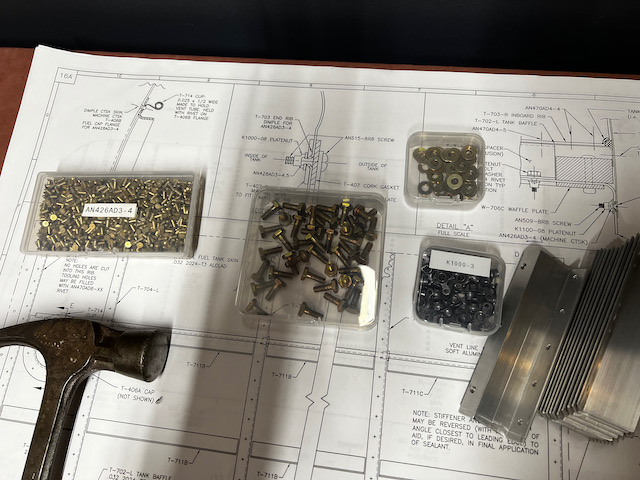
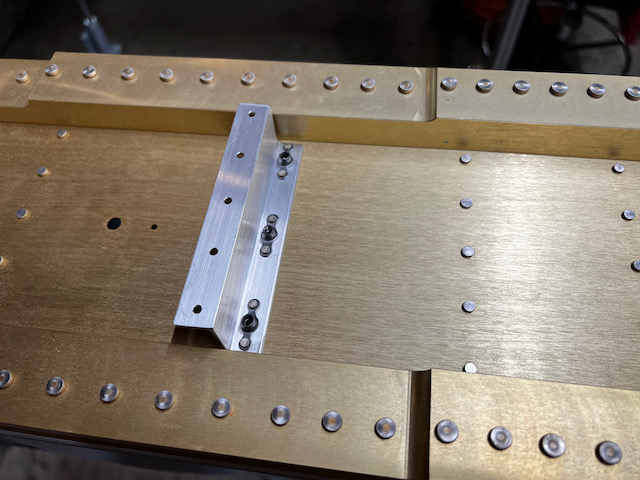
Prepping Fuel Tank Brackets
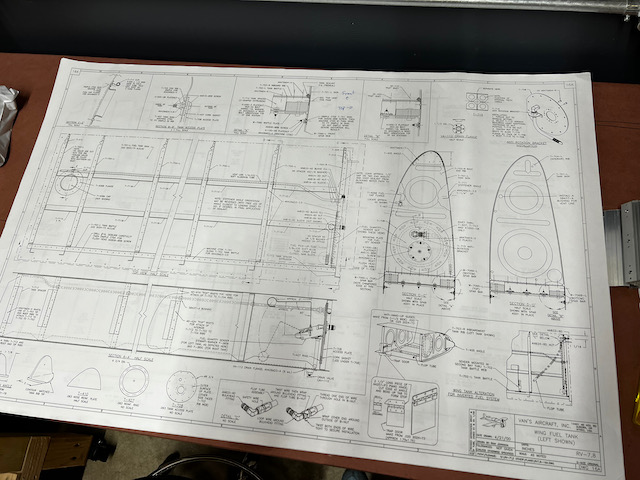
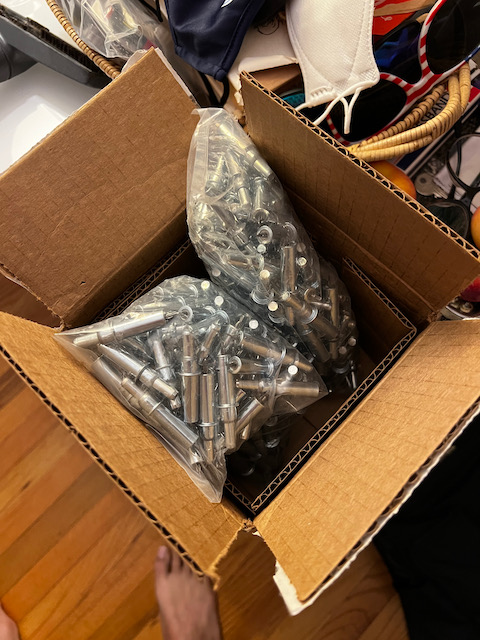
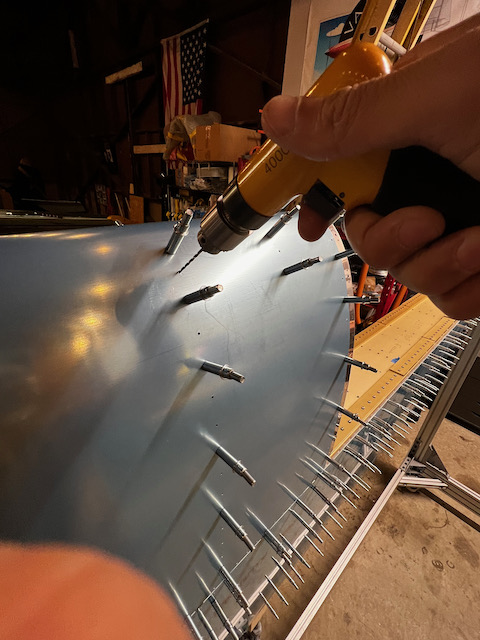
The first task of the Fuel Tank assembly is mounting the fuel tank “attach angles”. These are necessary to attach the fully assembled tanks to the wing using bolts. I had read through the instructions a few times, so felt pretty good getting started. There are a few steps that I got to skip as they were already done. Specifically, the brackets already had pre-drilled holes for both the rivet holes, and the nut plates. (Another example of where the instructions should be updated). The self drilling actually looked pretty complex, so I was happy to not do it. Instead I deburred all the pre-drilled holes and edges. In hindsight I should have checked that the hole final sizes were sufficient as it turned out some weren’t so I ended up deburring the same holes a couple times.
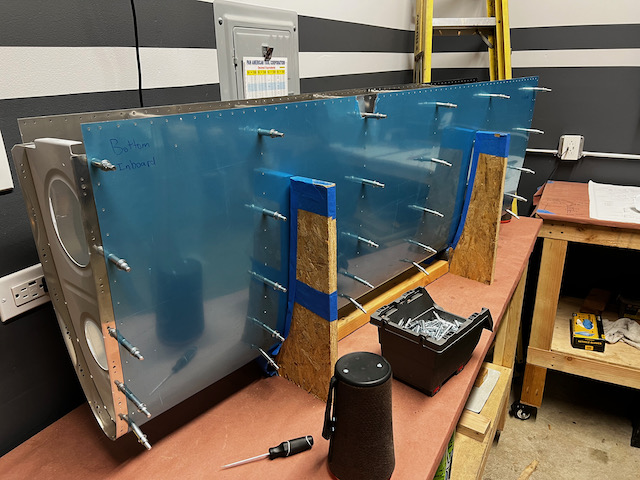
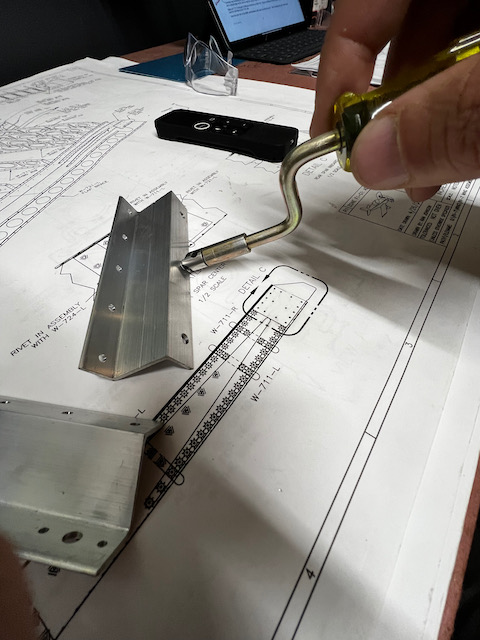
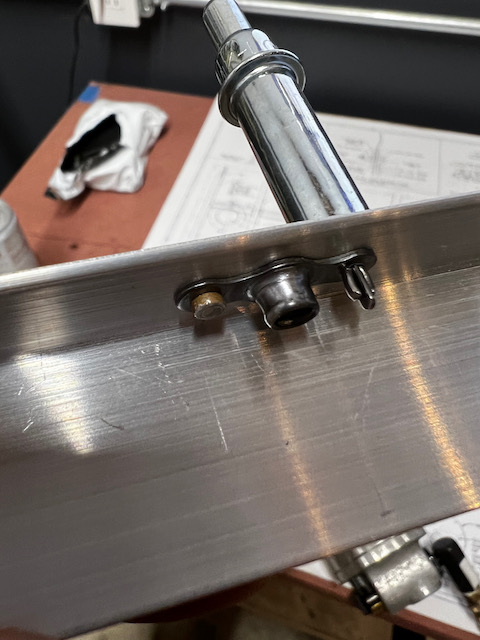
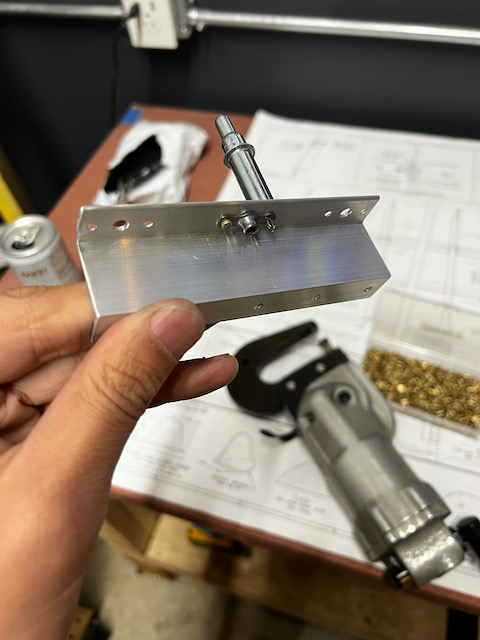
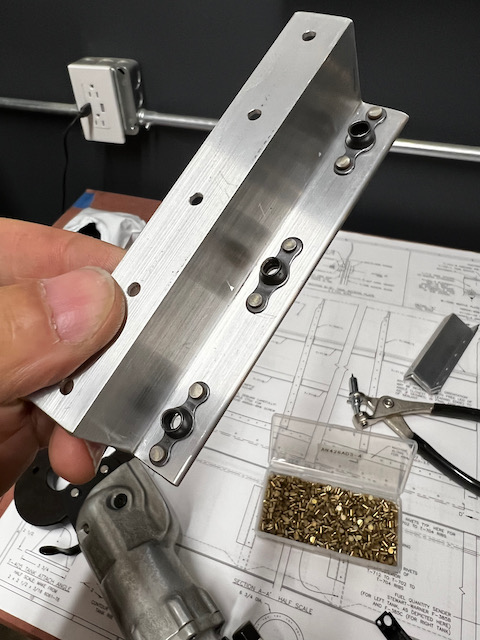
With all the parts deburred and drilled to final size, it was time to rivet nutplates onto the attach angles. I wanted to do a single bracket first, before trying to mass produce them. Learning #1, don’t assume your countersink cage is set as you’d expect. After drilling the first one, it was clear that the hole was too deep. Not so bad that I was going to throw out the bracket (especially considering the nutplate is really the thing that will hold the bracket in place, not the countersunk rivet). Learning #2, get all the various parts in place beforehand, to make sure you have everything you need in close reaching distance. I went ahead and got the correct counts of all the nutplates, washers, bolts, and rivets, along with all the expected tools together. I was able to get through the first nutplate attachment, and feel good about what I’ll need to do to get the rest done. It’s a good project to do with the kids, so I’ll try to get them down for the next session. Until then, Happy Building!