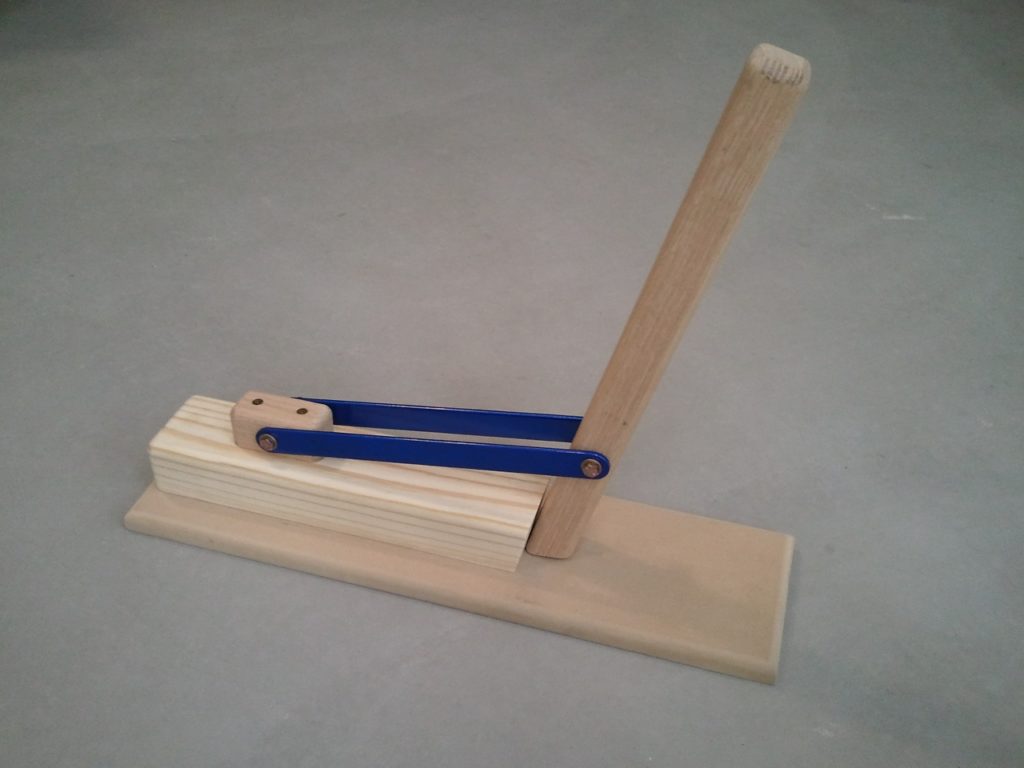
The beauty of Van’s Aircraft, is that there are so many of them out there, and the community is so active, that if you have a question or concern, you can bet there are at least a few threads in the forums with that exactly question. Well, when I tested using the hand seamers to straighten the flanges and thought to myself “there has got to be a better way!”, ta da!, there was a forum post for that. That post lead to a specific blog post from SilverEagle2 that I really liked. In it, SilverEagle2 shows his version of a rib straightening tool, and details on how to build it. Here is it below:
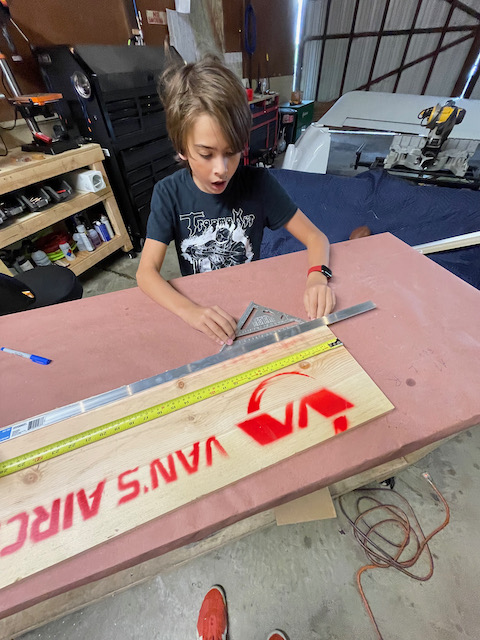
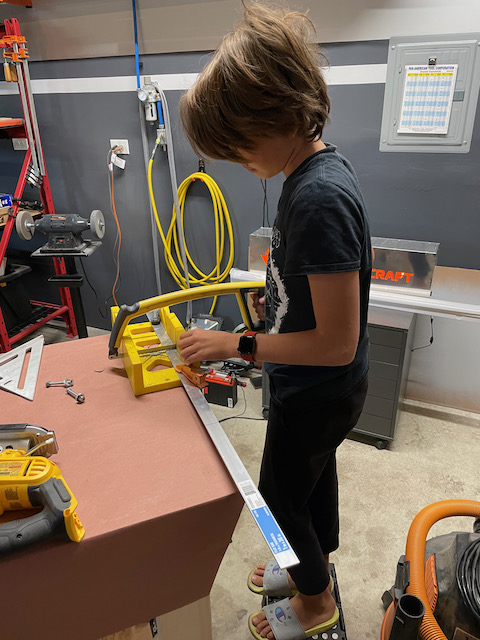
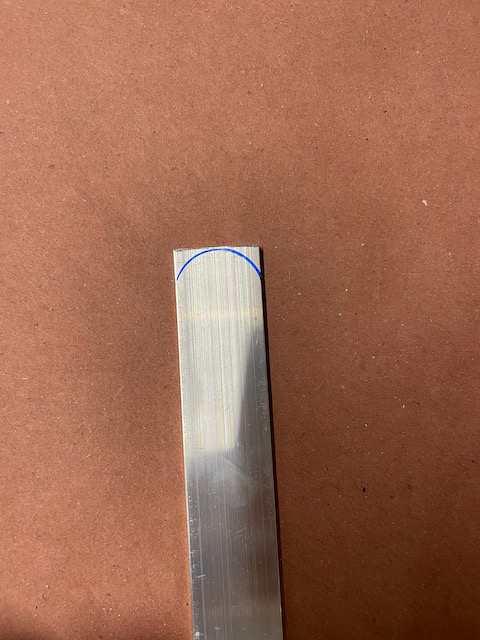
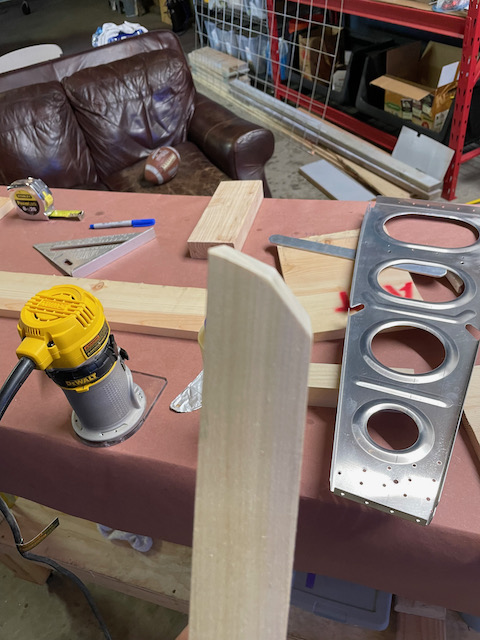
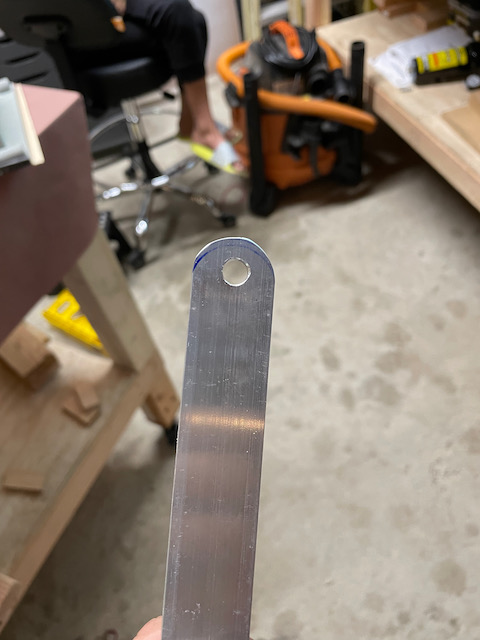
I definitely wasn’t planning on making such a work of art. For me it’s all about function. I had some scrap wood at the hangar, and went to Home Depot to pick up all the extra part needs. That included some aluminum bar, the bolts and nylock nuts, and washers. I also picked up a 2″x2″ poplar wood piece to cut down and shape for the lever. Nico got started cutting down the aluminum and I shaped and drilled the pieces he cut. I used one of the aileron pieces as a template for the radius of the bar.
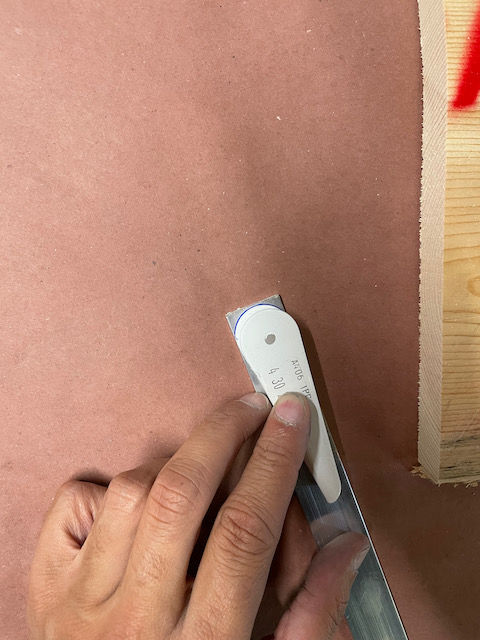
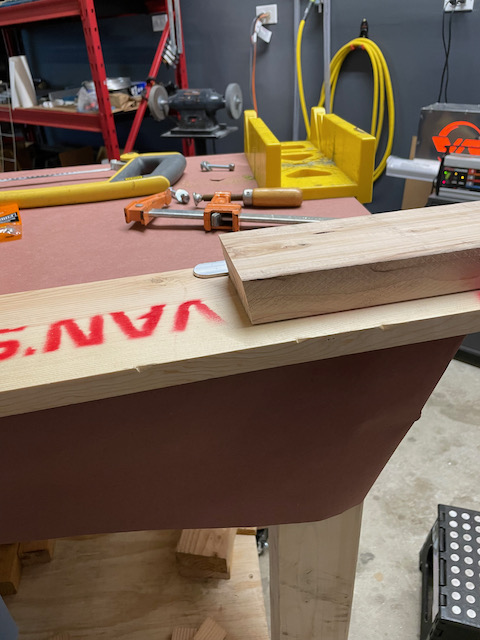
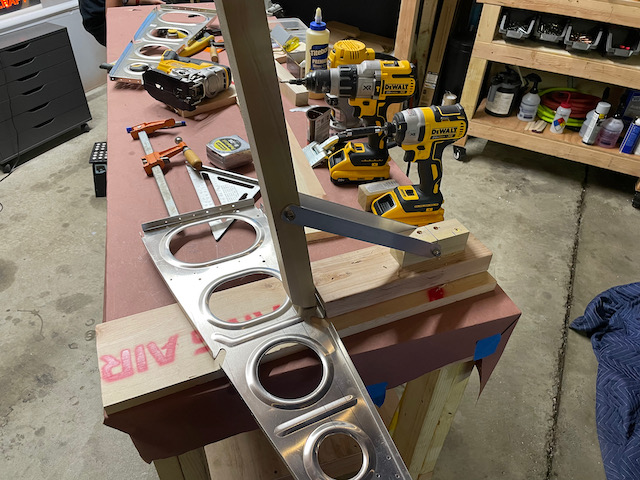
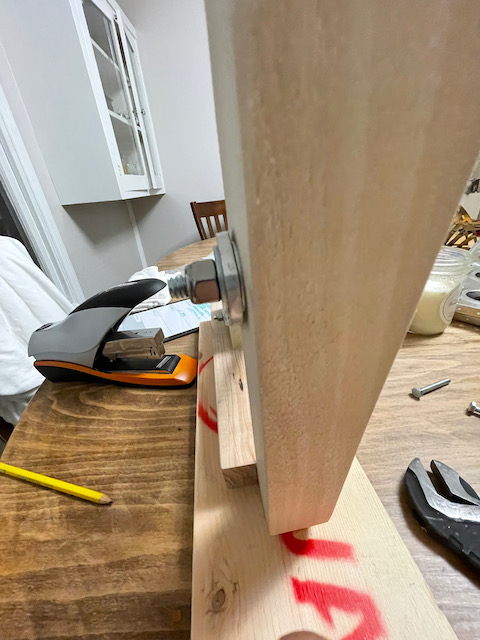
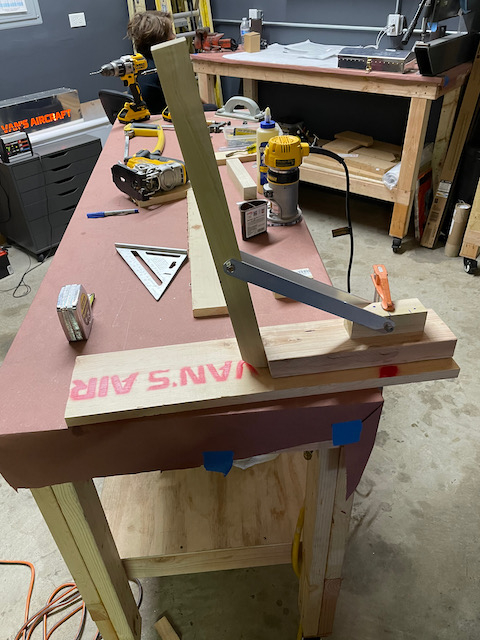
Besides the aluminum bars, there are three major parts that need to be fabricated for the tool. The base, the “anvil”, and the lever. The “anvil” and lever need to be designed with an “undercut” of 11˚ so when you bend the flange, you actually overbend past 90˚. The piece then springs back to the right angle. Seems like magic, but I guess it works! To make this angled cut, I used the bandsaw angle guide. As for the base, I was excited to use some of the left over scrap from the crates used to ship the wing. You can see the “Van’s” stencil painted on the wood.
Angle set to 11˚
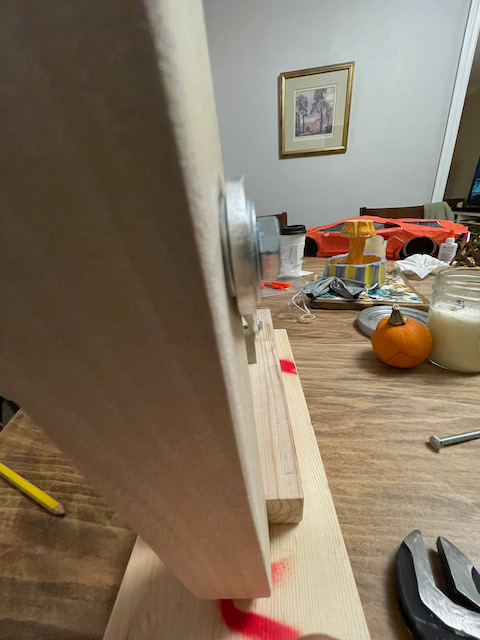
For the lever, the angle is greater than 11˚to make room for rib web obstructions. I chose to step the angle.
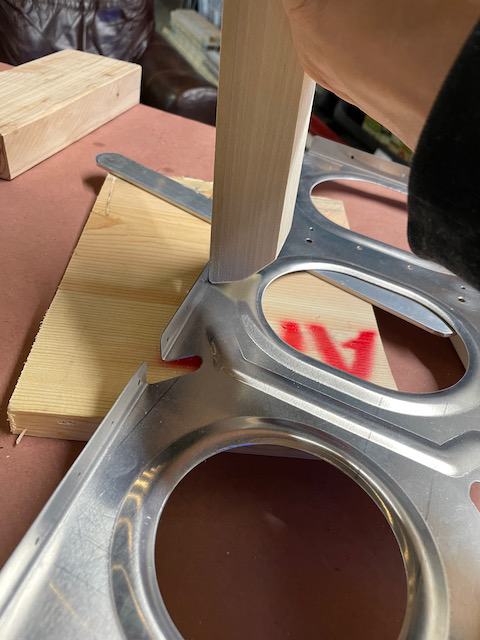
Once everything was fabricated, assembly was straight forward. The only complex part was aligning the lever properly before drilling the holes, so that it snugly pressed up against the anvil when closed. Once that was figured out, I decided to use a washer on each side of the aluminum bar pieces (so 8 washers total). This allowed me to make the bars snug, while still being able to move it.
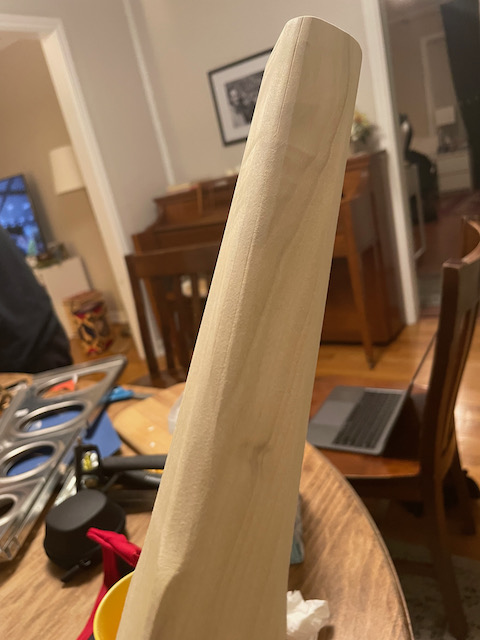
And a last tip I leveraged was to round the handle portion of the lever to make sure your hands don’t get too beat up when working the tool. I used a roundover router bit, and then sanded everything down. It’s all ready to go for tomorrow’s Flange Bending party!

1 comment
Unbelievable precision /detail !