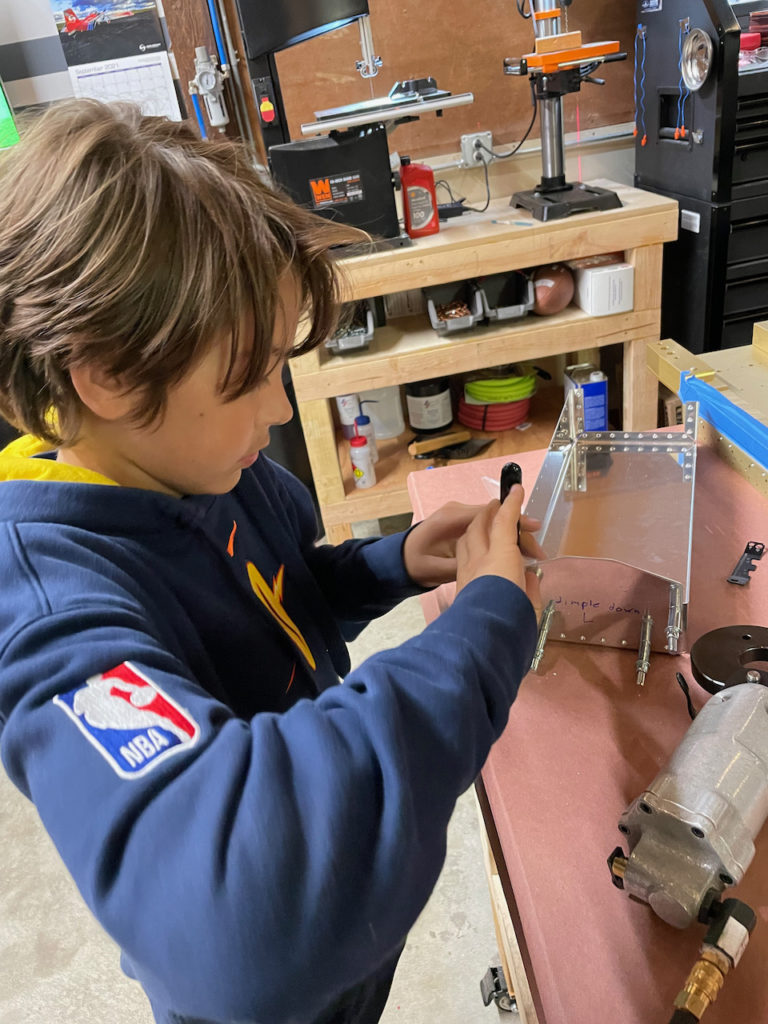
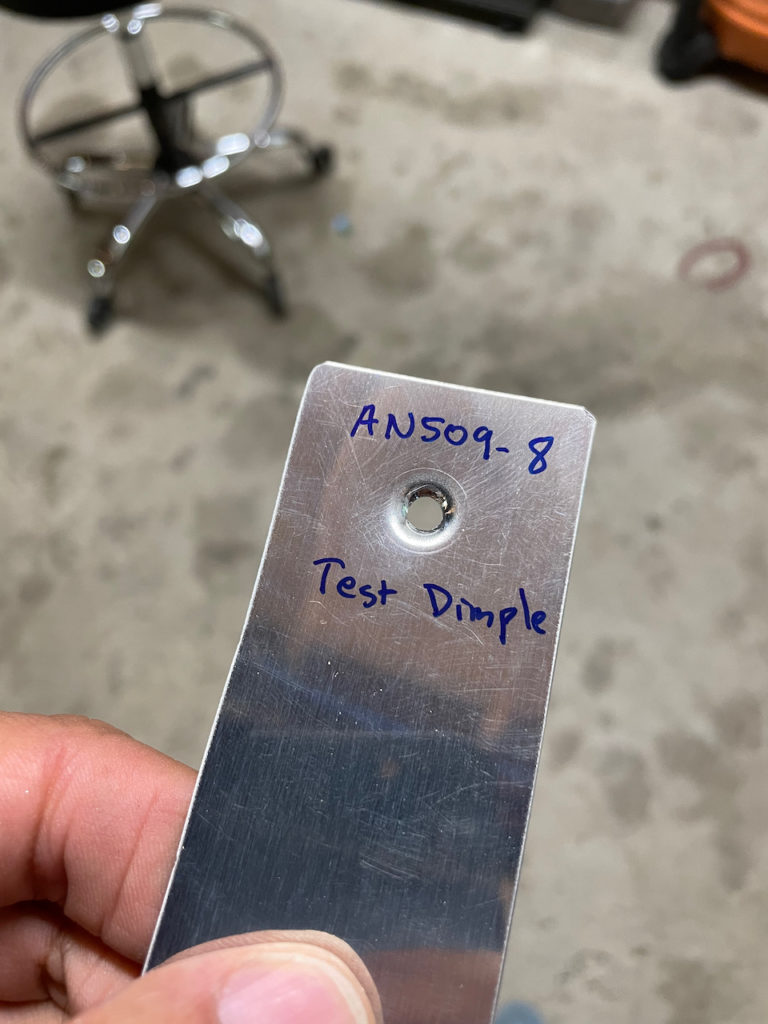
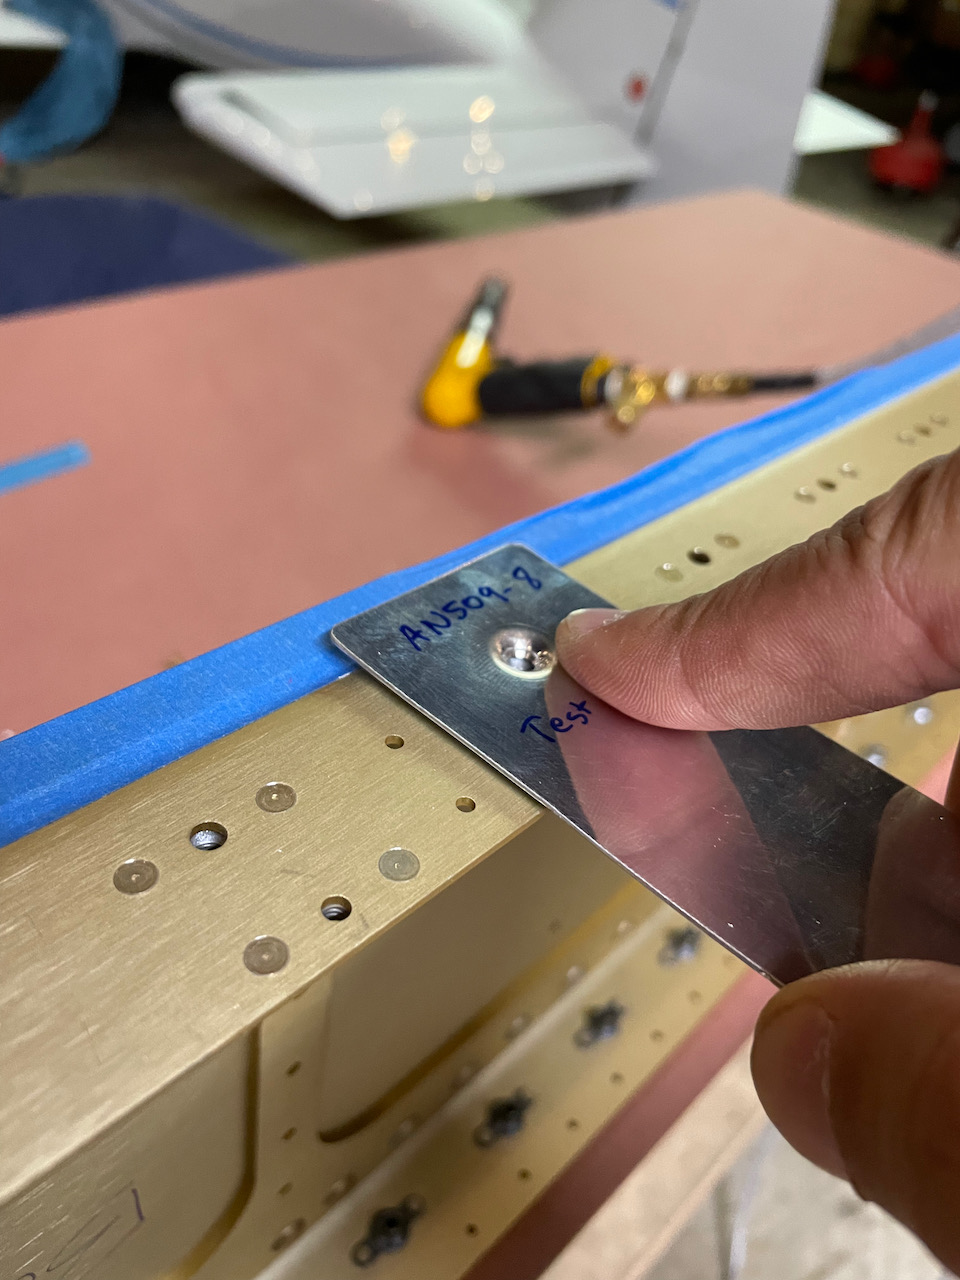
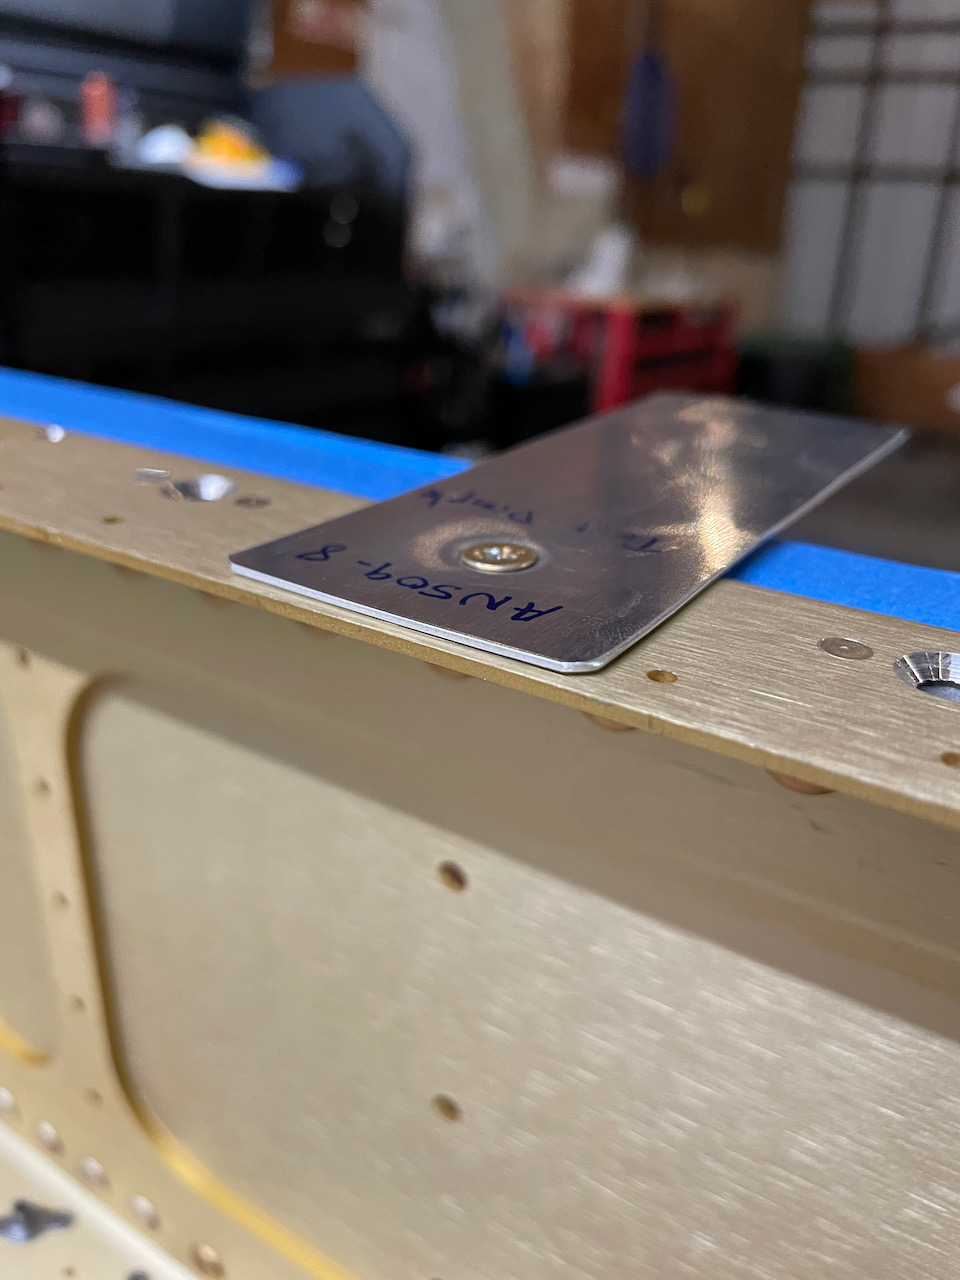
Tonight, Nico and I started countersinking the larger holes to accommodate the eventual dimpled tank skin. We started by creating a sample dimple template for checking depth. To do this I found a scrap piece that is the same thickness as the T-701 skin, and cut a piece. After drilling with a #19 drill bit, we dimpled the template using the dimple die for #8 screws (labeled 509-8 on the dimple set)
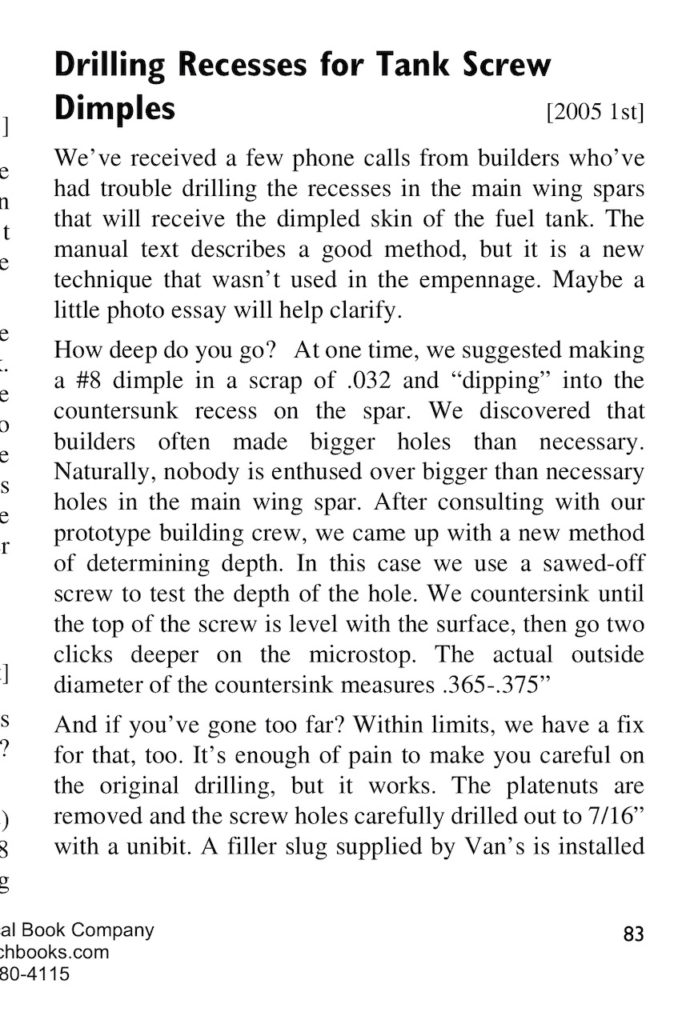
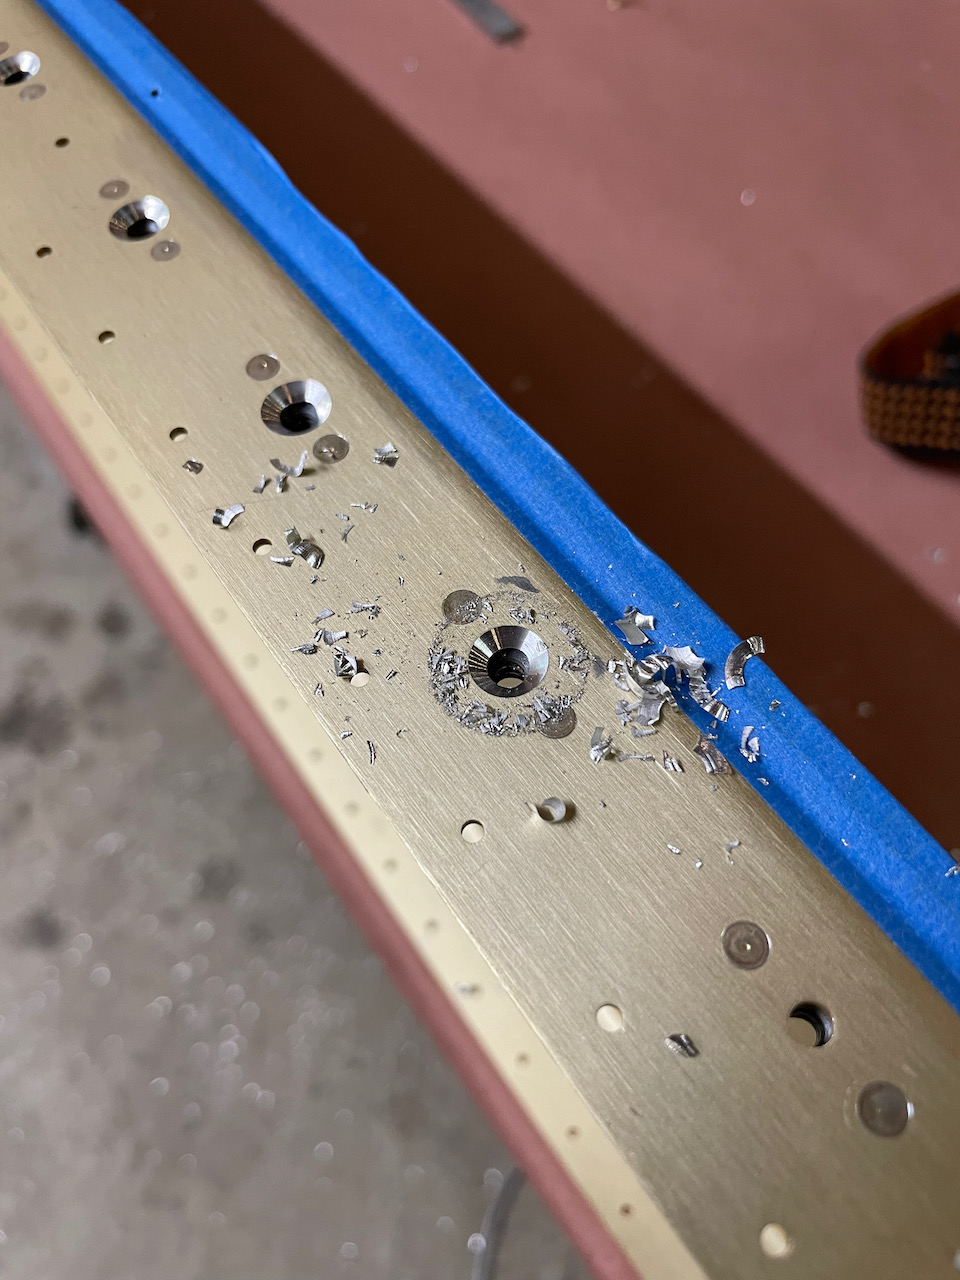
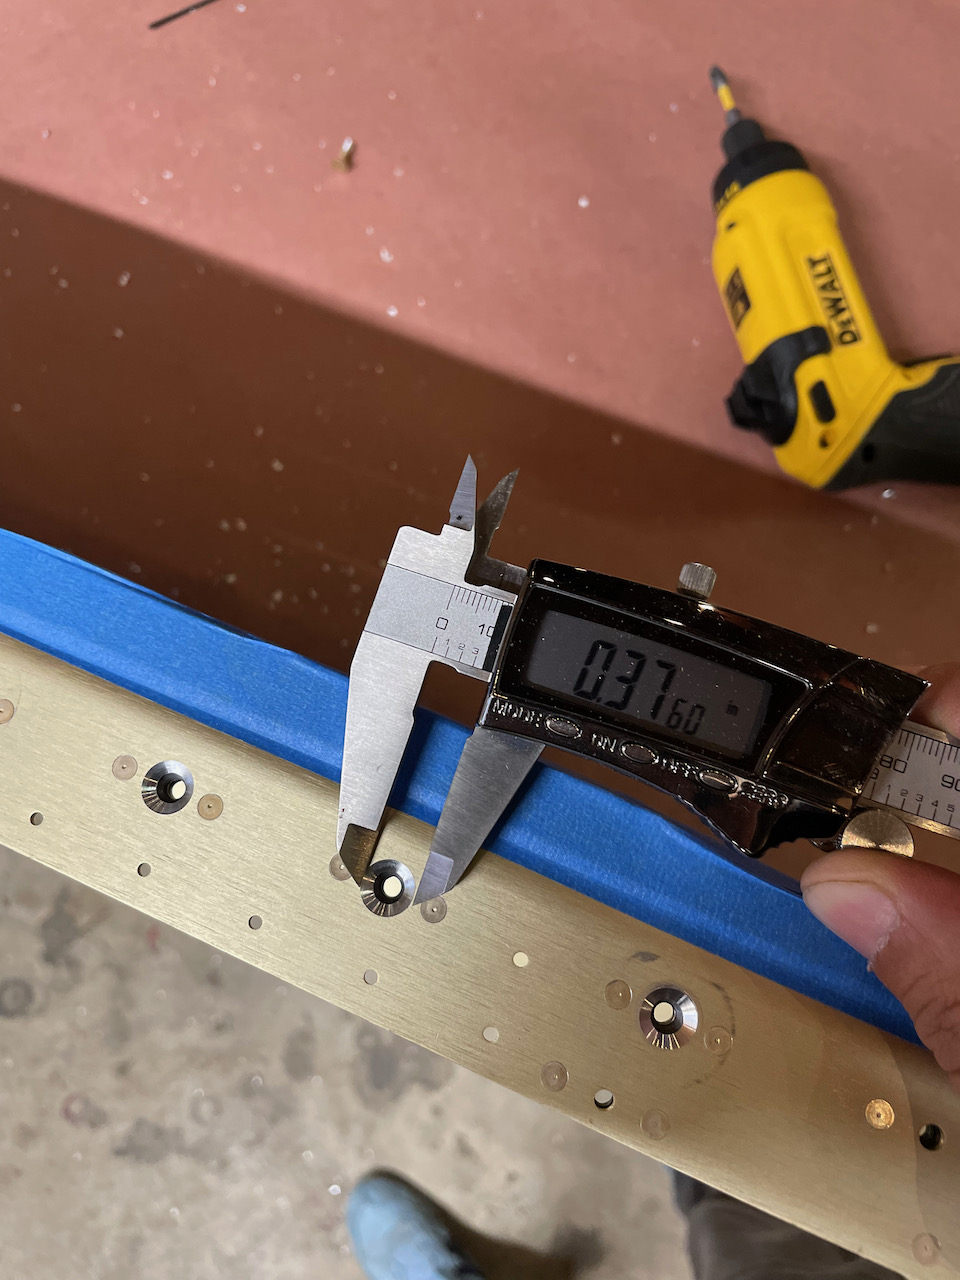
We then started countersinking using the countersink bit with a #30 pilot hole. This worked nicely to end up with centered countersinks. I slowly increased the depth of the countersink while using the template to check depth. When testing the dimple fit though, I found myself questioning the depth of the countersink. It was unclear to me if the dimple was fitting nicely in the countersink or not. Reading a few of the forum threads, the width of the countersink hole should be approximately .365-.375 inches wide. A rough check with some calipers showed I was generally in the ballpark. But again, it didn’t feel quite right to me. I was worried that I would drill too deep, so I stopped at the depth that was the upper bound of the forum recommended size. (.375)
I consulted Alexander (EAA tech counselor), and we decided it would be best not to overdrill, and have him take a look on Friday. So I went ahead and finished countersinking at the depth that was set, with a worst case scenario of needing to countersink a little deeper later. after finishing one side, I decided to wait to move on to the other sides. Instead, Nico and I spend a bit of time working on his tool box, which allowed him to practice his squeezer technique.
Although there was a bit of a hiccup today with the countersink depth, I’m glad I didn’t force the situation before getting advice from those with more experience. (And of course it’s always fun to build with my son, so I’m glad he suggested we work on his toolbox!) I look forward to resolving the issue and moving forward soon. In the meantime, I can start doing some work on the tie down spacers, or preping the rear spar parts.
Update 09/28/2021!
UPDATE: After sleuthing the forums a bit more, I found quite a bit of talk around the .365-.375 dimensions. Even specific references to RVator articles stating that using the template method (which is suggested in DWG 16A) is not recommended as it results in builders countersinking too deep. With this as ammunition, I am more confident now to set the countersink based on this extract from the RV-14 plans, and target .375 as the outside diameter of the countersink. Onward!
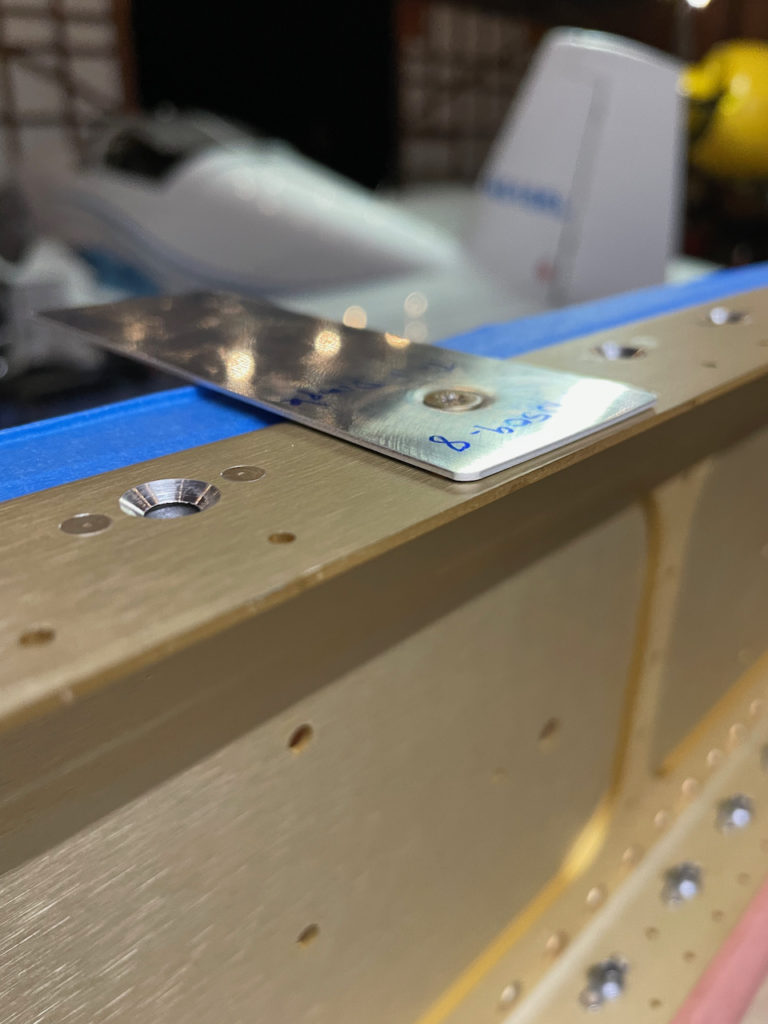
I also ended up purchasing the “27 years of RVator” ebook (search google if you want to purchase) after finding a reference in the forums to this issue. Turns out I’m not the first to deal with it..ha ha. Below is the except from an article back in 2005.
