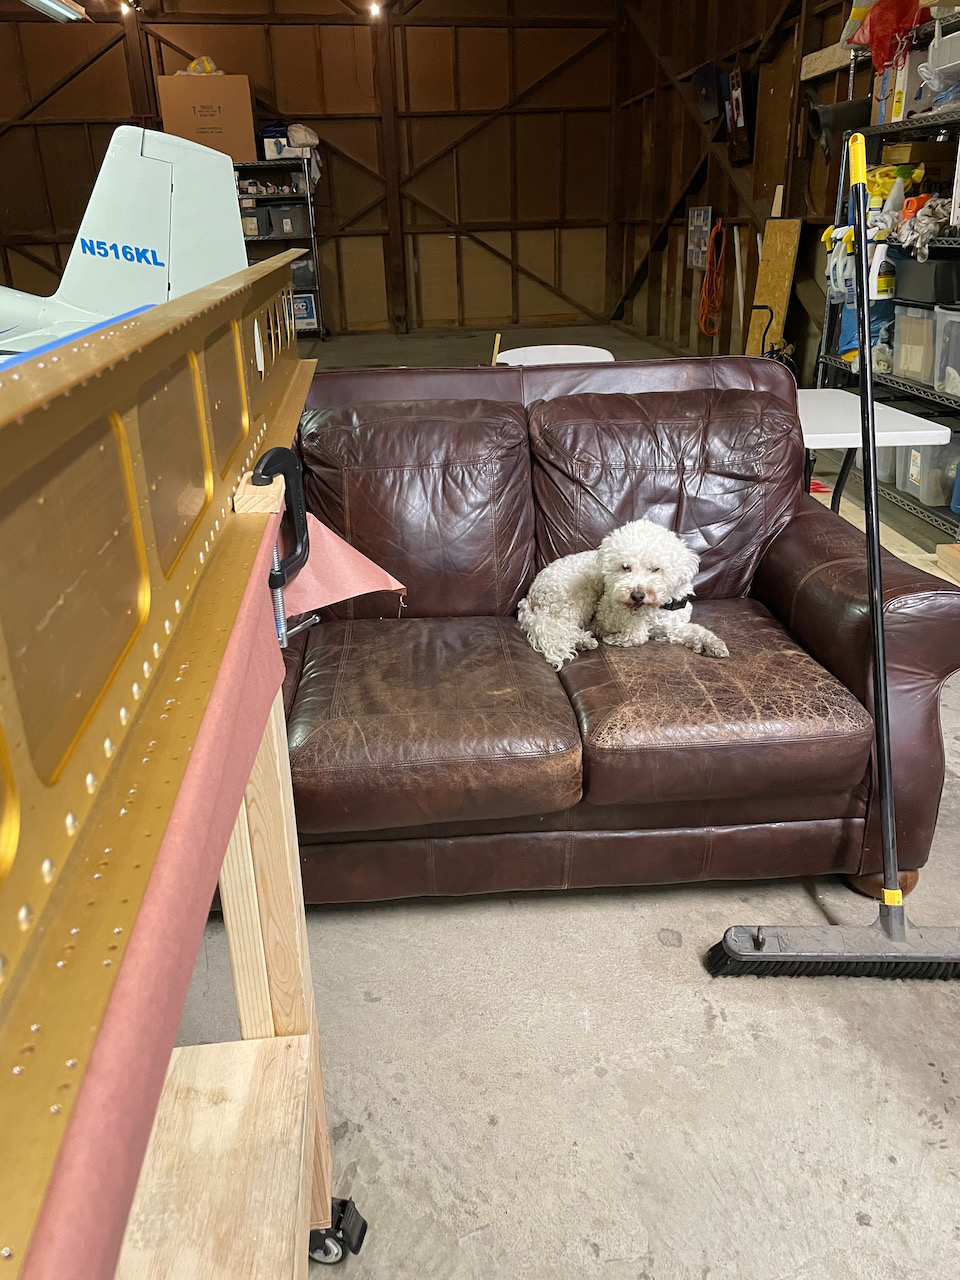
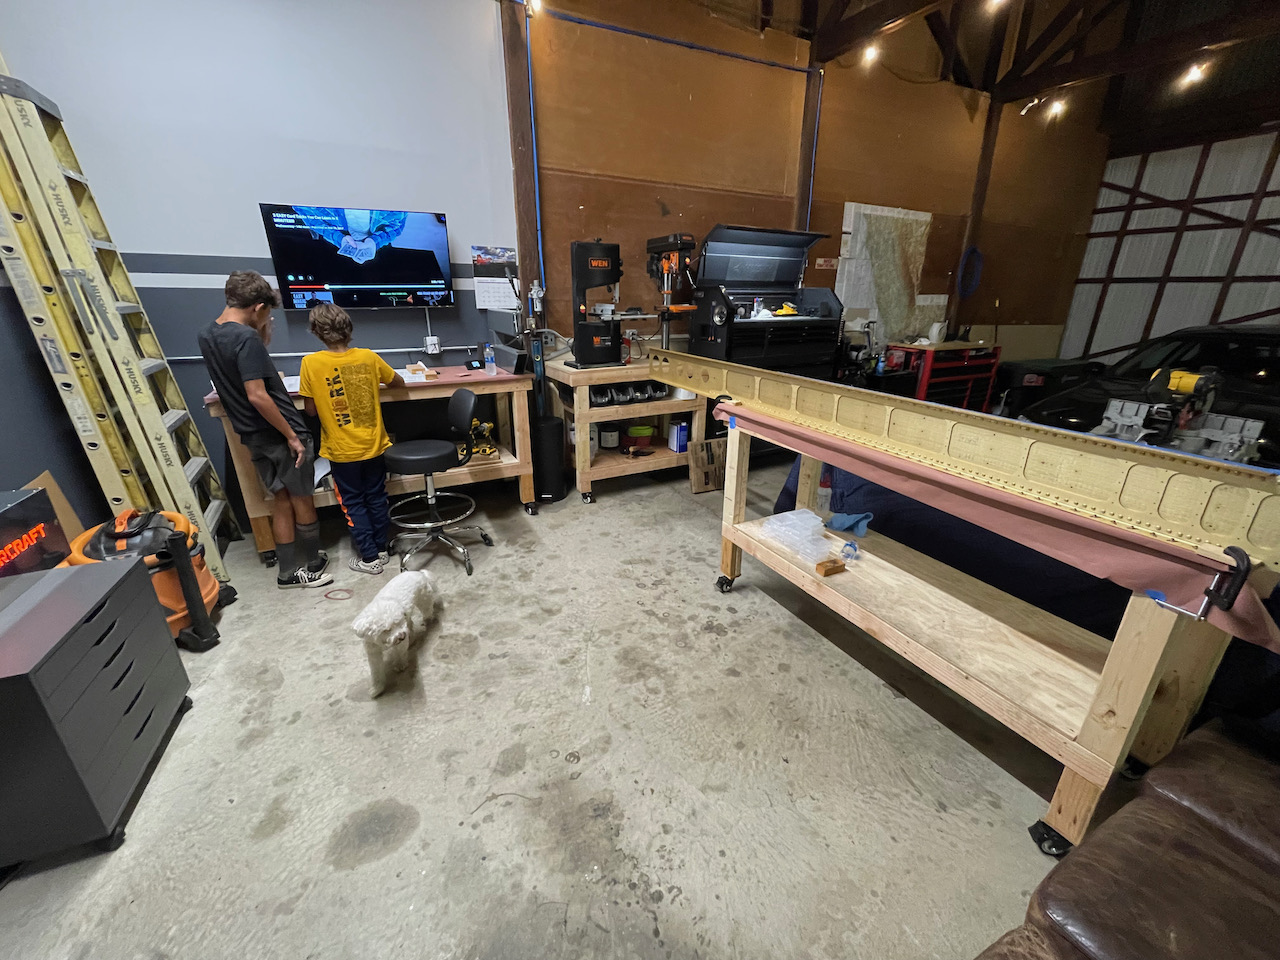
We did it! We took the first step. Super nervous, but once we got started, it went smooth. We ended up doing two sessions today. In the afternoon session, Giacomo and I spent the hours reaming, countersinking, and deburring. We made good progress, completing the left main spar’s countersinks for the tank and access panel nut plate attach holes, and made a bit of progress on the right. In the evening session, The boys and I continued working on the right main spar, completing all the countersinking tasks, and started squeezing our first rivets!
Session 1
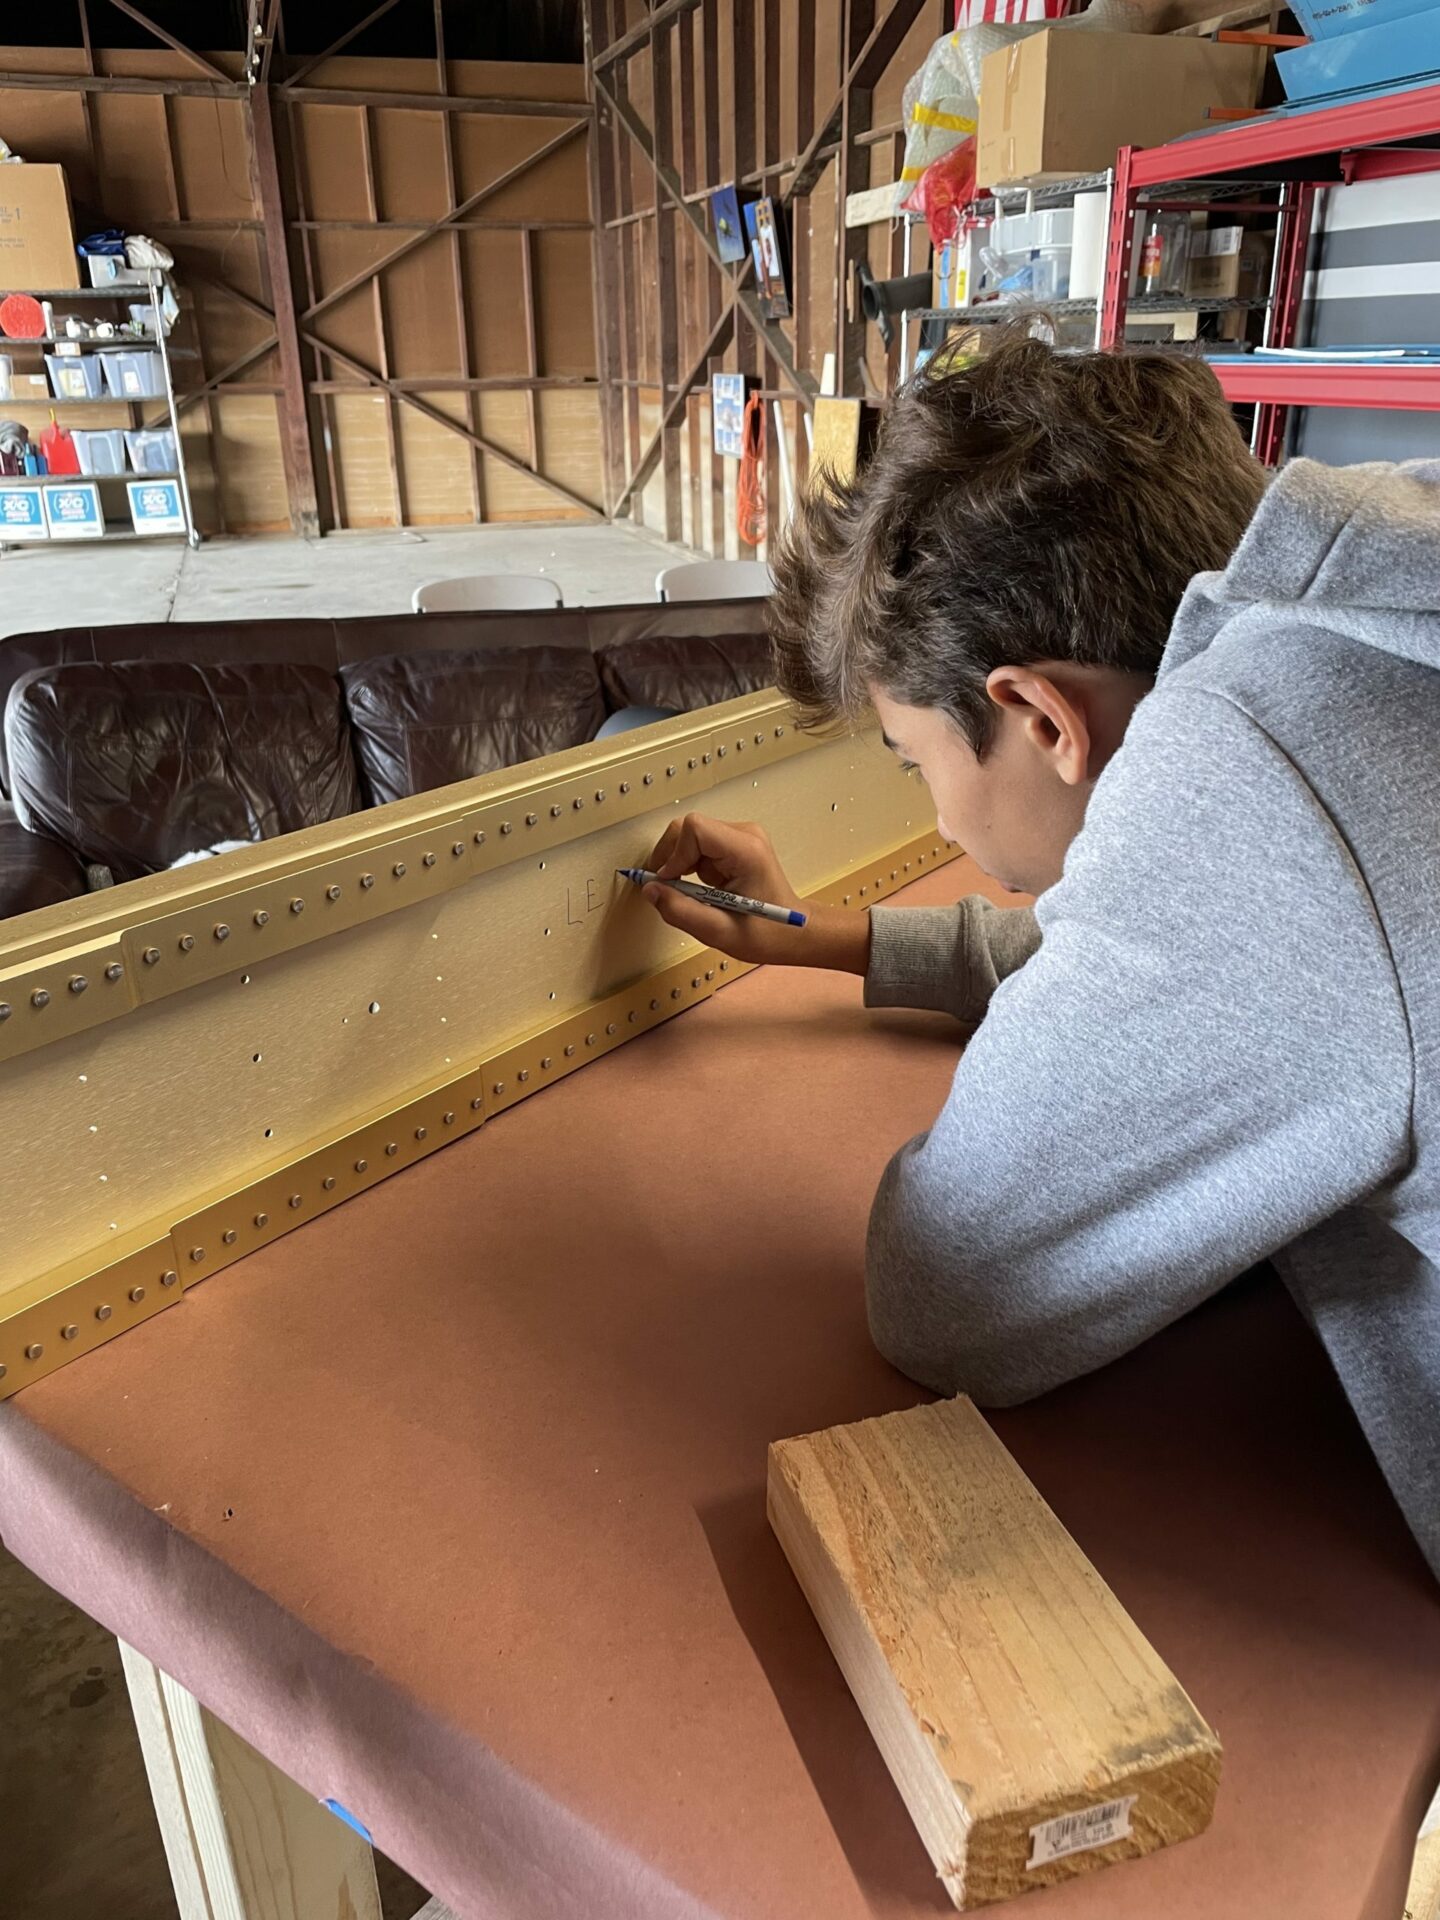
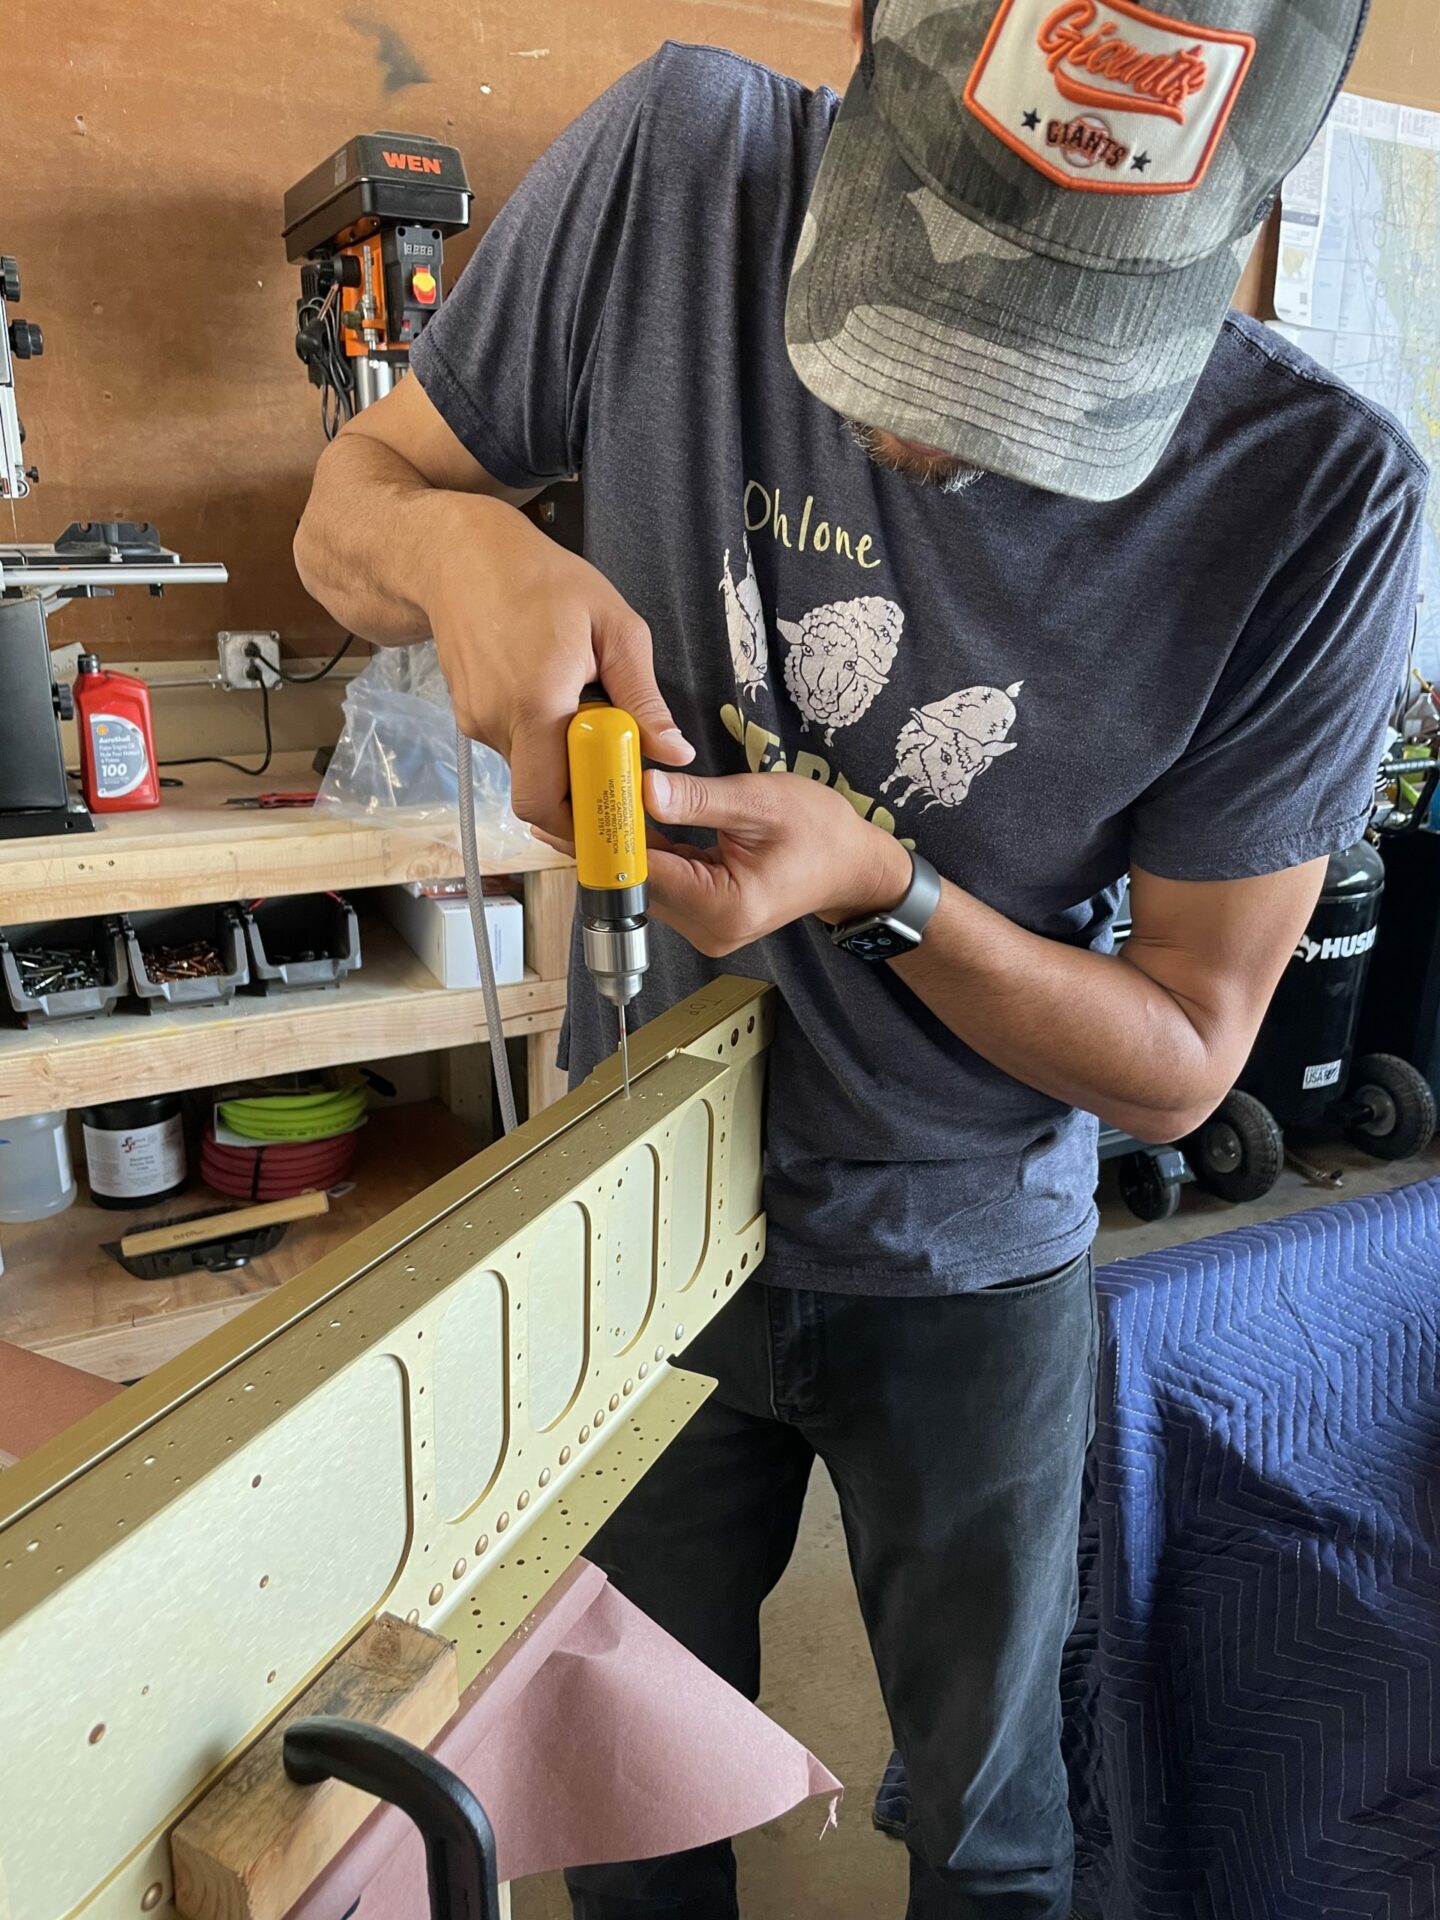
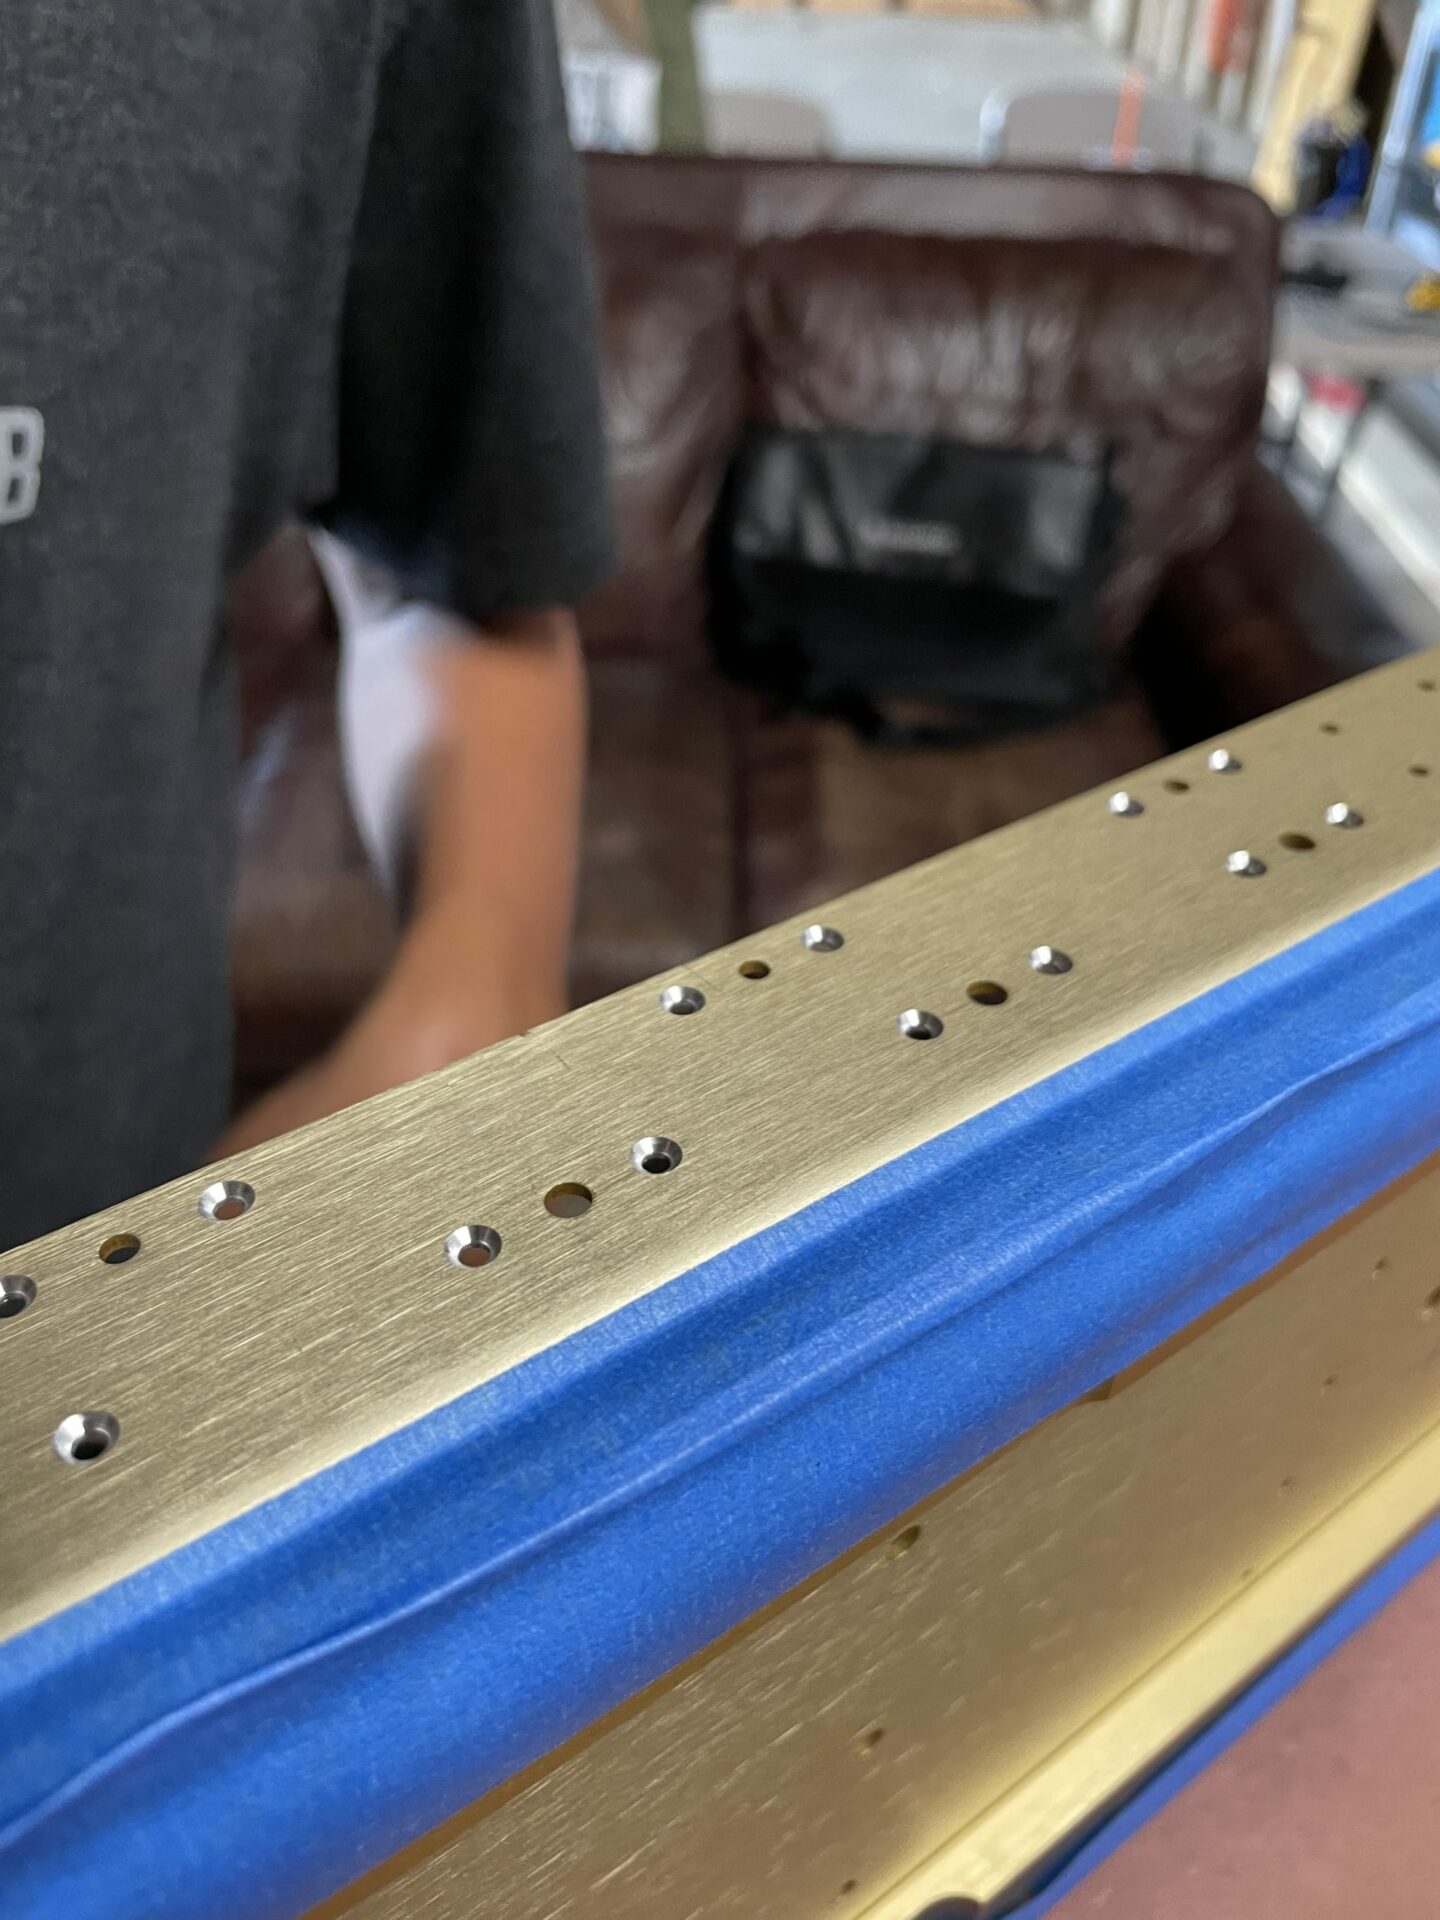
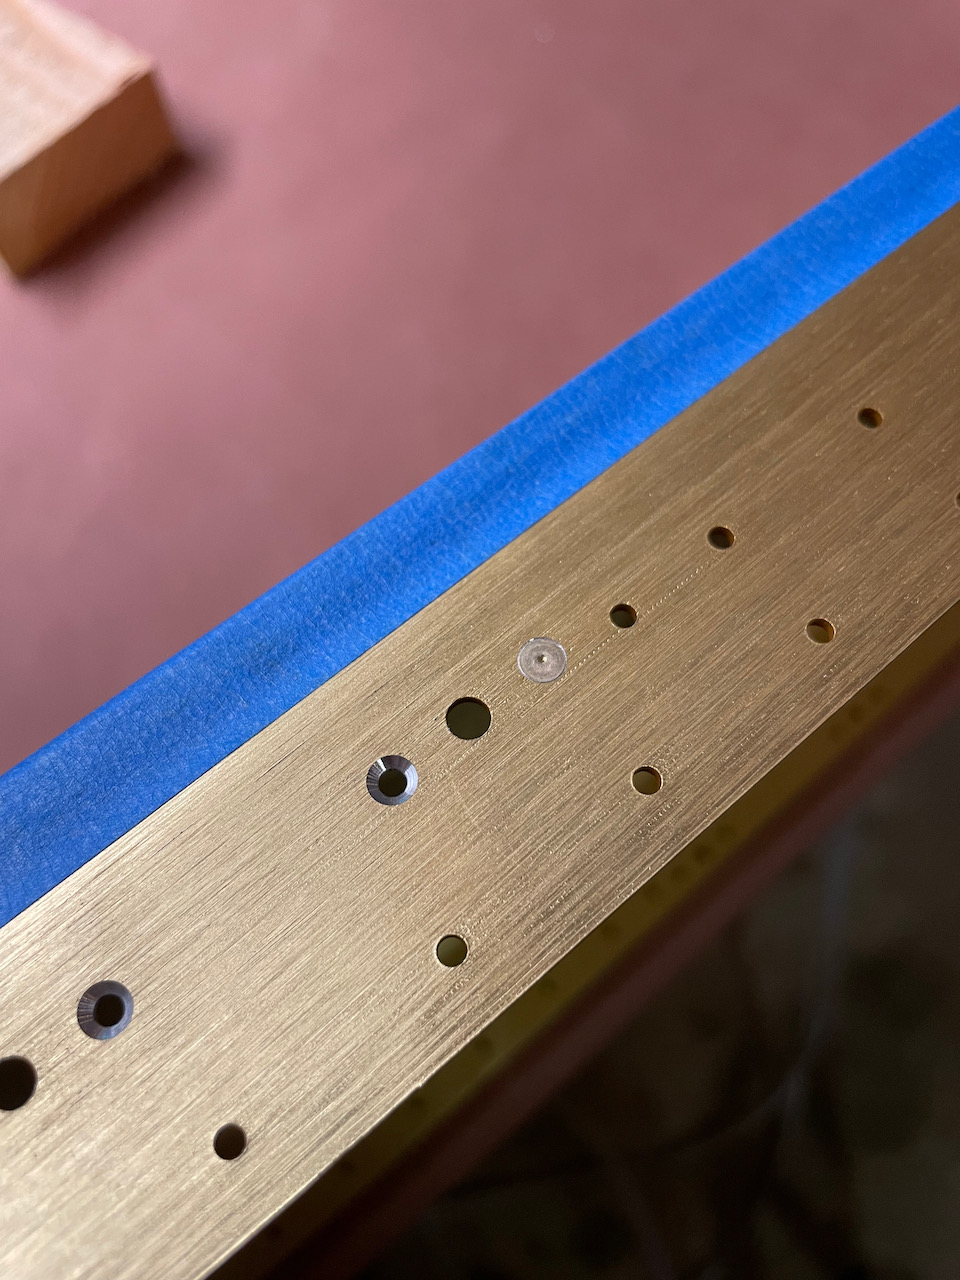
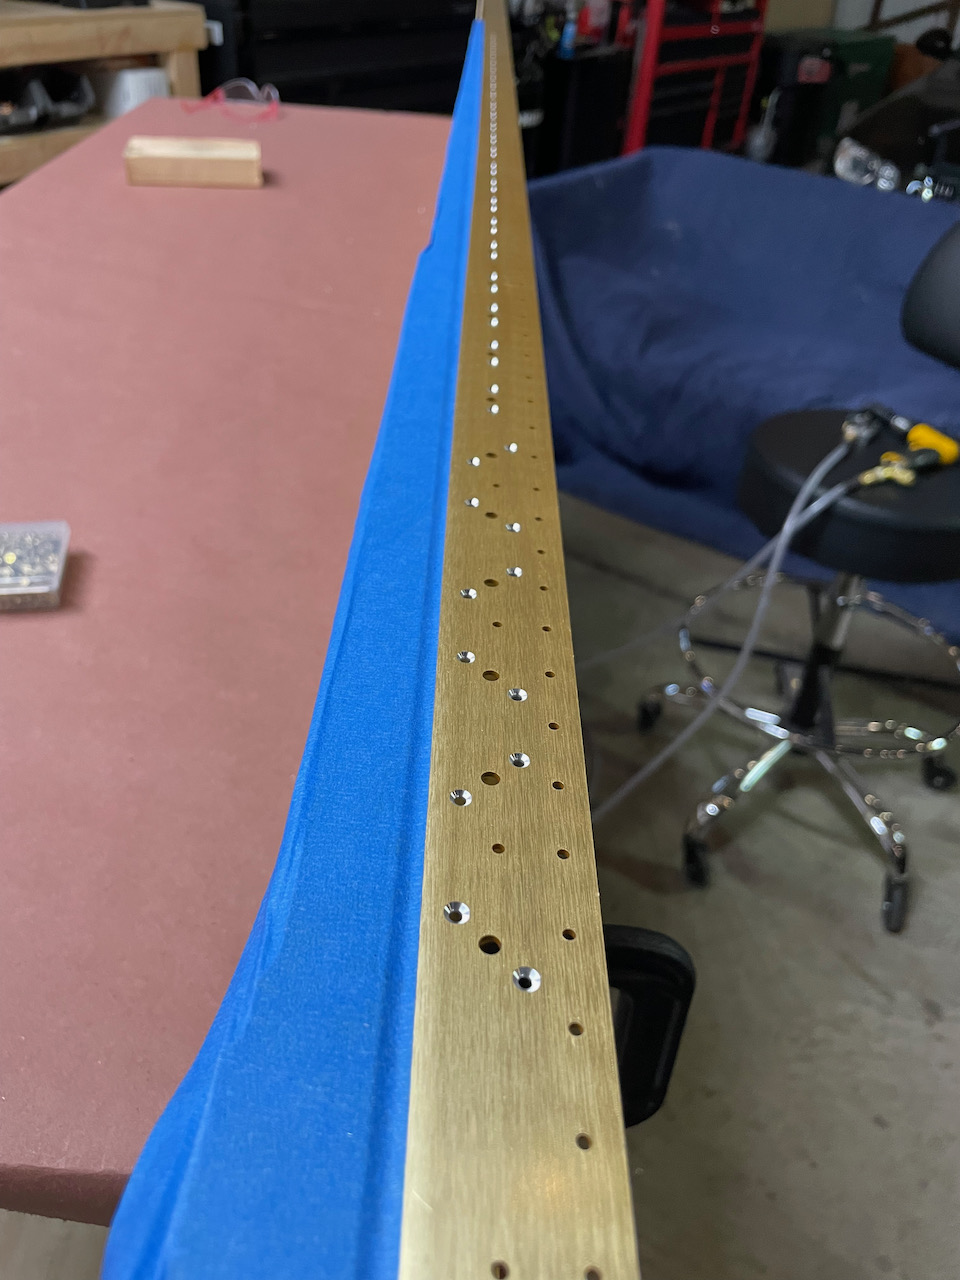
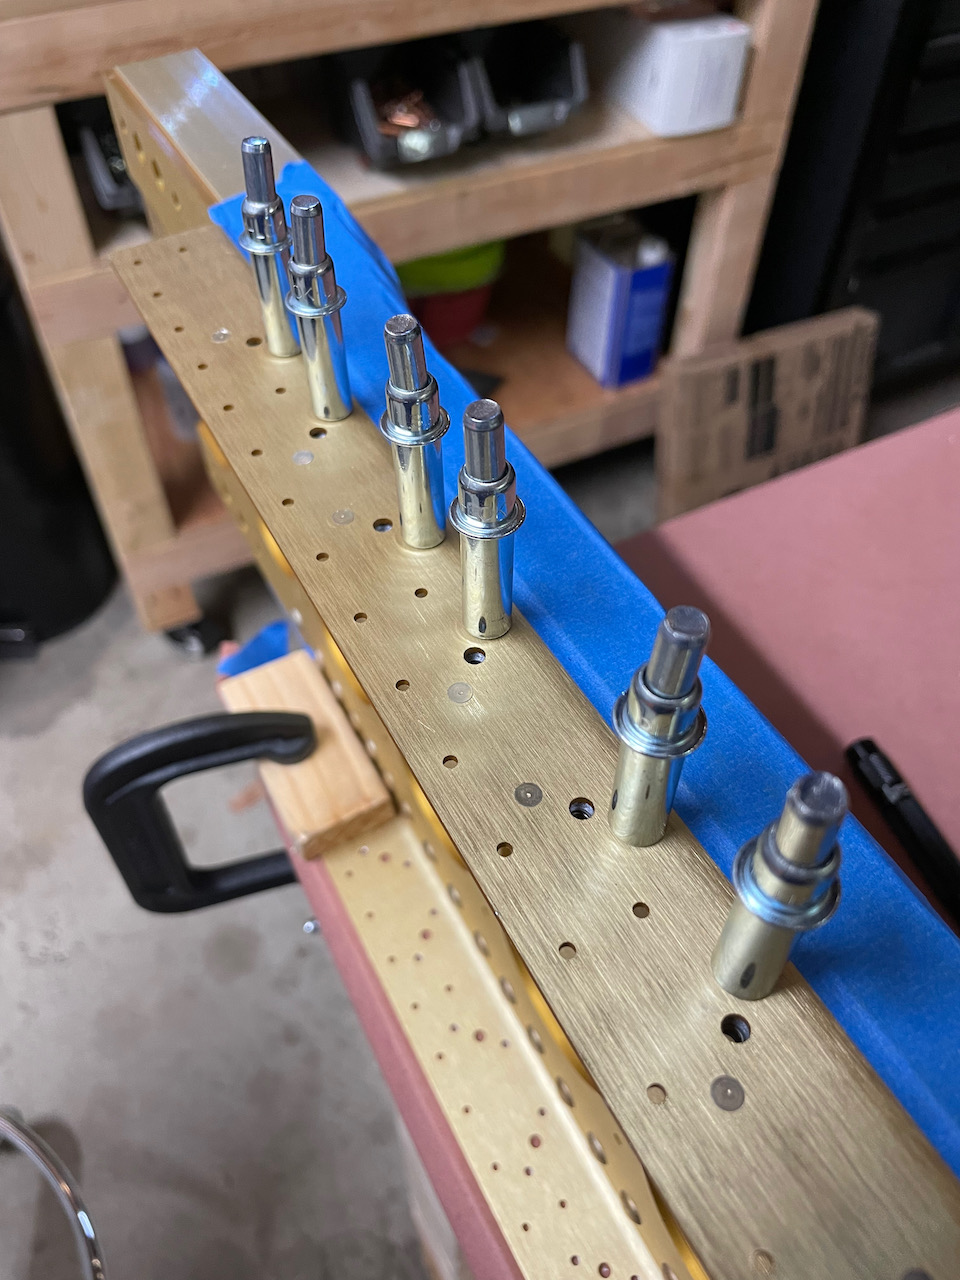
After Labeling the left main spar as directed in the manual, we reamed the rivet holes to their final size. This required deburring as the exit holes were a bit rough after the reaming (although I thought you were supposed to be able to ream without deburring?). Note the strip of painters tape, this was really to avoid shavings getting into the crack.
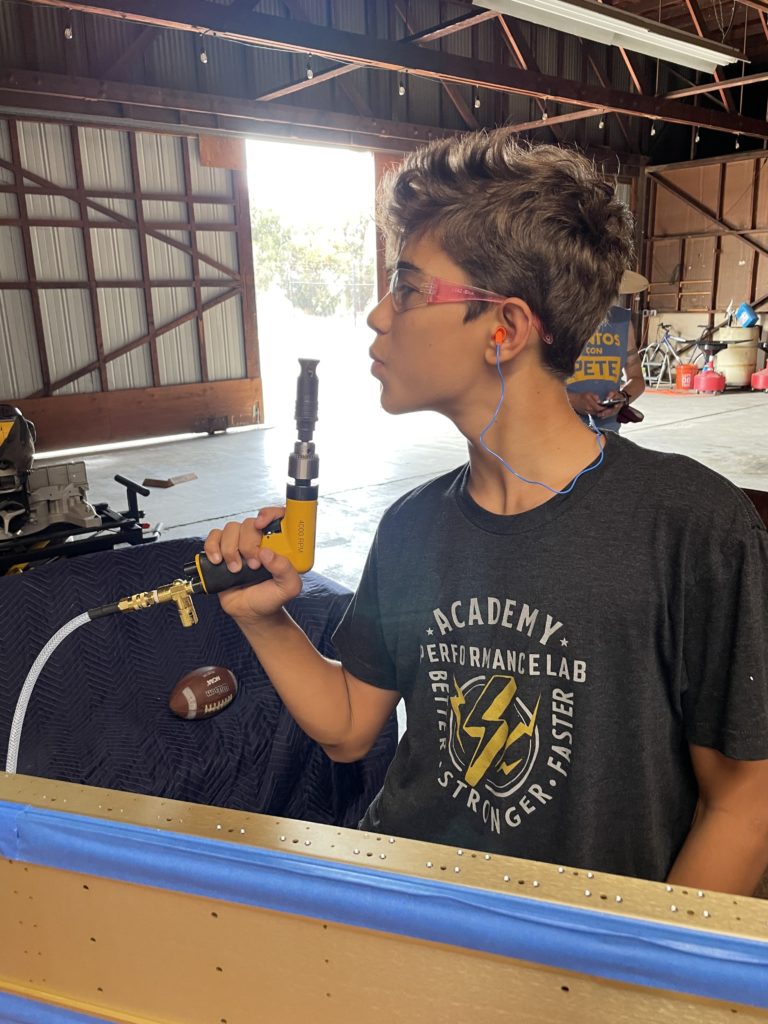
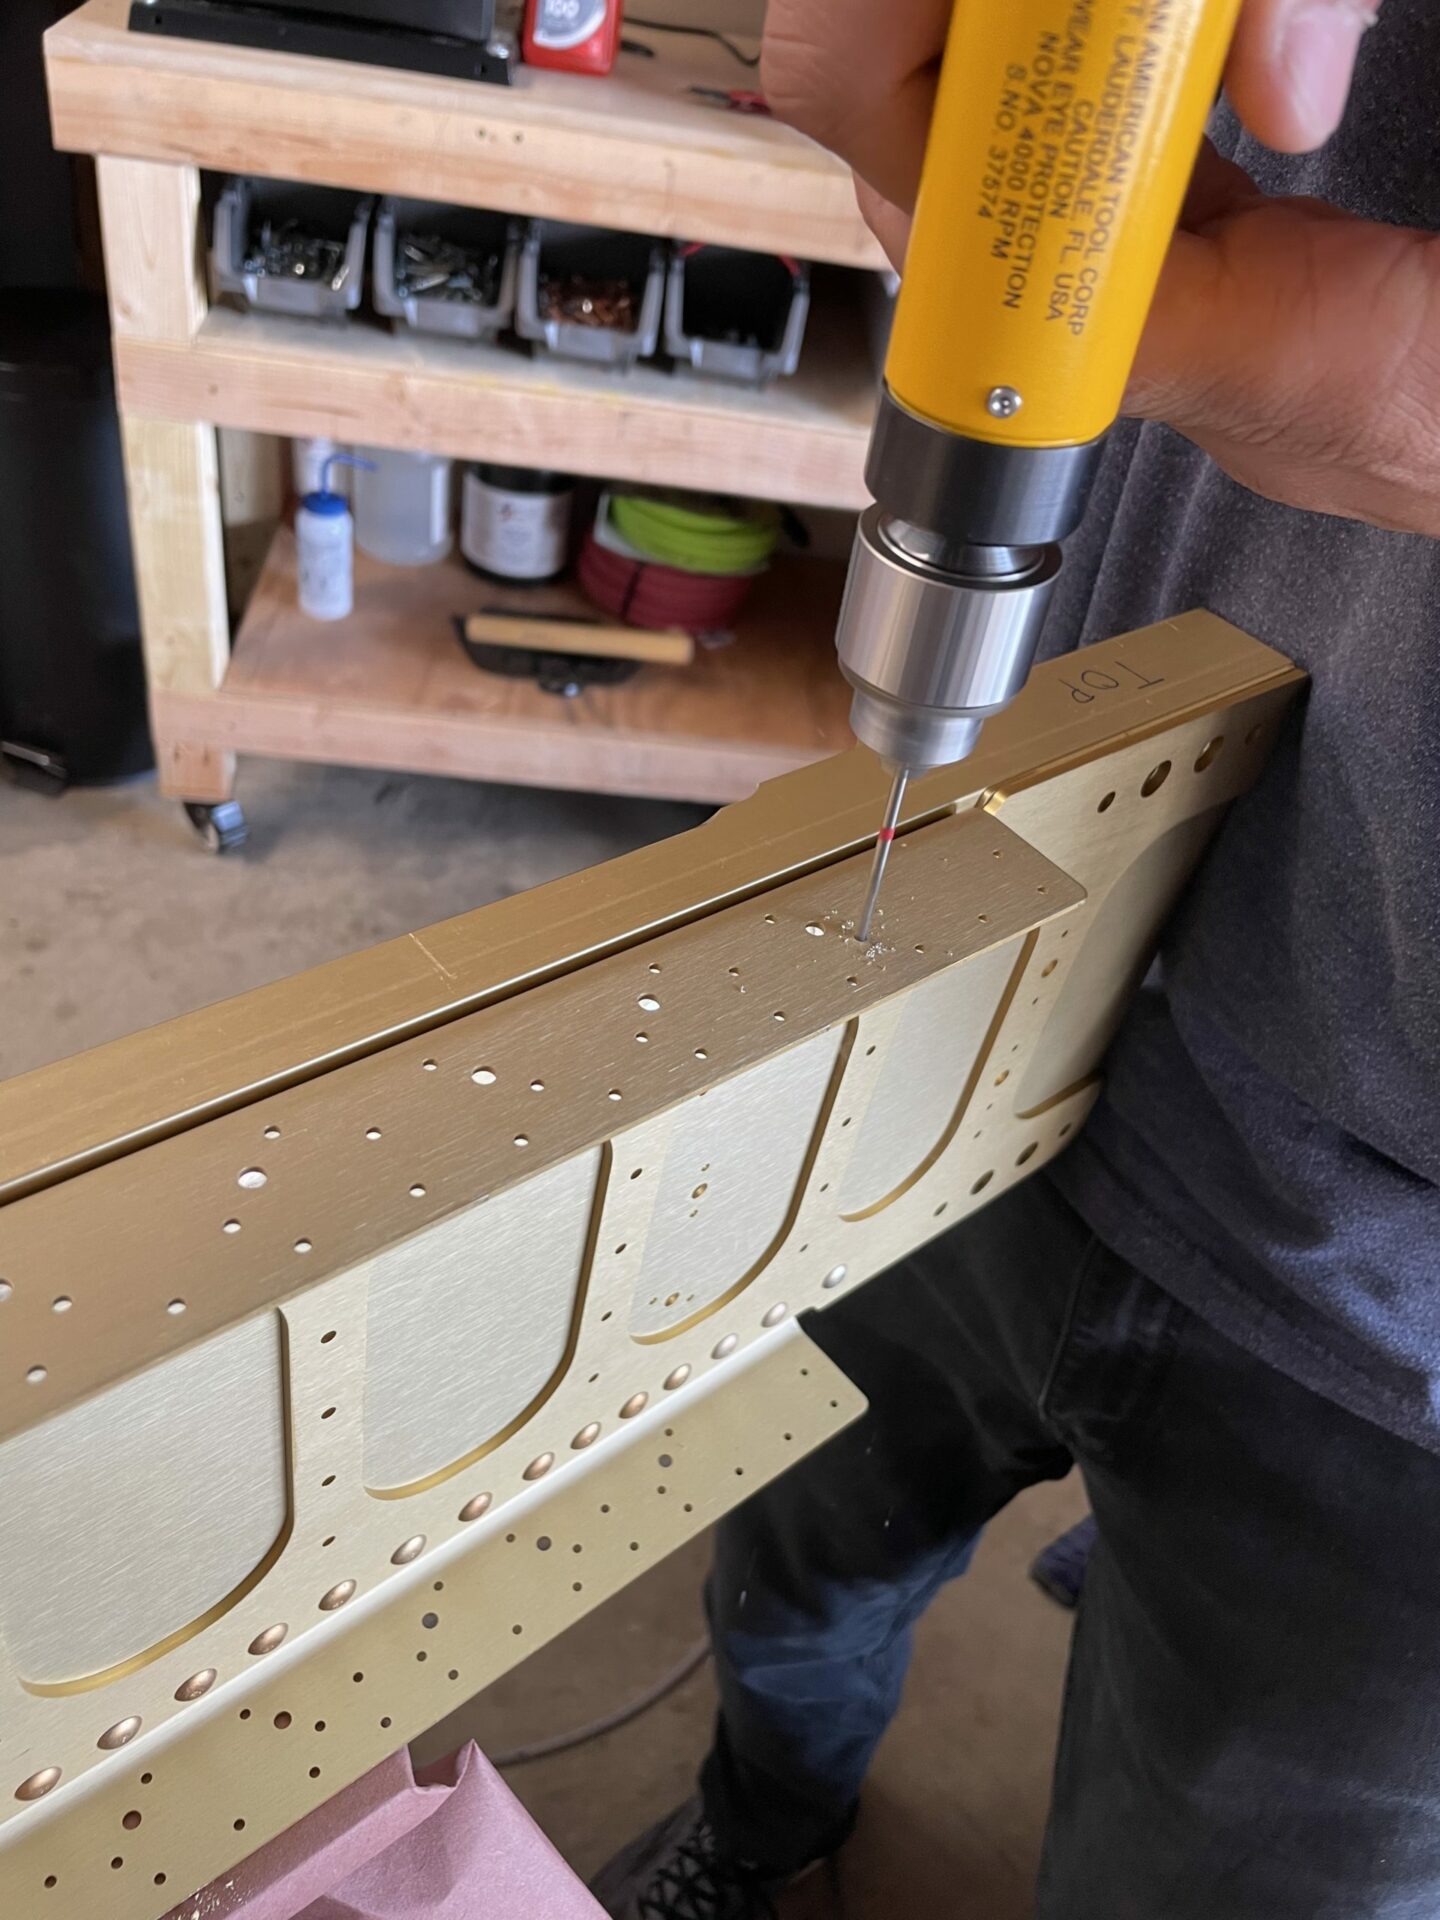
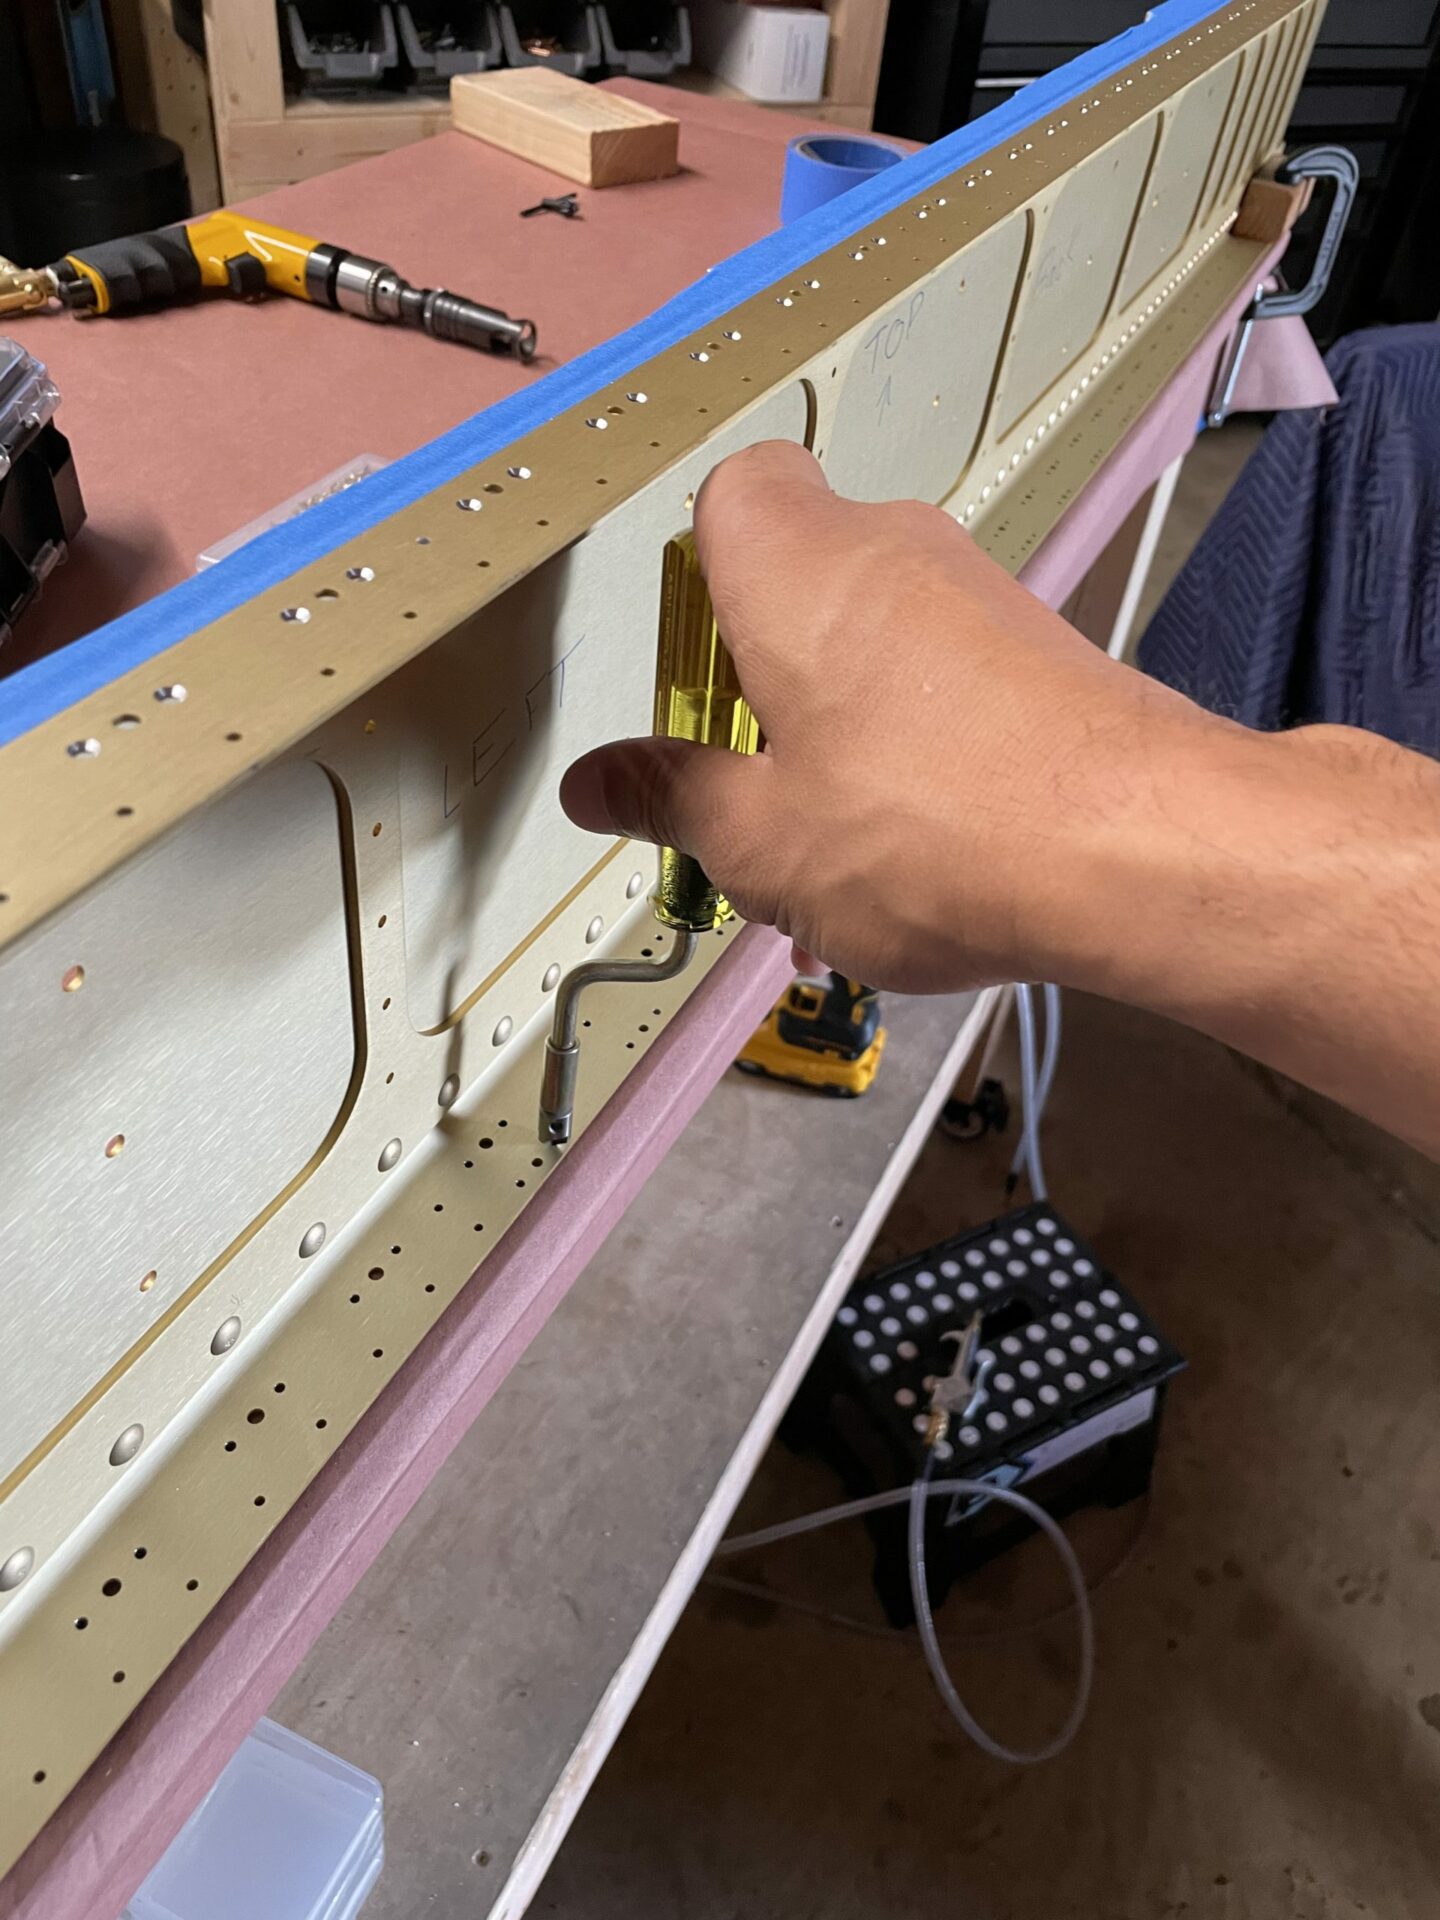
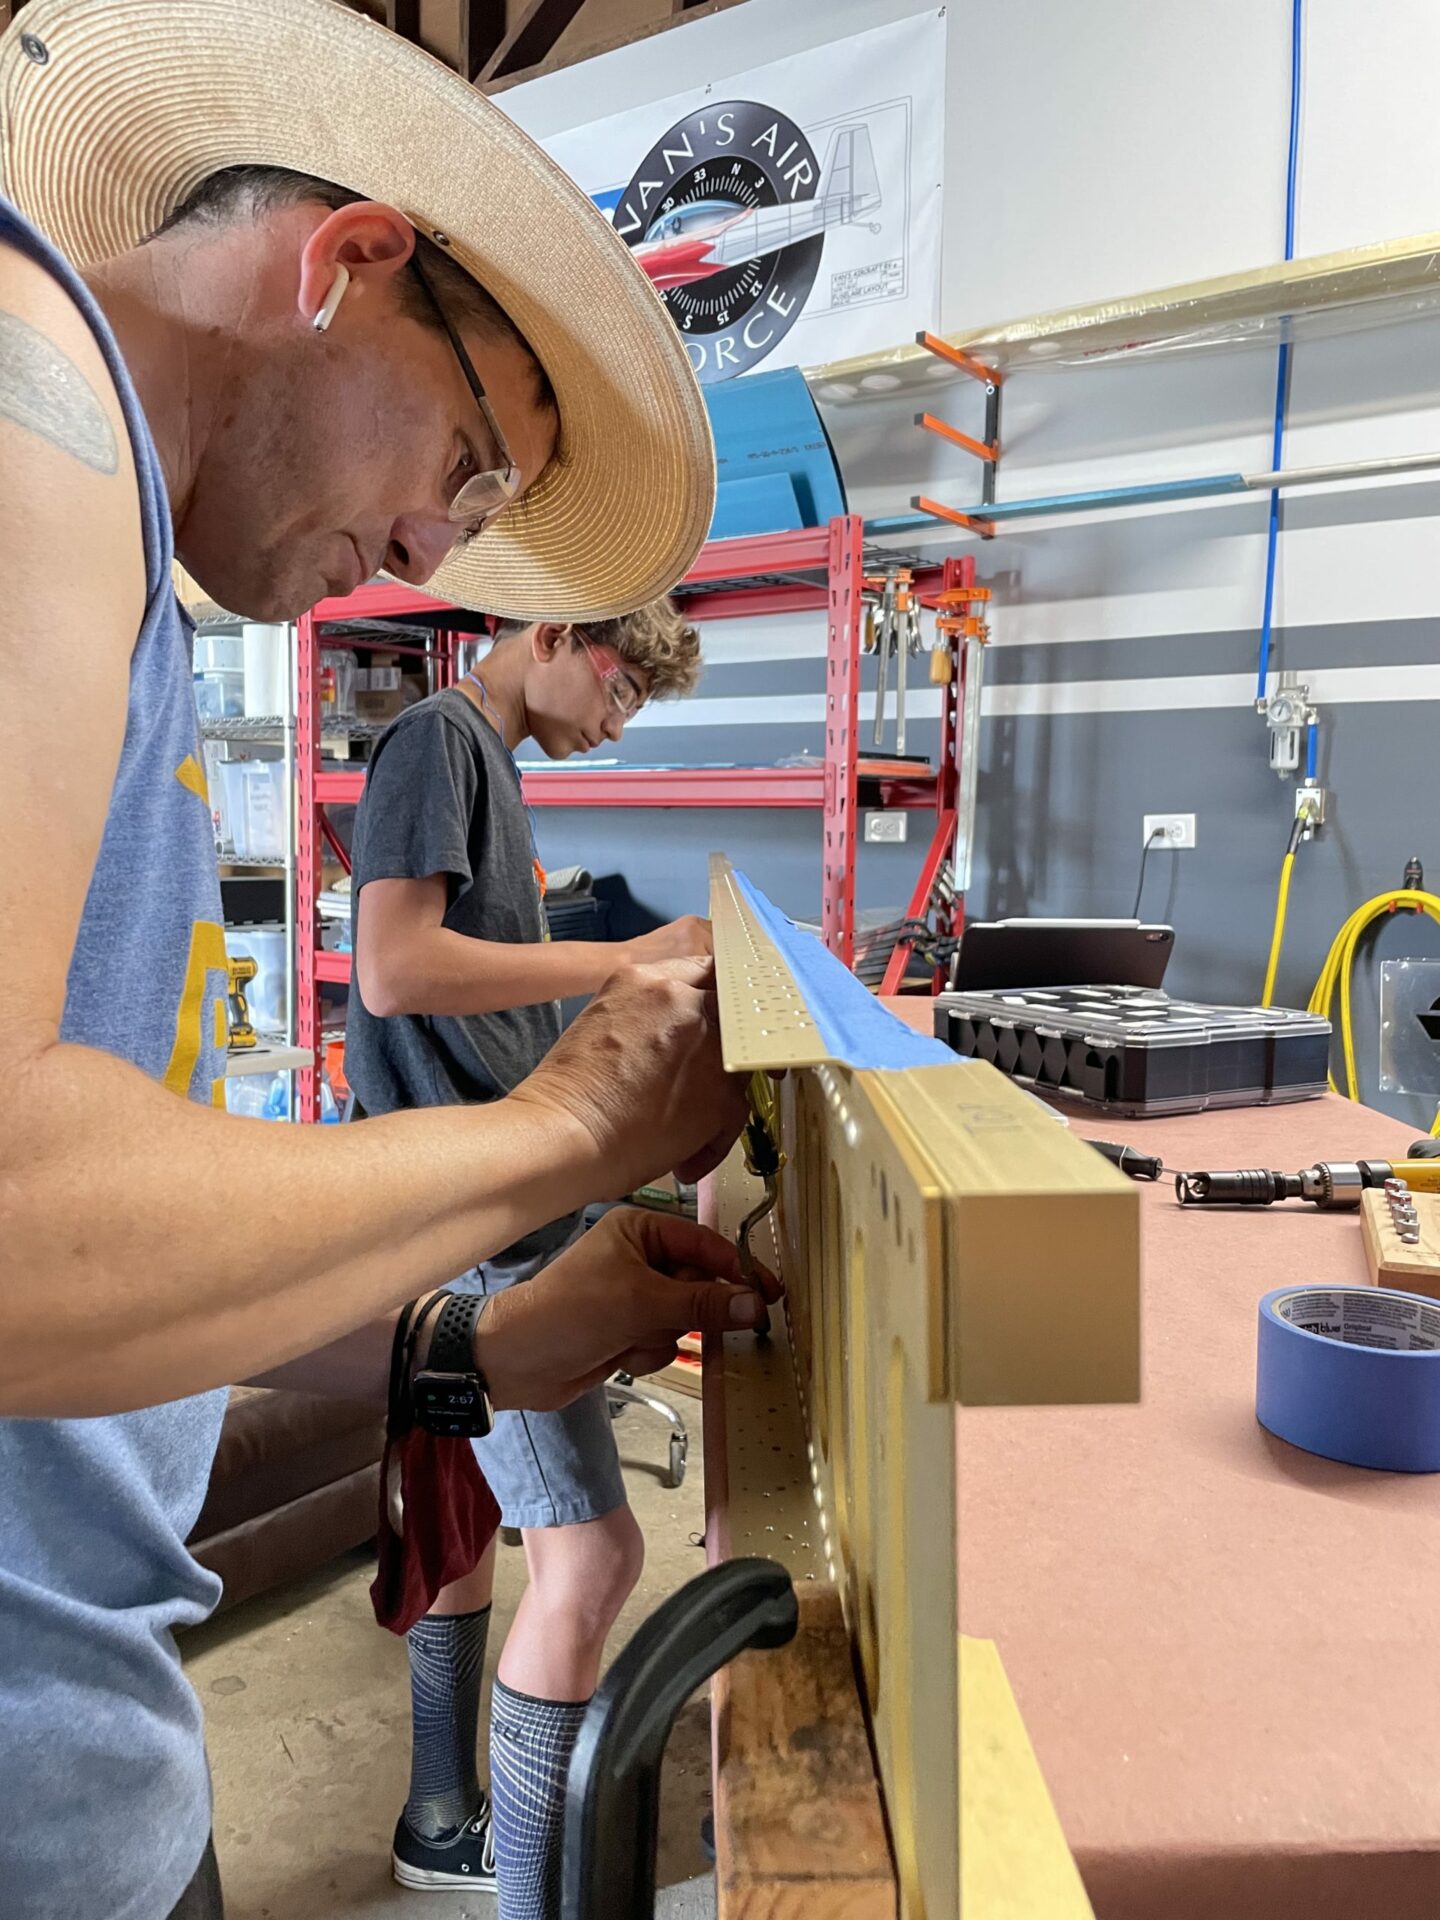
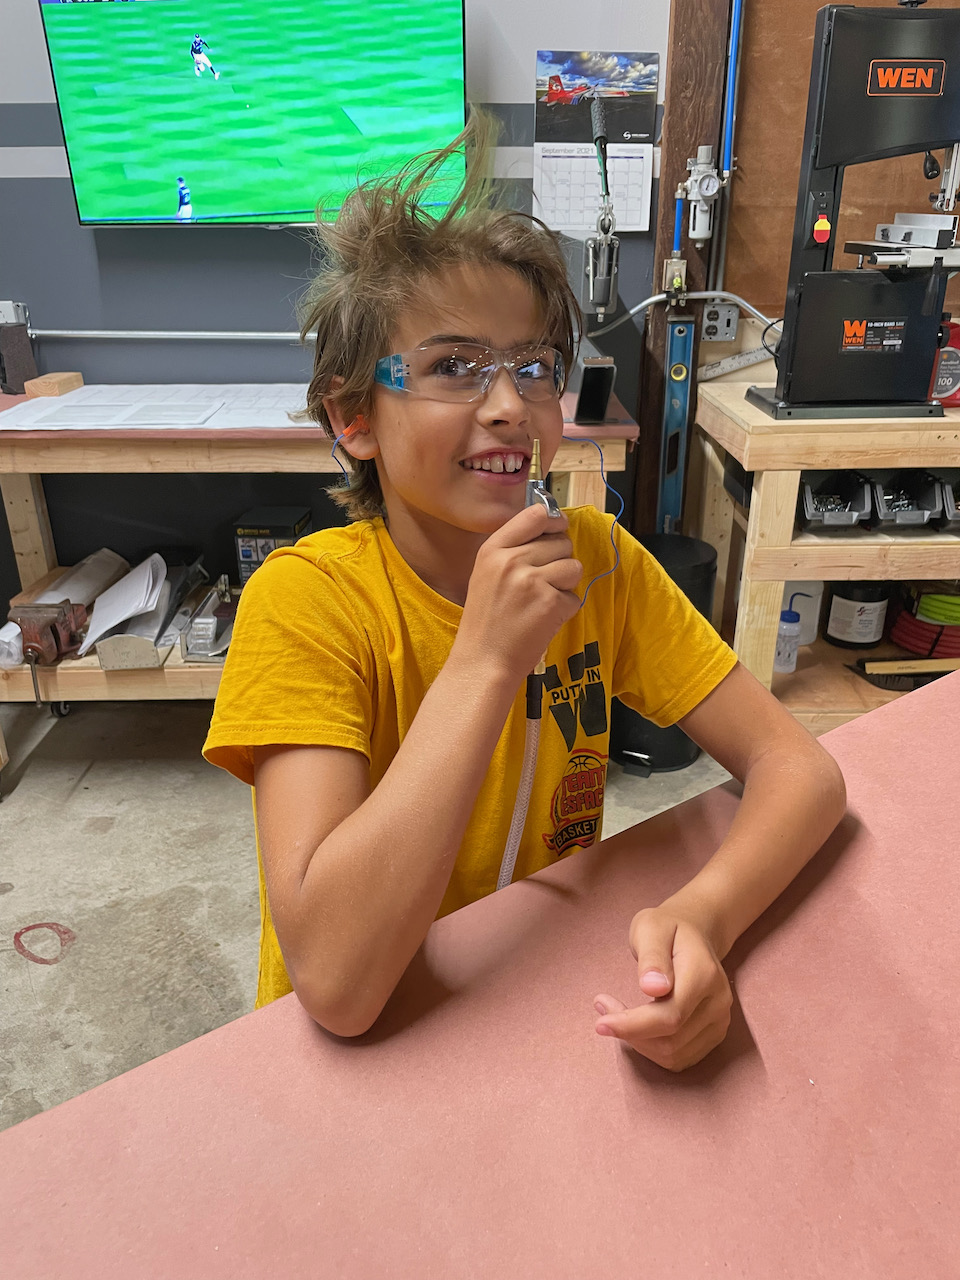
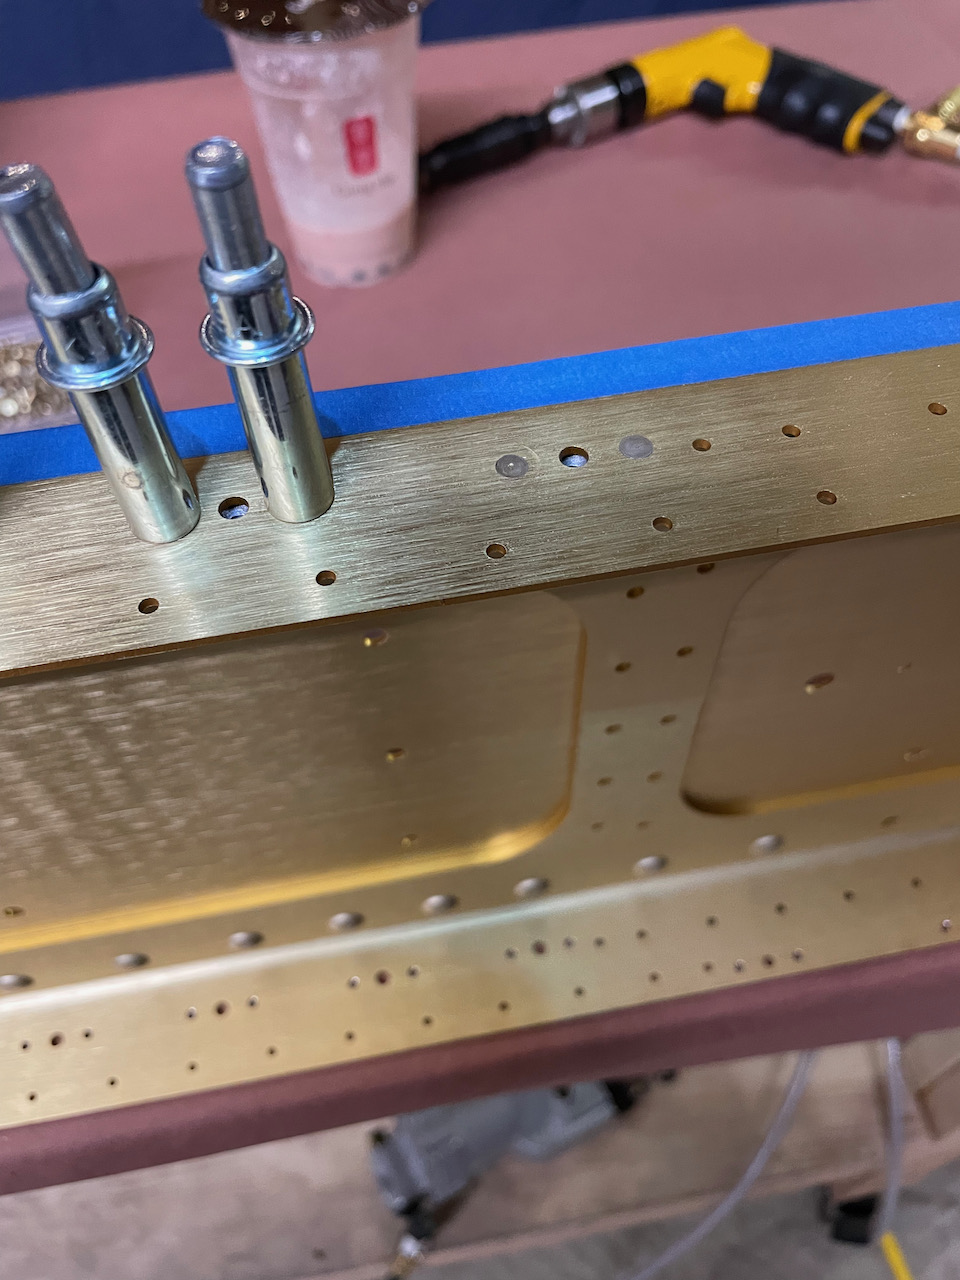
After we completed the reaming for a given side, we used the micro stop countersink cage to countersink the 426 3-4 rivet heads to end up flush with the spar flange. We had to experiment a bit at first but once we got the cage set properly we got into the groove. Giacomo and I had a good cadence going, with one of us countersinking, while the other was the “air guy” and rivet tester. We moved down the line ensuring that we had nice flush rivet heads after every few holes. Tod came and helped out for a bit where he learned how to countersink and debug. His short stint earned him the nickname 0.2 Tod (“point two Tod”), but honestly, just getting friends out supporting the build is worth more than any actual time spent helping.
Session 2
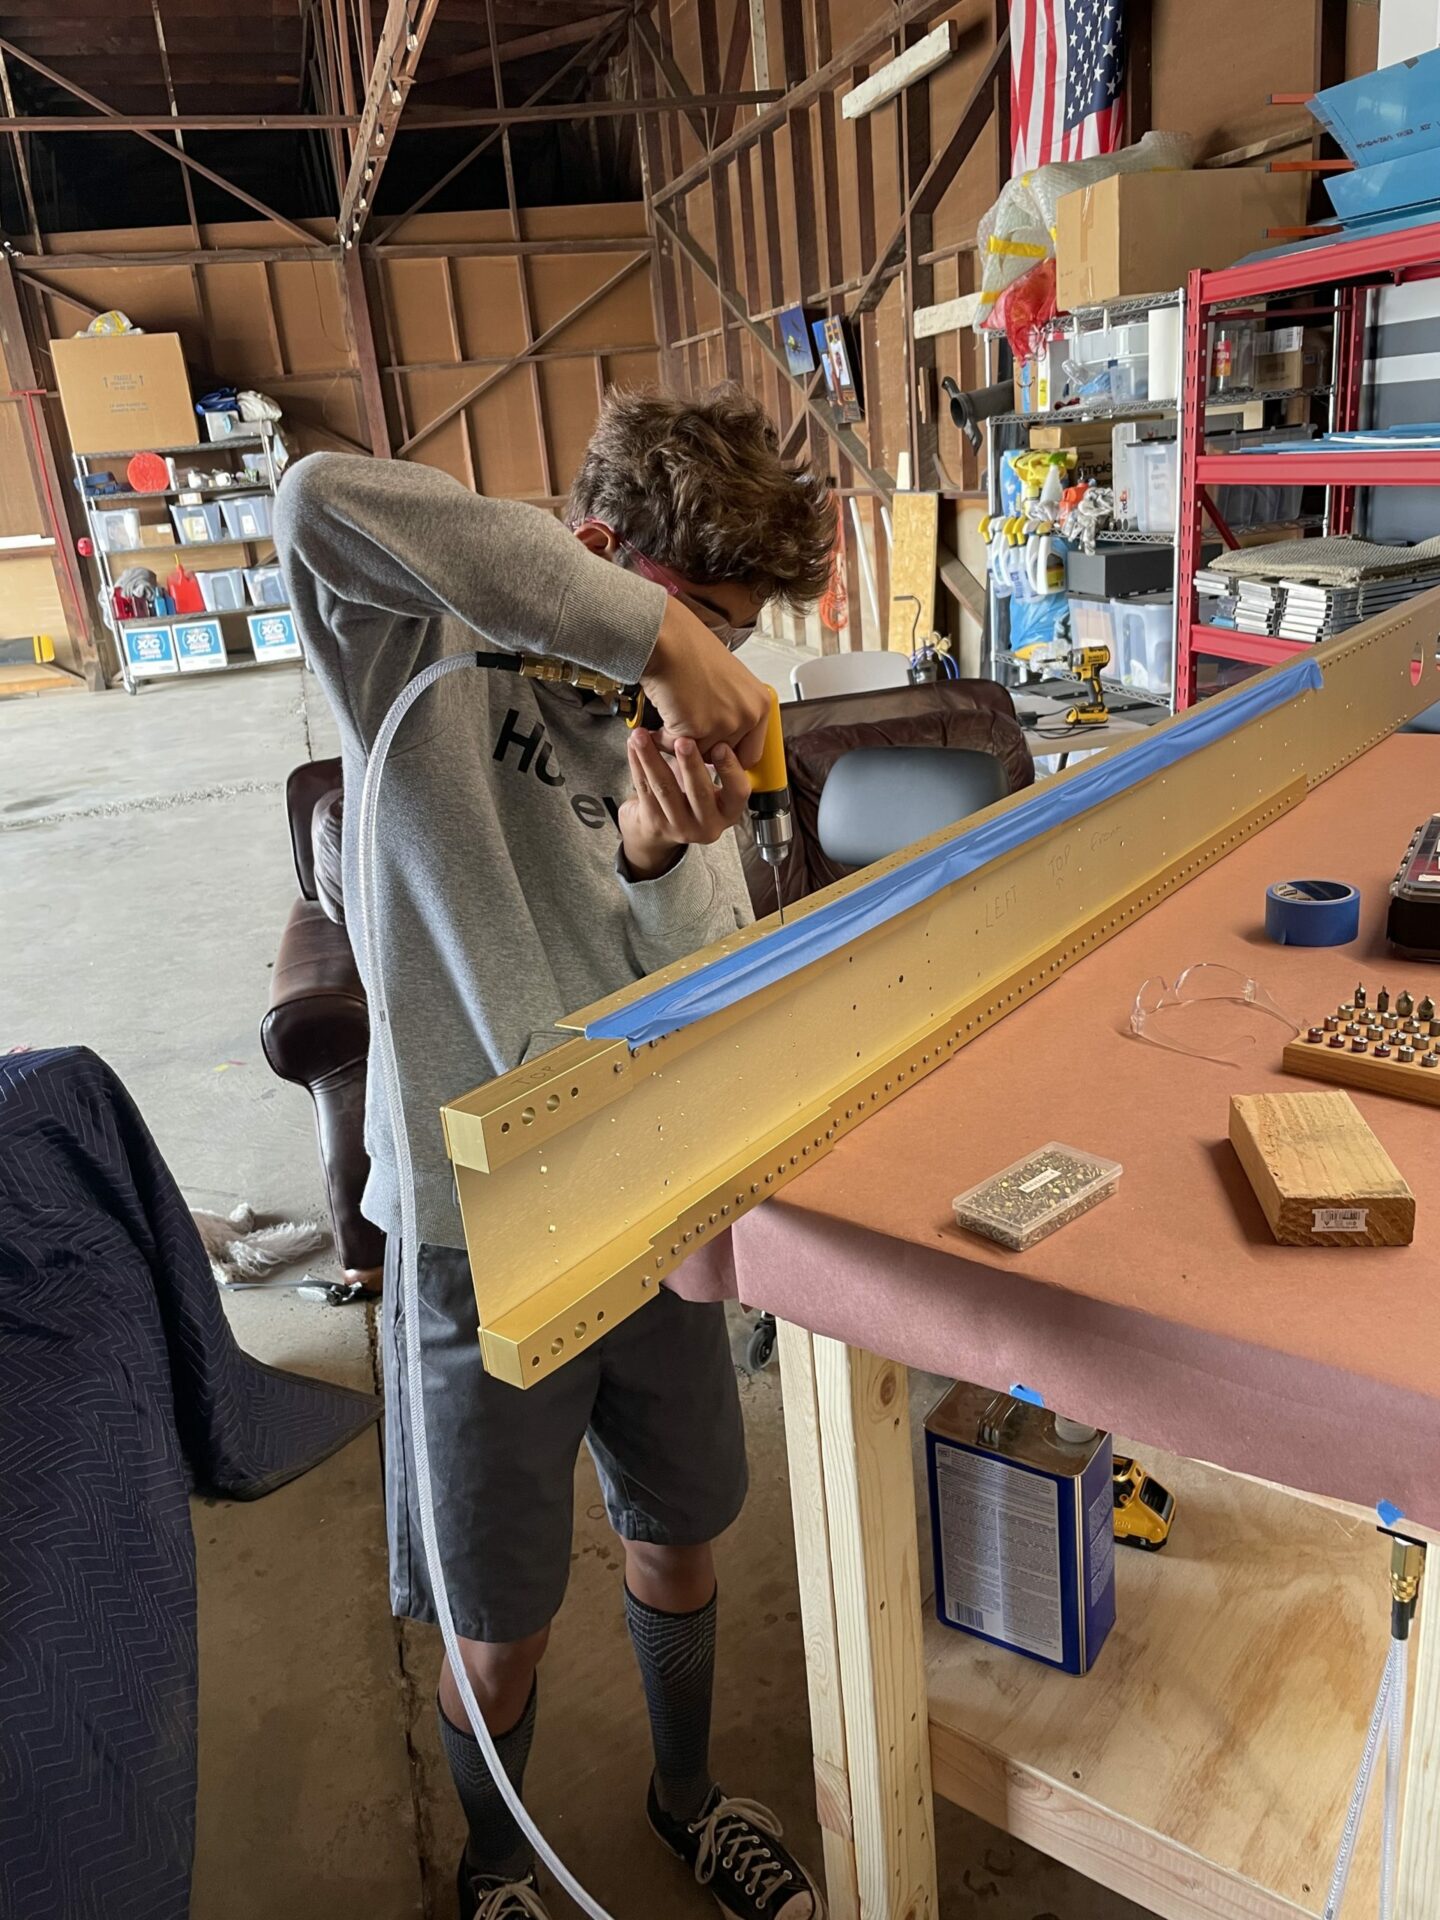
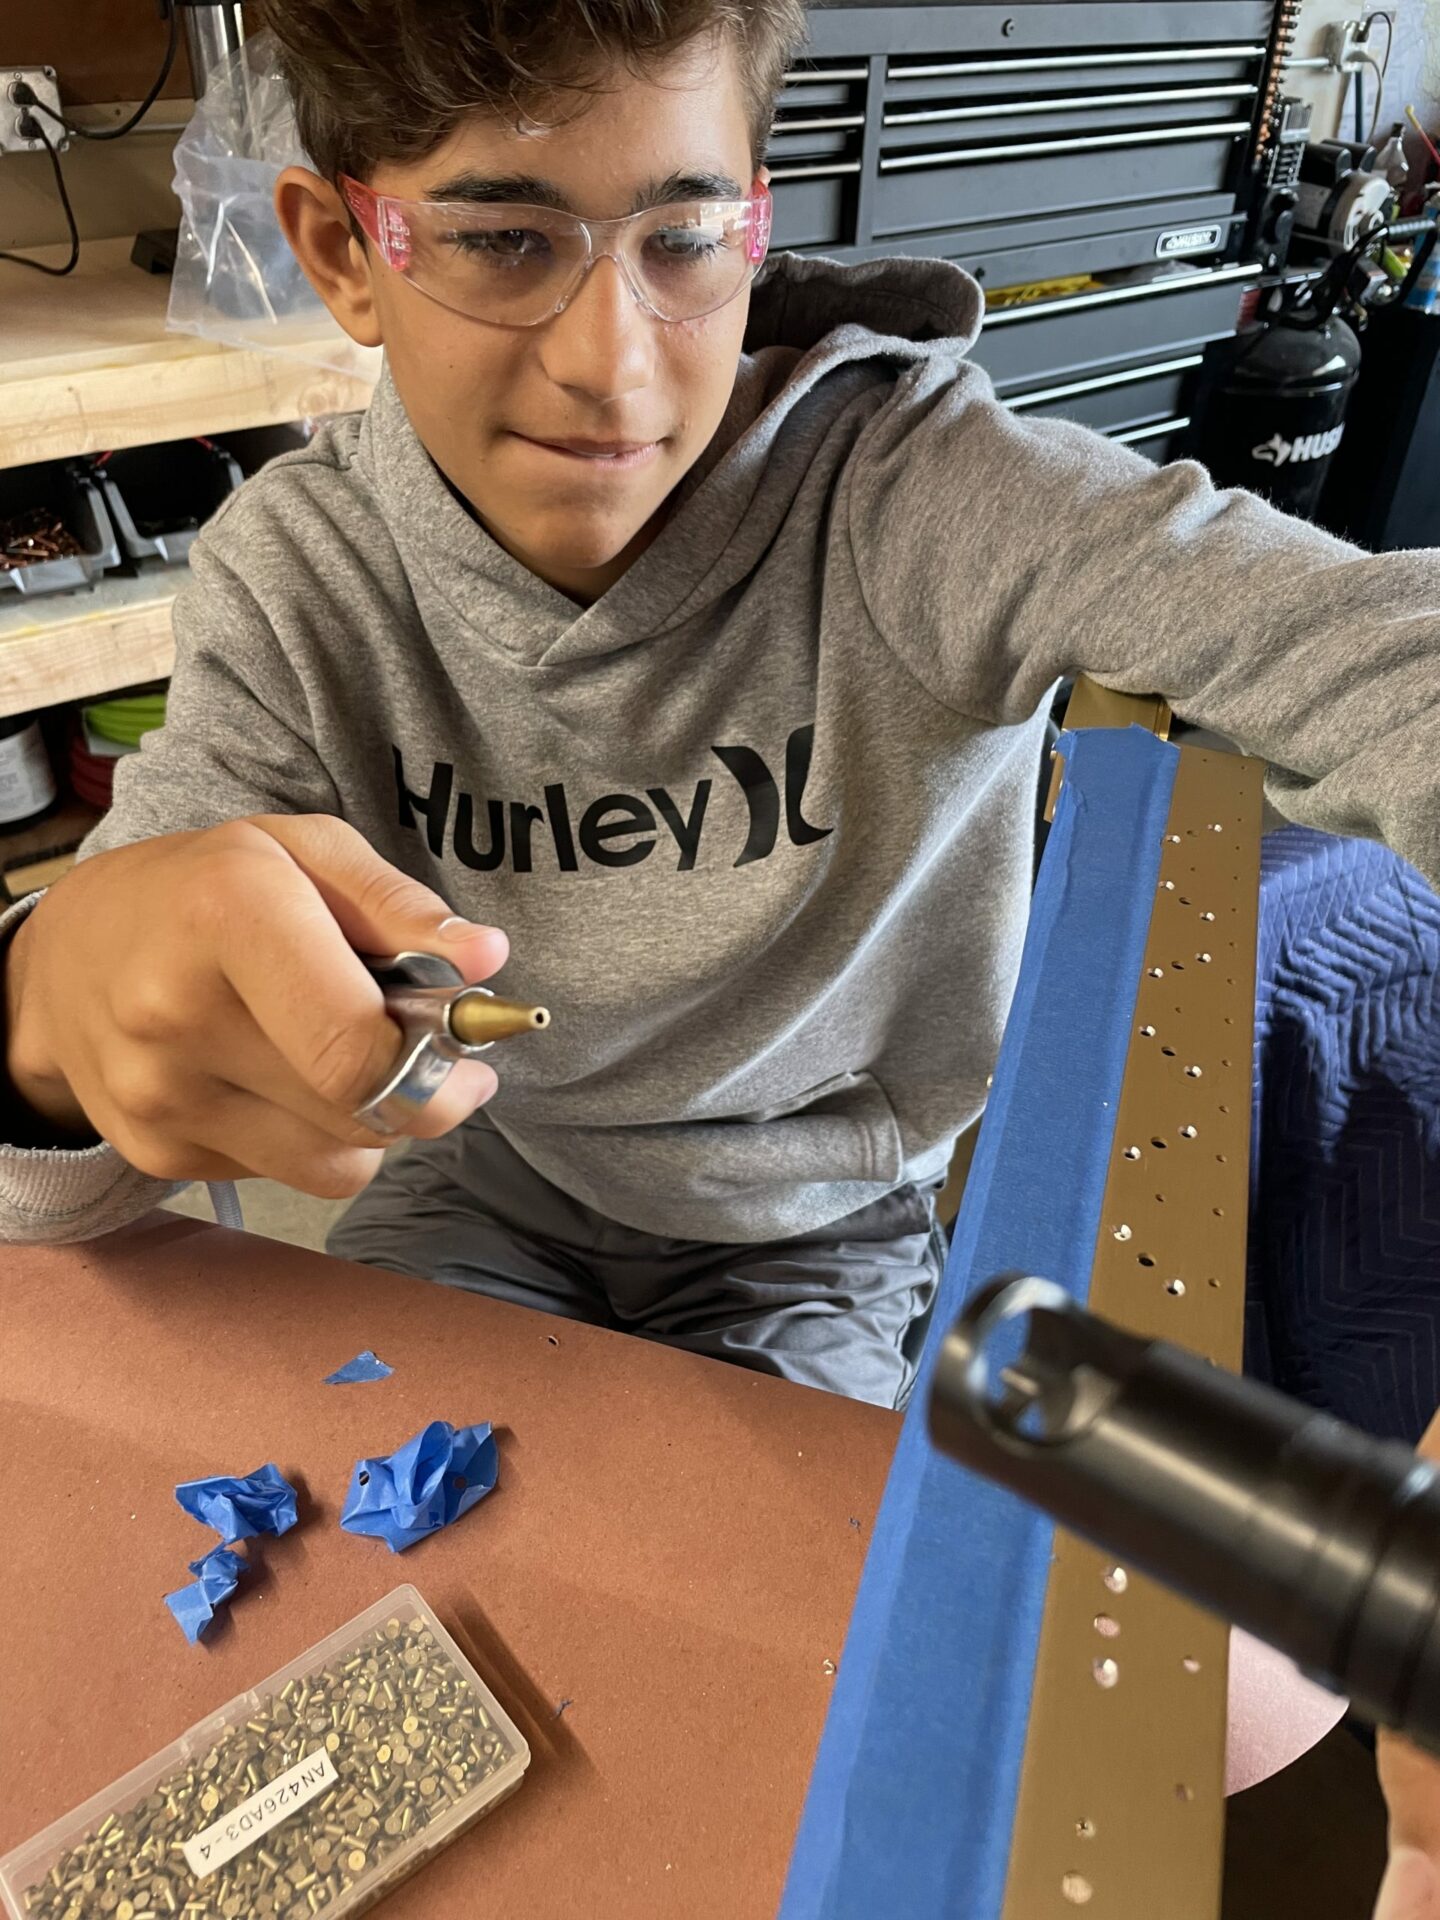
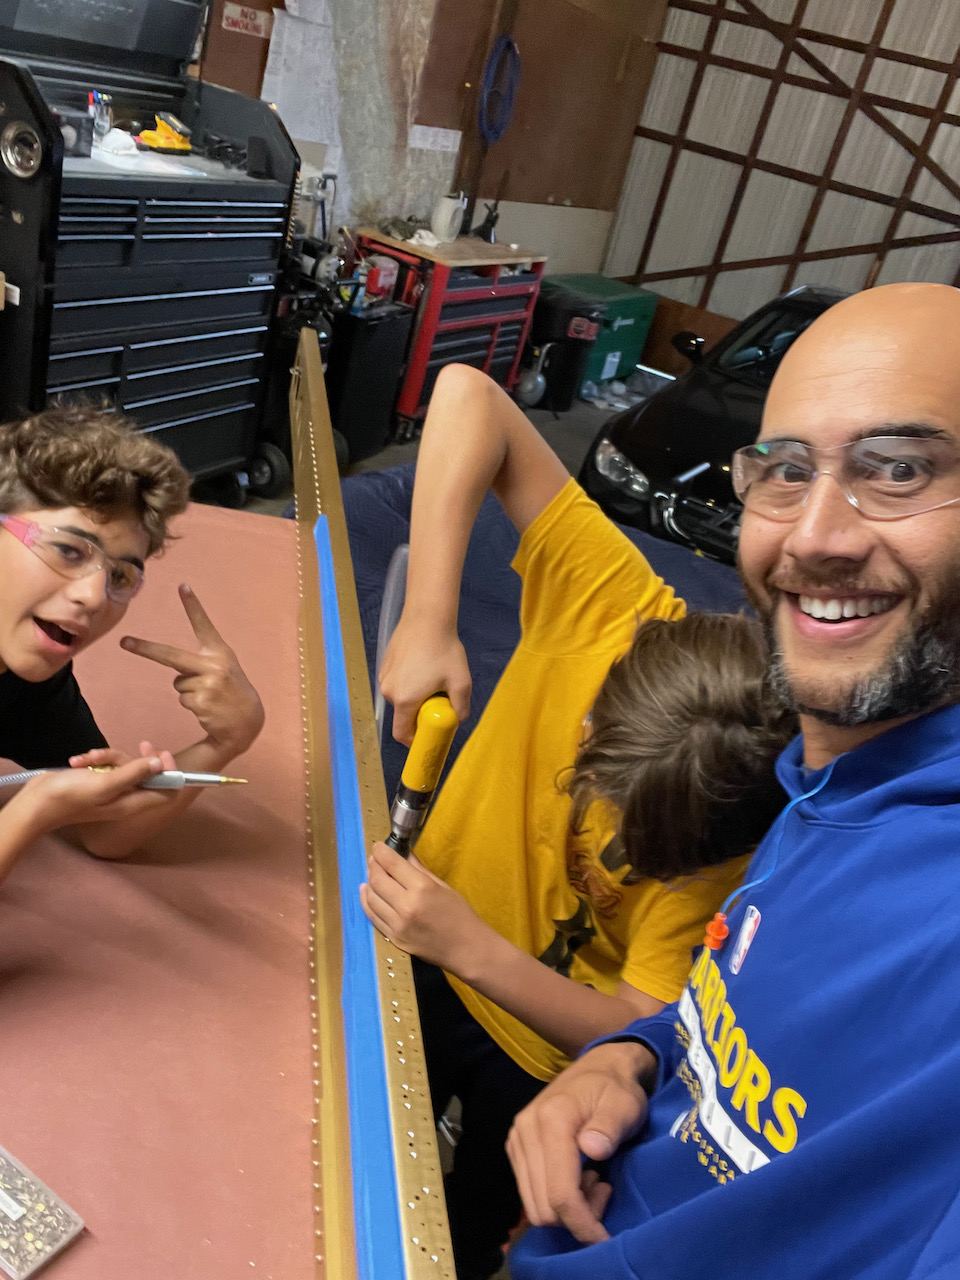
Evening Session was fun, with both boys haging out for a bit, helping finish up the countersinking tasks on the right main spar. With three of use, we could cruise, with one rivet tester, an “air guy”, and the countersinker. They had to leave to watch a cousin’s soccer match, but we got a good 30 minutes in before they left. I stayed and cranked through the rest of the countersinking.
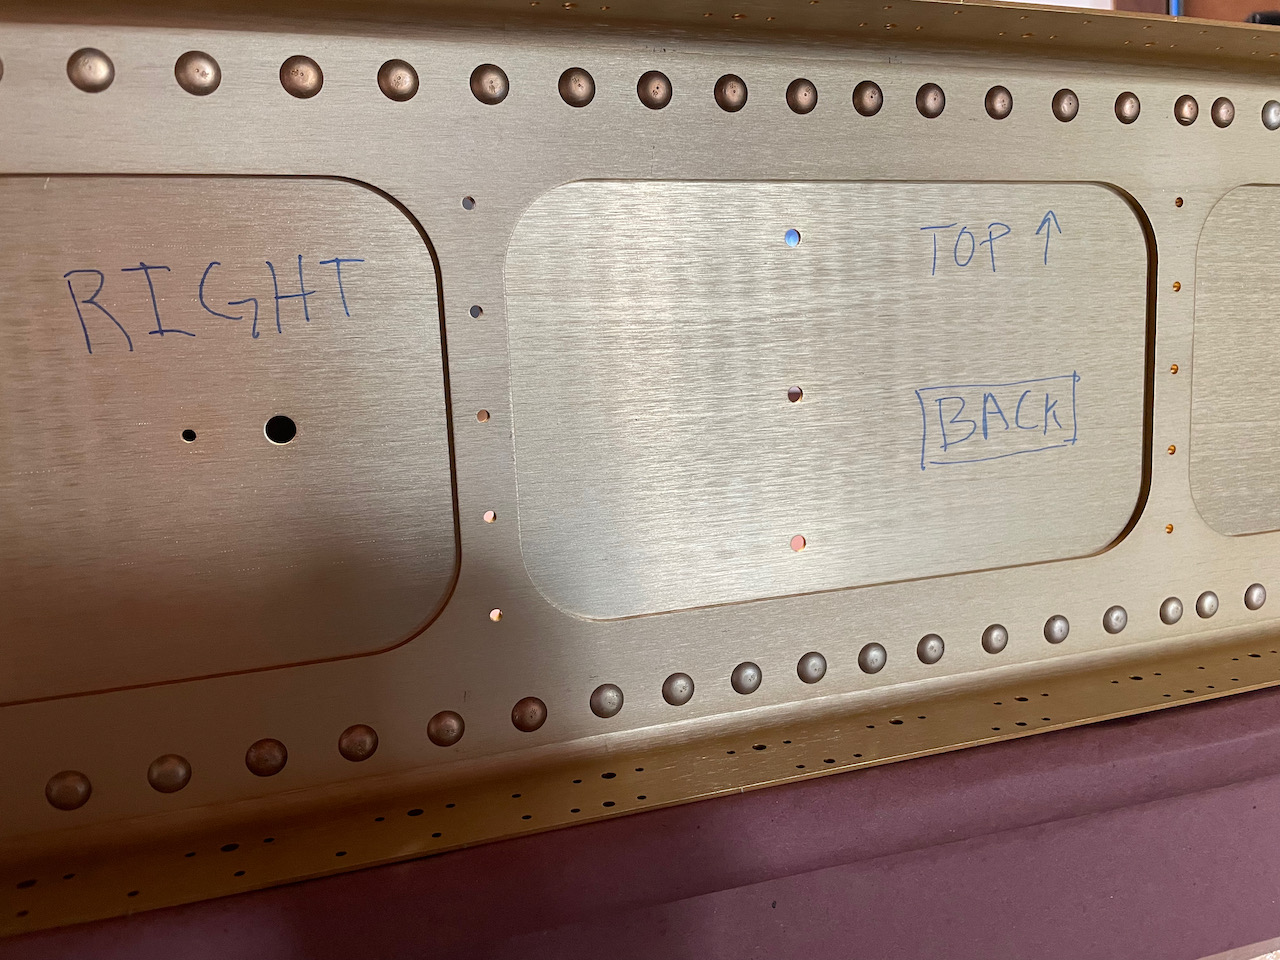
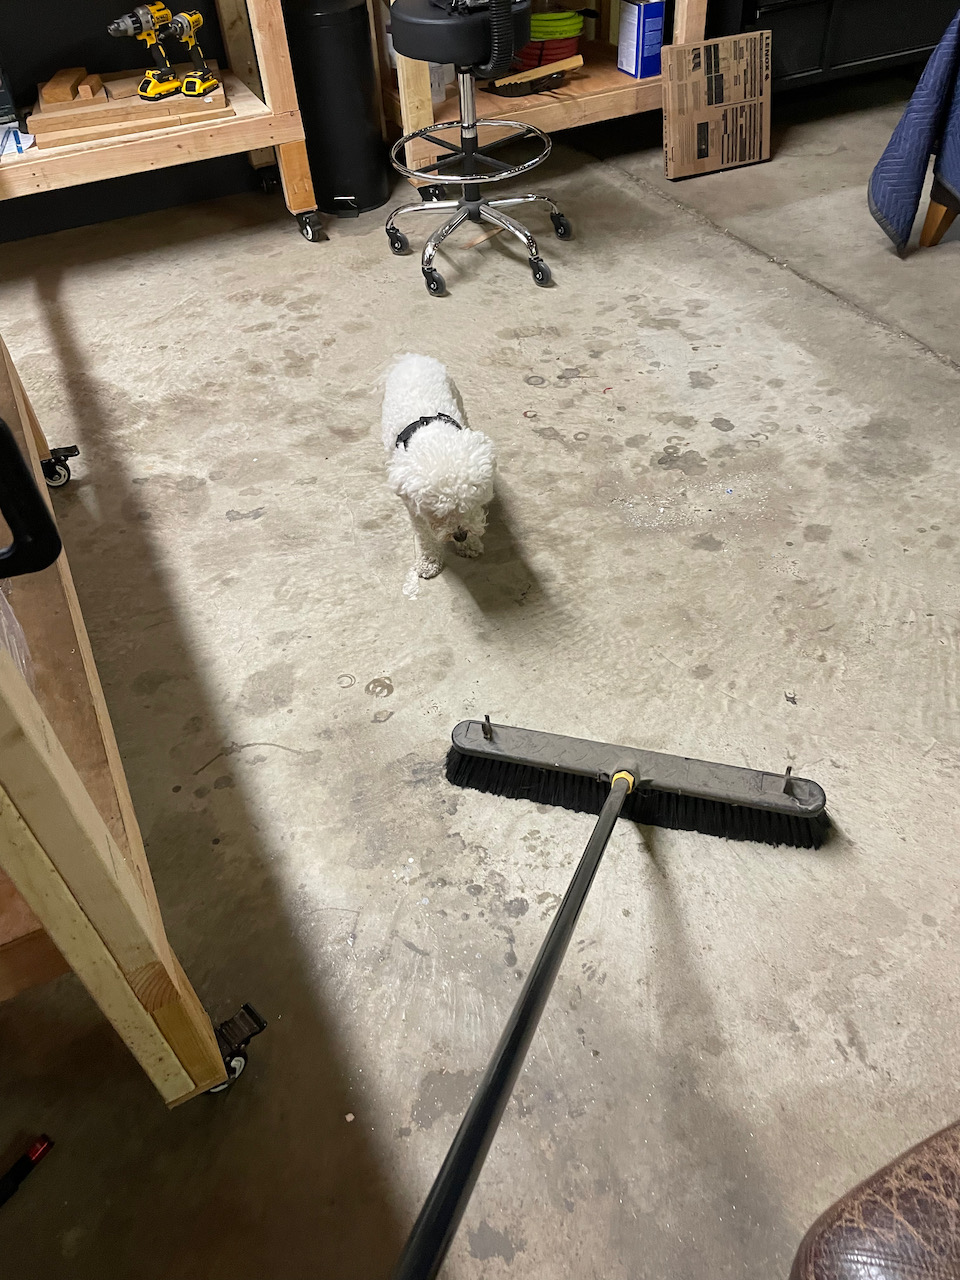
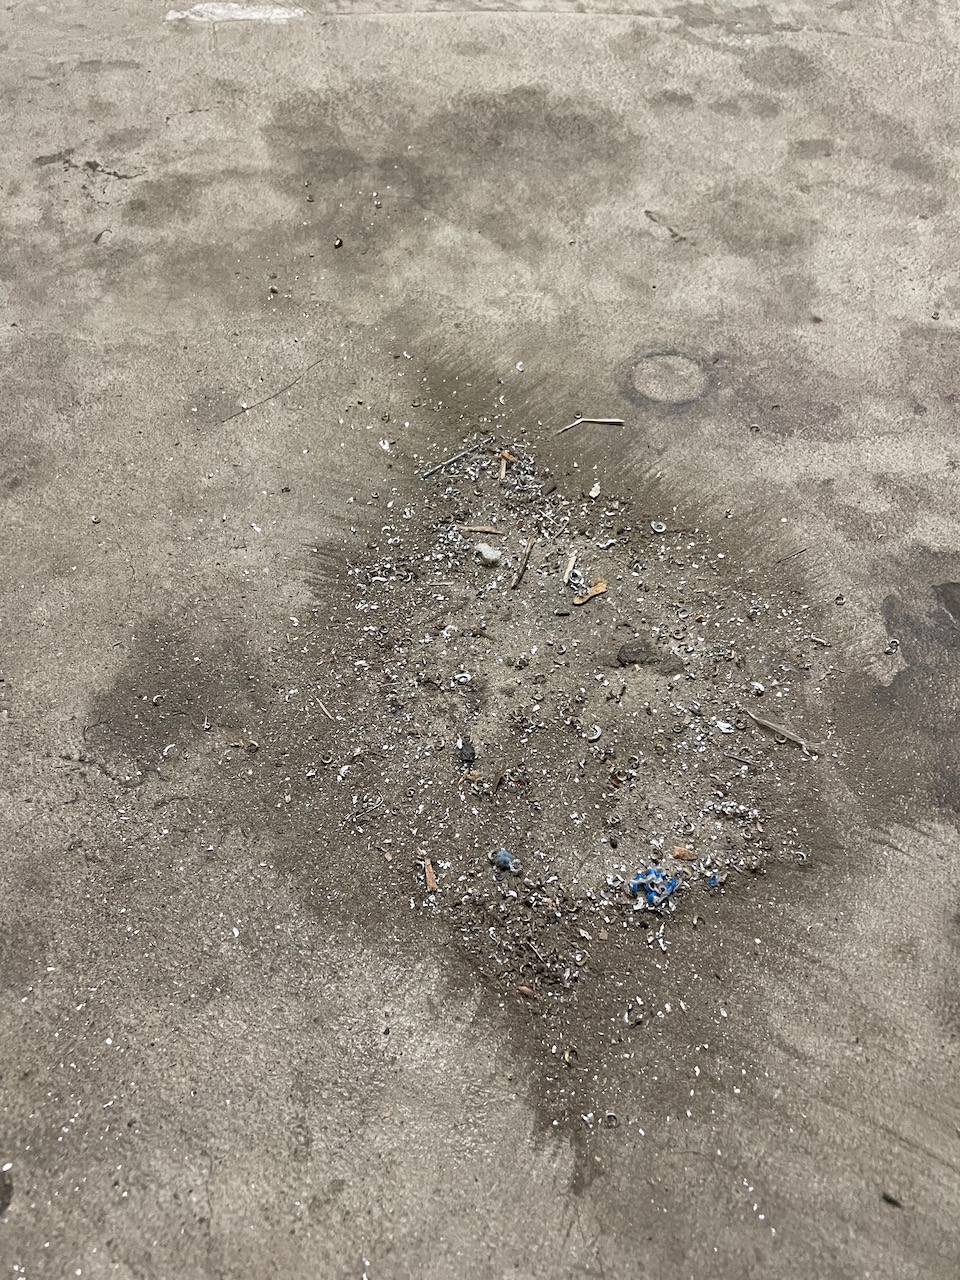
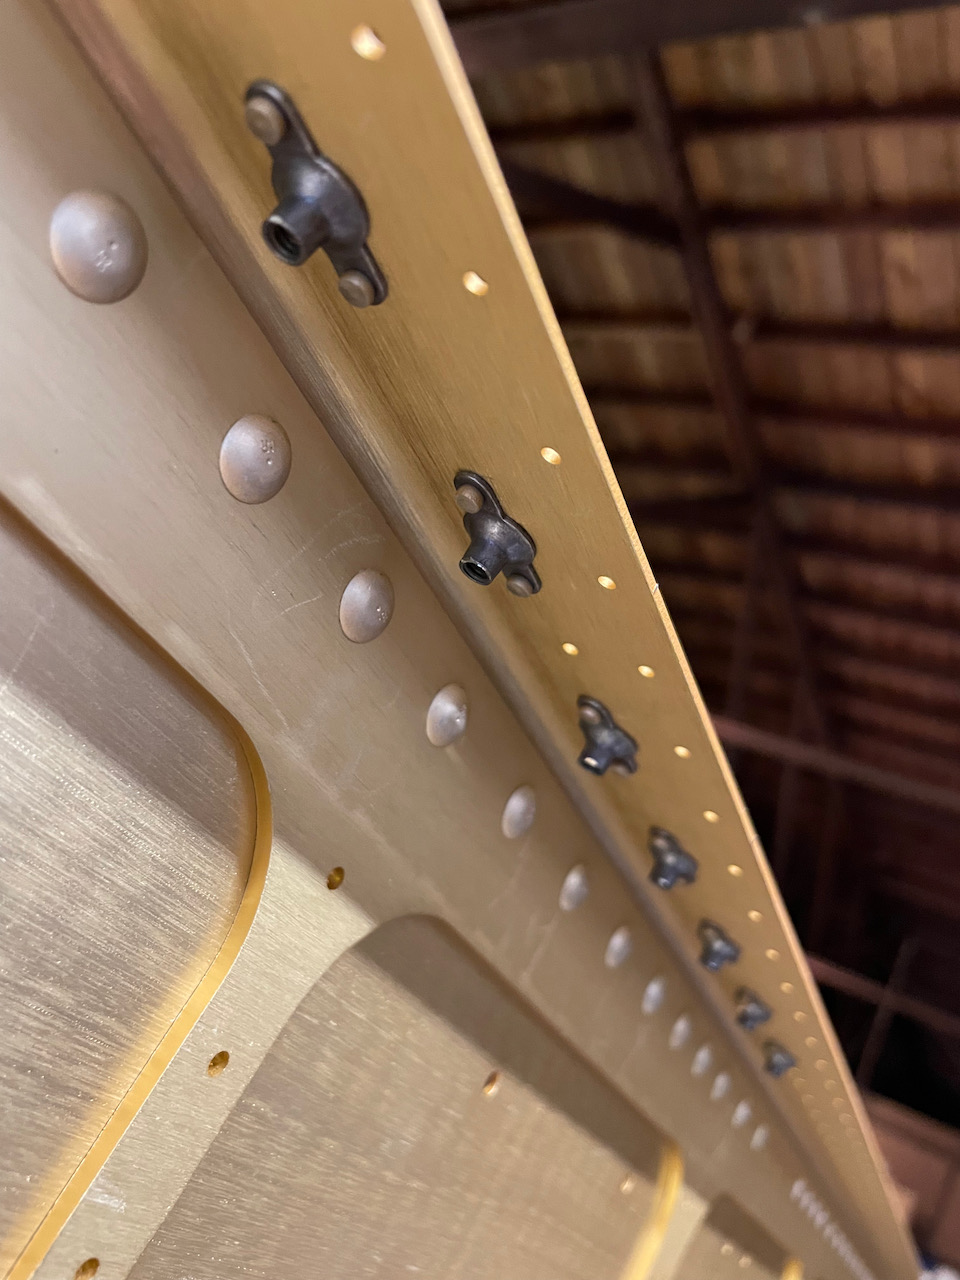
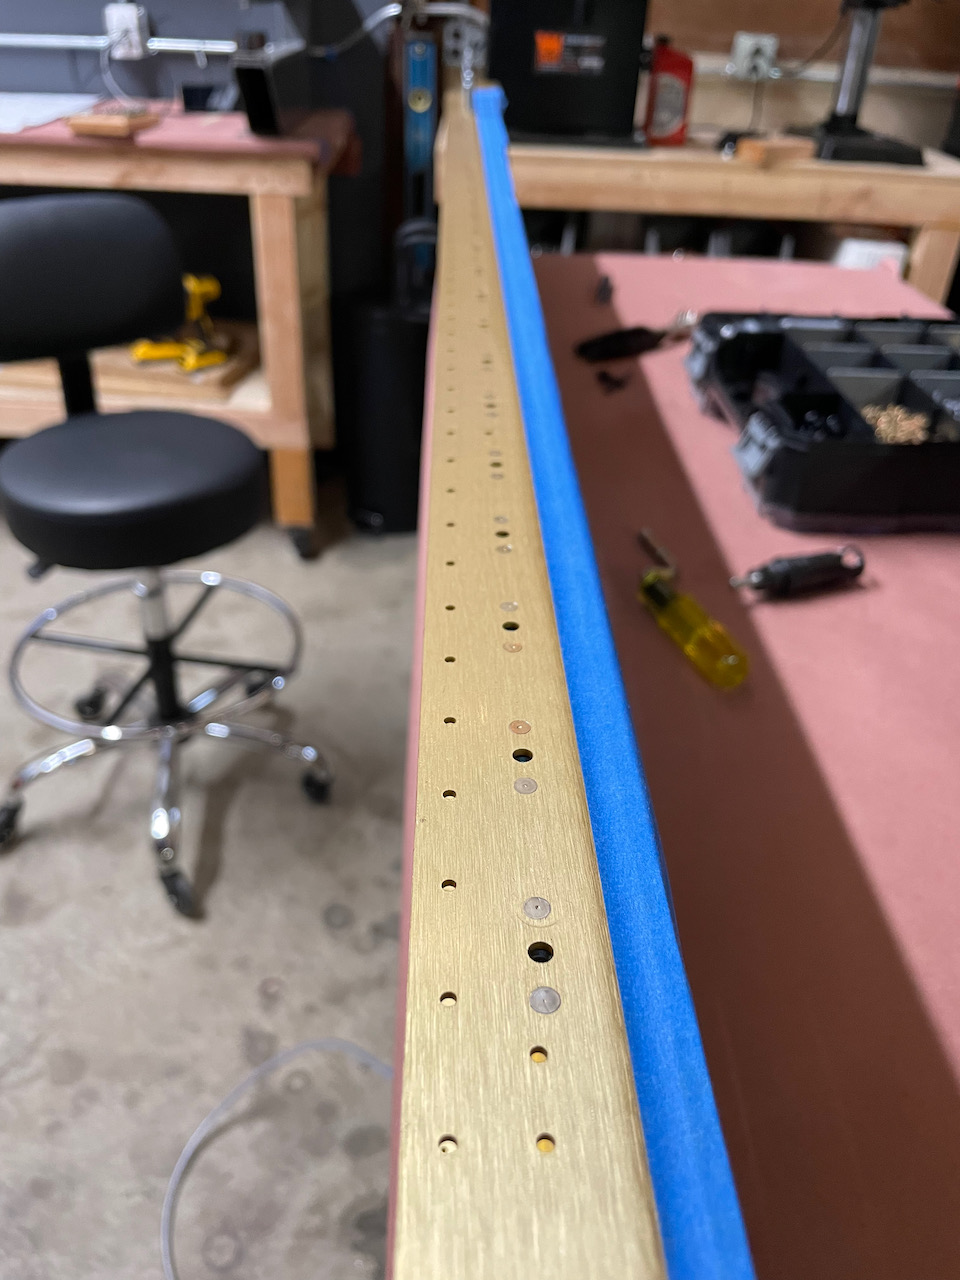
Once complete with the countersinking on both spars, I did a quick clean up before getting to the riveting. Definitely produced a lot of shavings!
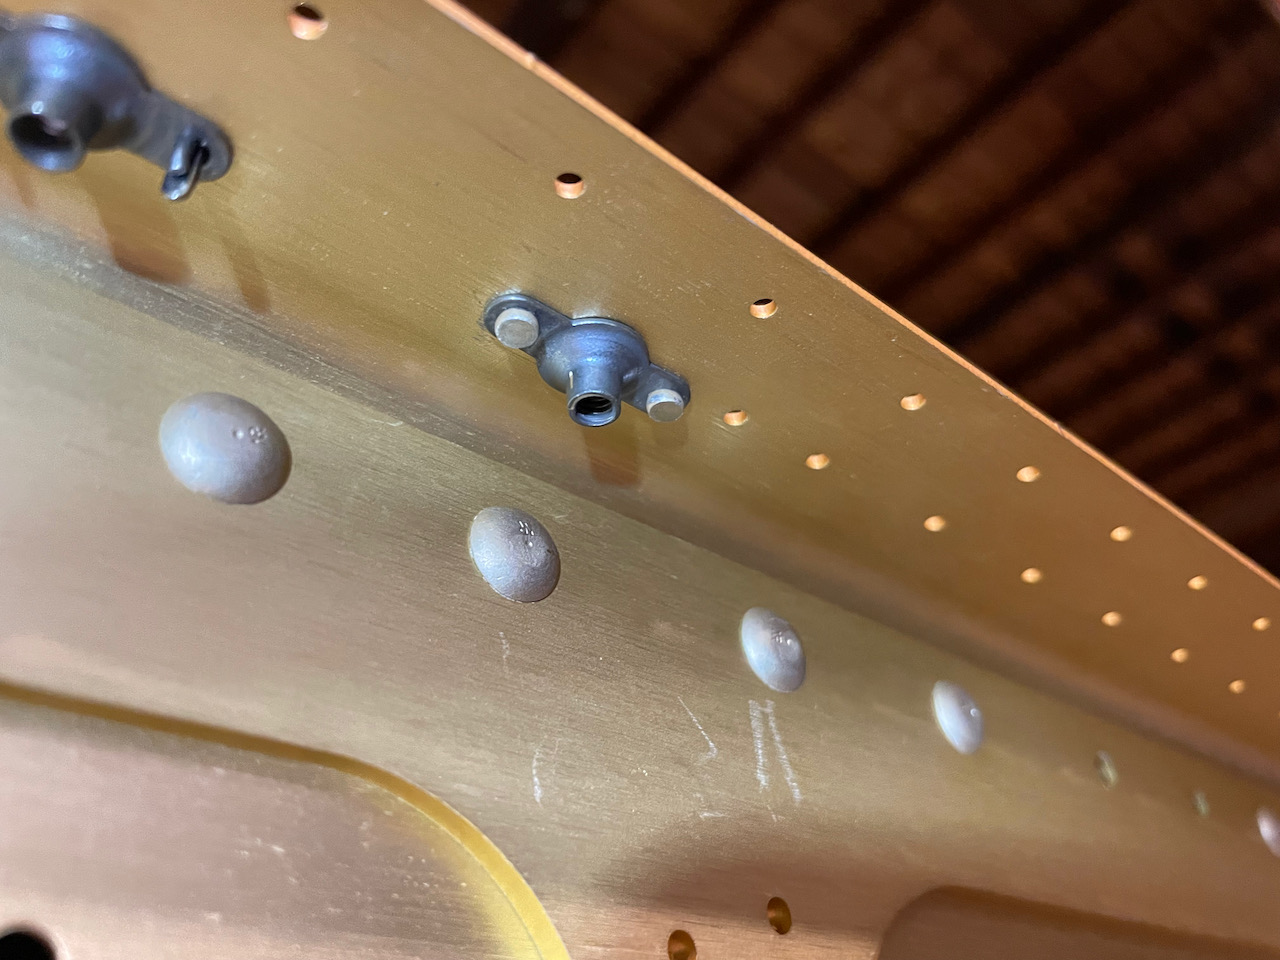
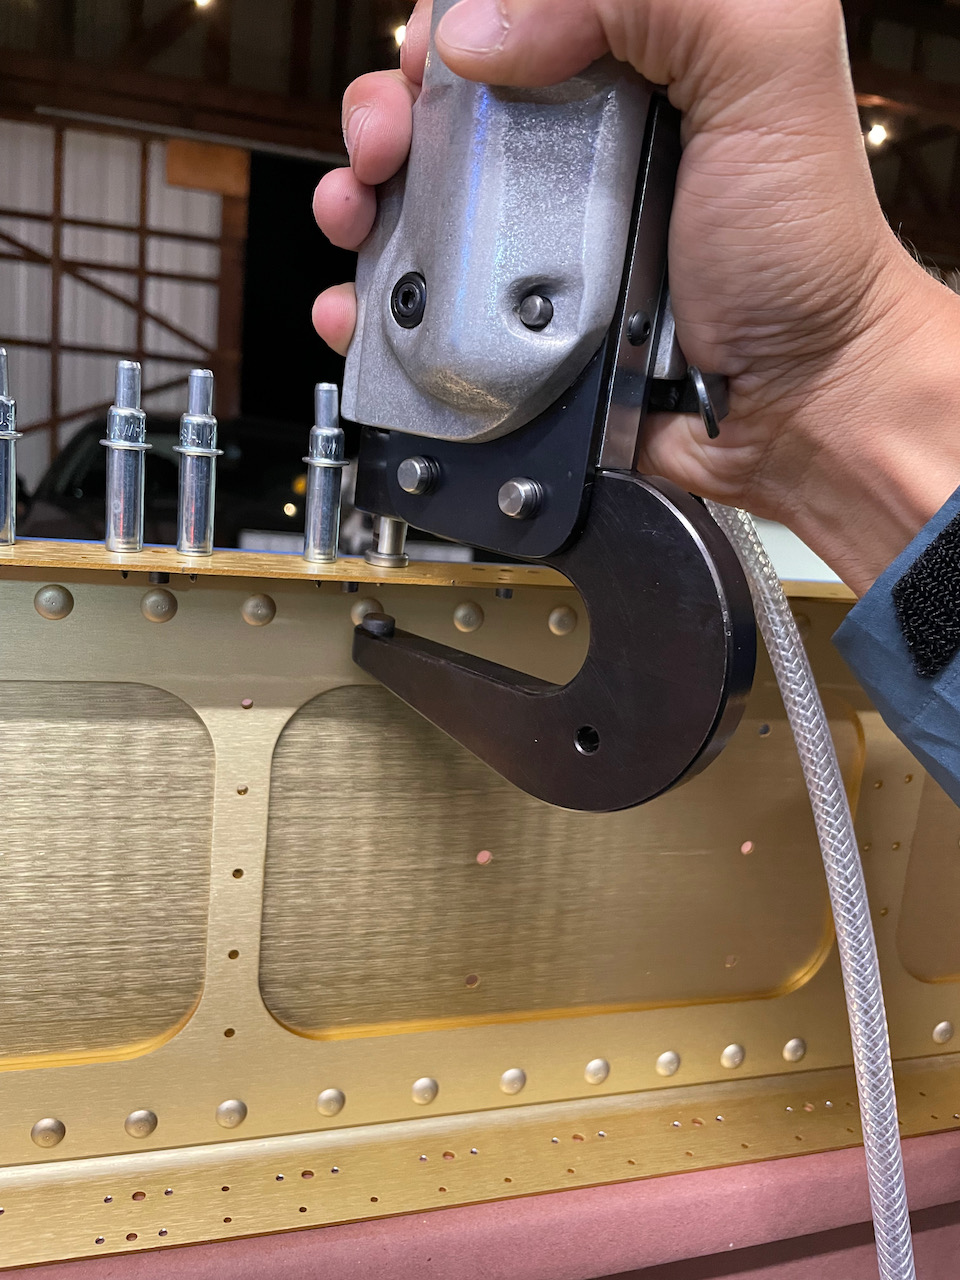
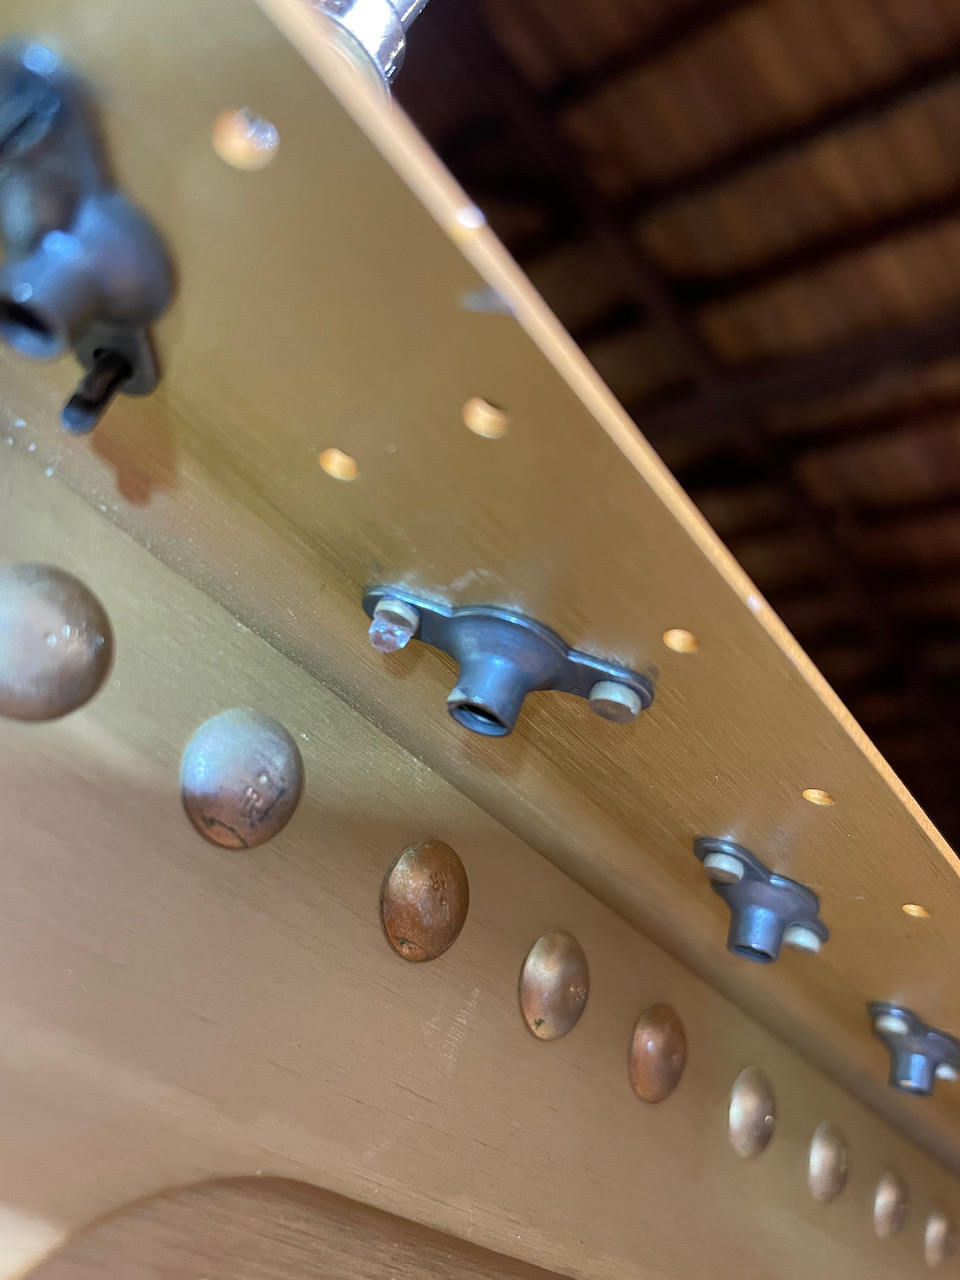
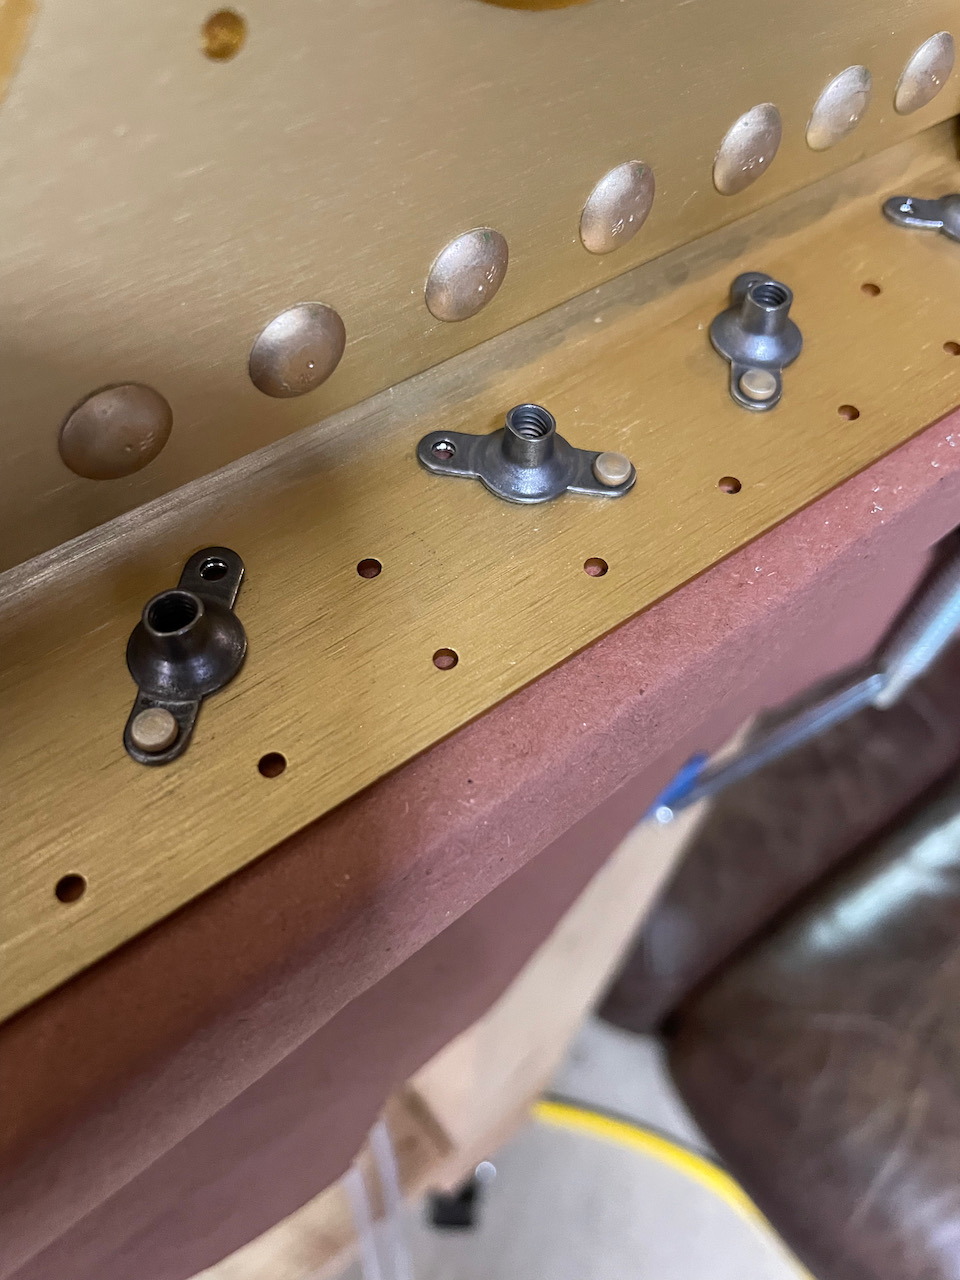
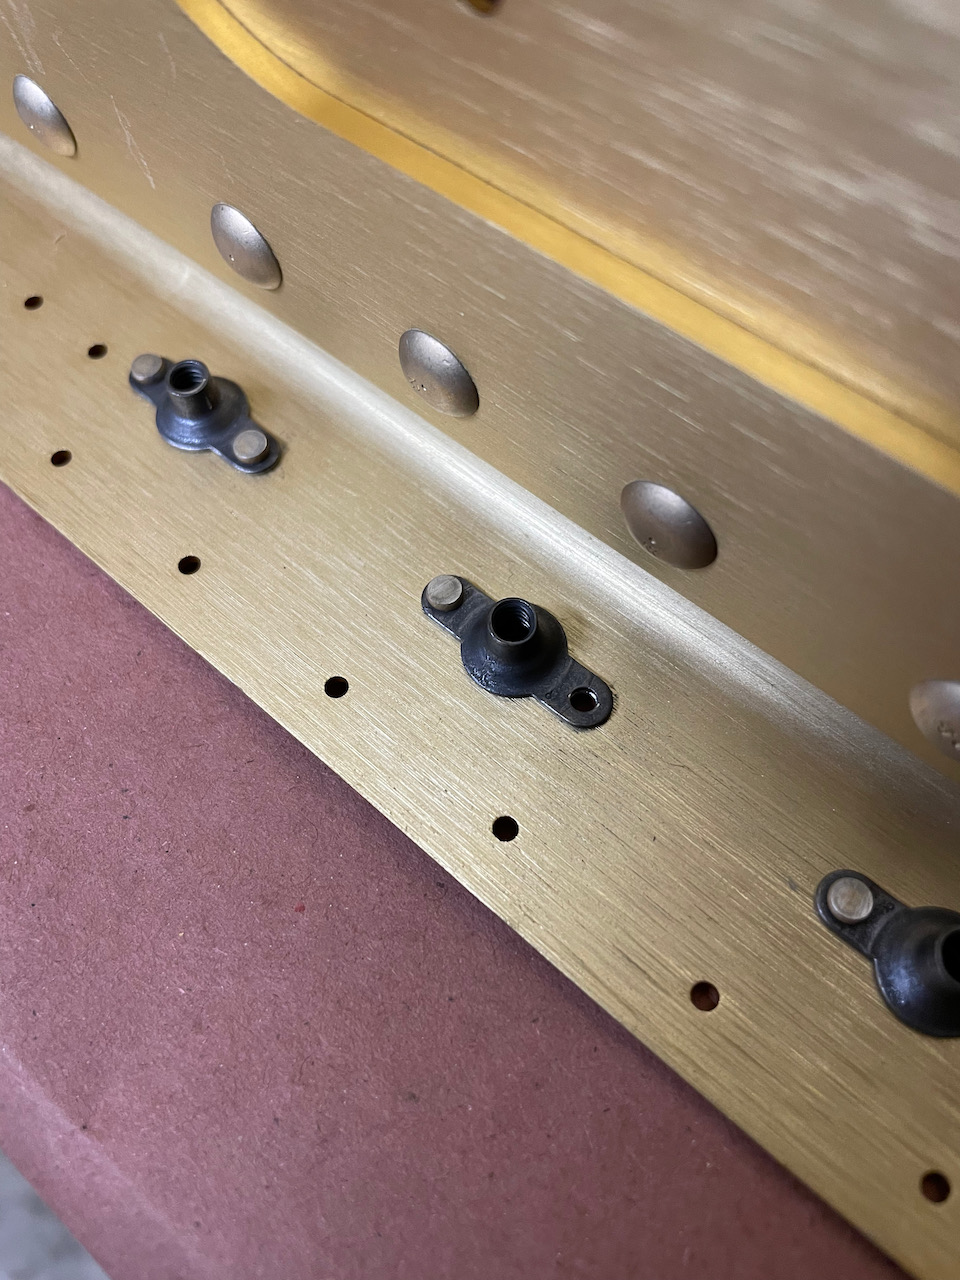
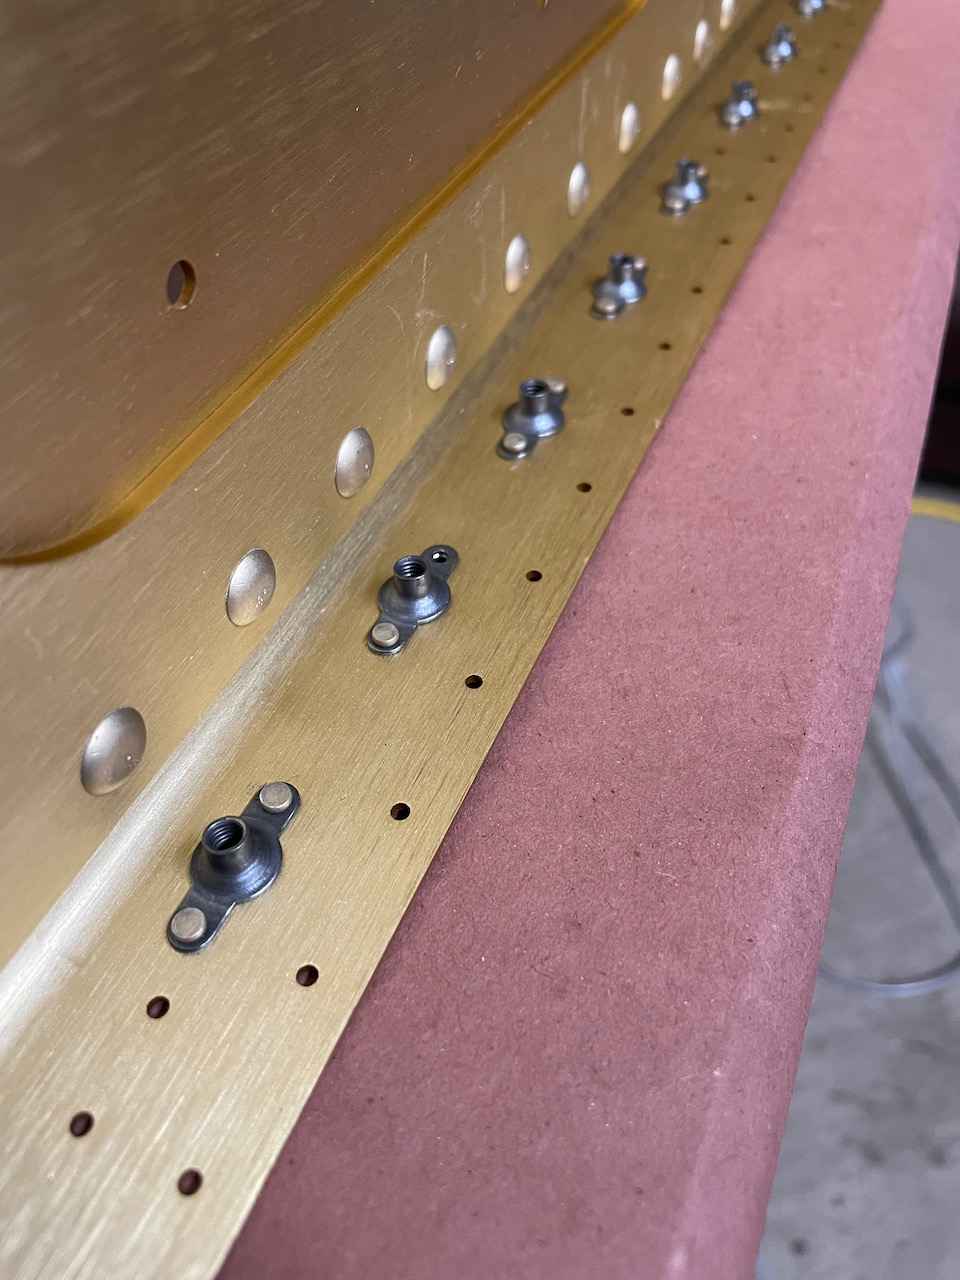
By this time, the boys had left for a soccer game, and it was time to start riveting! I did a lot of squeeze riveting for the practice kits, and empennage build, so this was pretty straight forward. The one important thing I learned was ensuring that I didn’t accidentally squeeze the nut plate center section.
A couple notes of learning from the day:
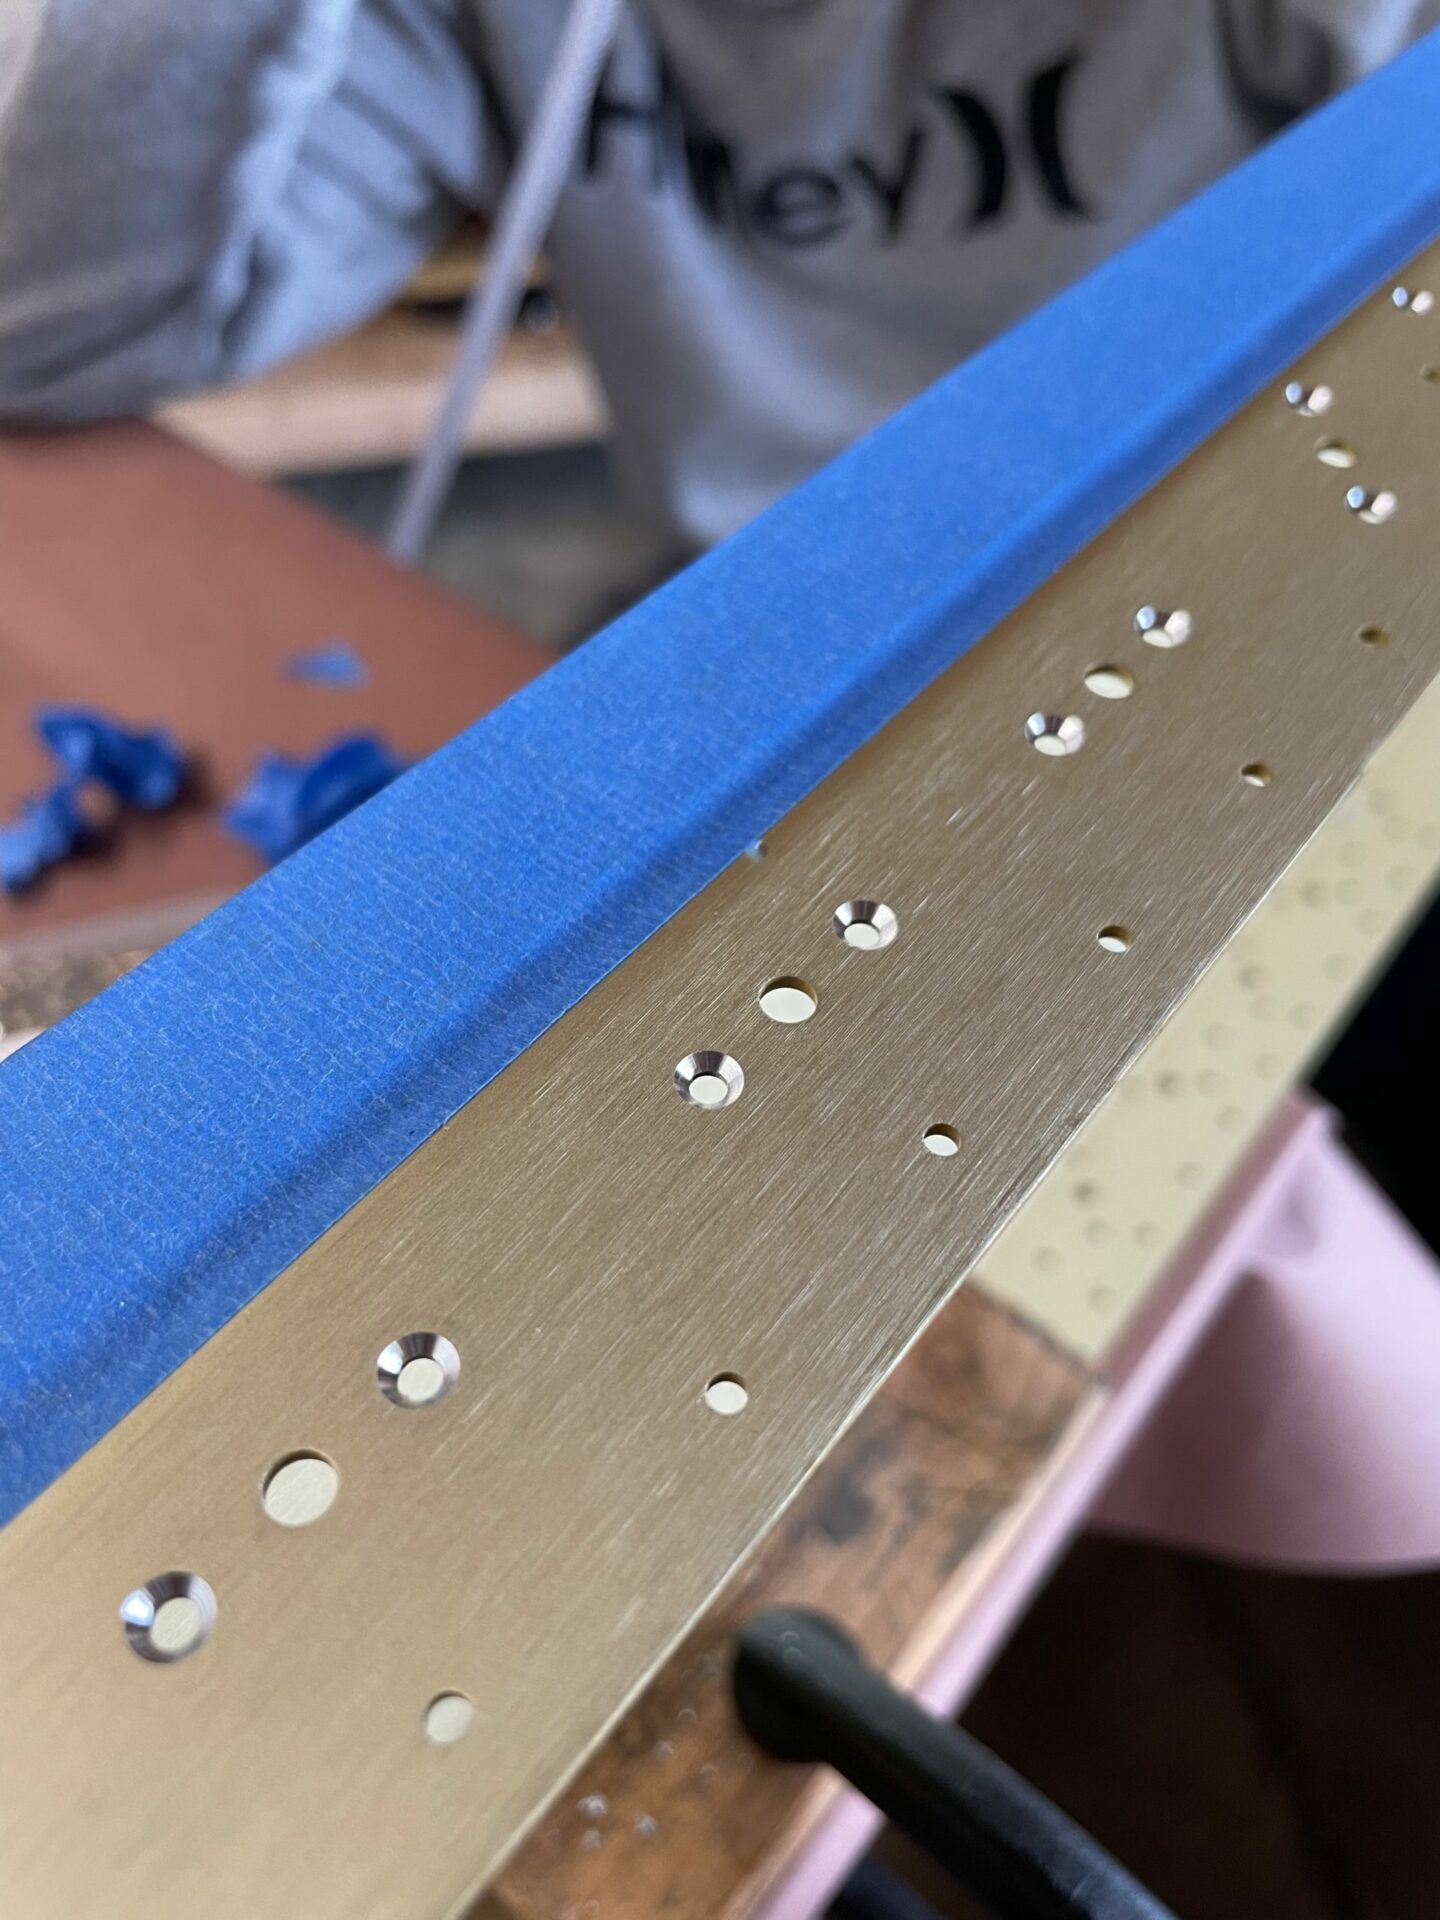
- Although there are minor variation in countersinking depths, if you check every one and it looks good visually, it seems that when you squeeze the rivet, it becomes much more uniform, so I wouldn’t stress too much
- The 3″ standard yoke doesn’t seem to work for the angled nut plate rivet closest to the spar webbing.
- Be careful to select the right flat dies, to avoid crushing the nut plate when squeezing the rivets.
- having a second pair of hands and eyes helps the progress significantly. Looking forward to many hours with the kiddos!
Next session, I’ll continue work on the K1100-8 nut plates, and work on the other nut plates for the access panels if I have time.