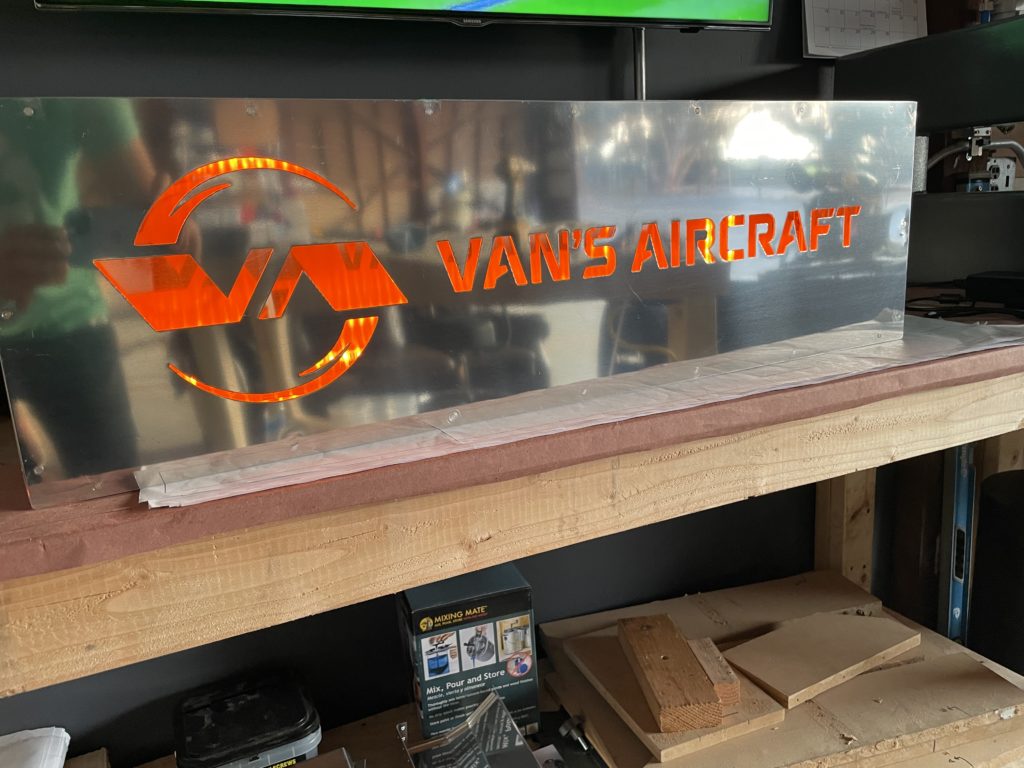
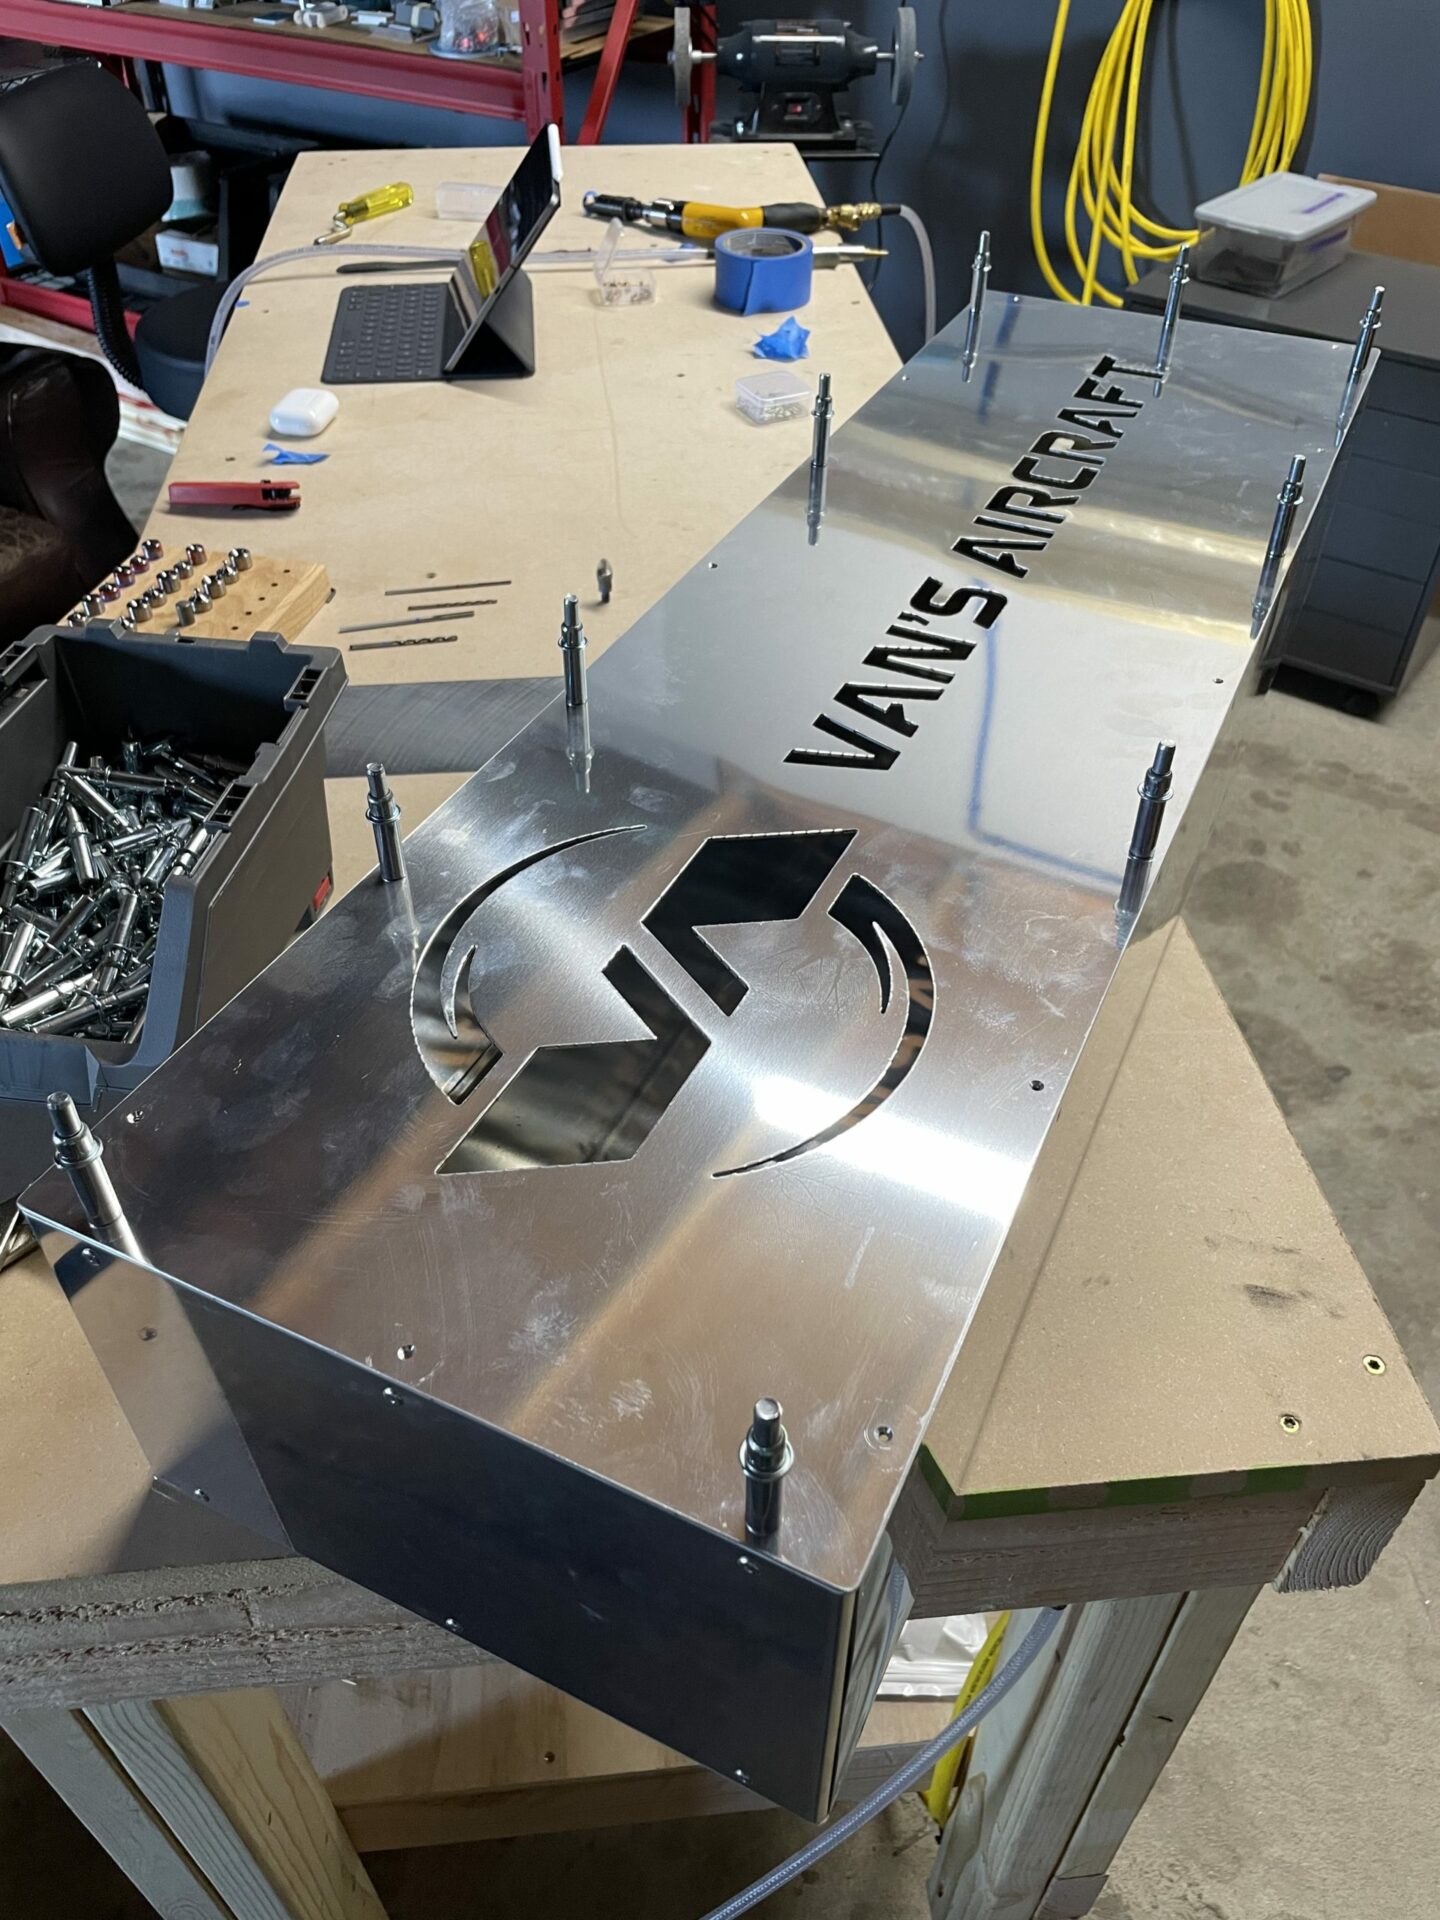
The light box is done! In total I think I logged about 7 hours. Today was another good learning day. I had to buck flush rivets solo and definitely made a lot of the newbie mistakes. I also got to use my unibit for the first time, as well as my first countersinking holes. All in all, a fun afternoon.
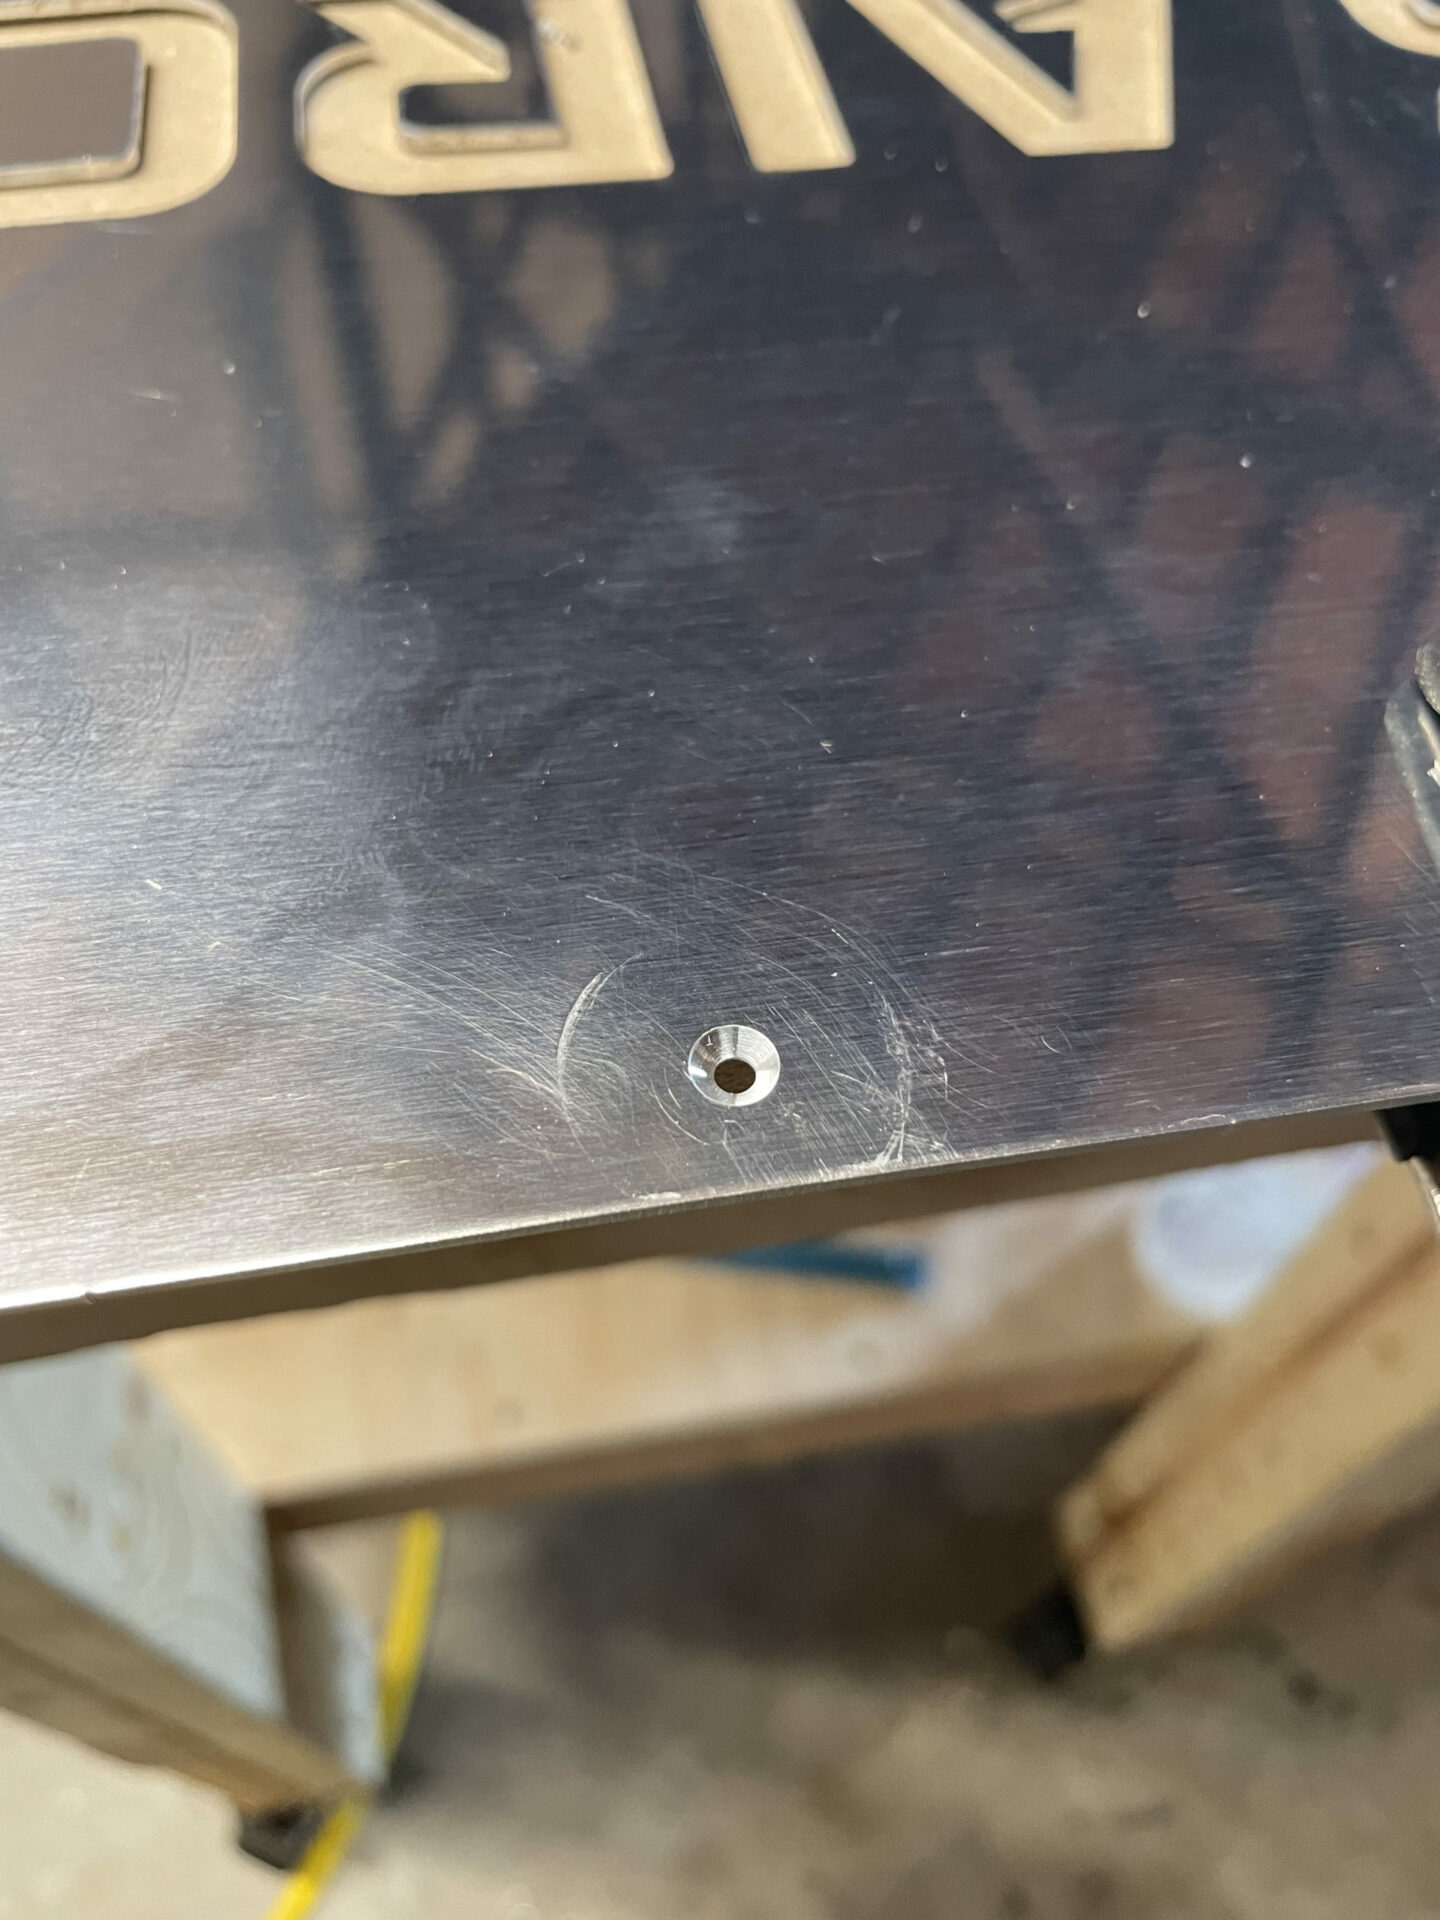
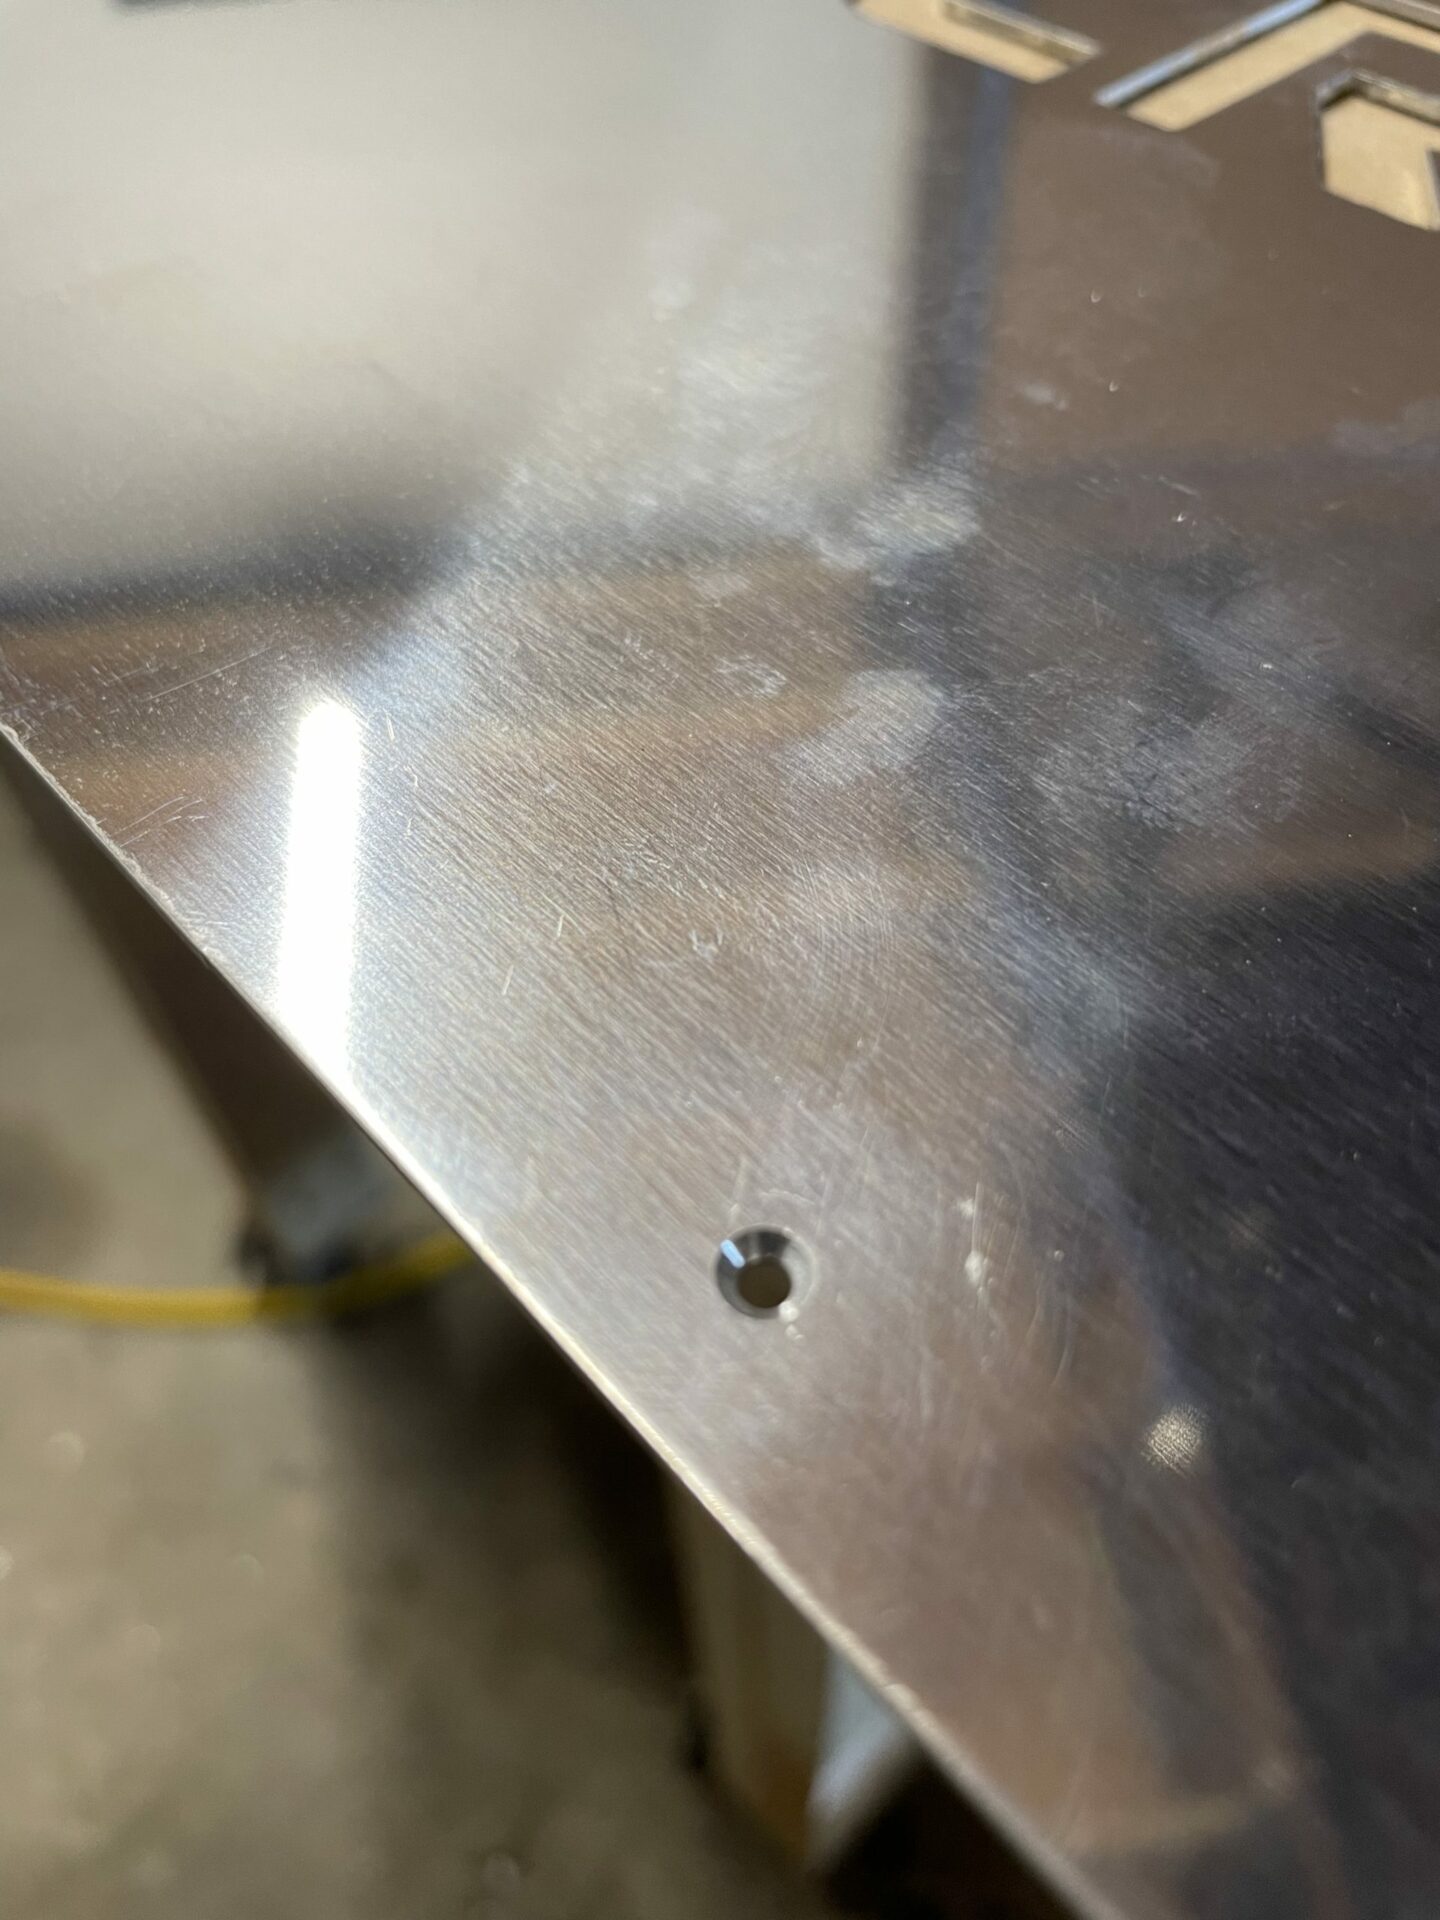
It started with countersinking. I used my micro stop countersink cage for the first time, and I learned a few things.
- not all countersinks are made equal. Even with the micro stop cage, it seems like depending on how you position the drill, the size of your countersink can vary slightly.
- The bit leaves a mark. Adding some painters tape helps this. I may end up getting one of the cages that have a nylon foot.
- if shavings gets stuck on the bit, it’ll scratch up surrounding surfaces. Using an airgun to clean it out periodically should reduce this.
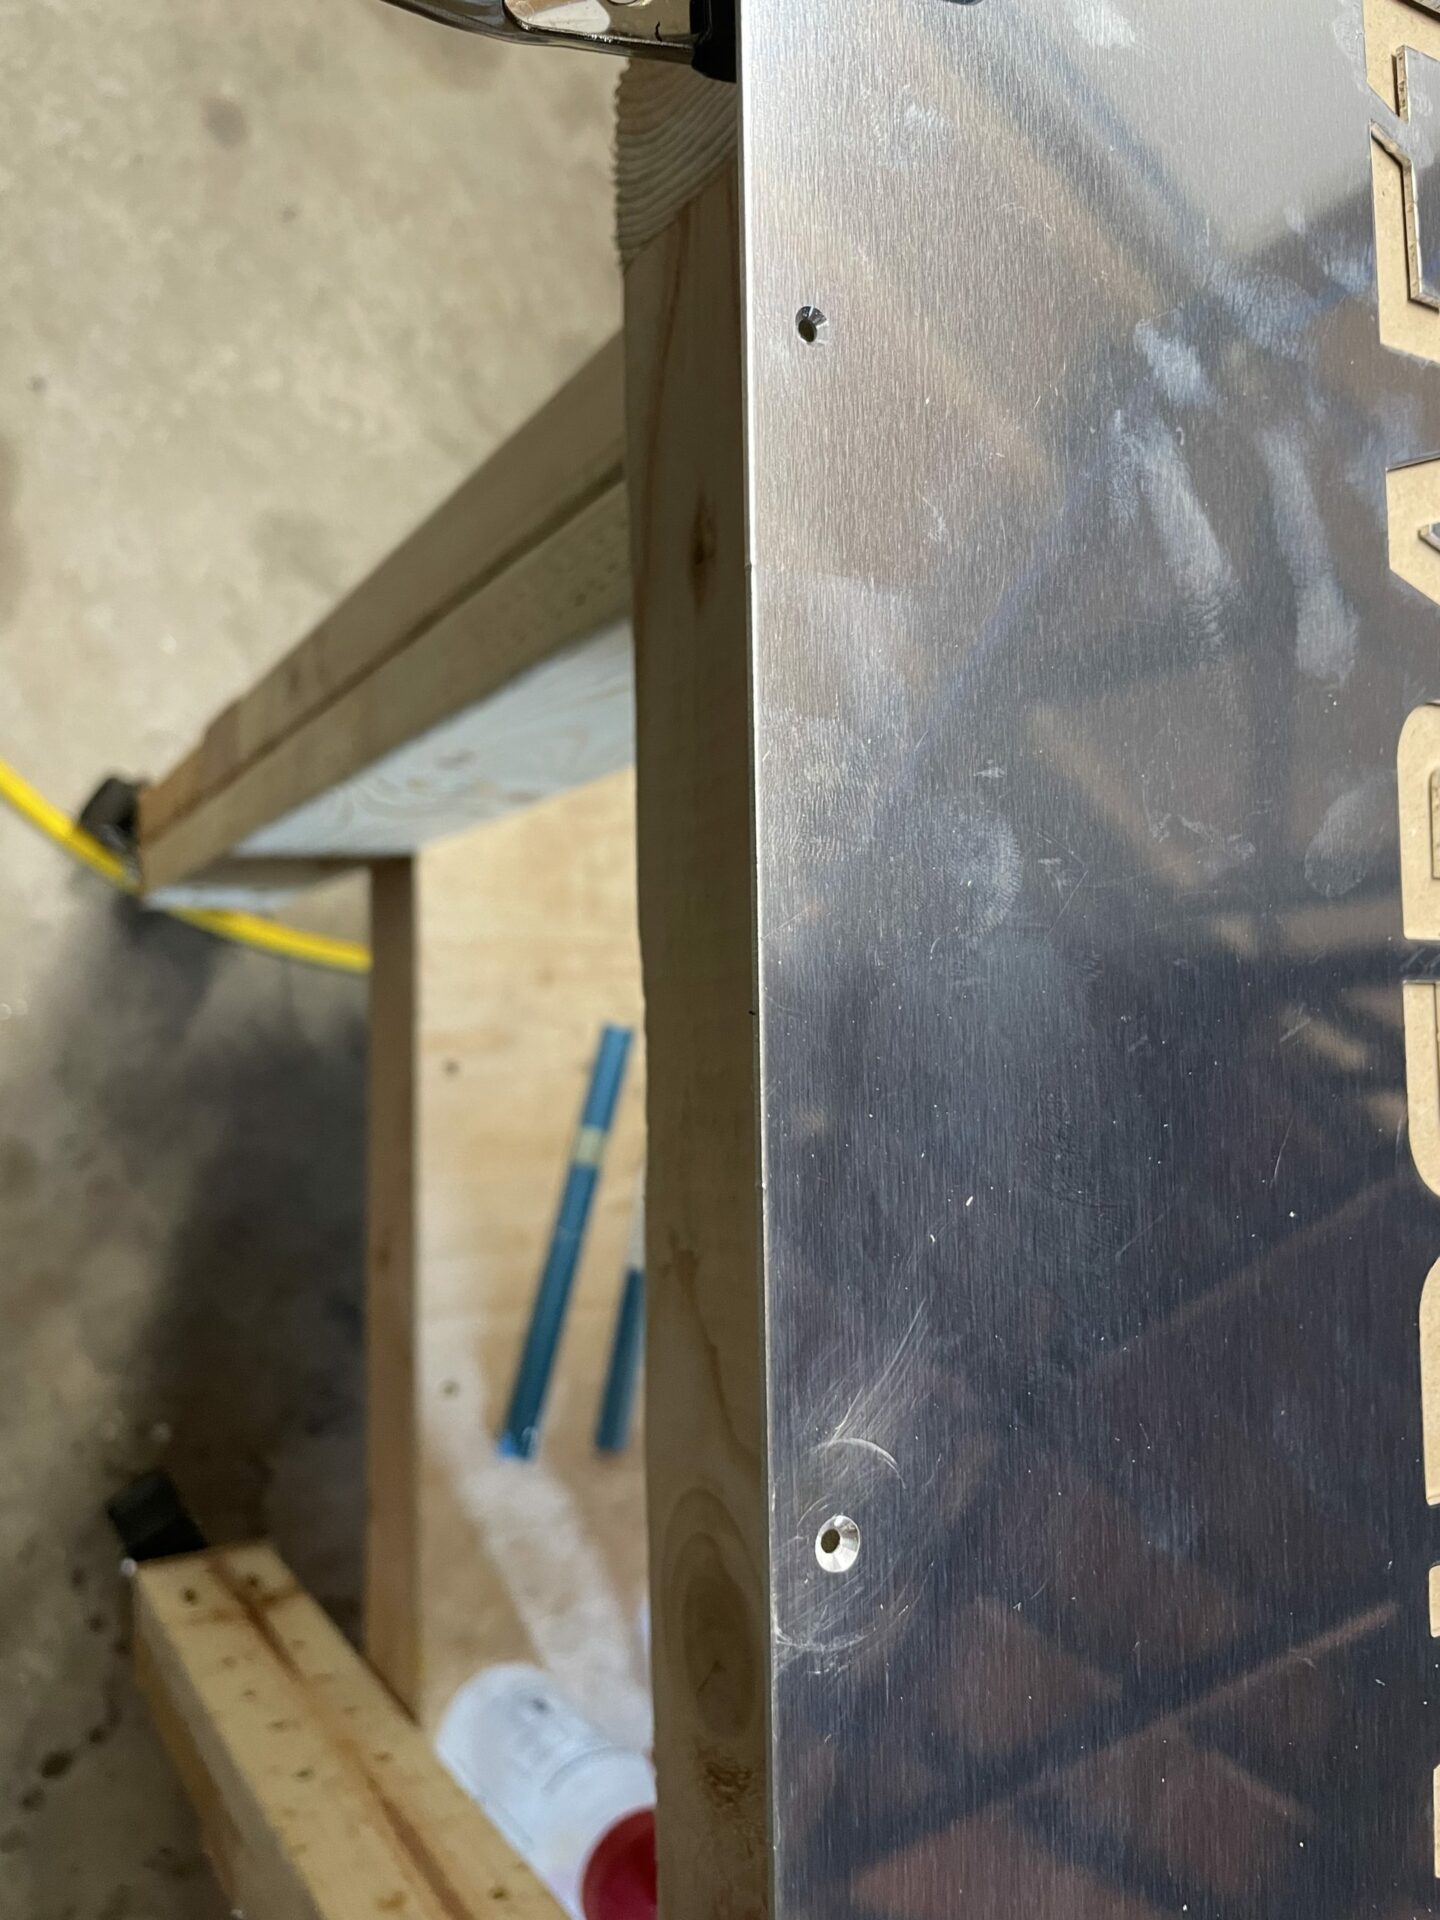
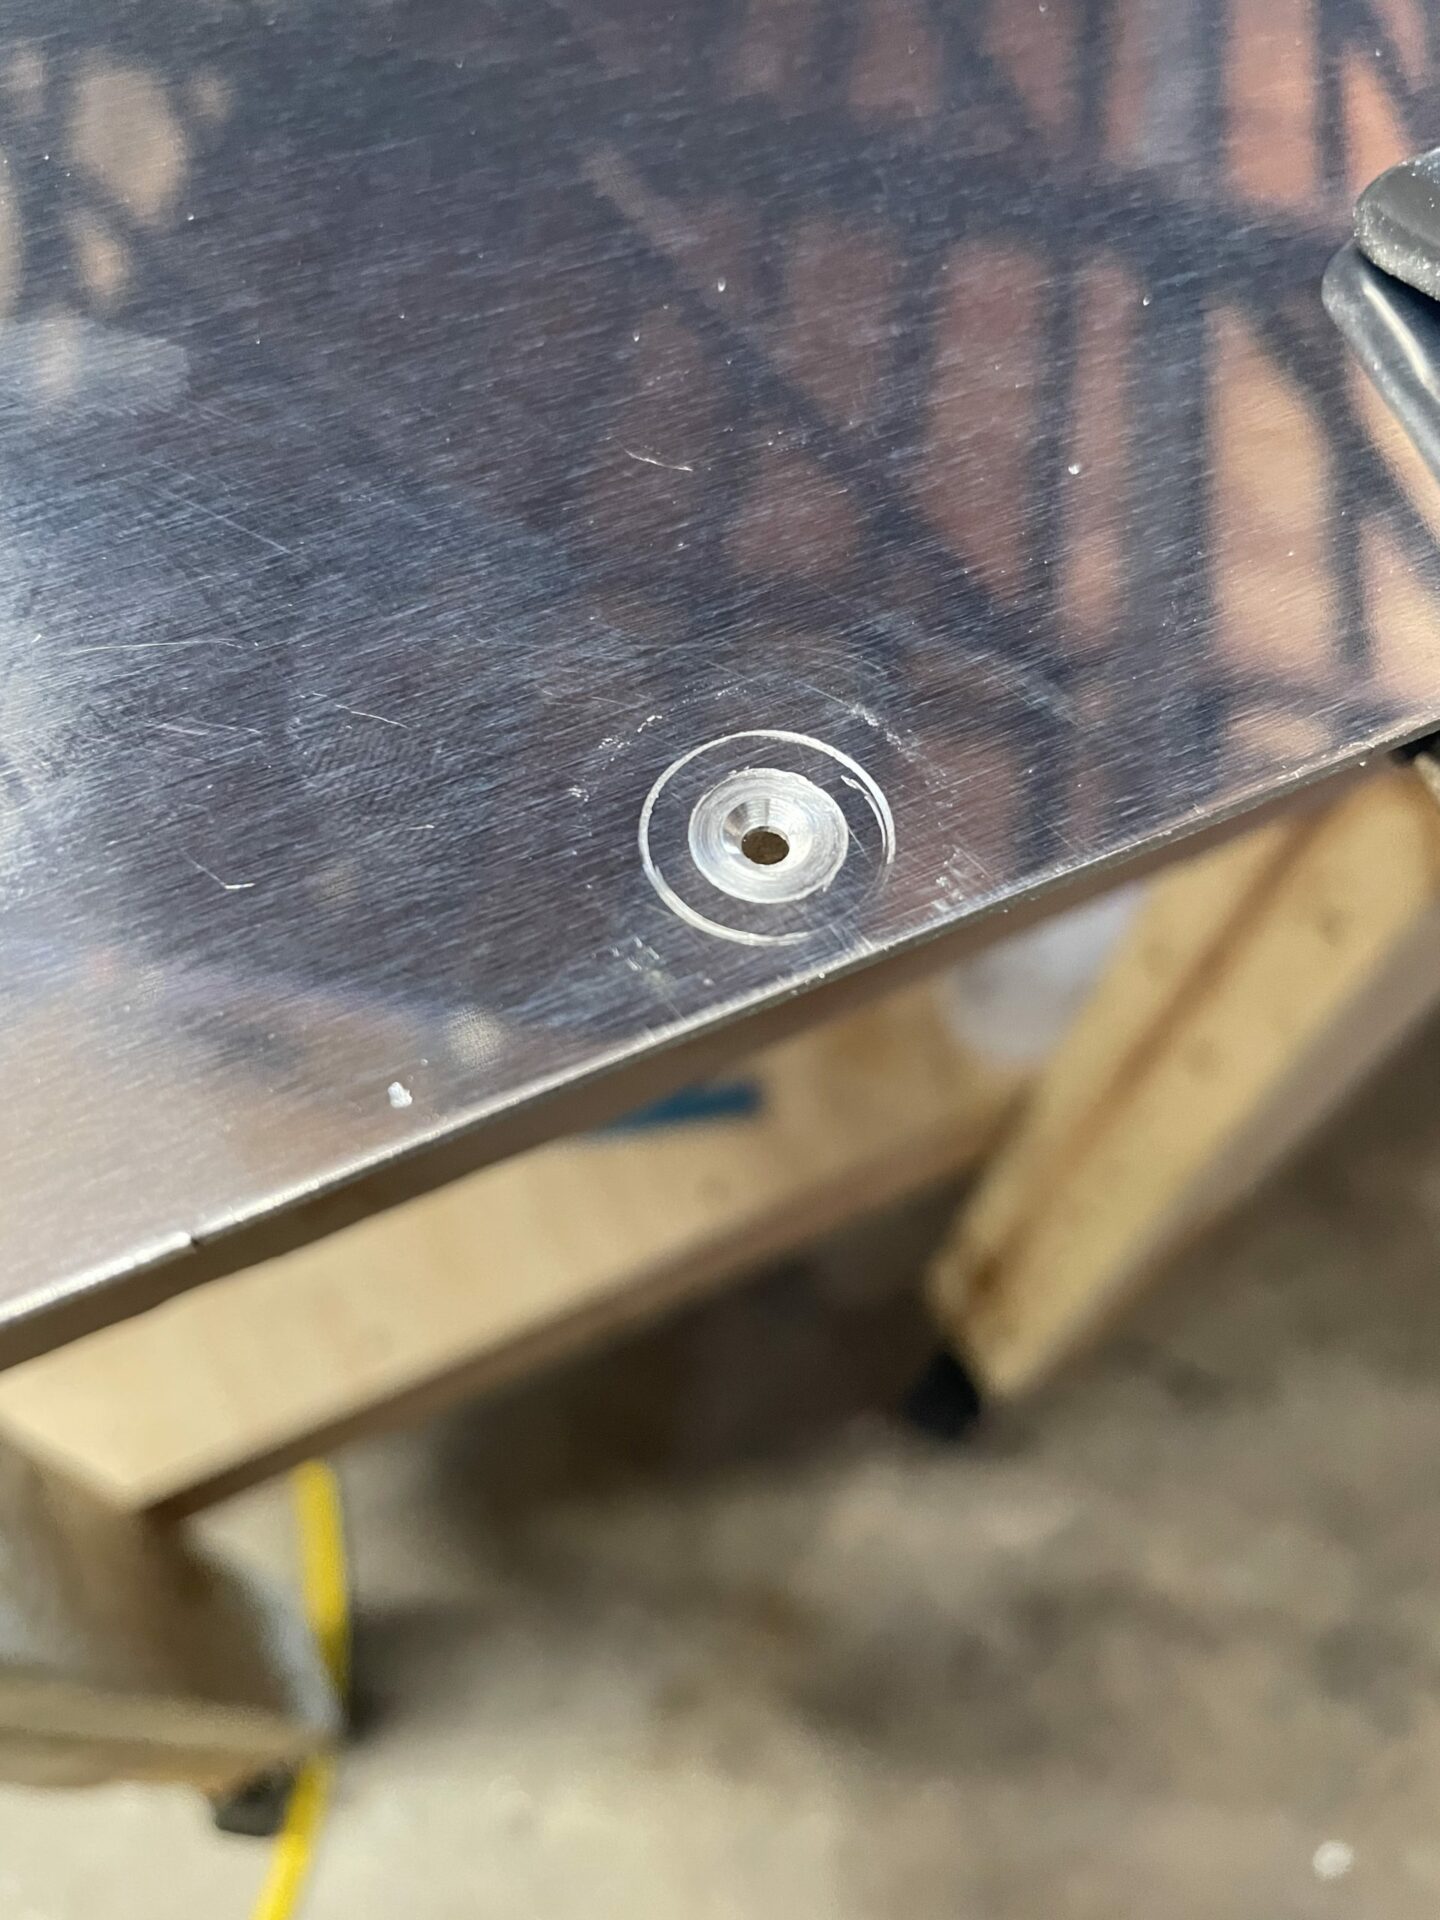
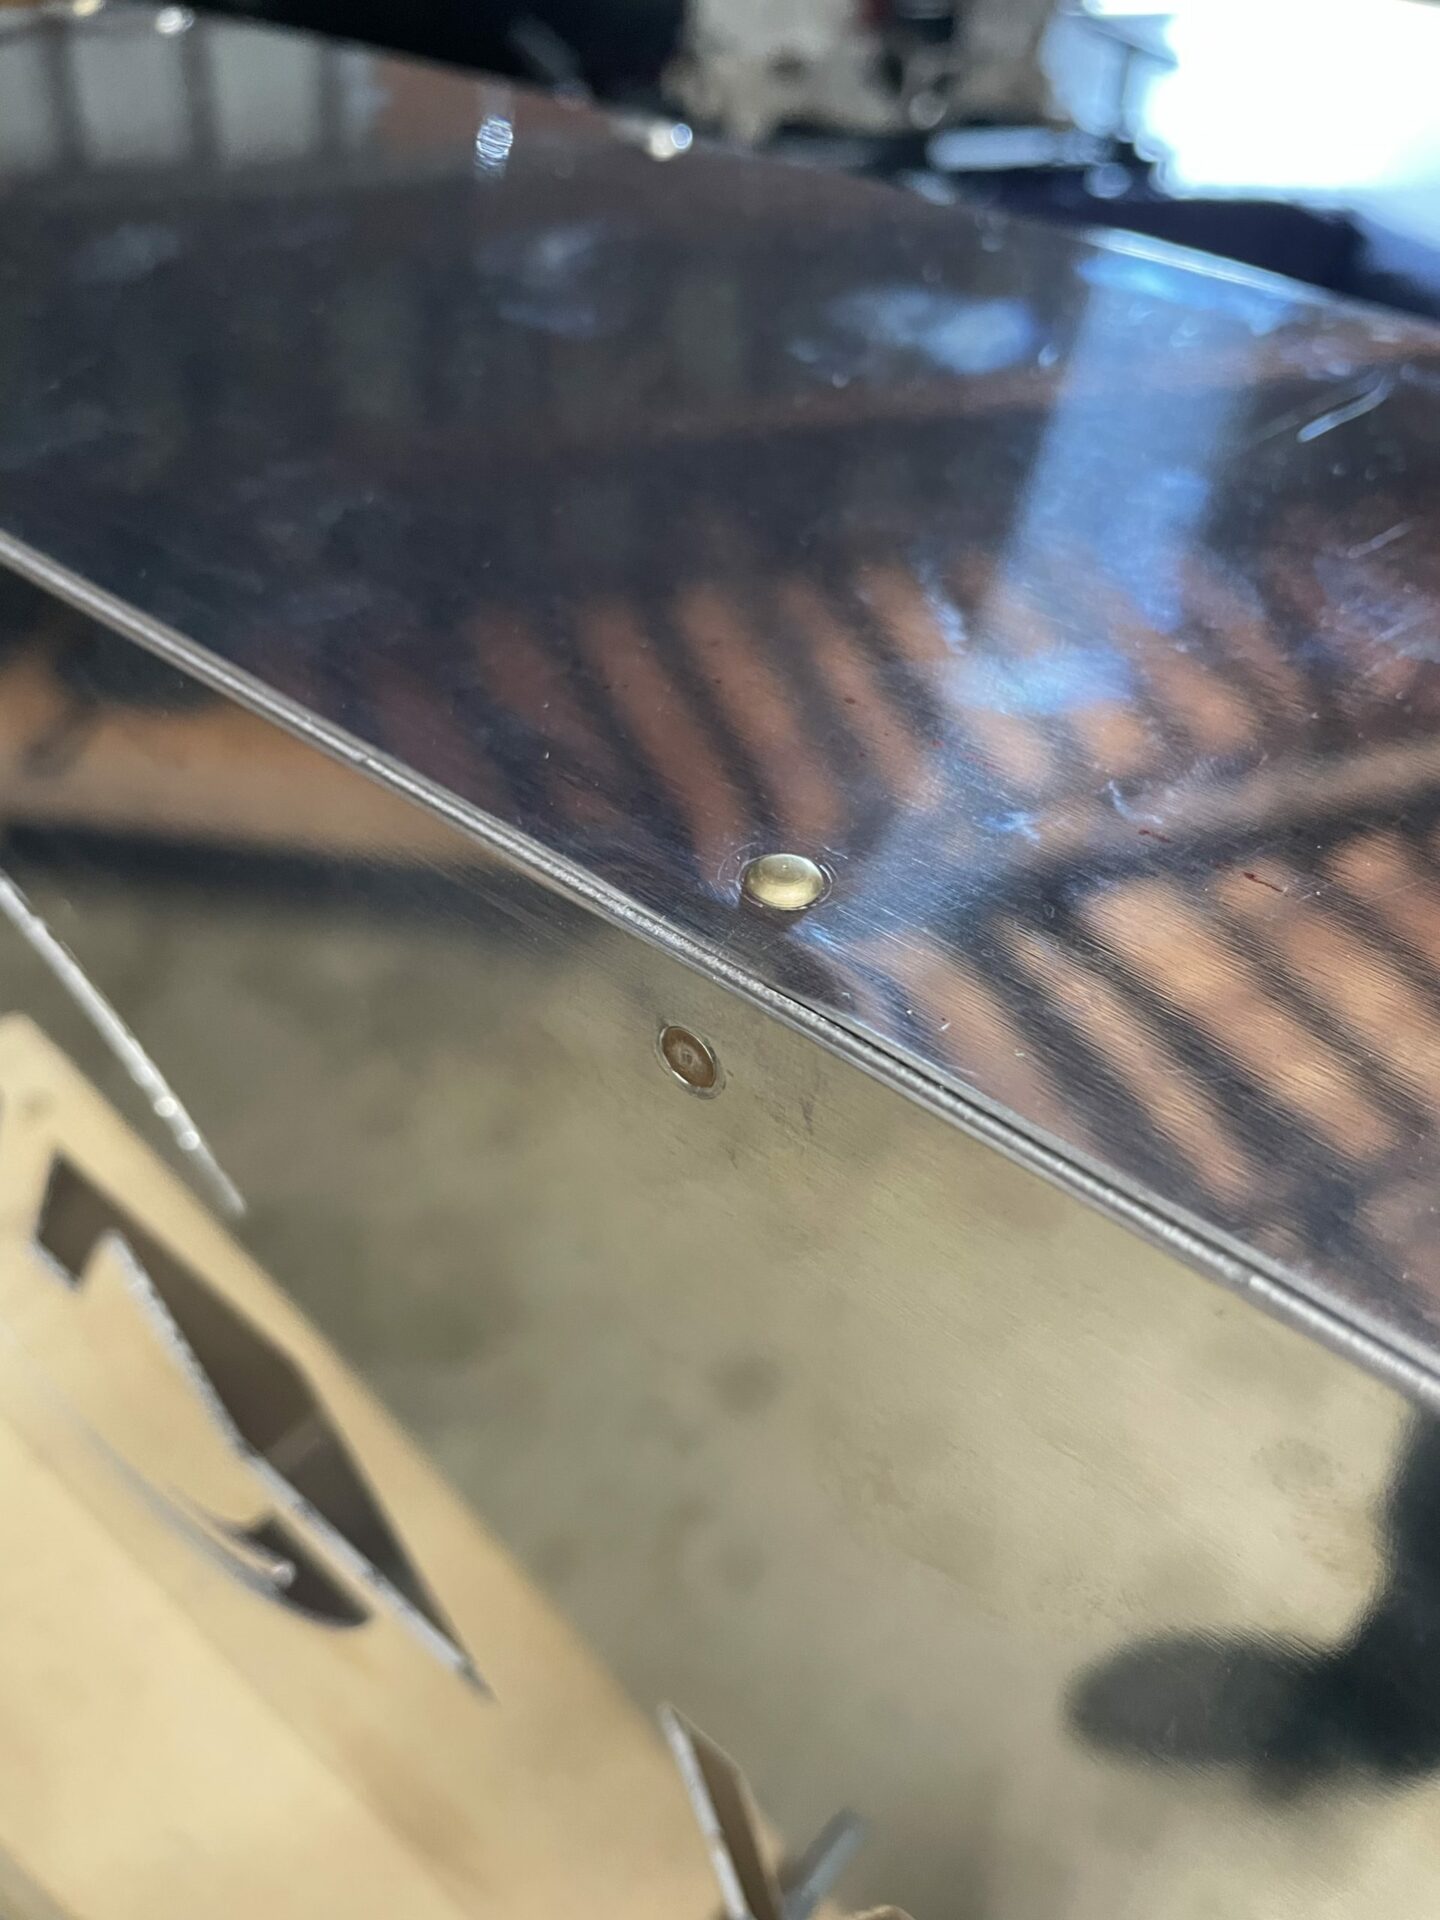
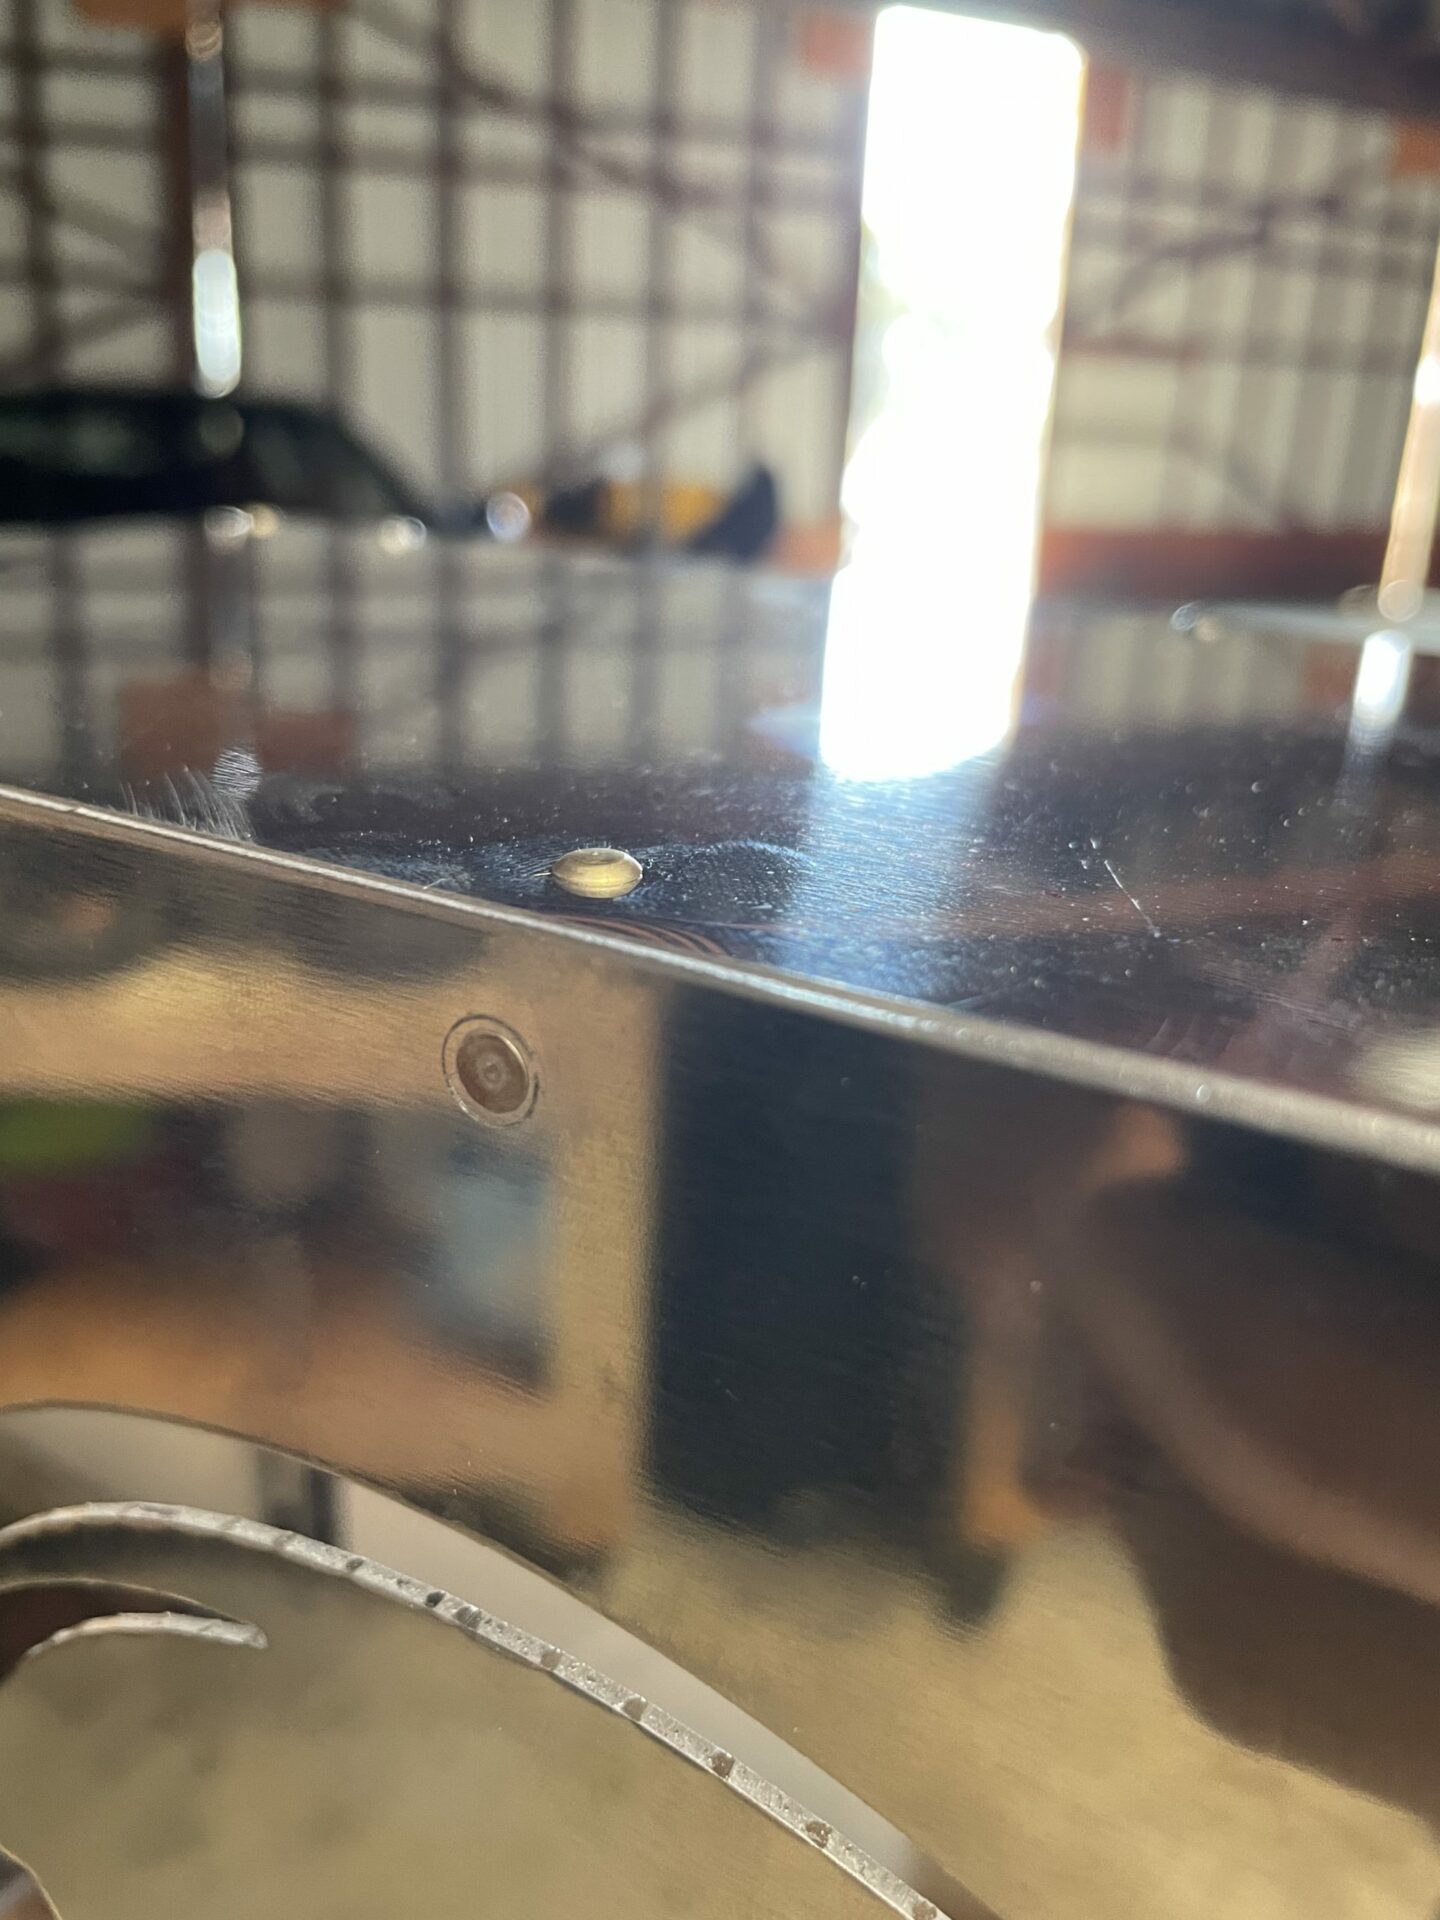
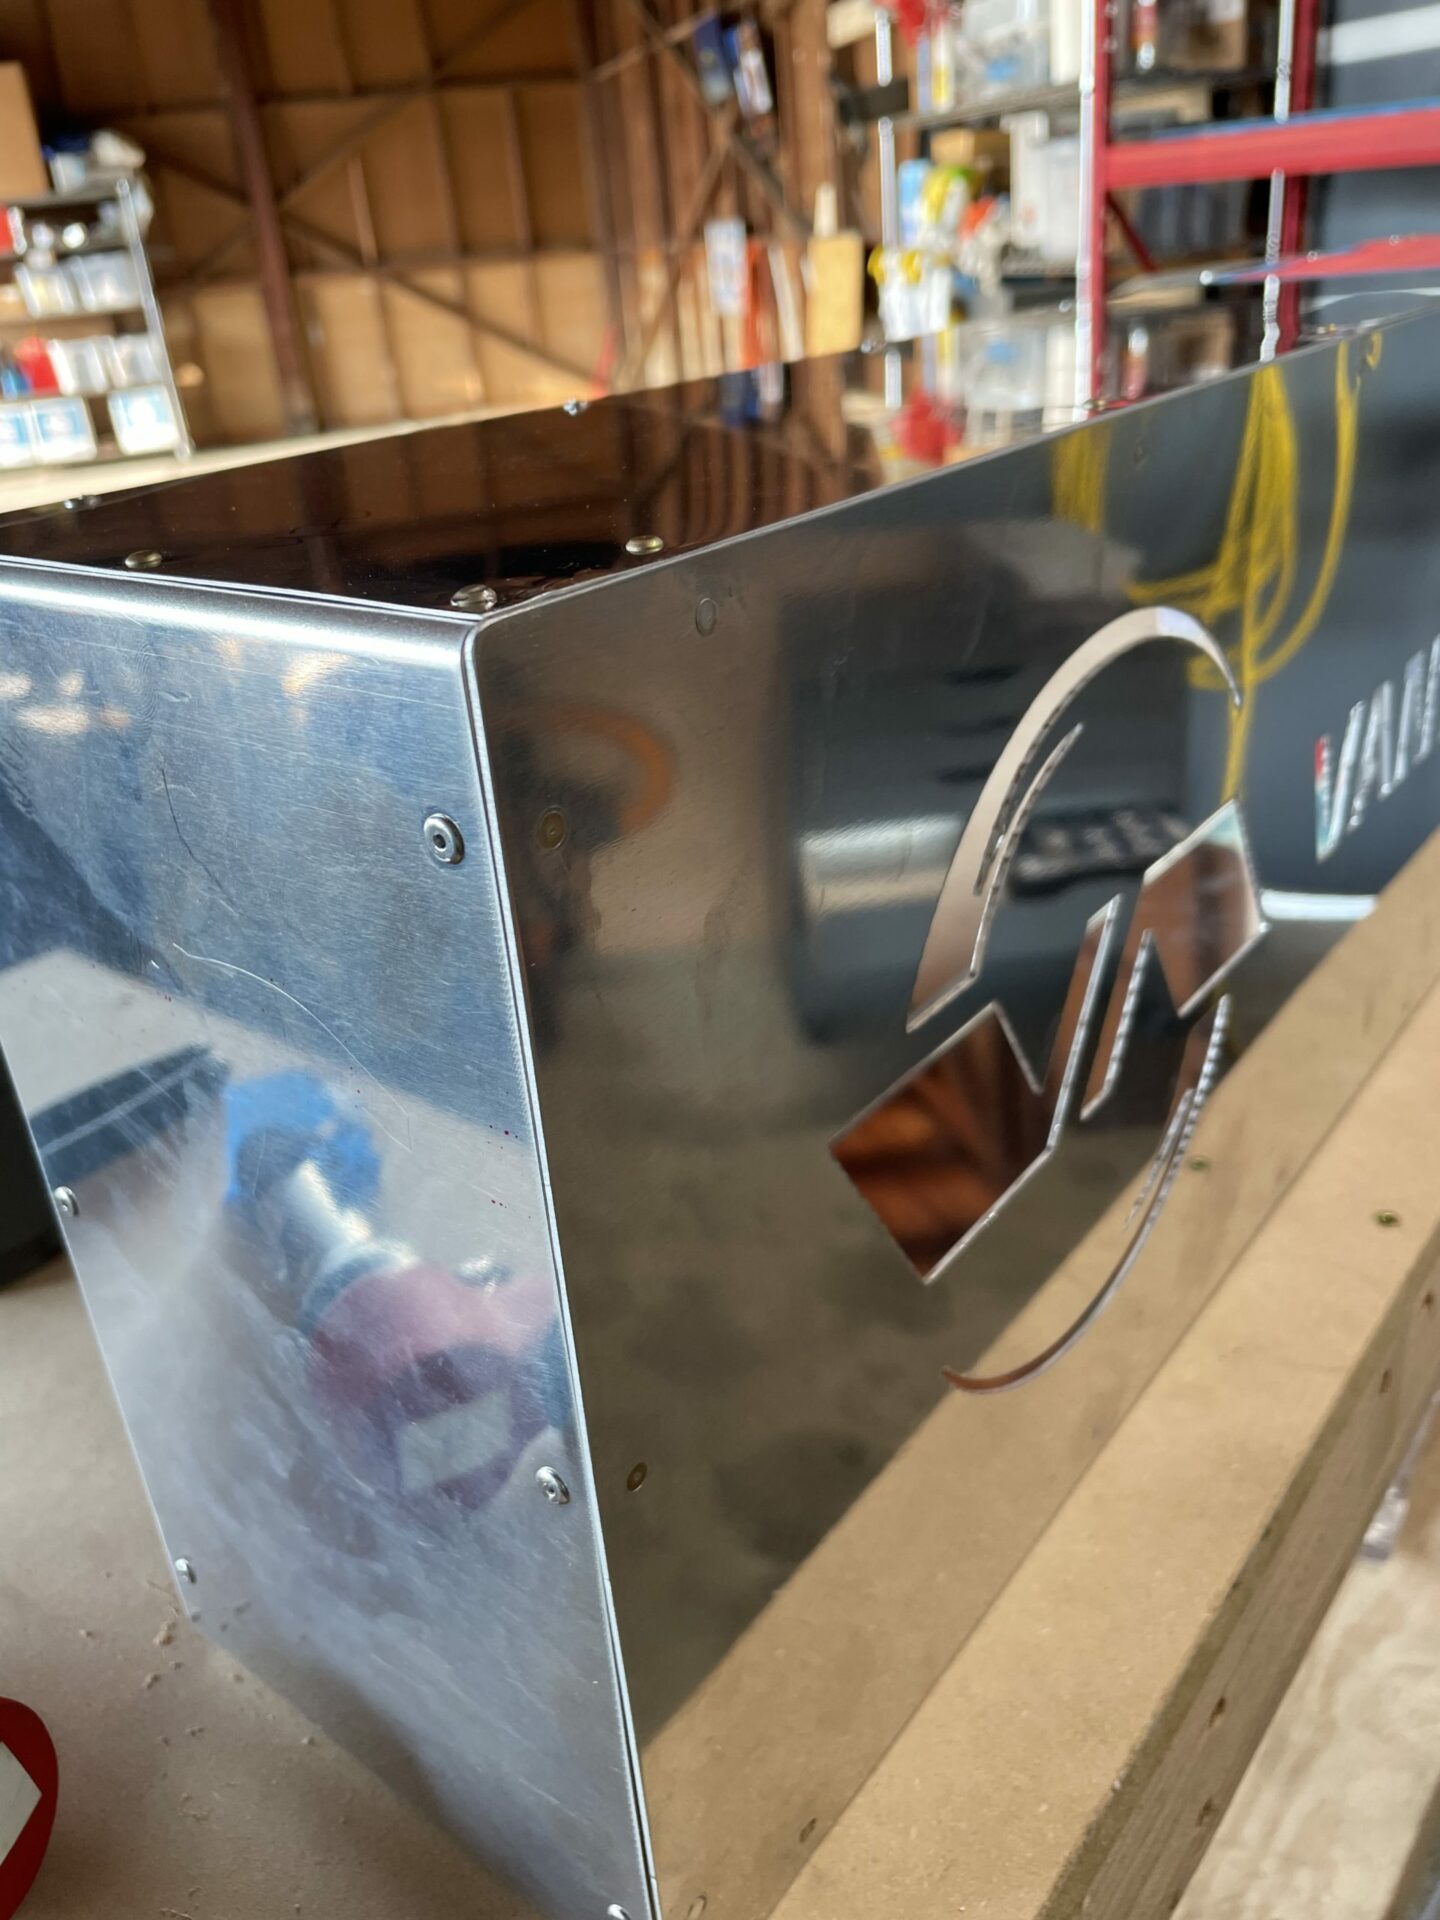
After clekoing the front plate on, I started the flush riveting. whew, that was a humbling experience. Getting the gun to stay in one spot, while squaring up the bucking bar isn’t easy. Slips on the gun side result in dents and smiley faces. Slips on the bar side destroys the shop head. With a little bit of practice, I was able to pull of some decent rivets, but I’ll definitely be utilizing my boys for future flush riveting sessions whenever I can.
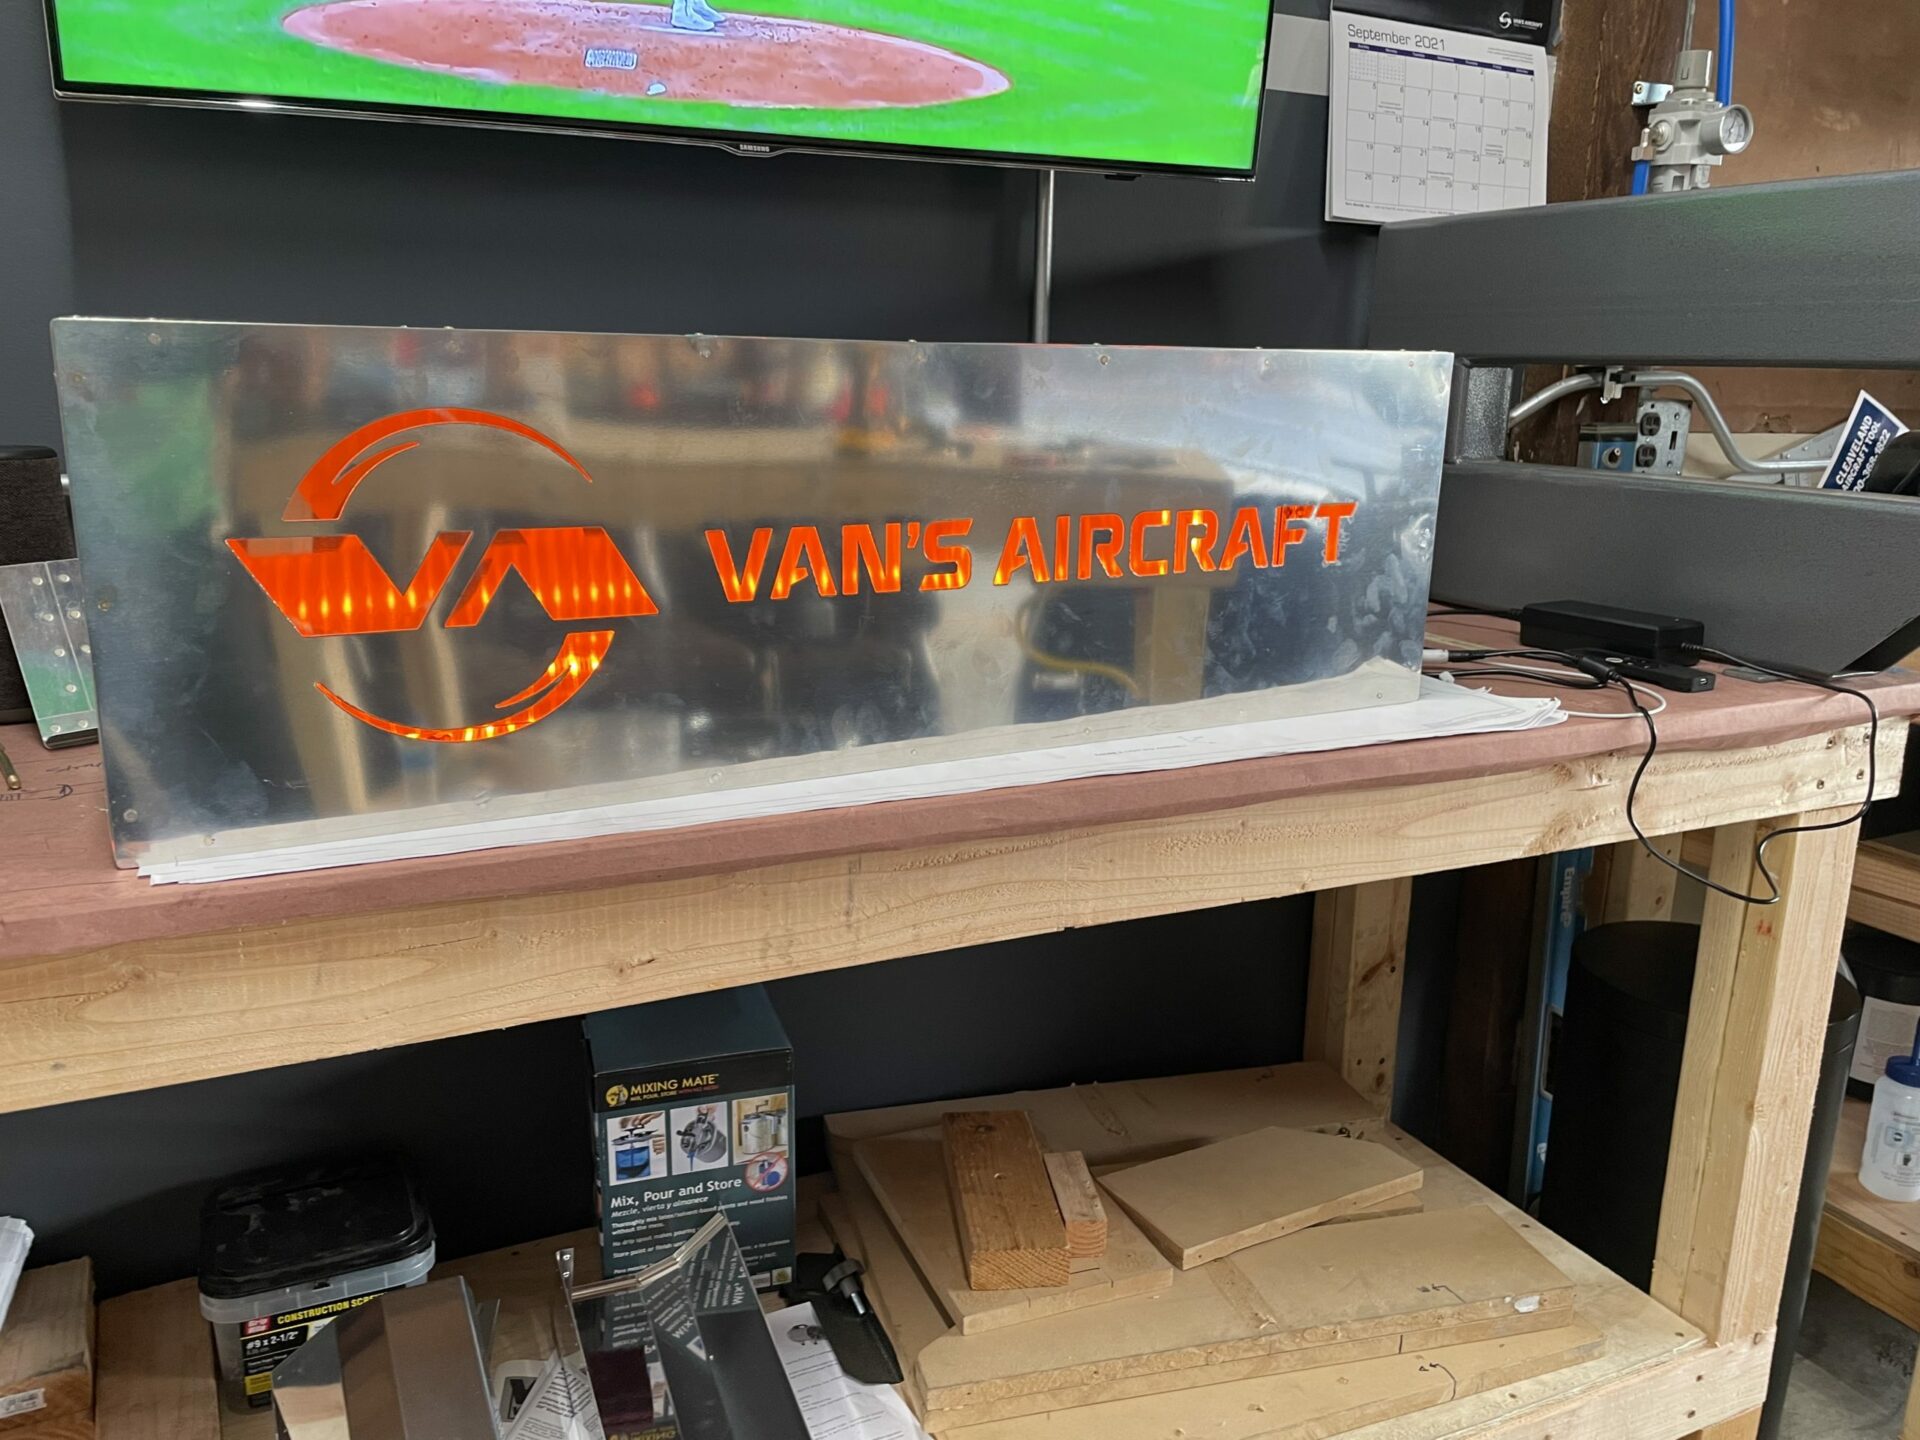
Lastly I mounted the LED and closed up the back. I got to use the unibit drill to create a hole for the power cord, and then used a grommet to close up the hole. The completed build is pretty nice! Eventually I will hang it over the work benches, but for now, I’ll find a good spot on the shelf.
I guess that’s it. I’ve run out of practice projects. The workshop is ready. And the parts are inventoried. It’s time to get going on the project!! The big day is tomorrow, I’ll start on the spar with Giacomo. Woo hoo!