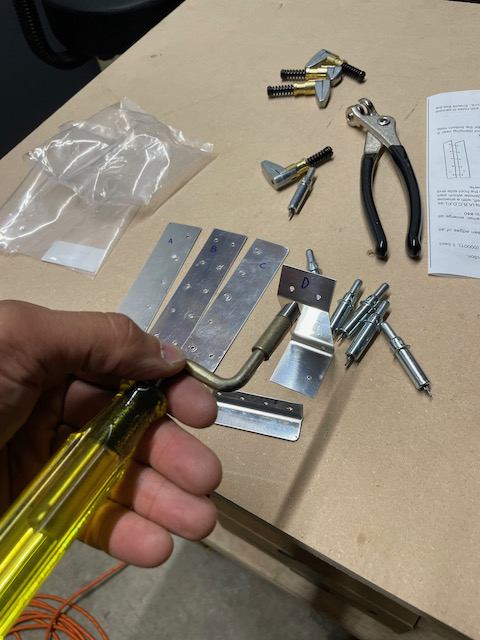
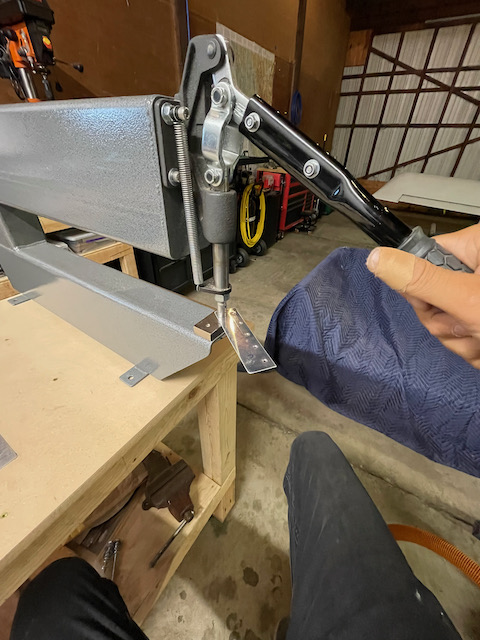
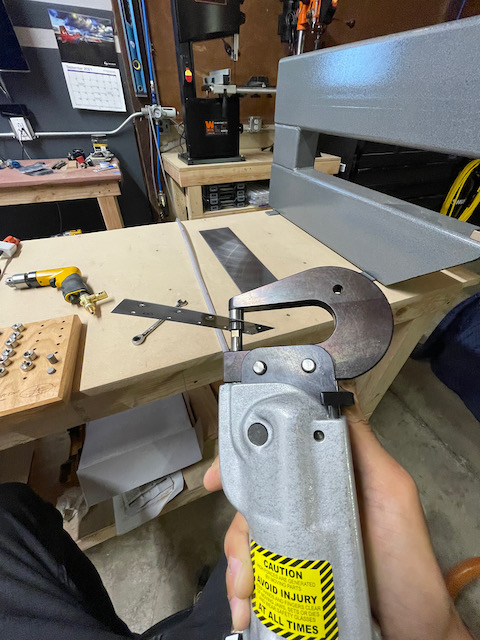
Now that I have a back rivet plate on one of my workbenches, I got back to the phone holder practice kit. After reading through the instructions it looked like a pretty fun project. I was going to do some reaming, match drilling, deburring (on the wheel and with the hand tool), dimpling, edge rolling, flush riveting, and back riveting! I think the only thing I didn’t do is cut any metal. As small of a project as it was, it was a great practice kit, and only took about 2 hours to get done.
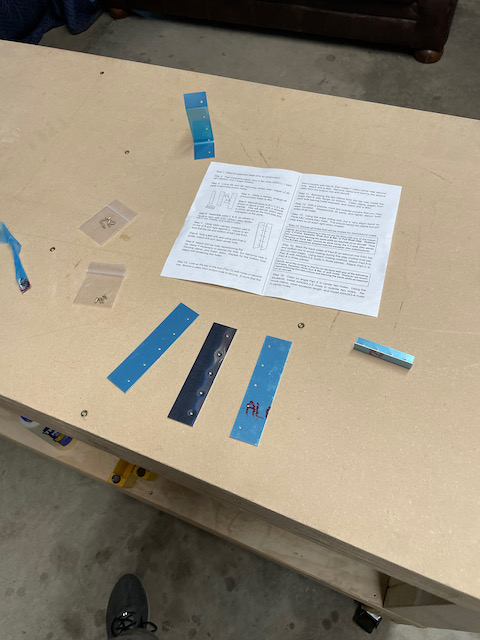
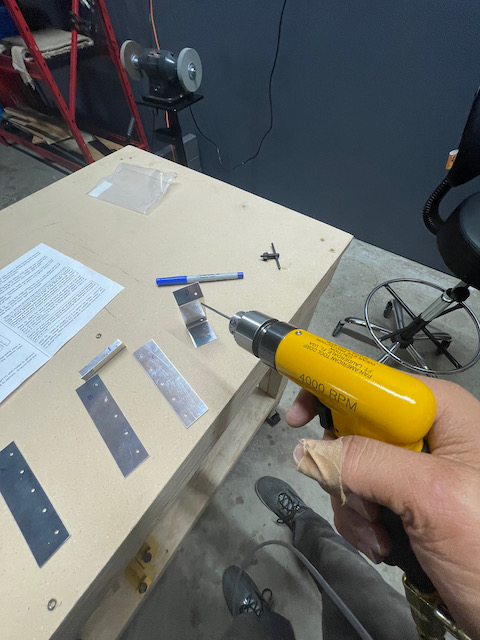
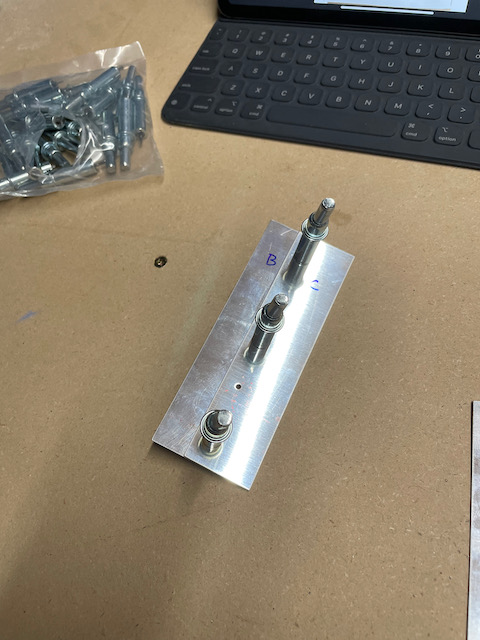
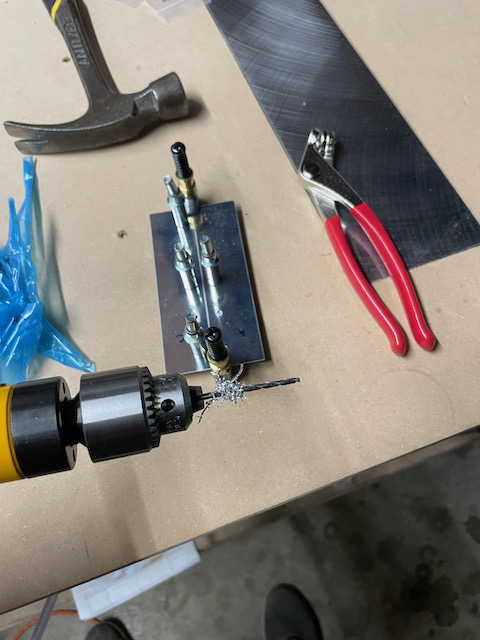
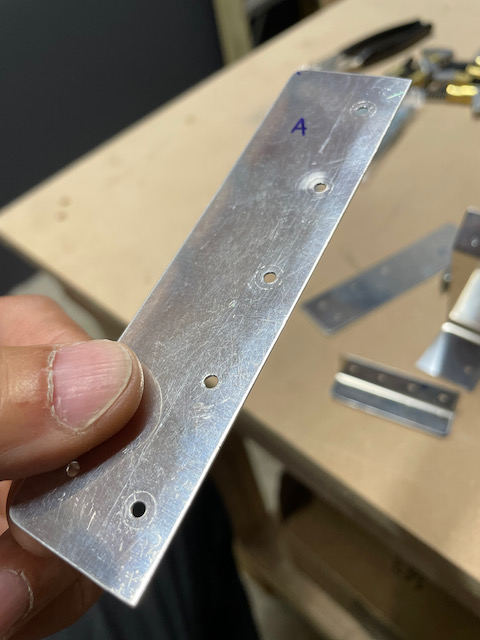
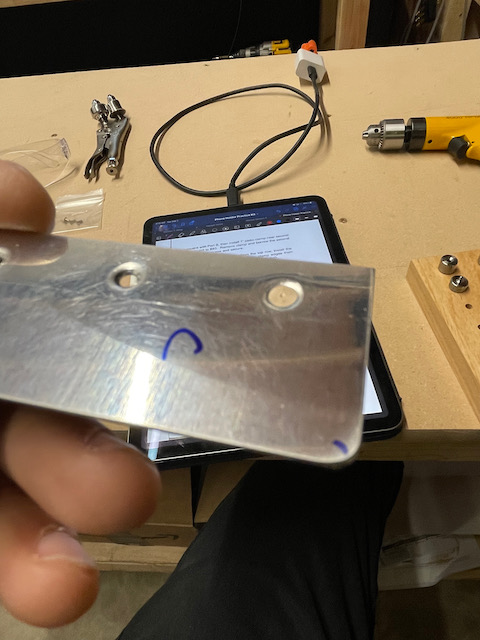
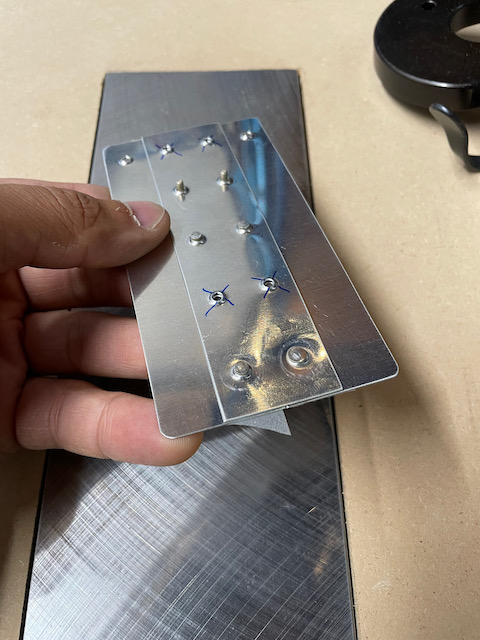
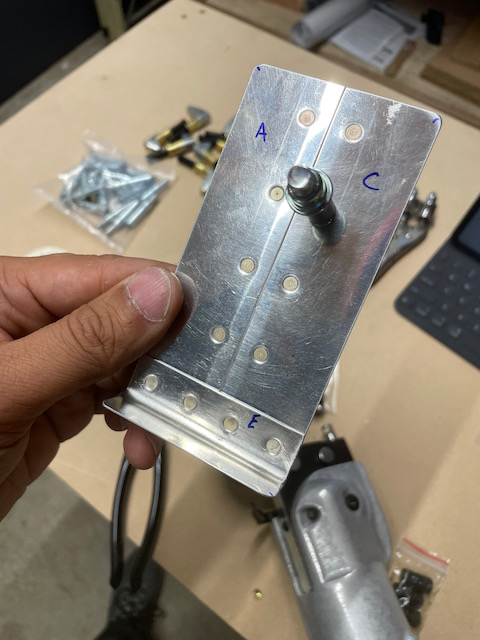
There are very few items in this kit, but it’s designed to give you a taste of everything that you need to do. It started with peeling, marking, and deburring the edges. After reaming the holes out to #40 size and match drilling some additional holes, I deburred everything using my quick deburr tool. First uses of a lot of my tools!
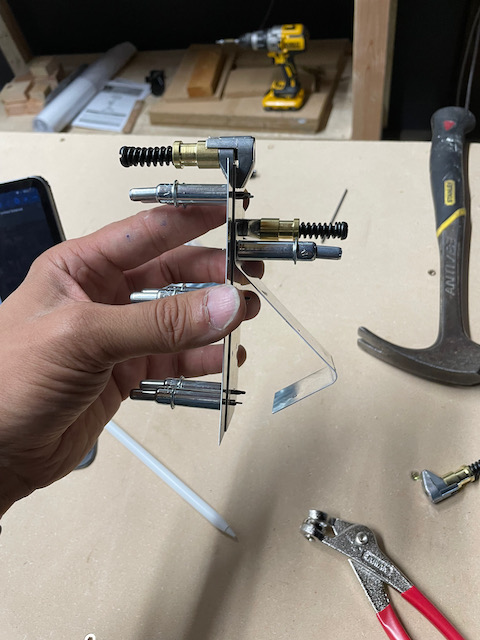
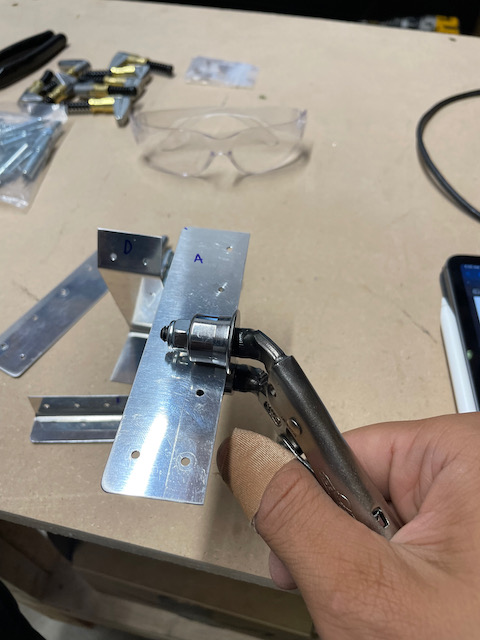
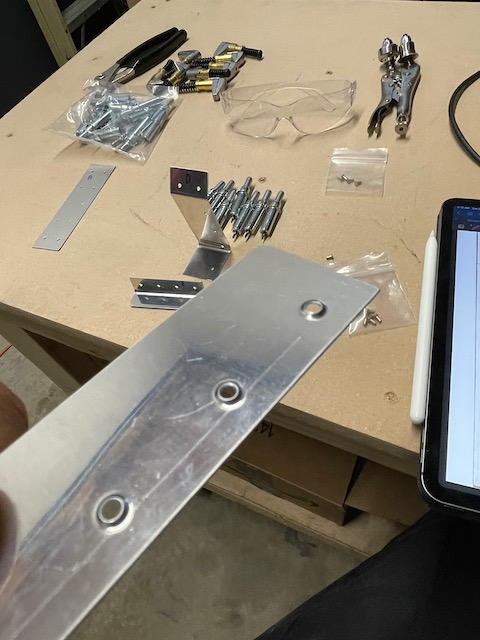
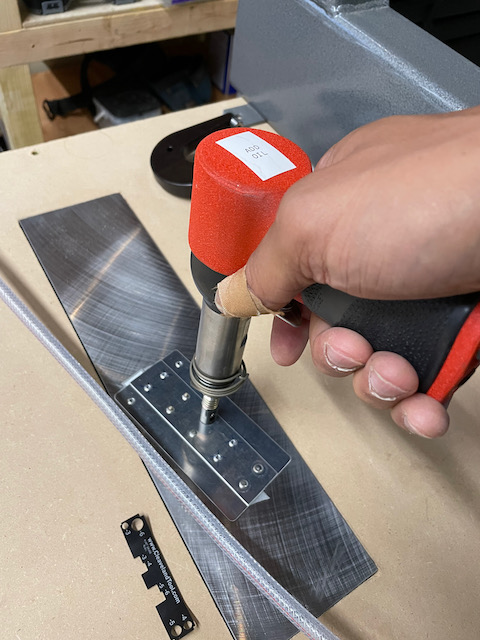
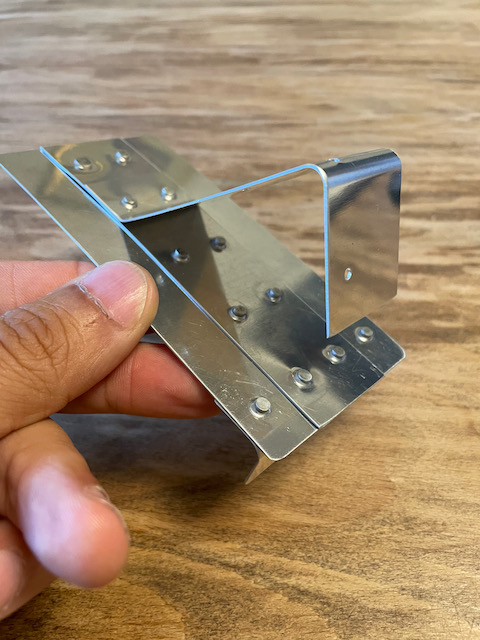
I used the edge roller (first time!) to make sure the two center pieces of the phone holder stay tight, and then I dimpled everything. The kit recommends you do some dimpling in your DRDT-2, and others using the squeezer to simulate skin and substructure dimpling. I was able to use the dimple die I got from Synergy Air which allows you to use a dimple to enlarge the #40 holes to final size without need to final drill. In hindsight I realize that means I didn’t need to do the drilling, but it was still fun to practice.
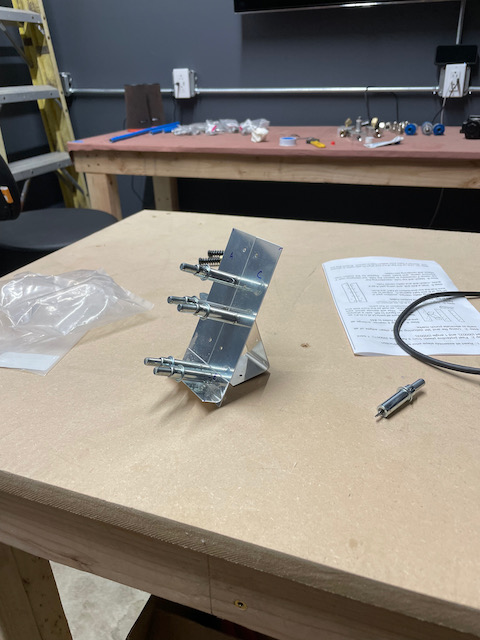
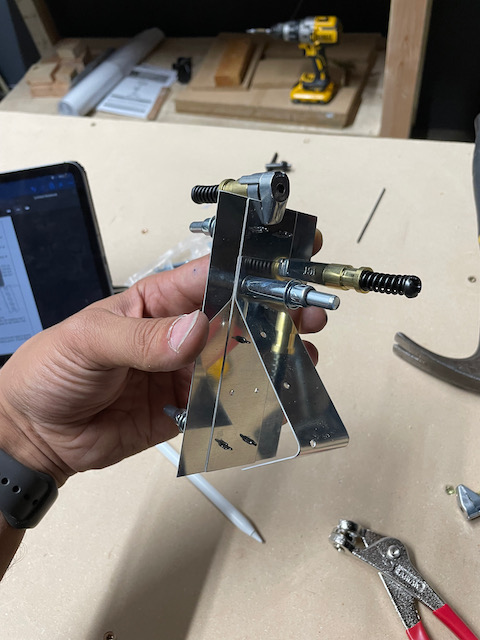
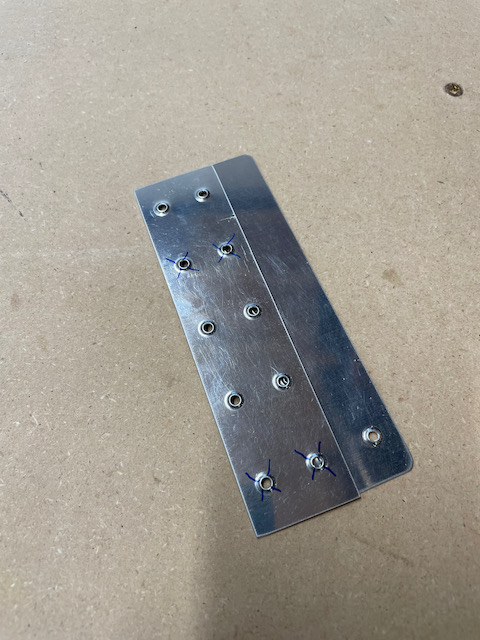
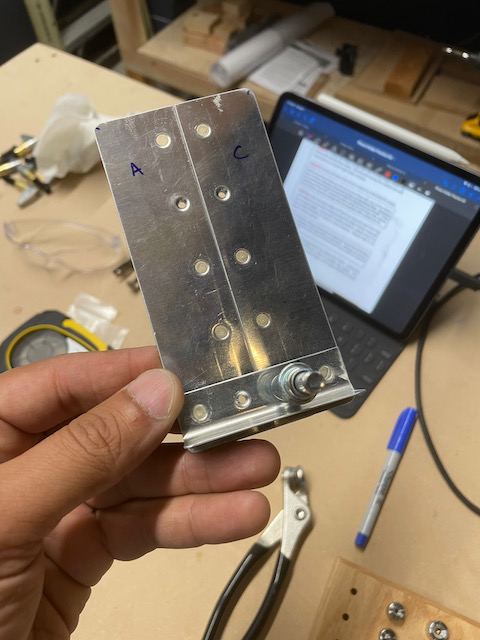
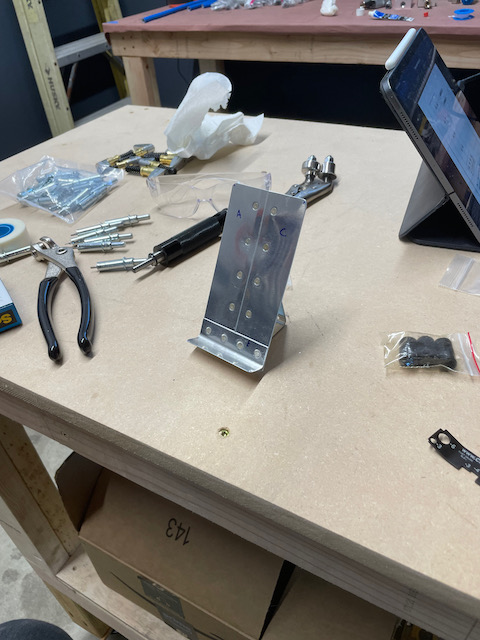
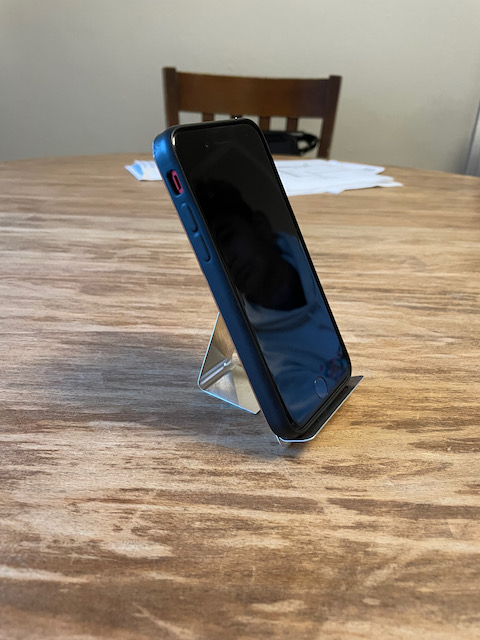
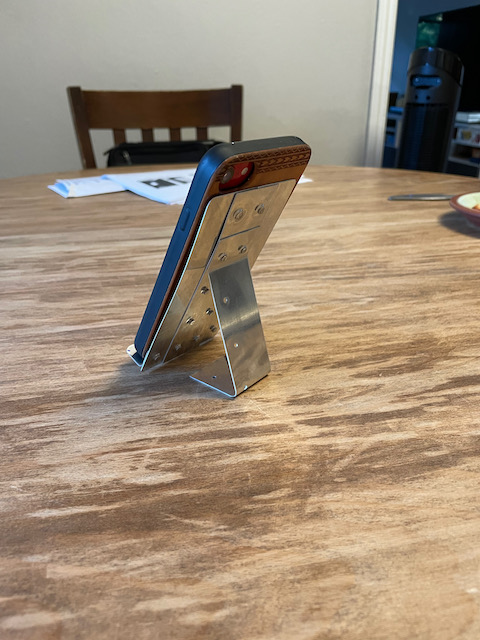
The finished product was fun to build, and will stay on my workshop bench to remind me of the first thing I built in that shop. I want to get the light kit and tool boxes done this week, but we’ll see how it goes!