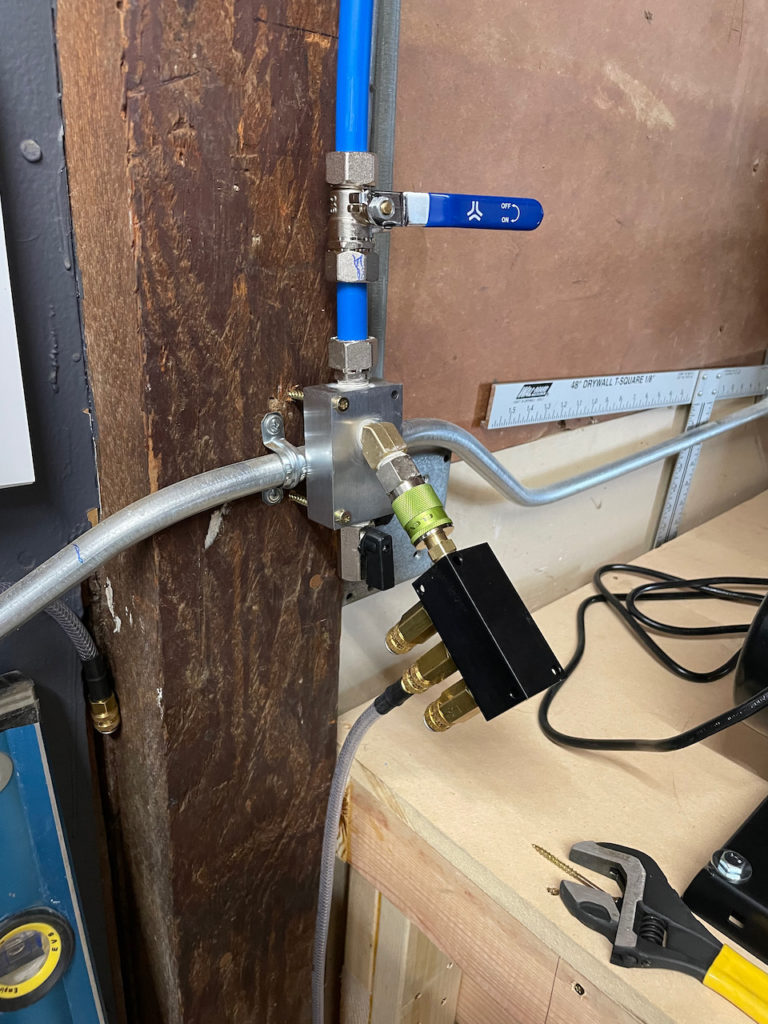
With the kit literally days away (it’s sitting in a warehouse 30 minutes south of where I live), I was starting to get anxious about trying out all the equipment and making sure I’ve got a good feel for where the shop is at. Conveniently, I have 4 different practice kits I can “warm-up” on. 2 Van’s toolboxes, a Van’s Lightbox, and one that I forgot about, a Cleaveland “Phone holder” kit. I decided I’d start simple, and tackle the phone holder. I plan on building the Lightbox on my own, and working with each of the boys to build a tool box. To do so, I needed to hack together the air system, since not all the parts are available to do the final mounting. Don’t Judge me:
The featured image was first attempt, and after realizing that I didn’t have a regulator, the above solution is what I ended up with. Yeah, I know..it’s UGLY, but it worked. I really wanted to get to some building (that wasn’t wood) today. To ensure I had an end to end test, I installed the mini NPT port to the pneumatic squeezer, and hooked up the manifold to the outlet above. Tested and….perfect!
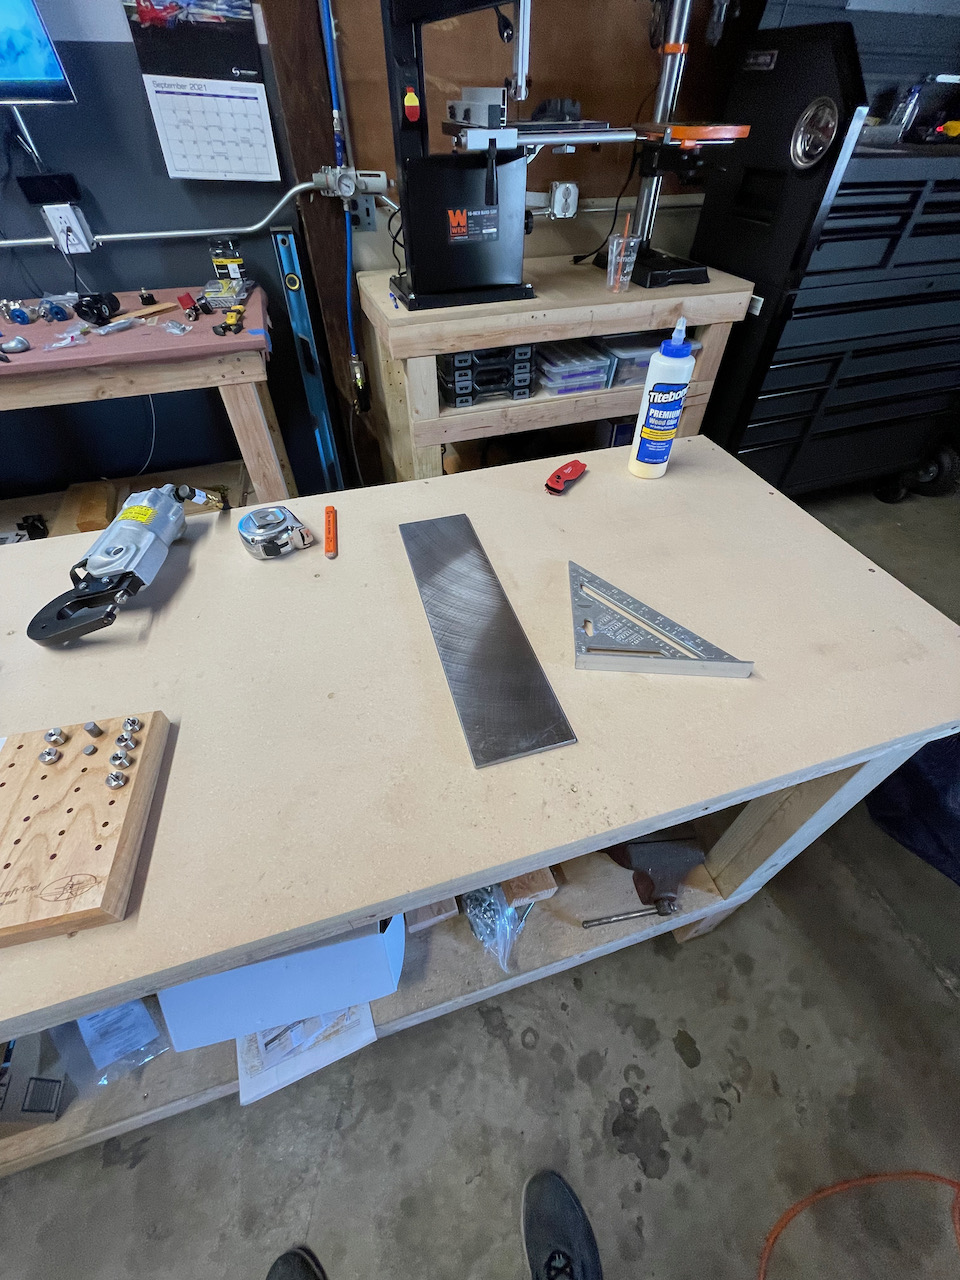
Yeah, that thumb cut from yesterday is a pain with the squeezer but I’ll manage. So I was ready to build the phone holder practice kit. I started to read the instructions, and required tools.
Back rivet set, and back rivet plate – check and…uh..check..sort of.
Uh oh. I definitely have the back rivet gear, but I forgot that I needed to embed that plate into one of the table tops. Shoot! Well that changed the plan for the afternoon. (I imagine this won’t be the last time ha ha!).
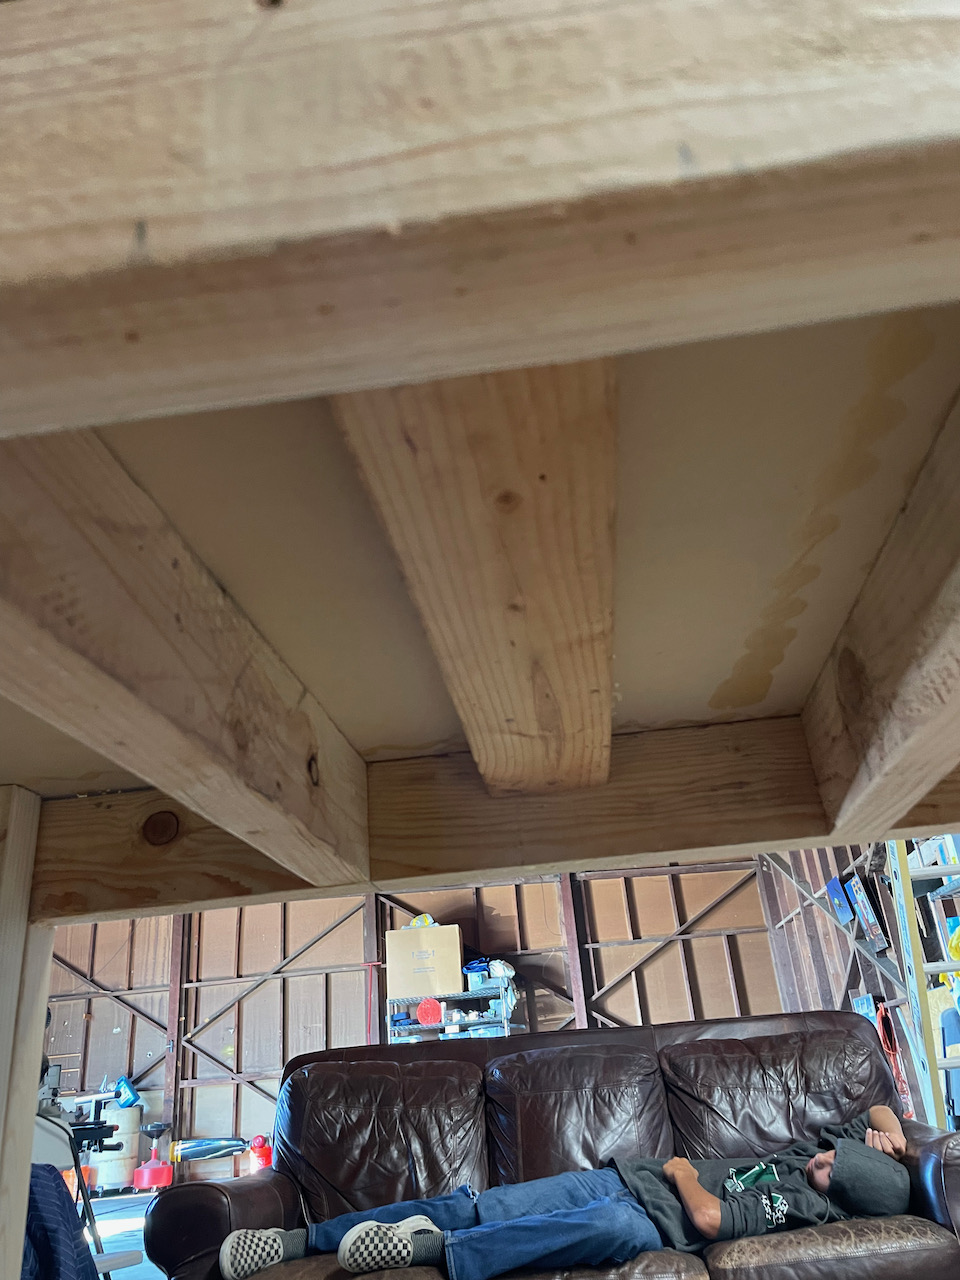
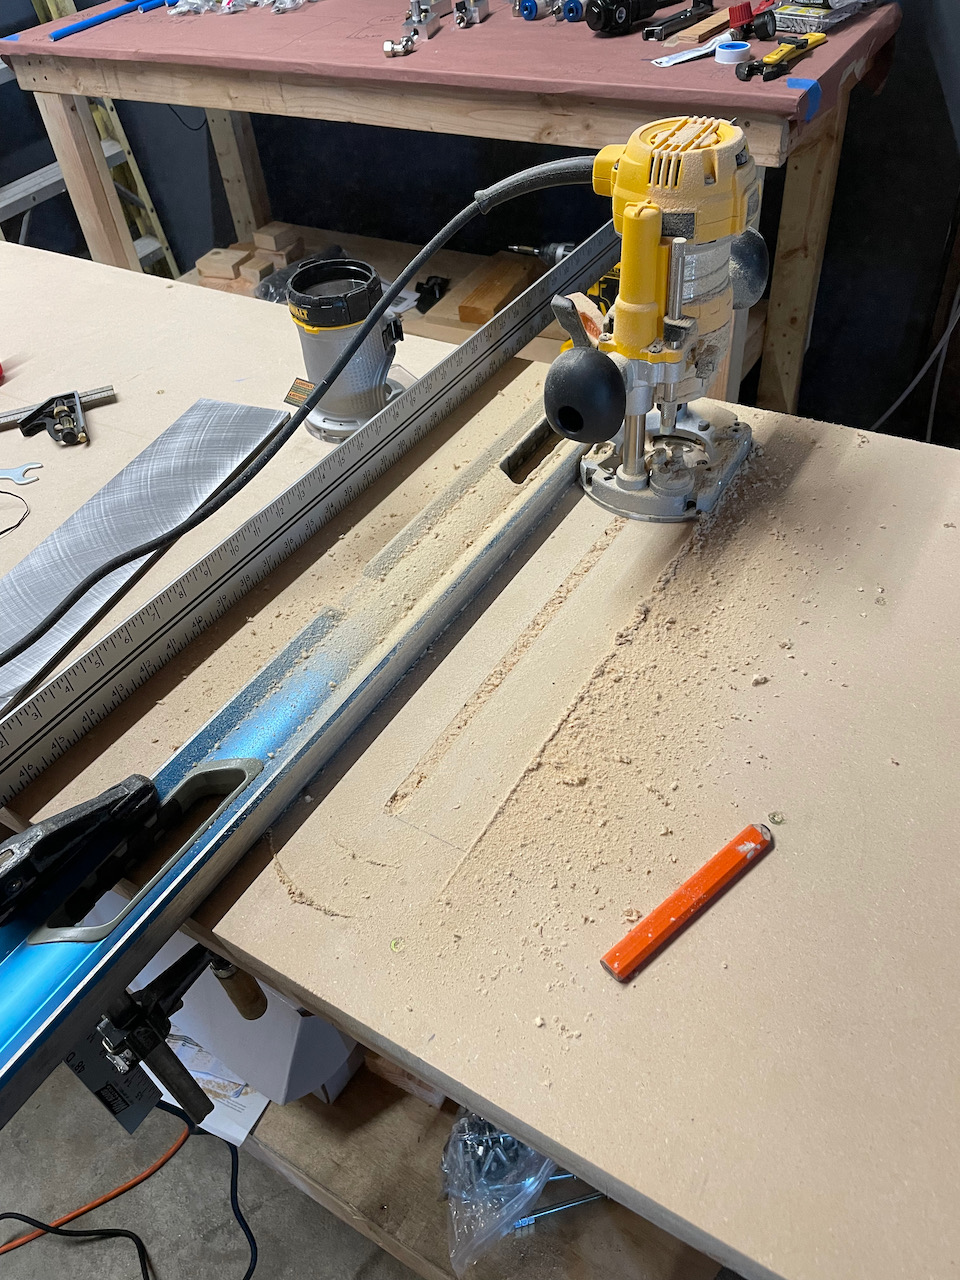
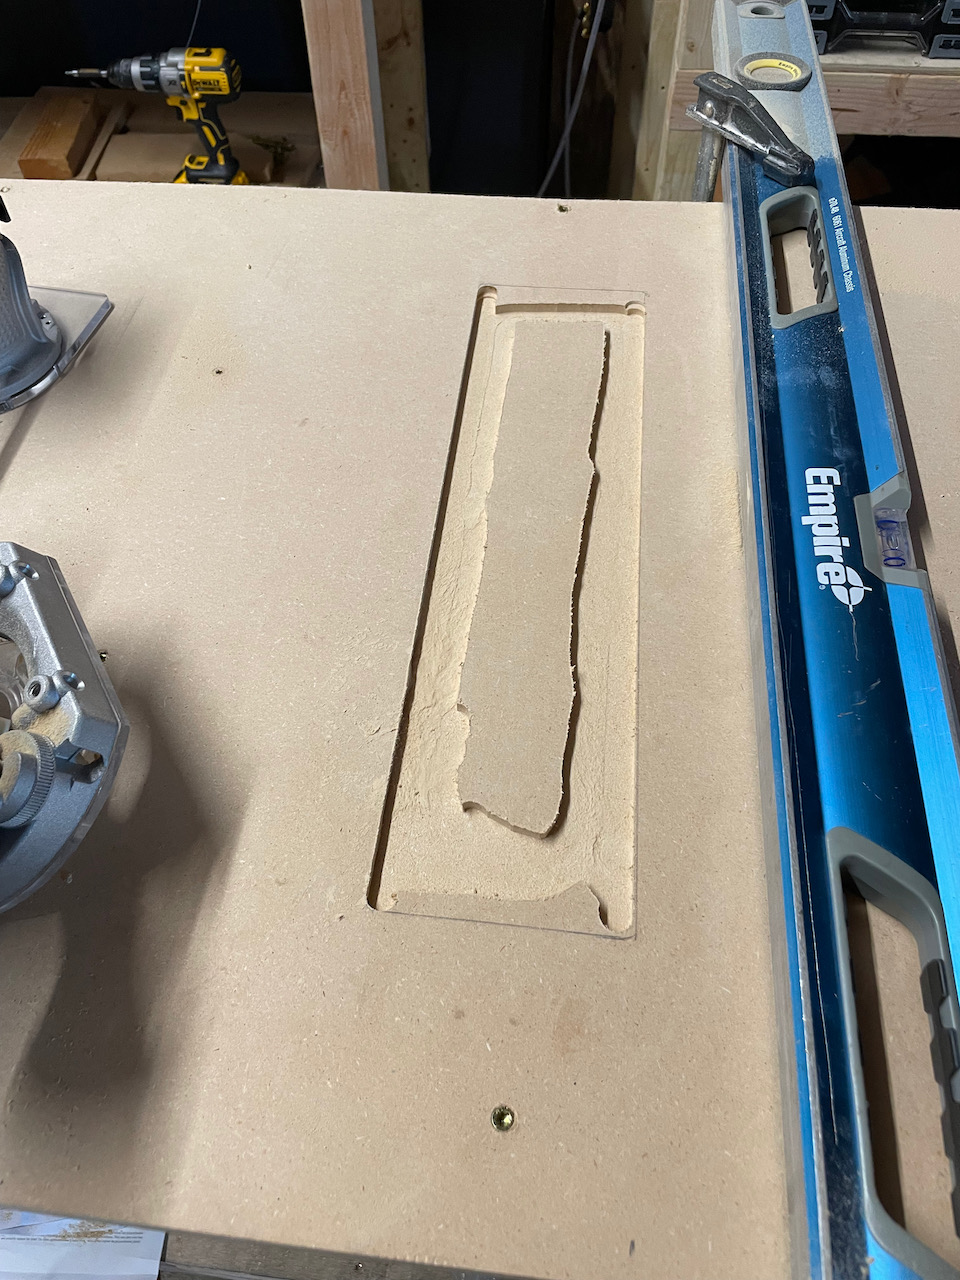
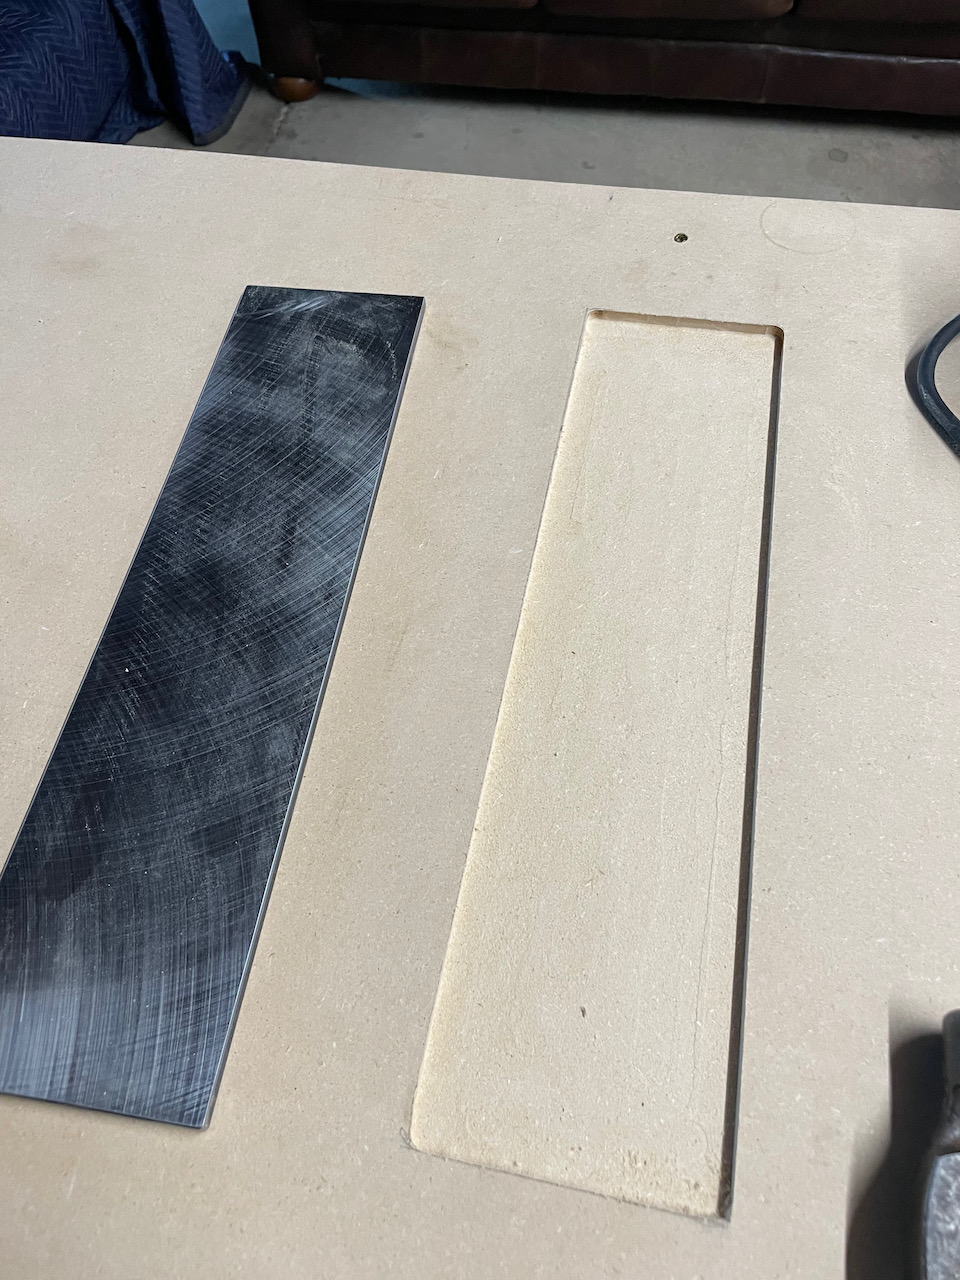
back rivet plate install
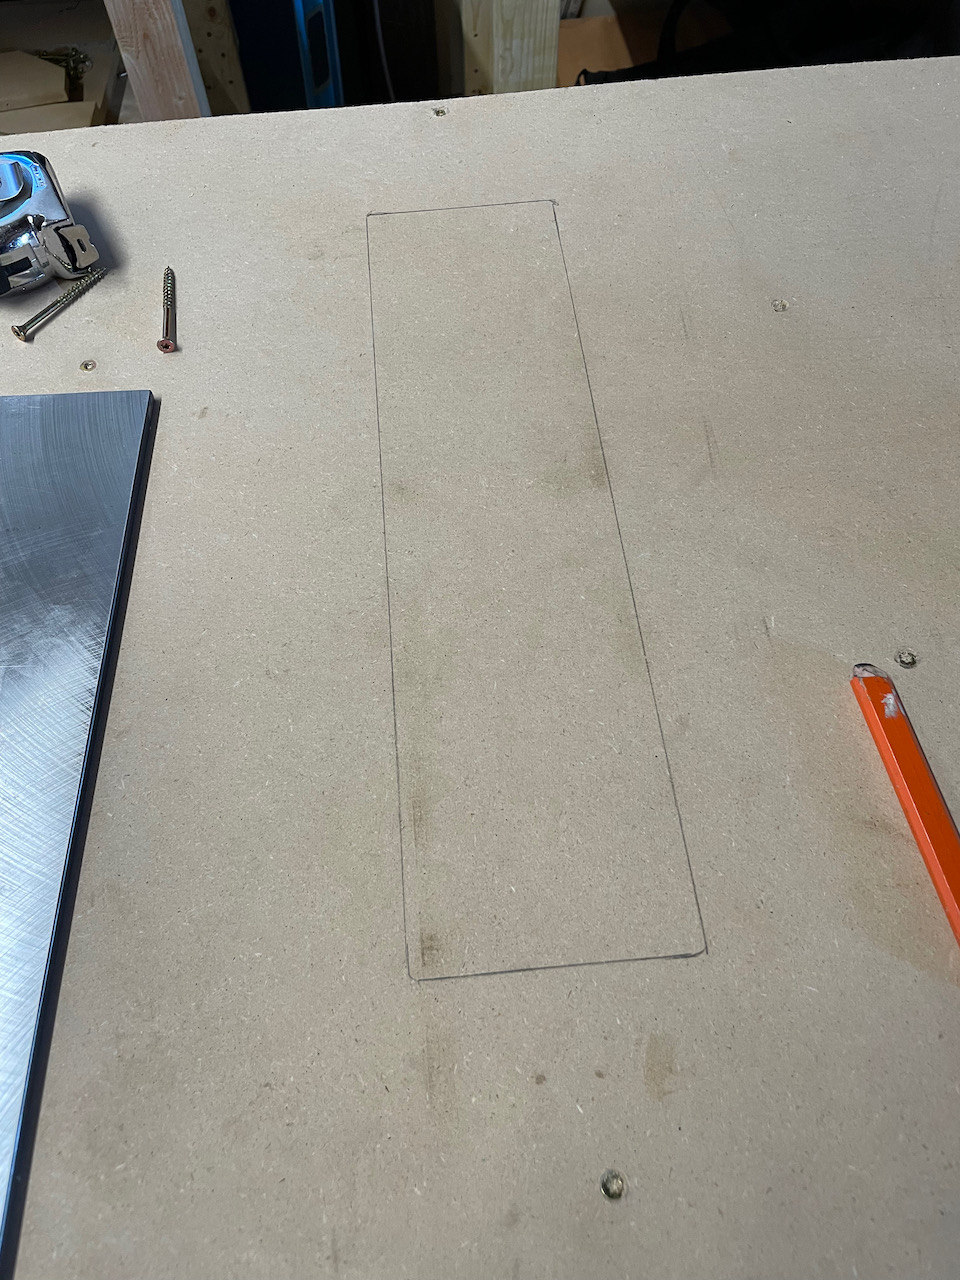
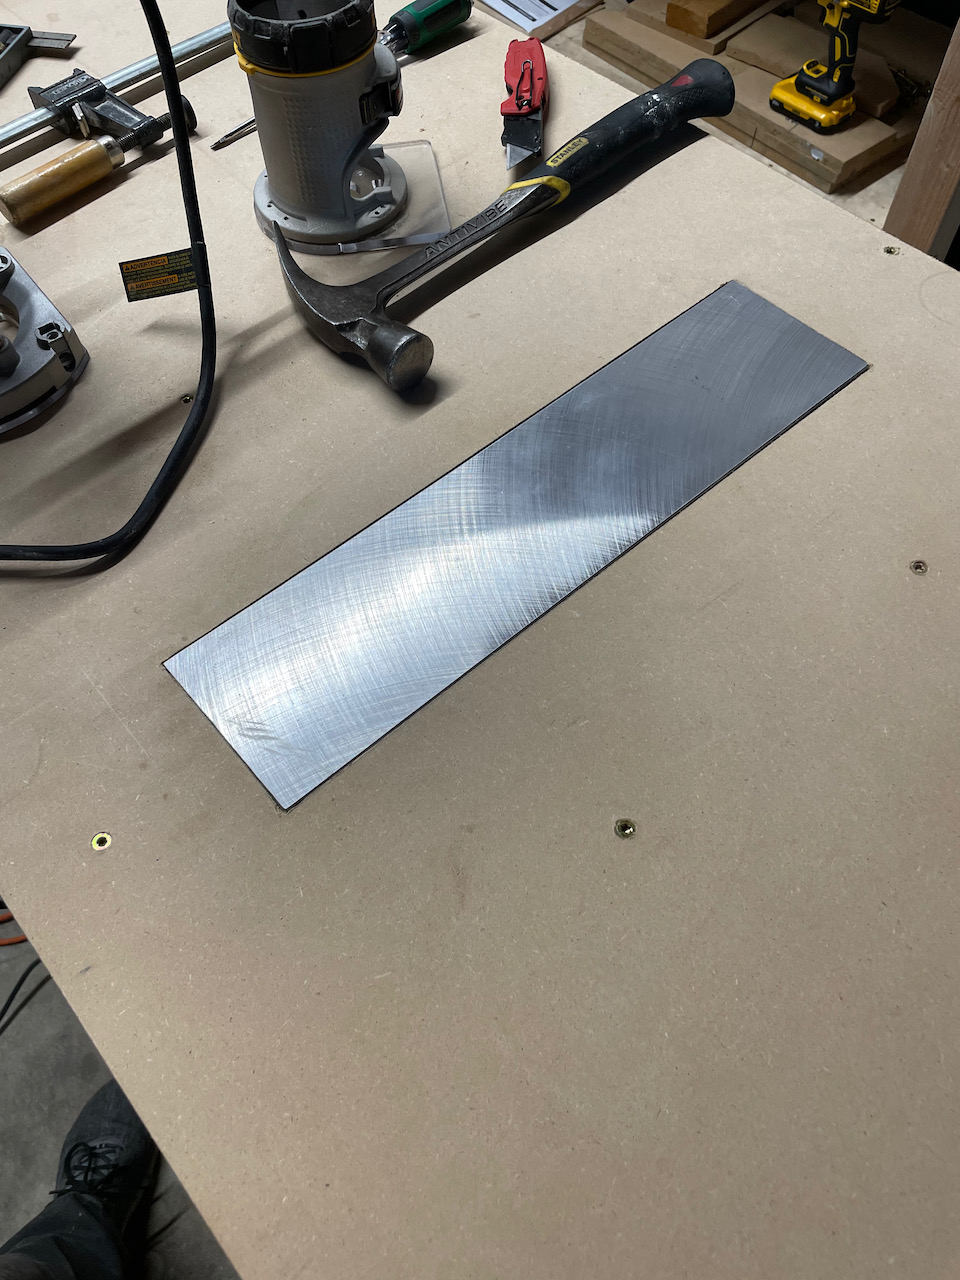
I ran home and got my compact router so I could carve out the spot for the plate. After marking the location, adding 2×4 backing underneath (yes that’s my son sleep on the couch), I clamped down the guide rail, and started routing away.
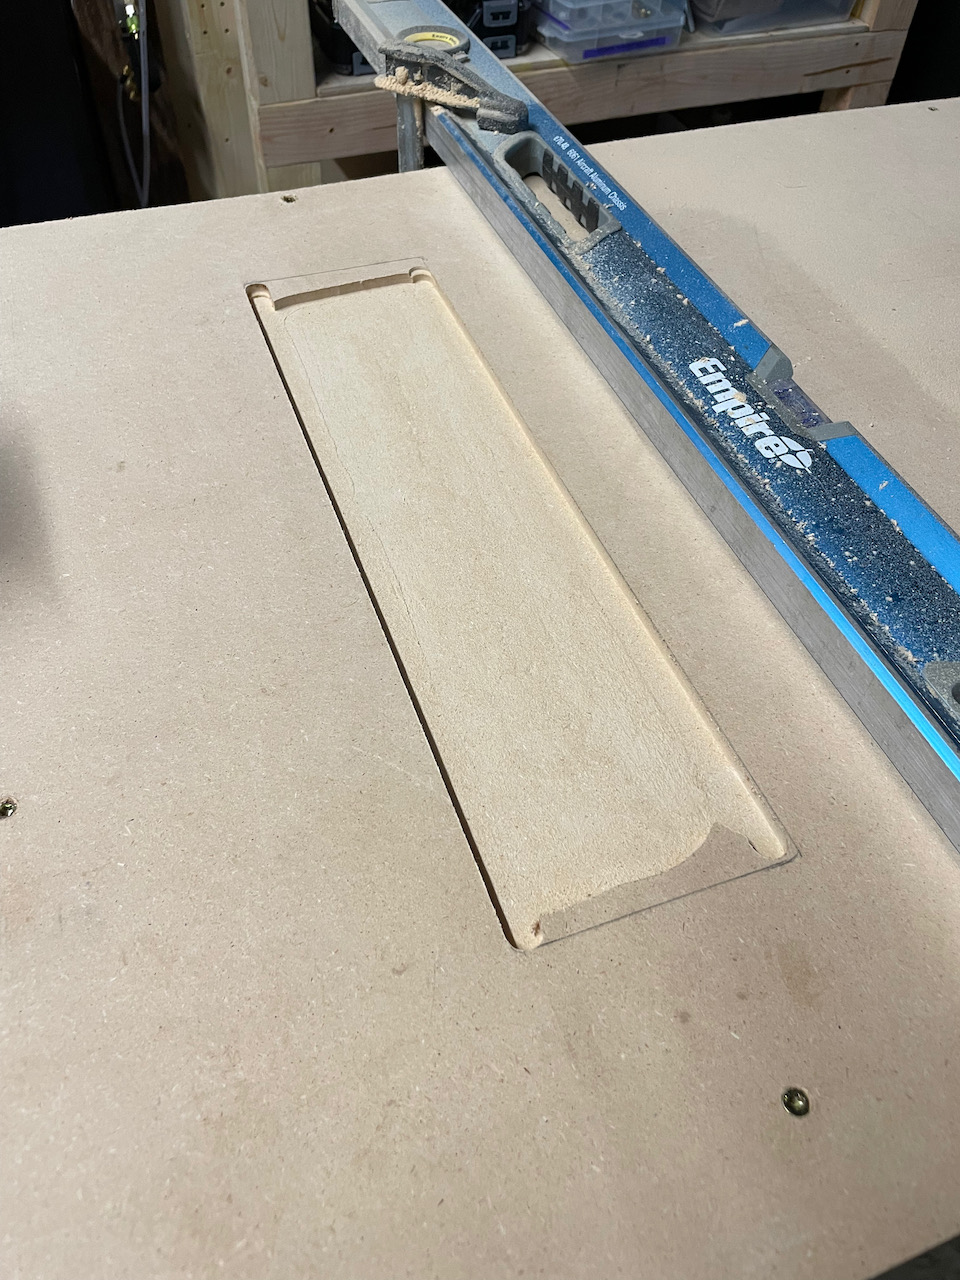
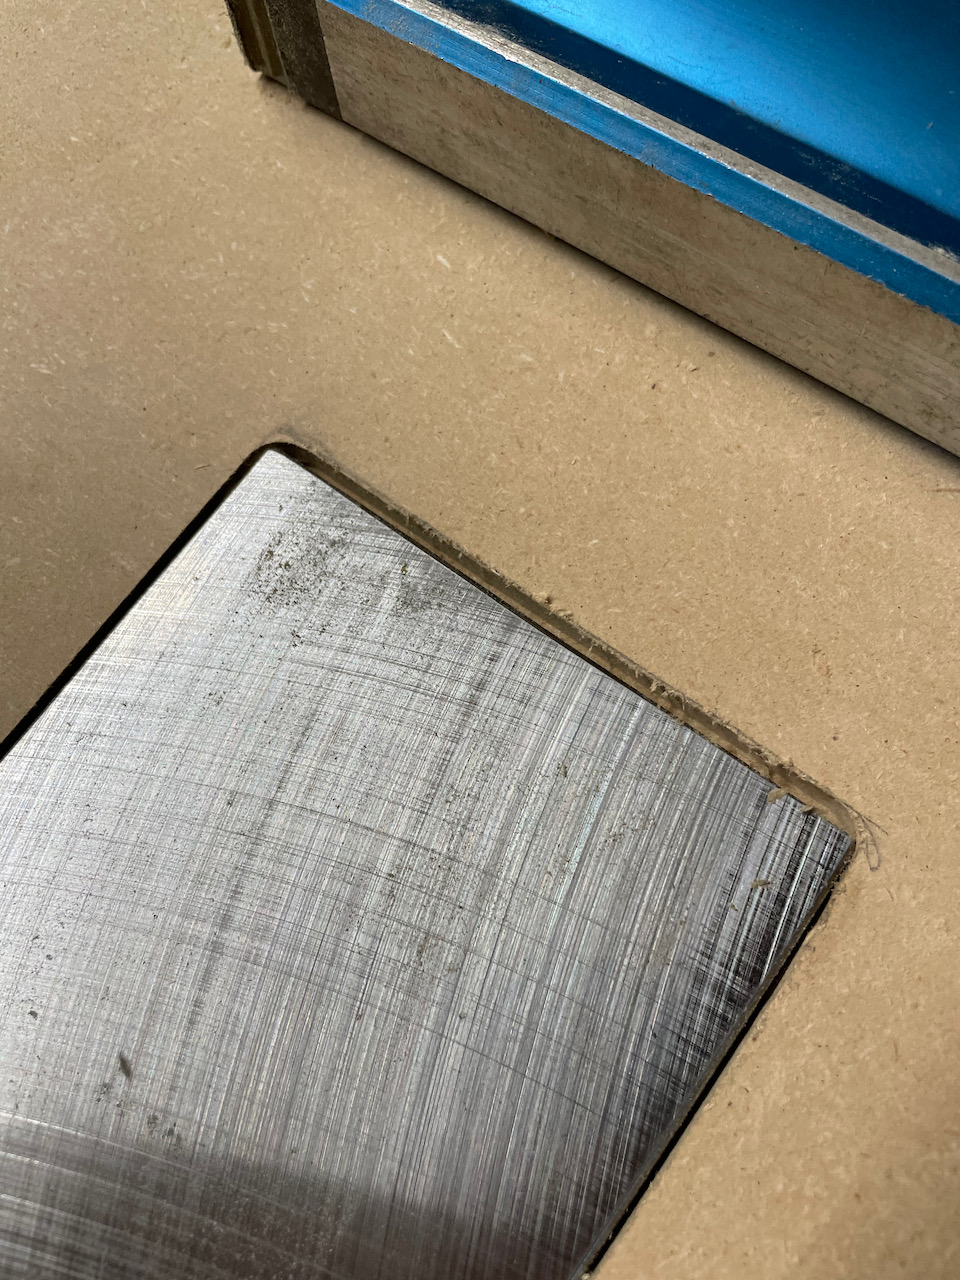
After some time, and a bit of clean up of the corners to square them out, I ended up with a great fit, and a back rivet plate that is now useable!
It’s time to get back to the phone holder build! Hopefully I didn’t forget anything else I need to prep in the workshop. After reading through the directions, i felt pretty comfortable I had everything I needed. Look out for the next post on the phone holder build! So excited to get to some actual metal working!!


