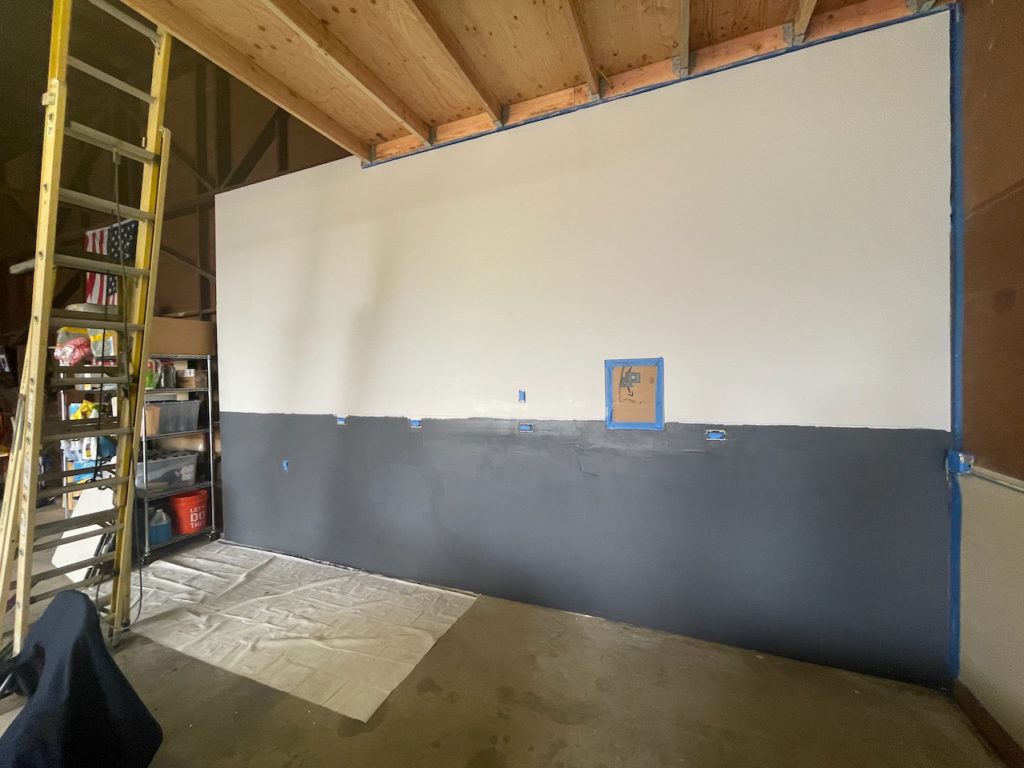
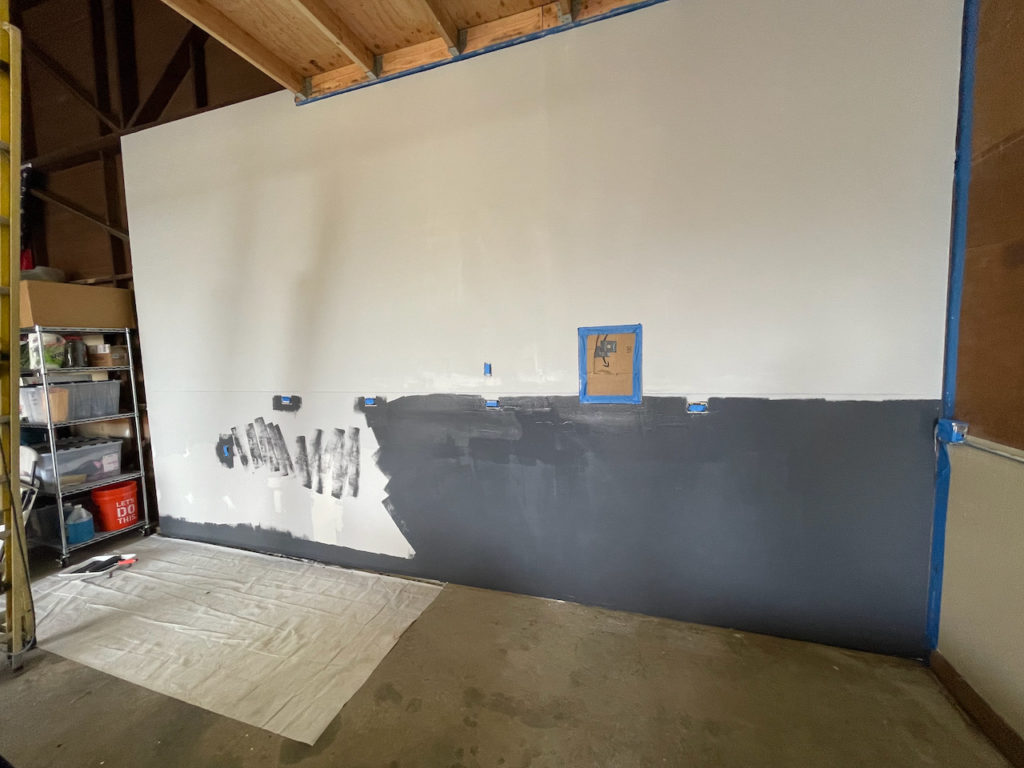
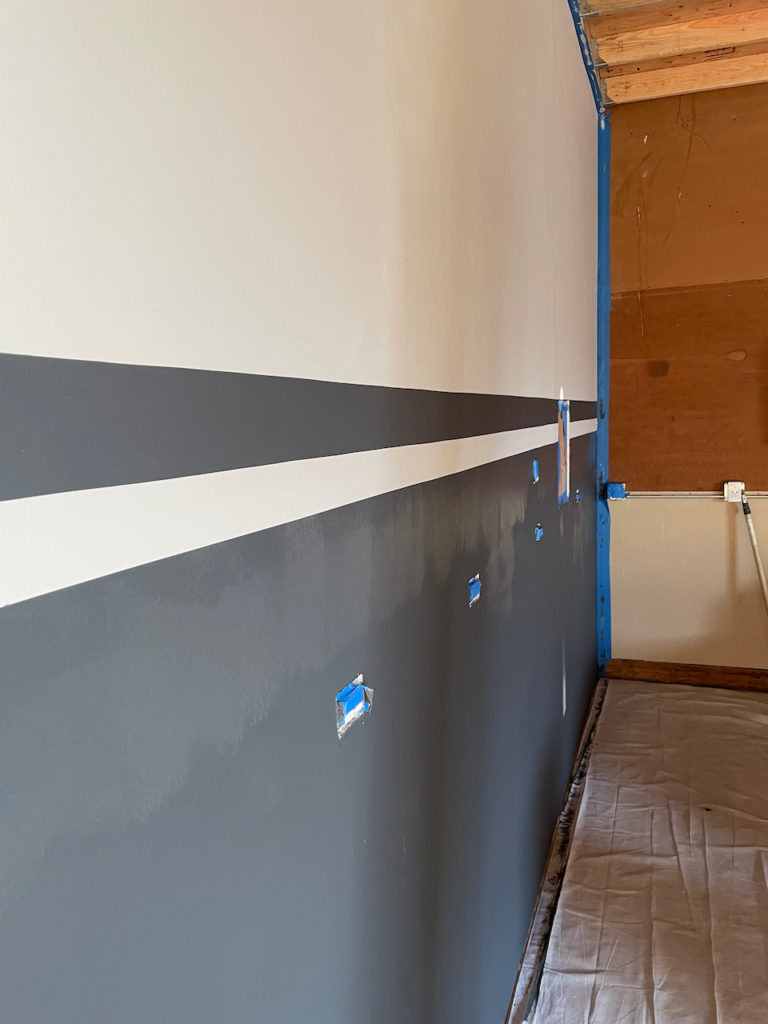
In the second painting session I was working on the lower half, where the plan was to use a darker color. You can see the start of the rough cut below and the final rough cut above.
The issue was how do I make sure I have a straight line? Well, when in doubt, YouTube! I had seen FrogTape previously, and of course there were a ton of videos on the subject. I found a great video linked here on how to do exactly what I was trying. (It’s also embedded at the end of this post). Two big things I took away from the video (and one I learned on my own!)
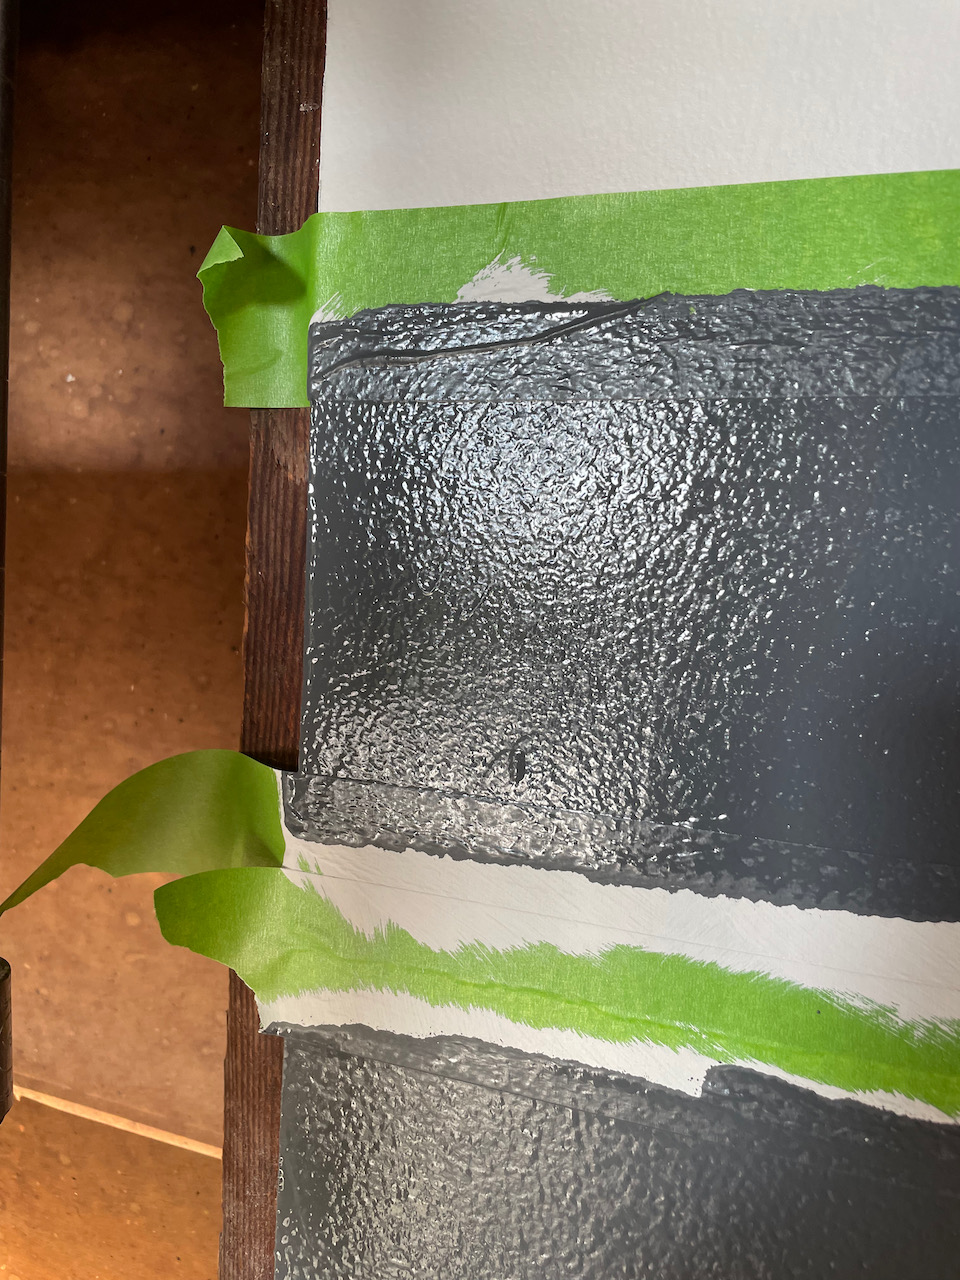
- Make sure you “seal” the tape with the color you are trying to protect. In my case, this is the white. Multiple videos talked about this sealing, and I attribute the high quality finish to this. Apparently the special properties of Frog tape are activated with the chemicals of the paint. it’s important that anything that leaks through during that activation is the same color as the color under the tape (i.e. the “protected” color)
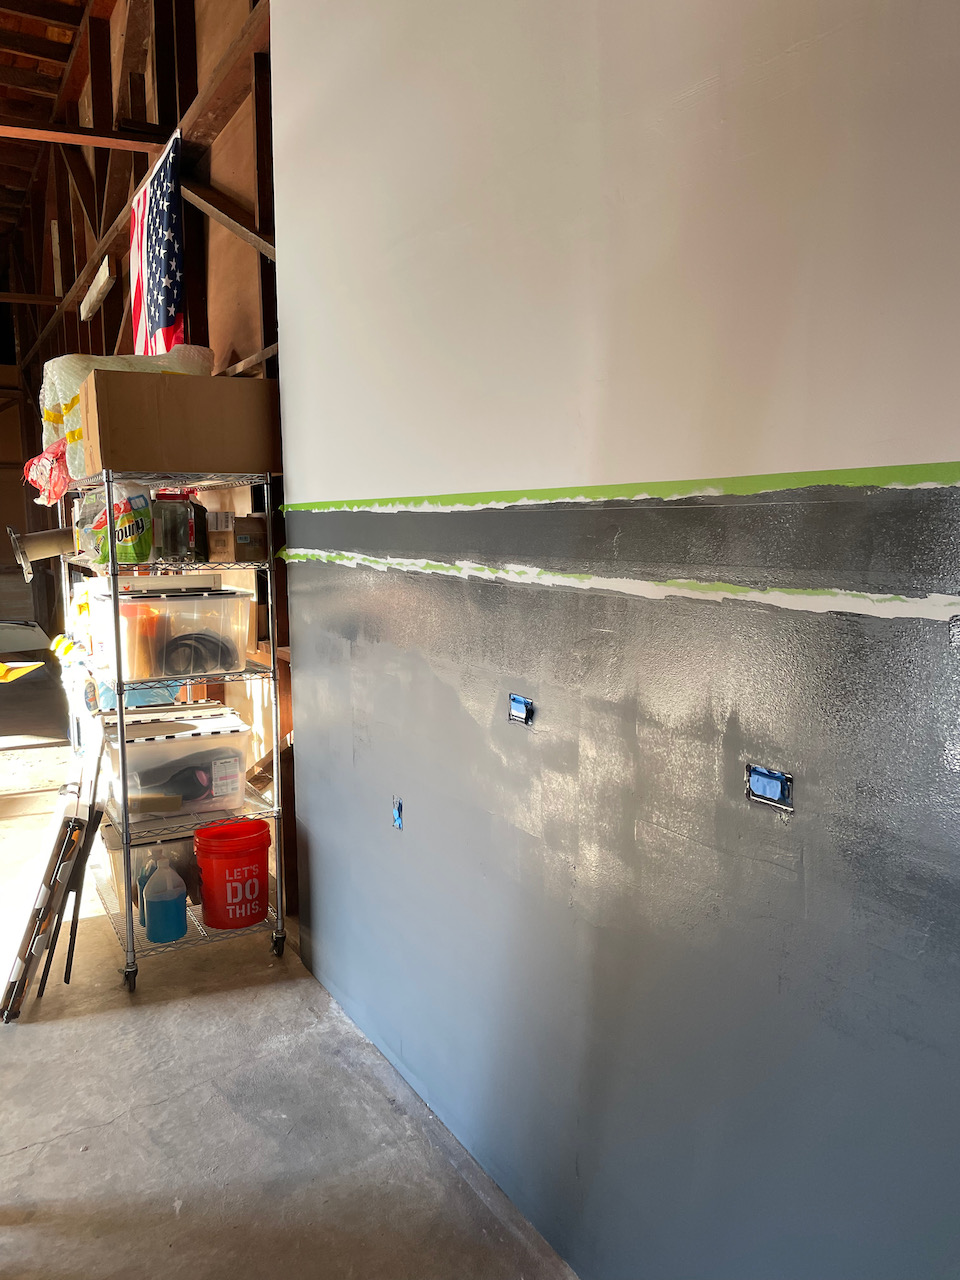
- A straight line is not easy. In fact, even after watching the video I thought I could do it better, and the end result of the “easy way” was not pretty. I wish I had taken a picture of that. I ended up redoing it in a way similar to the video where I marked a measurement every 6 feet, and then drew out a line with a level to make sure it was pretty close.
- This third one I didn’t learn from the video, but note to self, don’t use a chalk line. The chalk comes off as you paint and bleeds through to the surface. At least on lighter paint. It also gets on the paint brush and contaminates the paint. Ask me how I know… :).
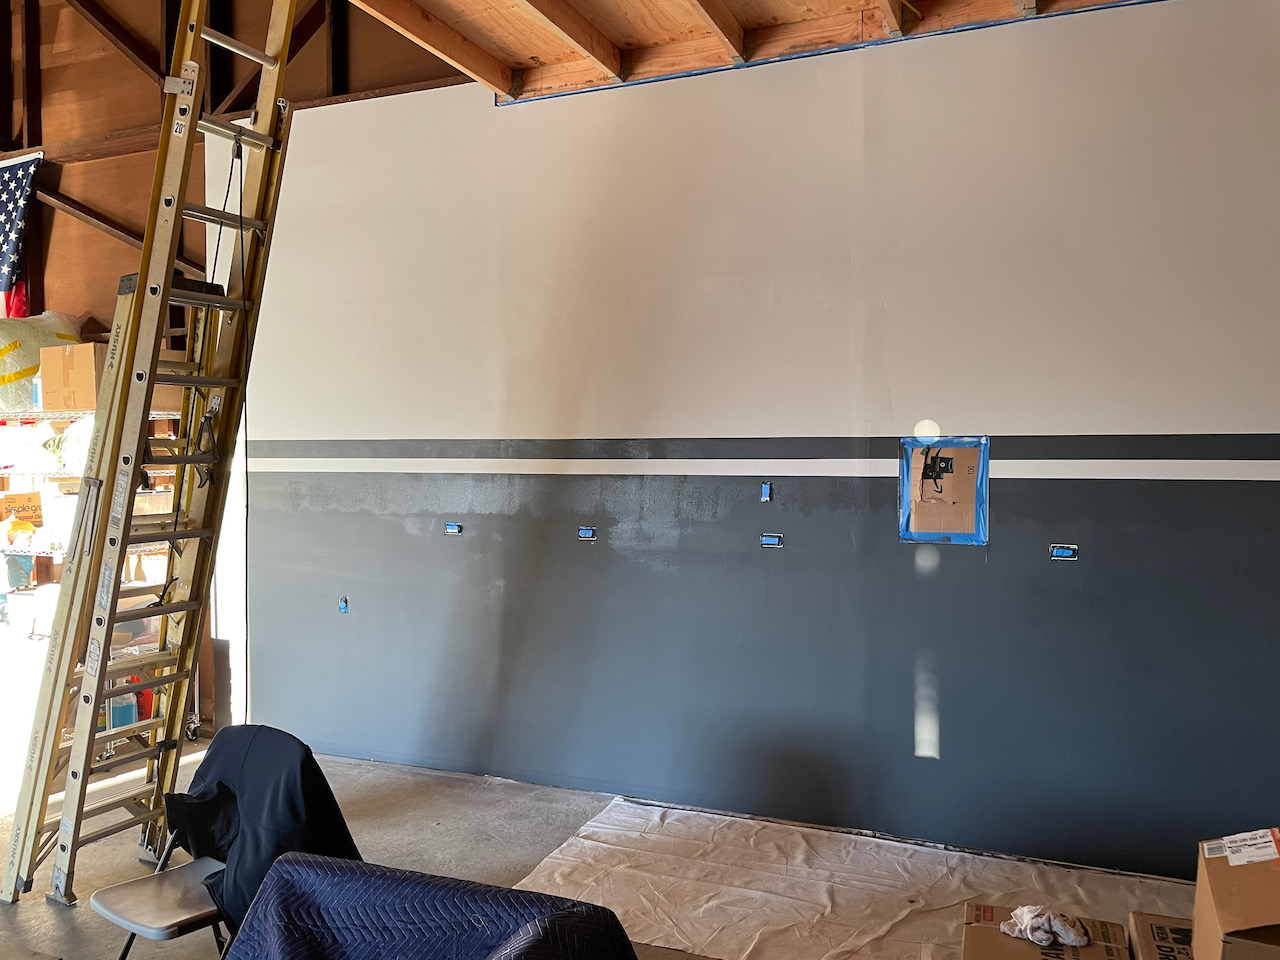
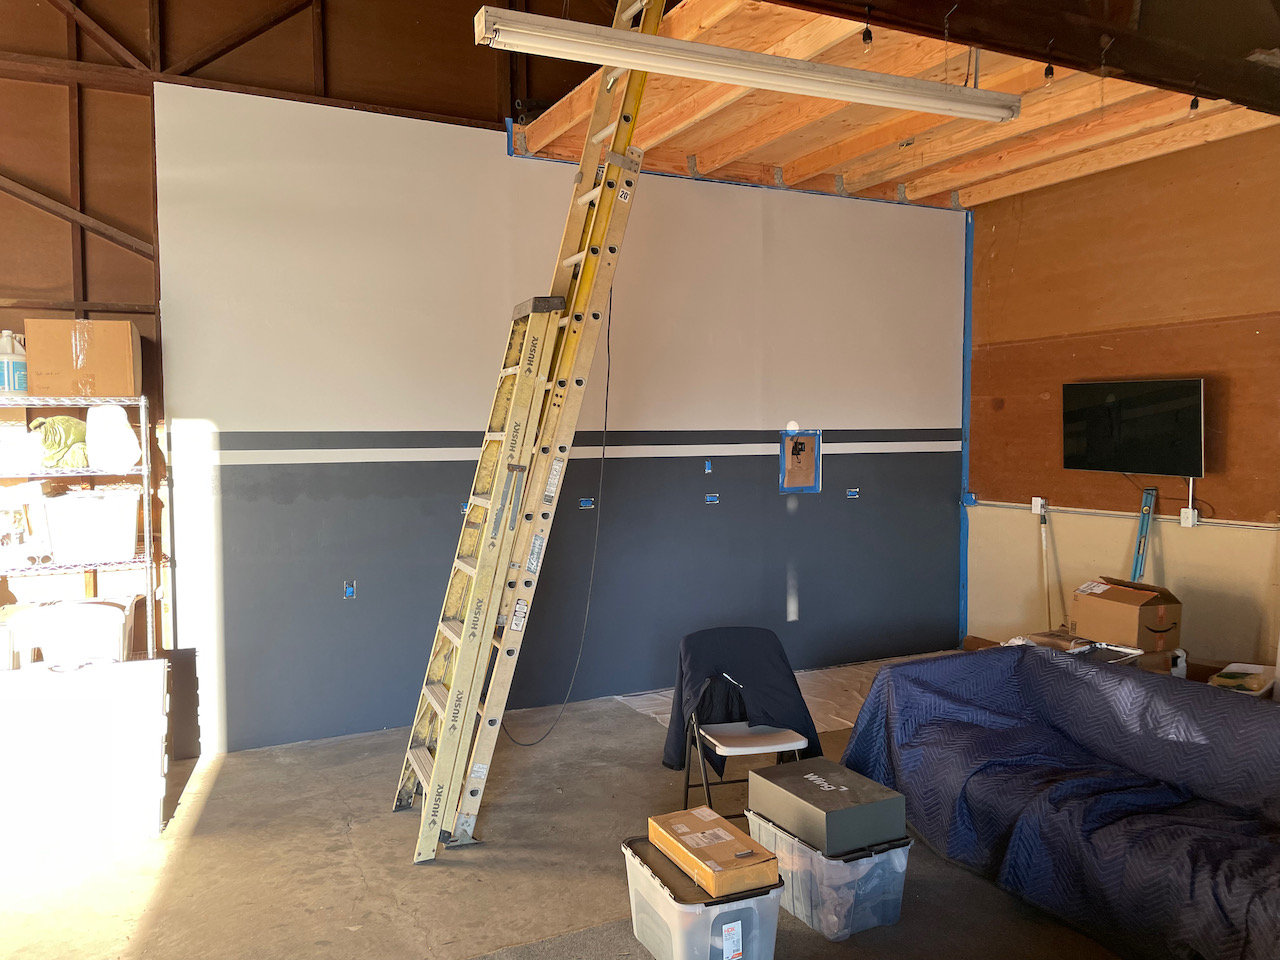
So how did it turn out? Well in my opinion….Fantasic! But I’ll let you be the judge.
In the end, I’m super happy with how it turned out. I think it will create a great space to spend a lot of time. This is stuff that once the build has started I’m guessing I would never do, but while I’m killing time I might as well go all the way. Finally, I’m done!… right? uhhhh…. right? well….there’s one issue. Now that other wall is driving me insane. Wouldn’t it look so much better with the stripe coming around the corner? Of course! So that happened. I’m going to get started as soon as I can on that other wall. It’s pretty small, so I should be able to get through it much quicker. (And I know not to use a chalk line!) Here are some final pictures of that first wall completed.
Here’s the video I referenced above. At the time I didn’t realize it was sponsored by FrogTape, but I can assure you, they didn’t pay me thing to use the product! Enjoy!