Well, maybe I should clarify. We had electricity in the hangar before, but the quality and capacity of the electricity was extremely poor. We are over 260ft from the sub panel, and the gauge wire used to our outlets was too small. On top of that, there are 4 other hangars on that same run of power. This resulted in constant circuit breaker pops when driving an air compressor, and lights dimming anytime someone’s fridge activated. This wasn’t going to work for my workshop needs.
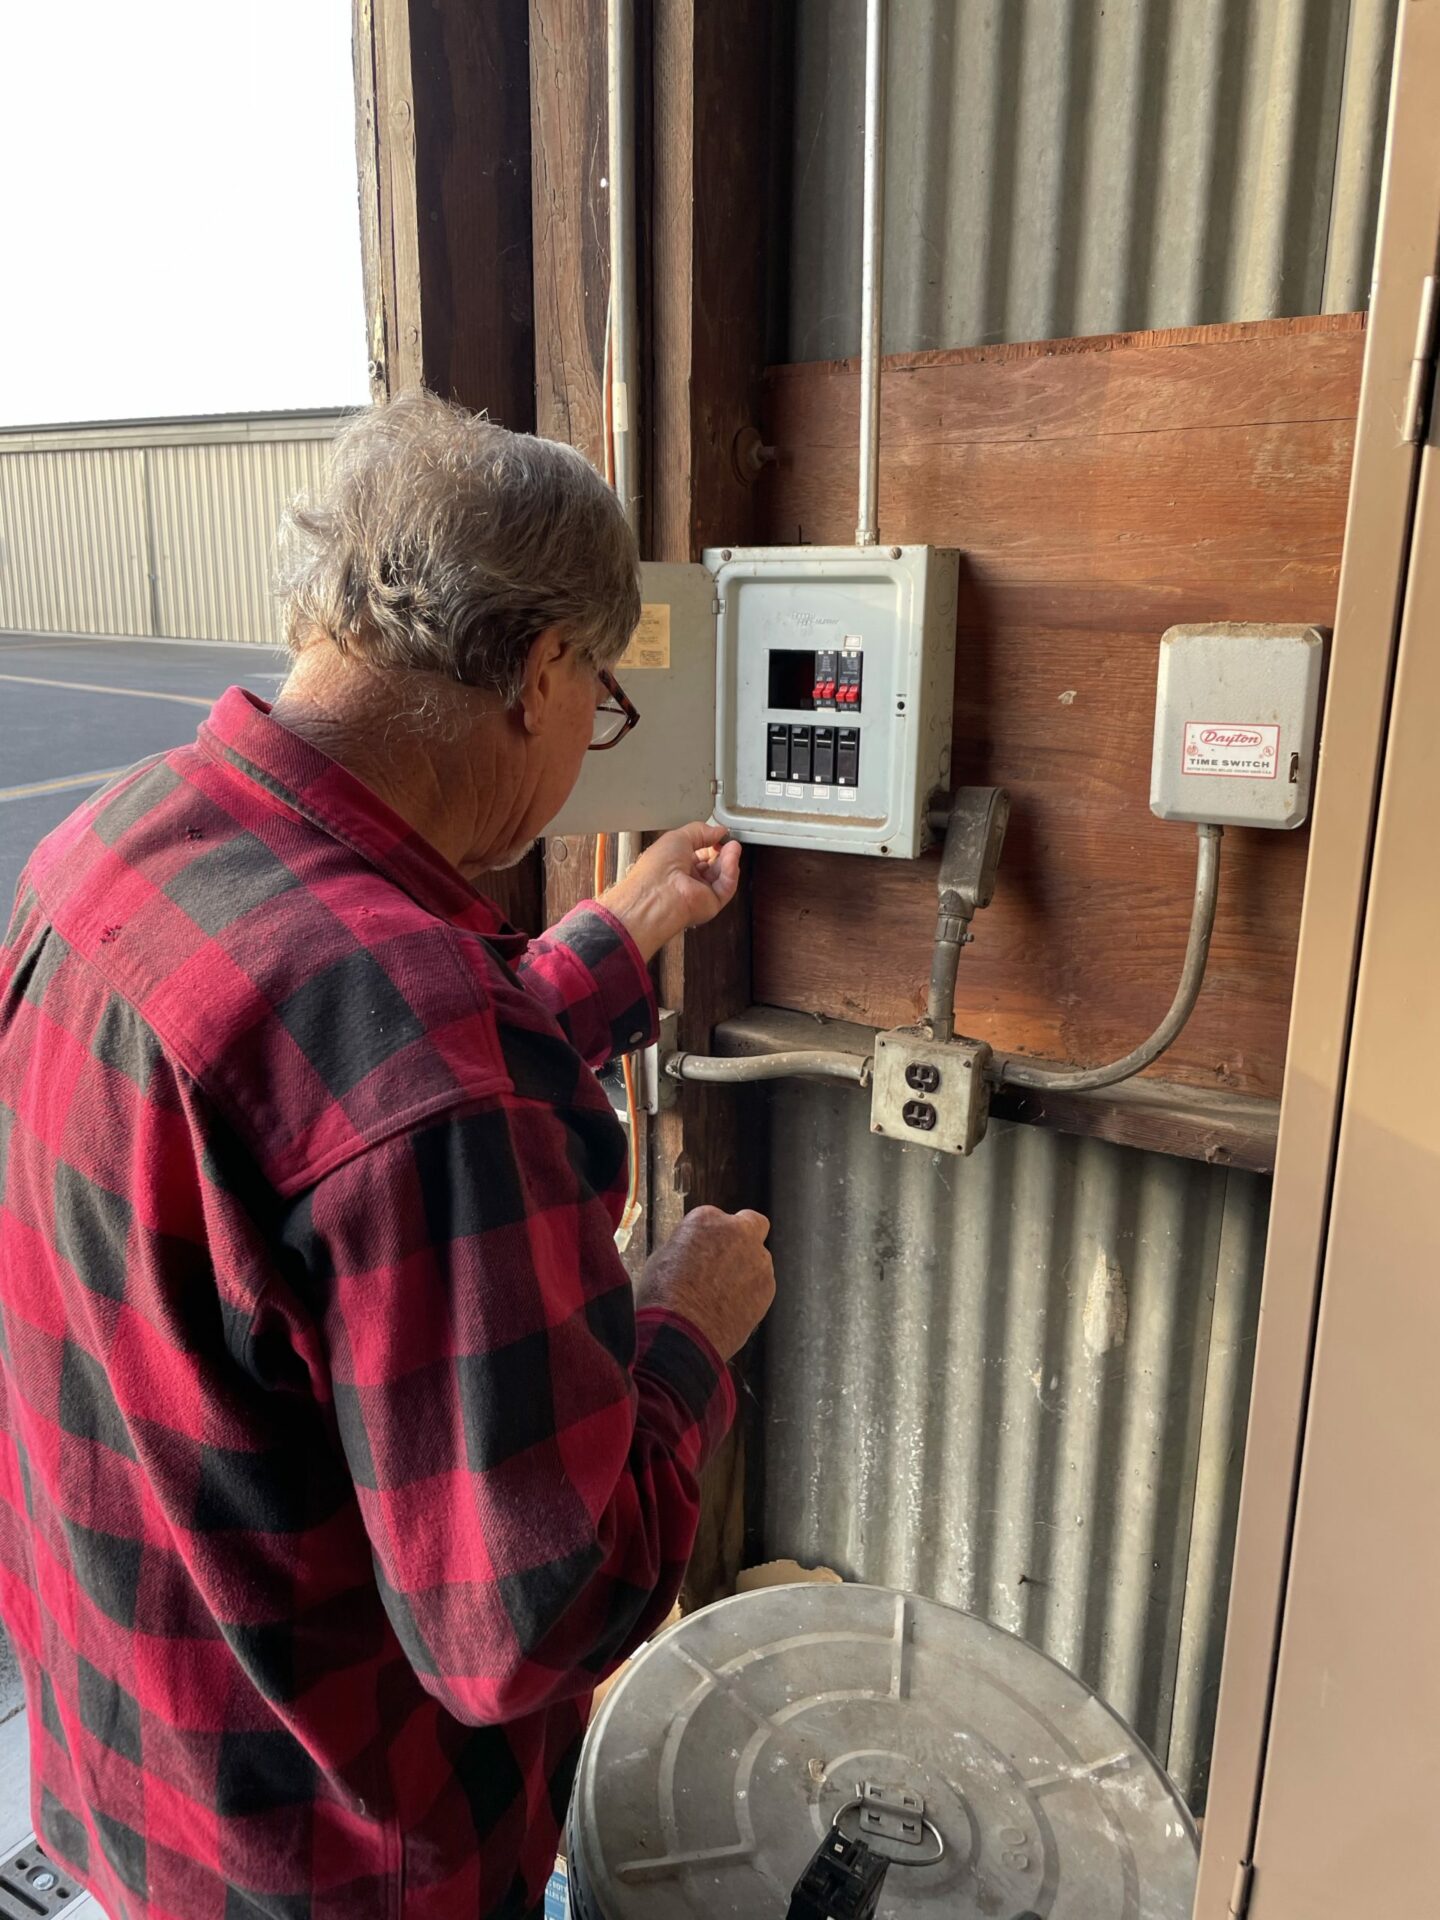
The solution to this was a big project to run a new circuit from the subpanel to our hangar. The good news is my Father-In-Law is a contractor, and knows electrical well, so we were able to get this all done in a day, with some great cooperation from the other hangars on the run to give me access. (Sidenote, I love the community of aviators at KPAO. I’ve met almost every tenant in our building and they are all so supportive, and excited about my project. I look forward to getting to know them all more over the years).
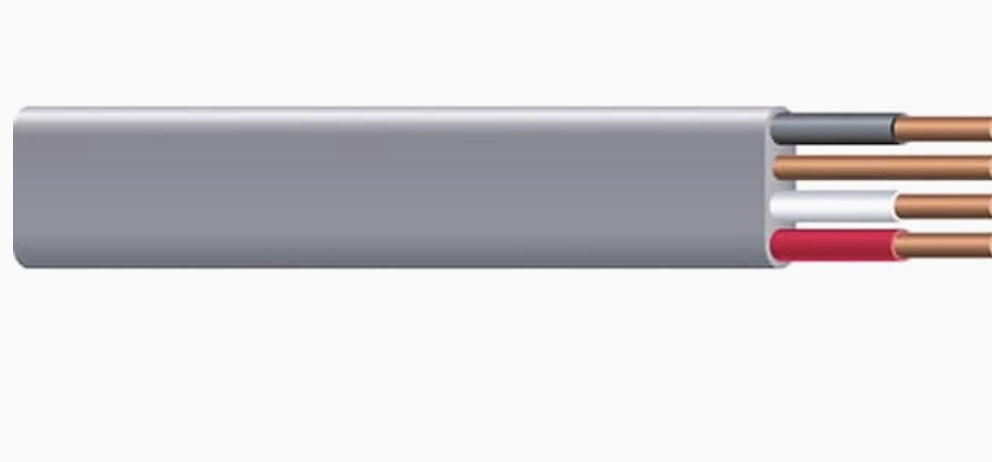
So the wire below doesn’t really do it justice, but it is 8/3 stranded UT wire. This is beefy stuff! 1 1/8” wide and we had about 150 pounds of it, so there becomes a challenge of how to pull this stuff. Trying to untwist it is not possible after the fact (especially when you’re running 260ft of it and through multiple walls)
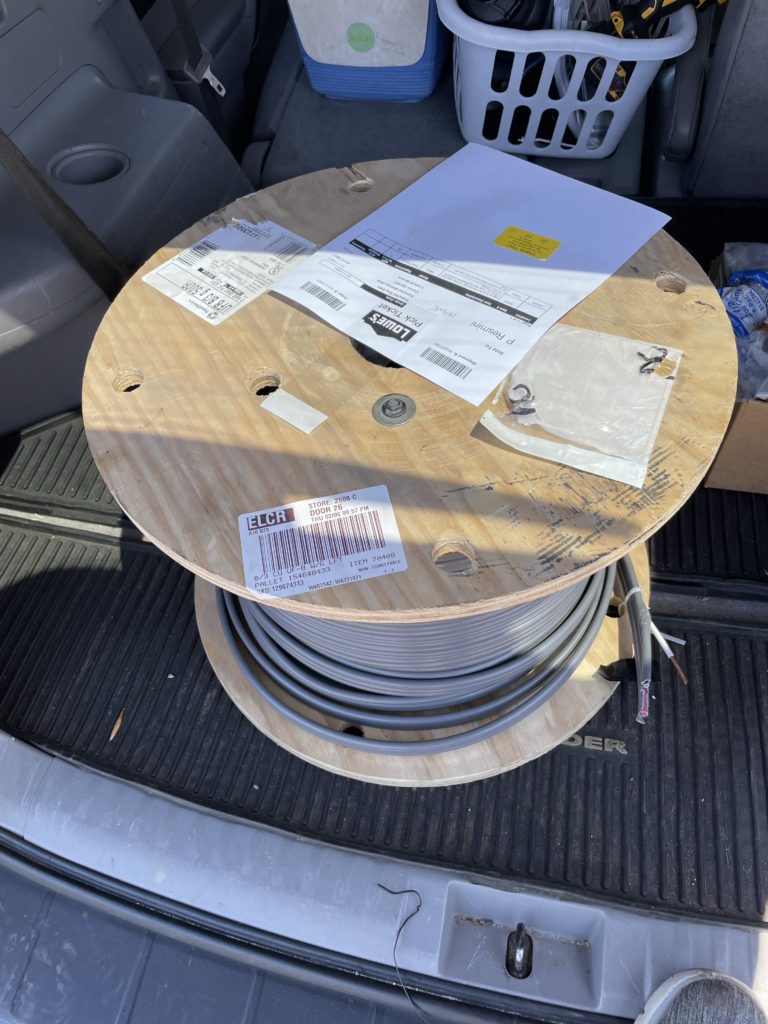
The solution? Lazy Susan! We purchased a lazy Susan mechanism and connected it to plywood. By putting it up in the loft where the run starts, we had smooth sailing pulling the cable through.
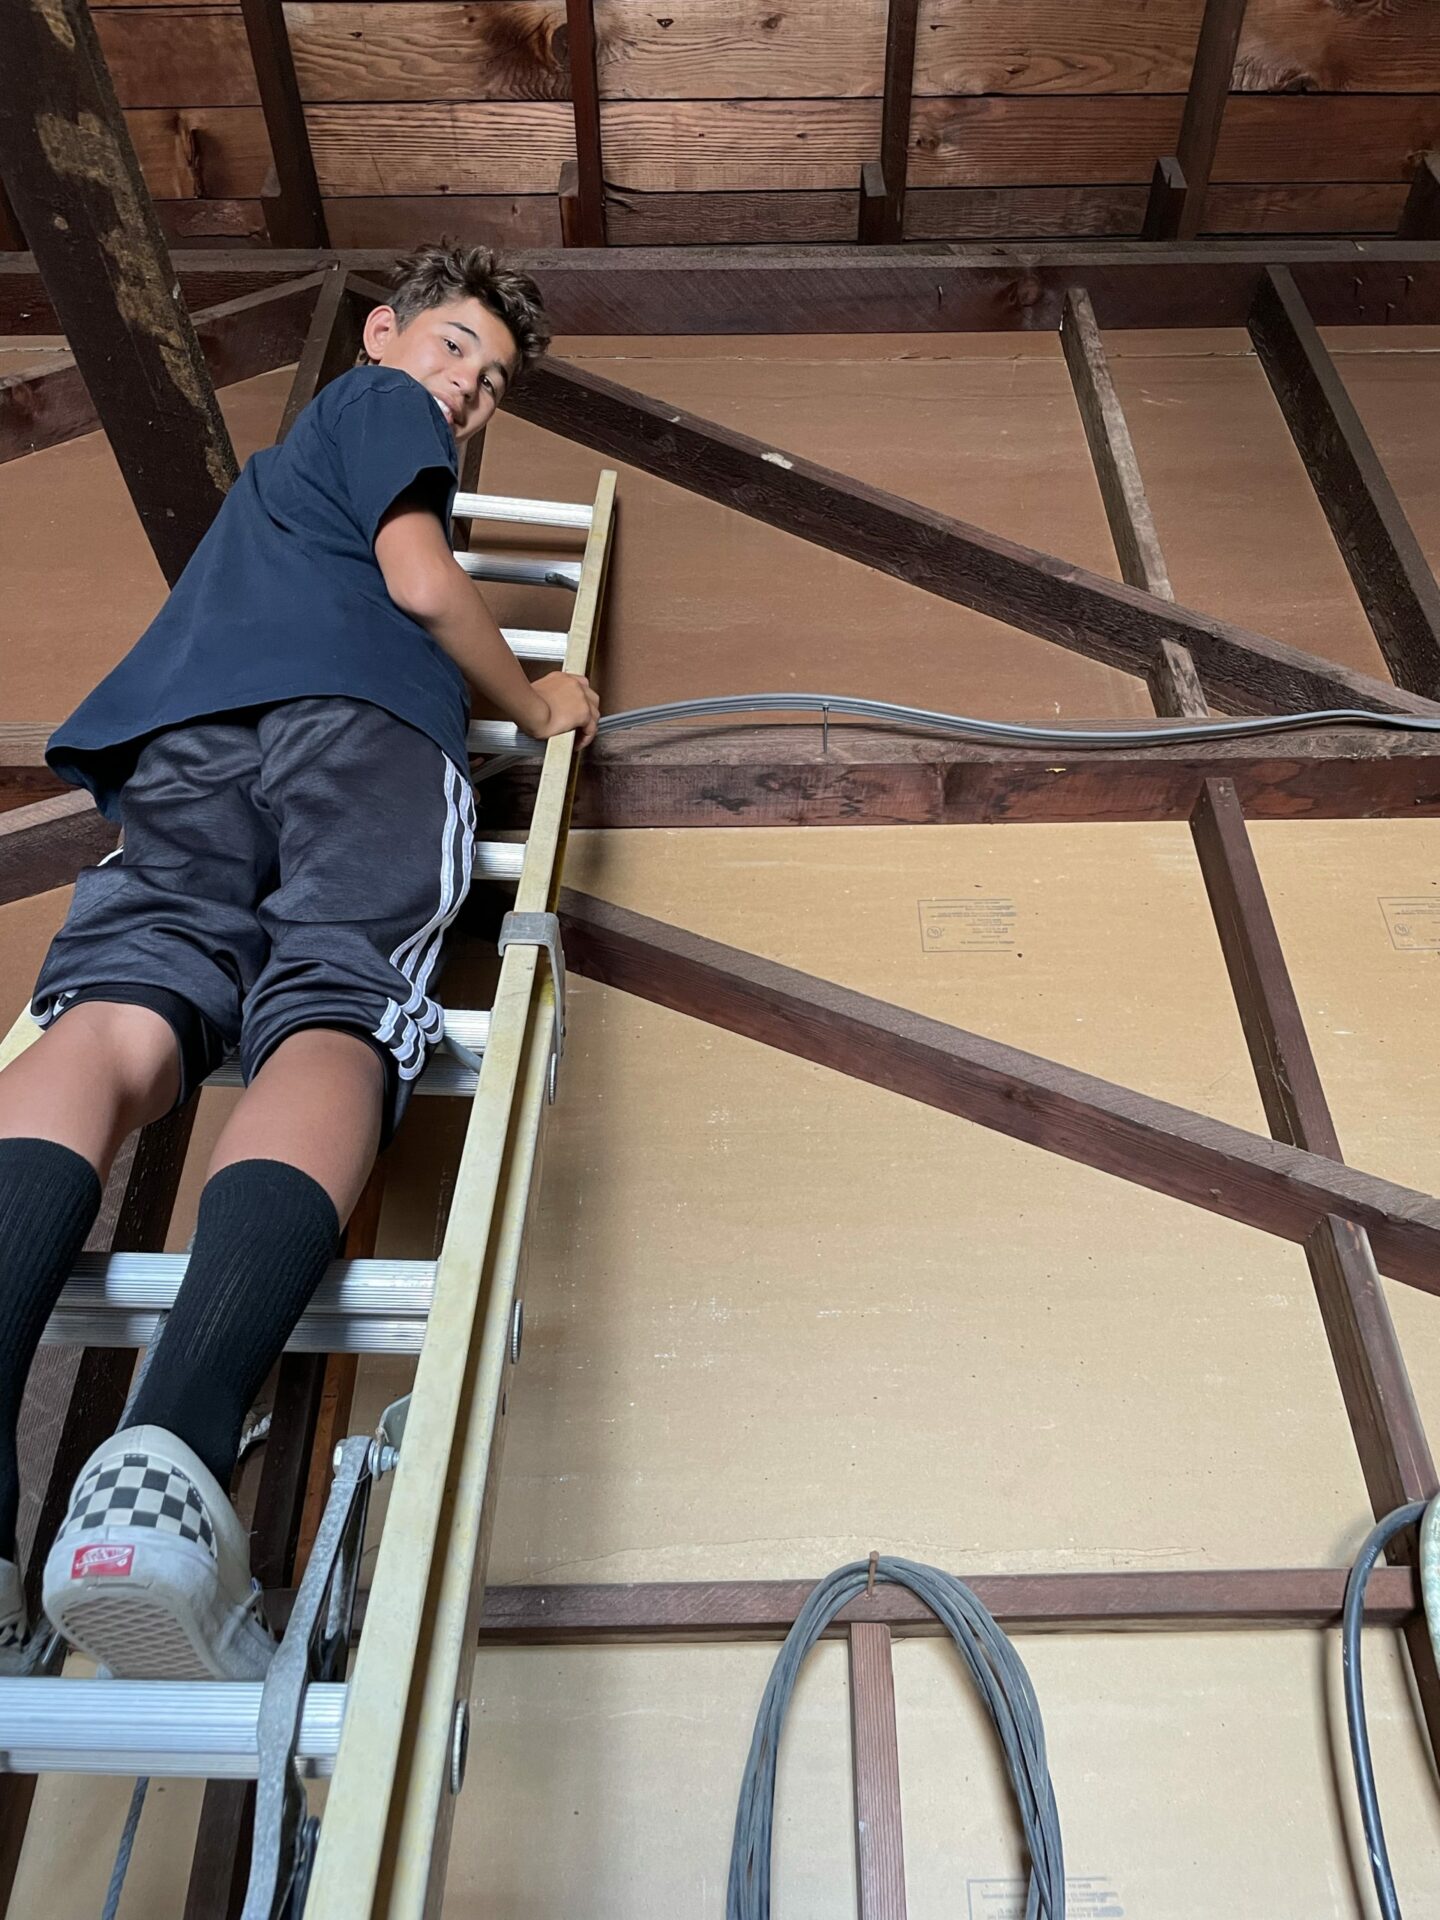
After pulling all the wire through, mounting was next. This was pretty nasty work because of the heat. Since we didn’t start until 2pm (that’s a whole other story), we were on ladders in the late afternoon, and it must have been 90+ degrees. Since we didn’t have the right staples, I just ended up tacking it up with nails for now. I will go back later this week, and clean up the final wiring with staples.
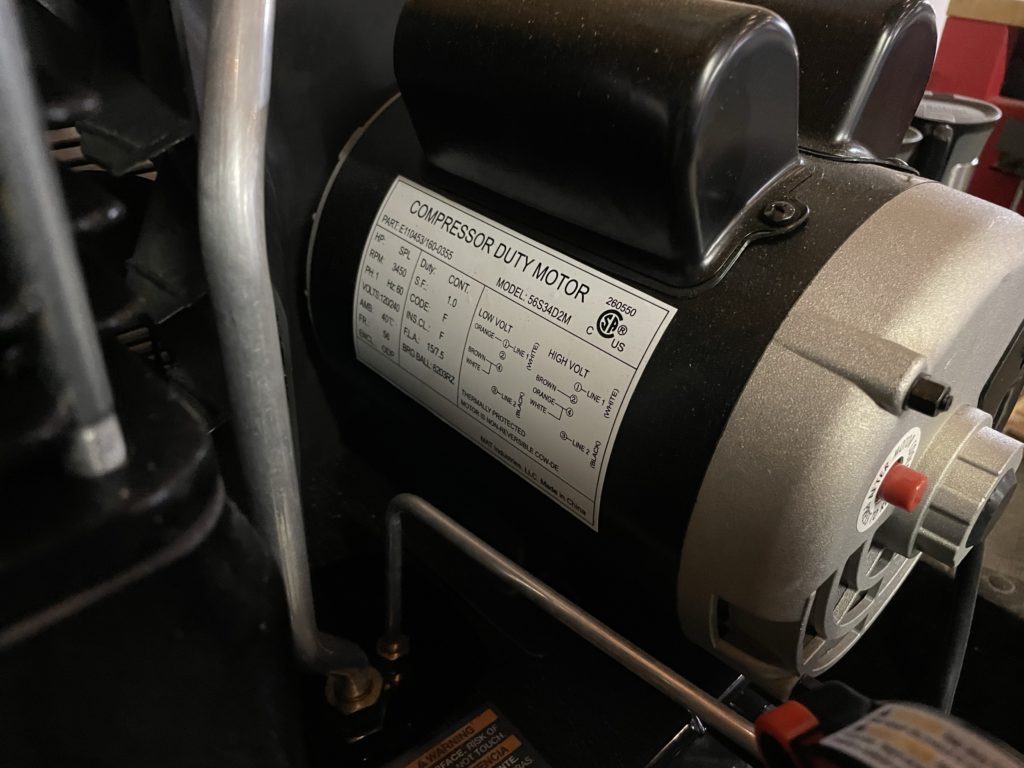
Another interesting part of the project was converting the air compressor from 110 to 220. Apparently if you know what you’re doing, there is a diagram on the motor that tells you what to do. Before this weekend I didn’t really understand how 220 works. Now I’ve got some basic working knowledge. Cool!
In the end, we were successful bringing clean(er) power to our hangar, and should have a good base for setting up a nice workshop for the build to come. Below is a celebratory test done close to midnight!
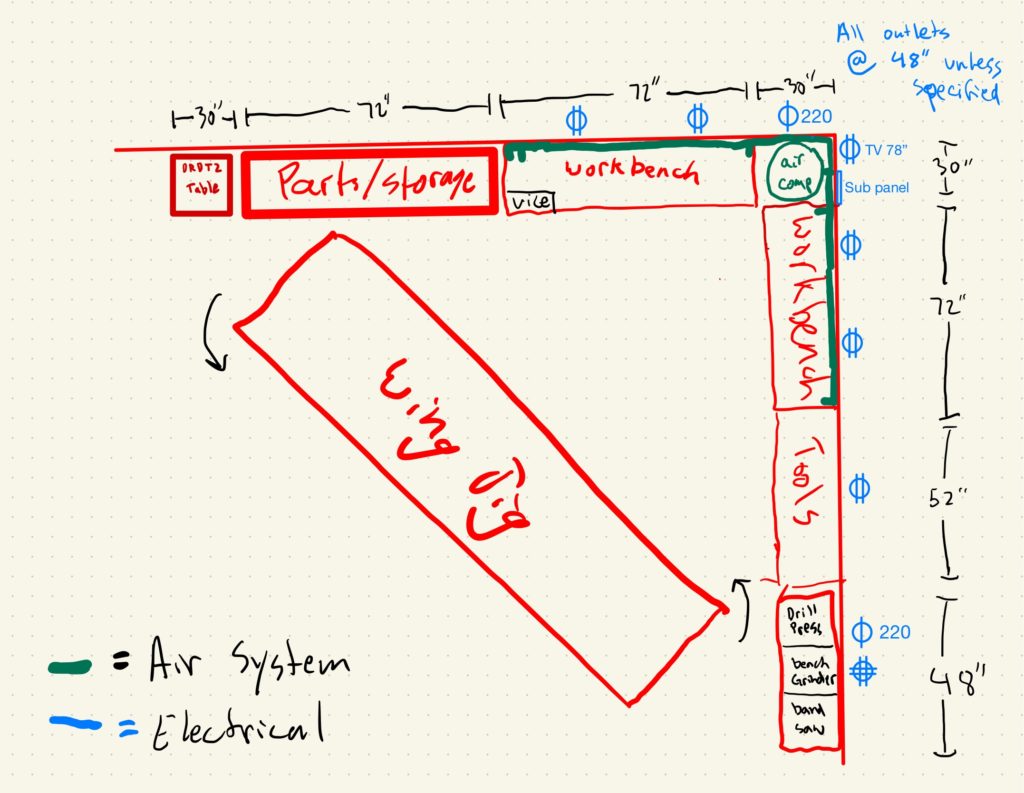
Now that I know I have good electricity in the hangar, I’m comfortable committing to the project. I’ve been drafting up some layout plans for the workshop. Hopefully I can get to that in the next few weeks. Less than two months until the kit arrives!