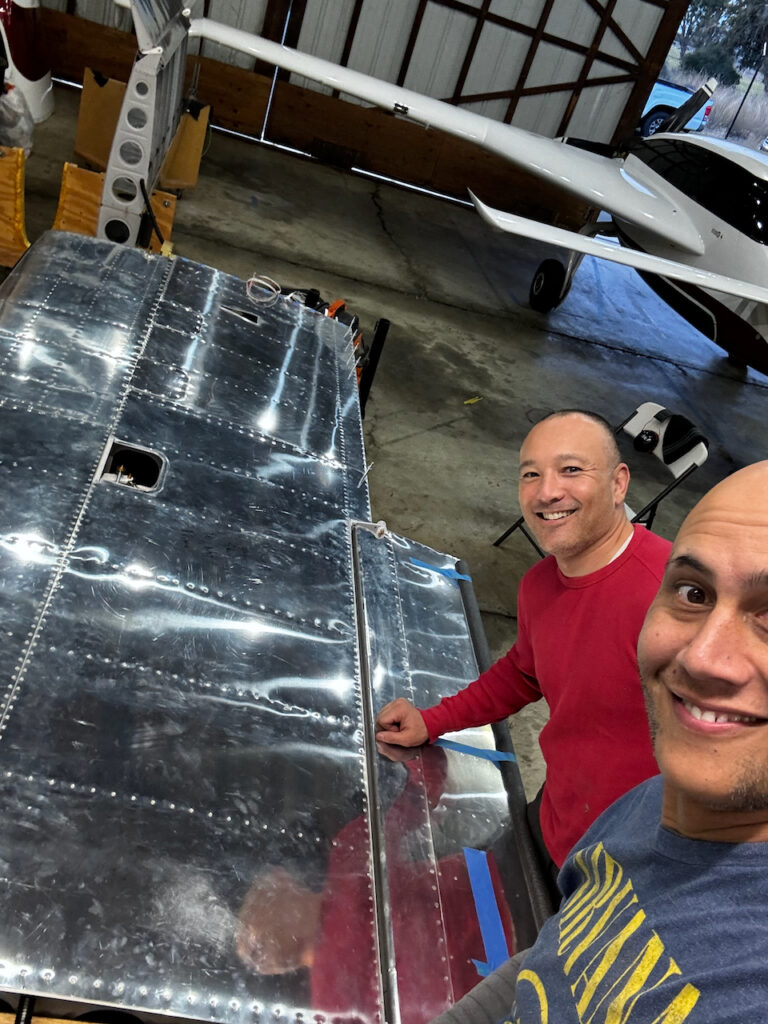
December started off with bang. Actually, a whole lot of bangs because Sam and I managed to get through the entire right outboard bottom skin in two back to back sessions. That is a heck of a lot of rivets to bang! It was a epic feat of progress with a few ups and downs. After the two inboard skins, I finally feel like we’ve gotten a set of “best practices” that keep progress steady:
plan your rivet access – make sure you can tuck your arms under the skin at all times. If you close out a bay, make sure you have a path to all rivets before hand. You can get to all rivets despite that feeling impossible at times.
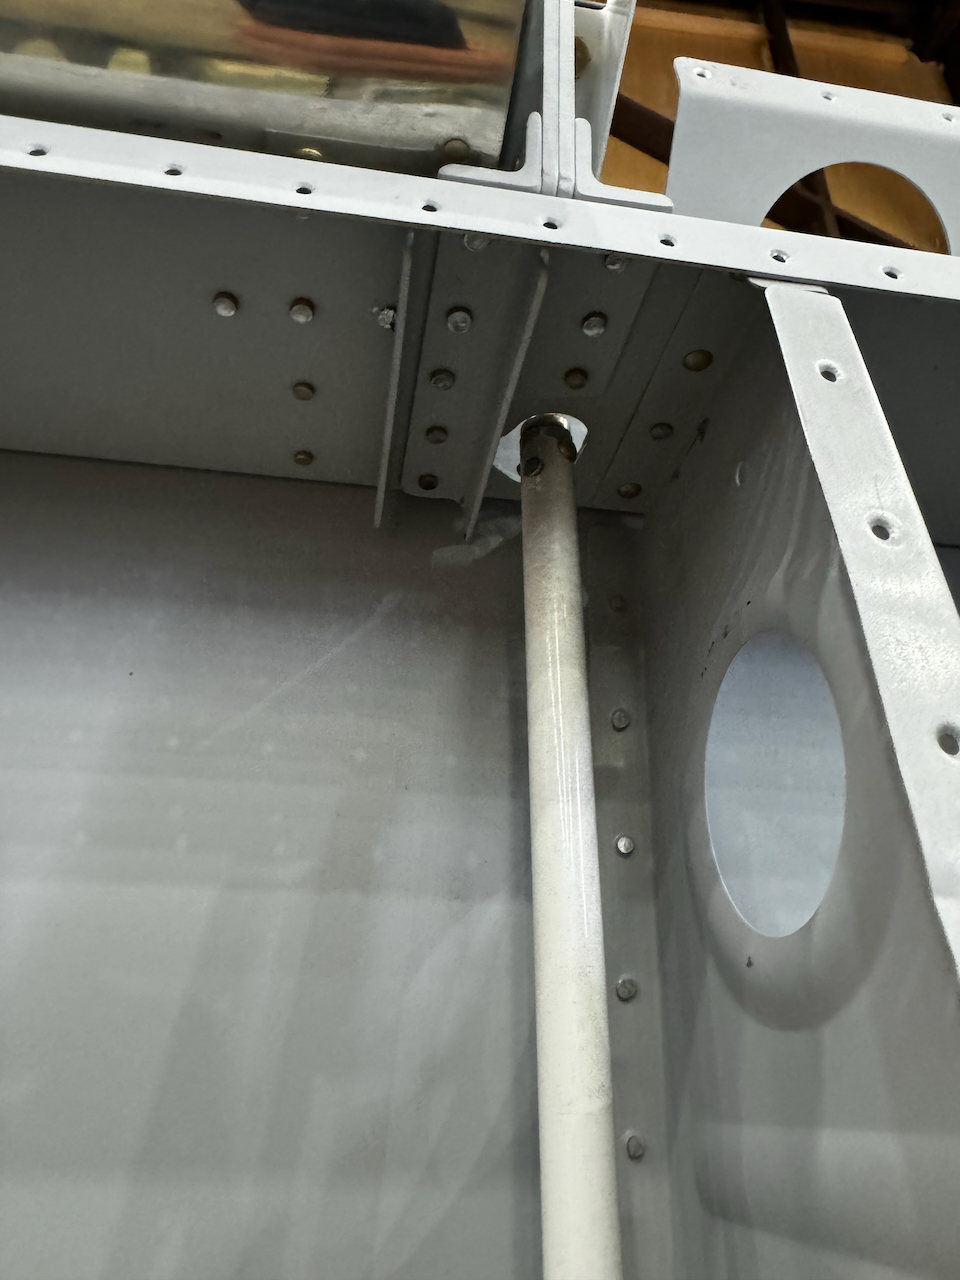
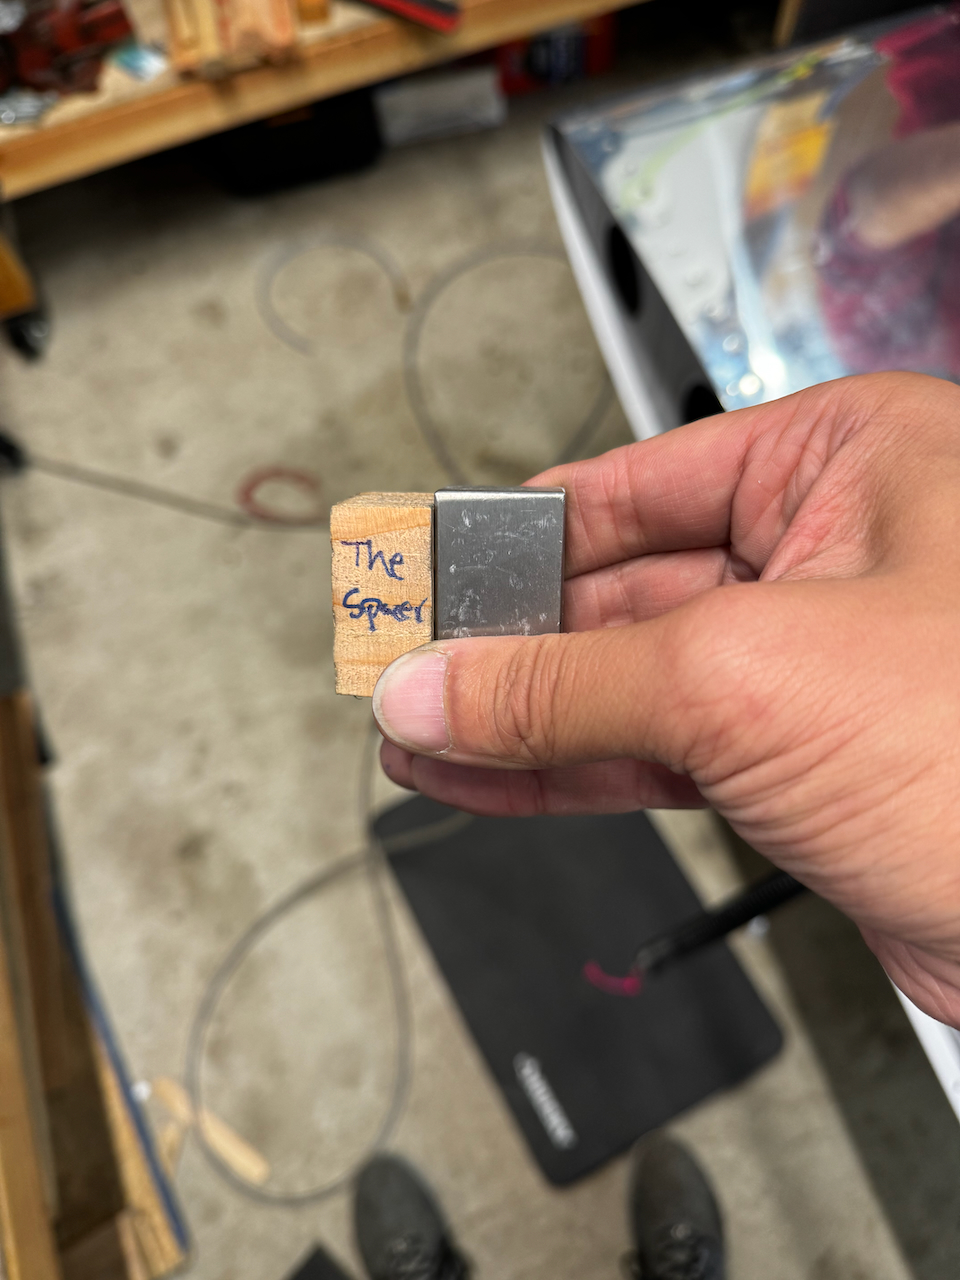
build spacer for main spar rivets – the spar rivets are hard to deal with because there is no immediate backing to brace your bucking bar against. with a properly designed spacer (i.e. block of wood), you can focus on alignment in one dimension (inboard/outboard) rather than two. It makes all the difference.
take breaks – might sound hypocritical given we finished in a 24 hour period, but Sam and I took a lot of breaks. We are also both capable of working the bucking bar and the gun, so that gave us some time off the bar.
brush off the smileys – they will happen. We ended up with about 3 on the outboard skin. The plane will fly perfectly fine with those minor blemishes, and if you don’t brush them off, you’ll be frustrated the whole time.
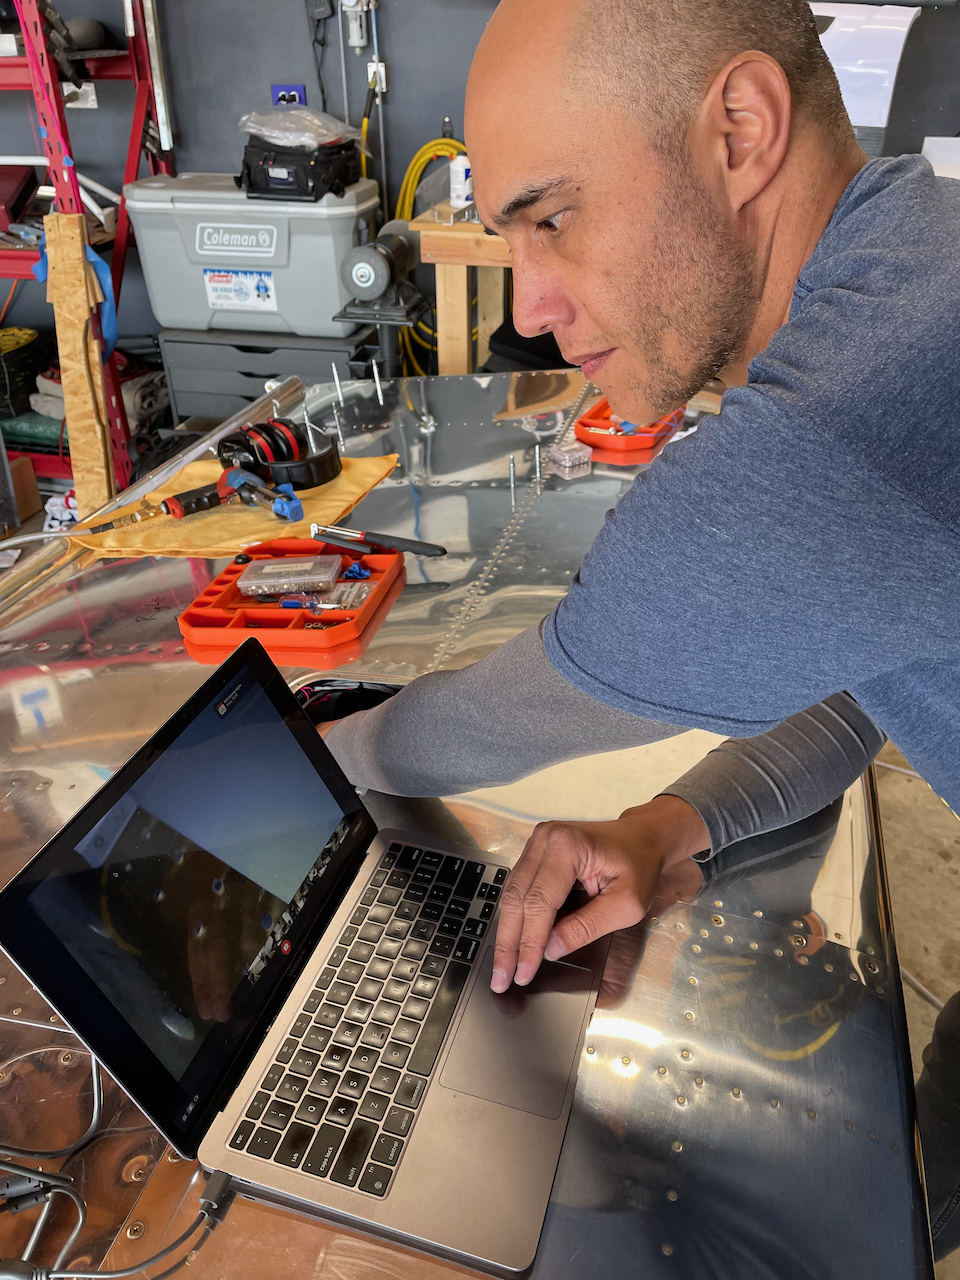
wire up your wings beforehand – Once you close out the skin, things get a lot tighter, so do everything you can before. In my case this includes wiring up the autopilot servo (done!), and plumbing the pitot tube.
be comfortable – The ribs and spars are relatively sharp pieces. Use foam, rags, gloves, long sleeve shirts and whatever else you can find to stay comfortable when your arms are deep in the wings.
inspect early and often – if you don’t have a lighted inspection mirror, get one. There is no way to inspect without it. In some areas we used a borescope, but I don’t think that’s required. Also, much of the inspection is done visually. Have some sort of “calibration rivet” you can look at that helps you remember what a properly sized rivet looks like. Otherwise, overtime we found that our visual calibration got out of whack. A good one is the main spar rivets that were squeezed. These should be easily accessible in each bay to validate the correct size.
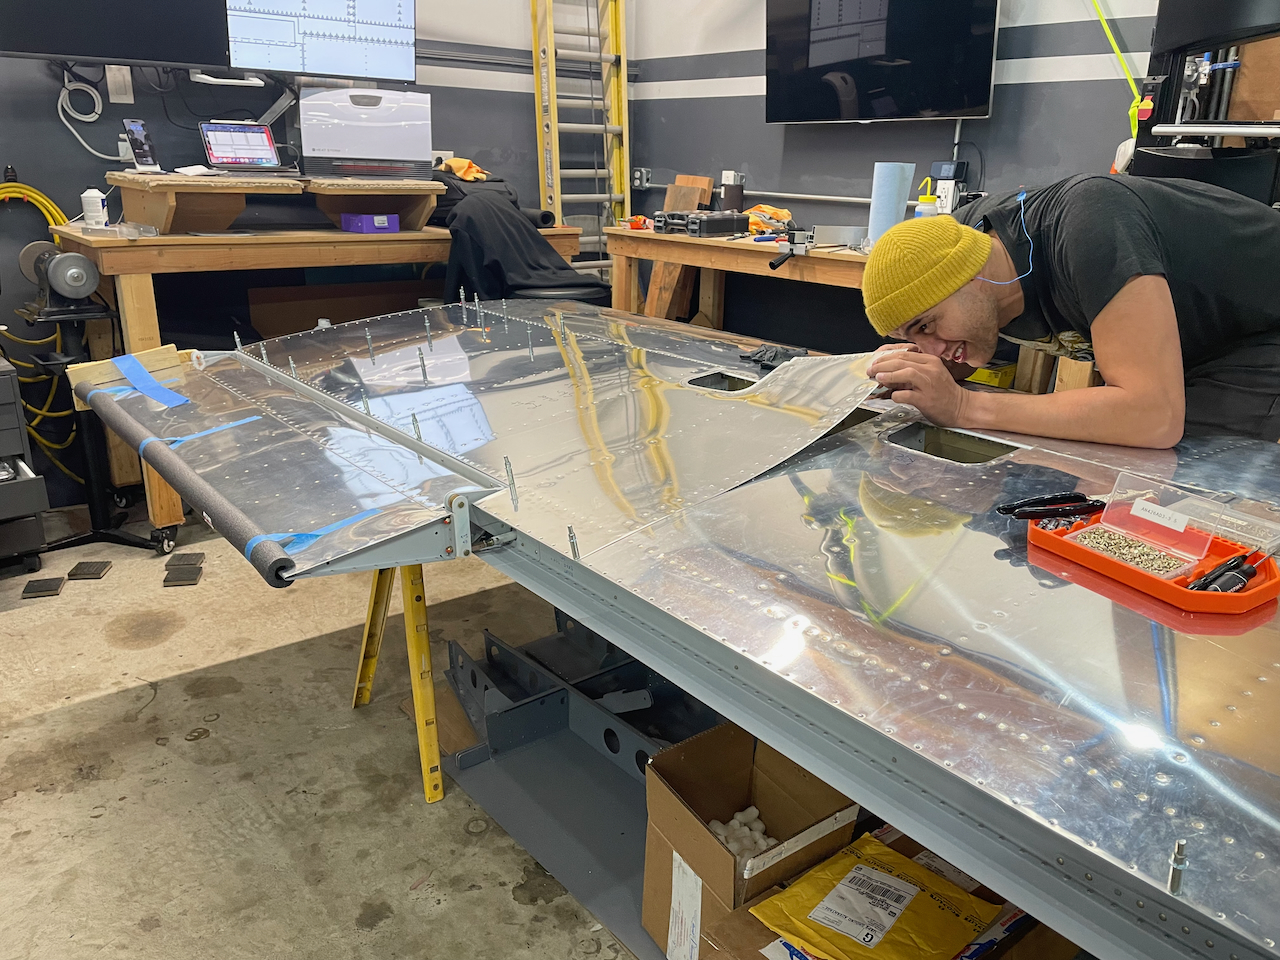
Here are a bunch of photos from the day.
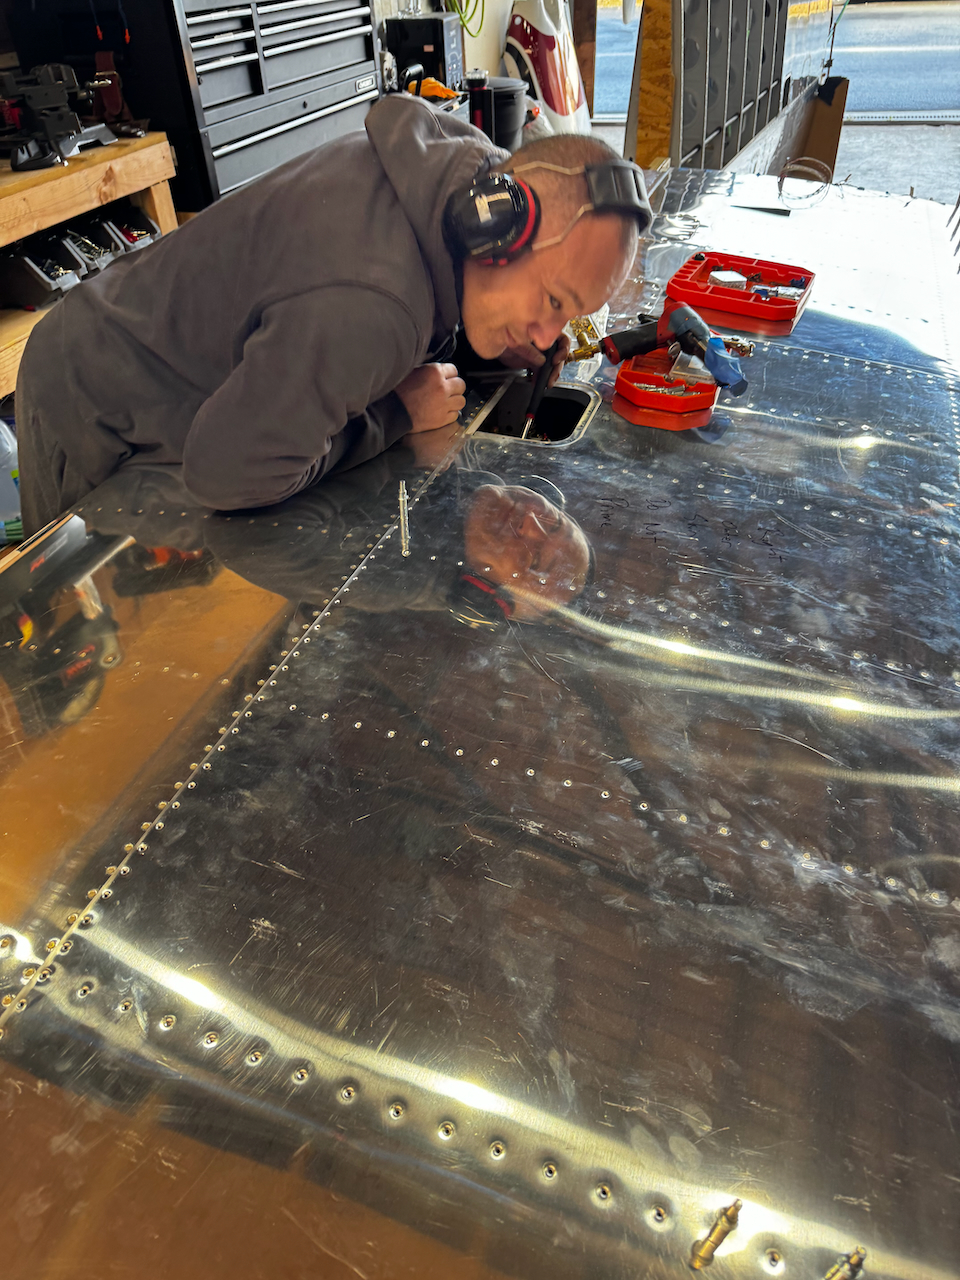
outboard skin started. Half our time is spent inspecting.
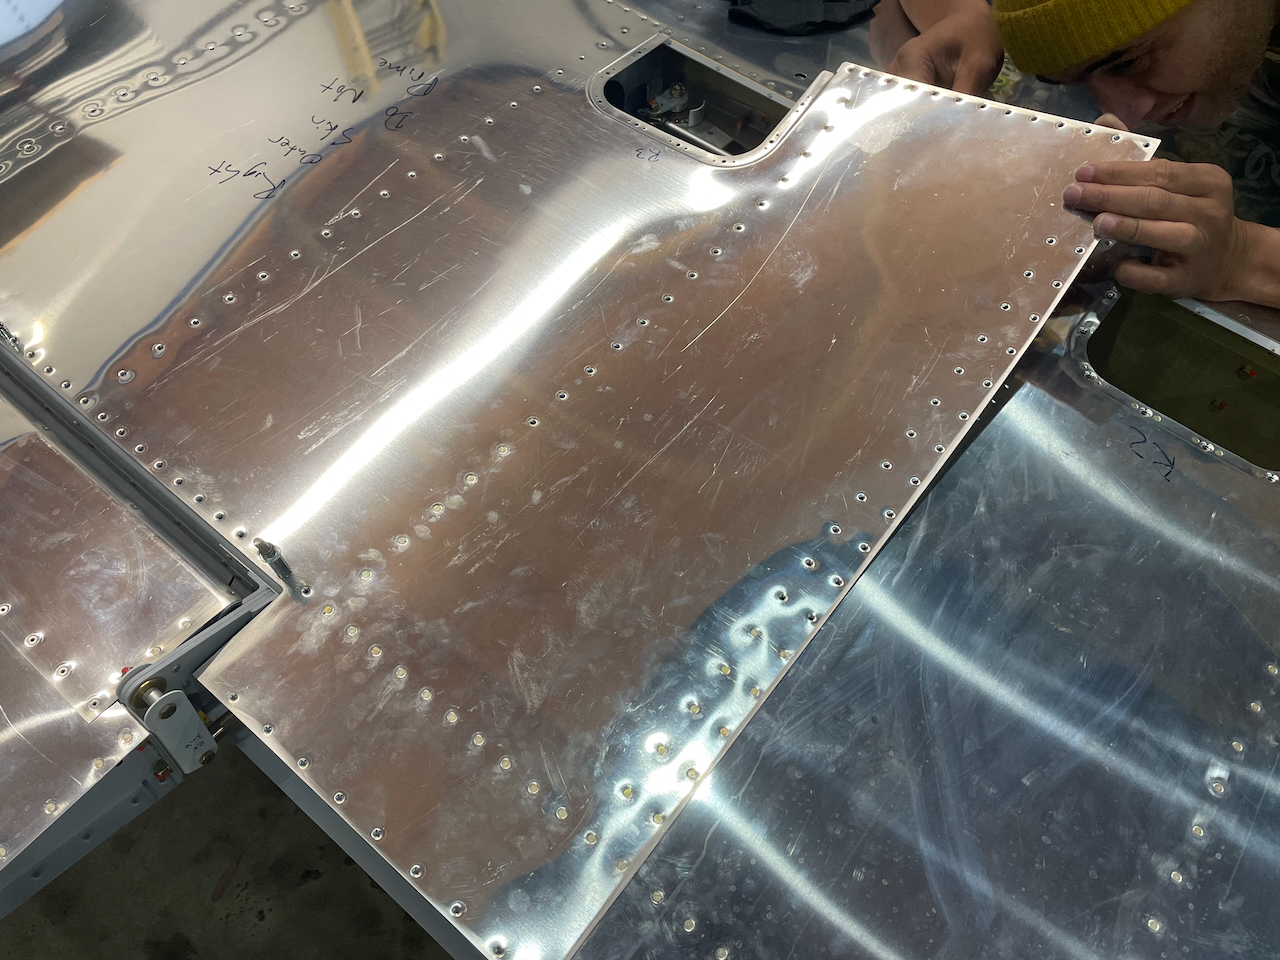
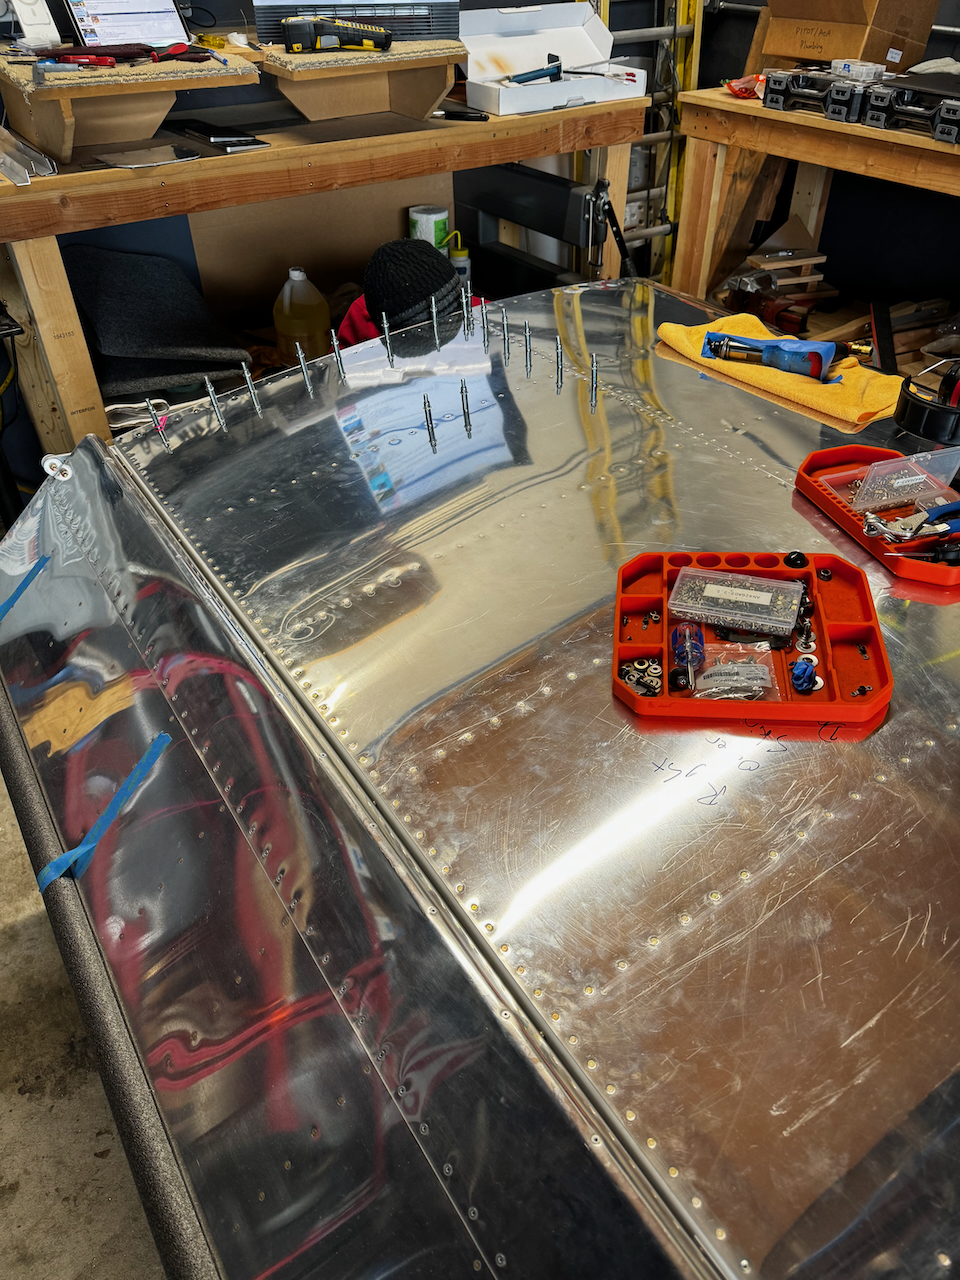
First bay closed!
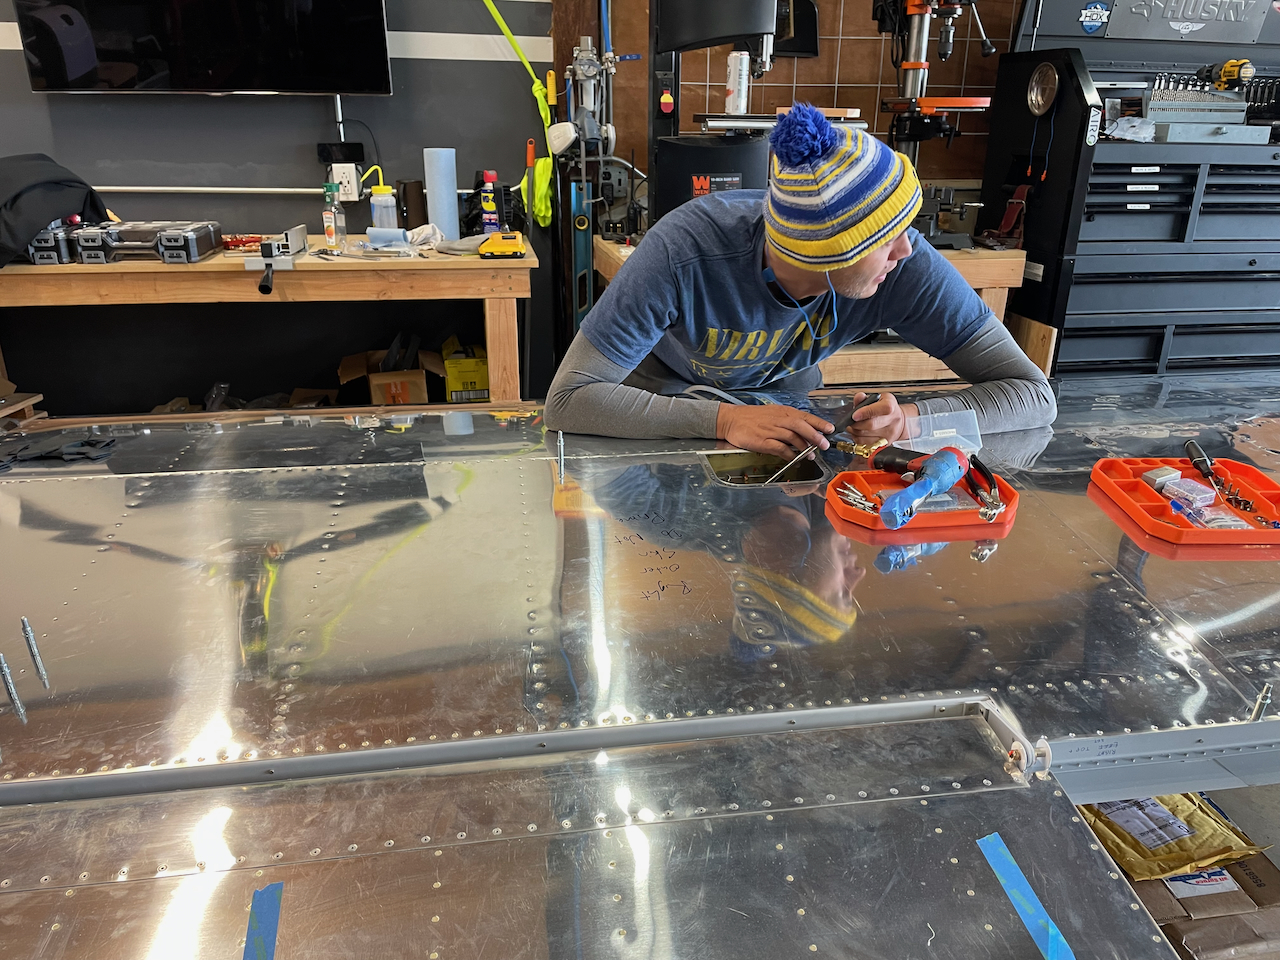
Inspect, Inspect!
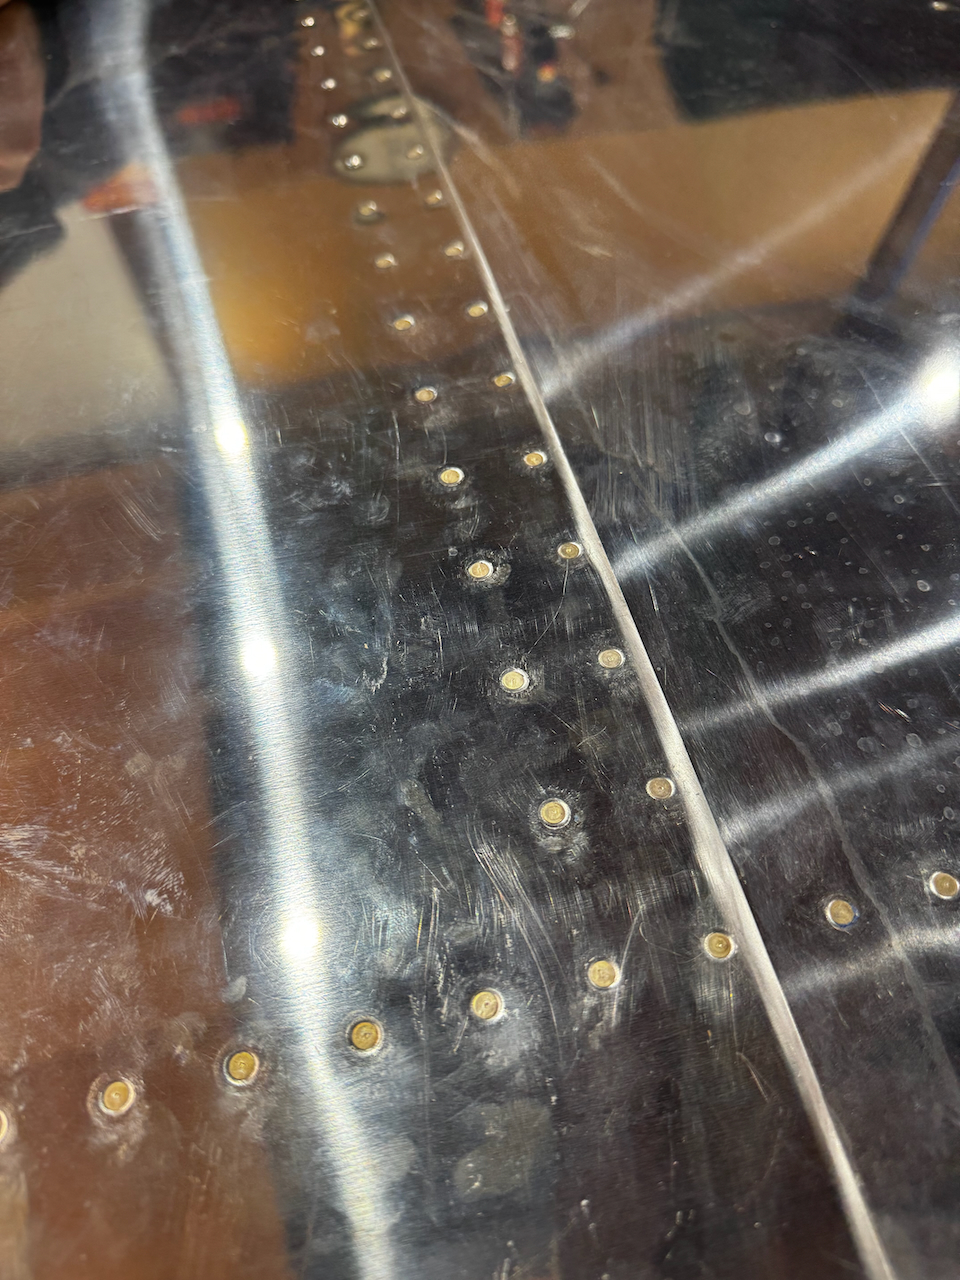
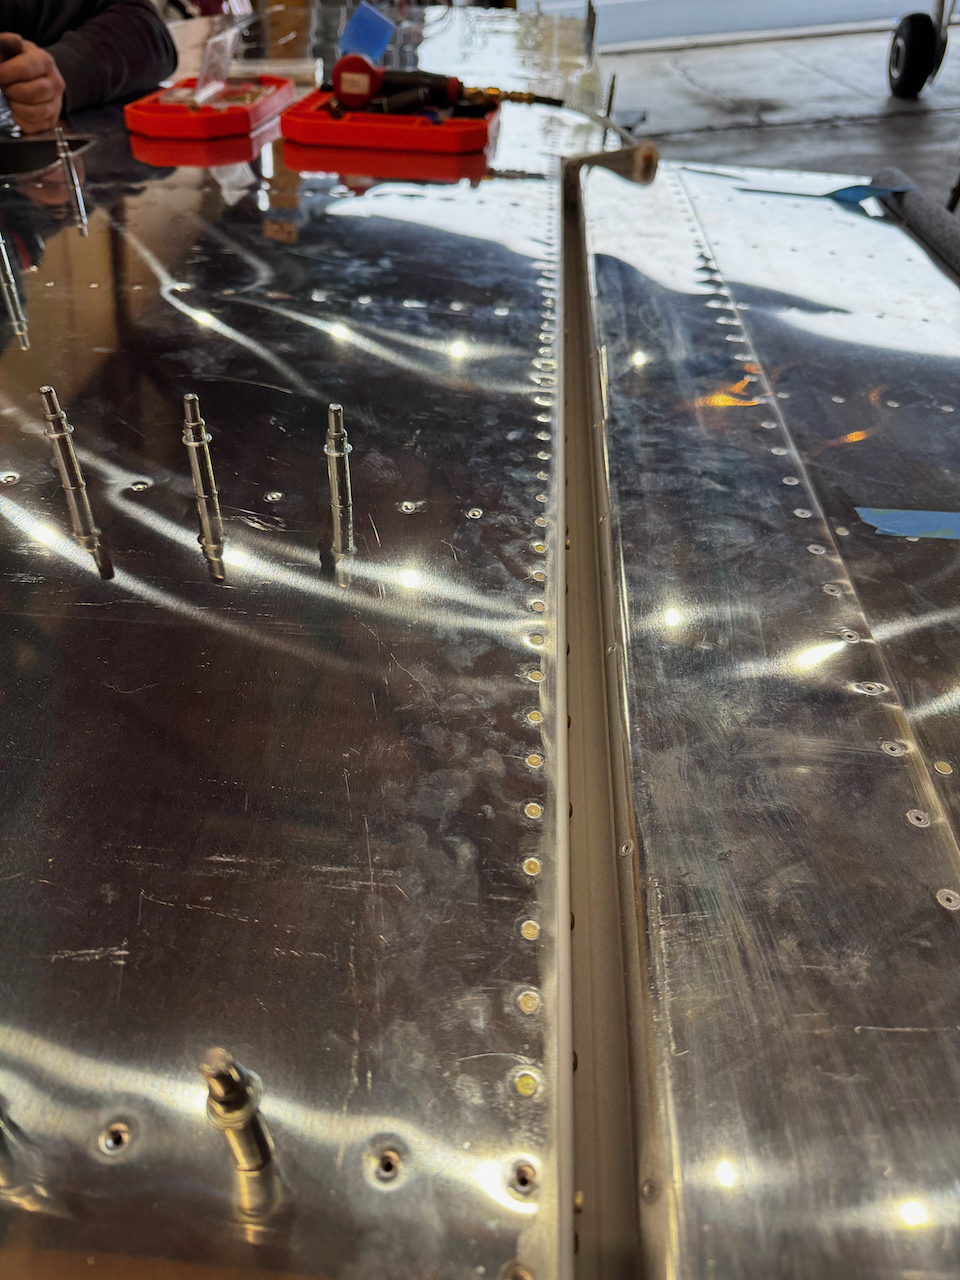
Note the double row for the overlapping skins. The non-rib row we saved for later in that bay.
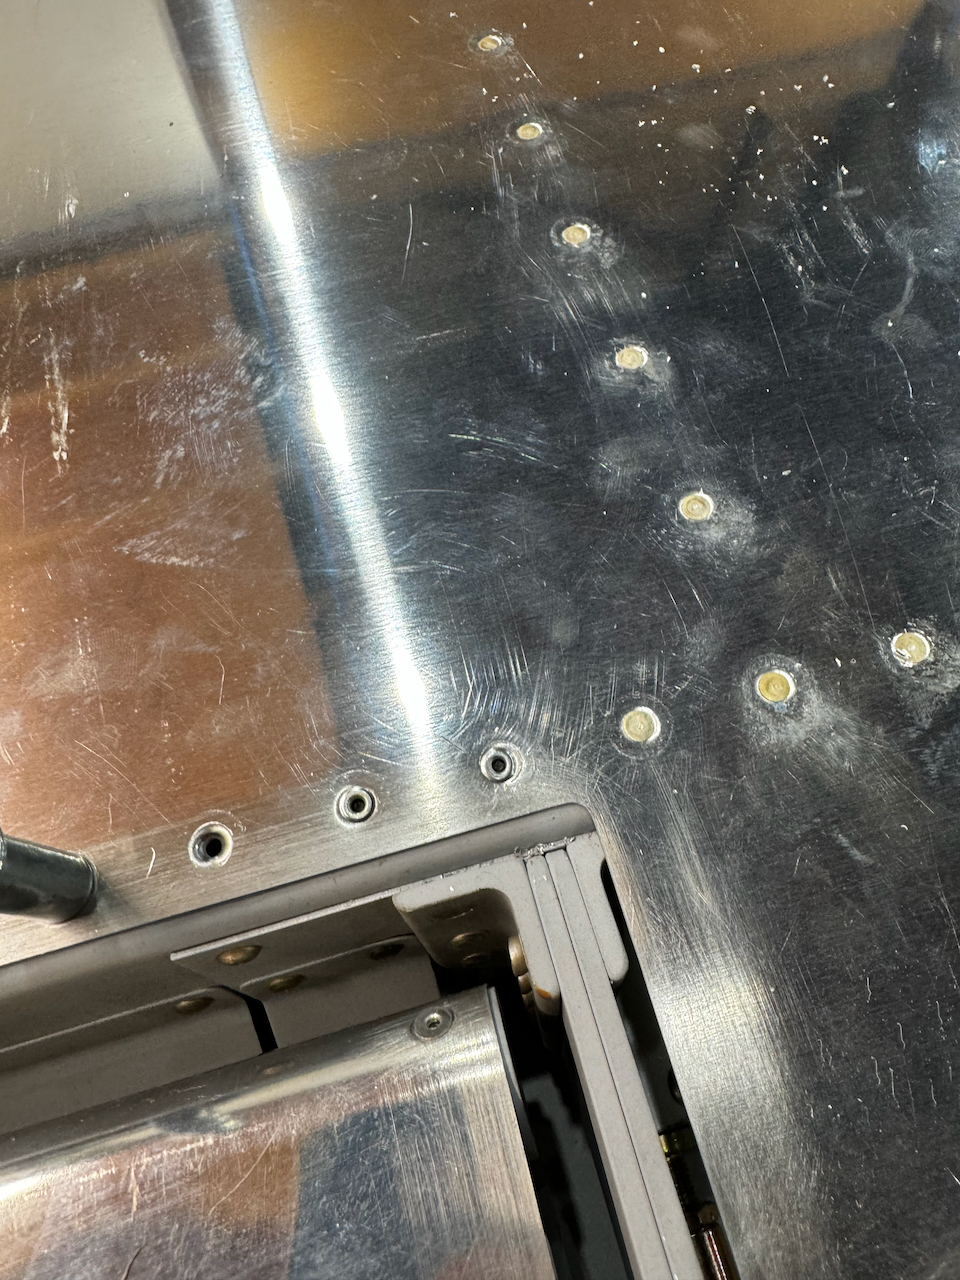
SB XXX-XX required doublers behind the bracket which leaves no space for bucking. We used MK-319 rivets instead.
here’s a view of the brackets.
aft rivets…. lots of them!
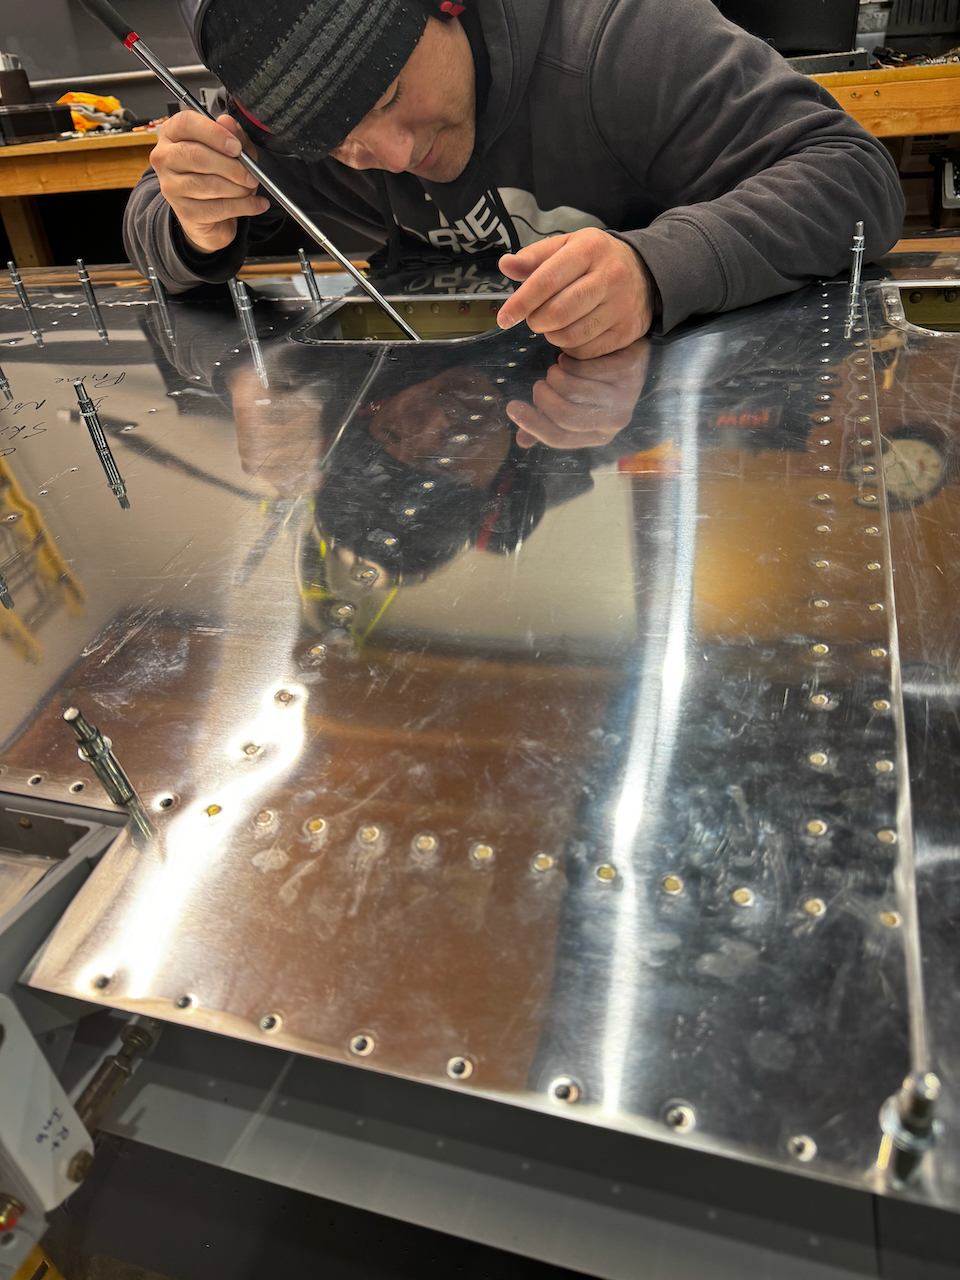
inspection starts to get hard in the middle outboard bays.
using a borescope allowed us to inspect rivets that otherwise would be difficult or impossible.
inspections are a great time for a break!
one more row to go!
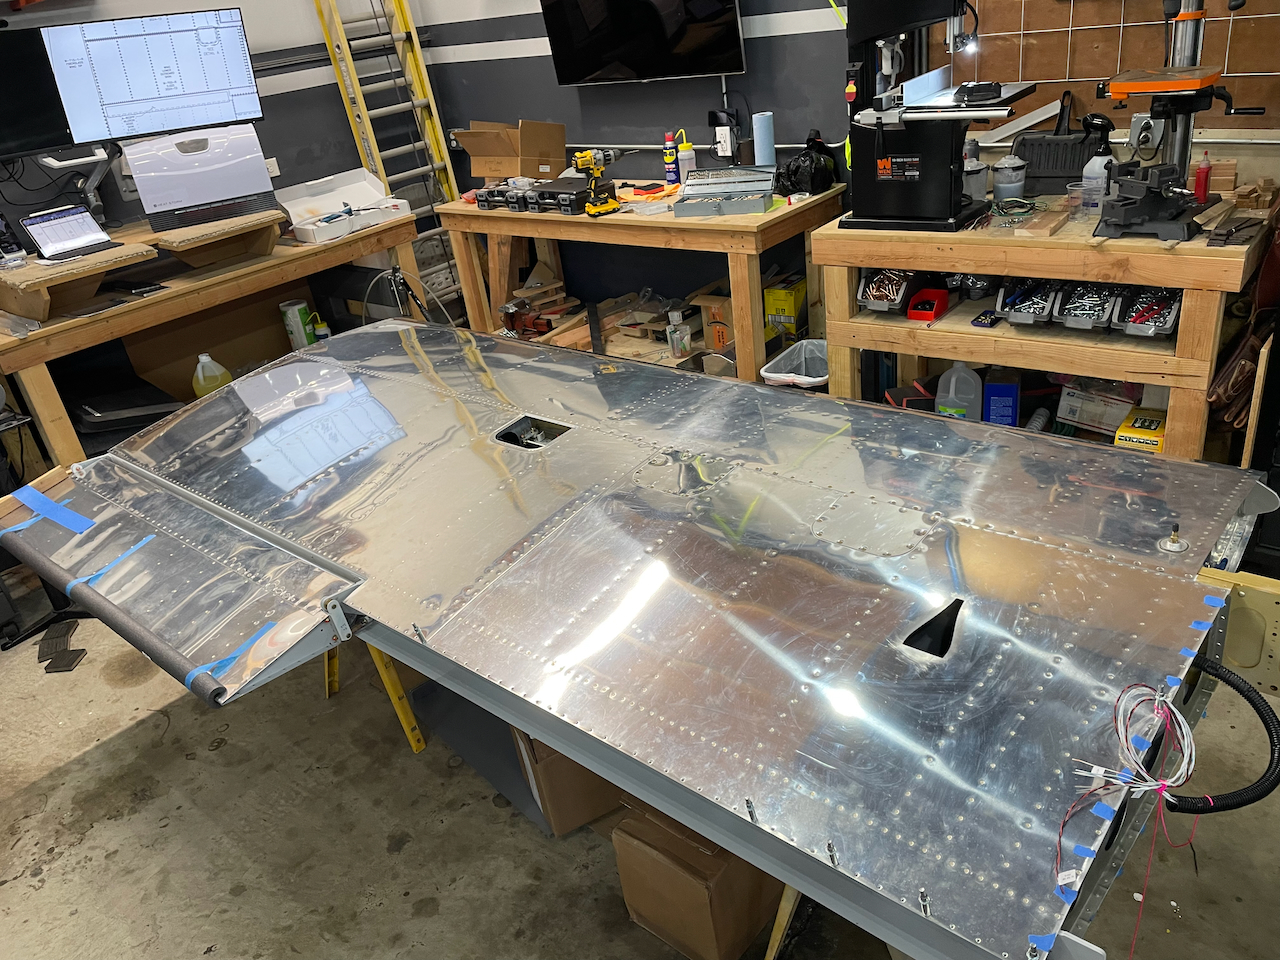
All done!! Woo Hoo!
Here’s the spacer we used for the main spar rivetting.
With all the success of the day, it means I am now on the critical path to get going on the left wing. To do that, I need to wrap up the Pitot tube plumbing install in the left wing. Hopefully I can get to that this week. Until then…. Happy Building!