Velocity Update #5: Starters, Injectors, and more!
Build Hours: 70h
N/A
Outside of the Laser cut parts issue keeping me away from the RV-8 build in August, there was also a massive amount of velocity work that sprung up. From deferred maintenance, to major issues that required unscheduled work, to little touches that are simply quality of life upgrades, the Velocity kept me busy. Read on for all the fun!
Engine Isolators and Prop Balancing
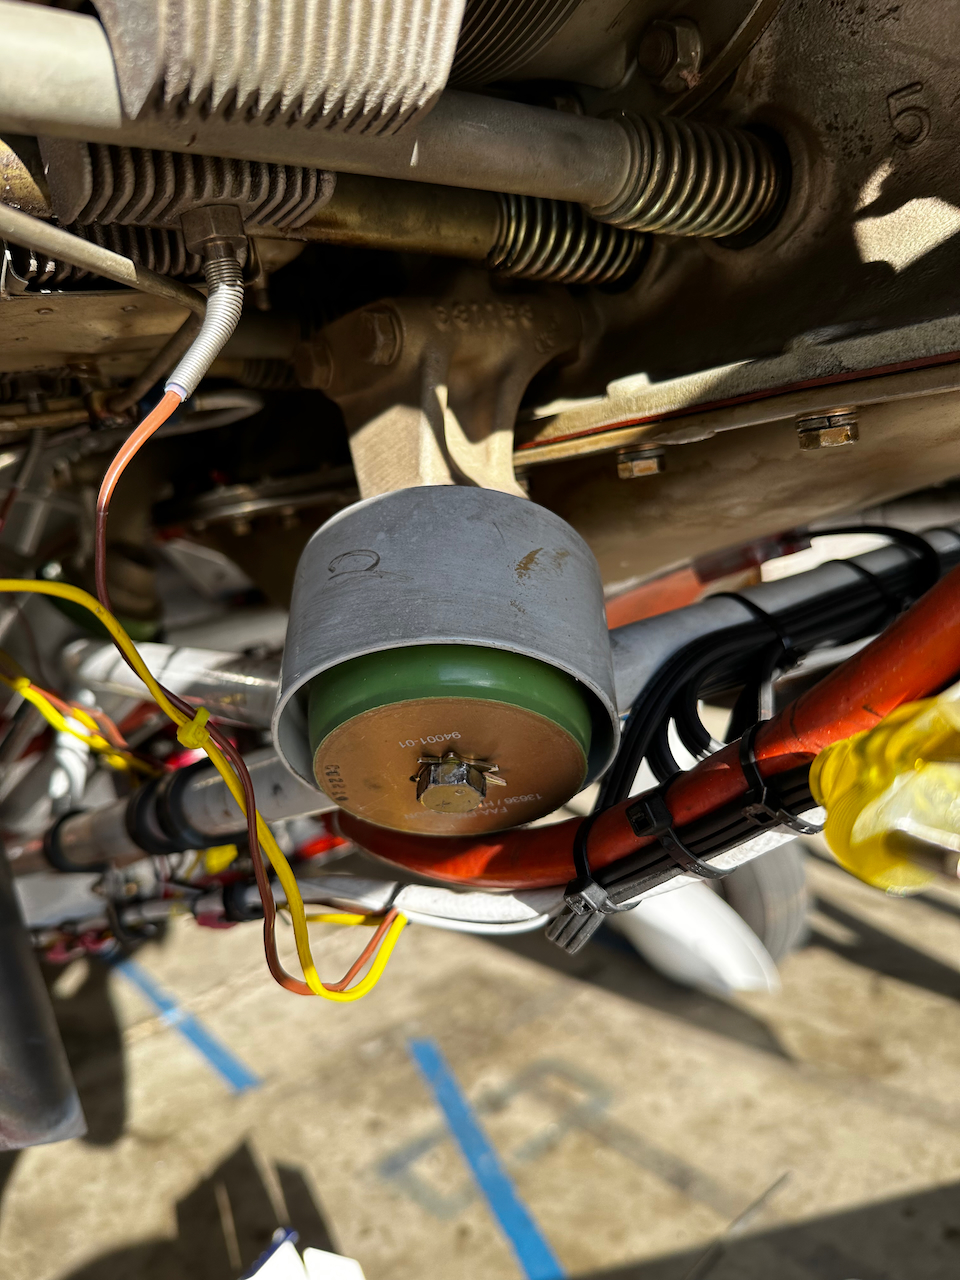
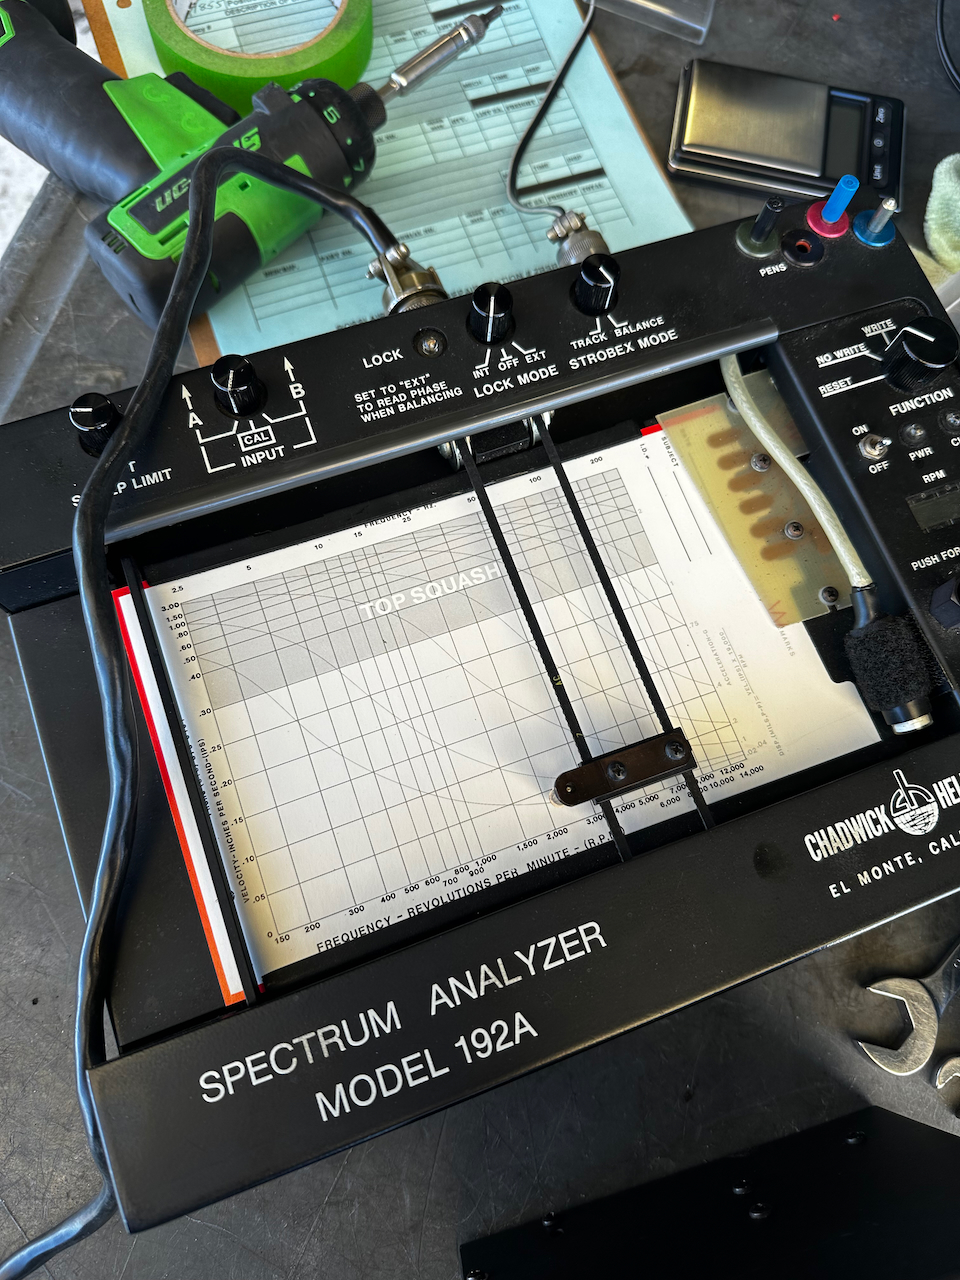
I have a lot of items that have been on my list to replace and high on that list was the engine mount isolators. These are essentially 4 gigantic rubber grommets that isolate the engine from the rest of the airframe. It supposedly reduces vibration thereby reducing fatigue on your aircraft. It is recommended to replace these every 7-10 years, so the time was right. With most of the critical work complete, I thought it would be a good time to get some work done on optional items. Why not right? I opt’d for the Barry Mount 94001-01 units. They are not cheap, but amortized over 10 years it’s not bad. To be honest, this project ended up being super smooth. I had read that this project can be a real pain in the butt. We only ran into two minor items. (1) I did not have the correct replacement lock washer needed. These ensure the mounting bolts don’t come loose. Thankfully, Rossi Aviation had them in the shop and gave me a few. (2) One of the bolts was having a hard time re-threading so we needed to re-tap the threads to get a clean connection. Outside of that, it was fun to use the engine lift for the first time! After swapping out the mounts, it was a good time to get the prop dynamically re-balanced. This is a procedure I haven’t done before so worked with Alberto to get it done.
note a touch of sag, an indication of engine isolator age
here are the old isolators
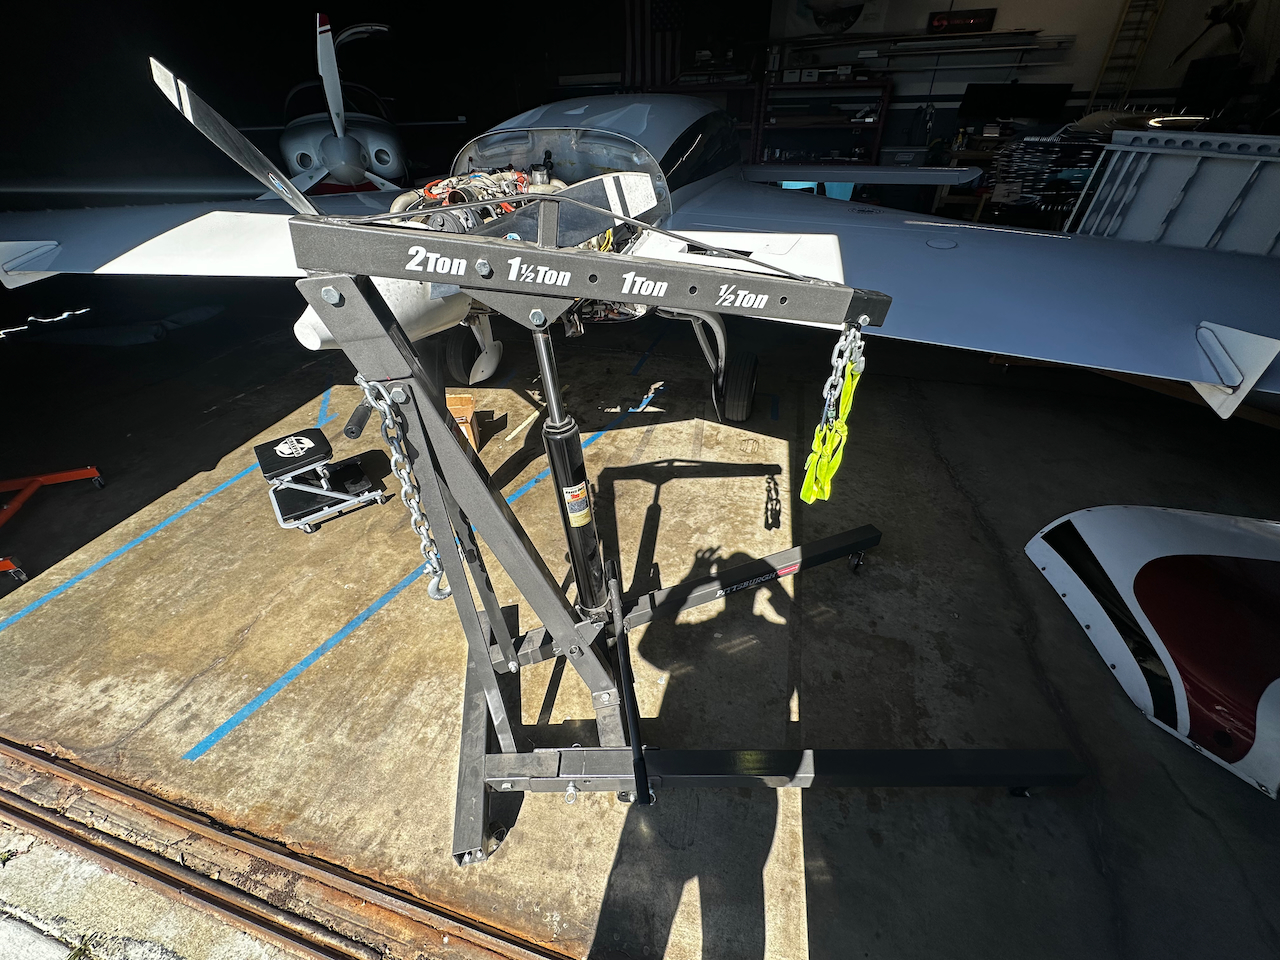
Engine hoist for the win!
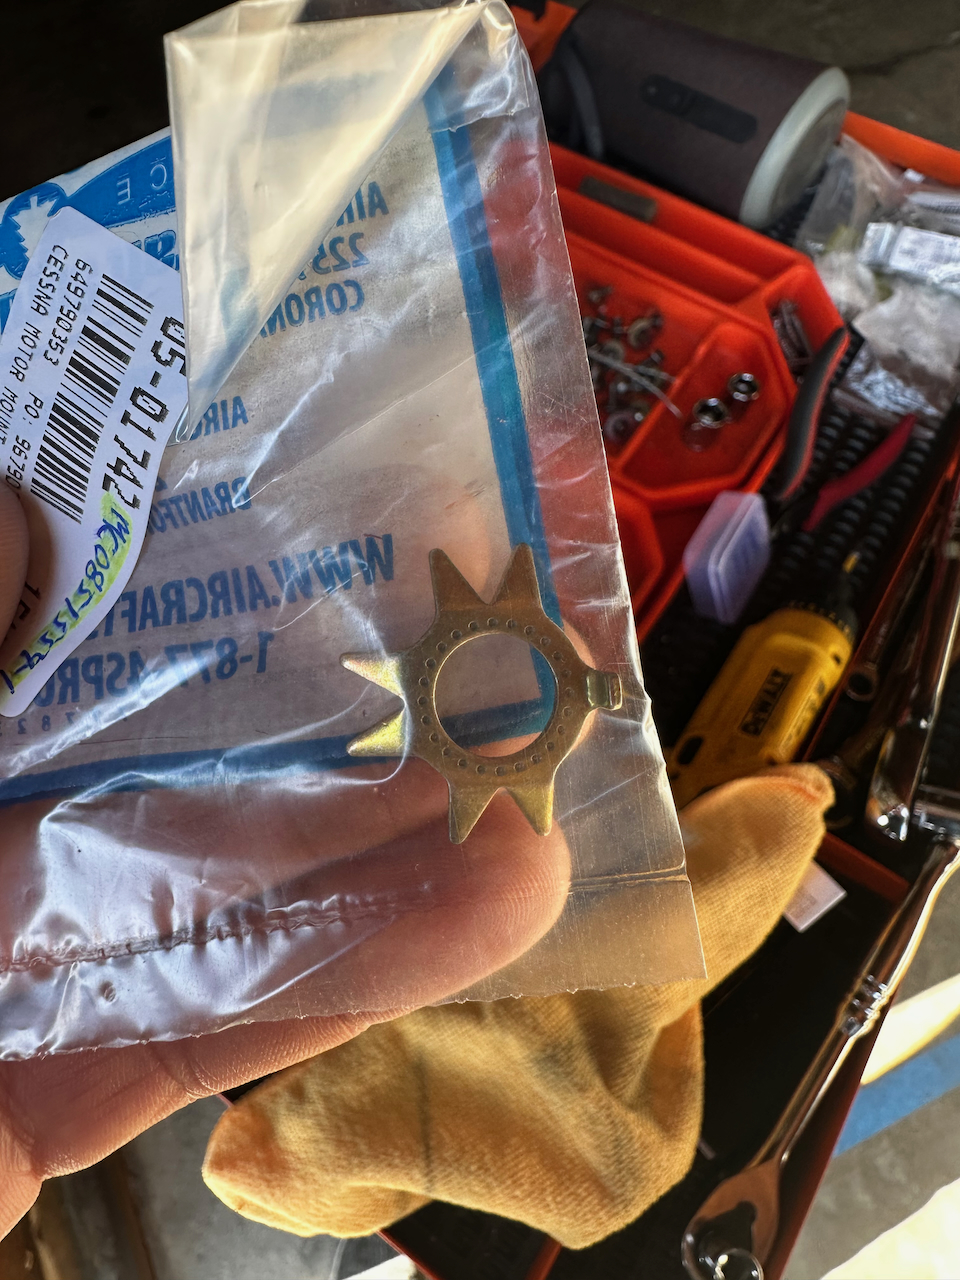
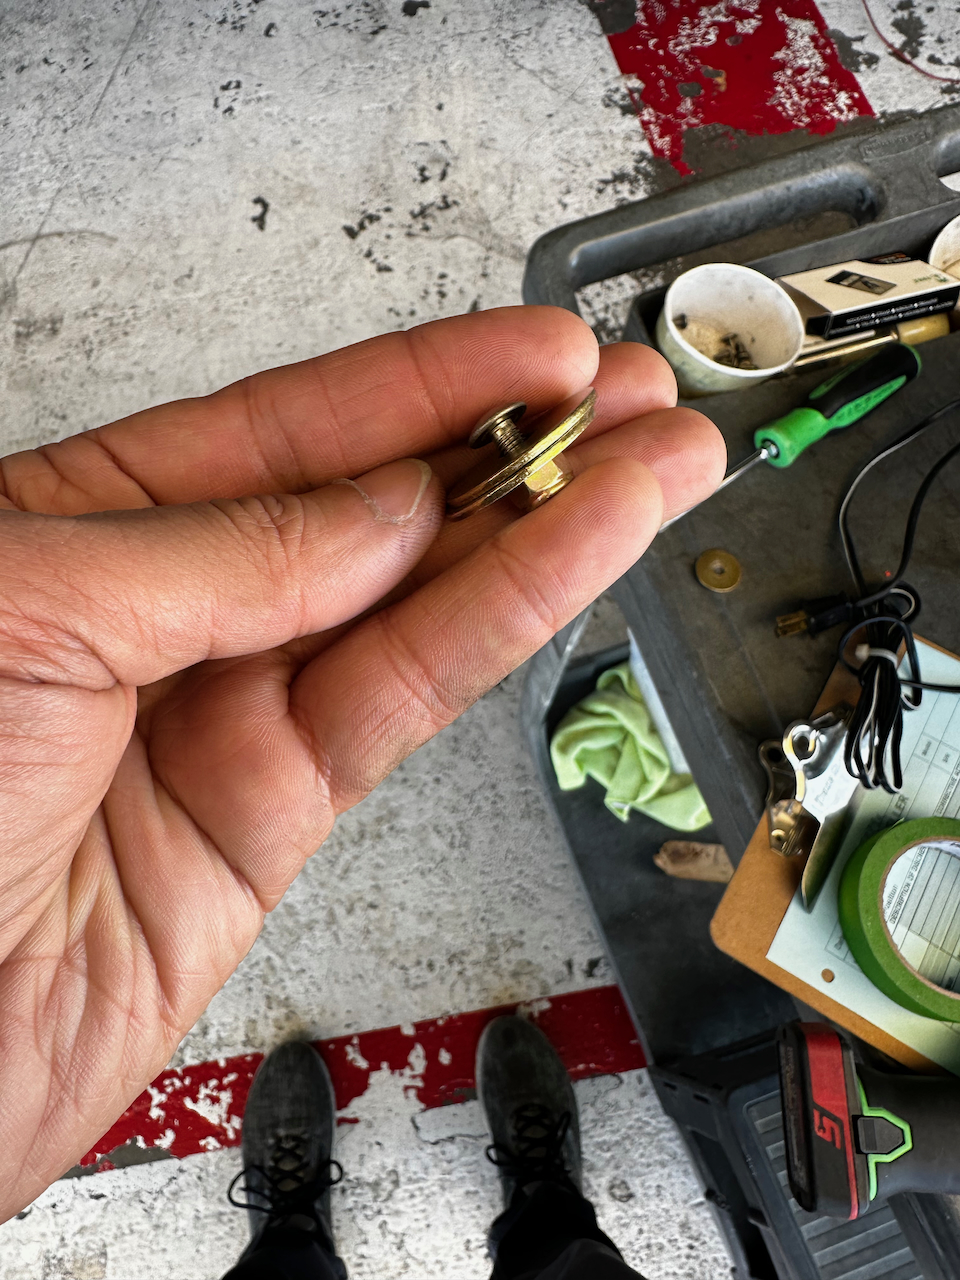
here’s the special washer I needed
we replaced one isolator at a time
James helping with retapping the bolt
new isolator in! Note the lock washer.
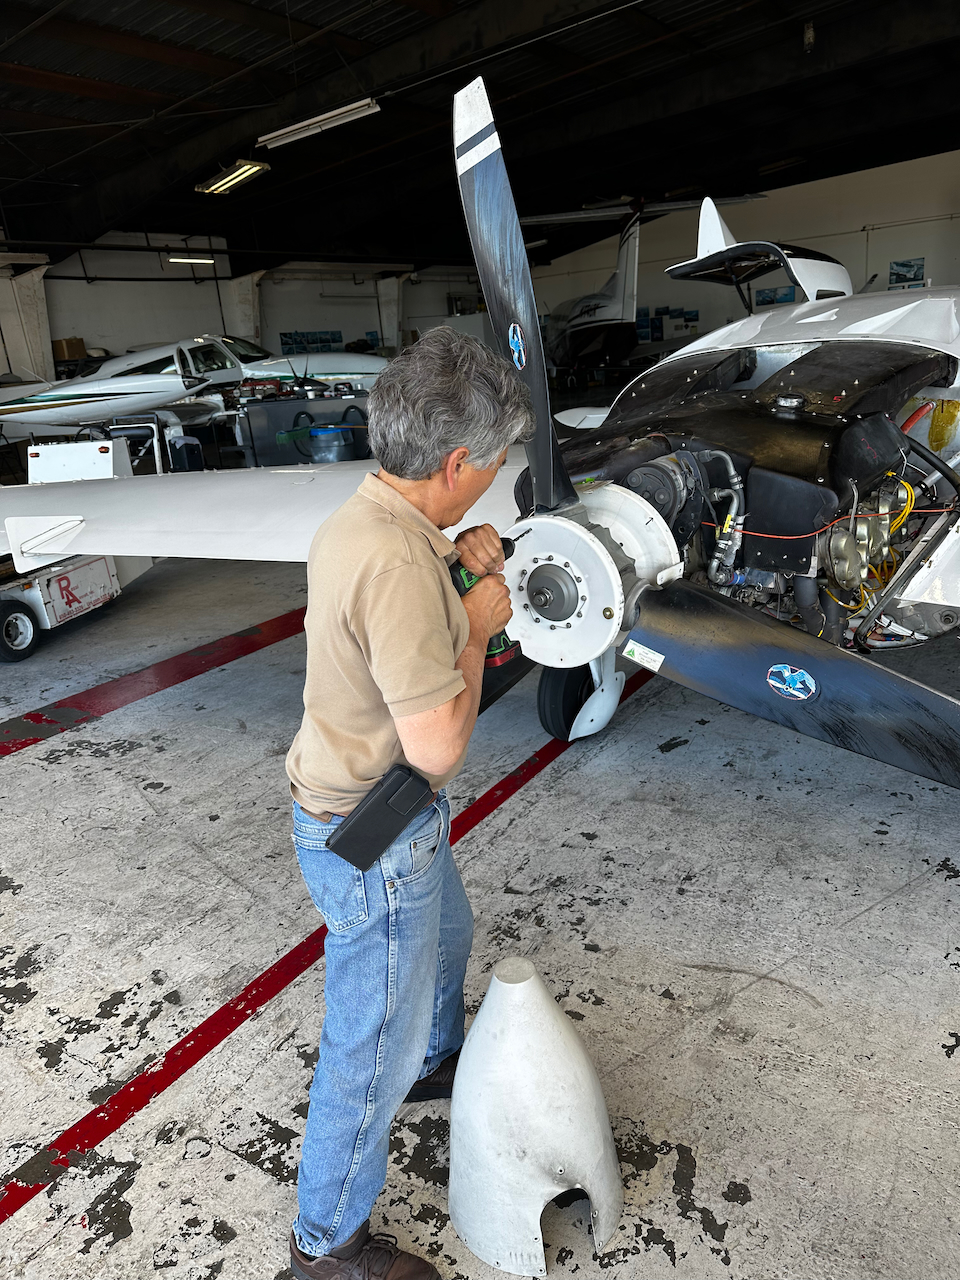
In the shop for prop balancing
prop balancing? or lie detector test
here’s the weight I need
thanks for teaching me Alberto!
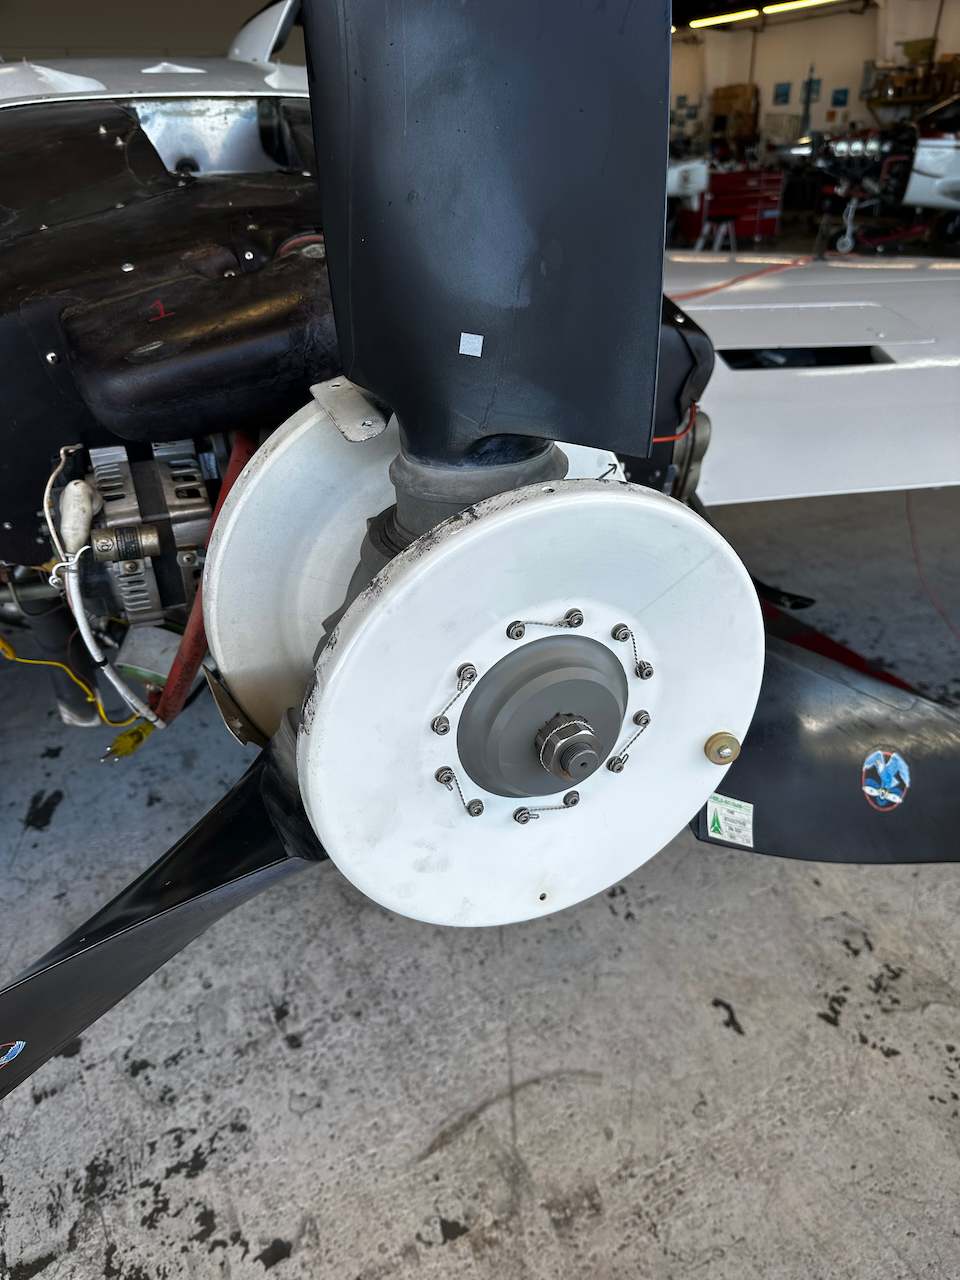
here’s the finished weight balance
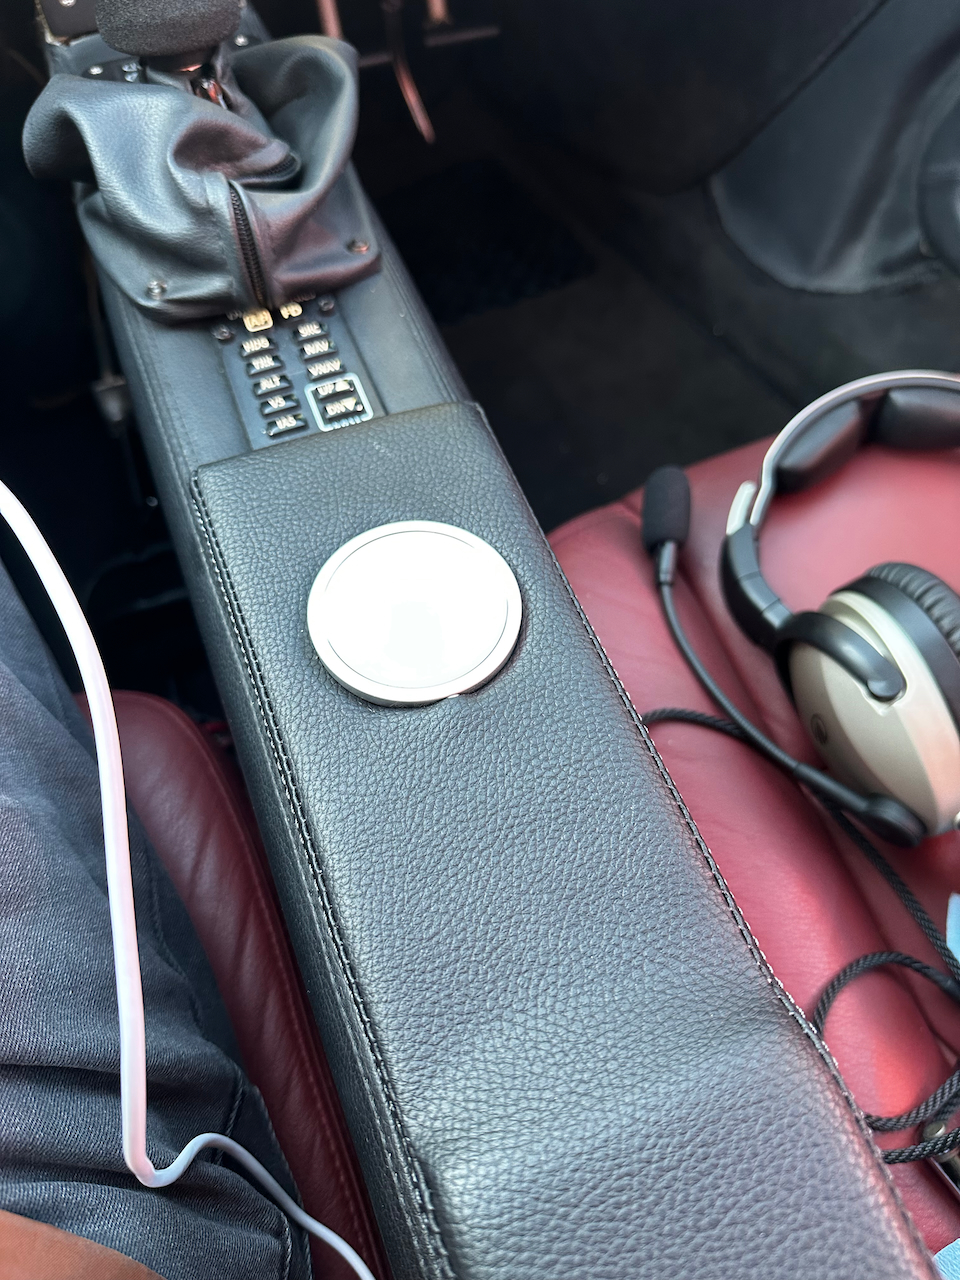
iPhone Charger
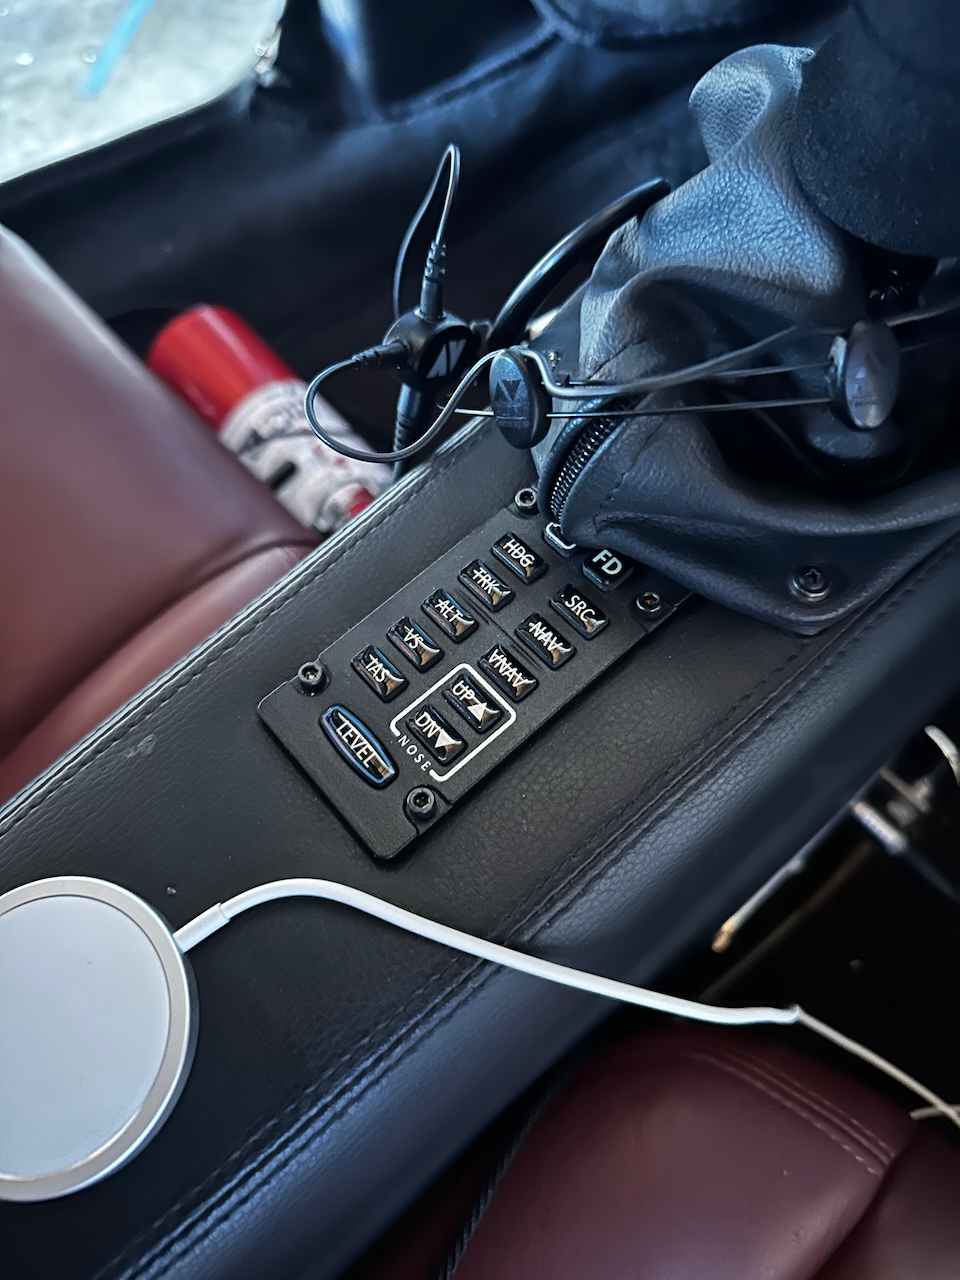
On a totally optional quality of life project, I wanted to tap into a power port behind the panel and provide some convenient charging stations for my iPad and iPhone. This was easy enough routing the cabling through the center keel. The cool part of the project was embedding a mag safe adapter into an armrest so that I can just “click” the phone to the armrest. That gives me charging AND a secure/accessible location for the phone. James, of course, to the rescue. He continues to surprise me with his portfolio of skills. In this case he was able to whip up a black leather armrest beautifully stitched and all! Thanks James!!
mock up of the iphone charger location
James’ amazing work!
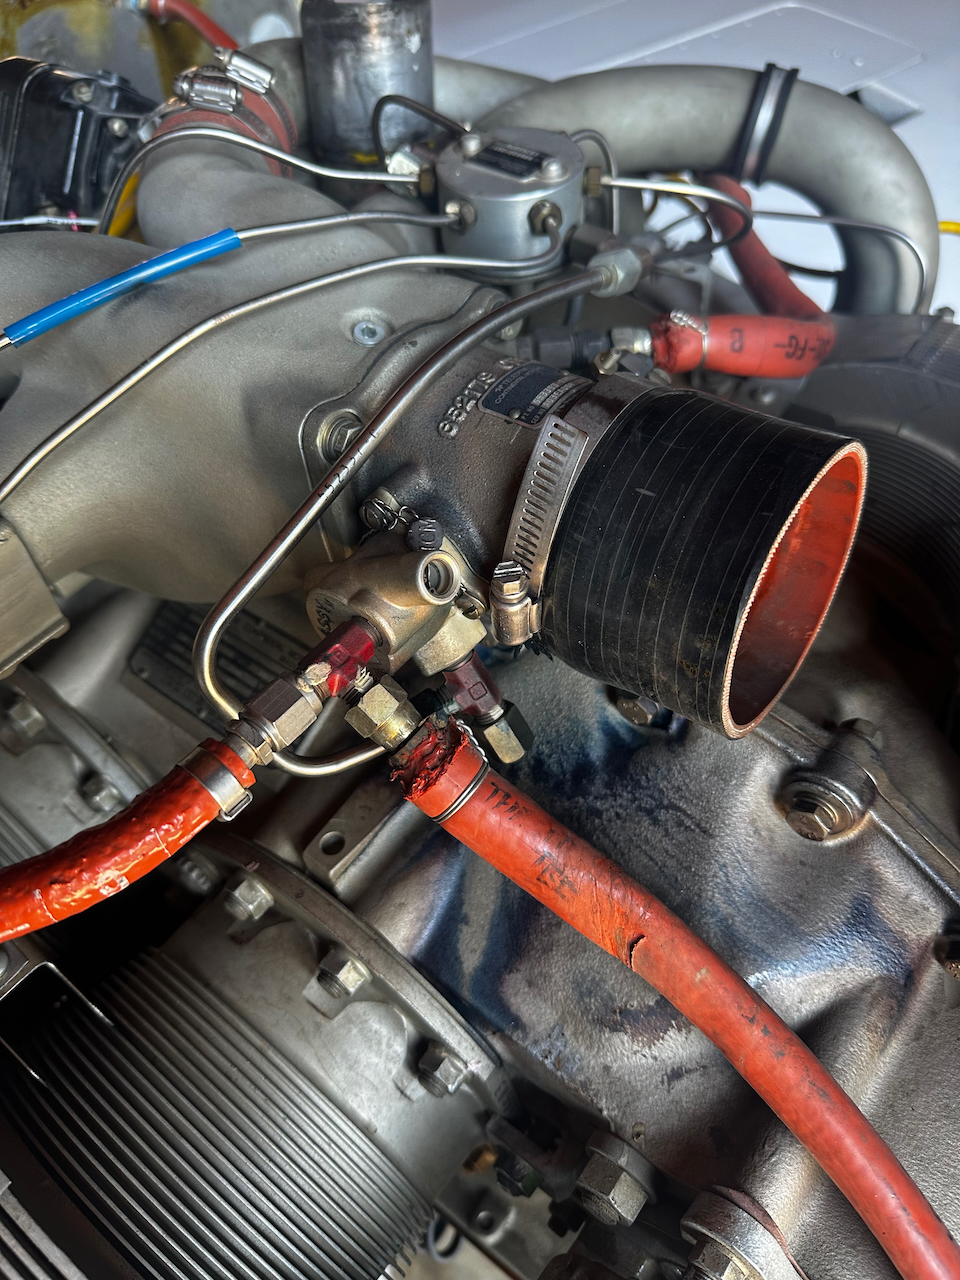
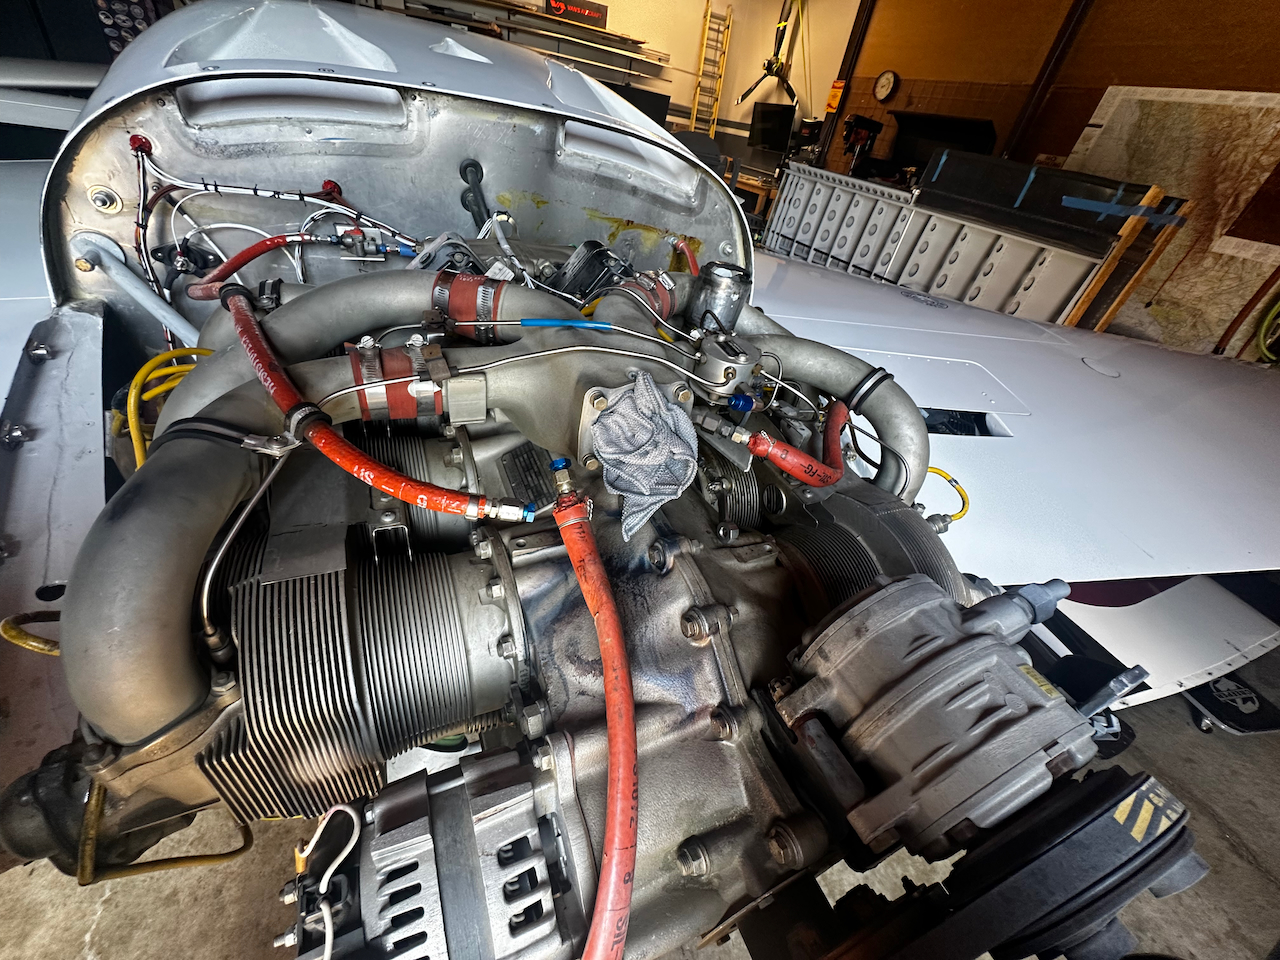
Mixture fuel flow tweaks and Throttle assembly replacement
This project actually stemmed out of some engine analysis work I did with Saavy Aviation, a service that allows you to upload engine data logs and receive recommendations on engine health etc. Through that analysis It was recommended that I adjust my max fuel flow significantly up from 23.6 GPH to 28.3GPH. This would have, they said, a dramatic effect on my cooling issues during climb. James and I did an initial pass at it, and then Alberto agreed to help me make the final tweaks. Unfortunately when we ran the engine to start the procedure, Alberto noticed a non-trivial seeping of fuel at the throttle assembly. After evaluation it looked like this was going to be a show stopper. What’s worse is that we were 2 days away from heading to Oshkosh. I was extremely bummed thinking I would have to tell the kids Oshkosh is cancelled for the year. Well…. With some rapid Mobilization, I was able to get a new assembly delivered AM overnight, get it reinstalled, and Alberto met me on a Saturday to do the thing we wanted to do in the first place. We were able to get everything done, and a flight test completed in time for an on-time departure Sunday for Oshkosh! Alberto to the rescue!! (BTW, it TOTALLY solved the engine cooling during climb. I went from struggling to stay under 400˚F to being cool as a cucumber!)
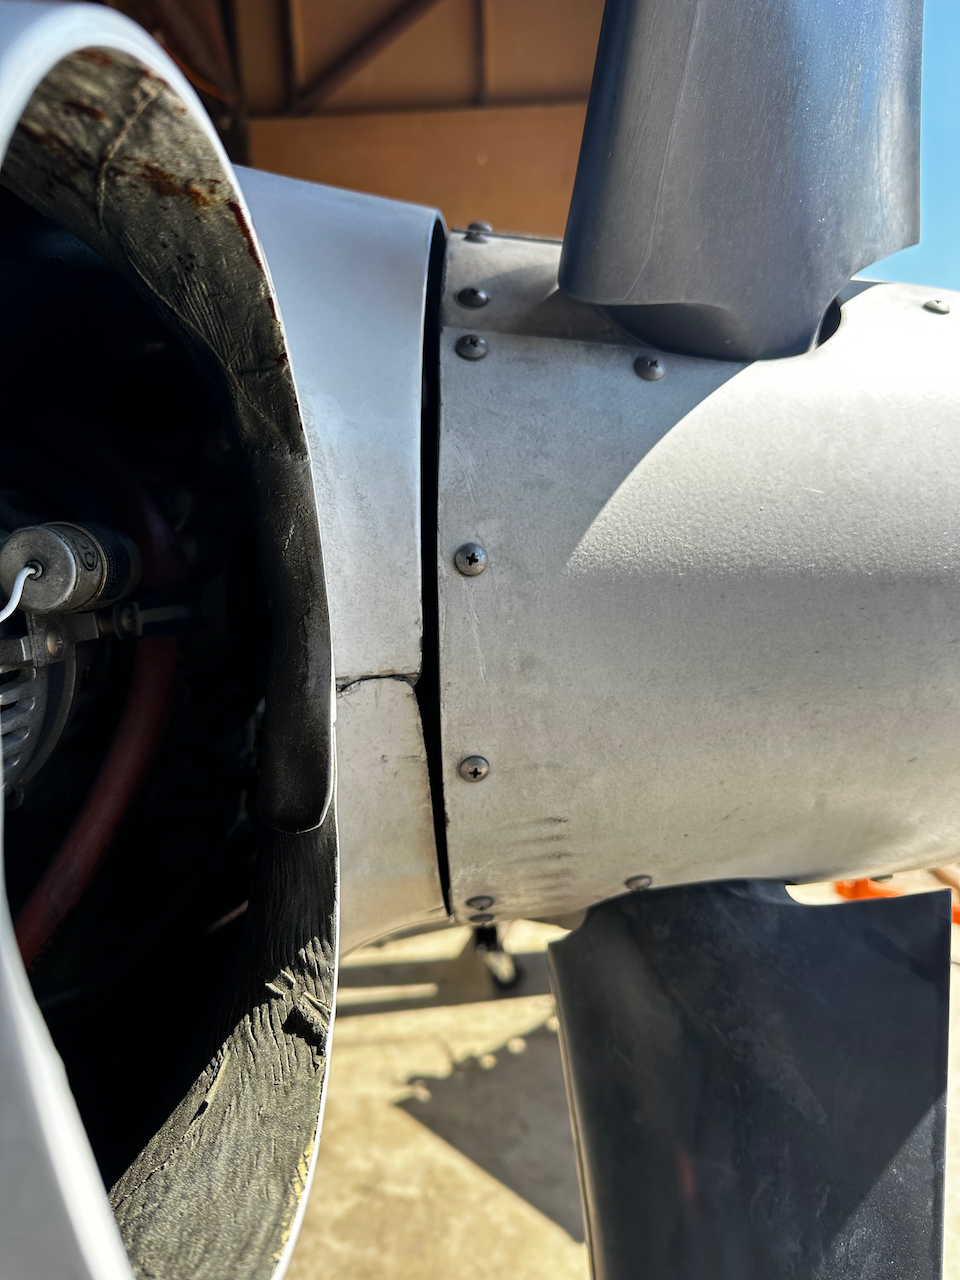
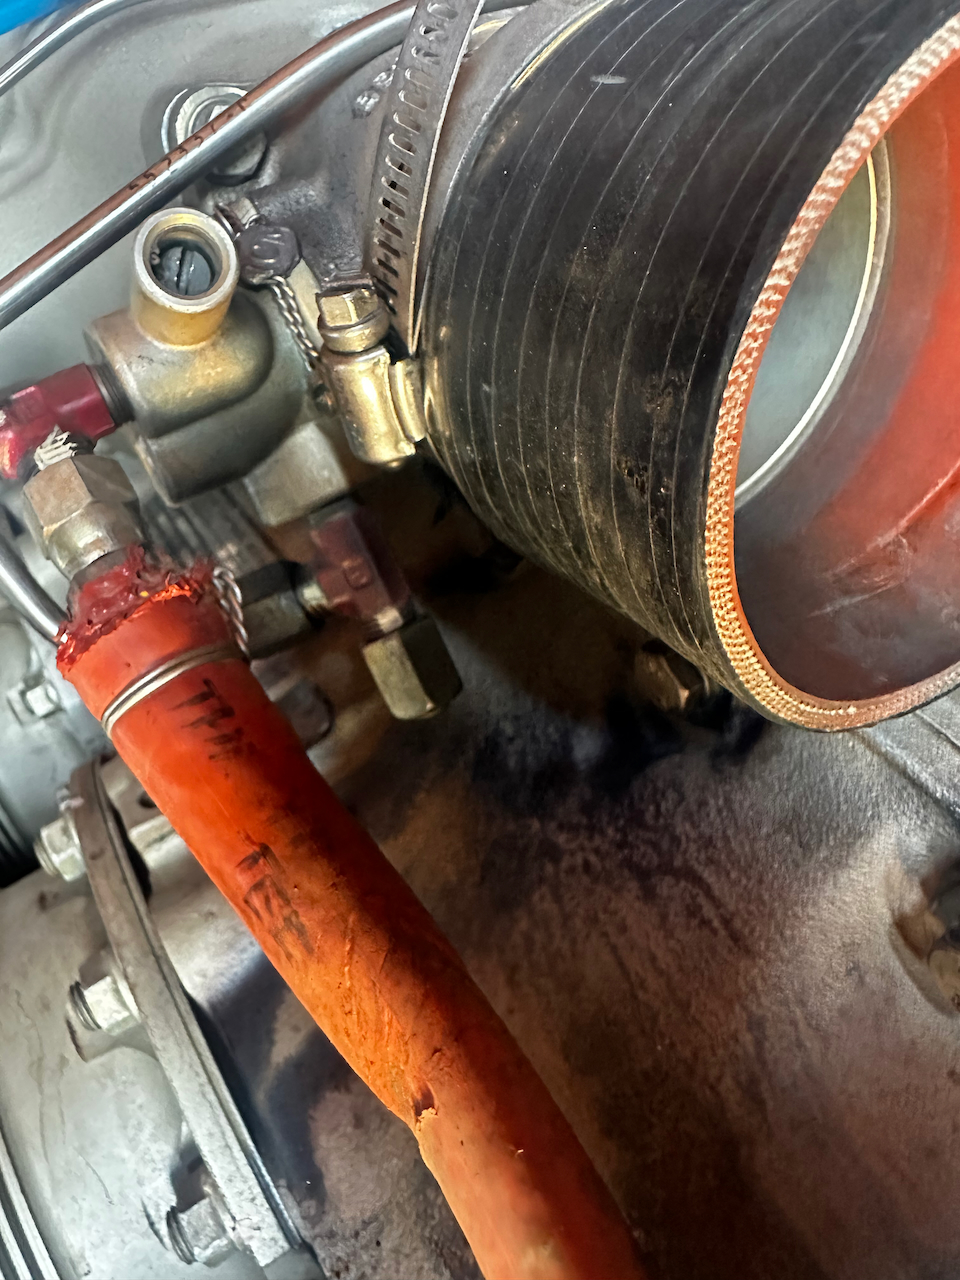
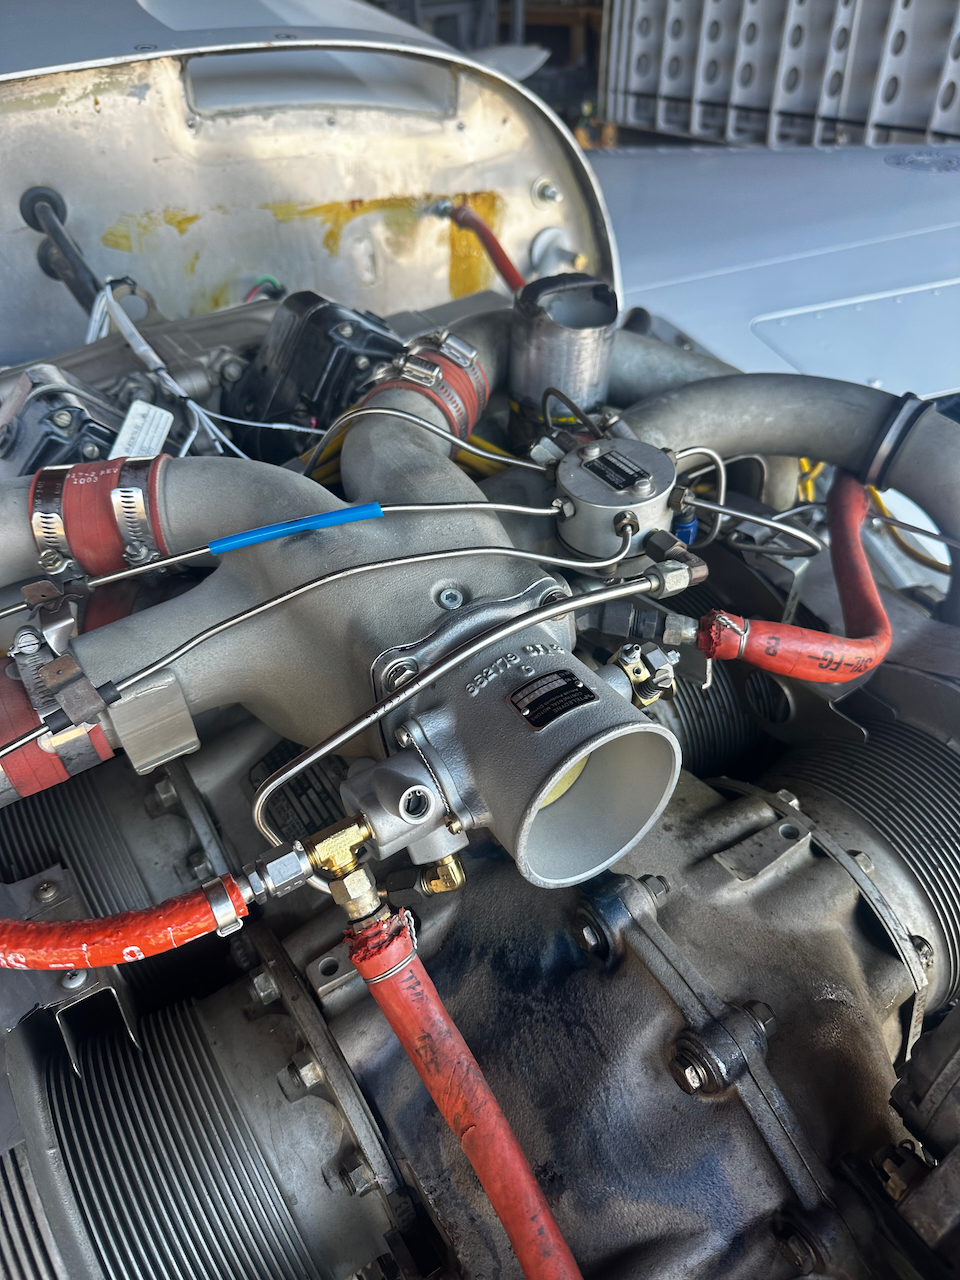
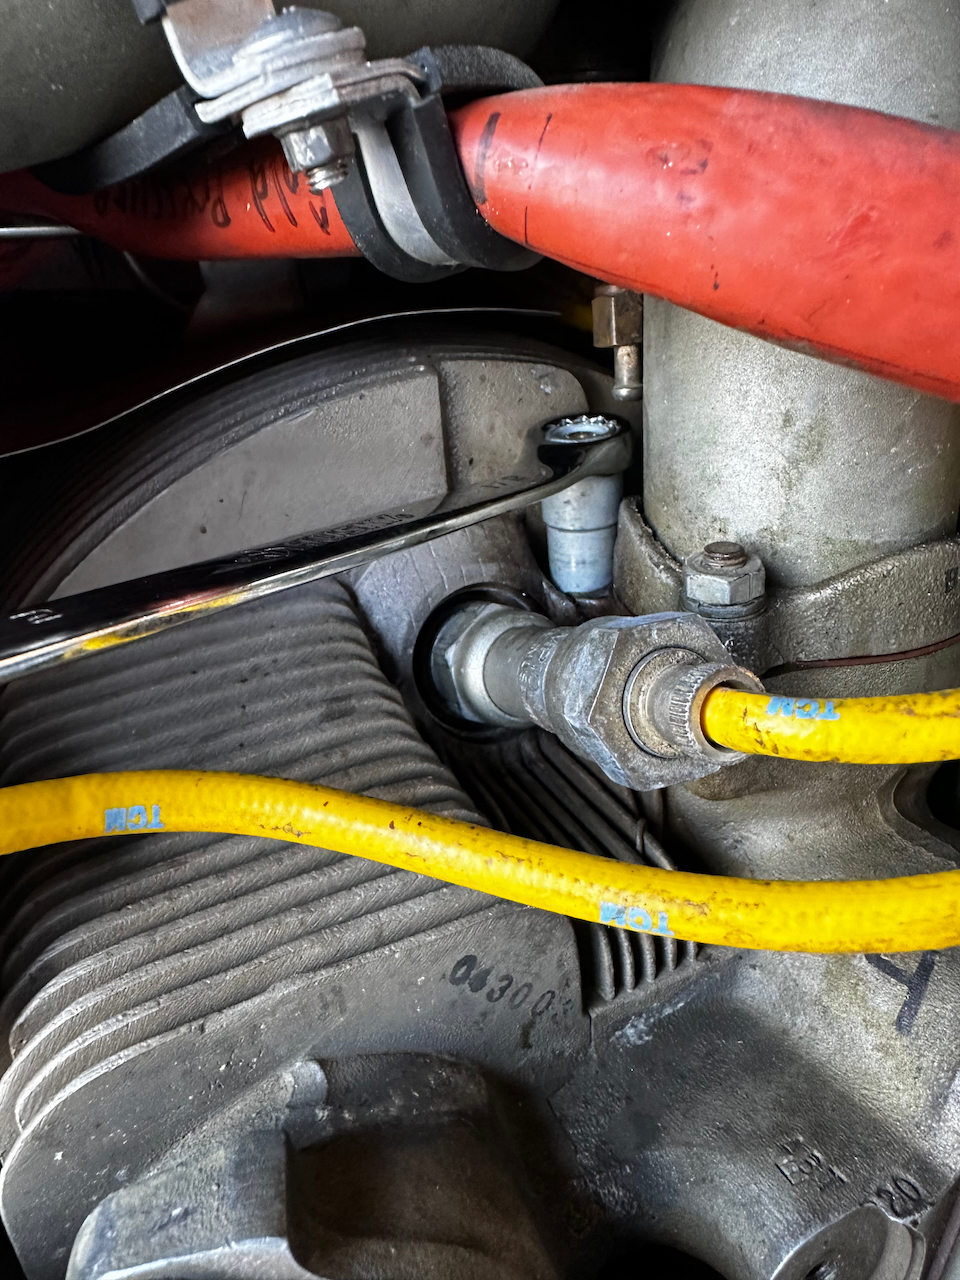
Here’s the troubled throttle assembly…
… fuel was seeping at the fuel servo
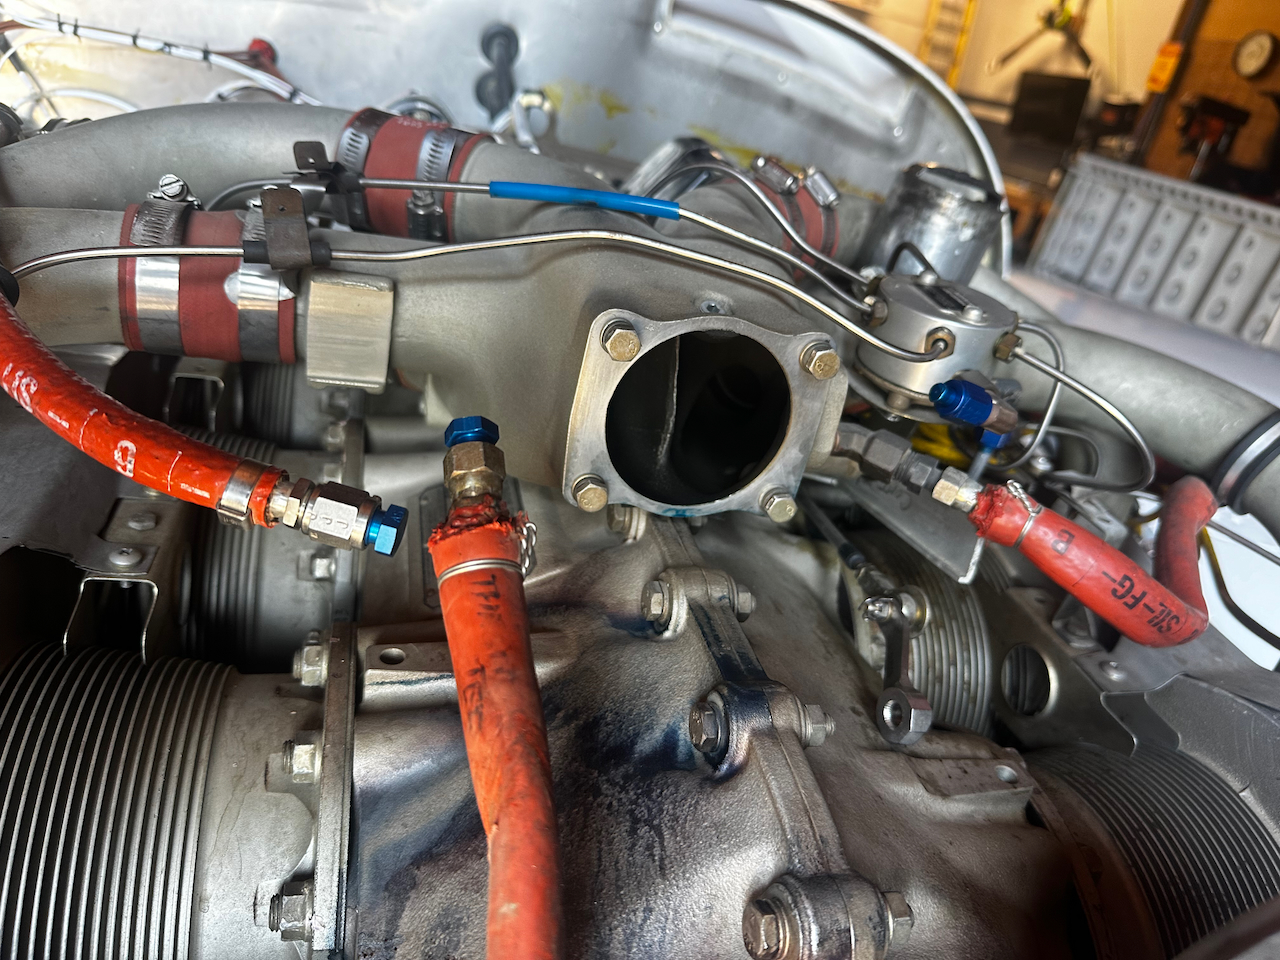
removed and out for replacement
plugged until the new one arrives
new throttle on in less than 24 hours!
Alberto tweaking mixture… with the prop on!!!
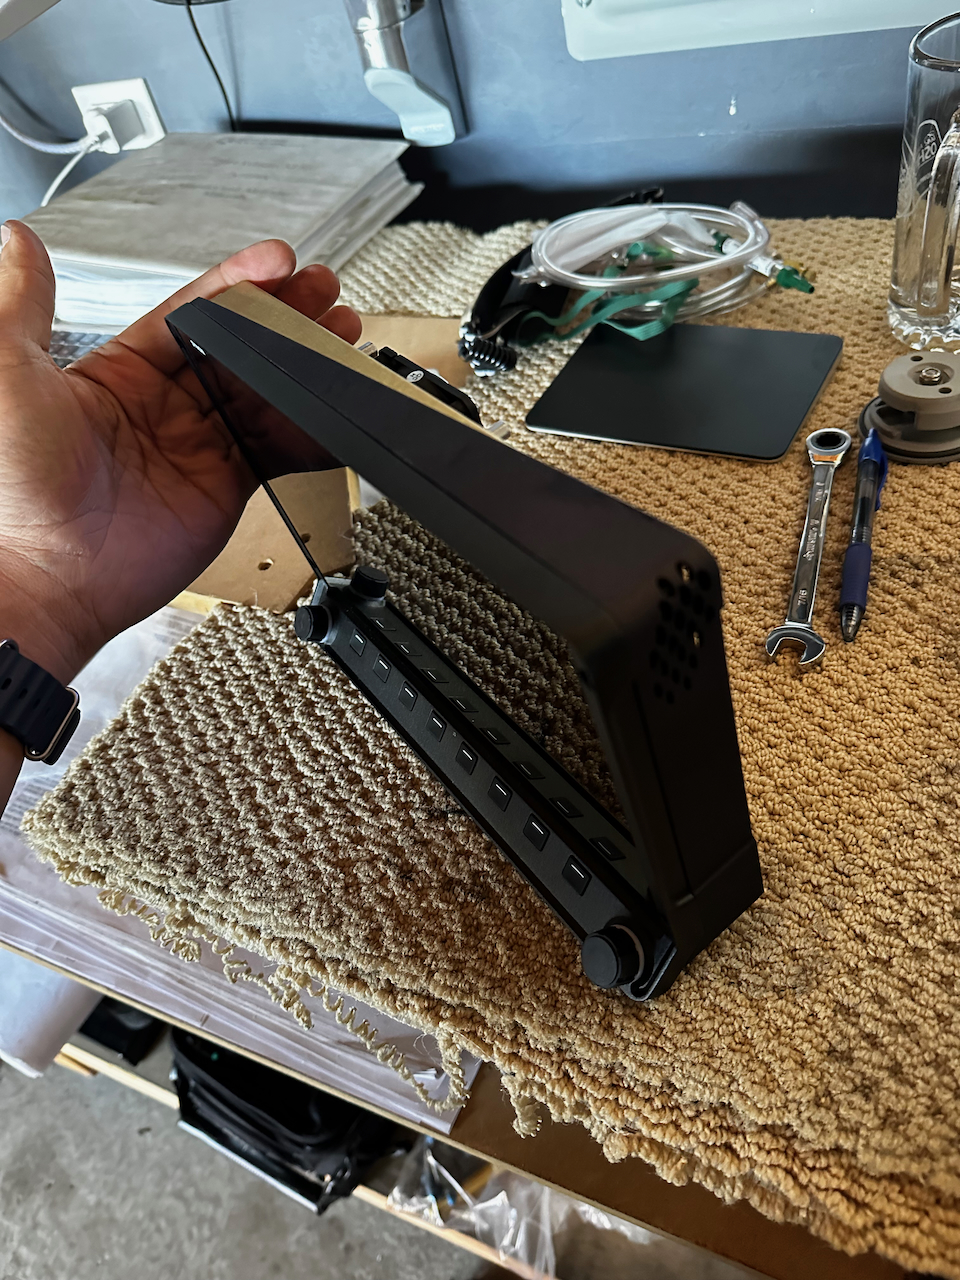
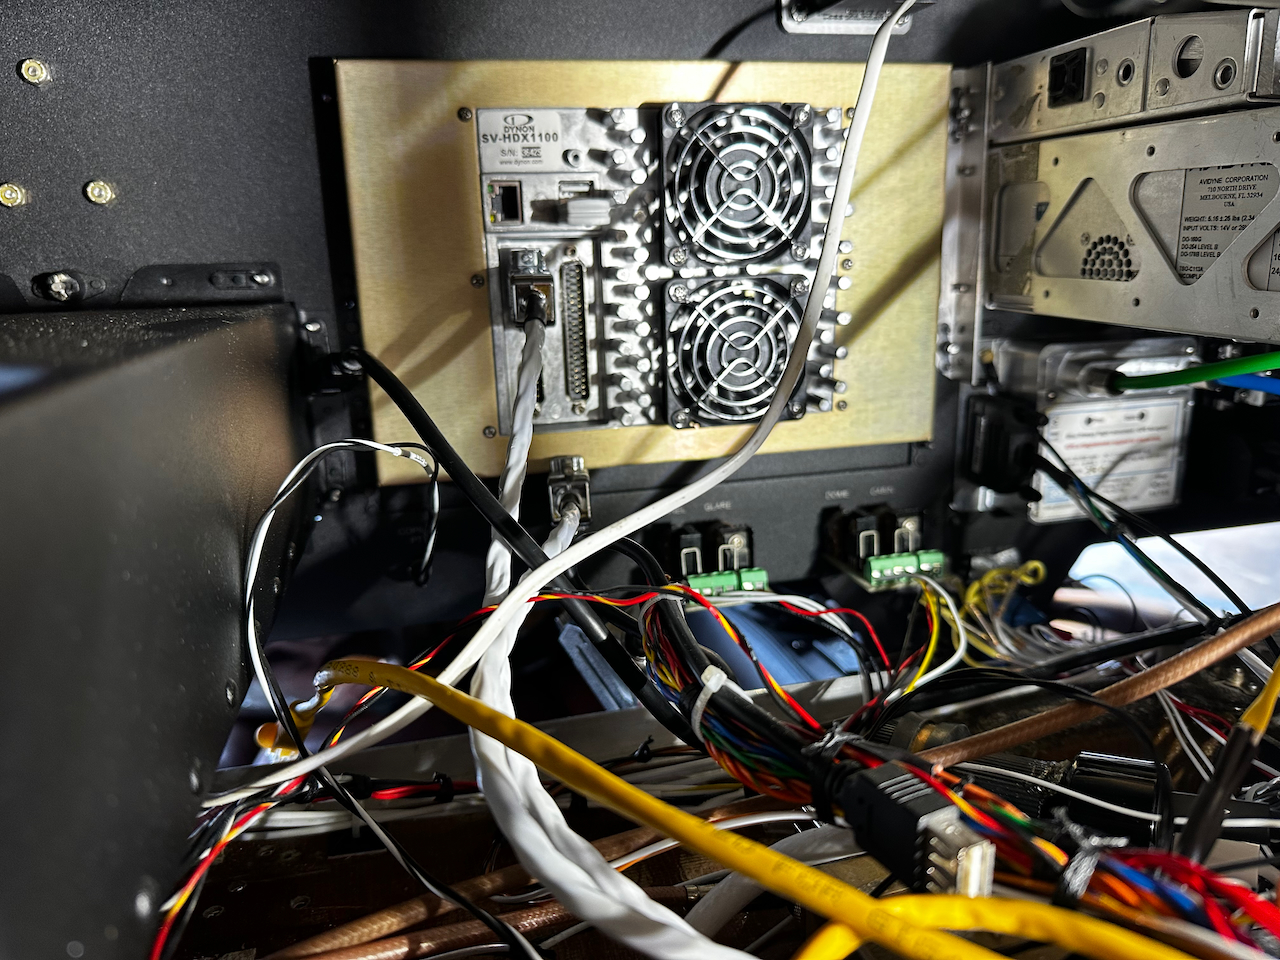
HDX Upgrade
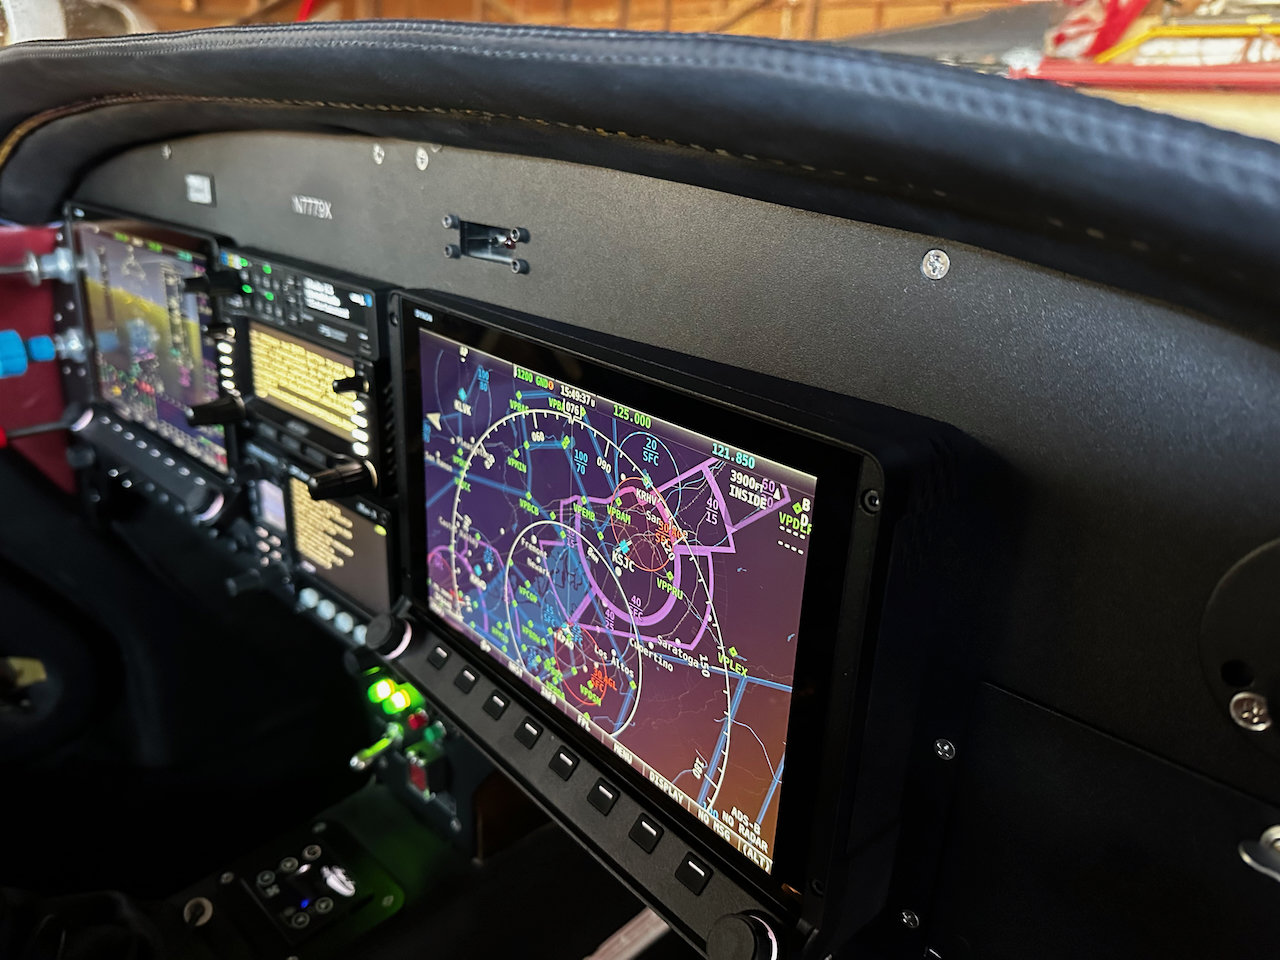
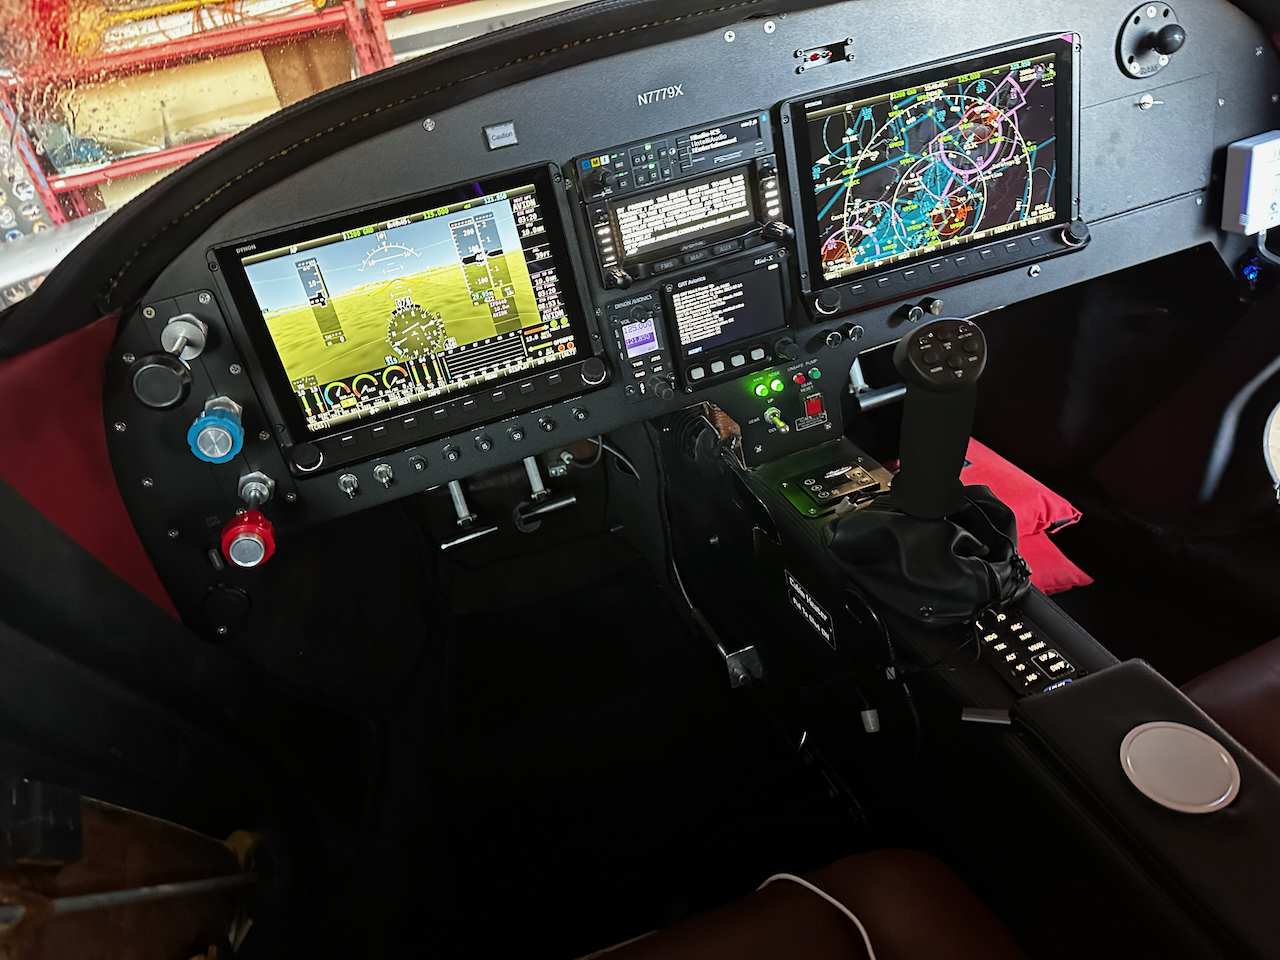
I was super excited to get all the new avionics back from Steve. They have been working beautifully and my readings are all now realistic and trustworthy. The icing on the cake was the HDX screens but unfortunately they did not come in time to get them initially. Well… they came!! These are the latest and greatest screens with a beautifully upgraded touch interface, and more refined button UX. When I installed these, I opted to 3d print some extensions (that James designed) which orient the MFD screen a little more toward the pilot as well as lift the radio panel out to the same plane as the rest of the instruments. I can confidently say I’ve got one of the coolest panels out there at this point, and not much additional I would want. Woo hoo!
new HDX Screen with 3D printed extension
back side of screen… look at all that space!
Note the slight angle towards the pilot
Beautiful!!!
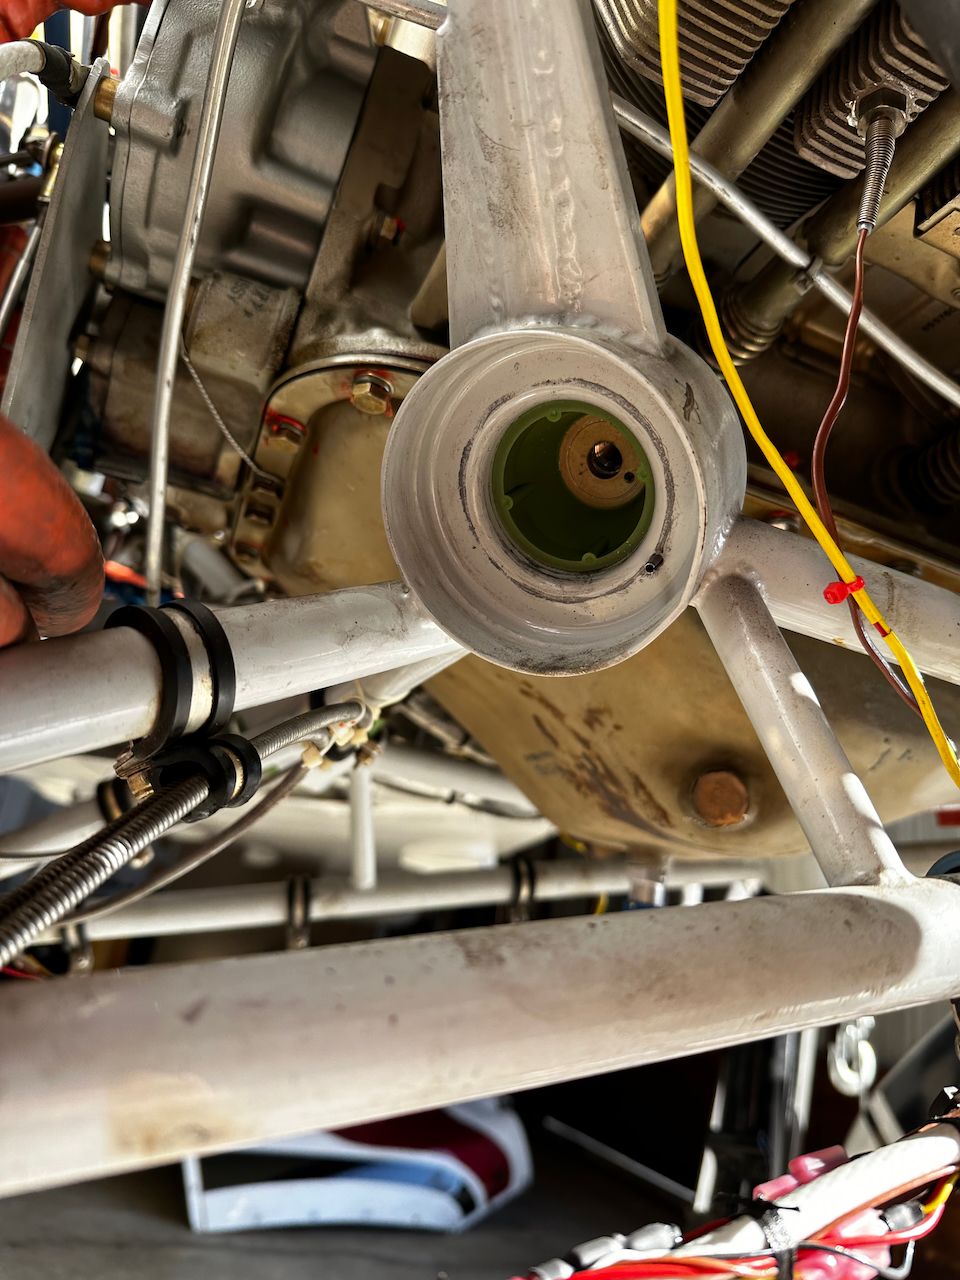
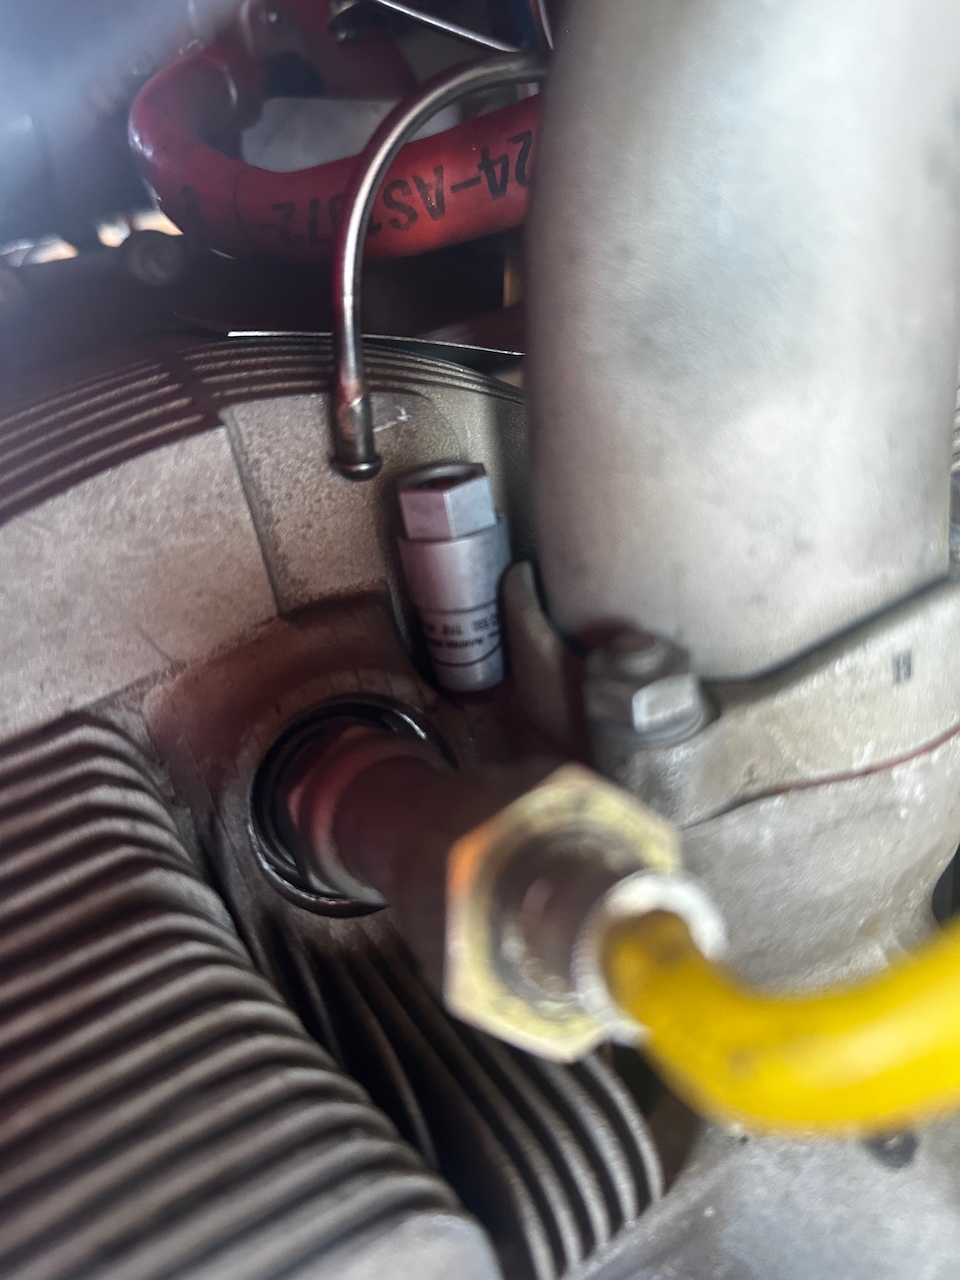
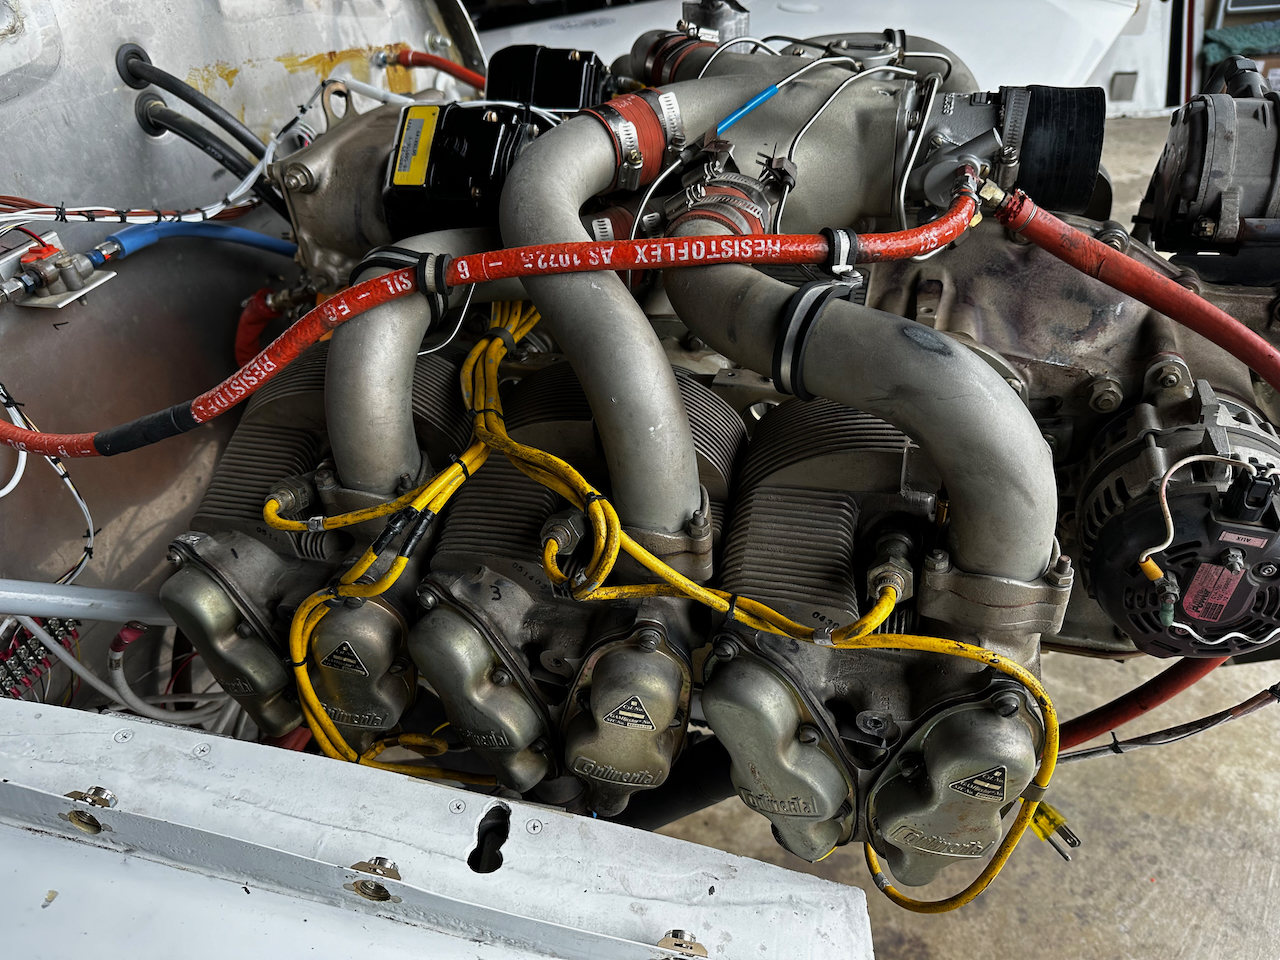
Gami Injectors
One of the crème de la crème items I wanted to get installed on my engine was Gami injectors. These are finely tuned injectors that allow smooth lean of peak operations. This would allow me to fly at dramatically reduced fuel flow rate while still having a smooth engine. I wasn’t planning on doing that modification for some time, but Oshkosh got me, with an “Oshkosh special”. So I splurged and ordered the injectors. Essentially, you give them some details about your engine components, and they send you a send of tuned injectors. What’s great is that they then work with you for up to a year to fine tune the injectors to get an ideal fuel distribution to each cylinder. Long story short, after getting the right special bit for removing the injectors (so I didn’t have to remove the intakes) it was a quick couple hour job and I had my Gami’s! Since the initial swap I’ve swapped out one injector to more finely tune the fuel flow, but I still think there is a little more work to do.
old injector
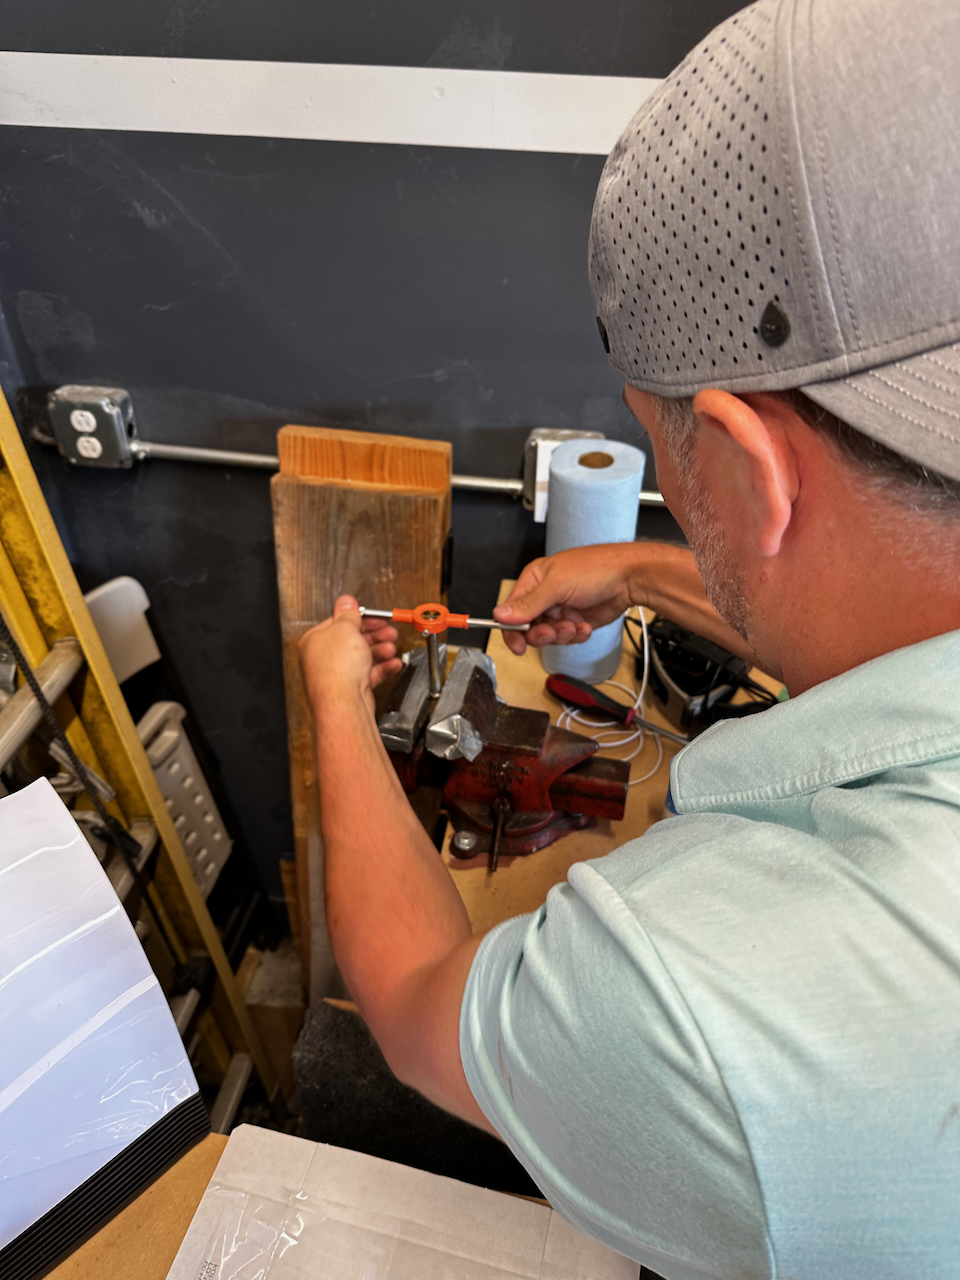
special socket bit to remove and install injectors without removing the intake
perfect wrench mechanism
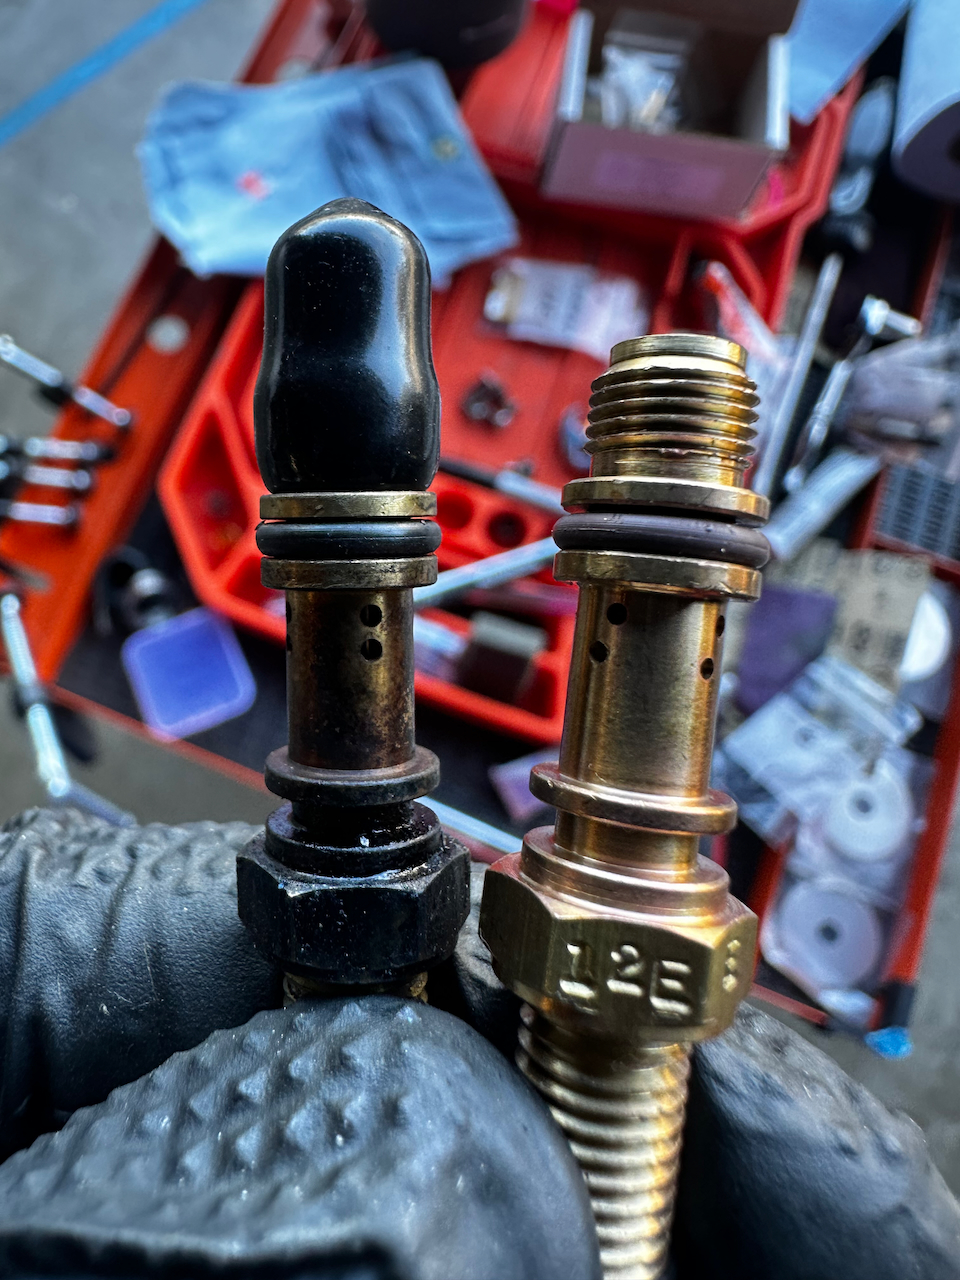
new vs old injector
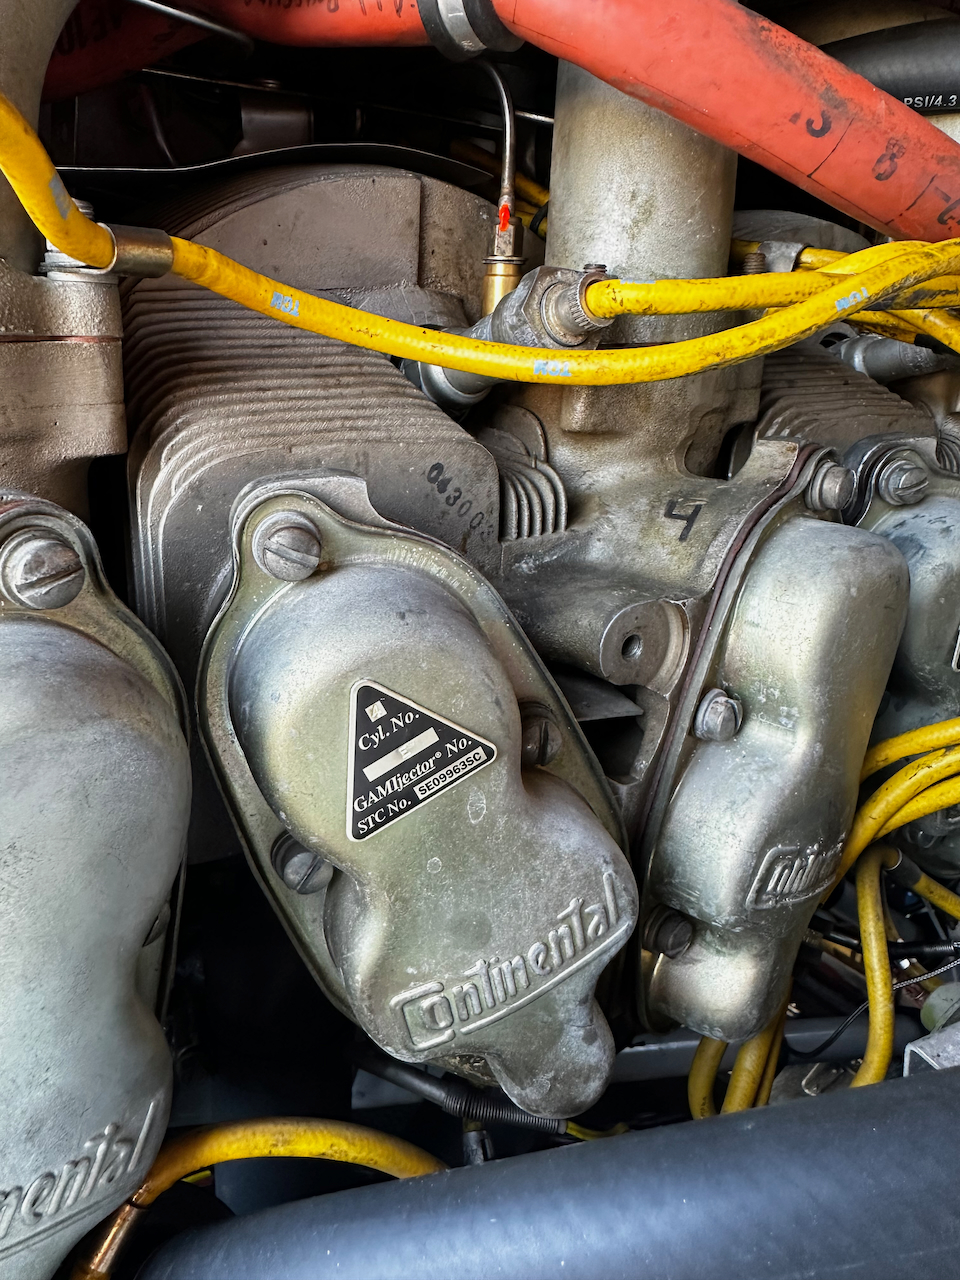
all done, and labeled appropriately
Starter System Rebuild
If you recall an earlier post, I’ve been dealing with starting issues for some time. I’ve replaced the battery, replaced the starter, and most recently I replaced the starter adapter. I thought I had everything solved. Well… over the course of the last 3 months it appears that the issues have come roaring back. It got to the point where I wasn’t sure if I was going to be able to get the engine started on some days. After testing my base electrical system with Paul, Kacy, and Alexander (starter solenoid, basic wiring, etc) I narrowed it down to a bad starter adapter or a weaker starter. After talking to the starter adapter folks (NIagra Air Parts), I decide to get a replacement start adapter, and upgrade the starter to a heavy duty start. While I was at it, and since I had passed 500 hours, I went ahead and overhauled the mags as well. I had already swapped out the starter adapter and starter previously, so those were generally a breeze to get done. Mags was a new activity for me. Getting the timing dialed in was a little stressful, but with the right tools and some guidance from James I was able to complete this with Jess! (Yeah you read that right… Jess helped me out!). In the end, I seem to have a solid starting system now (and the mags seem to be running WAY smoother). I’m hopefully I’ve nipped the starting issues in the bud, but only time will tell. Every other fix I’ve done seemed to temporarily give relief only to resurface the issue a few months later. Knock on wood!
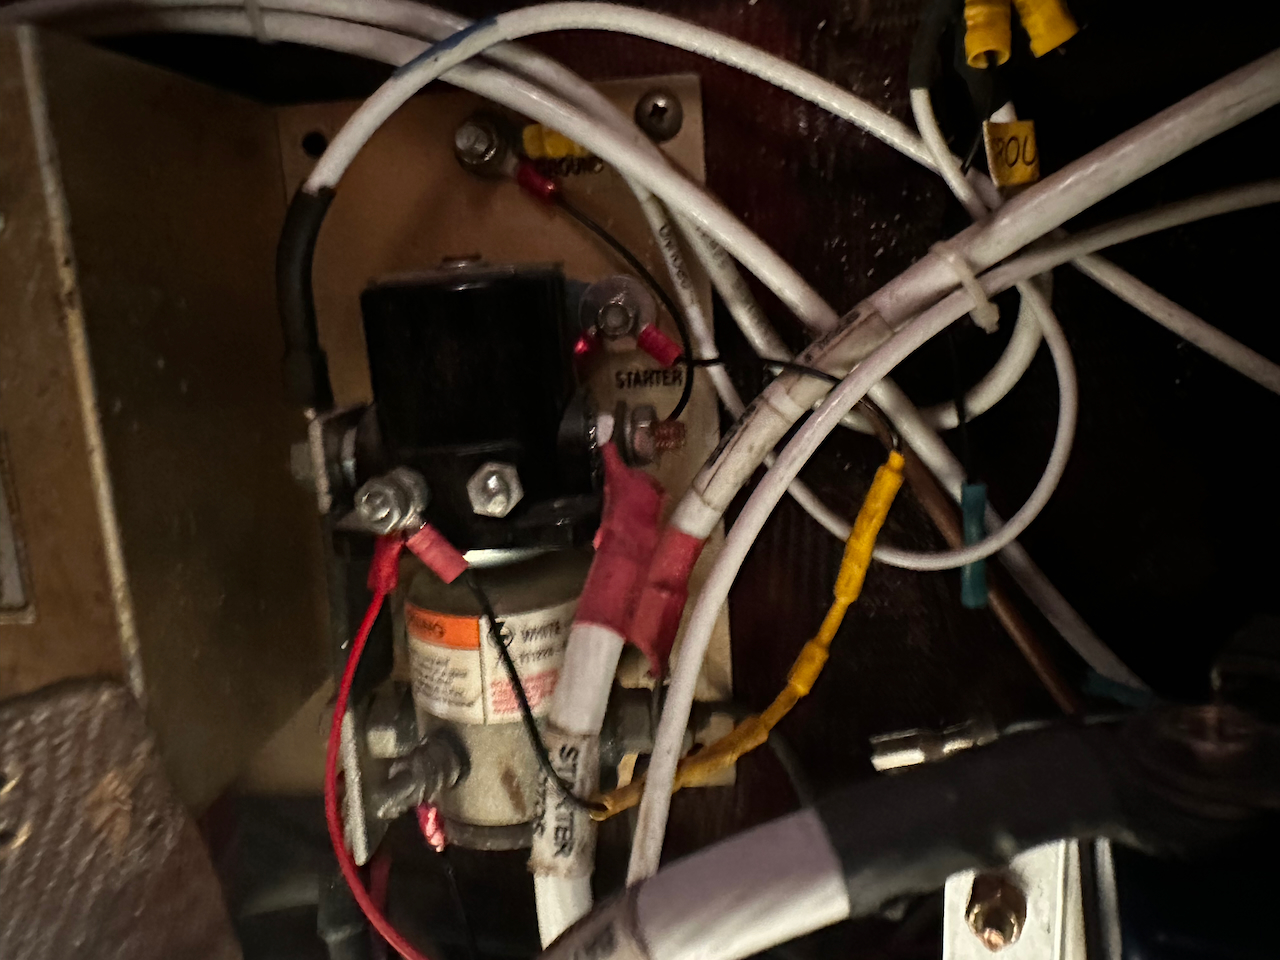
we confirmed starter solenoid worked properly…
…and even verified the basic electrical system…
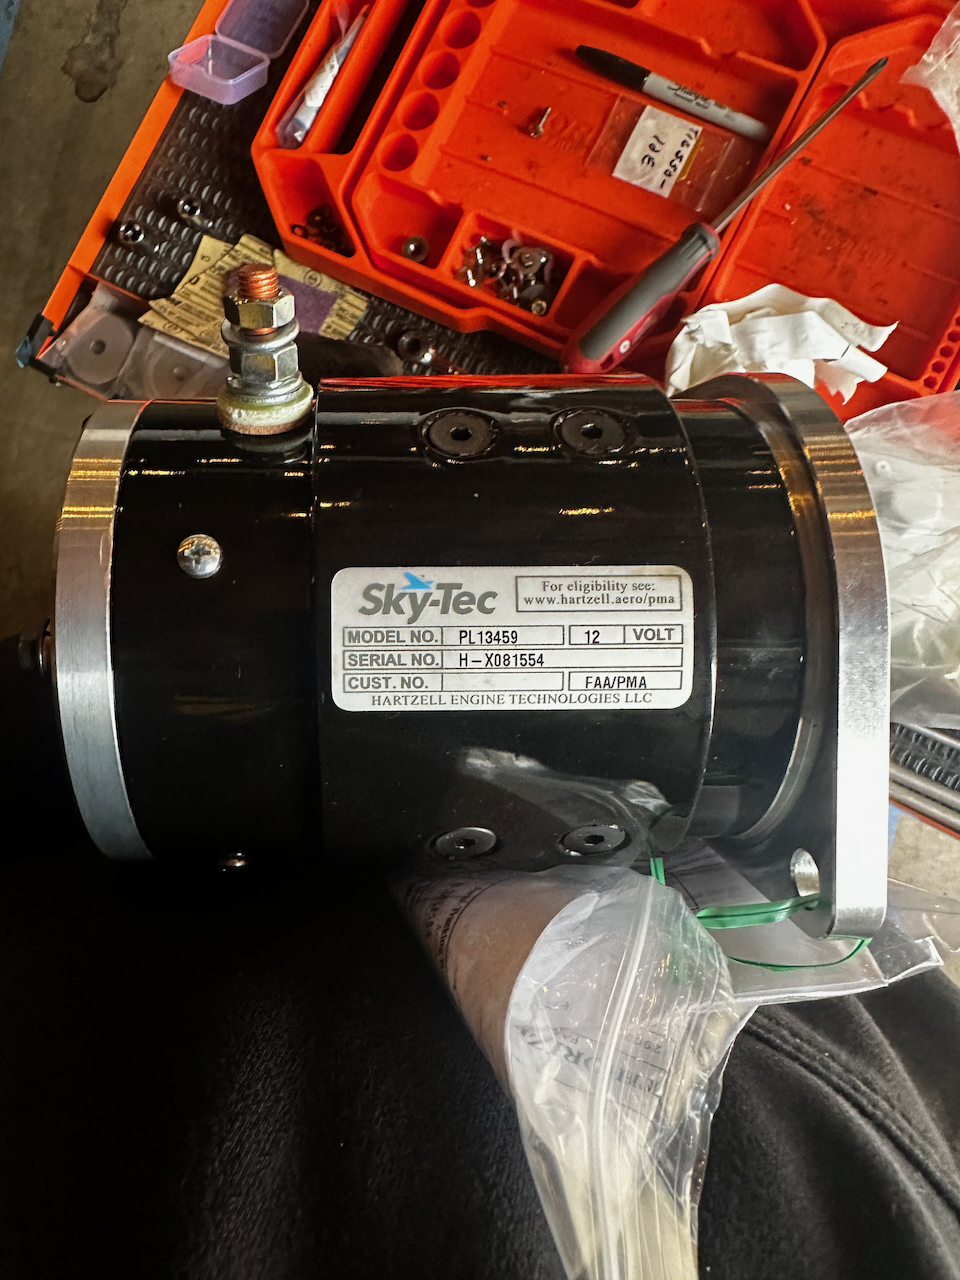
so it was time for a heavy duty starter!
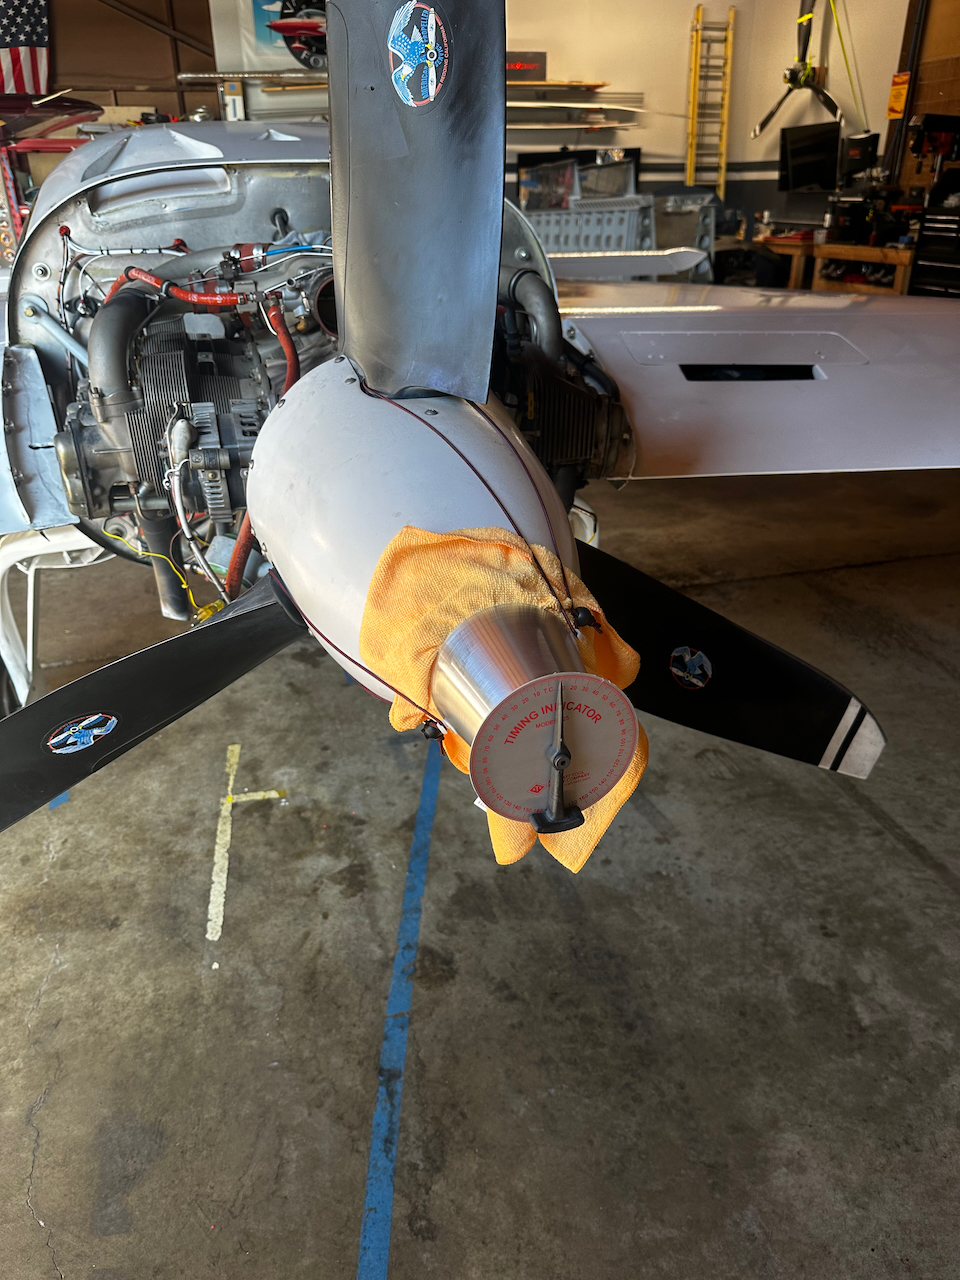
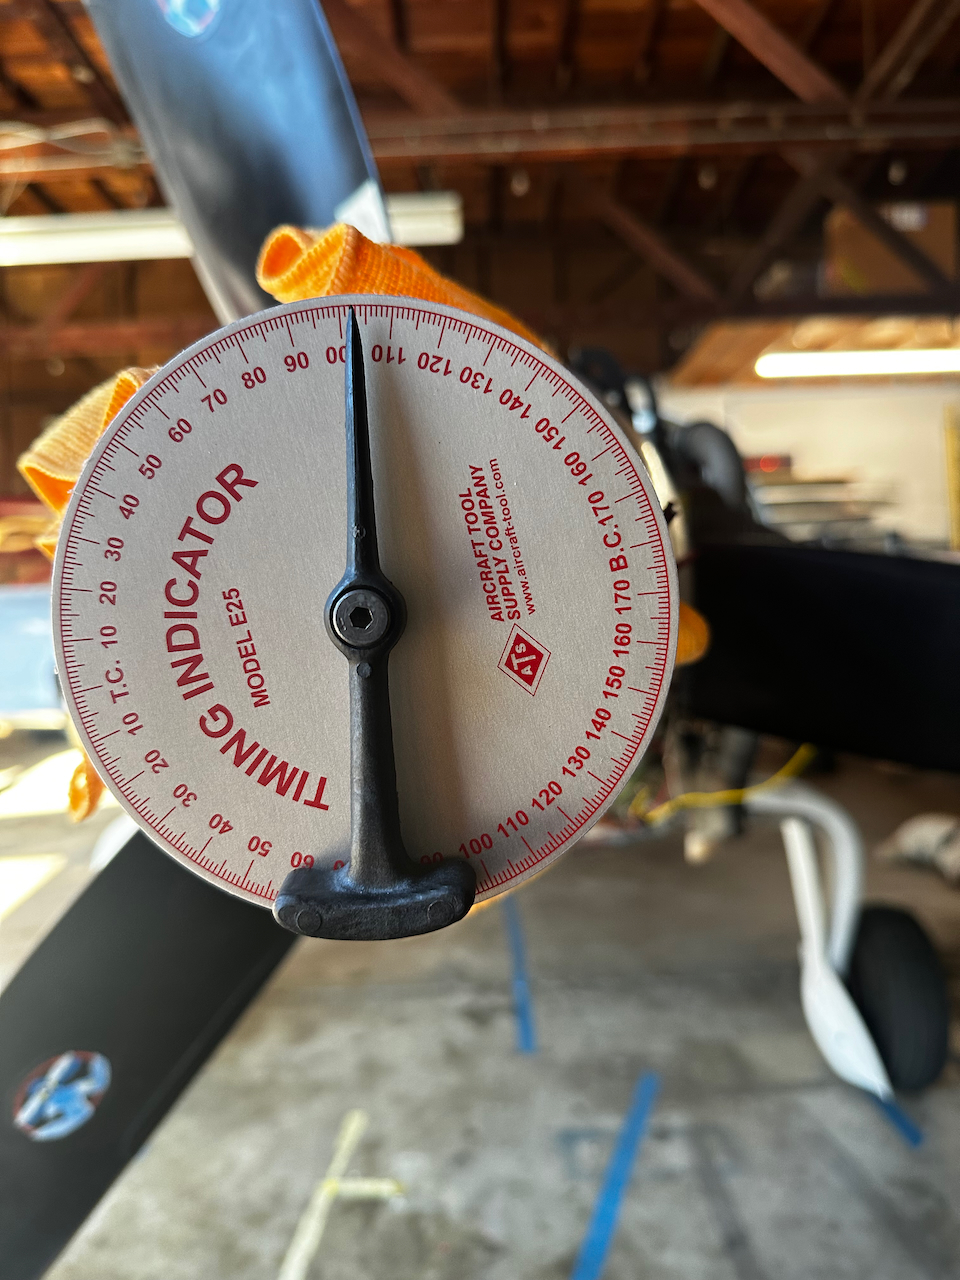
James helped me verify timing of the mags. (22 before TDC)
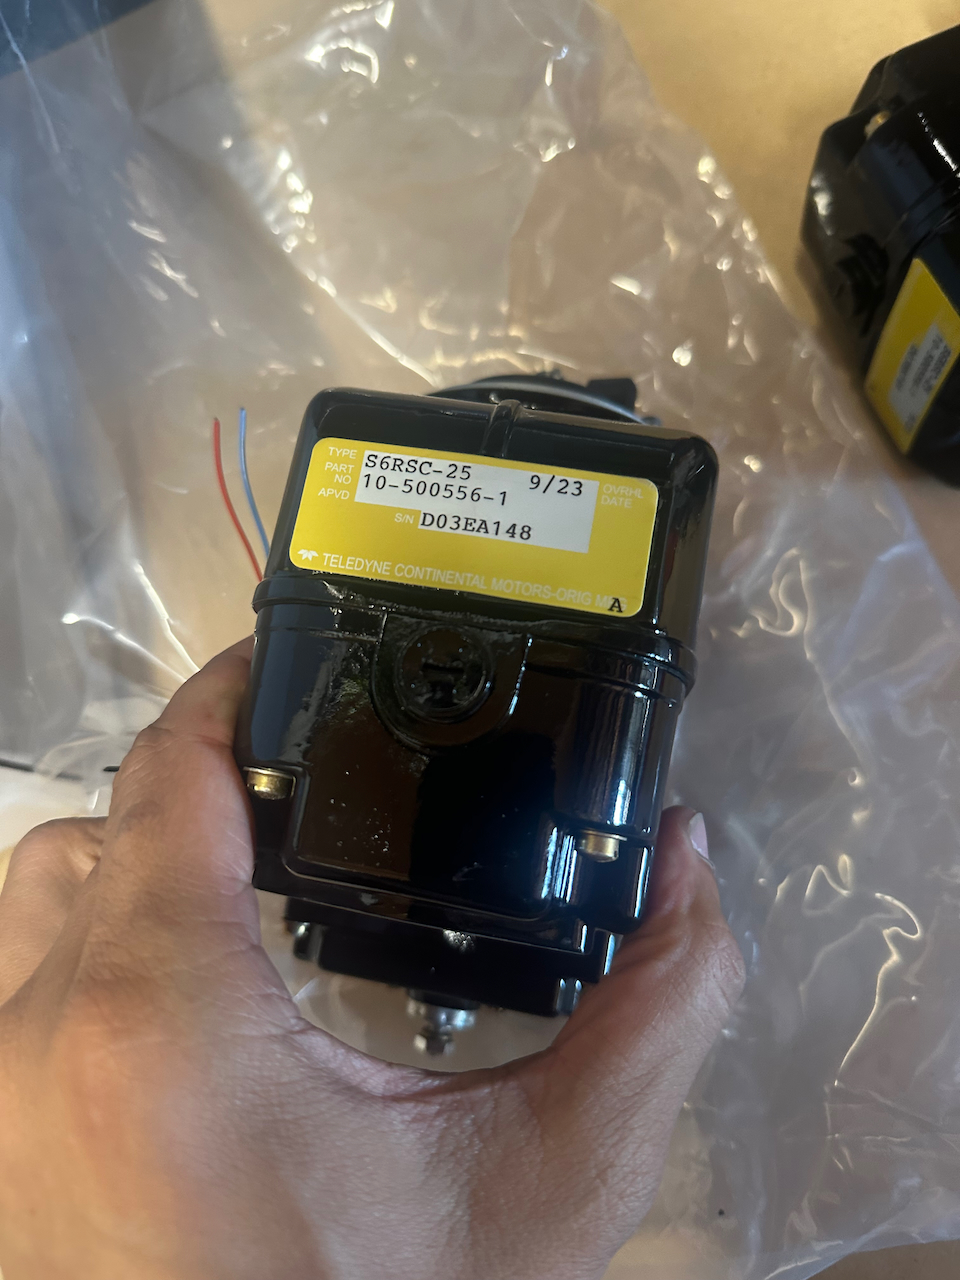
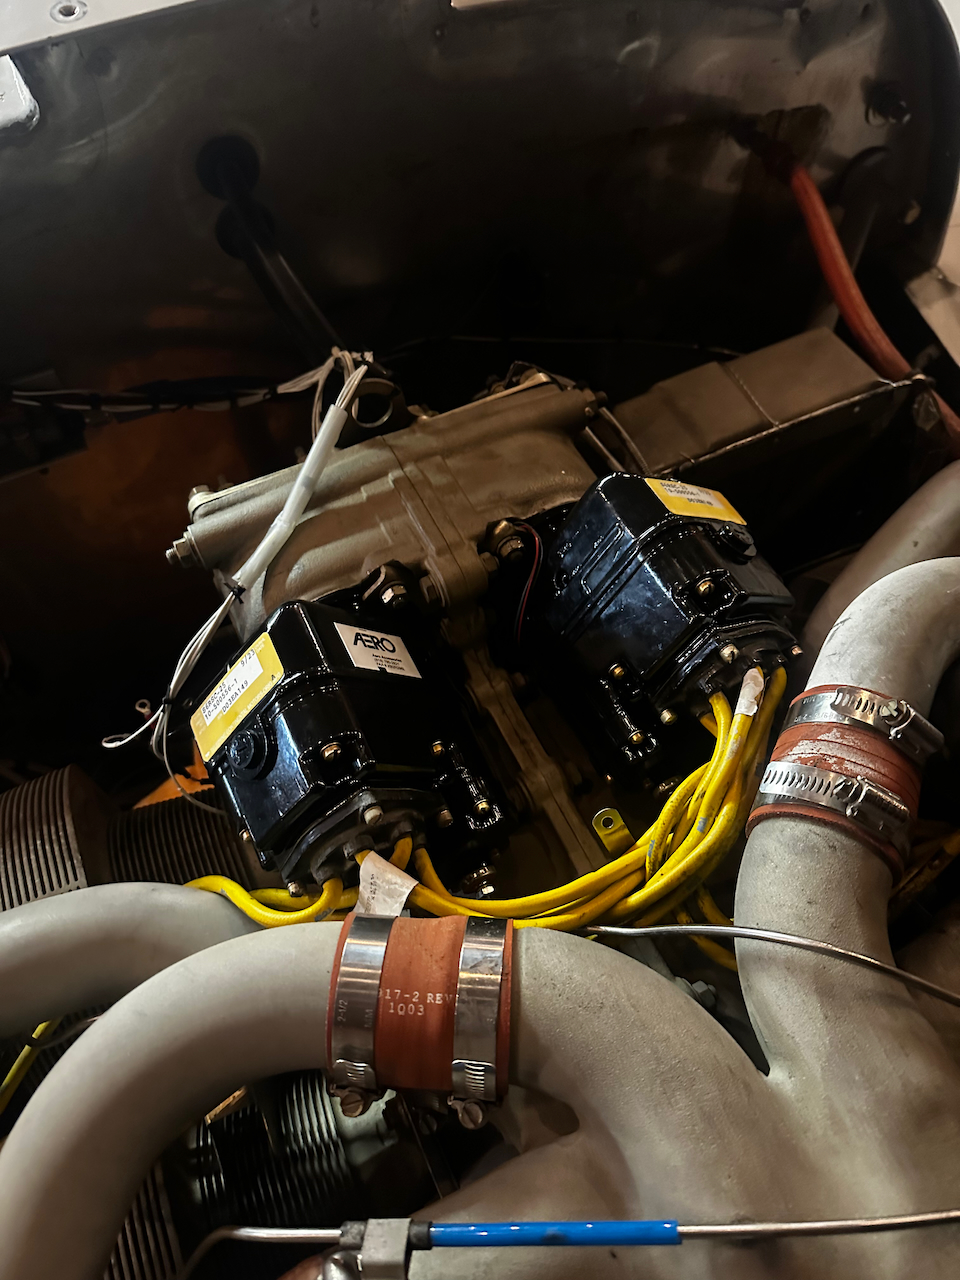
newly overhauled mags are in!
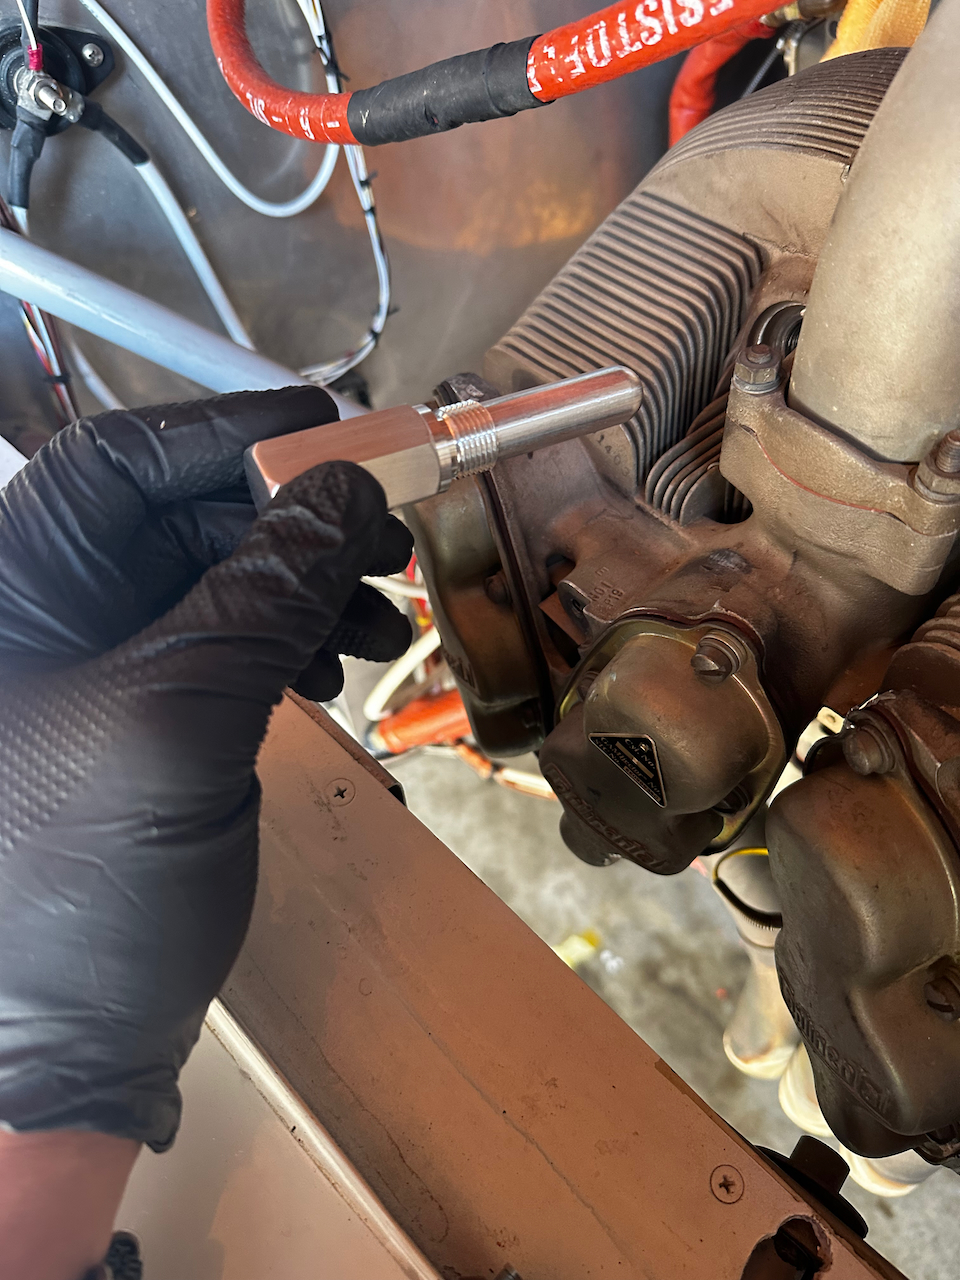
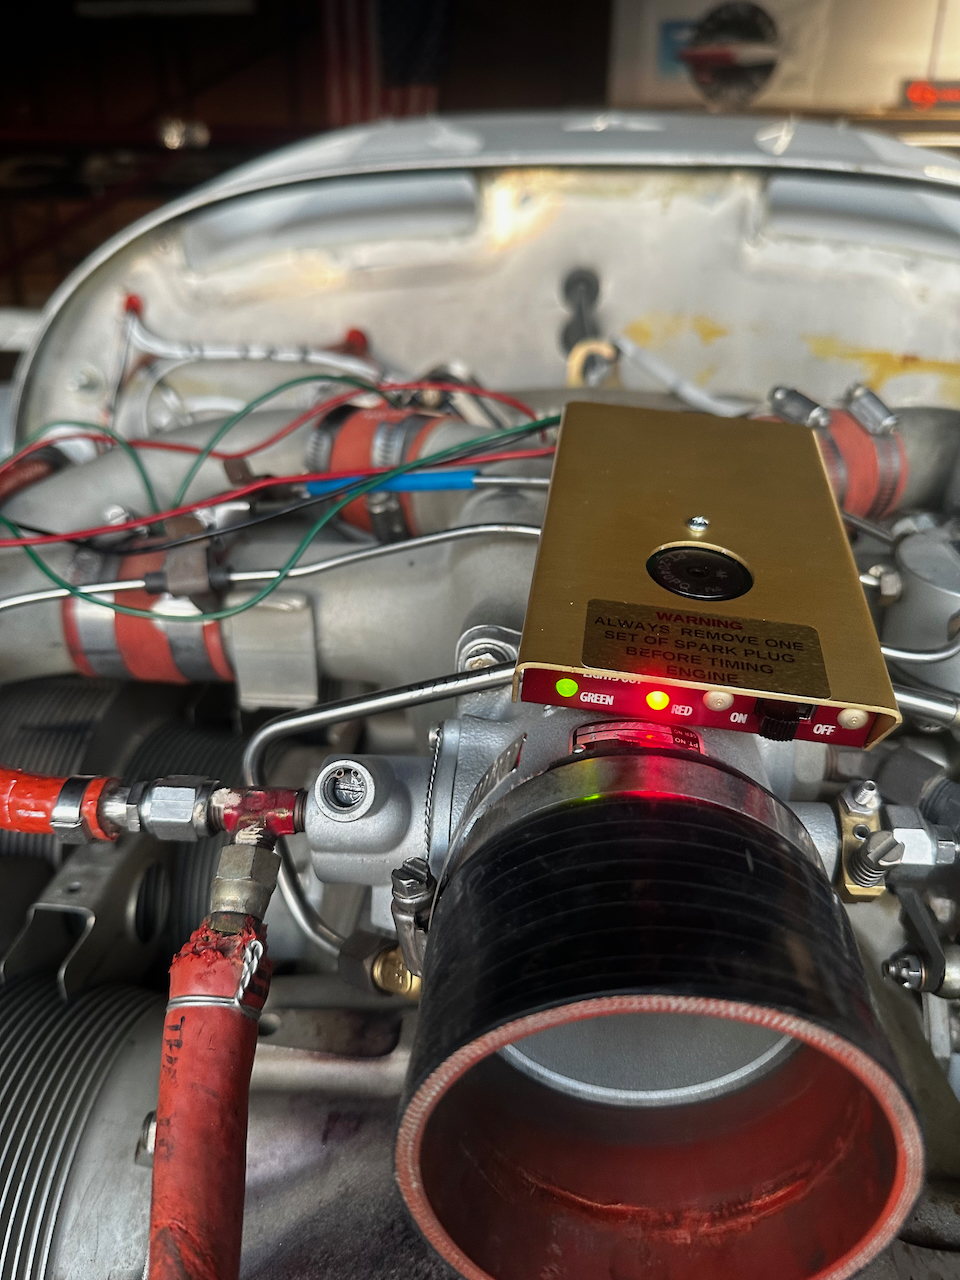
timing calibration tool
along with the probe
allows for precise degree check
timing tool shows good timing!
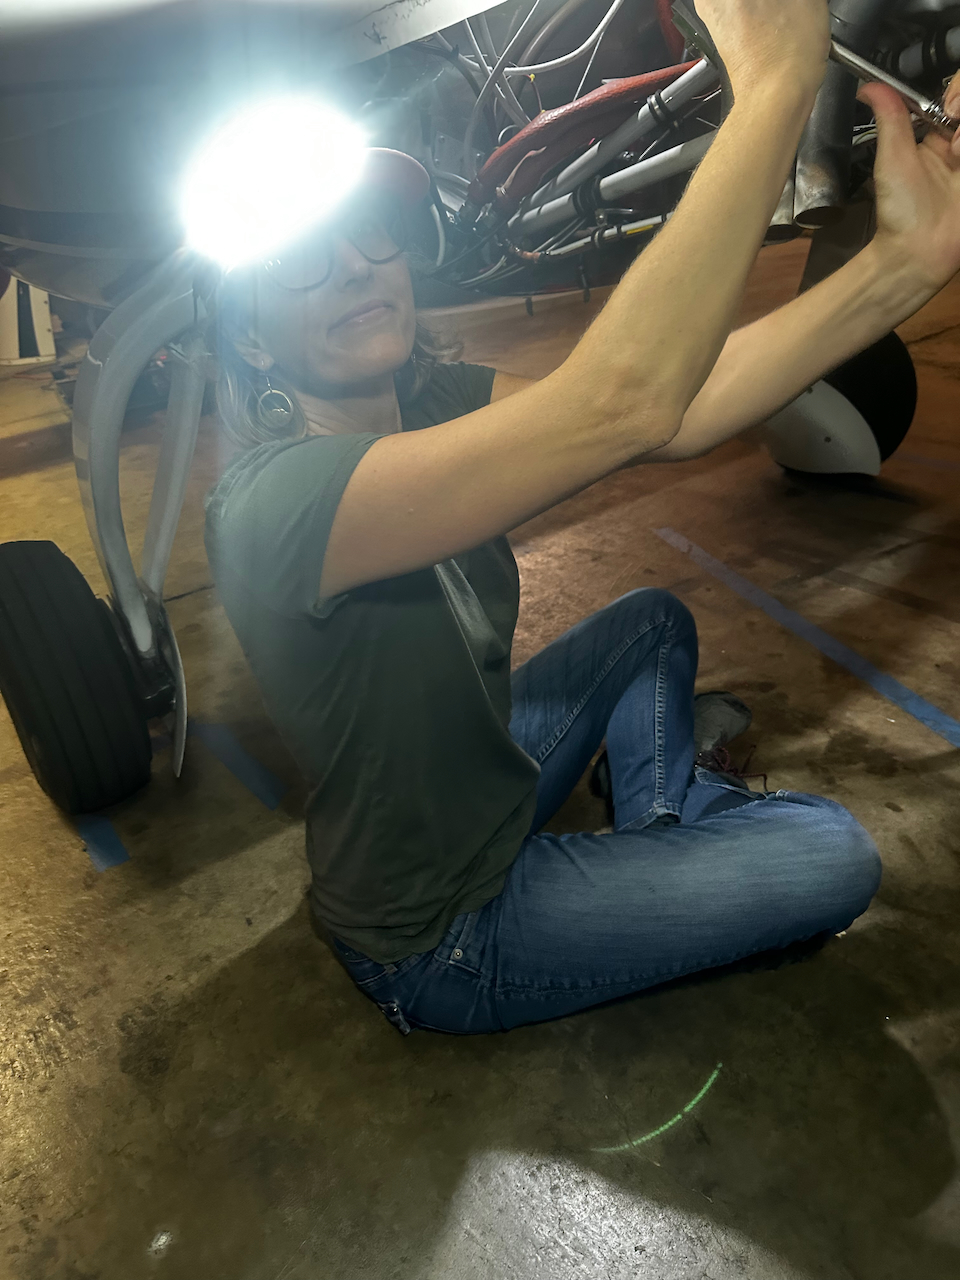
Thanks for helping on Date night Jess!
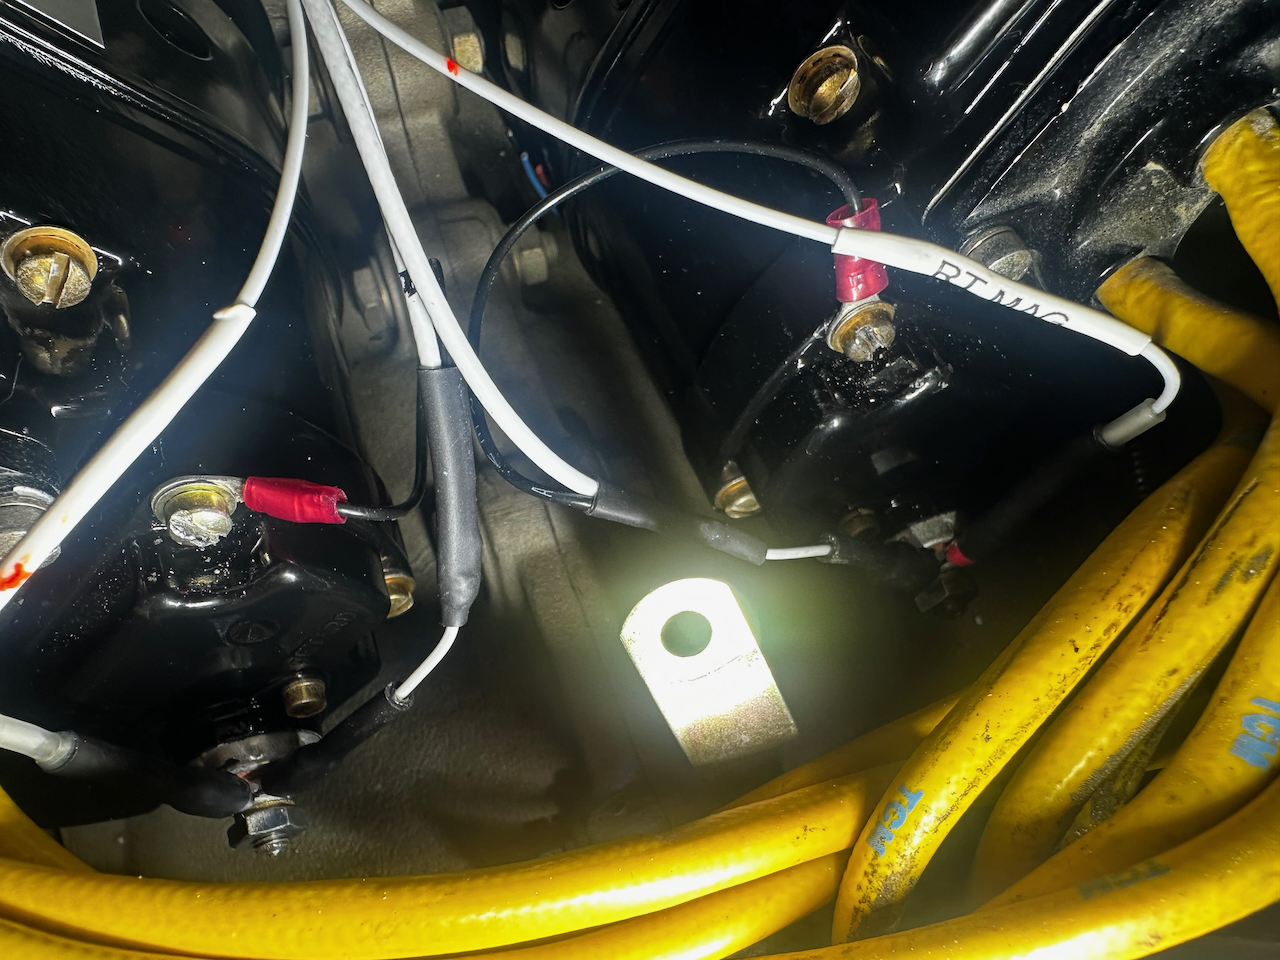
New mags in…
.. p-leads connected…
… and wiring routed!
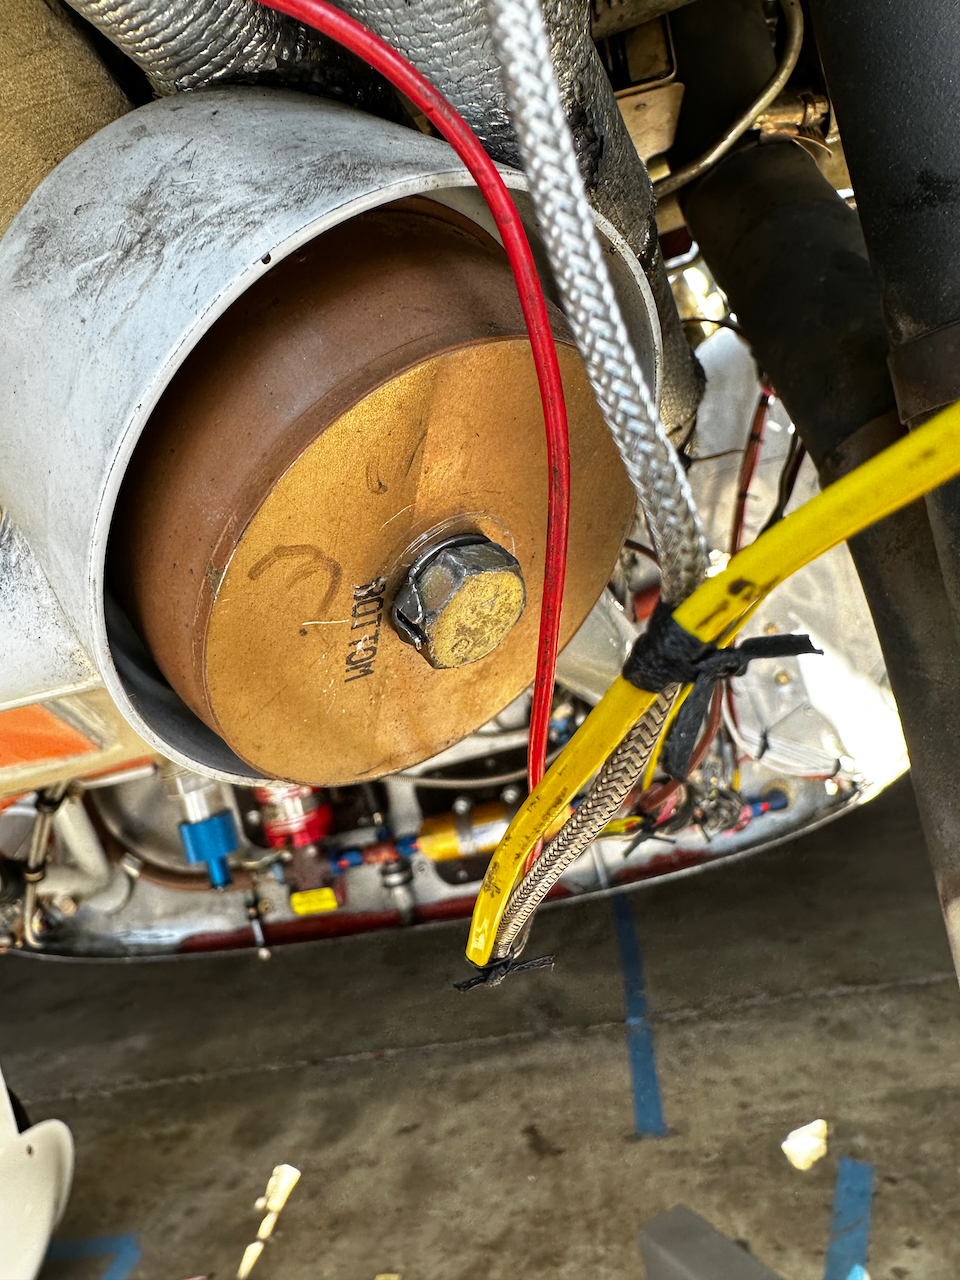
Above: One of the tests was ensuring there was enough oil flow to the starter adapter. There definitely was!
So what’s next with the Velocity? For one, I’m just going to enjoy it for a while. The plane is running great and there are no critical maintenance items I need to deal with. I’ve got my annual late October so let’s hope things run smooth until then. After the annual I’ll make decisions about what’s the next thing to check off the list. Until then, Happy Flying!!!


1 comment
Wowww what a challenging list.,excellent work and results. The love of flying requires an equivalent love of tinkering.
Big hug