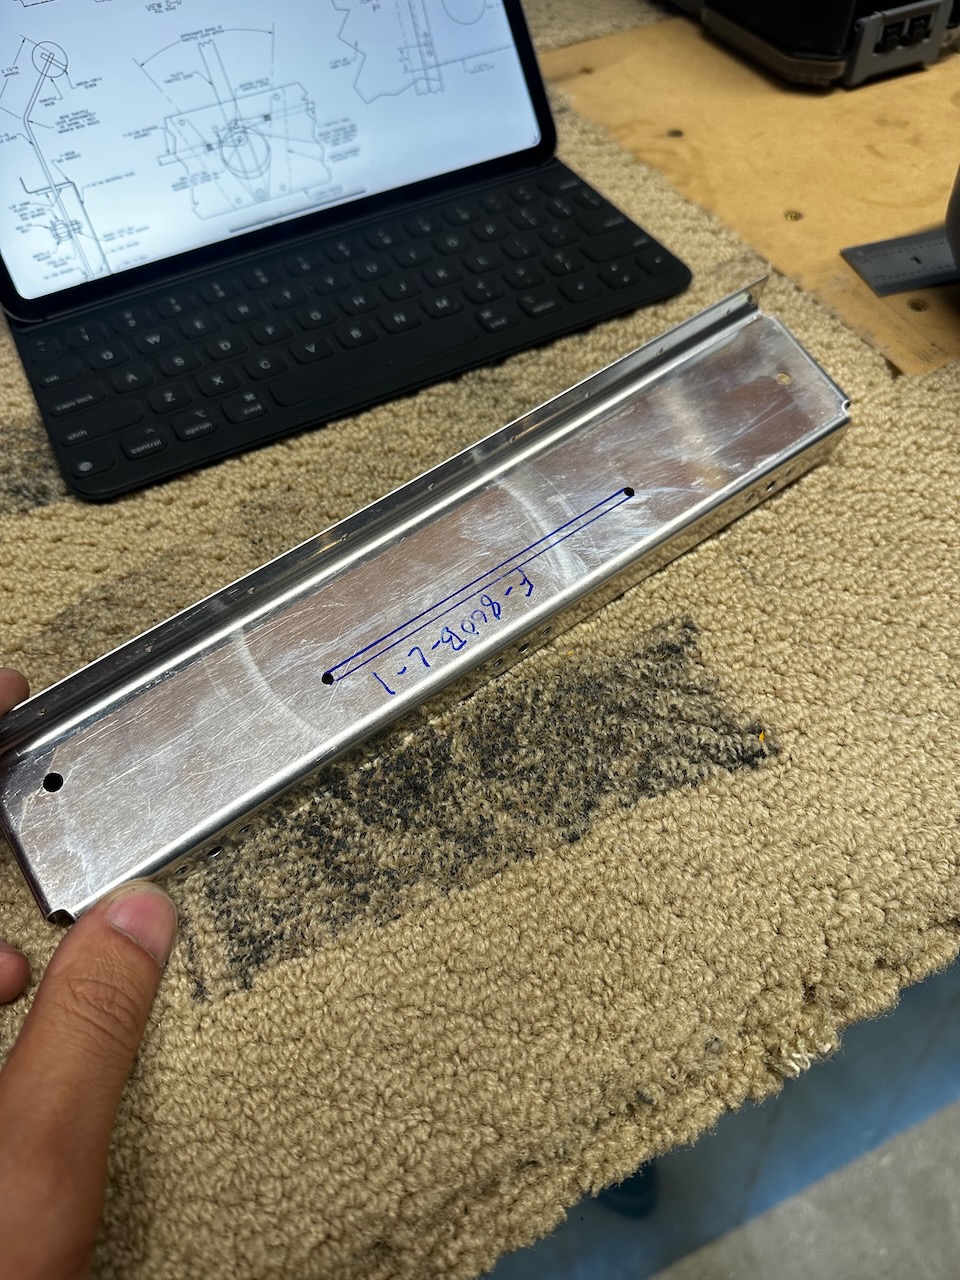
The last few sessions have been a fun and eclectic set of tasks as I march towards building out the mid fuselage structure. It included some fun part scavenger hunts, lots of edge deburring, some fly cutter use, precision dremel cuts, a bunch of skin bending, and fit assembly. I used so many clecos I had to steal some from Paul and Kacy! I’ve got a new set on order, but thanks for the loan P&K…:). The first few sessions were all about part prep. Lots of small parts, with lots of edges meant a whole lot of deburring, counter sinking, and final drilling. Thankfully Sam and Jack were around to help out.
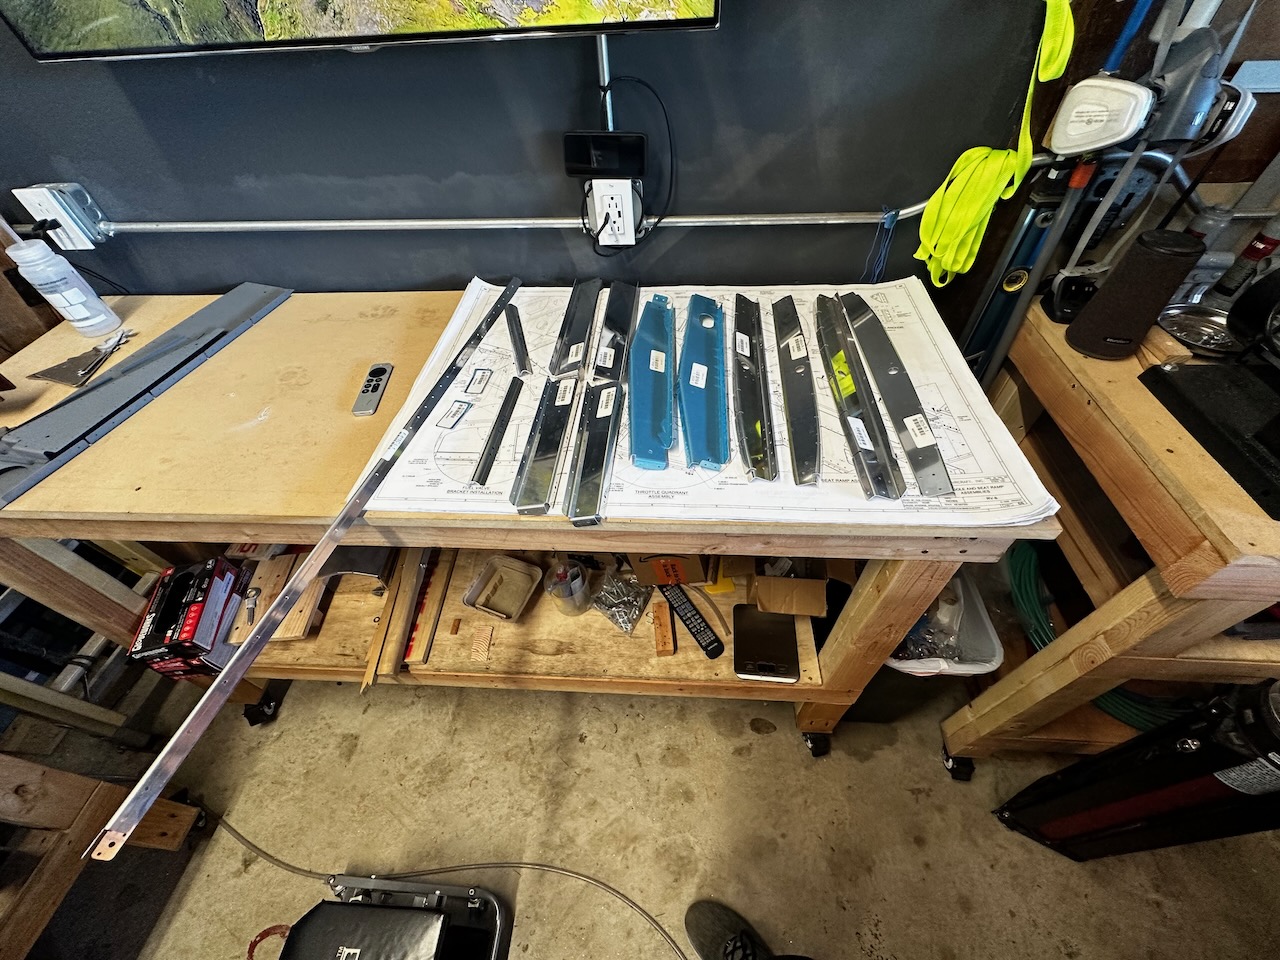
lots of parts to prep. thank goodness I found them all!
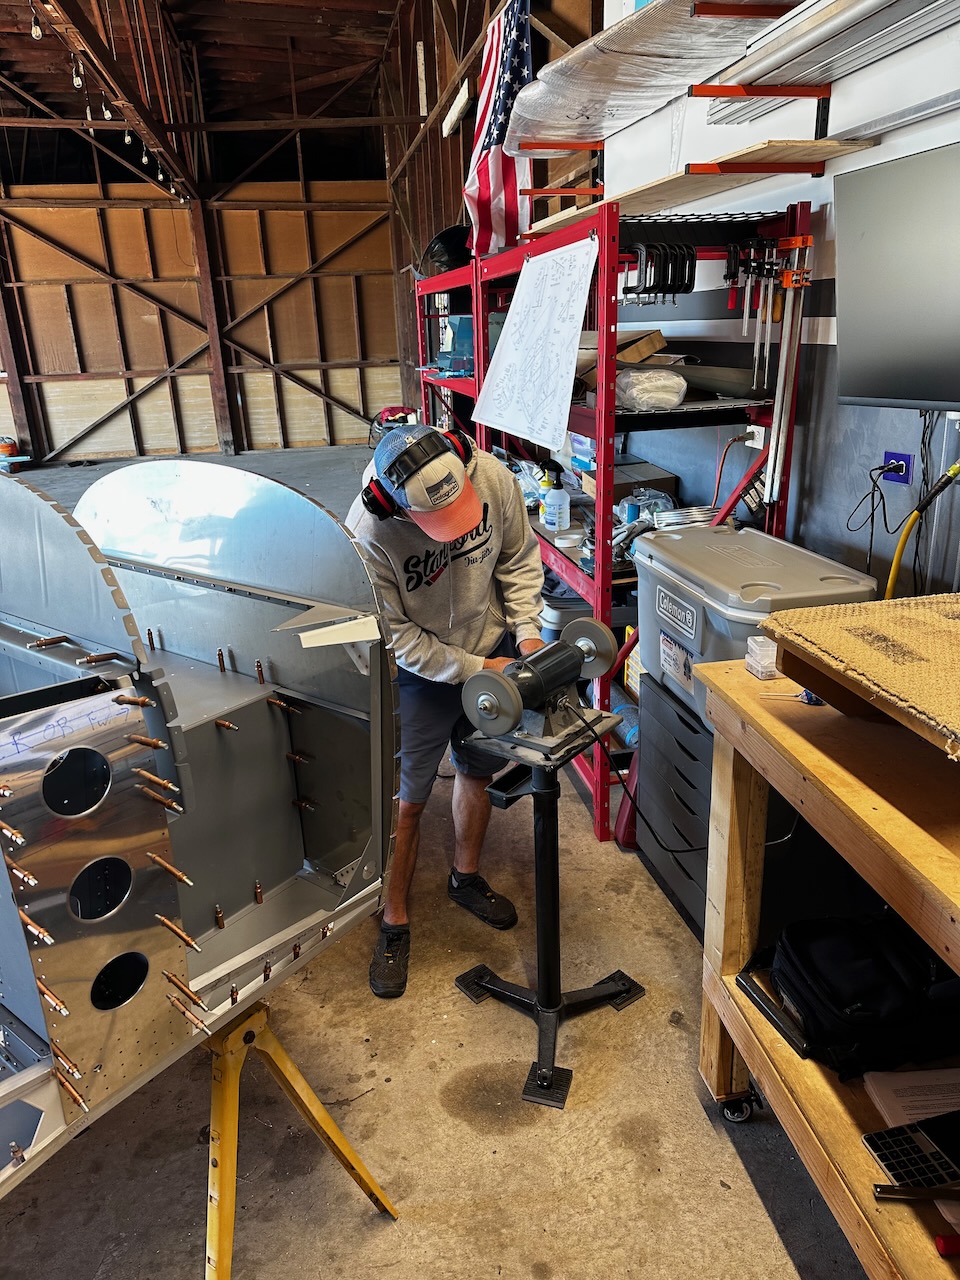
Sam cranking away at edge deburring..
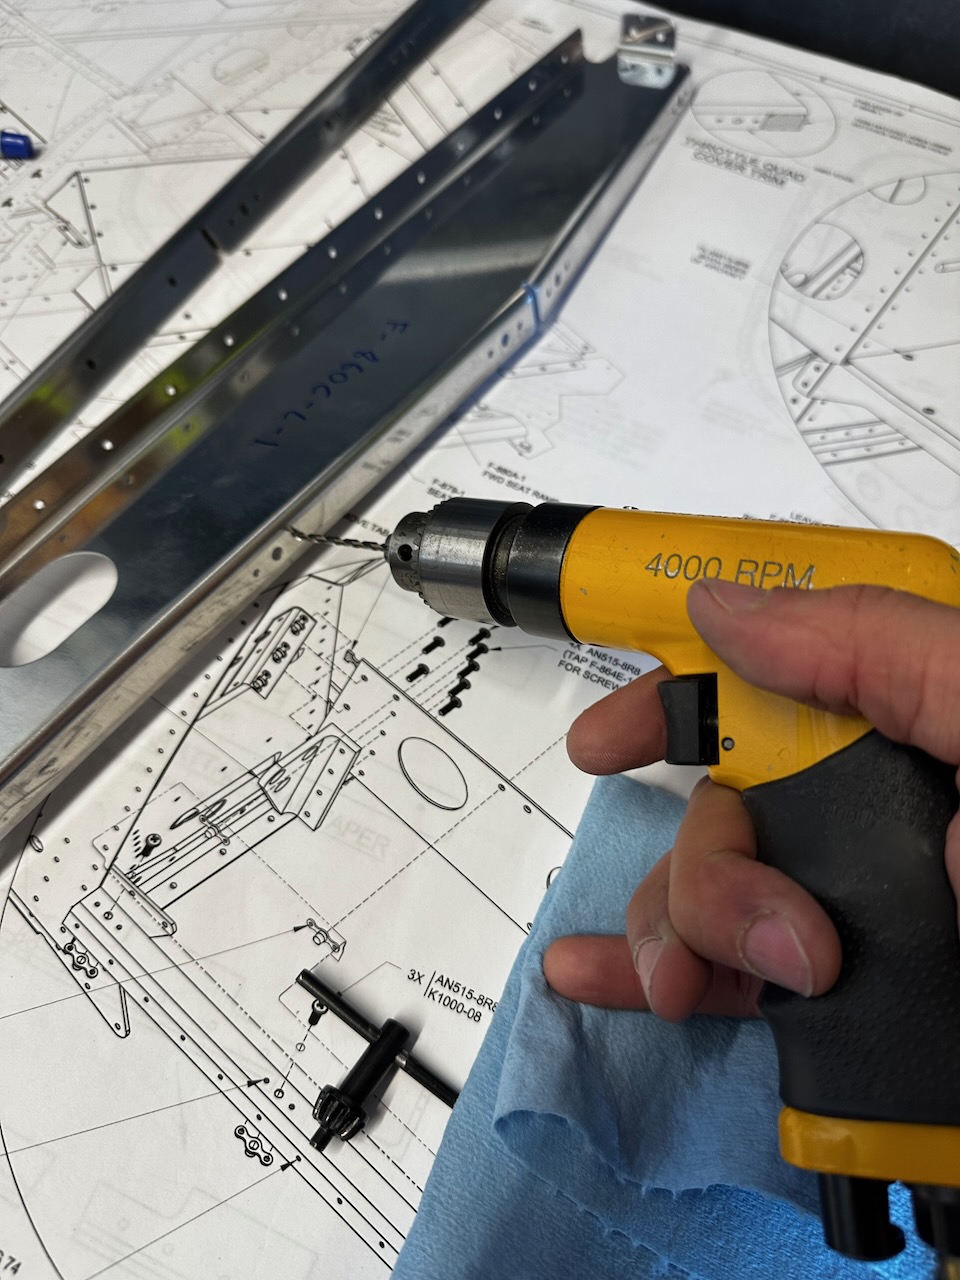
… while I final size drilled the parts.
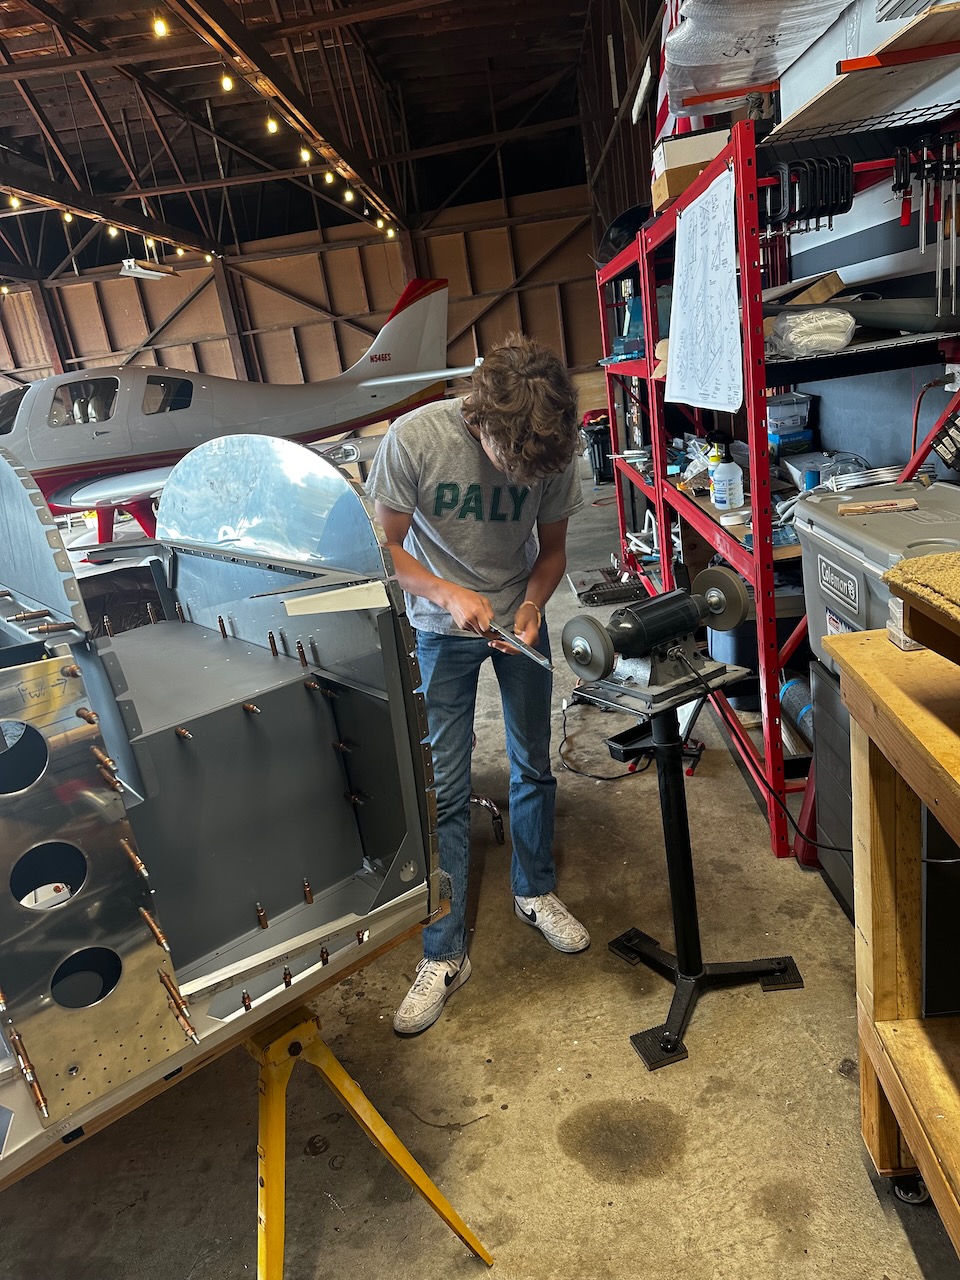
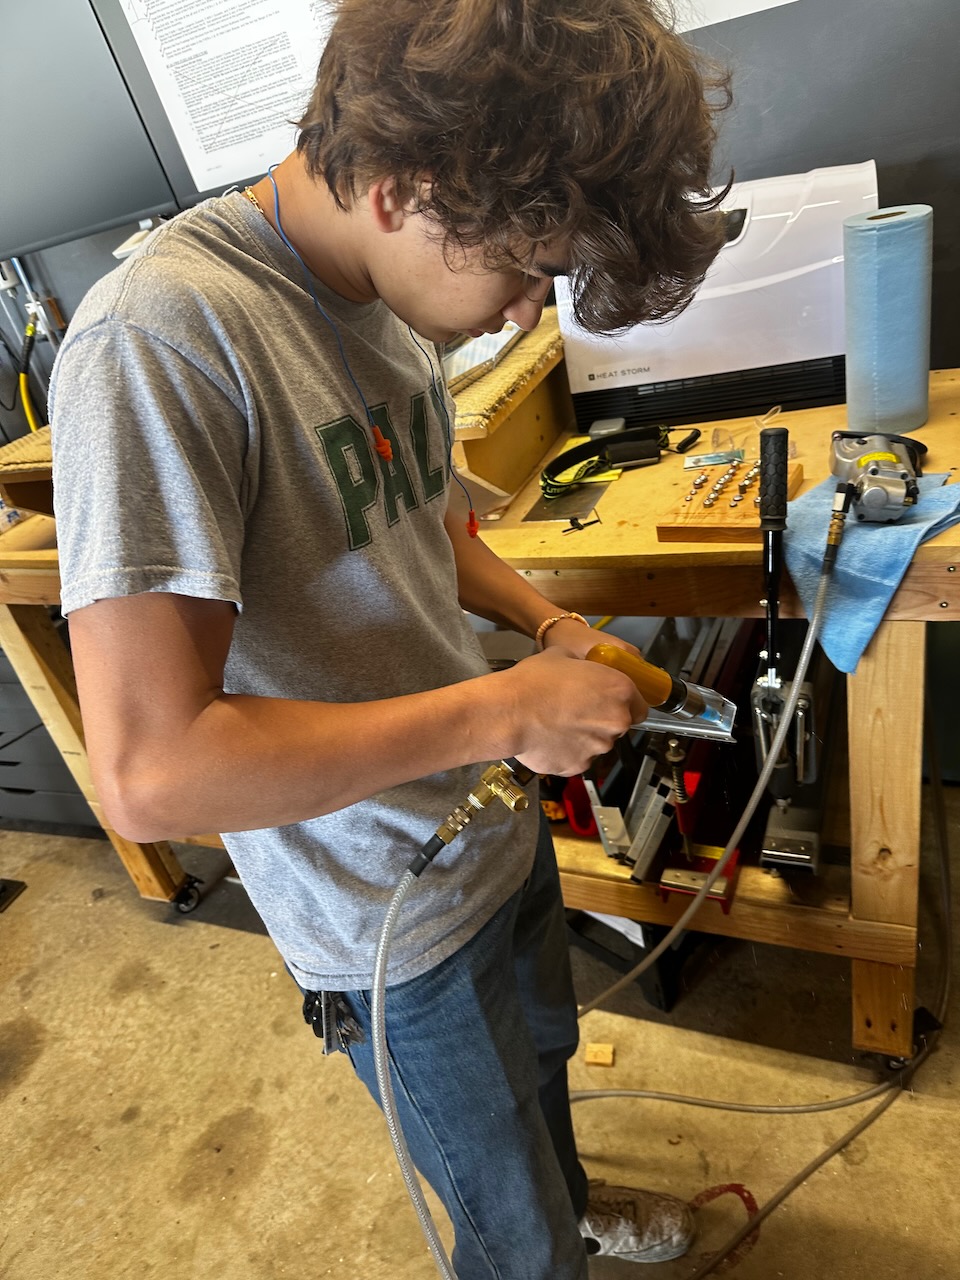
Jack came out to help deburr for a bit. He’s getting pretty good at the scotchbrite wheel!
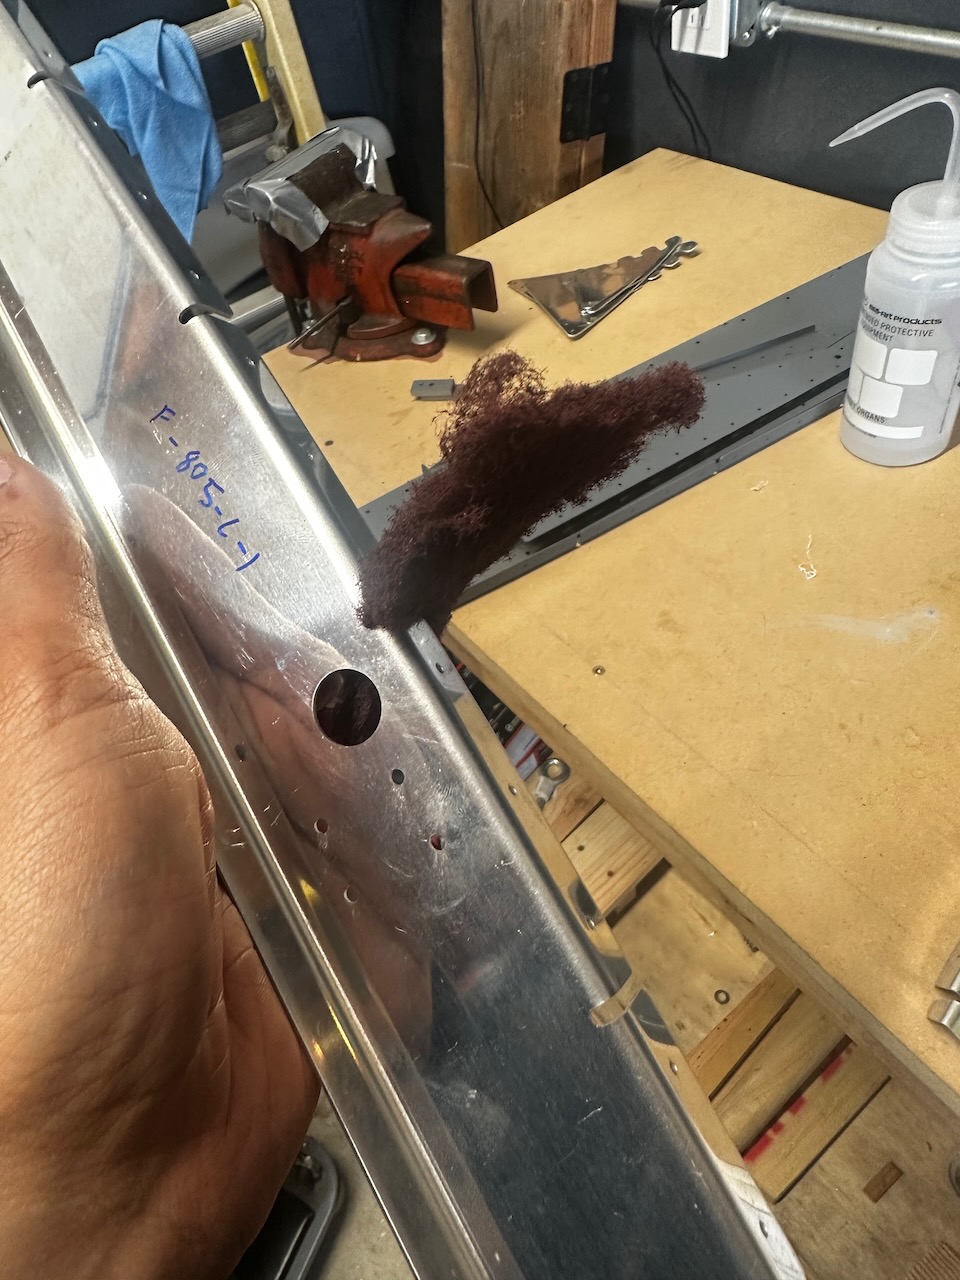
scotchbrite pads were needed for some of the harder to reach edges.
Jack with the drill.
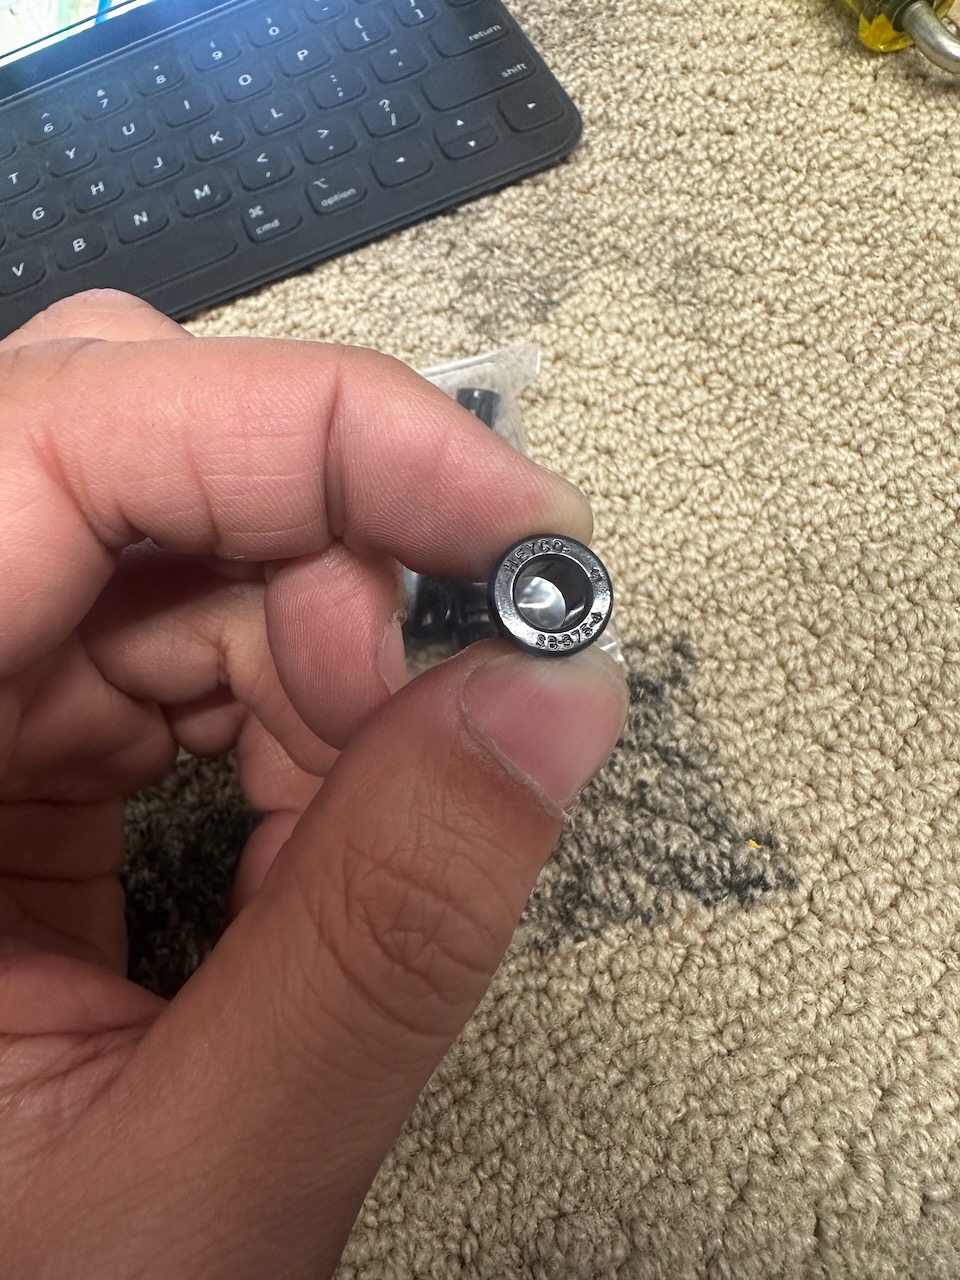
Part of prep was drilling out some holes to fit snap bushings. I ended up measuring OD to figure out the right drill bit to use.
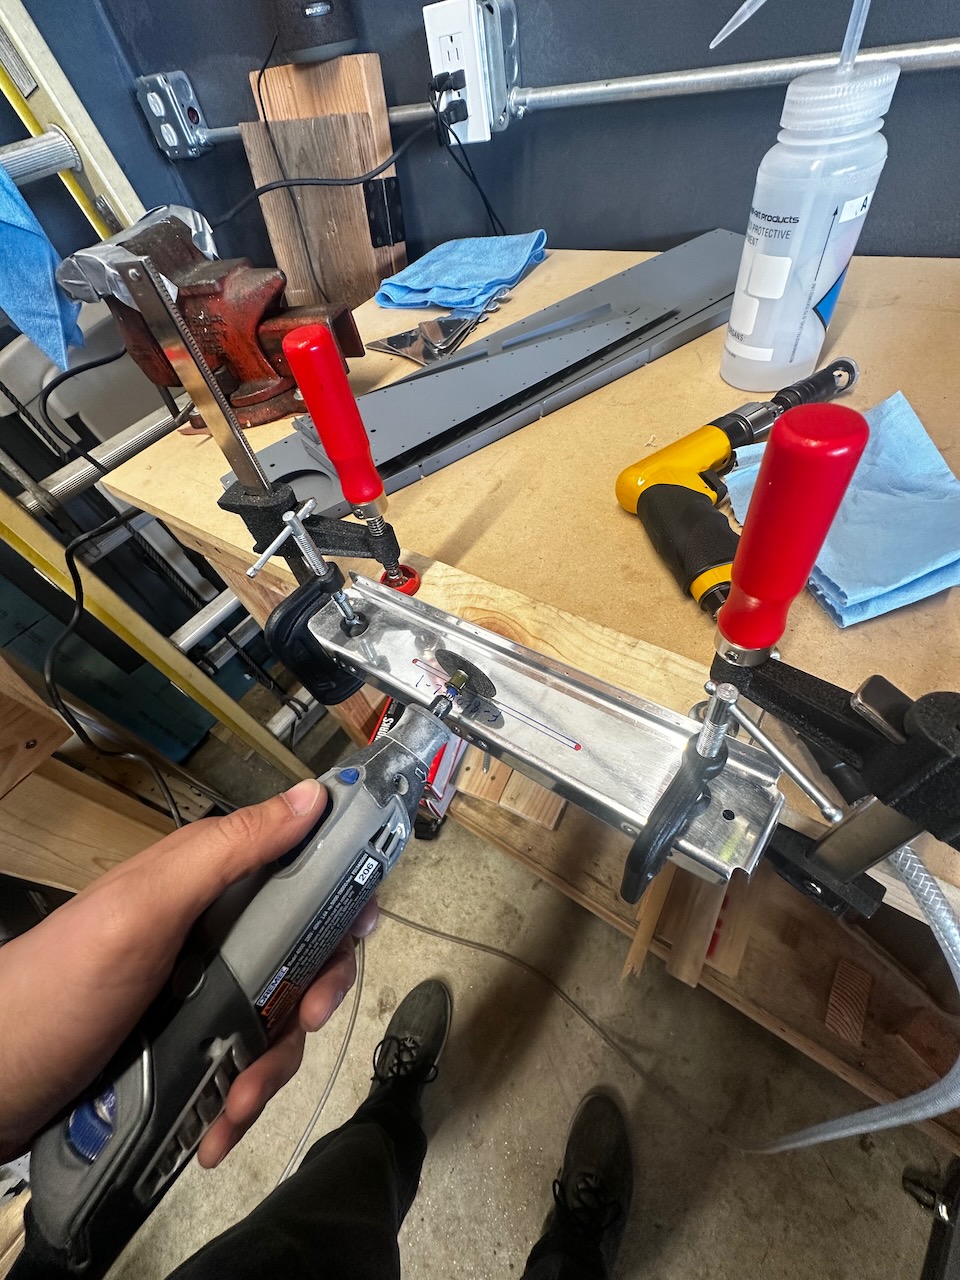
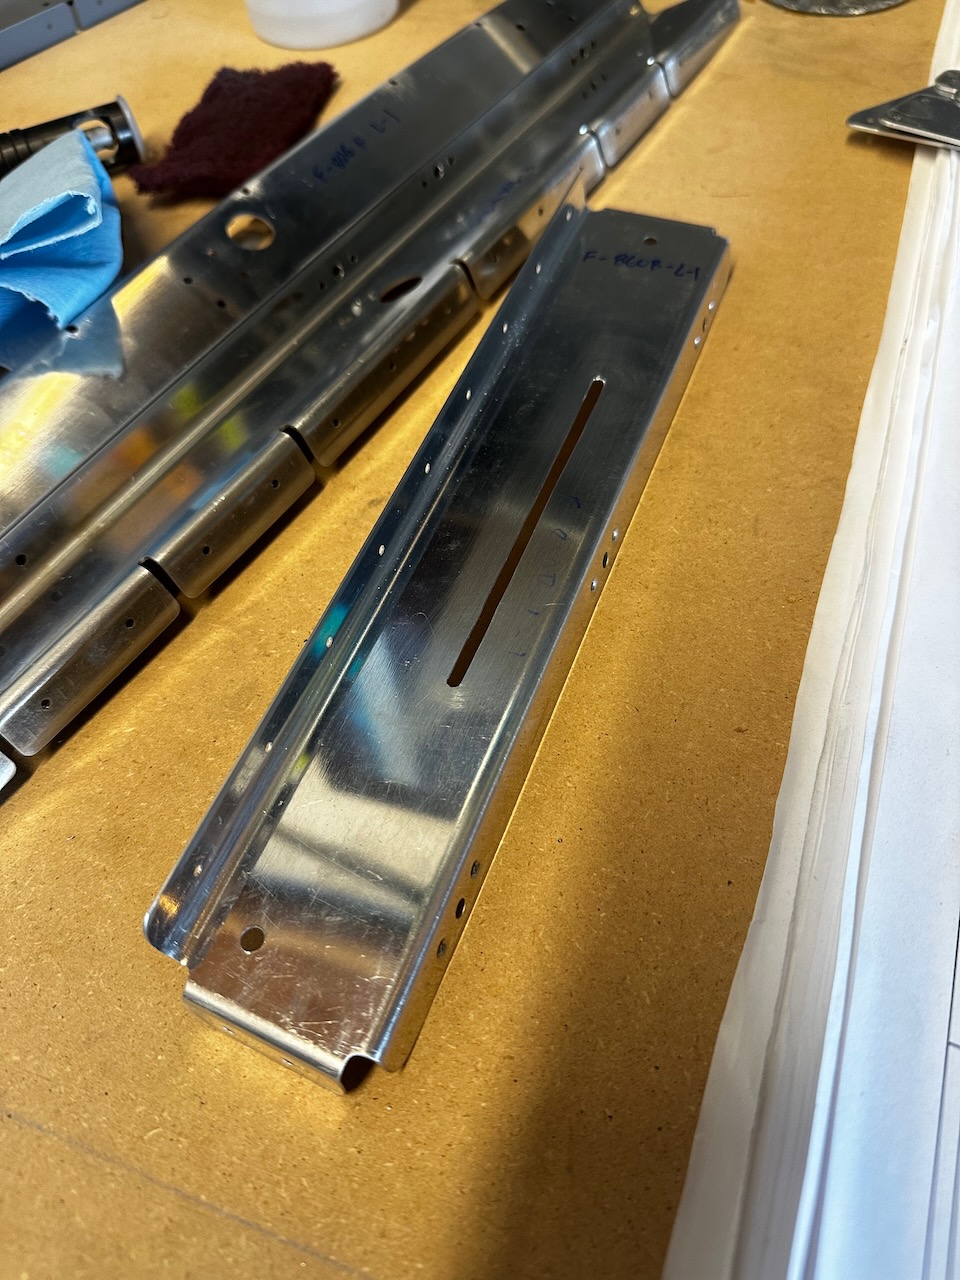
There is a small footnote for folks installing the rear throttle to do a little extra prep on one of the braces. I had to cut out a slot in the brace to allow a throttle lever to eventually fit through. This is part of OP-2. I also realized that I had not ordered that kit, so I went ahead and ordered it from Vans. (The kit parts wouldn’t be needed until later, but good to get it on the shelf). Marking the slot for cut out was pretty easy as there were already pre drilled holes that represented the ends of the slot. Connect the dots and you’ve got good markings for cut out. The dremel came in handy to get a precision cut done. I was pretty happy with the results.
connecting the pre-drilled holes results in the correct cut out stencil.
Dremel to the rescue!
Nice results! Just imagine a rear throttle lever in there.
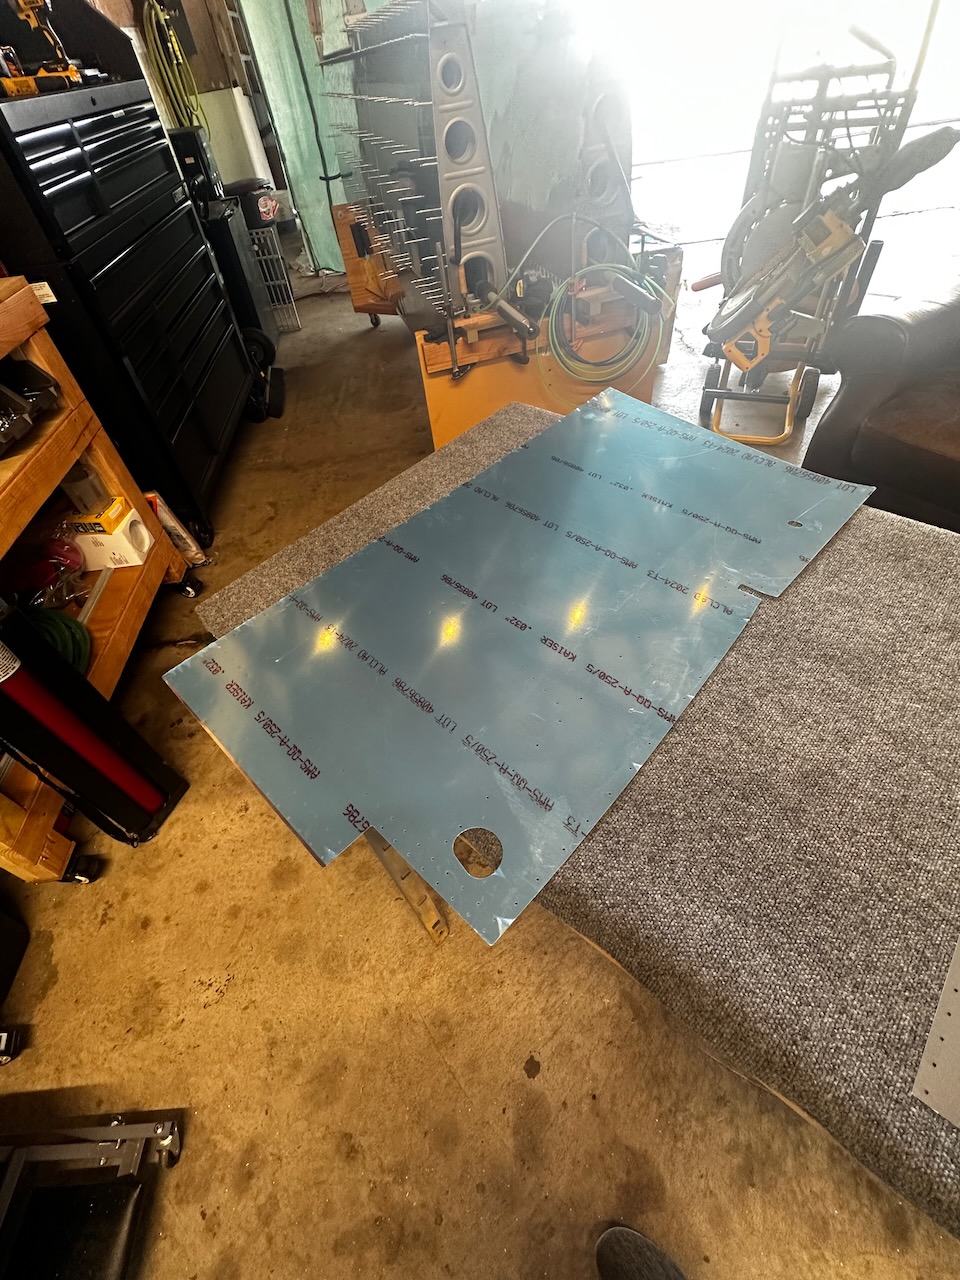
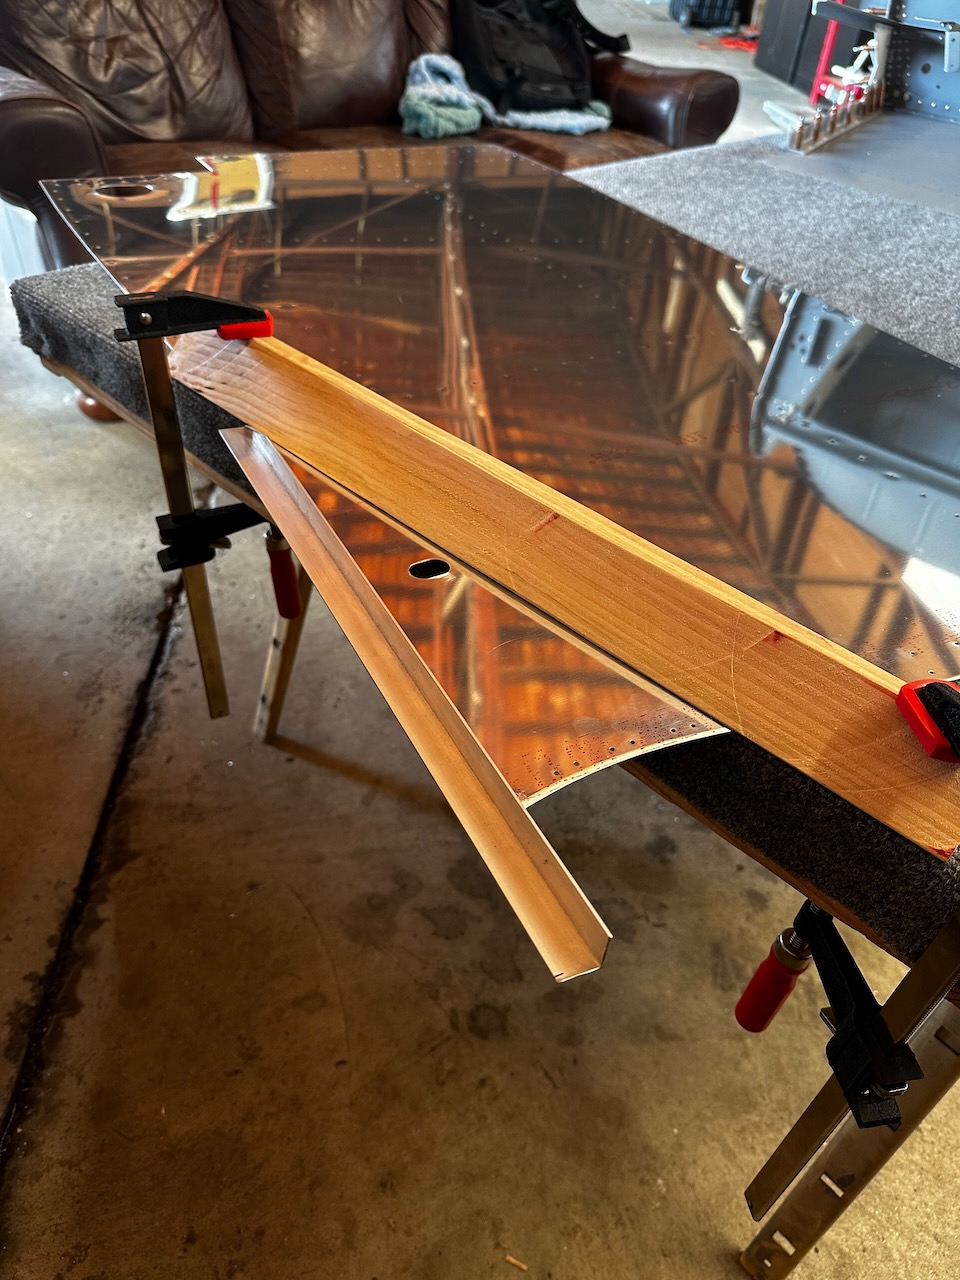
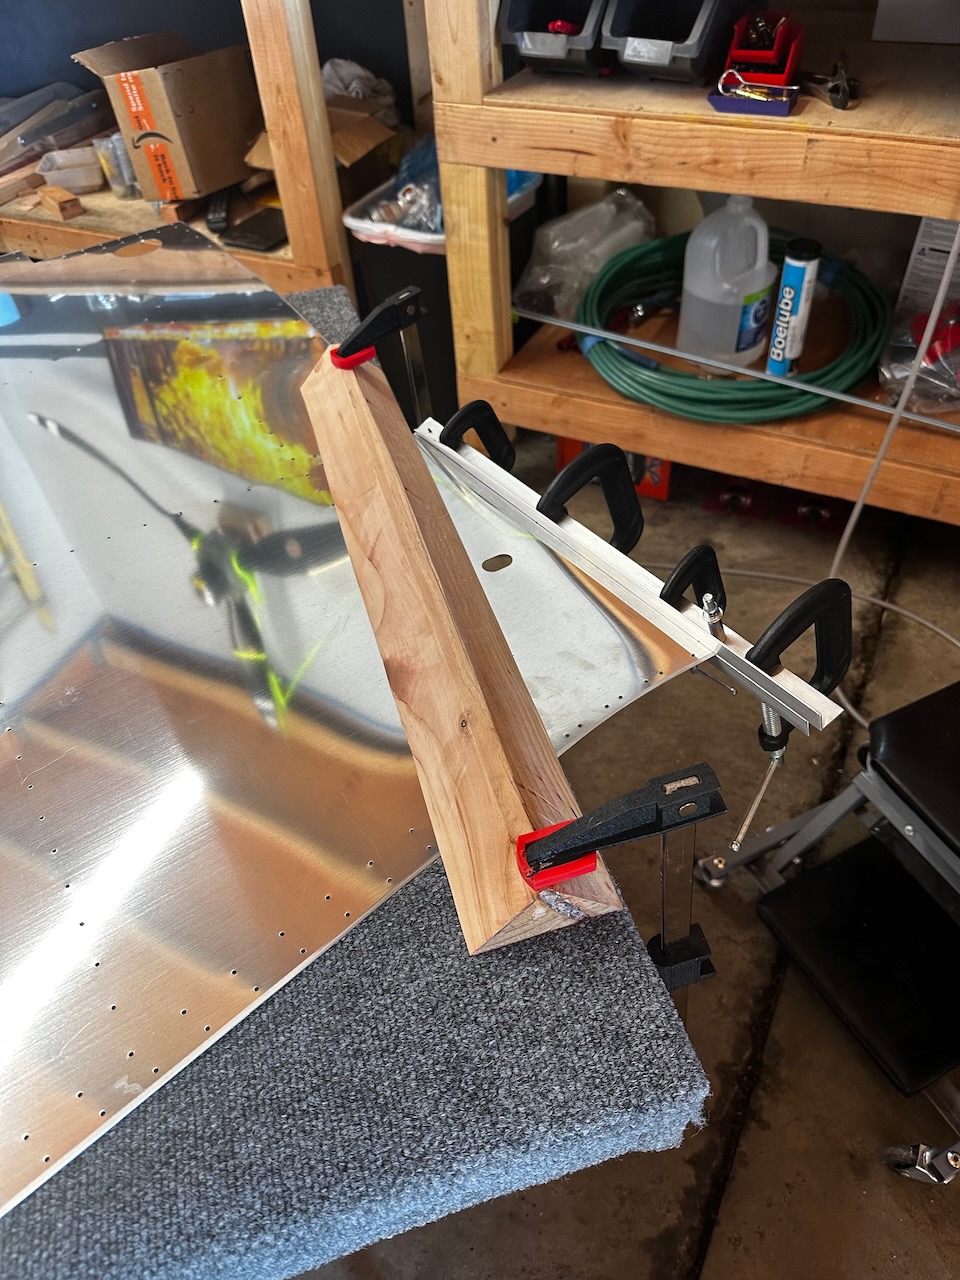
Now comes the fun stuff. The Mid fuselage skins require a conical bend to transition the vertical sides over the wings to the curved tailcone section. To do this right you have to build a little jig consisting of a beveled 2×4 and clamped 3/4″ angles. This allows you to massage the bend enough that you end up with a clean curve. It took me a greater part of an hour to do the first one. The second skin took about 15 minutes. Amazing how quick things go when you understand what you are doing.
Time to bend some skins!
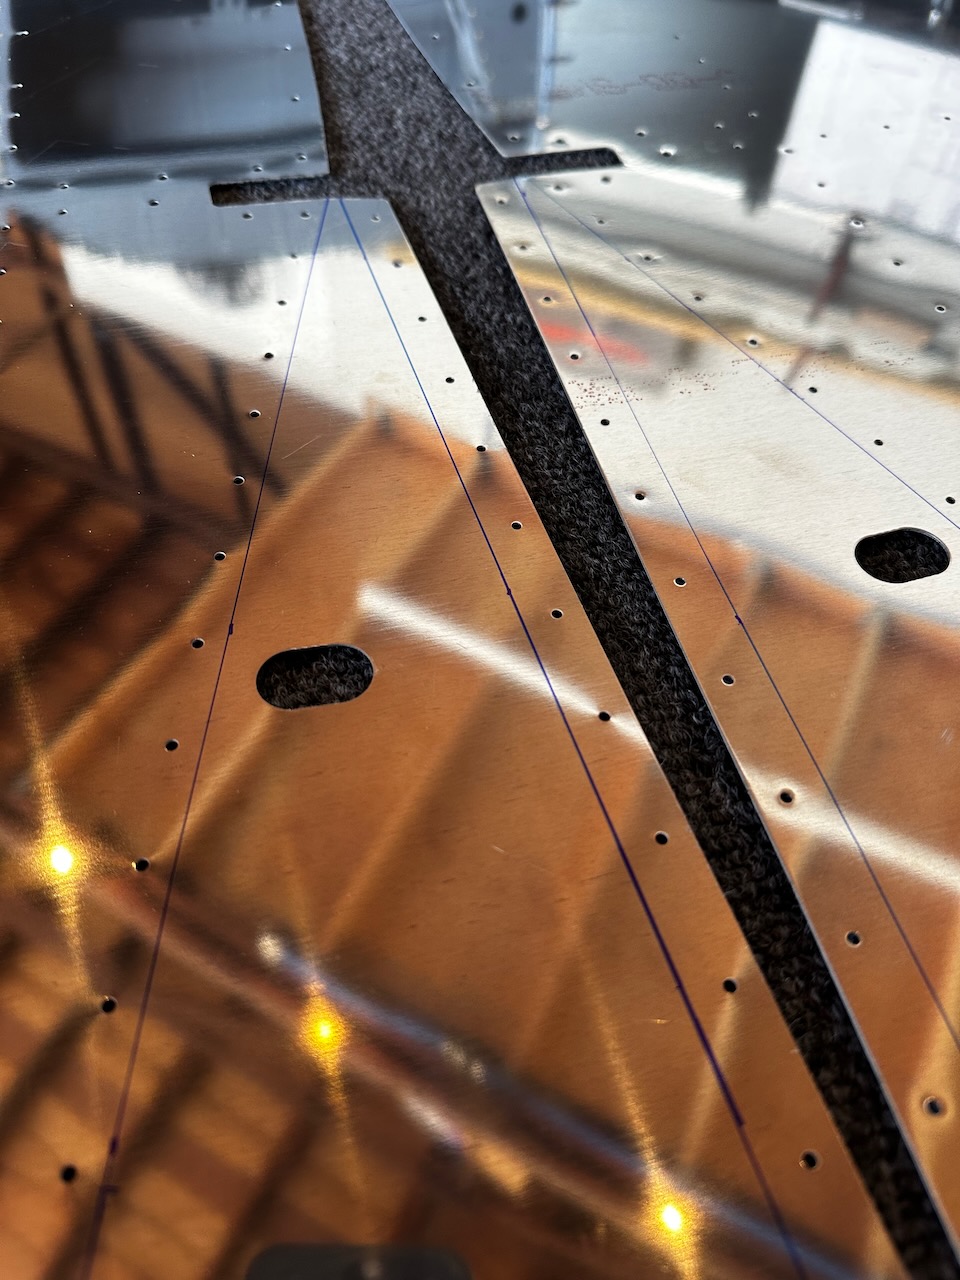
isntructions are detailed on how to mark your bend reference lines.
Wood clamped on one line…
…and angles match drilled and cleco/clamped to the other side.
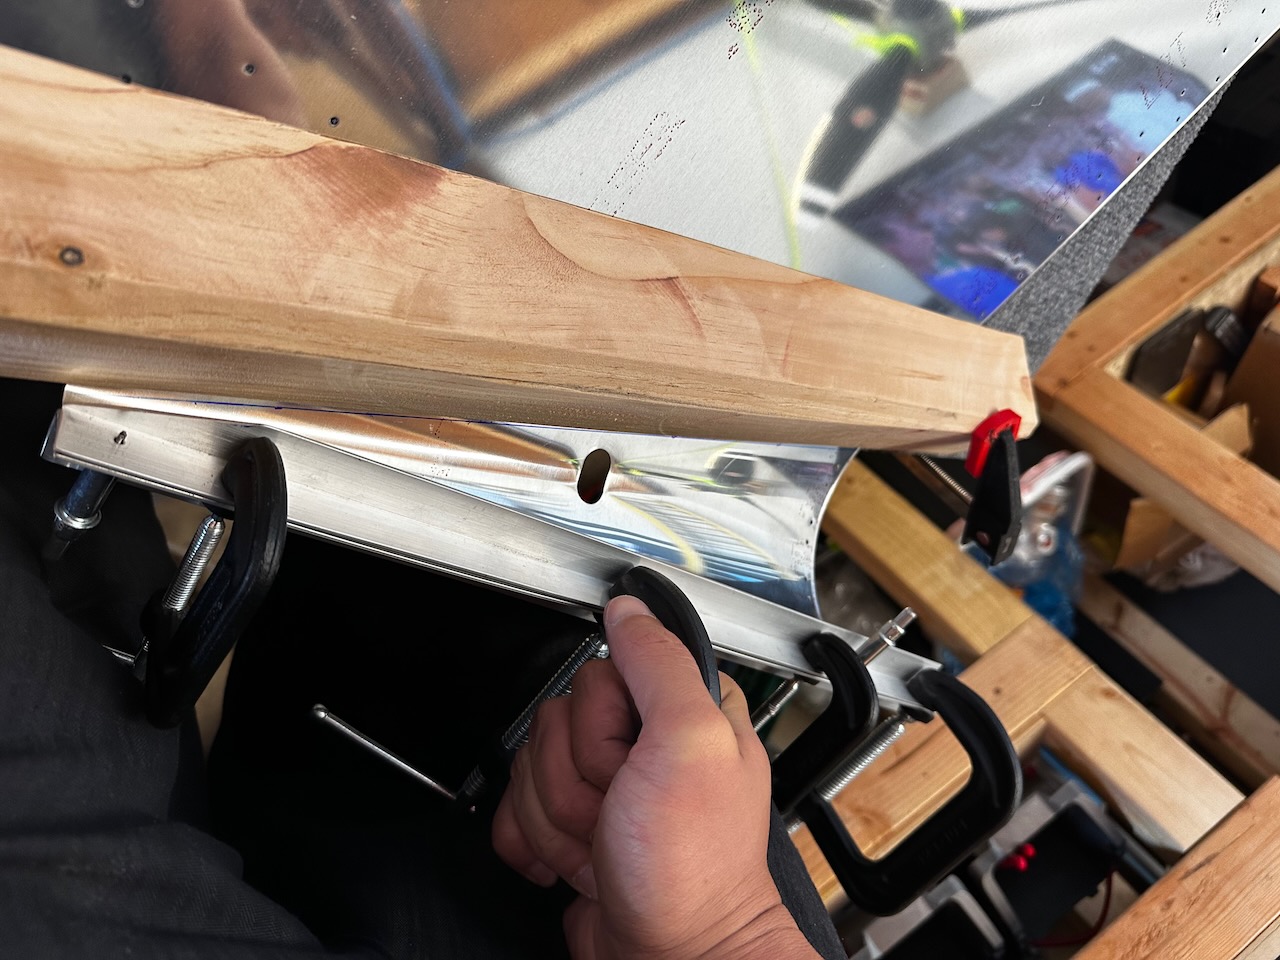
Then you can use the clamps to manipulate the skin and smoothly bend in a conical shape.
not enough bend at first…
…but eventually a good amount of bend there.
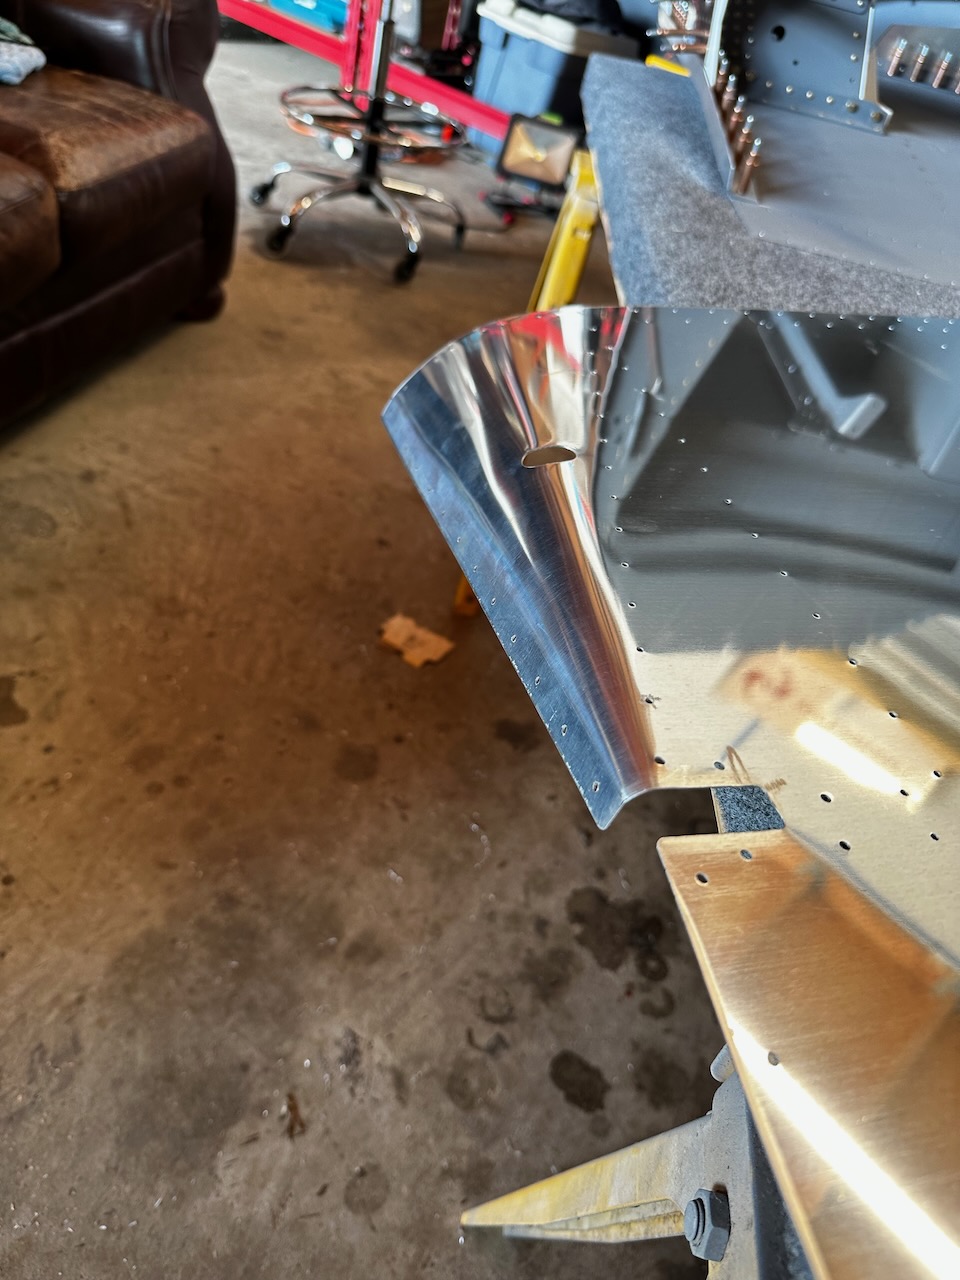
Looks pretty good for a first attempt!
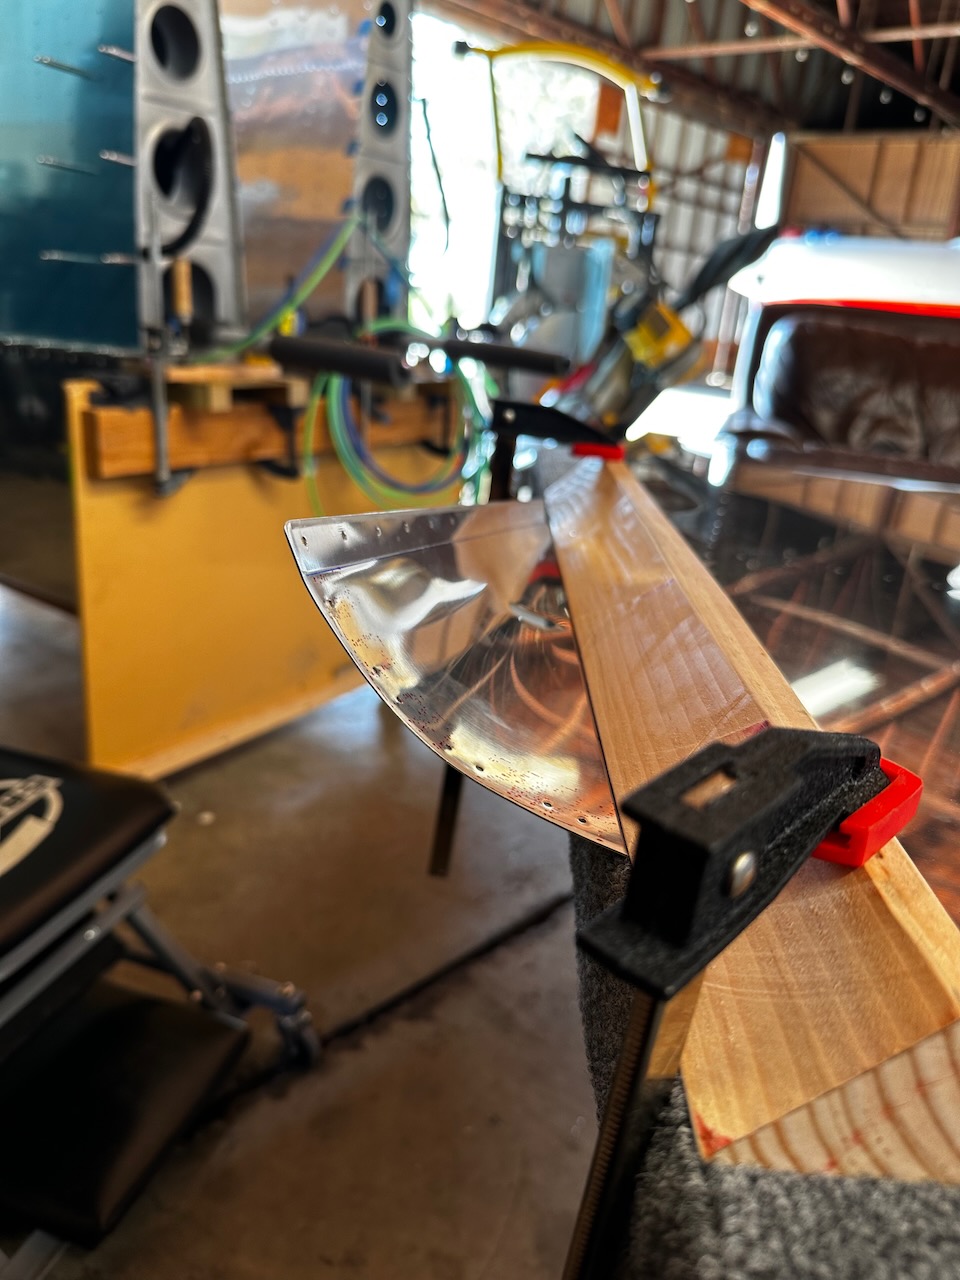
Nice smooth radius…hopefully it looks good on the structure.
And then repeat for the left side.
The bending process is unique enough that I thought I’d take a video of what it looks like. Hopefully it’ll help someone visualize it when they try.
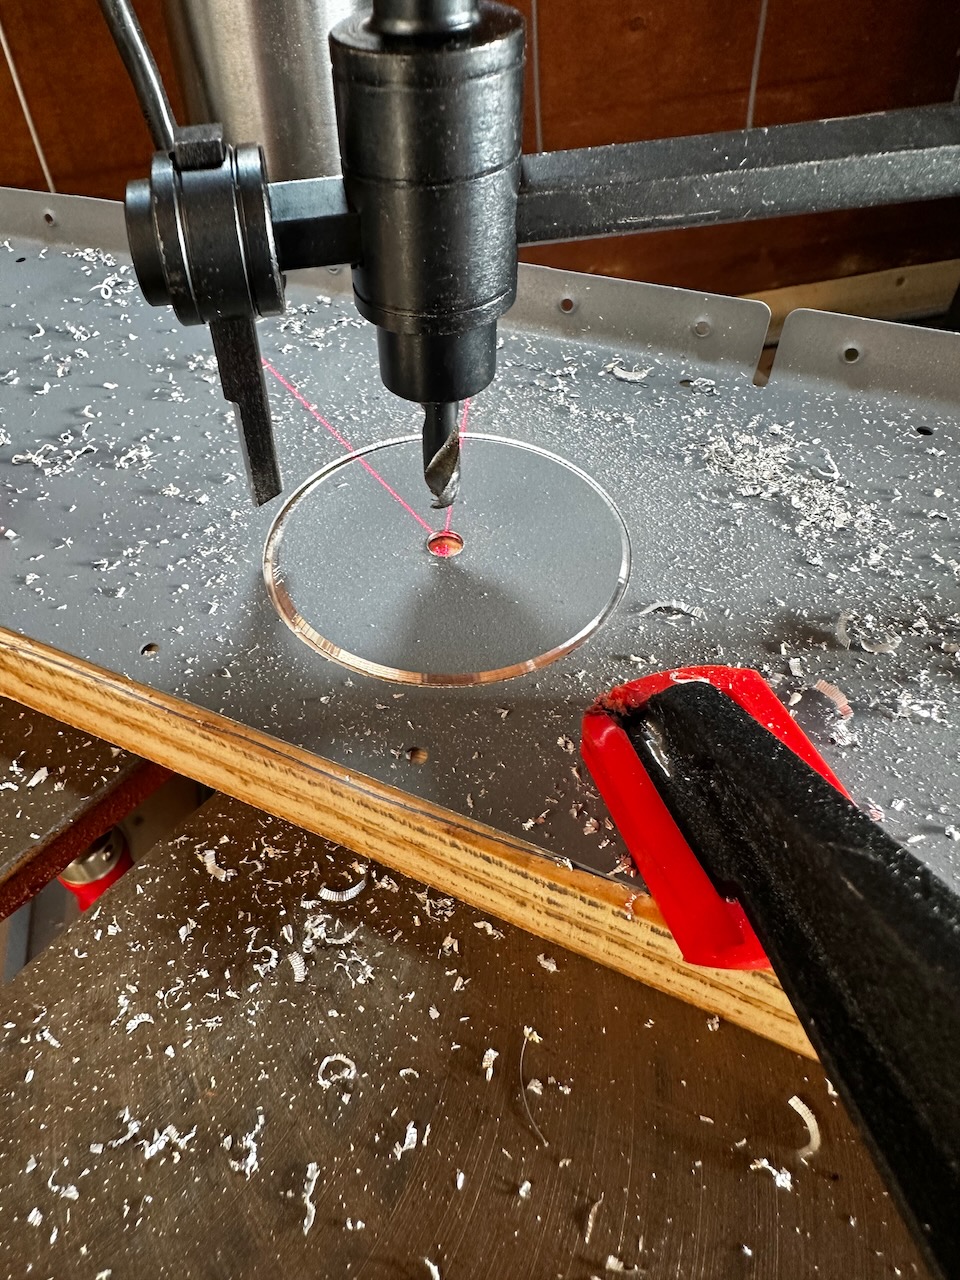
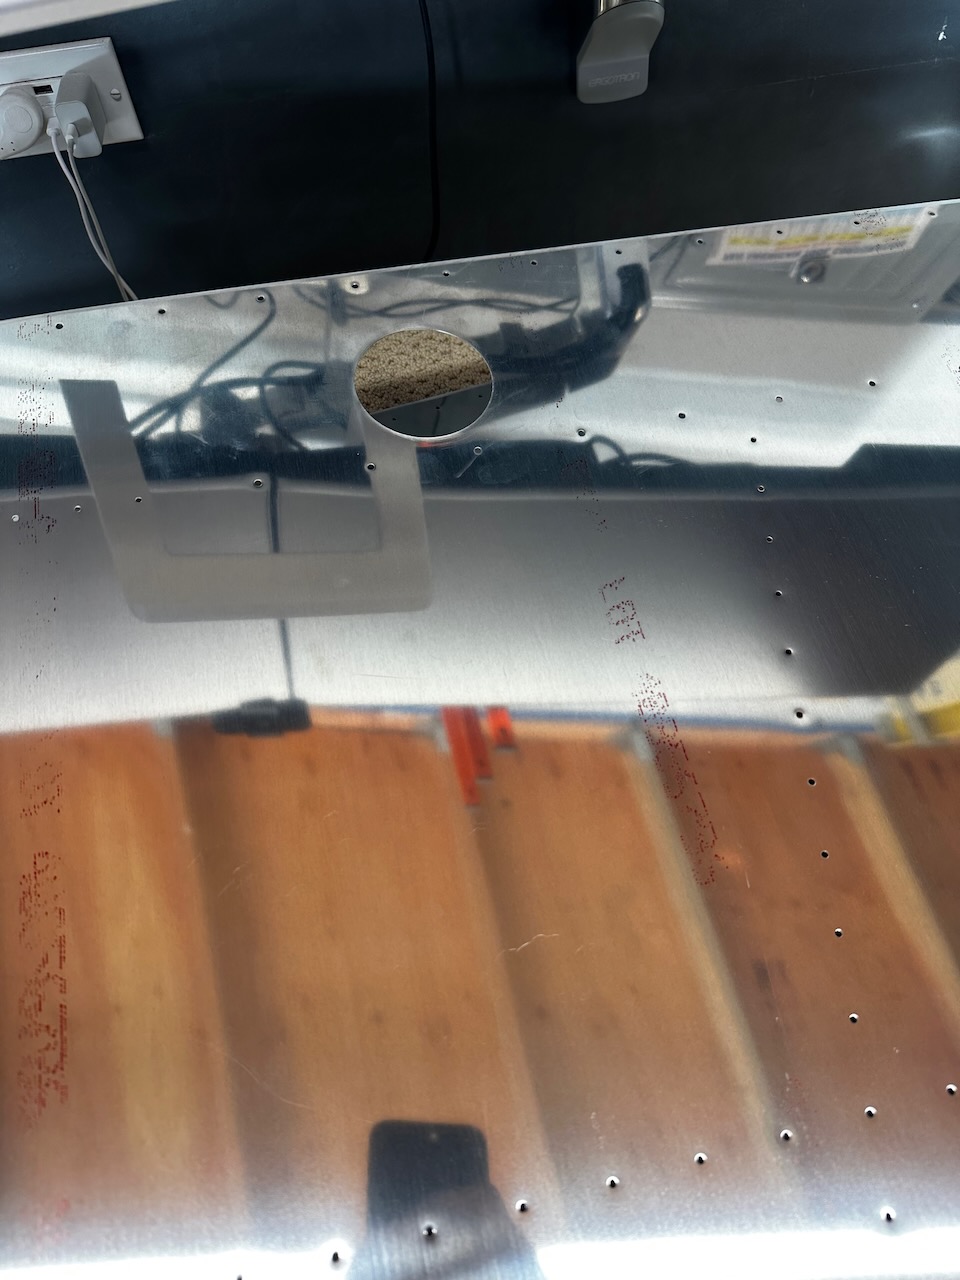
Once the skins were bent I had to reconnect the center section, match drill, and enlargeen a few holes in the right outboard rib and skin to allow for a future fresh air vent. I used the fly cutter (as instructed) to do this. I’m not sure how folks would do these steps without the fly cutter.
center section re-attached and clecod
final size drilling through the common parts.
fly cutter used to enlargen to 2 5/8″. Note the center reference hole was pre-drilled.
I love this tool although don’t forget to use safety googles. Metal shavings flying everywhere!
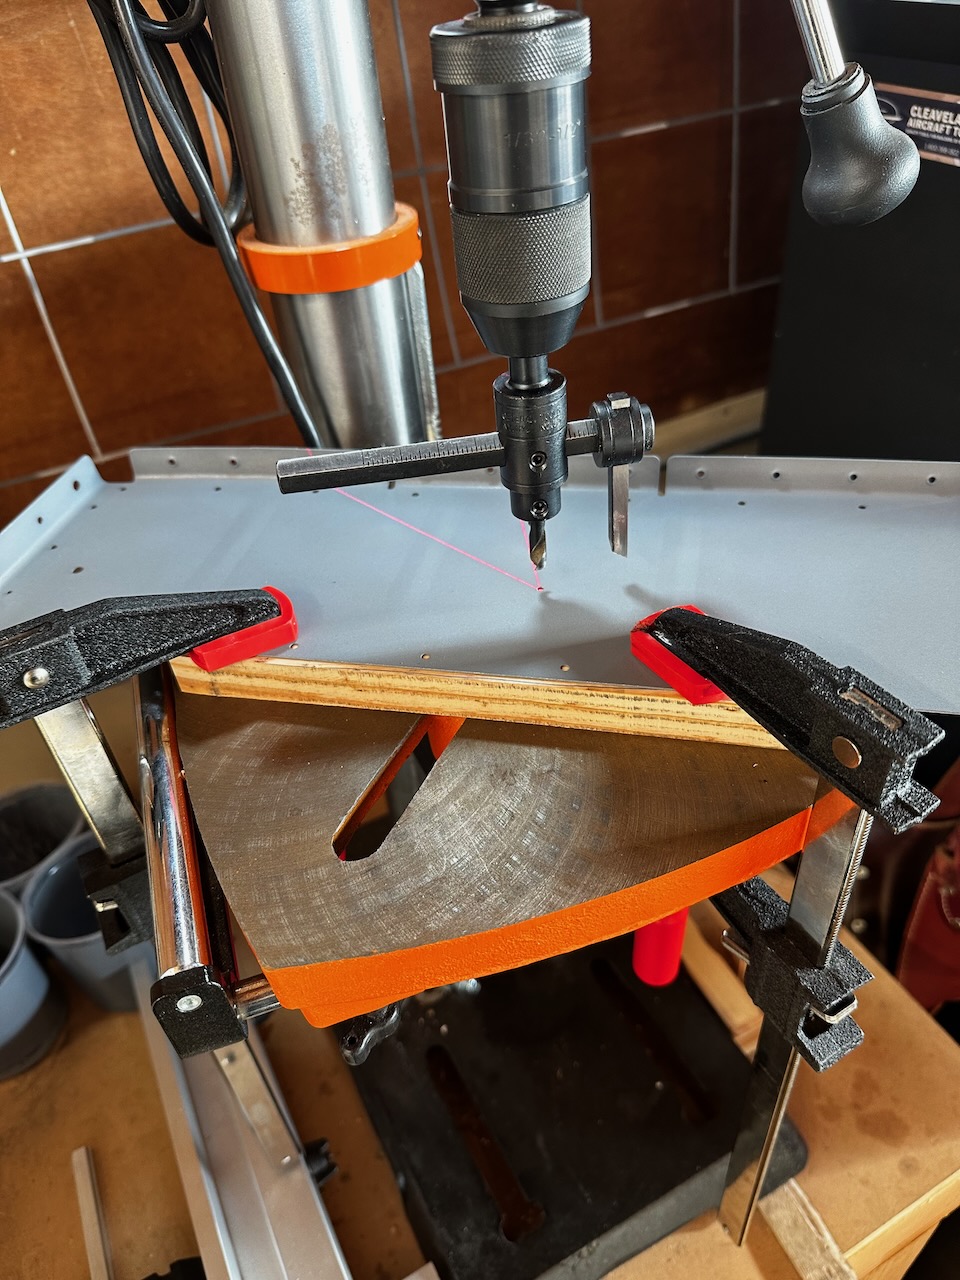
Small thing on the skin. A bit harder due to the size…
…but turned out perfect.
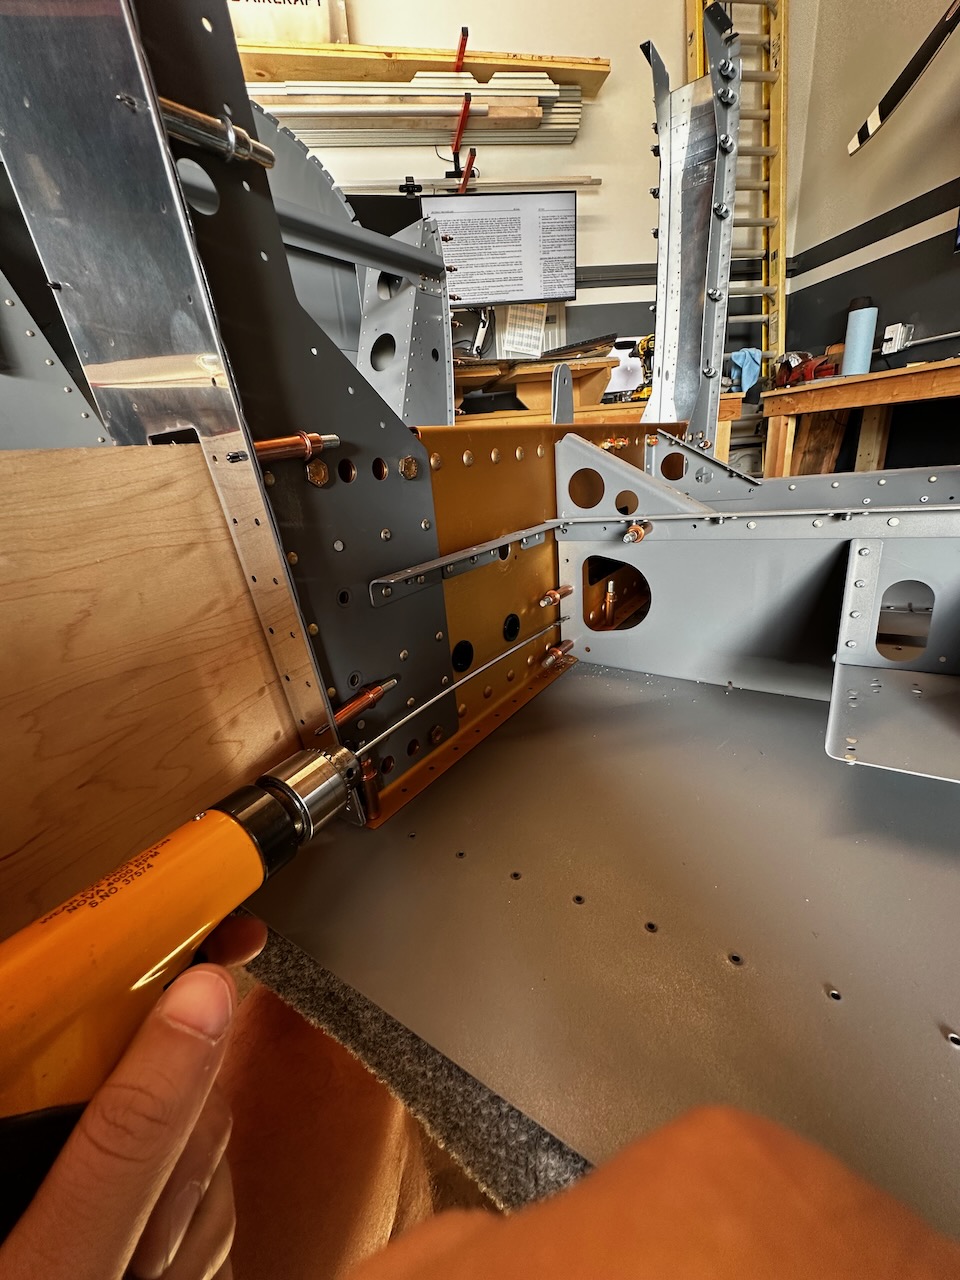
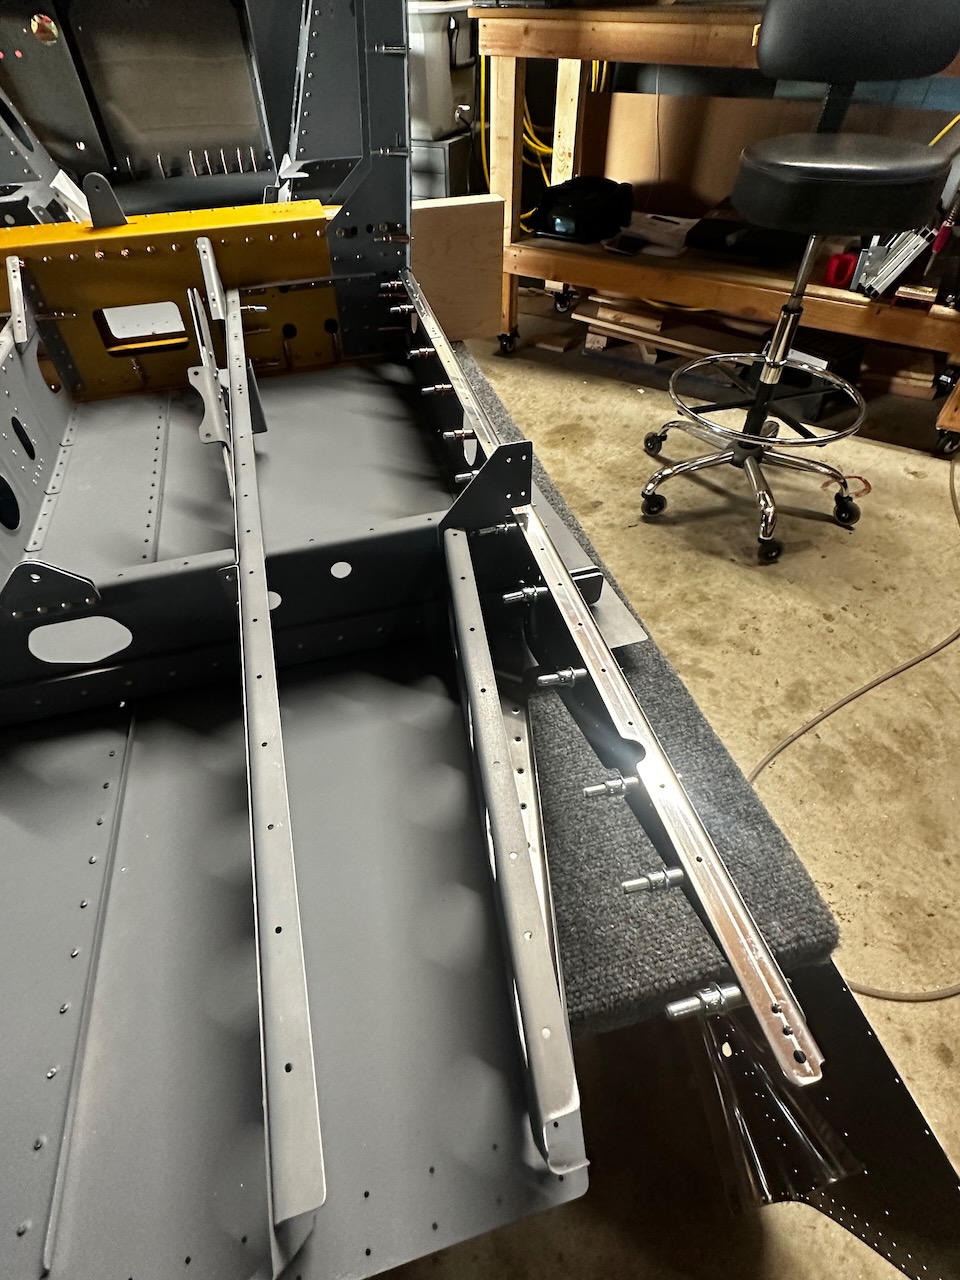
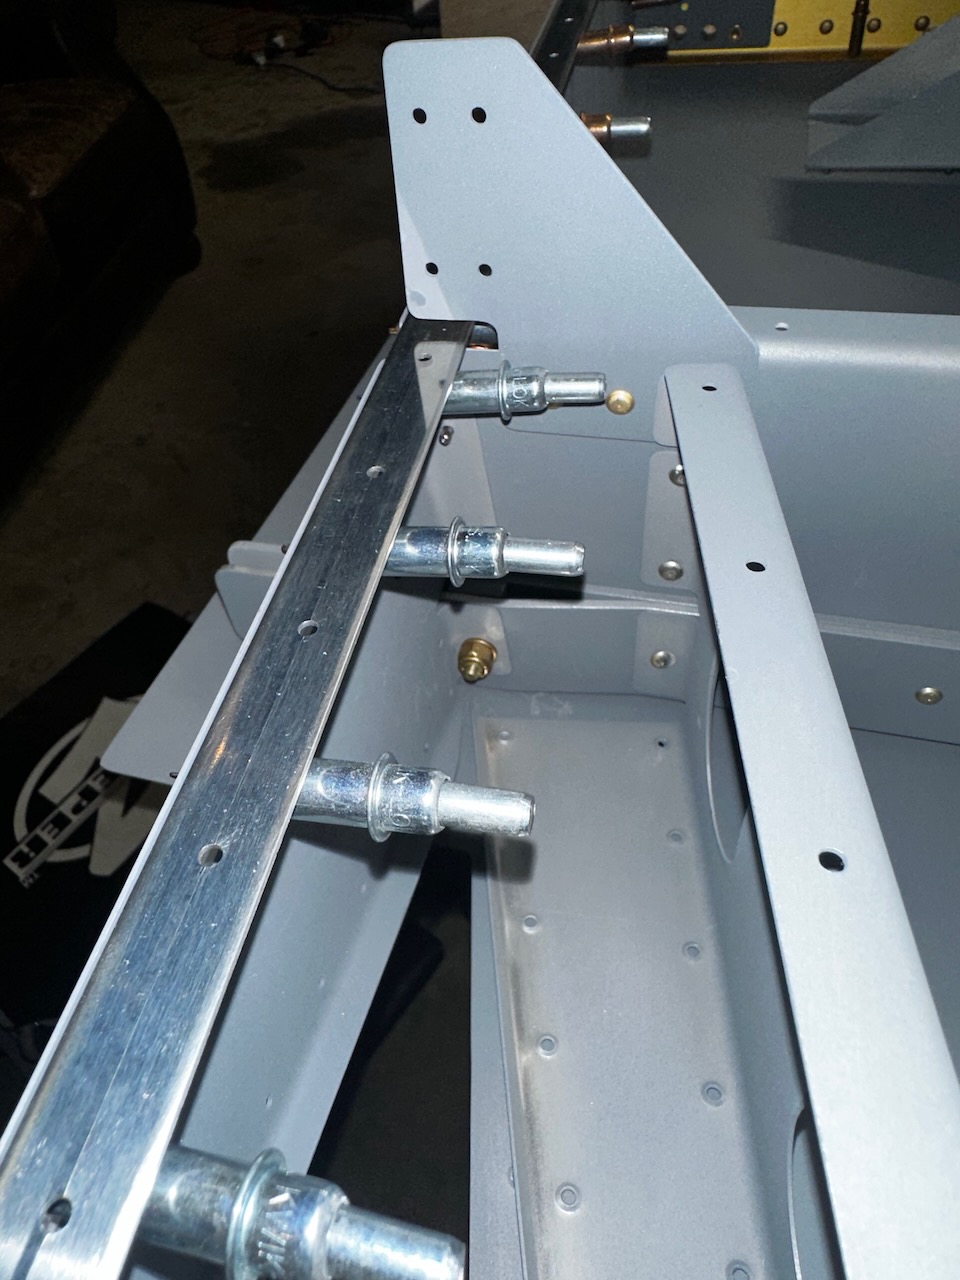
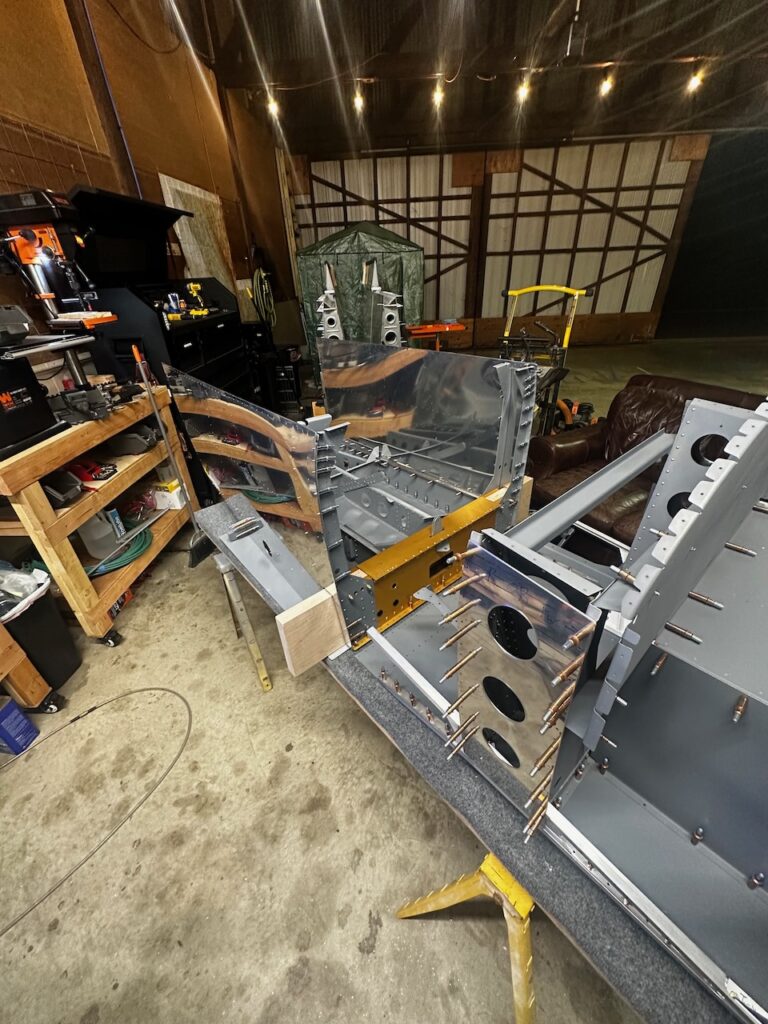
It was finally time to attach the skin and I thought it was going to be an easy cleco process to mount it to the seat rib assembly. Well… it definitely took a lot of manipulation and massaging to get the skin to fit properly. After a couple retries, I eventually figured out how to get everything to cleco together. Note that there is a AN3 bolt that goes through the outside ribs and through the rear spar bars. Don’t forget to put this in to hold the rib in place. Otherwise, as you cleco the skin, the rib just gets pulled outboard, rather than the skin getting pulled inboard.
outboard ribs attached with the outboard angle.
don’t forget to put in the AN3 bolt to resist the skin pulling it out of alignment.
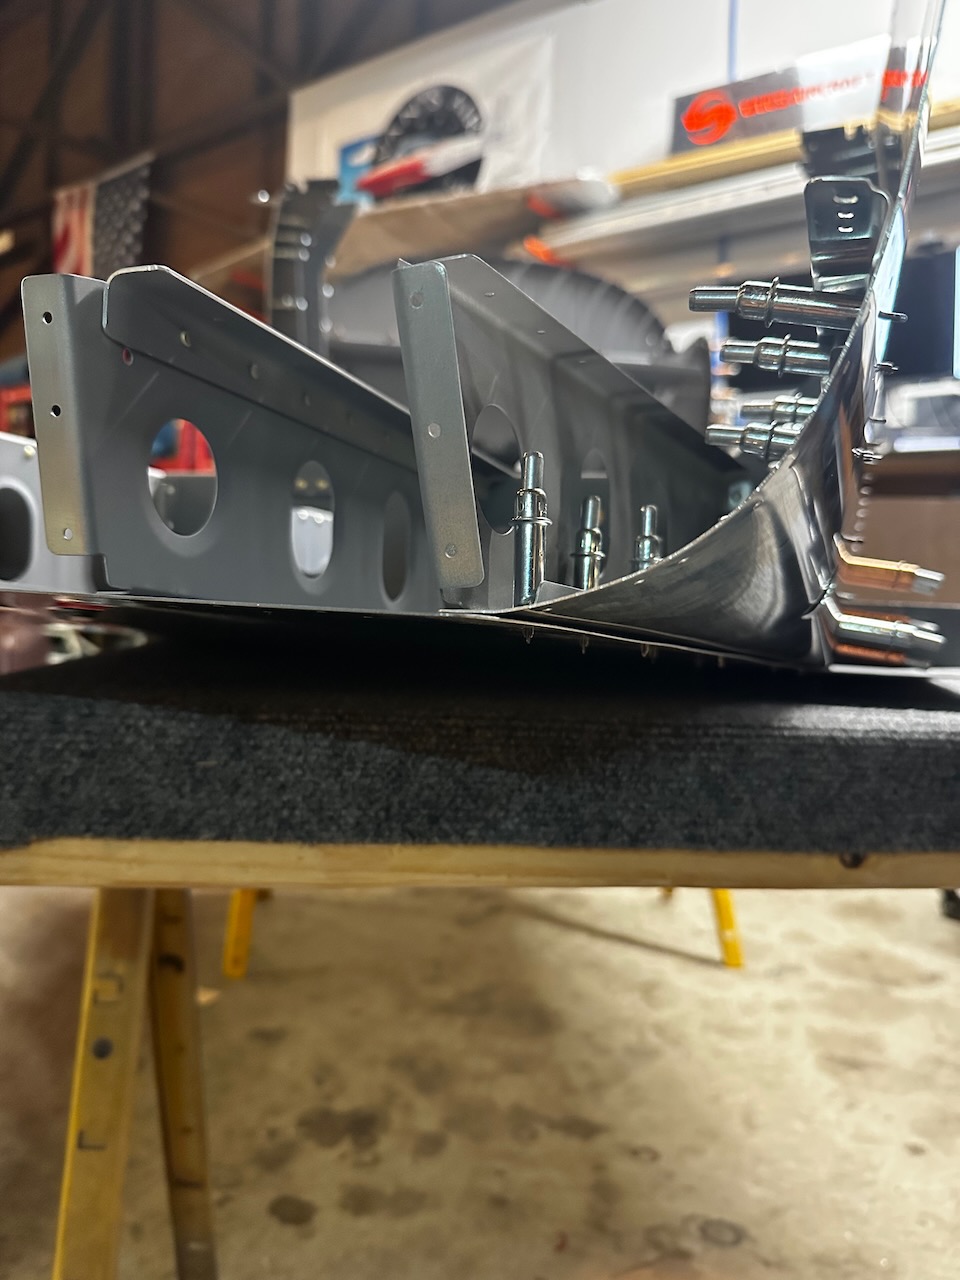
After multiple attempts, I found getting the bottom part of the conical section in first was best way to get everything to line up.
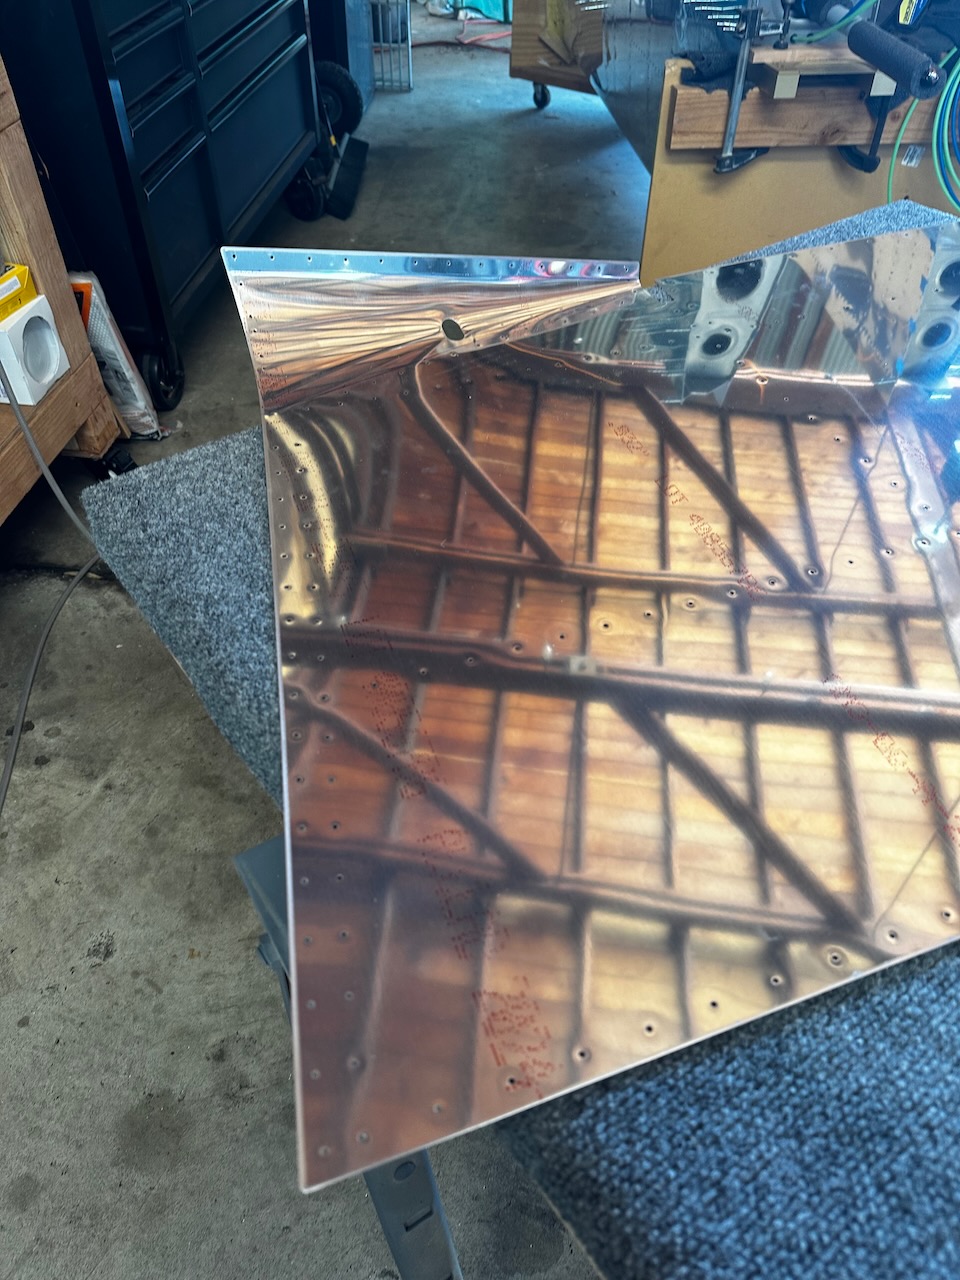
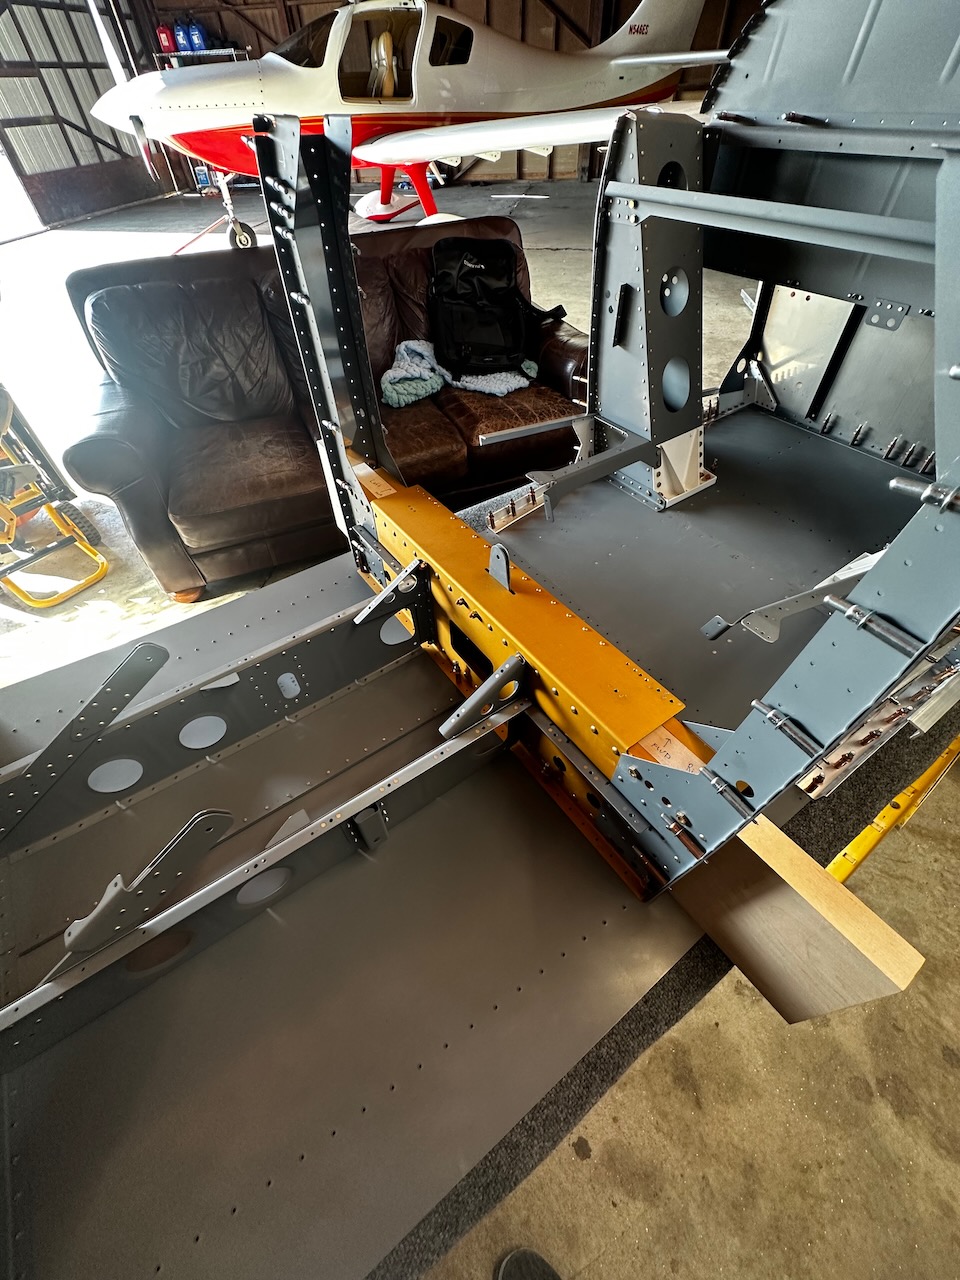
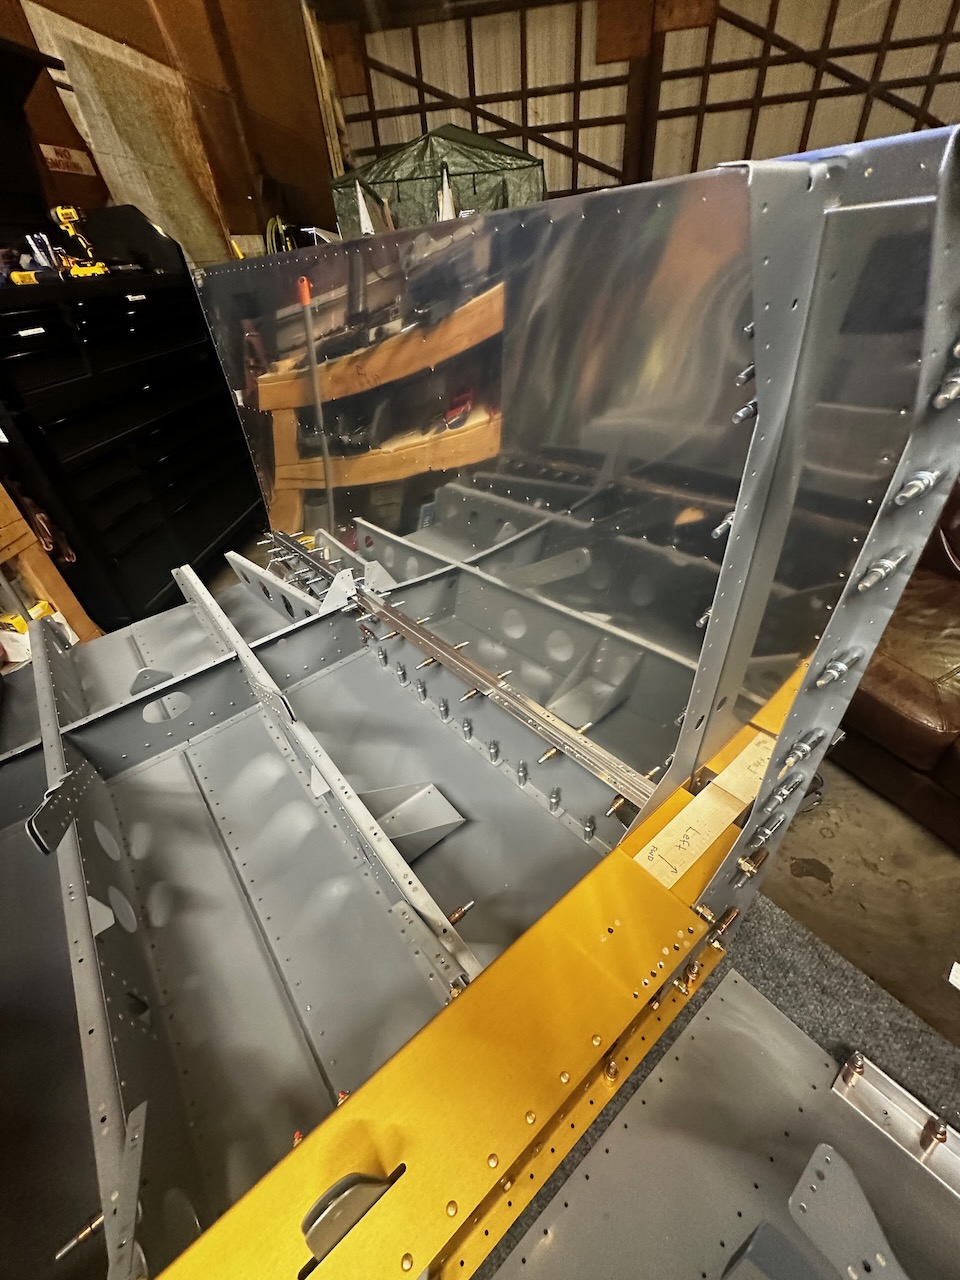
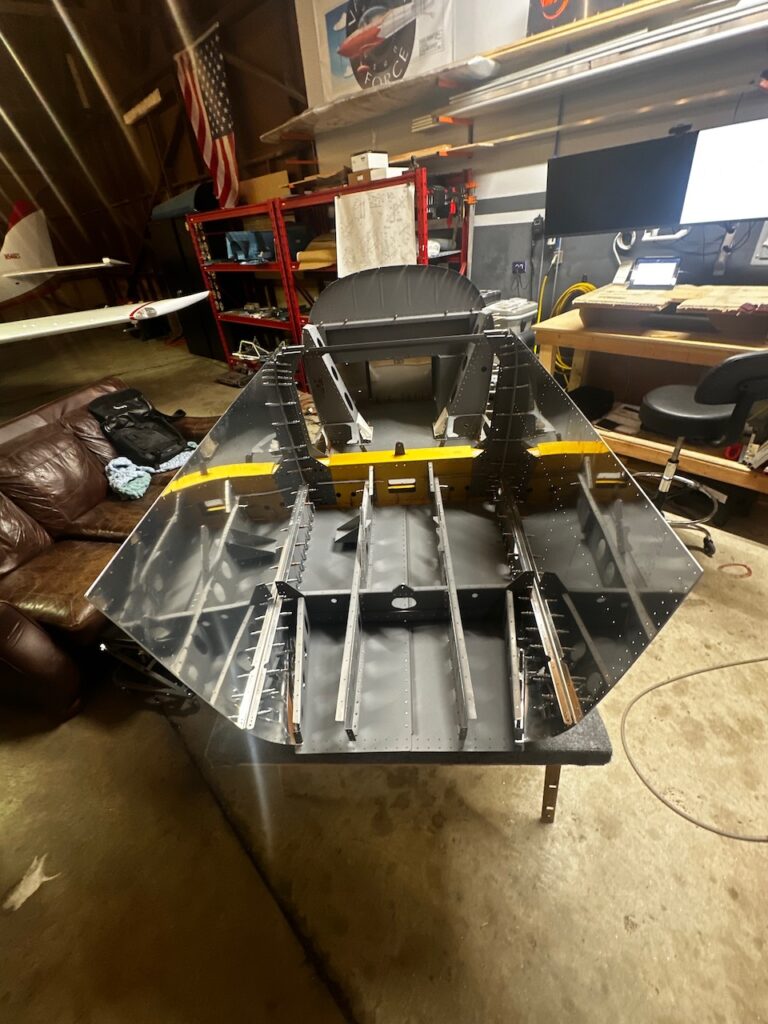
Curve looks pretty good..but wondering about that gap between the skins?
Sidewalls looking great!
Mid fuselage skins are on! I’m not super happy about the gap between the bottom skin and the conical curve of the side skin. I’m guessing it will be better when riveted, but will read up on if there is anything else I need to do to improve this. Next up, I will be clecoing in the bulkhead structure, adding the sidewall arm rests, and joining up the fwd fuselage section. I’ll definitely have a canoe at that point (albeit a boxy one)! Until then, enjoy the beautiful side walls below, and… Happy Building!