I can finally say it’s time to move on from the wings! Yes…I still need to put on the bottom skin, which will then allow a flap install, but for now I’m holding off closing up the wing until I get everything wired up. But until then, I can declare wings set aside for a while! Thanks to Sam, Tod, Evan and Denny, we were able to wrap up the finals work. Below is a recap!
Right Bellcrank + GSA 28
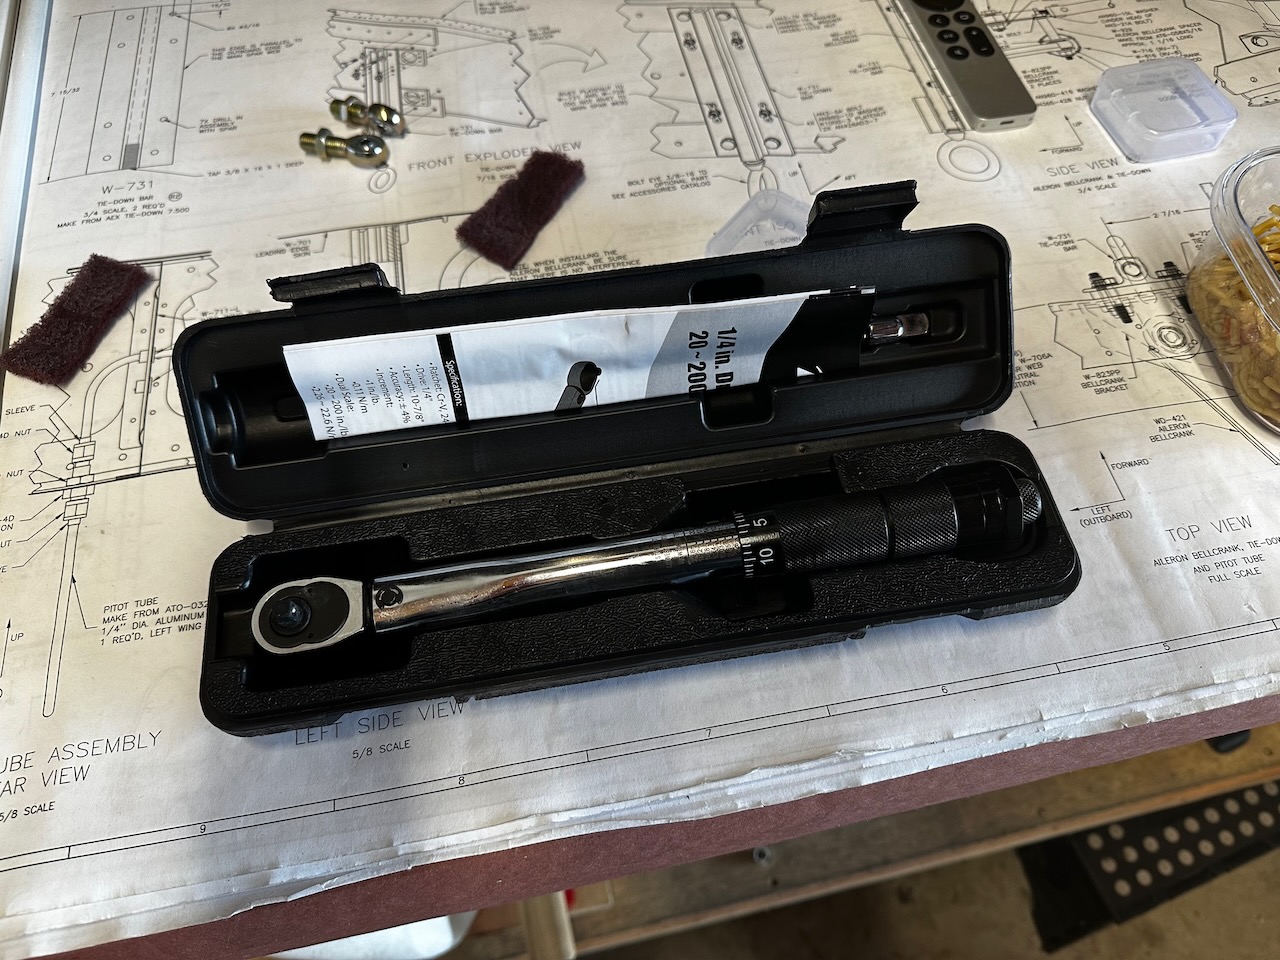
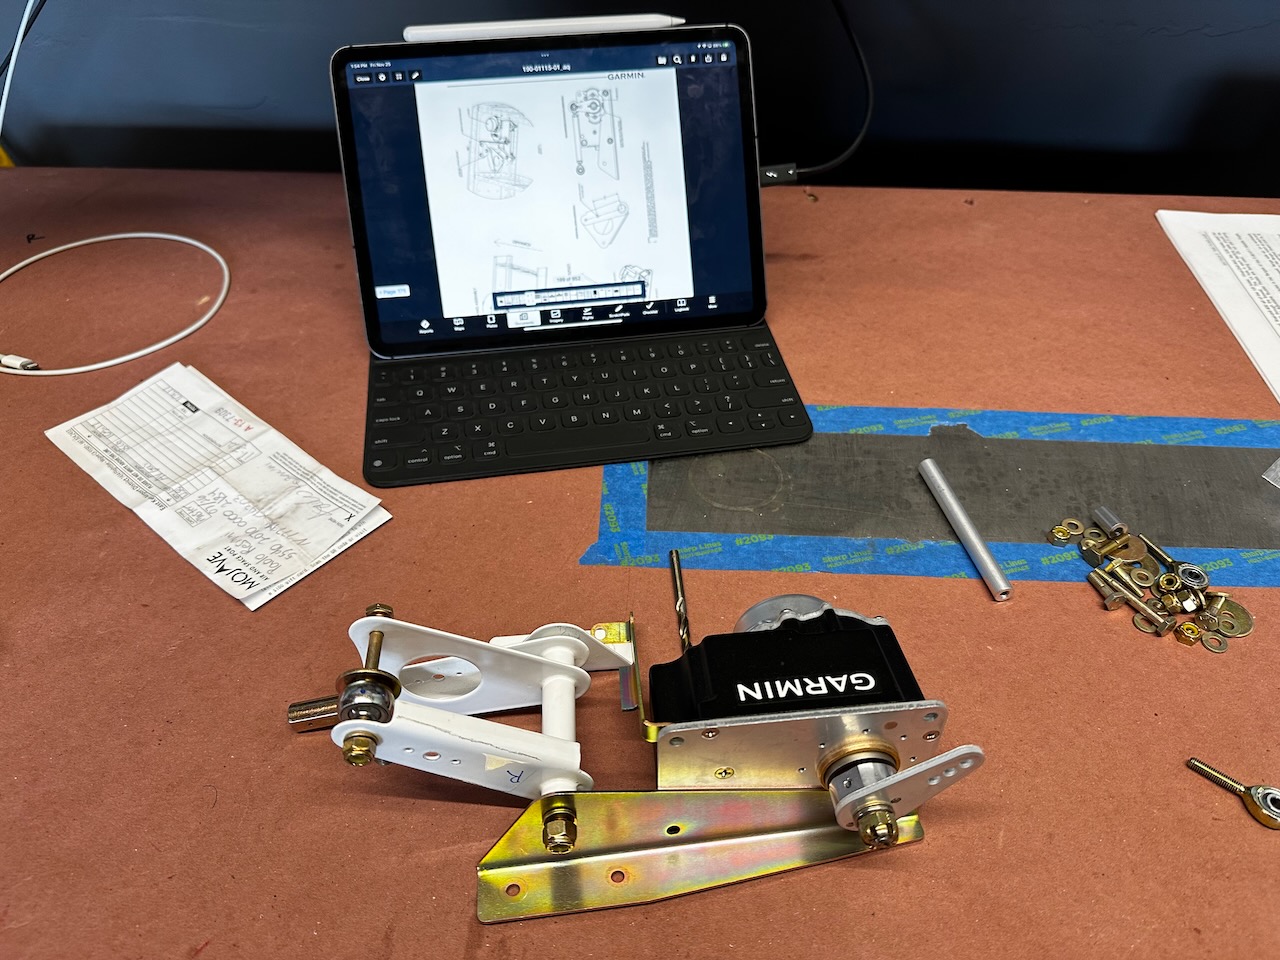
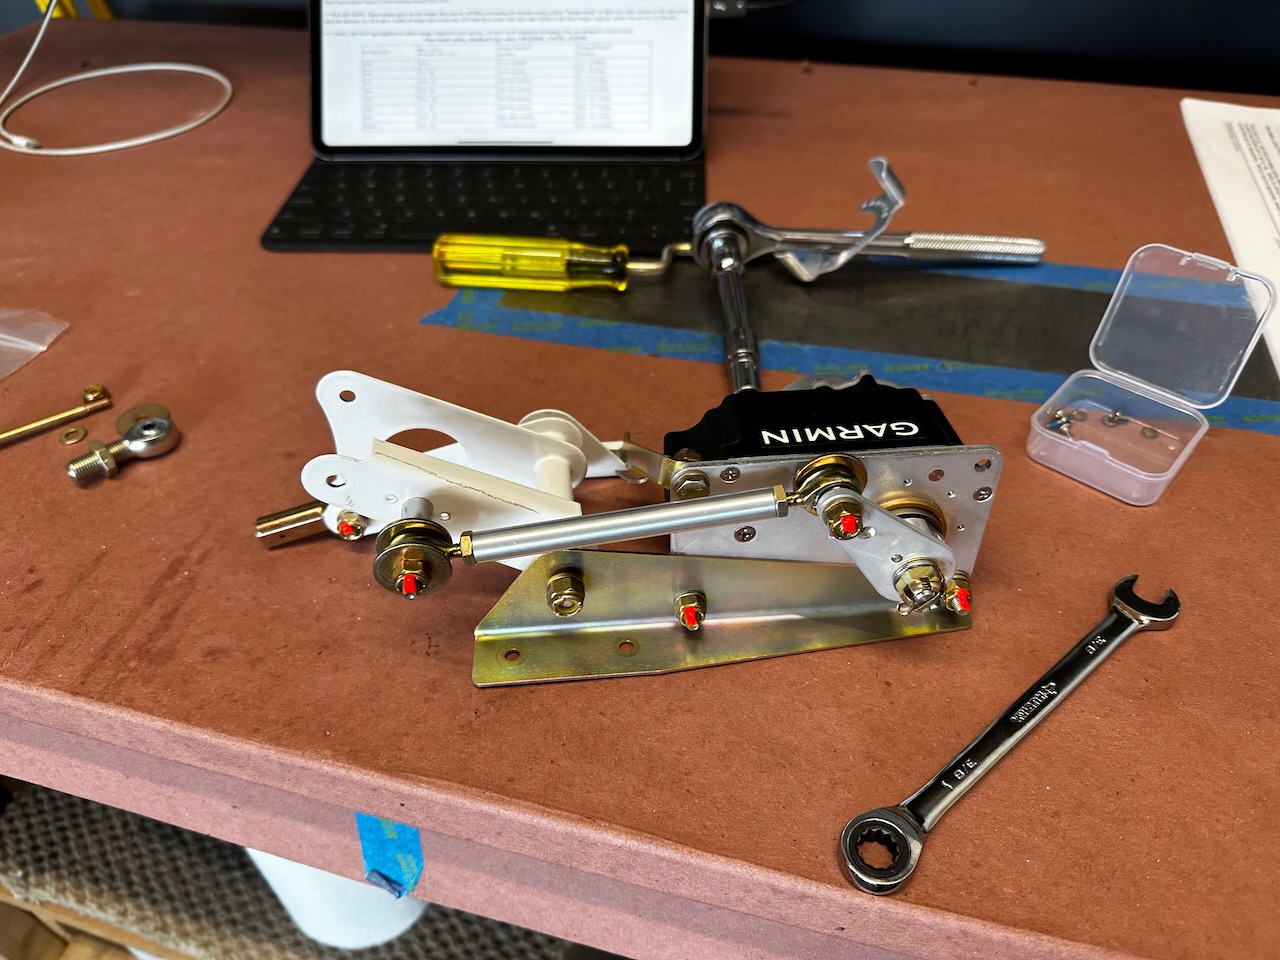
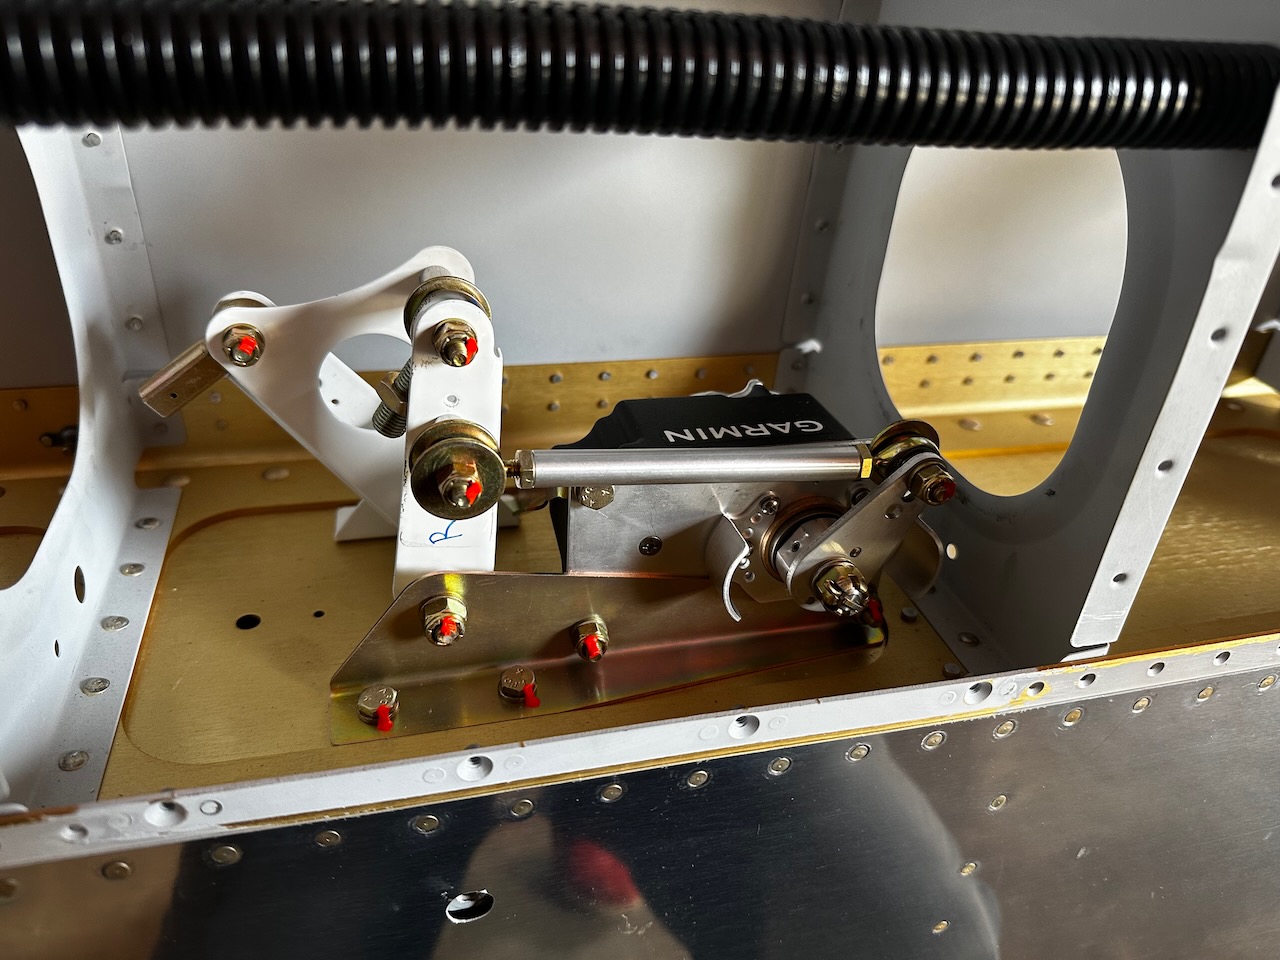
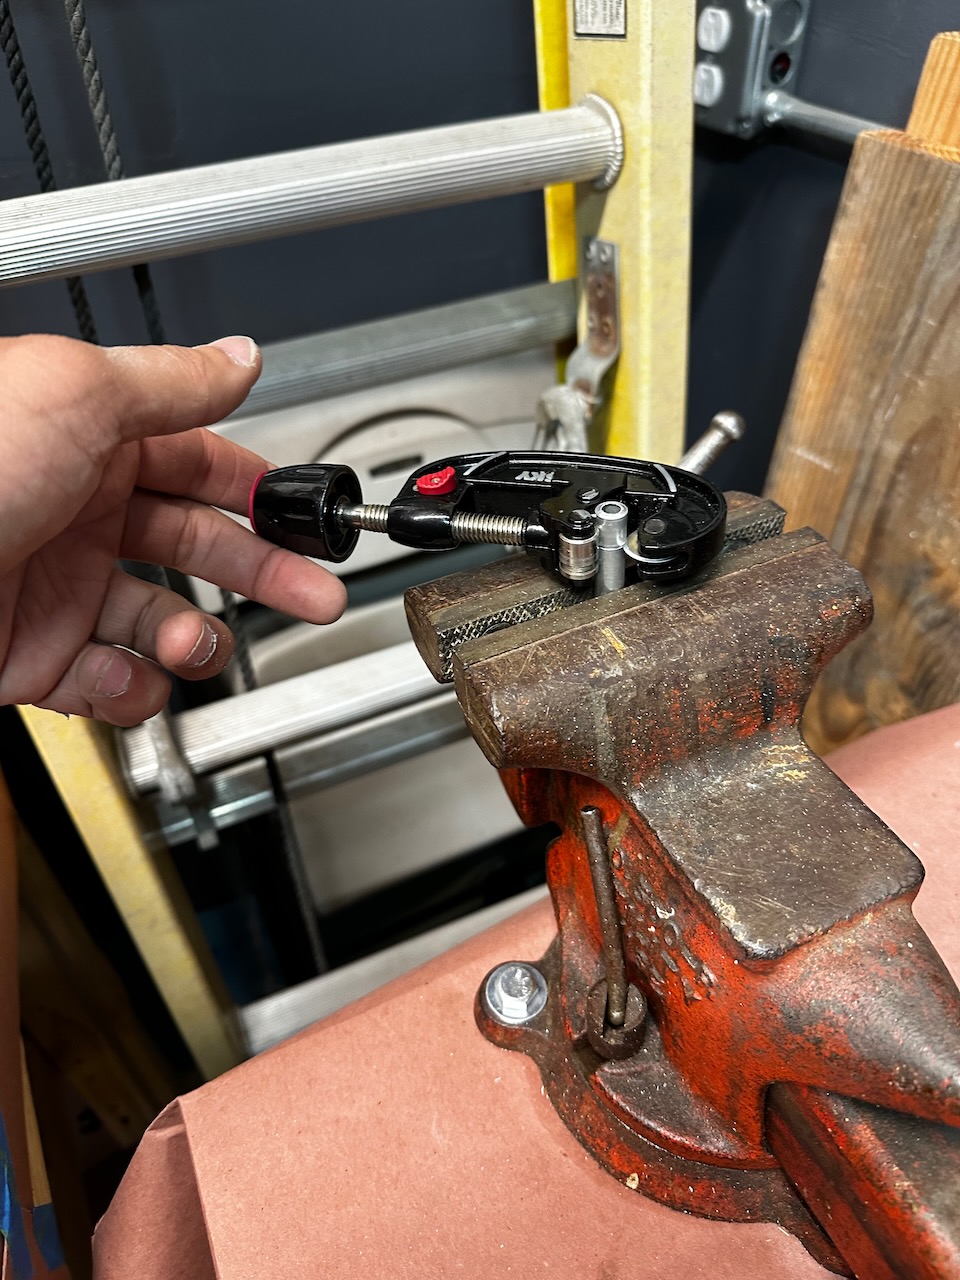
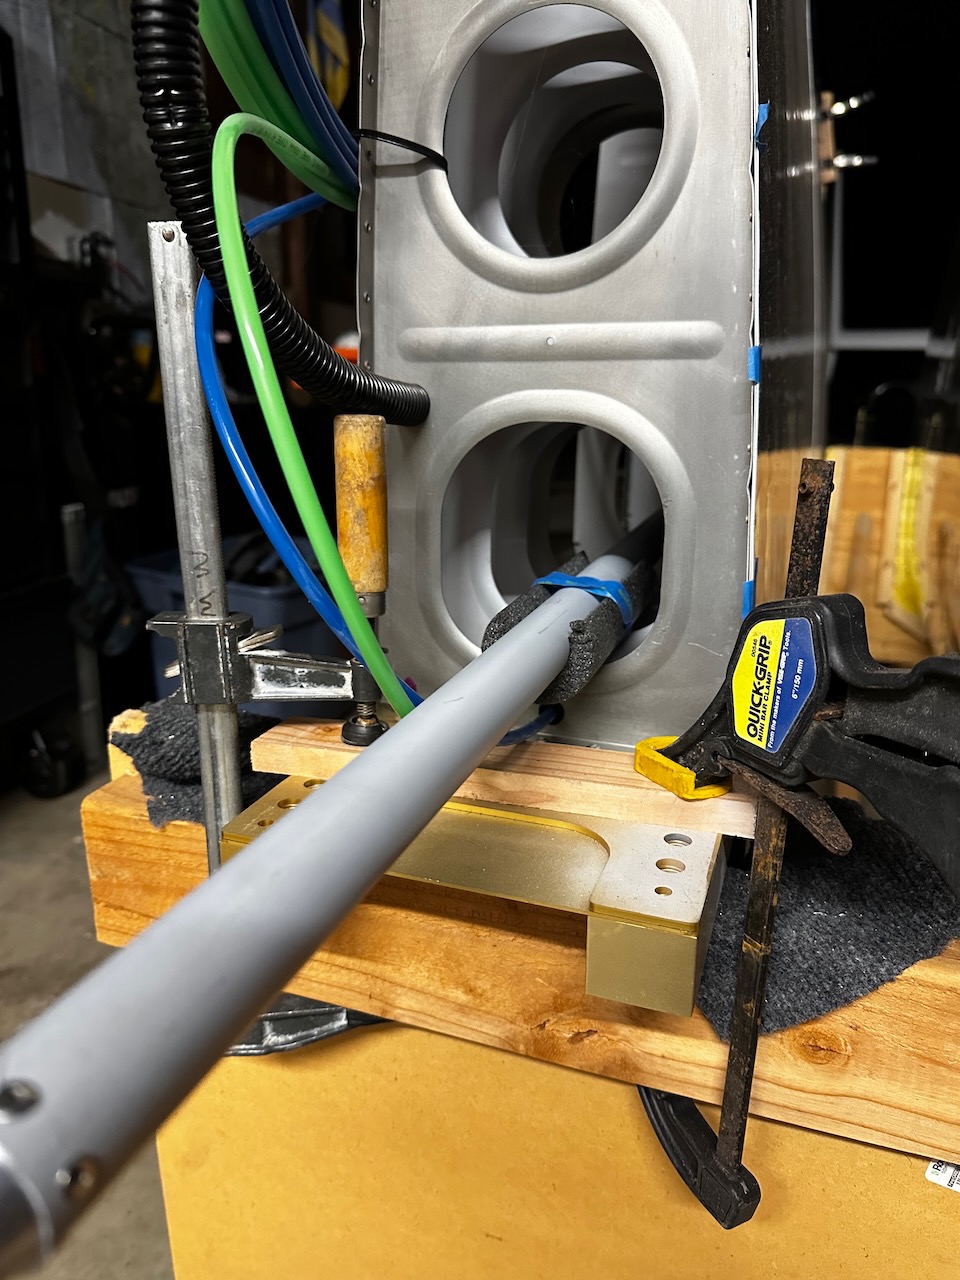
My torque wrench came that had small enough torque values (20+ in-lbs) and so I went through the left bellcranch and torqued everything down (marking with torque seal as I went!). After that I assmebled the right bellcrank. It was a bit more complicated (and fun!) because the right side has the GSA 28 roll servo assembly included. What a cool mechanism!
Aileron Mounting!
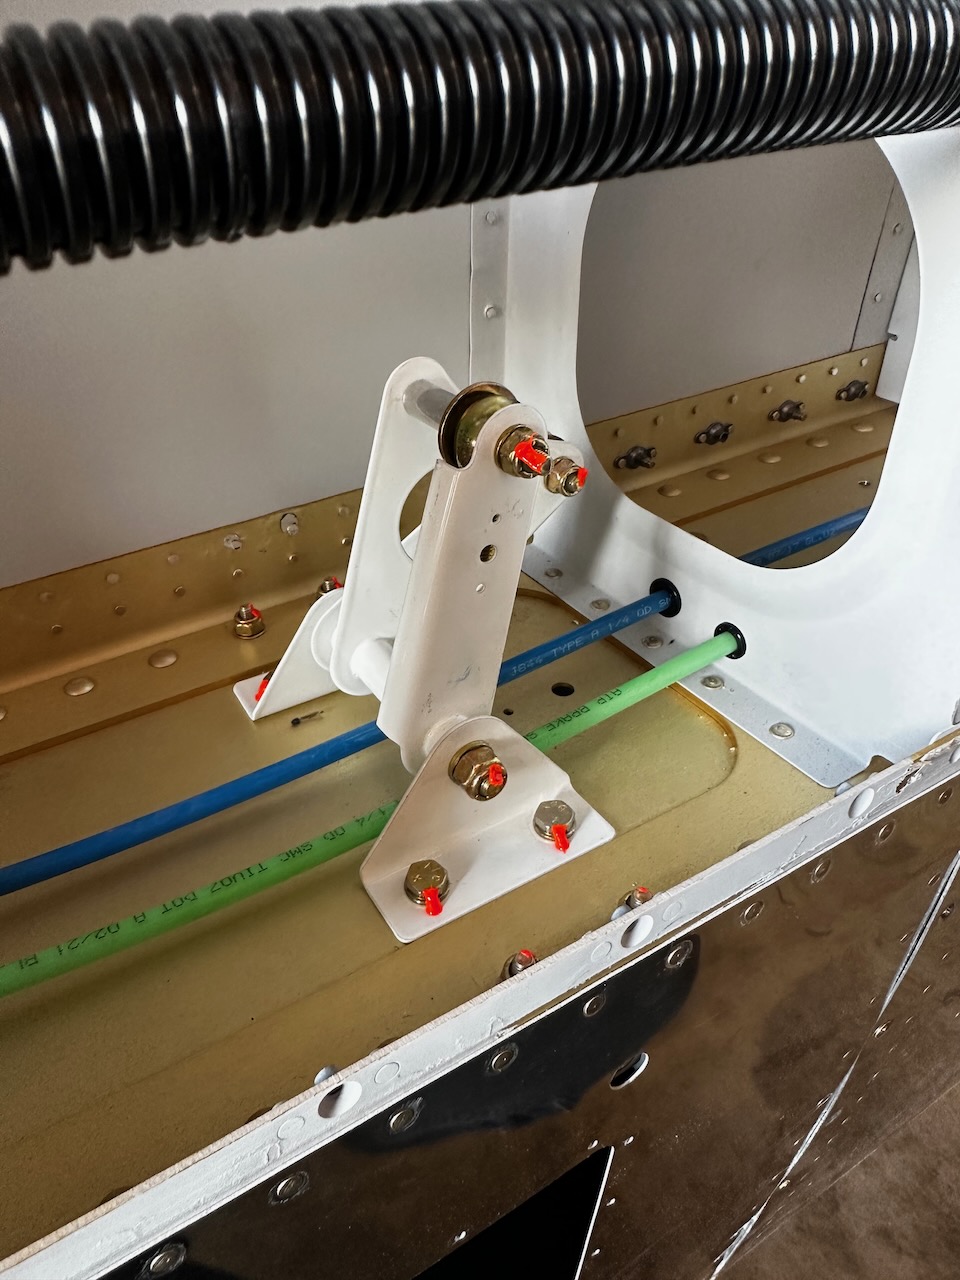
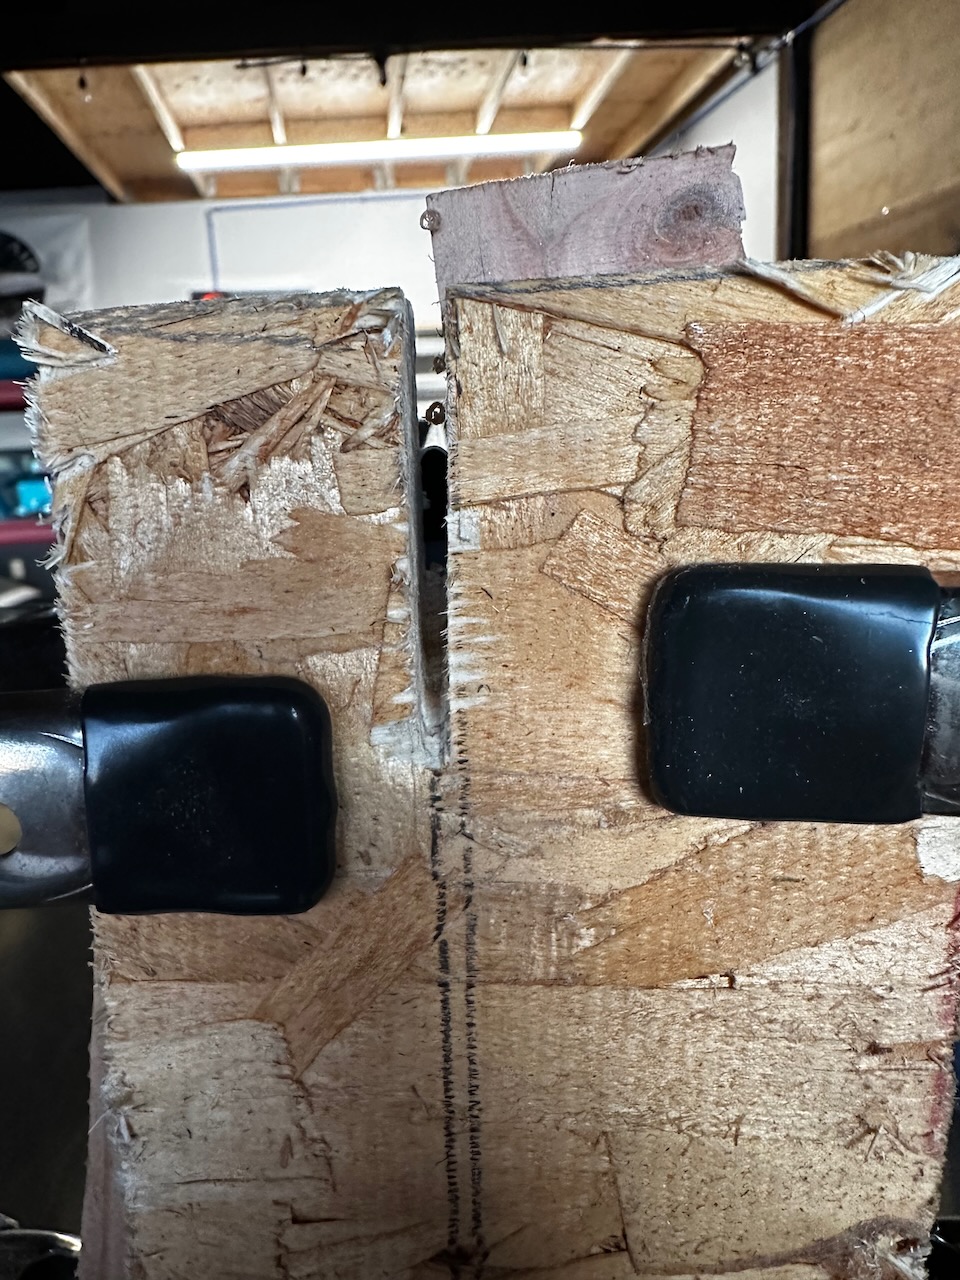
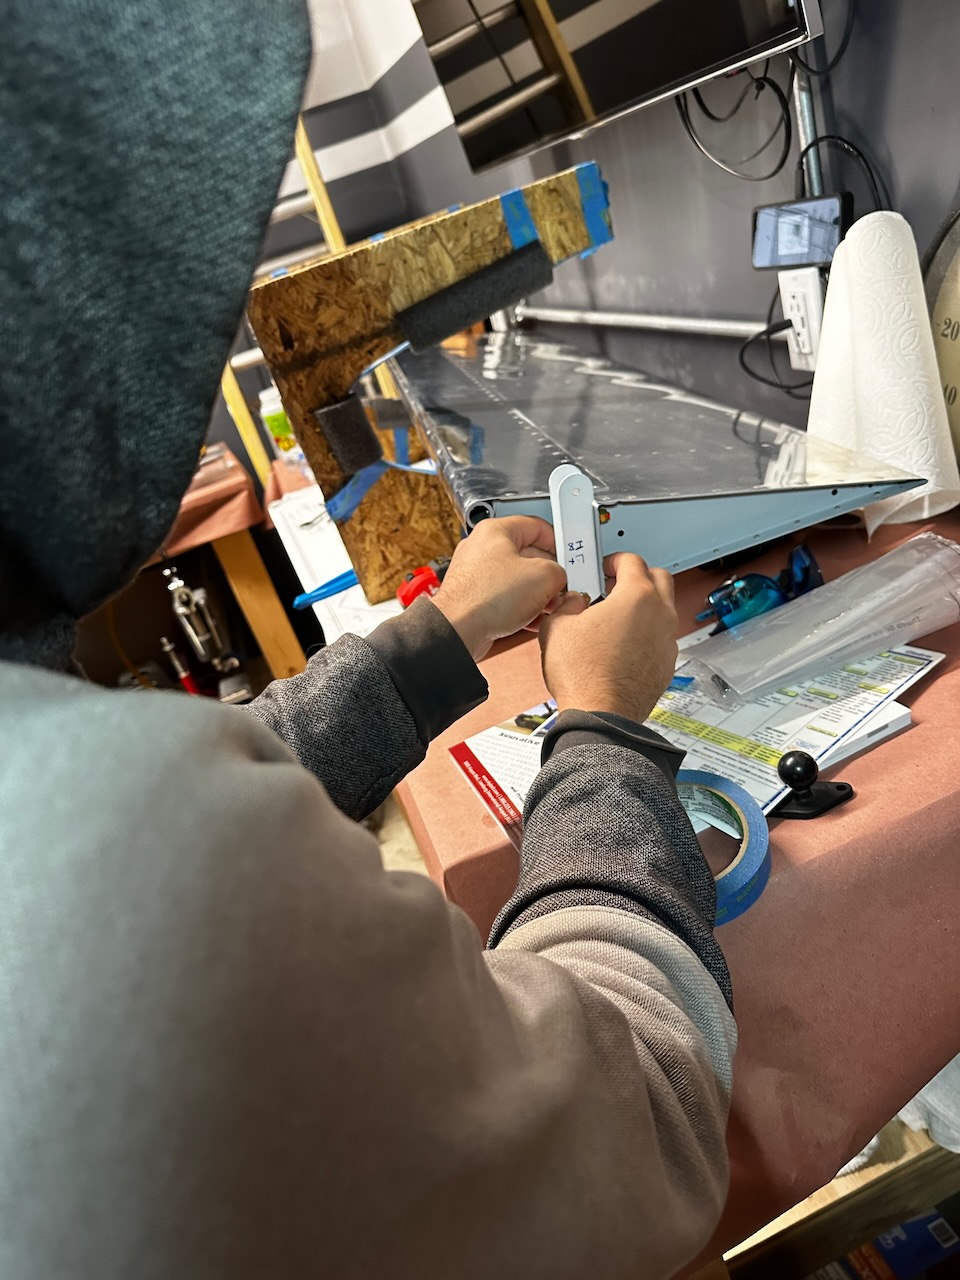
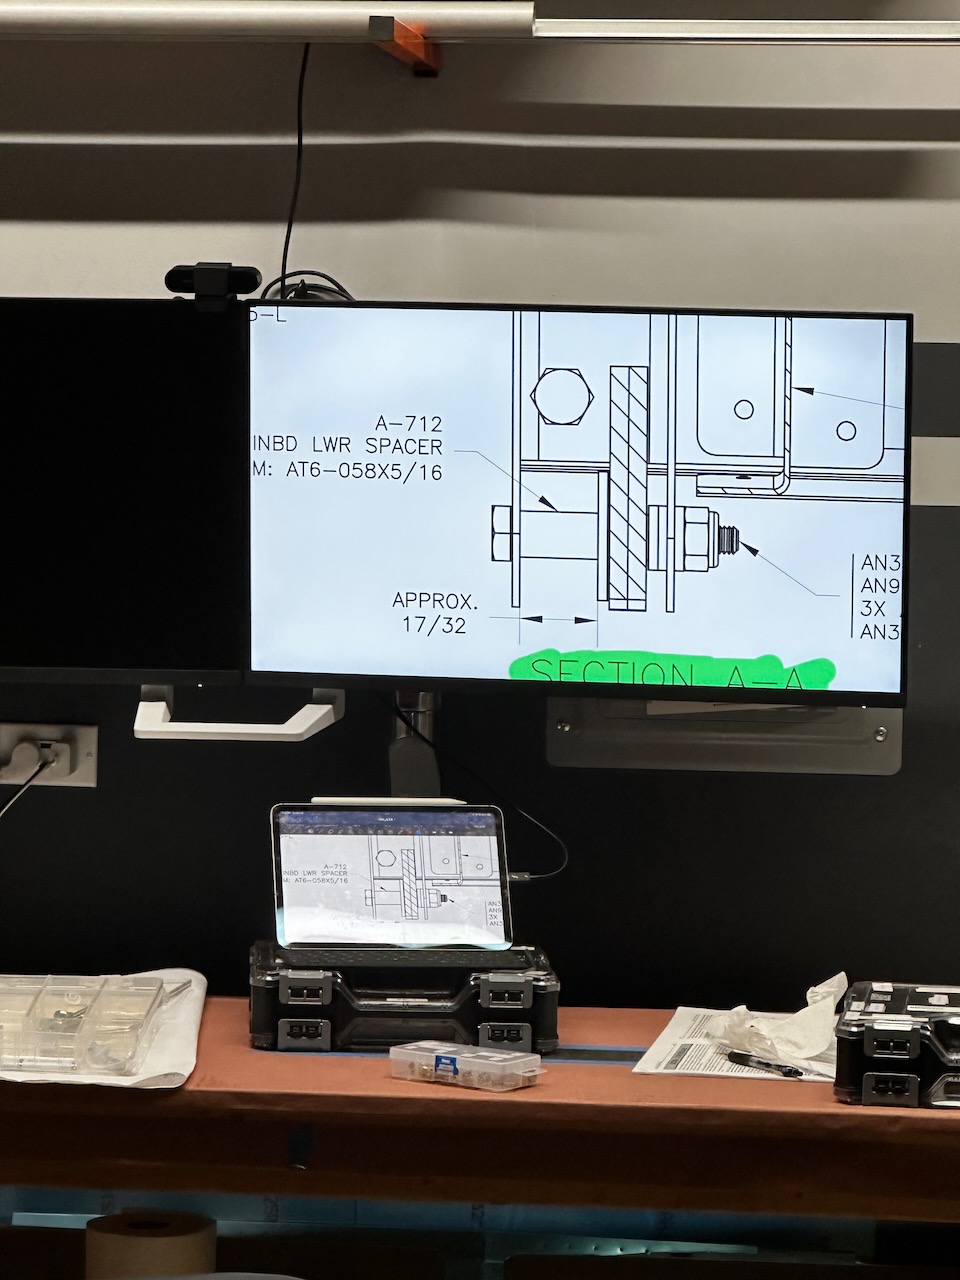
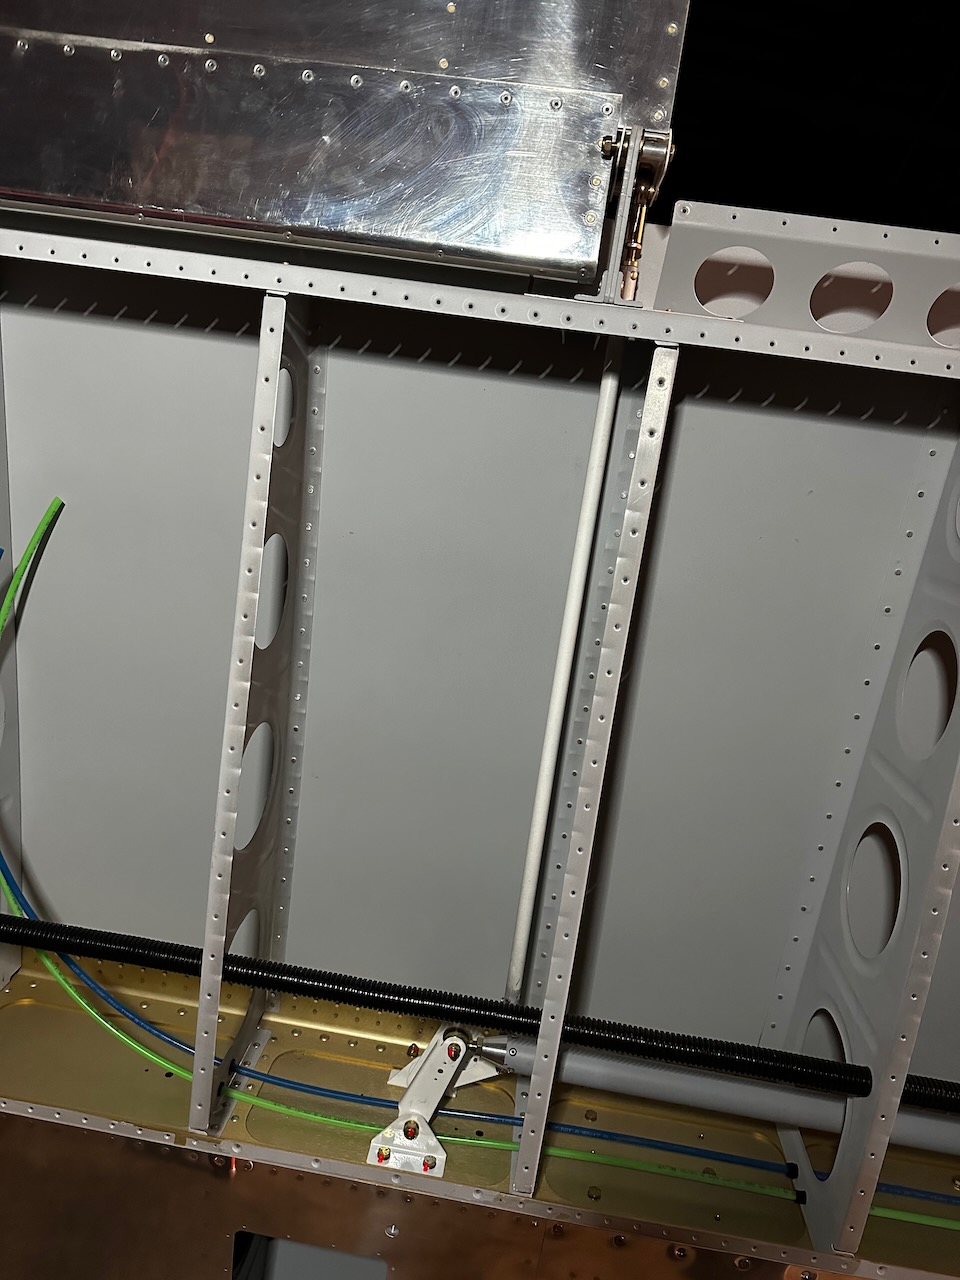
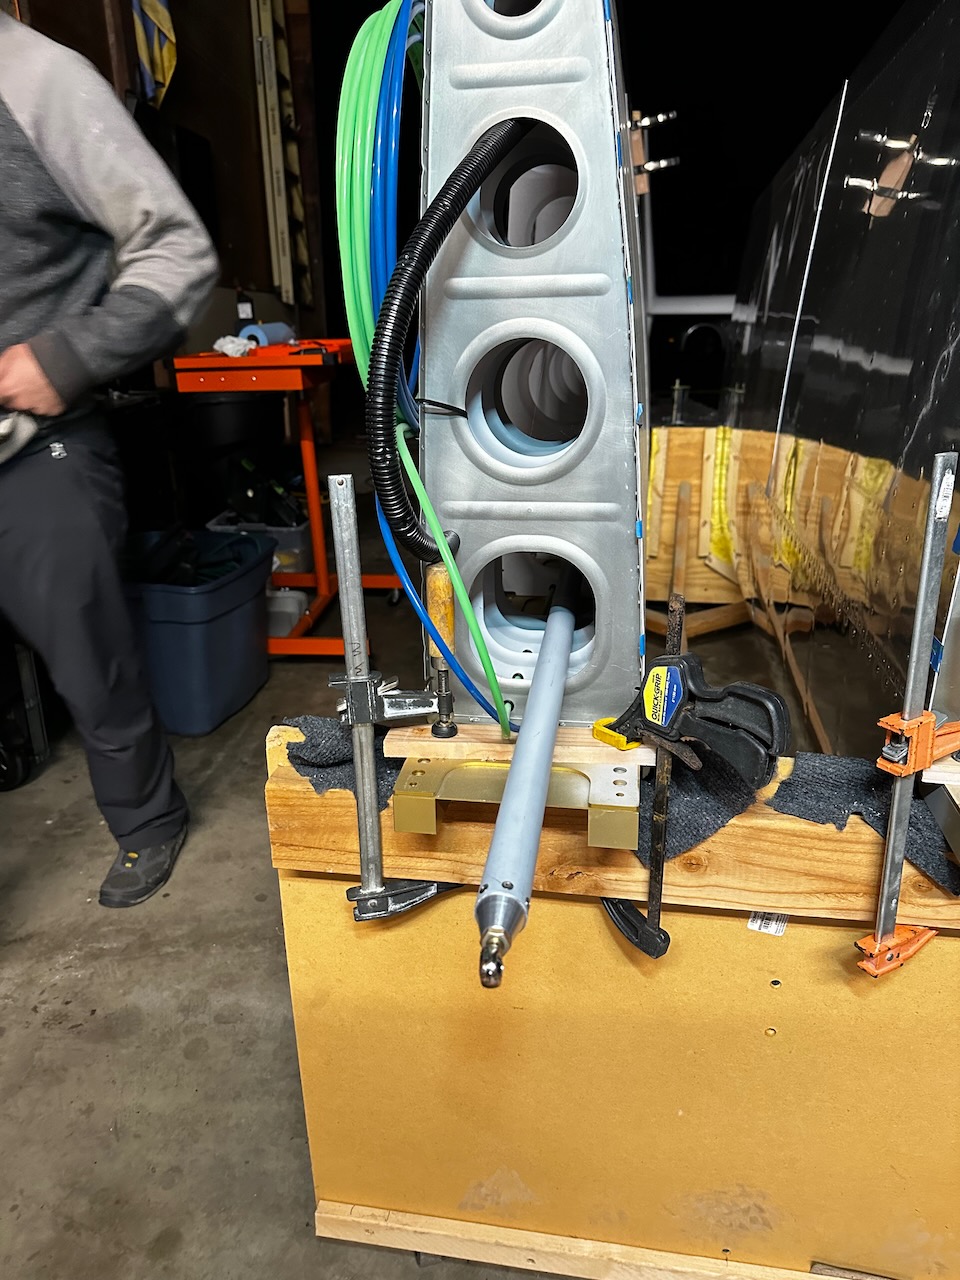
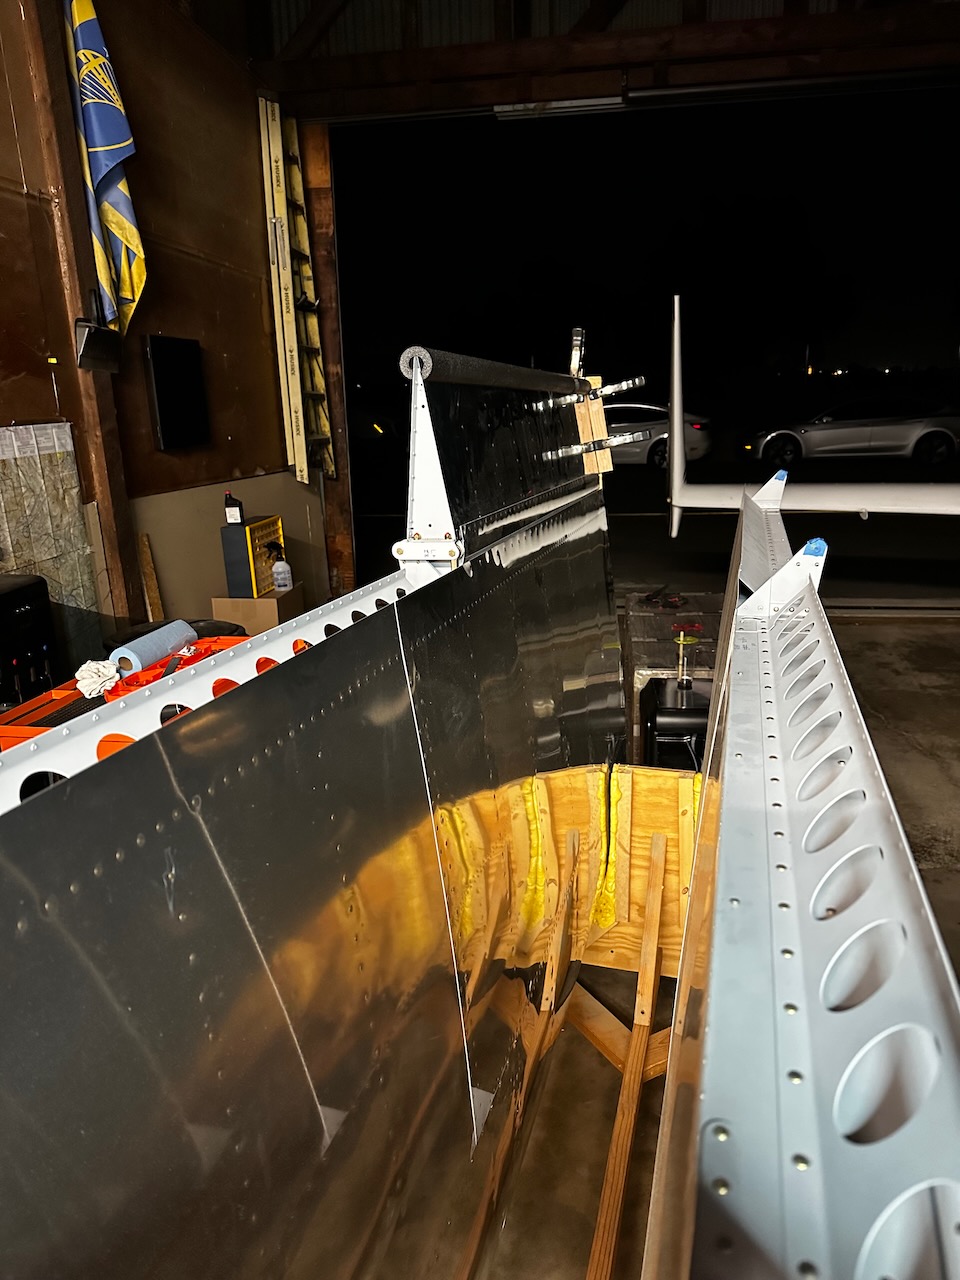
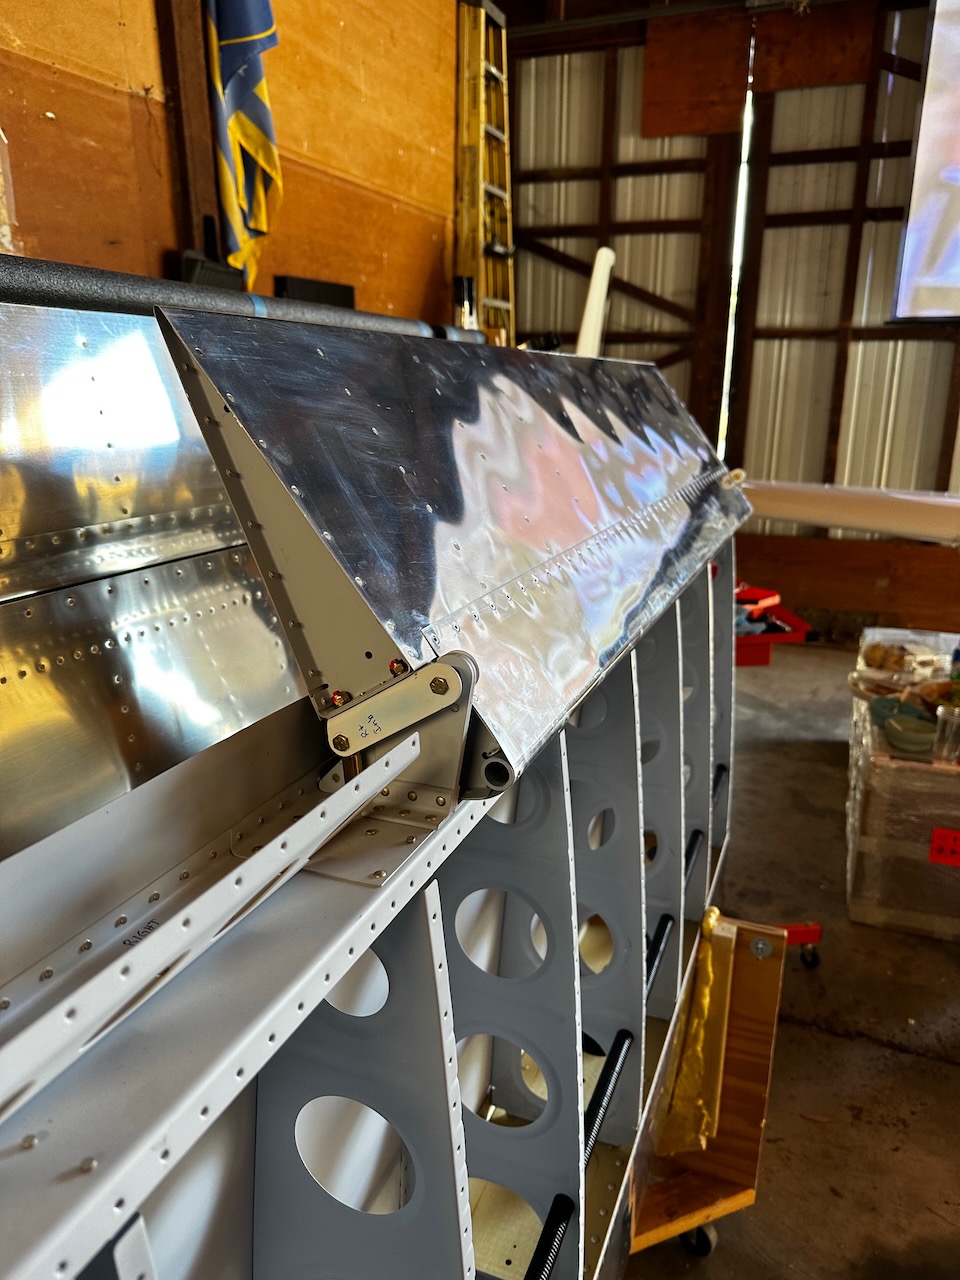
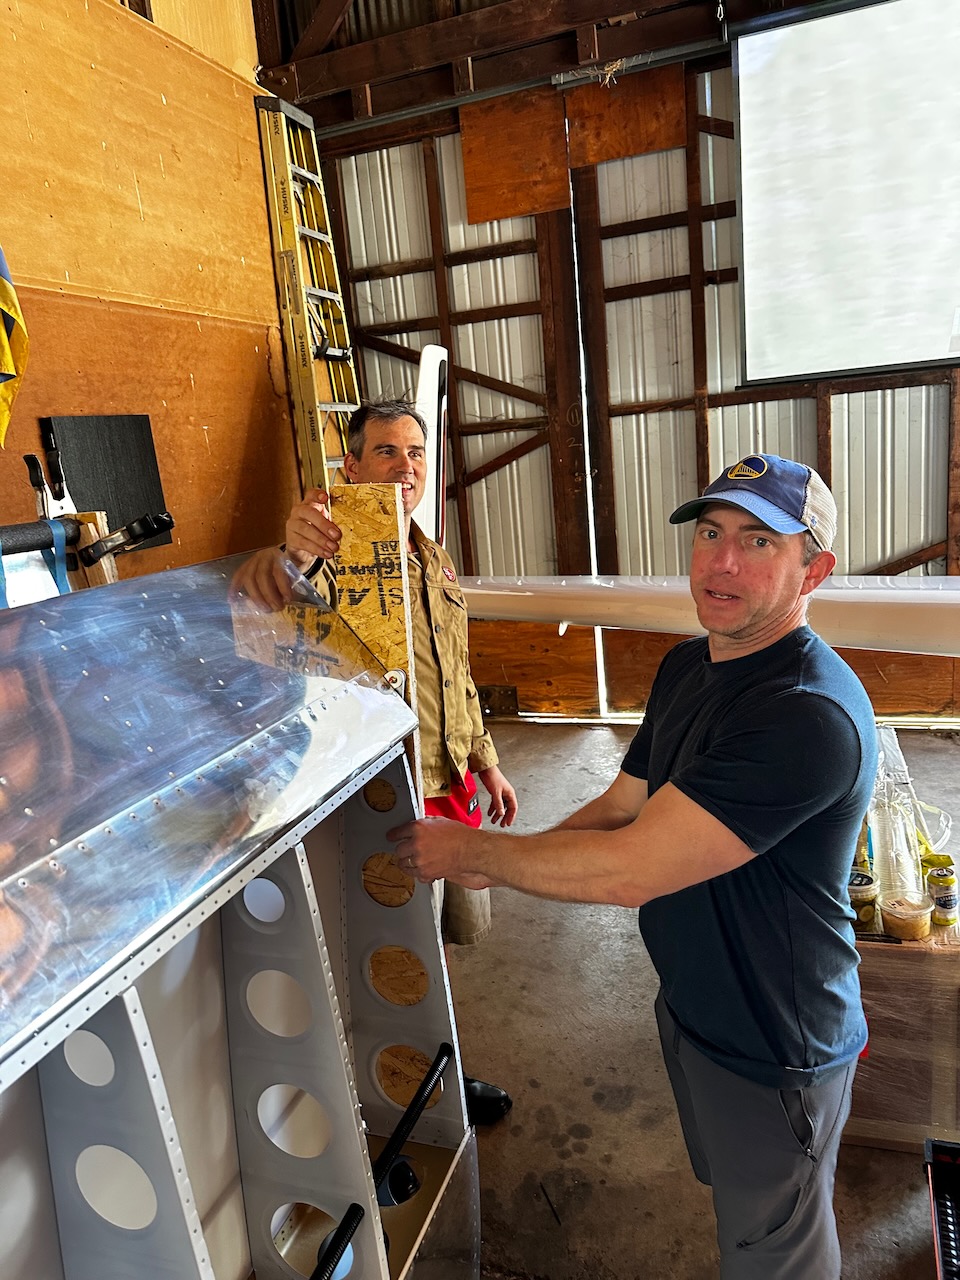
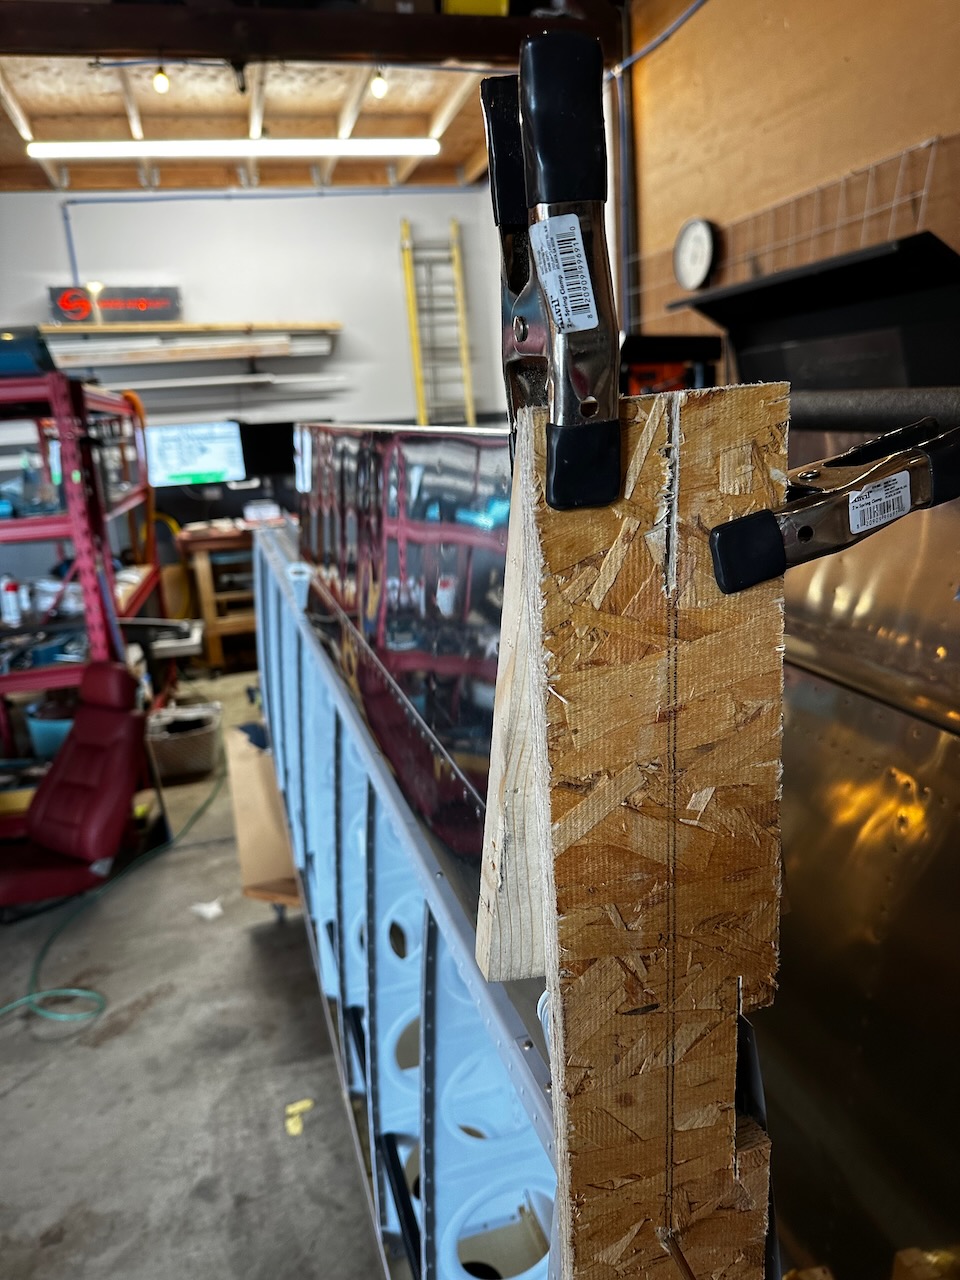
With the bellcranks done, it was time to mount the ailerons. The instructions describe a jig to set the neutral point on the aileron. It’s a simple yet genius technique where Van’s strategically placed the tooling holes within the rib such that by extending the line between them aft, it will go through the trailing edge of the aileron. After a bit of experimenting Sam and I were able to get this laid out and built. After a bit of head scratching, and delicate work fitting all the washers and spacers on, we got the left aileron mounted! We used spare blocks of wood to constraint the aileron in the neutral position while we adjusted the length of the control rod.
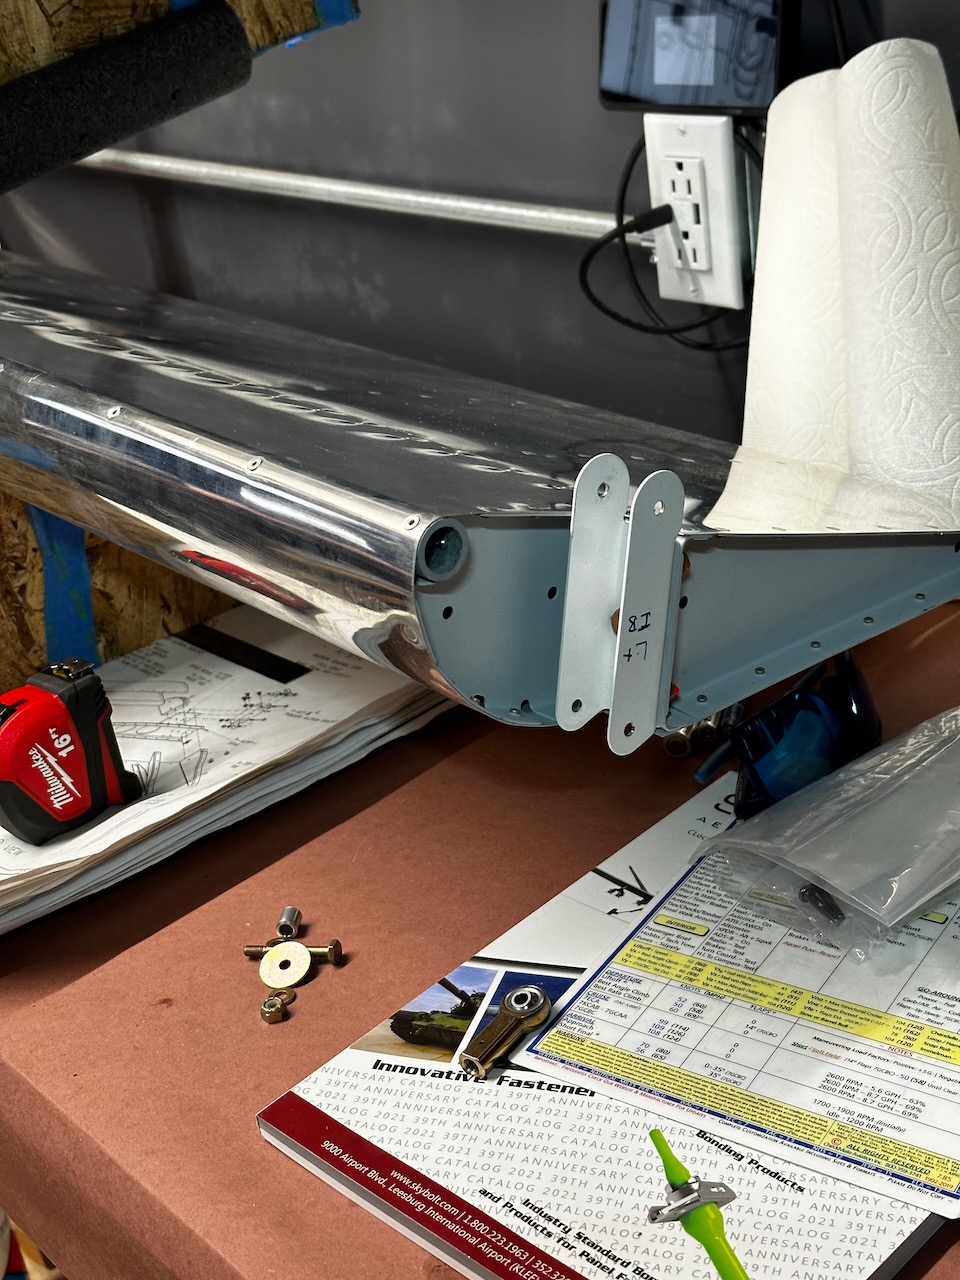
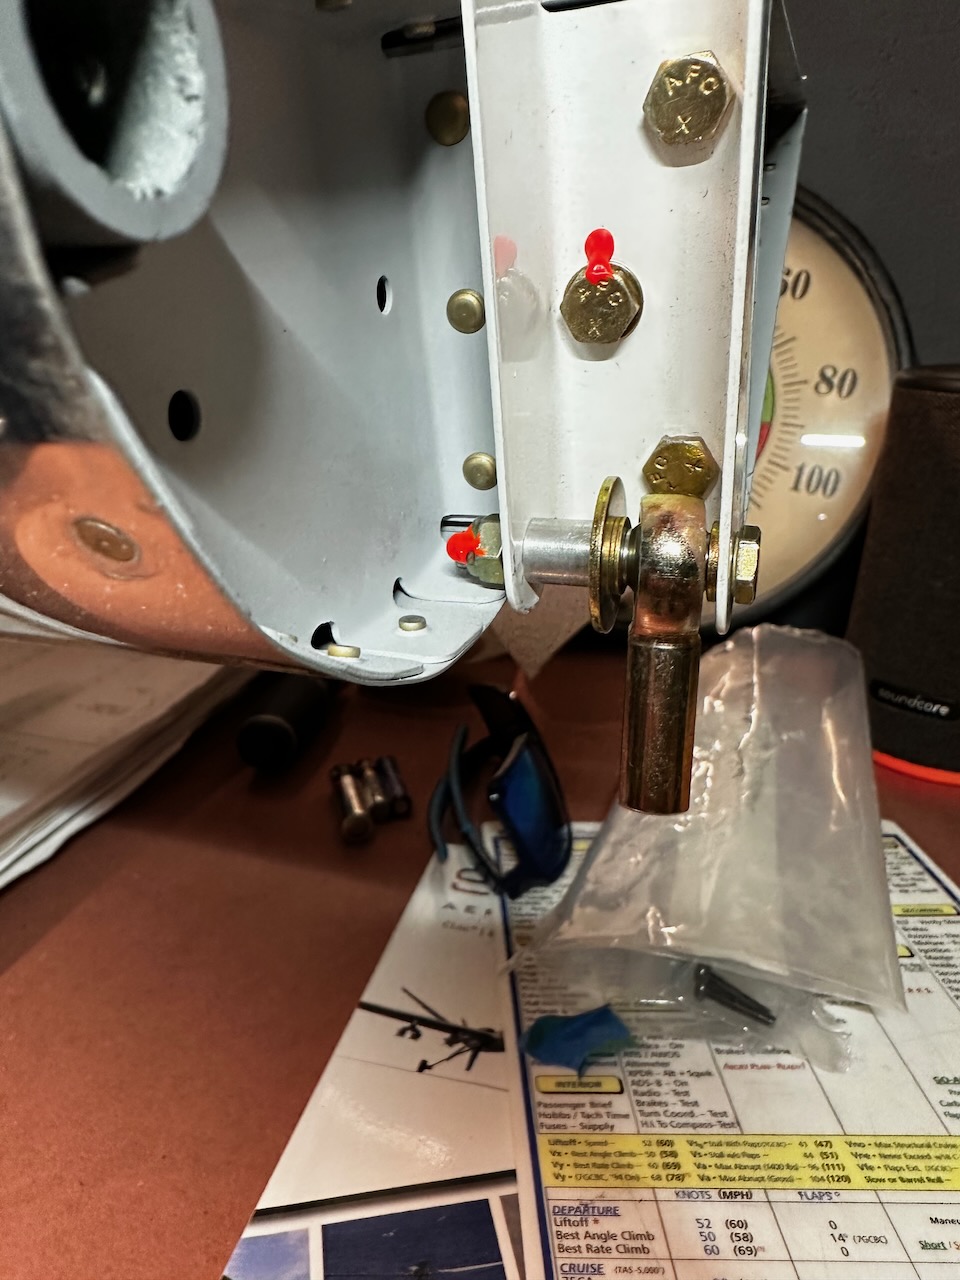
Of course, as soon as we got everything mounted, and aligned, it became clear that the control rod connector could not be installed while the aileron wass mounted. After disassembling the assembly, it was an easy install of the connector and then we remounted everything fairly quickly. As we torqued down each bolt according to the AN torque specs, I made sure to put torque seal so I knew which ones were done.
And so there it is! I’ve got my first fully connected flight control surface! It felt like a big milestone. Excuse the audio…(got a little excited), but here’s a quick video of the excitement when we finally got it done.
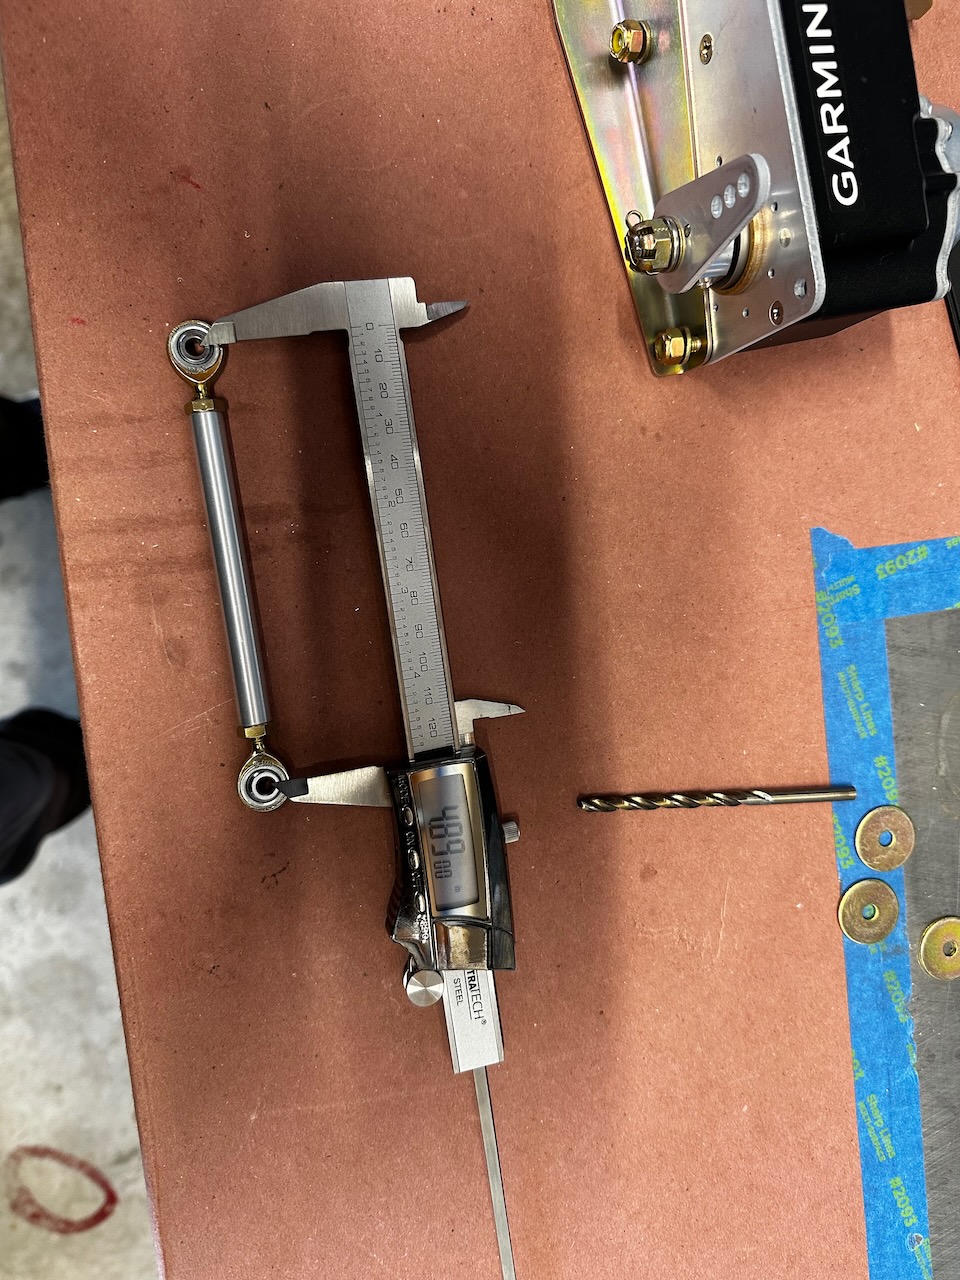
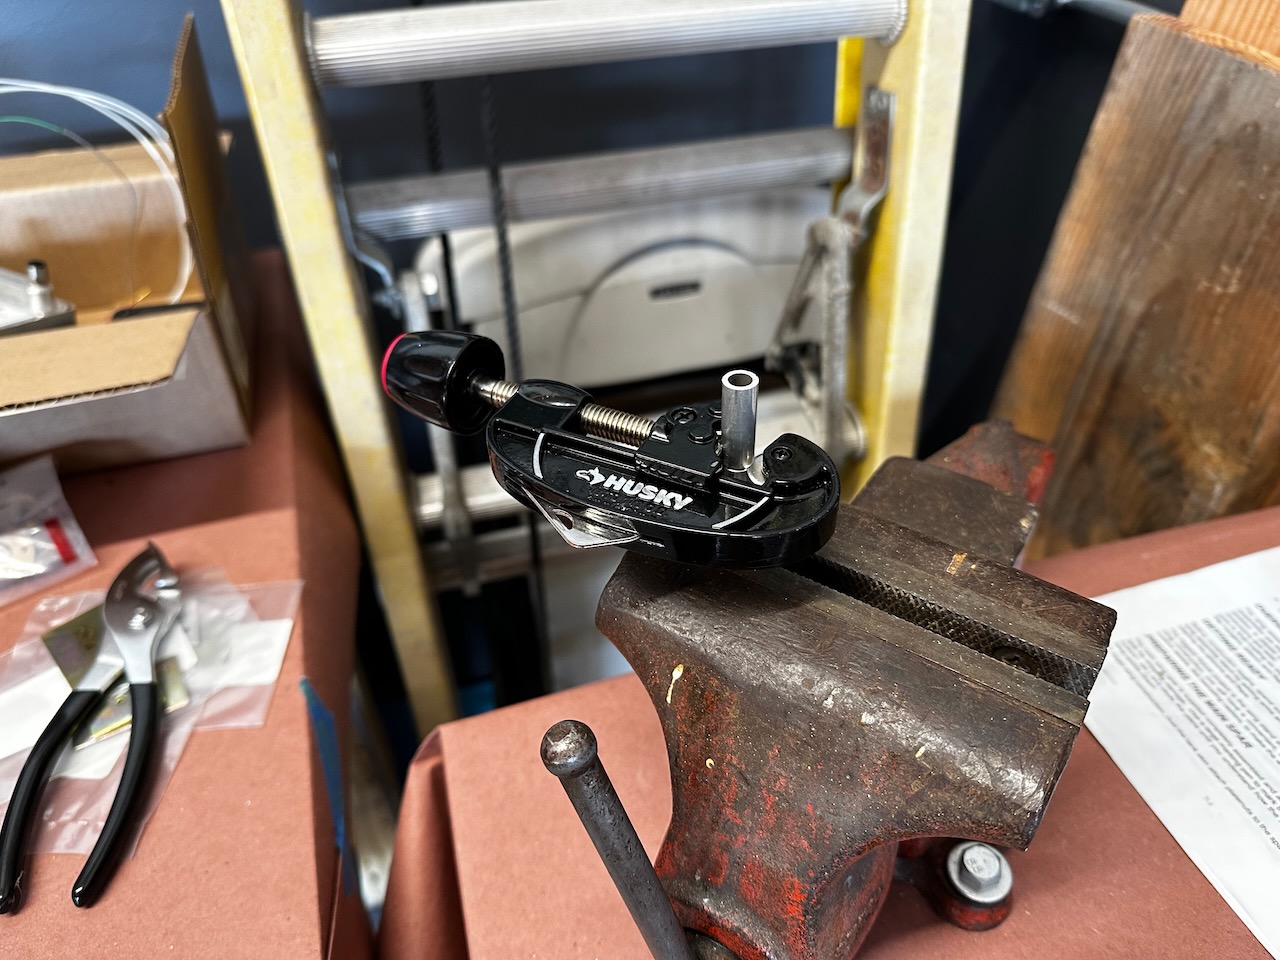
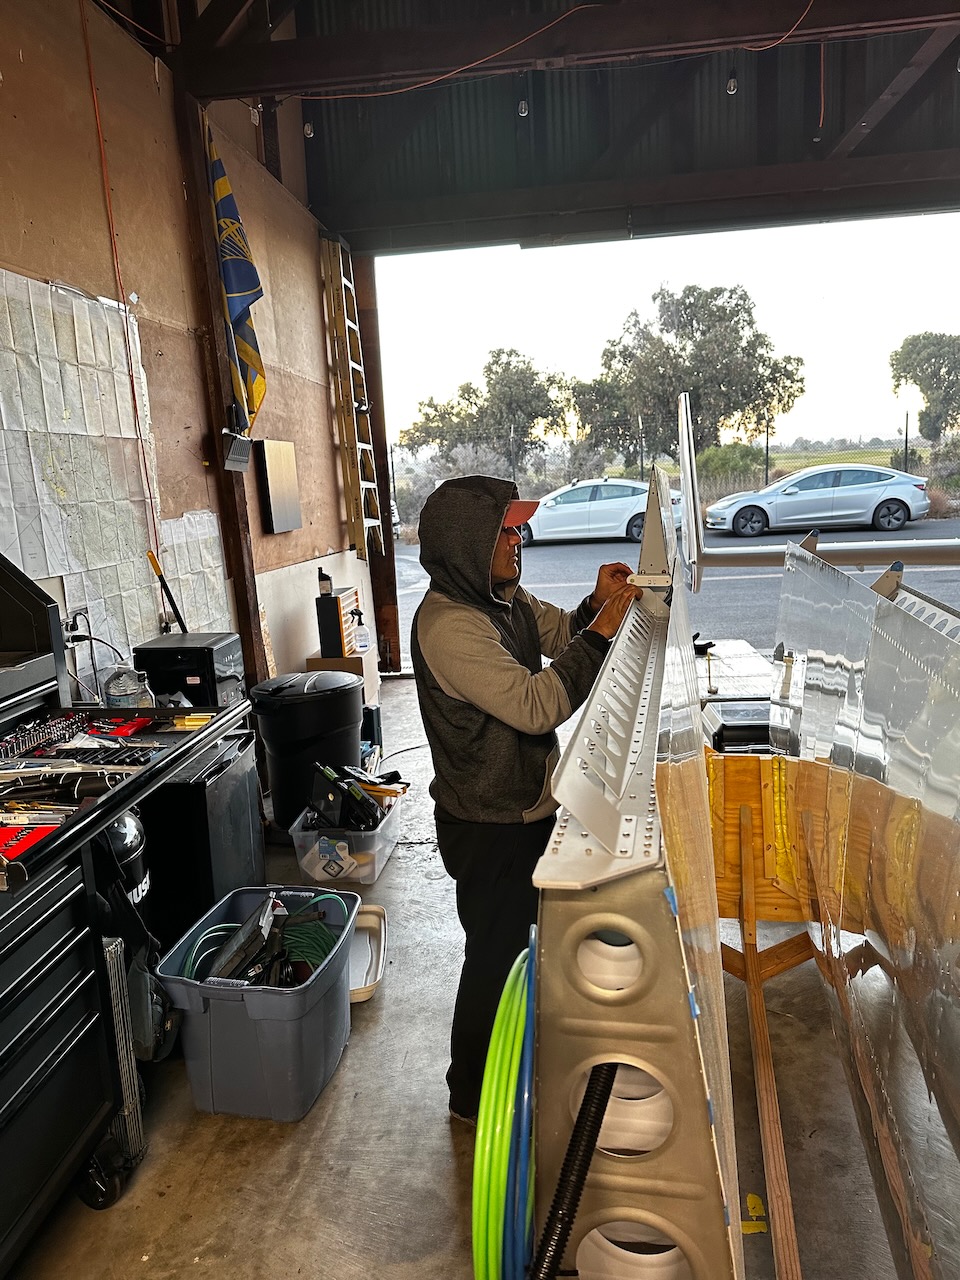
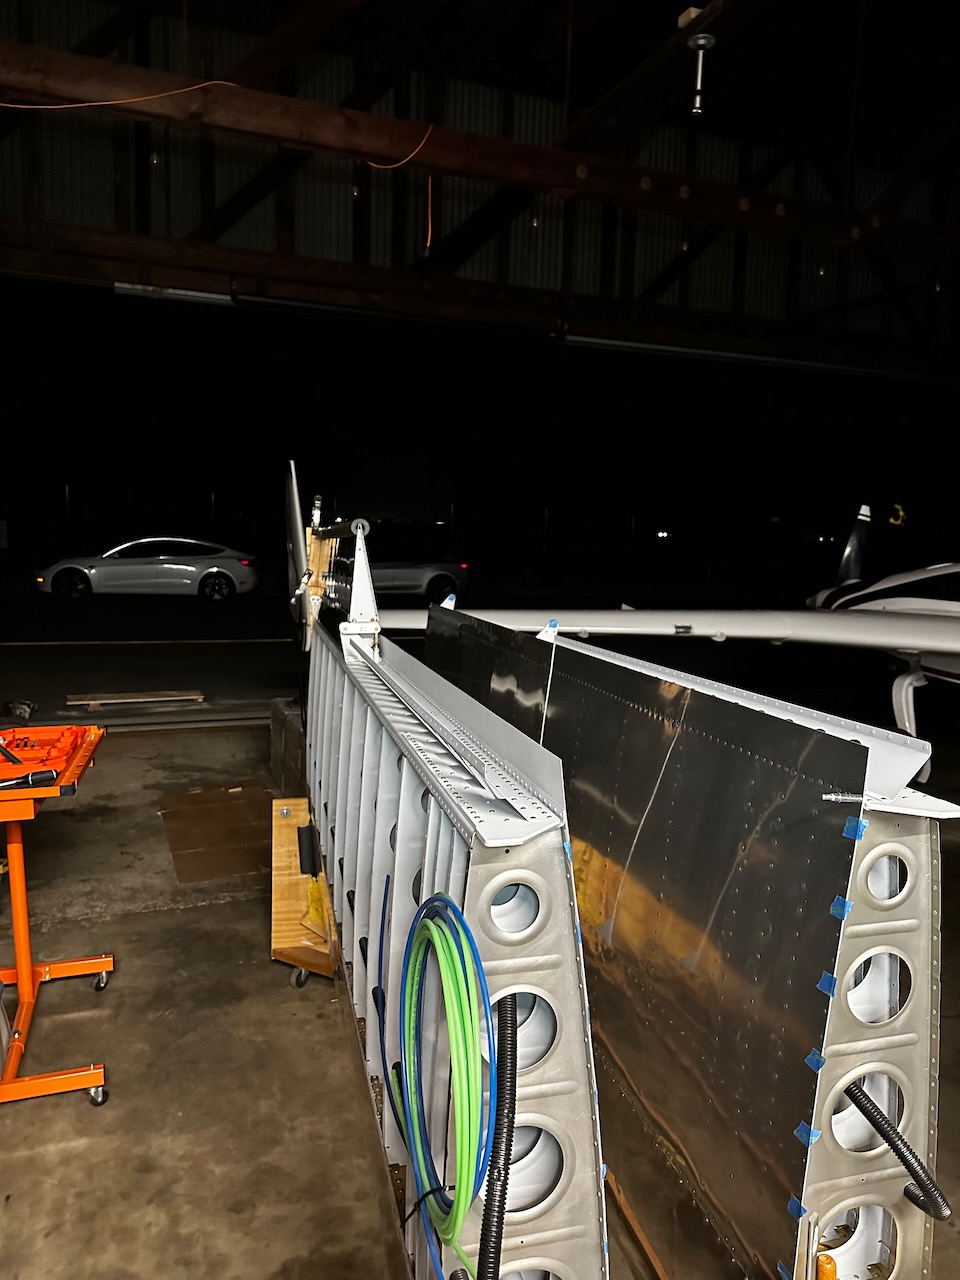
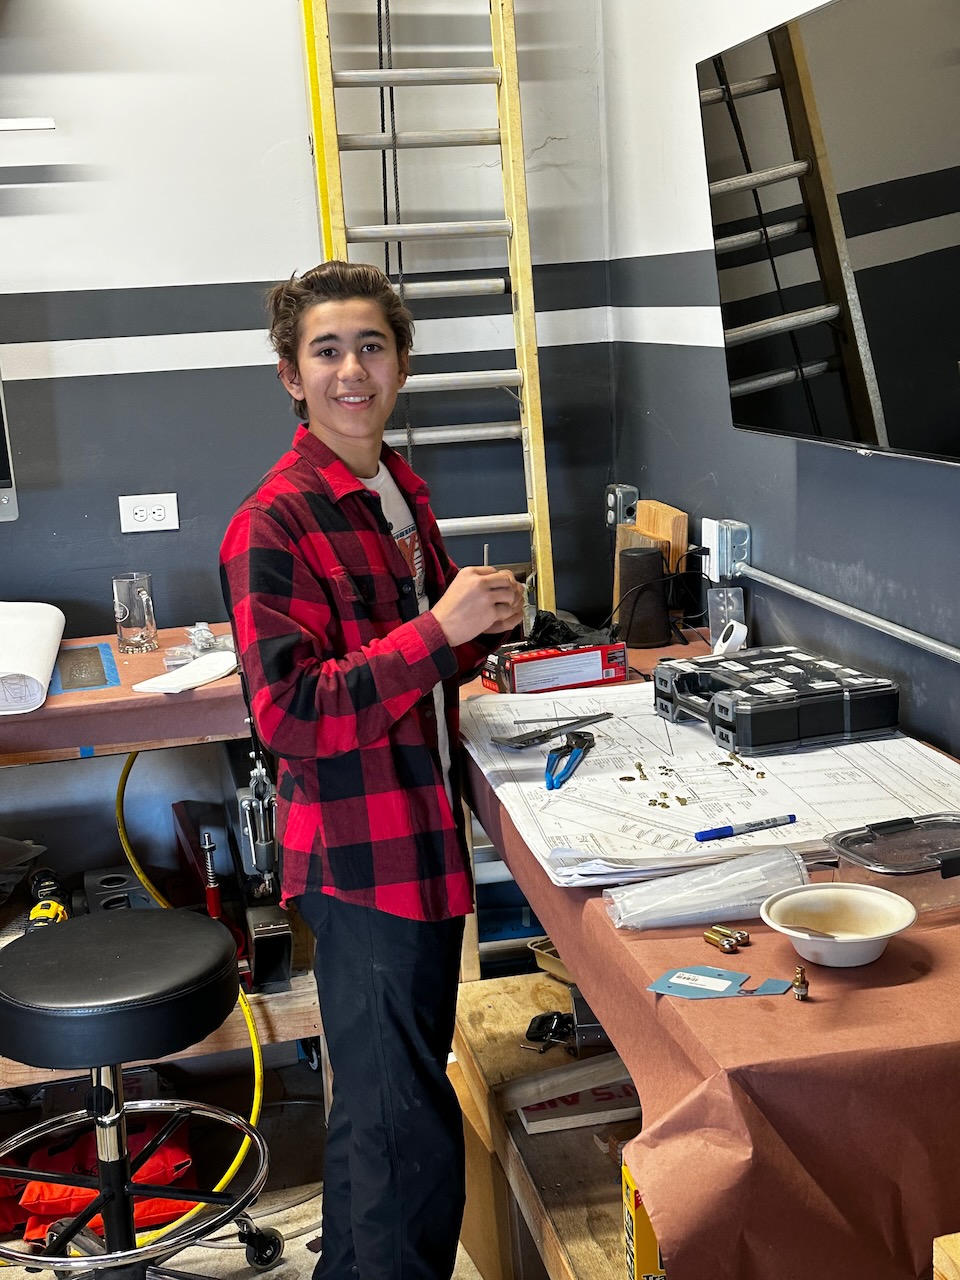
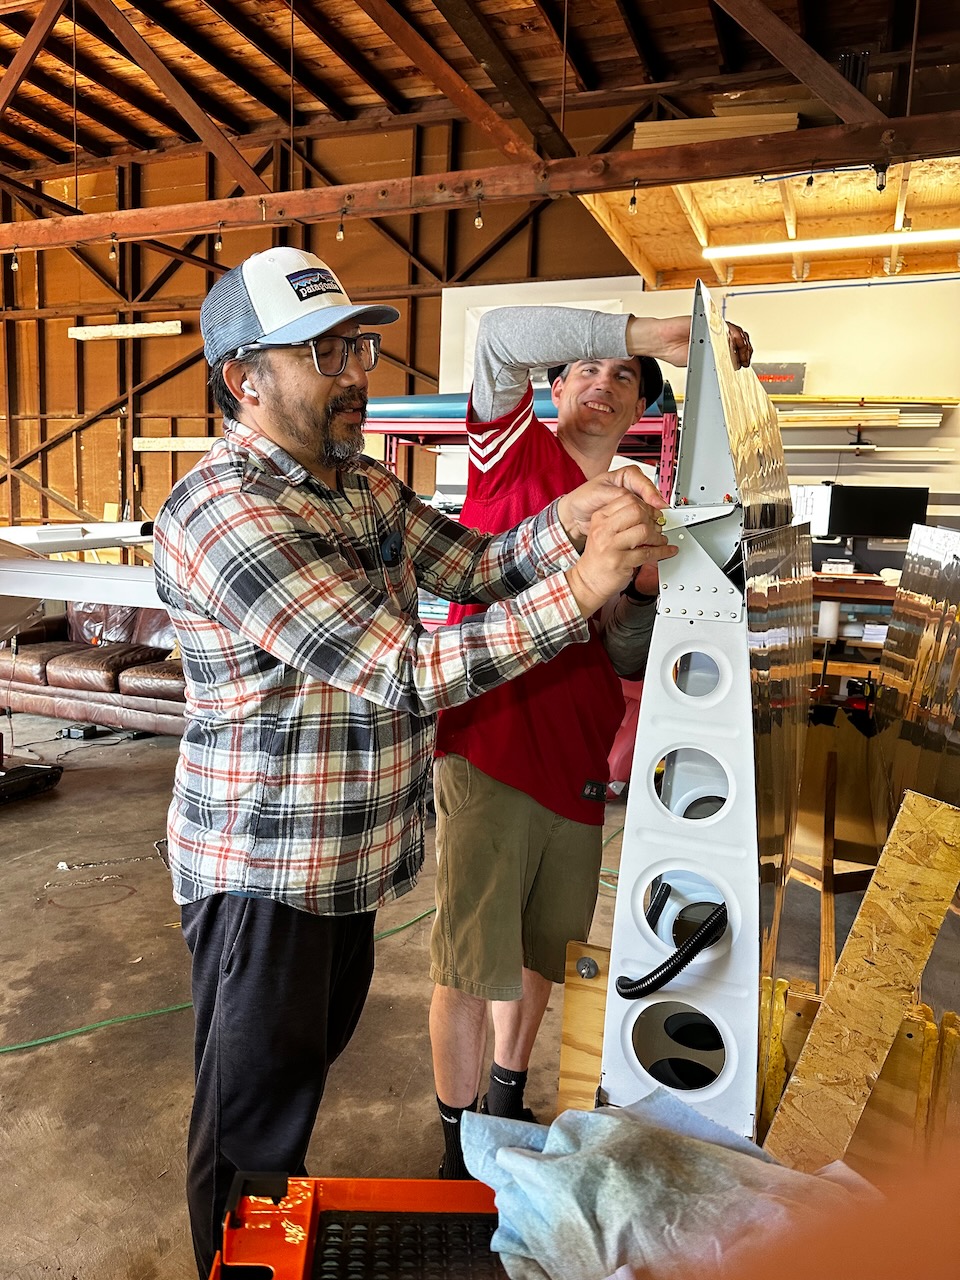
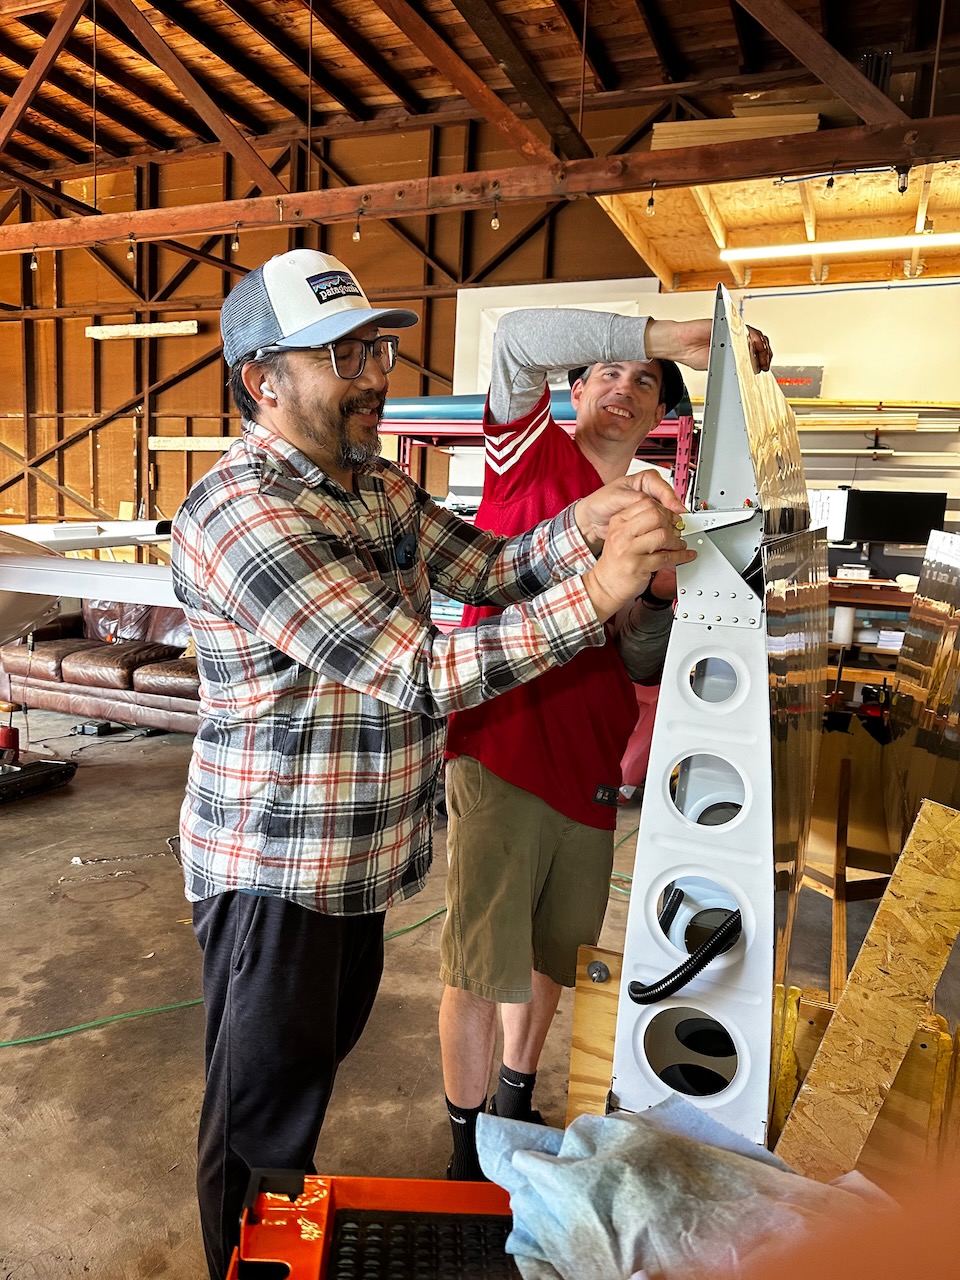
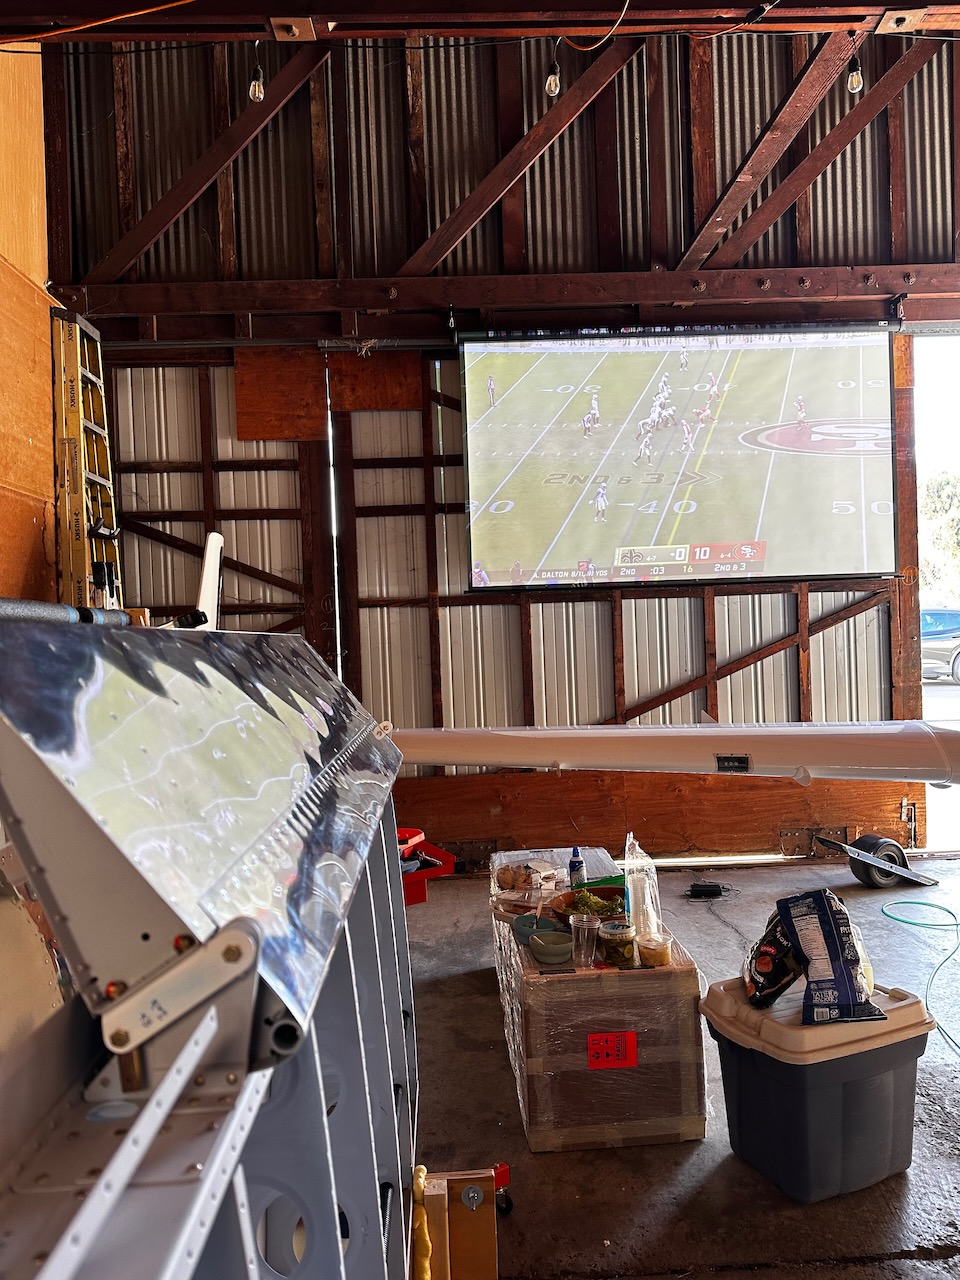
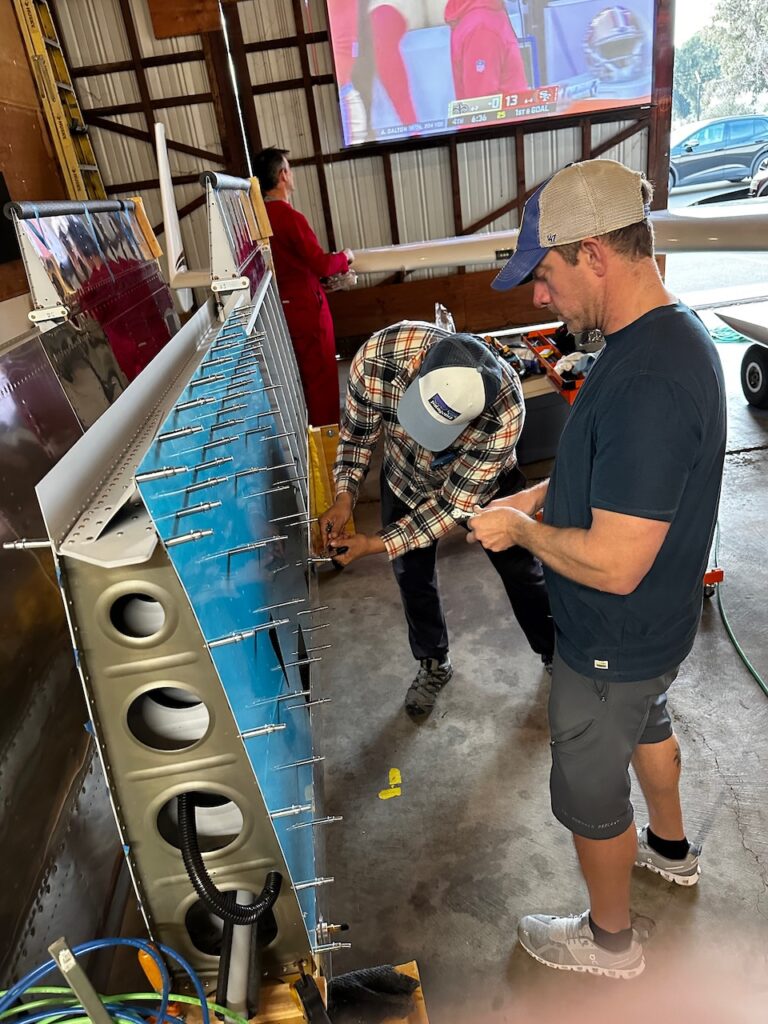
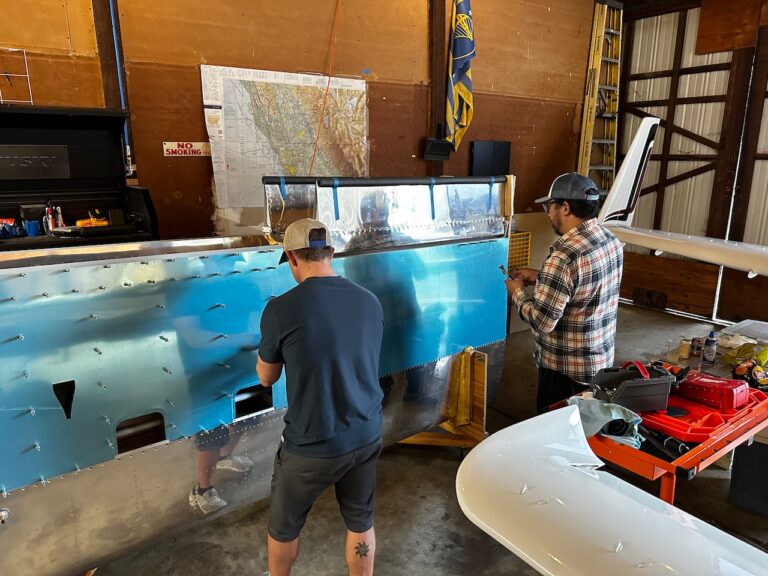
A couple days later a bunch of folks came over for the football and building! Denny and Evan were first timers and they got right in the mix to help get things mounted. And of course, Tod, a usual suspect, was there to help, heckle, and have a good time. Giacomo and I spent an hour before everyone arrived getting things set up. He was able to get all of the spacers cut and deburred properly. As usual, things went a lot quicker the second time around. Within a couple hours the right aileron was mounted, aligned, and torqued down!
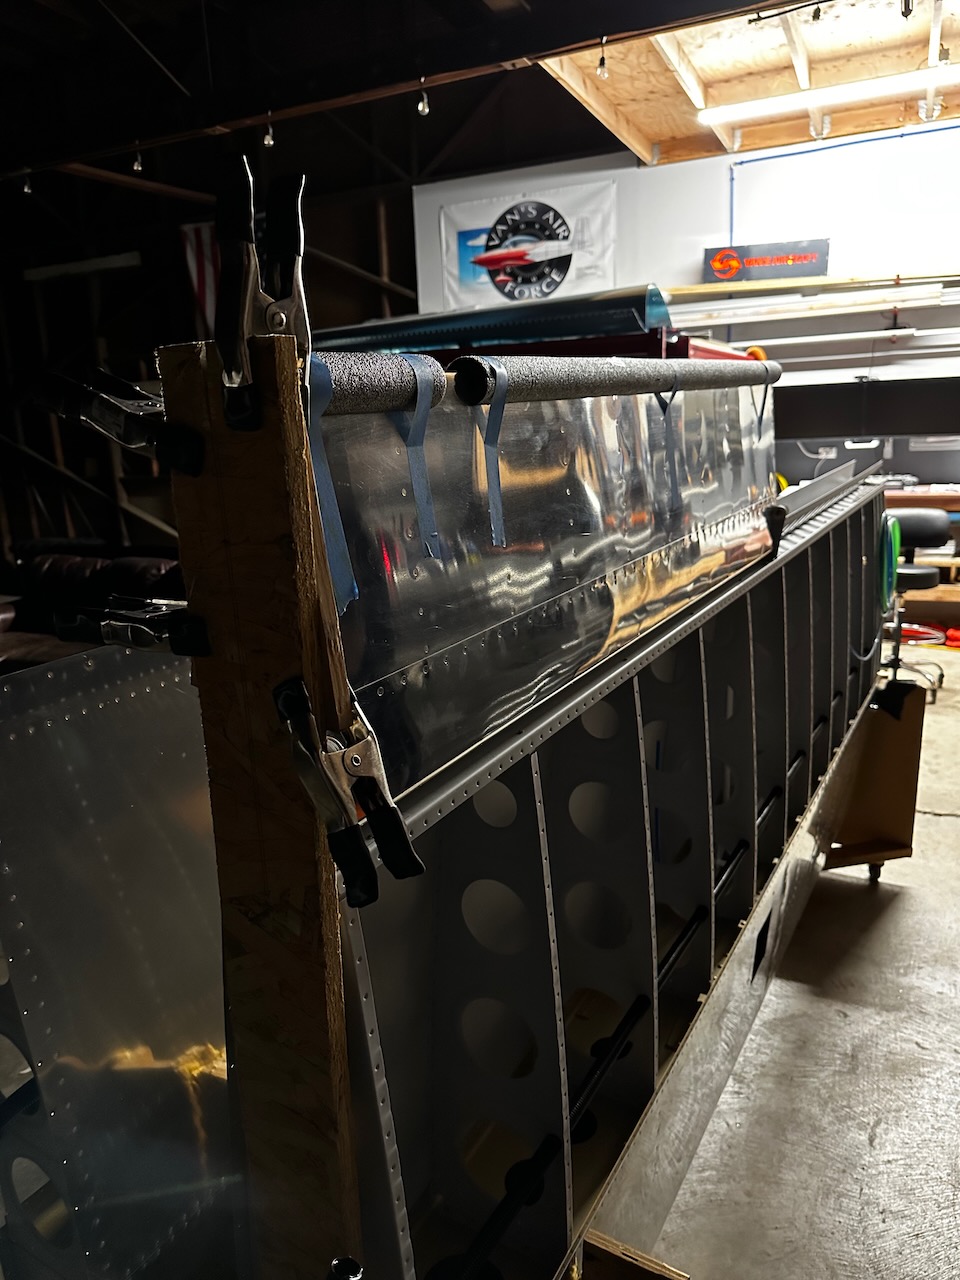
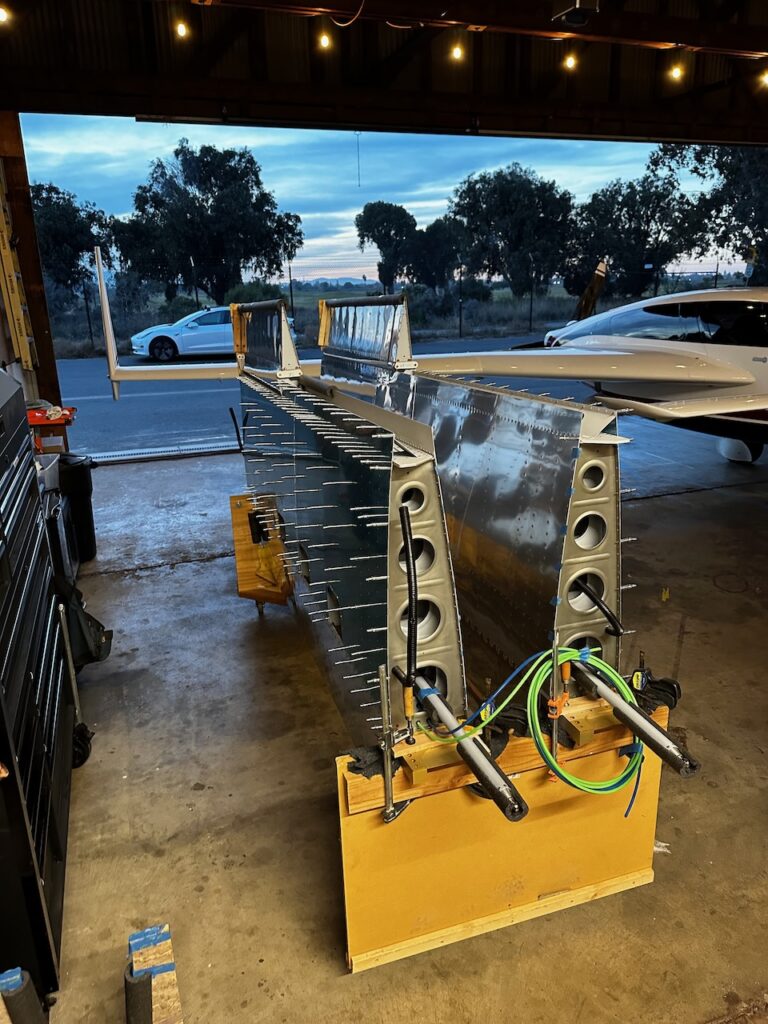
With the ailerons mounted, I decided to wrap up by closing up the bottom skins with clecos. This would keep things a bit more protected and rigid during storage. Denny and Evan learned out to do the clecos and then cranked away on the skins.
And there you have it. After a bit over a year, I’m going to put the wing aside for a while and start working on the fuselage. Hopefully sometime late next year I’ll be mounting everything together, at which point I’ll complete the bottom skins and flap install. Until then, Fuselage here we come! Happy building!!


1 comment
Congratulations. What an achieveement. Proud of you
Dad