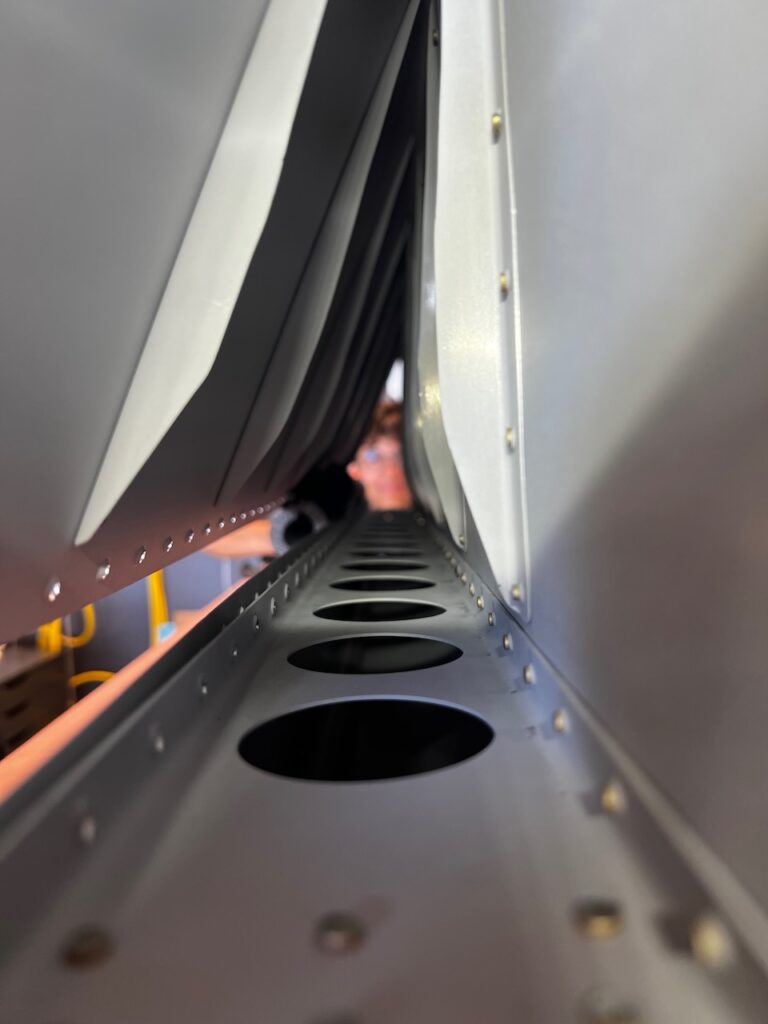
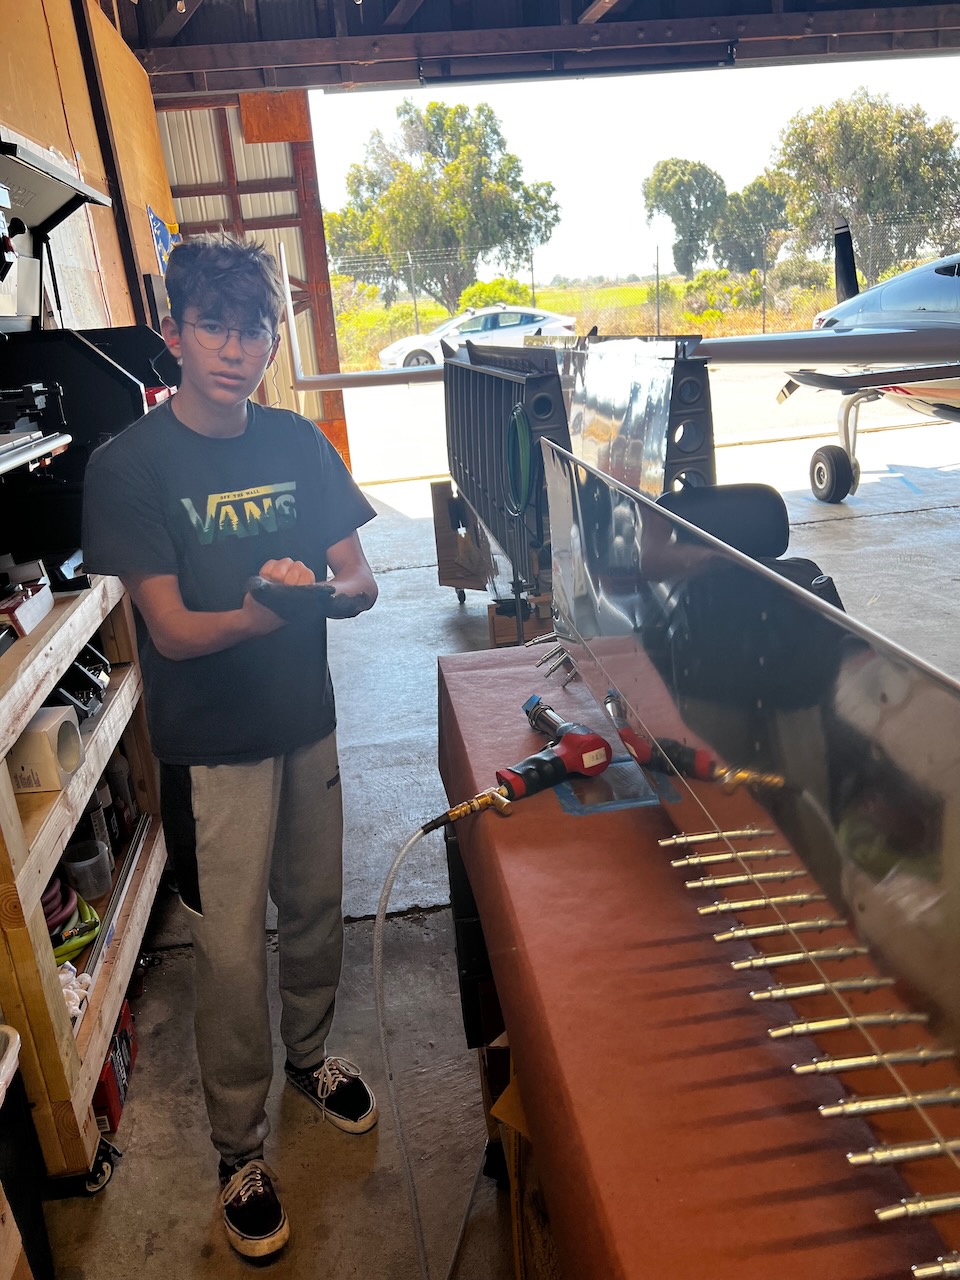
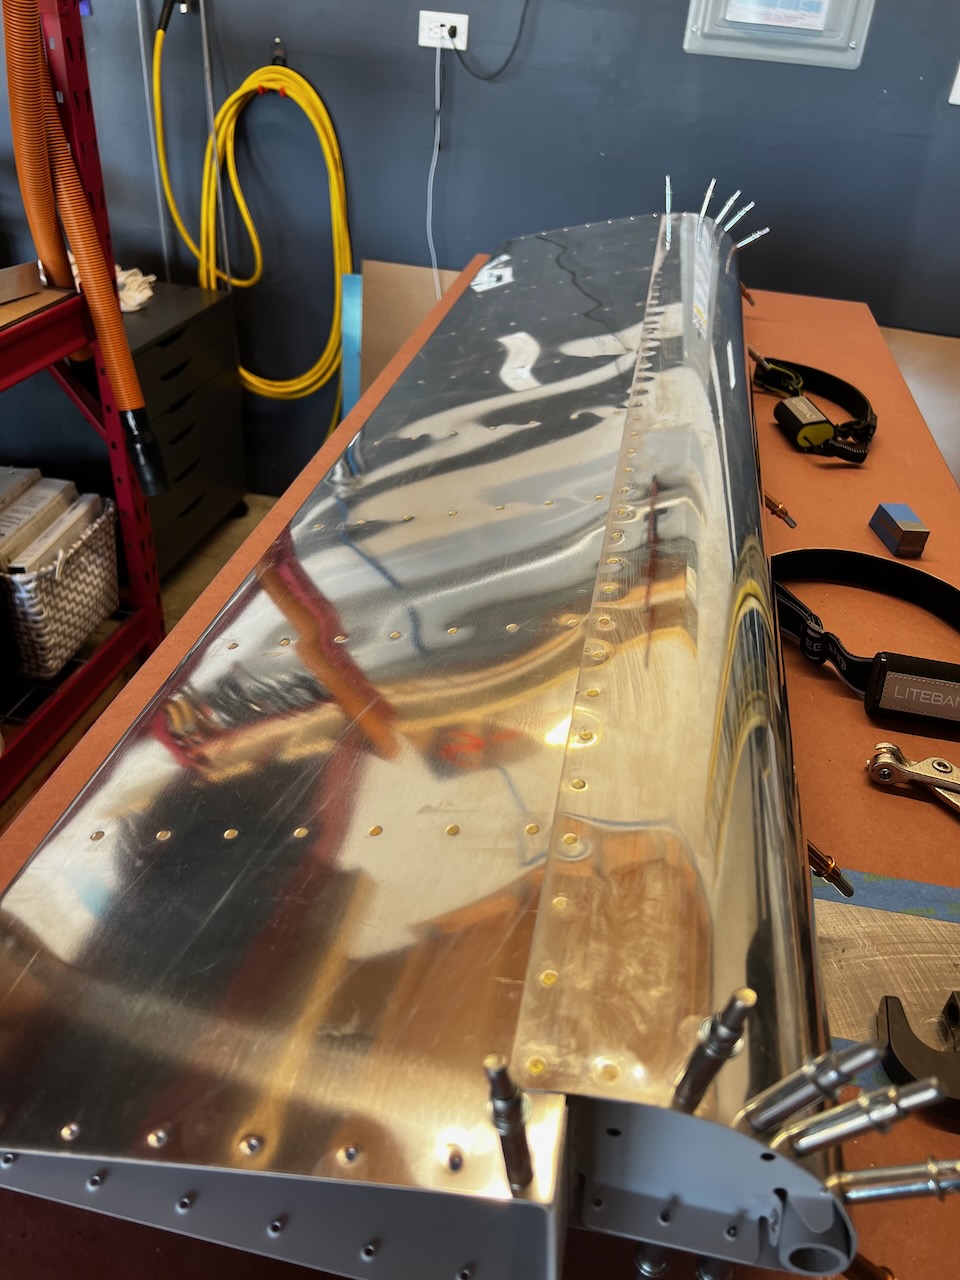
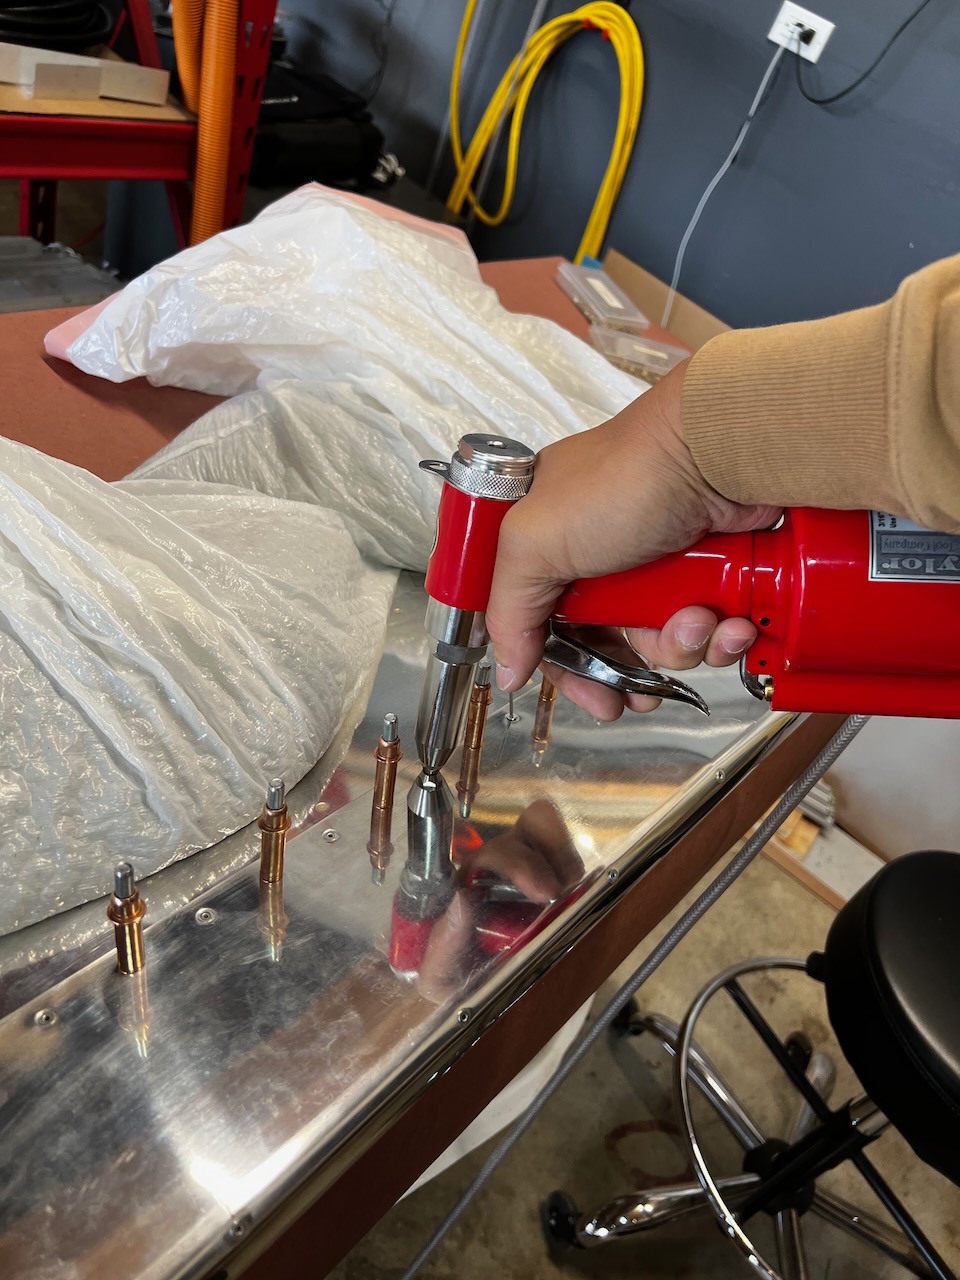
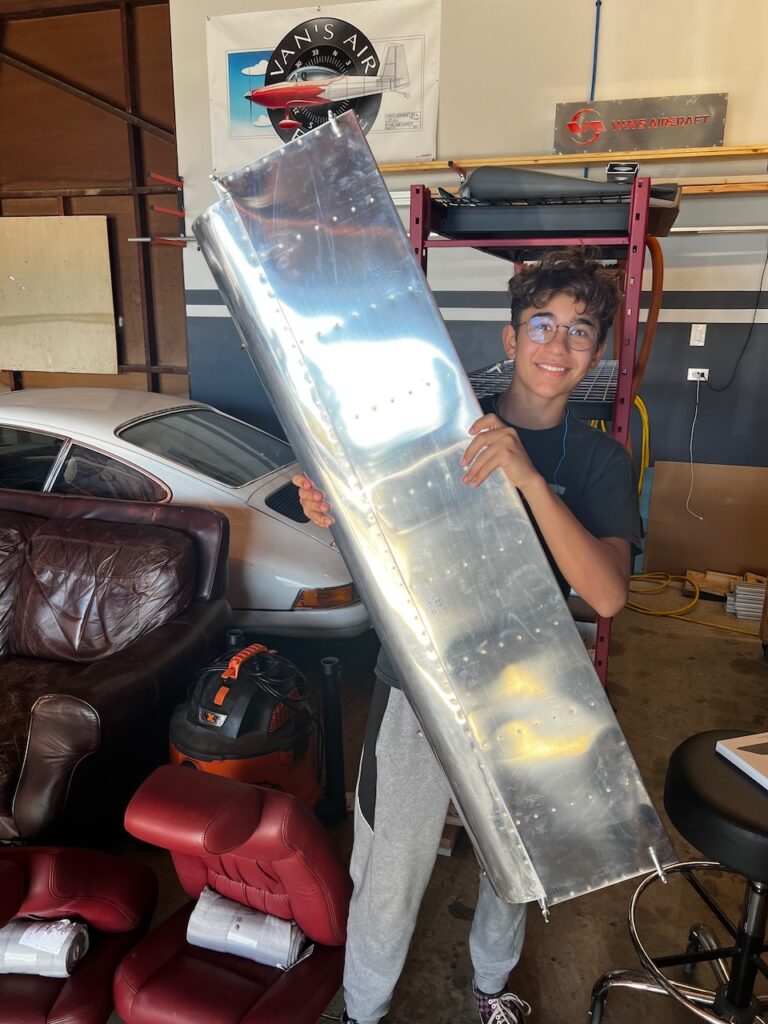
The hardest part of the aileron build is riveting the spar spanwise rivets on the top side. Because the aileron skin is bent pretty tight and there are stiffeners riveted on, it leaves very little space to get your arm in to position the bucking bar correctly. I have no clue how one does this solo (kudos to them), so it made sense to me to bring in the big guns (with skinny arms) to get the job done. The trick is skinny, but long enough arms to reach all the way to the middle of the ailerons.
yup. arm needs to fit in there.
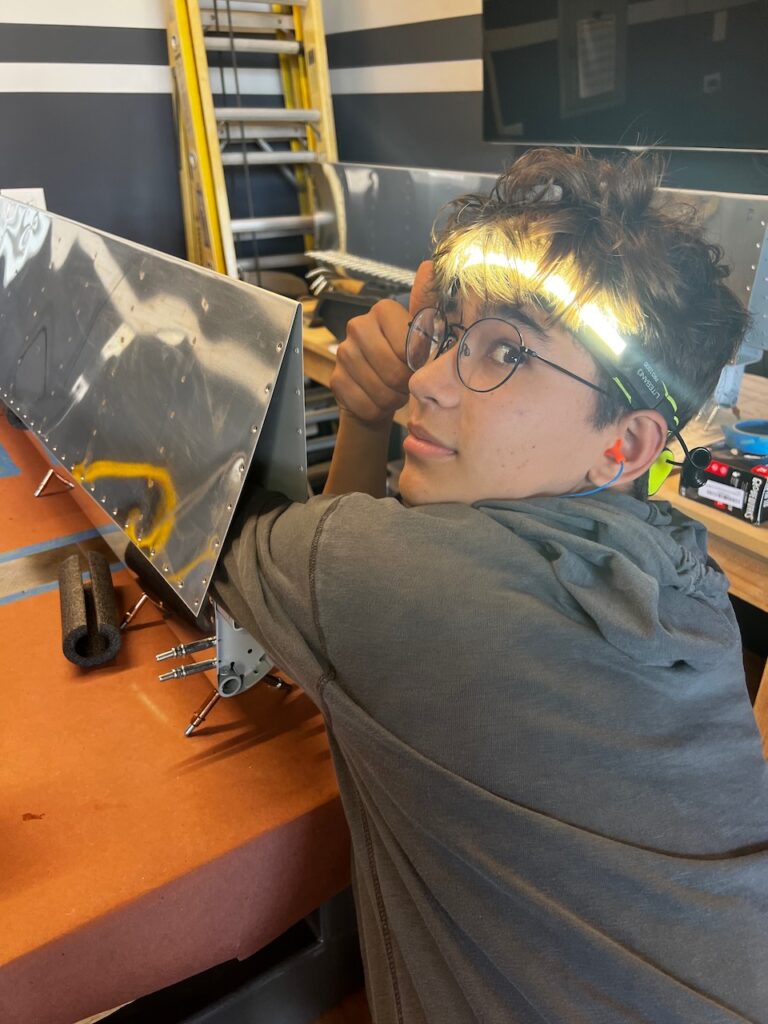
long skinny arms. Yaay Giacomo!
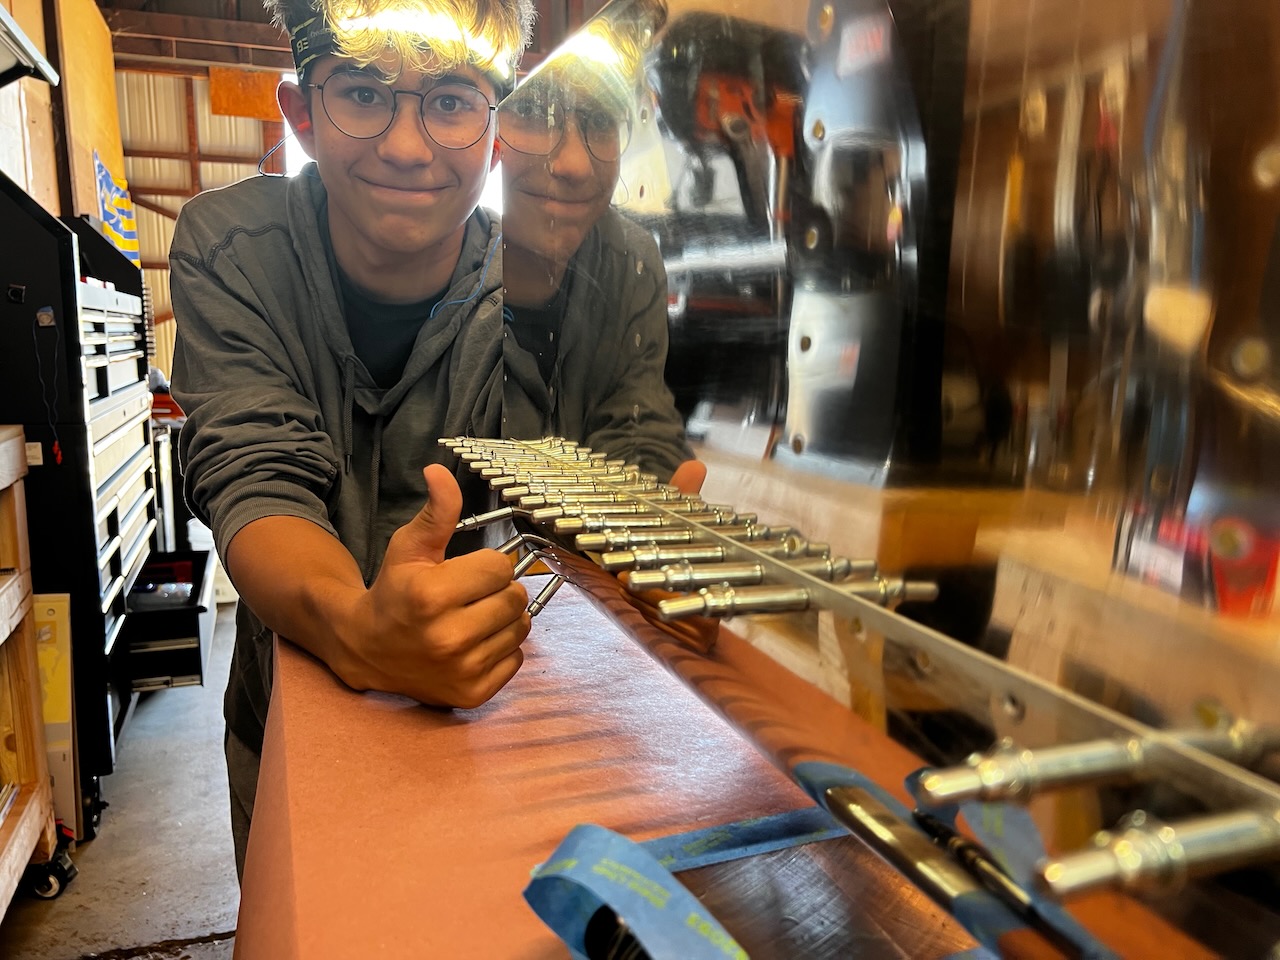
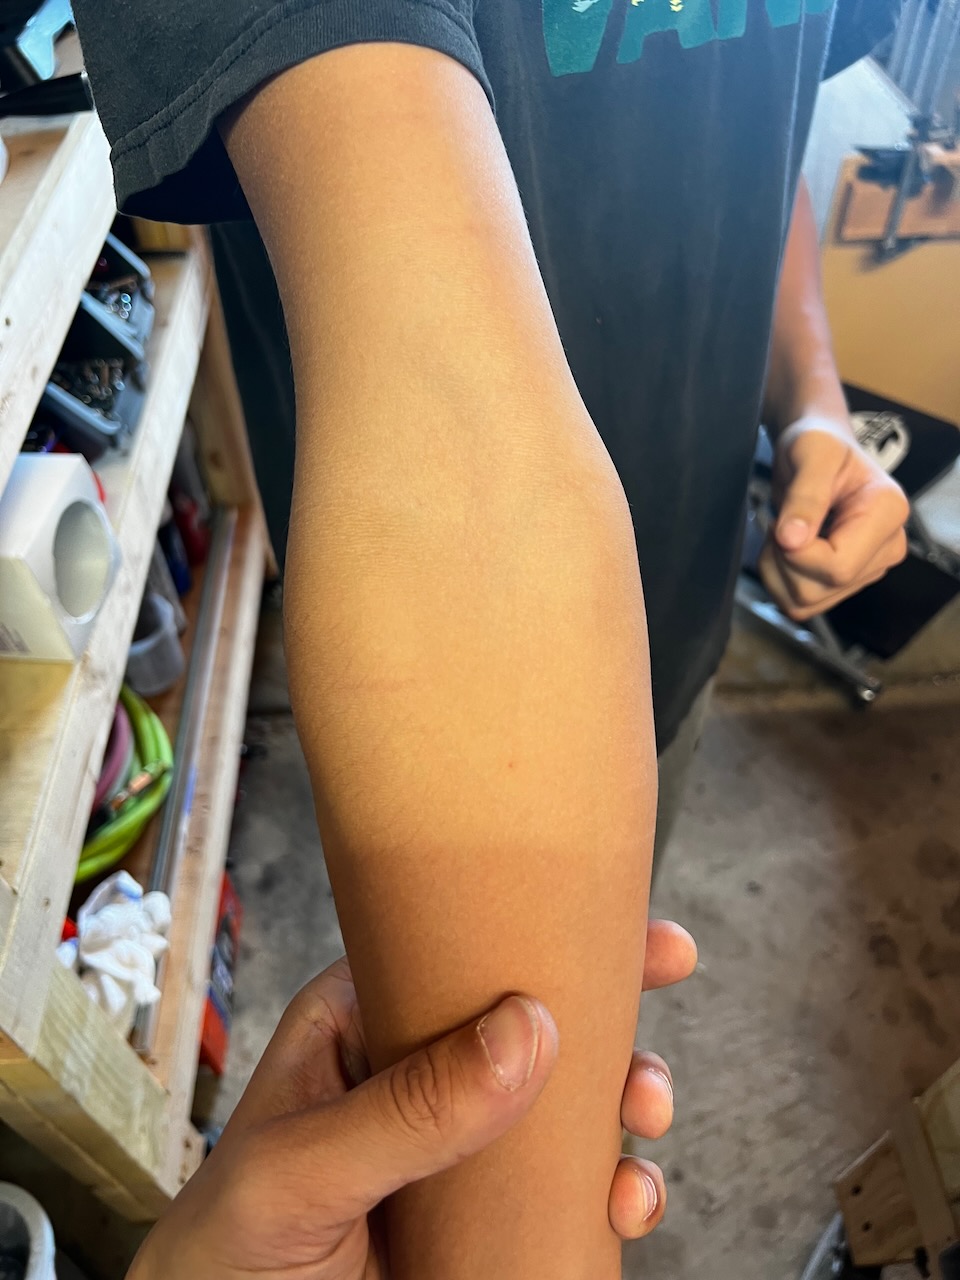
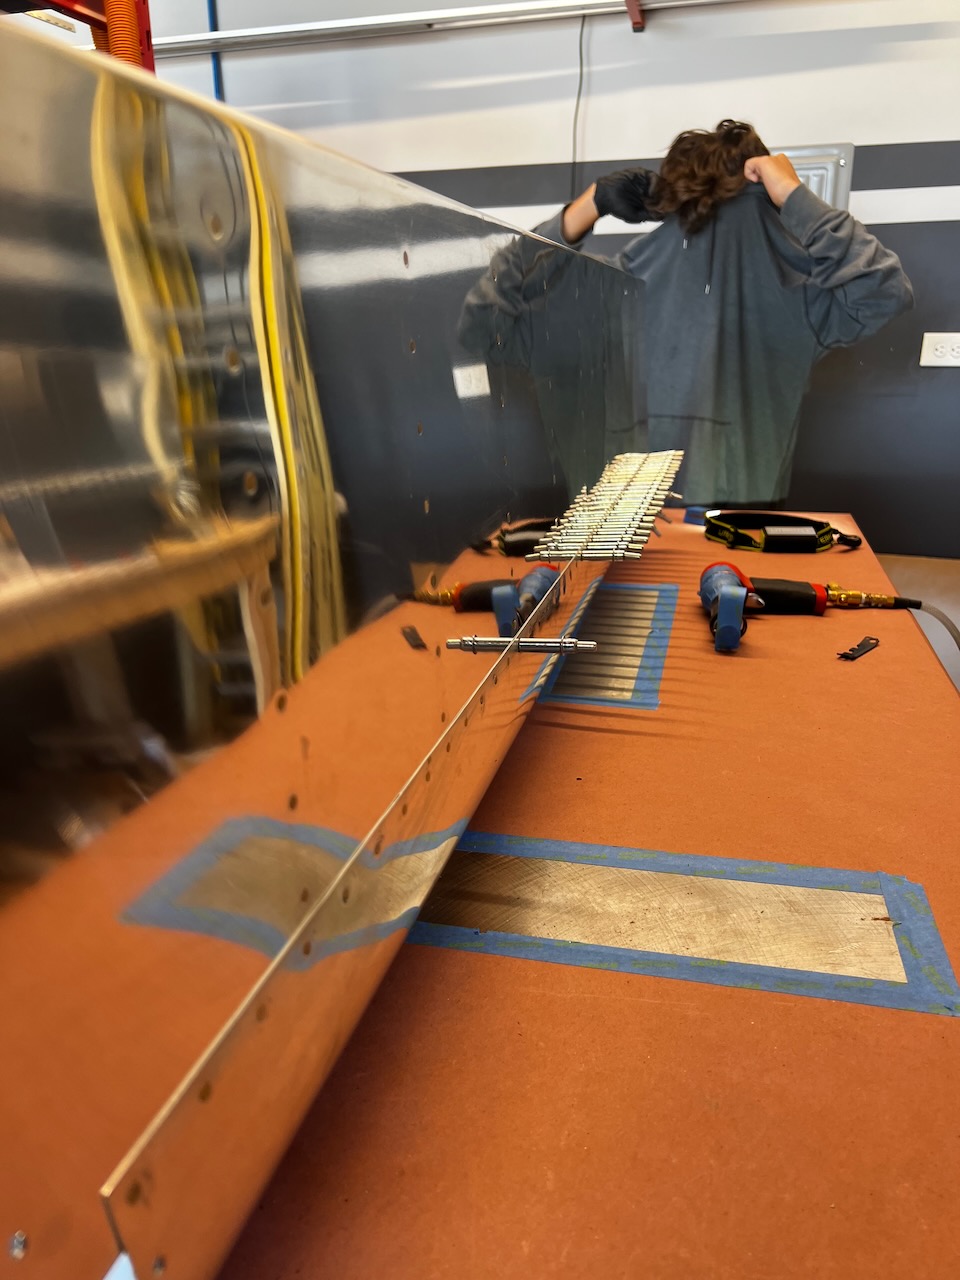
Turns out Giacomo is also a really good bucker. So in about 1.5 hours we were able to get both top skins riveted on. There were a few rivets that needed a smaller specialized bucking bar, but borrowing Paul and Kacy’s tools fixed that problem right up! Also note, we were able to use some pipe foam to hold the skin out a little wider, giving Giacomo less scratches!
Notice how far Giacomo has to reach to get the middle rivets
Pipe foam helped widen the space for Giacomo’s arms…
…but that didn’t stop some scratches!
Lots of breaks for Jack (and his arms!)
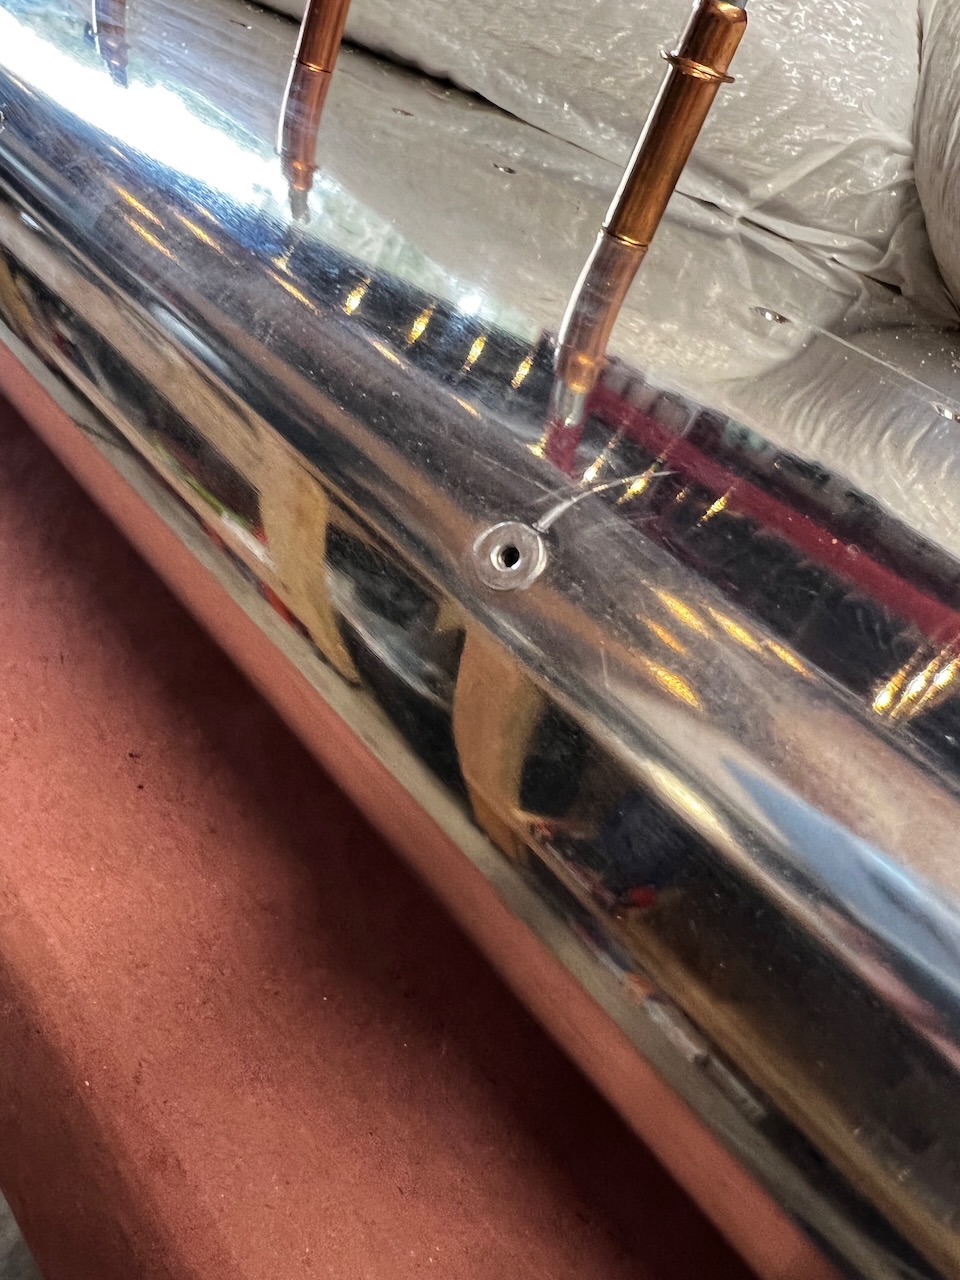
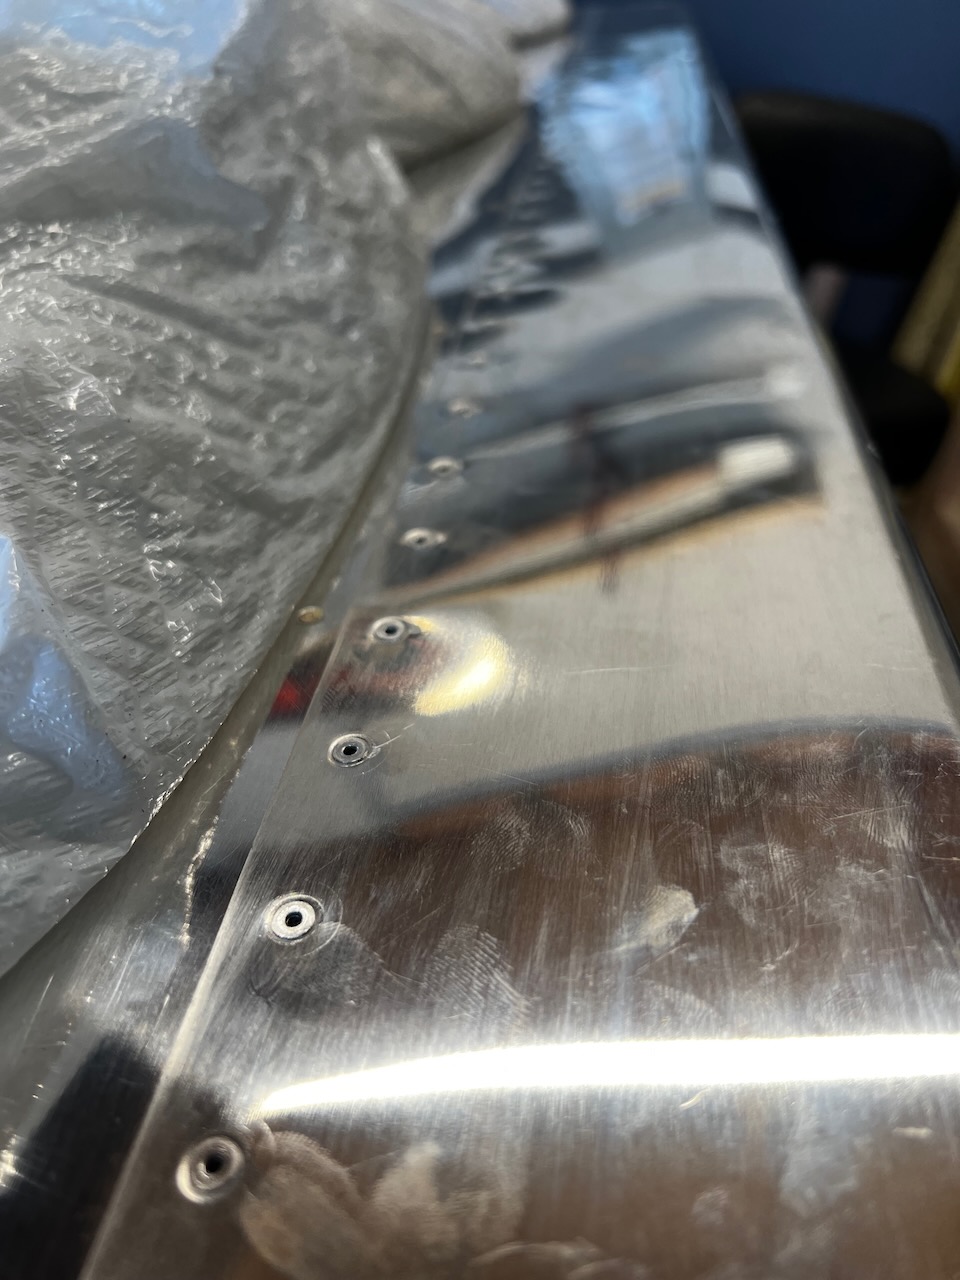
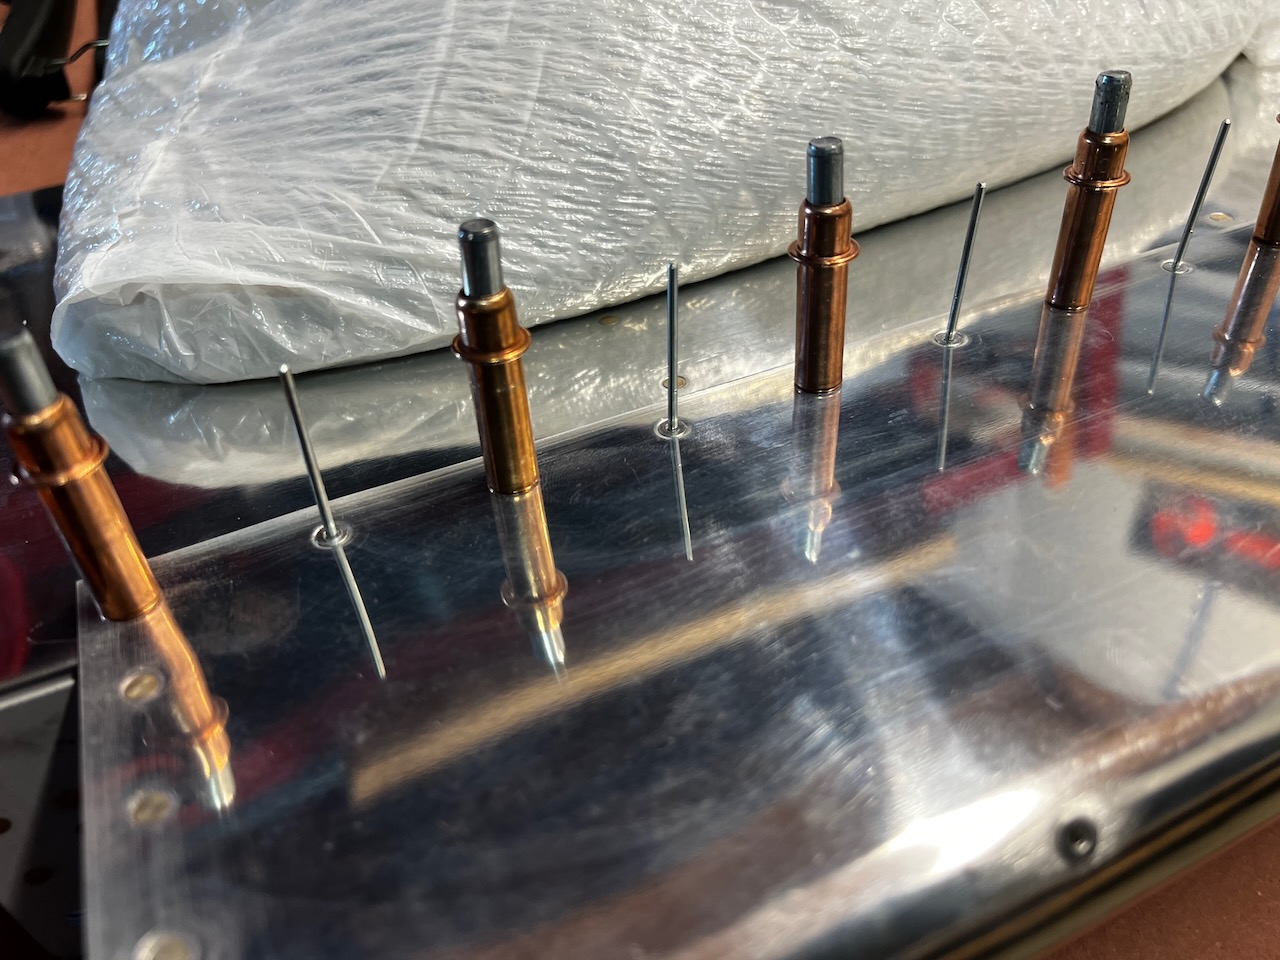
Rivets done (except for the ones that were interfering with the stiffeners). Those will require a different bucking bar
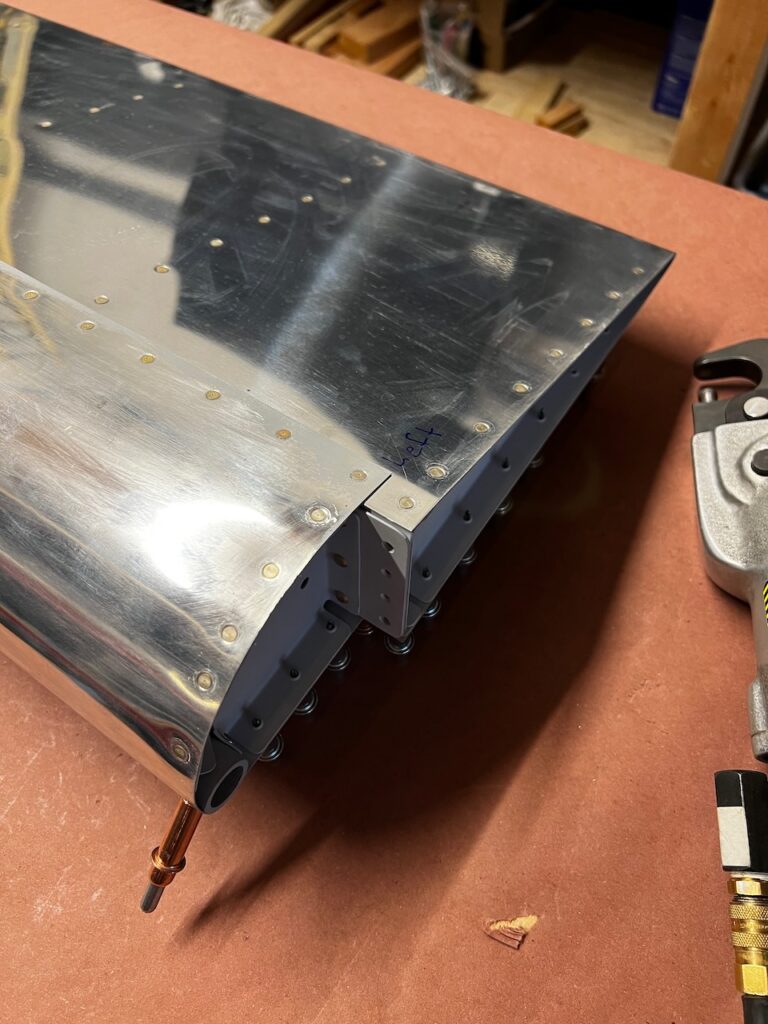
All Rivets done!
Beautiful!
Different view as I start to rivet leading edge-to-rib holes.
With Giacomo’s help, we were able to get through the two-man work, and I could carry on solo. The completion steps are as follow:
Rivet top of leading edge skin
Rivet top of main rib
Blind rivet leading edge to counter balance pipe
Rivet bottom of leading edge skin
Rivet bottom of main ribs
Blind rivet bottom spanwise spar rivets
Install aileron bracket hardware (this is actually step 3, but that order didn’t make sense to me)
Top Leading Edge and
Main rib rivets installed
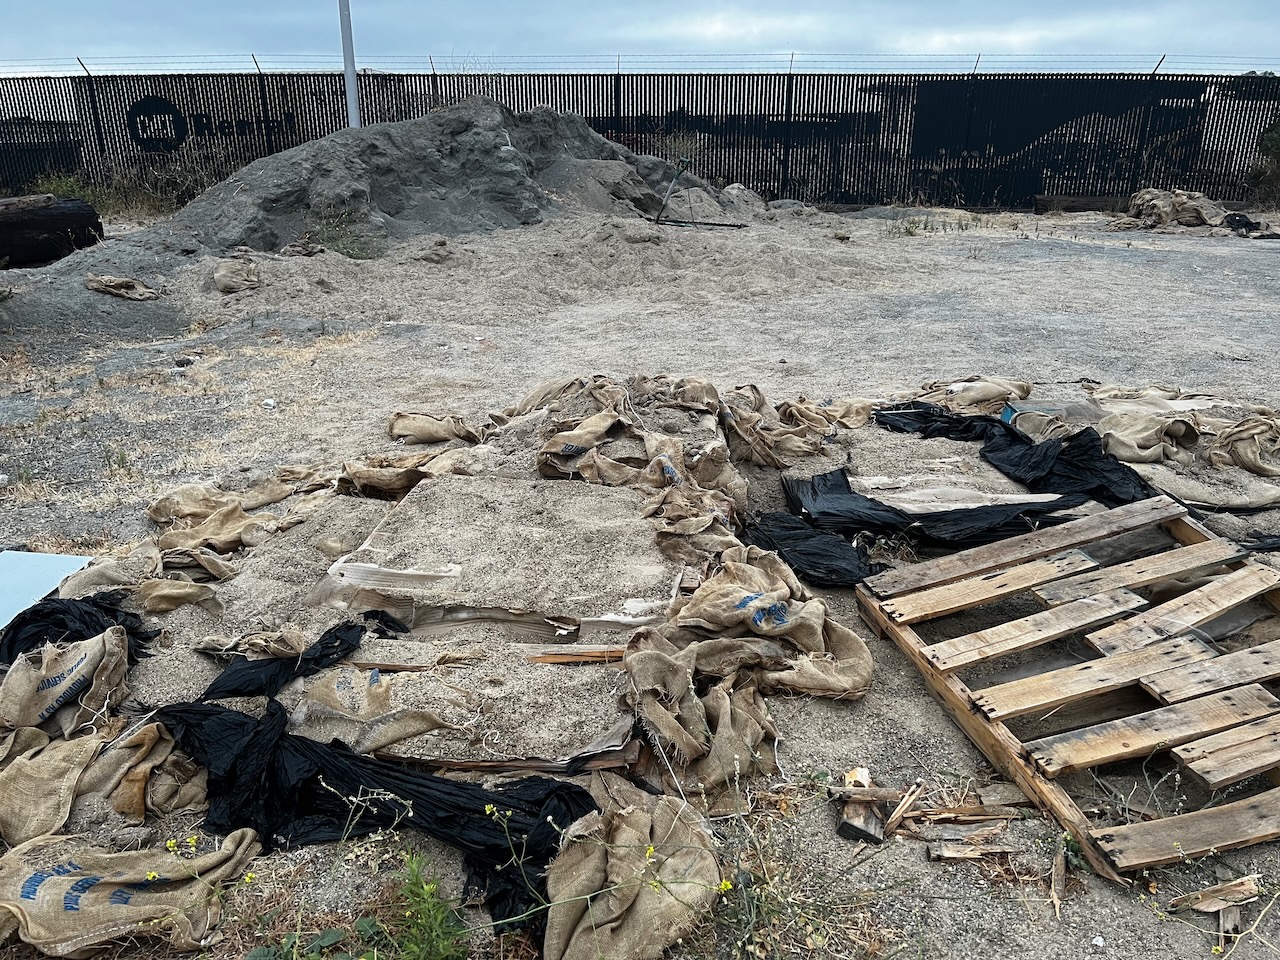
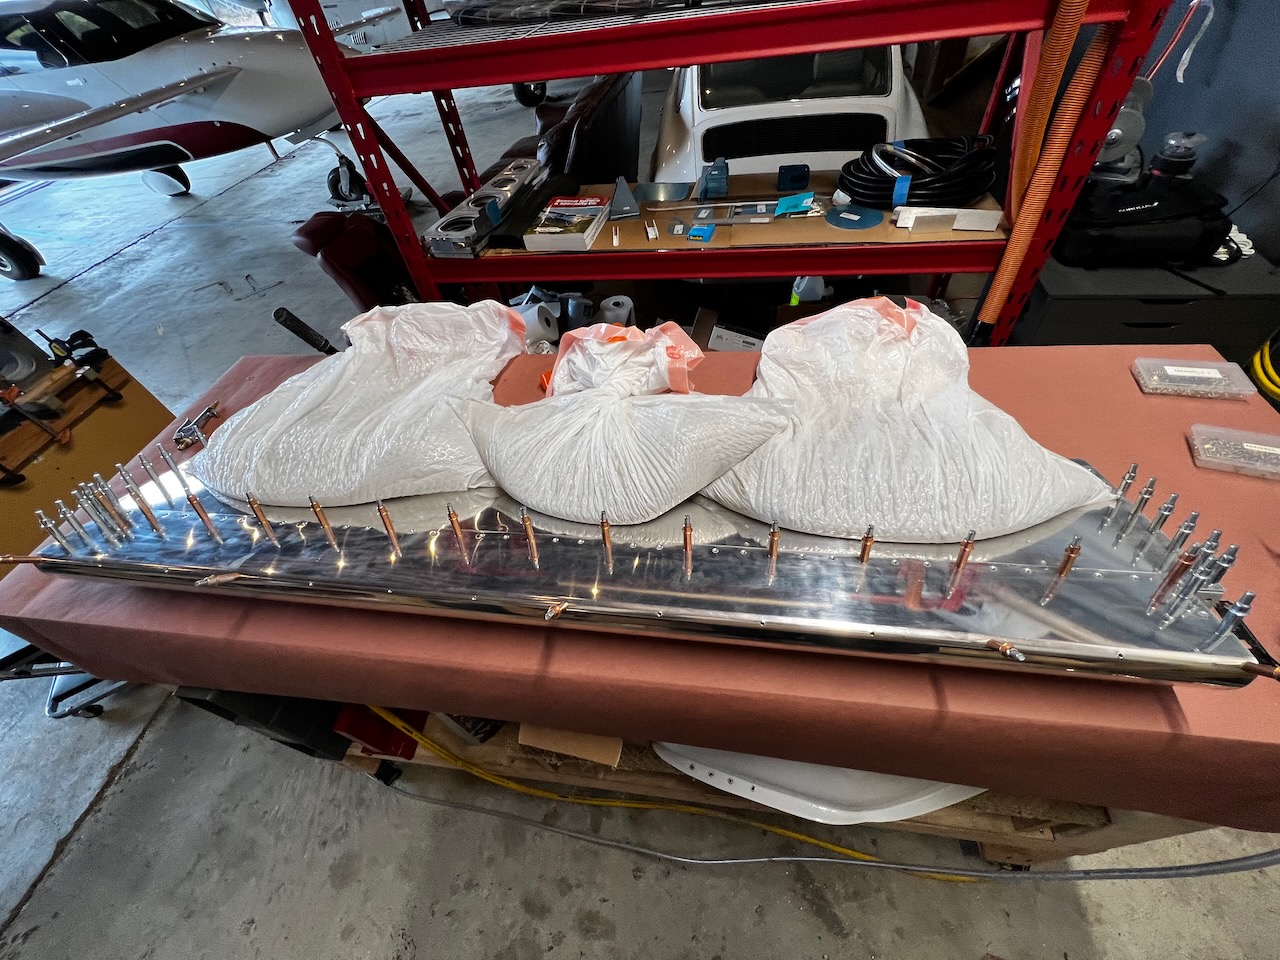
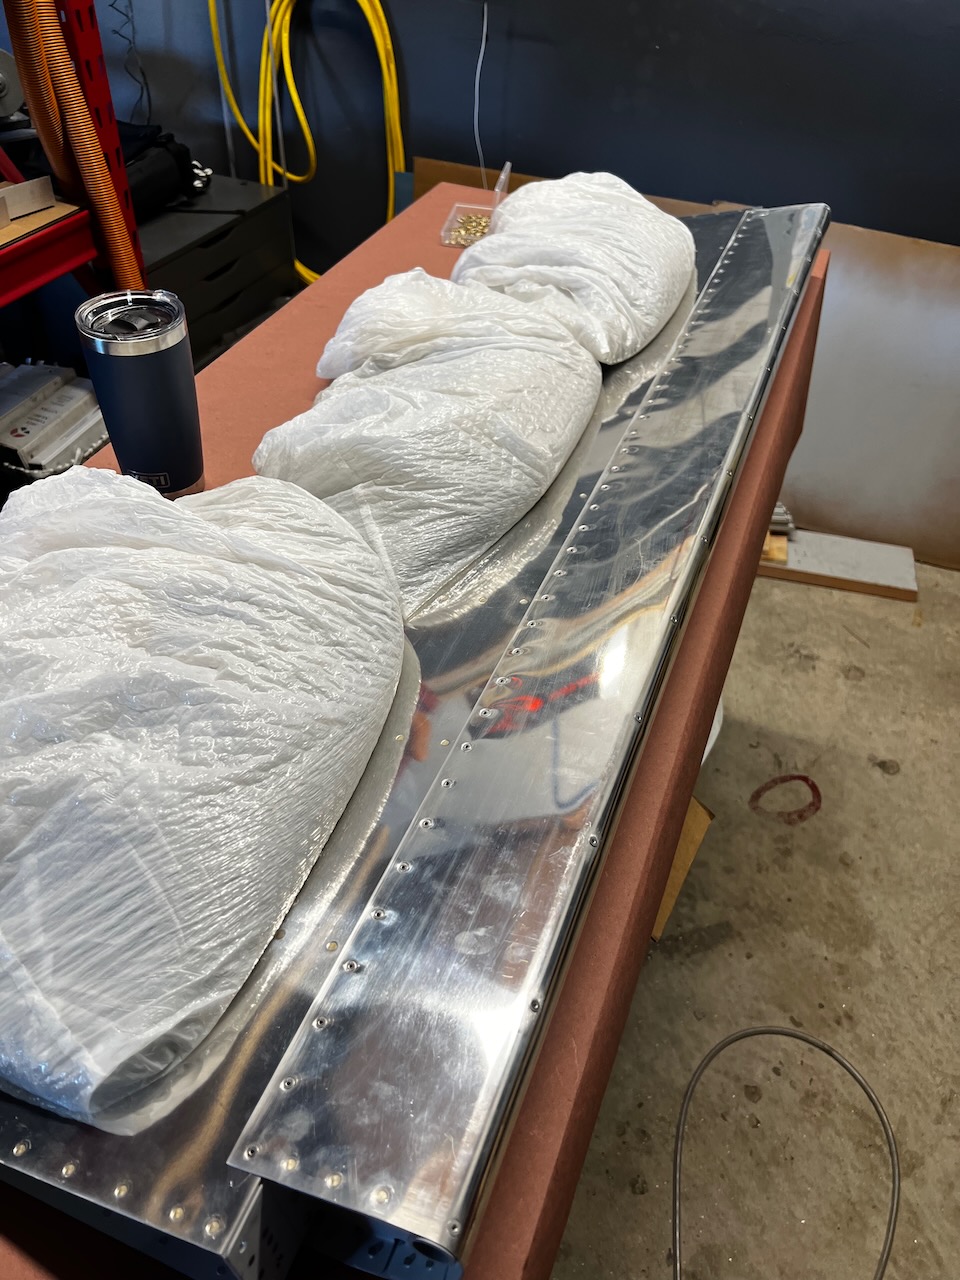
The instructions emphasize that after the step 2, it is important to weight down the aileron to ensure it stays straight during riveting. Up at Synergy air, they had cool weighted sandbags that would nicely weigh down a surface. I didn’t have anything that fancy, but the good news is that at the airport there is a sandbag filling station (for flooding), so a few garbage bags later, I had some makeshift weights. I’ve got some actual bags on order for next time.
Sandbag filling station…thank goodness!
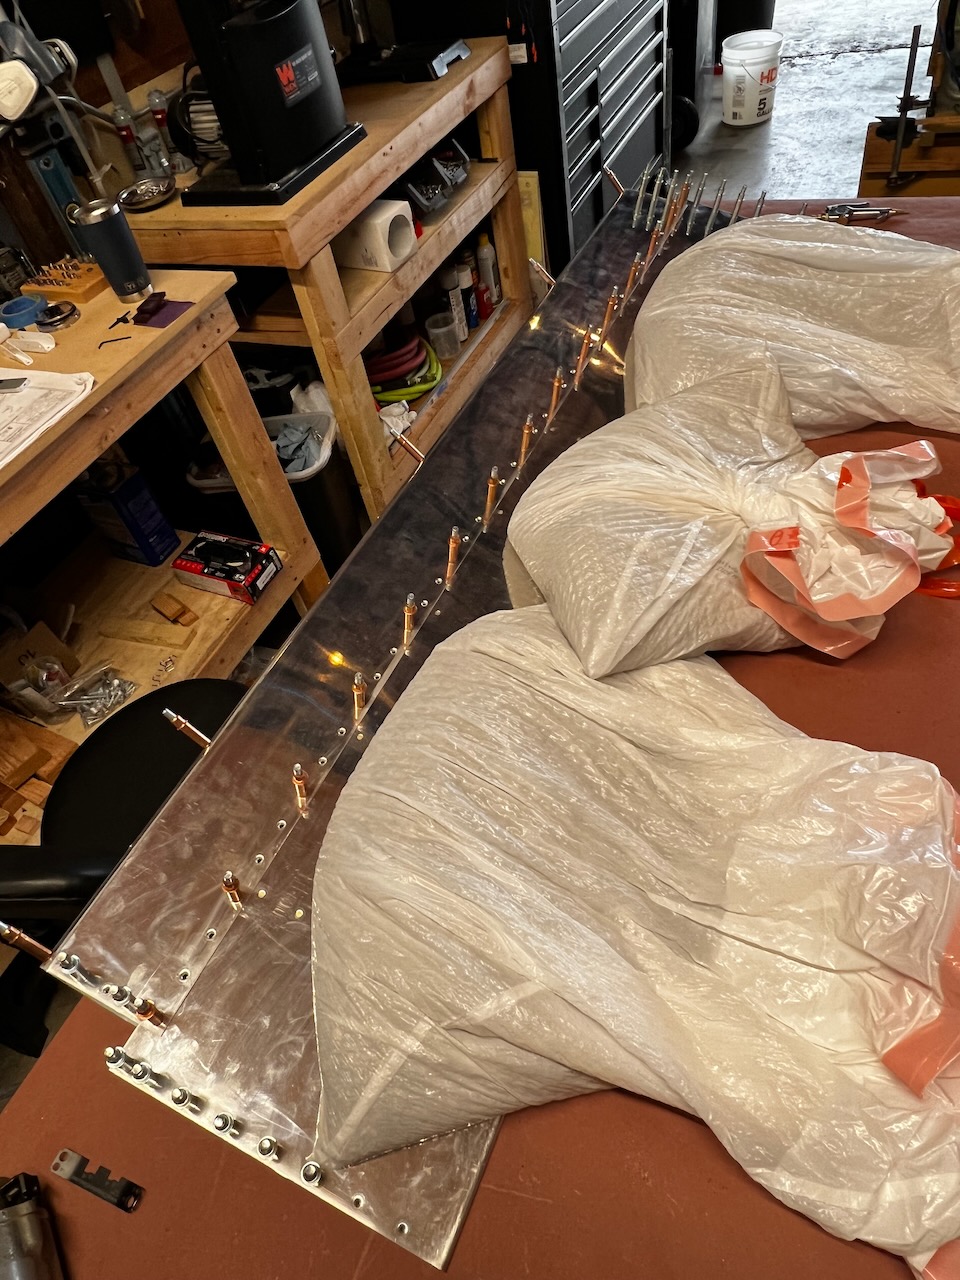
Plastic bags make a decent makeshift weight bag
three did the trick!
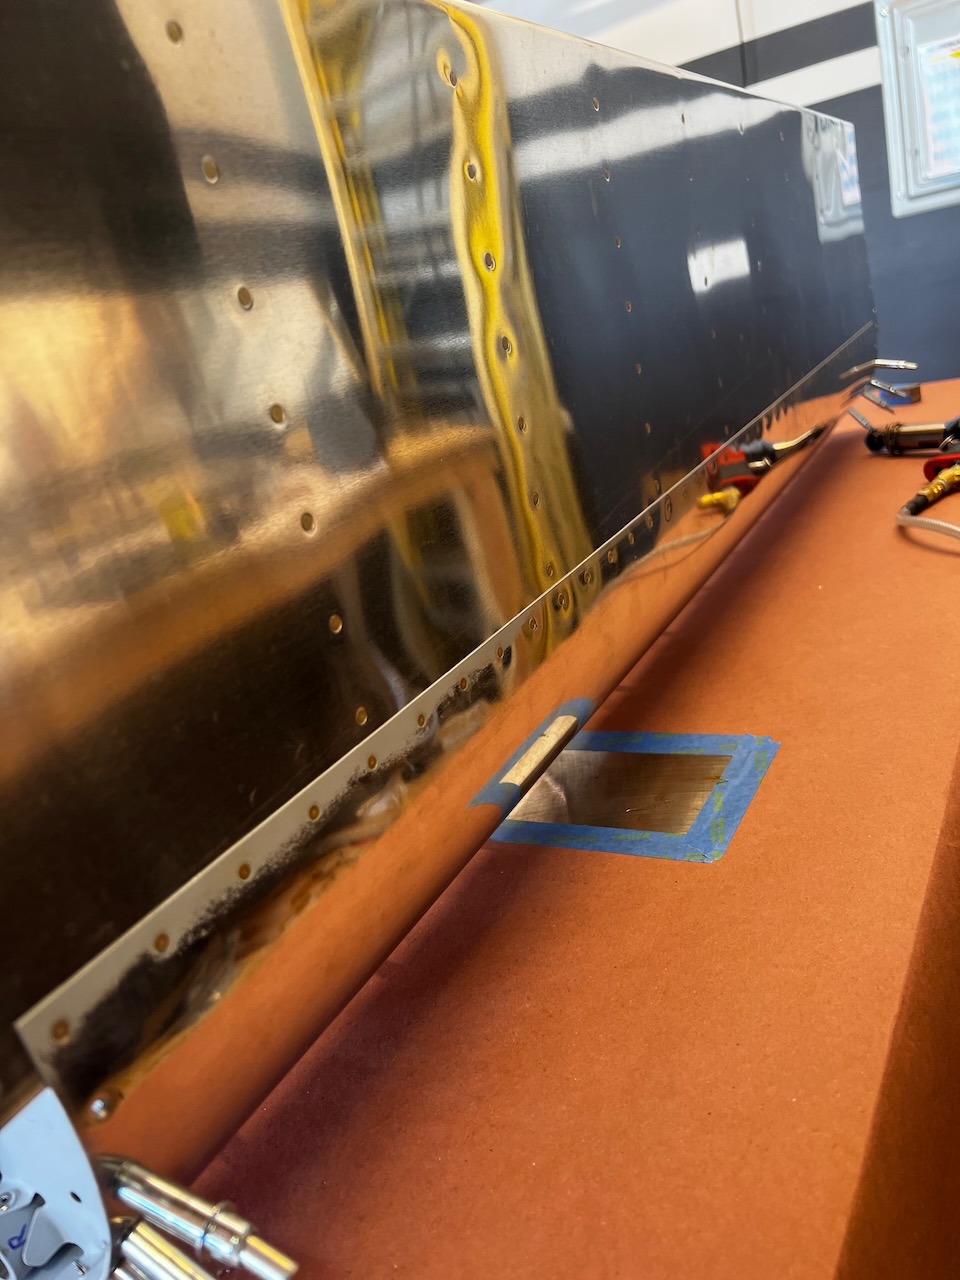
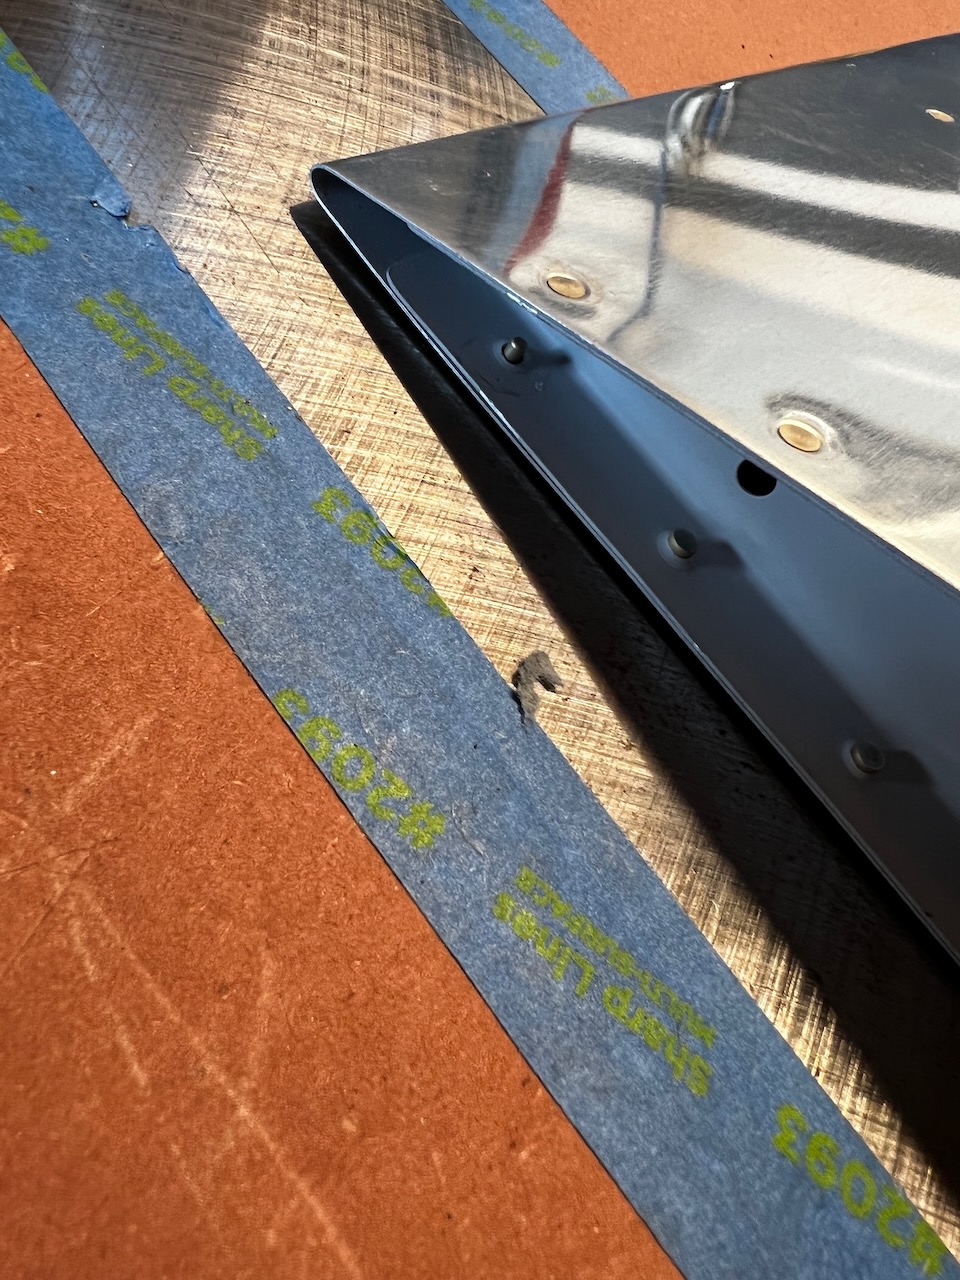
Leading edge this gets blind riveted. I was curious how flush this would turn out as the plans say the aluminum skinwith deform with the rivet gun since the counterbalance had been countersunk. The riveting did a decent job, but wasn’t as flush as I would have liked. The only saving grace is that this leading edge will never be seen, or affect aerodynamics so it’s not a big deal. I’m guessing the painters can minimize the bulging of the rivet heads. This is the most I’ve used the pneumatic pop riveter up until now. It worked great except the time when the rivet tails got jammed in the gun. I ended up having to take the gun apart to clear the jam. From then on, I made sure each rivet tail was cleared from the body before riveting the next rivet.
Counter balance rivets. OK, but not completely flush. Next time I need to figure out how to dimple that leading edge
jamming resulted in needing to take the gun apart…
Now time for the left side.
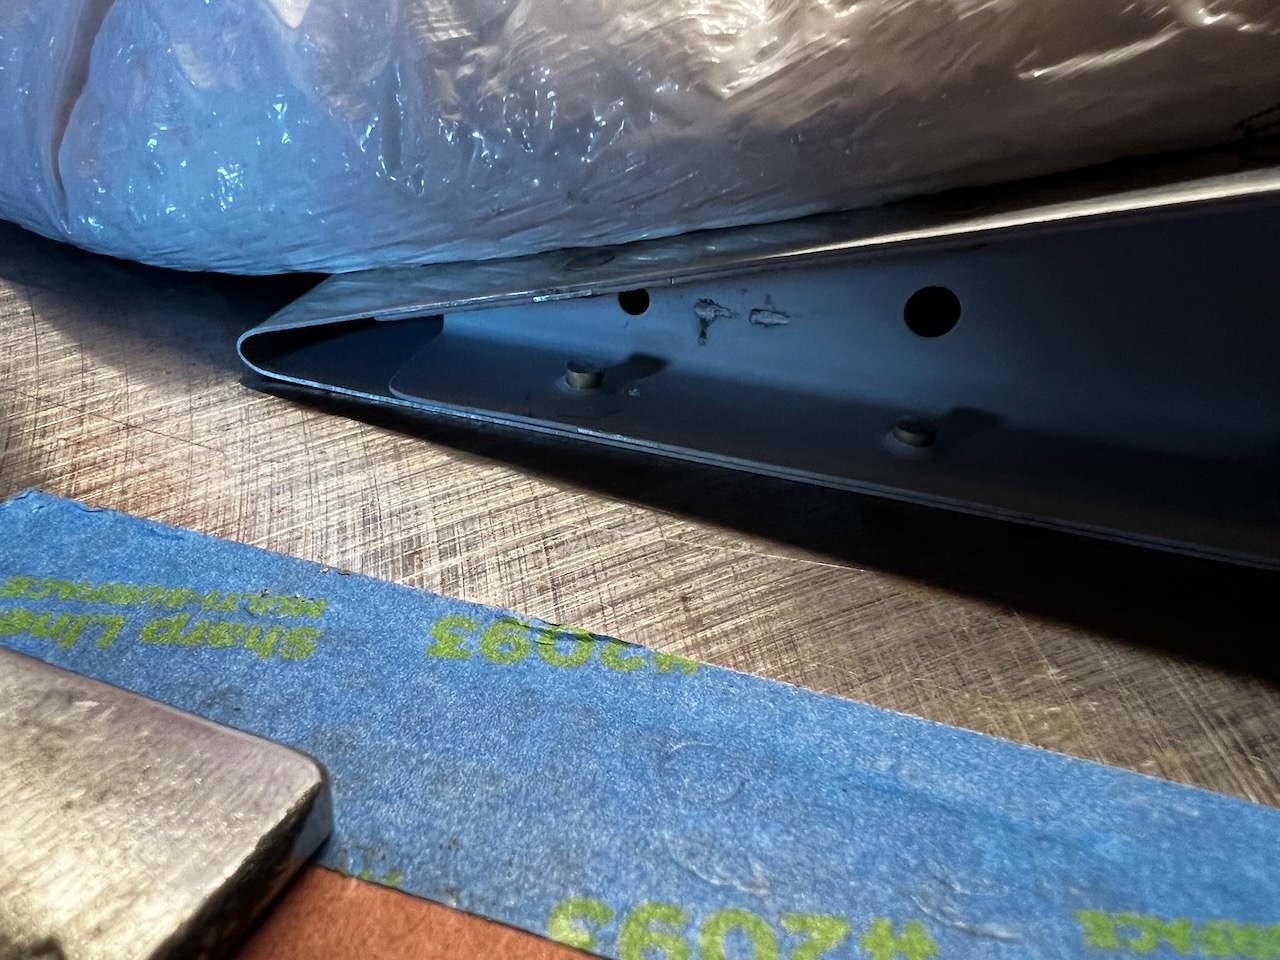
After leading edge blind rivets, the plans call for finishing up the bottom rivets for the leading edge and main ribs. The only challenging thing here was getting the aft most rivet installed. I couldn’t squeeze because the space was quite tight. I had to use a technique I learned up at Synergy Air called Indirect Bucking. You essentially back rivet the location, but rather than hitting the shop head side directly, you place a bar over the head, and gun the bar instead. This is another benefit of the builder assist we did last year. All these little techniques would have been trial and error without the learnings from the experts.
Super Tight fit for rivet…
…how am I going to get that rivet bucked?
Indirect riveting.
Cool technique to buck without the normal spacing
That worked out!
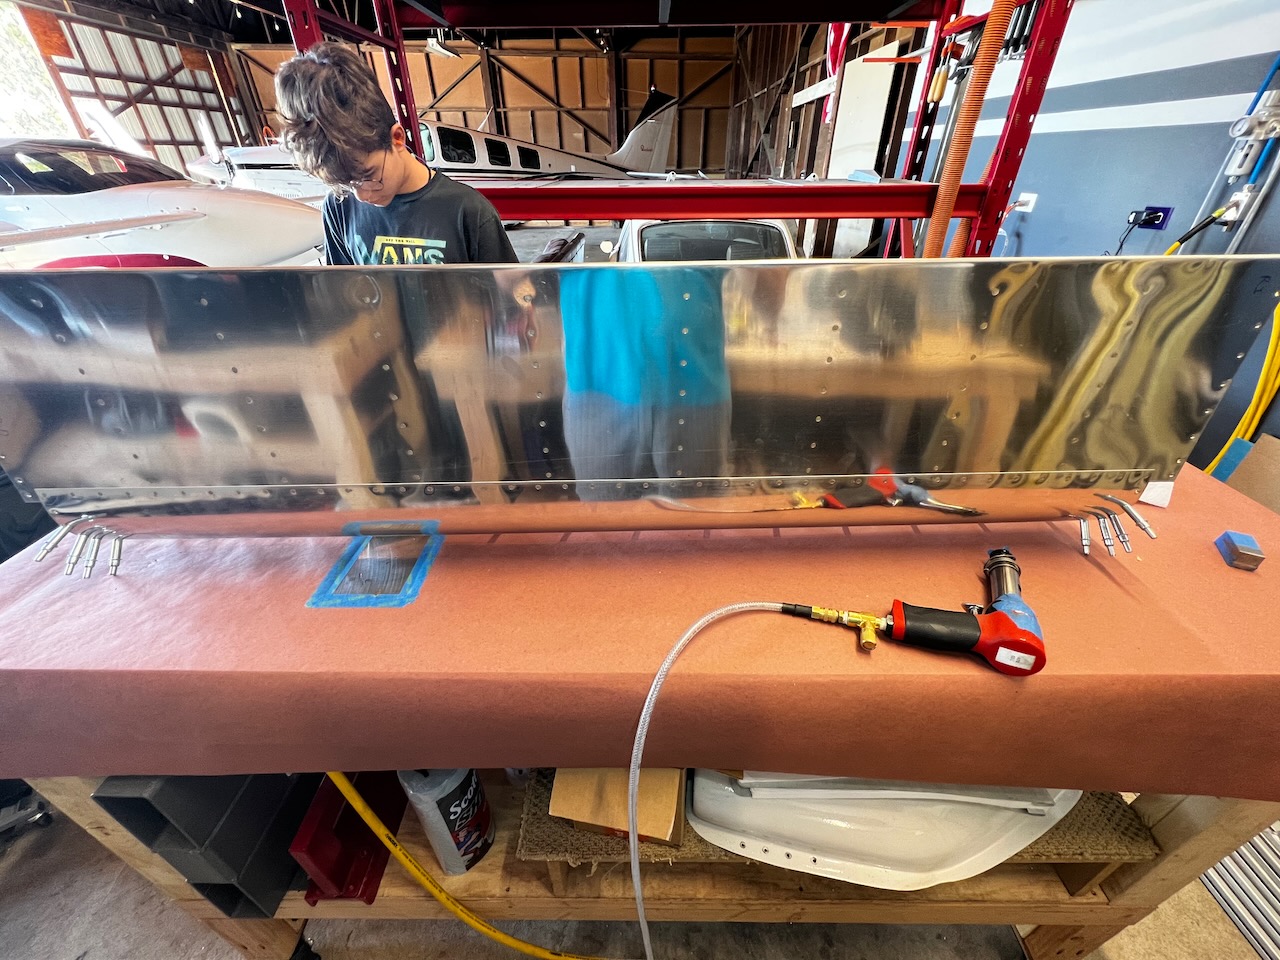
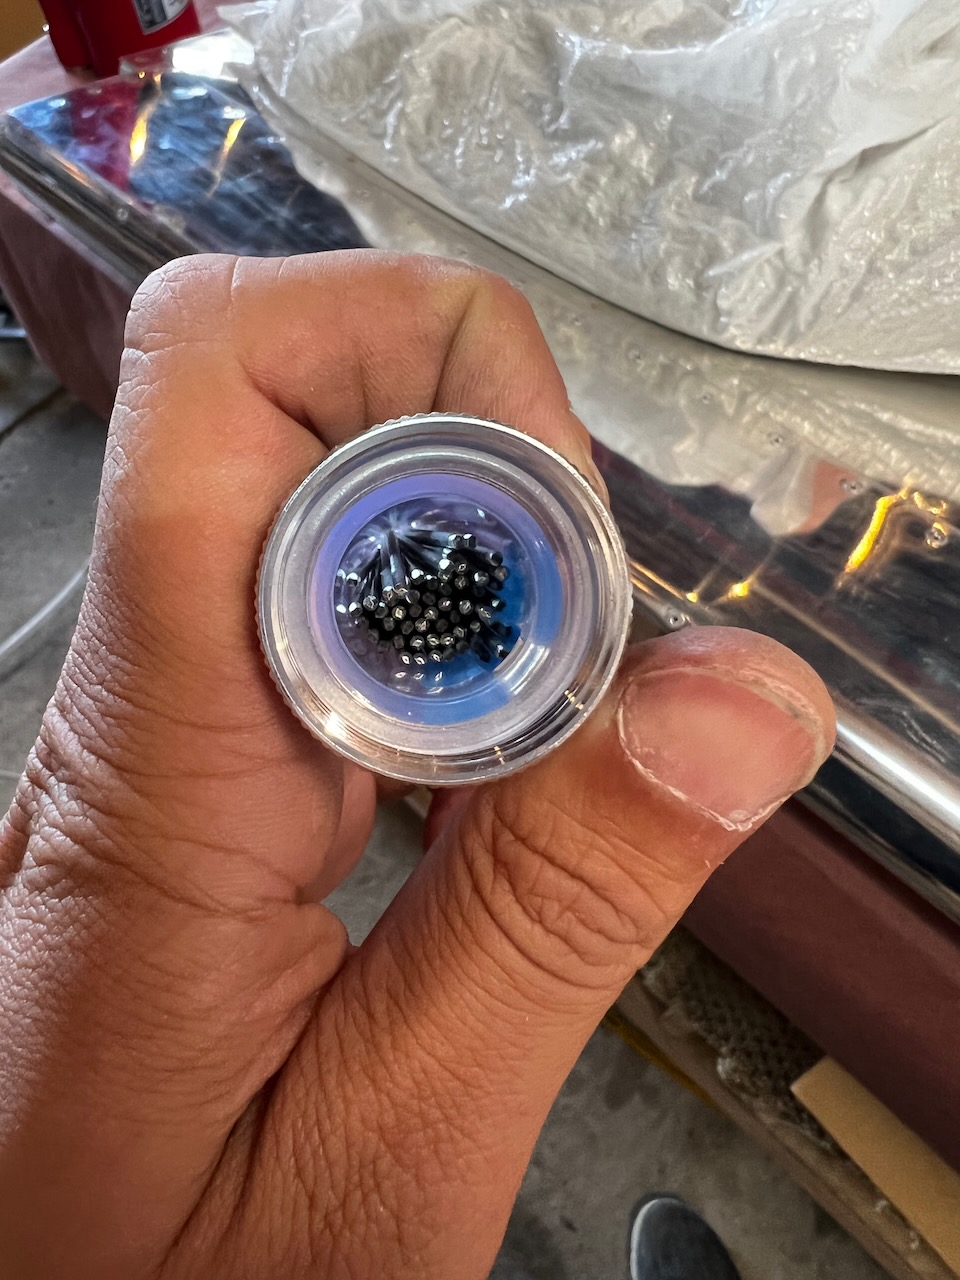
Next is the spanwise rivets. This side is much easier than the top because it is simply blind rivets using CS4-4. Lots of rivets, but it goes very quick. Nothing special to report on this step, just remember to check that your sandbags are still sitting nicely on the aileron, resulting in as flat of a control surface as possible. The one thing I would have liked to do (both top and bottom) would be to edge roll before dimpling. This would leave a slightly tighter seam between fore and aft skins. It’s not bad, but coule be cleaner. Next time.
Spanwise pop riveting..fun!
Right side complete…
…and it looks great!
look at how many rivet tails that is (and that’s not all of them!)
Now time for the left side.
preloaded CS4-4s for faster riveting.
Left side spanwise rivets done!
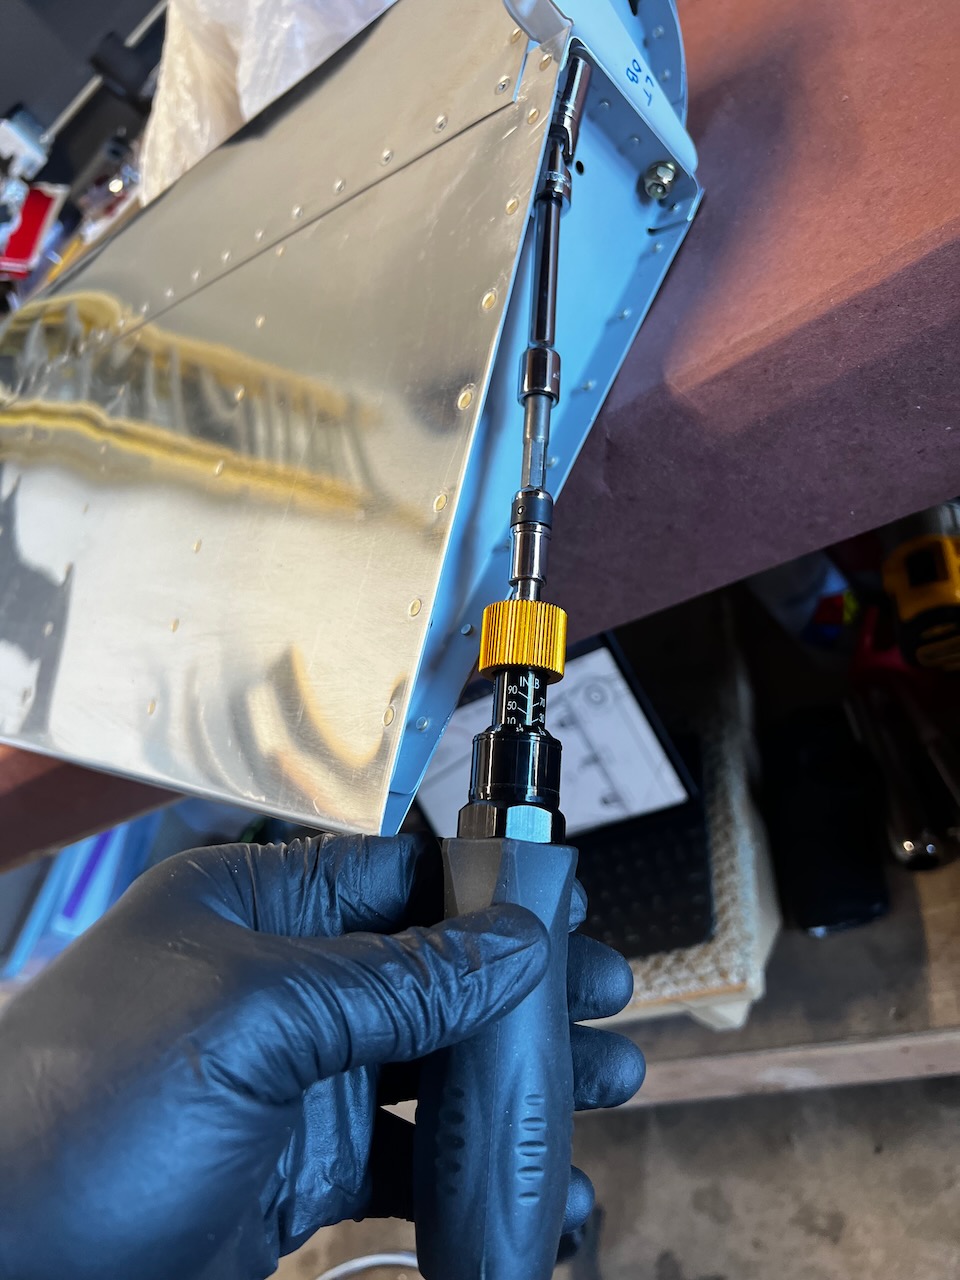
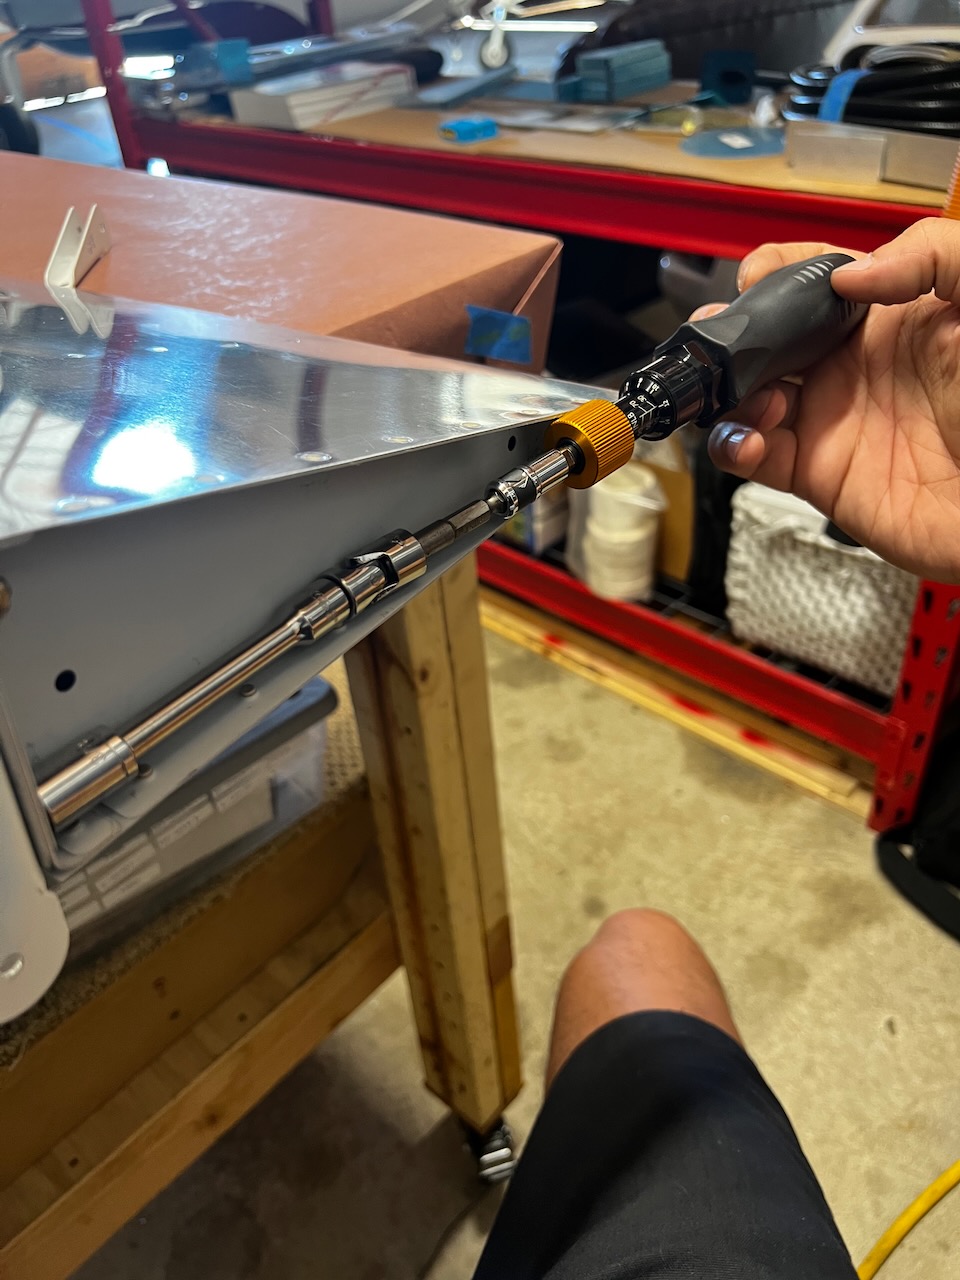
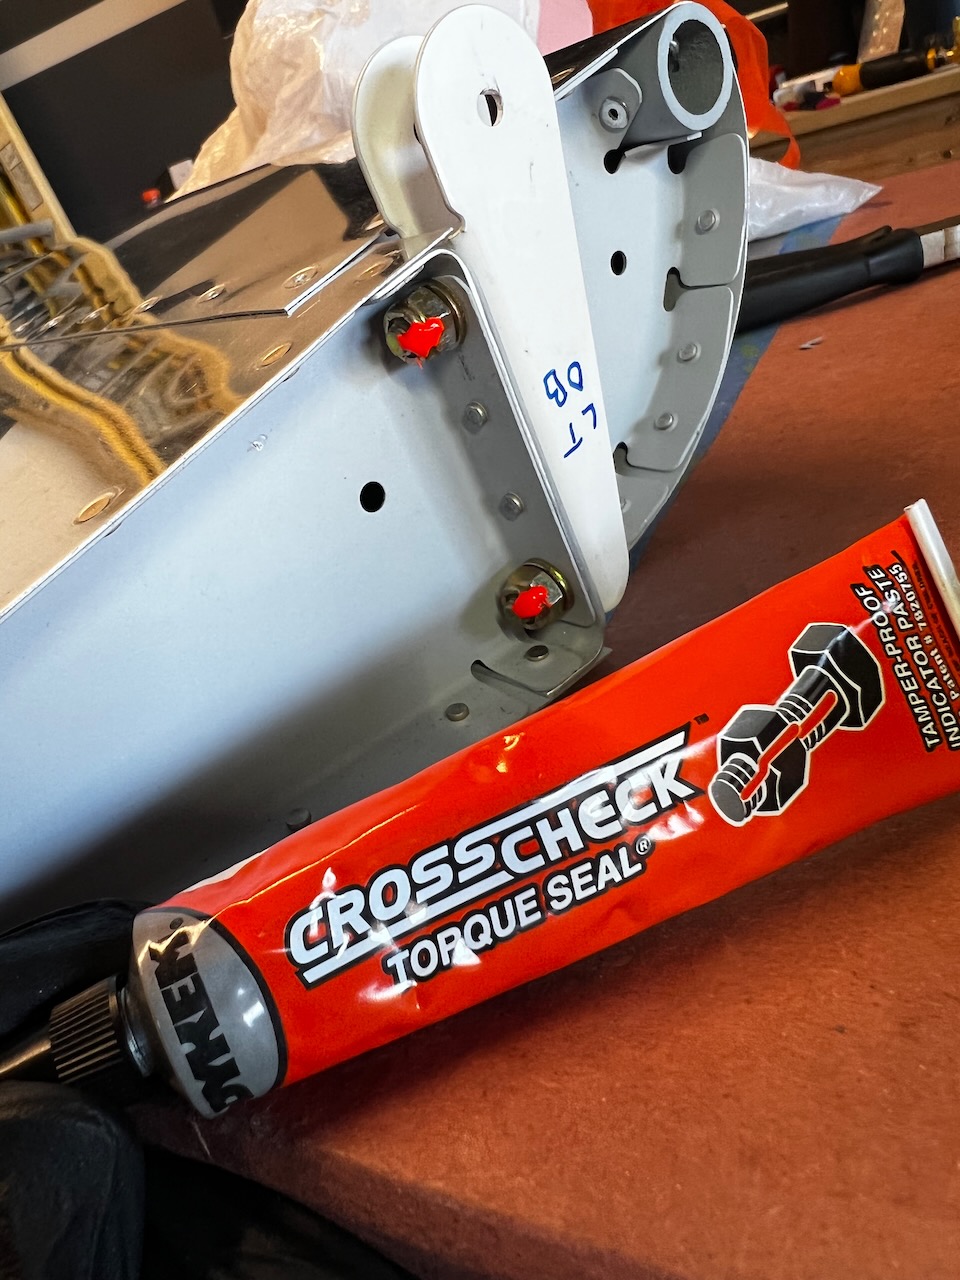
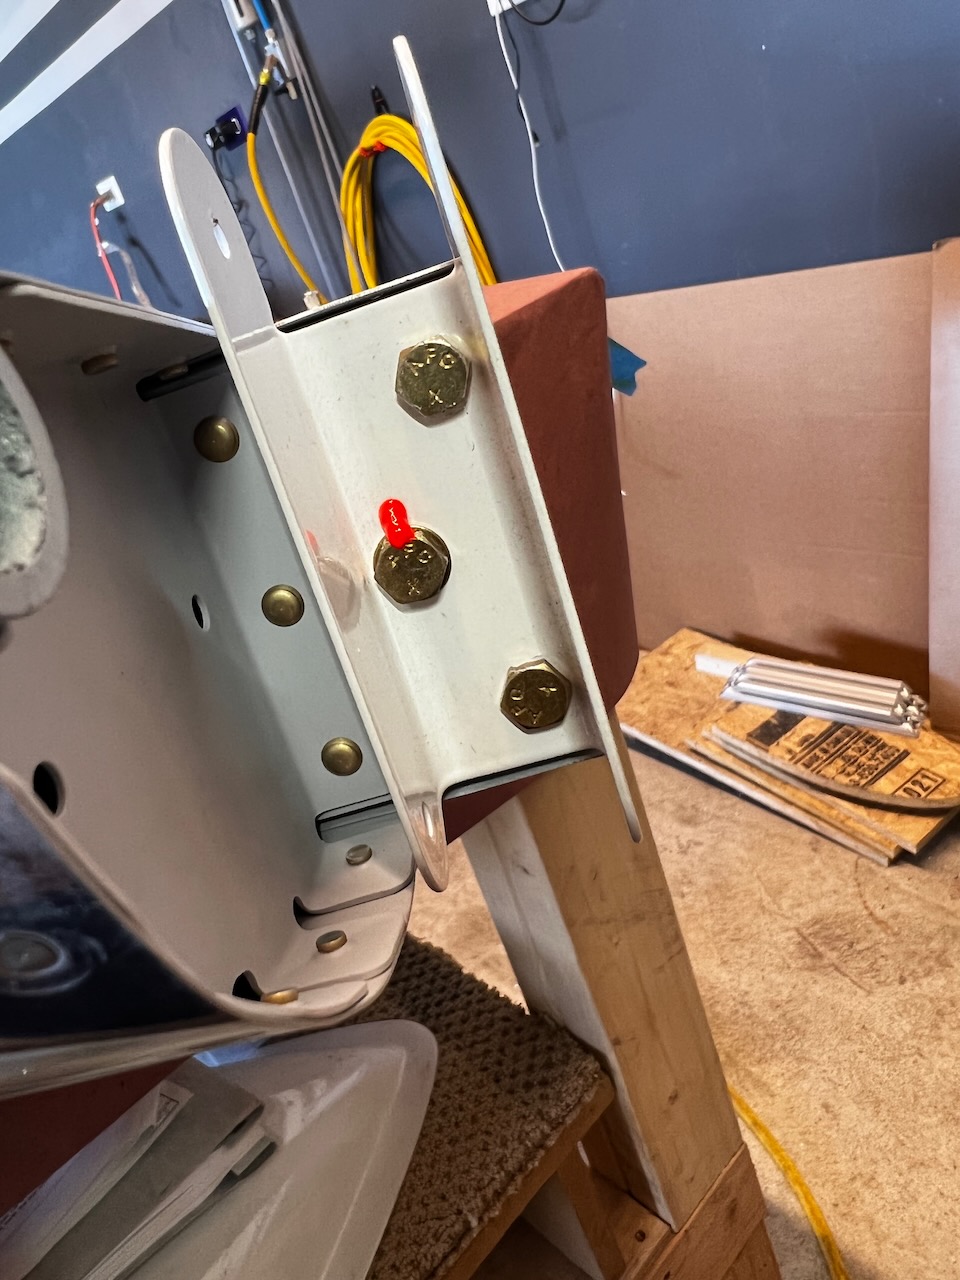
Last step is installing the aileron brackets. The plans call for this much earlier, but it seemed to me that putting in those nuts and bolts would get in the way of some of the riveting I needed to do, so I decided to defer this. It turned out to be a good decision. Getting the nuts torqued down properly required a look up in Section 5 (Nut and Bolt Torquing section (Page 5.21 I think?)). The valid range is 20-25 in-lbs, so I opted for 23. It’s a pretty tight space, so I took a trip down to Home Depot to get an articulating socket extension. With a little bit of jerry-rigging I was able to put together a setup that allowed torquing from the rib side. After torqued down, I applied the Torque Seal so I know I’ve done final torquing on it.
Initial attempt used a crescent wrench, but that was way too time consuming.
Frankenstein socket bit combination allowed for torquing from the rib side.
Another view of the torque setup
Once torqued down to 23 in-lbs, I added torque seal to show torquing was complete
On the bolt that went into the nutplate, I applied torque seal to the head side, since the nutplate was hidden behind the main rib enclosure
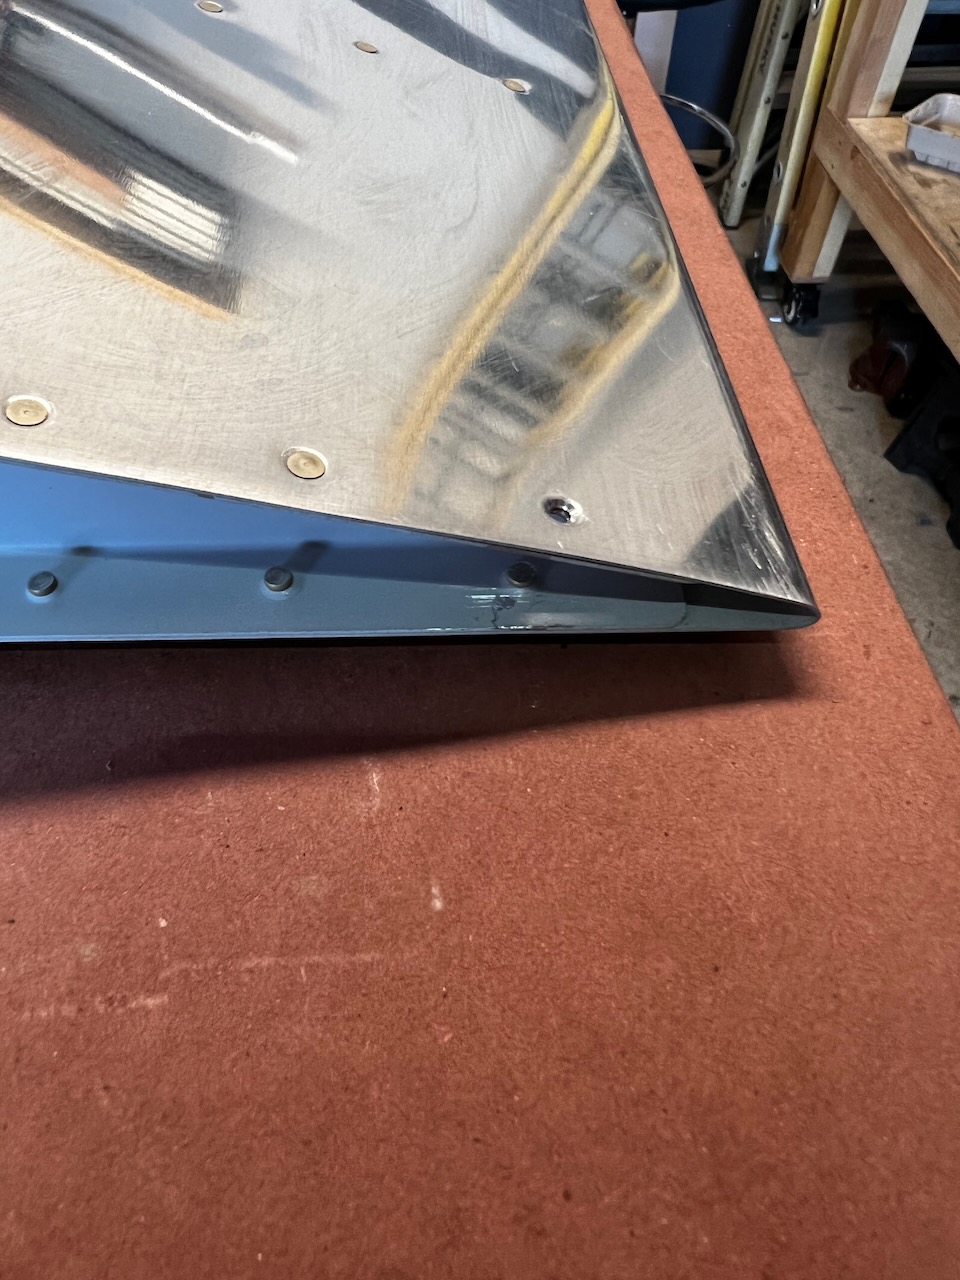
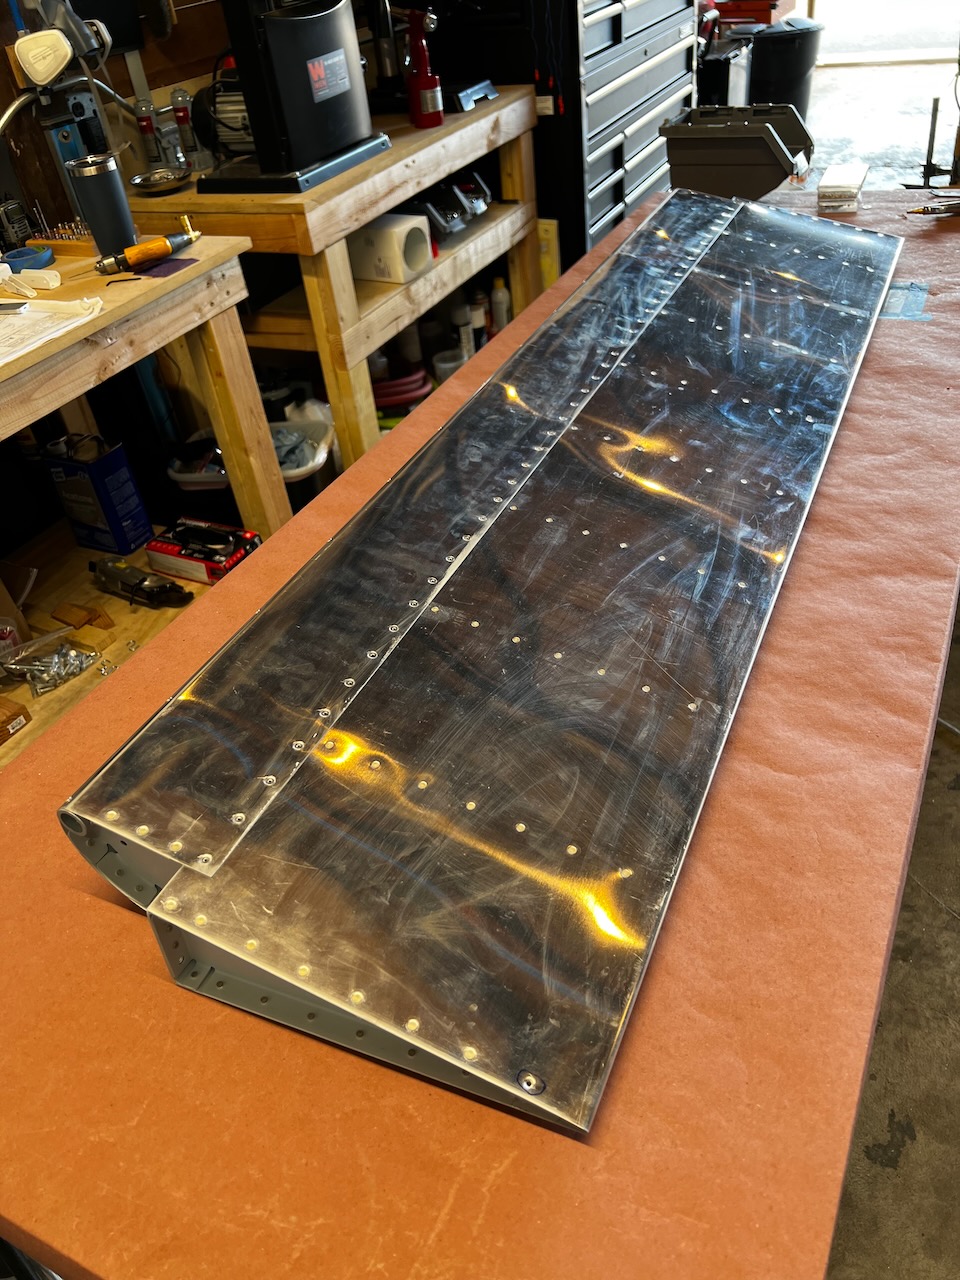
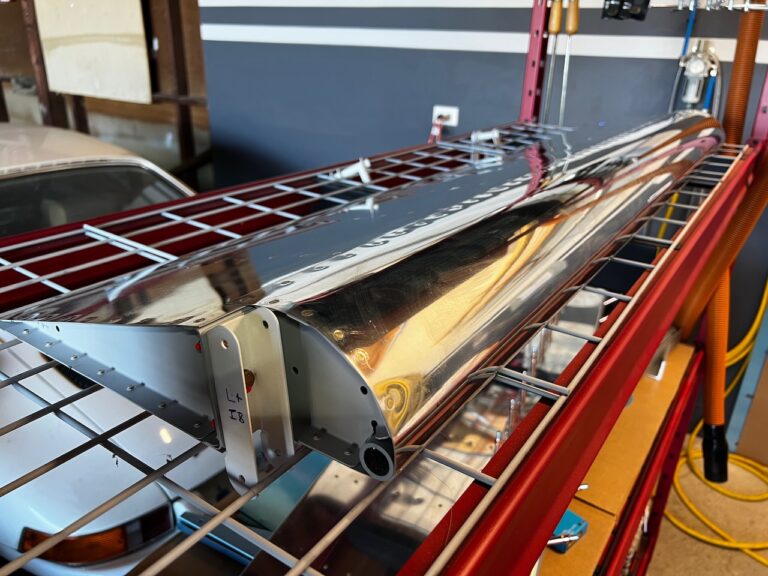
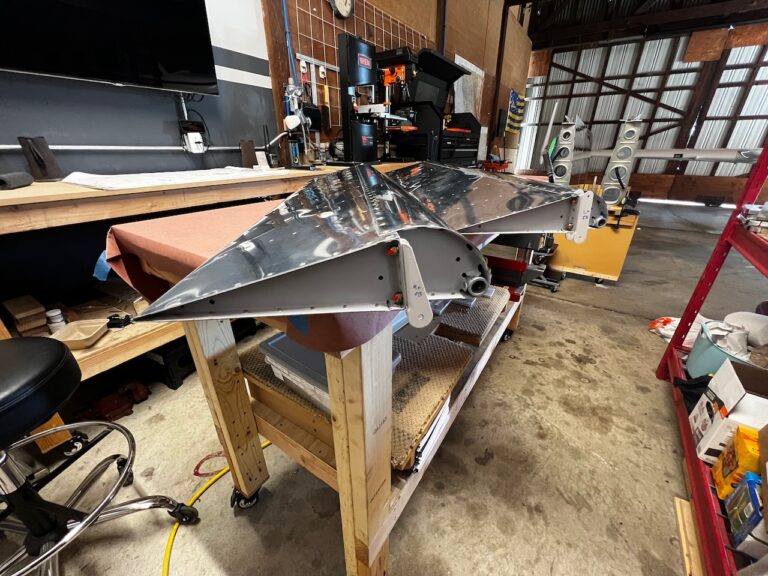
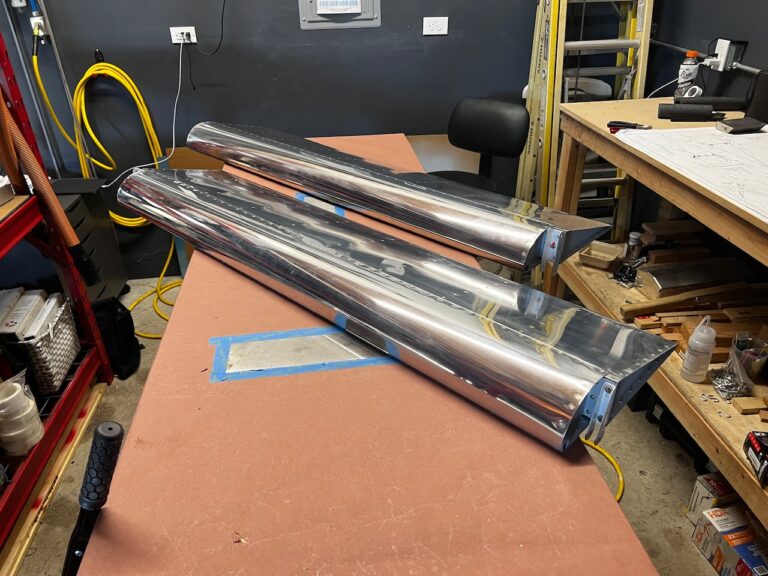
And with that the ailerons are complete! This is a big step, and normally this would take me a month to get through all the steps, but with my new found freedom I was able to get it done in less than 4 days! Maybe someday in retirement I’ll see how quickly I can do a build from start to finish. That would be fun. Here are some pictures of the finished ailerons. Next up will be the flap build! Until then, Happy Building!


1 comment
Congratulations. Major accomplishment. Good Job Giacomo. Now the fuselage kit will be coming and you will be ready for sure.