Over three sessions I was able to complete the Aileron Bracket install. It’s a nice step towards completion of the rear spar assemblies. A couple gotchas from the process:
ensure you have flush rivets where it calls for it. The instructions are pretty clear, but you need to pay attention. Oh, and also don’t try to force your countersink bit into an undersized hole. It’ll break (ask me how I know!). Ream out the hole before using the countersink bit.
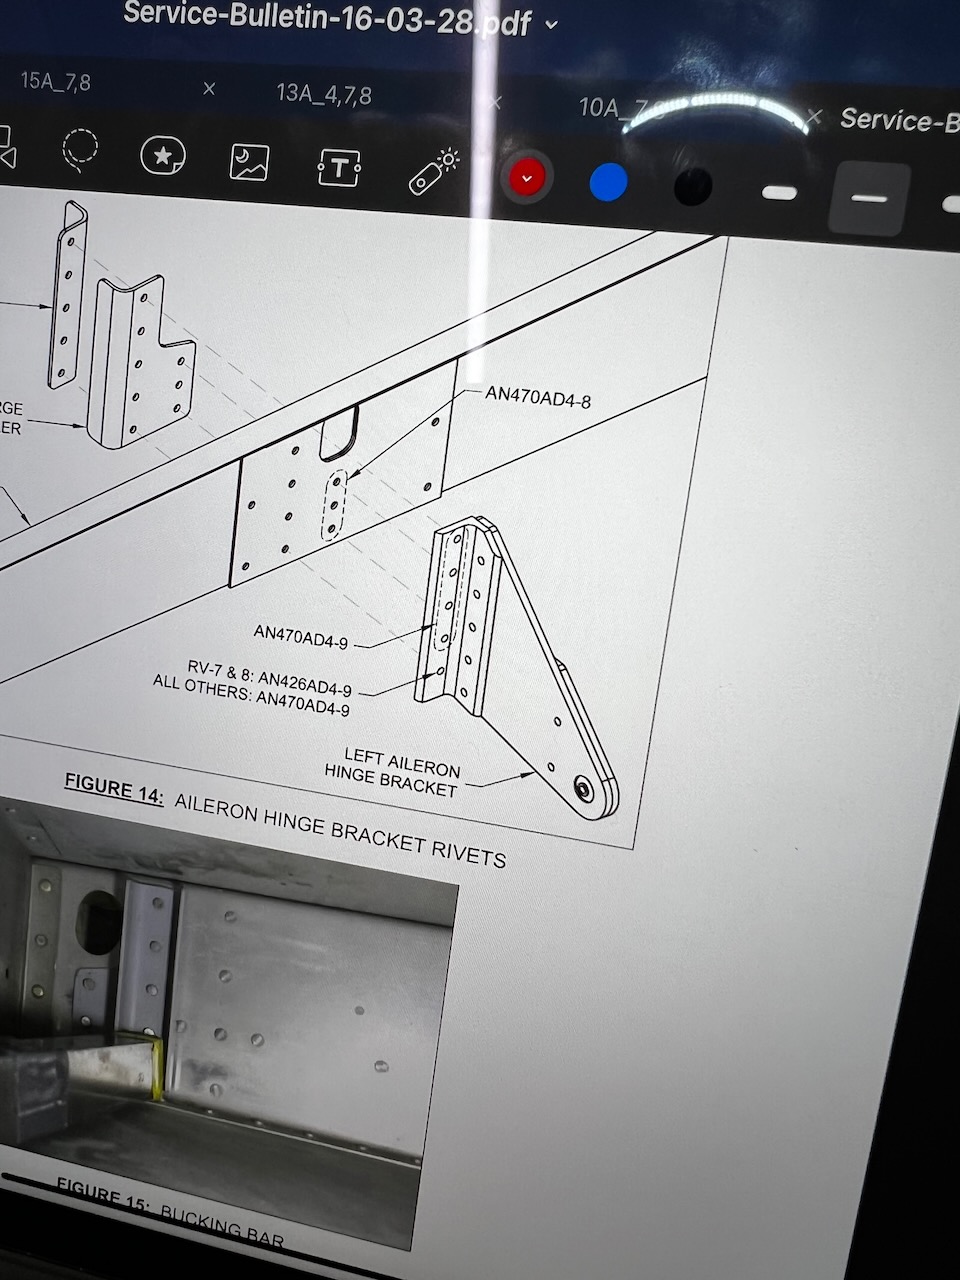
use the right length rivets when installing the SB-16-03-28 kit. I forgot and initially used the ones called for in the original plans. Because there is an extra doubler plate, it calls for longer rivets. It was pretty obvious when I squeezed the first of the rivets.
because SB-16-03-28 is a retrofit, it doesn’t account for an aileron gap fairing not being in place already. It’s fine except for a single rivet closest to the doubler plates. The rivet ends up being too close so I’ll need to figure out how to squeeze that one later.
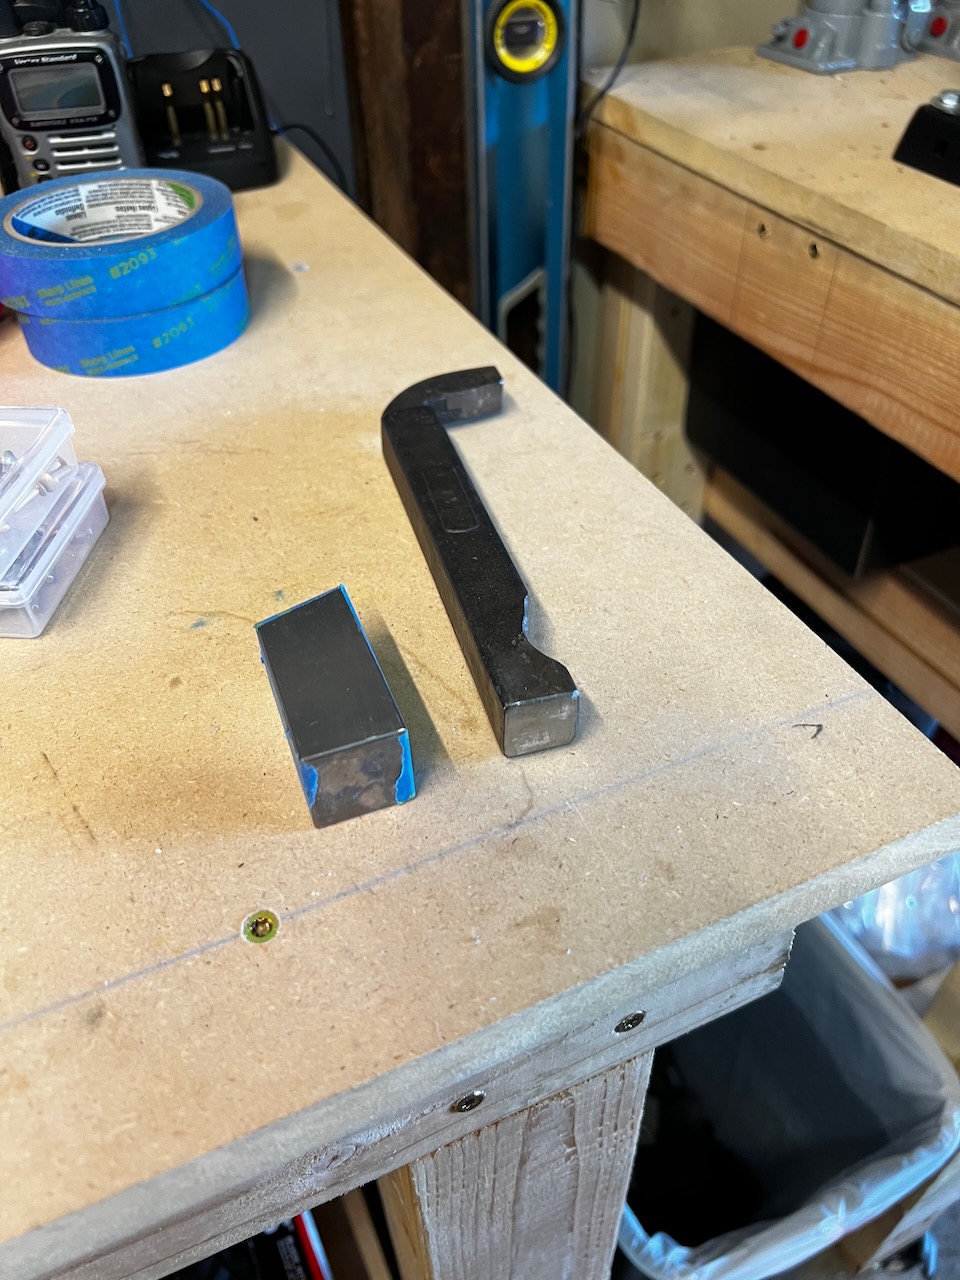
If you only have one bucking bar size, it might not work for the rivets between the two doubler plates. Thankfully, Paul & Kacy’s hangar down the way has a lot of this stuff, and I was able to borrow their bar for a bit.
Overall, the Aileron Bracket was not super difficult, but simply time consuming due to lots of steps. Below are some highlight photos of the session.
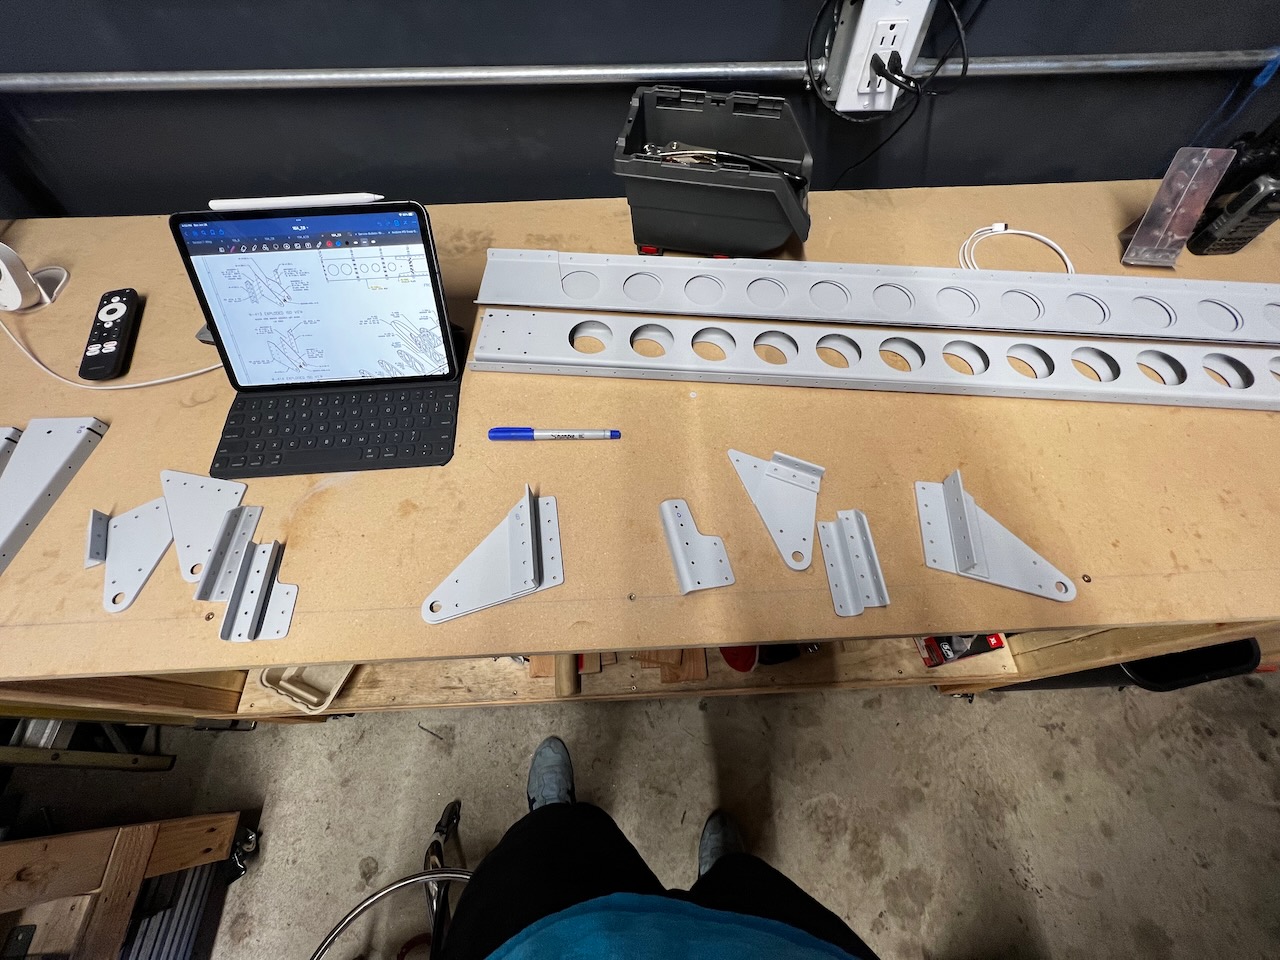
With all parts primed, it was time to start final assembly of the Aileron Brackets
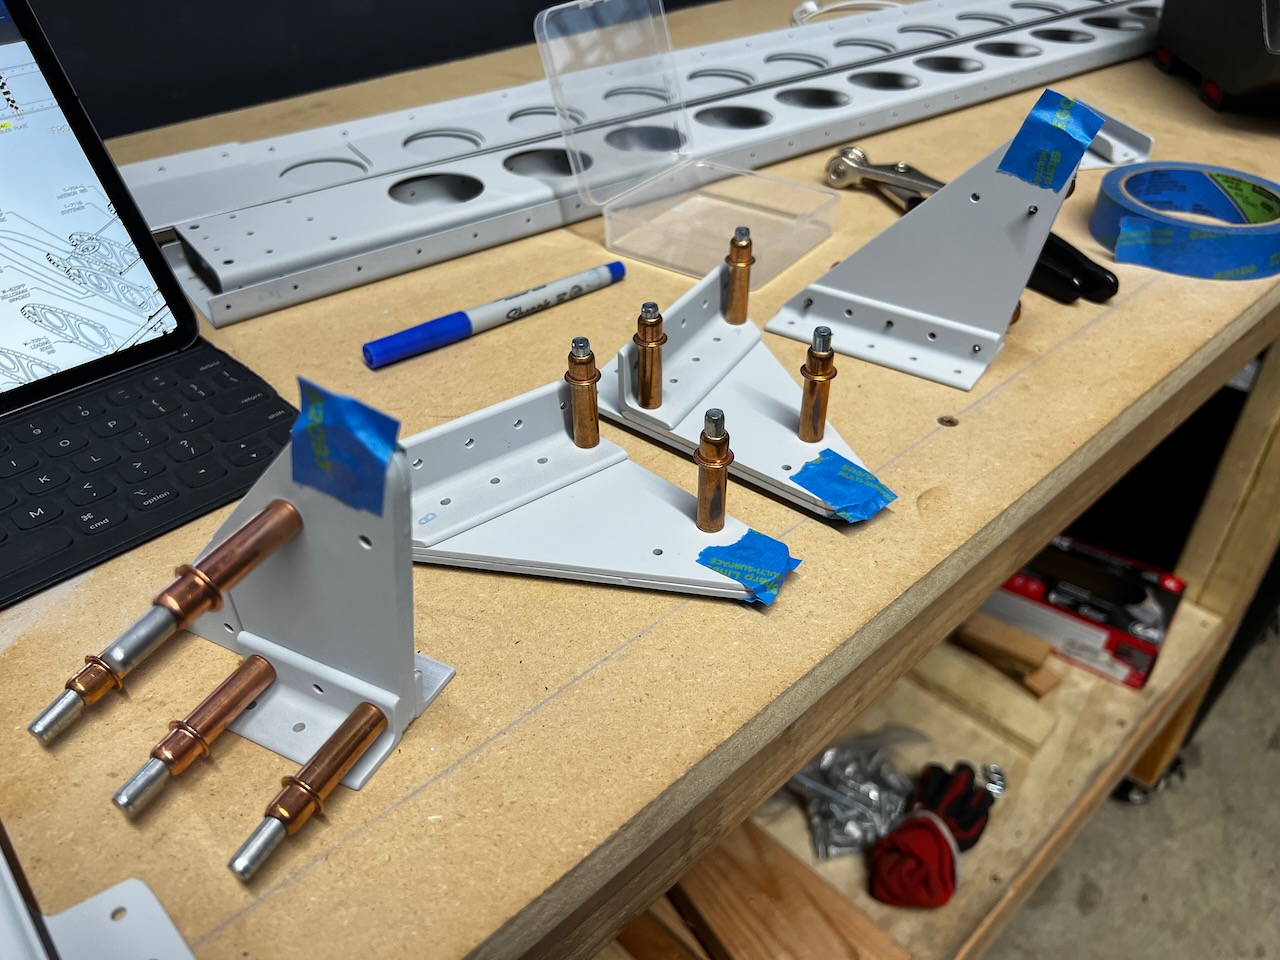
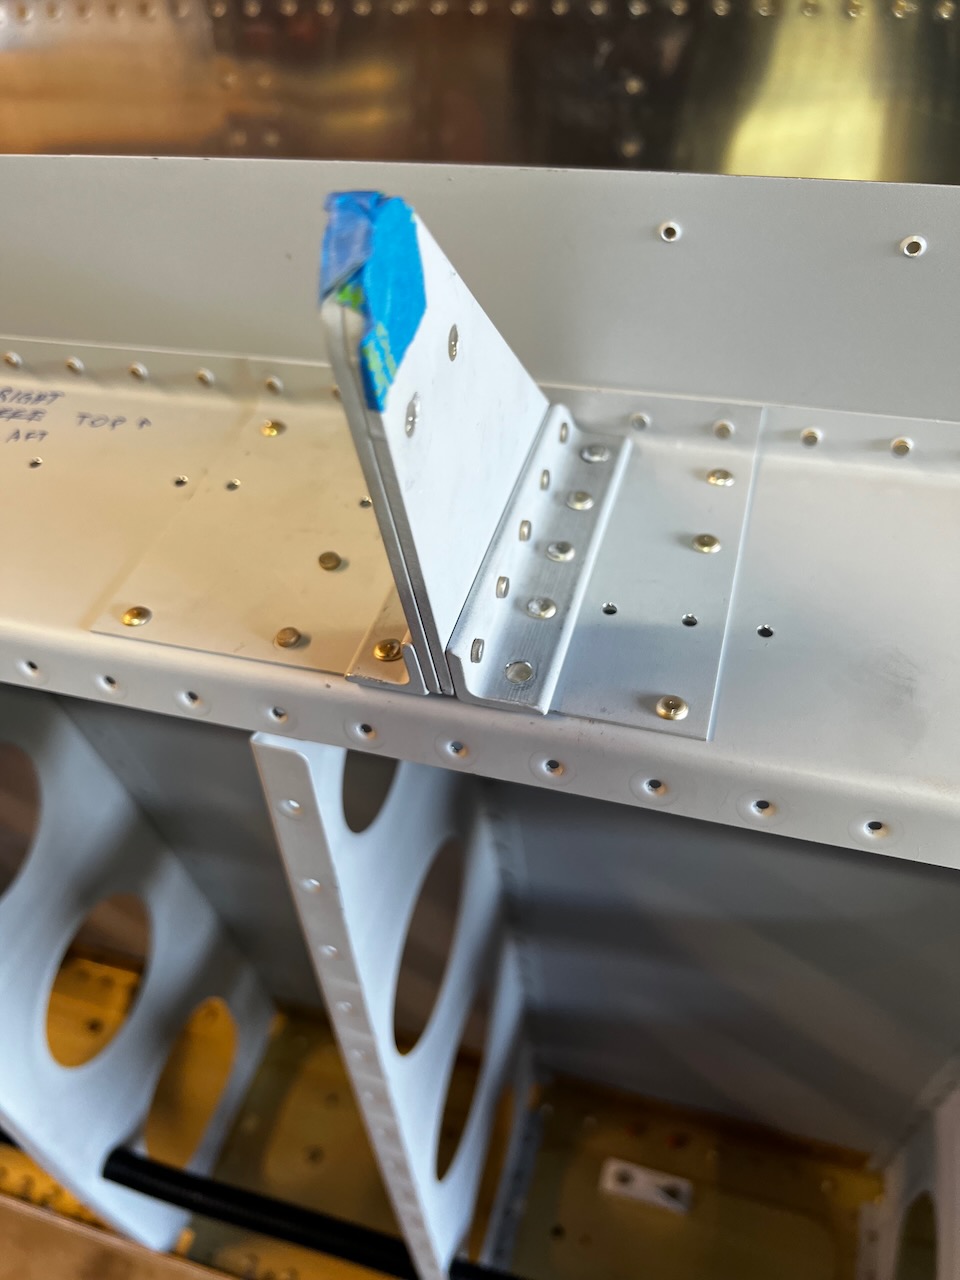
Brackets cleco’d together for a test fit.
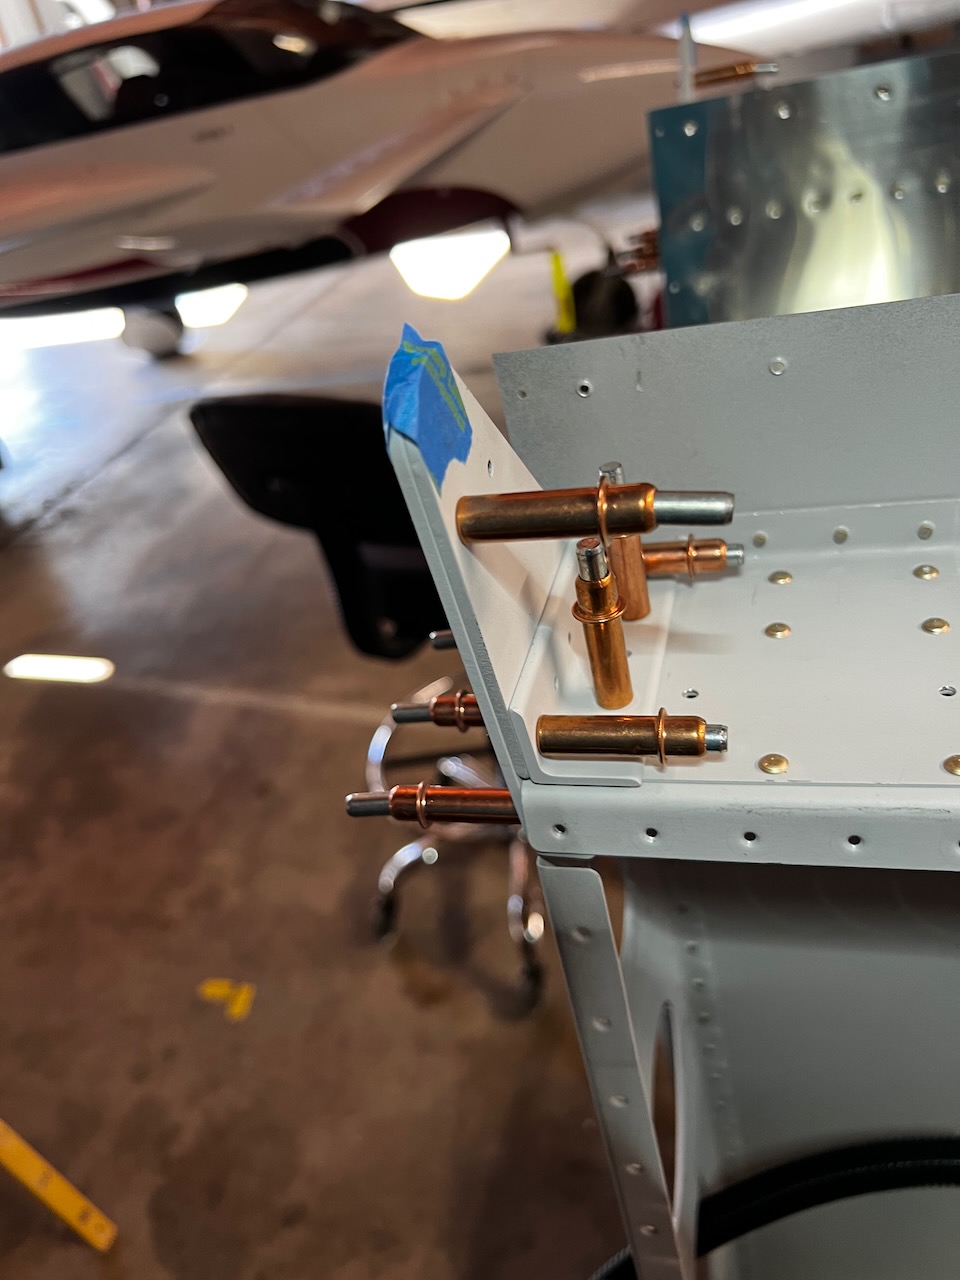
and still fits well on the rear spar
Certain holes require flush rivets..pay attention!
Flush rivets in and good.
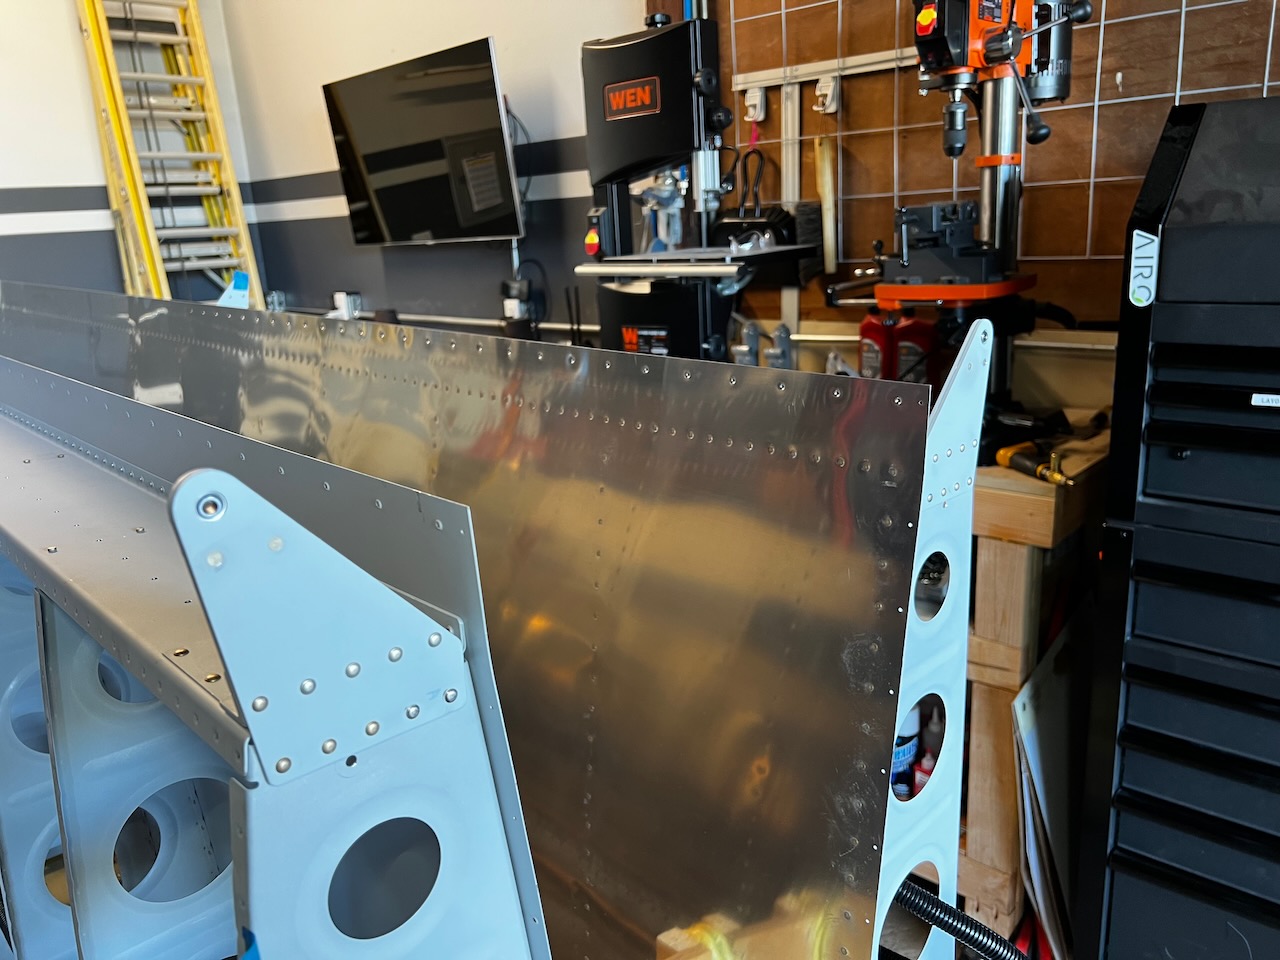
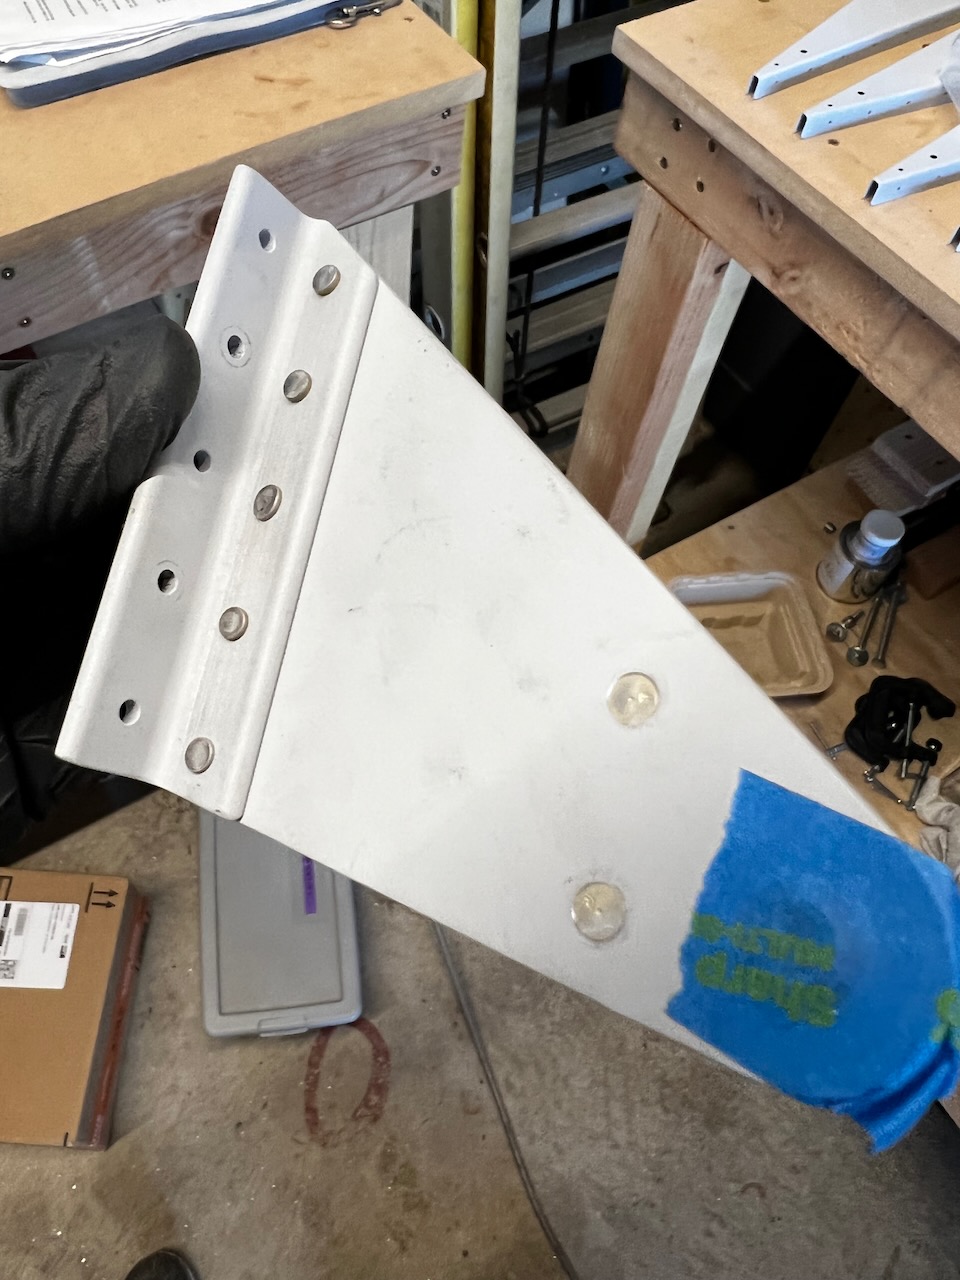
Outboard bracket done. Note flush rivet in one spot on the rear spar.
Both outboard brackets done!
Looks great!
Broken bit when trying to force the countersink bit through
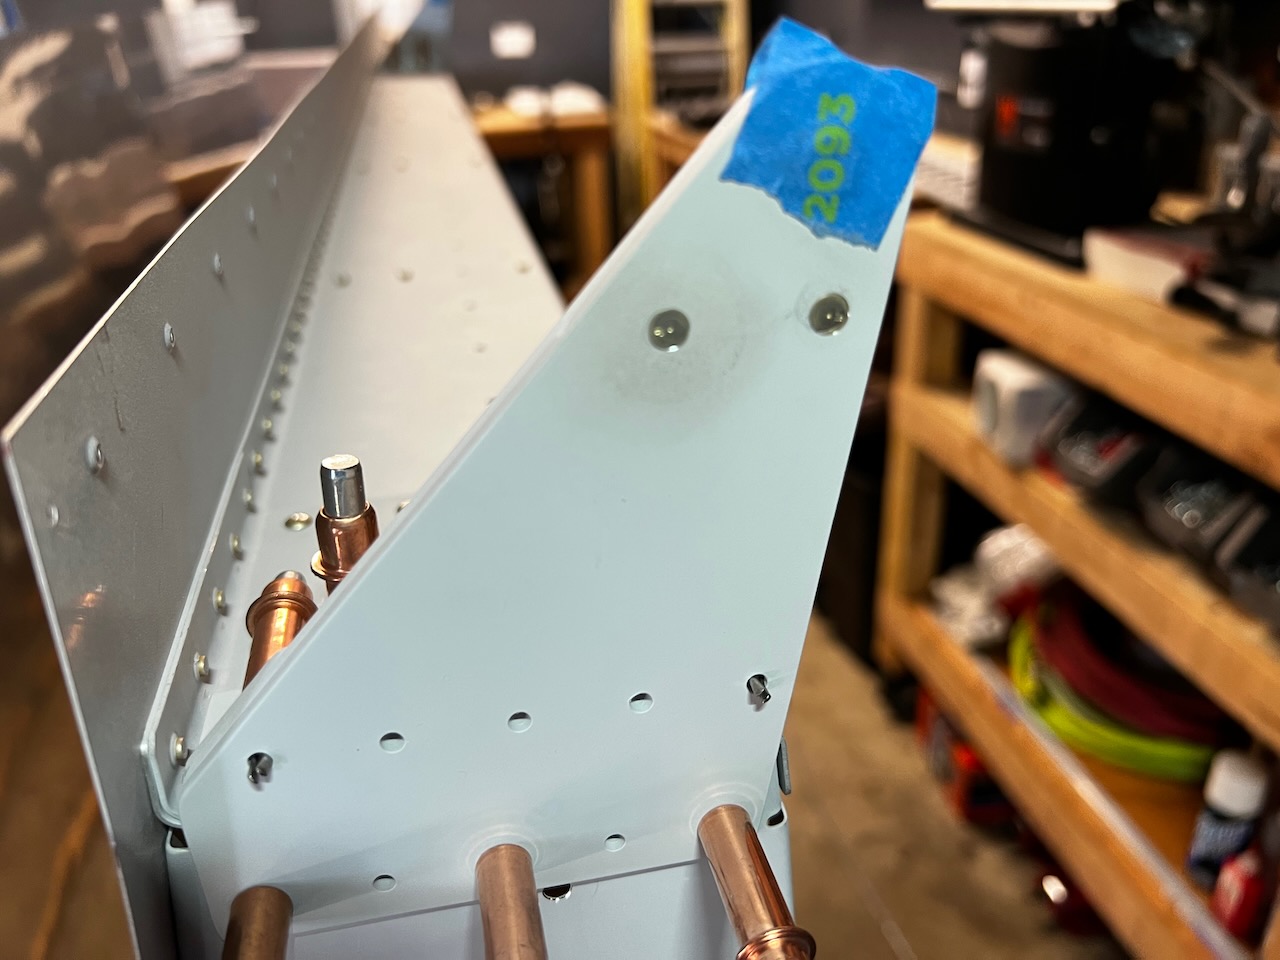
AN470AD4-11 rivets! Those are long!!
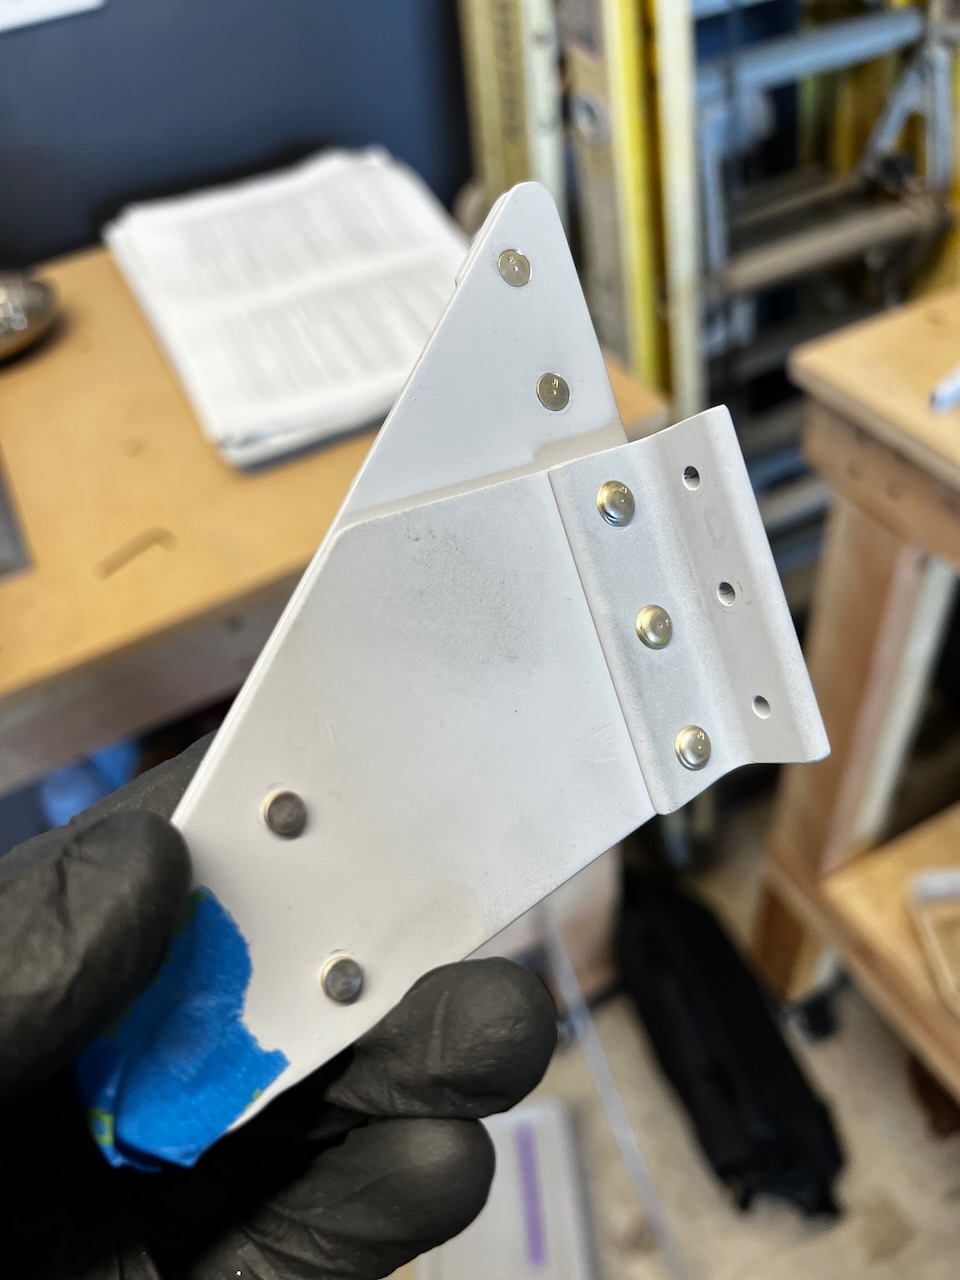
Mix of head types on the center brackets to account for flush rivets in the appropriate places
view from the other side.
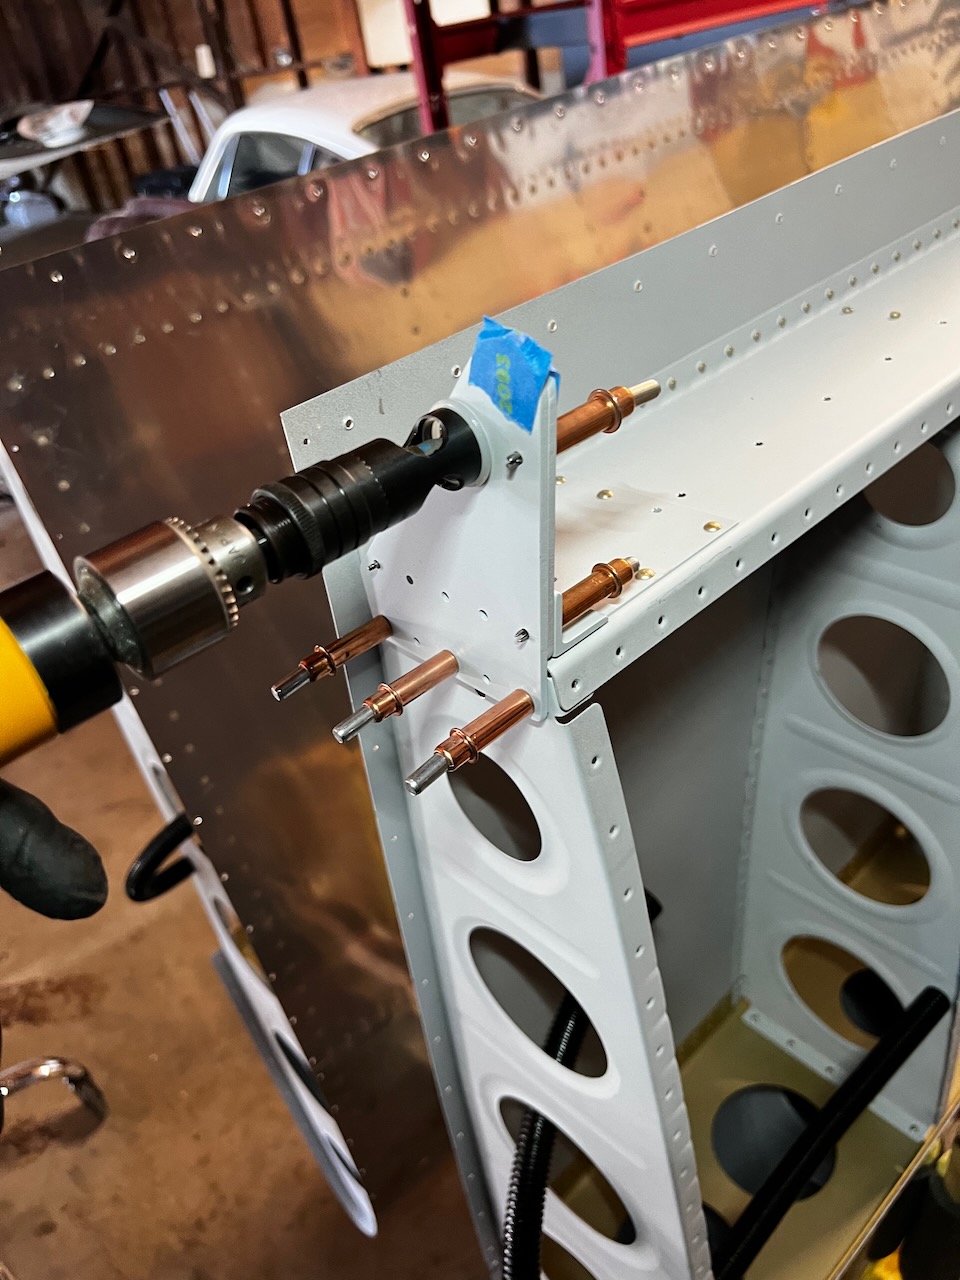
Center brackets getting riveted on
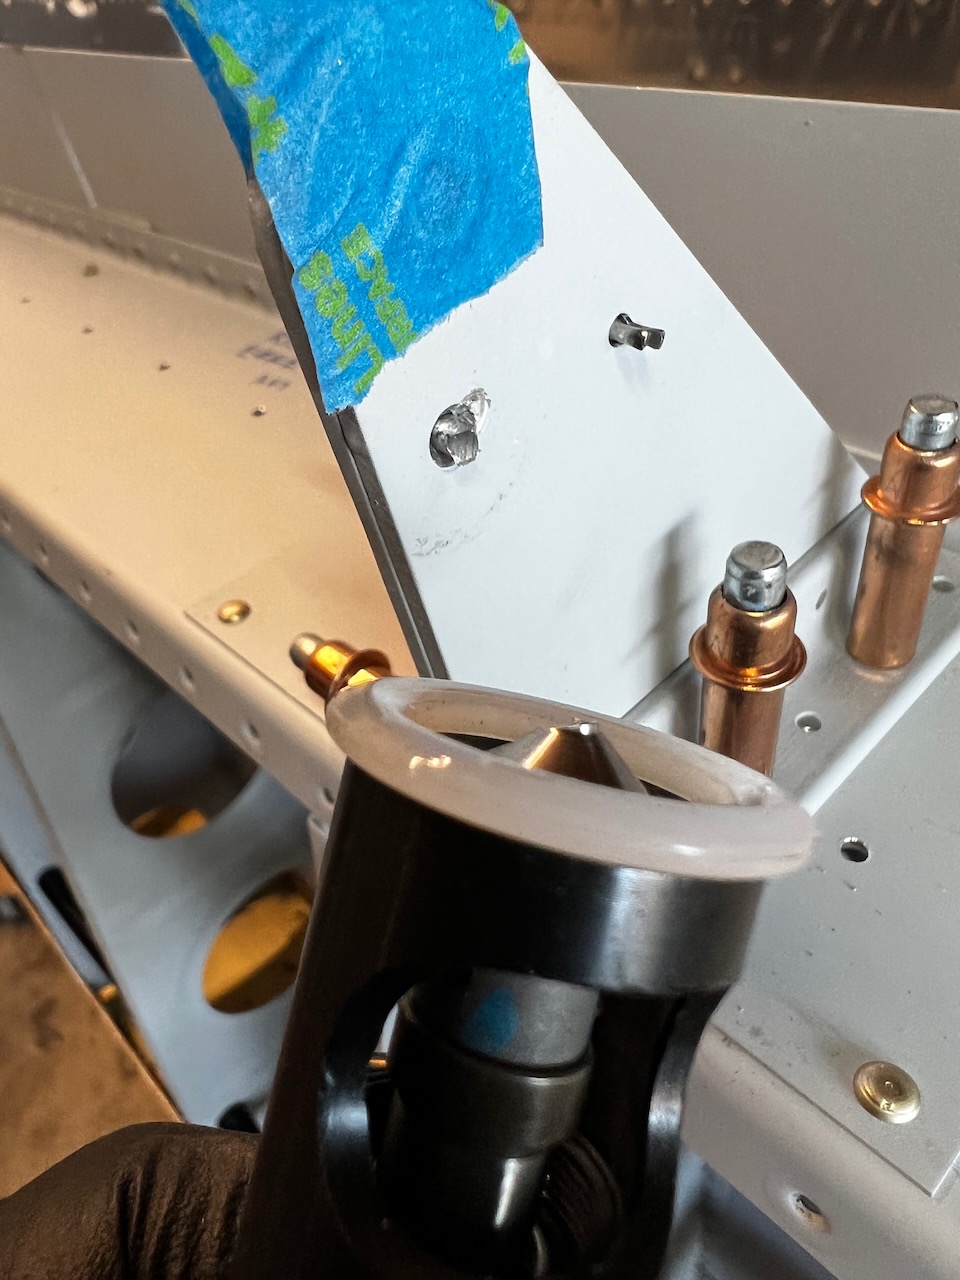
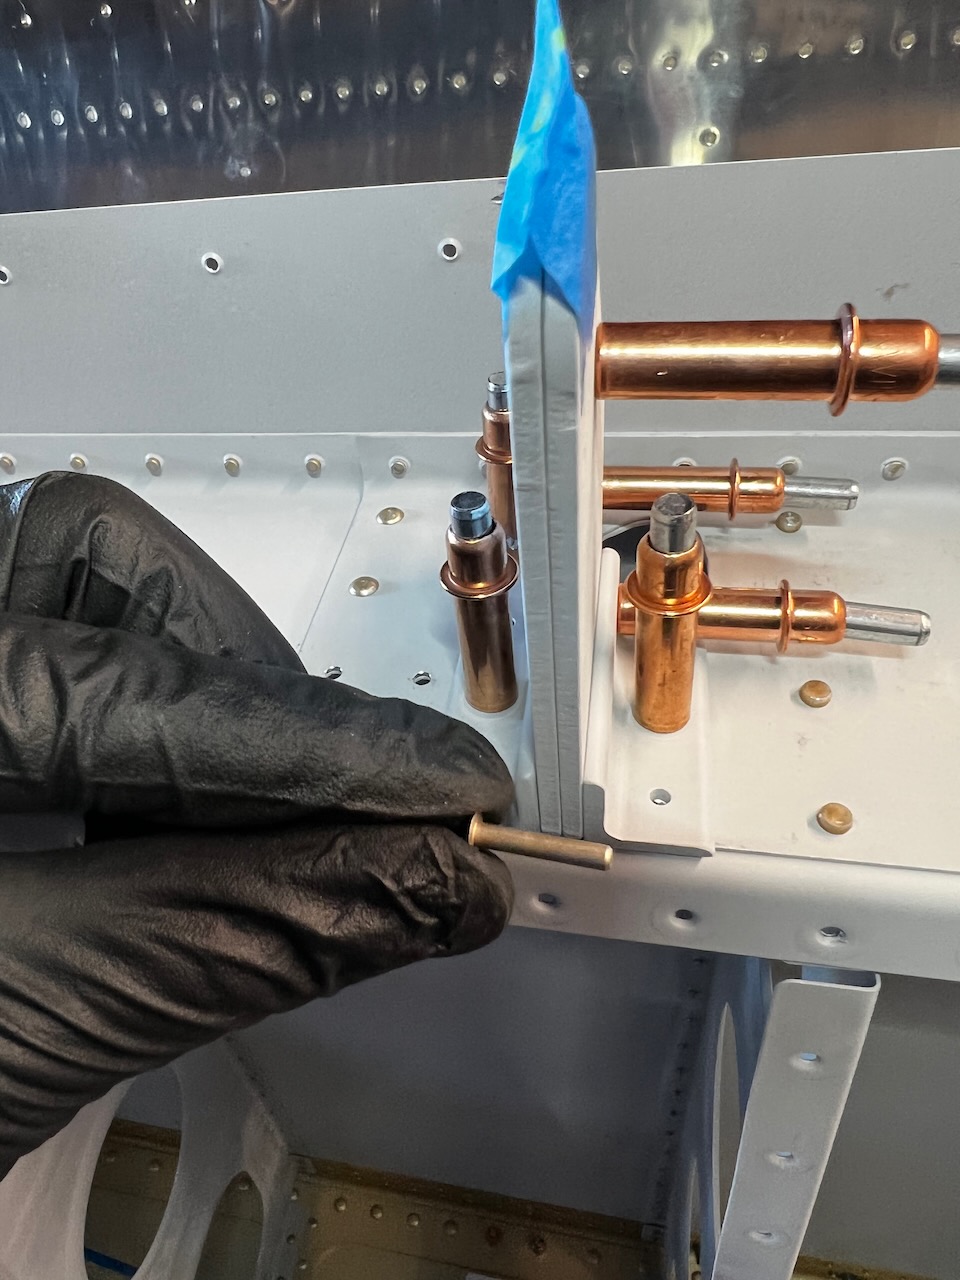
For specific SB rivets I needed a different bucking bar (the one on the right). Thanks Paul and Kacy!
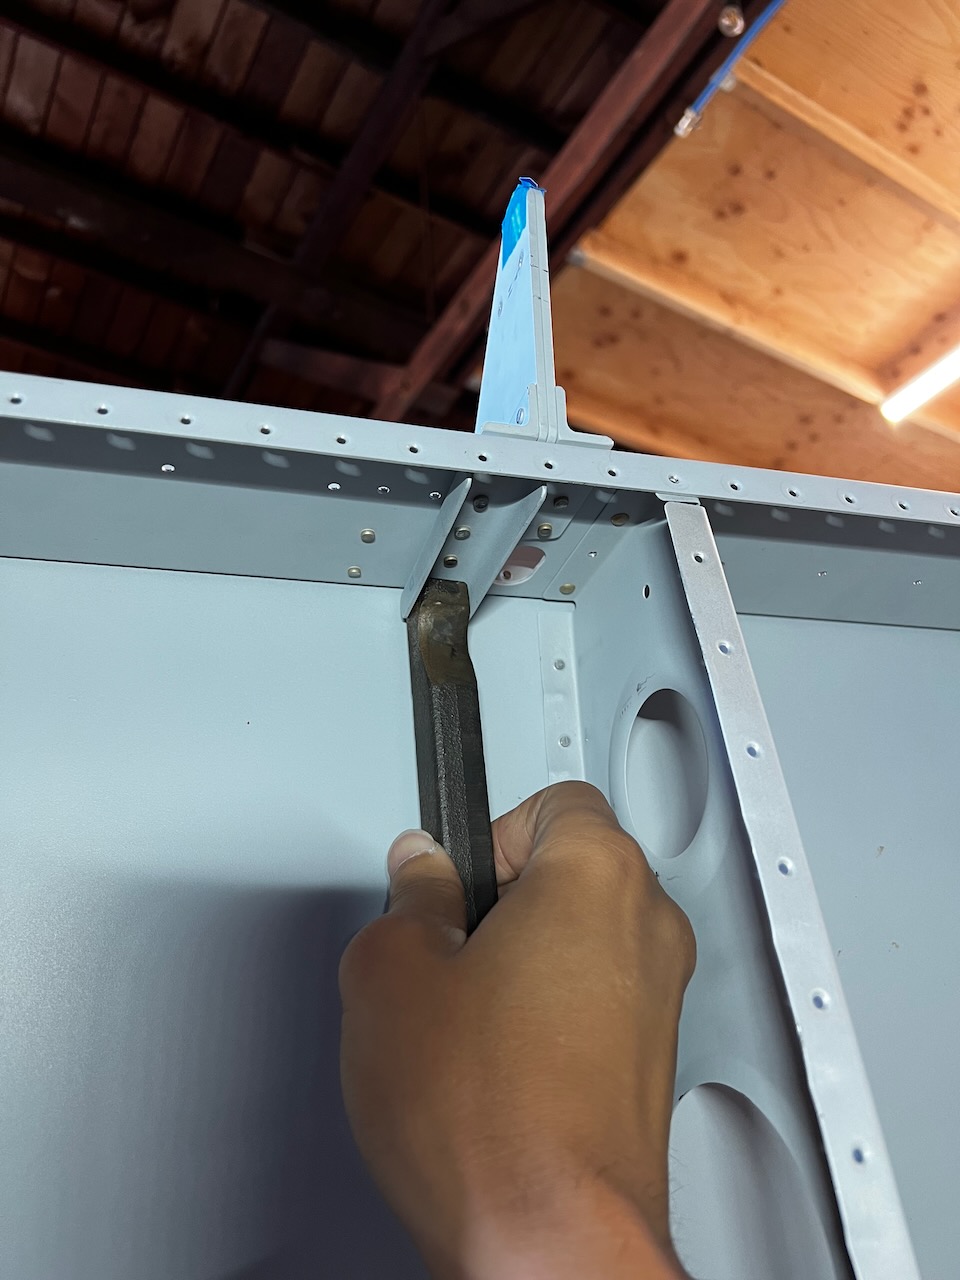
thinner bucking bar at work.
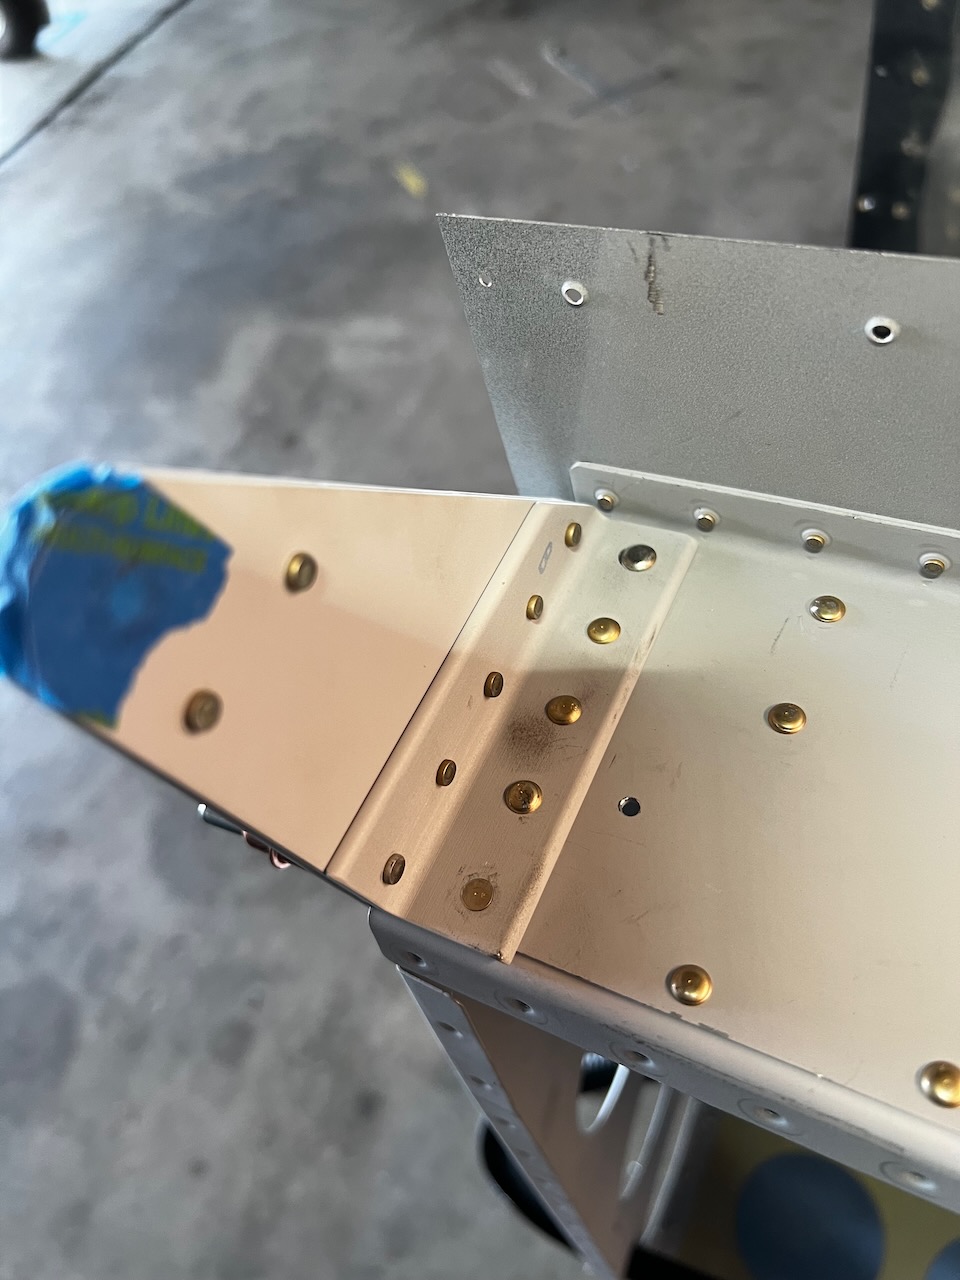
Don’t forget to use the rivets called out in the SB instructions. Note ONE flush rivet specific to RV-7 & 8 builds.
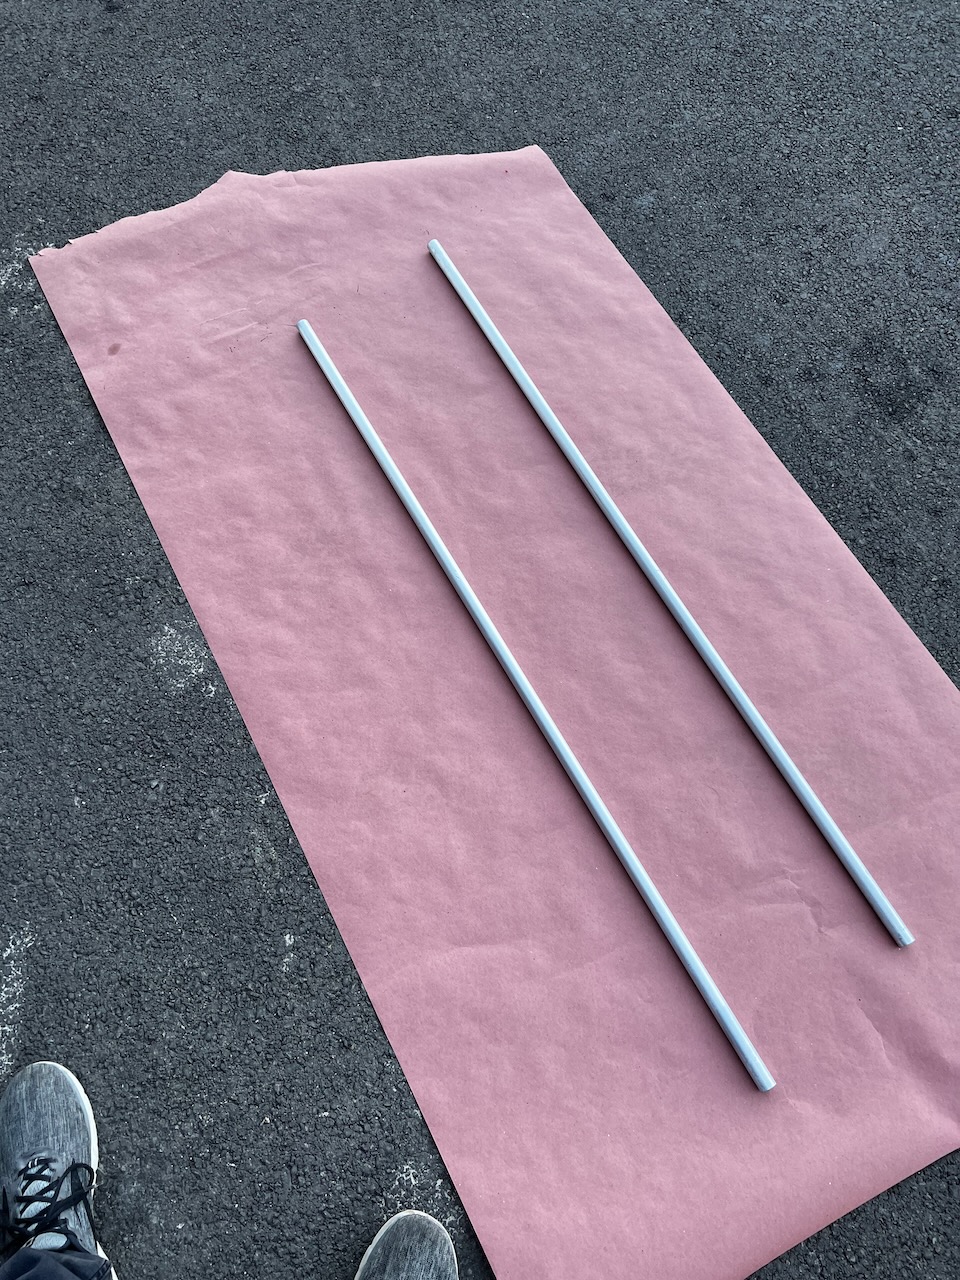
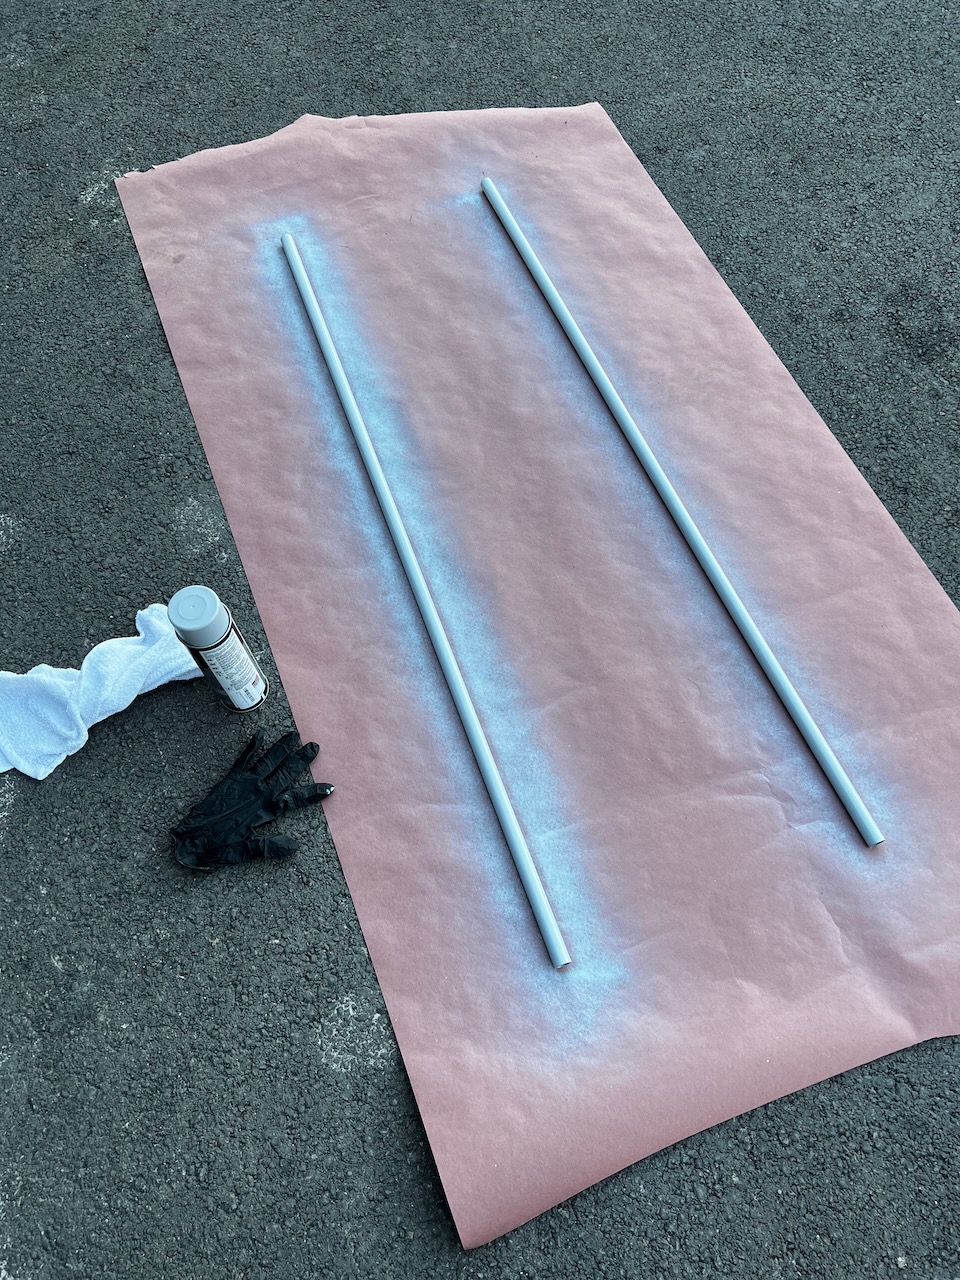
Meanwhile, I had forgotten to prime the counterweight pipes for the ailerons in my big priming session, so I wound up fitting in some spray can priming time during one of the morning sessions. To be honest, that can is very convenient and seems pretty effective. I may use that for smaller batch priming sessions as needed.
With the aileron brackets done, next up will be install of the aileron fairings and flap braces. Then it’s on to the ailerons! Until then, Happy Building!


2 comments
Nice work. It is amazing that even with the best plans and organization you end up forgetting to do something. Congratulations on the progress
Lots of parts big n small … amazing detail ! Precise work …never cease my awe of what you are doing!