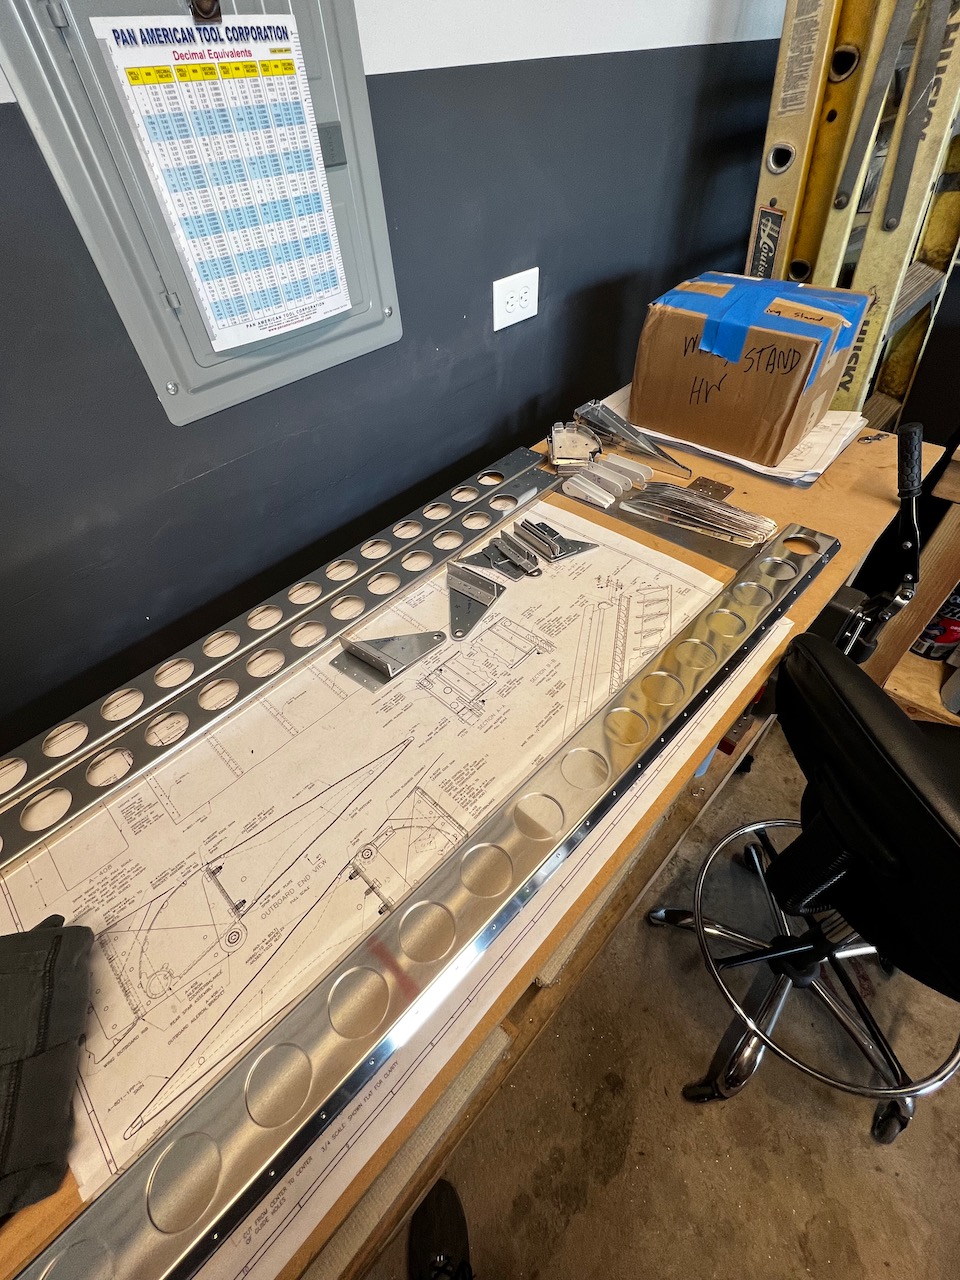
With Priming day just two days away, I was getting anxious to make sure all the prep work was done. This required a few different tasks to get completed, and with a couple sessions I was able to complete the work. Below are details of the activites.
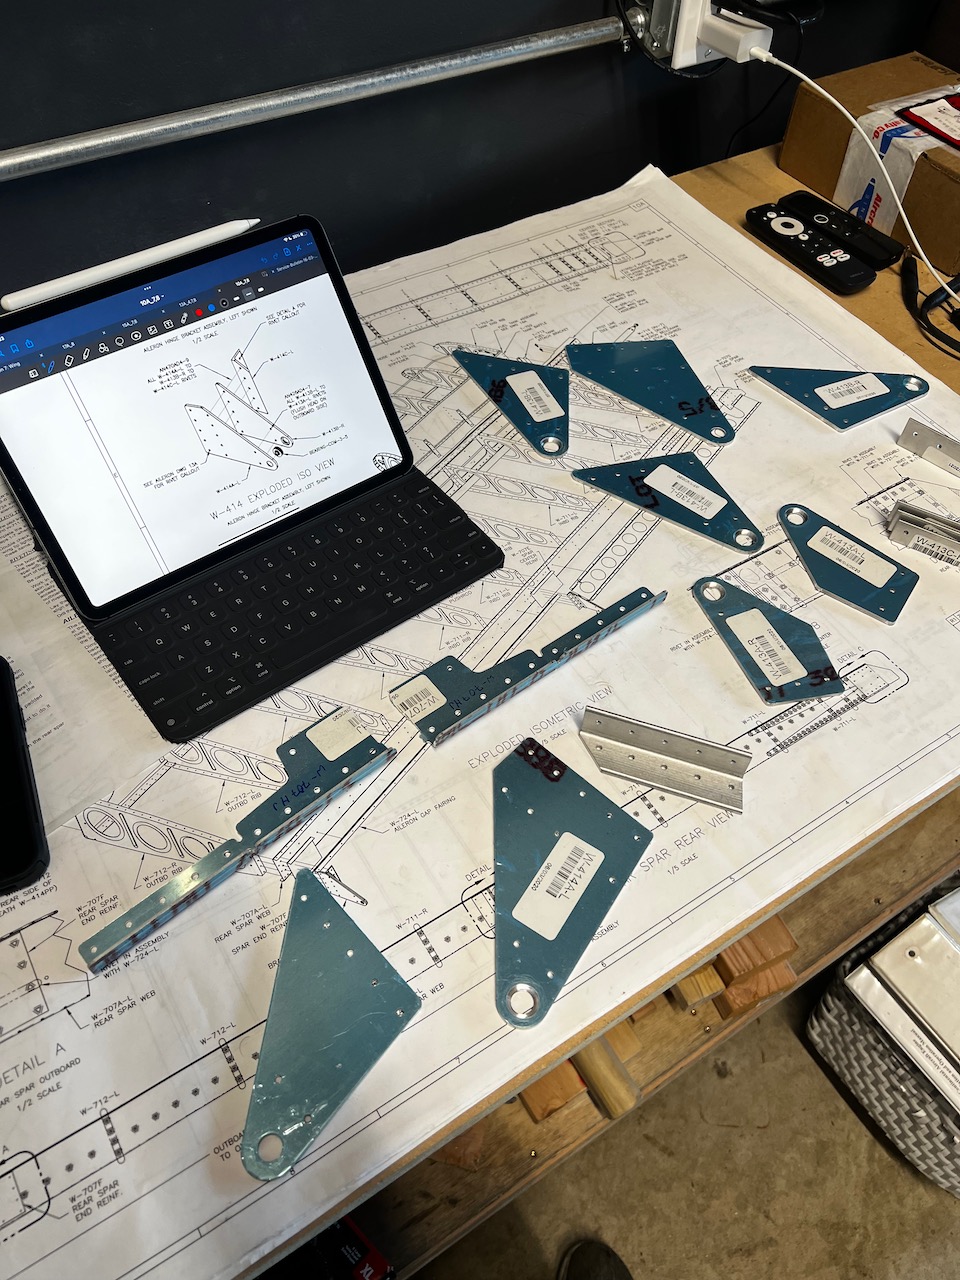
Aileron Brackets
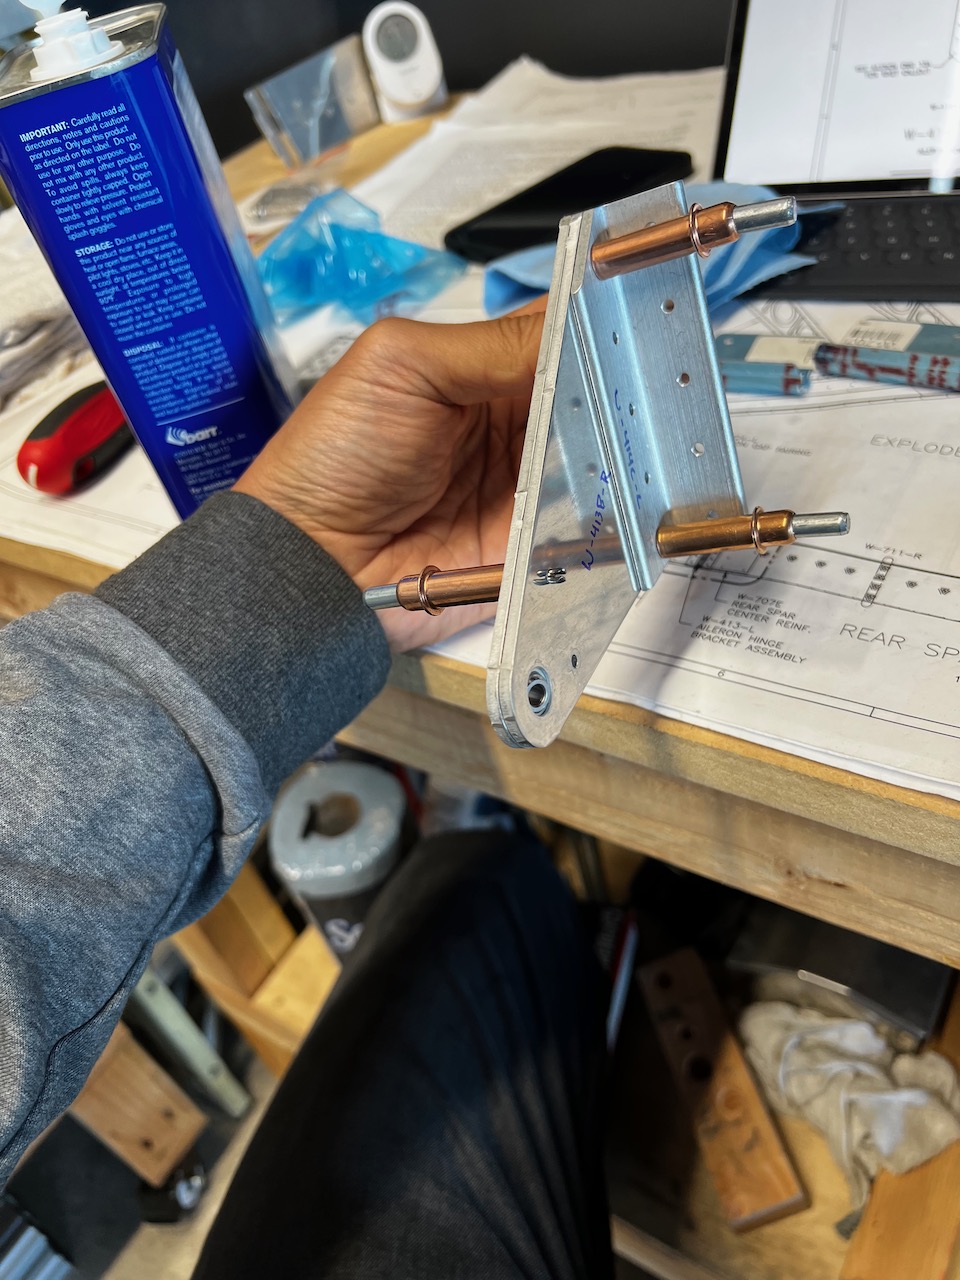
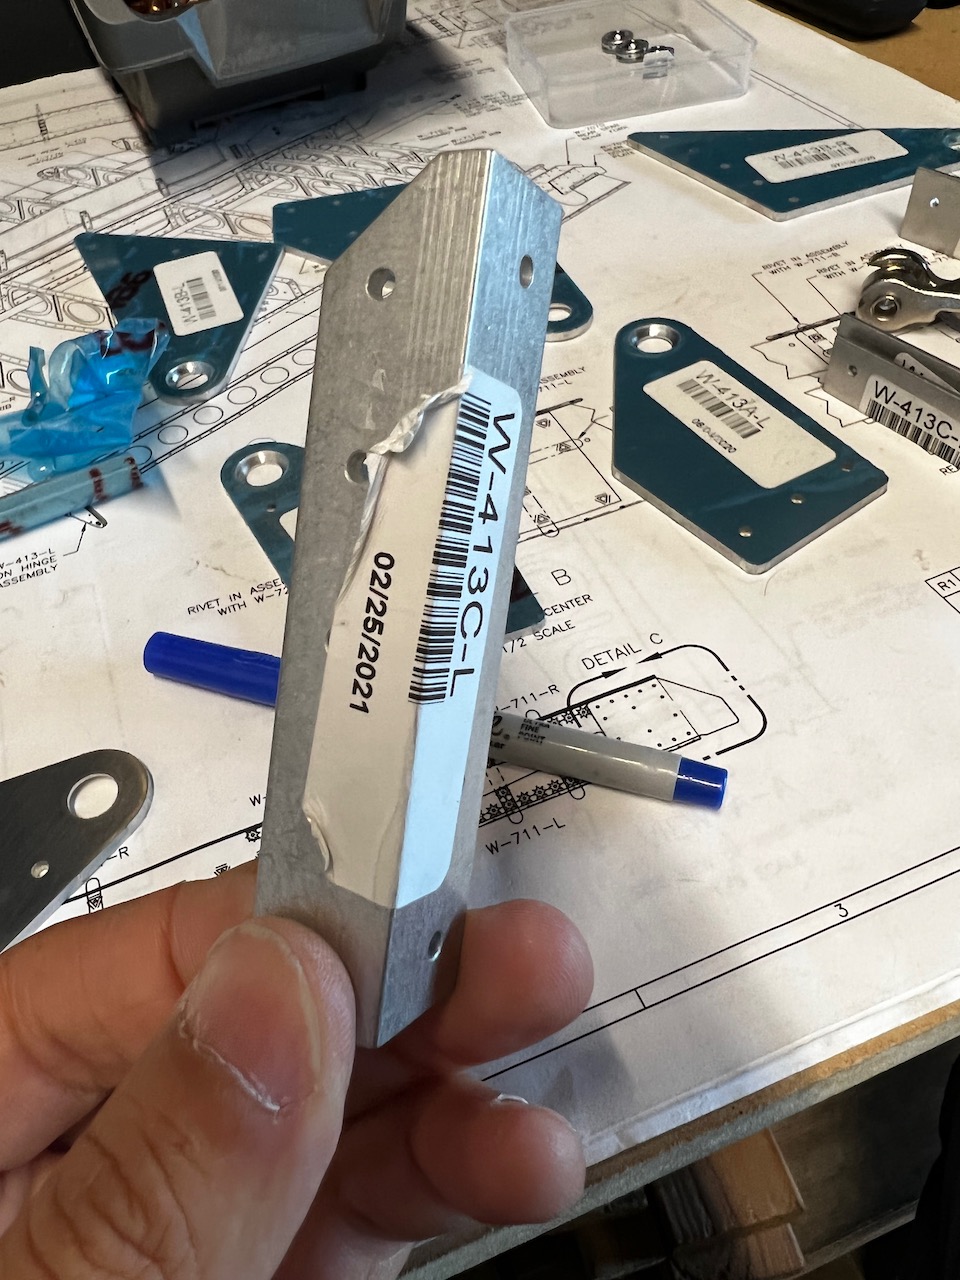
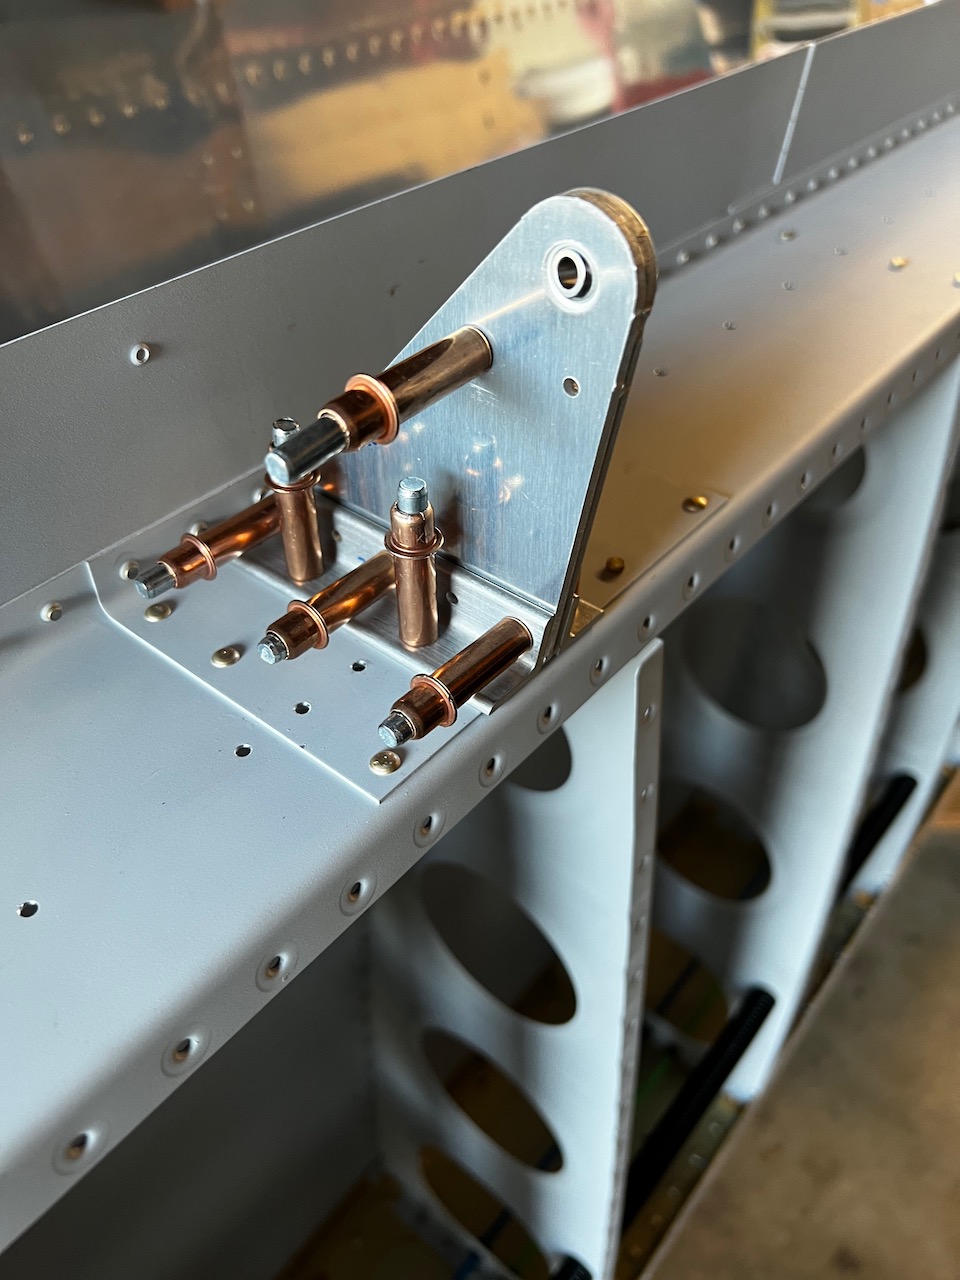
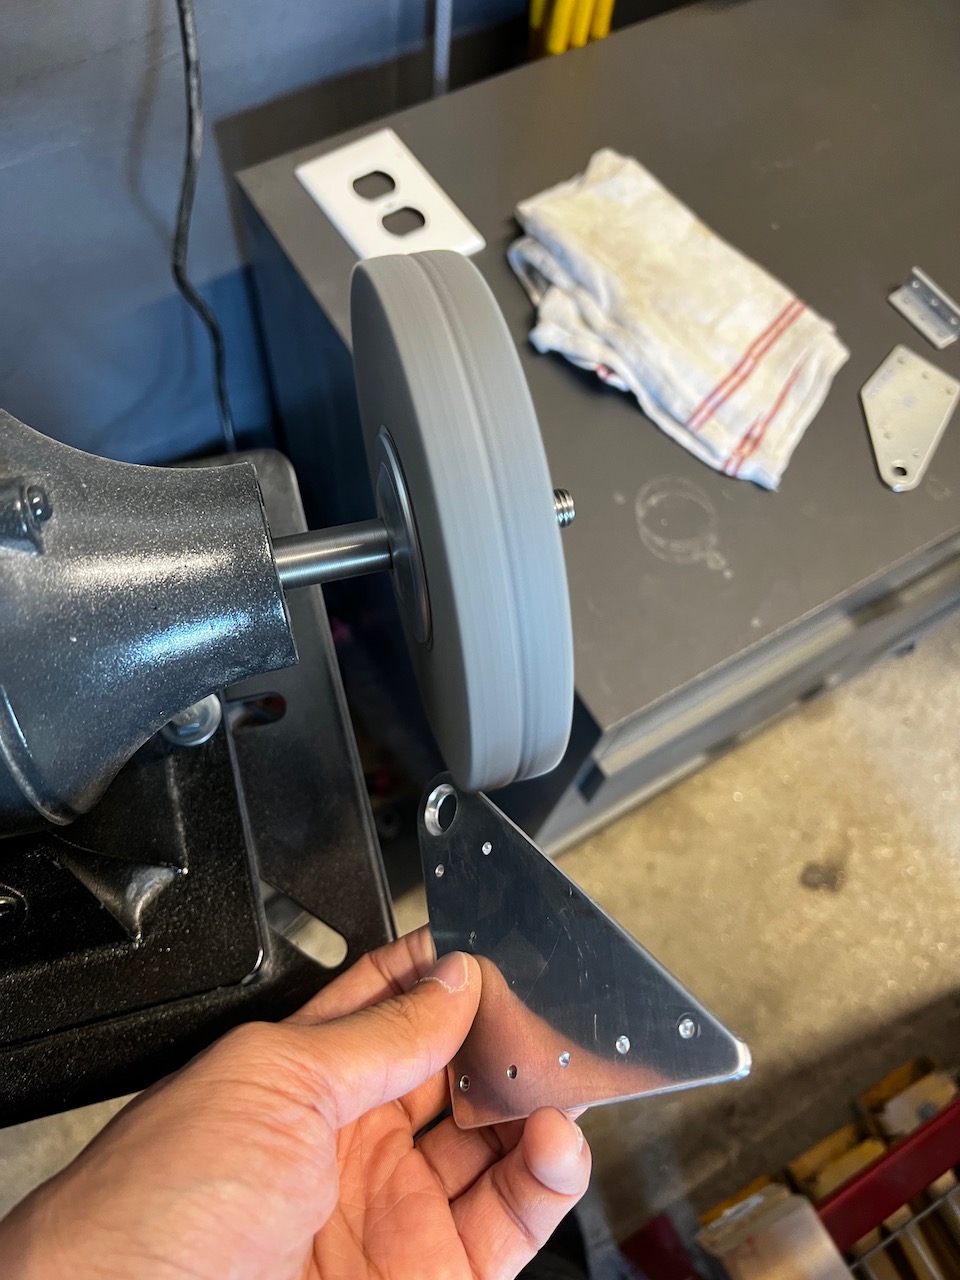
The major item on the list was the aileron brackets. It was a fun project in that there were a lot of different parts that needed mating to create these brackets. Also, there is a service bulletin (SB 16-03-28) which adds doublers to reduce the chances of cracking at the aft wing spar. Although it is not stricly necessary unless you observe cracking, I decided to pre-emptively apply the SB. Honestly it’s pretty straight forward if you do it during build, and becomes a major pain if you need to do it later. After taking my time with the first bracket, the rest were pretty straight forward, and nothing major to report. One minor thing to note…why don’t they have blue vinyl on the smaller parts? Instead, they use these stickers that are a real pain in the butt to remove. Lots of acetone fixed the problem.
parts parts and more parts!
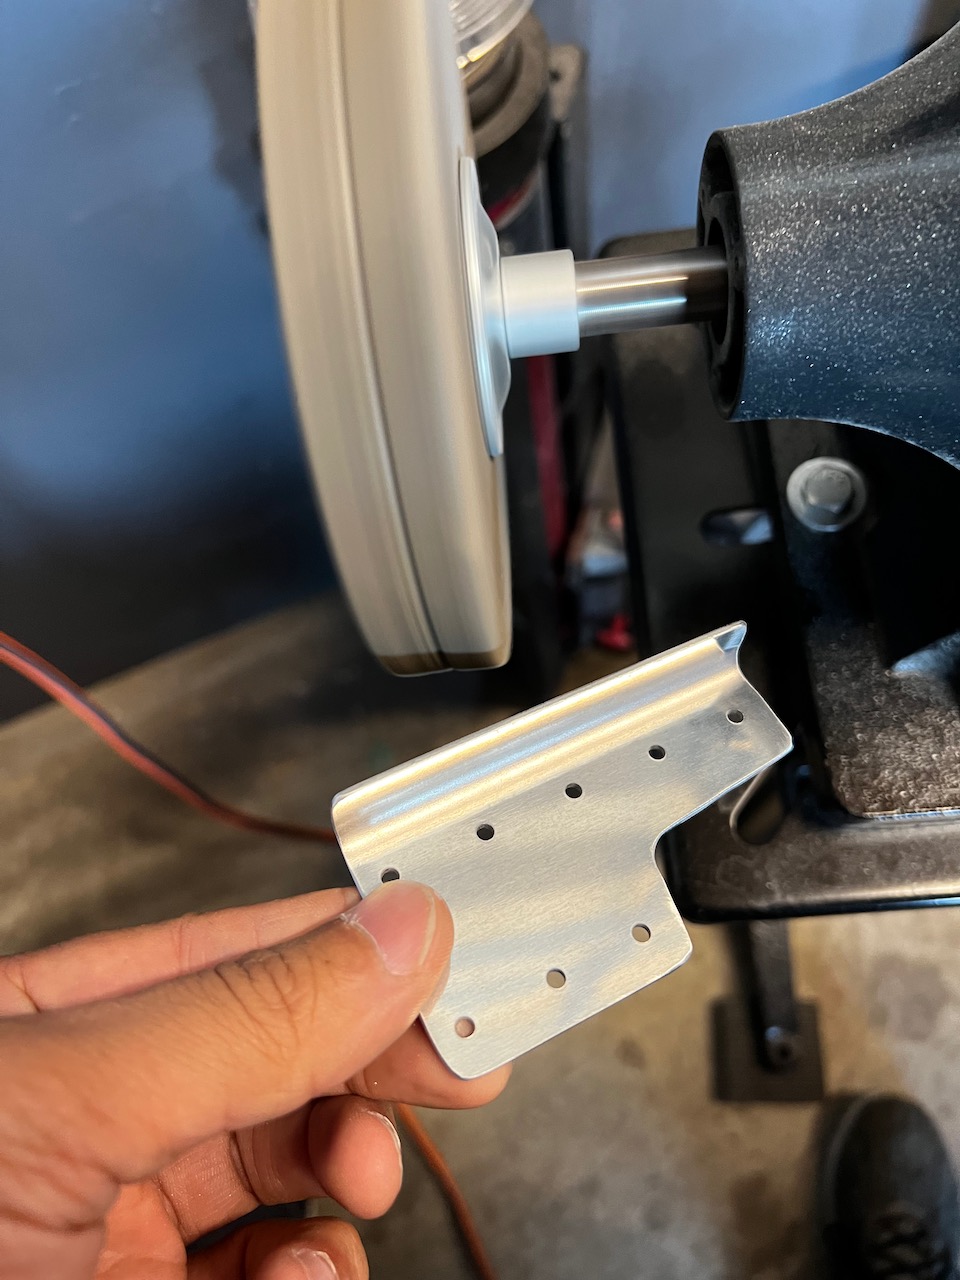
First outboard bracket assembled
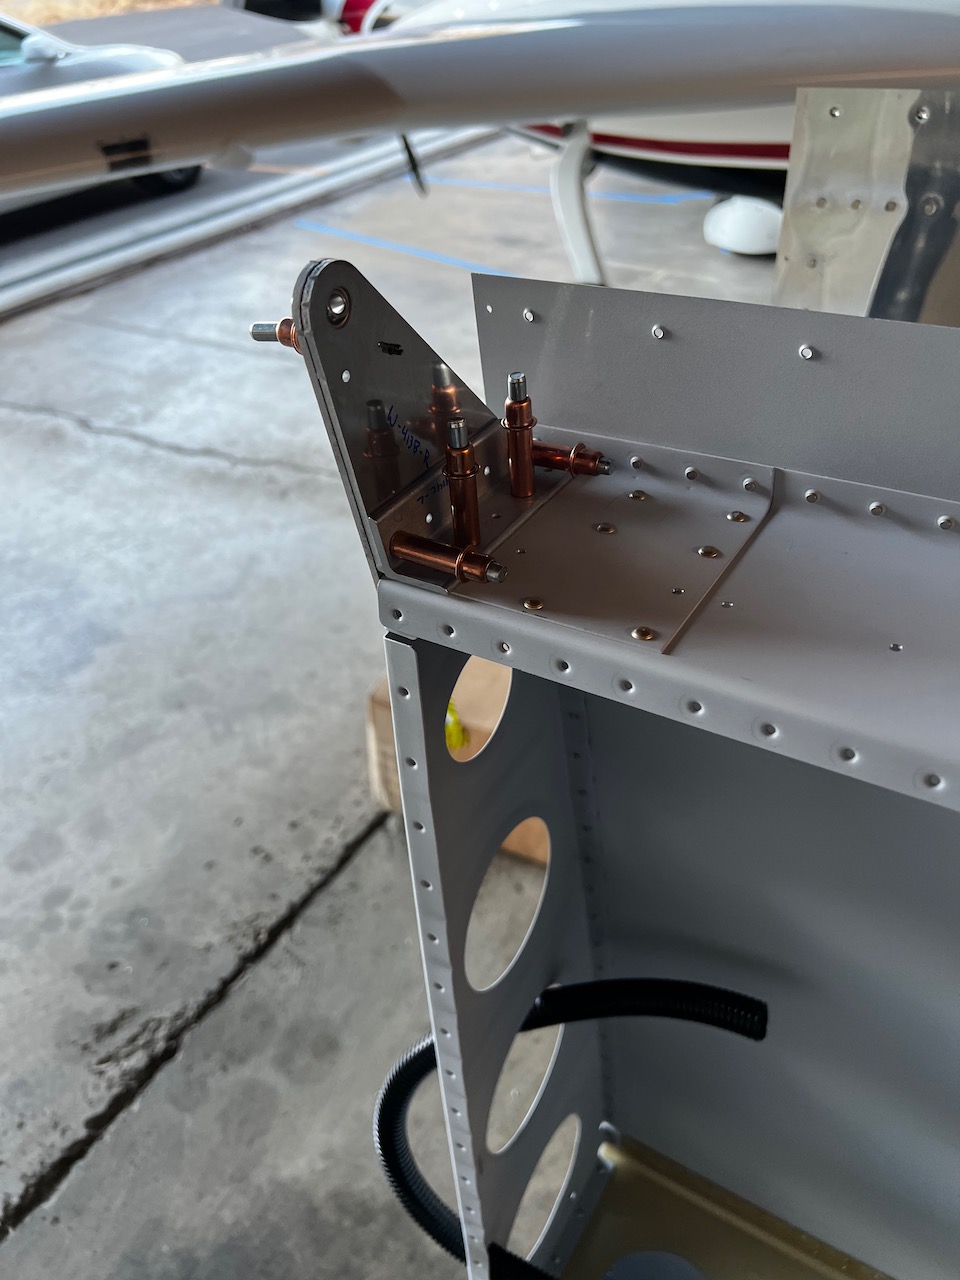
and fitted well!
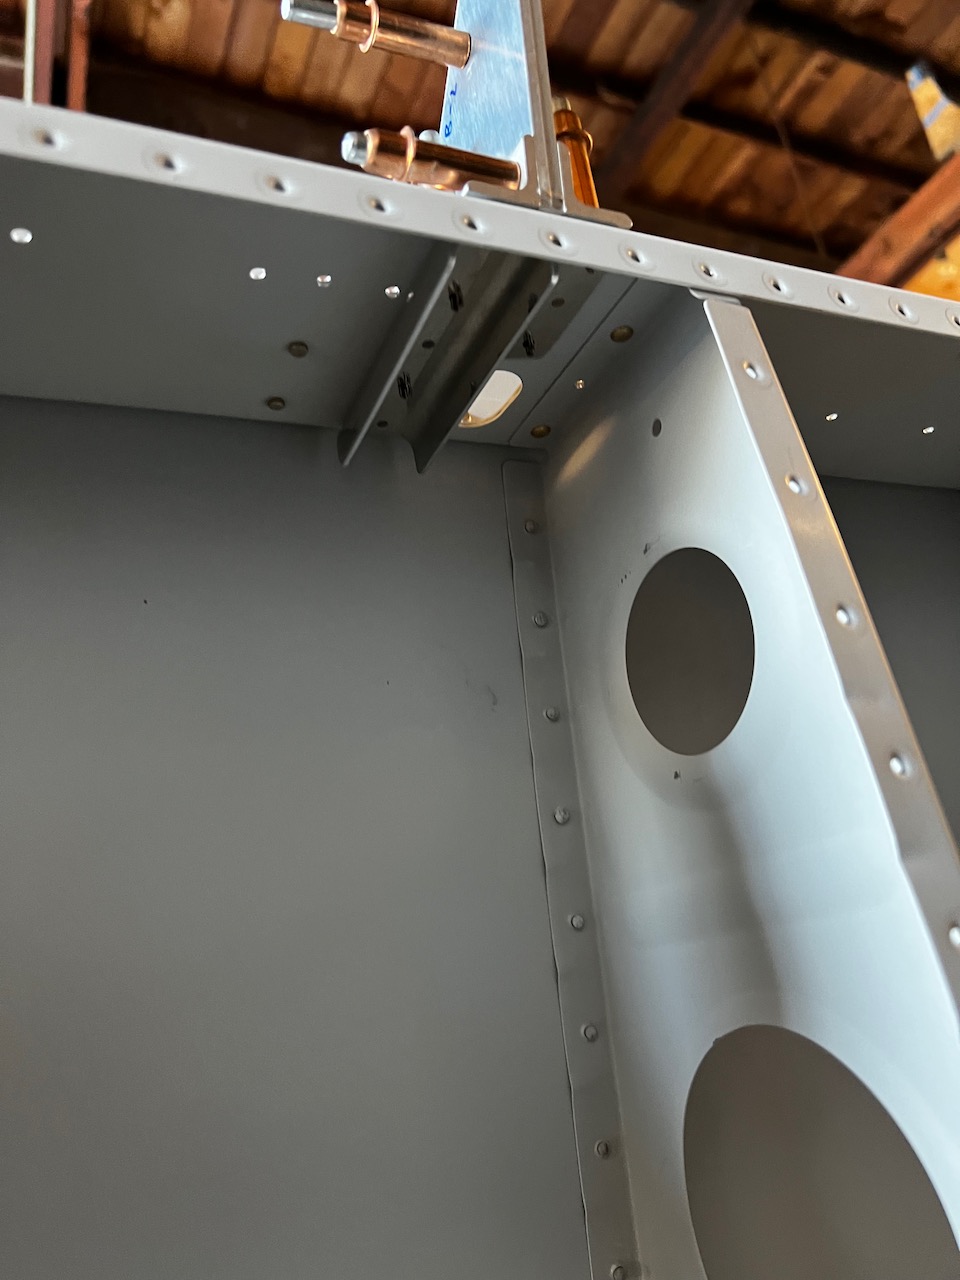
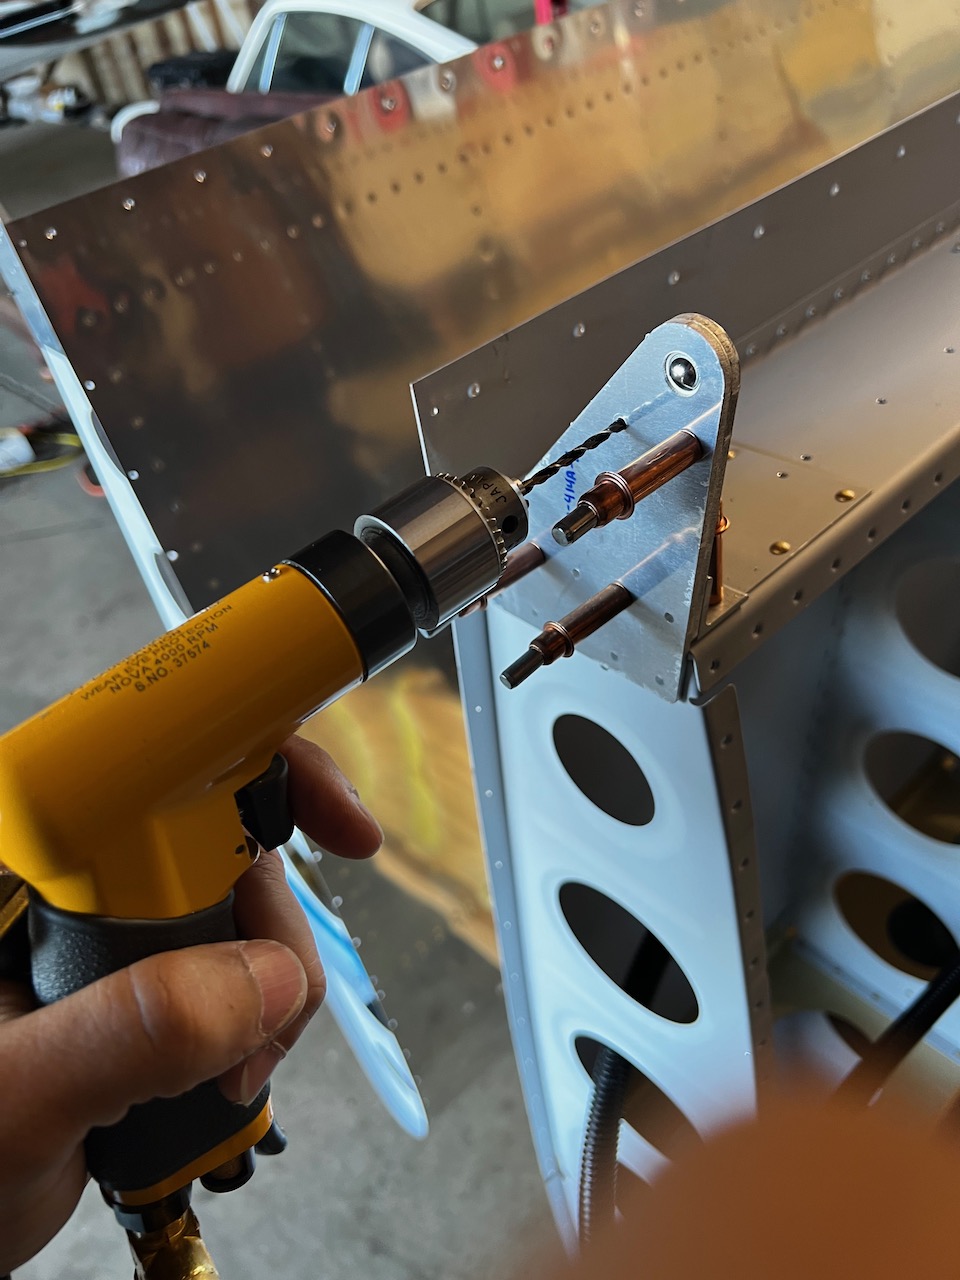
there is match drilling required on the wing rib for structural integrity
These stickers! Where’s the blue vinyl??
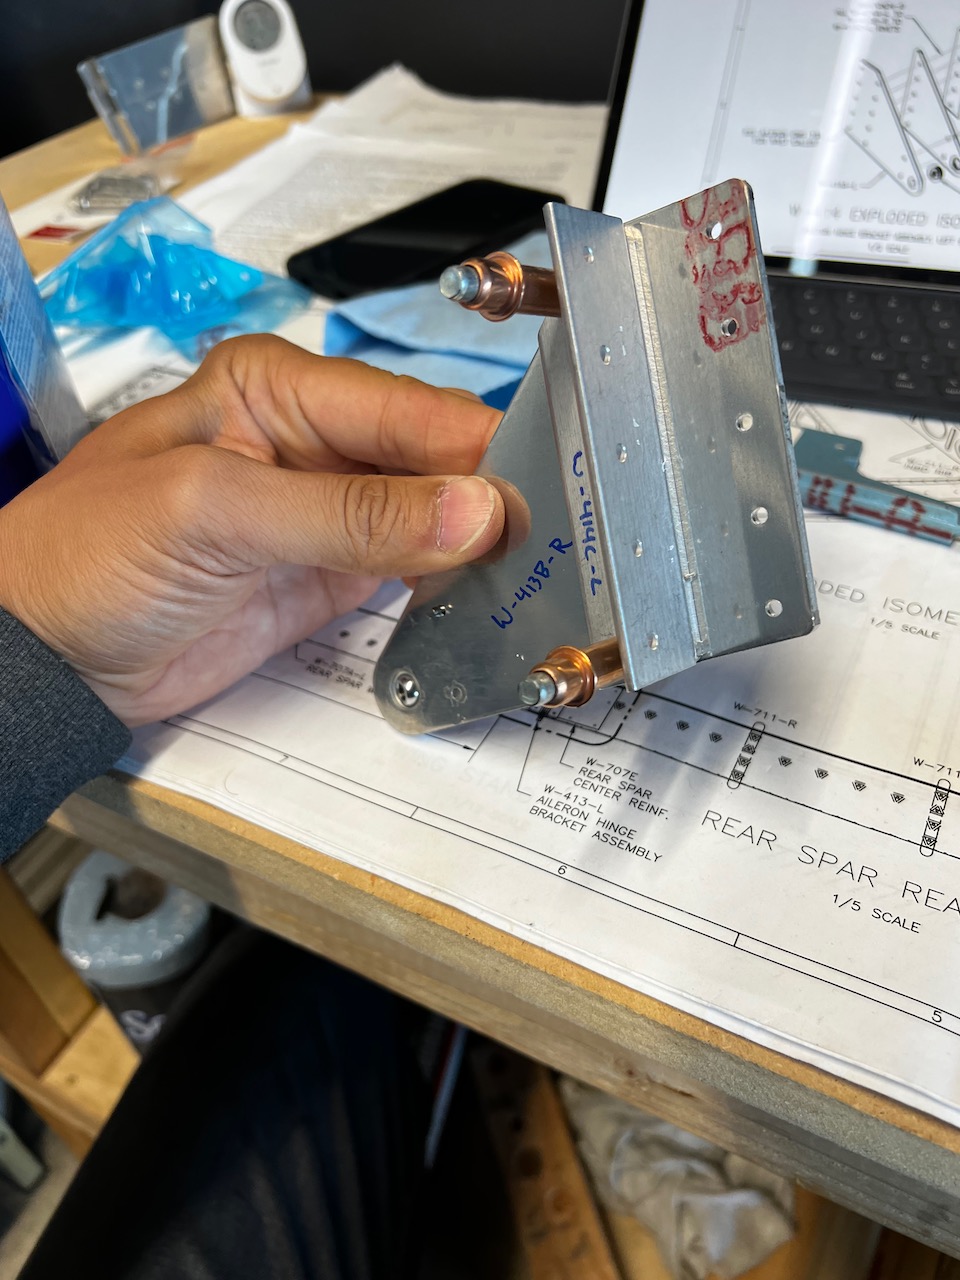
SB-16-03-28 bracket
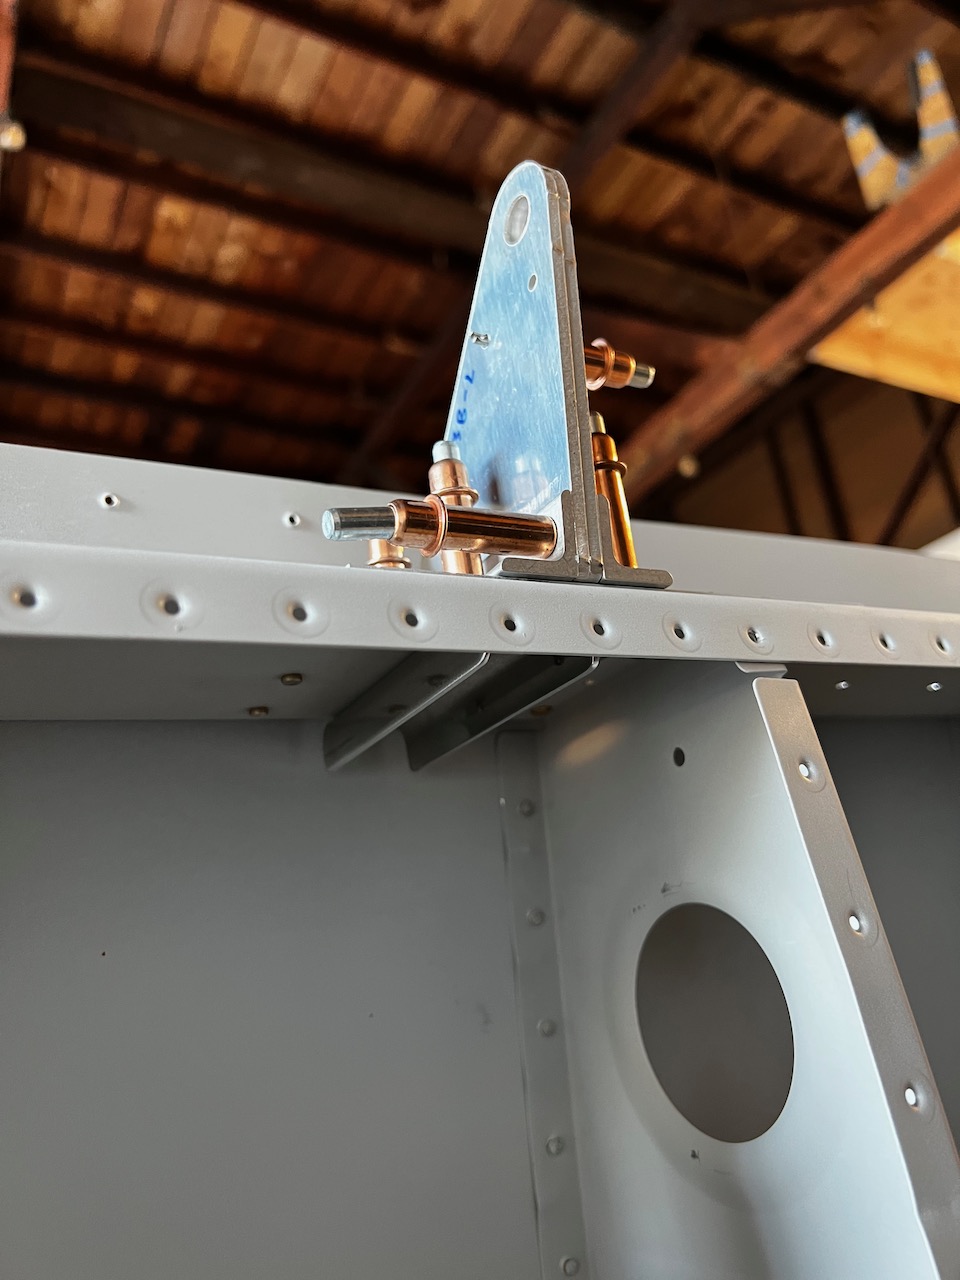
inboard bracket assembled with SB doublers
closer look at SB 16-03-28. So easy with the wing open
overhead view of inboard bracket
match drill…
…and deburr
brackets ready to go for priming!
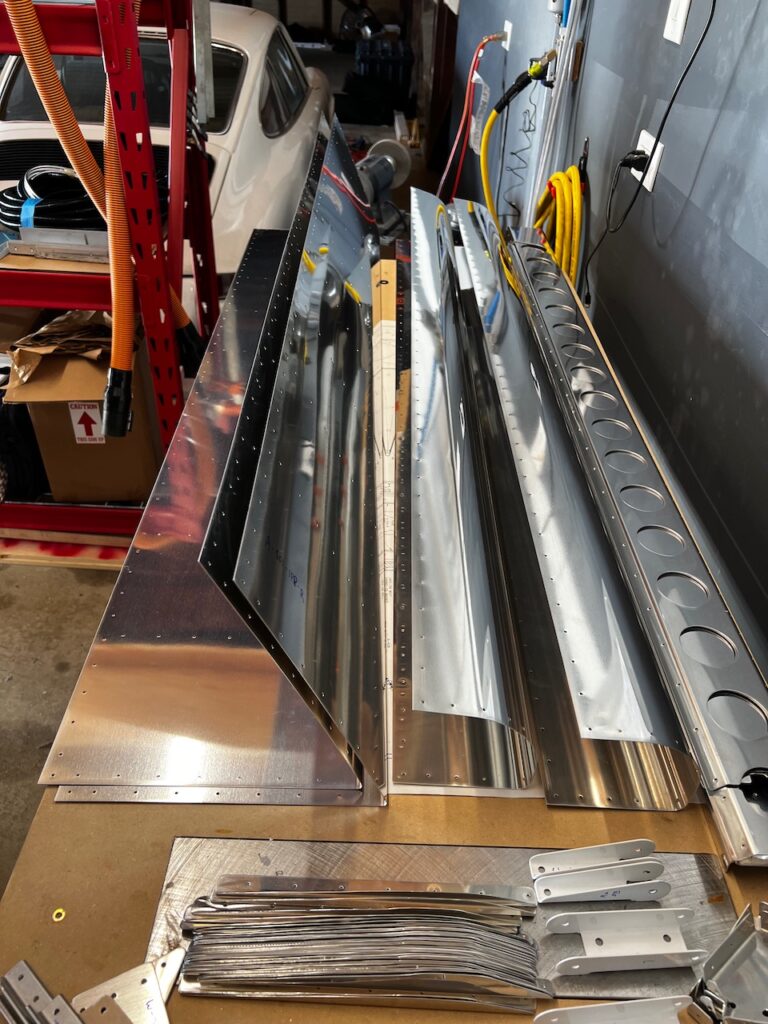
Aileron Skin prep
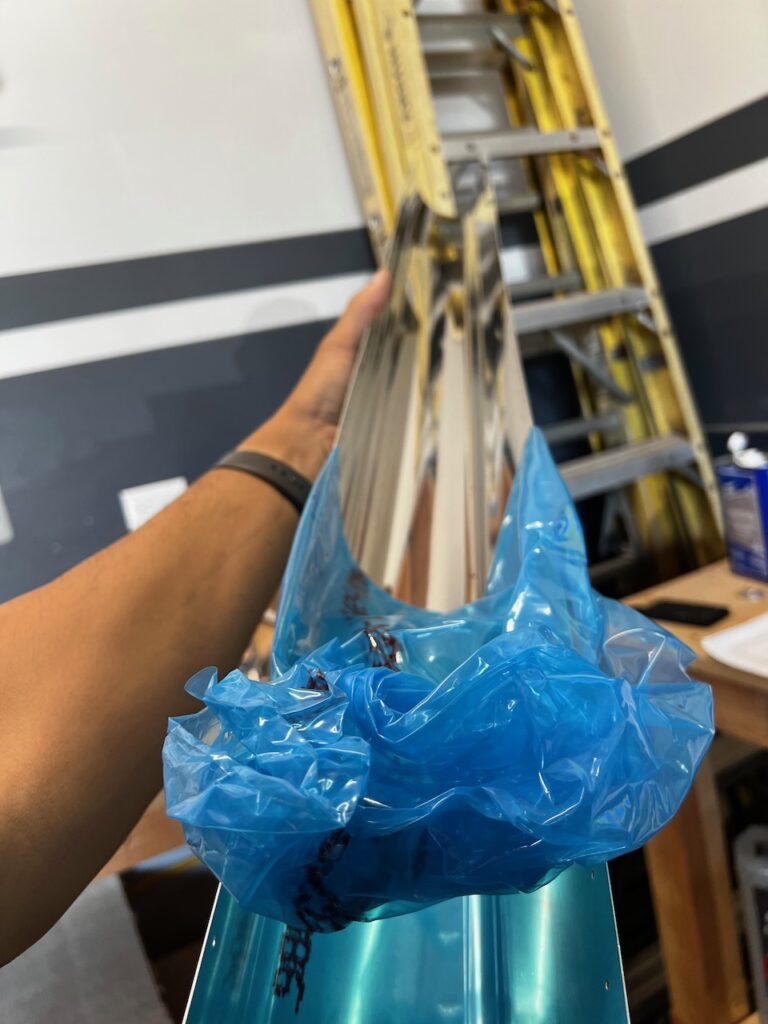
Next up was removing all the blue vinyl from the skins, and deburring edges and match drilled holes. This was “quick” and easy (quick = less than 2 hours…. ha ha!)
still satisfying!
Skins ready to go for priming!
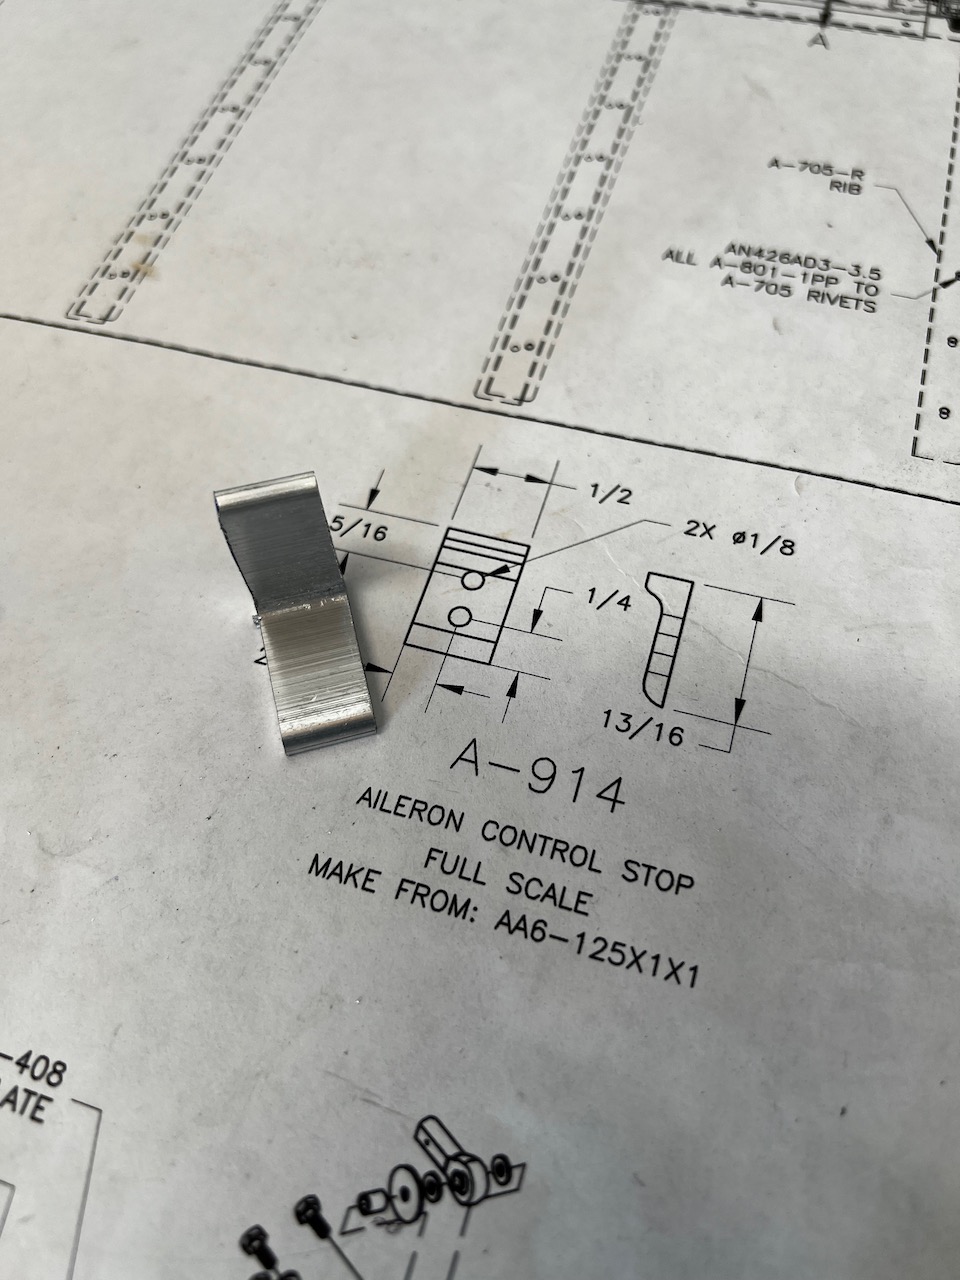
Aileron Constrol Stops
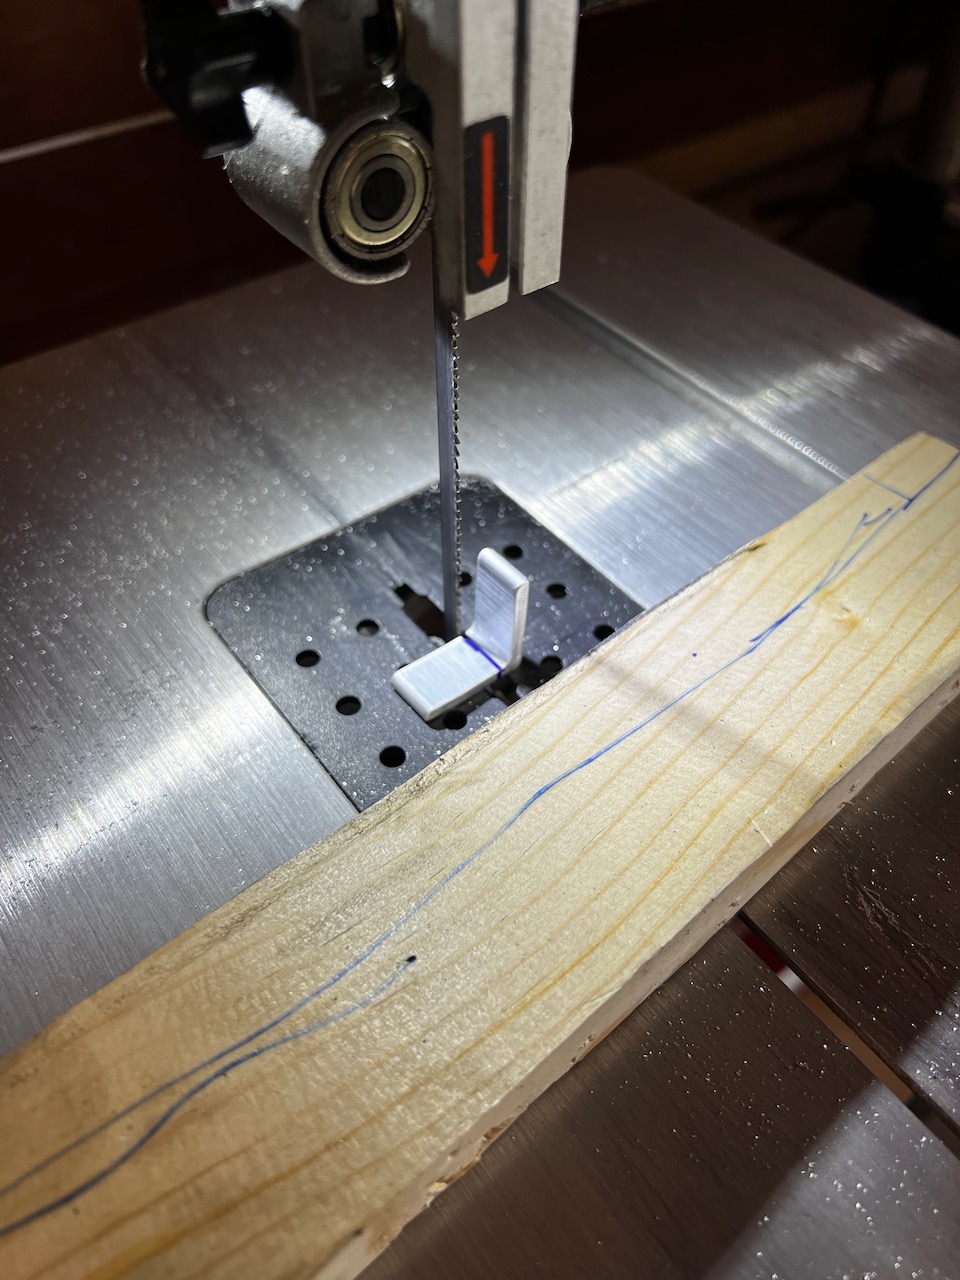
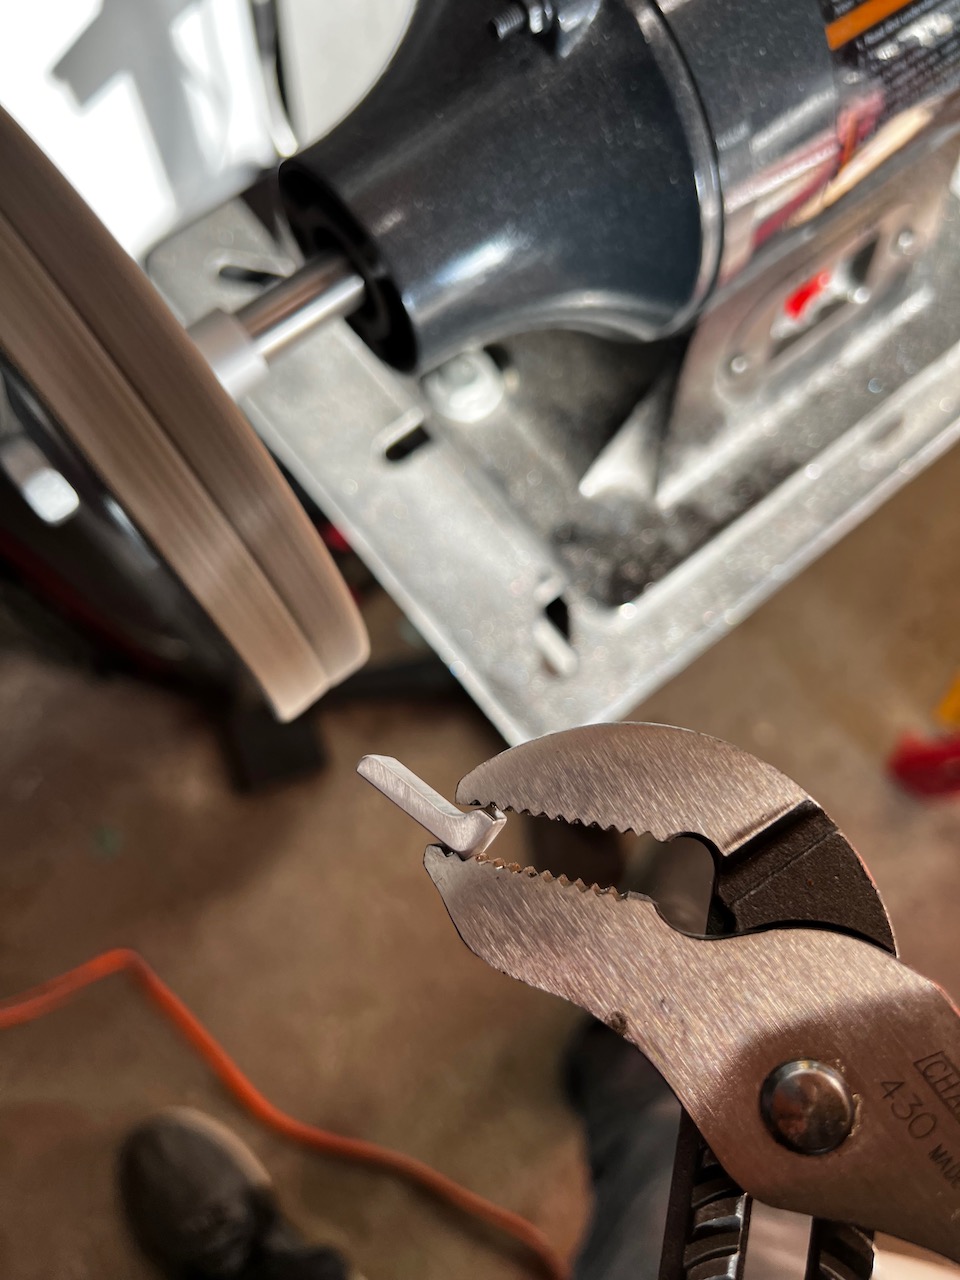
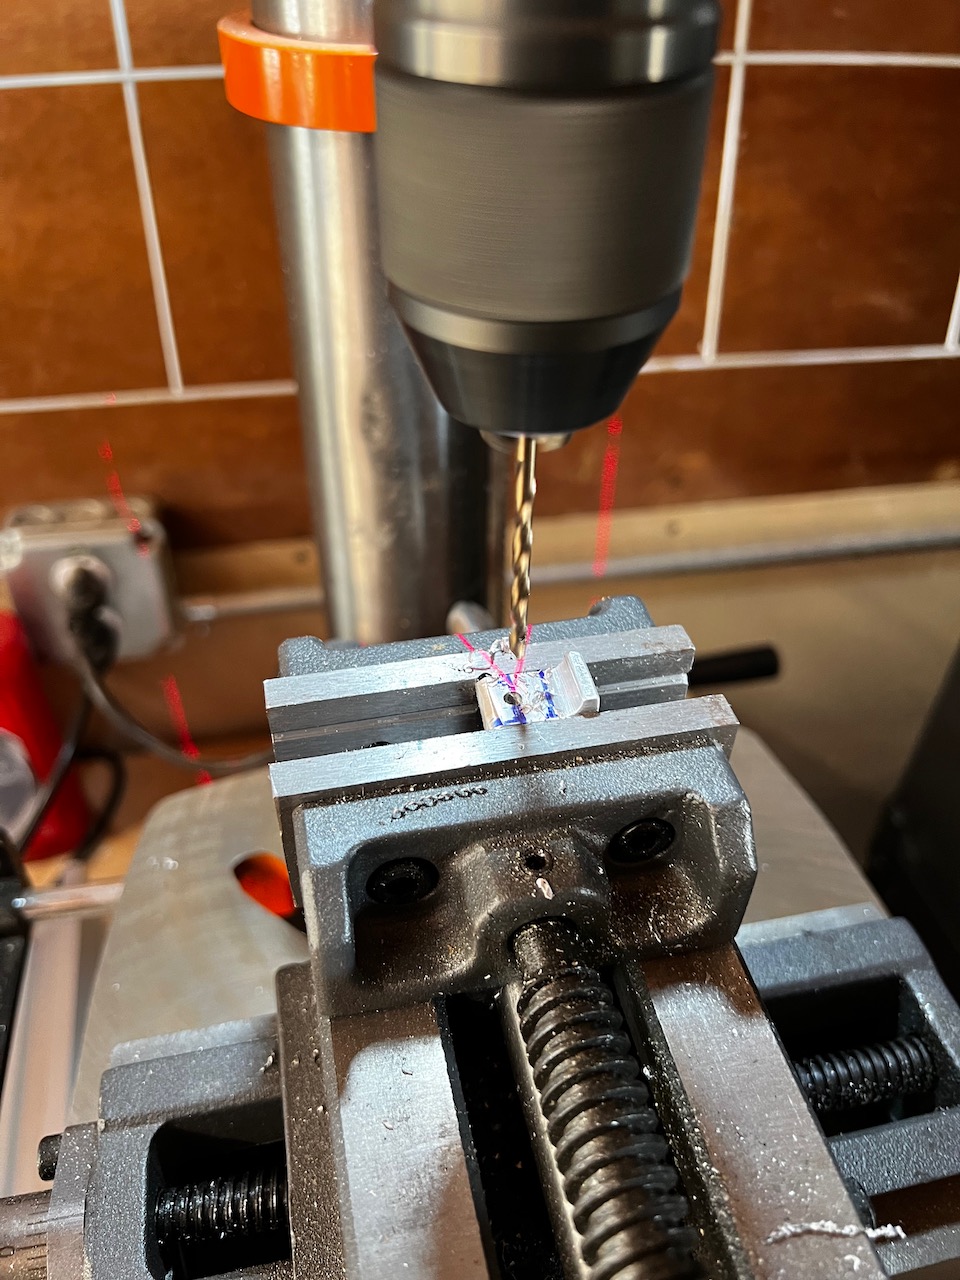
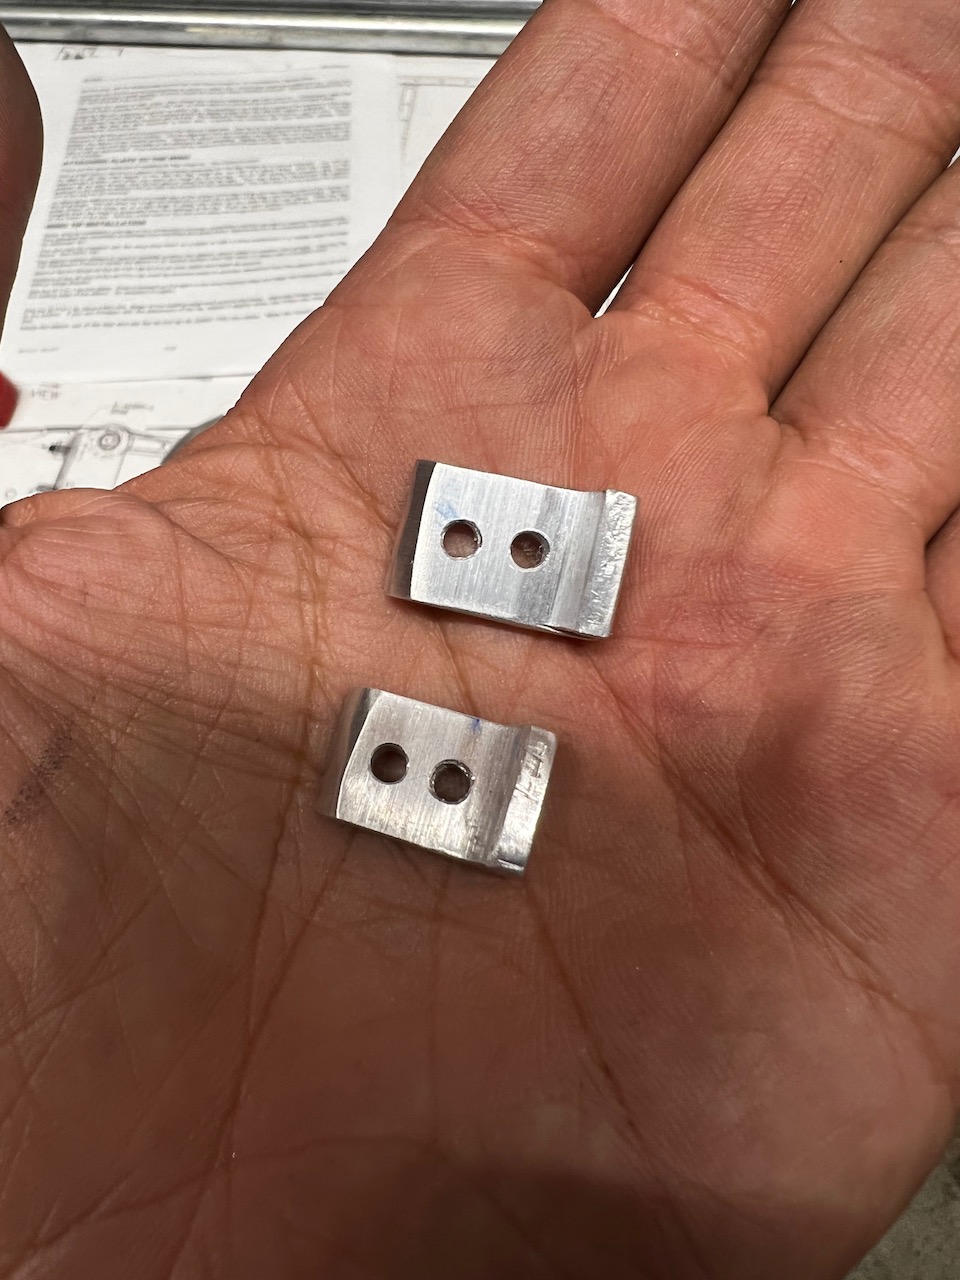
As I was checking if I got everything, I saw a vague reference to aileron control stops (A-914) on DWG-13A which requires you to fabricate them out of AA6-125x1x1. You’d think this is a simple job, but it ended up taking a bit of time. There are unique challenges when fabricating a piece that small. You start to run out of distance in the bandsaw, and the pieces heat up so much more when they are that small. I had to get creative when using the bandsaw and scotch brite wheel. In the end, after quite a bit of wrestling, I got the two pieces fabricated.
starting Angle to be used to fabricate A-914
One stop rough cut.
with very little room, I used a piece of wood for pushing new apps through.
Trying to deburr by hand got way too hot. Channel locks work better.
Drilling the holes
Done!
And with those three tasks, I believe I am complete ready for Saturday’s priming day. I look forward to getting through the session, which will allow dimpling and rivet of the aileron. Until then stay cool, and Happy Building!


2 comments
Nice work. Good luck today (Saturday) with completing the task at hand.
Amazing work! You never cease to amaze me!