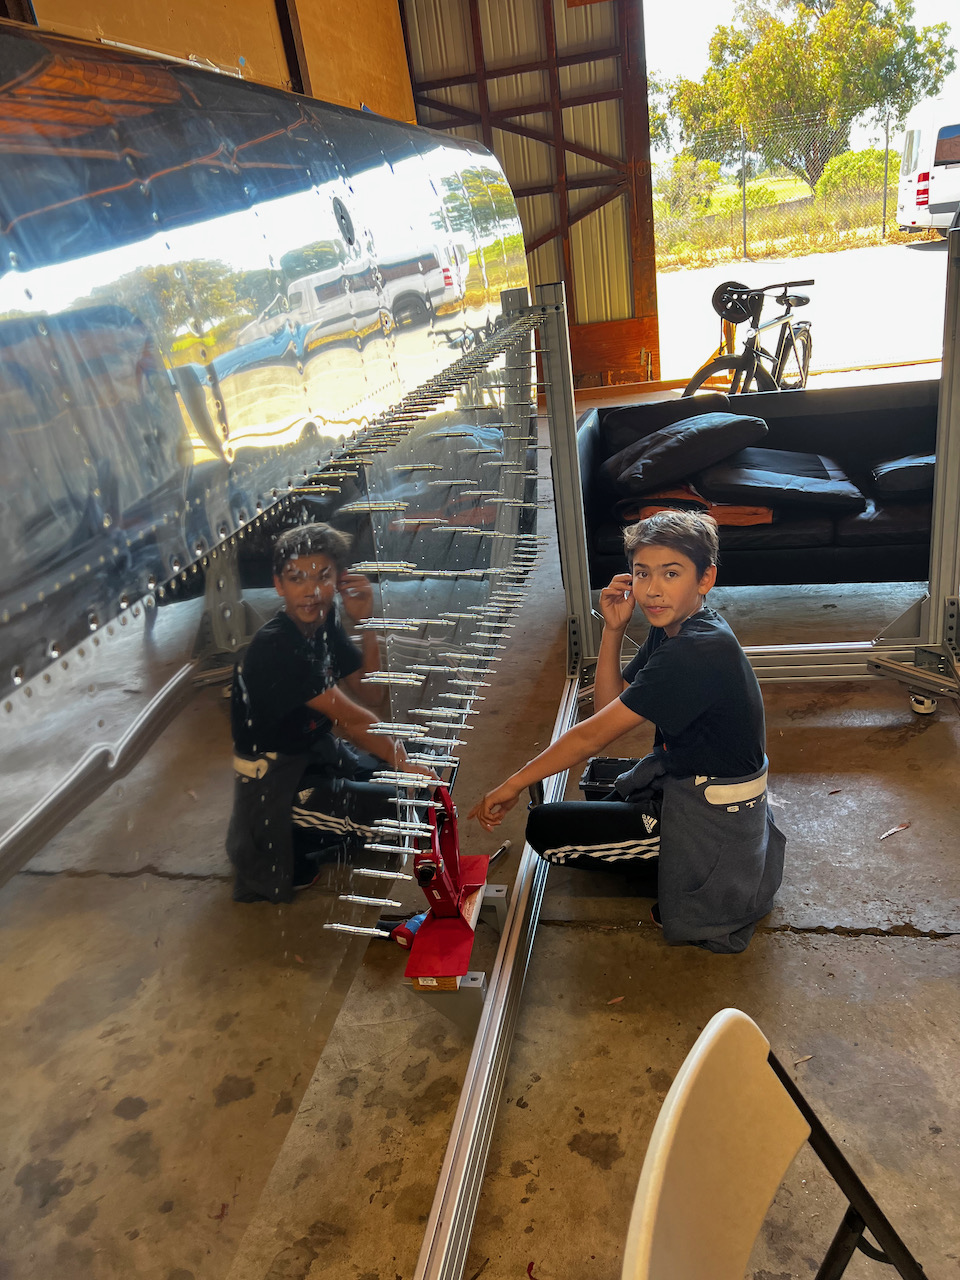
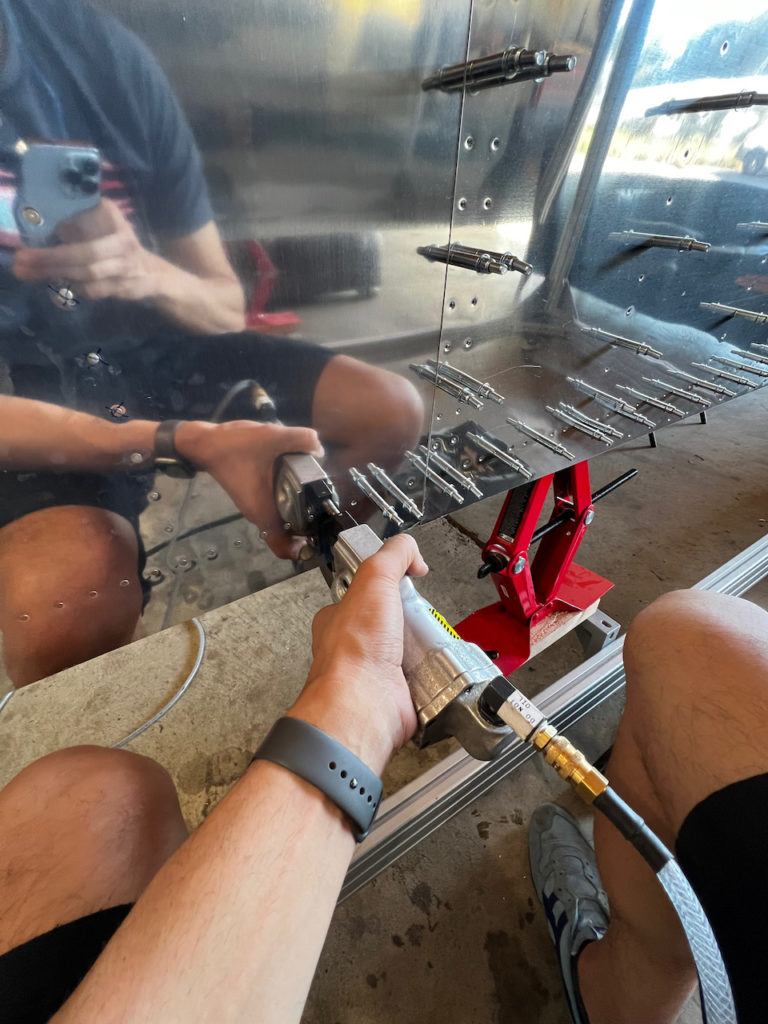
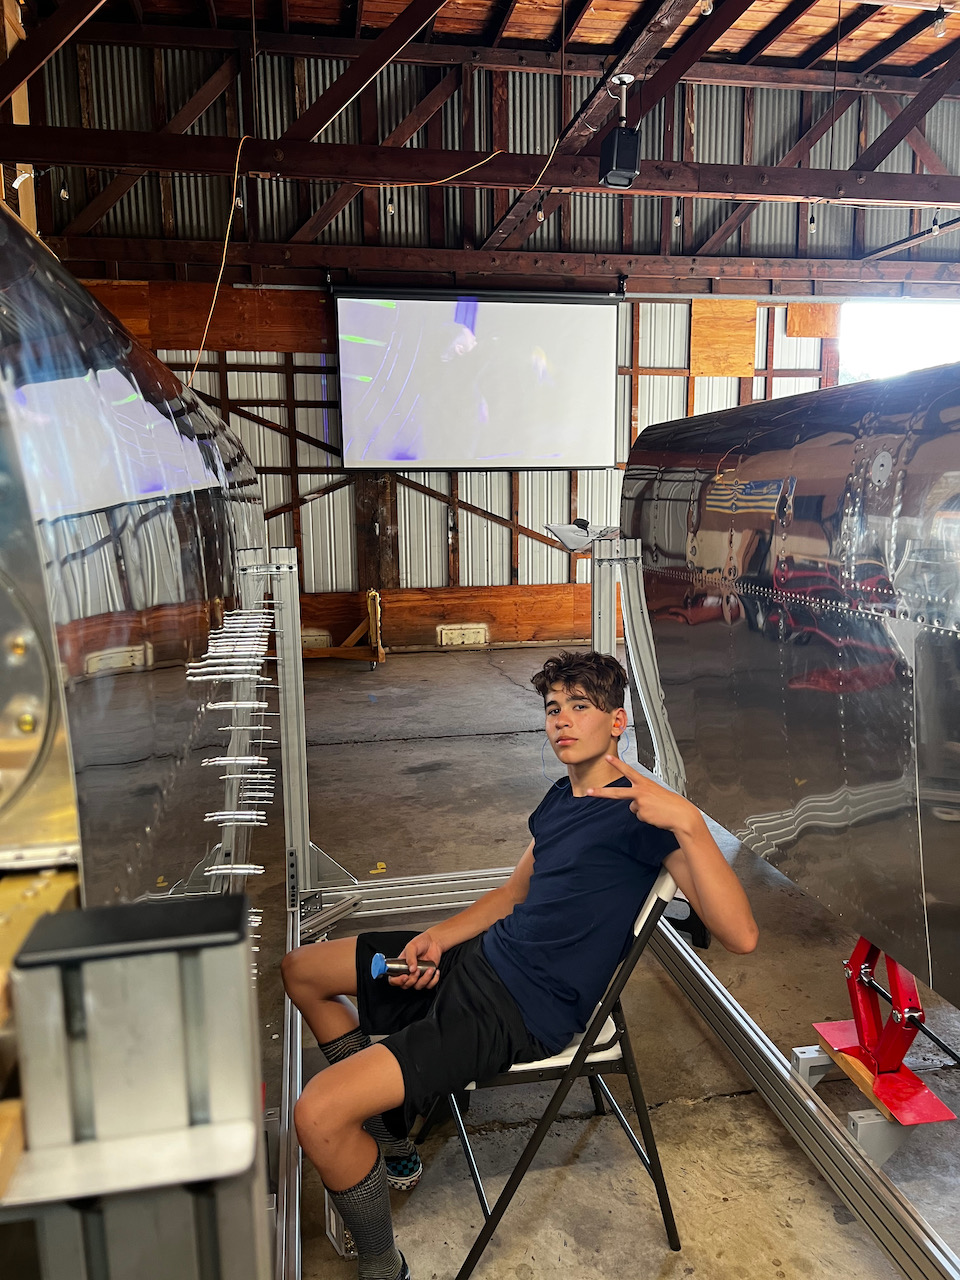
I convinced the boys to come out for a couple of shifts on Saturday. We were able to get through a couple of ribs, and the corresponding forward spanwise rivets. With consistent reminders about the bucking bar technique we did a much better job this time around. Only one rivet to drill out!
Nico back at it.
We got our technique down this time around
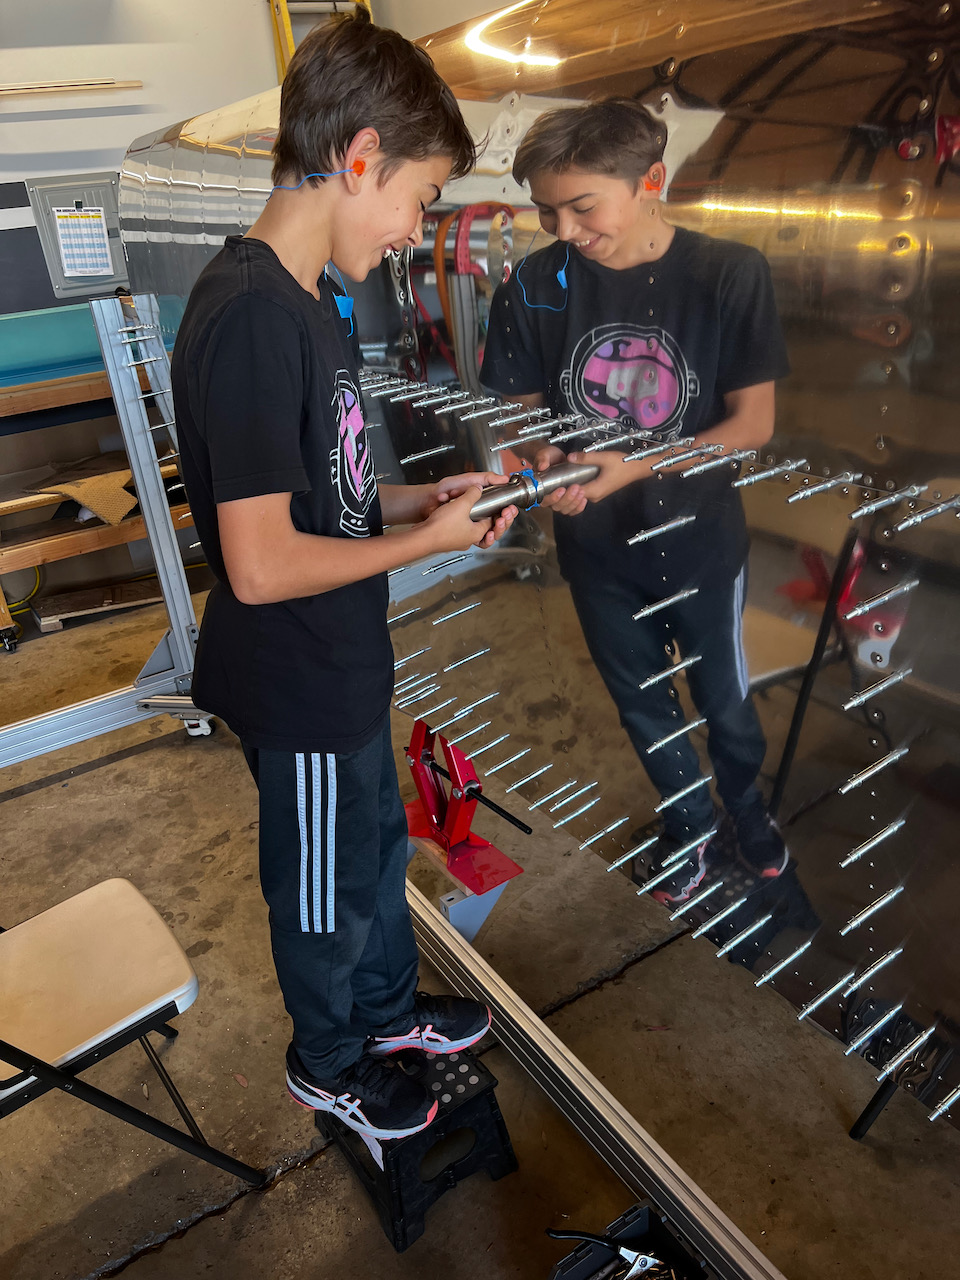
Jack came in for shift 2.
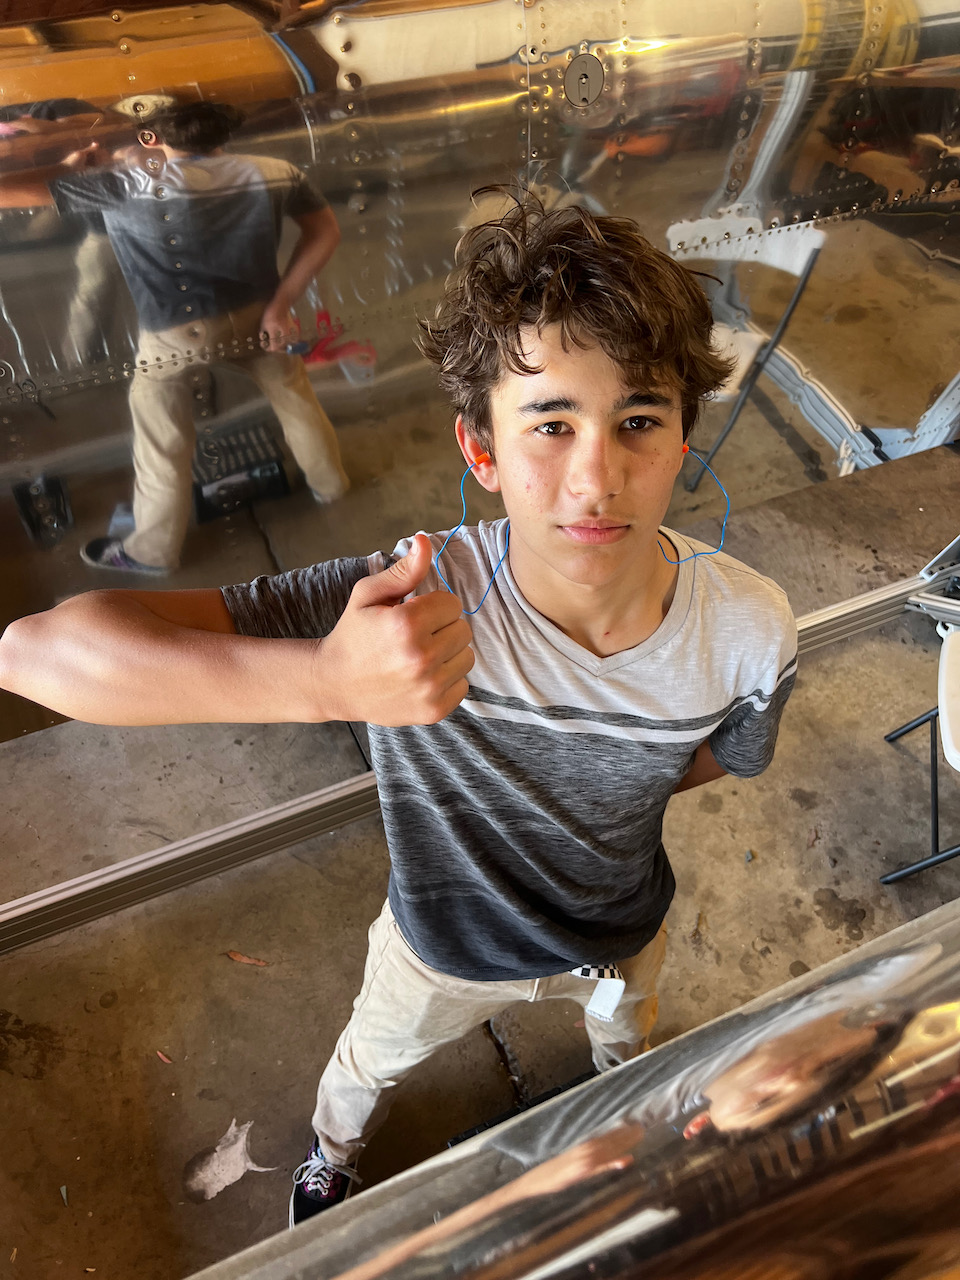
Easy peasy!
finally getting a hang of the new backrivet set
Lots done with the boys!
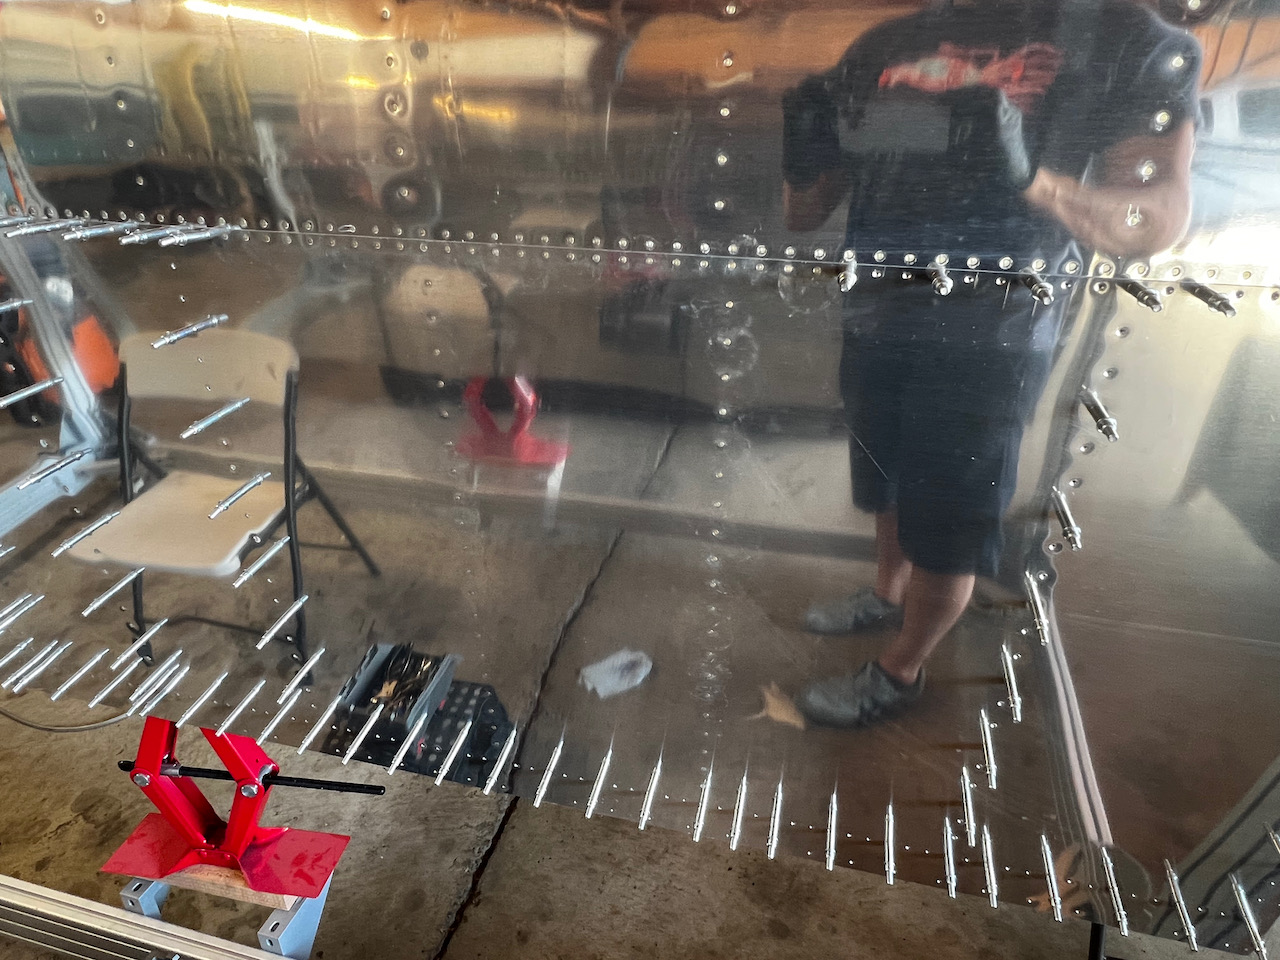
Max session length for the boys is generally around 1 hour, so after I got through two shifts with them, I continued working on the aft spanwise rivets. With the squeezer, this was easy going.
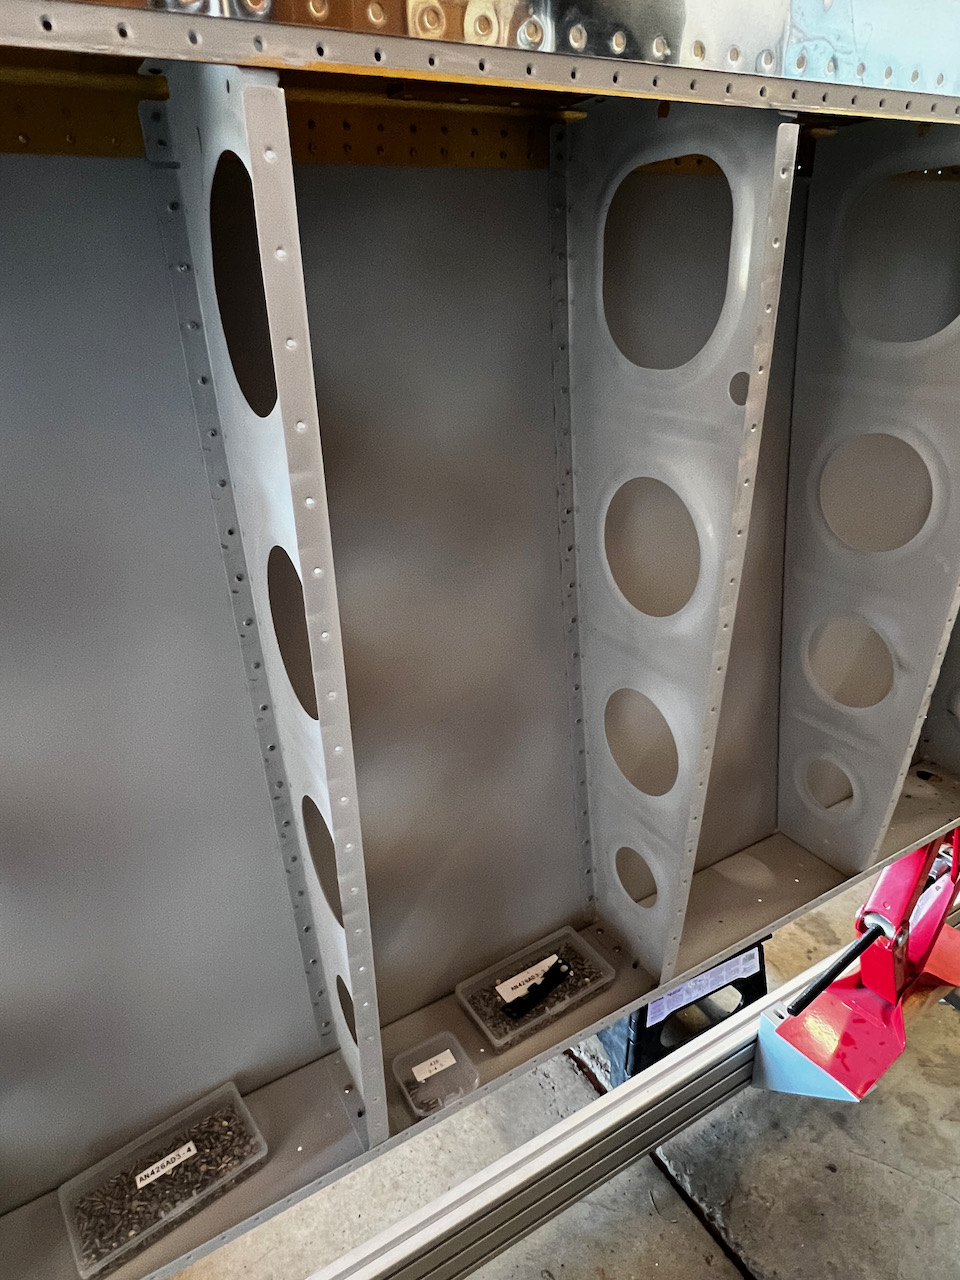
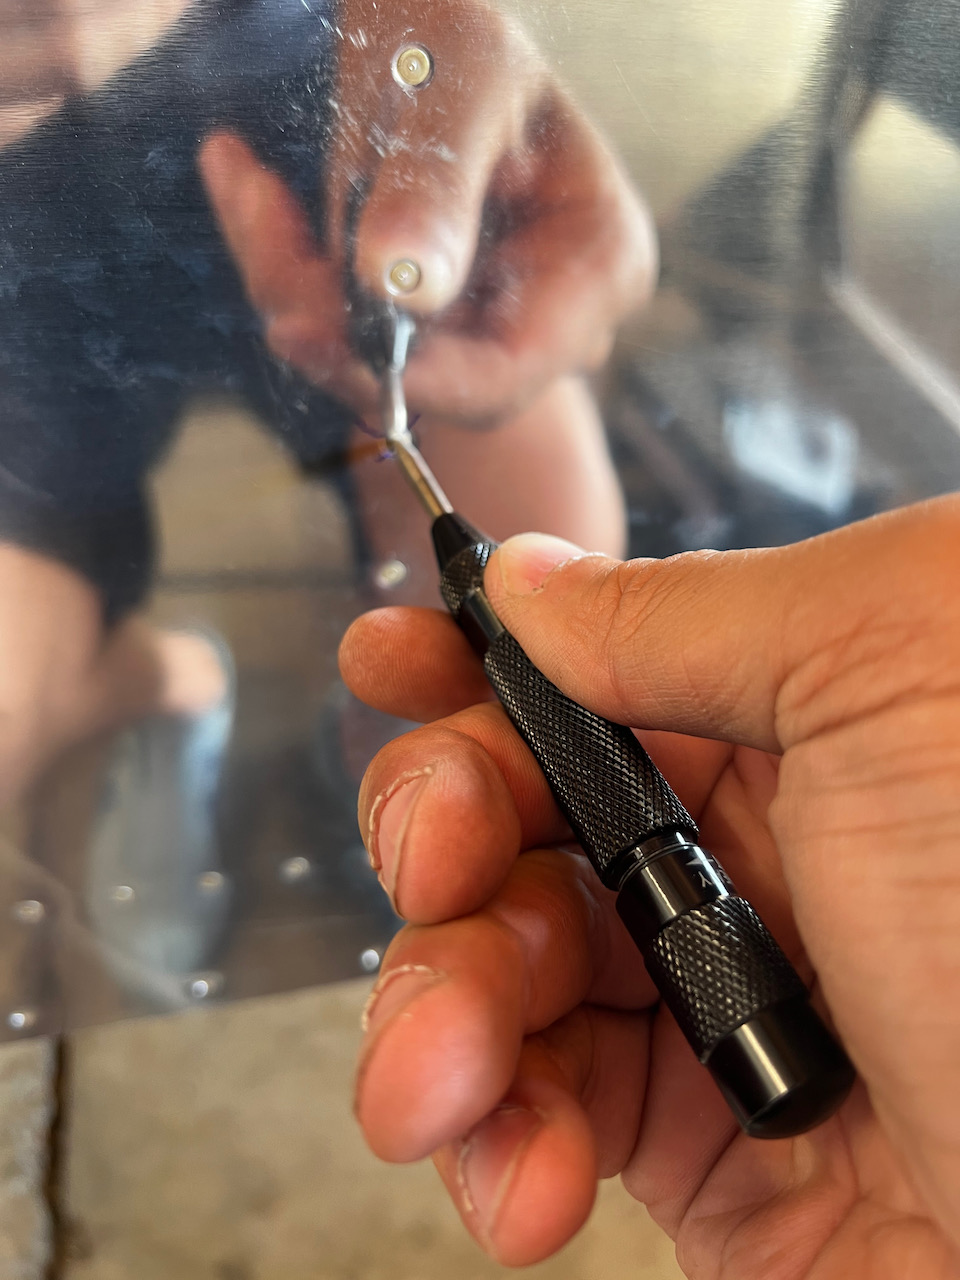
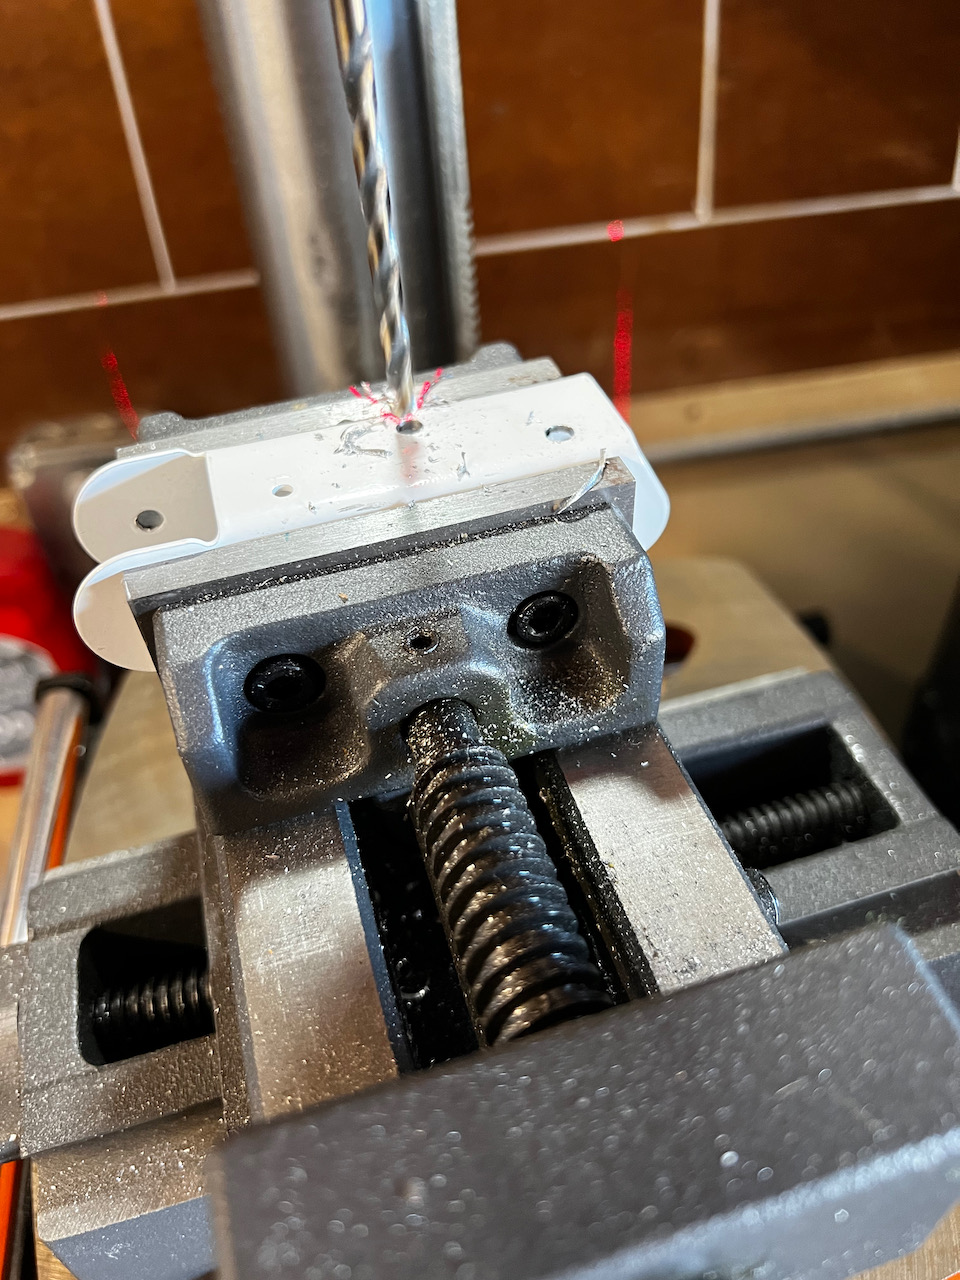
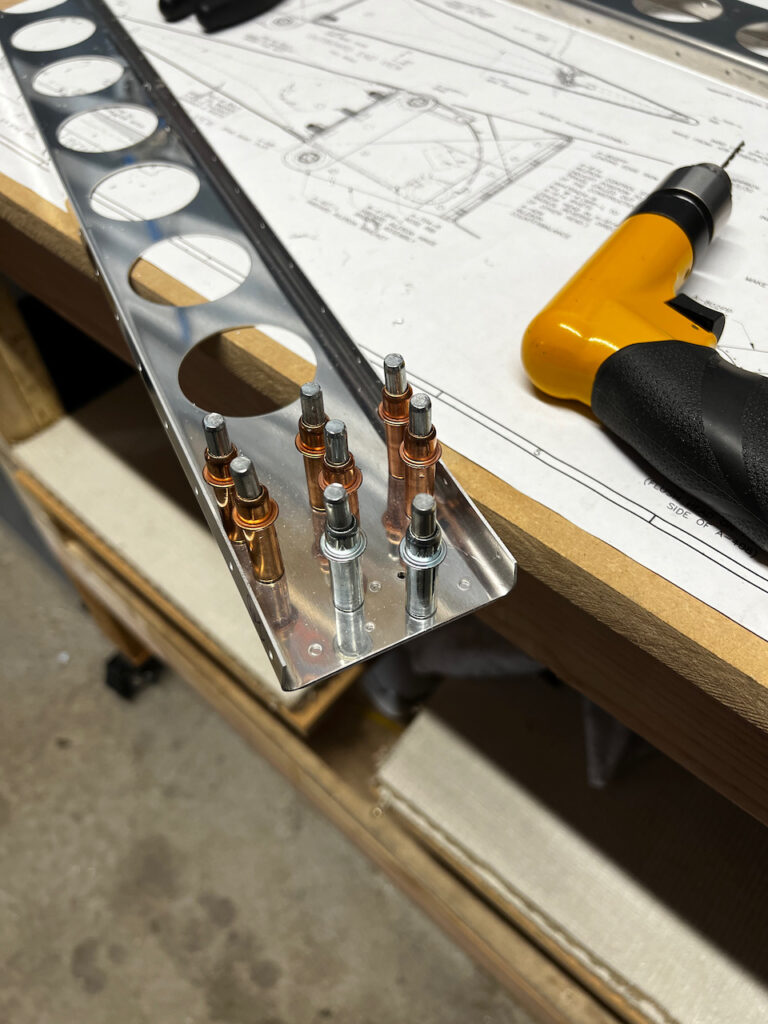
Last thing I did was a long time coming. Over all the top skin sessions I have been accruing quite a few bad rivets. Well, it was finally time to drill them out. These rivets are relatively easy to drill out. Steps are as follows:
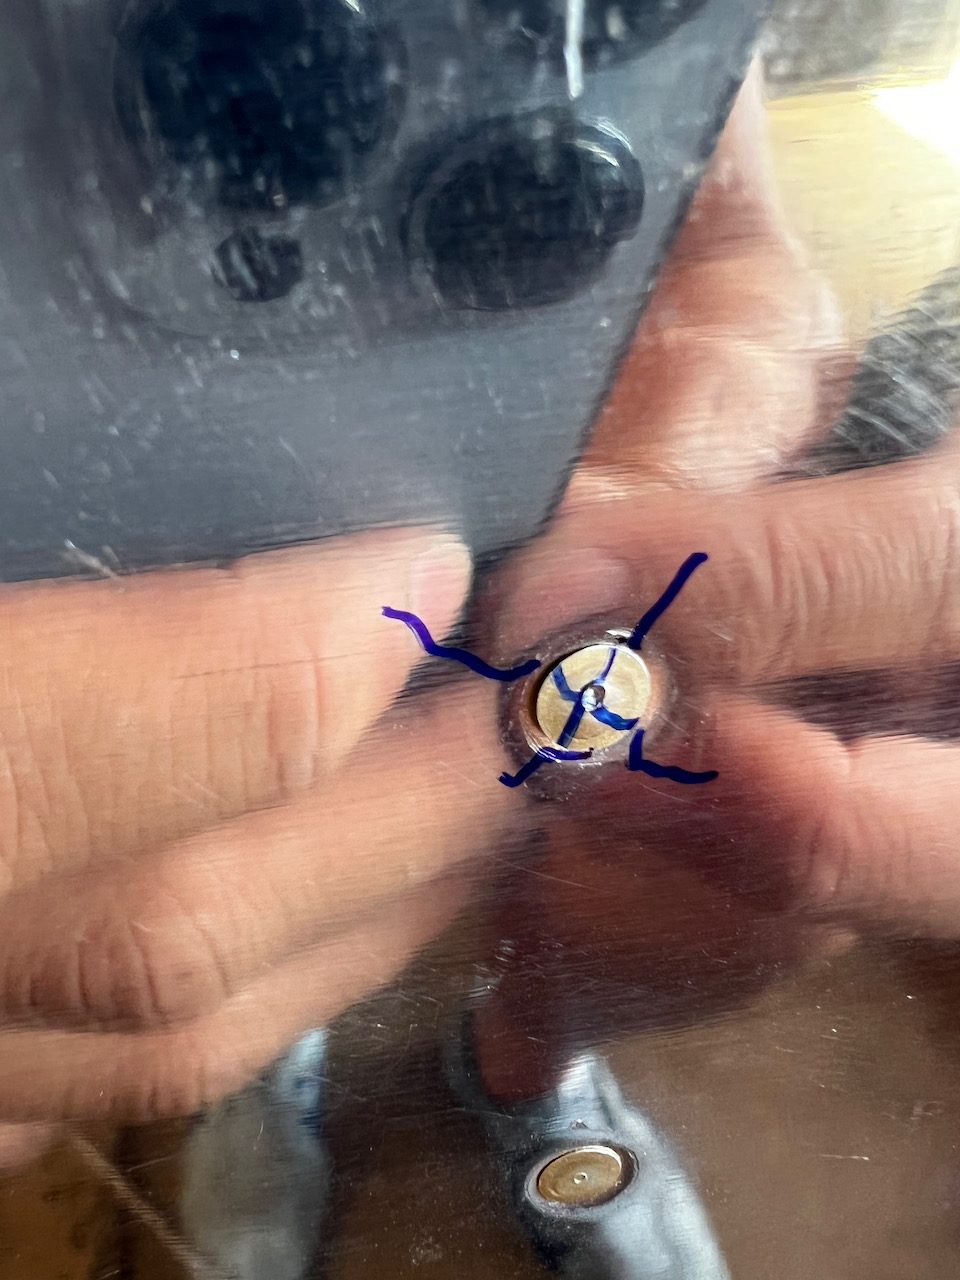
pre-punch the rivet to limit drill walking around
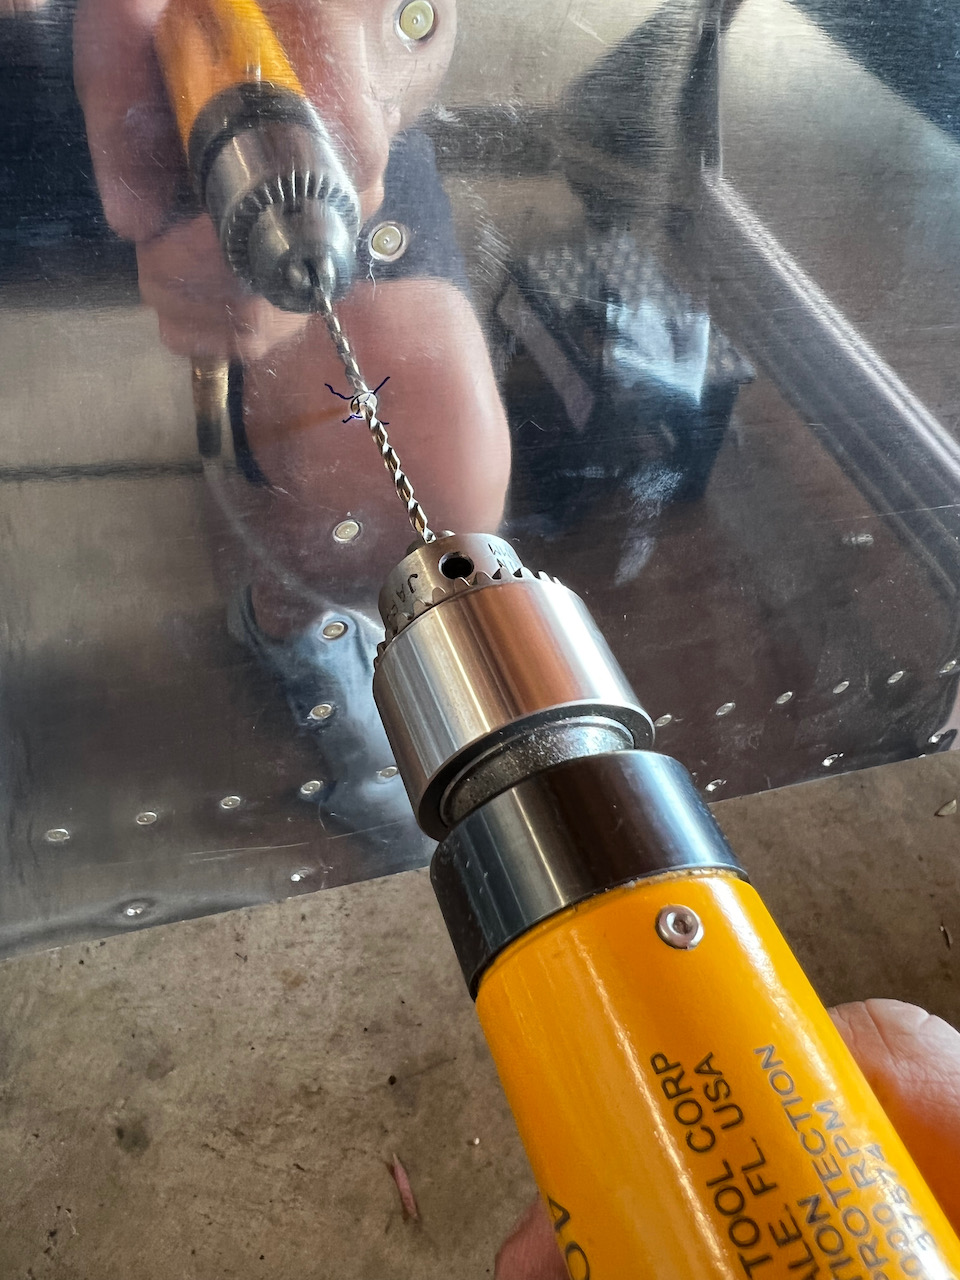
drill out the center of the head deep enough to pop off the head (it’s a bit of a feel thing)
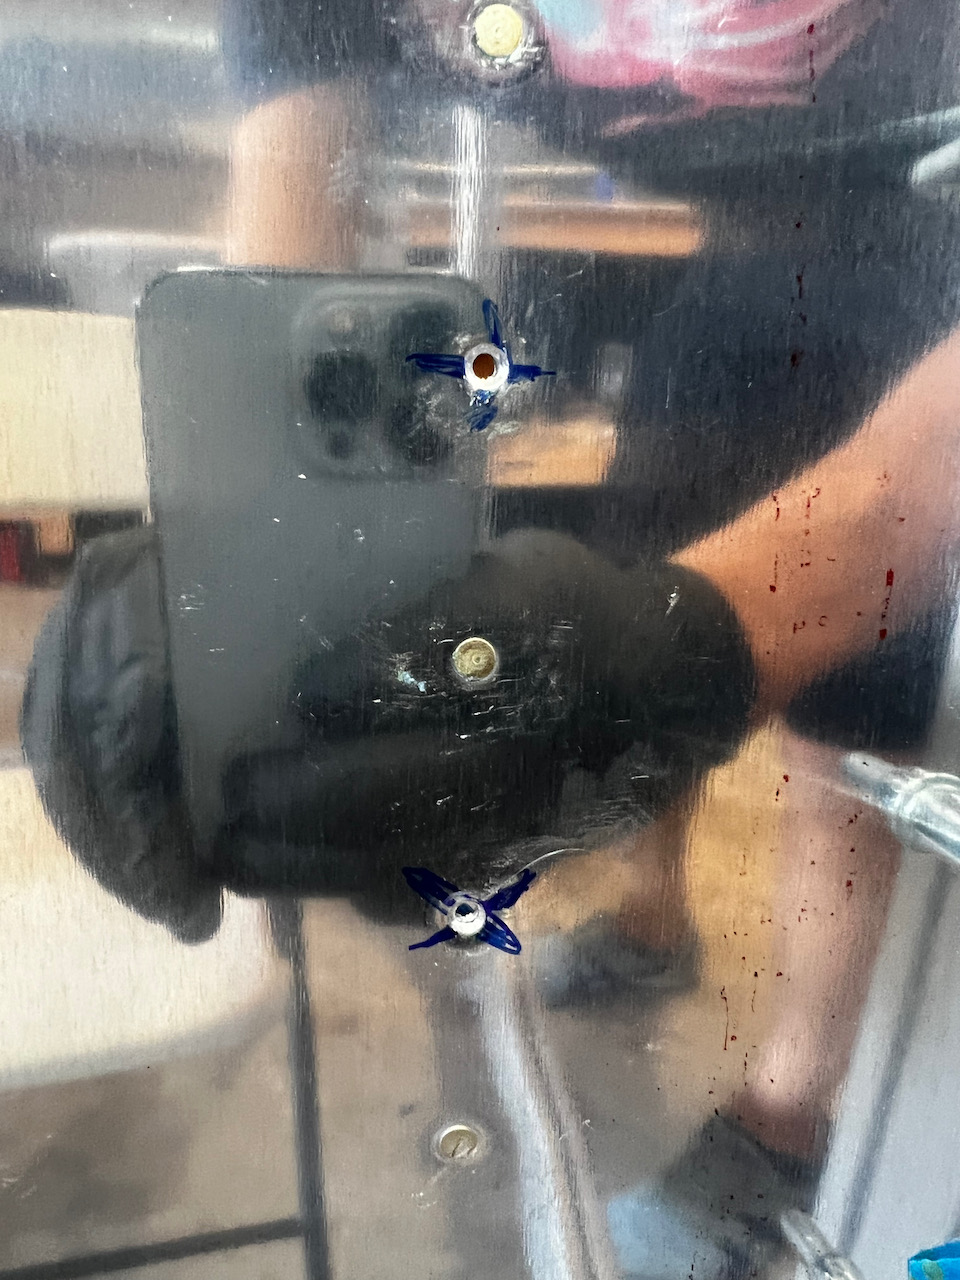
pop off the head
drill out the remainder of the rivet shaft
hope that it drills out cleanly, otherwise there is other work to do.
In all I drilled out 22 bad rivets. Lucky me, they all came out pretty cleanly and are ready to be re-riveted in the next session.
1. Pre-punch
pre-punch helps avoid drill walking
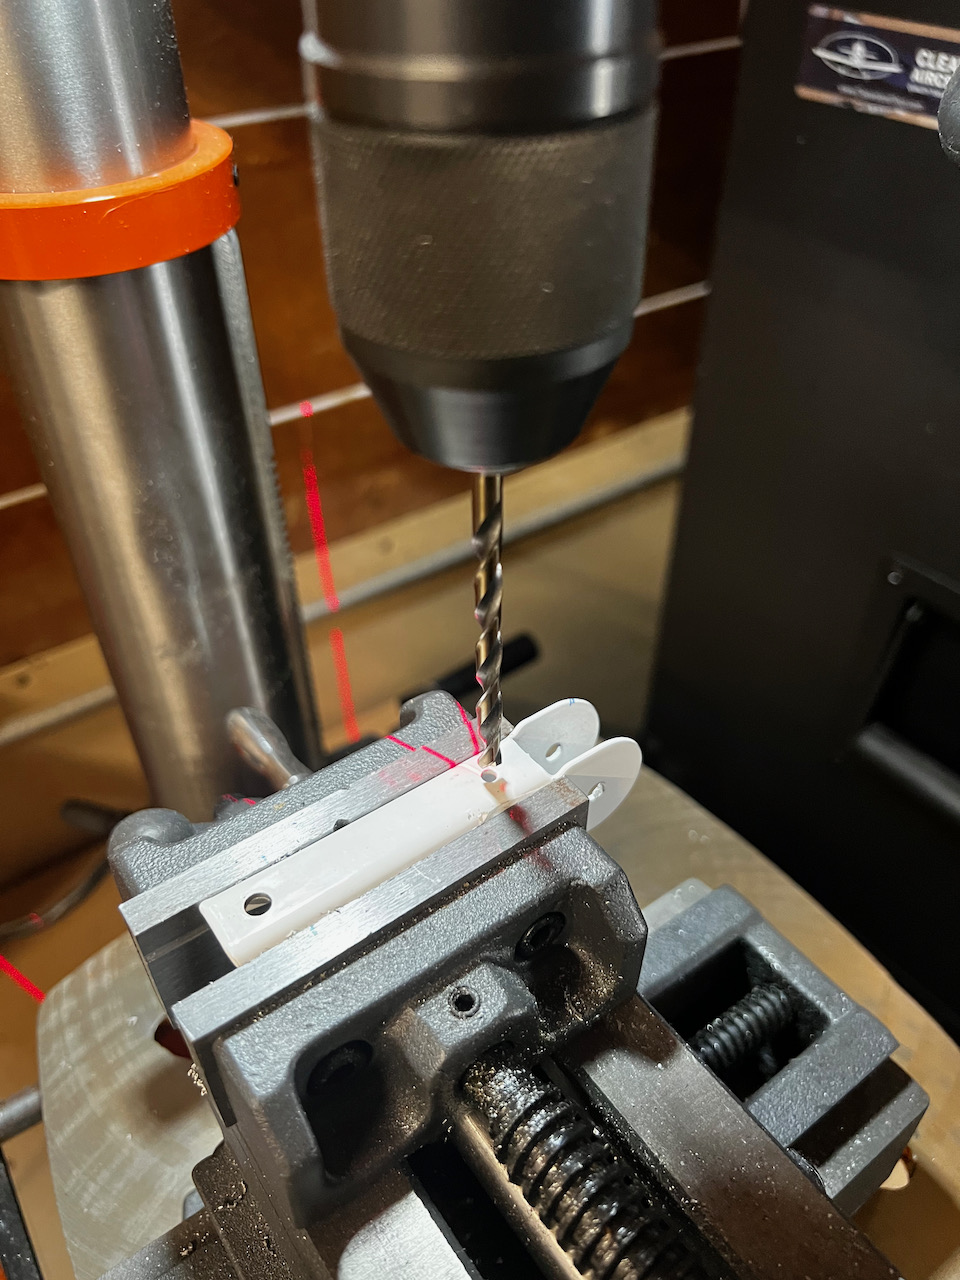
2. Drill top part of rivet
3. Pop rivet head off
clean rivet pop makes for easy drill out
4. Drill out remainder of rivet
Sunday Funday
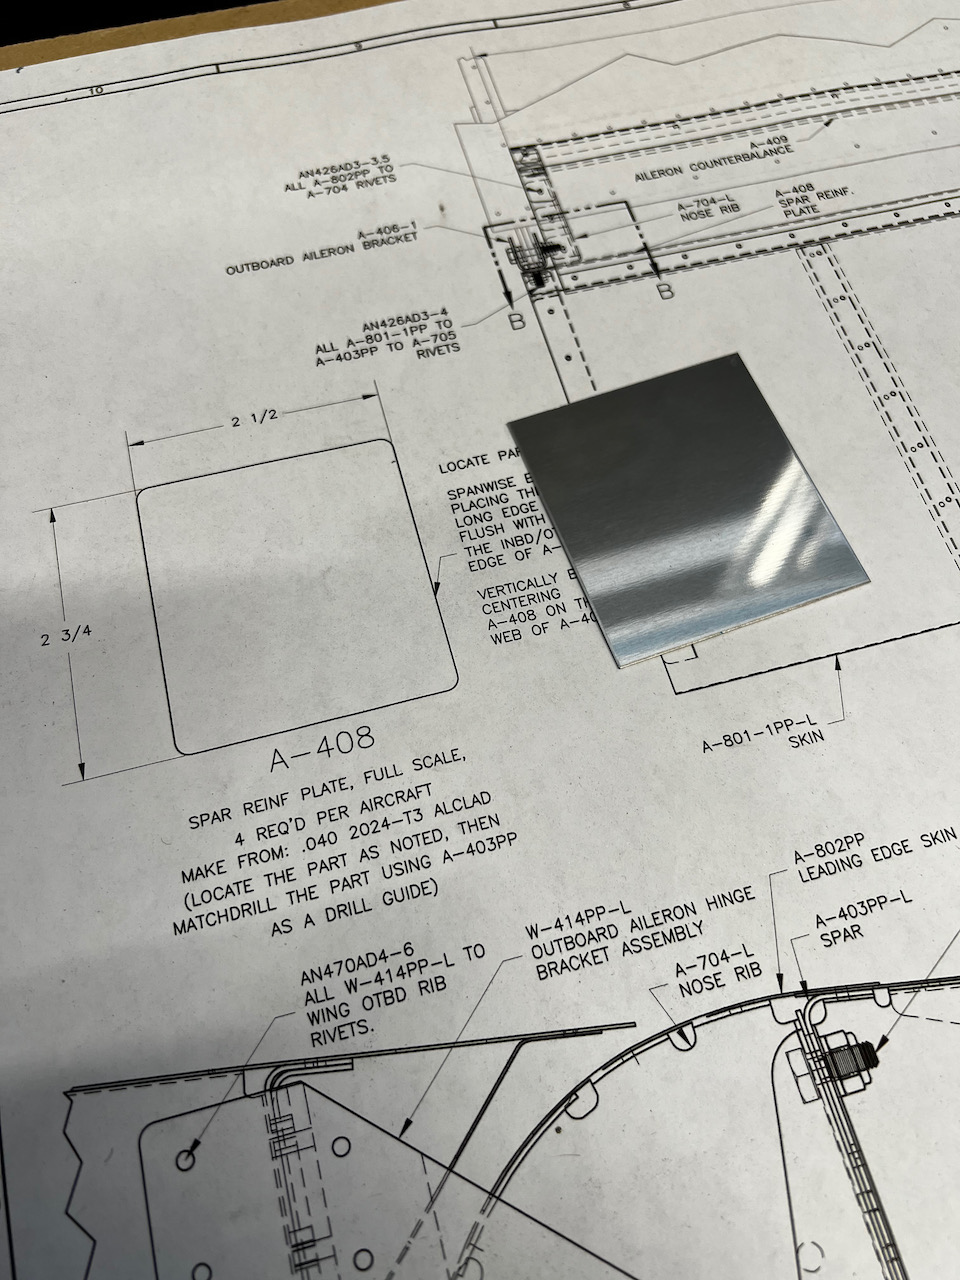
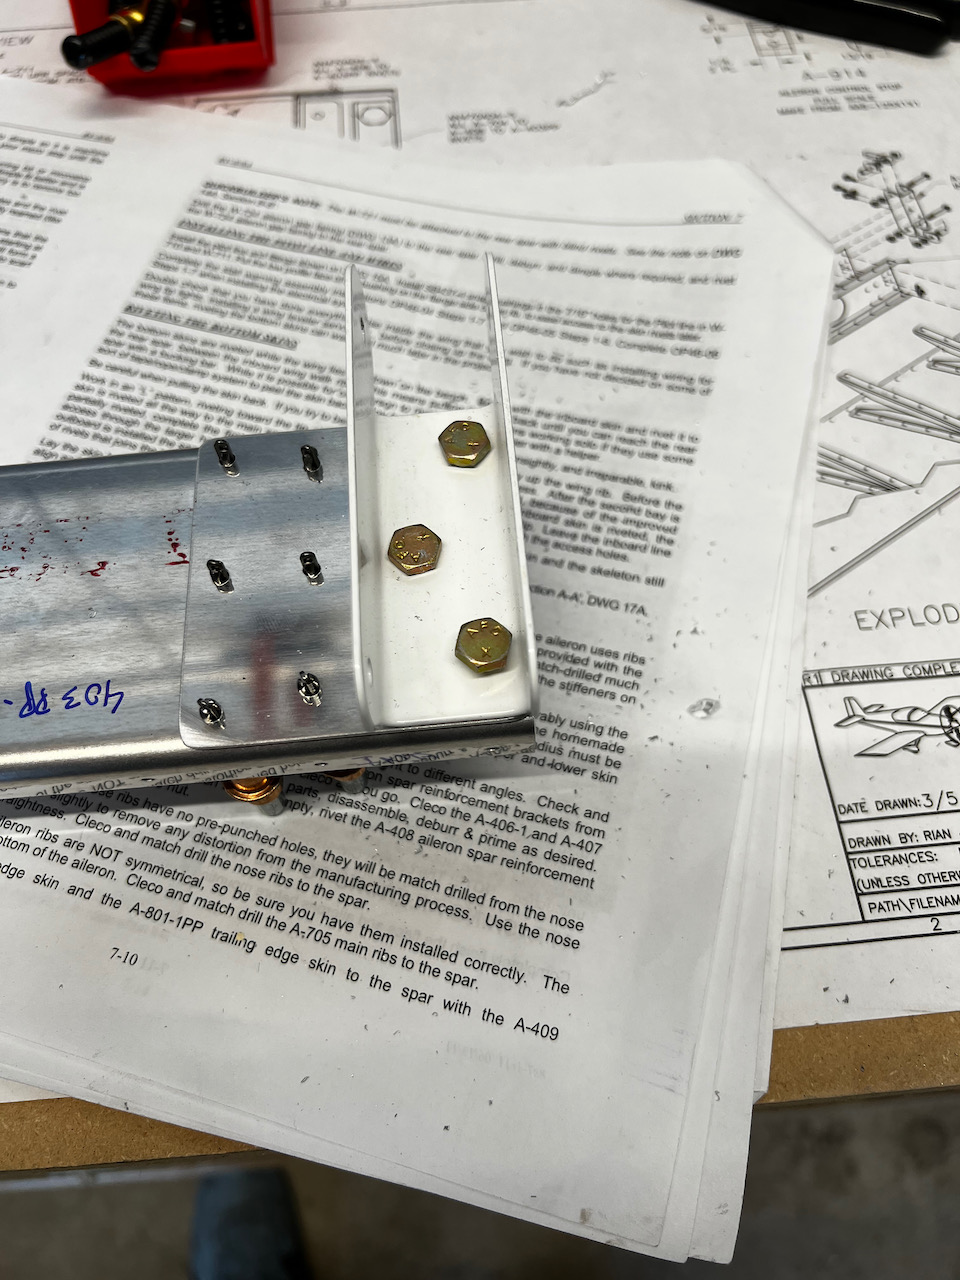
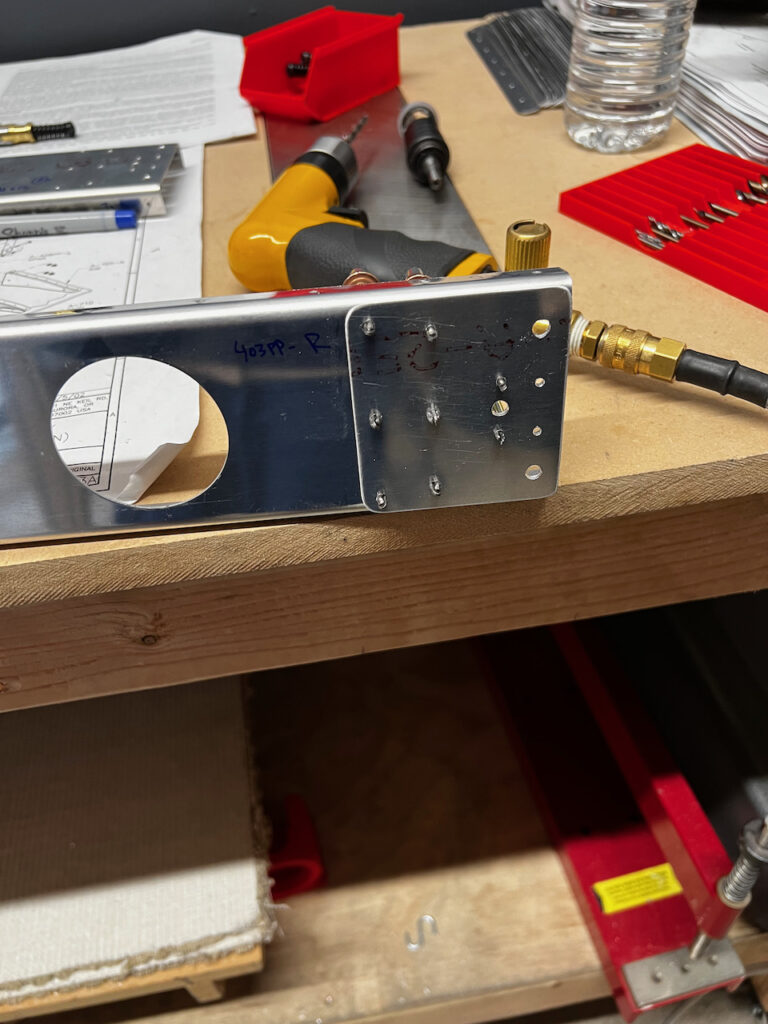
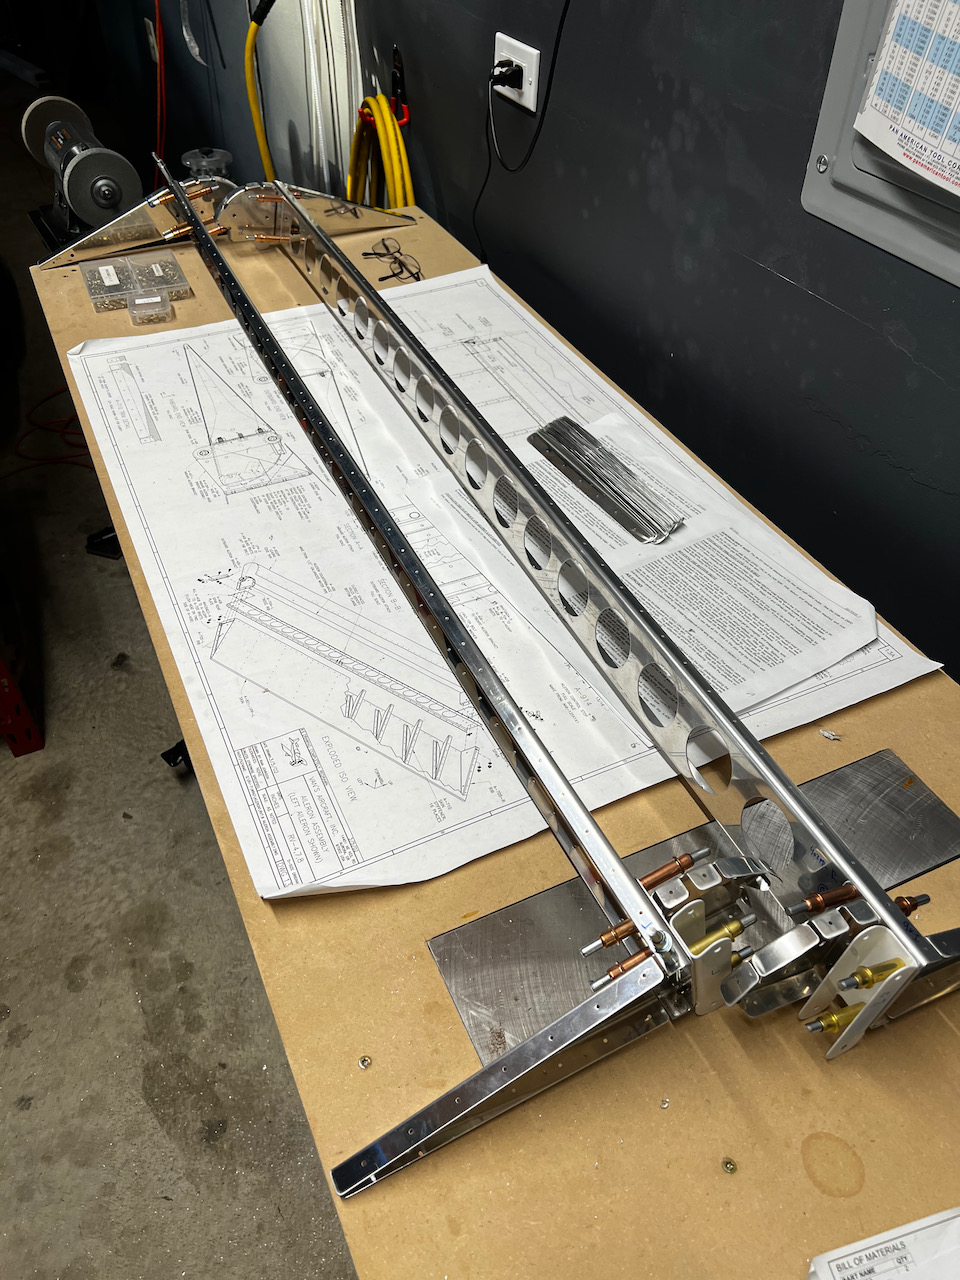
Sunday consisted of two distinct activities. One was a focus on the aileron build. I’m trying to get all the parts prepped for priming. Today was a lot of staring a plans trying to figure out exactly how the outboard and inboard aileron hinge brackets are supposed to come together. After a lot of cross-eyed yoga, I think I’ve got it figured out. Step one is getting the doubler plates match drilled appropriately. At the same time, I needed to final size the pre-punched holes to 3 different sizes. #40 for the AD3 rivets, #30 for AD4s, and #12 for the AN4A bolts. The instructions aren’t super clear on some of the rivet install techniques, but I went with countersinking for the flush rivets holding the end rib and nut plates at the inboard & outboard bracket assemblies. I was able to complete the left aileron bracket prep, and now have a clear path for the right side.
I need to turn this into a doubler plate. The good news is they pre-cut to size the aluminum
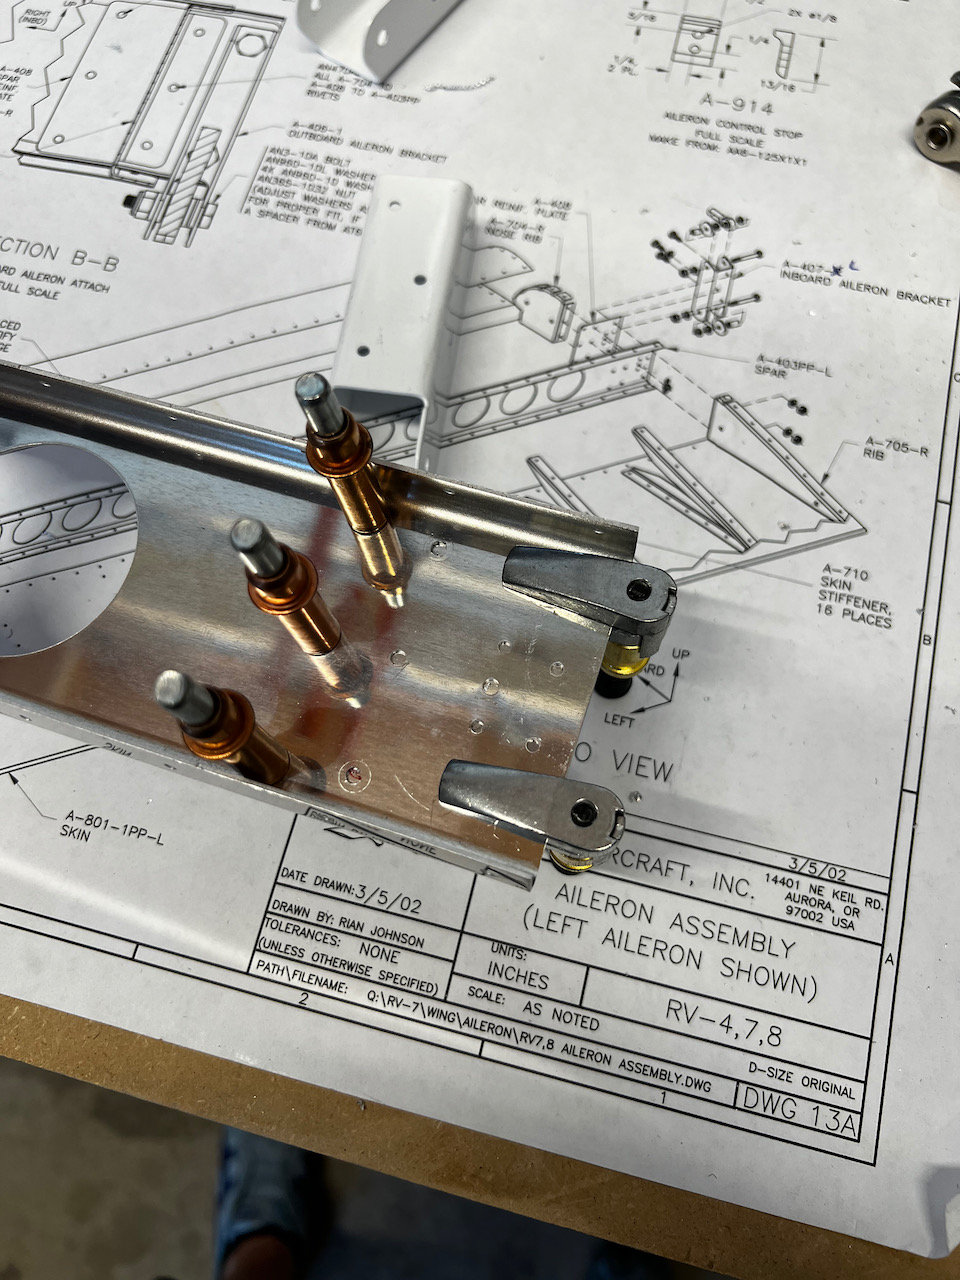
jig saw puzzling the bracket assembly
match drilling the doubler plate
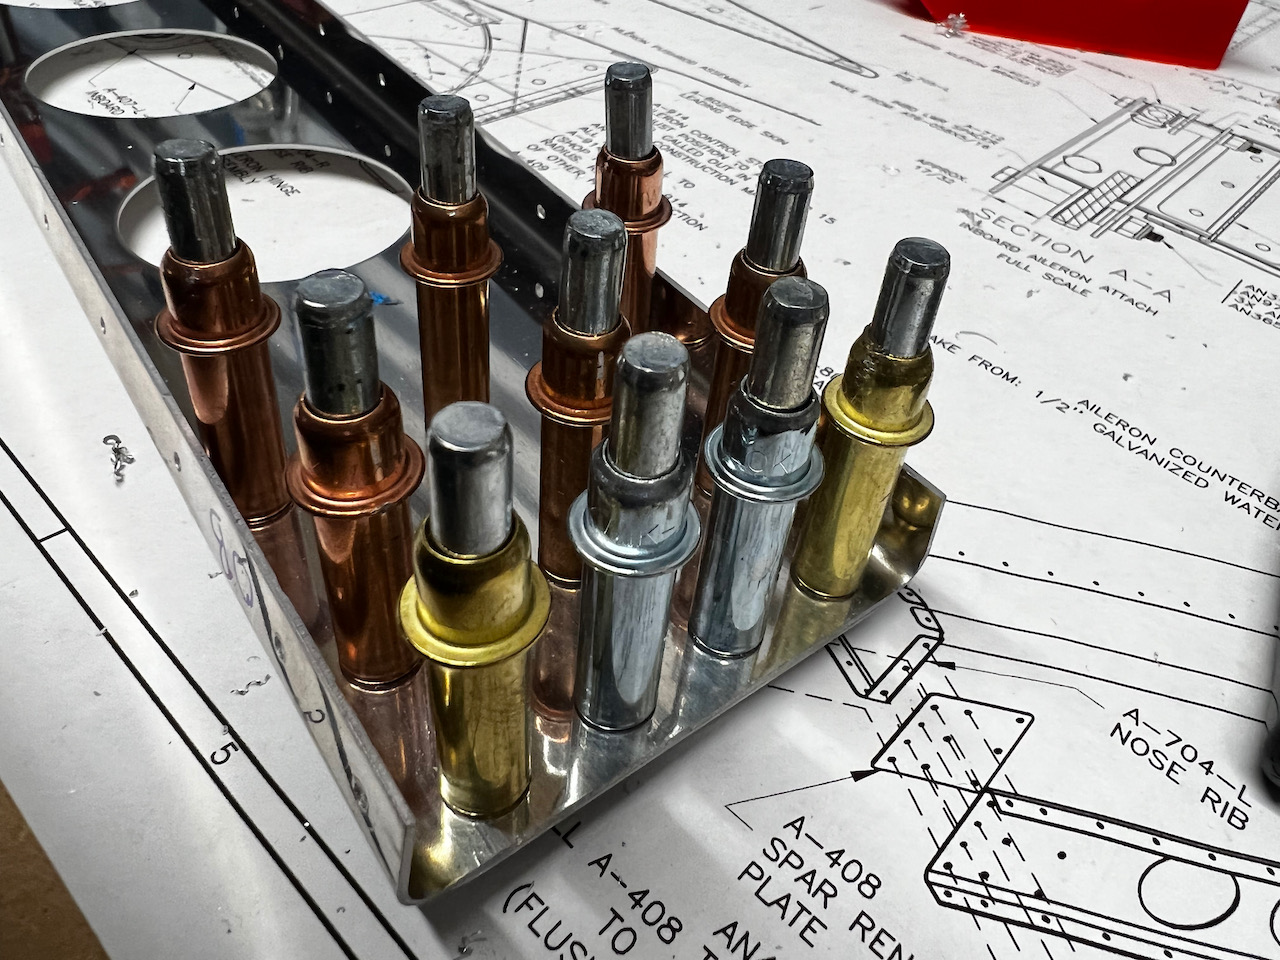
rainbow of clecos due to all the different hole sizes
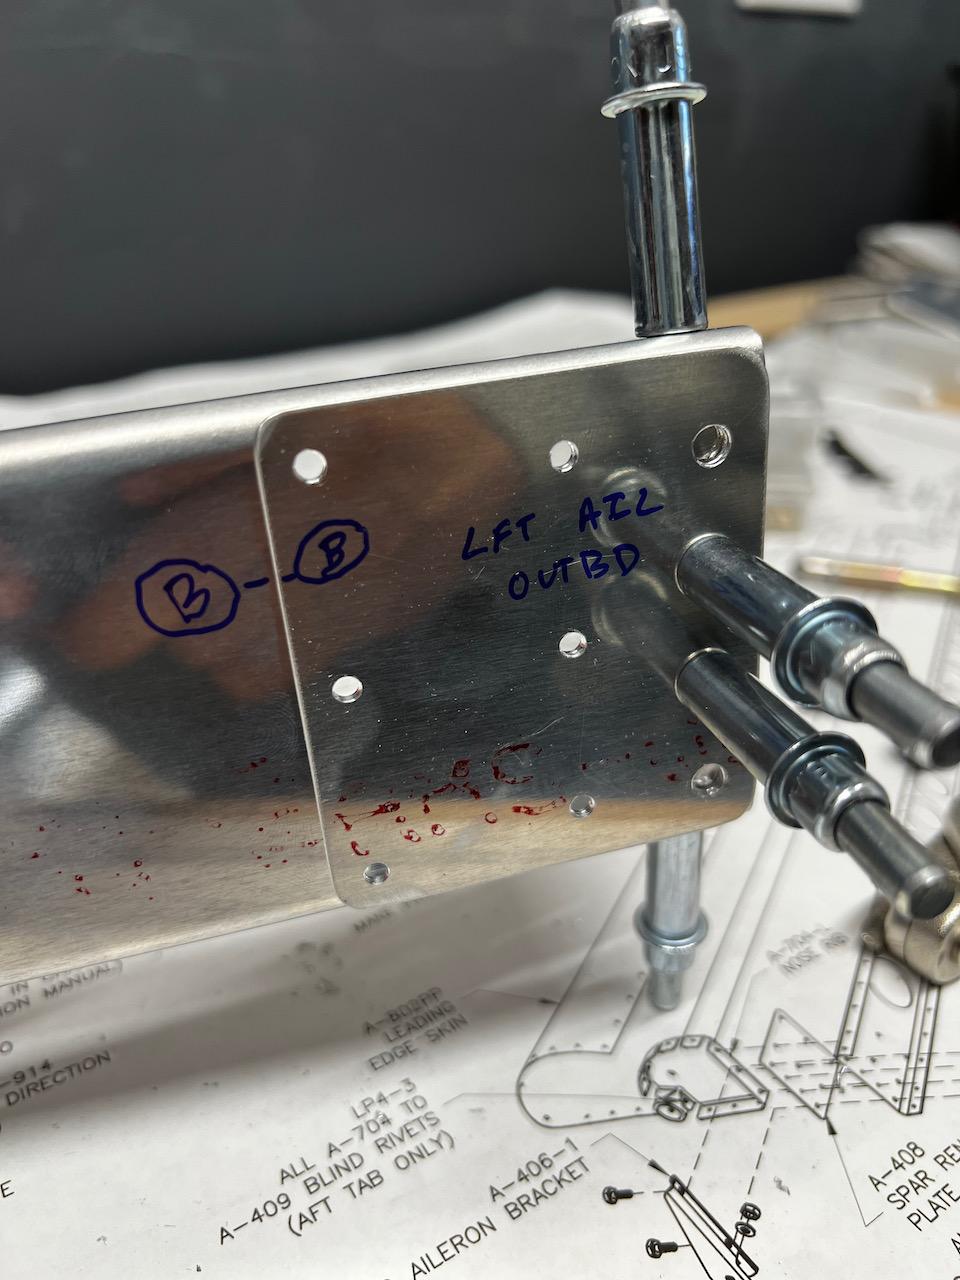
Don’t forget to mark!
#12 drilling the holes for the AN4A bolts
and the outboard side as well
Test fit looks good!
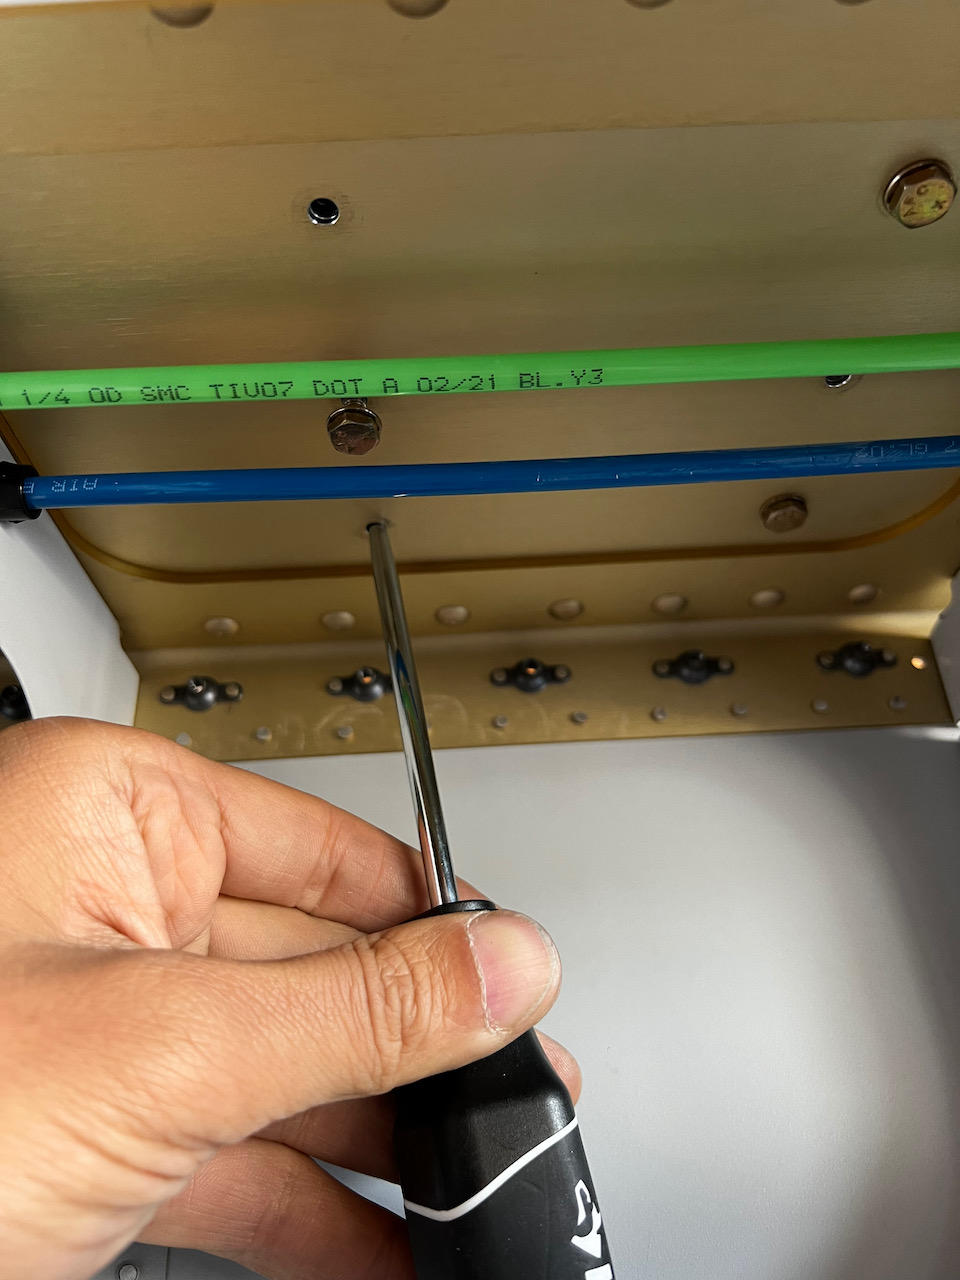
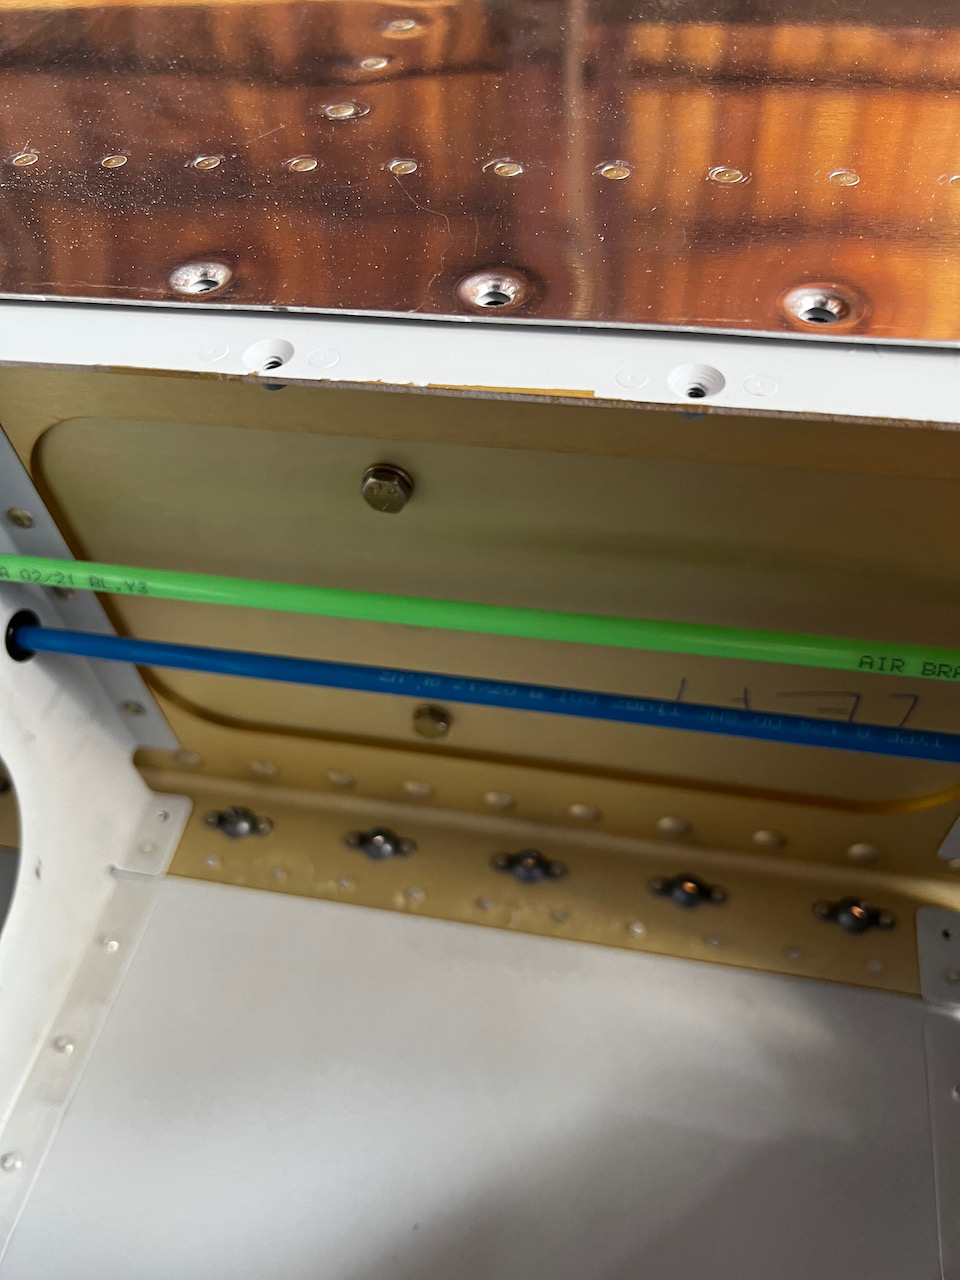
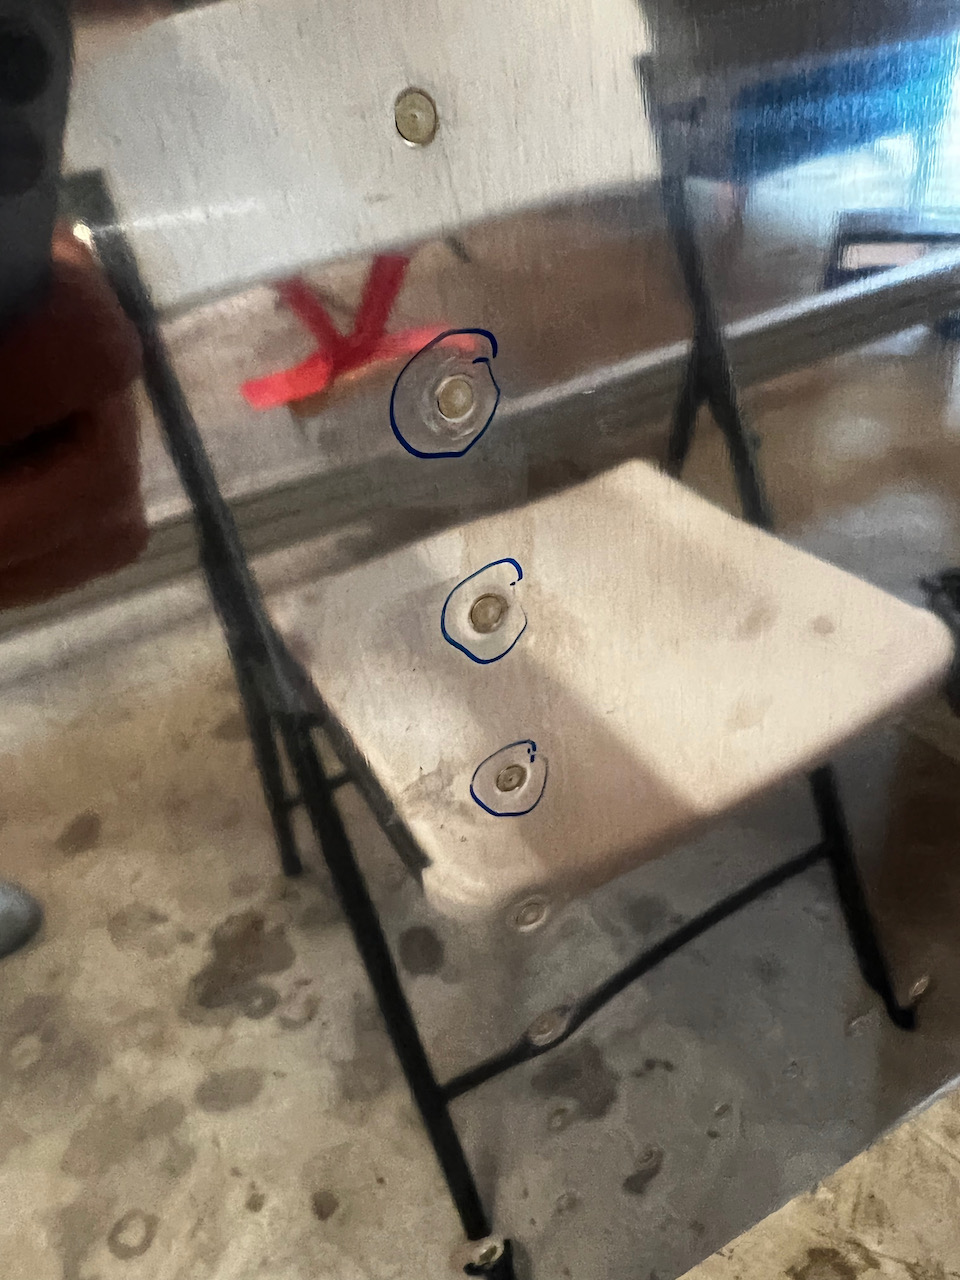
As a small side gig, I had never fully mounted the fuel tank rear brackets using the AN bolts. When I went to do it, the brackets were not lining up! ACK! After a little head scratching, I realized that because I screwed down the skins first, it was pulling the tank offset from the bracket holes. A simply unscrew of the skins, and I was able to easily re-center the brackets and tighten them down. In a few spots I had to manipulate the bracket slightly with a large pick. Screwing the skins down after was easy peasy. The plans call for “about half” of the AN bolts, so I just staggered 2-1-2-1-2 down the brackets.
If at first they don’t align, unscrew everything and try again!
There were a few where the bracket wasn’t completely aligned…a large pick fixed that!
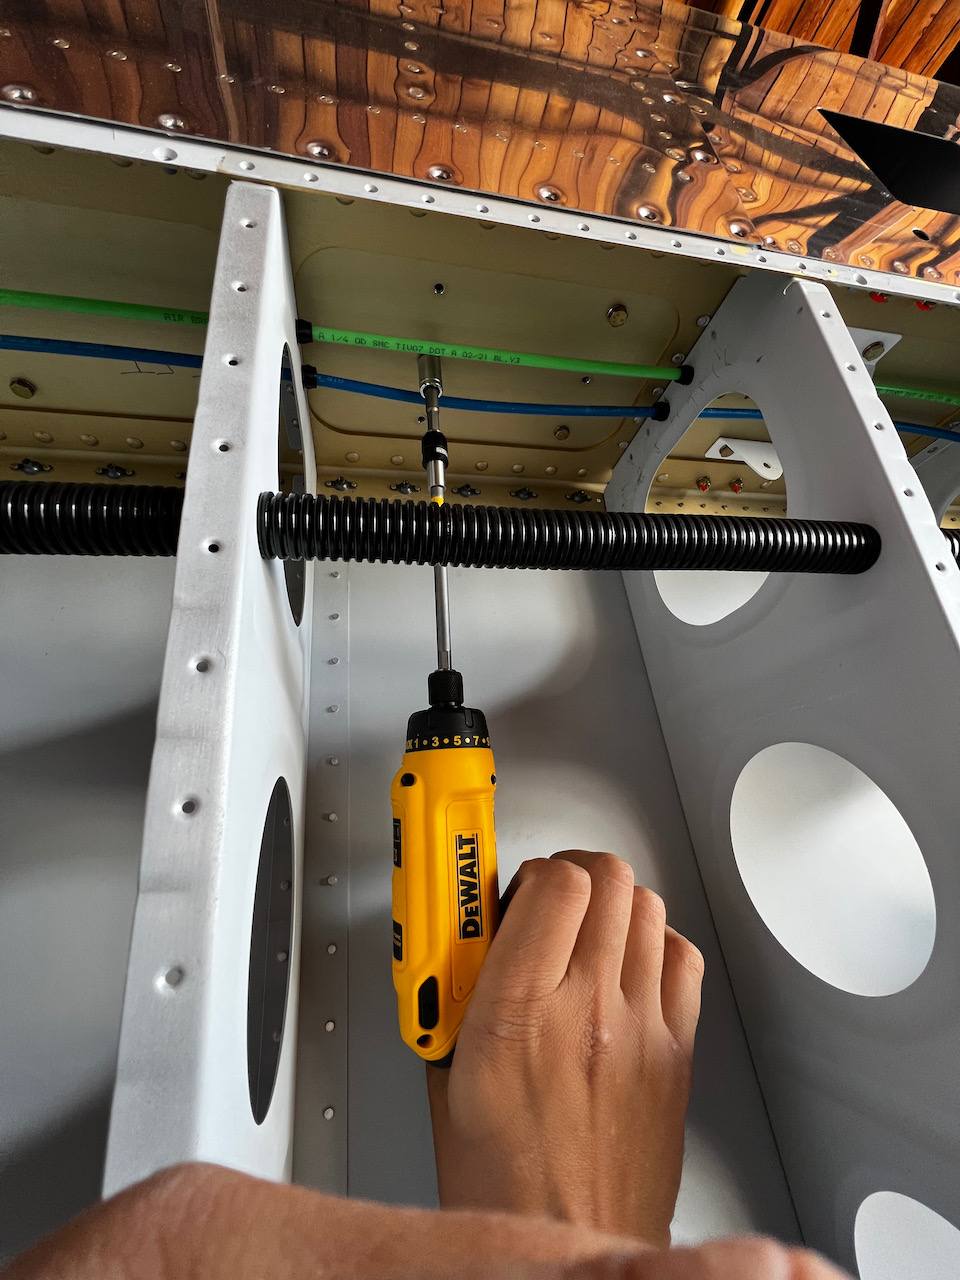
bolts from the underside.
This dewalt driver is a dream for these low power driver needs.
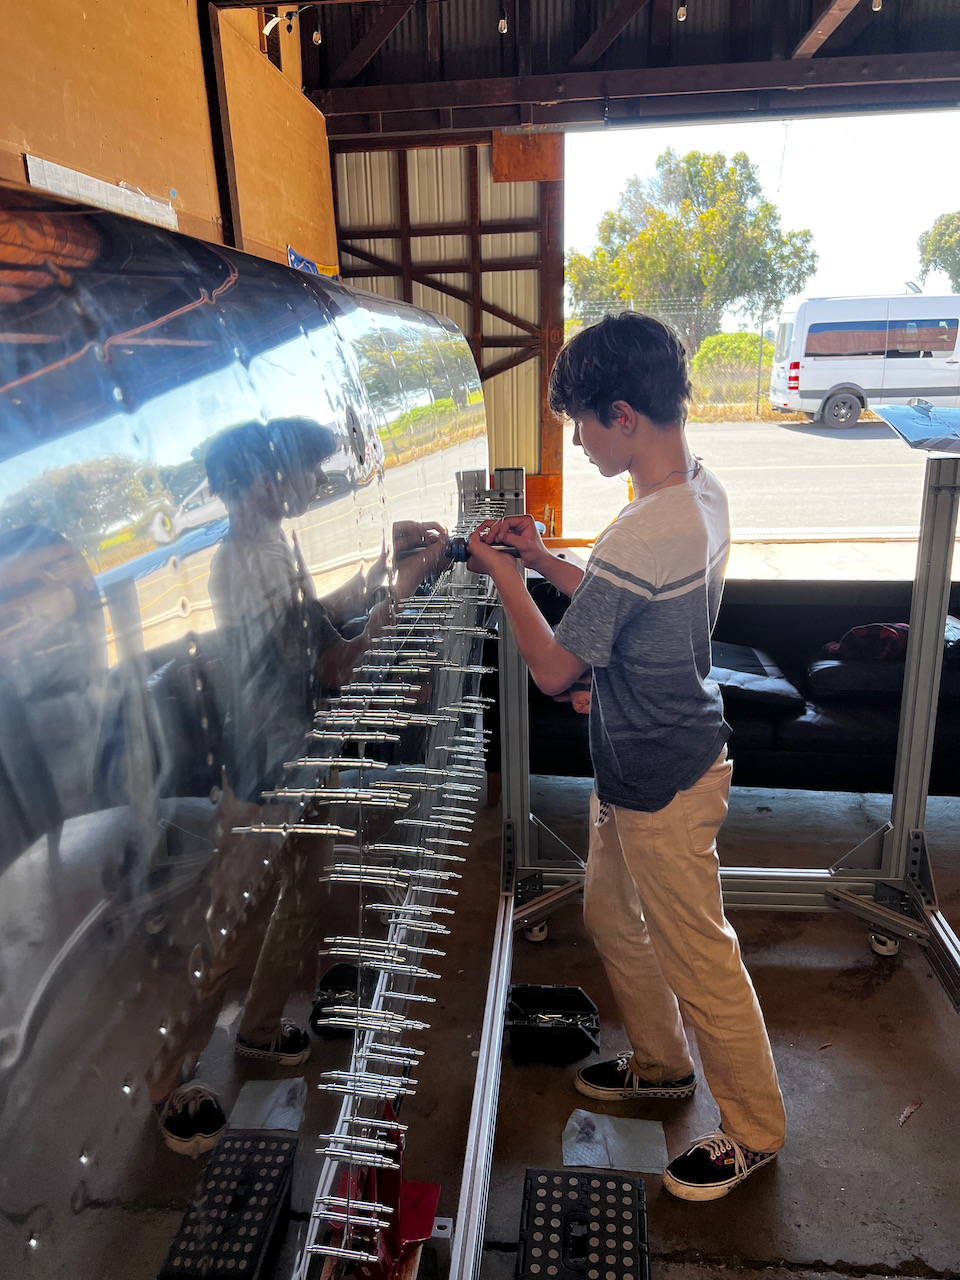
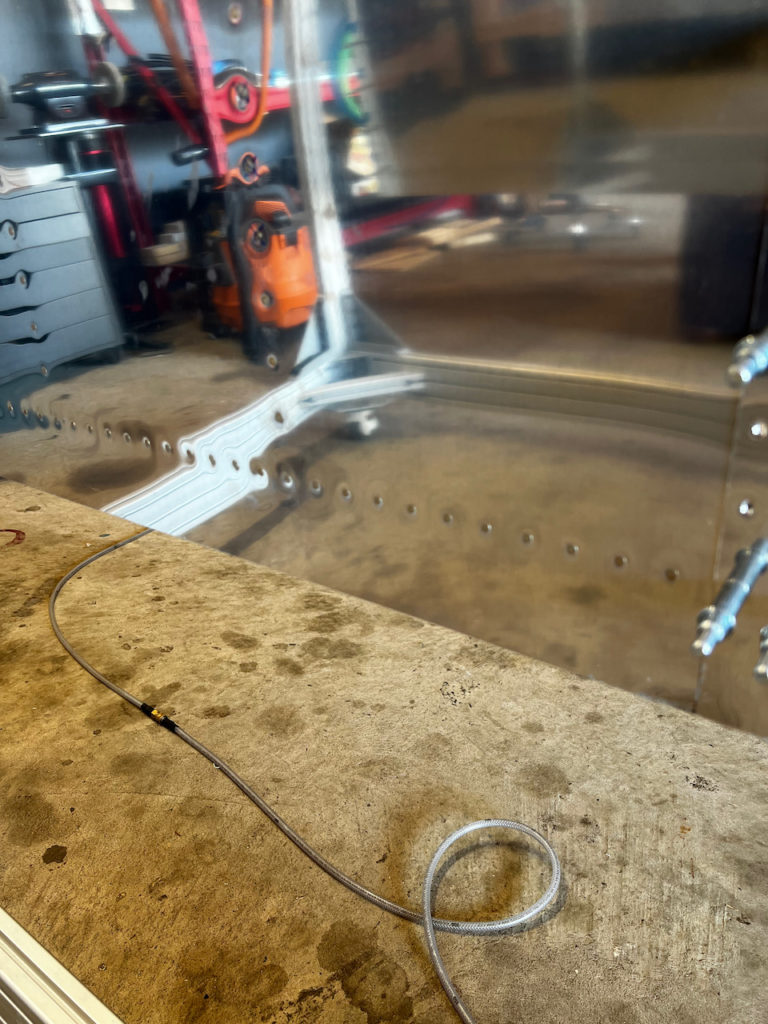
Last activity of the day was with Tod, who came down for a quick session of top skin riveting. We got a bit done with two additional ribs completed, and a lot of the top spanwise row completed. Getting closer!
The always excited Tod hard at work on the bucking bar side of the operation.
Monday Match Drill
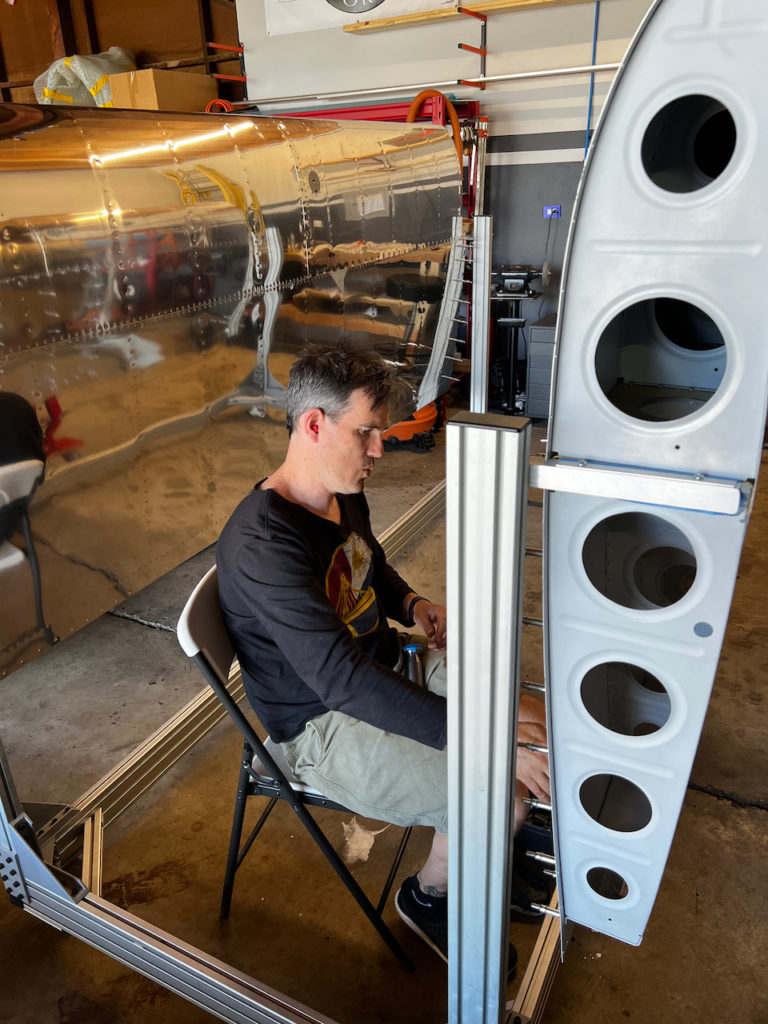
Today was a solo day, so I snuck in 45 minutes of match drilling on the right side aileron. I needed to pay close attention since this side is not represented on the plans, so everything is backwards from the left side depicted.
Match Drilling
Right Side Match Drilling
Final Sessions of the Month
In the last two session of the month, I was able to continue work on aileron skeleton prep when solo, and Giacomo helped out with some more top skin work. This section of the build has been tough since it requires two people to get things done. Although I didn’t get as much done this month as I wanted, I made steady progress, and should still be on track to getting complete (or close to it) by the time the fuselage arrives sometime in October. Hopefully before my trip to Mexico in mid-june I can wrap up the wing top skins and get it off the rack. I definitely need to make space in the hangar as I’ve got a surprise coming that’s going to fill up much more of my space!


1 comment
Good progress. Love when the kids get involved. It is an incredibile opportunity to learn something different and a great family building time.
I know the new toy has arrived. Congratulations on that one too.