With the left tank pretty much ready for testing (although you’ll see I sealed up the access cover in these sessions), I turned my attention to the right tank. There are still quite a few things I need to get done before I’m ready for baffle closure, and over the course of a couple of sessions I was able to knock out a big chunk of those. In these sessions I was able to seal up the left tank access cover, finish the anti-hangup brackets, safety wire (for the first time!) the flop tube coupling, and install the right inboard rib (along with all the fuel vent and flop tube fittings). I’ll try to focus this post on the things that were different rather that re-hashing the items that were discussed in the left inboard tank rib post.
Sunrise Session
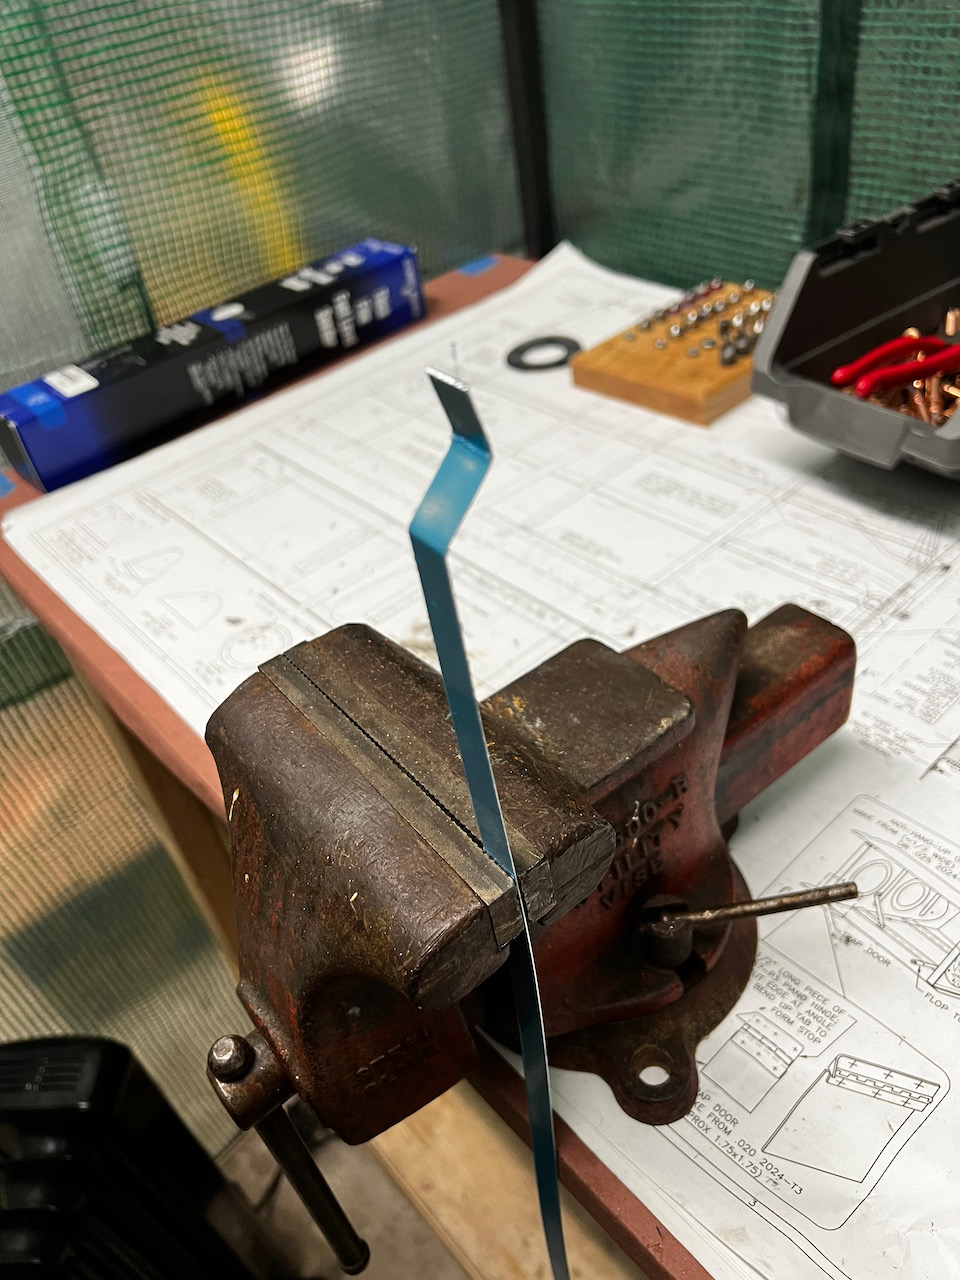
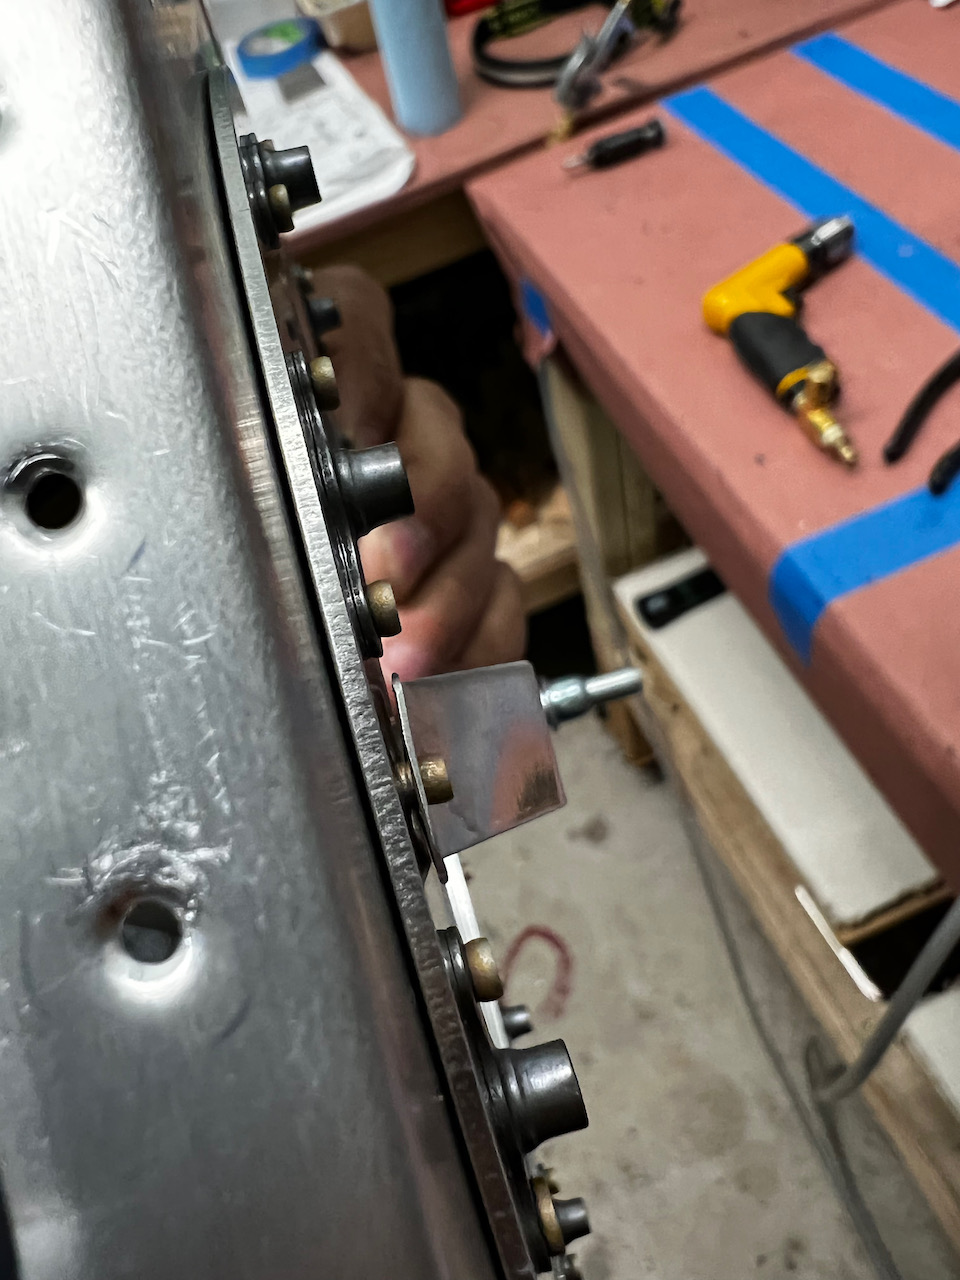
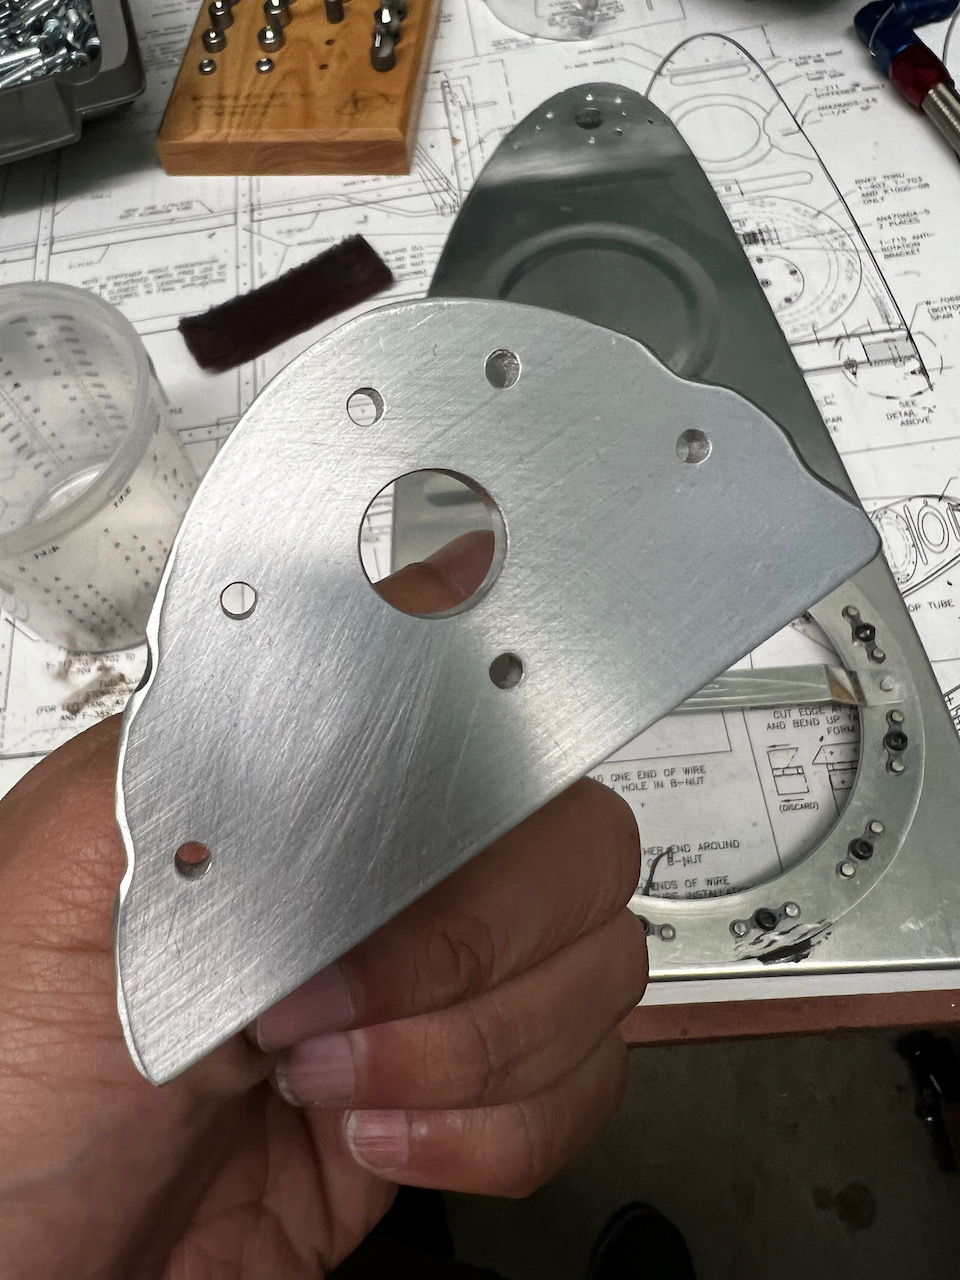
All my life I’ve been an early riser. Regardless of what time I go to bed, I’m generally awake on or near sunrise. My mind was on prepping for a weekend closure of the right tank, and so I wanted to get a head start on all the tasks I had to complete. First I wrapped up the anti-hangup brackets for the flop tube. Using the vice and generally eyeballing the bracket, I got the bracket done fairly quickly.
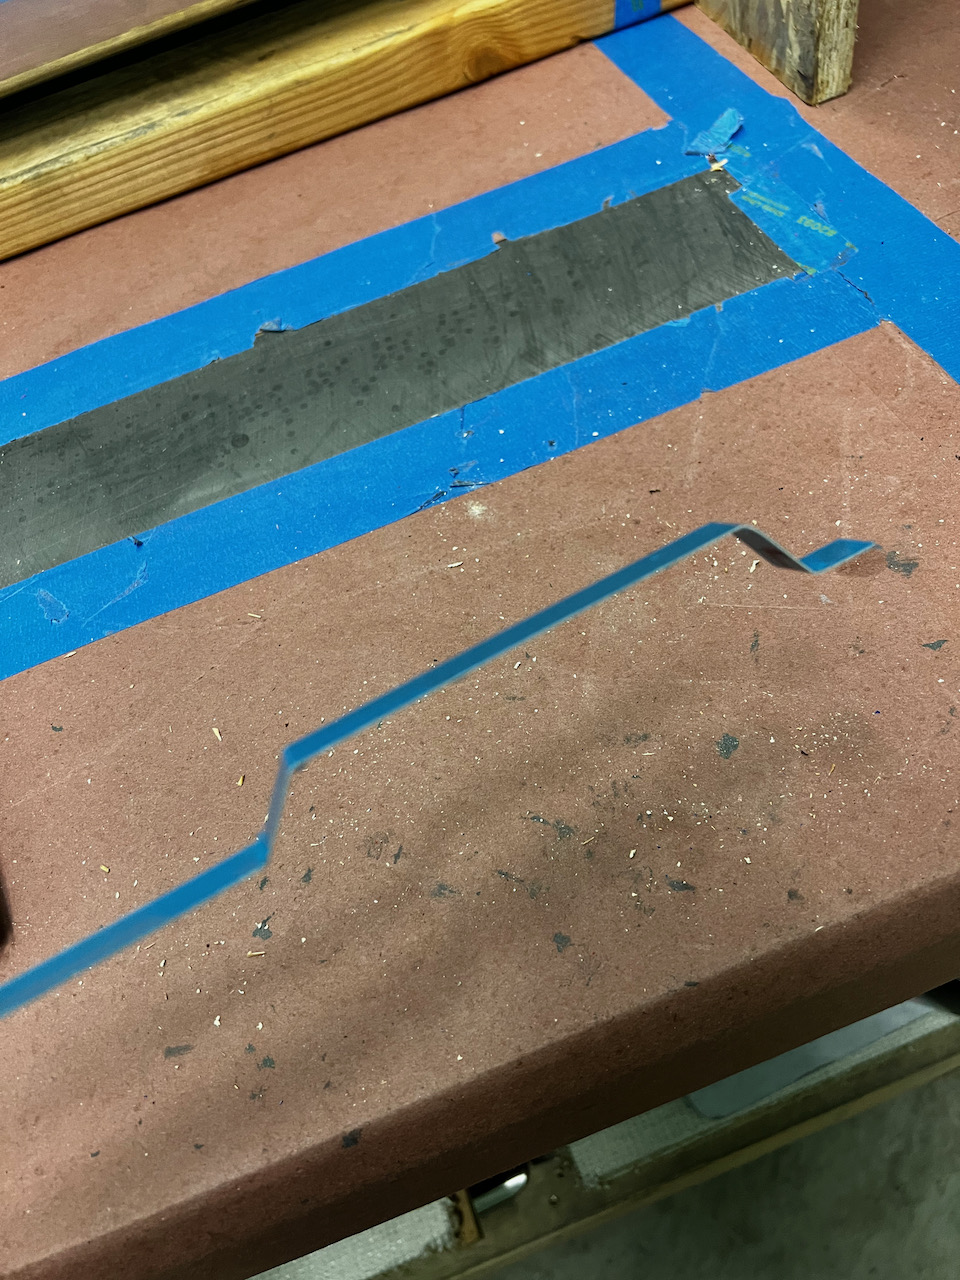
holes must be counter sunk for proper bracket installation
Vice + thin aluminum makes for easy fabrication
rough bending complete
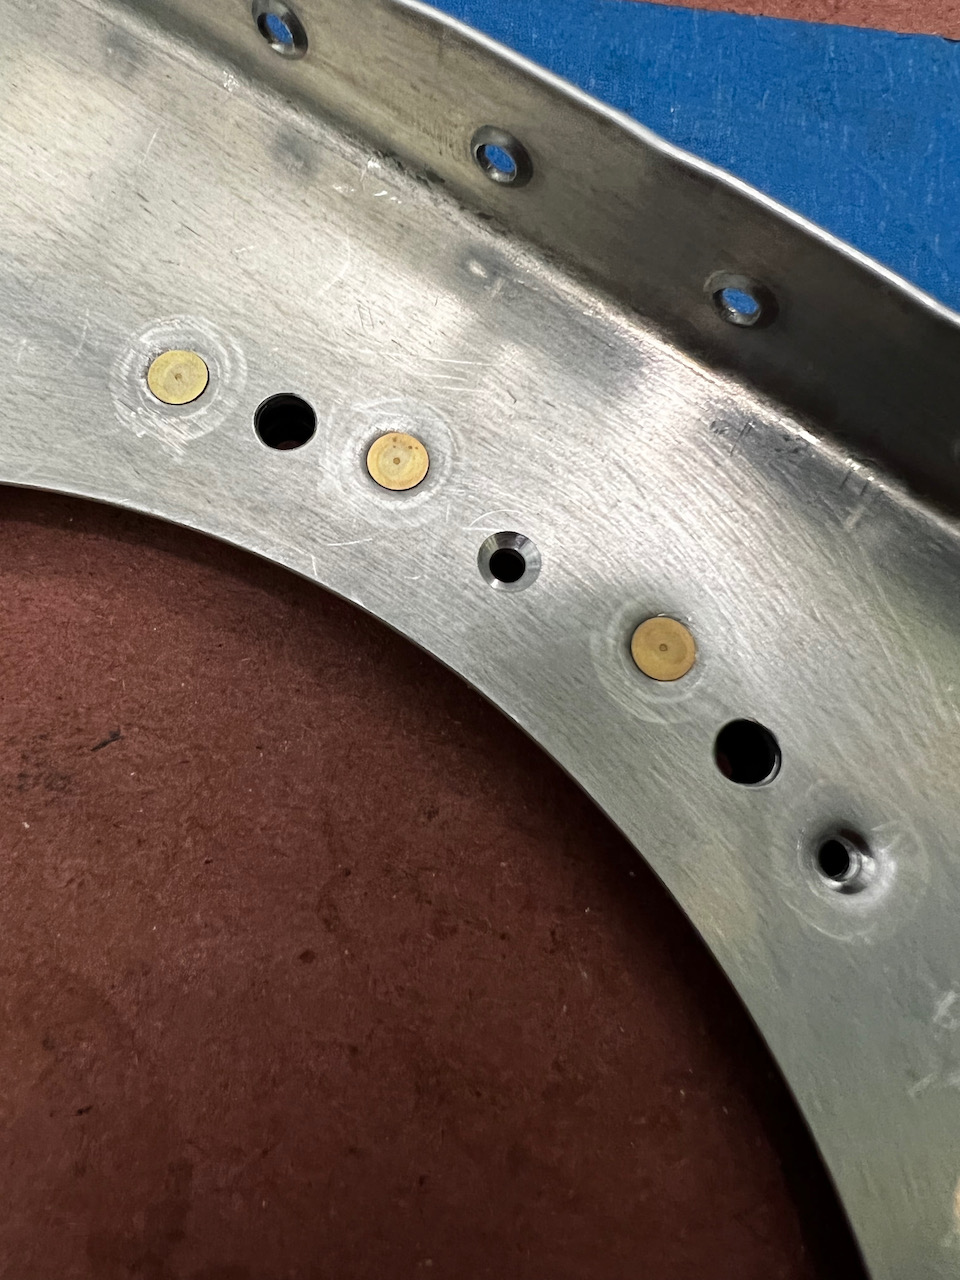
Fitting to rib for match drilling
countersinking the holes before rivet installation
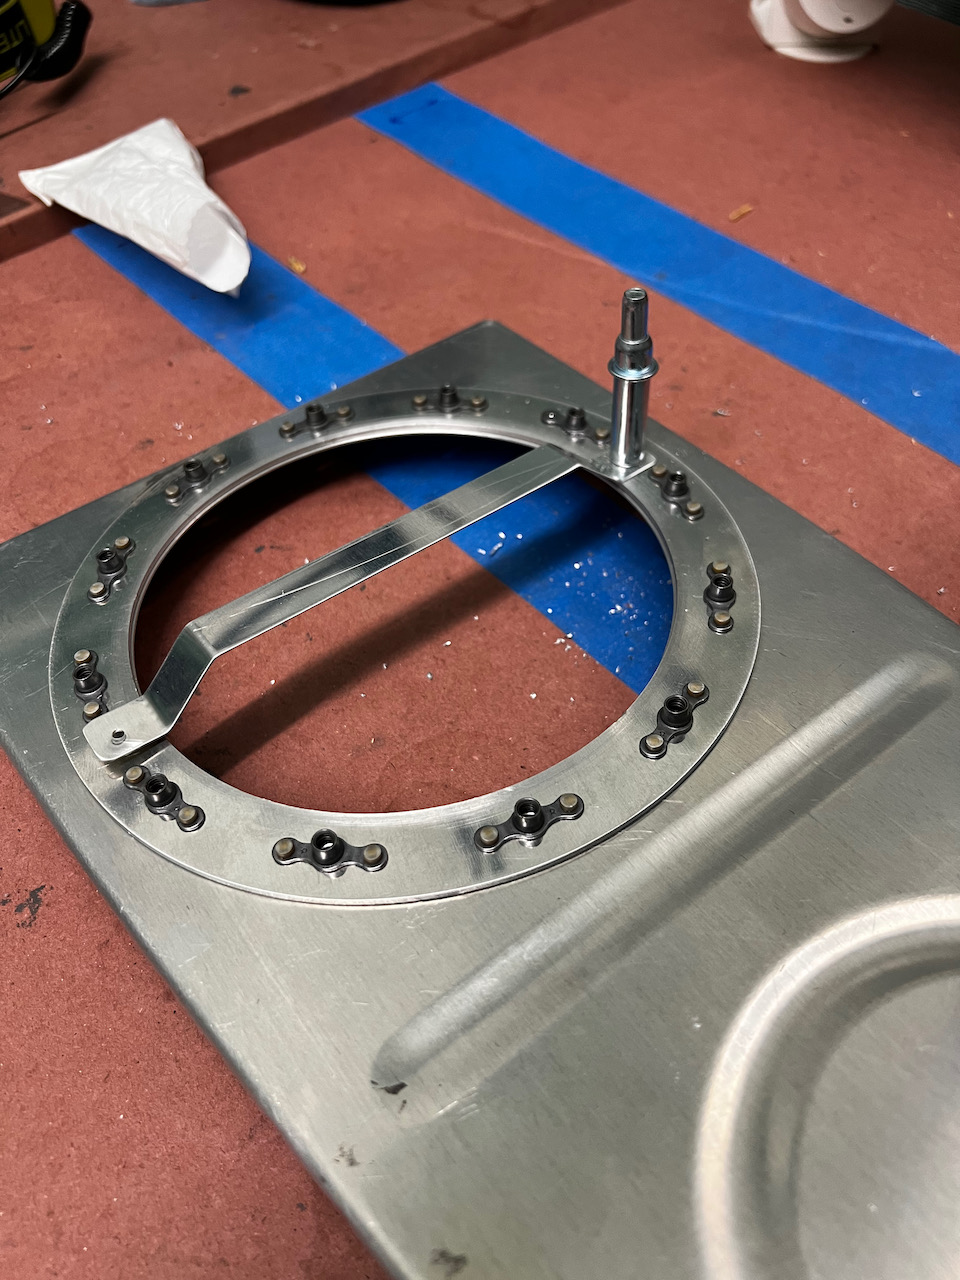
first attempt the bracket was not flush with the doubler ring, so I redid it
installed!
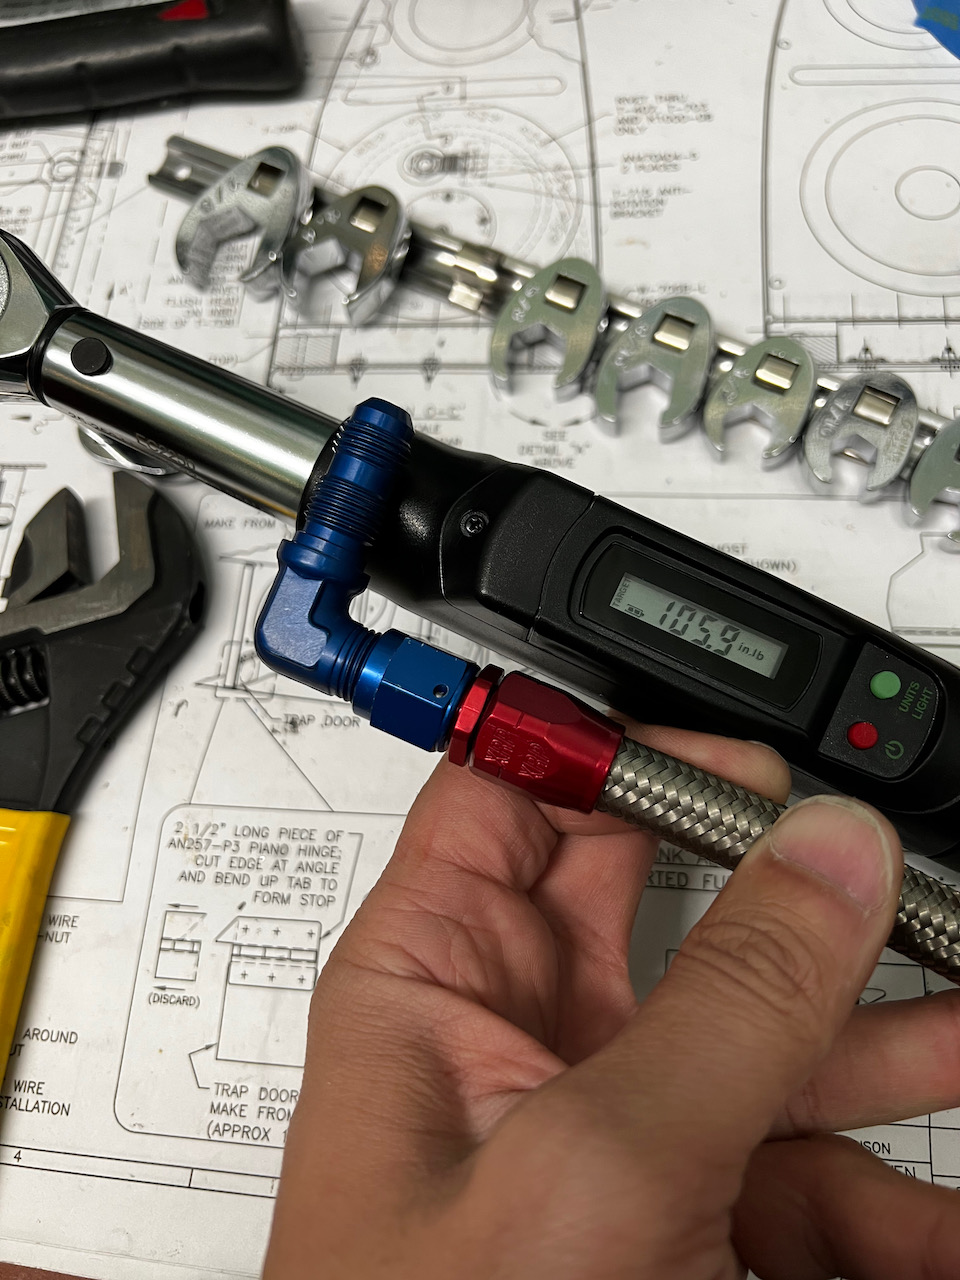
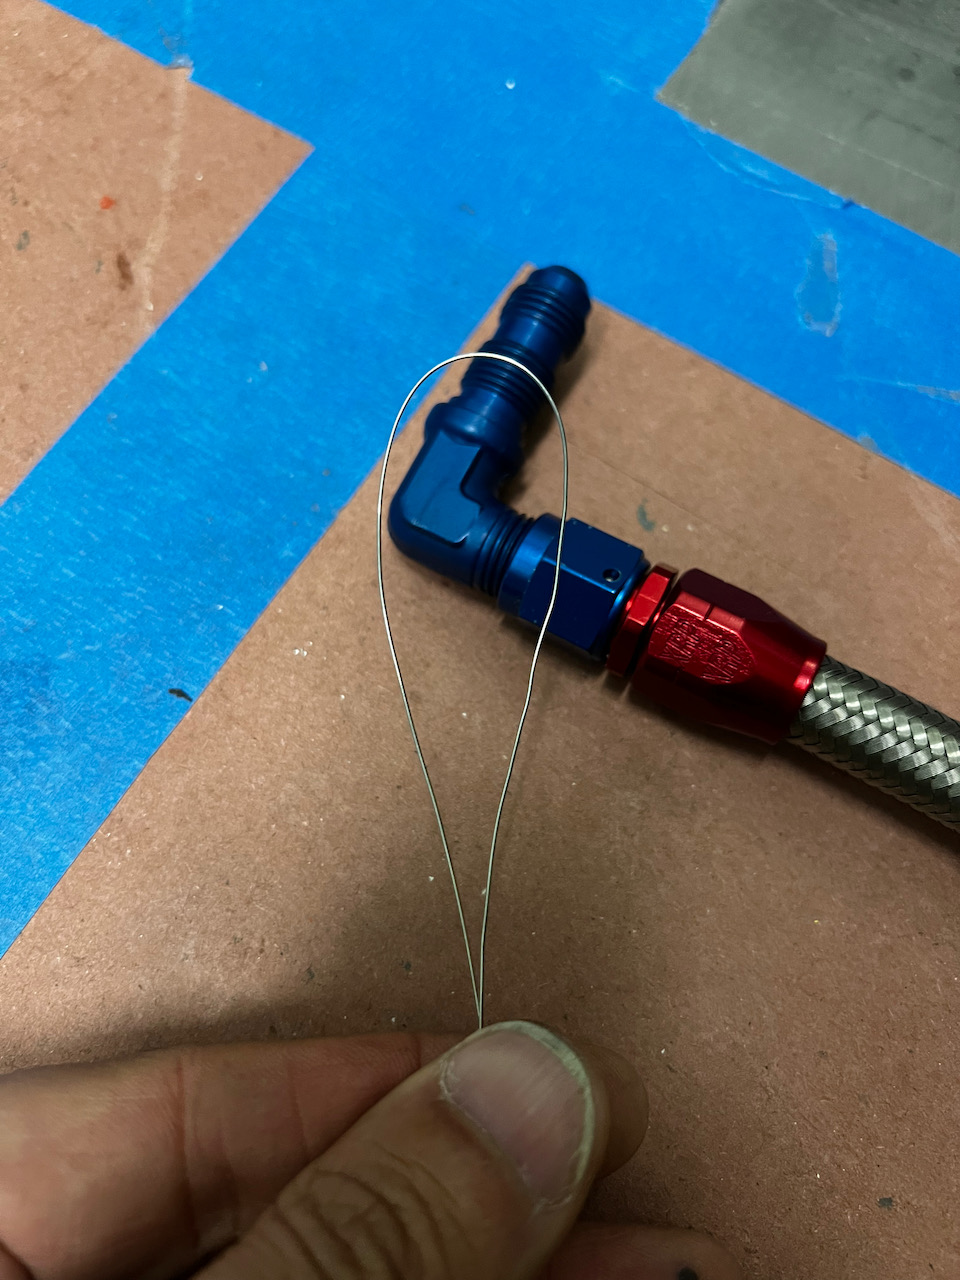
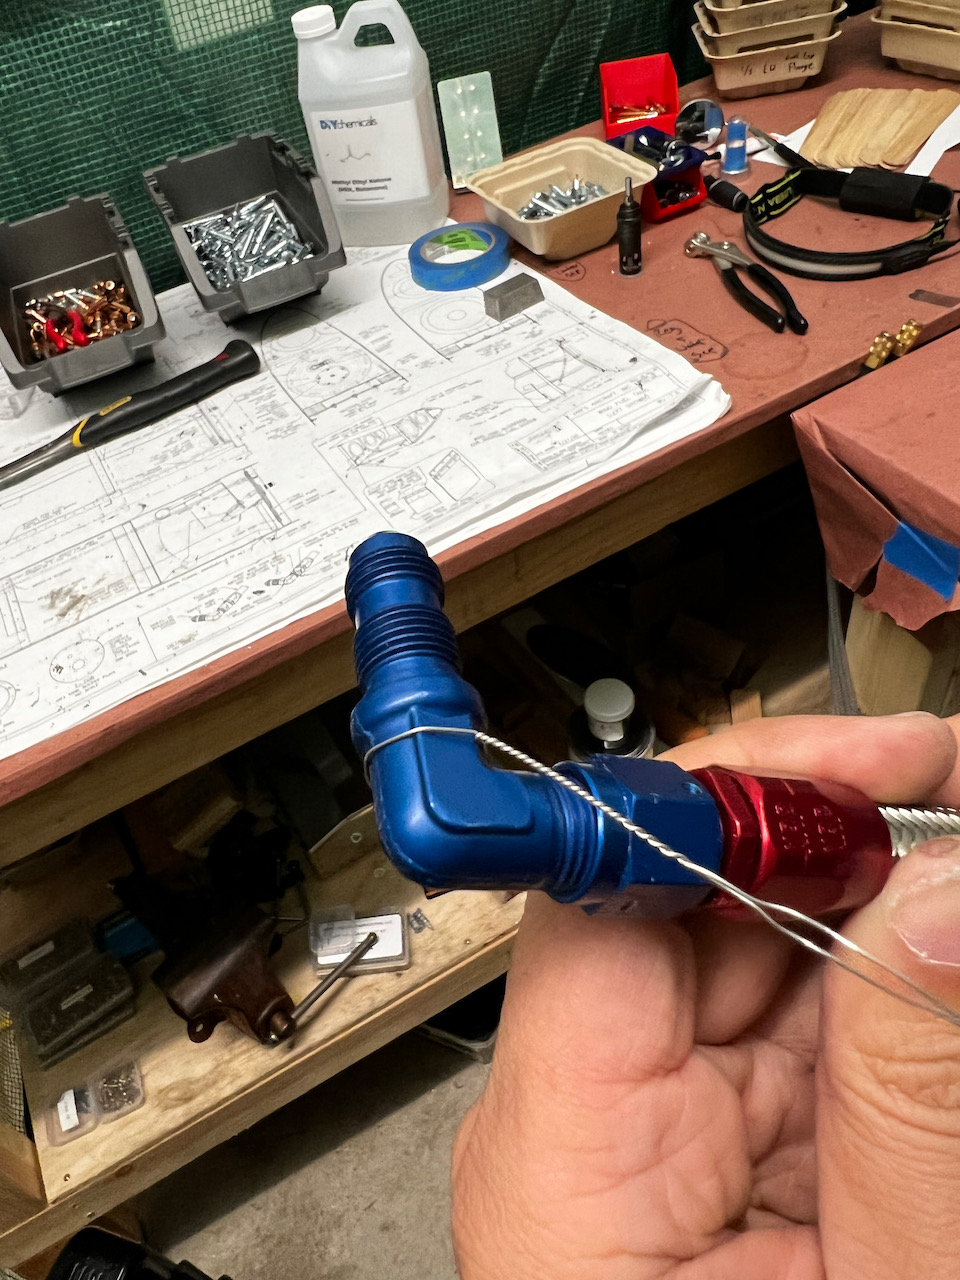
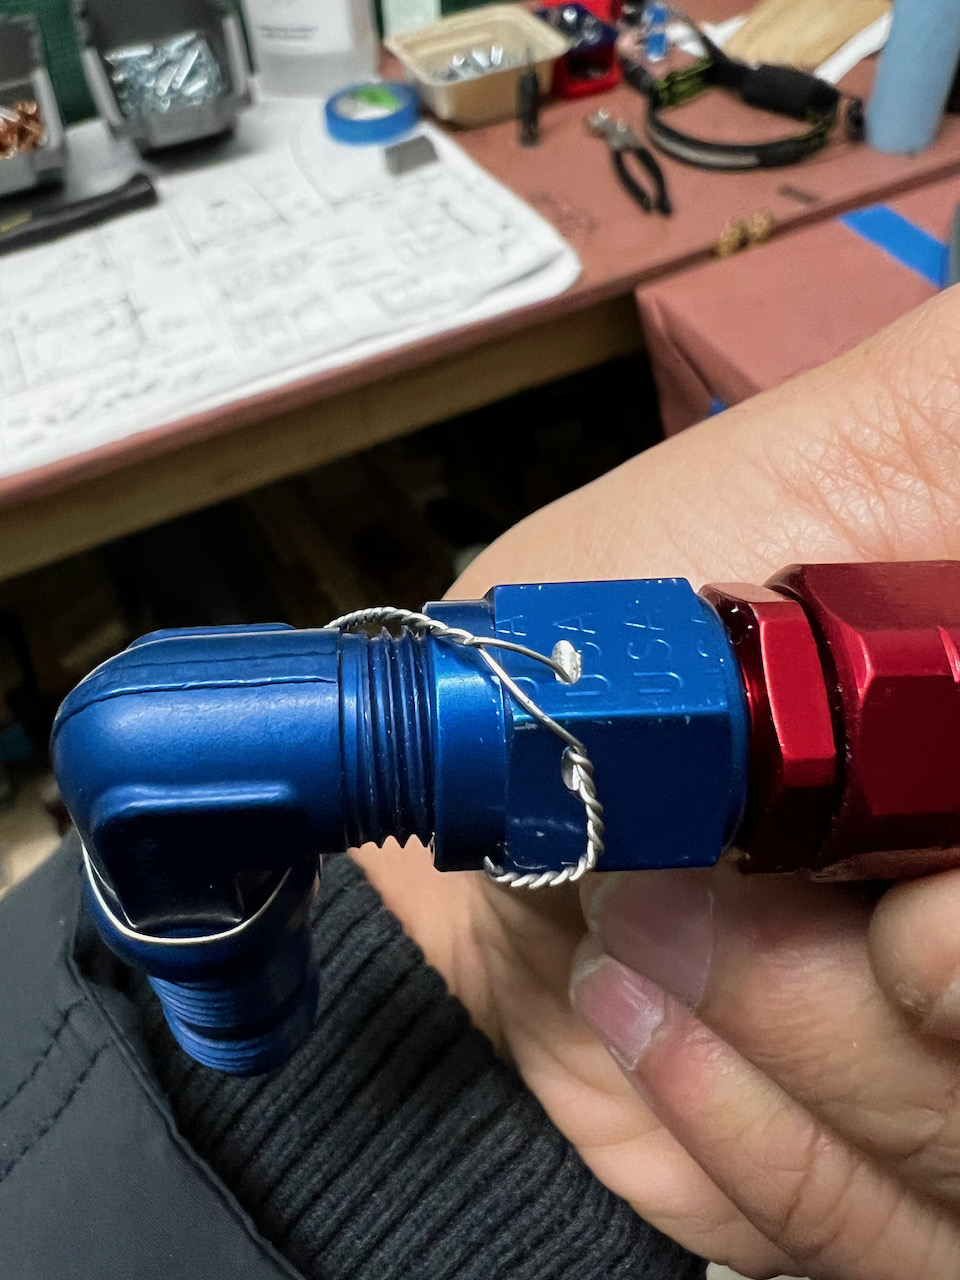
Next up I torqued down the flop tube to the AN833-6D fitting, and then figured out how to safety wire the nut and bolt to minimize the ability for the tube nut to back out over time. I had not done this before, but some other blog posts made it pretty easy to comprehend. It took a couple tries to get the wire wrapped nicely as it took a couple tries to understand where to squeeze the safety wire pliers to get it right. By wrapping the wire around the body of the fitting, and then weaving it through a pre-drilled hole in the nut, it became theoretically very difficult for the tube to unscrew itself over time.
fitting torque appropriately
wrap the wire, the measure approximate distance desired for the safety twists
after twisting it down…
…thread the wire through the pre-drilled holes and…
…twist on the other side, minimizing undesired unscrewing.
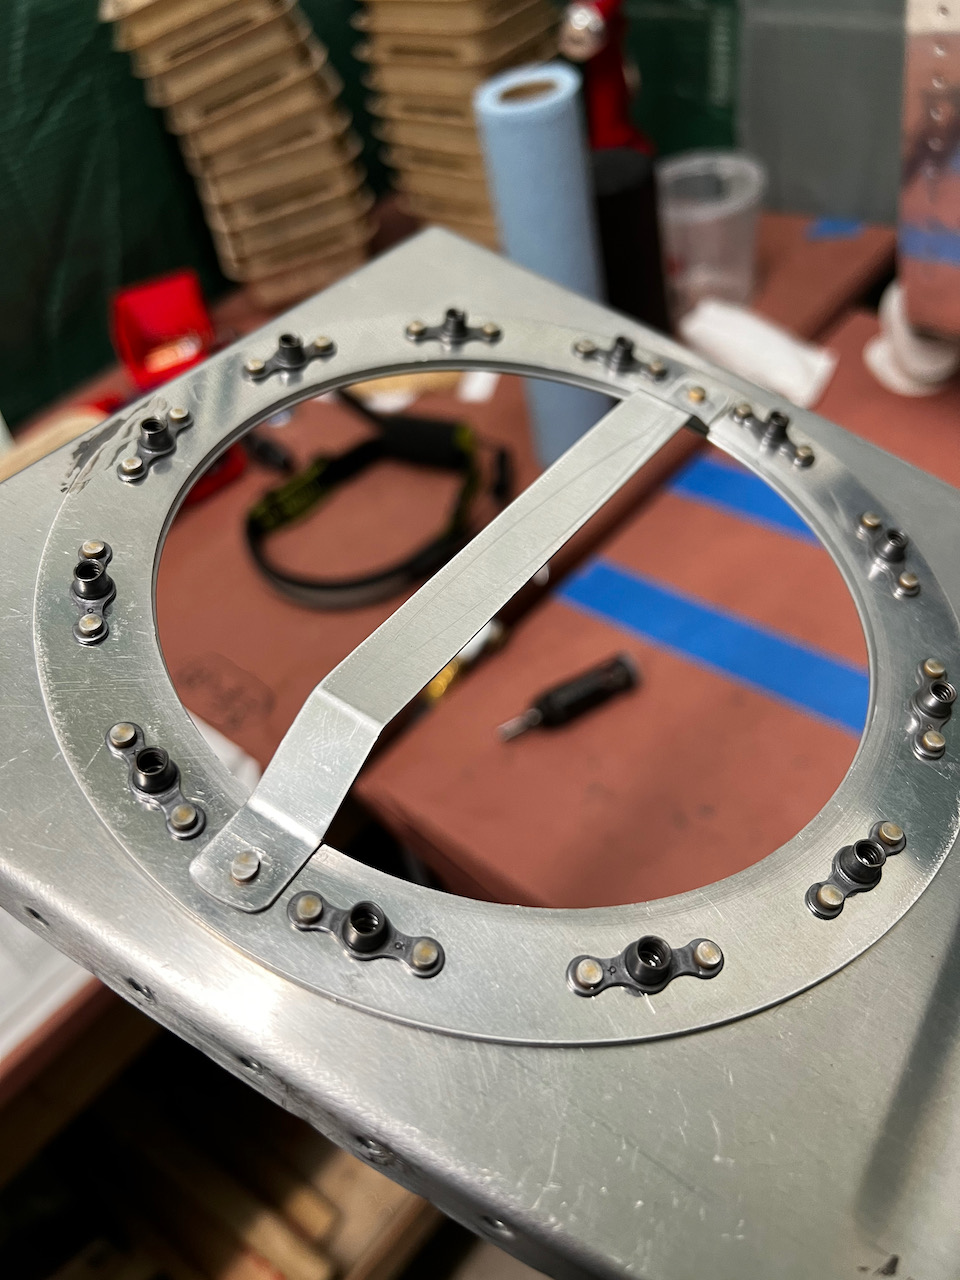
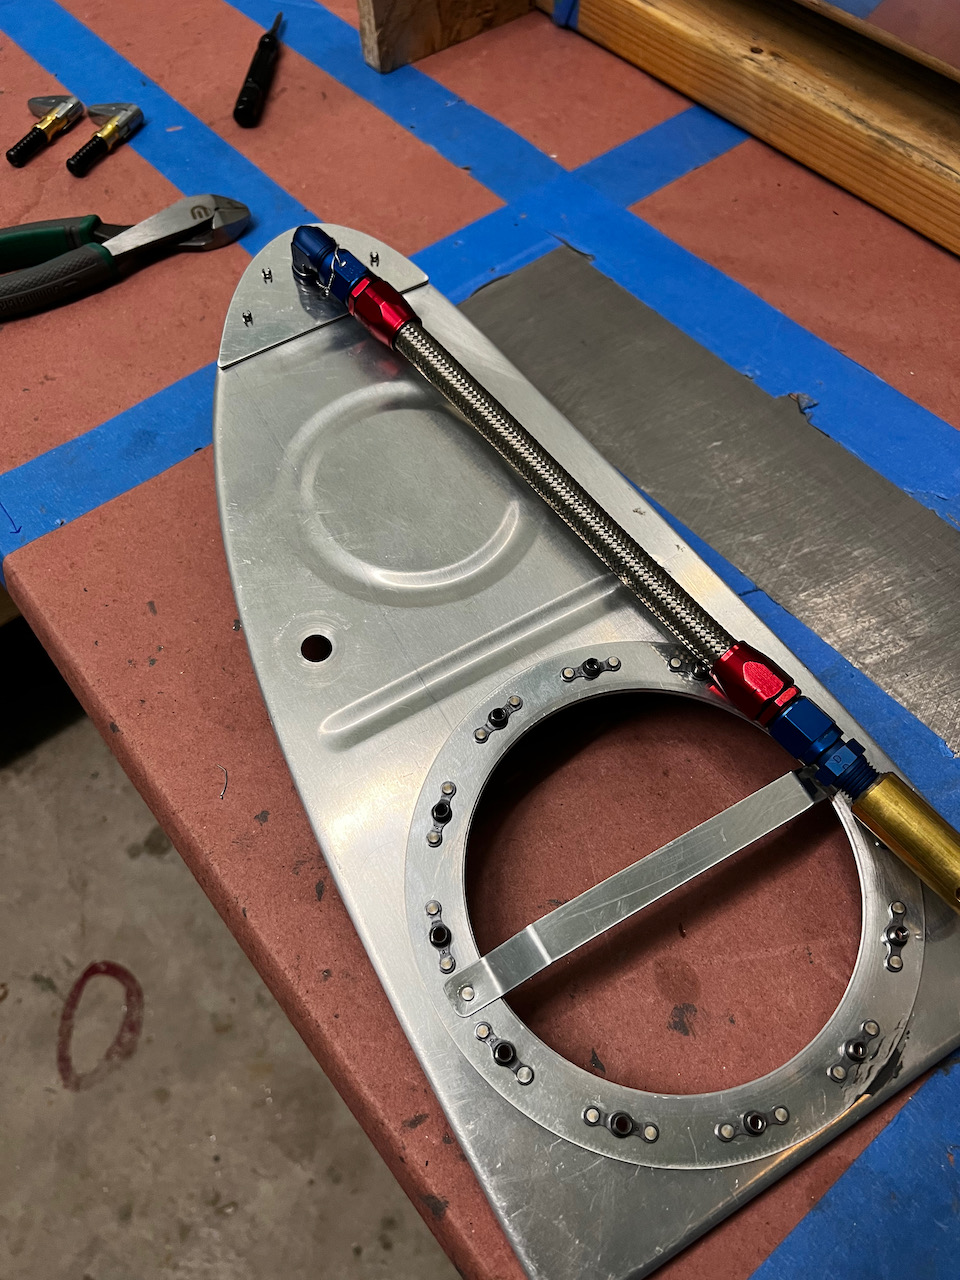
Test fit with the anti-hangup and flop tube look good!
Evening Session
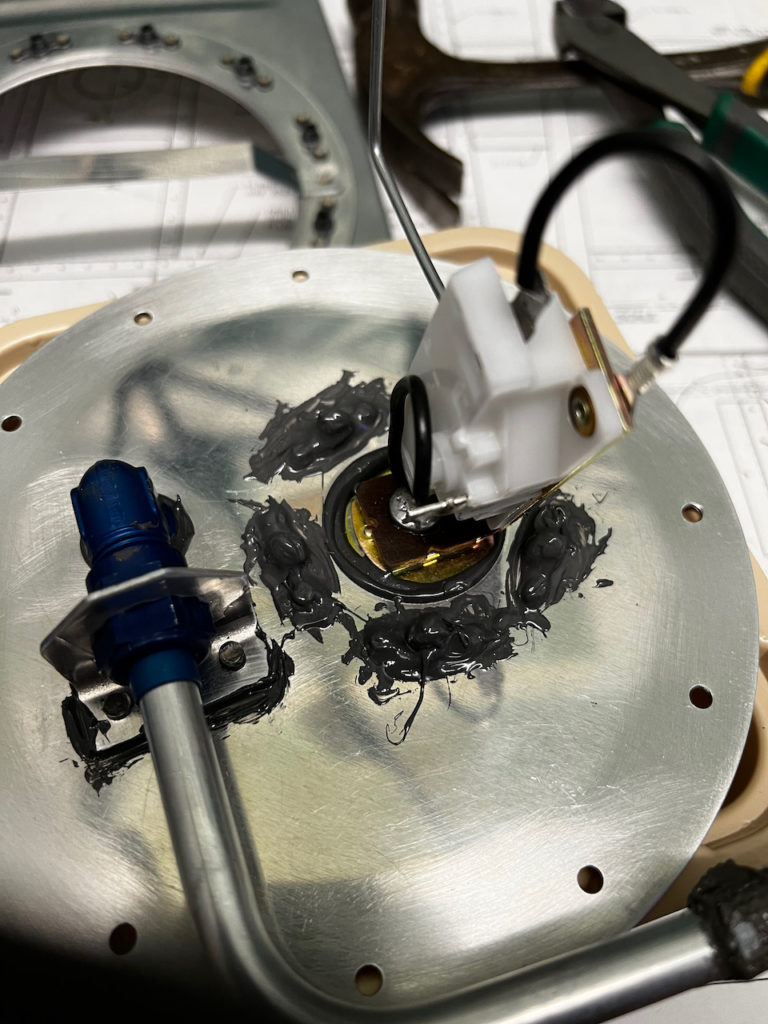
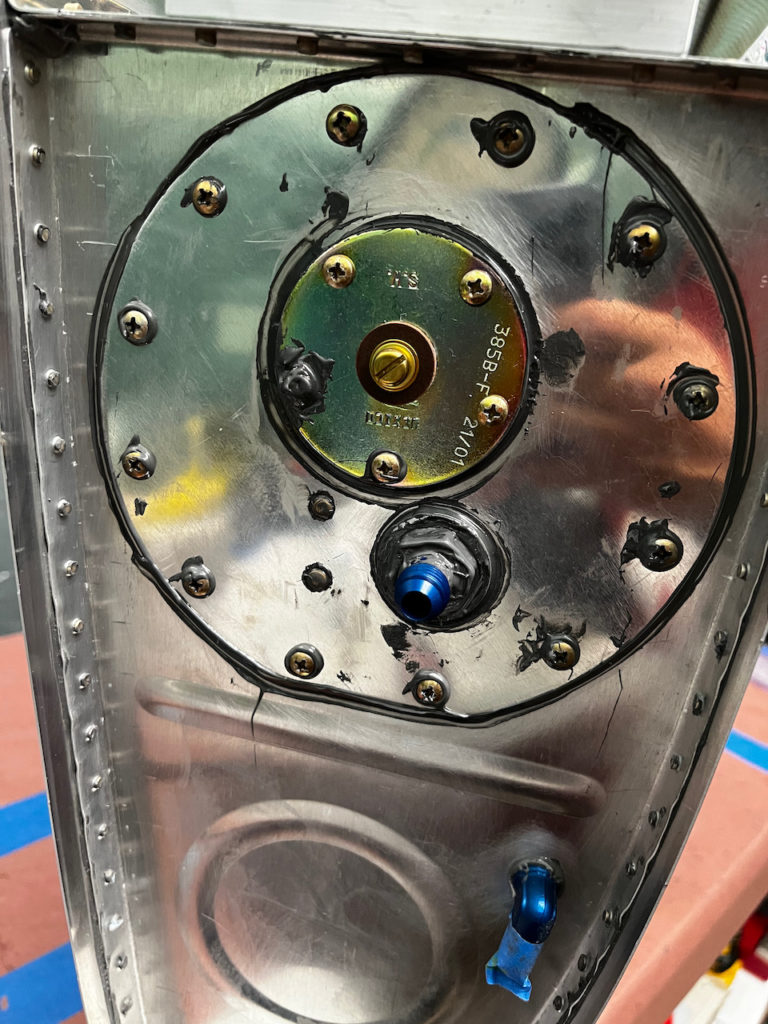
In the Evening I started the session by closing up the access cover for the left tank. Beforehand I did a bit more work sealing the screw holes under the advice of Alexander. Then I prepped and cleaned the surfaces. It was fairly simple seal and close after that. The squeeze out around the access cover felt appropriate. Hopefully I didn’t tighten down too much…I got that advice on the forums after I had already closed up. Since that was the last item to seal up before pressure test, we’ll see how it all turns out on Saturday!
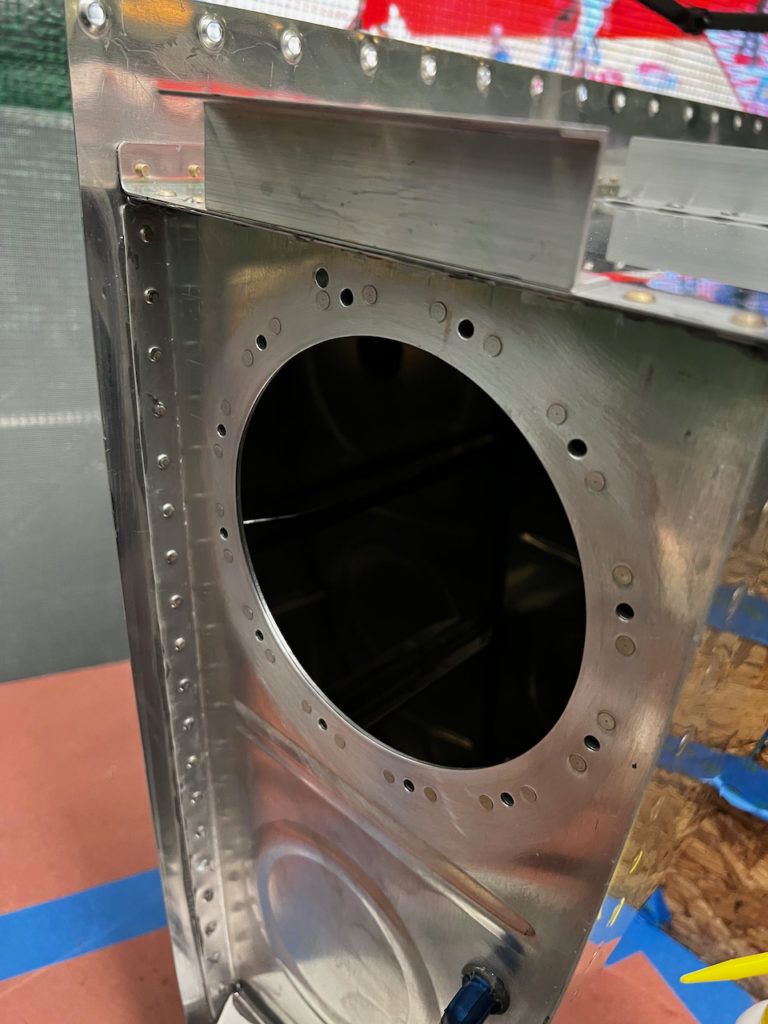
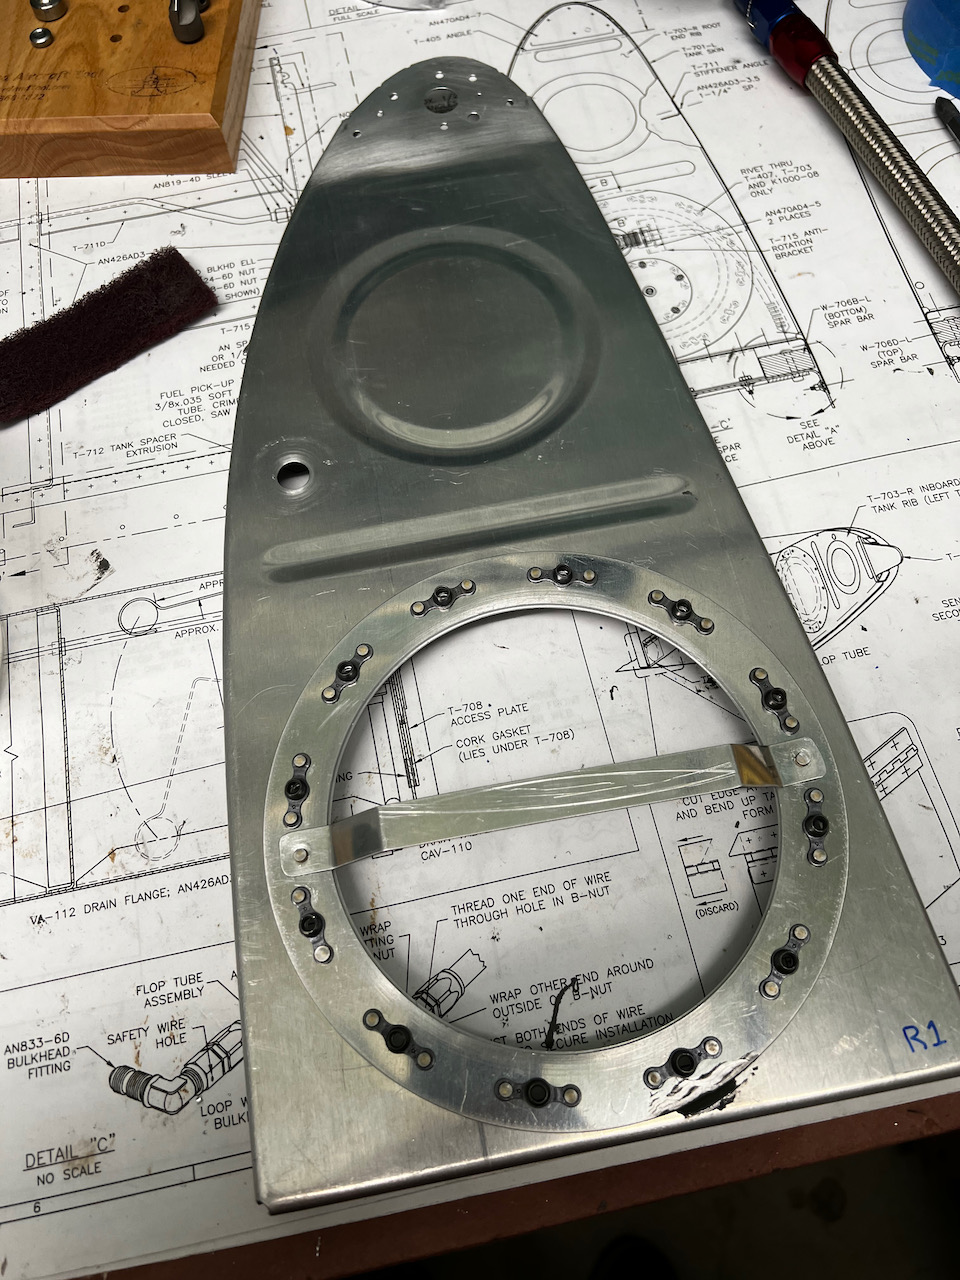
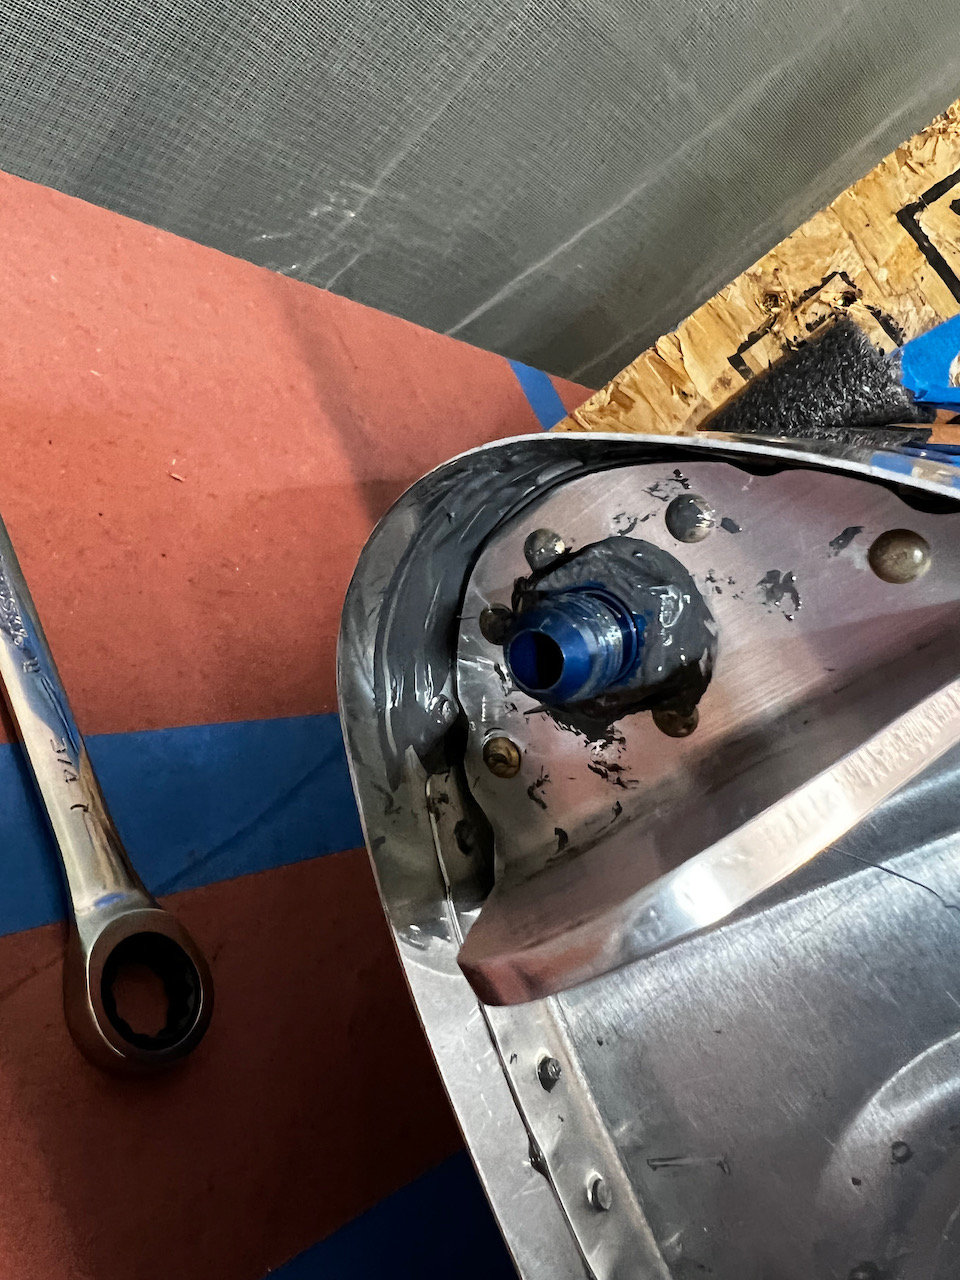
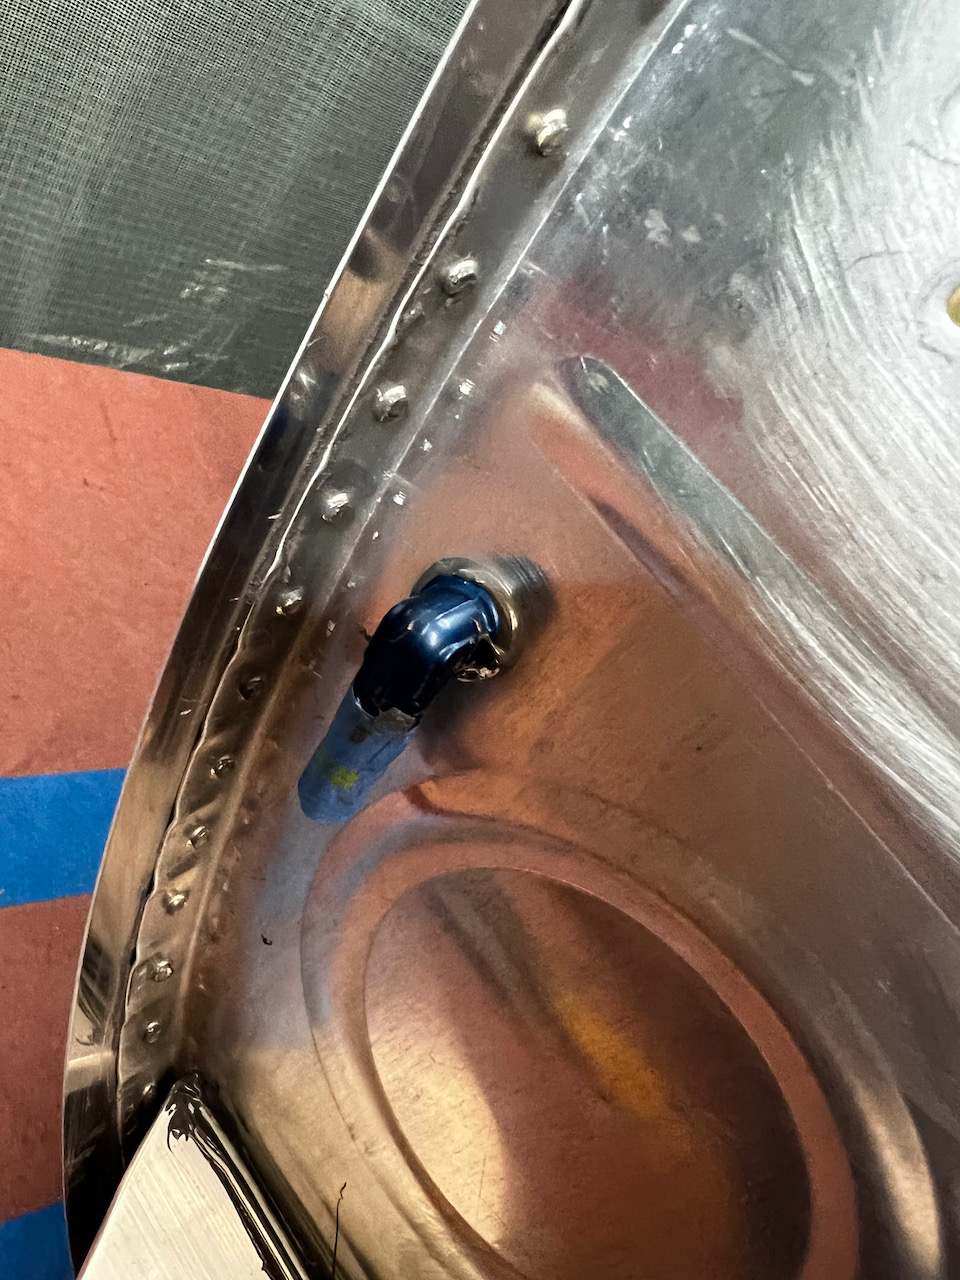
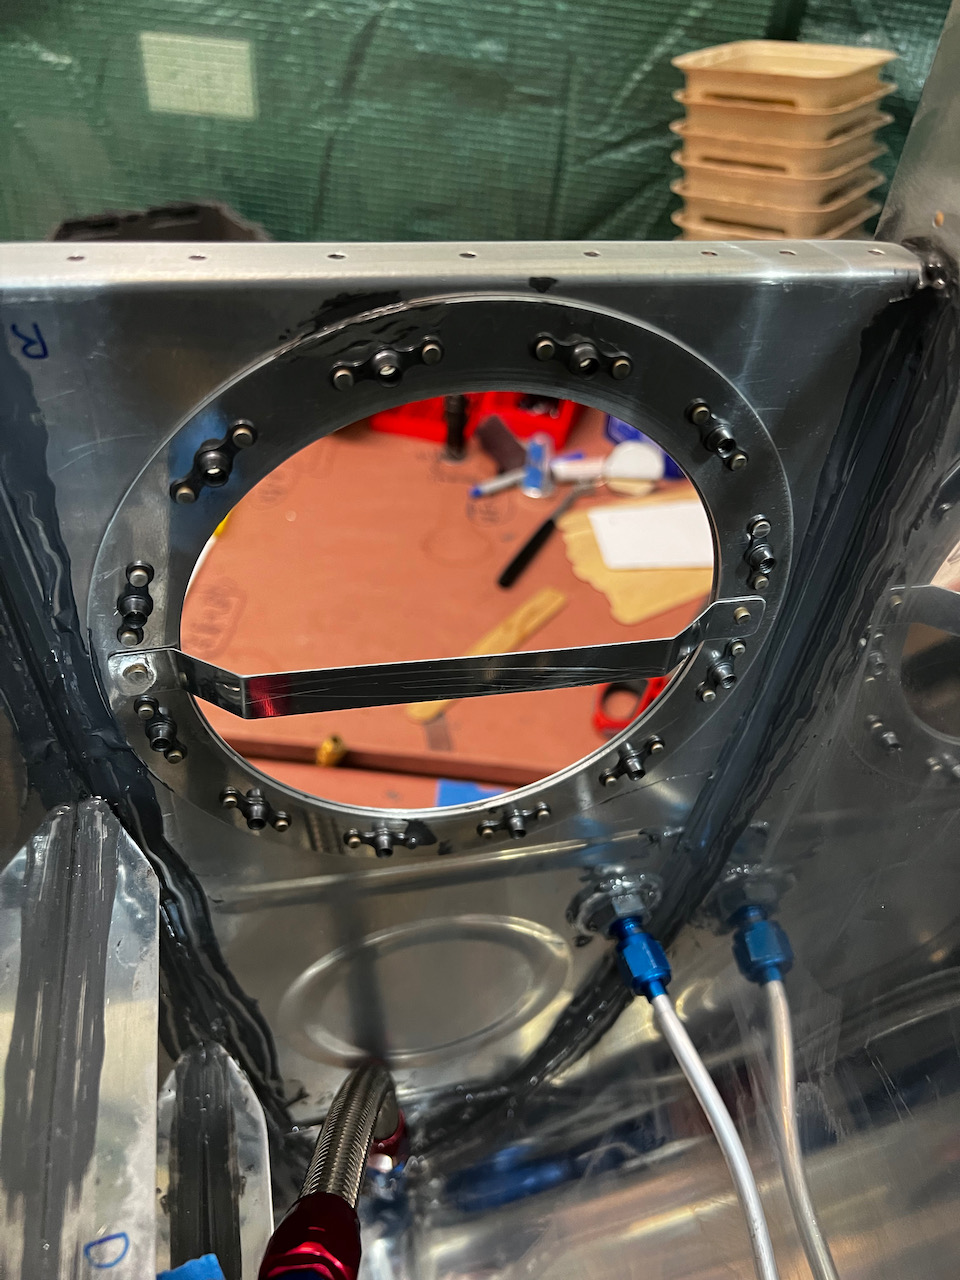
Since it was still early in the night, I decided to tackle installing the interior rib on the right tank. This rib includes the installation of the tank attach angle, and the flop tube. When I installed the angle on the left tank, it was pretty tight against some of the shop heads, so I decided to shape the angle a bit to give some more room for the heads. It worked great. After cleco’ing the rib in, I decided to rivet with the tank sideways instead of vertically. It helped me control the squeezer much better. Installing the flop tube hardware and fuel vent fittings was straight forward and then spent the rest of the evening cleaning everything up.
Ready for the right inboard rib
shaped angle helps avoid the shop heads
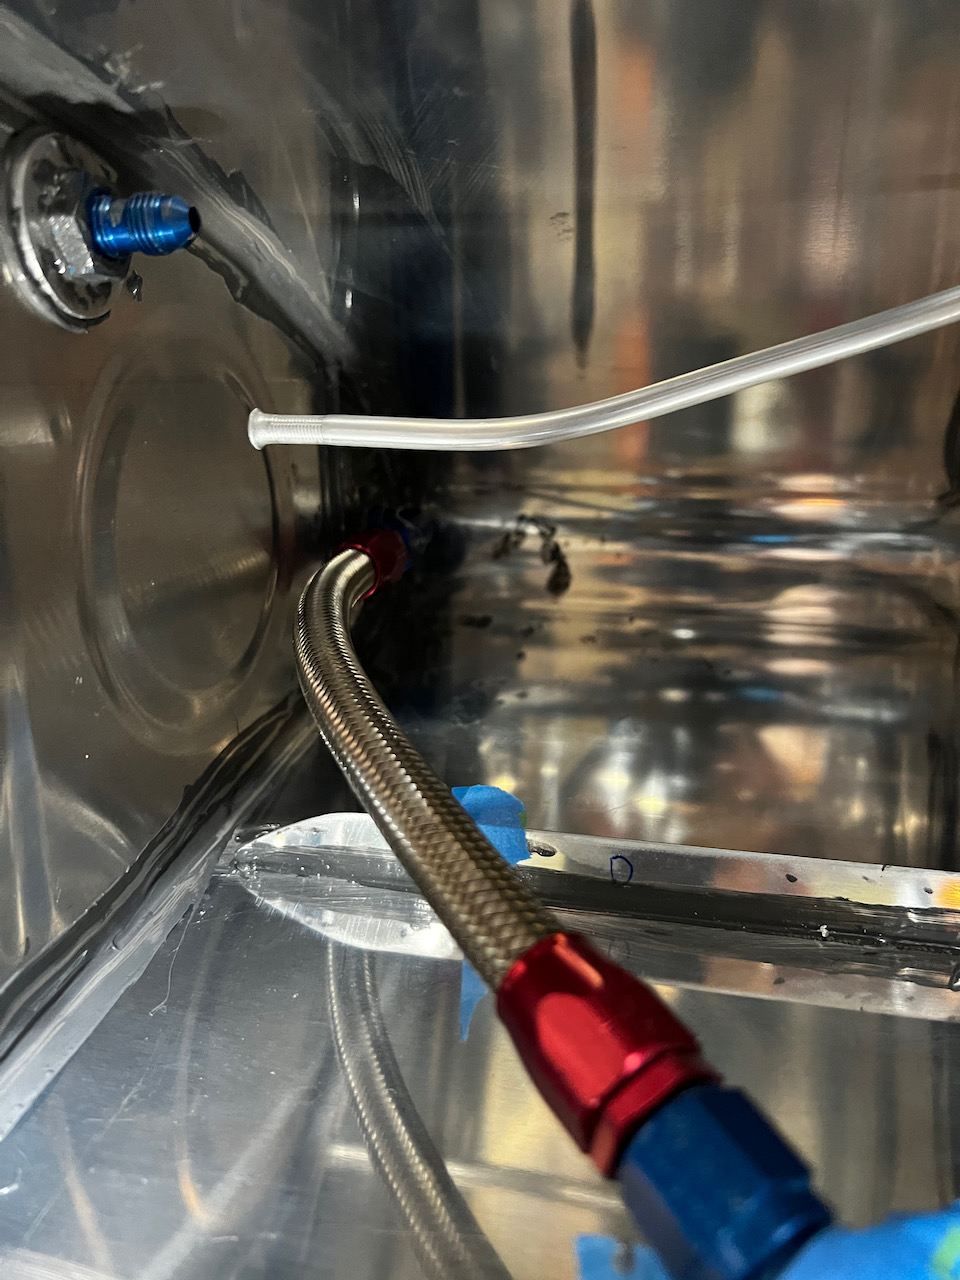
flop tube in!
Notice I taped the flop tube to the anti hangup bracket so it wouldn’t rattle around the sealant
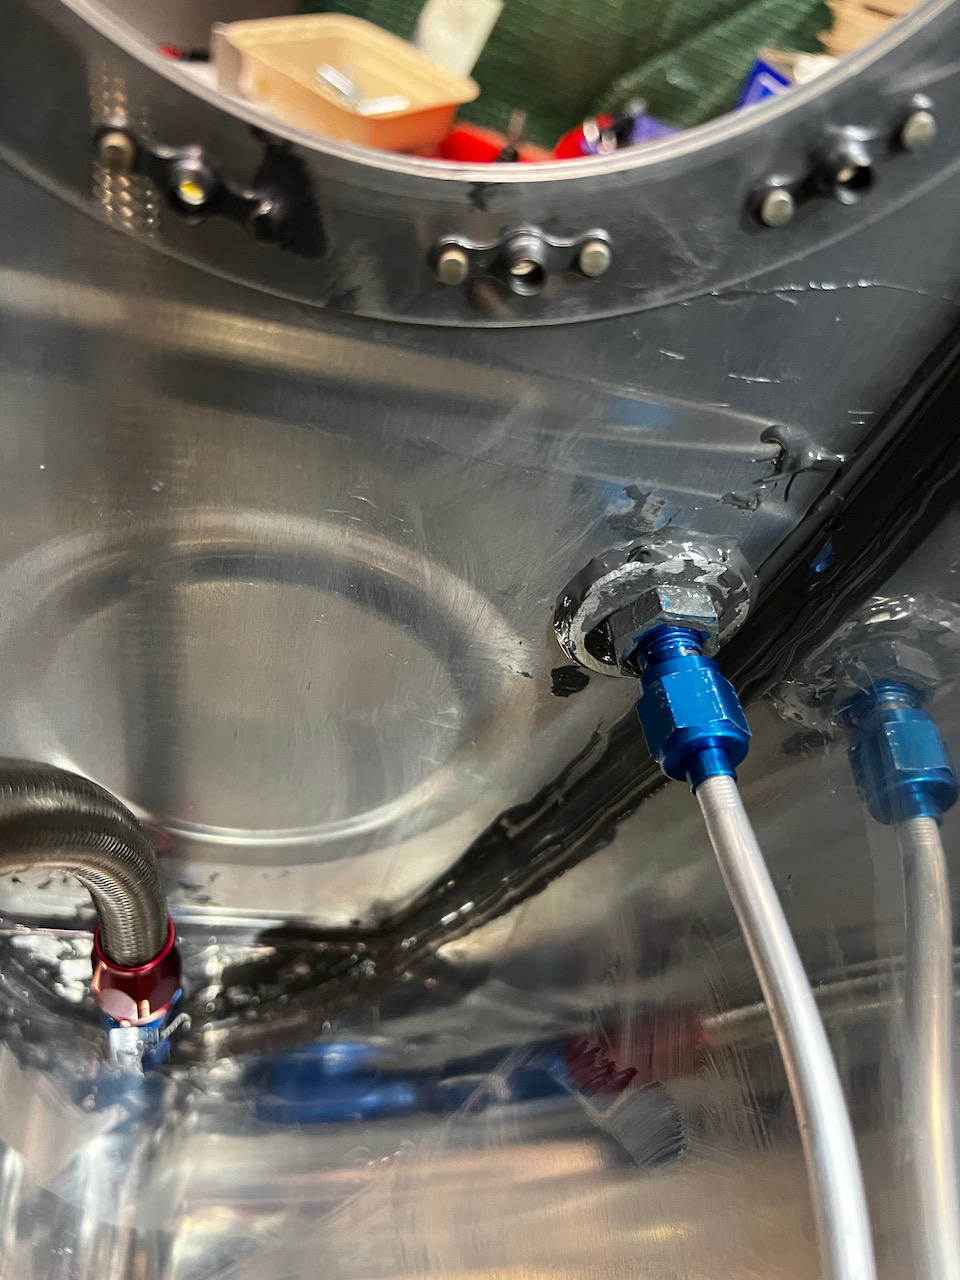
outside view of the flop tube fitting
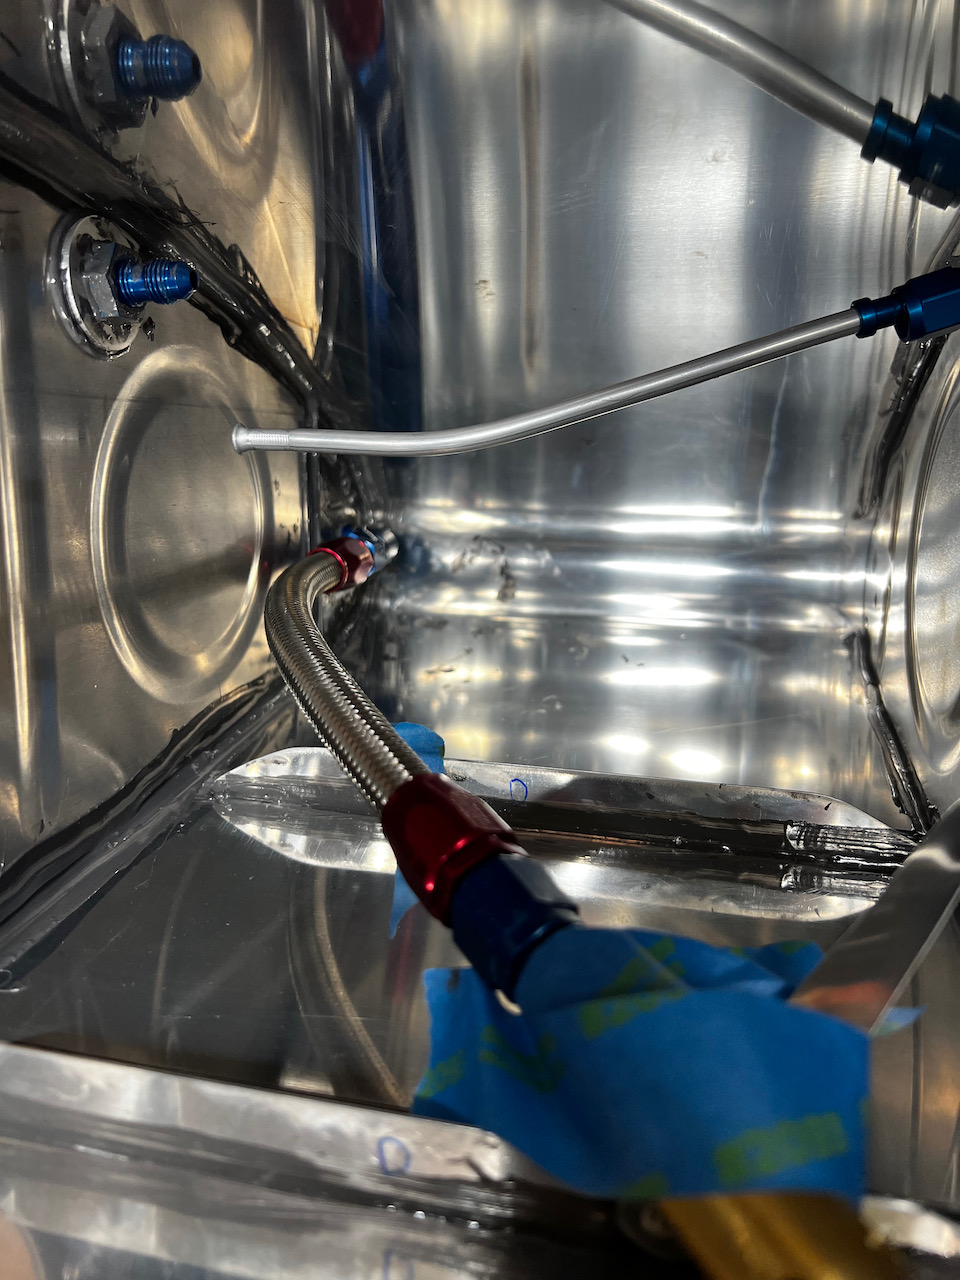
fuel vent fitting with sealant
interior fuel vent fitting view
All done!
I forgot how long that rib took, so I ended the evening pretty late. Happy I got through it though. Next up will be getting the fuel sender unit installed in the baffle aligned in the second bay (since the first has the flop tube). Until then, Happy Building!


2 comments
Inch by inch you are getting there. Still amazed at the level of detail you are working at. Good job.
YOu got the Q gene, early riser… but i hope you are geting at least 7 hours sleep daily…. getting complicated for my brain ! Love you, Mom