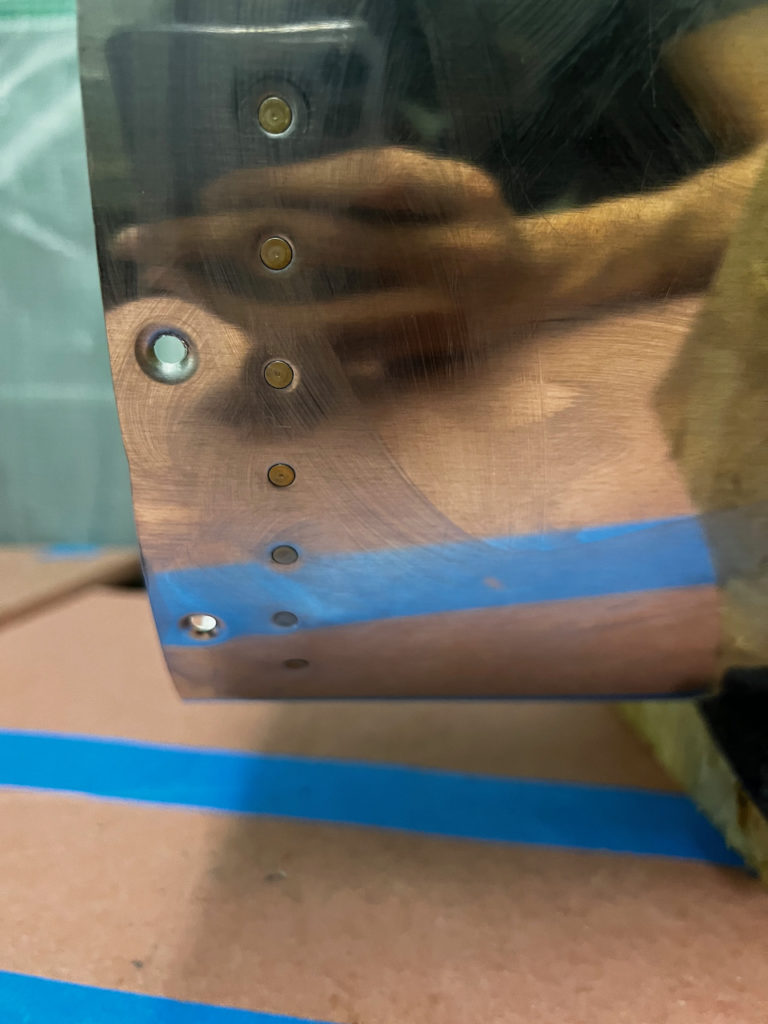
One of the unfortunate things about building a plane, is that as soon as you have gotten comfortable with a specific new skill, it is time to move on and learn another one. Today I got to start on the outboard ribs for the fuel tanks and thus another opportunity to try something new. Everything was pretty straight forward on the prep, and application of the sealant (although you try to apply to the inner portion of the flange only, rather than the whole thing like the intermediate ribs). When using the pneumatic squeezer, I was having some challenges due to the decent curvature of the top airfoil, and the slippery surface due to the sealant. I ended up having to drill out one of the rivets near the leading edge and used the wrong sized reamer!! Shoot. Well….I finally got to use my “Oops Rivets” kit which has larger diameter rivets (i.e. -4 instead of -3), but with the head of the smaller size. This is really meant for when you drill out a hole inadvertently enlargen the hole, but I guess it is just as useful for when you select the wrong bit! In the photo below, see if you can guess which head is the oops head (there is a difference!).
OK, actually it’s sorta unfair because it’s the very front one which is out of focus. The point is, unless you look REALLY close, you’ll never know that is an oops rivet once I paint. The only other major different in the install was taping off the outer edge of the flange to minimize sealant overflow. There is no need for sealant out there because it’s not where fuel should be, and there is a reason to keep it clean because that is where the tank will attach to the rest of the leading edge with a joint plate. Any sealant may cause a bad fit. (Note, you don’t have to seal the shop heads out here as well, since the fillet bead inside the tank should theoretically stop fuel from ever getting to that side. There was a little overflow to the heads, and I didn’t bother cleaning it if it was there.) Below are pictures from the session. Next up is the left outboard rib, then on to the inboard ribs! Until then, Happy Building!
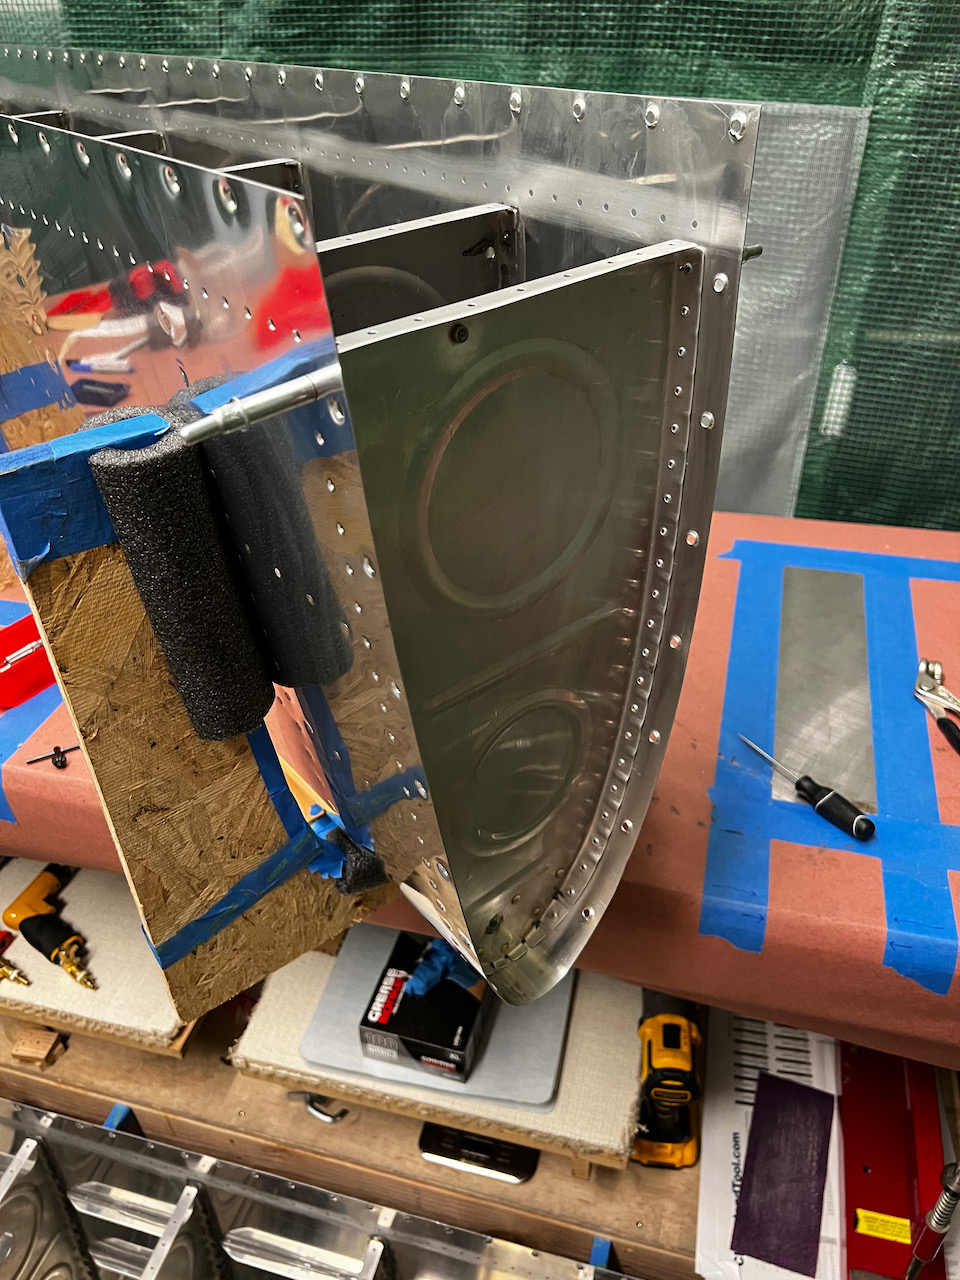
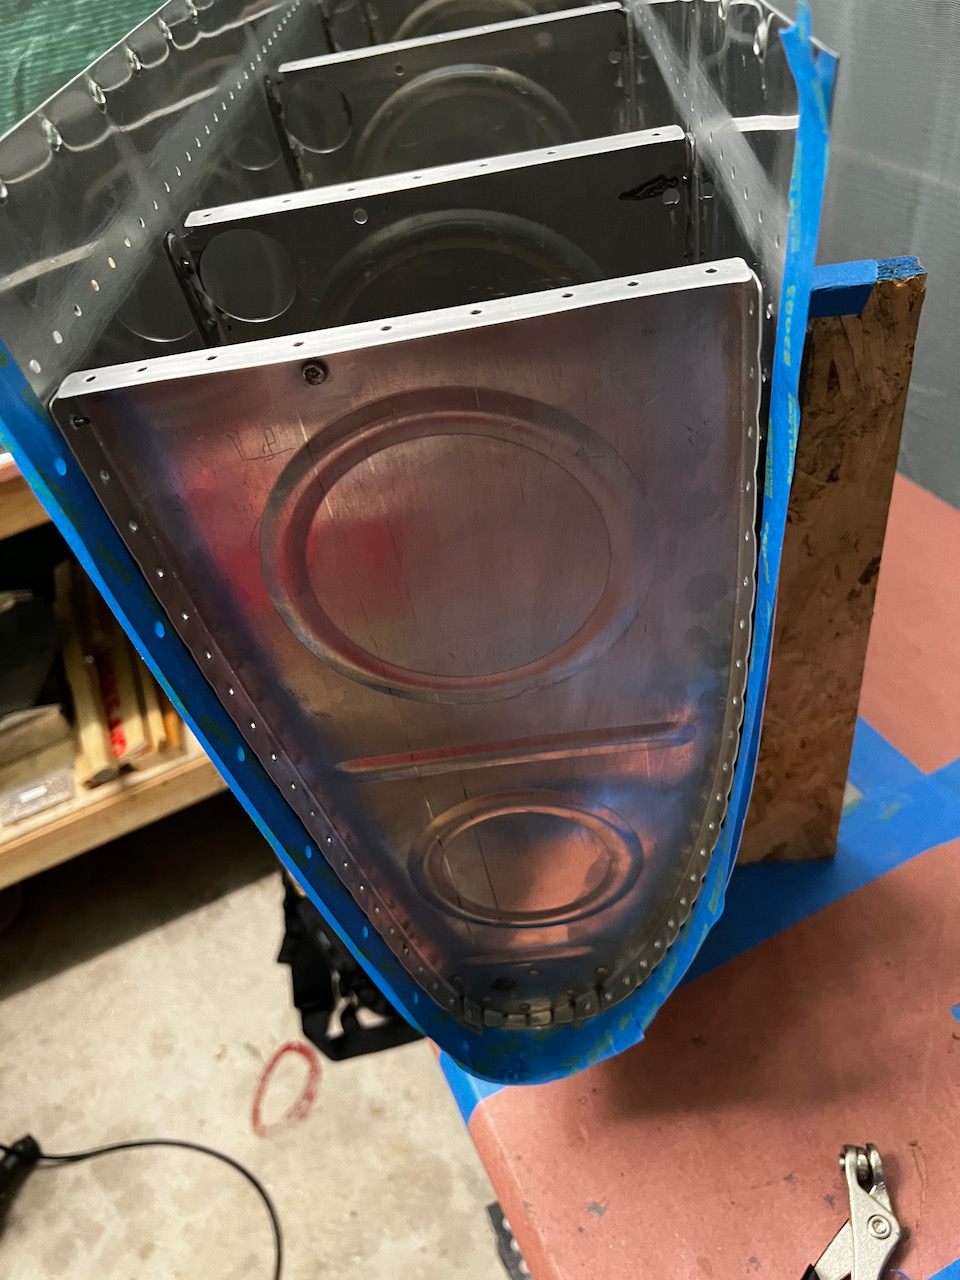
Test Fit looks good!
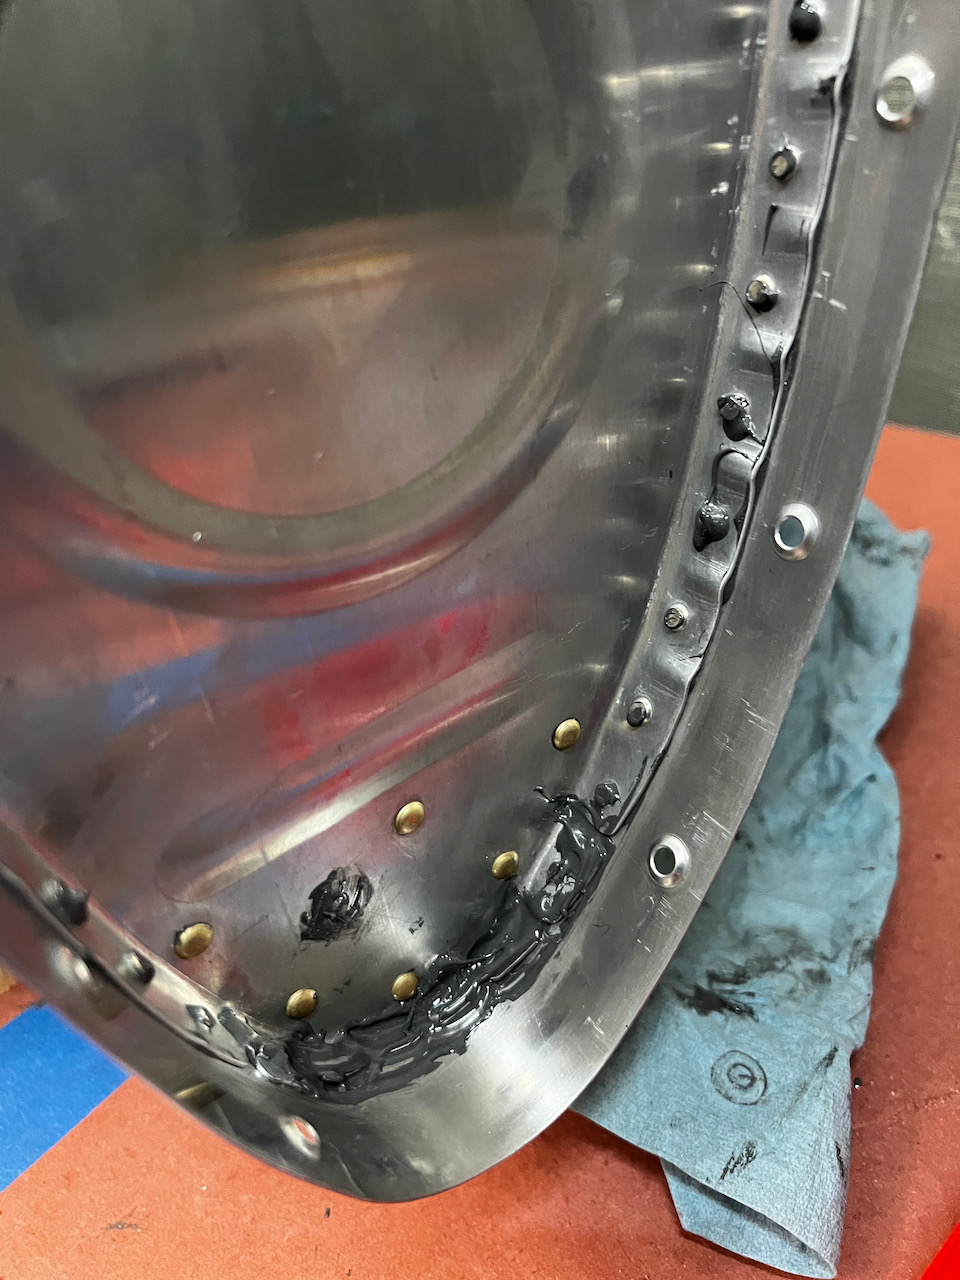
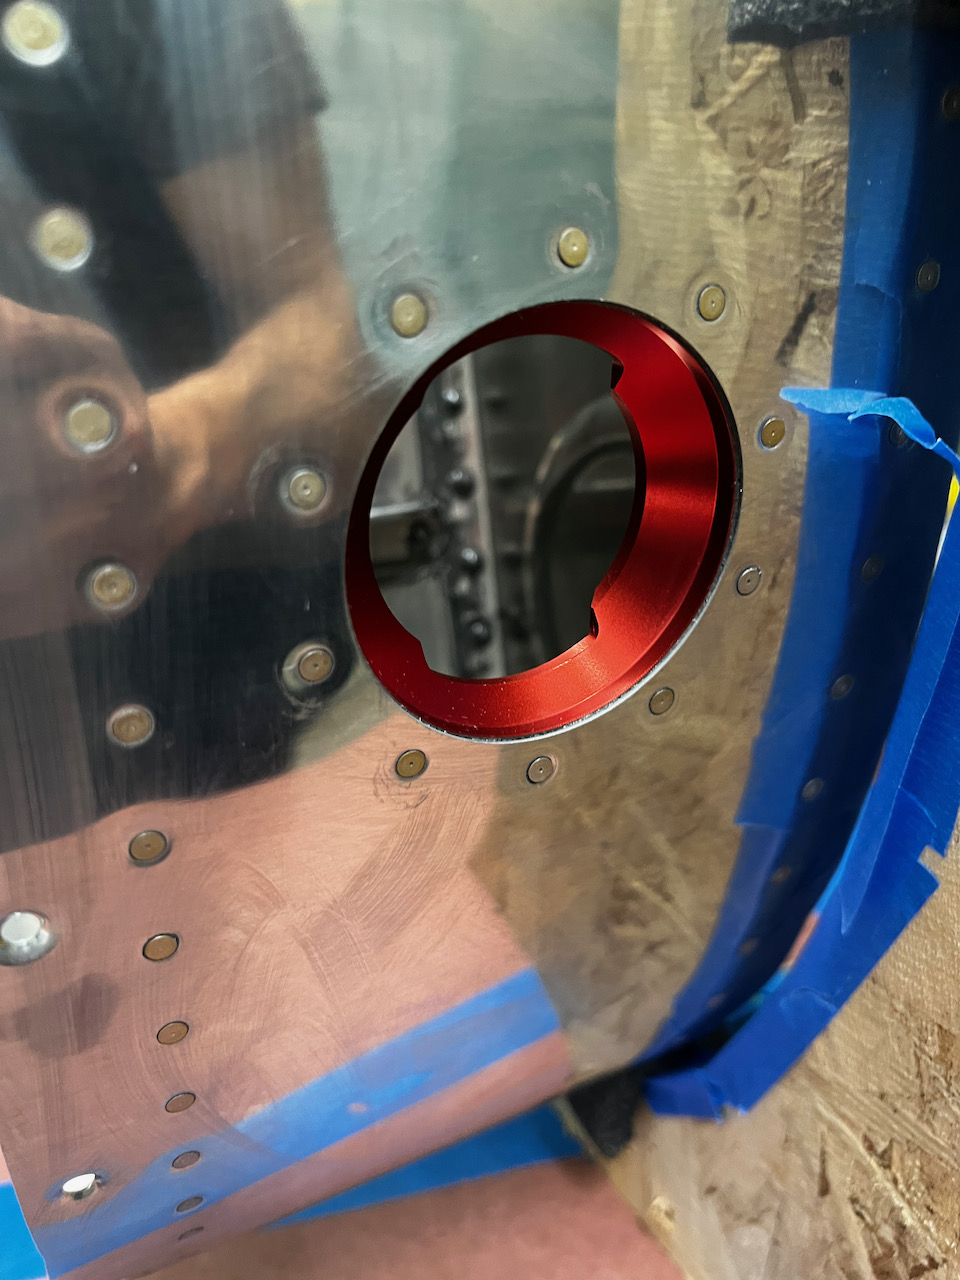
tape avoids sealant overflow
squeeze out at the bottom is good. Lots of leak paths there.


2 comments
Hail the rivet man 😀😂🤗🤗🤗
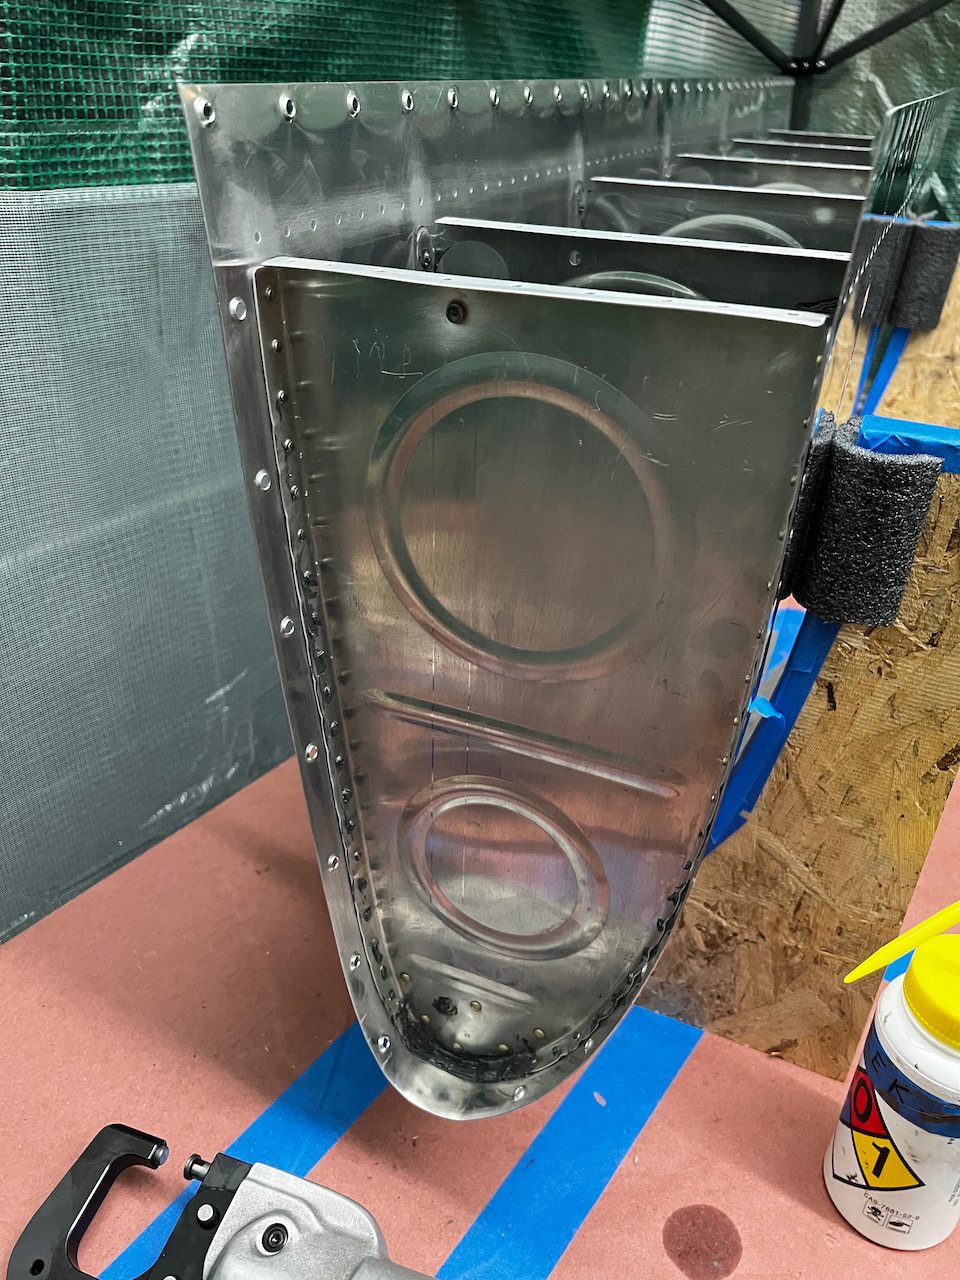
Taking shape !! Looks like a wing !!!!