I could not have planned a better weekend of building if I tried. And you read it right, 24.3 hours from Saturday – Monday. Between early mornings and friends helping out, I was able to focus on building for almost the entire weekend and accomplished the goal of getting all interior ribs installed (and much more!). Not to mention having a blast while doing it! Below is a lengthy account of the weekend, and some small tidbits of learning along the way. If you’re up for the challenge, enjoy the read!
Saturday Sunrise Session
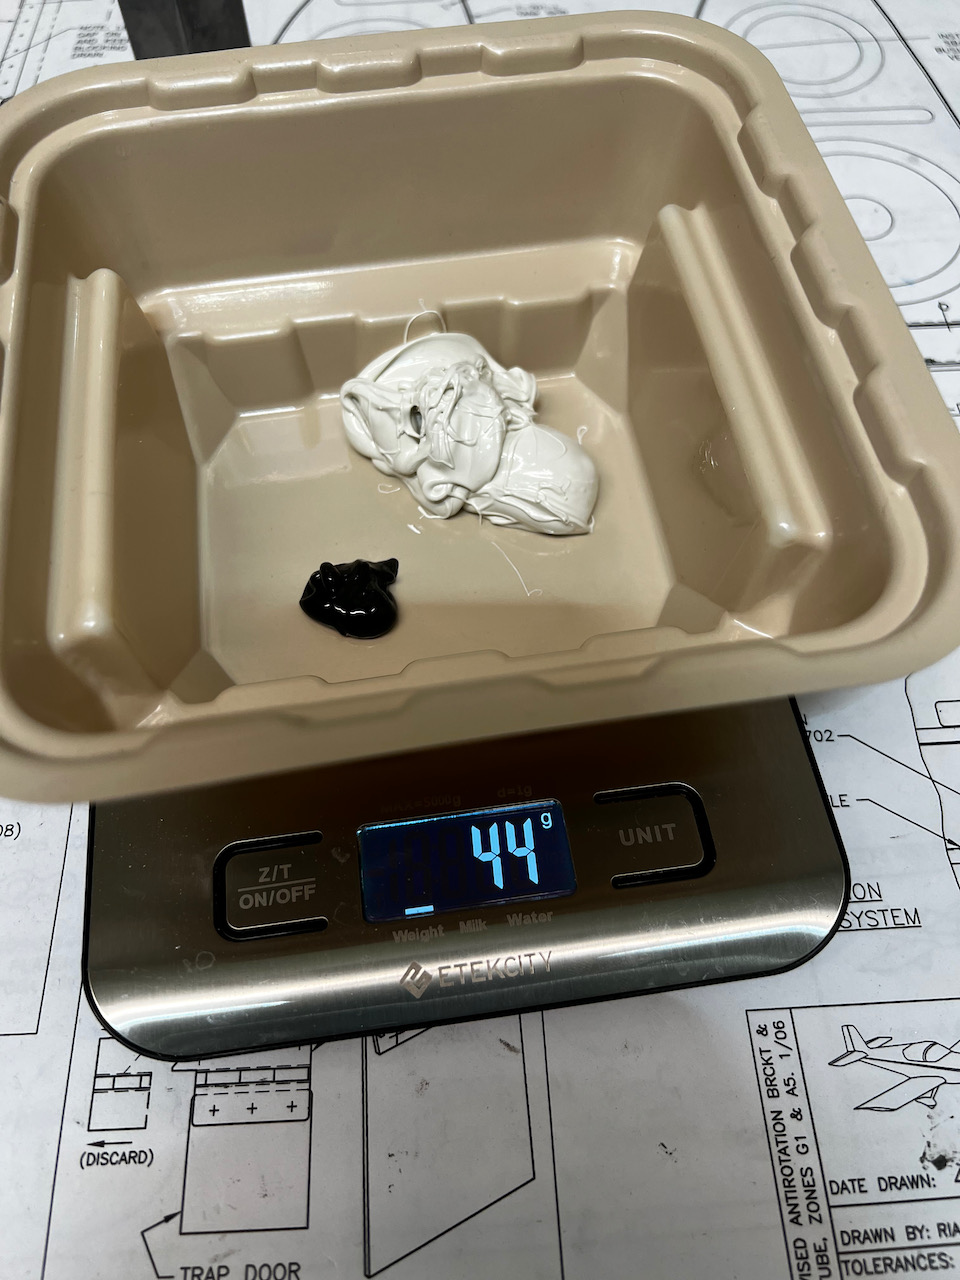
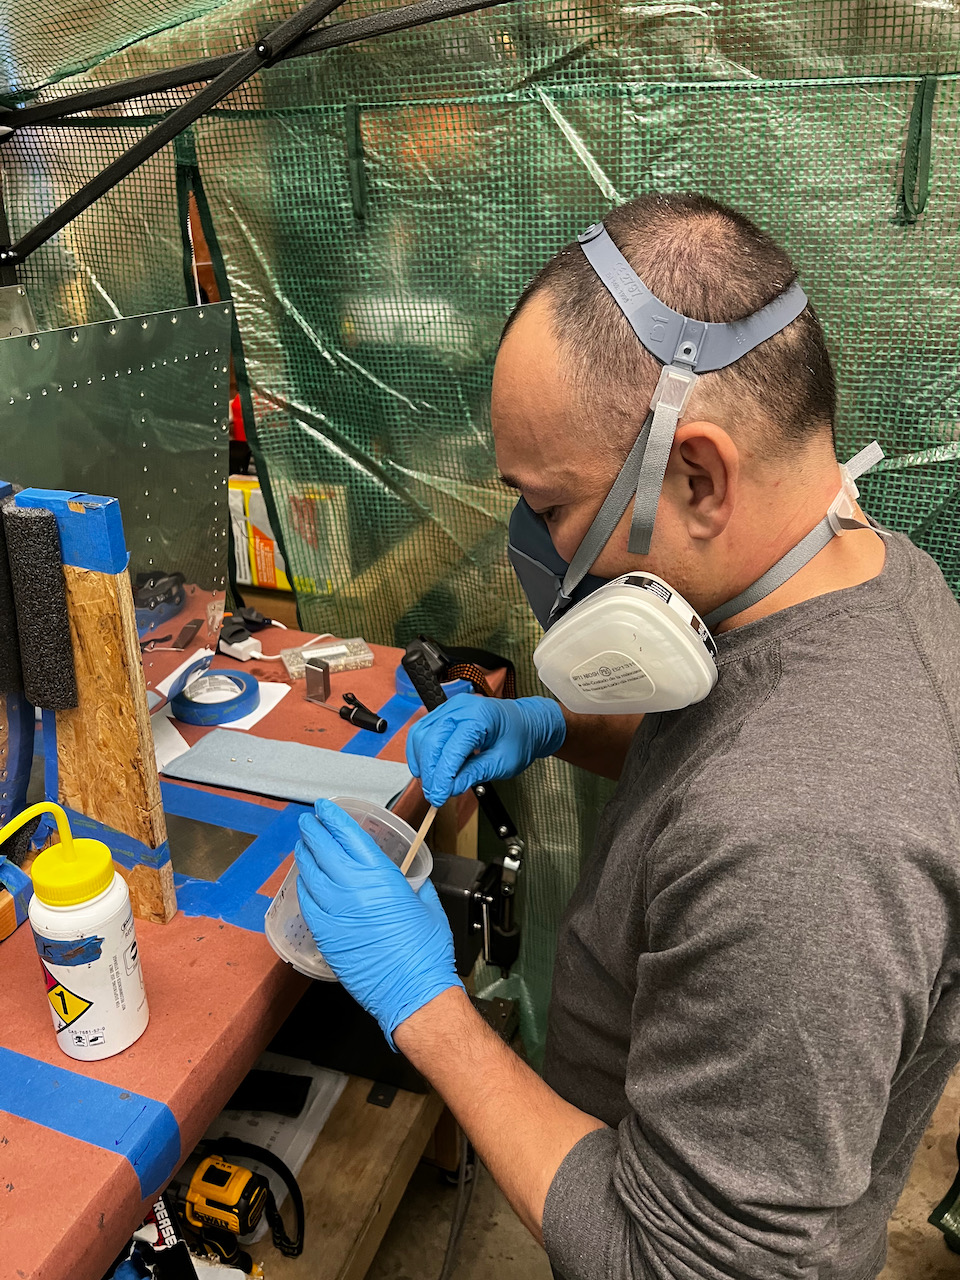
The morning session was a pre-dawn start to try finishing up the left tank. I had two ribs to go, and was starting to get pretty comfortable with the routine of rib install. I had gotten my sealant consumption down to 44g per rib. I might actually be able to complete the tanks without getting another quart of the stuff! Nothing major to report, and after 5 hours I had the two final ribs of the left tank in, and on the shelf! On to the right tank!
44g turns out to be the perfect amount of proseal for a single rib
4 down, 1 to go on the left tank!
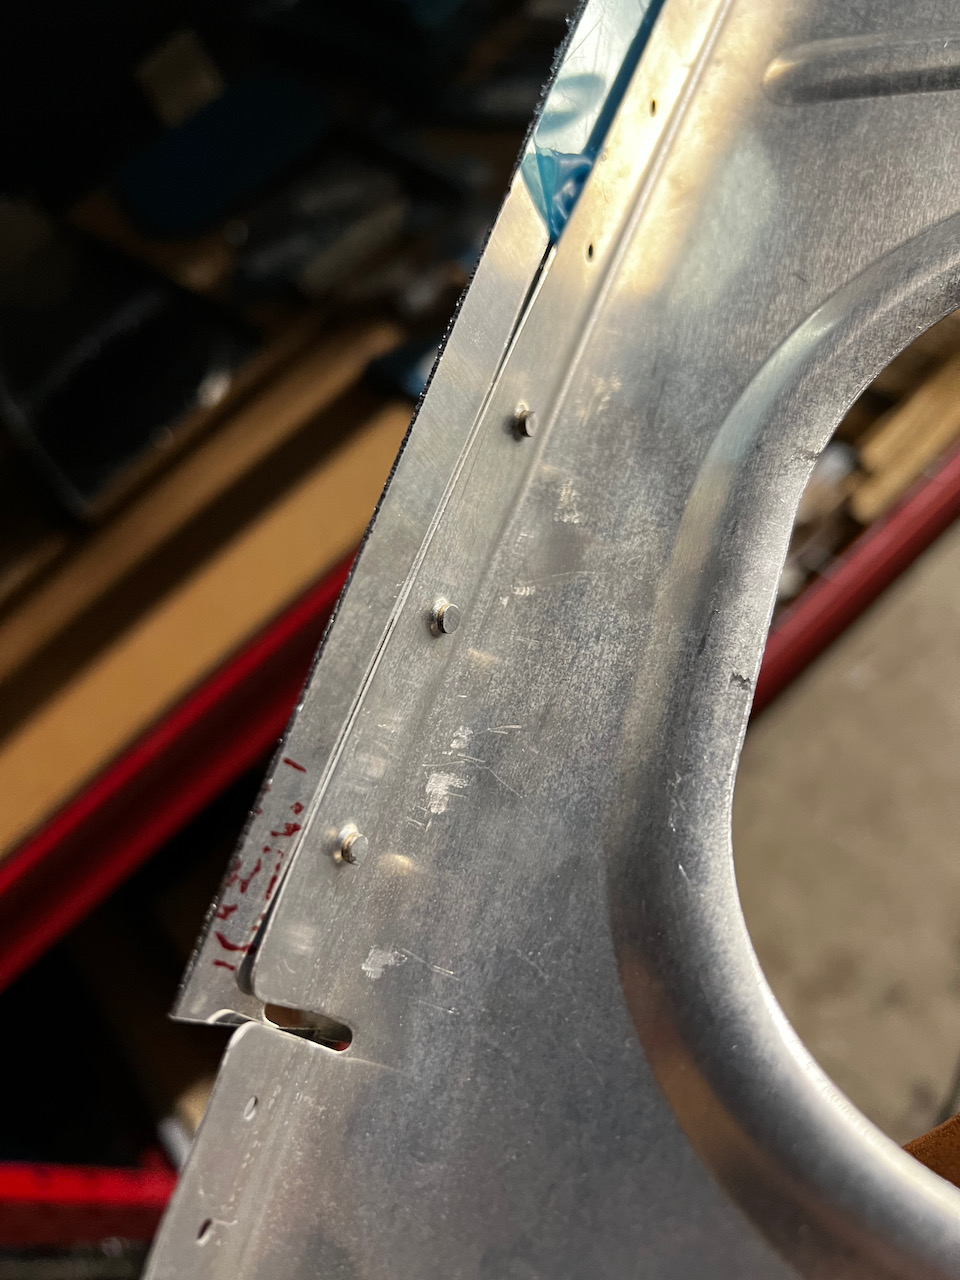
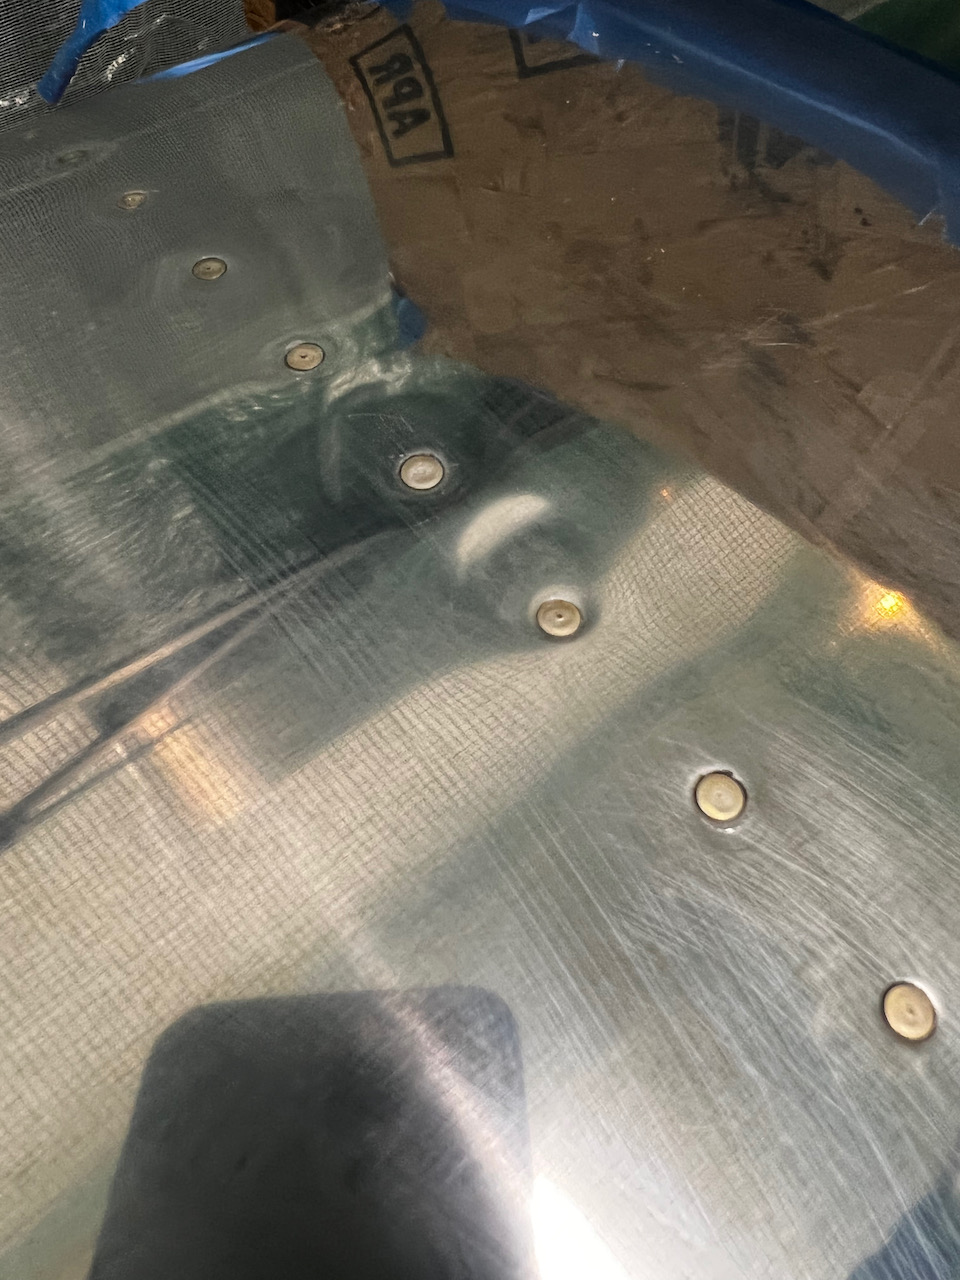
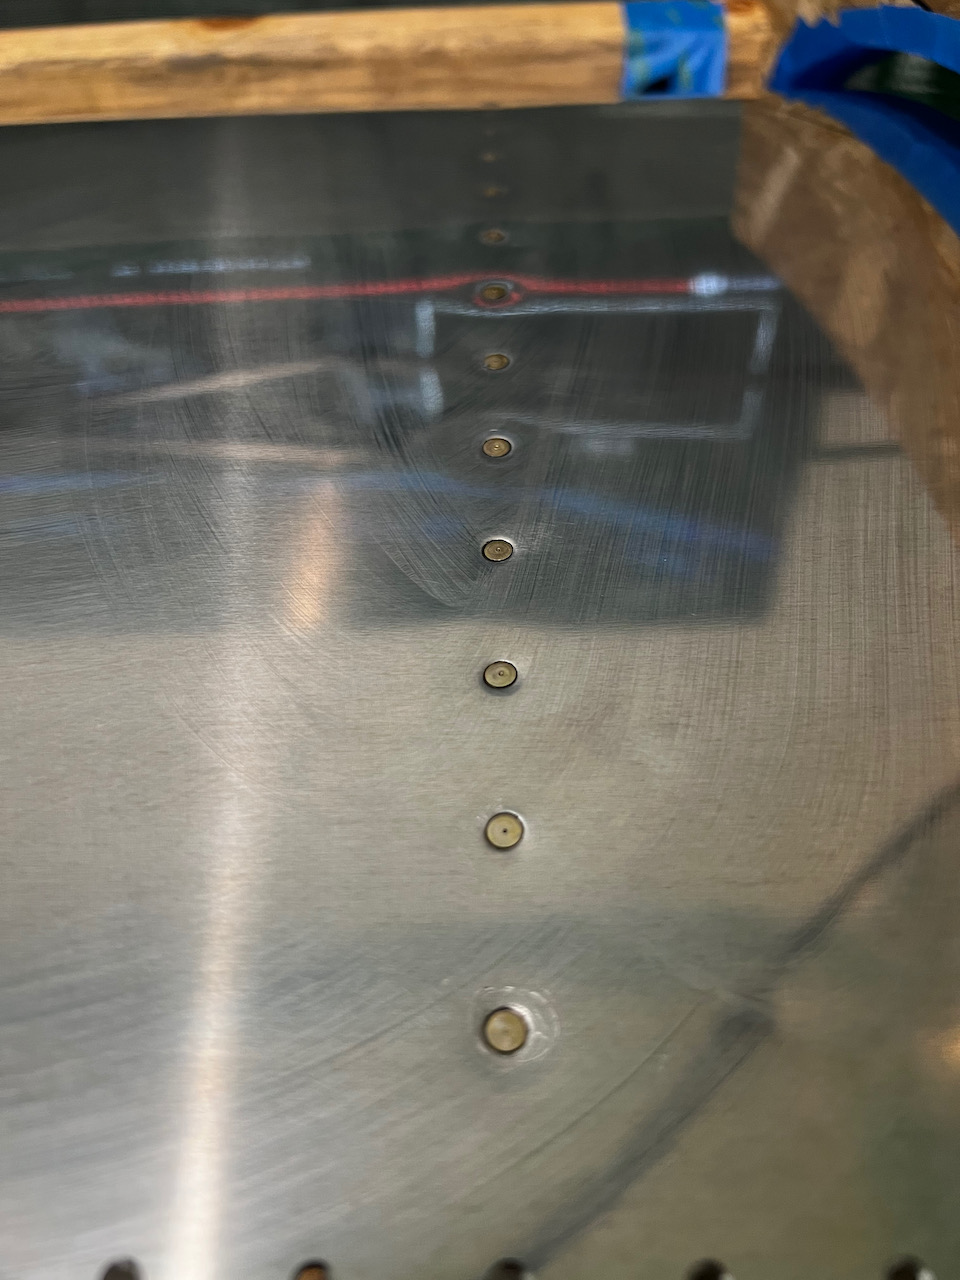
Rivets looking pretty good!
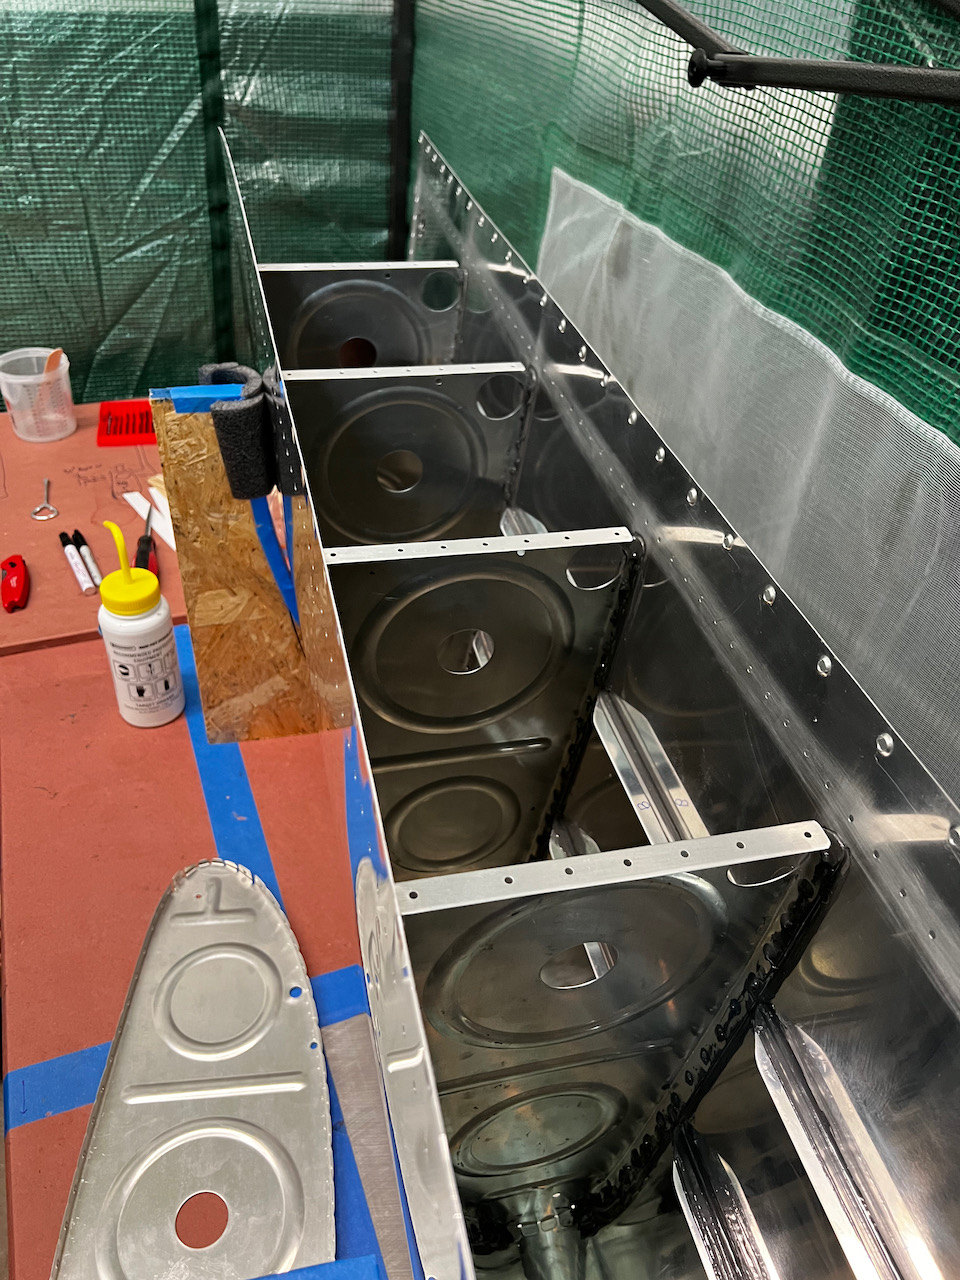
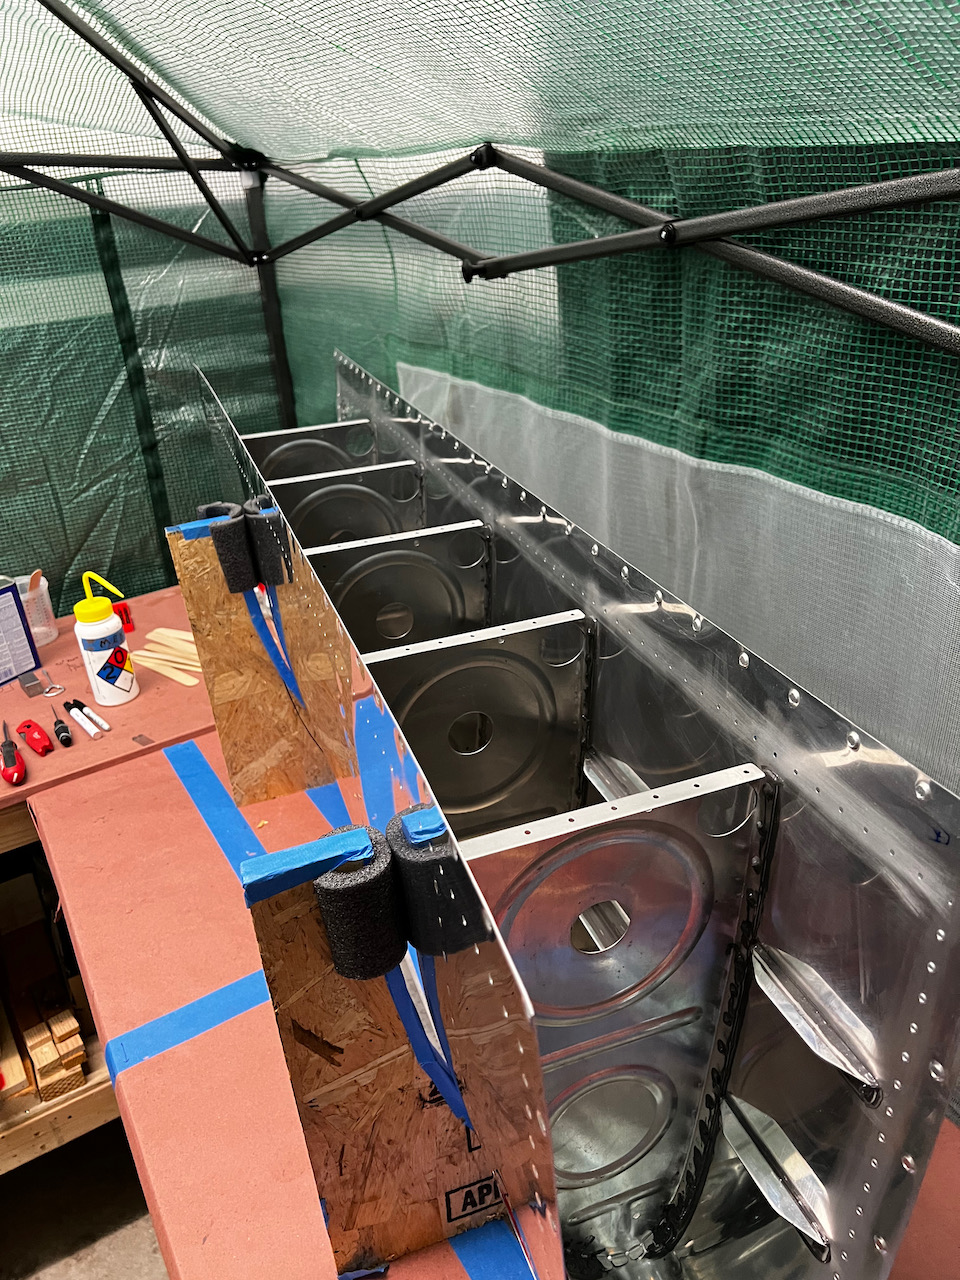
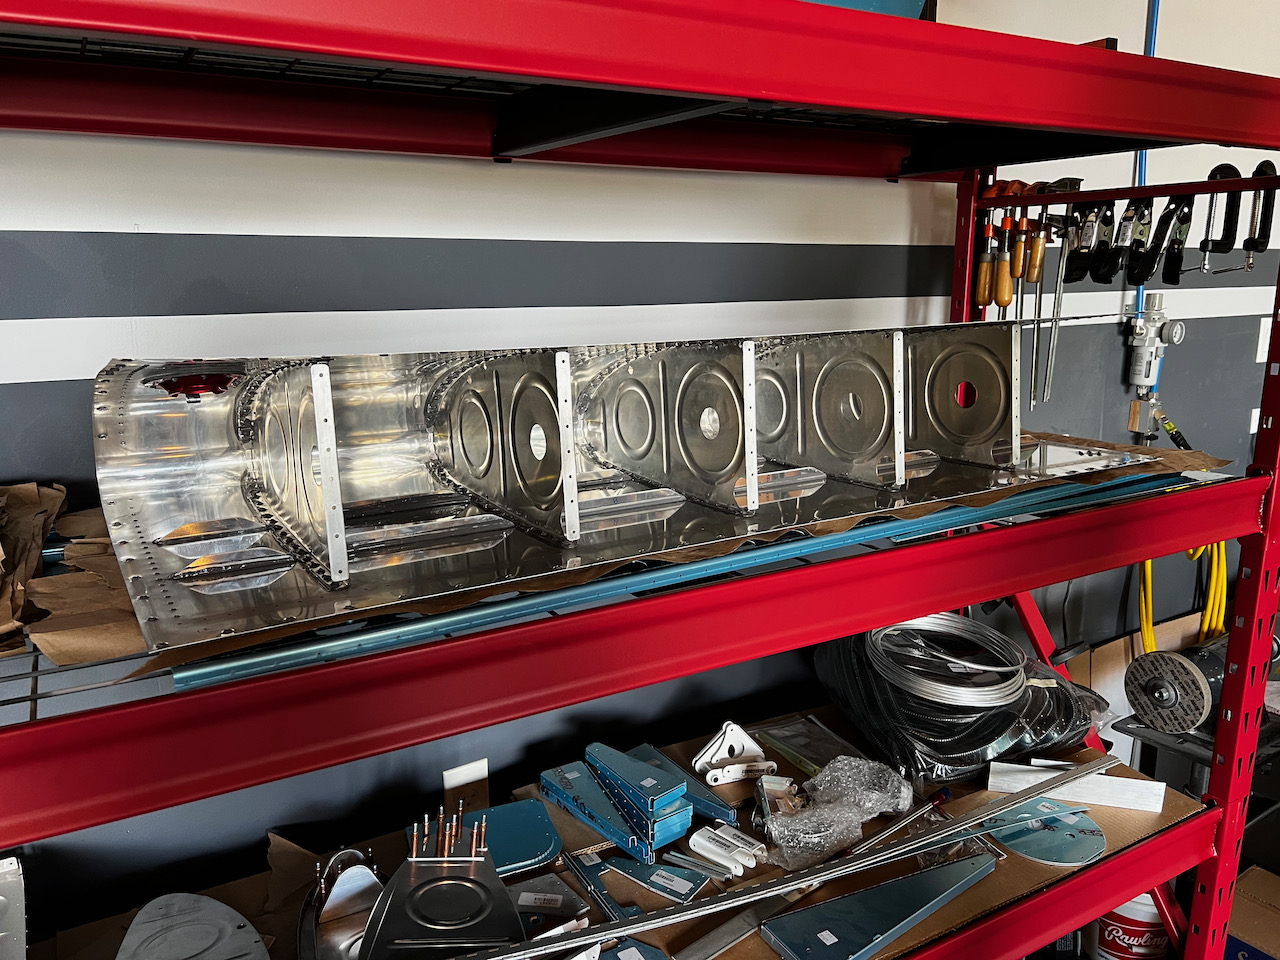
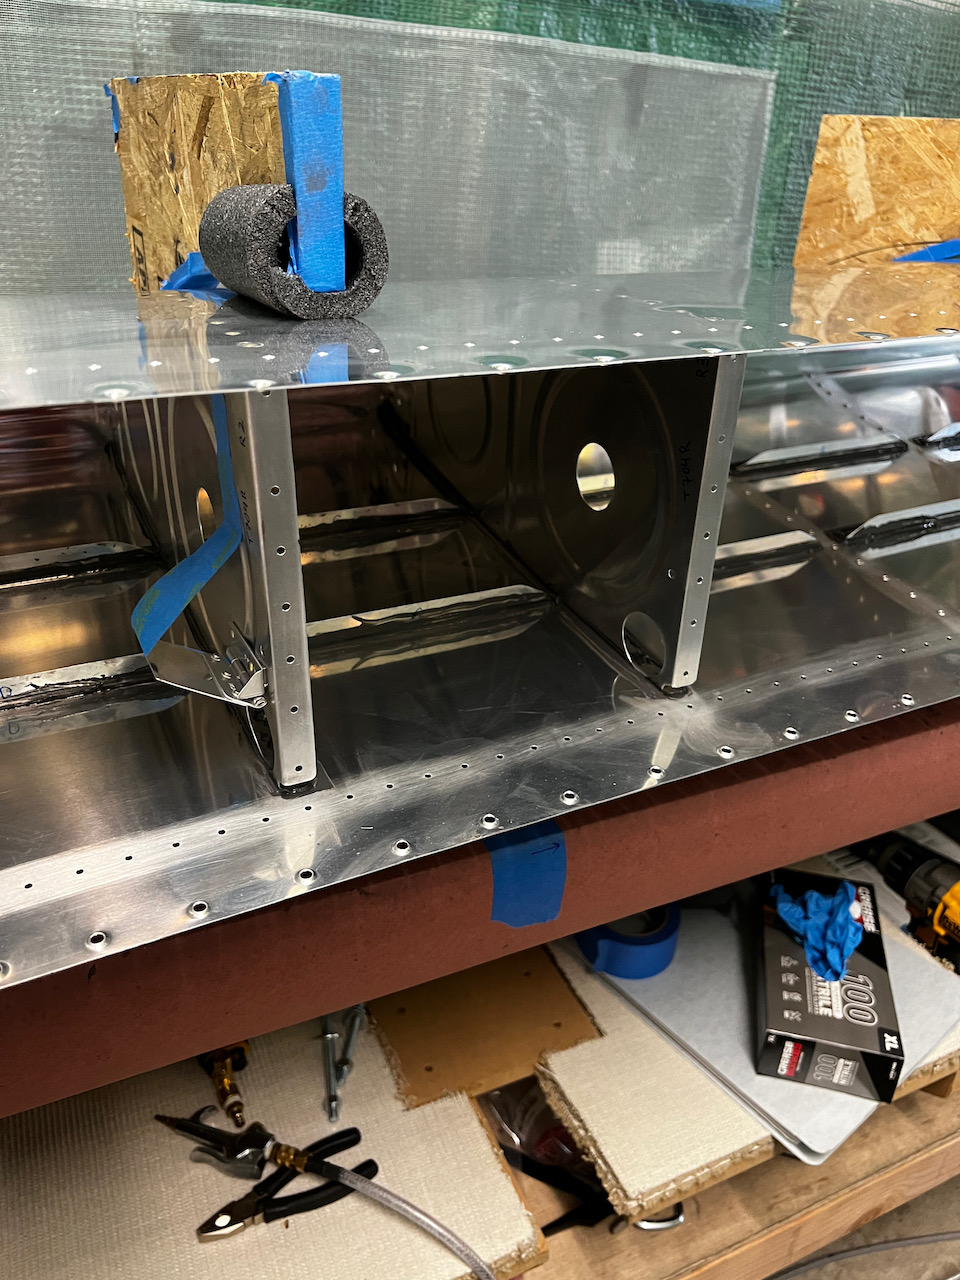
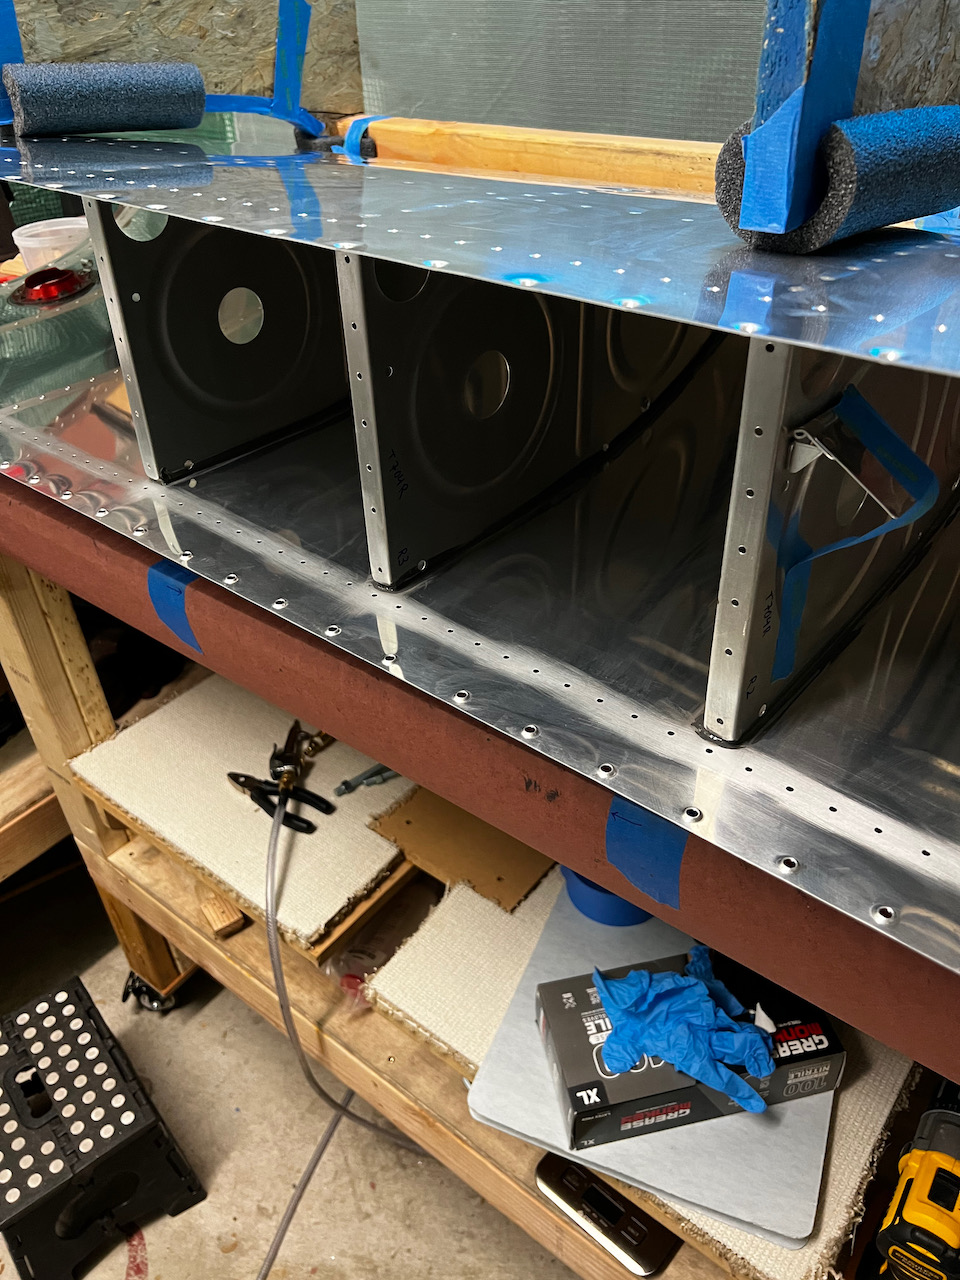
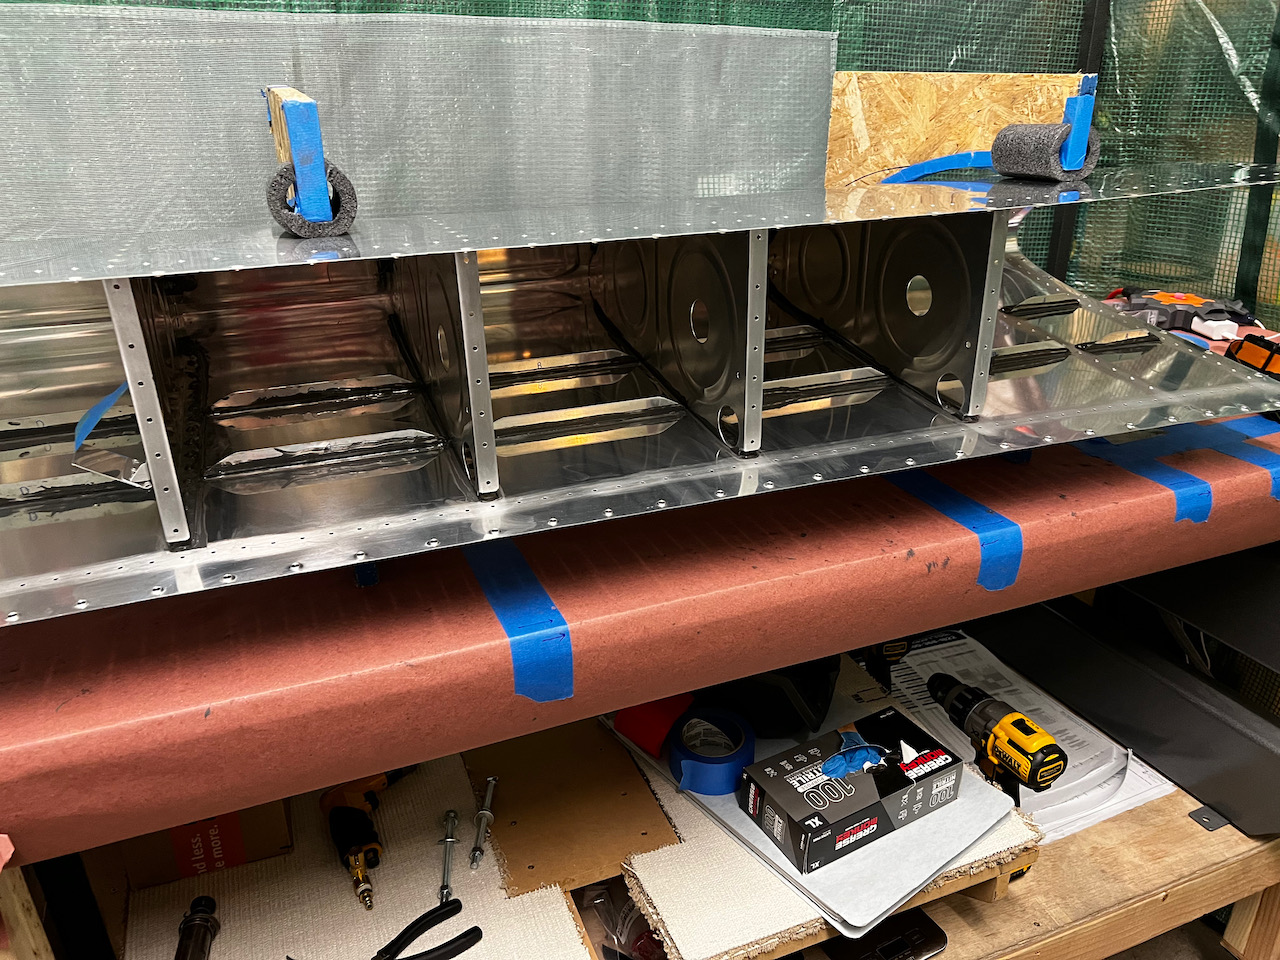
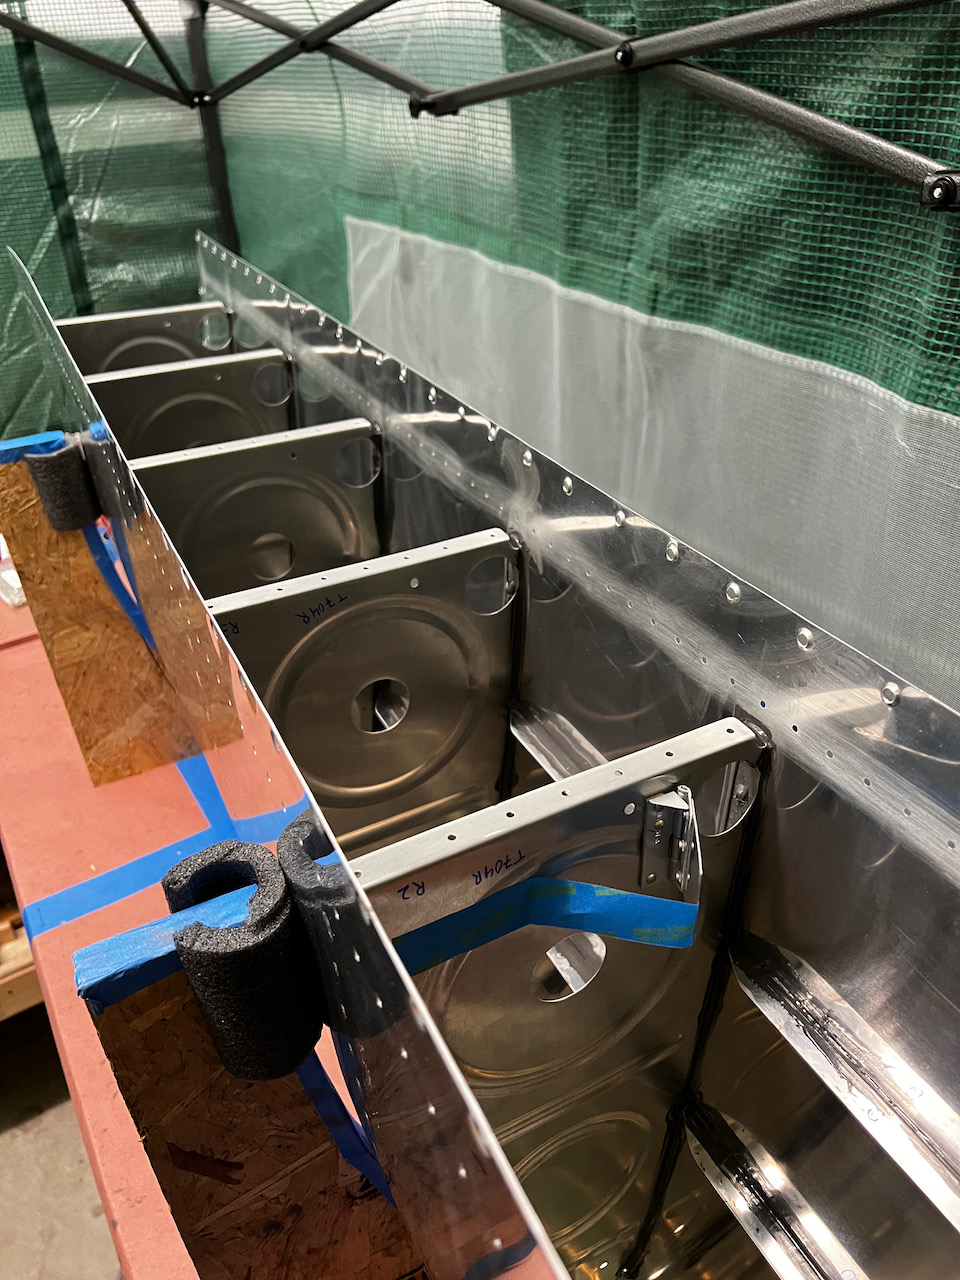
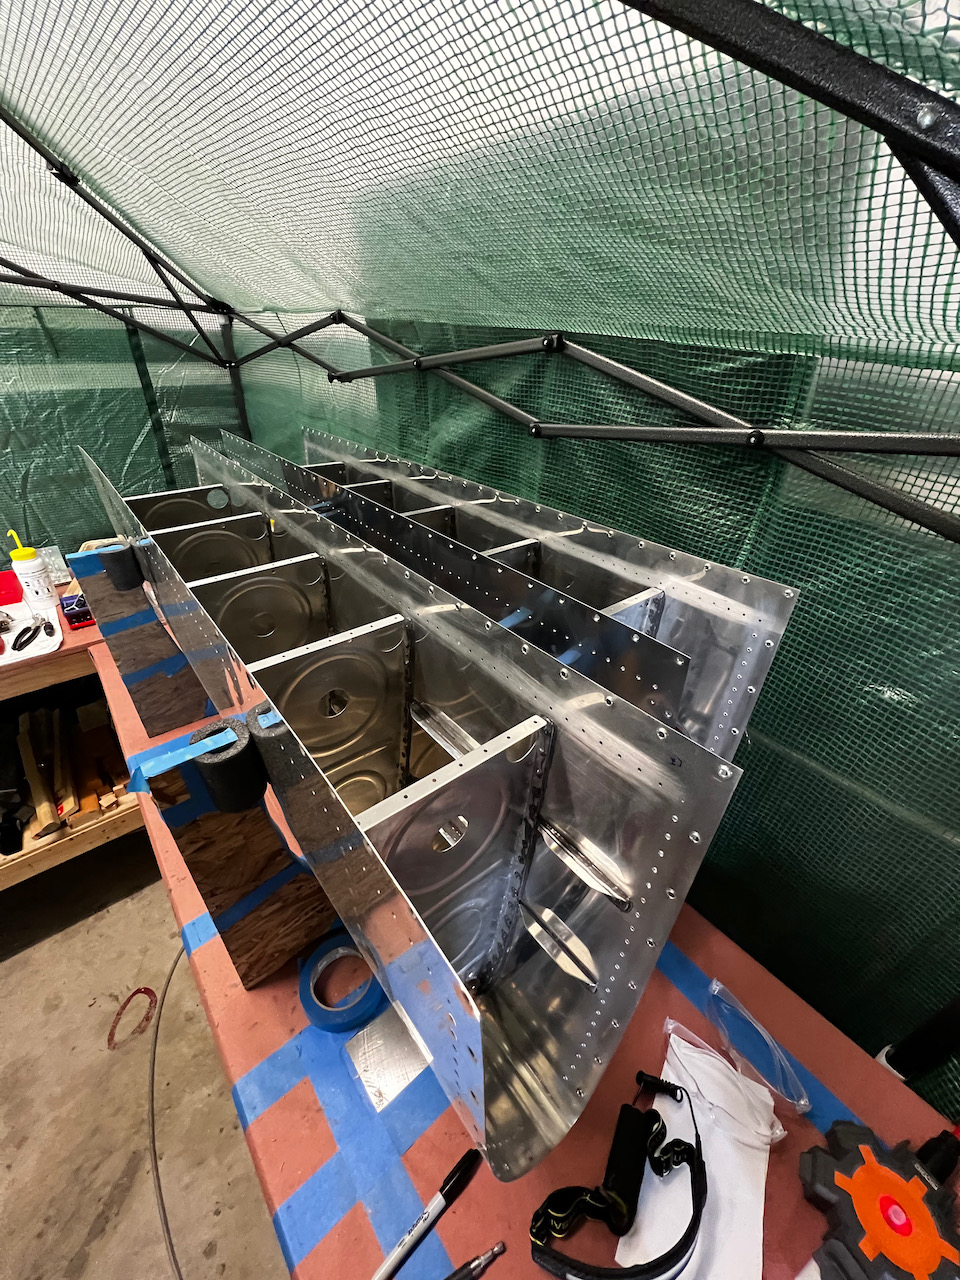
All 5 intermediate ribs installed
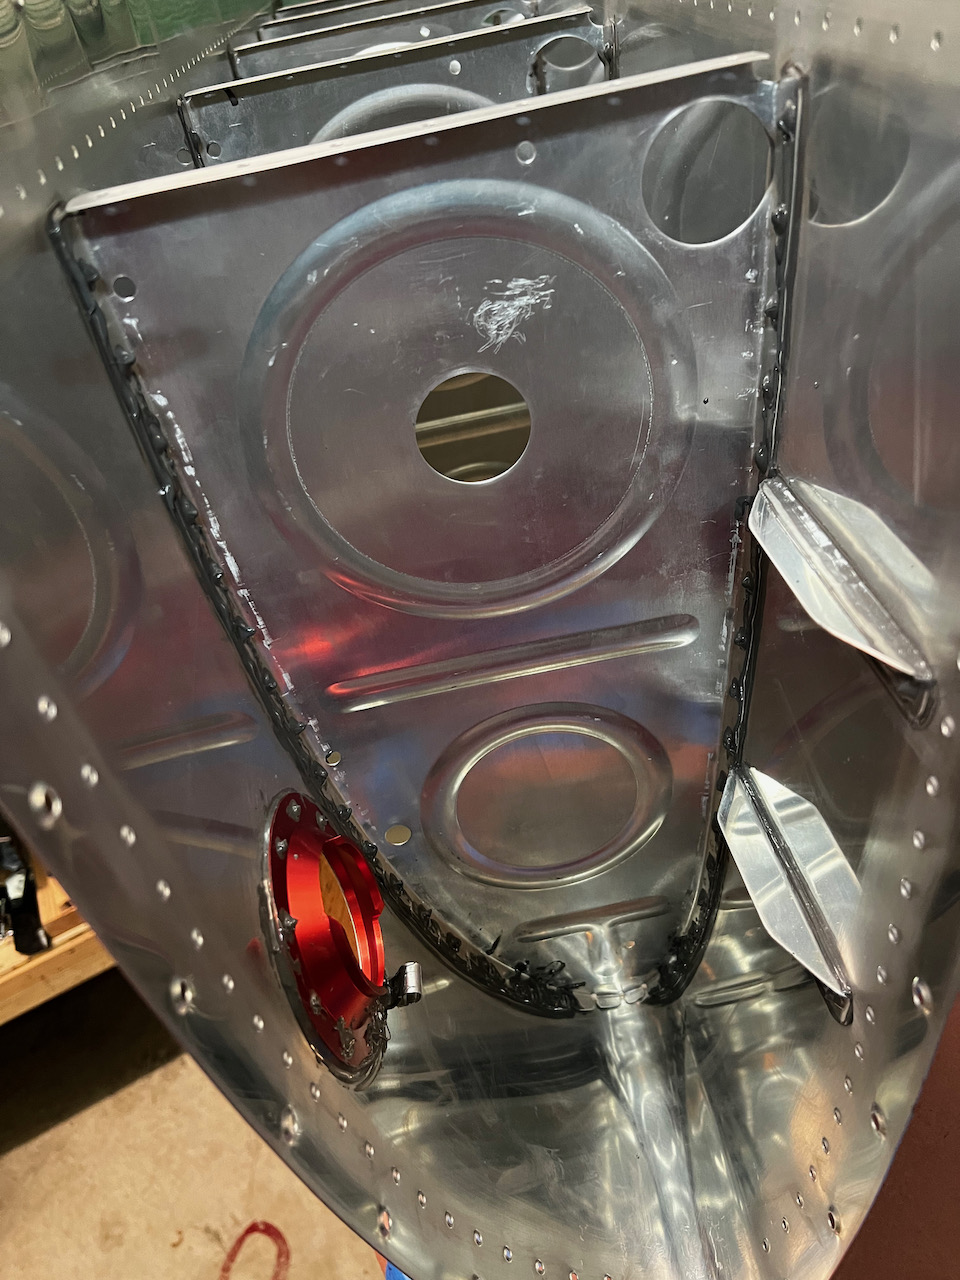
Close up of most inboard intermediate rib
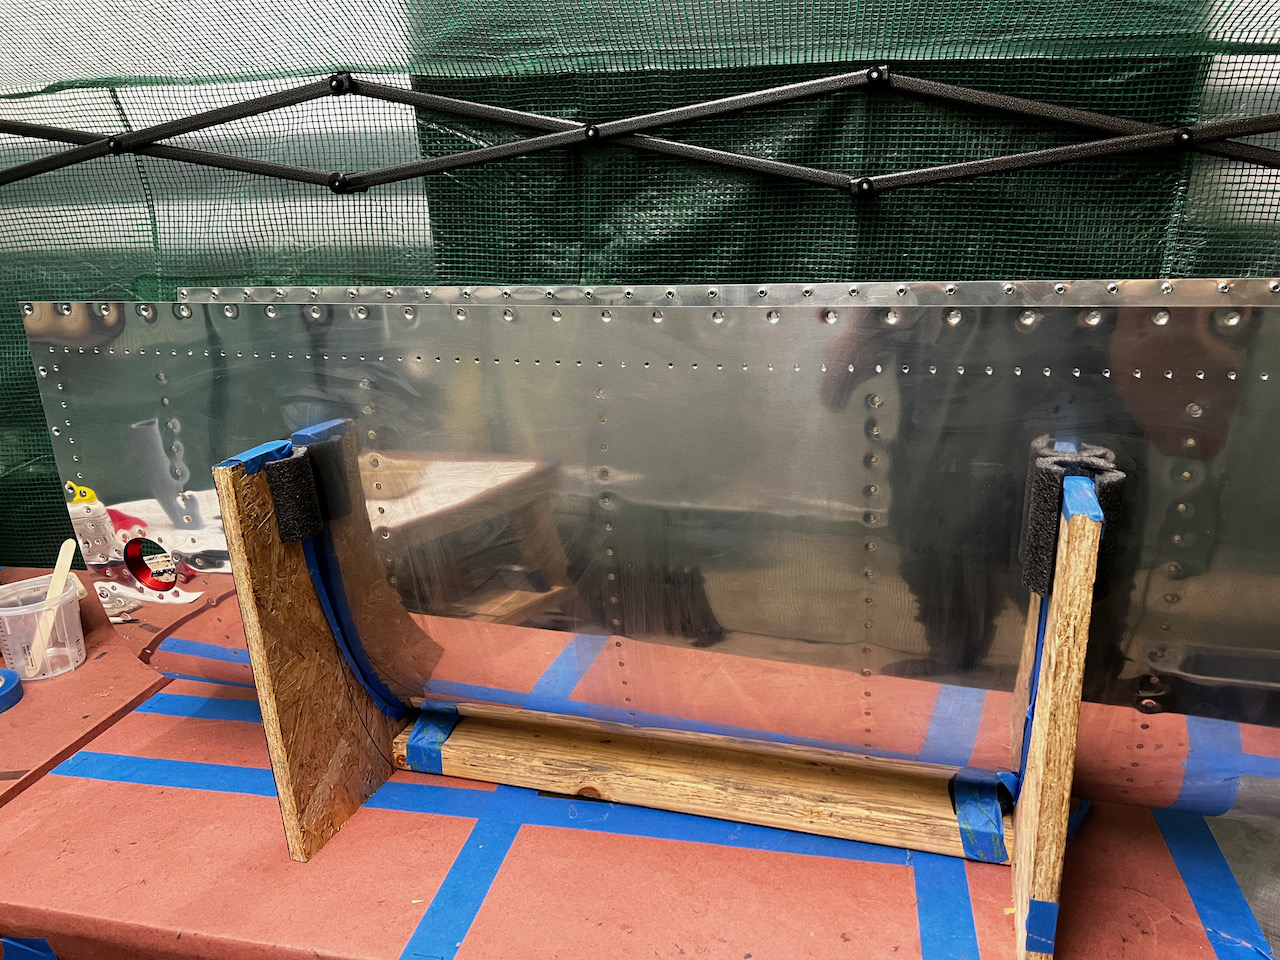
Tank is on the shelf waiting for outboard and inboard rib install
Friends, Boba, and a Trap Door
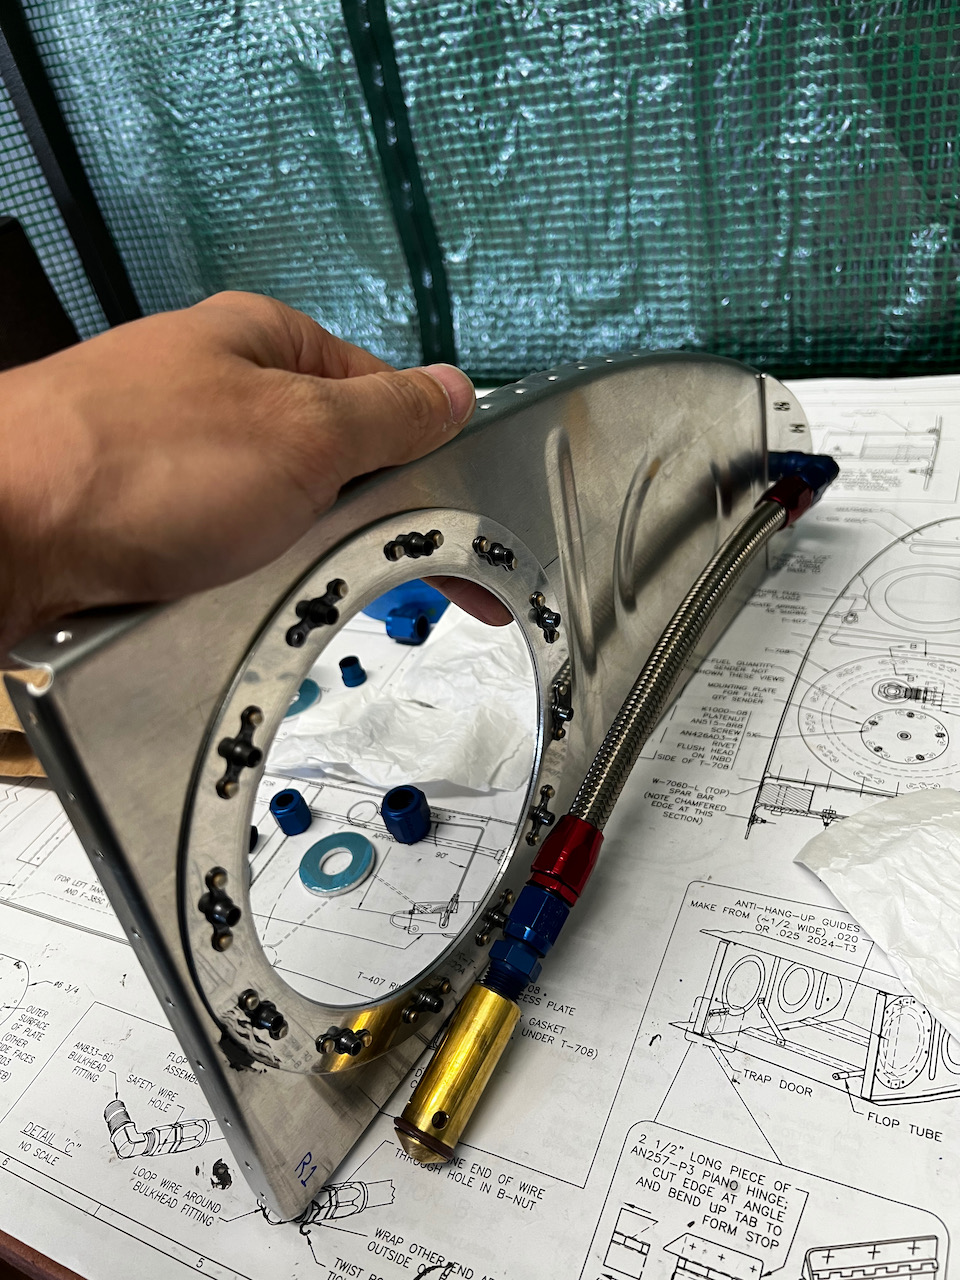
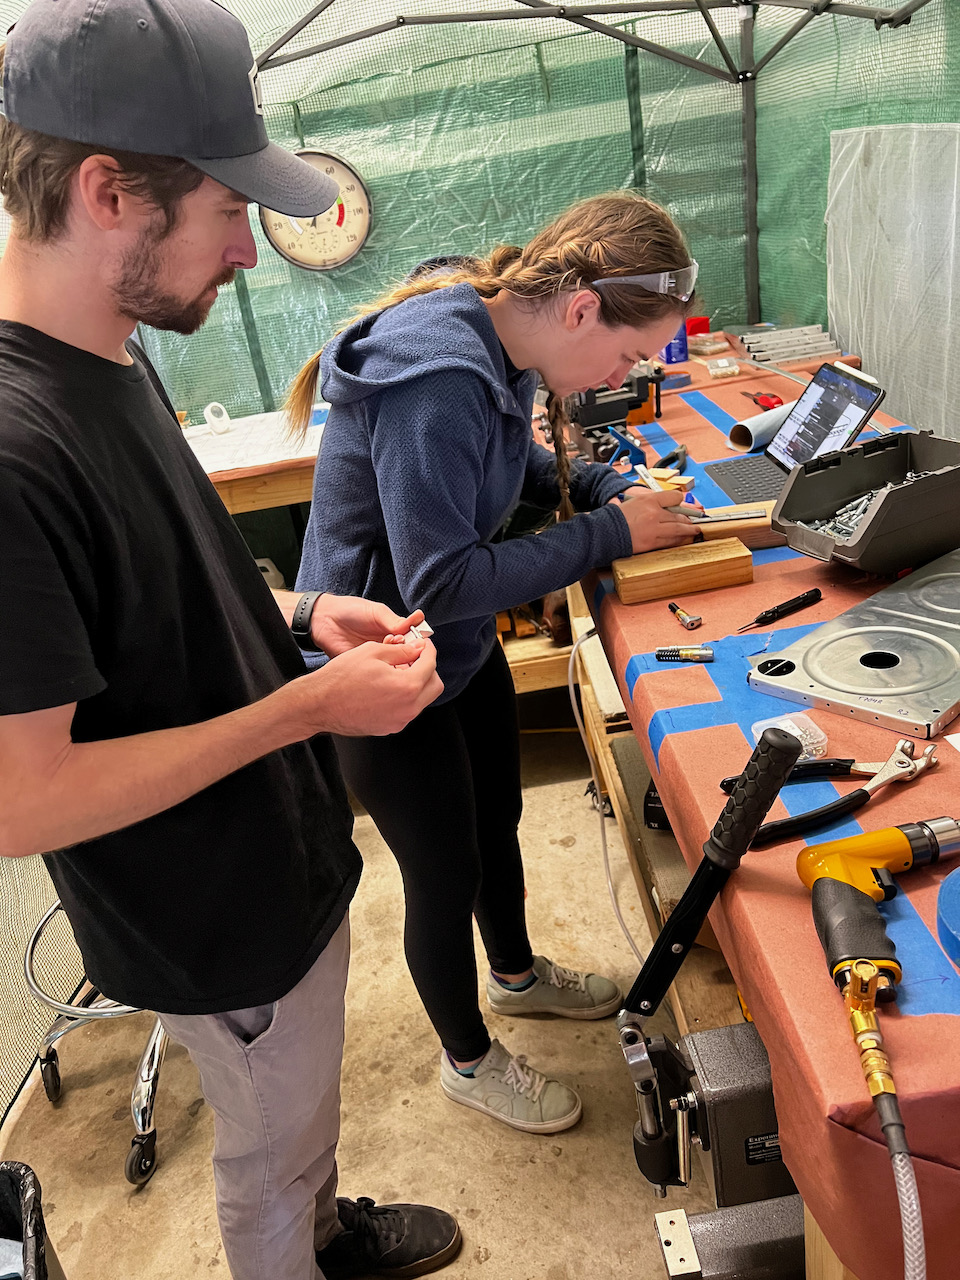
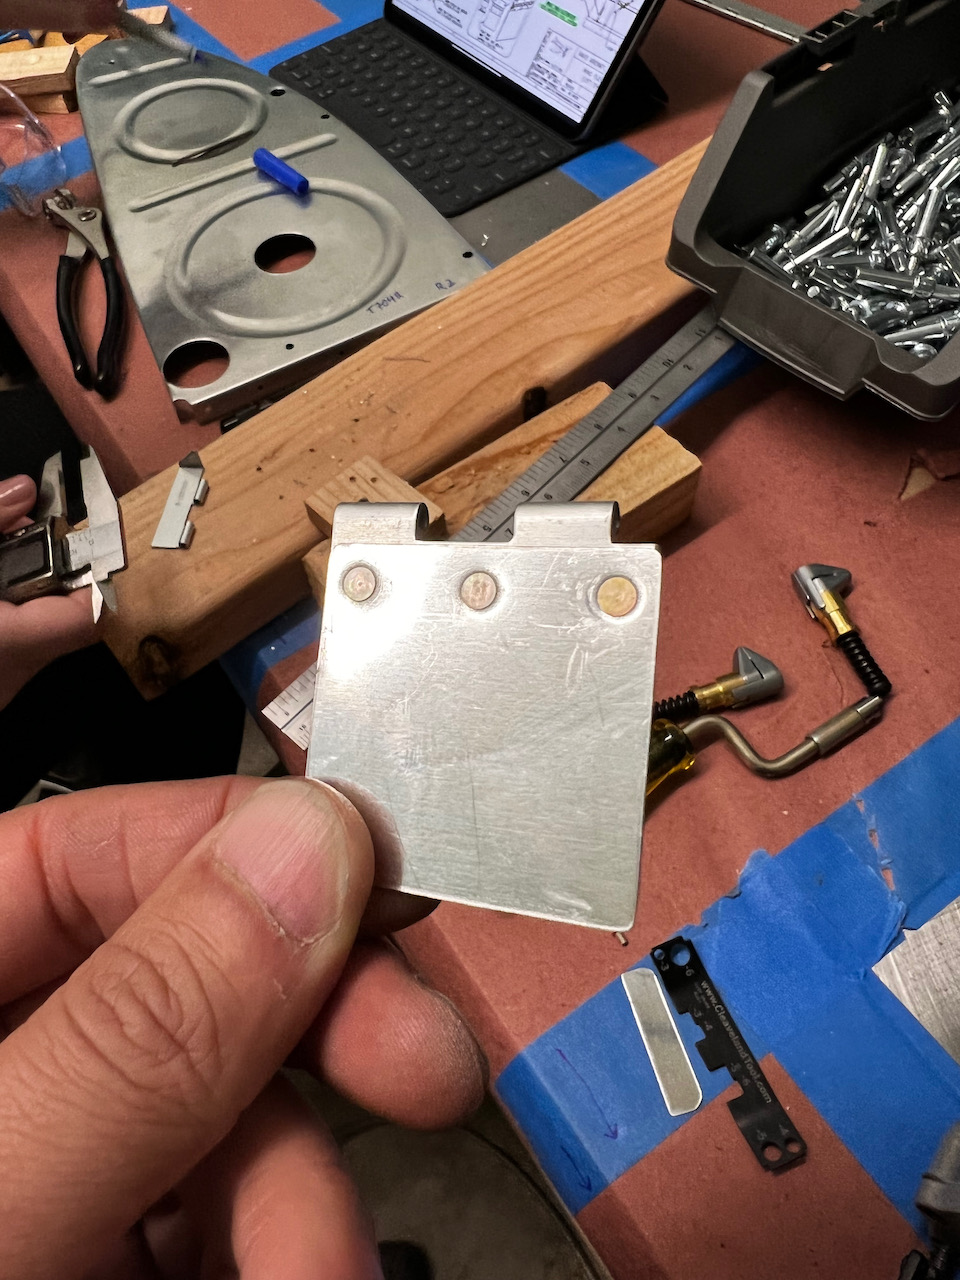
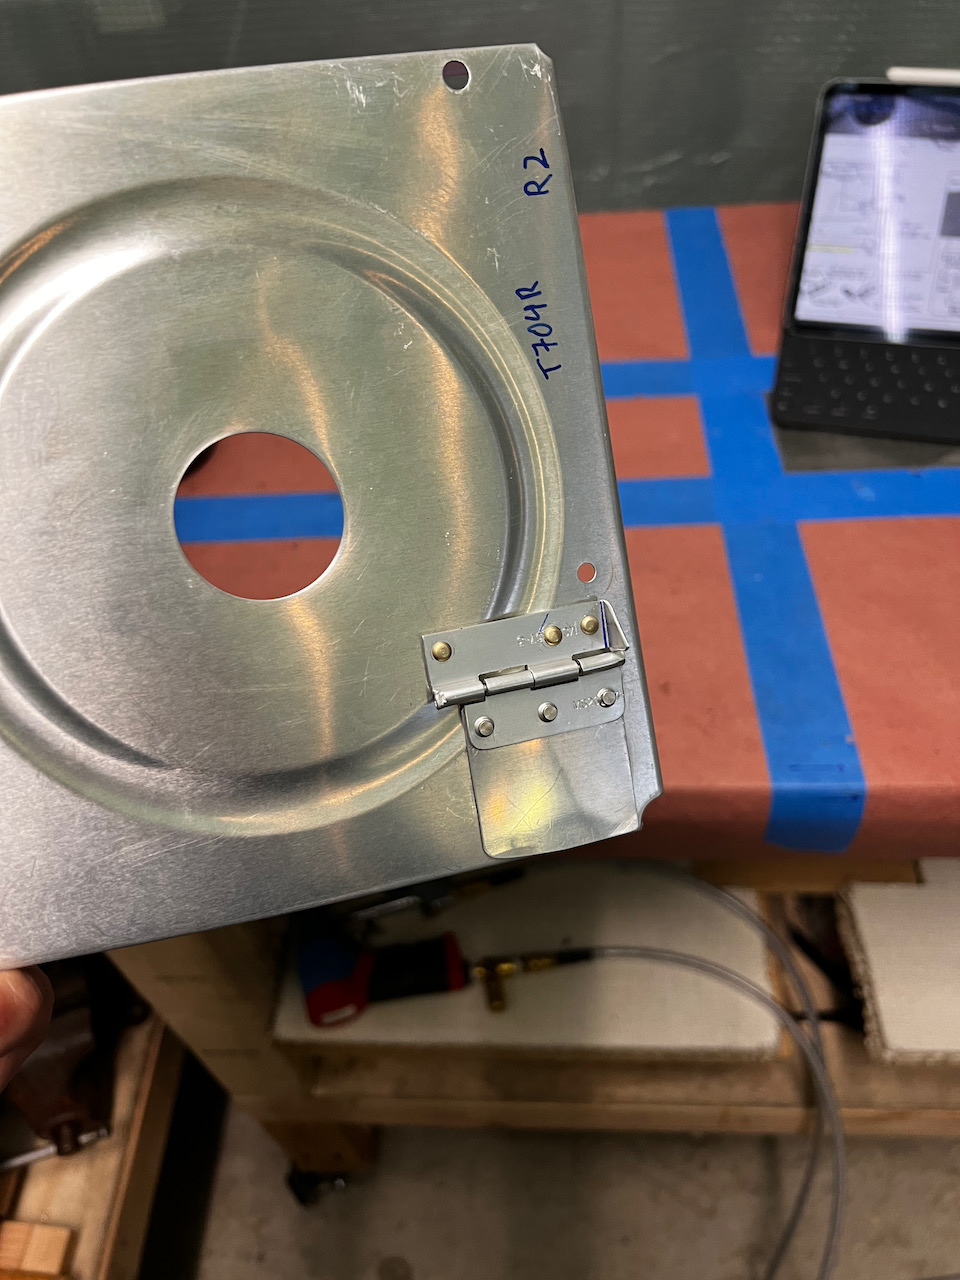
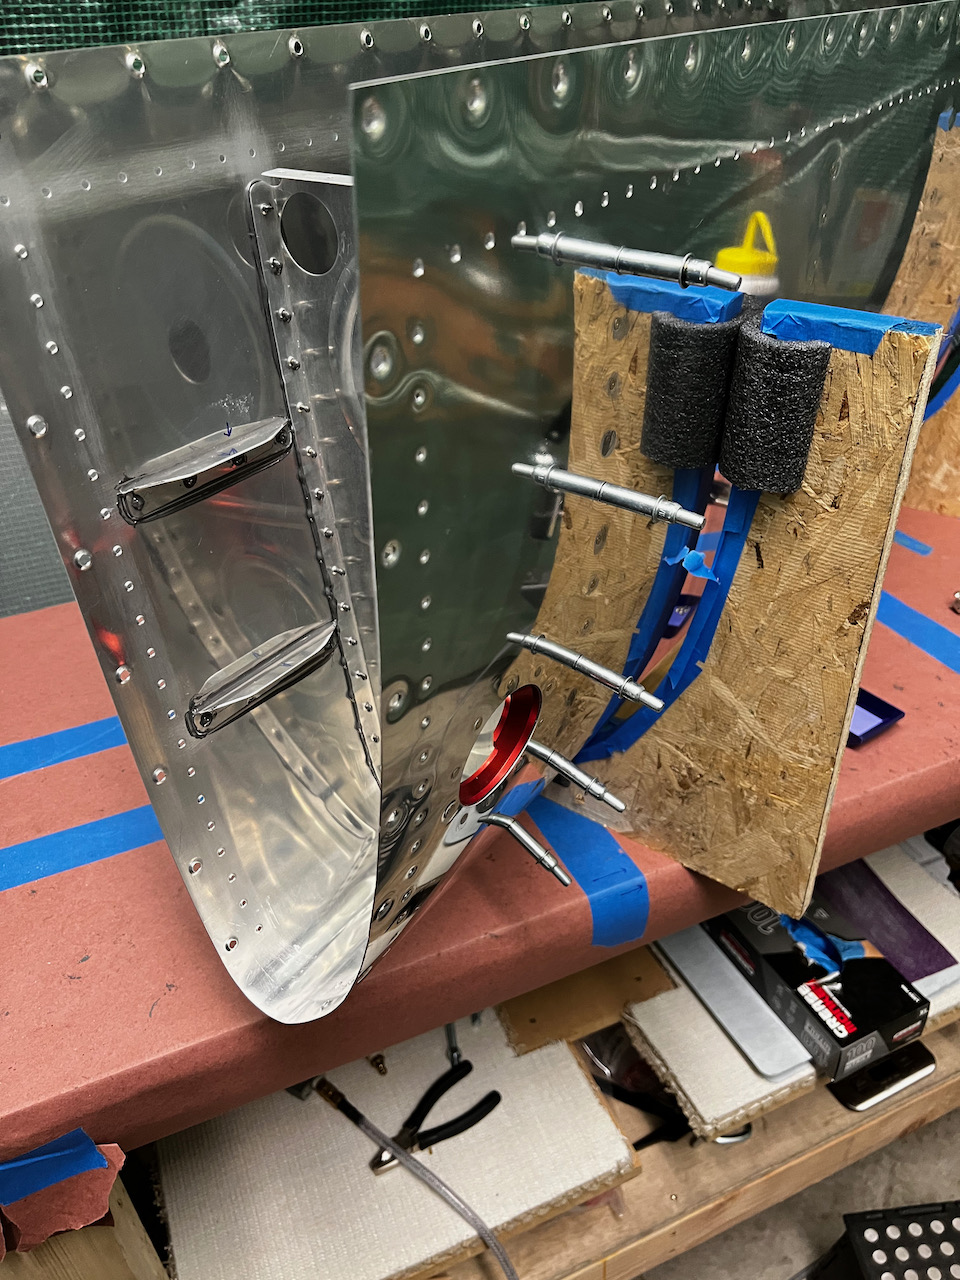
Two co-workers (and friends) Hannah and Chris came down for an afternoon of Bobas, “Bahn Mi”s, and Building! They had come down on delivery day way back in September and helped do inventory but they have not actually worked with metal fabrication before, so I thought it would be a great project to build the trap door for the right tank. For those that don’t know, if you are building an RV compatible with inverted flight (yeah!), there are few modifications you make to the standard build. That includes a flop tube, guides to avoid tangling of the flop tube, and a trap door! The trap door limits the rate fuel can slosh to the outboard part of the tank when in specific G maneuvers. It was fun teaching the two of them the tricks of the trade, and I think we all enjoyed the afternoon. The trap door was pretty straight forward based on the 16DWG plans. The only thing to note is that for the rivetting of the piano hinge to the rib webbing, The best option I had was an AN470AD3-3. This ended up being pretty short and didn’t form a full size shop head. I was ok with this since the trap door is not a structural component of the tank. Also, to ensure the door sits as flush as possible, don’t forget to add backing to the hinge portion that rivets to the rib webbing. I also test fitted the flop tube which fit great. See below for the work we did throughout the session. In the end we had a trap door riveted on to correct tank rib, and I was ready to tackle right tank rib install!
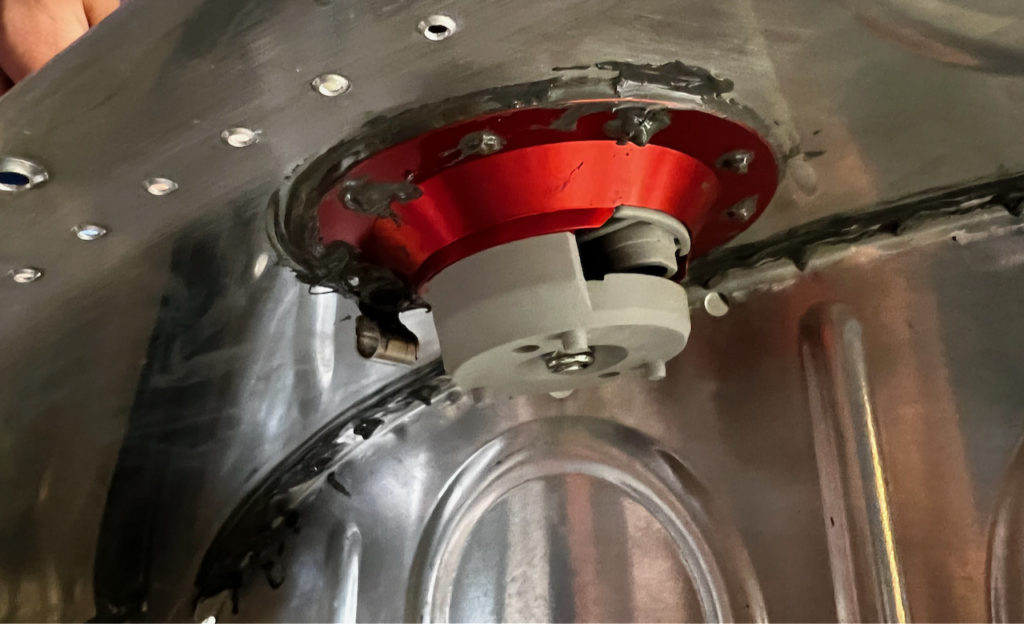
Flop Tube Test Fit
Hannah cleaning up trap door after rough cut on band saw
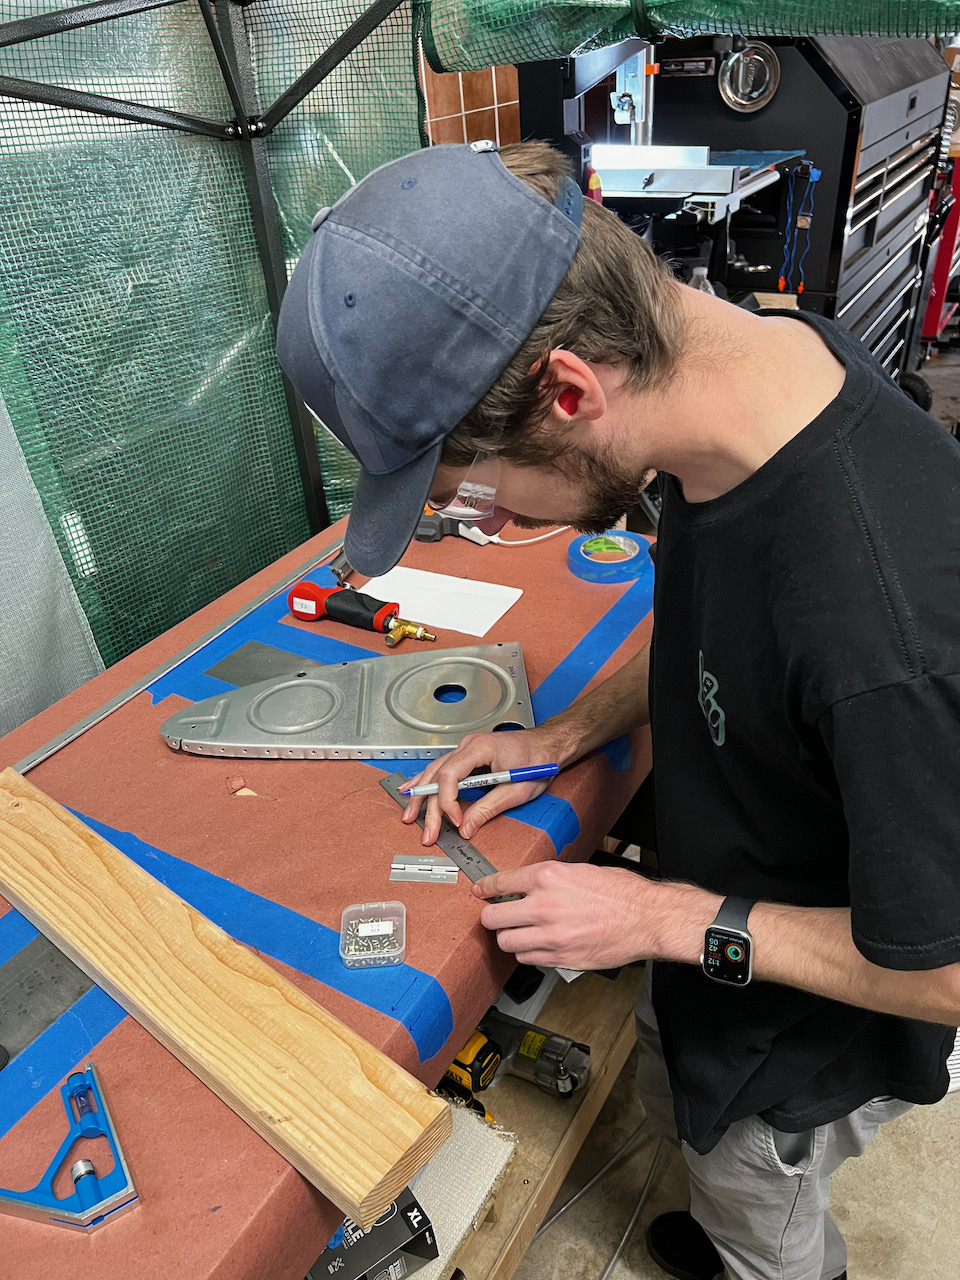
Chris laying out the hinge
ensuring edge distance during hole layout
ready for drill and dimples
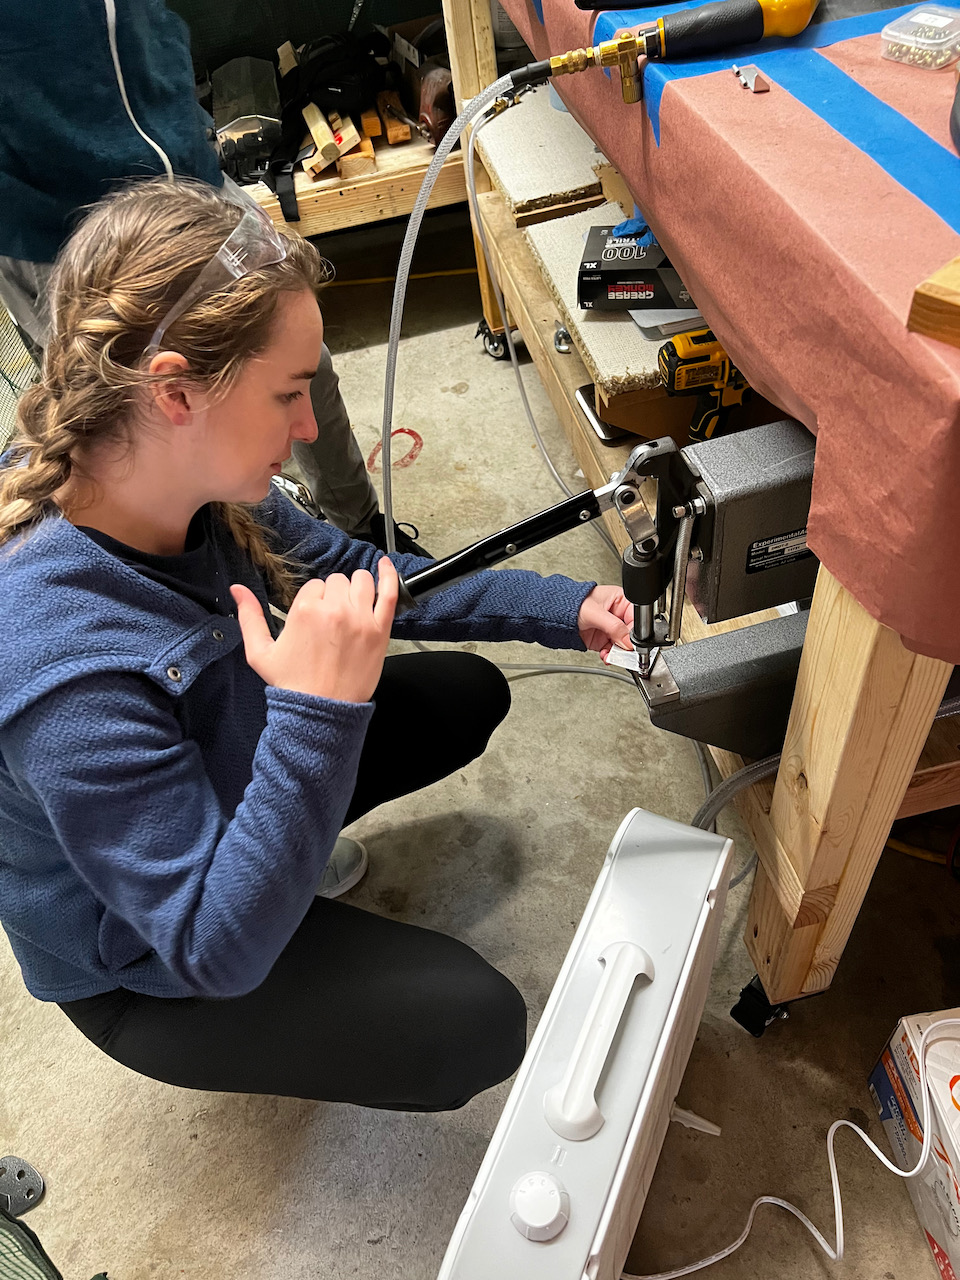
Hannah’s first use of the DRDT-2…
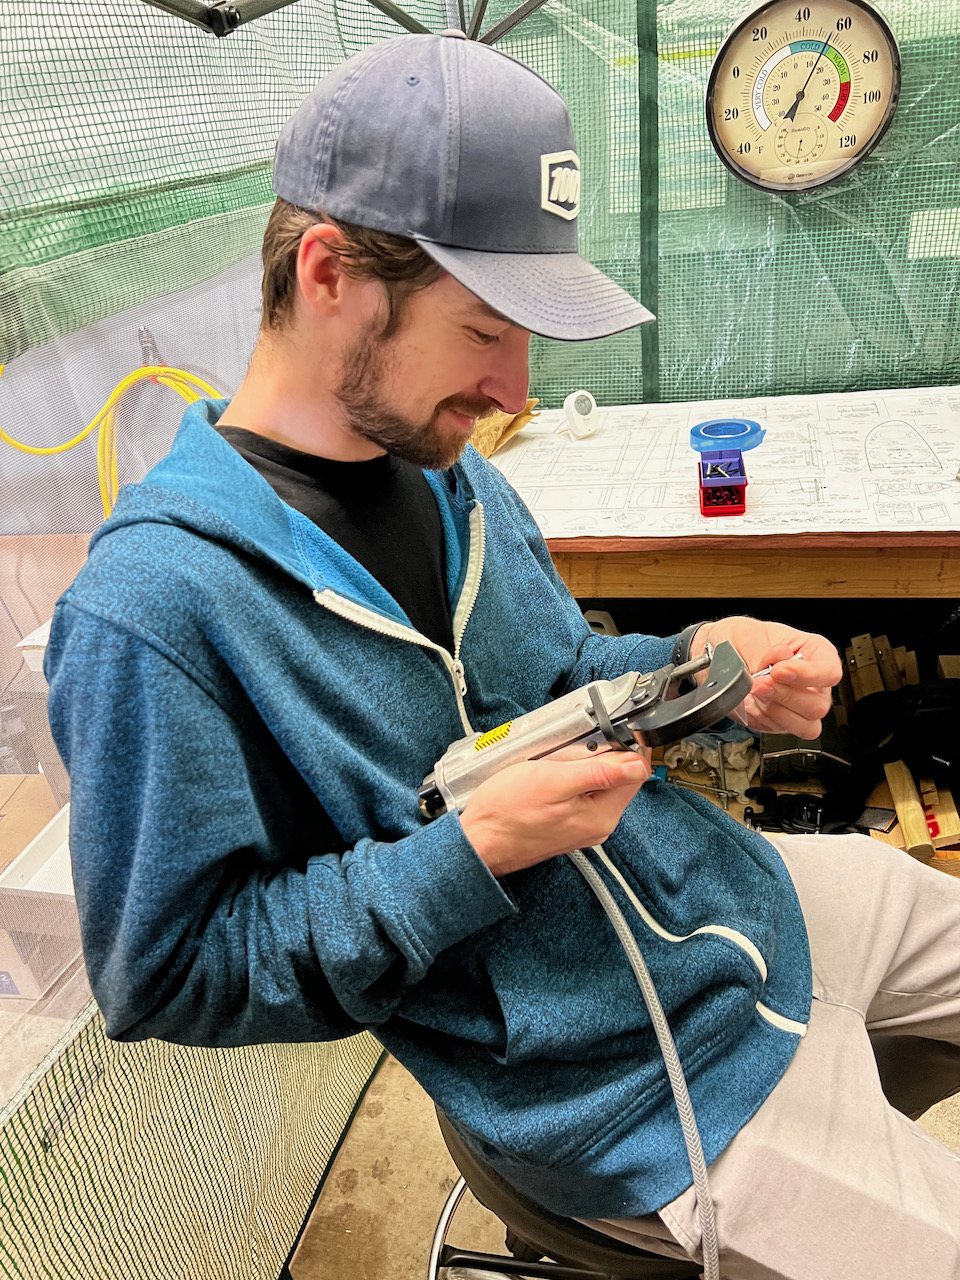
…and Chris loving the pneumatic squeezer
ready for test fit!
looks great! (needed a little shaping of the bottom to avoid contact with the skin)
Thanks Hannah and Chris!
Rib ready for permanent install.
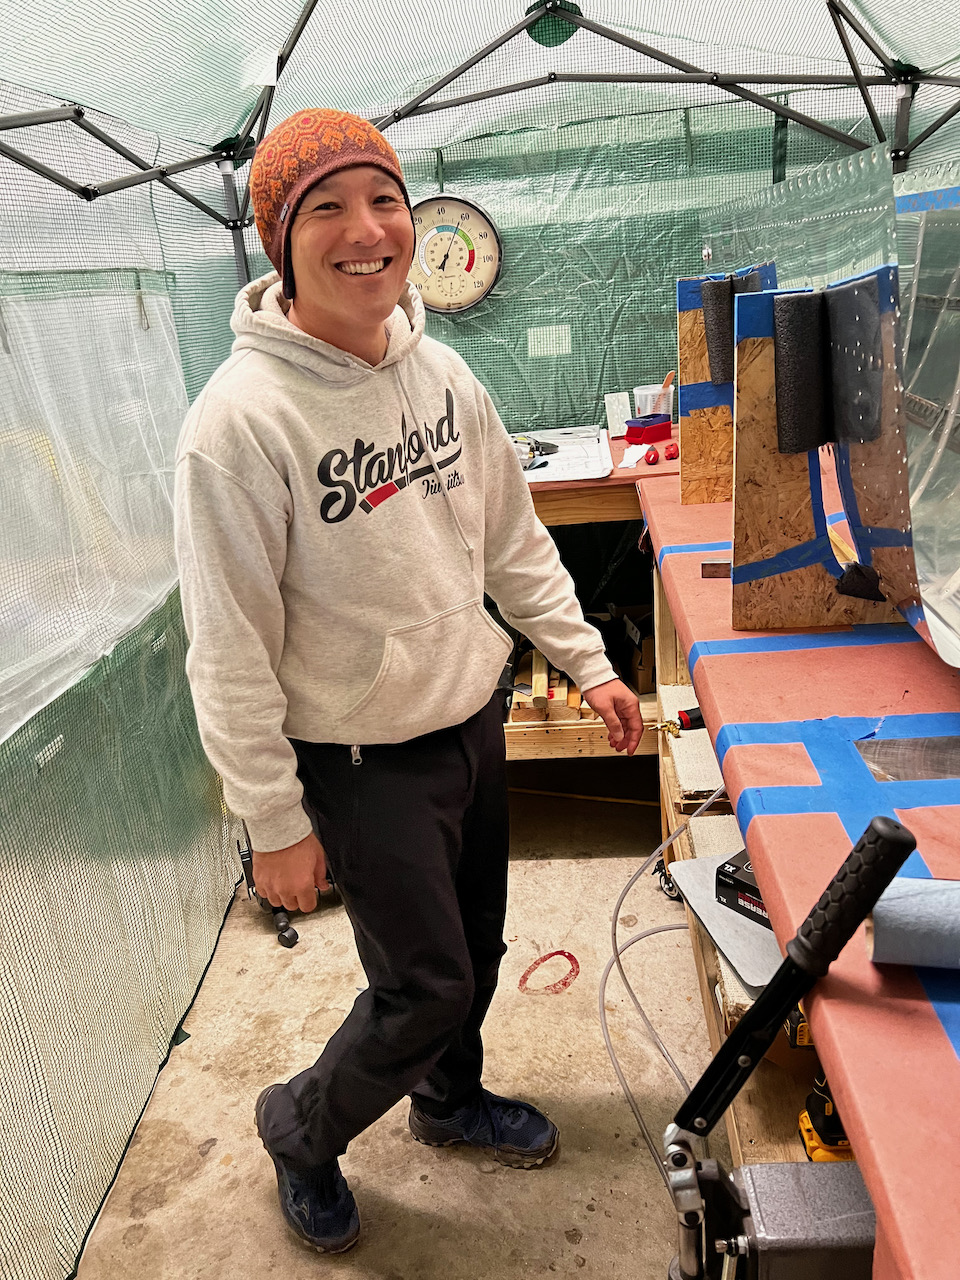
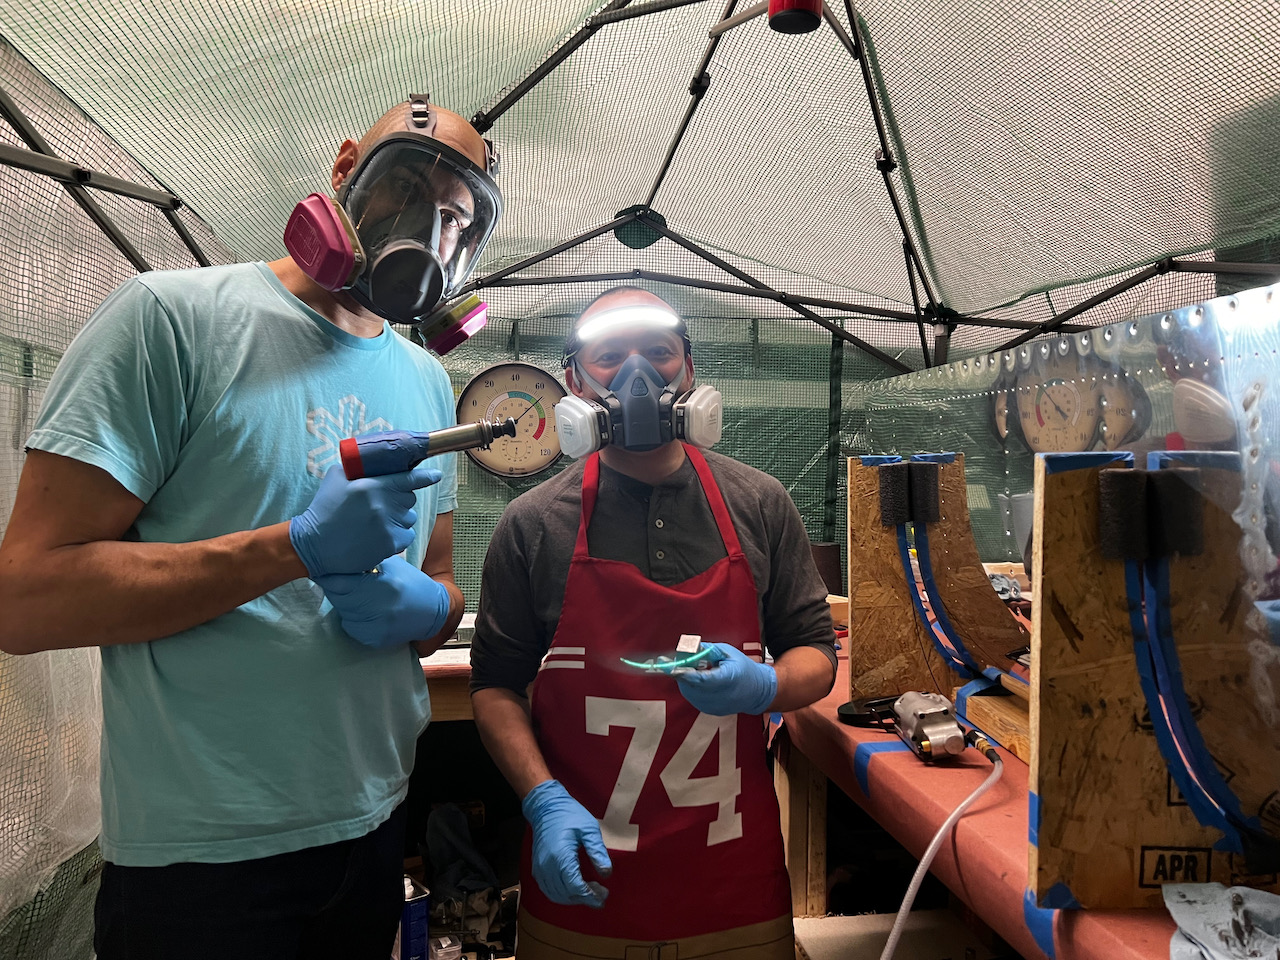
Right Tank Ribs with Sam
I had suspected that having a second person helping with the rib install would dramatically improve the efficiency of the operation. What I didn’t realize is by how much. Granted, Sam and I have been best friends for over 25 years so it’s not a surprise that we can almost instantaneously get into a groove with any activity we do, but I was still surprise we were able to get a single rib install down from 2.5 hours to 1.3! Before we got started we mocked up a rib to skin assembly with a spare rib on the shelf, and Sam bucked his first rivets. Within two or three bucks, he had it down no problem. With a routine of Sam on bucking bar, and me on the gun, we could tag team the activities in between (cleaning clecos, wiping down surfaces, lining up holes for rivet insertion, etc) such that there was very little idle hands the entire session. The best part is that Sam now knows how to buck rivets. I don’t think he knows how much time he’ll be spending at the hangar over the next few months…:). In just a few hours Sam and I were able to install the first two ribs of the right tank. It’s starting to feel close!
Sam before he realizes what he’s gotten into
Test bucks by Sam. Not bad!
Skin side of test buck rivets
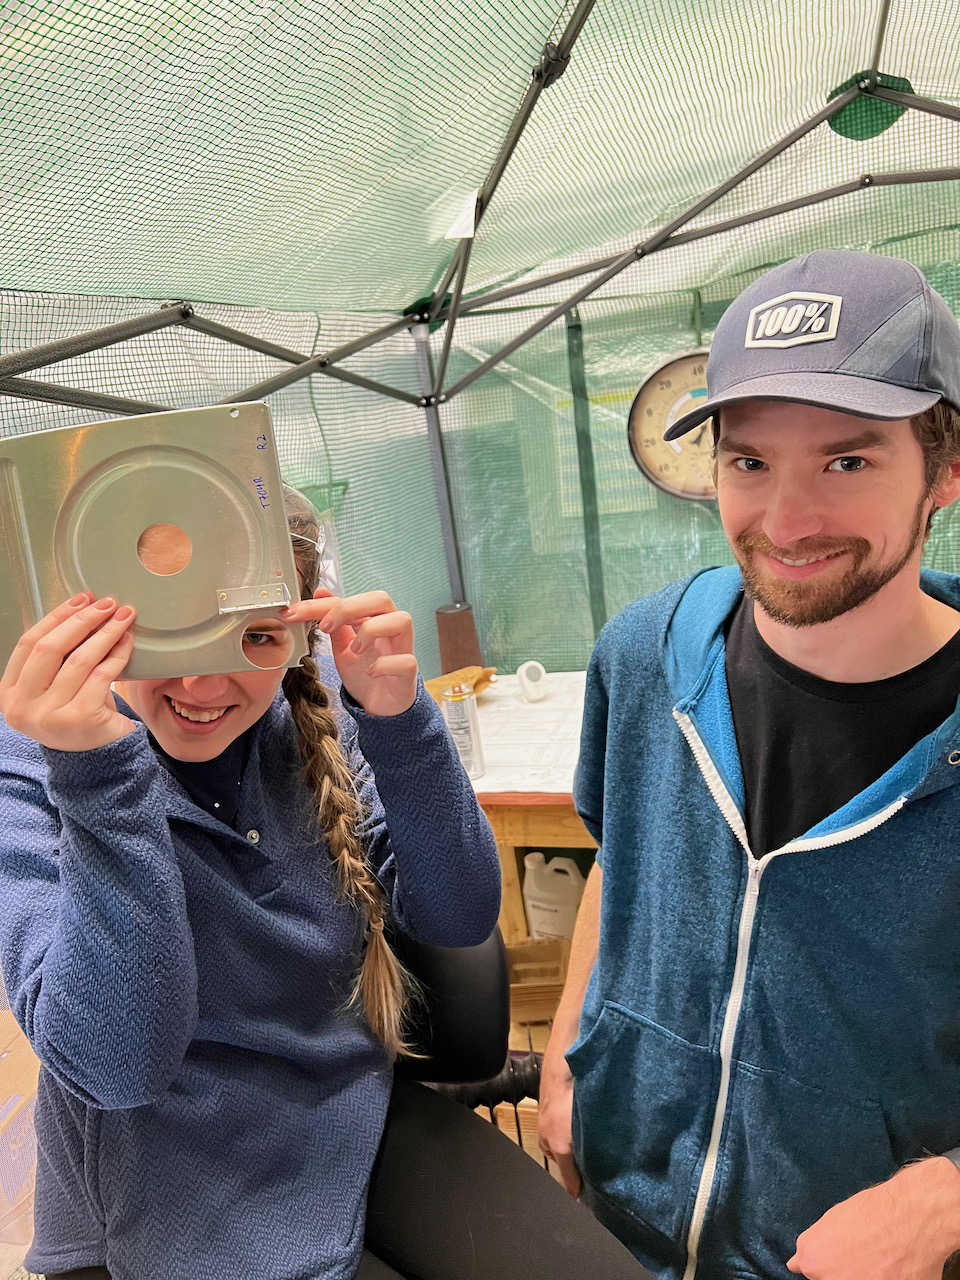
Not quite Charley’s Angels…but close enough.
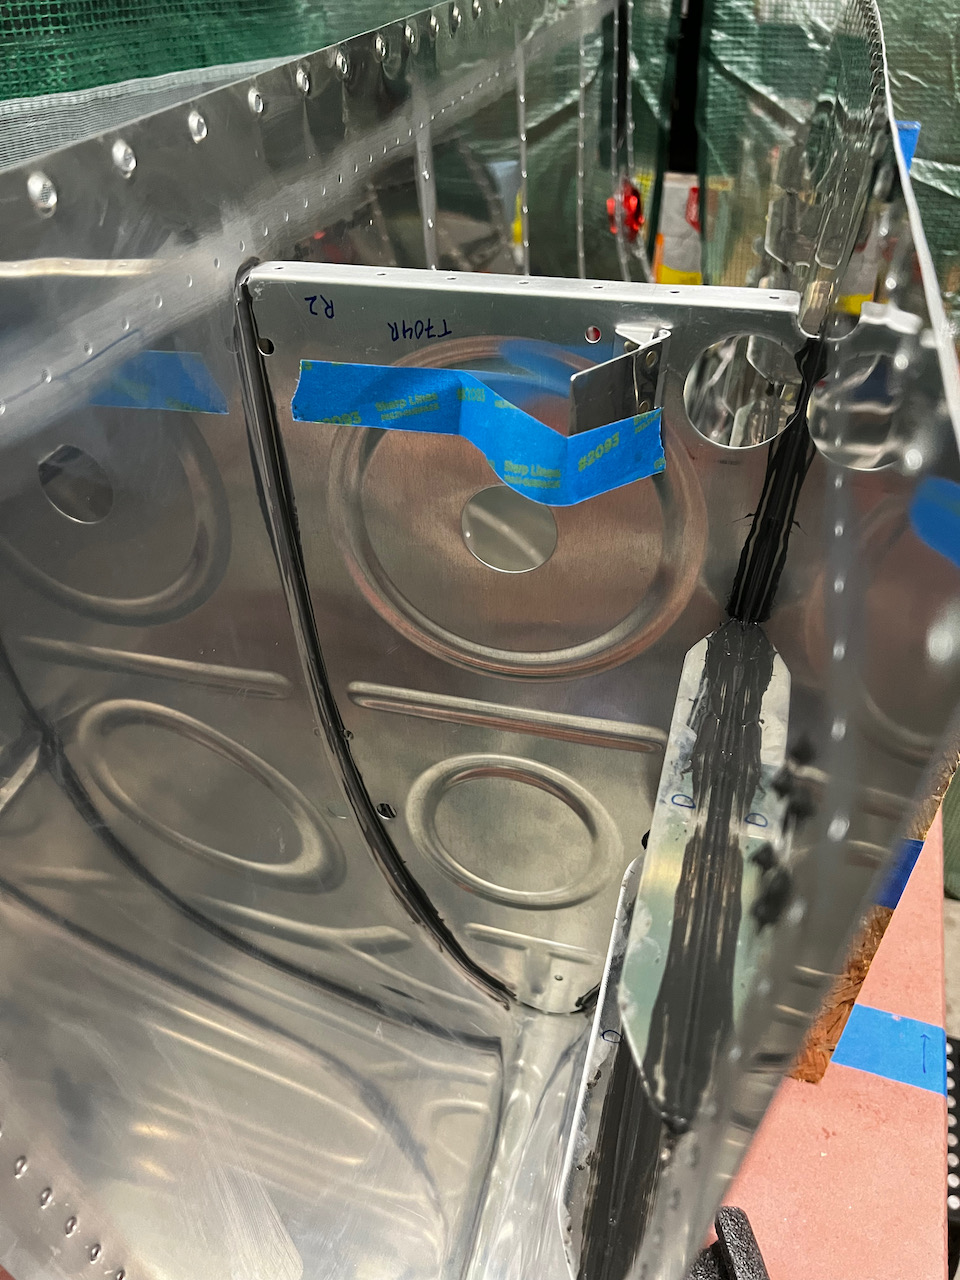
First Right Wing rib installed (note trap door taped up)
Sam Cleaning rivets before next rib
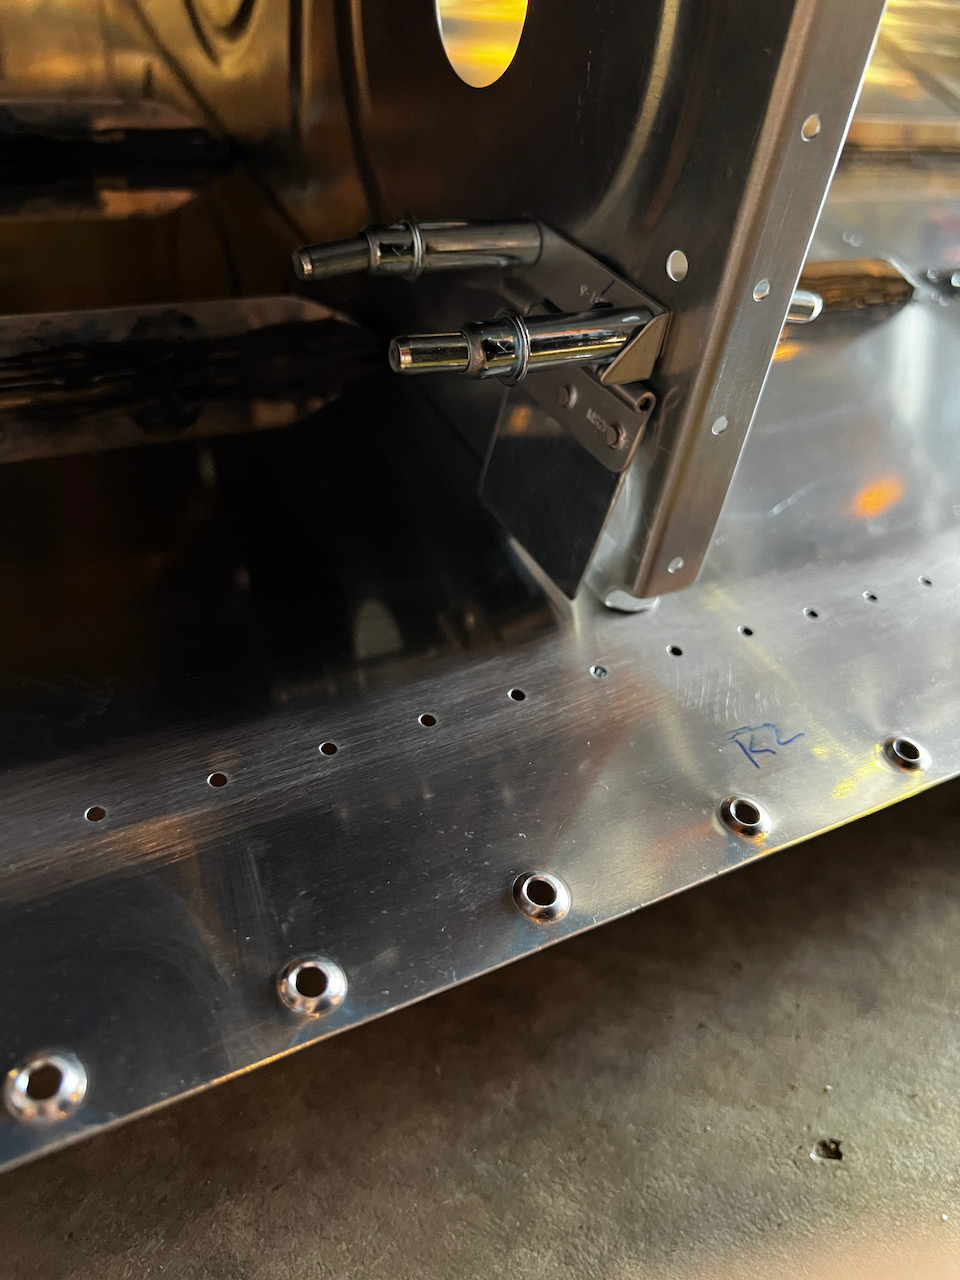
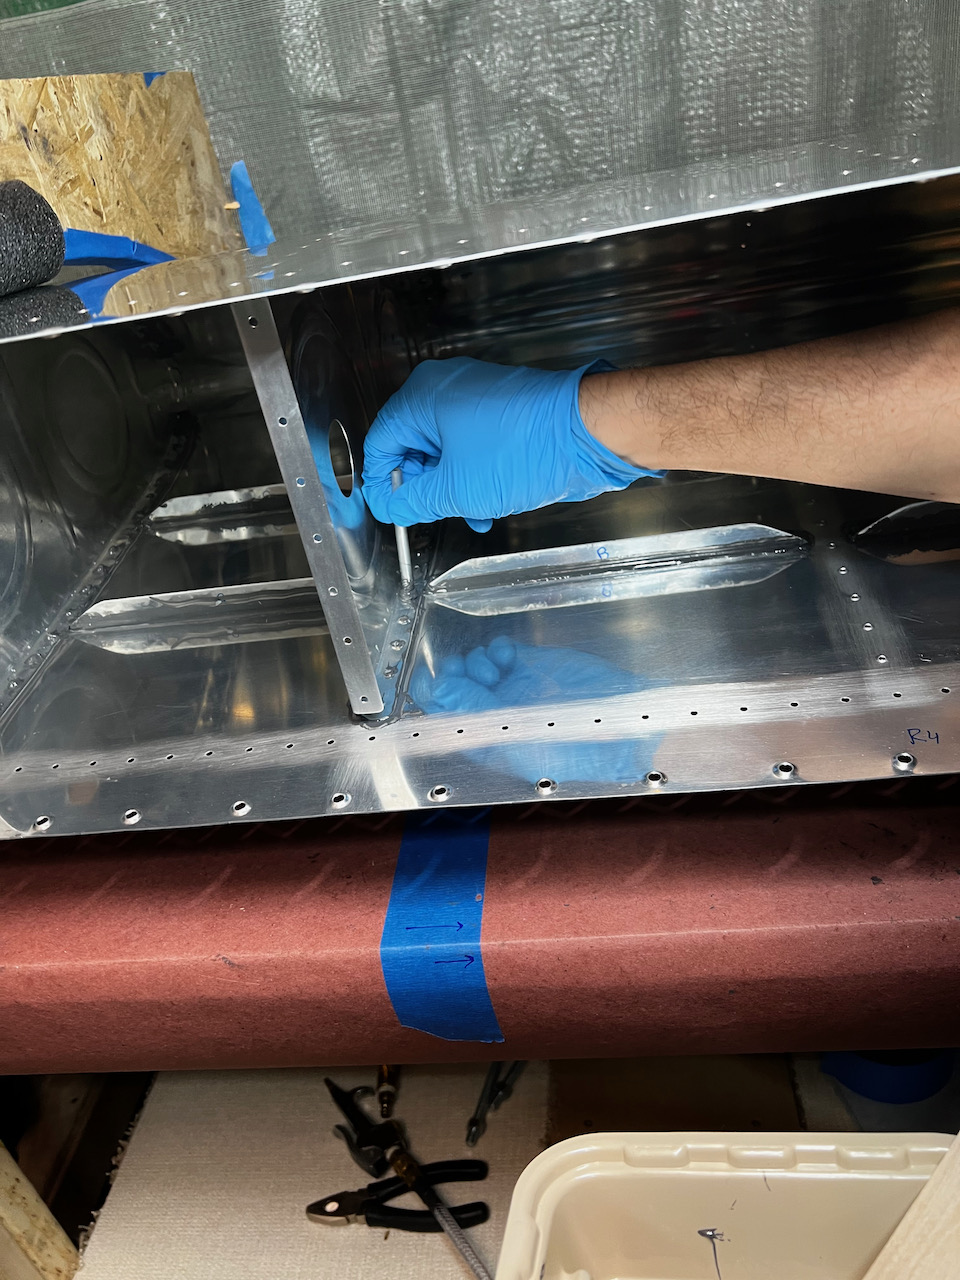
using the fuel tube trick to seal up the shop heads.
The first of many smilies in the skin. Not sure why they are called smilies..they make me sad…:(.
Sunday Funday
Between a great bike ride, watching Nico’s exciting basketball game (OT loss), and a G36 flight lesson (teaching, not taking) I couldn’t get to the hangar until 3:30pm on Sunday. Flipping on the 49ers playoff game (Go Niners!!!), I got to work on ribs 3 and 4 on the left tank. I managed to take some of the learnings of working efficiently with Sam and apply it to my routine, so I got my solo rib install time down to about 2 hours. It included small things like doing activities on the same side as much as possible to minimize moving the tank.
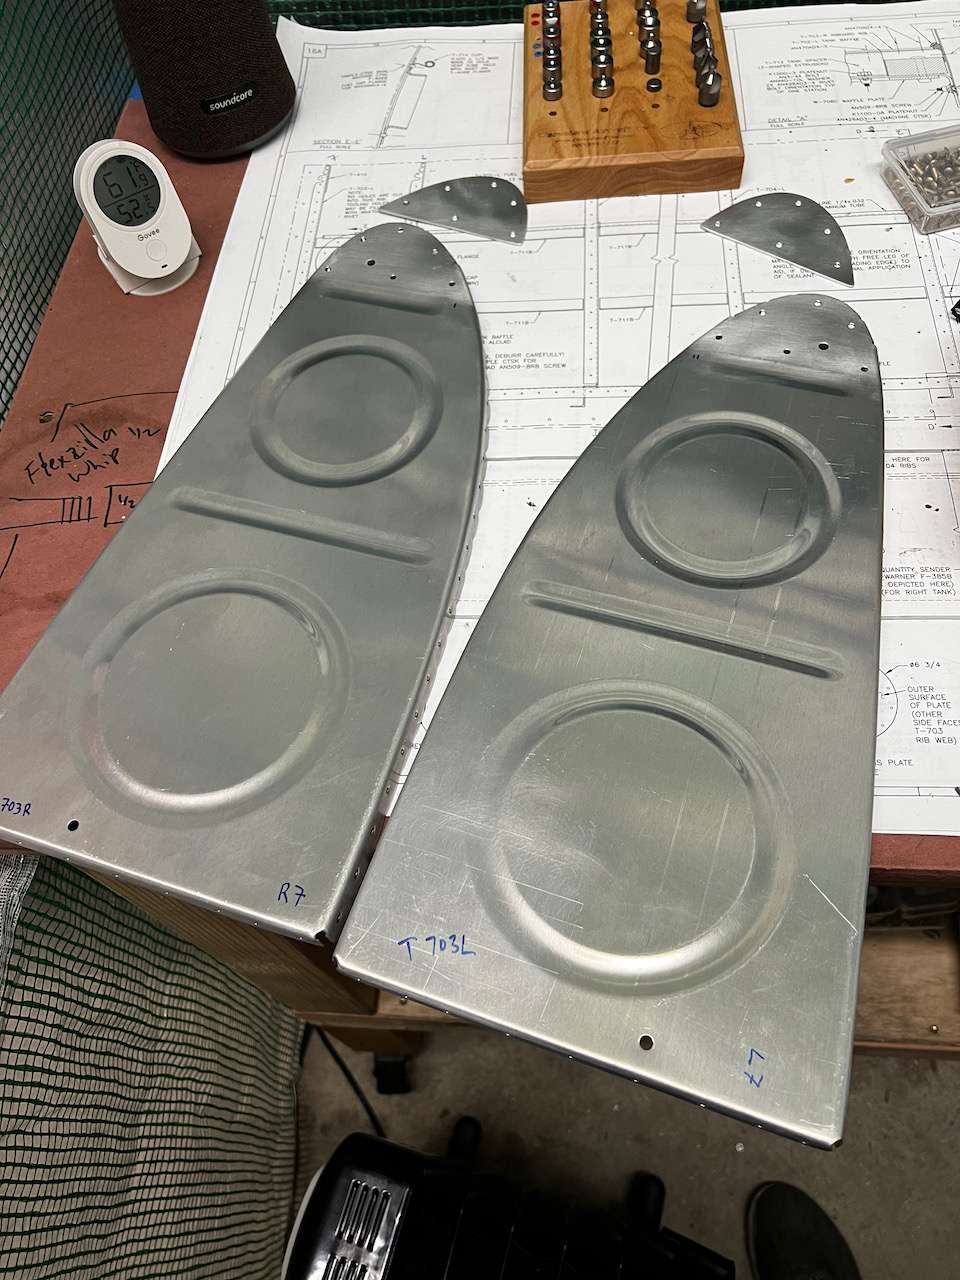
Ready for more rib installs
Rib 3….
…and 4 installed
really happy with most rivet-to-skin contact
Monday Ribs & More
The interior ribs are done! With another wonderful pre-dawn session, I completed the last interior rib. Eight days ago it felt like weeks away, but with a bit of focus, and help from friends, I was able to get it done in less time than I expected. After completing the interior ribs, I decided I should have a second tank cradle for the next step. I am planning on doing a pre-leak test with fuel, and I’d love to do both tanks at the same time, so I will definitely need two cradles.
Last rib cleco’d and ready for riveting
Done! Woo hoo!!
Rivets look great!
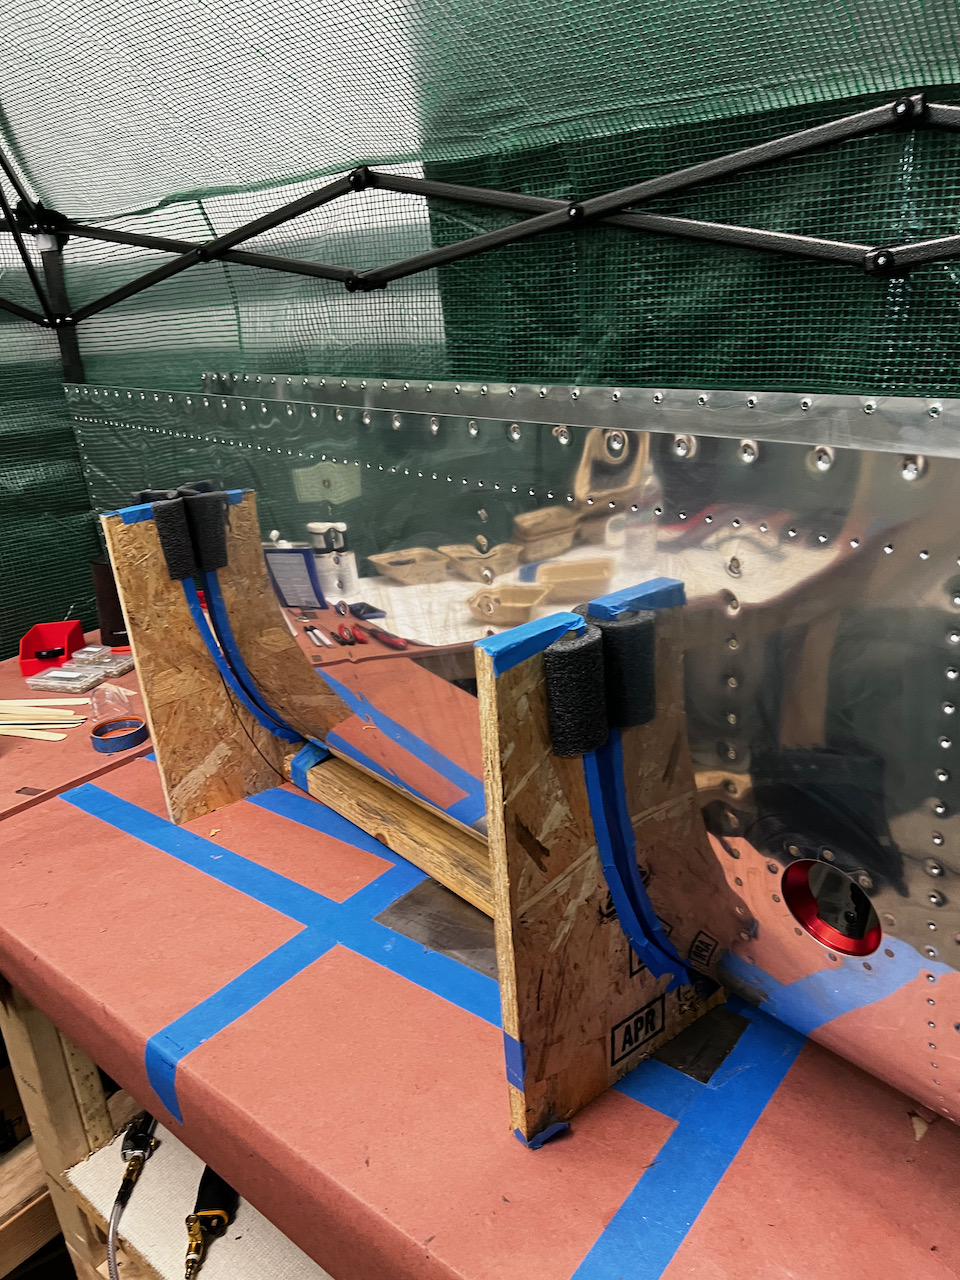
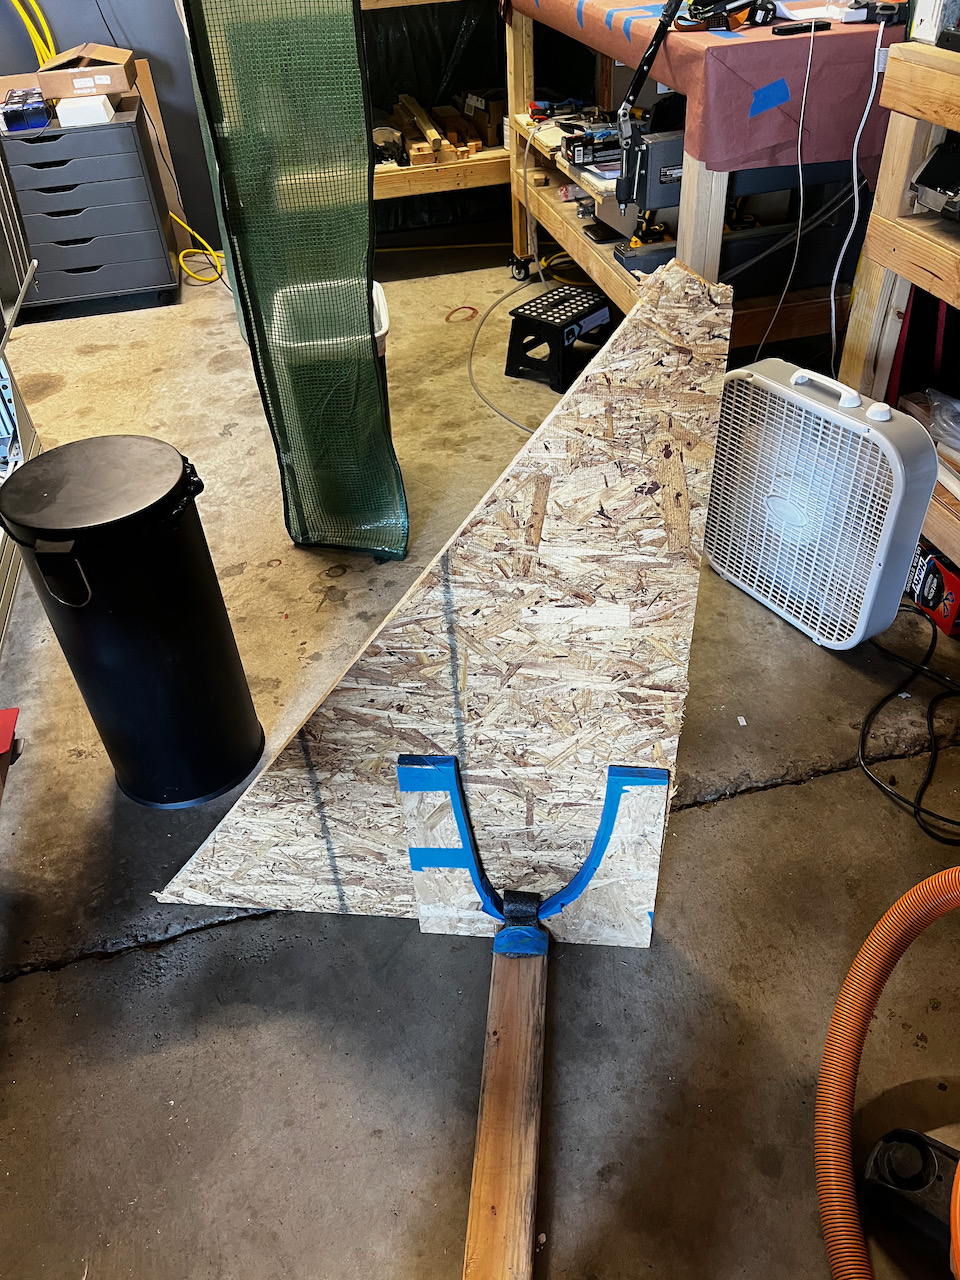
Spare wood to the rescue. Enough to build another cradle
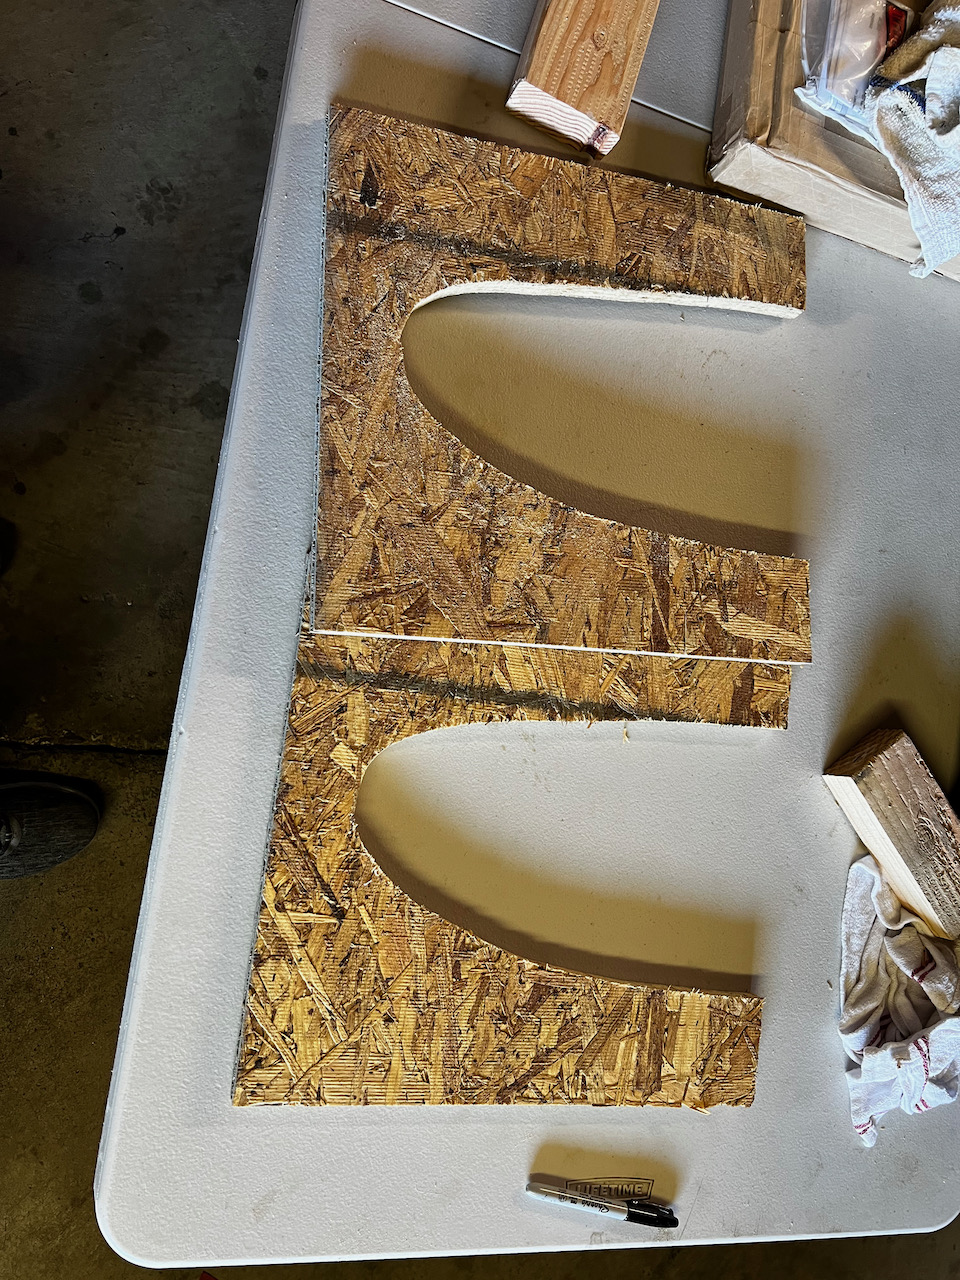
Ready to assemble
assembled!!
two cradles doing their cradling..:)
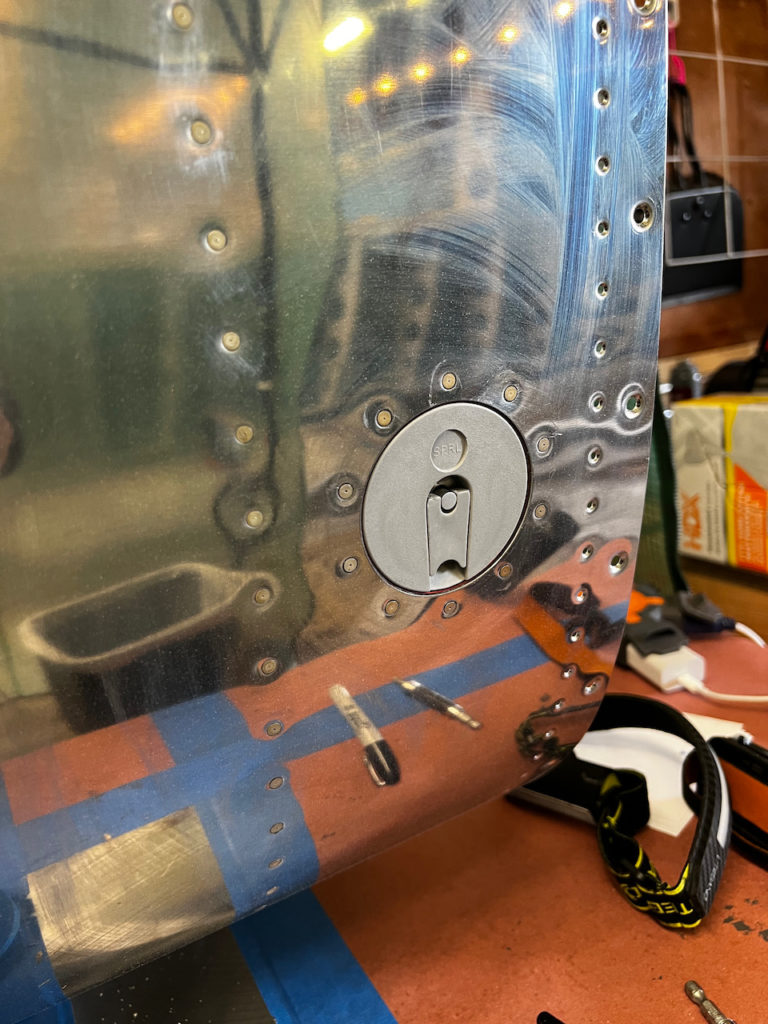
After finishing the ribs, I was definitely wanting to just enjoy the fruits of my labor. I found the gas caps, and just fiddled around with some test fitting. Good news…they fit..like a glove! (Channeling my best Jim Carrey)
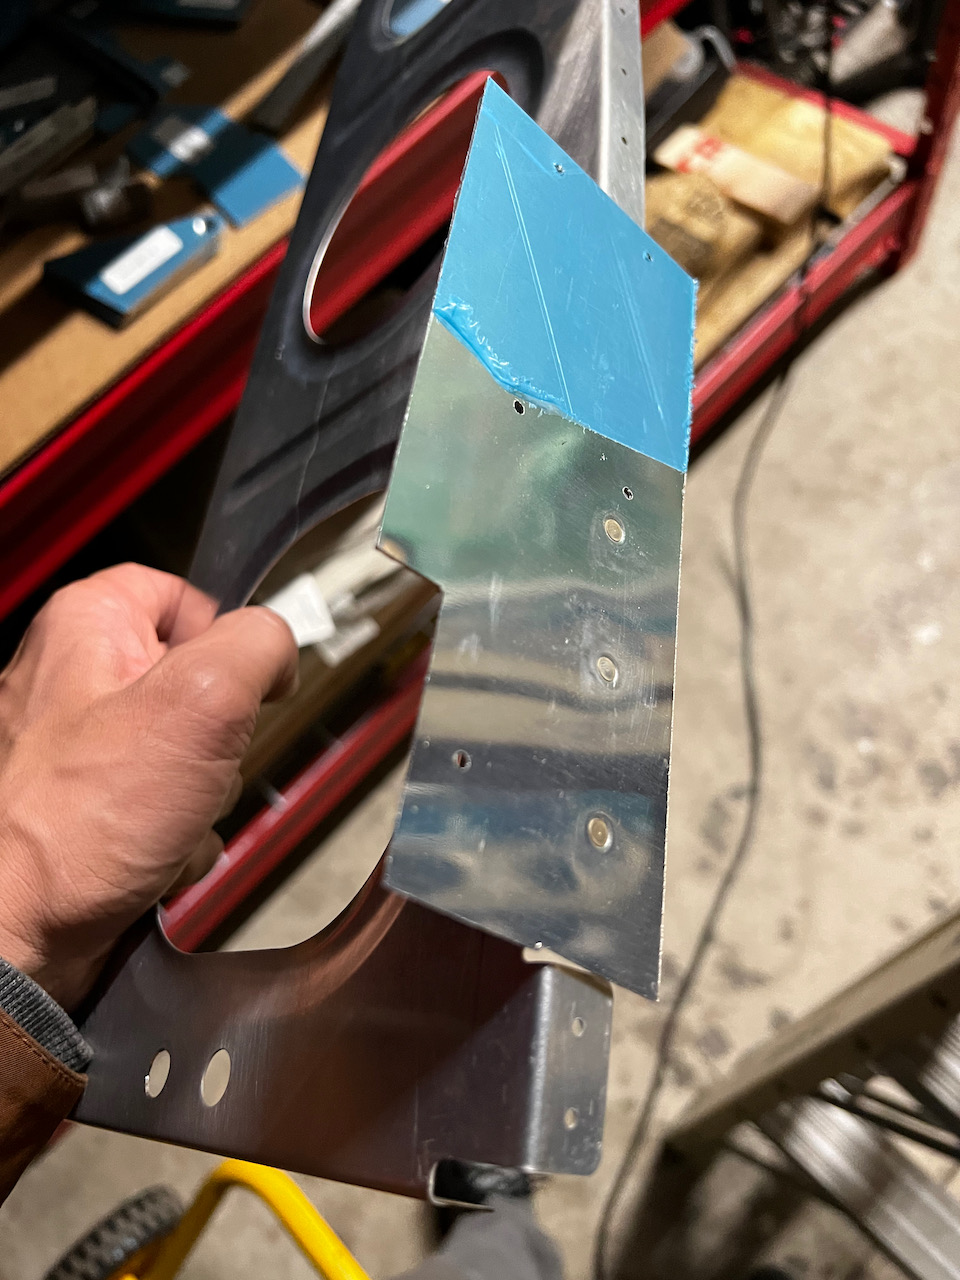
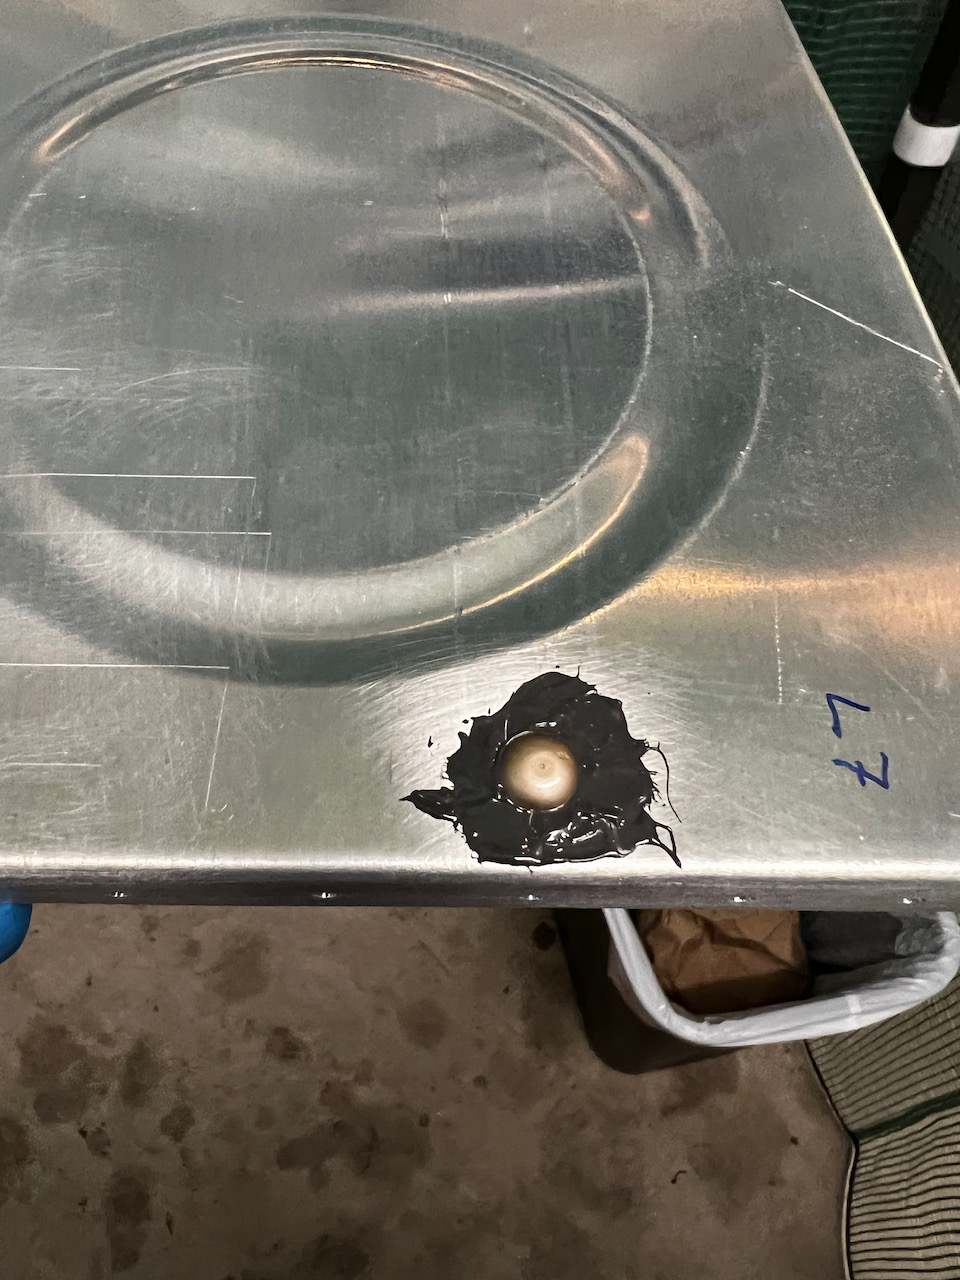
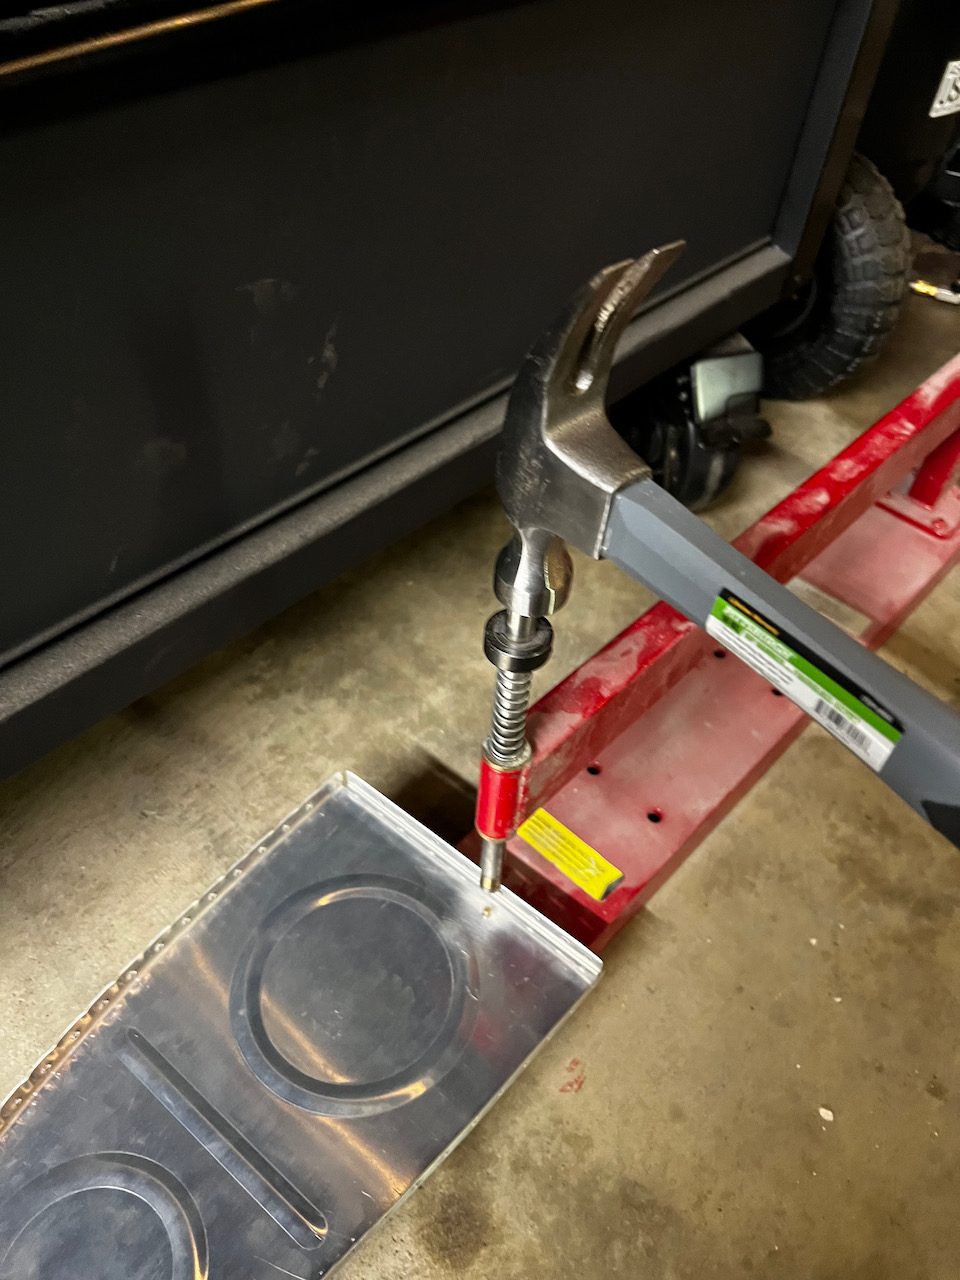
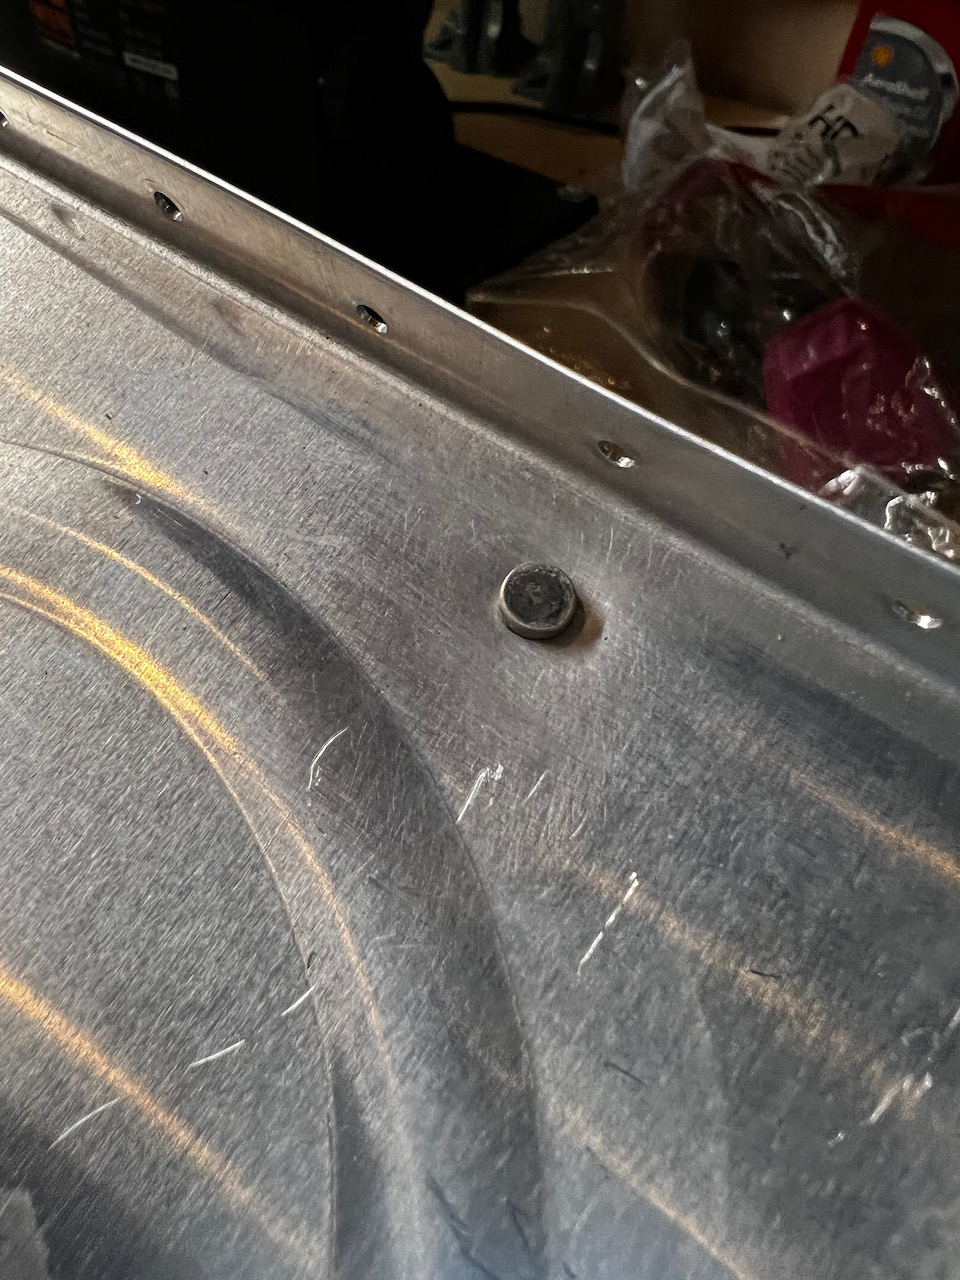
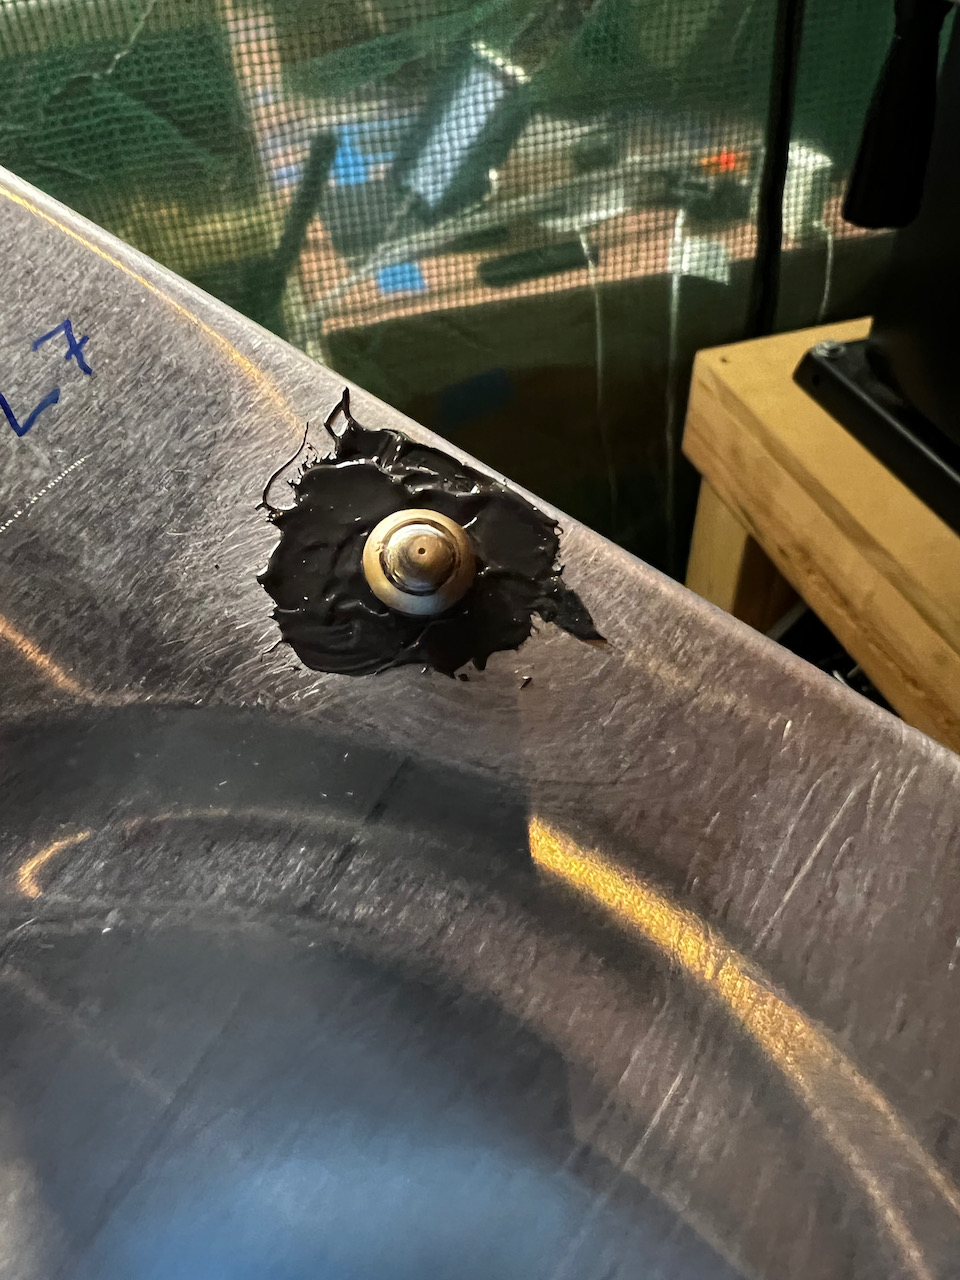
For the evening session I moved on to the outboard rib prep. This entails closing up the tooling hole with the beefy AN470AD6-4 rivet, and then putting on the doubler plate. Both needed to be done with sealant. Because the rivet for the tooling hole is so big, my tool choices of the DRDT-2 squeeer and the pneumatic squeezer would not do the job. I was able to borrow Paul and Kacy’s C-Frame dimpler which allows for progressive dimpling. I didn’t have the right cup set die so I marred the head a bit. I wasn’t too concerned since this wasn’t about structure and more about just closing a hole. With all the work done on the intermediate ribs, this task was fairly easy, and I completed it with 22g of sealant for both ribs.
outboard ribs prepped and cleaned
adding sealant before riveting
C-clamp tool allows for progressive blows to rivet large diameter rivets
Ready for striking!
It took about 15 blows to get the head to an appropriate size
Looks good!
Note marred head due to incorrect cup set…but shouldn’t be an issue
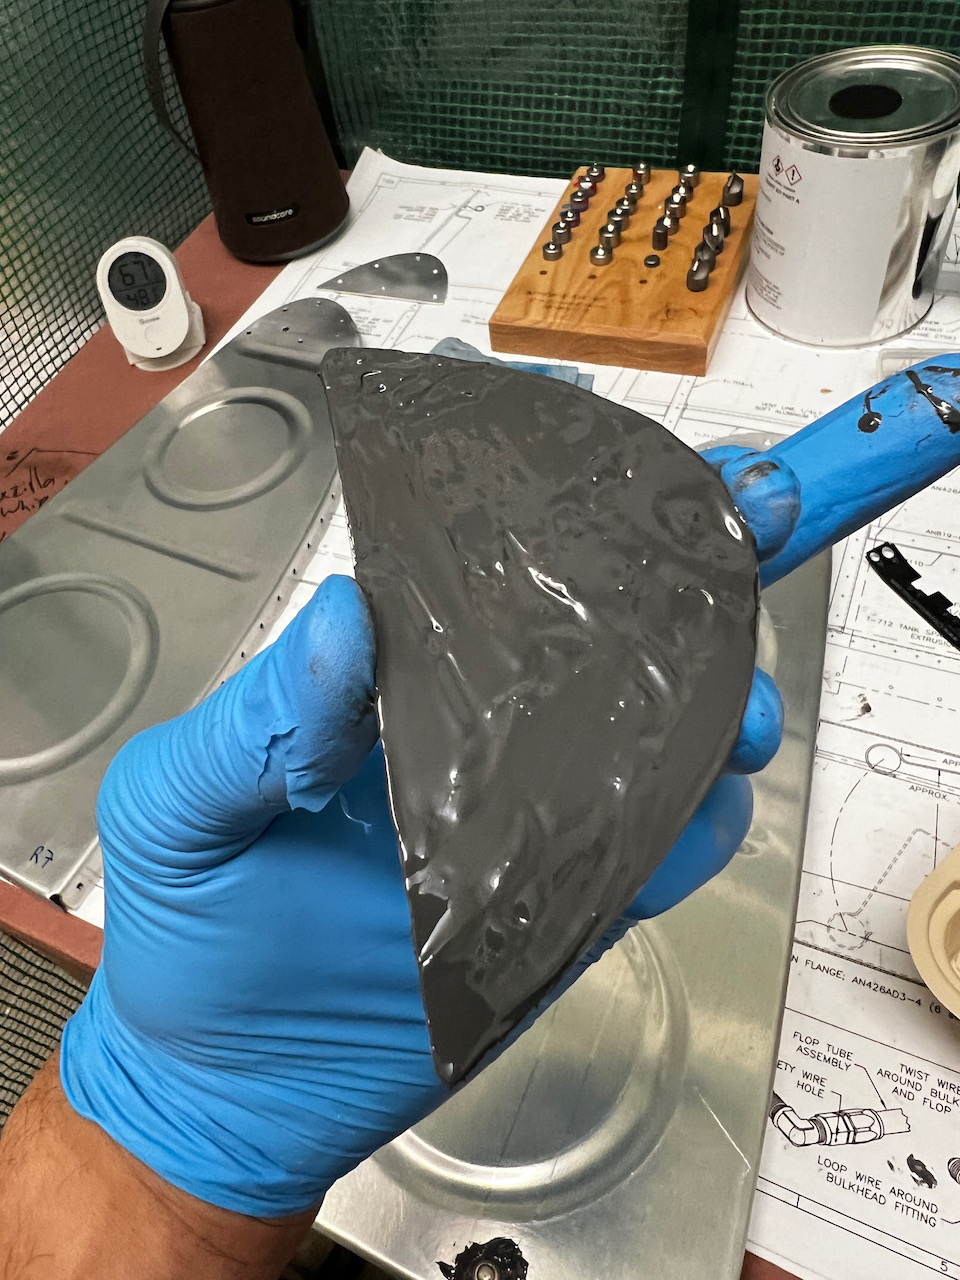
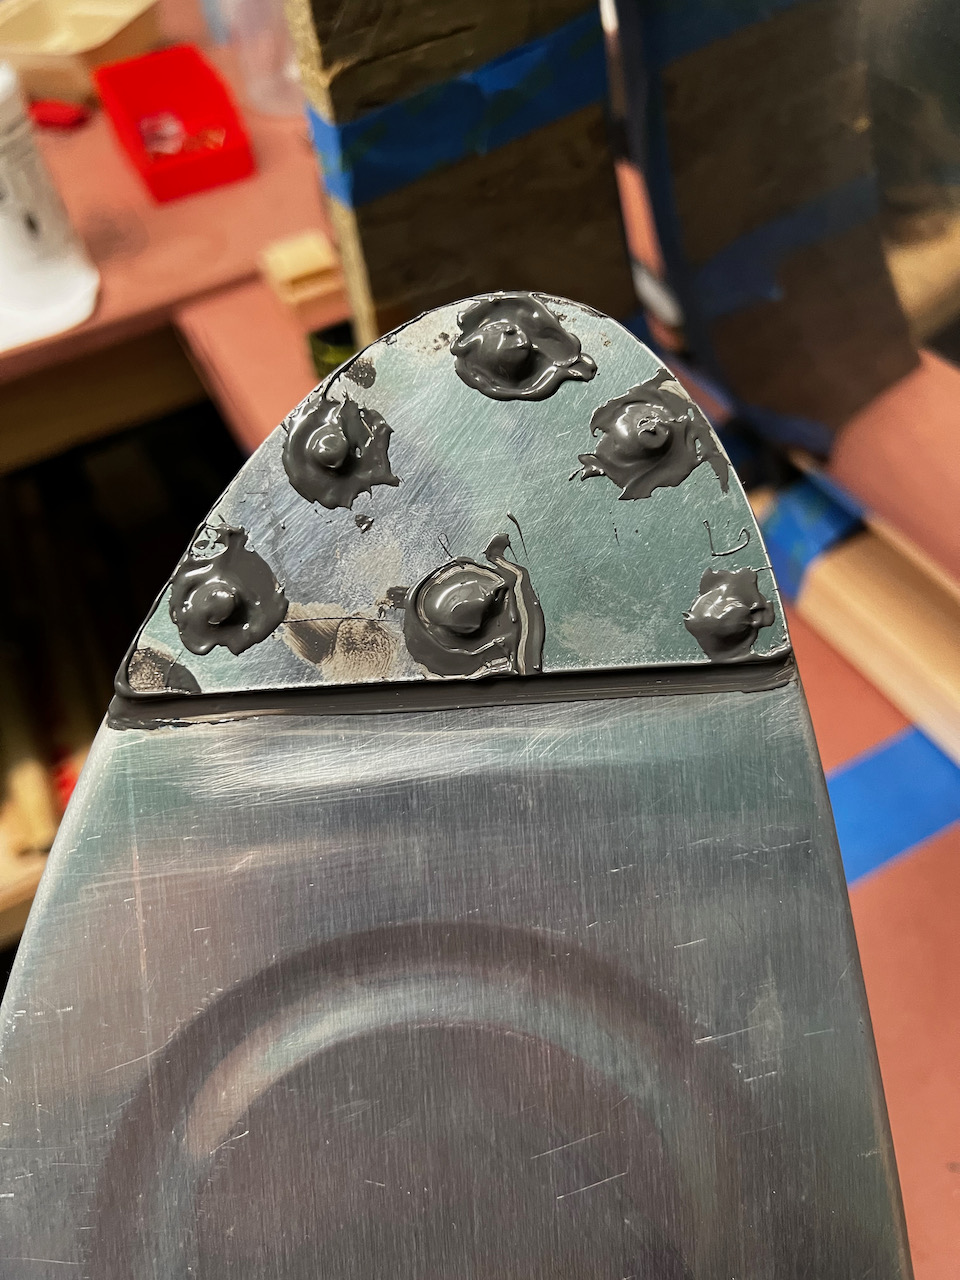
slopping sealant on doubler plate (T-710) before assembly
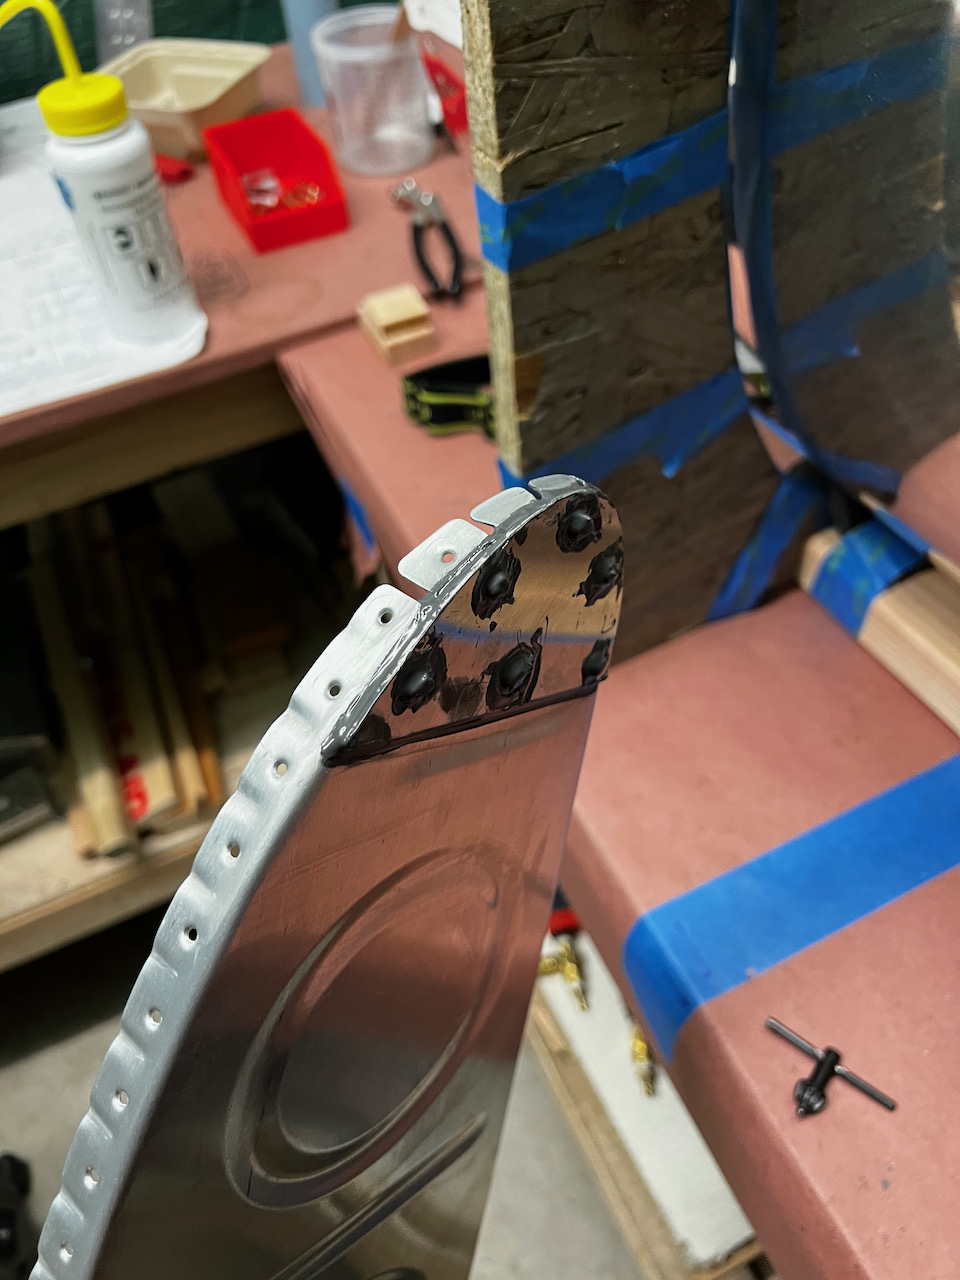
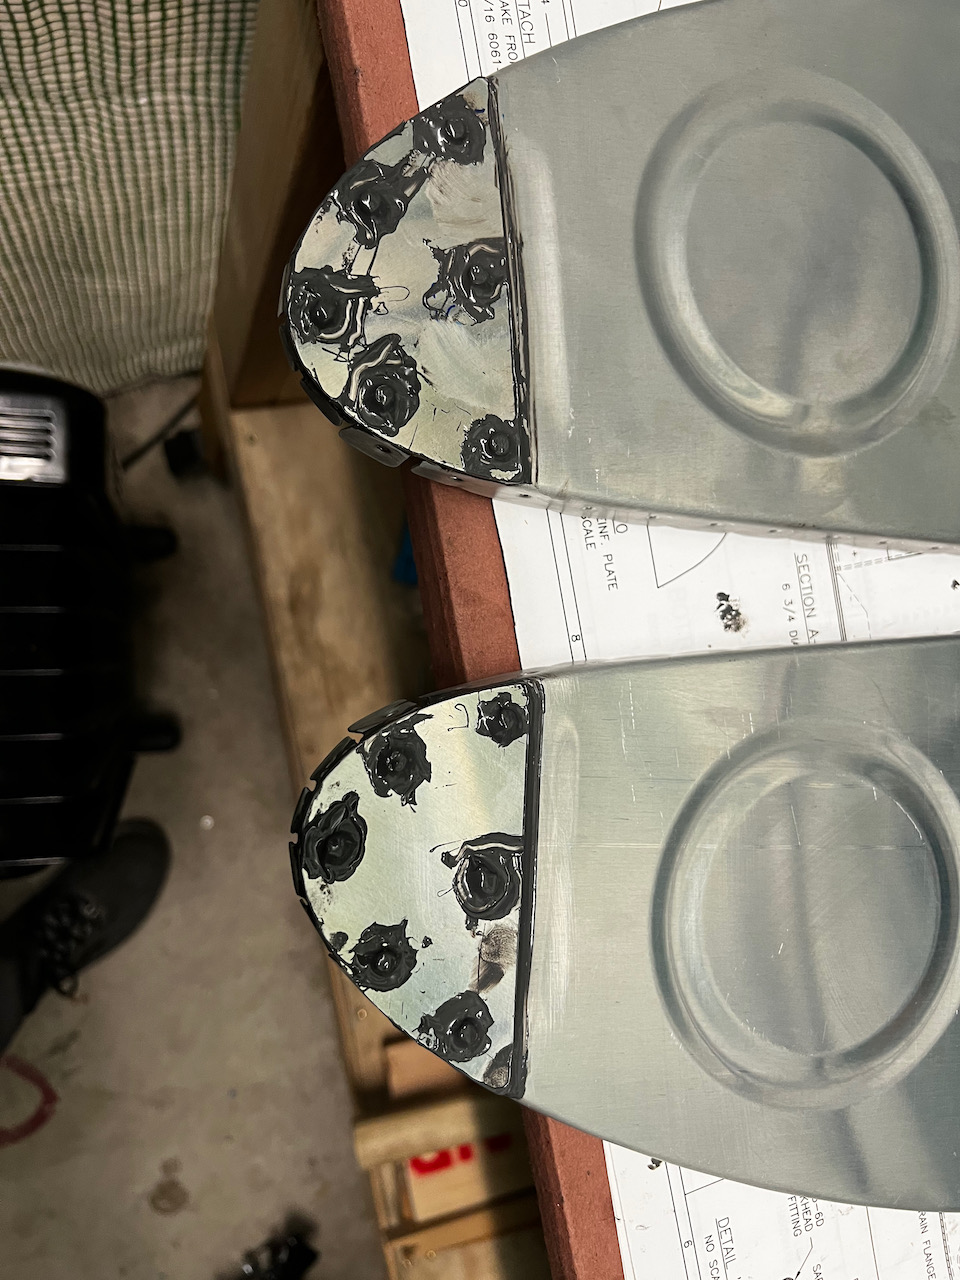
All done with shop heads covered
Note nice filleting around the edges
Outboard rib prep complete!
Whew! over 24 hours in a 3 day period. Amazing. And lots accomplished. The fuel tanks are starting to feel within reach of completion. Next up is installed the outboard ribs, then installing the vent lines. Hopefully I can get through that before heading to Southern California for a big volleyball tournament. Until the next update, Happy Building!!
Woww. What a fruitful long weekend. Glad to see you recruited a couple of other helpers. Sam is and always was “the best”.
Congratulations at this pace you will be done by the end of march. Better ask the supplier to accelerate delivery of next phase. I know probably Impossibile due to supply chain. BUT it does not hurt to ask.


1 comment
Woww. What a fruitful long weekend. Glad to see you recruited a couple of other helpers. Sam is and always was “the best”.
Congratulations at this pace you will be done by the end of march. Better ask the supplier to accelerate delivery of next phase. I know probably Impossibile due to supply chain. BUT it does not hurt to ask.
Big hug