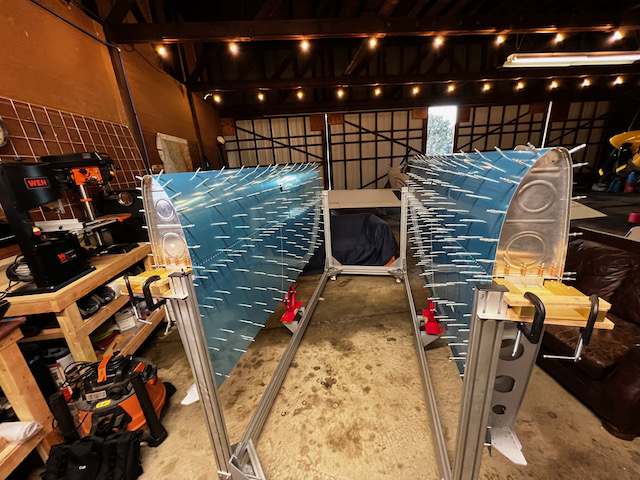
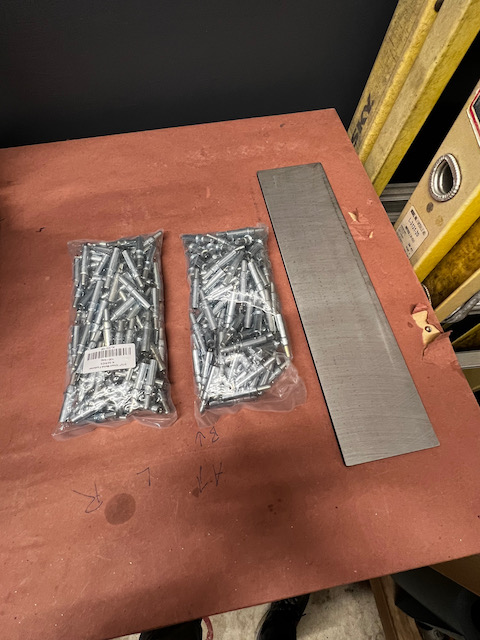
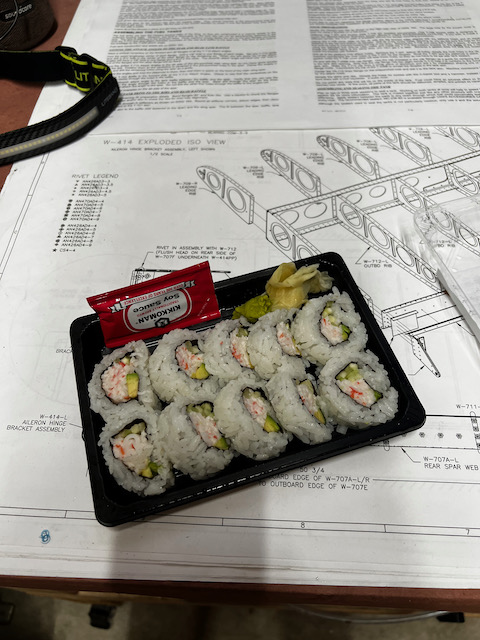
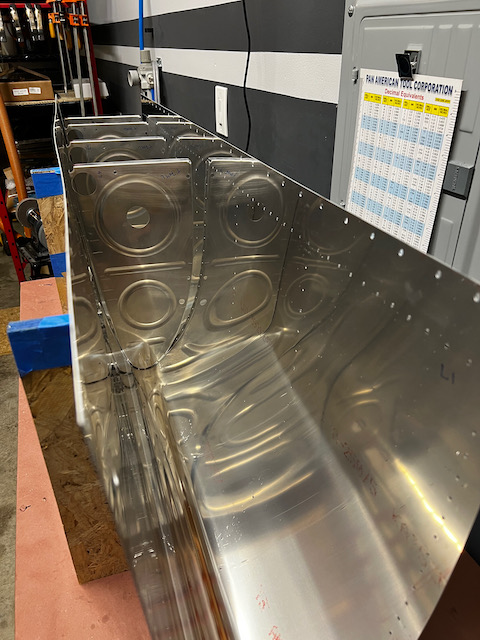
Before I headed up to the mountains for a week of food, family, and fun, Sam and I got together for an evening of food, football, and fuel tanks…:). The task of the evening was to disassemble the tanks, mark them appropriately, and start the prep process. But before we started that, a little sushi and final admiration of the “porcupine wing” (as my son calls it) was in order. The next time the fuel tanks are on the spar they should, in theory, be fully riveted and sealed. I also got a few more clecos and an extra back rivet plate in prep for the significant back riveting coming soon.
Porcupine Wing in full effect!
you can never have enough clecos
fuel up before tank disassembly!
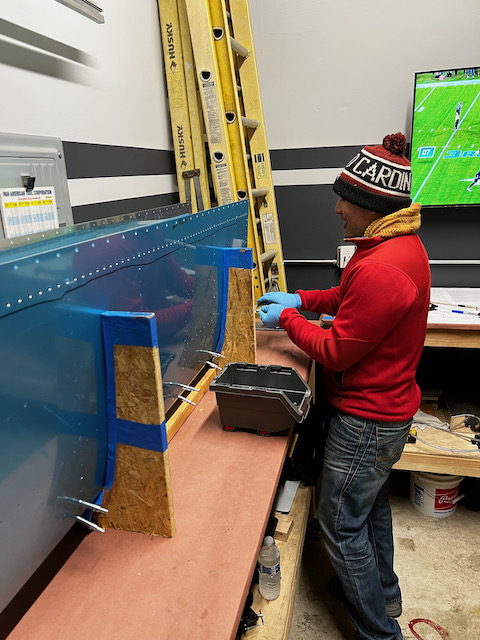
After getting fueled up, and turning on the 49ers game (spoiler alert…we lost!), I started the task at hand. The process was fairly simple and photos are below as well as the steps completed.
Remove tank from spar – easy since i had only “tacked” it on with a few clecos on the outside of the tank.
Remove baffle and skin – After removing the parts, we marked the baffle vinyl to remind me to deburr the holes later on.
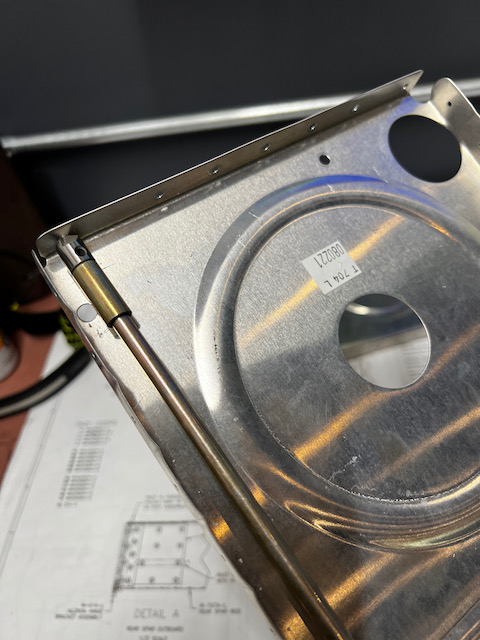
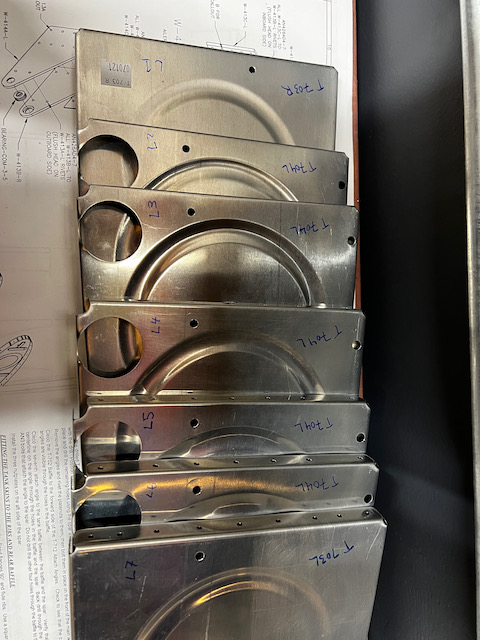
Remove ribs – Straight forward. I noticed that where the leading touched the skin, there was definitely areas of pressure. See (5) to learn what i did about that. We marked where each rib was placed to be sure to put it back in the same place.
Deburr ribs – The deburring went well since I had marked up the areas that needed deburring as I went during assembly. I think if I tried to remember it would have been much harder. We deburred the holes I had drilled, as well as the aft flange since I final size drilled those holes. Using the 12″ extension for the deburr tool was handy once again.
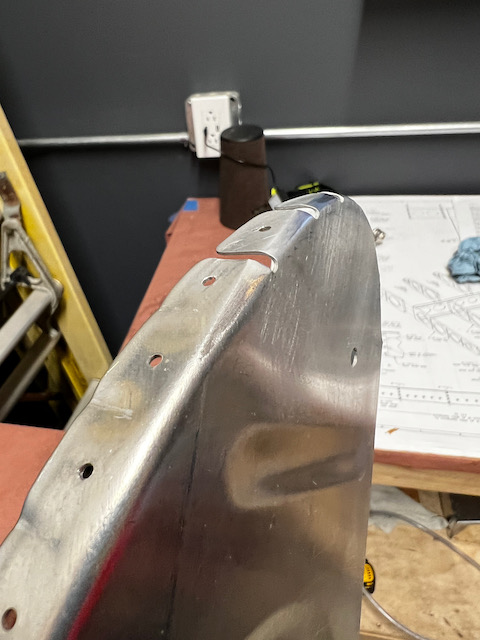
Round leading edges of ribs – When I deburred the ribs, I wanted to round the leading edge a bit as I saw marks in the tank that implied pressure from the leading edge flanges. I found that if I was too aggressive the metal got pretty thin. I was worried it was too thin, but reading the forums it looks like this is ok as long as you clean up the edge to avoid any cracking. There is no structural implications to those leading edge tabs (not even any rivets in most of them).
Deburr inside of skins – again, easy since I had marked the locations already. I’m waiting on the outside until I remove the vinyl.
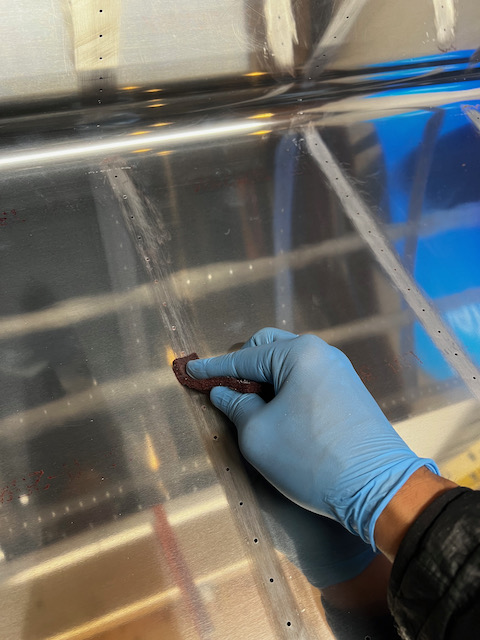
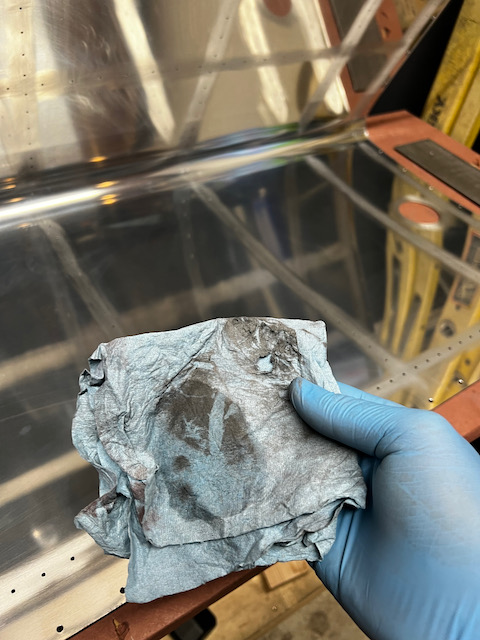
scotch brite rivet hole locations – all areas of skin that will have sealant applied need to be scuffed up. This helps with the adhesion of the sealant. This was pretty easy, but the scotch-brite definitely leaves a residue that needs to be cleaned off.
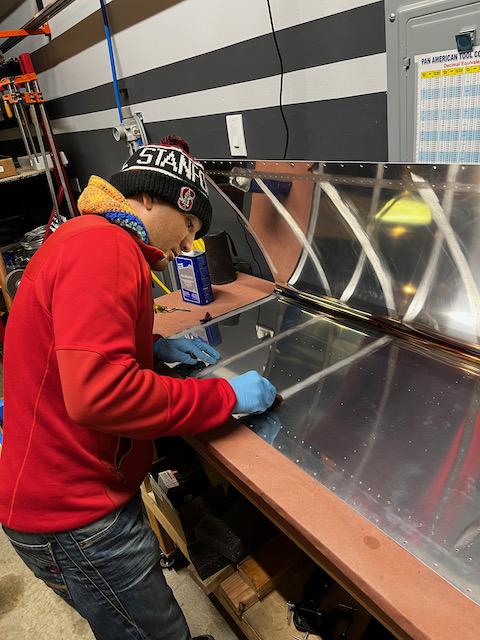
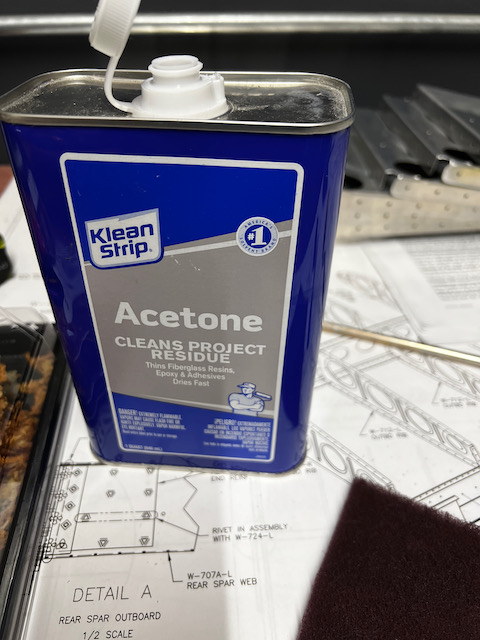
clean skins – Using acetone, Sam and I cleaned up the inner skin surface to get as much of the scotch-brite residue off. You can see in the picture below how much residue comes off. There will be an additional cleaning before I do the actual sealant application, so it didn’t need to be perfect this time around but getting an initial cleaning done will help later.
Lorem ipsum dolor sit amet, consectetur adipiscing elit. Ut elit tellus, luctus nec ullamcorper mattis, pulvinar dapibus leo.
As usual, when the first tank was complete, it was “wash, rinse, and repeat” for the other tank, and as usual it went much faster the second time around.
Happy Holidays!
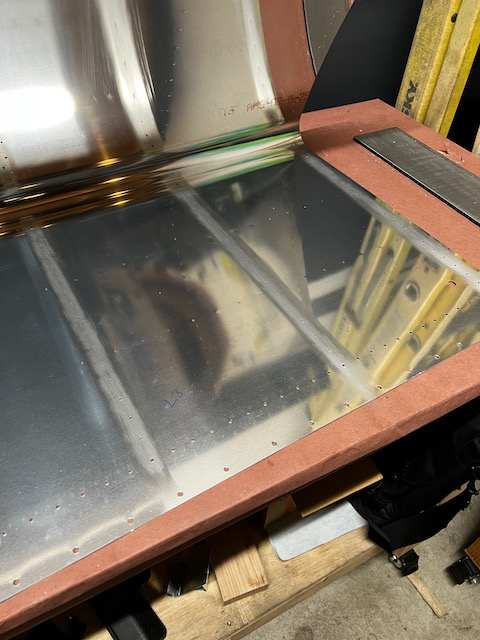
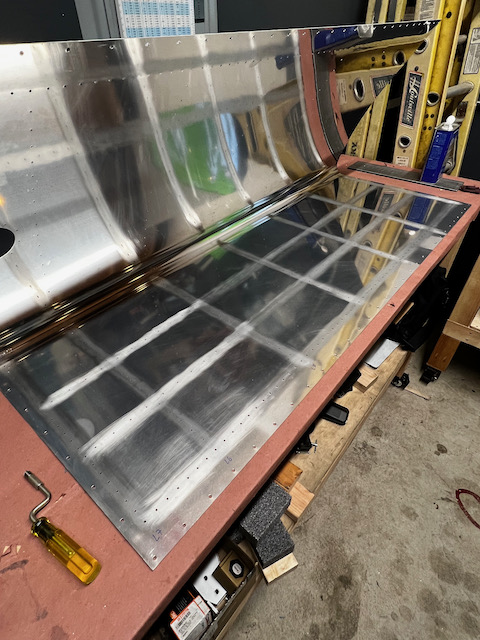
So….that’s it! I’m off to the mountains for a week of family time and hopefully a little skiing. When I get back it will be continued prep as I inch closer to fuel tank sealing… aaaahhhhhh! I hope everyone has a wonderful holiday season, and I leave you with one final picture of a beautiful and fully prepped tank skin (inner surface only of course)! Until next time….Happy Building!!
5 comments
Exceptional team
Great to see Sam back in action !
Merry CHRISTmas to Sam !! N Paolo n the rest of the crew helpers …
Mom
Sure is!
Seattle has been enjoying the progress. The wings and fuel tank look amazing.
Thanks Gary!!