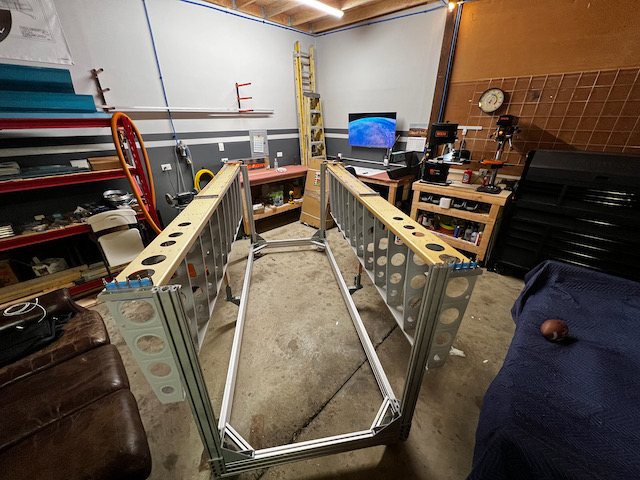
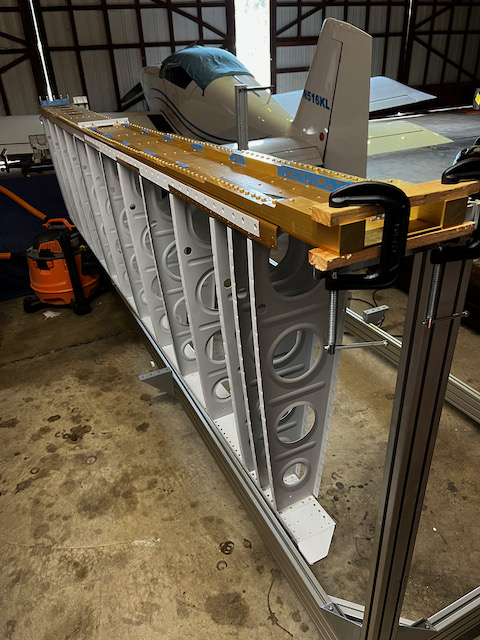
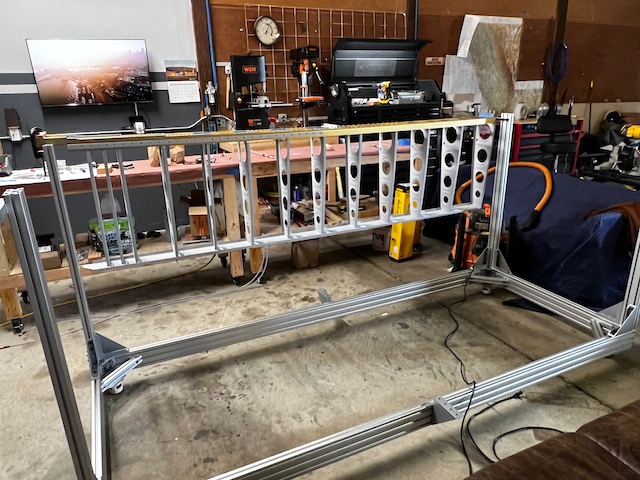
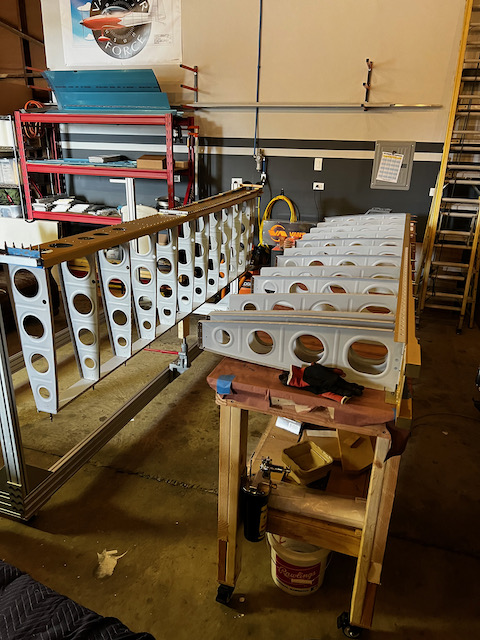
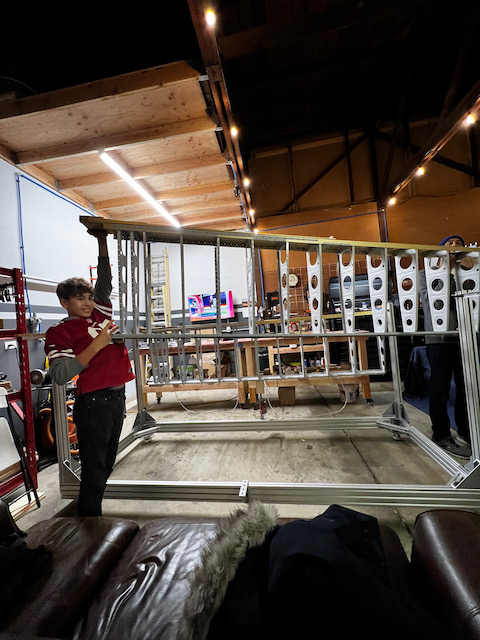
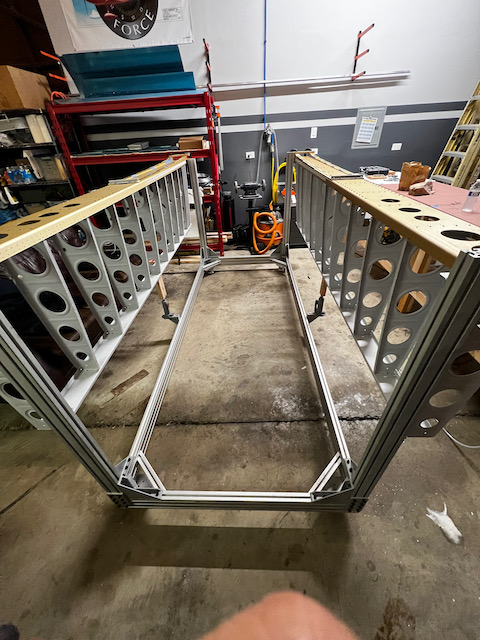
It feels like a lot of milestones getting hit recently. This is such a contrast to the arduous rib prepping period over the last few weeks. Today, I completed section “7-3: Assembling the Wing Skeleton”! The boys and I went through the same process we did on the right wing skeleton, and completed the left wing skeleton. By the end of the evening all spars were off the wall, and hanging on the stand. Below are some pictures and commentary on the session, but for those that want the quick version, here is what my shop looks like now:
next up.... wing skins!!
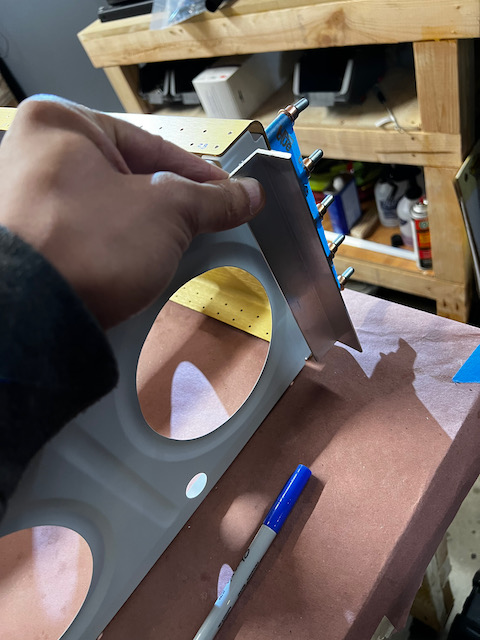
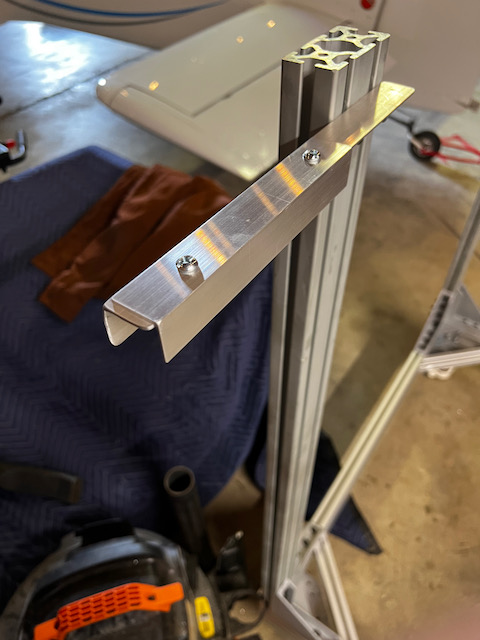
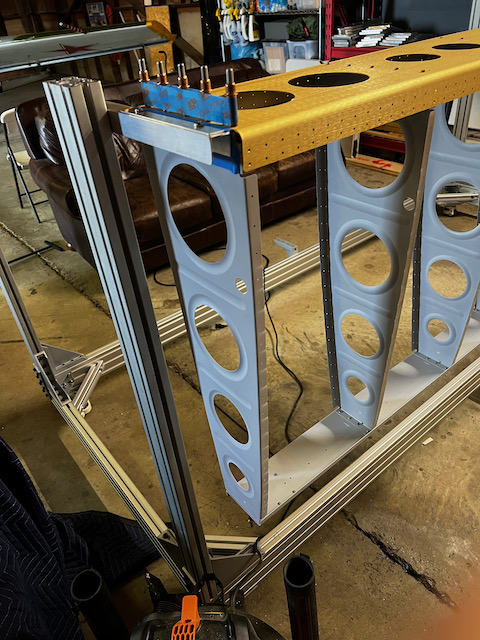
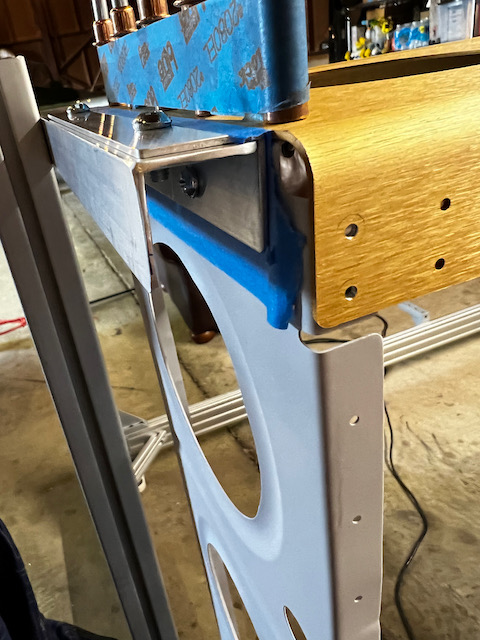
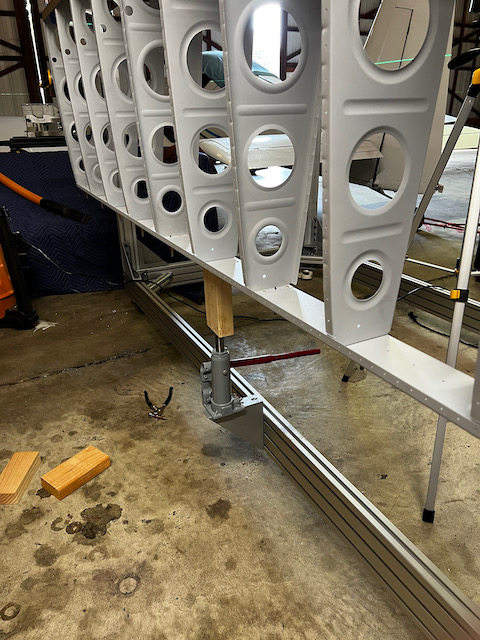
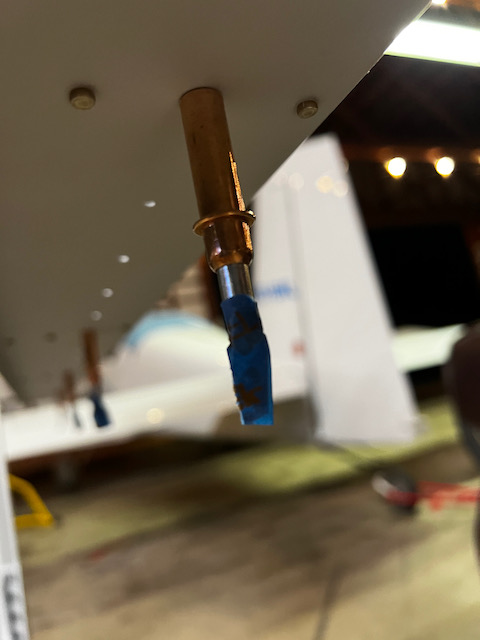
In the first part of the session, I figured out how to fabricate and attach an angle bracket to the outboard most rib. This allowed me to hang the wing skeleton in a way that gave me access to the skin area. Using 3/16″ bolts (as recommended by the plans) I match drilled two small holes in the W-712 ribs and fabricated angle brackets. To attach it to the stand, I used a slightly larger bolt, but same technique. On the inboard side of the skeleton, I layed the spar on top of the shelf and used wood to protect the spar from the clamping force.
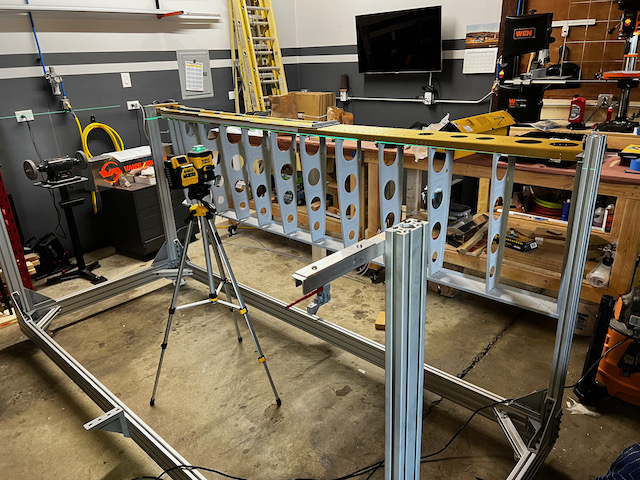
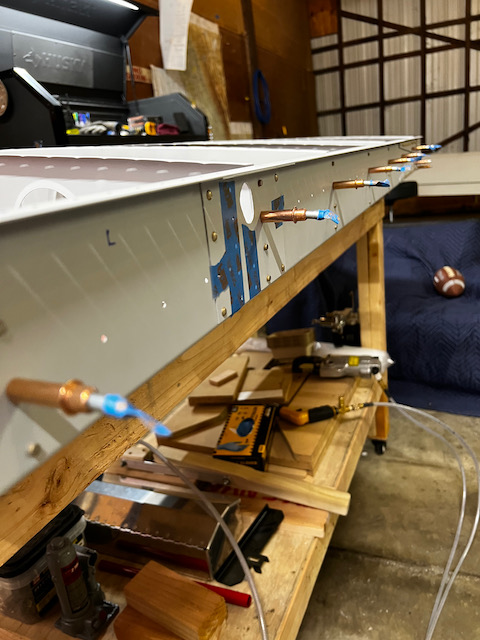
With the wing skeleton on the stand (woo hoo!!) you can clearly see a sag in the middle. Van’s anticipates this, and describes a support mechanism for under the middle of the rear spar as well as a simple way to level the spar. But why use masonary string, when you can instead use an overly complicated new toy!!
in person, the sag in the middle is very apparent
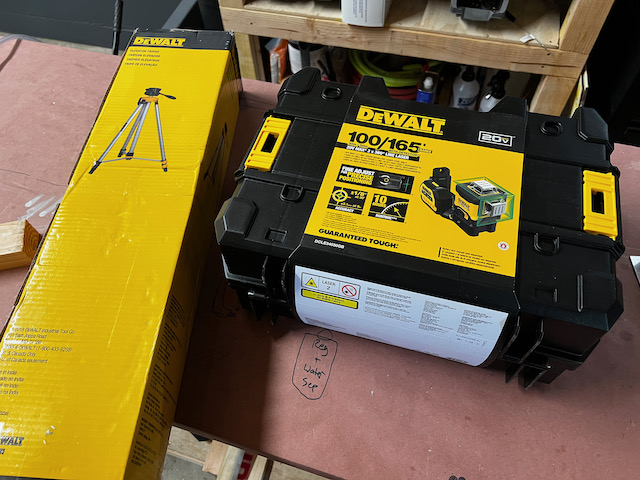
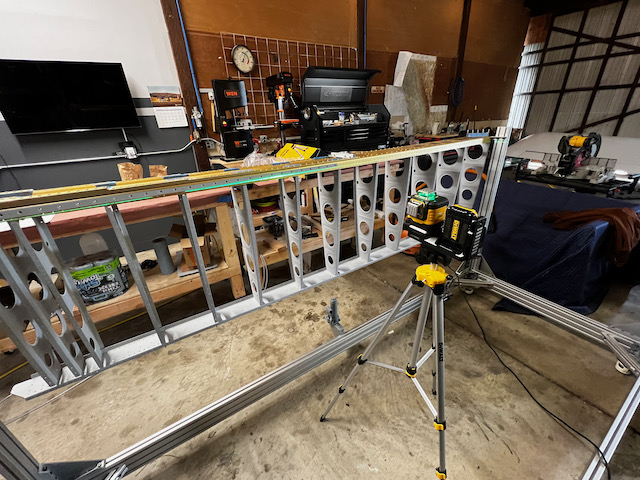
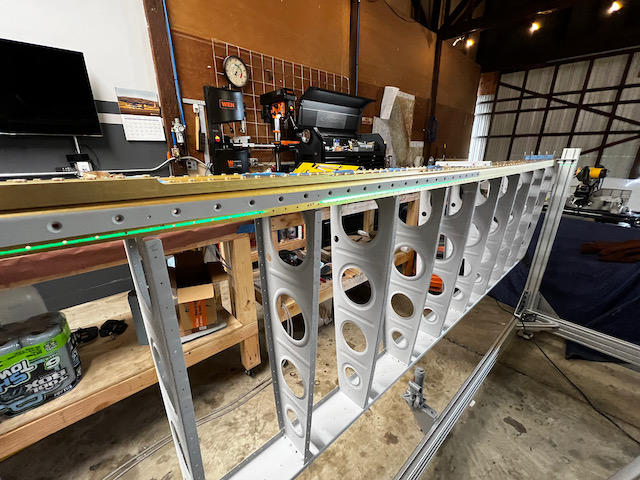
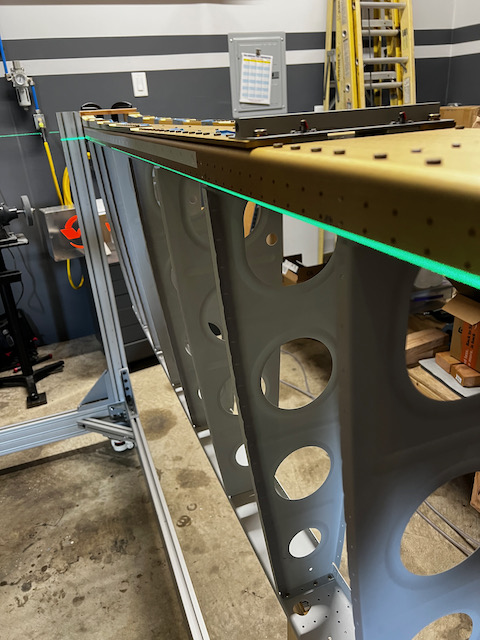
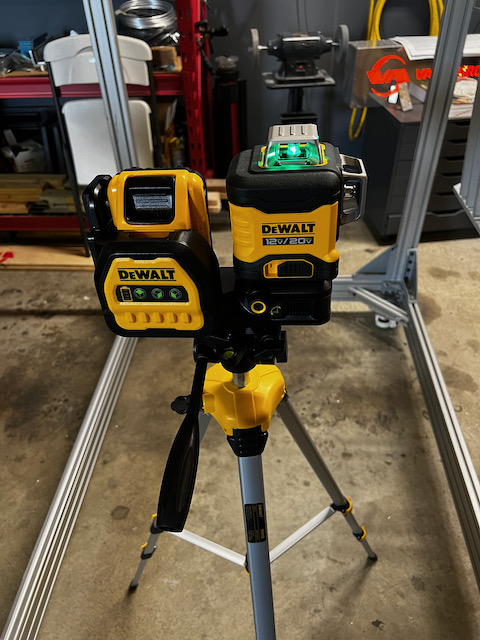
I wanted to have a nice way to consistently get the spar sag removed. As Finn had pointed out, a mason string is also affected by gravity and will have a slight sag of its own (yeah…I know… imperceptible, but still…any excuse for a new toy!), so I went ahead and got a DeWalt 3-way 360˚ laser level. Overkill? Absolutely. Mandatory? uhhhh….Absolutely. But seriously, I’ve read in the forums and watched on YouTube, that this level will be super useful when attaching the wings and trying to square up the whole plane. Might as well get it now and use it for other needs. By putting the laser on a tri-pod, and ensuring that both ends were level, I could then see the sag, and use my bottle jack support mechanism to take the sag out. A couple notes:
If you get one of these levels, spend the extra dollars to get the Green laser. I read all the reviews on how bright it is, but seeing it in person is spectacular. The photos don’t do it justice..it was almost too bright. :)!
A benefit to how the stand is designed, I can loosen a couple bolts and move the entire assembly up and down pretty easy. And it’s a one person operation. Cool. (The alternative would be all sorts of shimming to make sure everything is level)
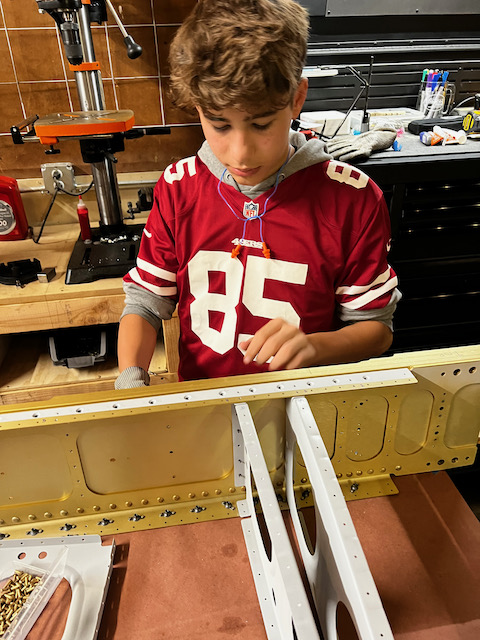
Wash, Rinse, Repeat. Now that the right skeleton is done (almost…see below), I just needed to do it all over again on the left skeleton. As normal, doing it a second time in close succession, everything was a lot smoother, with much fewer mistakes. Before the kids got there I assembled the main spar and ribs. This time I was strategic about which ribs I put in first, optimizing for the most room to rivet as possible. Eventually you have to put in the final ribs, and you run out of space, but might as well wait to the end. I was able to get the first three ribs riveted on my own. I’ve learned that if I’m using the gun in the right hand, and bucking bar in the left, I can control everything pretty well. As soon as I switch, that’s when mistakes happen. I’ll try to avoid this in the future (or do more practice with my weak side).
left ribs assembled
choosing correctly which ribs to leave out helps riveting room
three ribs done solo!
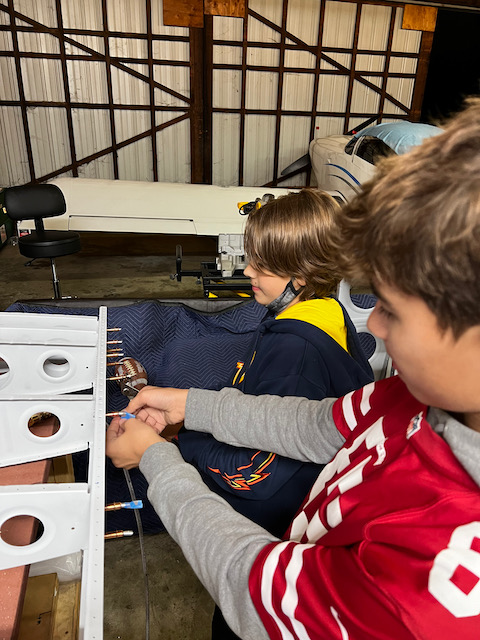
Once Giacomo got there, we switched to a two-man technique, and got through the rest of the ribs on the main spar side pretty quickly. The work we did up in Oregon for the empennage and “fundamentals class” (through Synergy Air) really paid off. His confidence in using the bucking bar was high, and we already had our teamwork communication down pat. It is interesting to see how each person’s bucking bar technique changes the way you need to use the rivet gun. With Brandon yesterday, I was able to do much shorter and deeper gun hits. With Giacomo, I used a lighter stroke and longer application of the trigger. Both resulted in great shop heads, but it was an “ah ha!” moment for me.
On a side note, how lucky am I to be building a plane. Better yet, being able to share the experience with my boys (who seem to be enjoying it). Life is good.
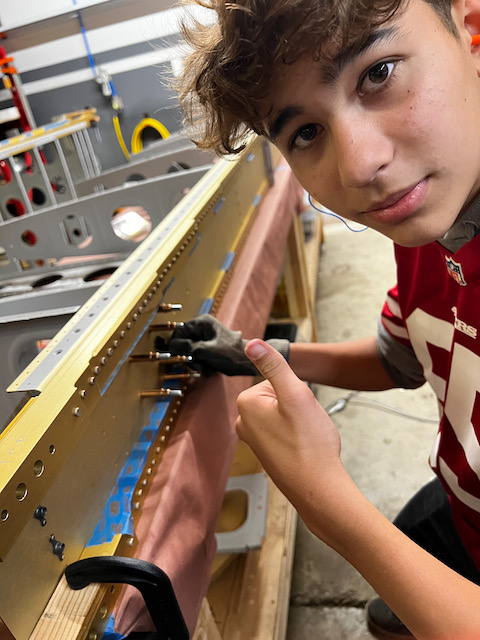
Giacomo donning his Kittle jersey!
bucking extraordinaire. Note the rubber glove which minimizes the vibrations transmitted.
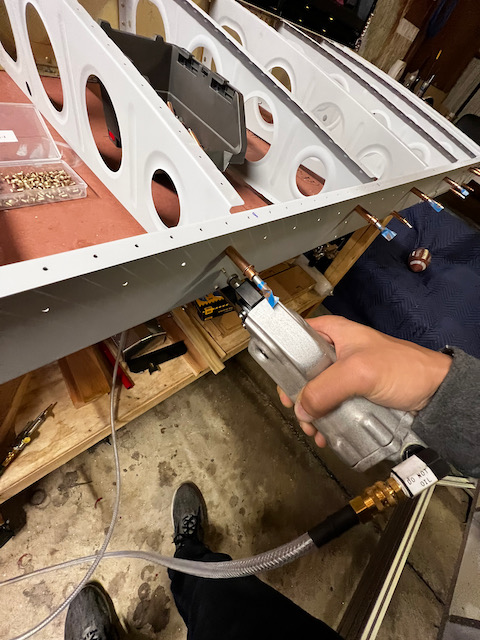
Nico doesn’t really like the bucking bar work, but once we finished the main spar, he loves clecoing and pneumatic squeezing, so I put him to work on the rear spar. After the rear spar was attached, we squeezed all the rivets, this time not making the same mistake of incorrect holes or rivet sizes (more on that below…whew!). We decided to put tape on each cleco that should not come out which helped.
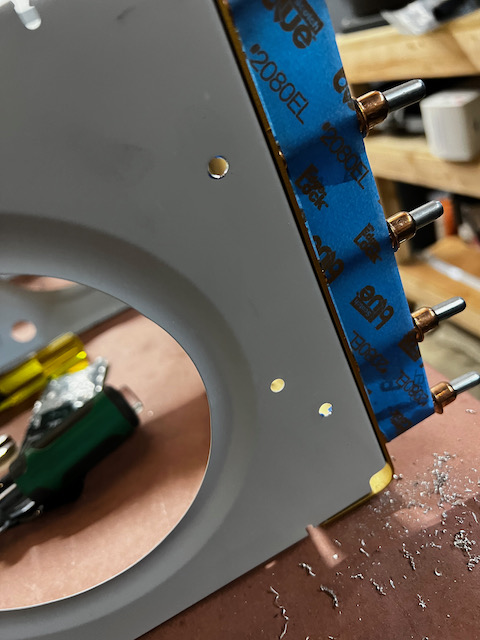
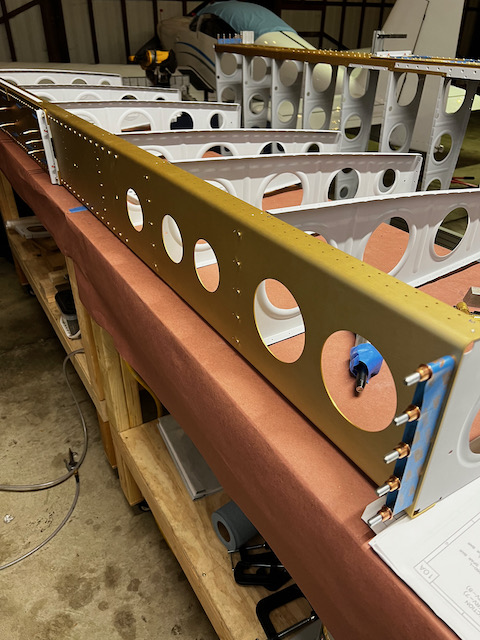
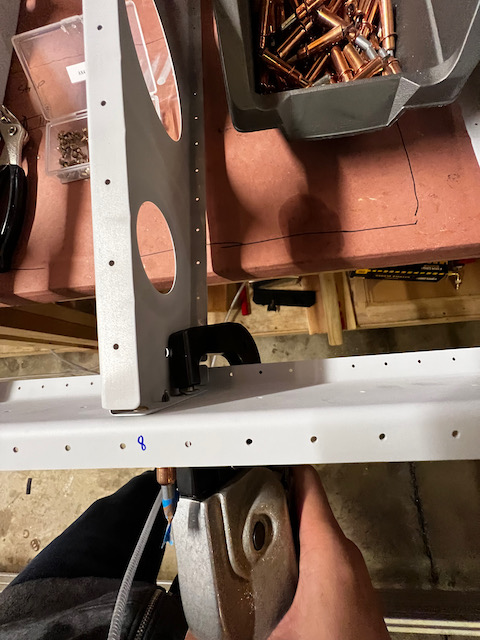
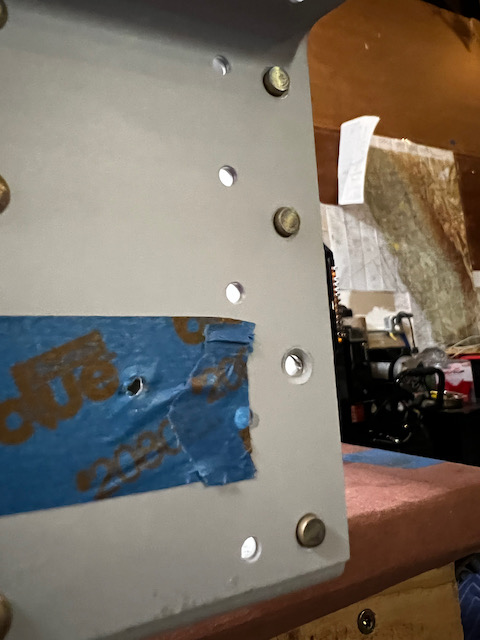
Sooo….. there was one mistake that I caught on the right skeleton. And I realized it when I was riveting the outboard rib of the left skeleton. The plans call for, and I had countersunk the spar for flush head rivets on this rib. The reason is that the aileron bracket assembly sits on top of this row of rivets. When I saw the countersunk holes on the left side, it immediately triggered the need for flush rivets. I thought to myself “I don’t remember using flush rivets yesterday! hmmm”. Well sure enough, the right side was squeezed with regular universal head rivets. How did I miss that? Well…if you recall, Brandon helped out yesterday, and I taught him how to squeeze on the inboard side which were AN470s (universal head). I failed to mention to him that if there are countersunk holes, a different rivet is required. Oh well, live and learn. A quick rivet drill-out delay, and I was able to get those squeezed as well. It was super quick since the squeezer was already set properly from the left wing.
nice flush rivets in place!
uhhhh.... that doesn't look right!
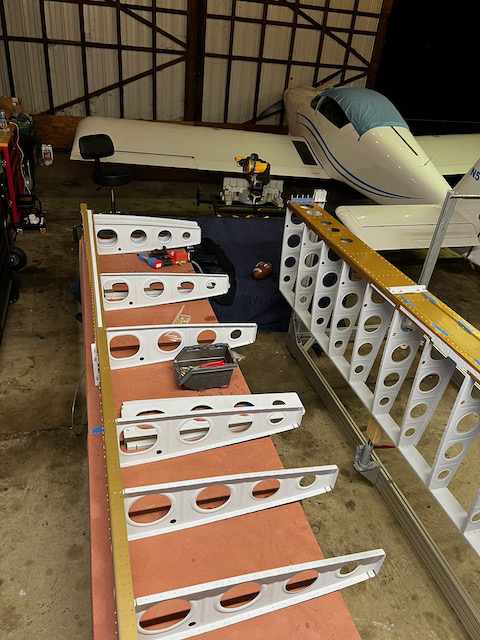
With the final rivets squeezed (including the fixes to the right side), all that was left was to hang the left skeleton, and marvel at the wonder. :). I’m excited to share this wing stand in the forums as I think it may be the first original design I’ve done so far (thanks to Finn!).
glad he's getting tall to help me move things around!
beautiful!
Completing this step, I finally got to a spot in the build that I remember thinking when reading other bloggers posts, “Wow..that is pretty cool, they’re building a wing!”. The energy from the milestone is invigorating, and makes me want to get back to the hangar as soon as possible. Next step is fitting the wing skins, which will really start to make this thing feel like an airplane part.

2 comments
Go team Resmini. Proud of all of you. Nice progress
Powerful blog post…powerful son wrangling…powerful industry… super impressive