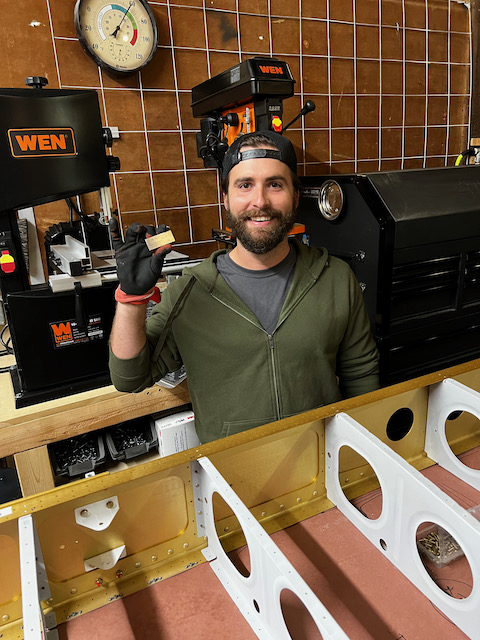
Today I had two great sessions. The first was a classic early morning session where I got up super early and cranked out the remainder of the wing stand, and got started on the wing skeleton riveting. The evening session was especially fun because a colleague and good friend Brandon came to help crank through a bunch of riveting. Alexander also stopped by to help validate our work, and help crank out some clecoing and rivet support.
5:30am Morning Session
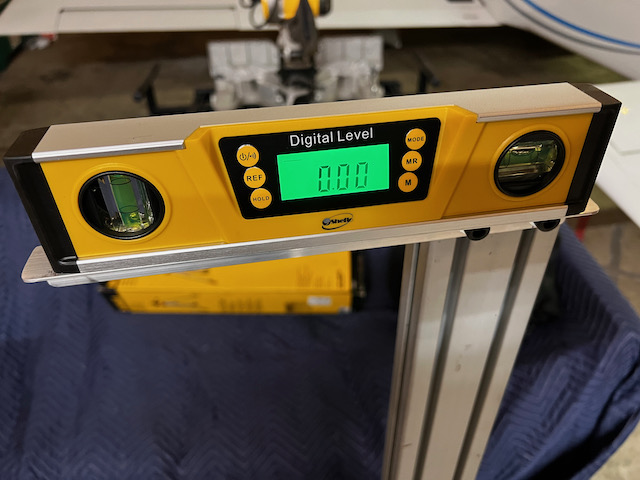
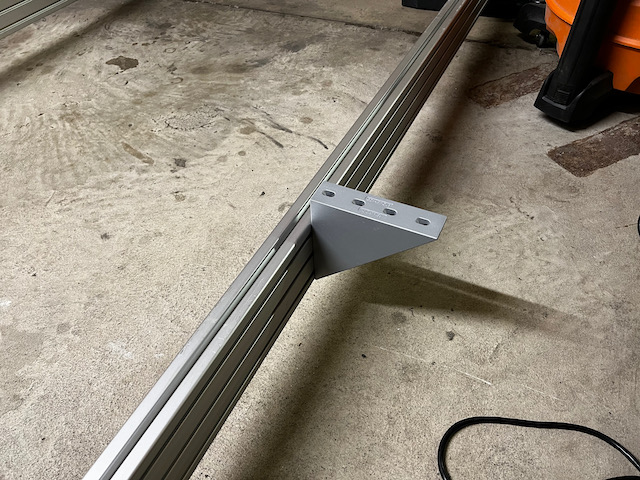
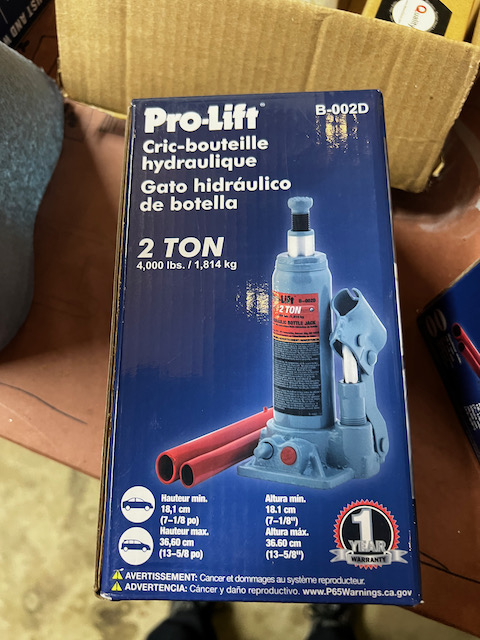
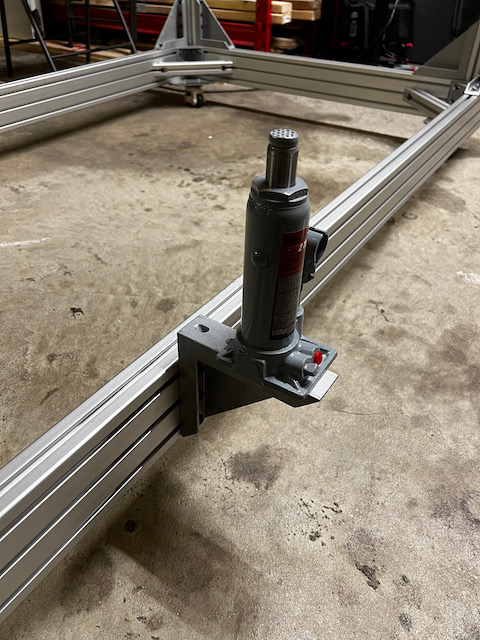
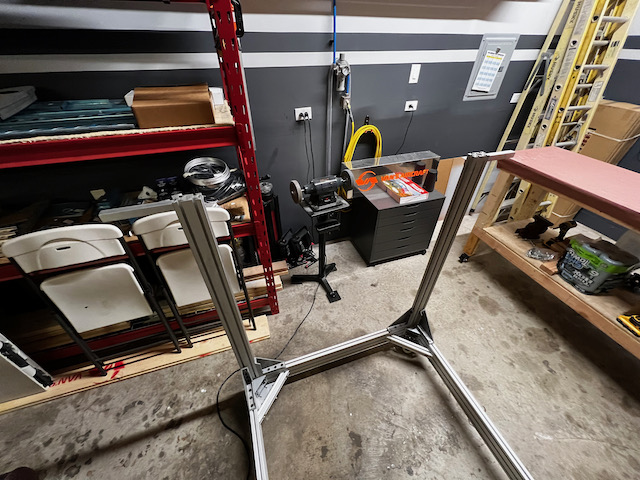
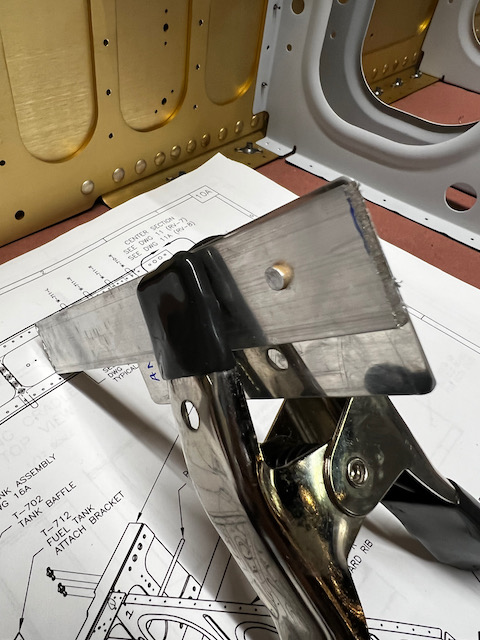
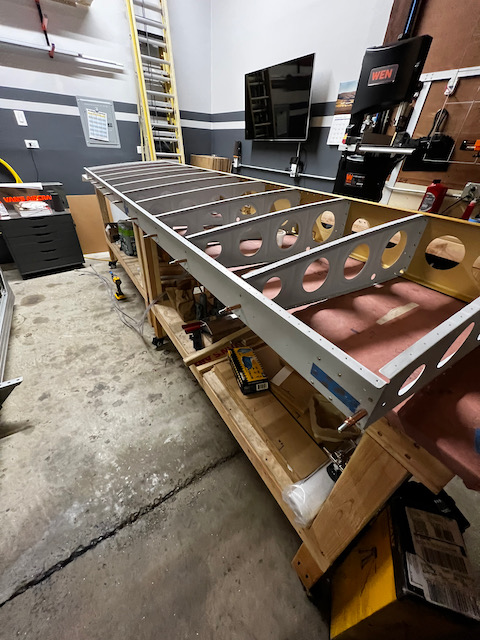
The morning session started off with completion of the wing stand. After fabricating the final bracket (now that I had the material), I used my new digital level that makes leveling much more objective. Rather than deciding that the bubble is level, the digital level reads out degrees off level down to the 100ths. I also added brackets for the rear spar support. This is required for taking the sag out of the wing skeleton when it is hung on the bracket. Because of the pre punched holes, the sag would come out when installing the skins so this isn’t required (remember it’s a stand, not a jig), but I’ve heard it makes attaching the skins a lot easier. The bottom support itself will obviously not be the perfect height, so I got two bottle jacks that will be used to jack up the rear spar to the correct height. How will I know when the spar is level? hee hee…I don’t want to spoil it for you, but let’s just say I got another new toy that will make it easy and fun to do. With all the supports on, and the shelving level, I can officially call the wingstand done!
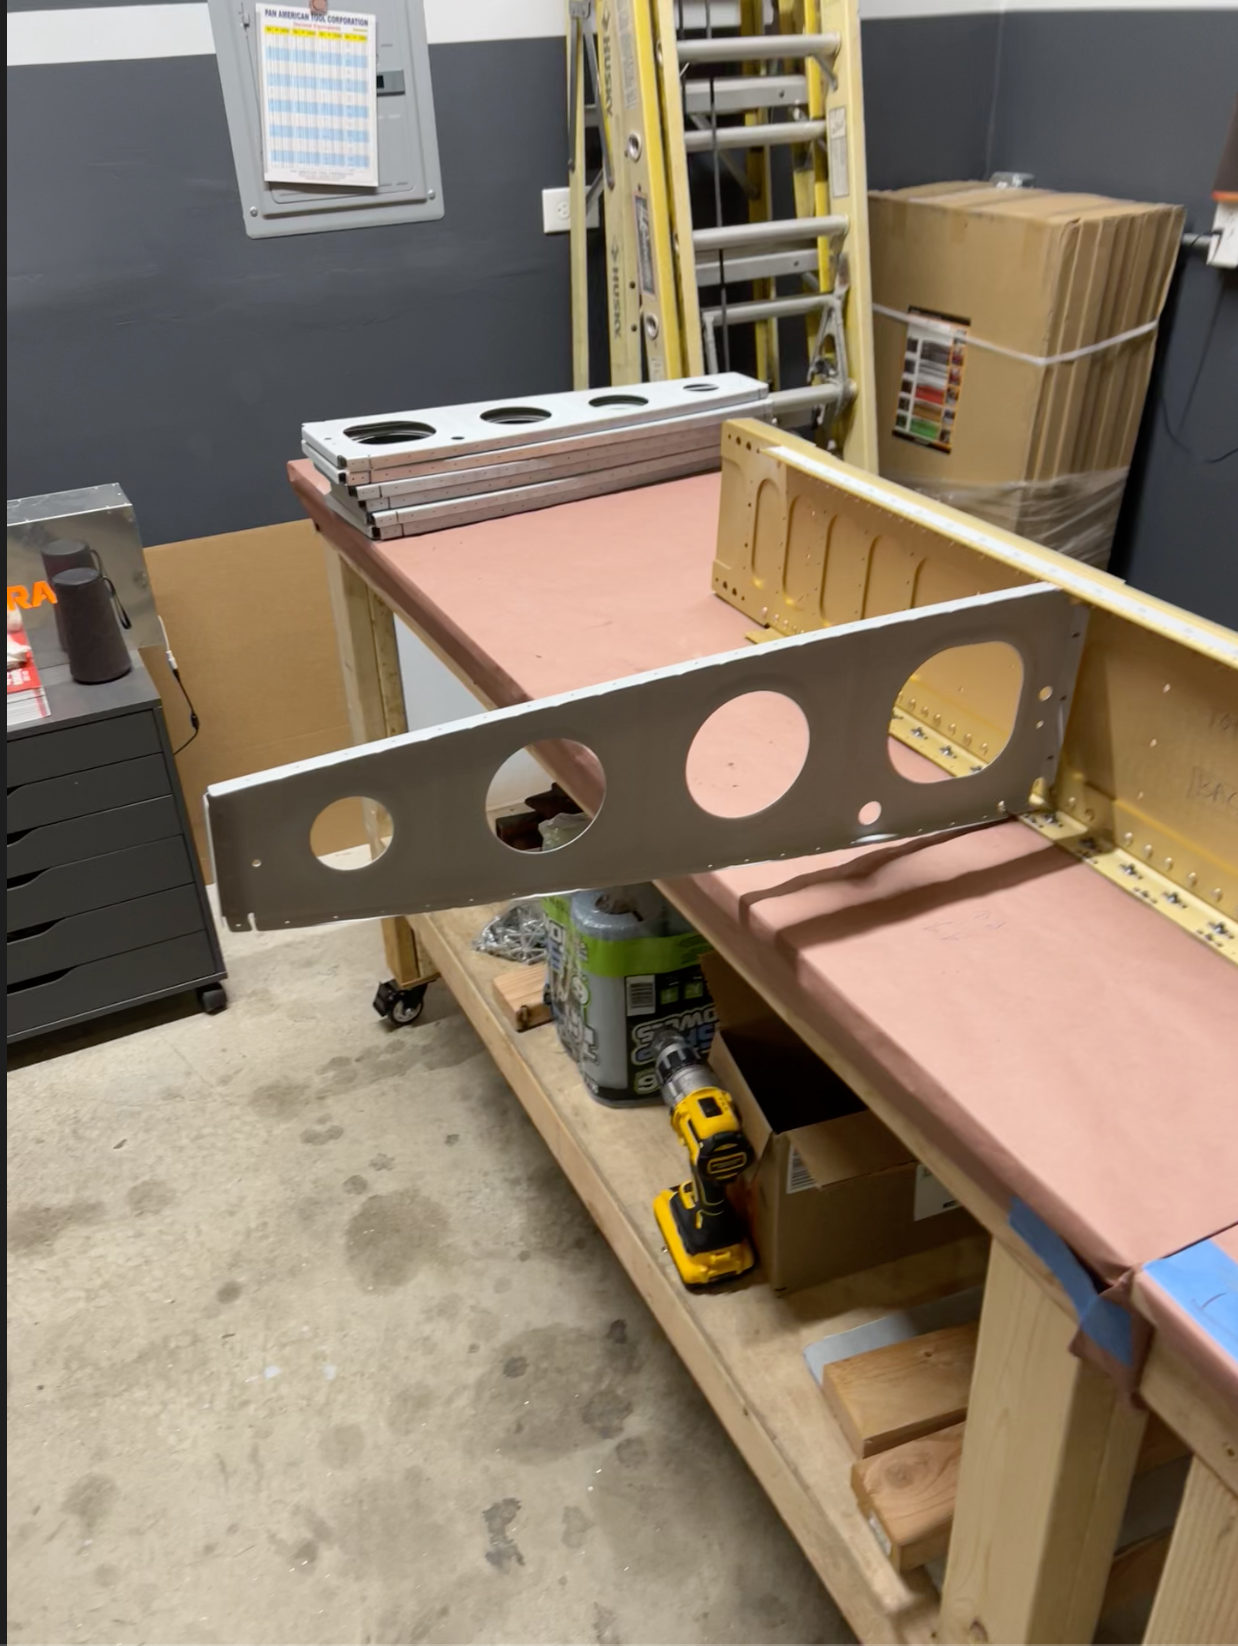
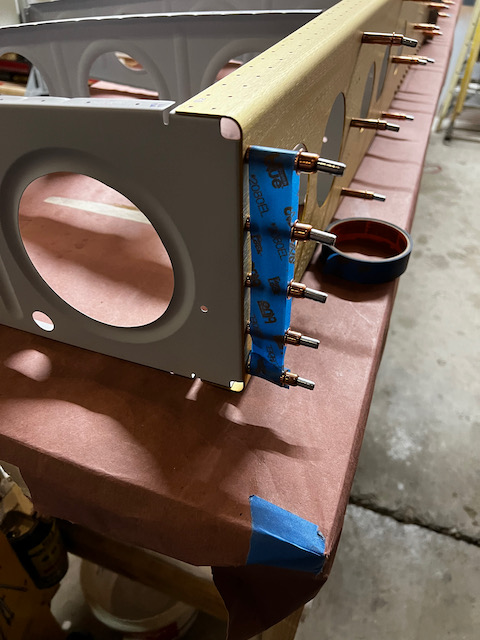
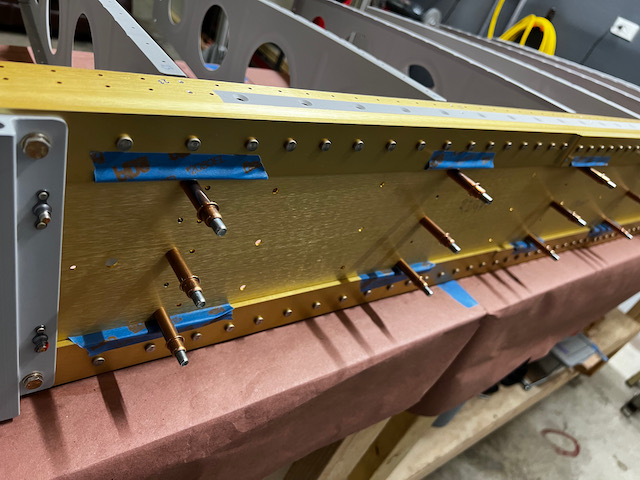
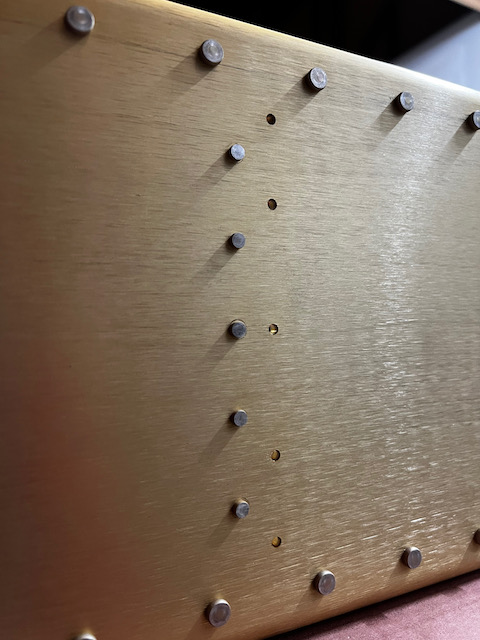
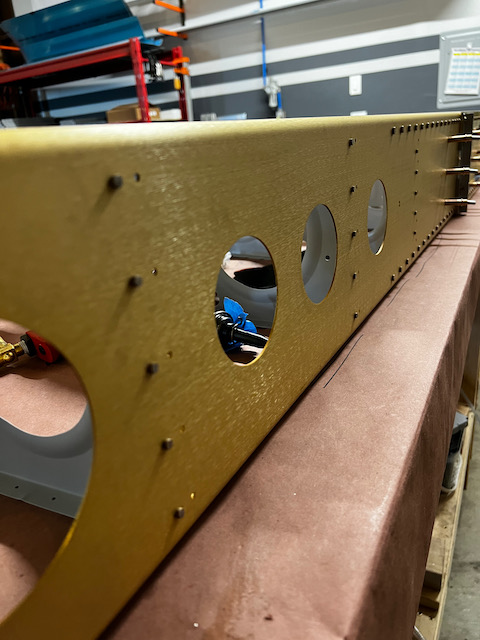
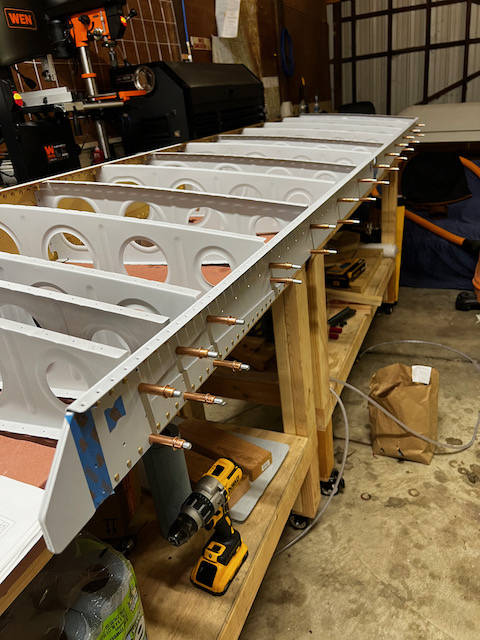
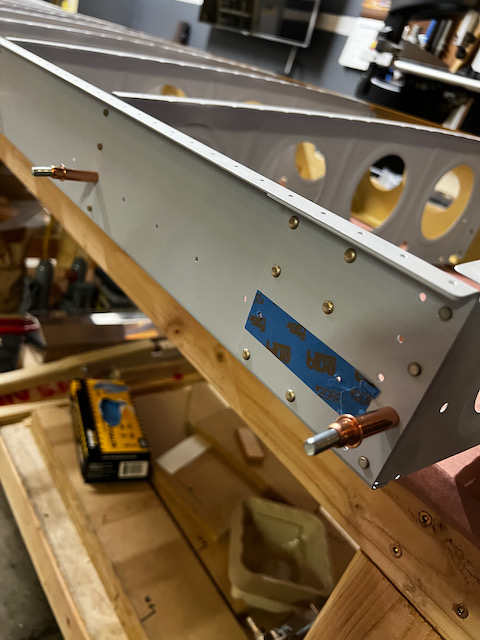
Assemble, drill, disassemble, debur, prime, assemble, rivet. That is the steps that most of these parts go through. It’s nice when you get to final assembly, and know that you will not be taking this sub-assembly apart again. It’s even more exciting when it’s a big part like the Wing. For the final time (hopefully), I started assembly of the right wing skeleton. Since I will be using the bucking bar for the rivetting, the plans call for protective tape on the inboard spar bars to minimze damage from the bucking. Additionally, I added tape around clecos that should not be removed as it’s not time to rivet those holes yet (more on that later!)
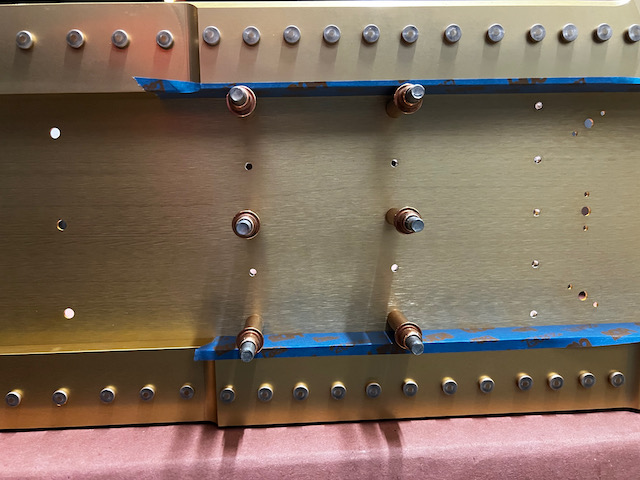
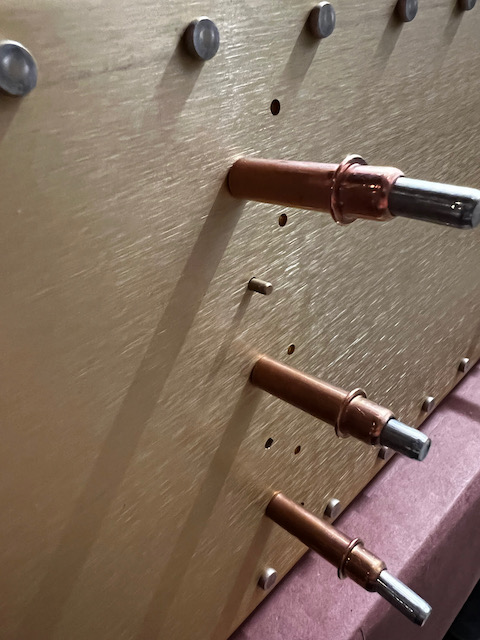
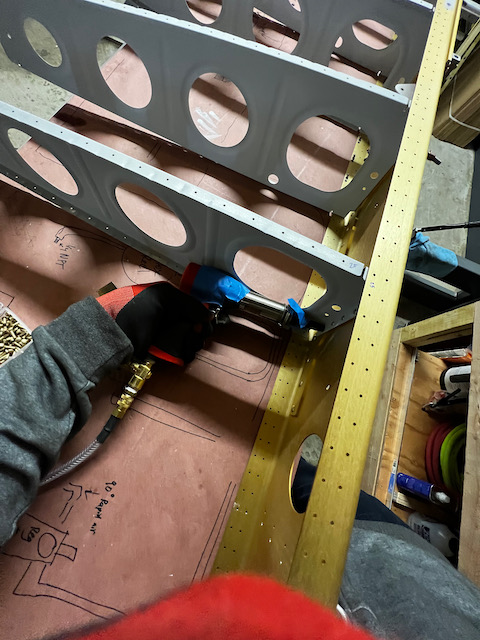
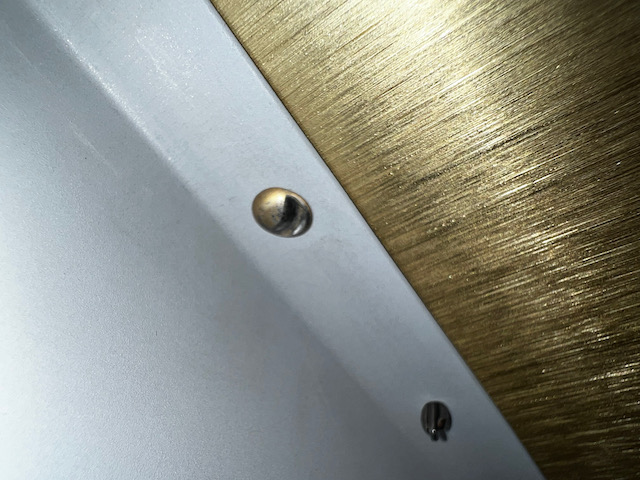
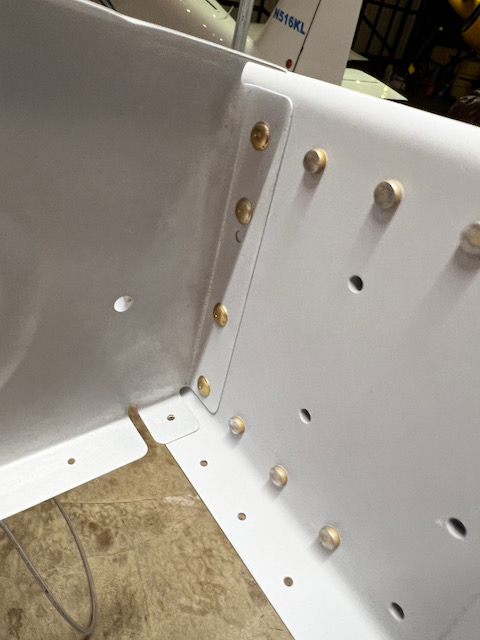
Riveting is an emotional experience…at least where I am in the process. It feels very final, there is real damage that can occur with the tools you use, and it’s a structurally important process that YOU are responsible for. All these things require a mindset that is different that many other parts of building. Everything is repairable (I think), but still, it somehow feels different. So riveting to the main spar, you can imagine, is doubly elevated as it is arguably the most structurally important part of the aircraft. You can fly with a lot of things failing in an aircraft (including the engine), but if the wing fails significantly…well….you better hope you have your parachute on. Of course, Vans designs these aircraft with such a large safety margin (16,500+ rivets!) , that no one rivet is a “Jesus Bolt”. That makes me feel a little more optimistic. And so riveting began on the wings. For the morning session, I was by myself, so I needed to handle the rivet gun and the bucking bar myself. The first rib went super smooth and I thought I was in for a easy ride. Of course, riveting has a way of humbling you very quickly. I ended up “smiley facing” a couple rivets pretty badly, so I went ahead and drilled those out and re-riveting them.
A few side bars here.
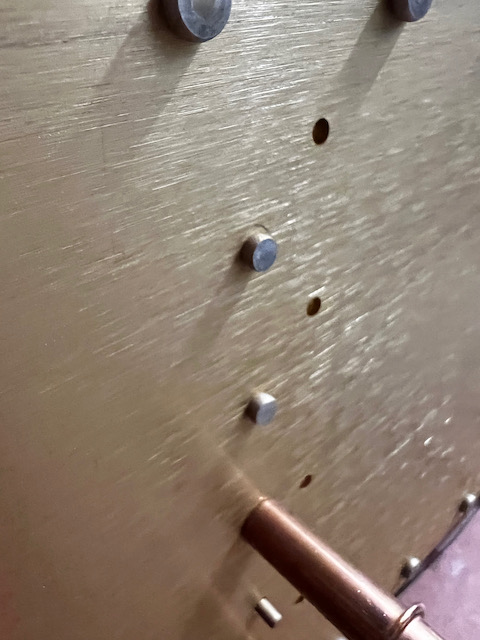
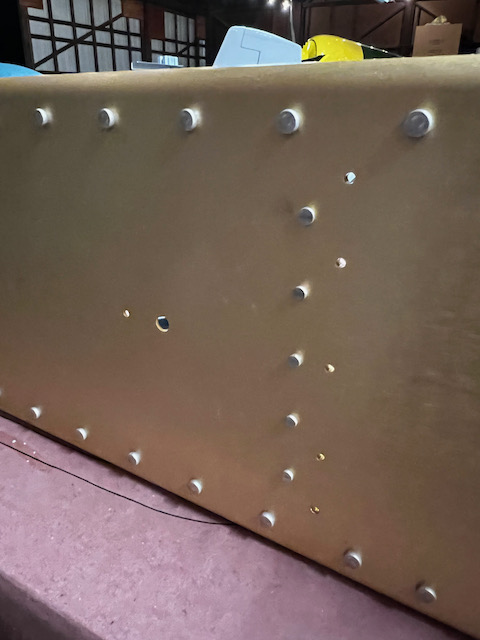
- Drilling out rivets – This is not an extremely complicated process, but there is some art to it. I was taught the method of drilling the head out partially, then popping it off with a slight lever action. Then you can nicely see the hole and drill out the rest. The key to drilling out the head, is getting your drill centered on it, and cleanly drilling down the middle. With a universal head rivet (round on top), it is very difficult to avoid the drill walking while you start. I got a “rivet removal tool”, which allows easier centering on the head, but with smiley face heads, this actually doesn’t completely help. Also, the tool is much wider that a normal drill bit, so trying to get to some of the heads that are in tightly flanged pieces (i.e. the wing rib) is not easy. I ended up using a combination of a hole punch tool, the rivet removal tool, and a healthy amount of elbow grease for all the rivets I removed in this session (I think 4 in total). Needless to say, if you can, do it right the first time so you can avoid this whole mess all together, but it is nice to know there is generally a path to fixing things if needed.
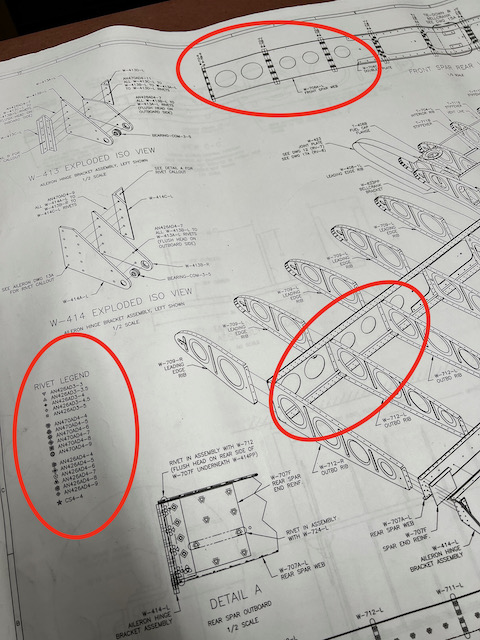
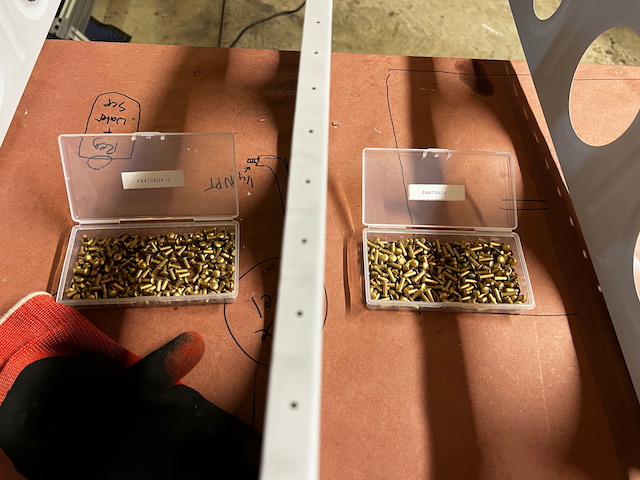
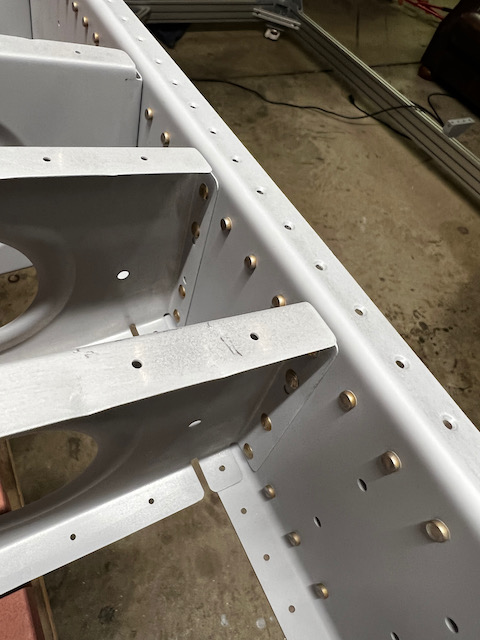
- Rivet sizes – The wing spar (and a lot of other areas of the plane) require lots of different rivet sizes and lengths. depending on how thick the material you are going through, and how tall of a head you want to end up with, the plans call for different rivets. On the Wing skeleton itself I’ve used 5 different rivet sizes so far. To track all this you have to use the plans symbology keys to see what rivet goes where. It’s a nice way to do it, but requires a lot of verification to ensure you’ve got it right. When doing the actually riveting, it’s easy to pick up the wrong rivet and pop it in the hole (ask me how I know…:)). Sometimes it’s obvious because the “tail” sticking through the hole is way too short and there is nothing to buck/squeeze, but sometimes it’s not so obvious. To minimize the mistakes (note “minimize”, not “eliminate”), I got these small plastic containers off Amazon, and labelled them on the inside and outside. Hopefully that will help.
Well…enough with the side bars. I was able to get through three ribs (including the drill out repairs) before it was time for work. I gotta pay for this plane somehow!!
6:30pm Evening Session with Brandon
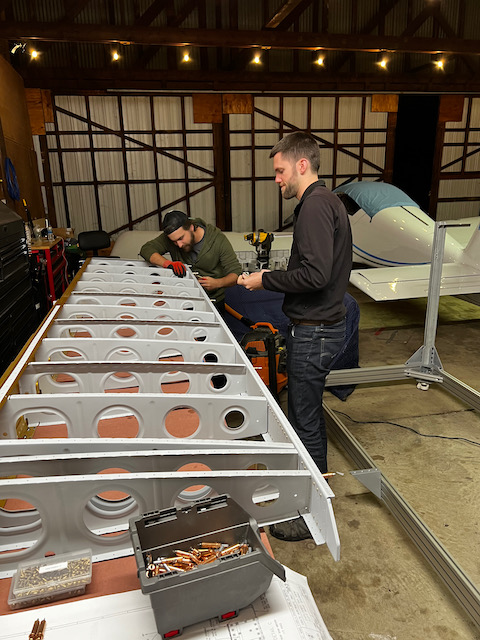
After work, I had a really fun session with a long time colleague and good friend, Brandon. Brandon and I have been on a lot of adventures together (from flying medical samples via autonomous drone in the mountains of the Dominican Republic to enjoying a meal in Paris with our significant others). He’s a pretty special guy, and his mechanical skills and intuition about how things work is superb. There are few people I would trust to build a plane without supervision, but with Brandon I could hand the whole project to him, and if he told me the plane was ready to fly in a couple years, I’d jump in and go (with a good preflight of course). He has been building model planes, and commercial small drones all his life, and has honed his craft to a very high level. Not only is he a builder, but he is a world class RC pilot. (I’m not exaggerating… he has won national championships in an RC aerobatic discipline called F3A). And so, with a resume like that, it is no surprise that with one quick practice buck on a rivet (after never having bucked rivets before) we were instantly in the groove and got through the remainder of the main spar bucking within a couple hours. (And that includes quite a few visitors! It’s amazing the social gravitational force a hangar has when you start riveting..ha ha!) Not much to report here, except let me tell you, buck riveting with two people is NIGHT AND DAY vs trying to do it yourself. And this is a relatively easy access location. I will be sure to teach as many people as I can how to use the bucking bar, as I can’t imagine how long this would have taken by myself. More importantly, how many more slip ups and mistake would occur doing it solo. Thanks for all the help Brandon! What a fun evening!!
About half way through the riveting, Alexander came down for some time. I can’t stress how nice it is to have him (an EAA tech counselor) so easily available and willing to drop by. It gives me a lot of confidence when he takes a look at something I’m worried about, or not sure of, and helps me understand the issue.We had fun working the rivets as a group, with me working the gun, Brandon on the bar, and Alexander working the clecos and rivet gauge. You can never have too many hands! Before Alexander left, we finished the main spar, and he helped us cleco the rear spar on to prepare for squeezing.
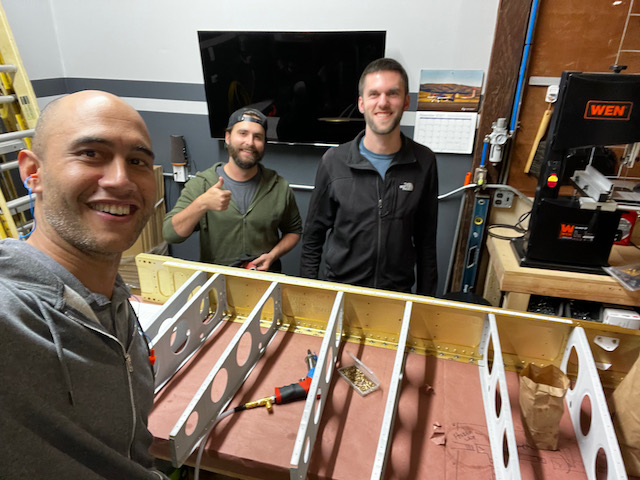
Unfortunately I forgot to take pictures of Brandon working the pneumatic squeezer, but needless to say, we jammed through the rear spar riveting fast. The major issues were selecting the wrong rivet size and riveting incorrect holes. I had to drill one out that was the wrong size (see above), and also had to drill one out that was not supposed to be installed yet. Pay close attention to the plans to make sure you understand which holes need to be saved for later. With the rear spar complete, we decided to call it a night. It feels great to have the right wing skeleton complete and ready for hanging on the stand. I’ll get to that tomorrow, and start working on the left wing skeleton final assembly.
1 comment
Wowwww. That was a lot of progress. It must be nice to have such helpful friends. Congratulations