Wow. What a day. Starting at 7:30 Sunday morning, and going until past 10pm, we successfully primed almost all of the wing ribs today. When I say we, I mean we! There were 4 different folks that put in time today. Some were planned crew, others just happened to be there. Huge shout out to Sam and Tod who helped throughout the day!! When you are able to watch two sporting events in one session, you know it’s a long one! And as if rib priming wasn’t enough, there were a few additional projects I wanted to work into the day as I continue to try to improve the workshop and tools I have for the job.
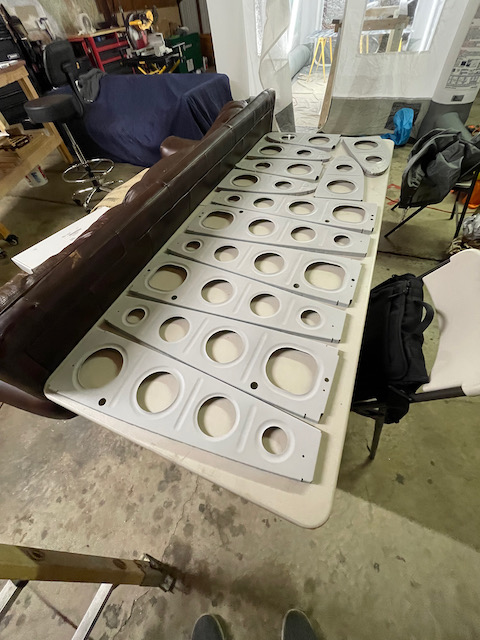
The TLDR is that we successfully finished the night with all the main ribs fully primed and half the leading edge ribs completed as well (I completely missed a pile of leading edge ribs, but it’s ok because I’ll need to prime the W-710s when those finally come in). If you’re curious on the detail, read on for the long play-by-play of the day.
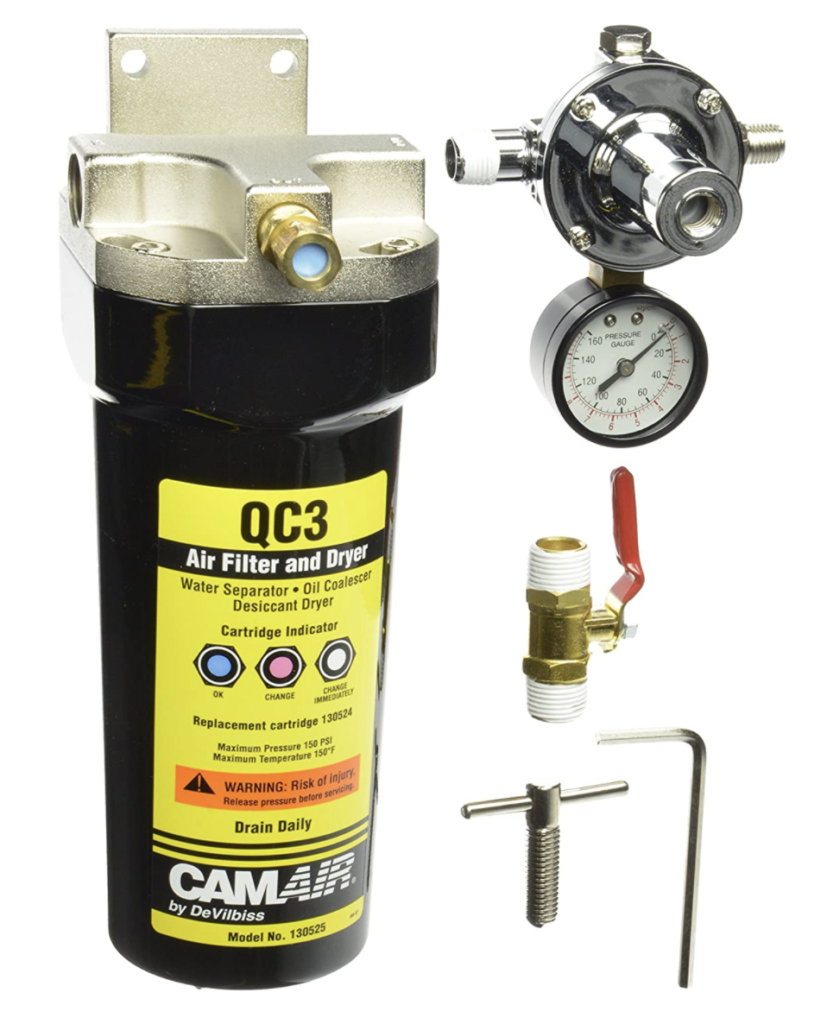
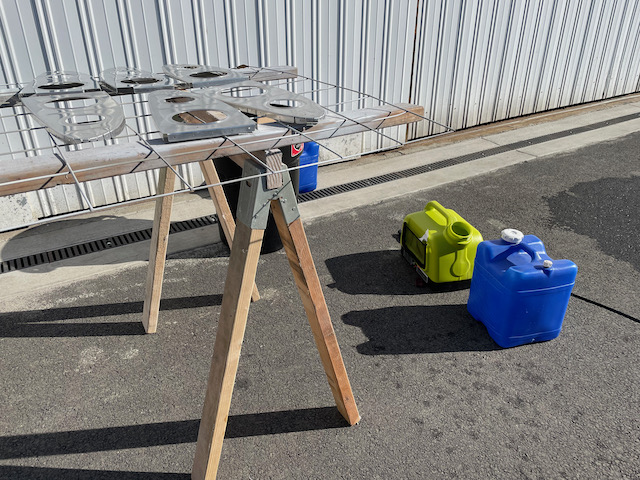
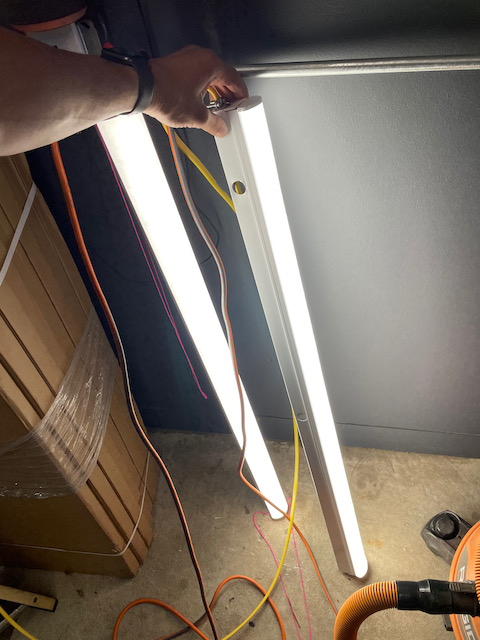
One of the projects I had been putting off was installing the upgraded water separator and associated hosing that I had purchased specifically for the paint system. My research suggested having the largest hoses possible, along with a high quality separator would give you the best finishes. Although it’s not super important with the priming I’m doing now, down the line a lot of these coats will be visible. I’ve had all the parts for a while, but just hadn’t found the time to do it. So the first thing I did was go by the hangar, checkout what pieces I was missing and head to Home Depot to get everything. Conveniently I needed to also get some items to complete my paint lights as well. Below is the water separator I purchased and how I mounted it to the inside leg of one of my work benches. I failed to take pictures of the rest of the hose setup, but basically I ran 1/2″ hose from the air compressor direct into the water separator, and then another 1/2″ line after the water separator with quick disconnects.

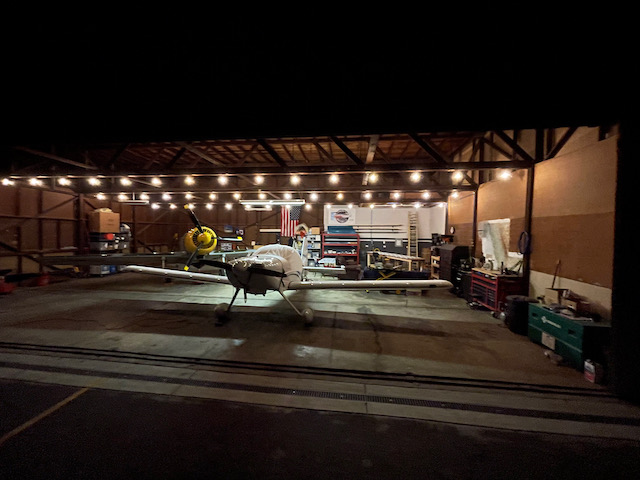
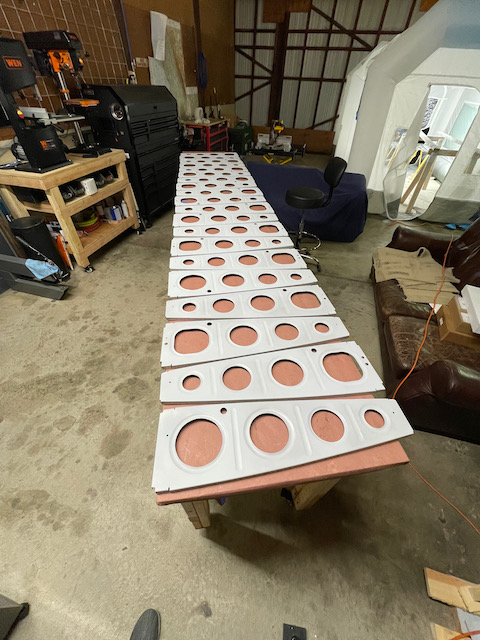
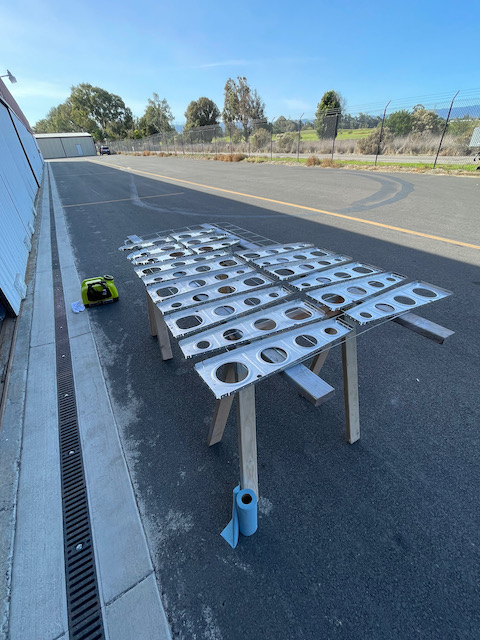
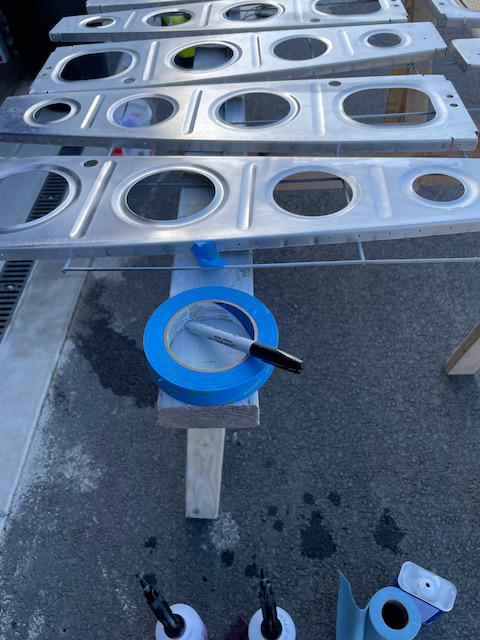
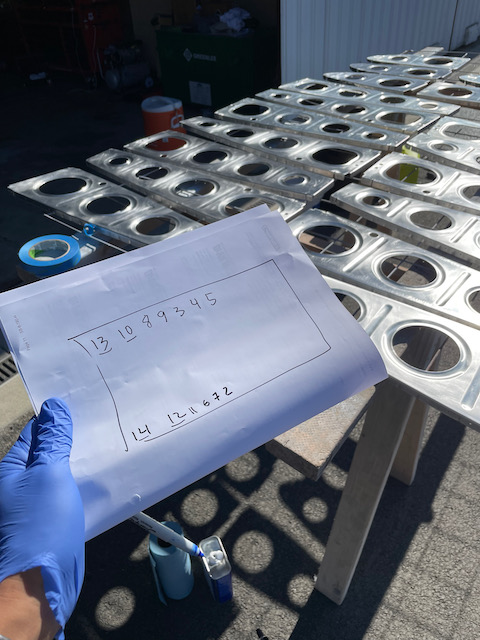
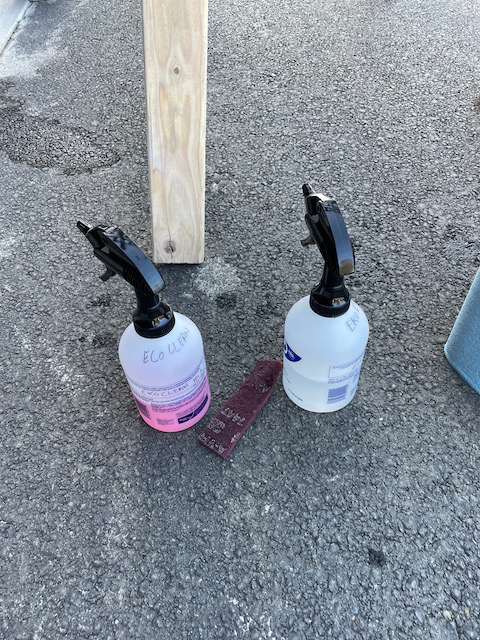
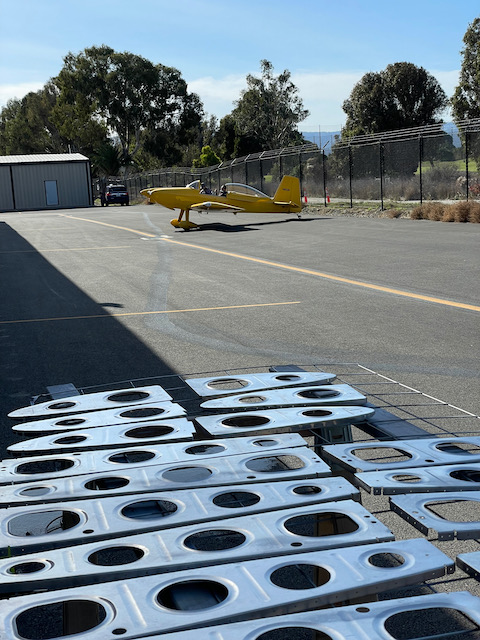
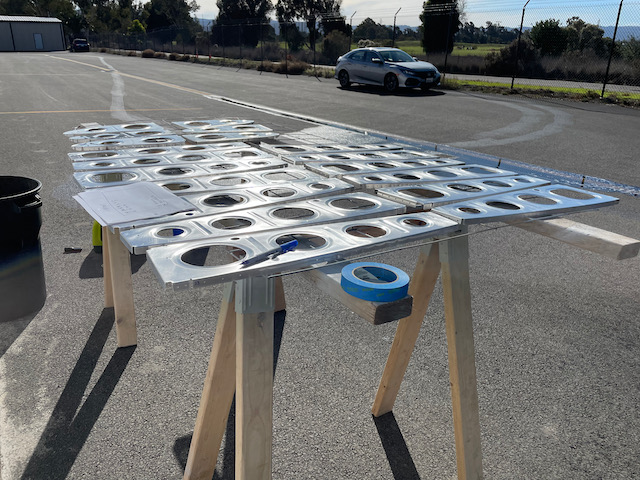
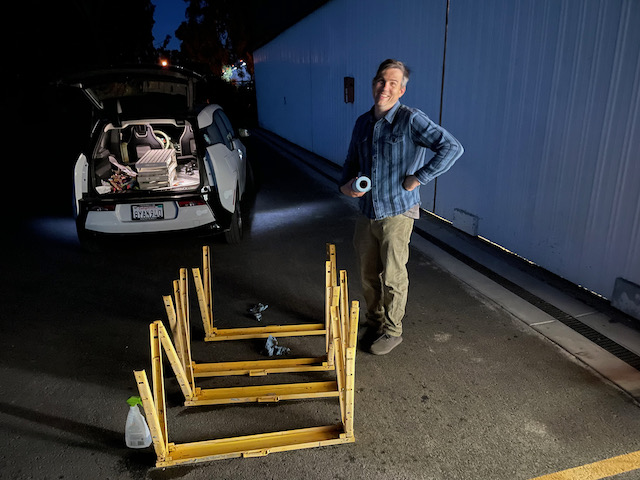
By 9:30 I was back at the hangar and getting the rack setup outside so I can get the ribs out and ready for cleaning and etching. Having gone through a previous session with the EkoClean and EkoEtch products, I was much more comfortable with what it would take. After laying out all the ribs, I had to figure out to keep track of what rib was what. One of the problems is that the EkoEtch takes off any markings you had put before hand, and it was important that each rib goes back in the same spot it drilled to previously. After attempting to use painters tape (which didn’t work well), I resorted to using a sheet of paper to mark the position of each rib as I cleaned and etched, and then went back and re-marked the ribs after etching. As a reminder, the process requires you to clean the ribs first with EkoClean, then with EkoEtch use Scotch-Brite to mechanically etch while the spray was chemically etching, and finally, spray down the ribs to make sure no chemicals were left on the ribs. Running this process solo was fairly slow. Halfway through the morning session, my hangar neighbor pulled out his RV-8 (!!) and we caught up for a few minutes before he went off for a flight. It was a bittersweet inspiration to see it complete. Great motivation, but also makes it abundantly clear how far away the finish line is!
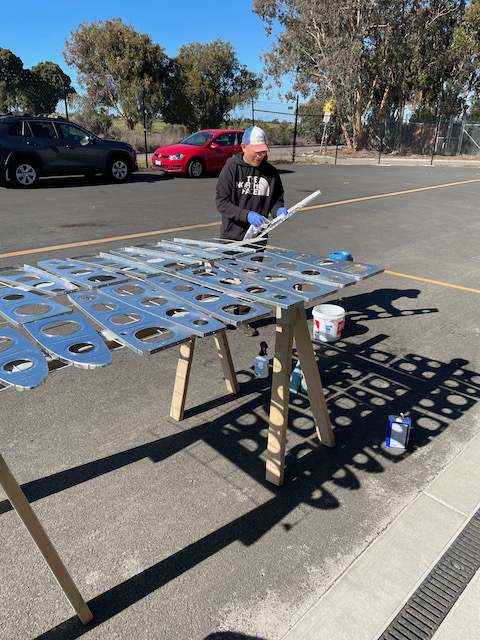
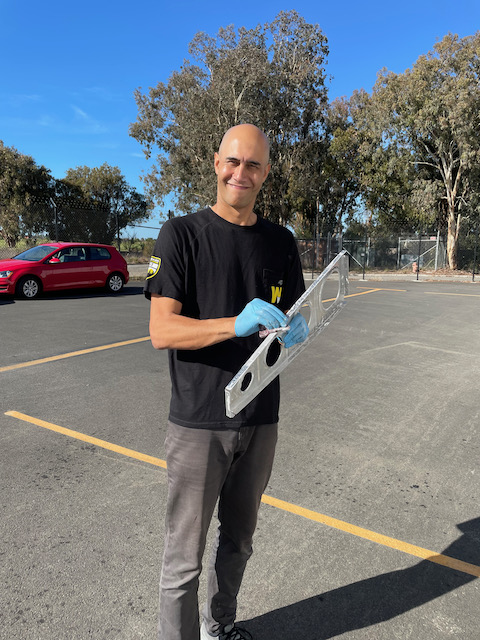
Around 10:30 Sam came down and started helping with the prep. Good timing, as right when he got there, I had run out of the water, and lucky he had brought some. With him there, the process went WAY faster. We decided to run assembly line style, where I did the etching, and he took care of the spray down, and cleaning, as well as re-marking the ribs after they dried. Within a few hours we were done with the prep and took a quick break to eat lunch and watch our beloved 49ers get their butts kicked…:(.
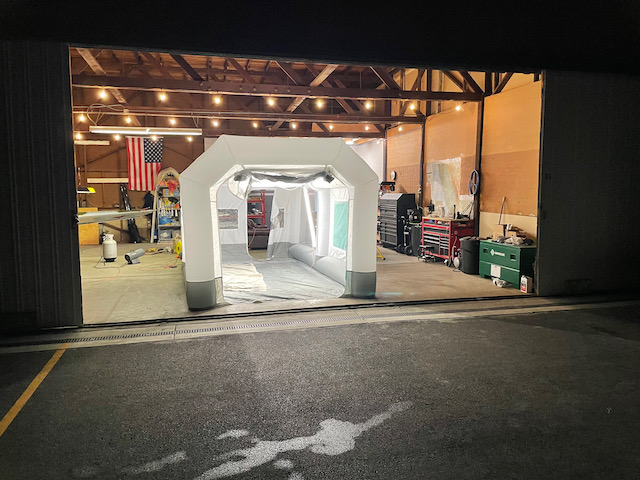
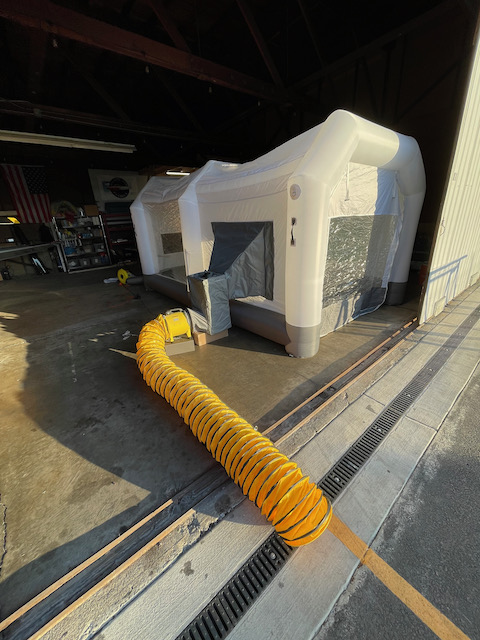
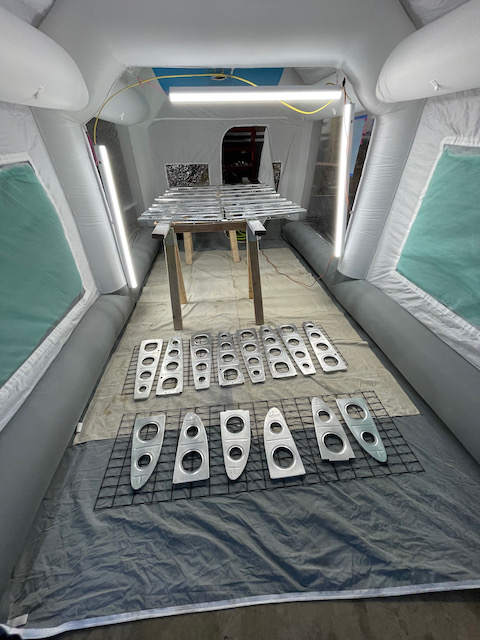
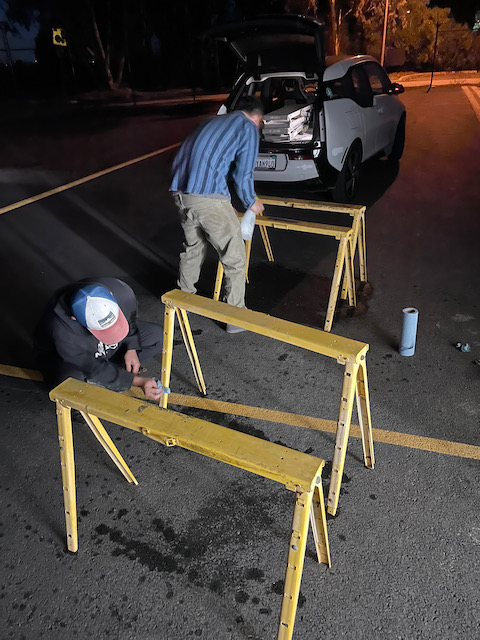
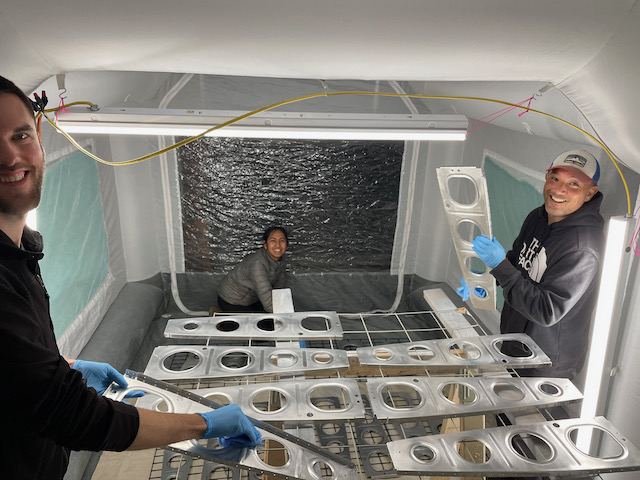
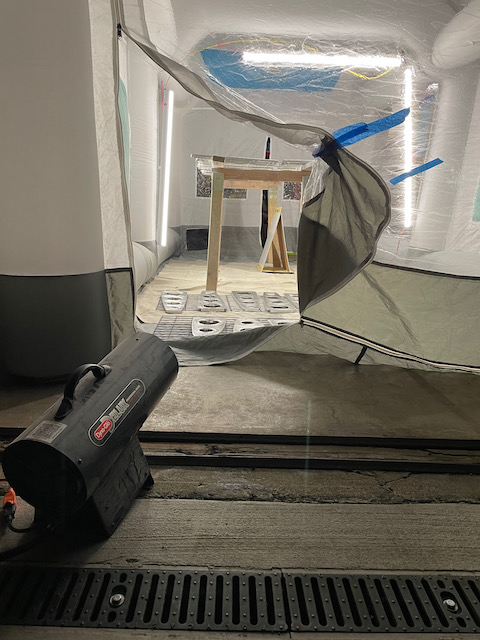
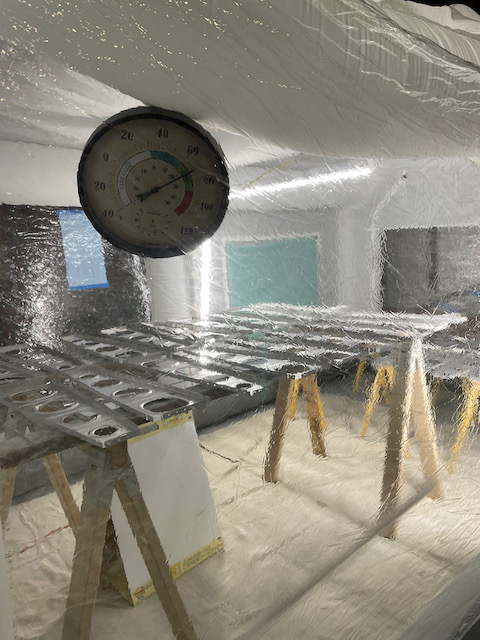
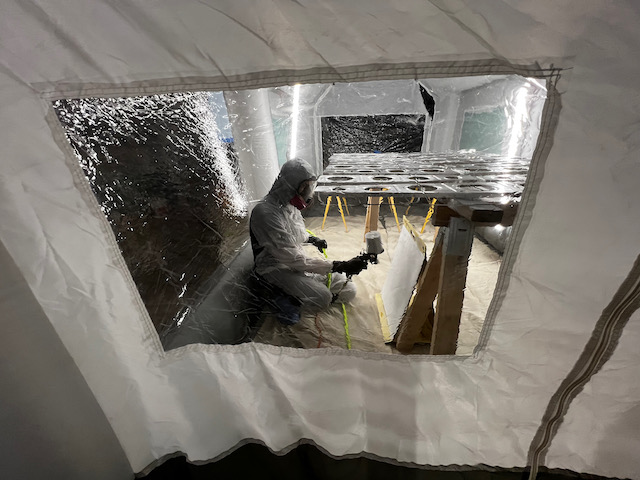
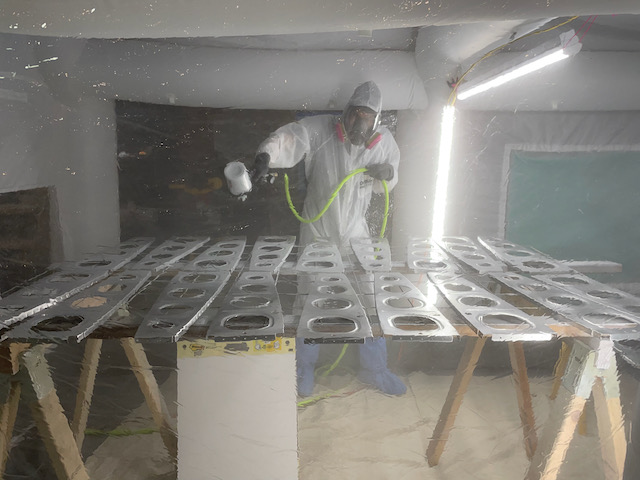
At 3pm, Sam had to run to do some kid activities, and Tod came by to help me for a bit. We got the paint booth set up, with full exhaust venting, and the new lighting system. I needed to spend a bit of time adding the second and third linear LED lights now that I had the parts from Home Depot. Figuring out how to fit ALL the ribs into the paint booth was not easy. The painting rack I had was not going to fit all the ribs, so Tod ran home to grab a couple more saw horses, and I stole the wire racks off of my shelving unit. We managed to get all the ribs into the booth with just enough room to walk around for spraying.
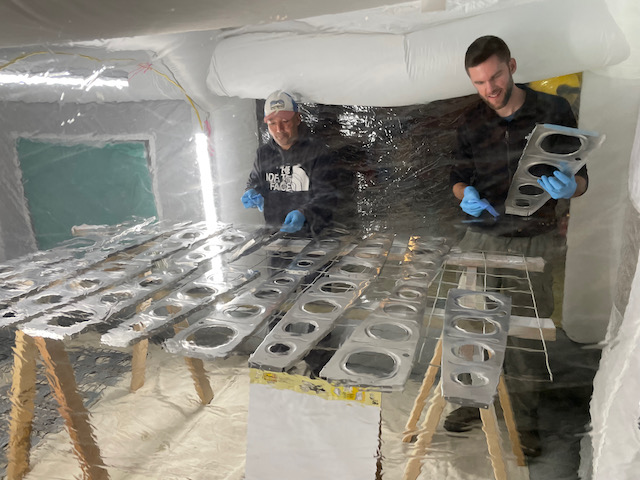
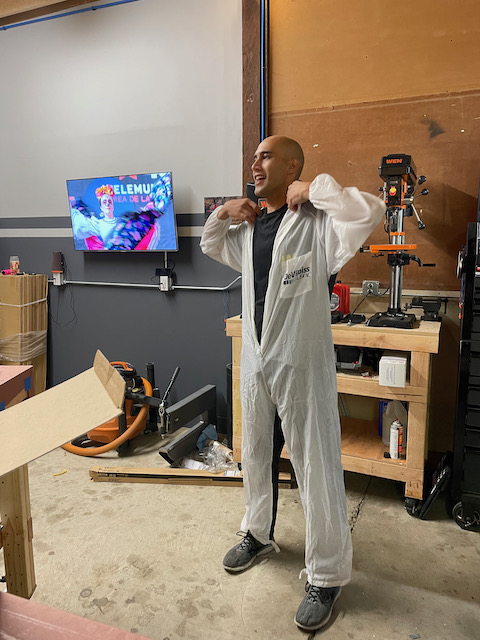
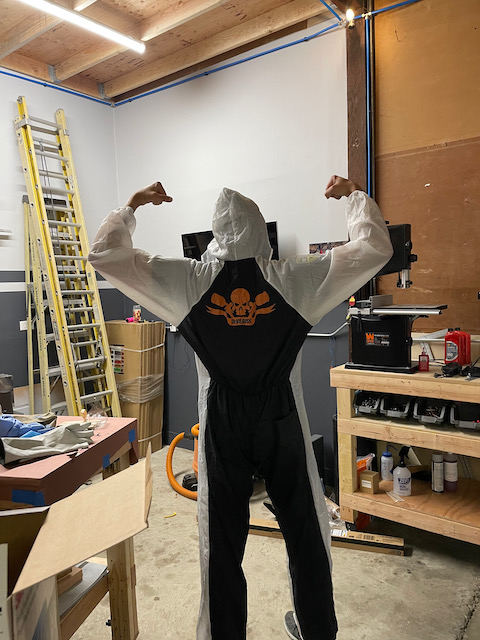
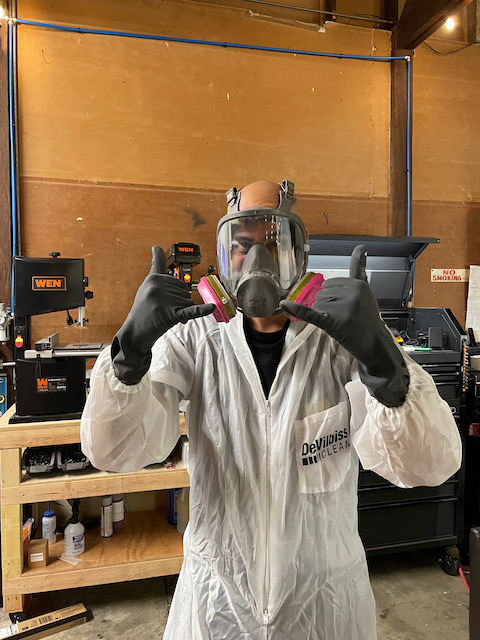
One of the final things that needs to be done before spraying is a last once over with tack cloth to pick up any last FOD (foreign object debris). If you don’t, you have more chance of ending up with tiny flecks under your prime. It’s not the end of the world, but I’m slightly OCD so I always do it. Serendipitously, Alexander and his friend Neerja happen to be coming back in his RV-9 from a weekend trip. They were kind enough to spend 30 minutes with us helping with the tack cloth duties. With Sam, Tod, Alexander, and Neerja helping, it was starting to feel like a party! Bunny suit, here I come!
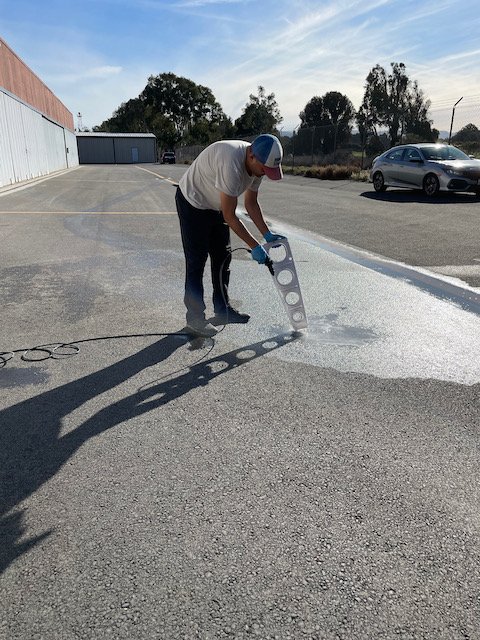
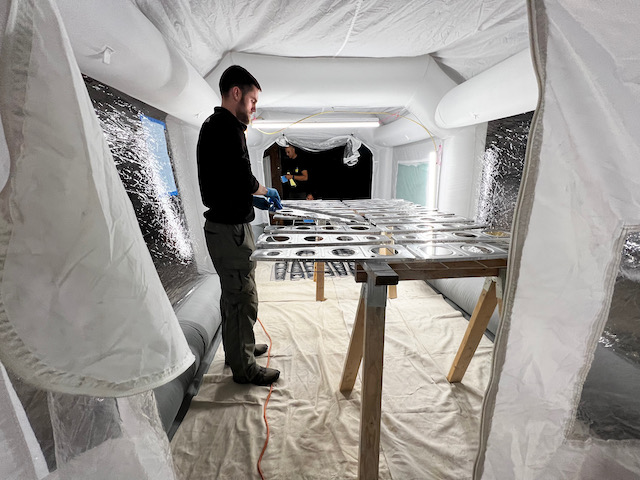
Priming was much easier this time around. You’ll see a video below. I’m, trying to perfect my “stroke” during prime. I think I’m still going a little too fast, but the coat turned out pretty good. One of the things that I did was pre-heat the booth with a propane heater I borrowed from Paul to make sure the working temperature was as per the data sheet (65-85˚F). That thing WORKS!! I could easily keep the temperature of the booth well above 65 degrees. It took 4 separate sessions in the booth to finish, two on each side. The first of each side was a light “tack coat”, and then I went back to get nice coverage (while avoiding getting it too thick…I don’t want the extra weight!). I could do the coverage coat about 5-10 minutes after the tack coat, and then waited about an hour before flipping it over. I honestly could have flipped it over after 30 minutes. With a spray gun the paint dries pretty quickly. The Warriors game was on, so between sessions Sam, Tod, and I enjoyed some basketball…and we won!!
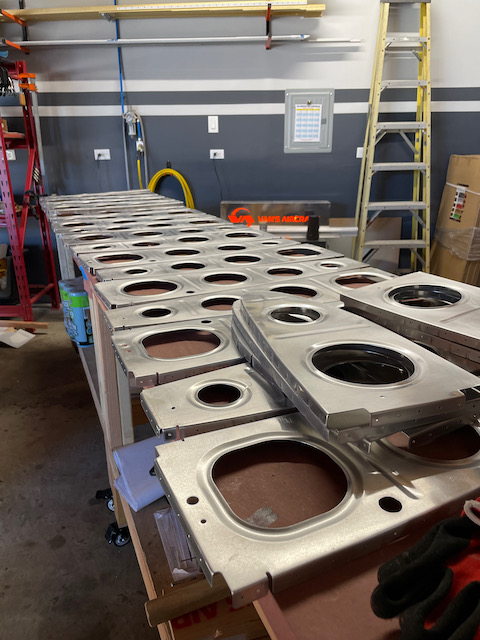
After priming was complete, I kept the ribs in the booth a while longer with the heater keeping the temps in the right range. I did as much clean up as I could, and after removing the ribs, took down the booth and finished cleaned up. What a great day, and a huge step forward. Next up I get to start riveting the wing skeleton together! I can’t believe I’ve gotten to this point….things are starting to come together!
With everyone gone and the hum of the paint booth in the background, the moments of community, hard work, and accomplishment hit me, and I realized how thankful I am to get the chance to do this. What a fun journey!