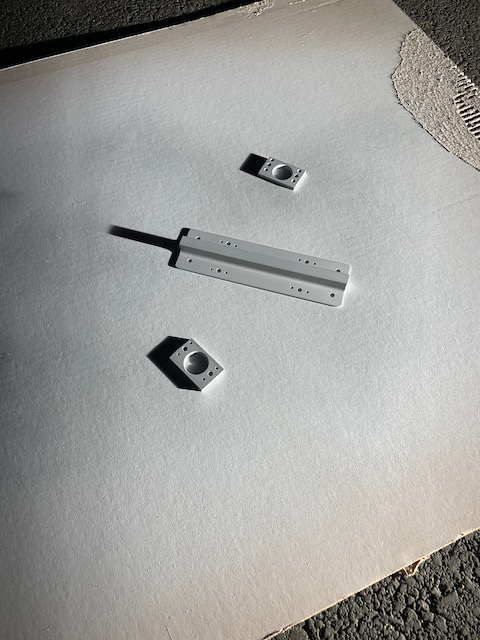
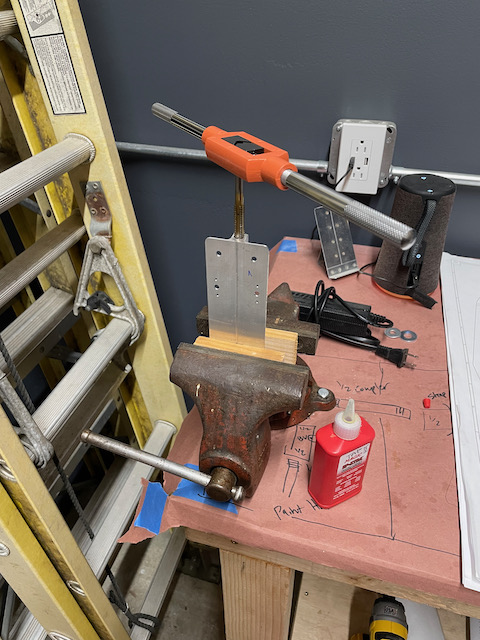
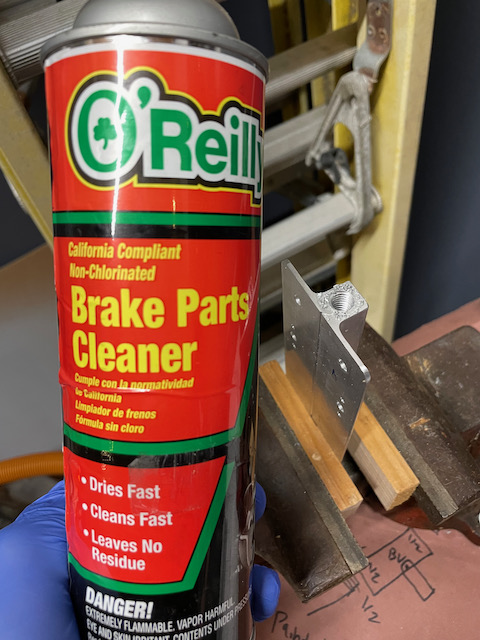
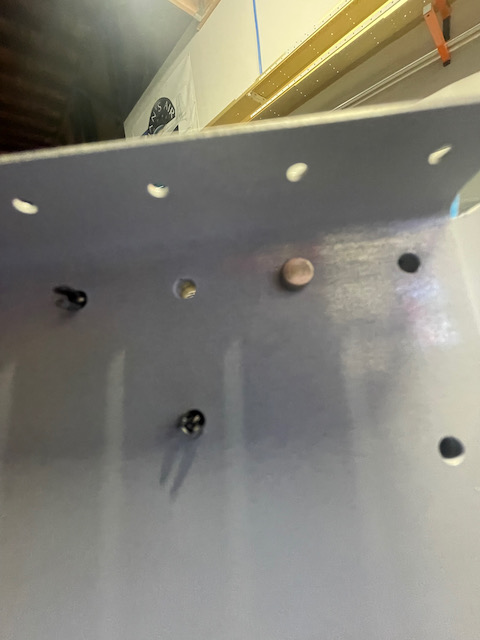
I’m so close to finishing up the spar sections (7-1 and 7-2)! I was able to get two sessions in today. The first pre-dawn where I drilled the nutplates for the tiedown spacers, and deburred everything to prep for priming. The second, after work where I got to squeeze my first rear spar rivets. It’s pretty fun to start seeing pieces come together into real structural components. The morning session was pretty straight forward, and now that I had done it before, it went pretty fast. I was able to get through drilling and deburring of the tie-down spacer before work started. One tip I learned off YouTube…when threading the tie-down, you have to use drilling oil to clear shavings, but this results in a lot of gunk on the bit and the hole. Using brake part cleaner, you can rid of all the shavings pretty easy.
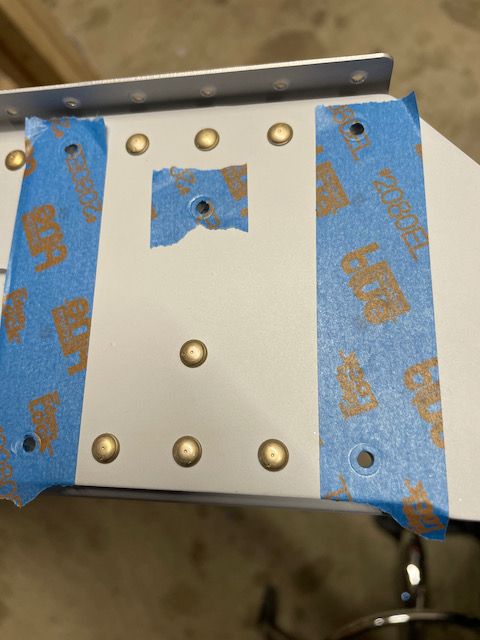
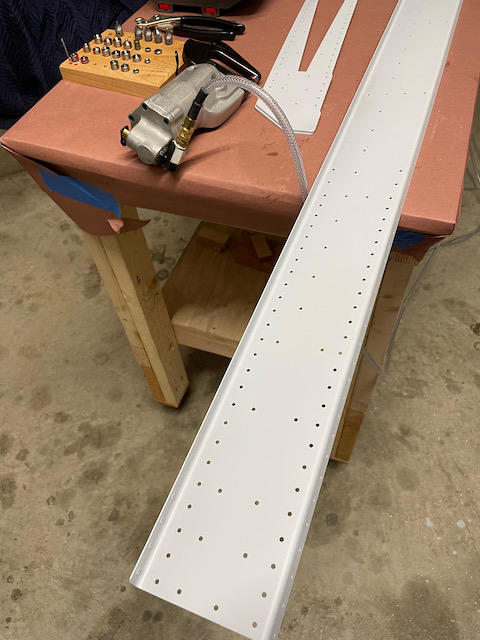
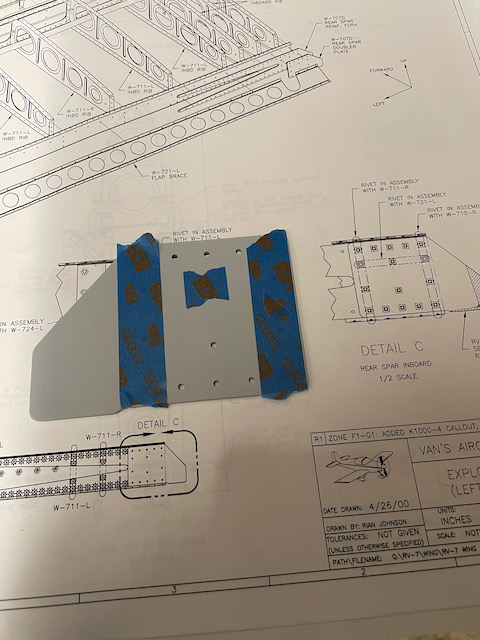
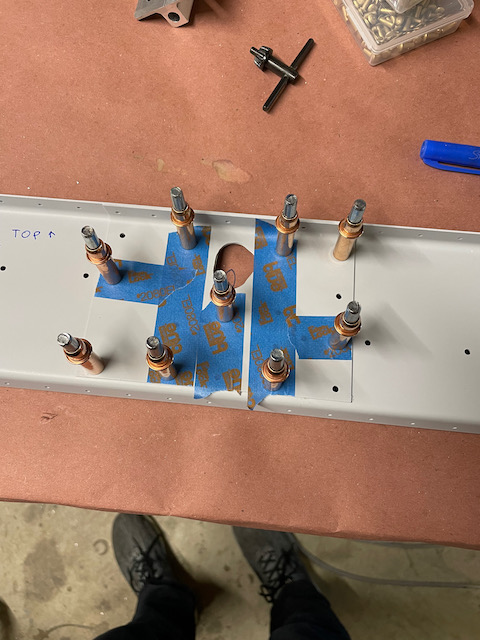
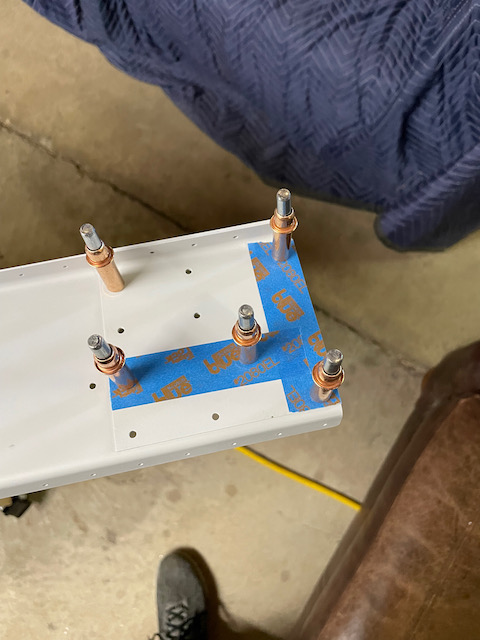
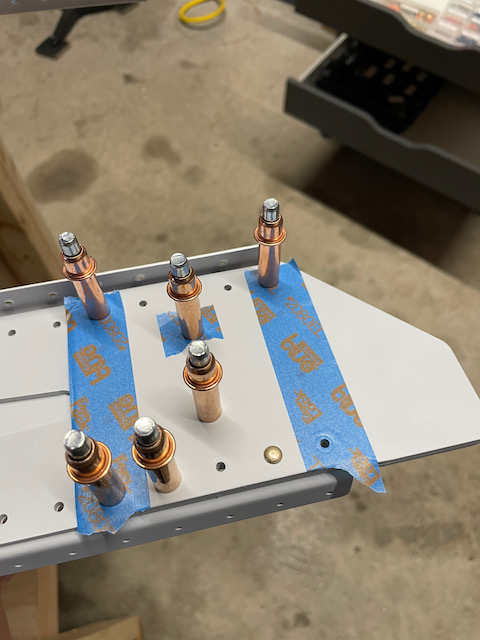
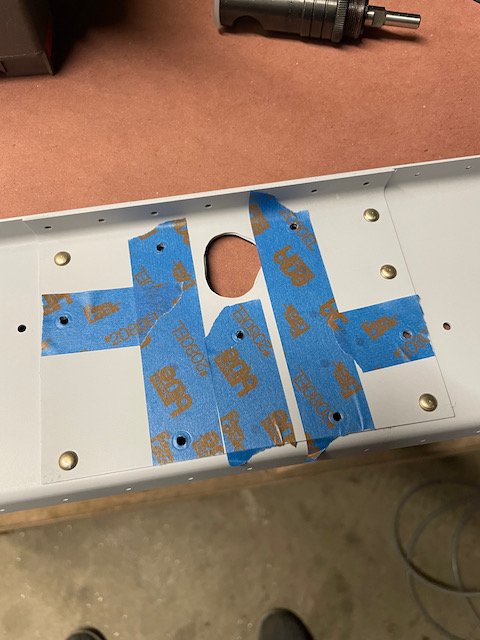
Rear Spar assembly work started with prep work. The instructions recommend dimpling the top flange where it overlaps W-707G before installing, since it will not be possible after they are installed. Before riveting, it is important to ensure you don’t rivet holes that will be riveted to additional parts (such as ribs), so I taped those off based on the DWG 10A plans.
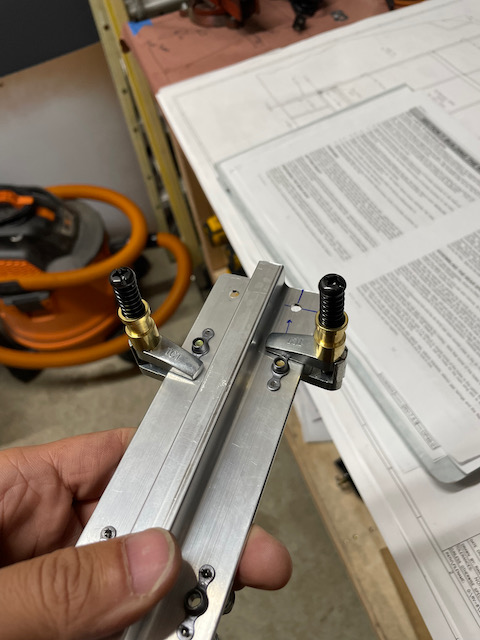
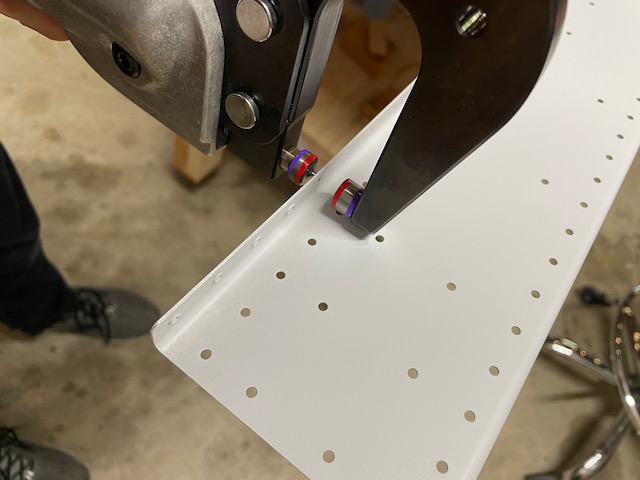
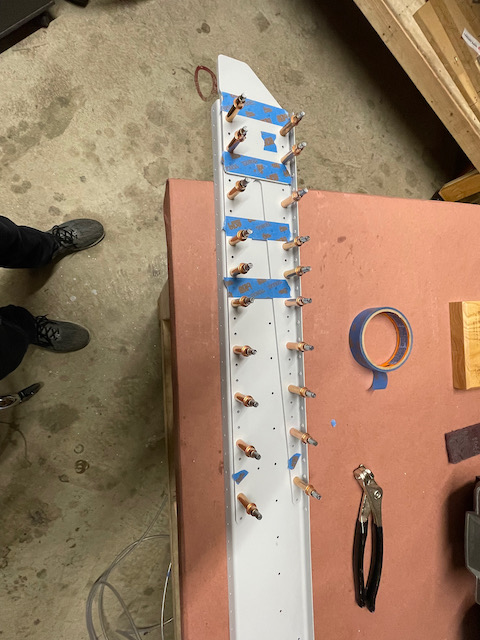
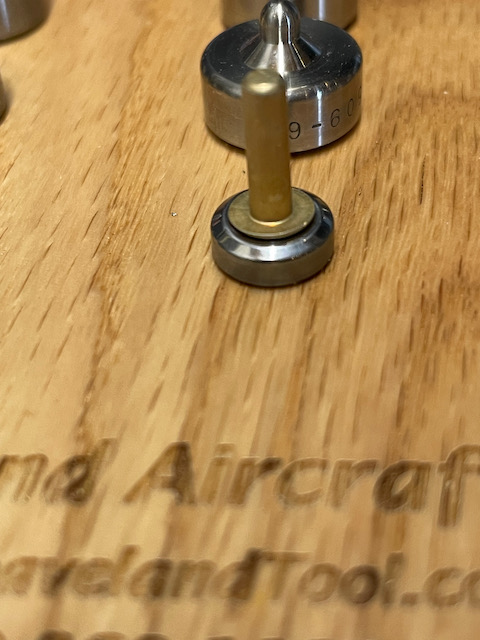
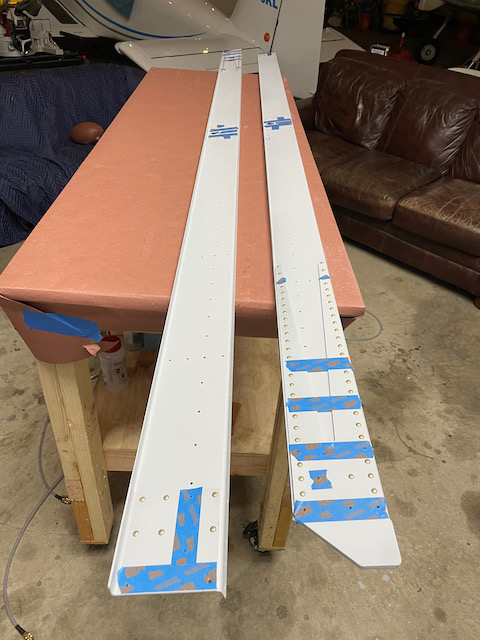
One odd thing I was questioning is the size of the cup set used to squeeze these rivets. If you look closely at the photo above, the head is slightly larger than the cup. I’m not sure if that’s on purpose, but I double checked and the cup set is the largest Cleveland Tool has. I sent an email to them, but for now I went ahead and used it. When riveting AN470AD4 heads, there is a very slight ring formed around the head, but no deformation. I suspect this is by design, but we’ll see what they say. I went ahead and started the riveting process. Within an hour I had both rear spar assemblies completely riveted. It was important to consistently refer to the plans to ensure I was using the correct heads based on the rivetting legend.
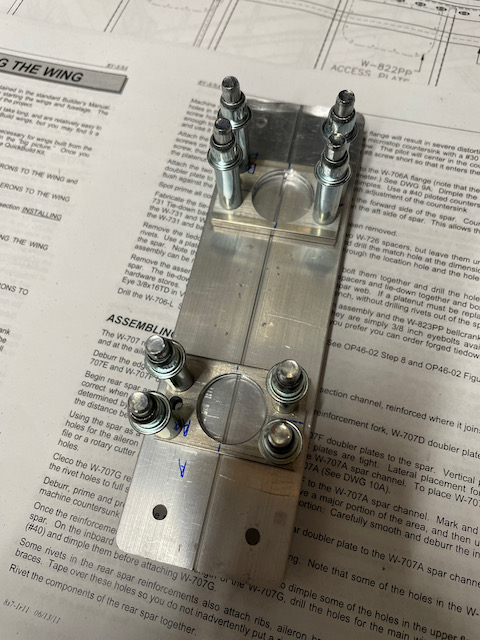
With just a bit of time before my softball playoff game (spoiler alert…we got our butts kicked), I finished off the session by priming the tie-down and spacers for the right main spar. Since it was a small job, I used the SEM Self Etch primer rattle can. I’ll be curious to see how it compares to the Stewart Systems primer. Next session I will wrap up the main spar tie down installation. I forgot to install the W-822PP aileron brackets on the left, so I’ll need to do that for both spars. Build on!